- Admin
- #1
- Joined
- May 21, 2021
- Messages
- 2,530
- Reaction score
- 1,496
- Points
- 113
- Location
- Stuart, Florida
- Website
- themikephillipsforum.com
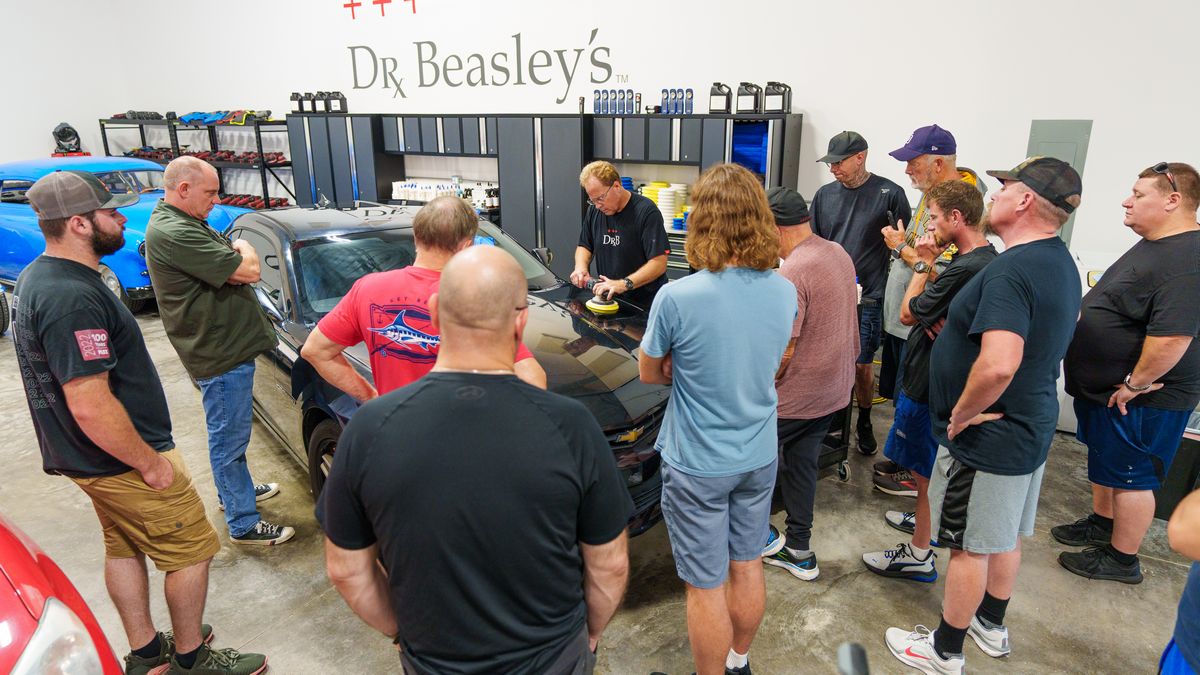
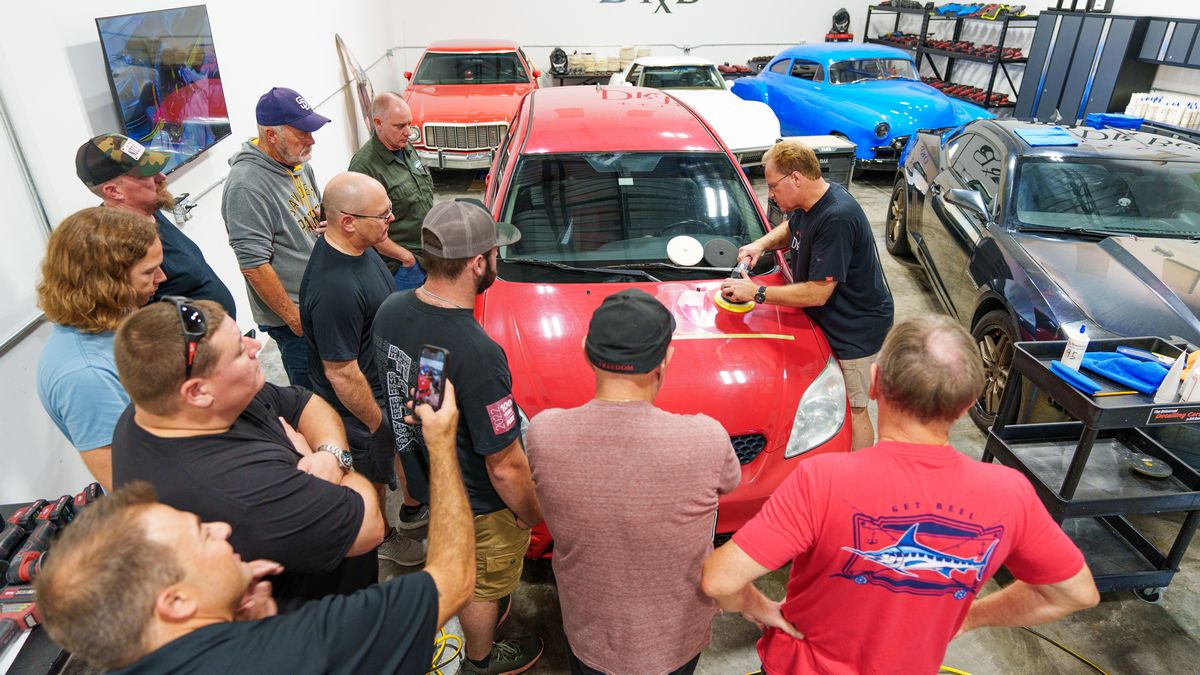
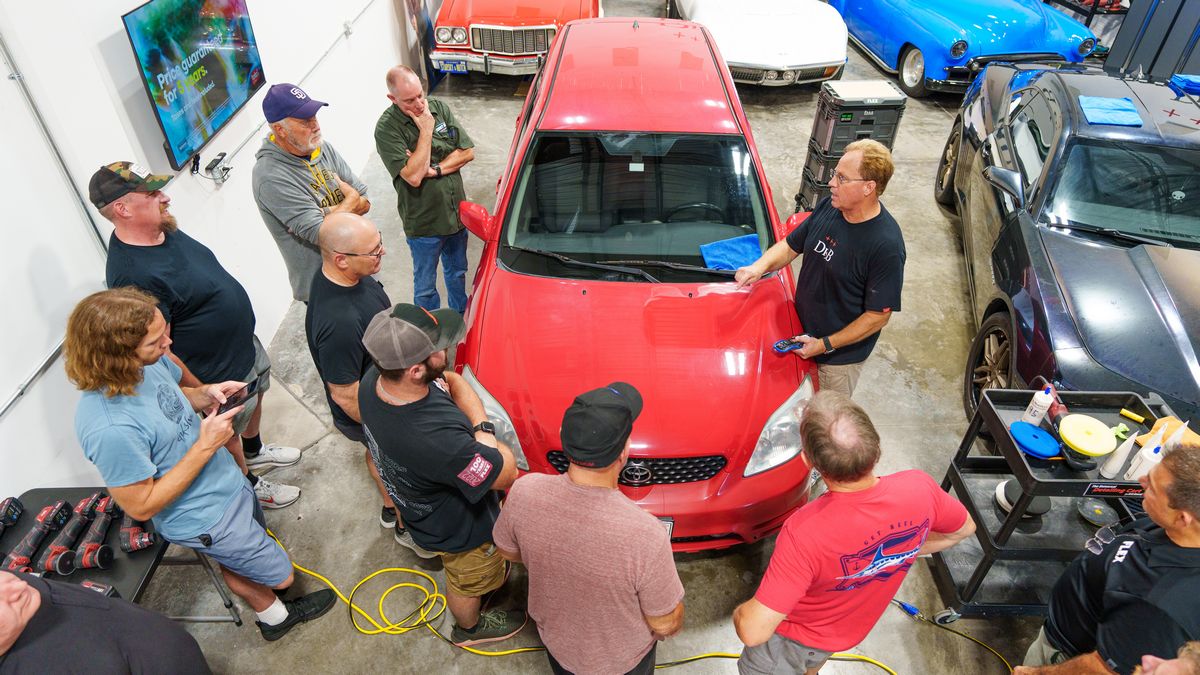
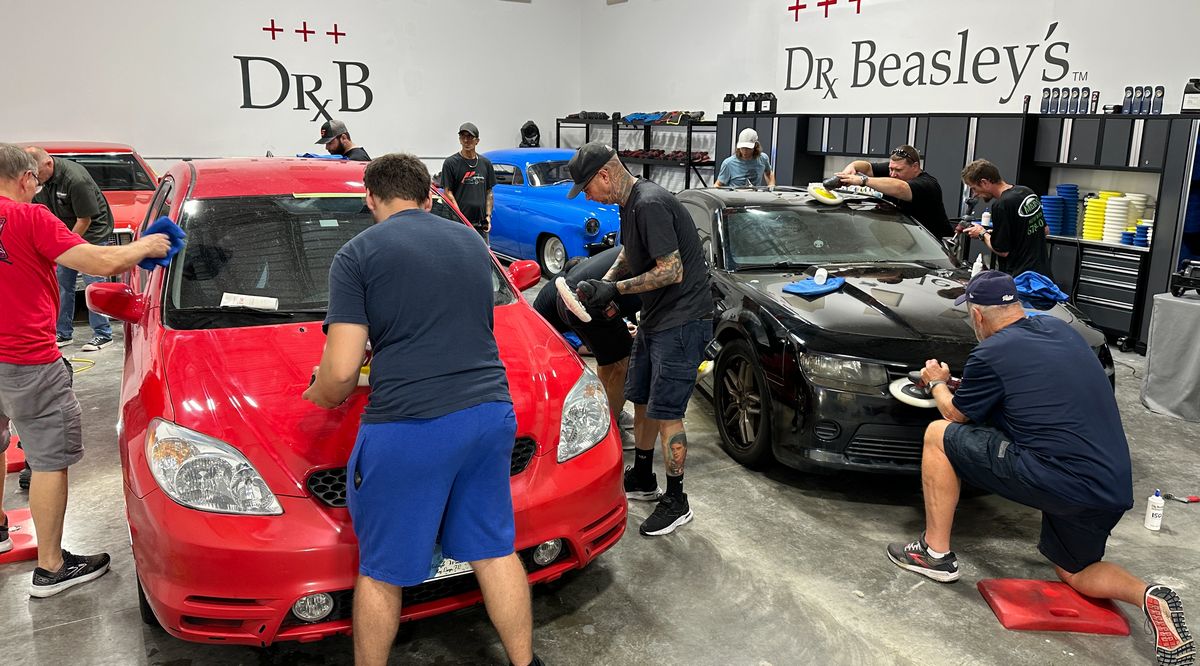
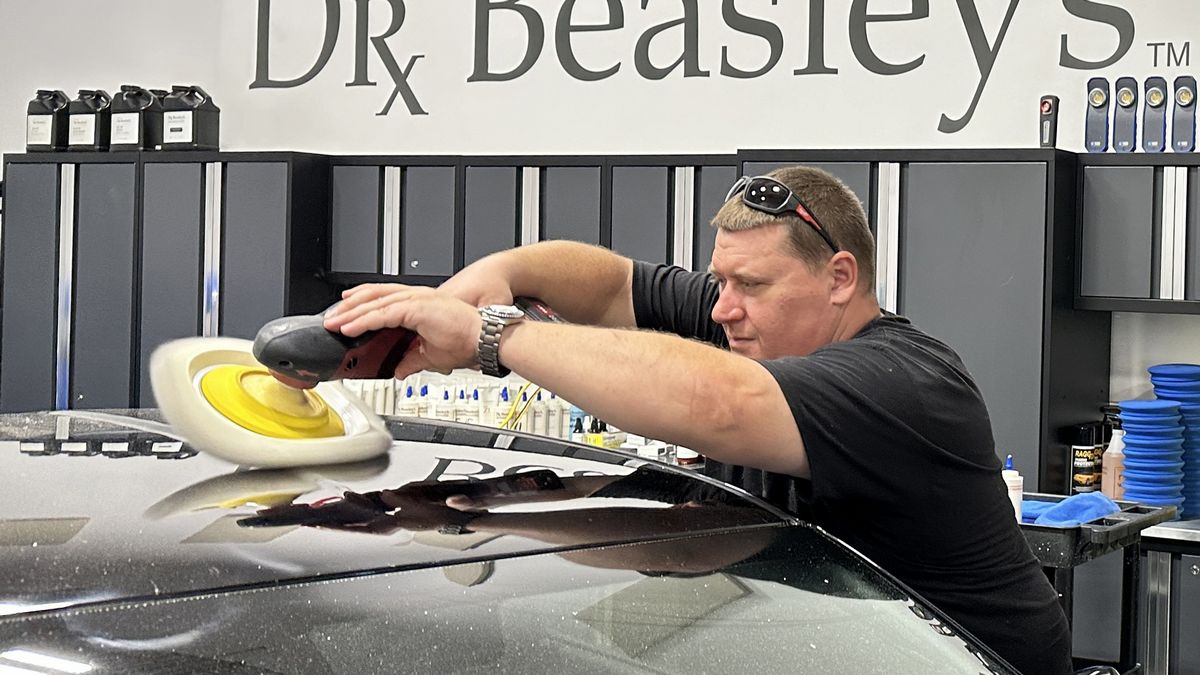
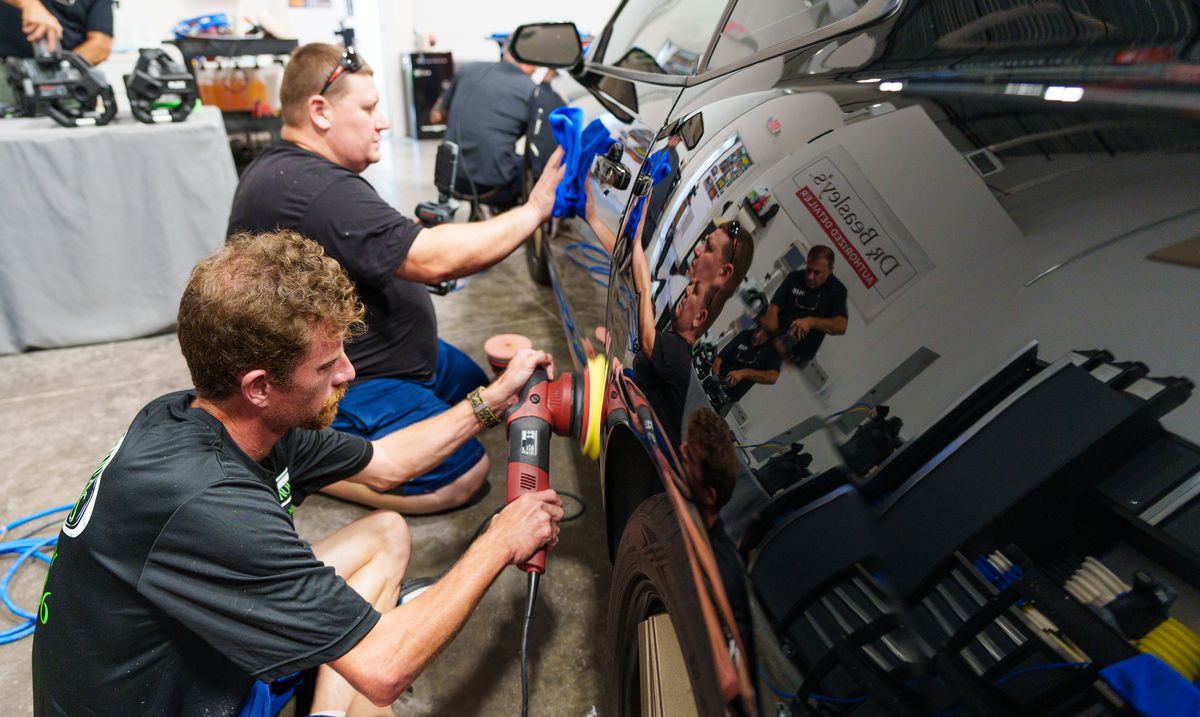
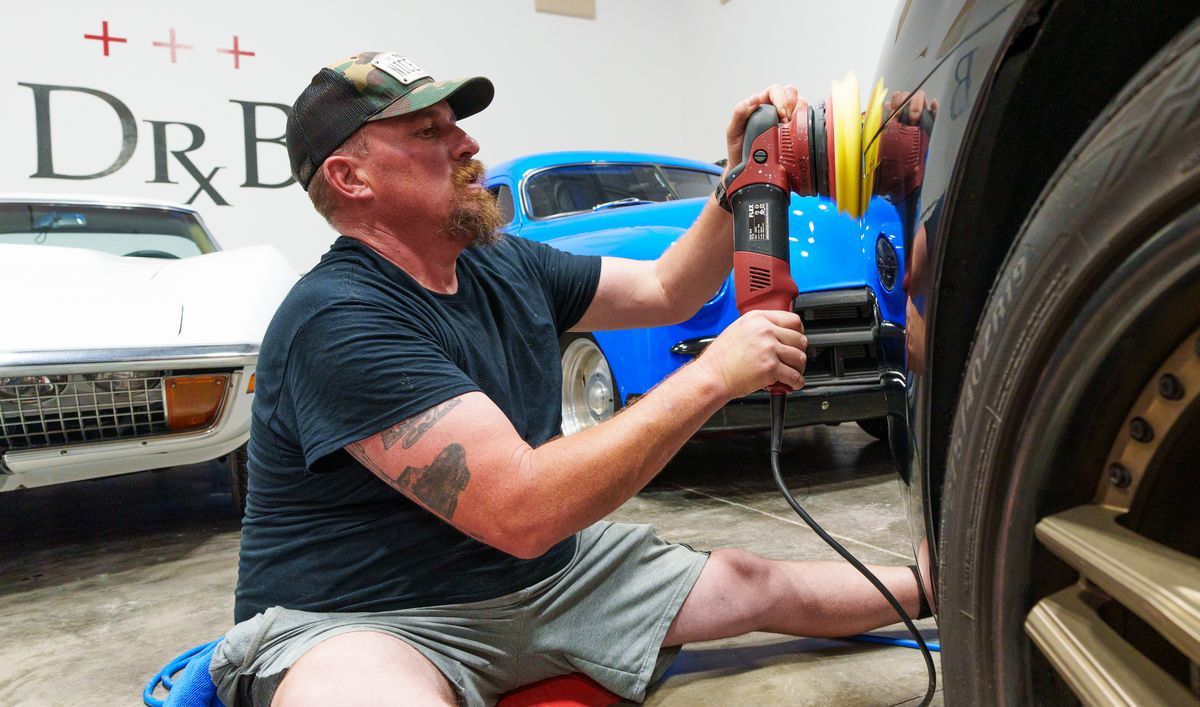
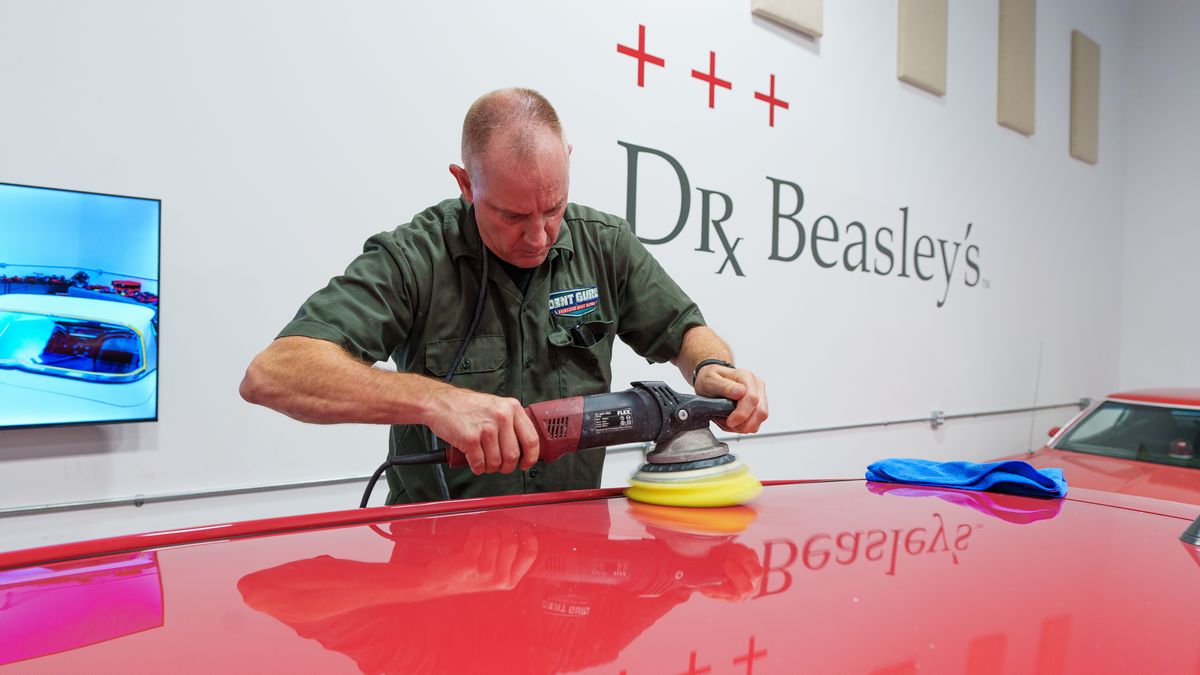
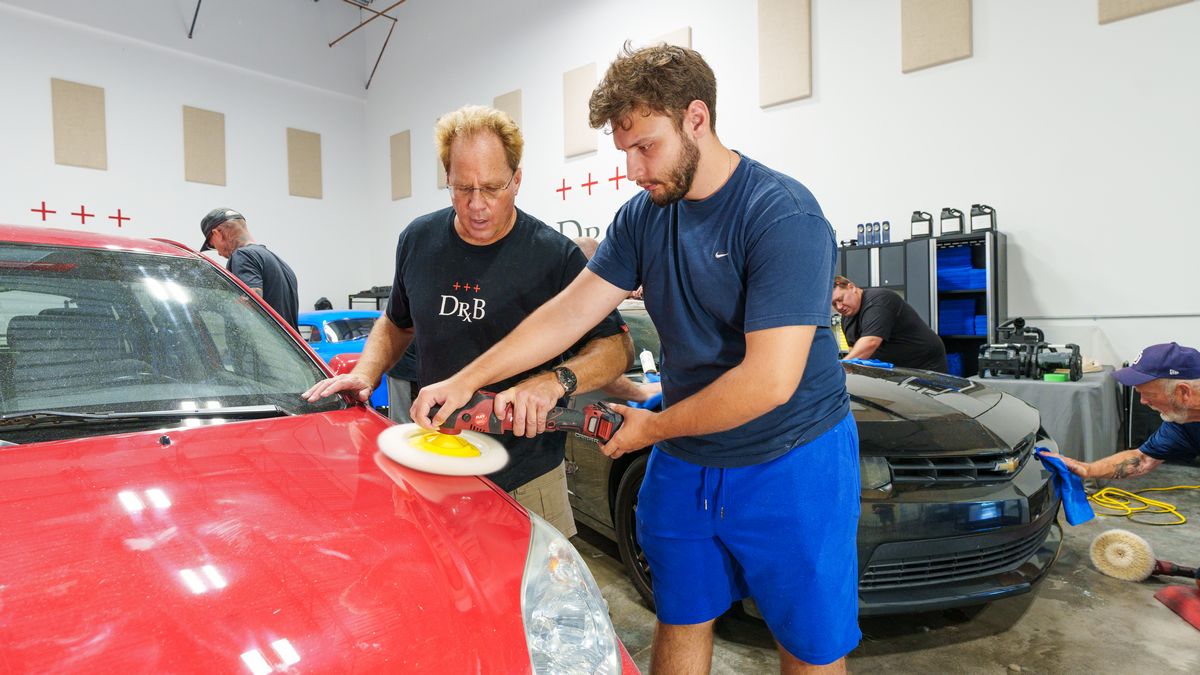
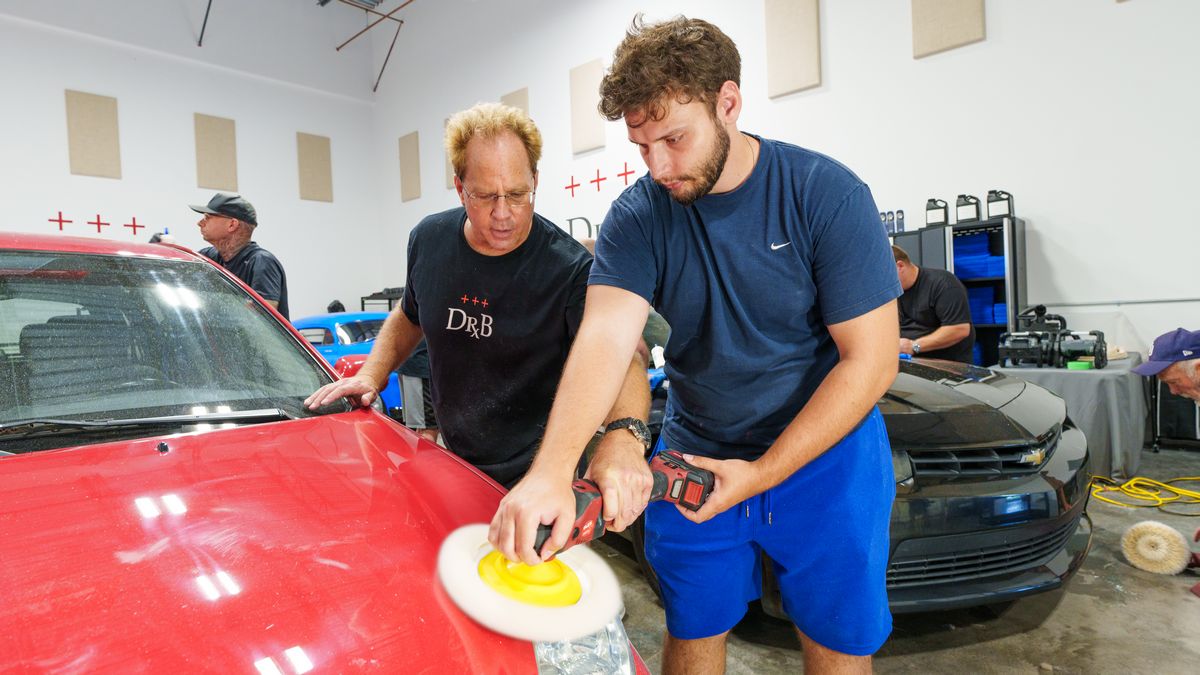
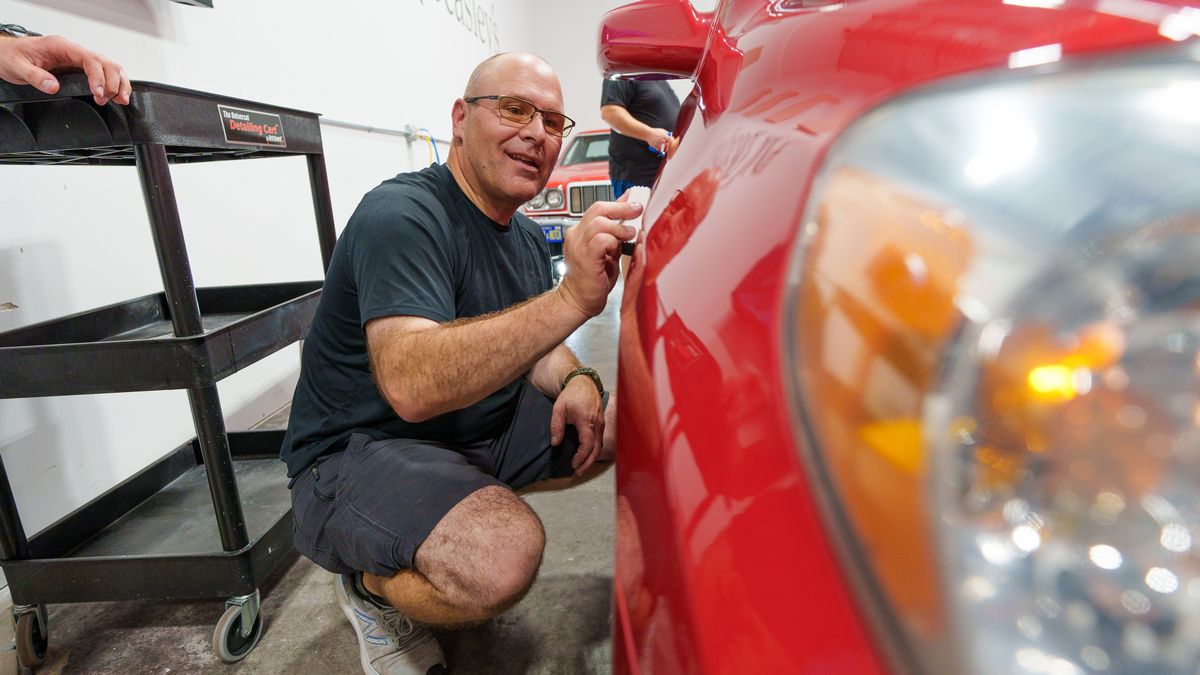
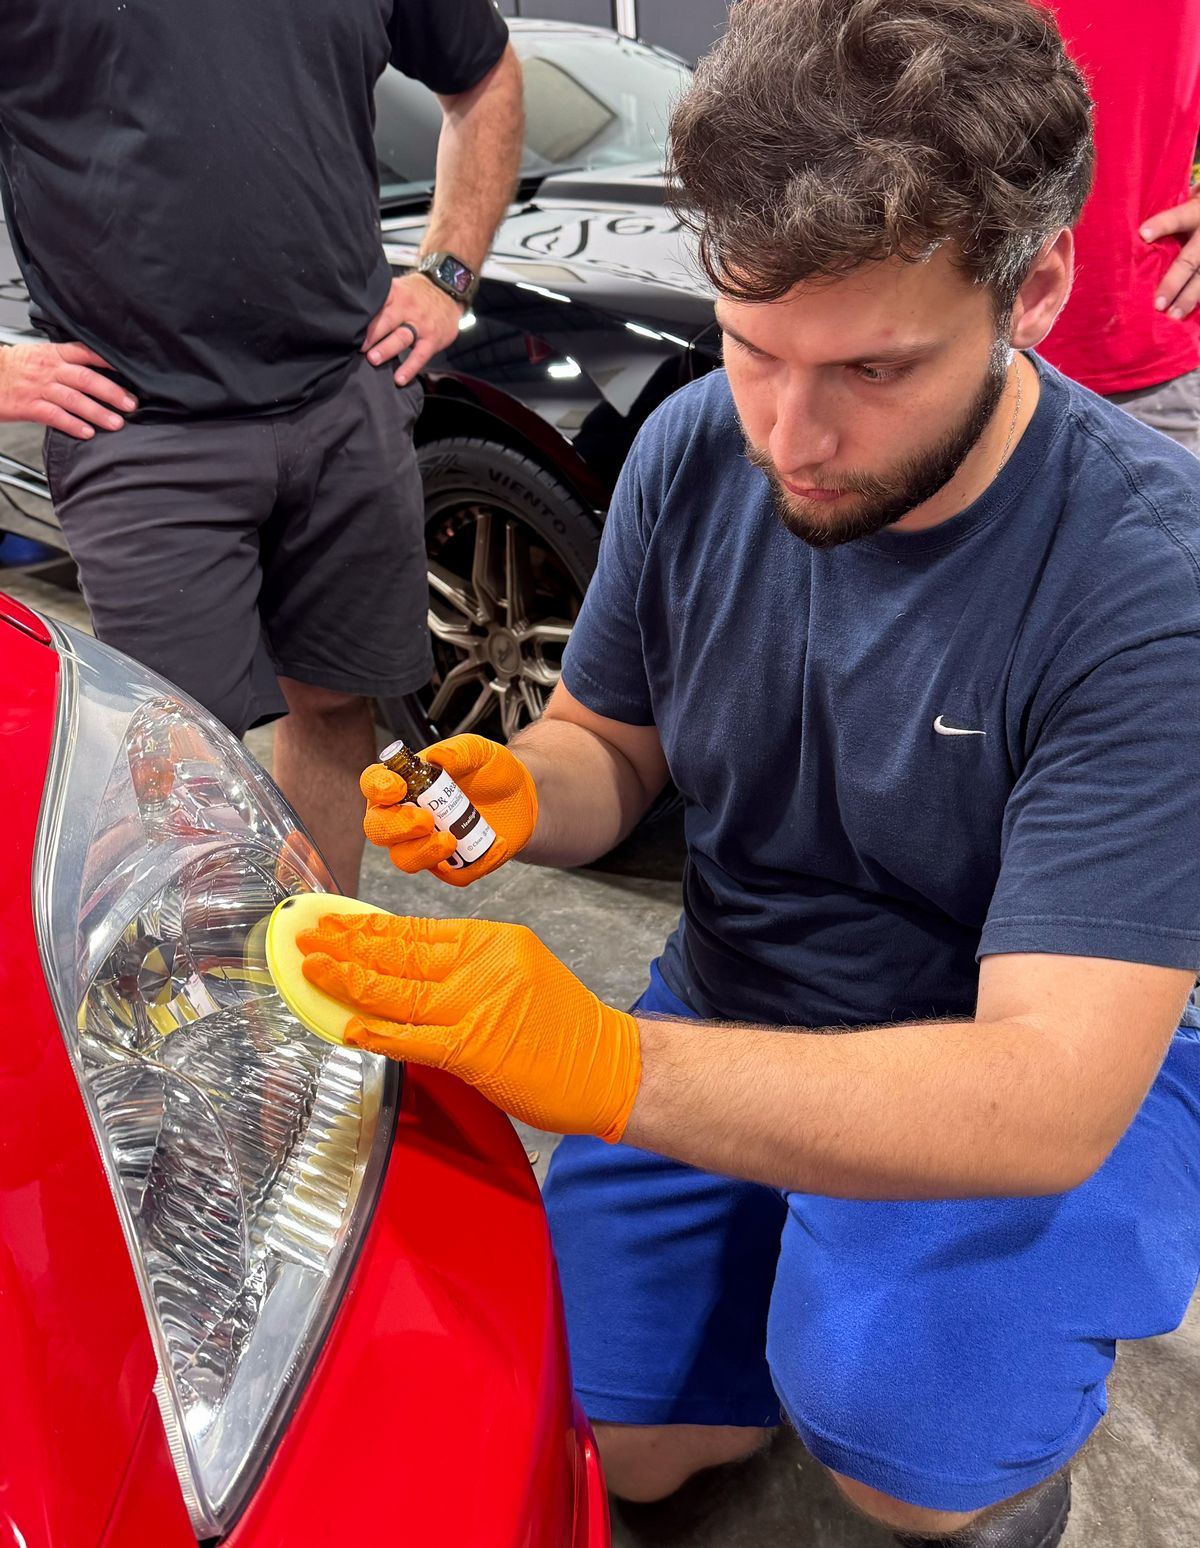
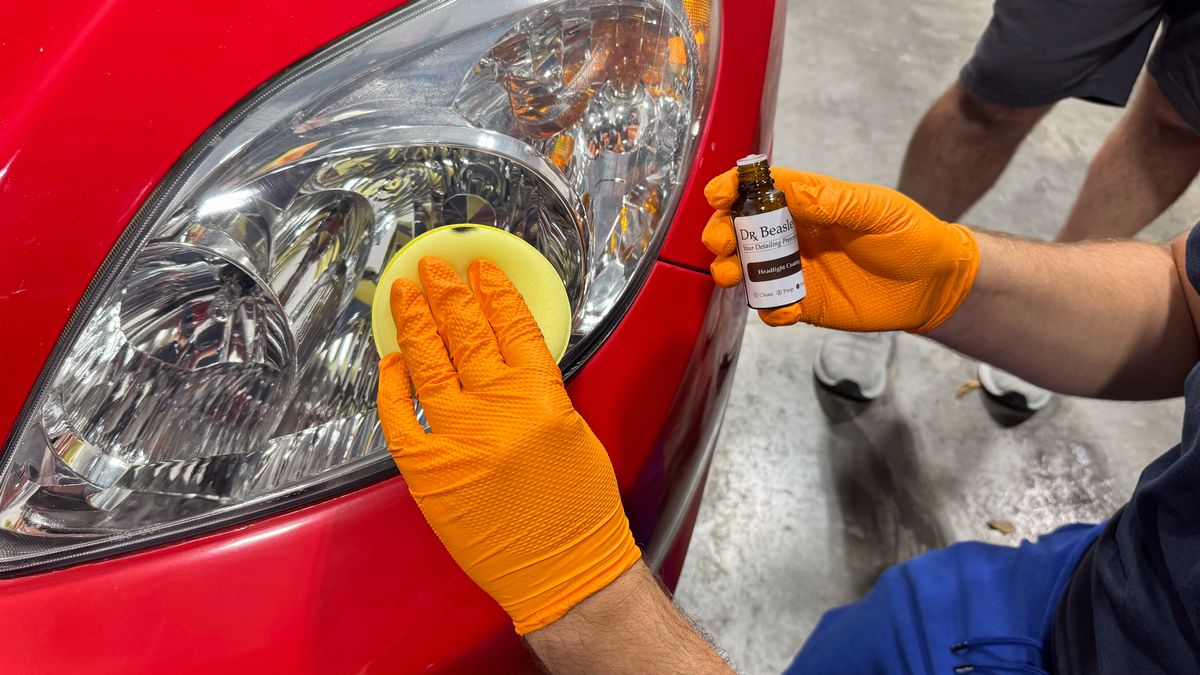
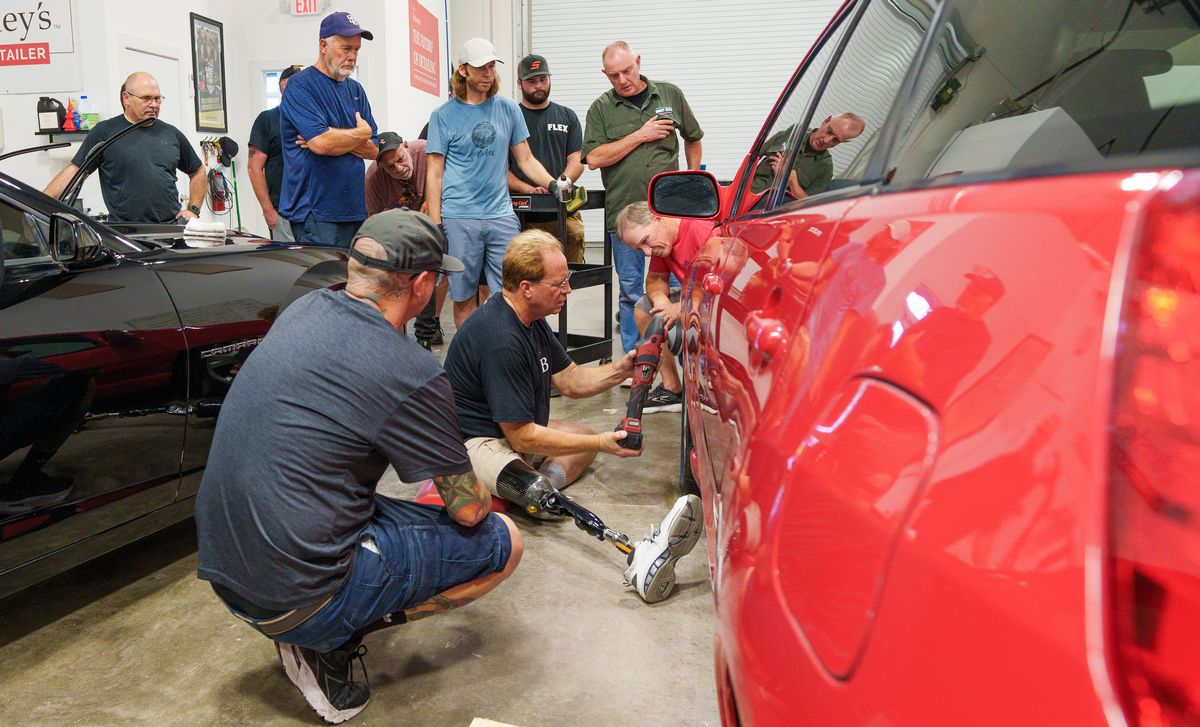
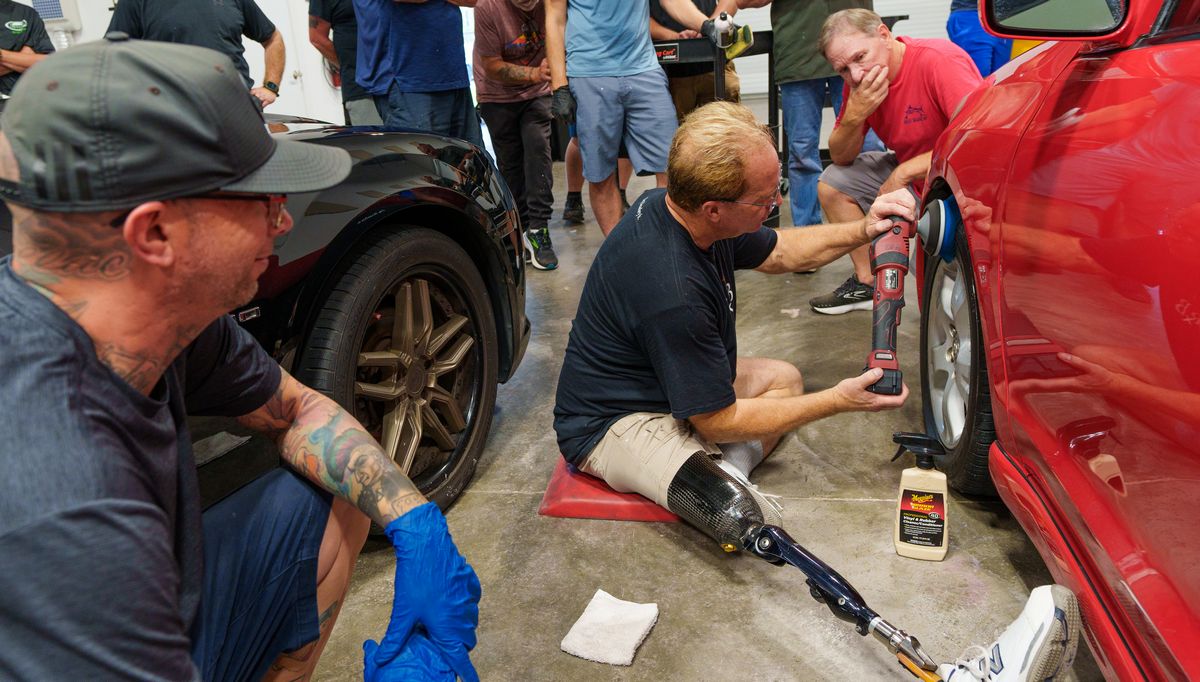
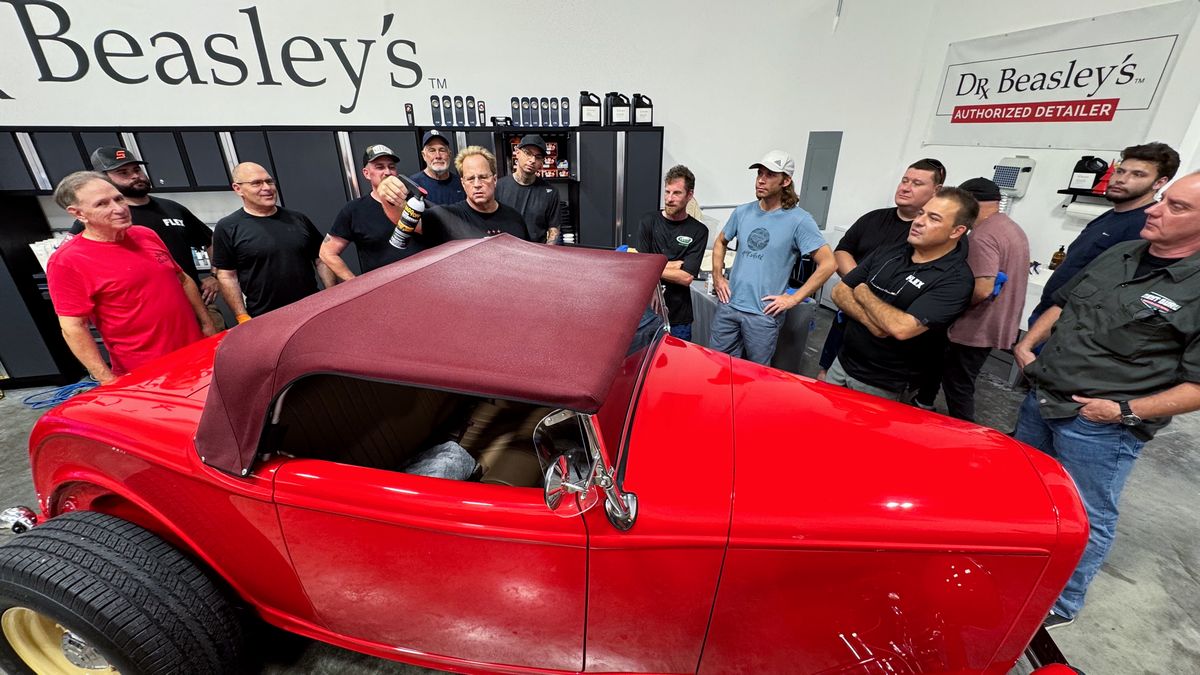
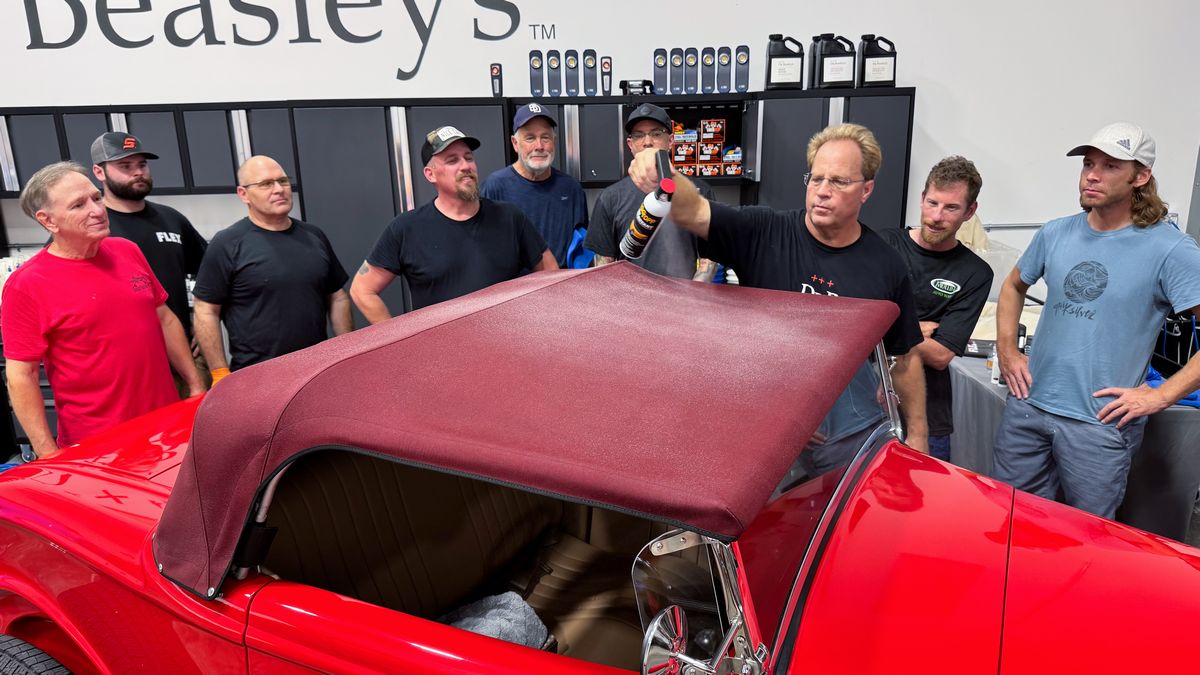
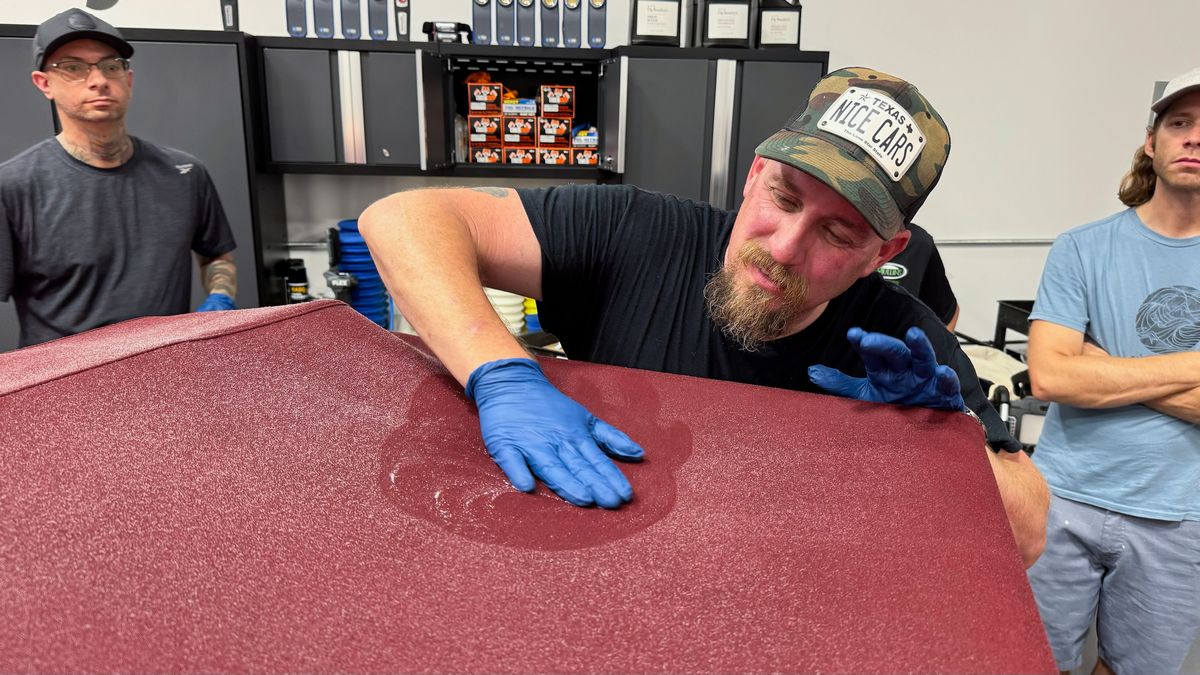
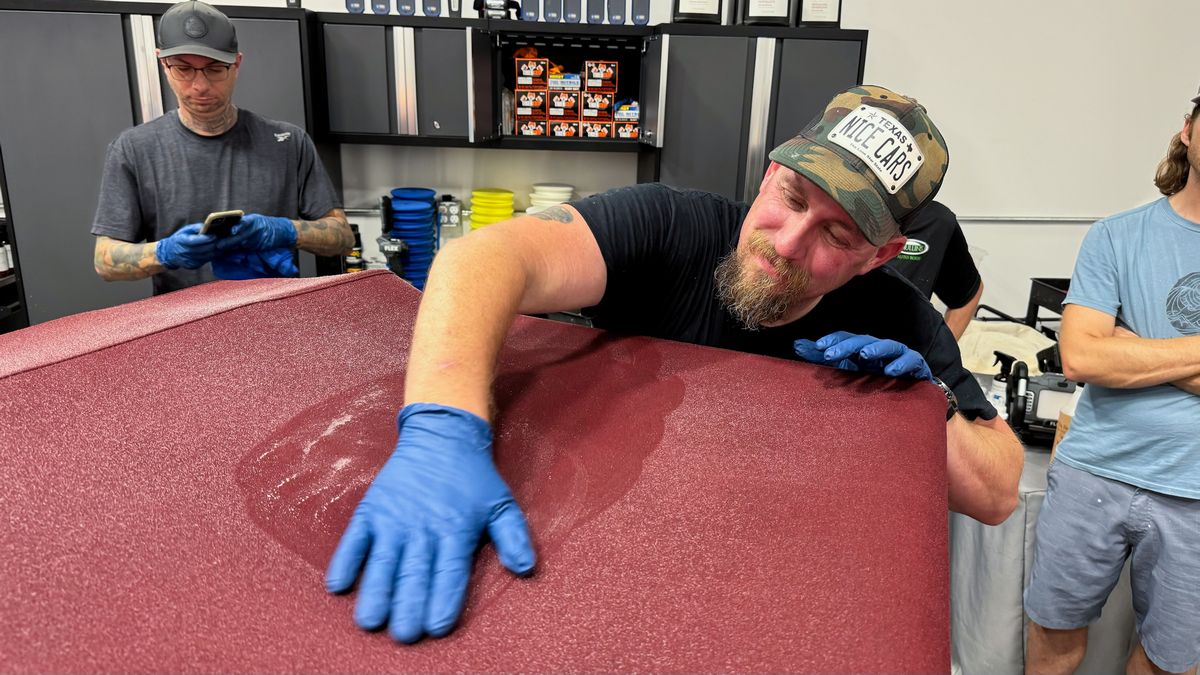
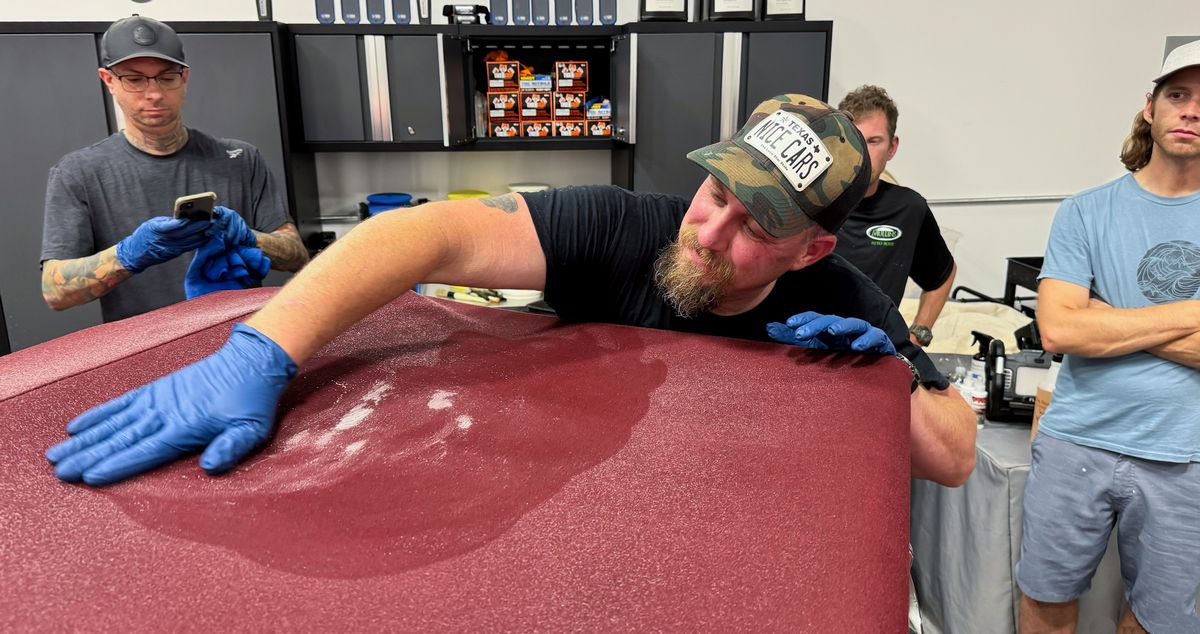
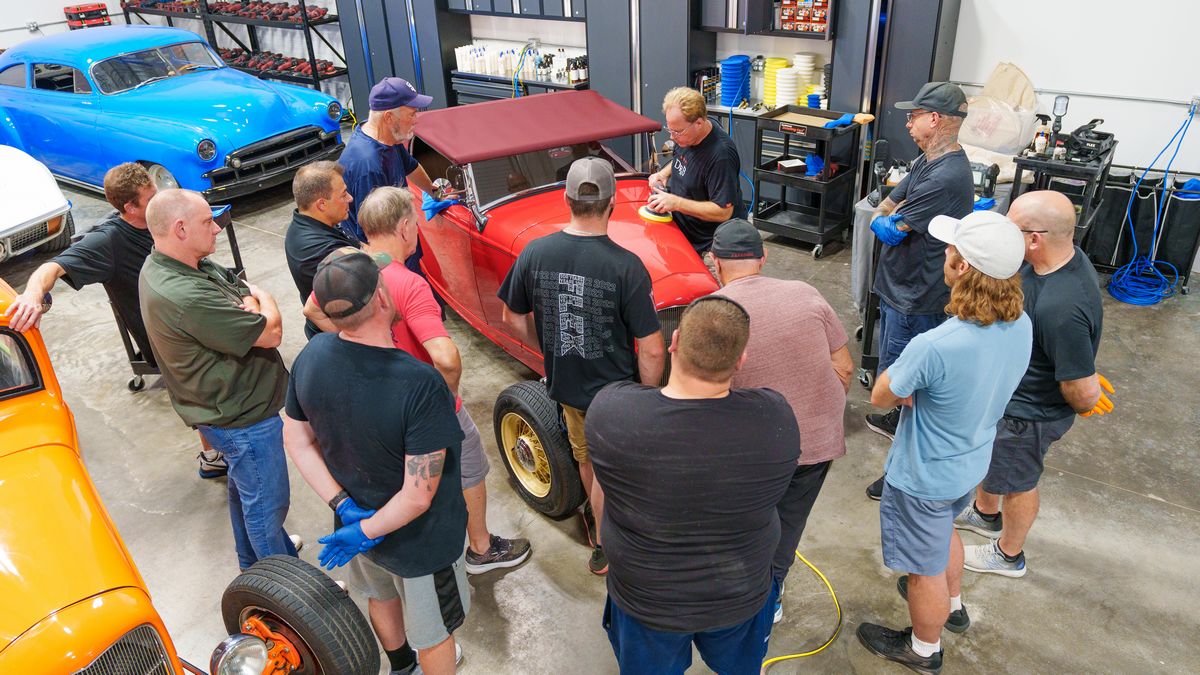
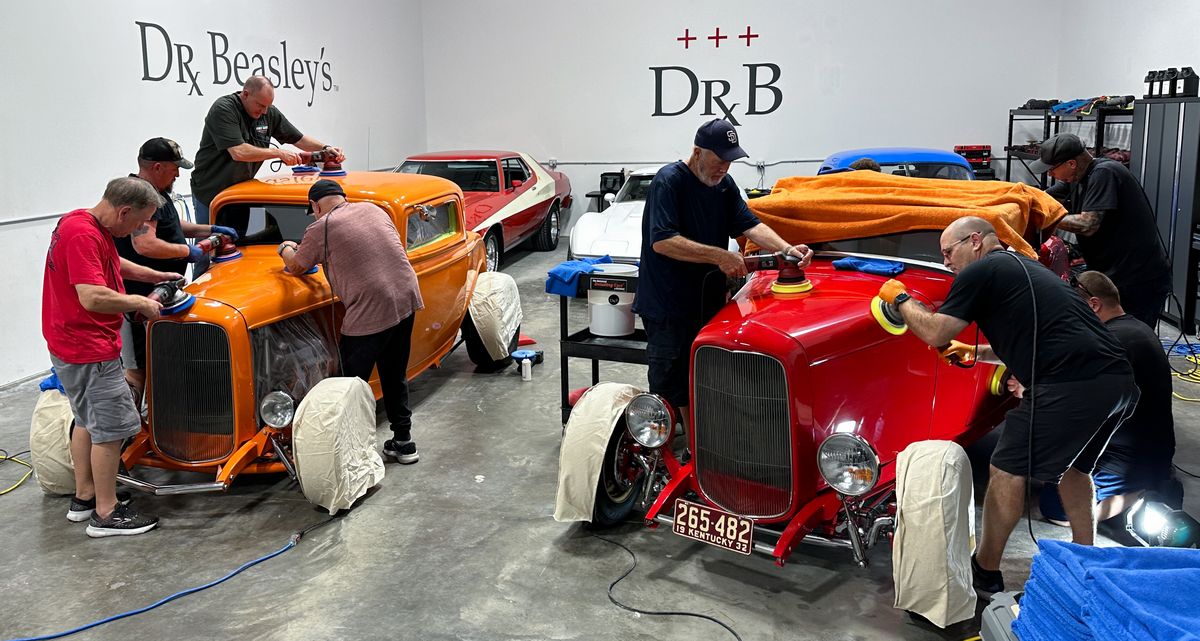
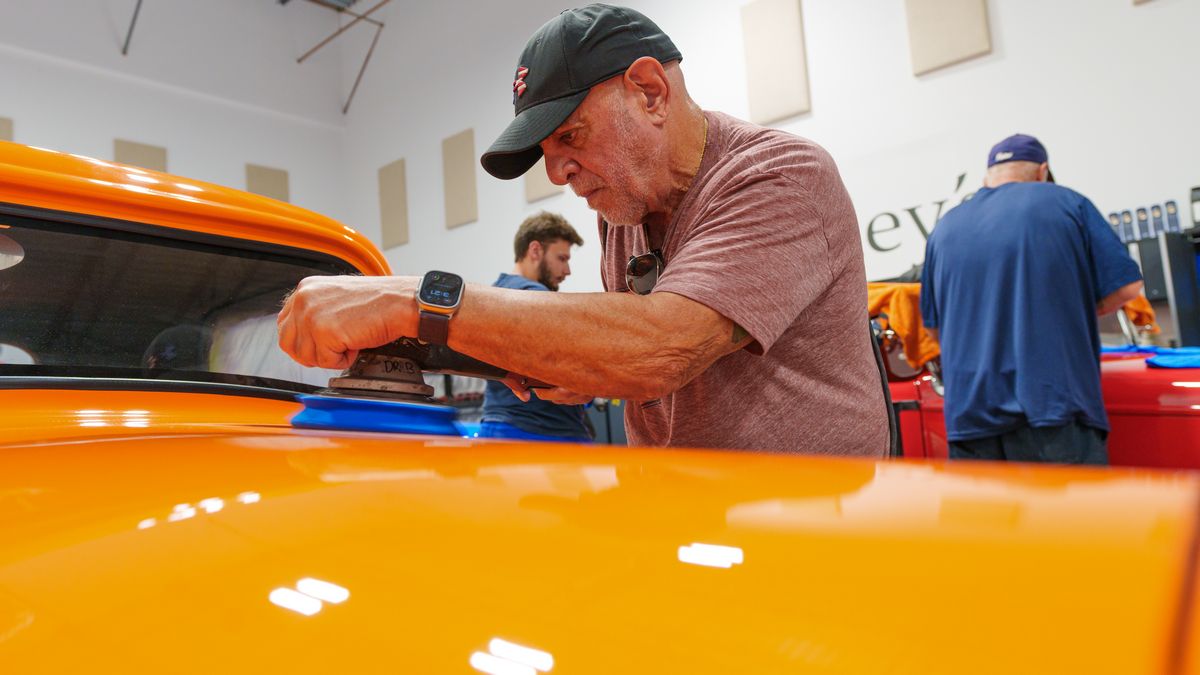
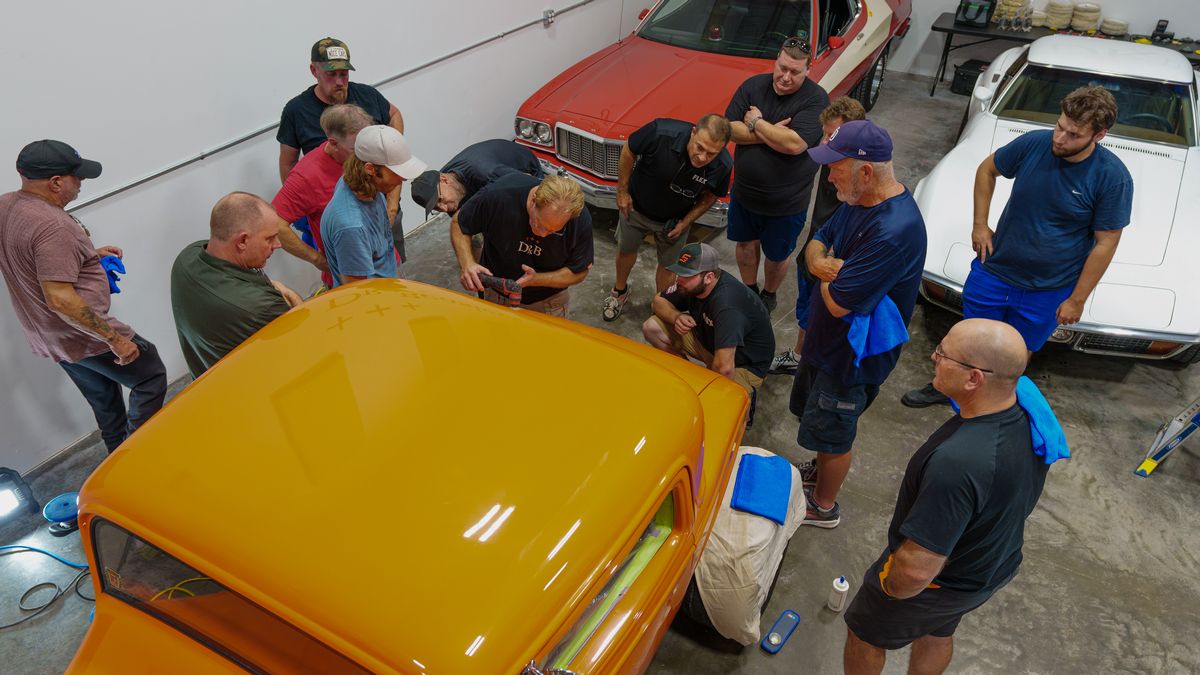
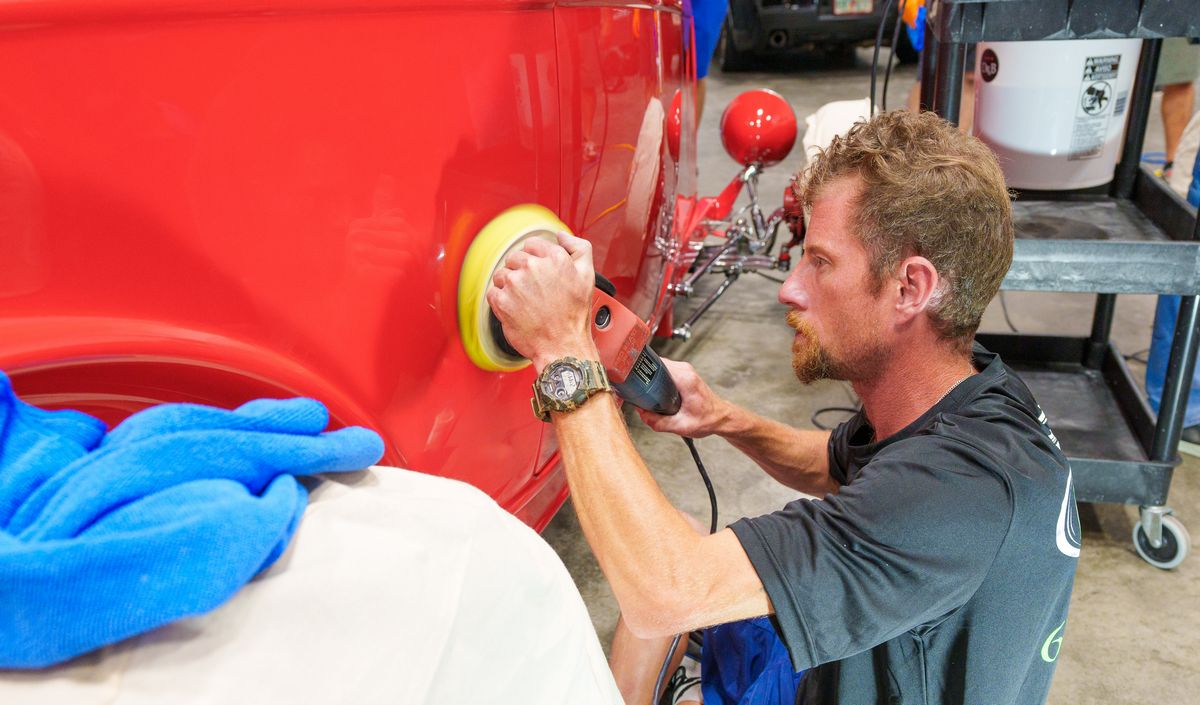
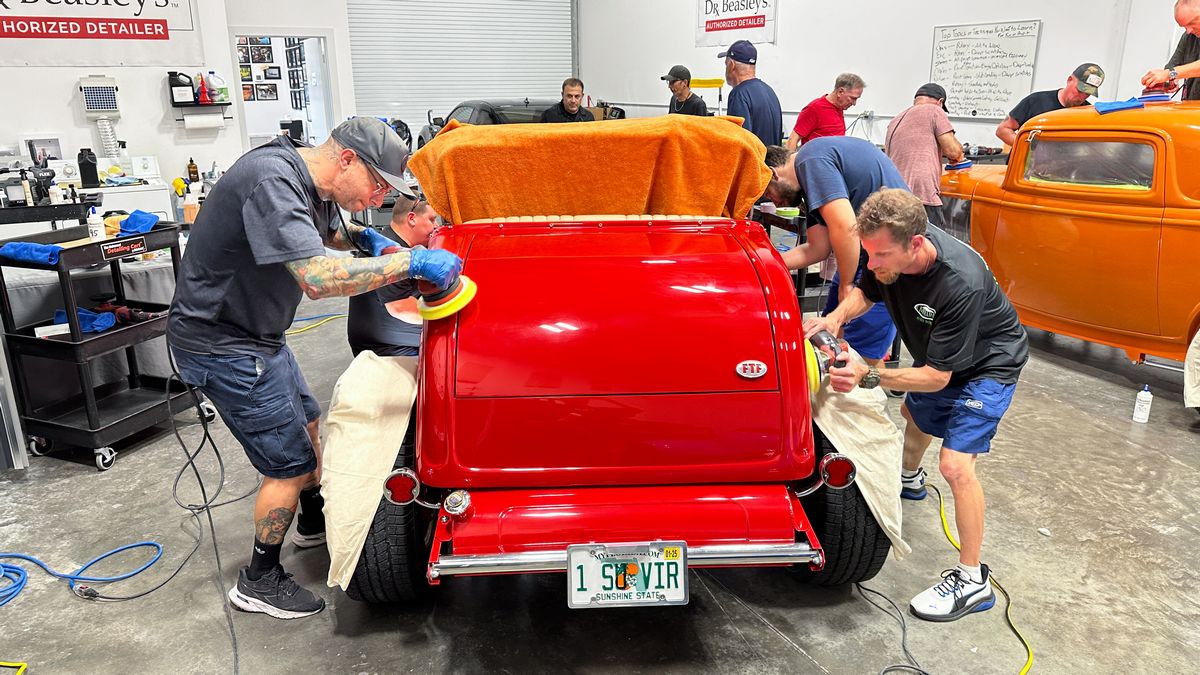
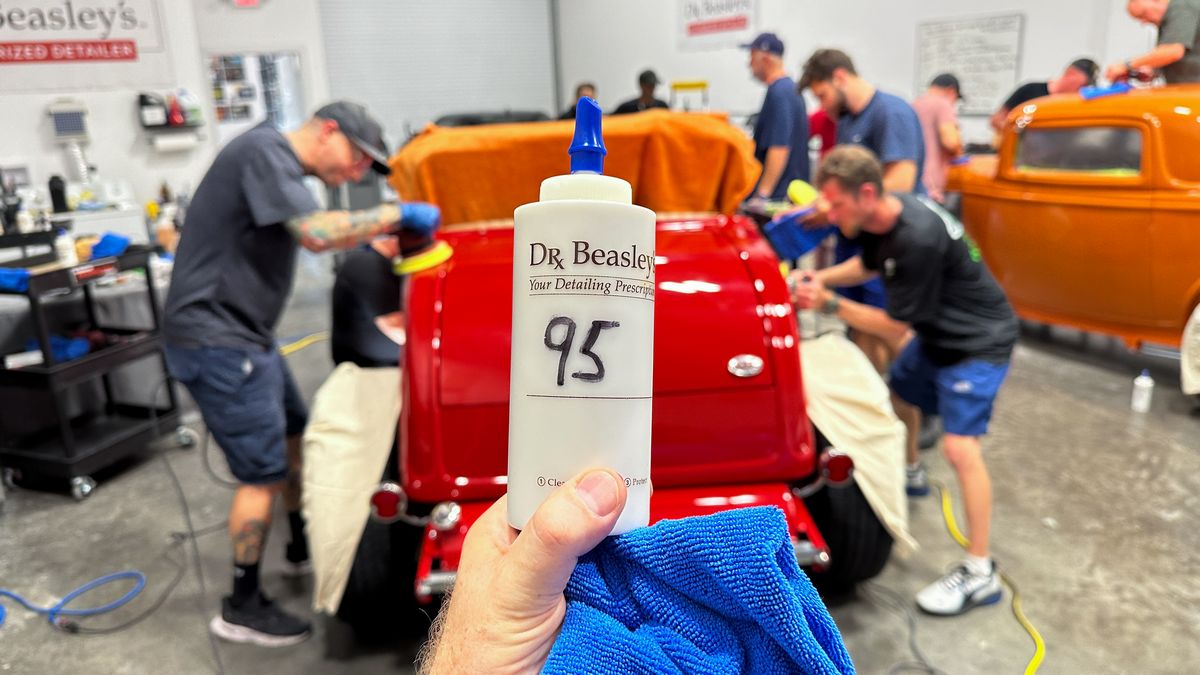
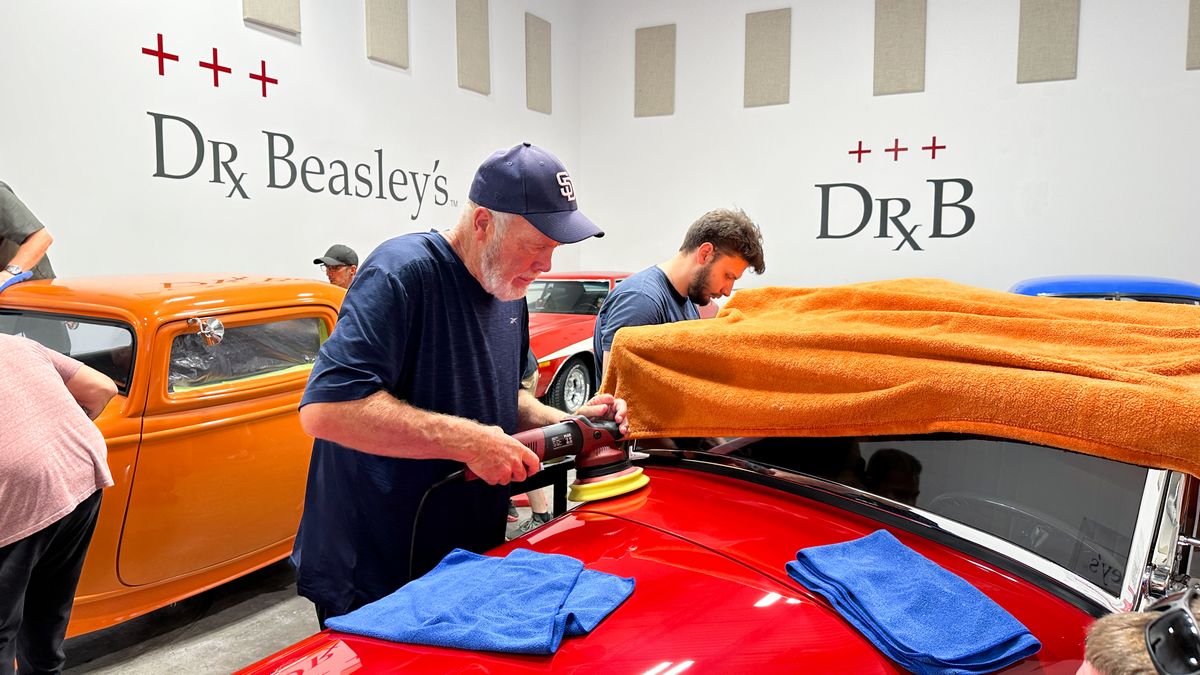
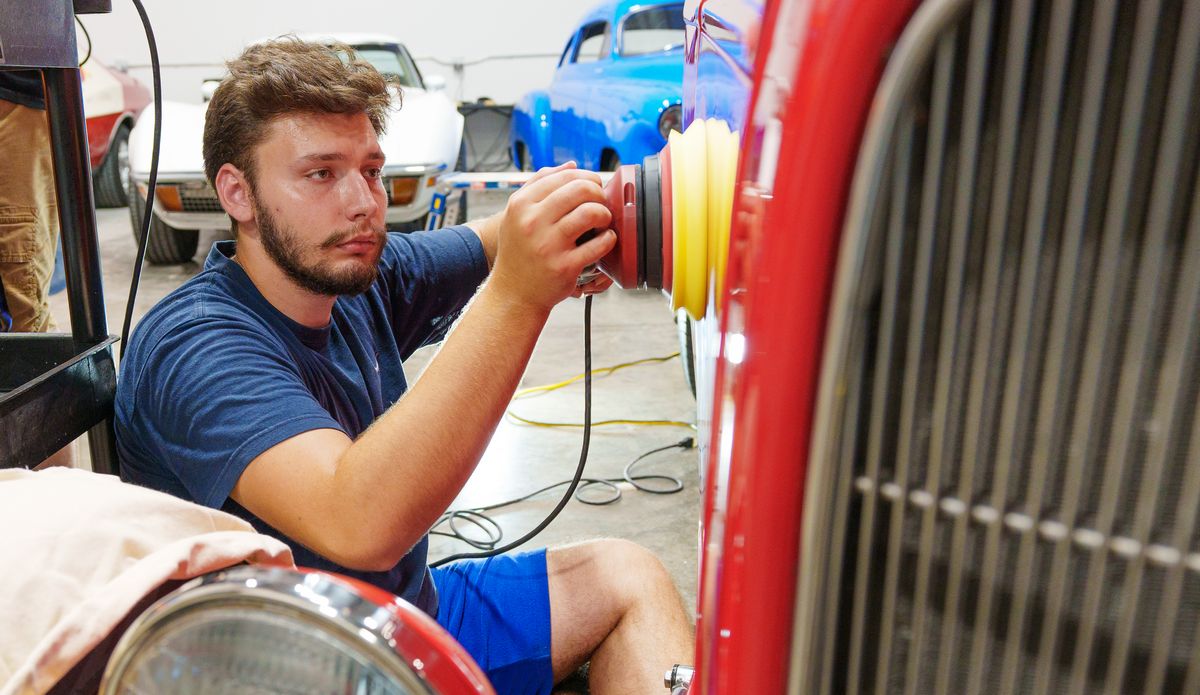
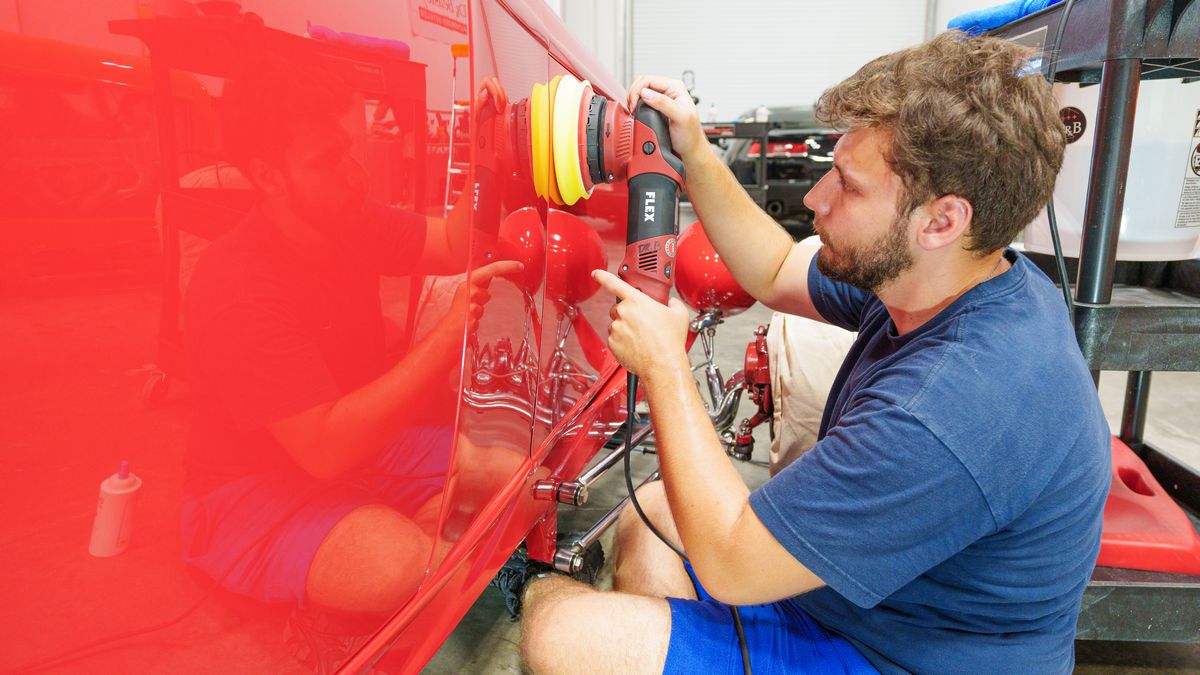
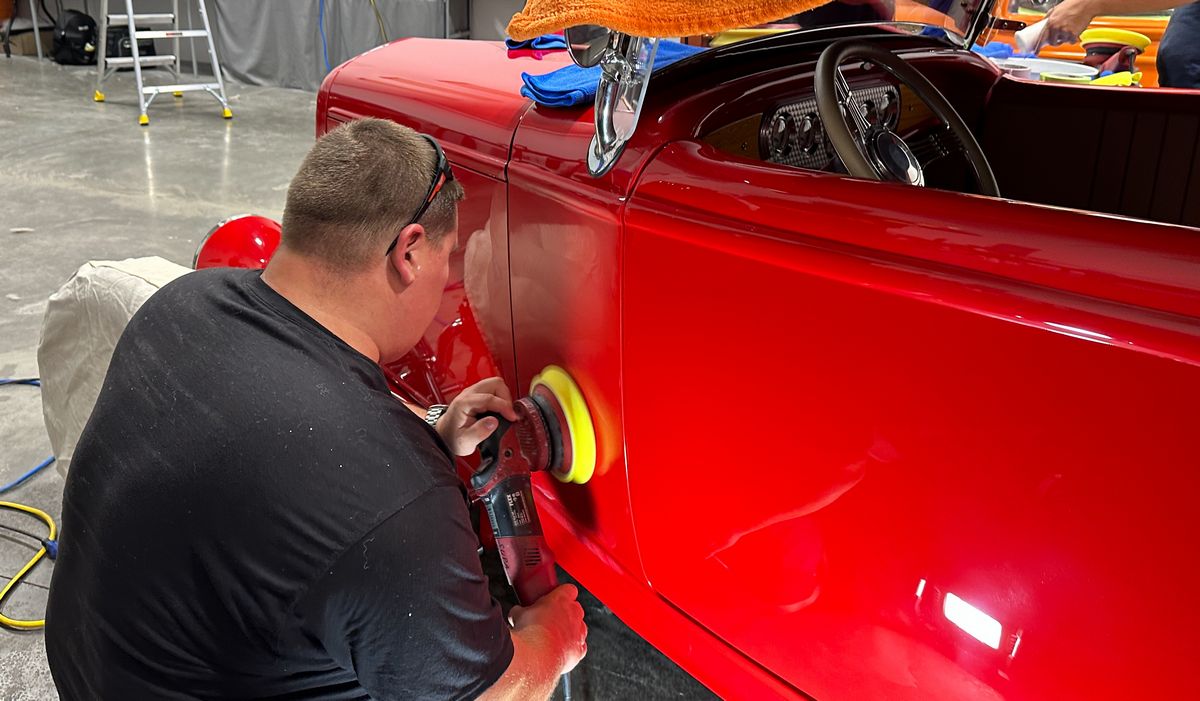
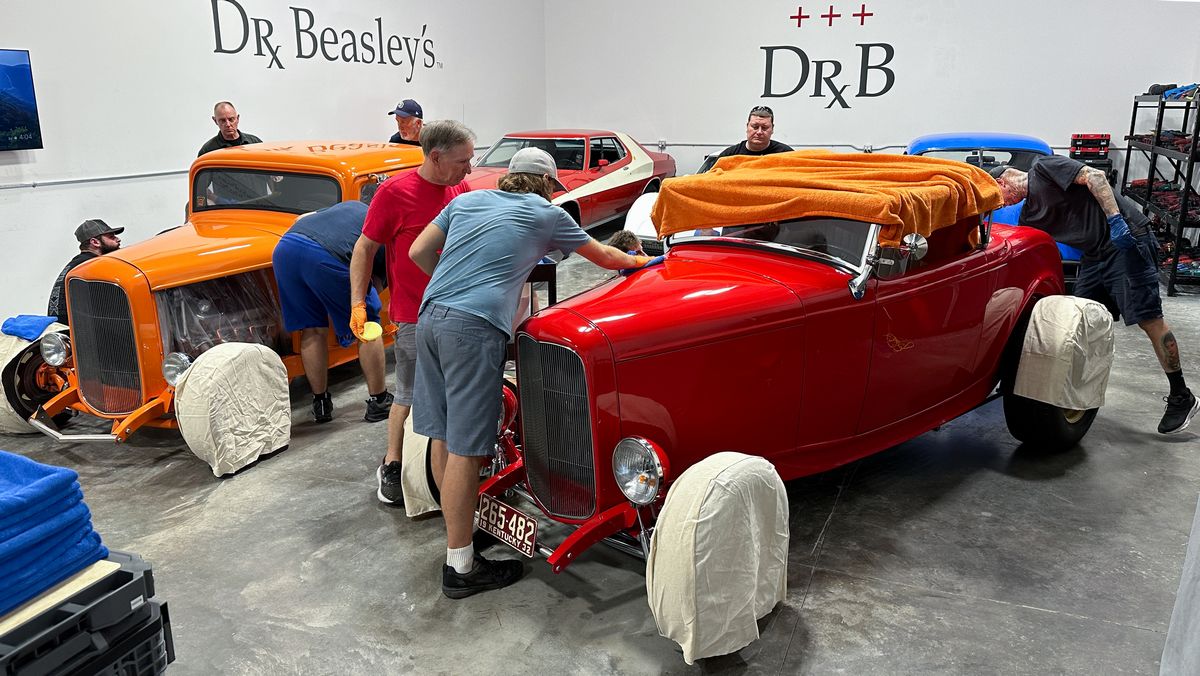
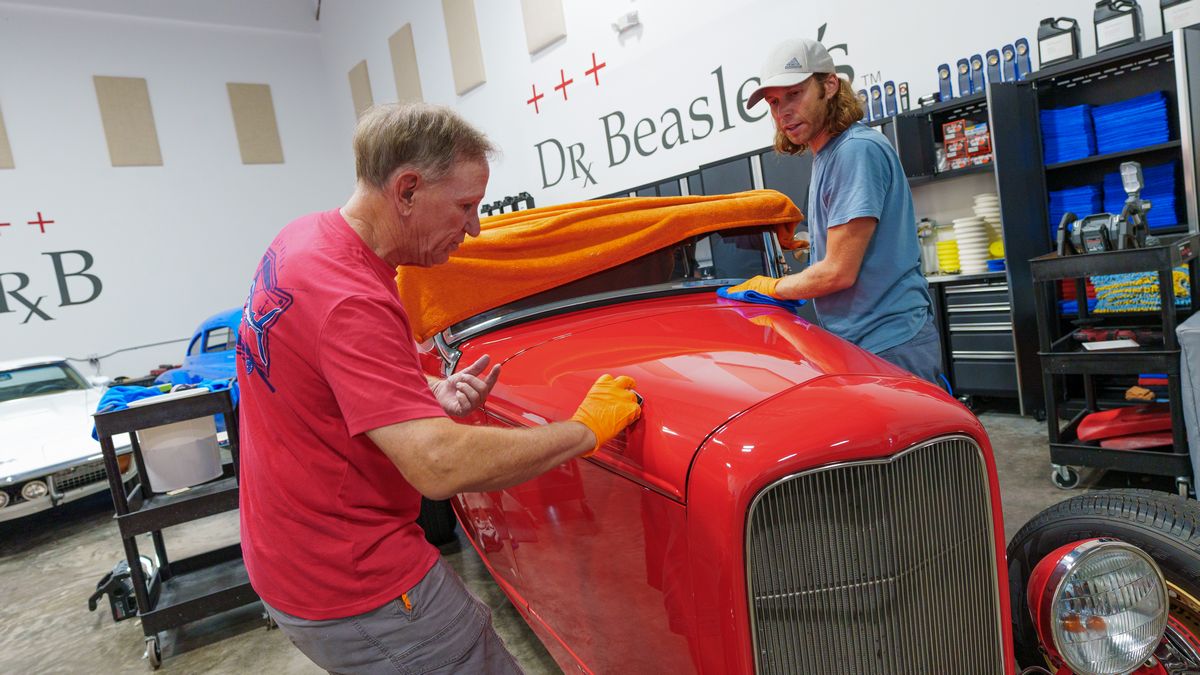
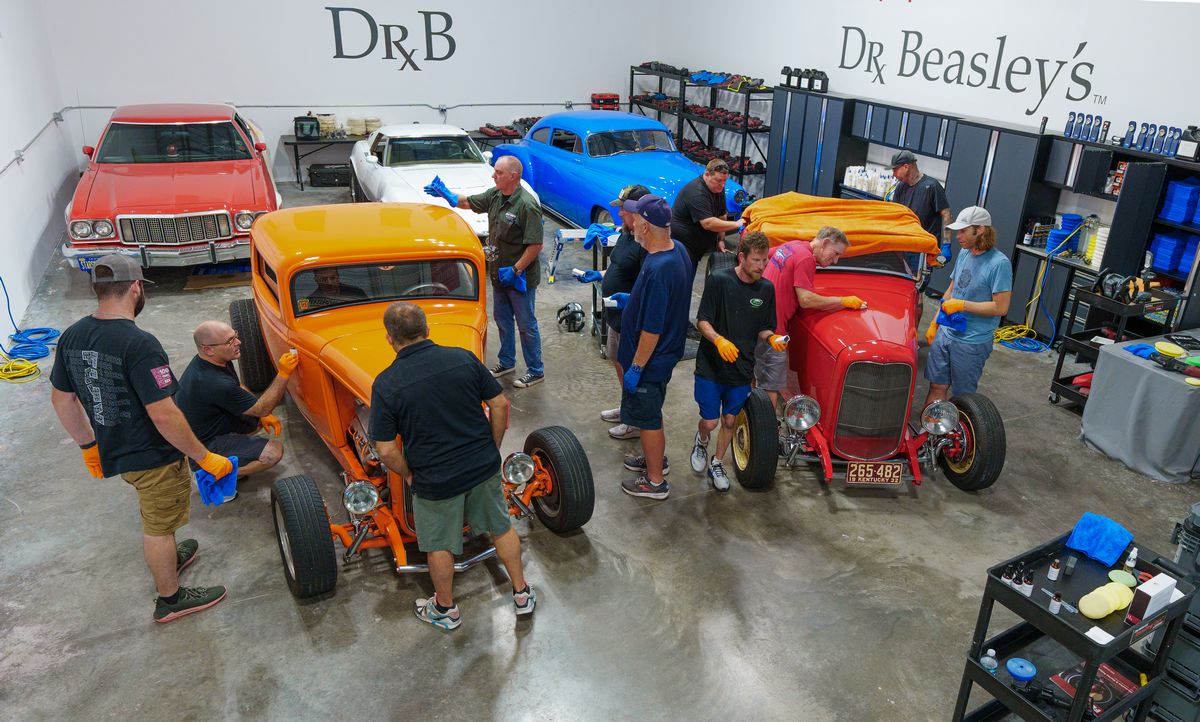
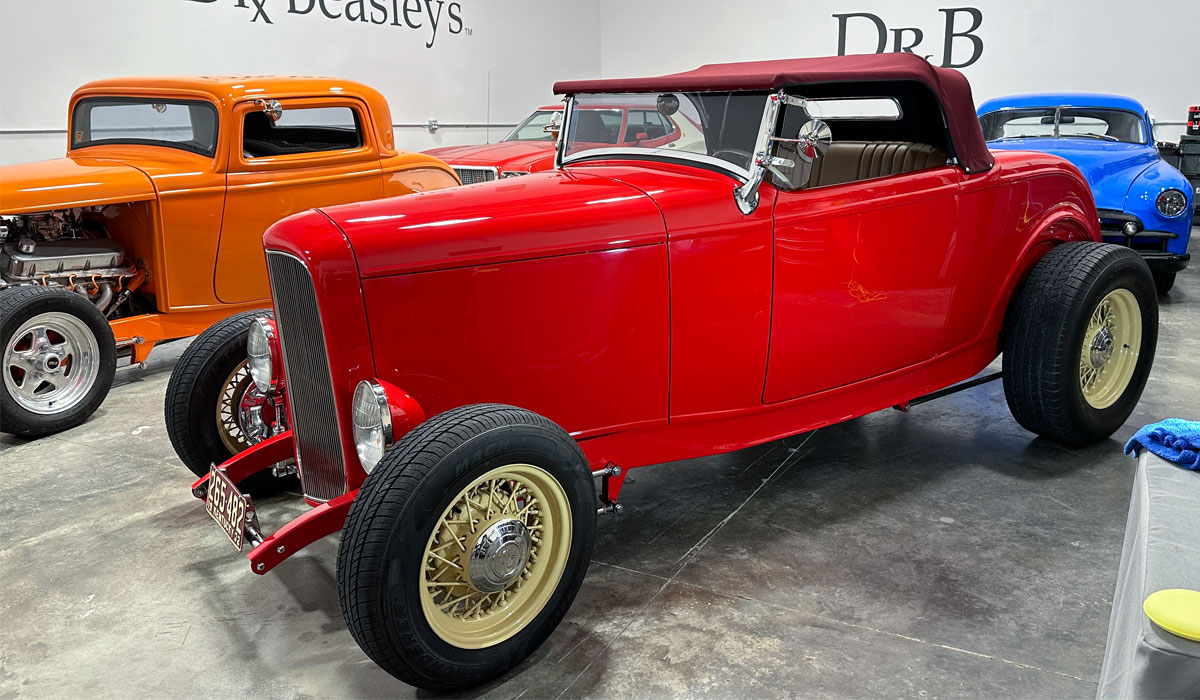
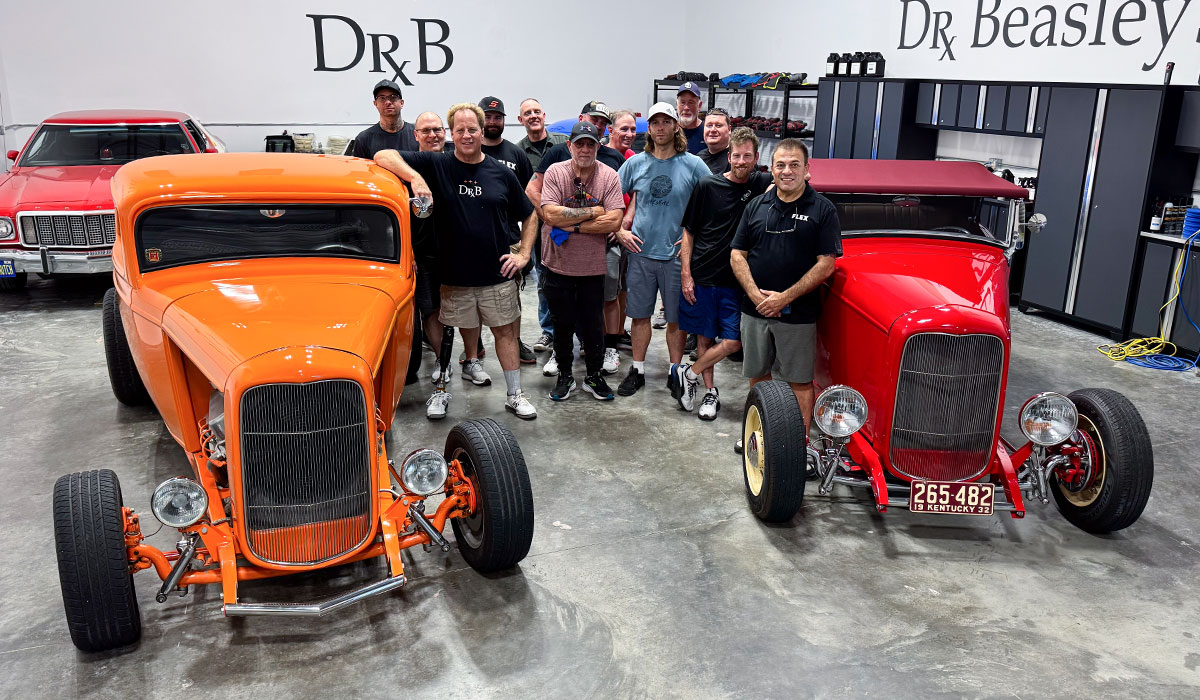
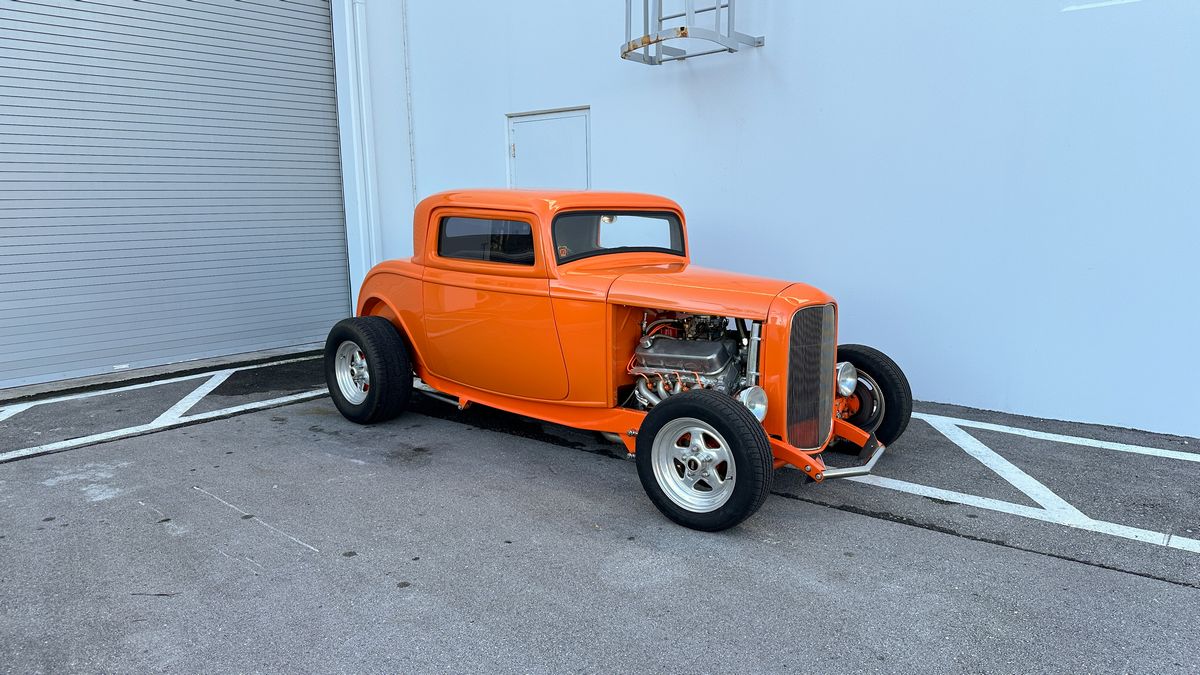
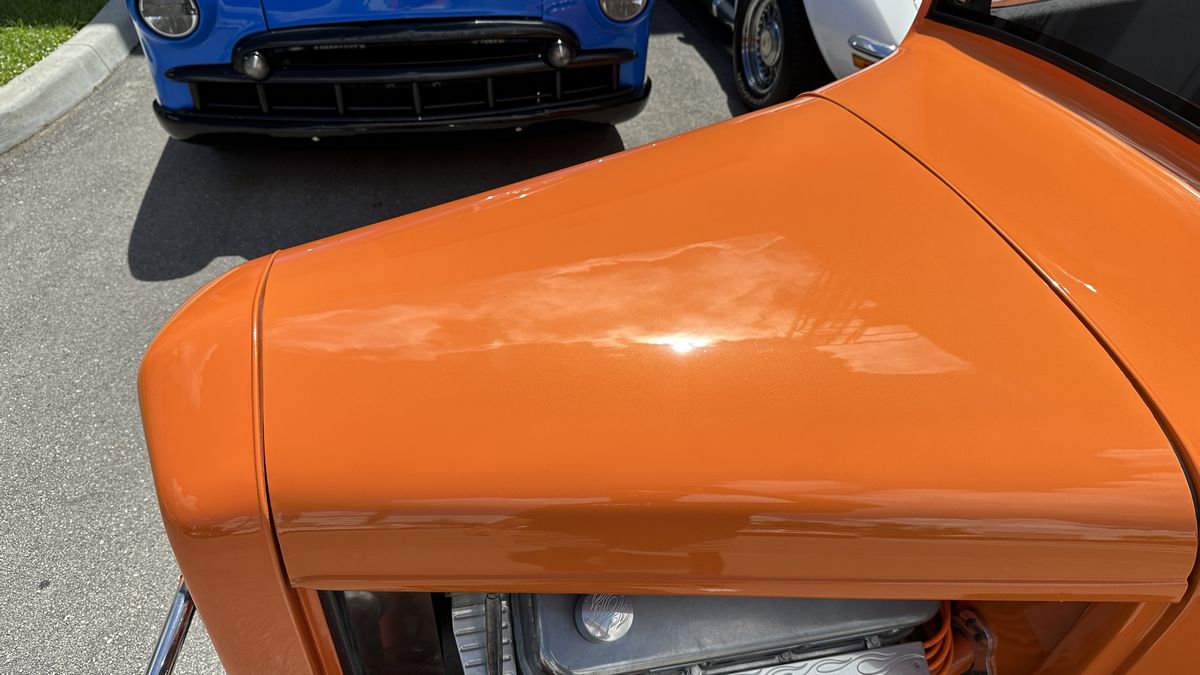
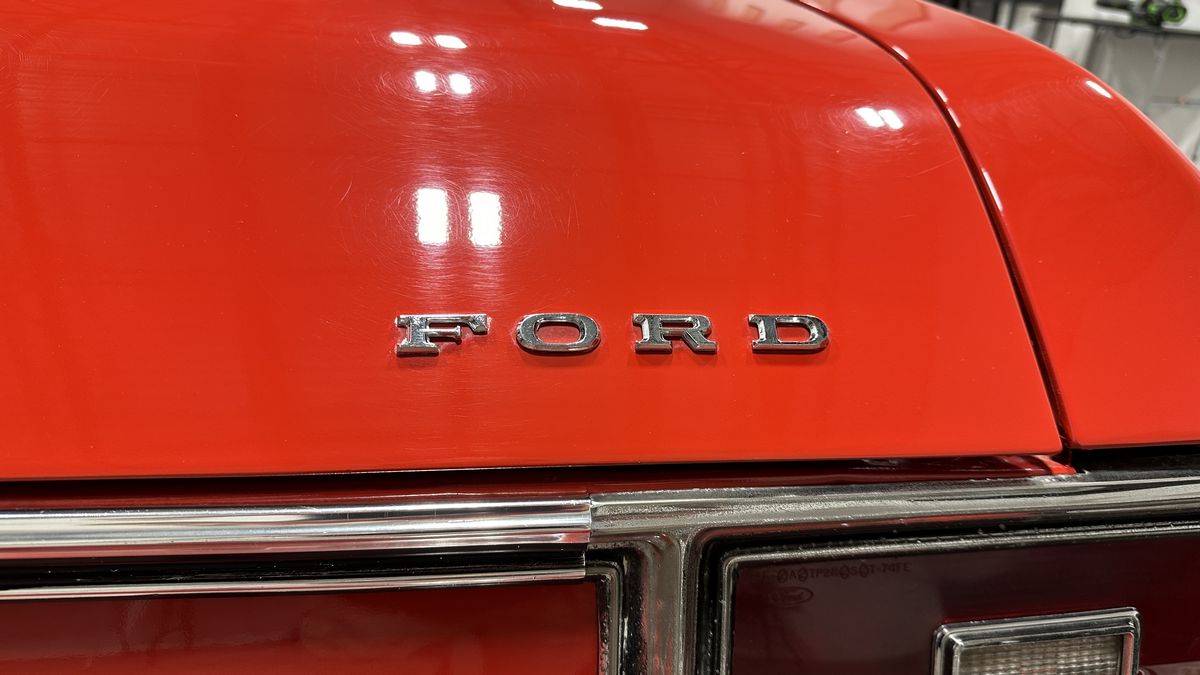
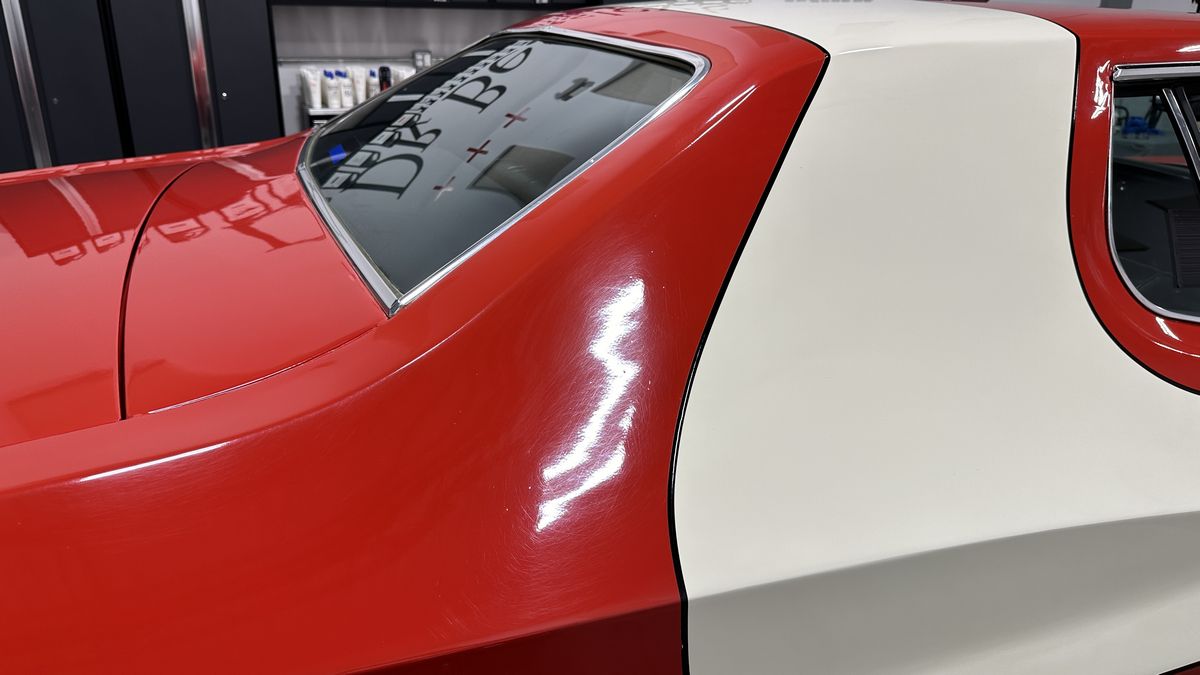
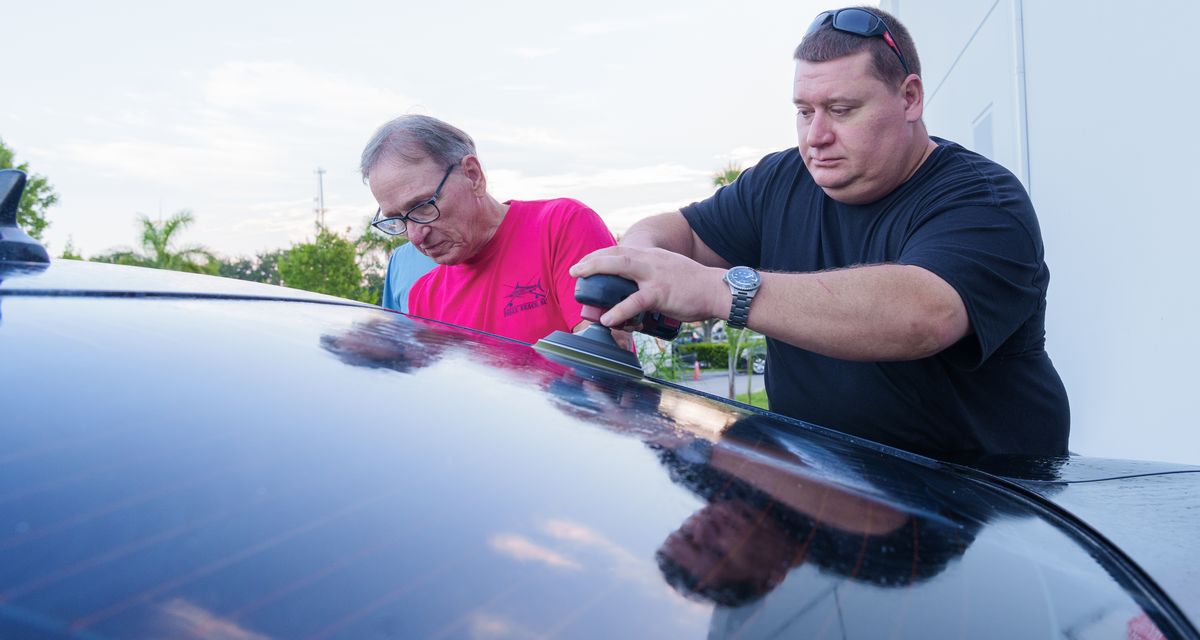
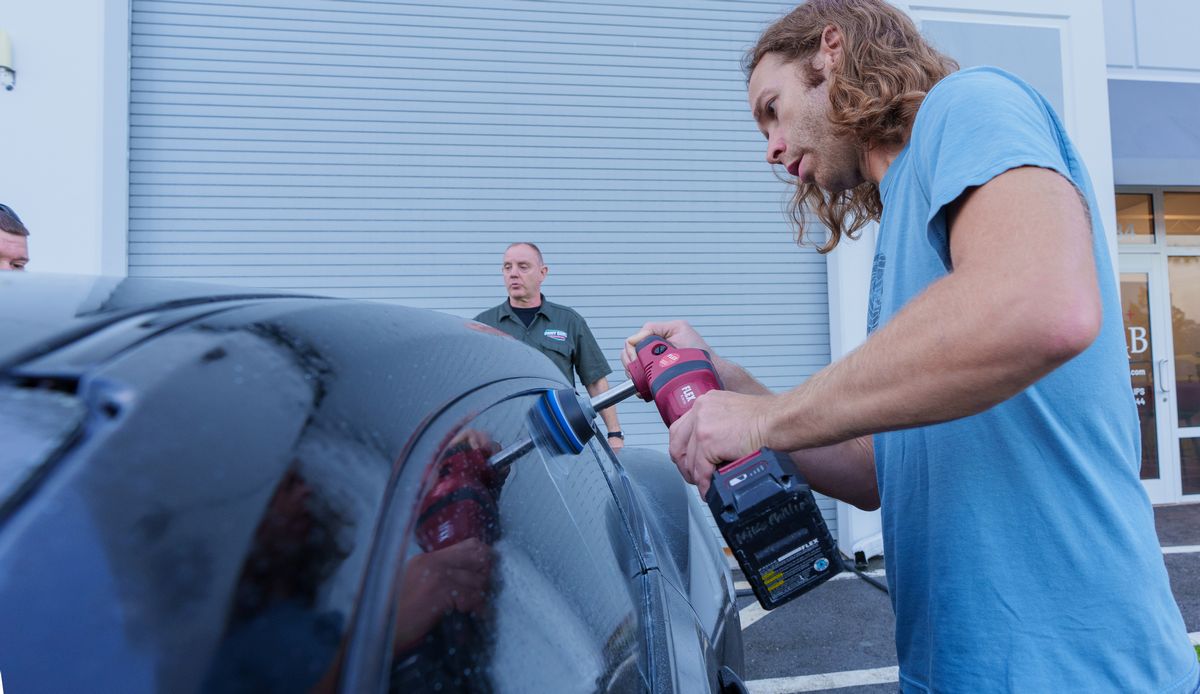
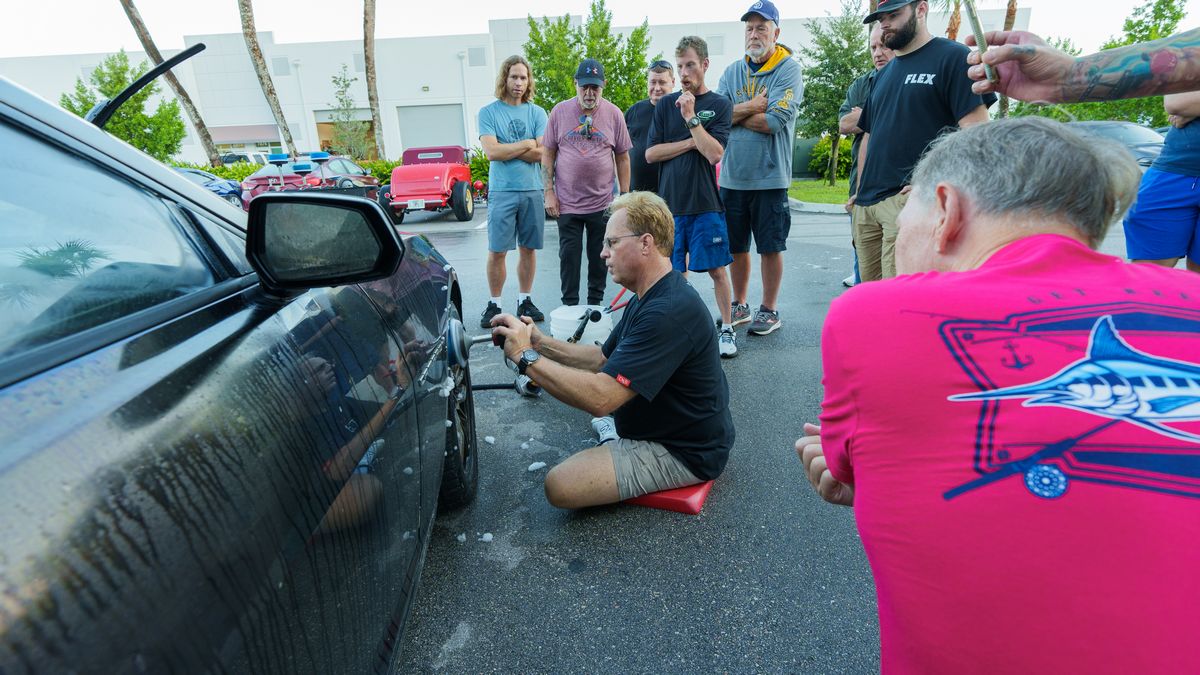
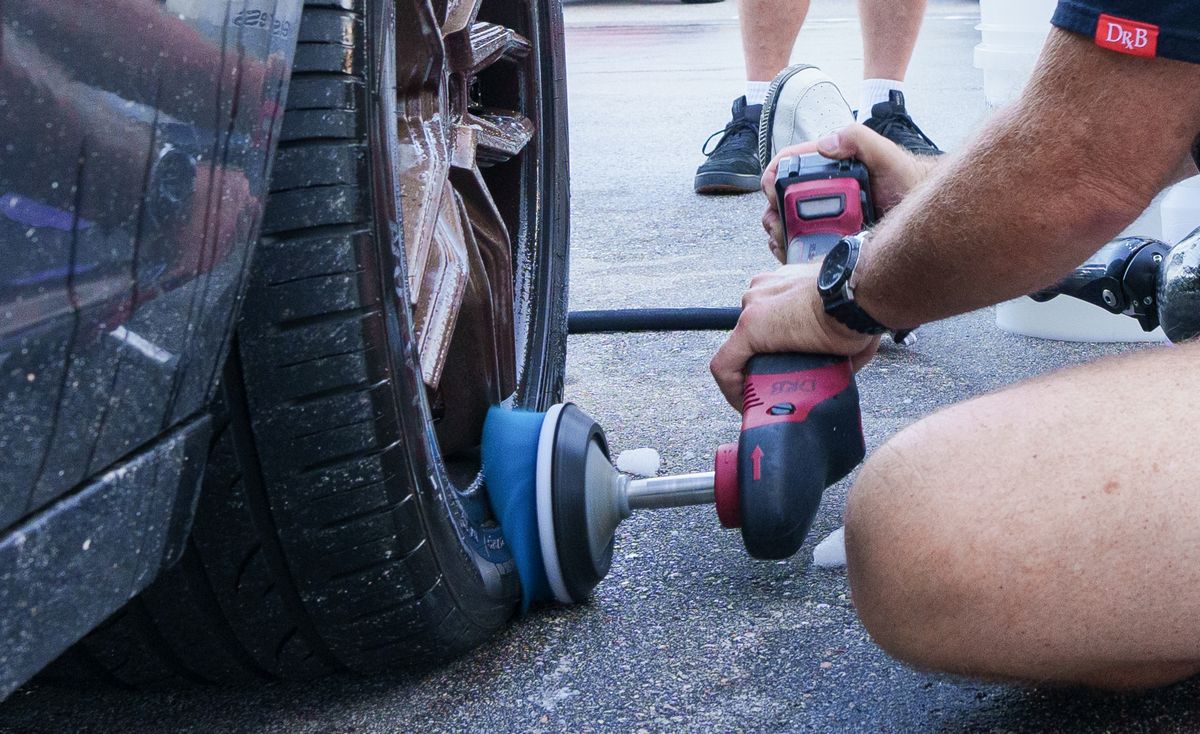
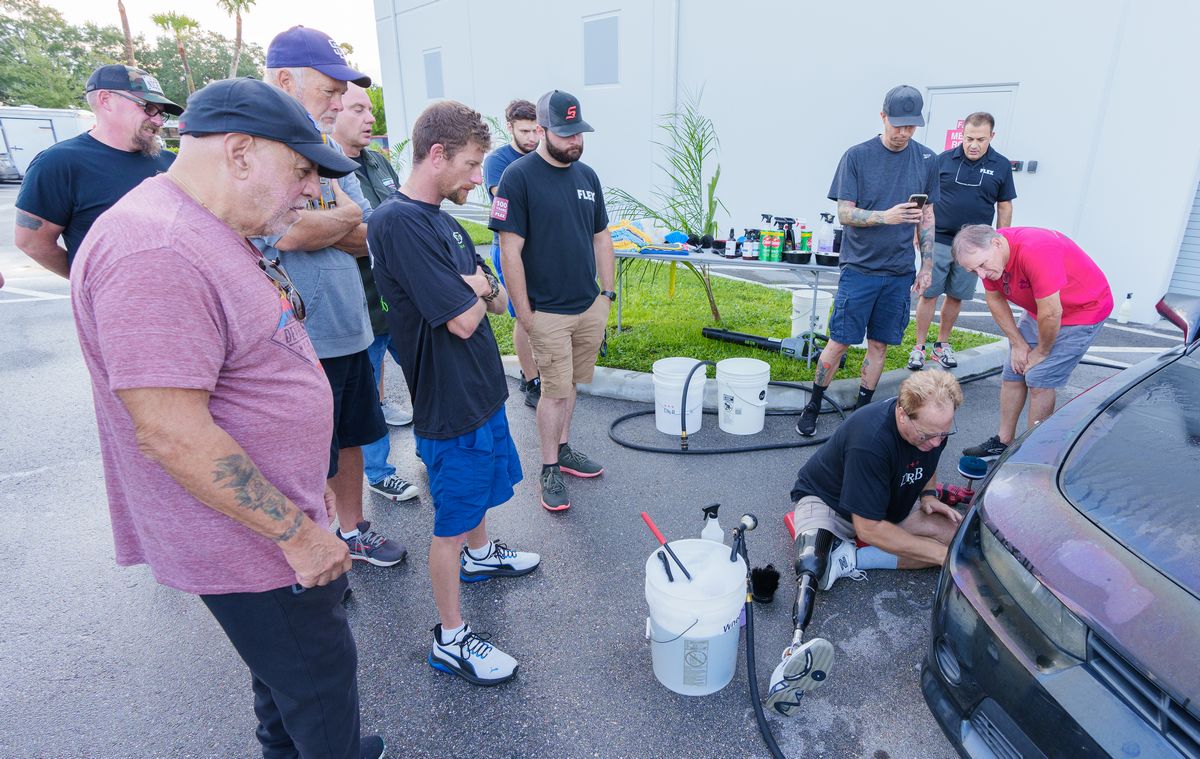
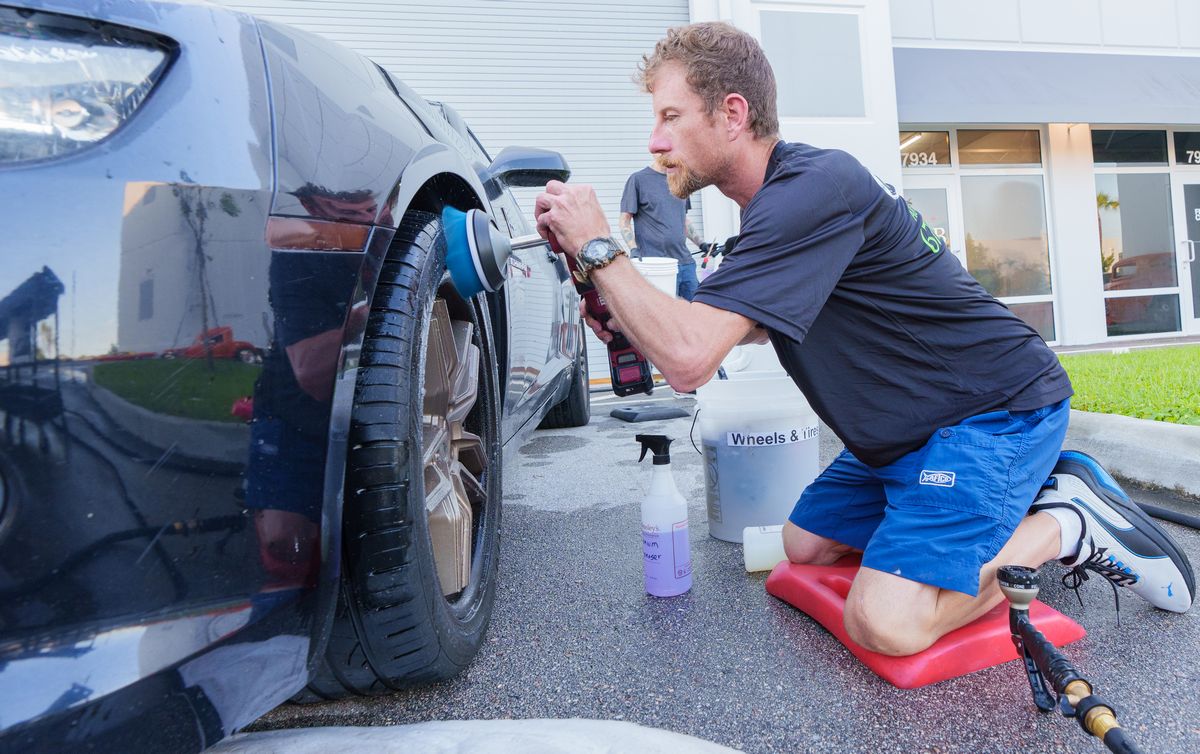
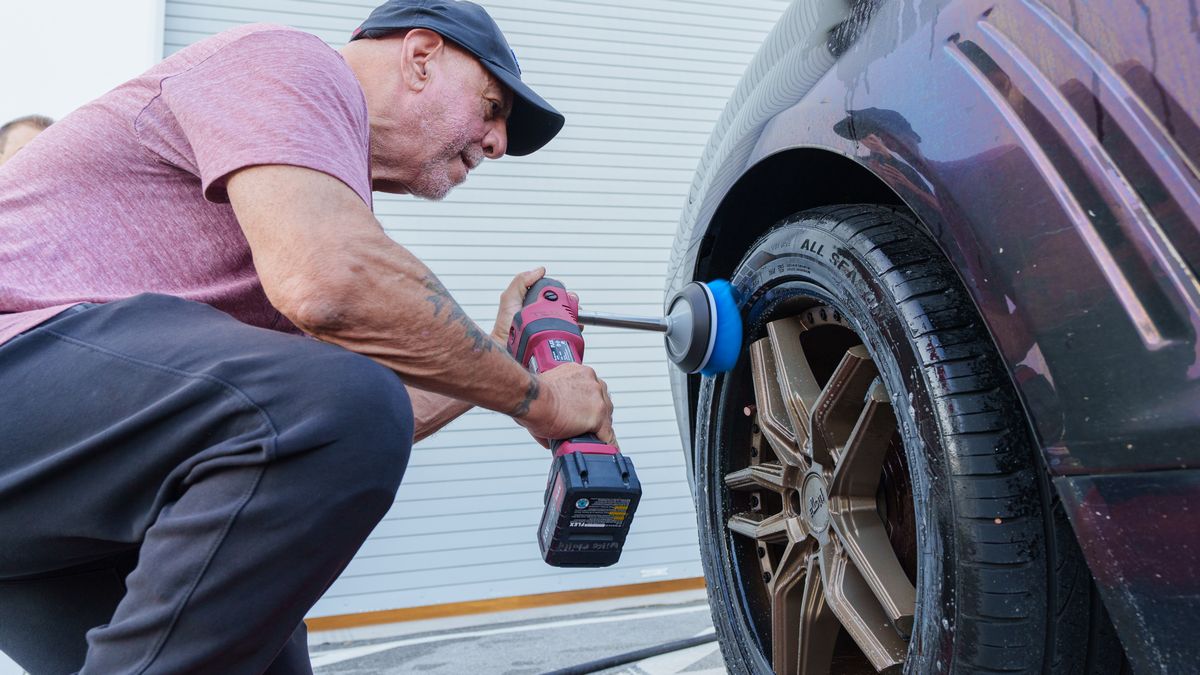
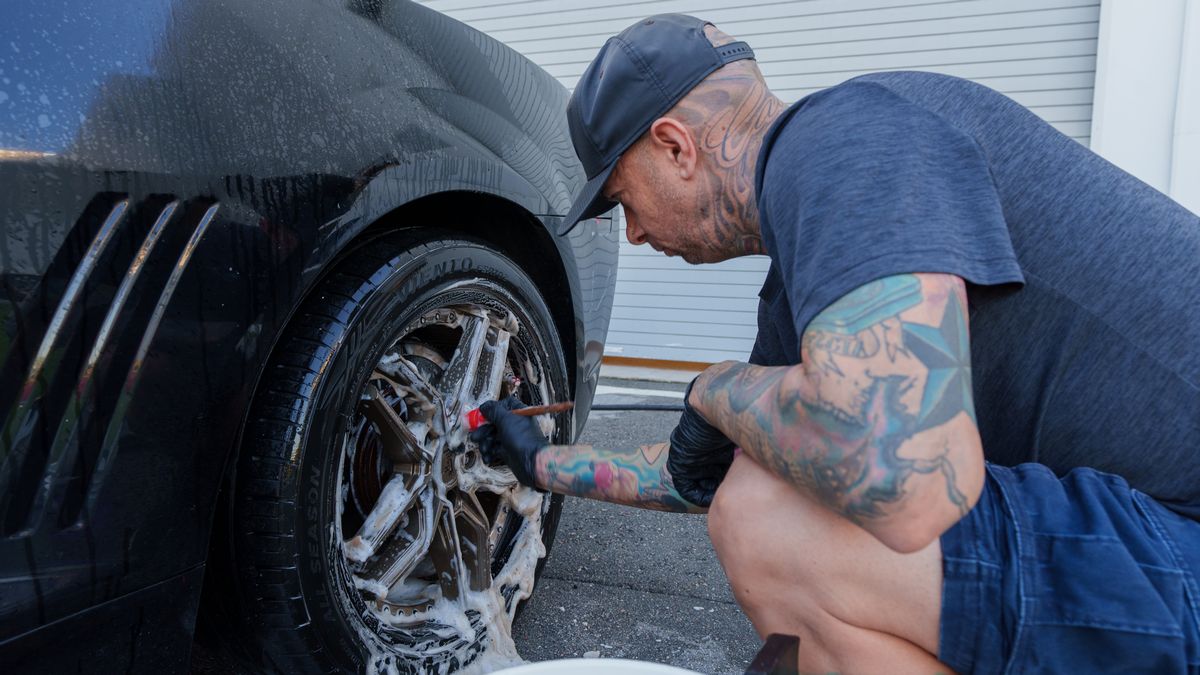
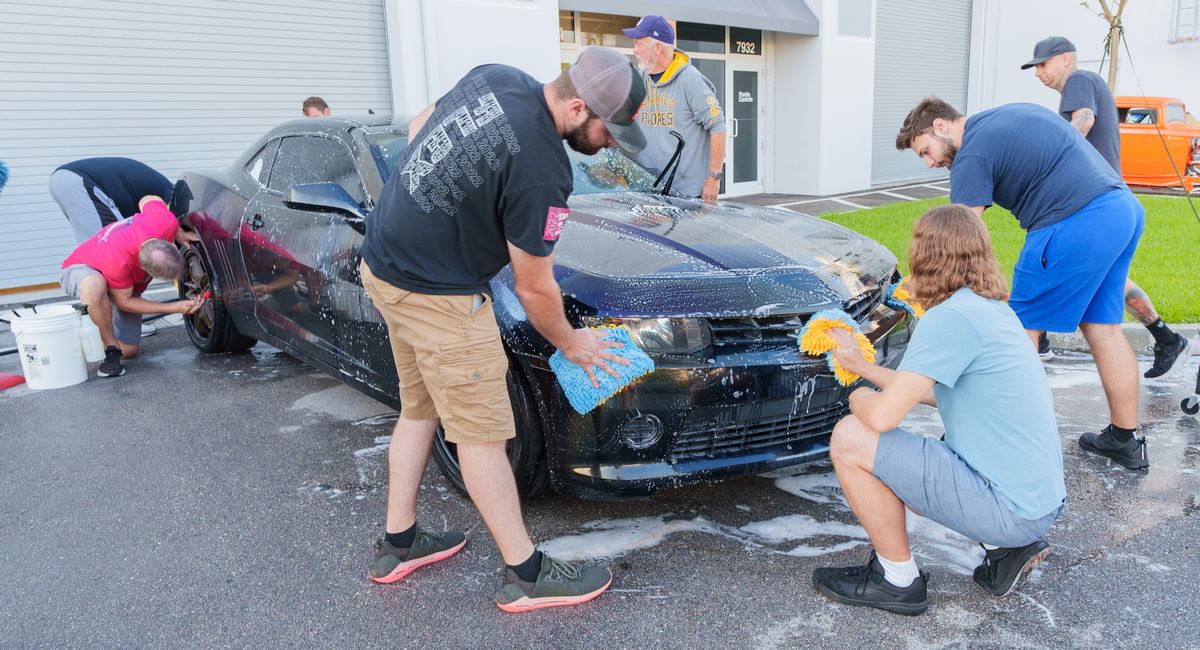
587 Pictures - No Chairs! No Sitting! September 2024 Detailing Class with Mike Phillips
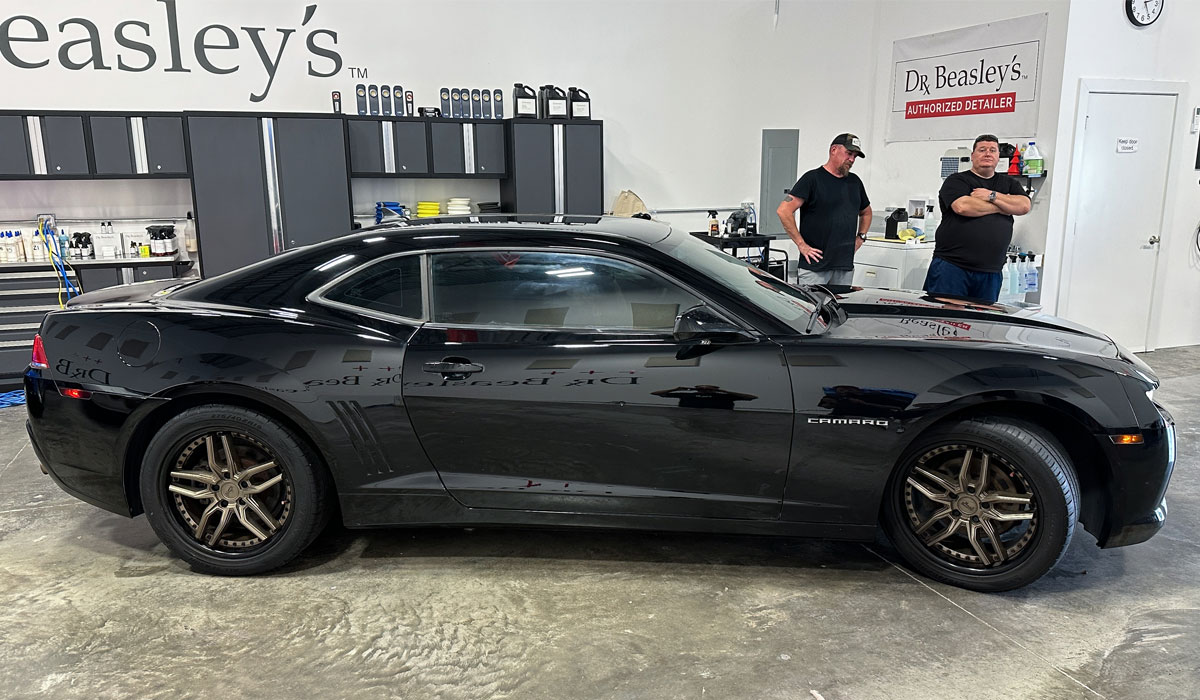
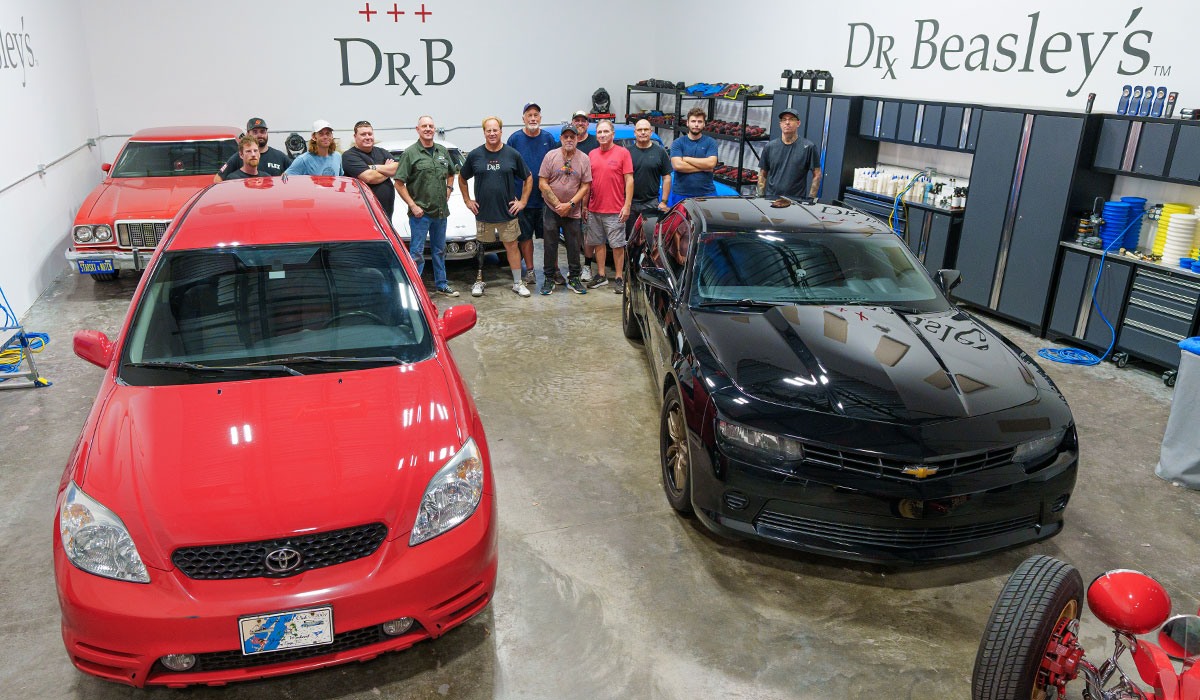
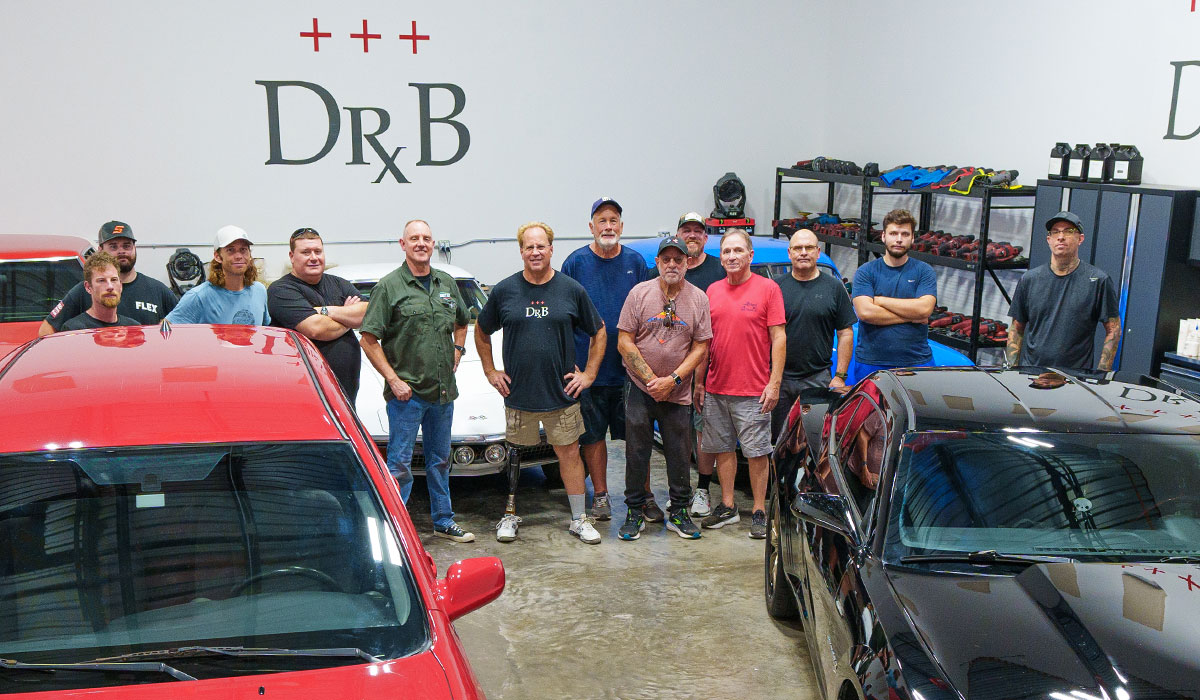
Full Garage!
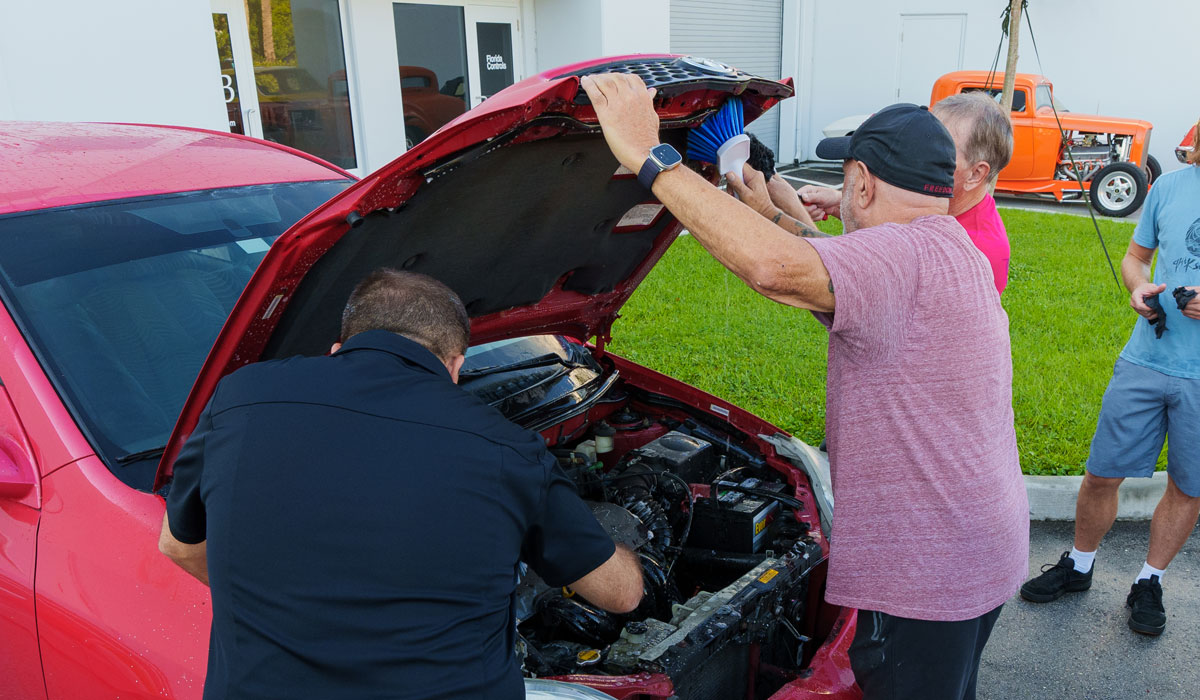
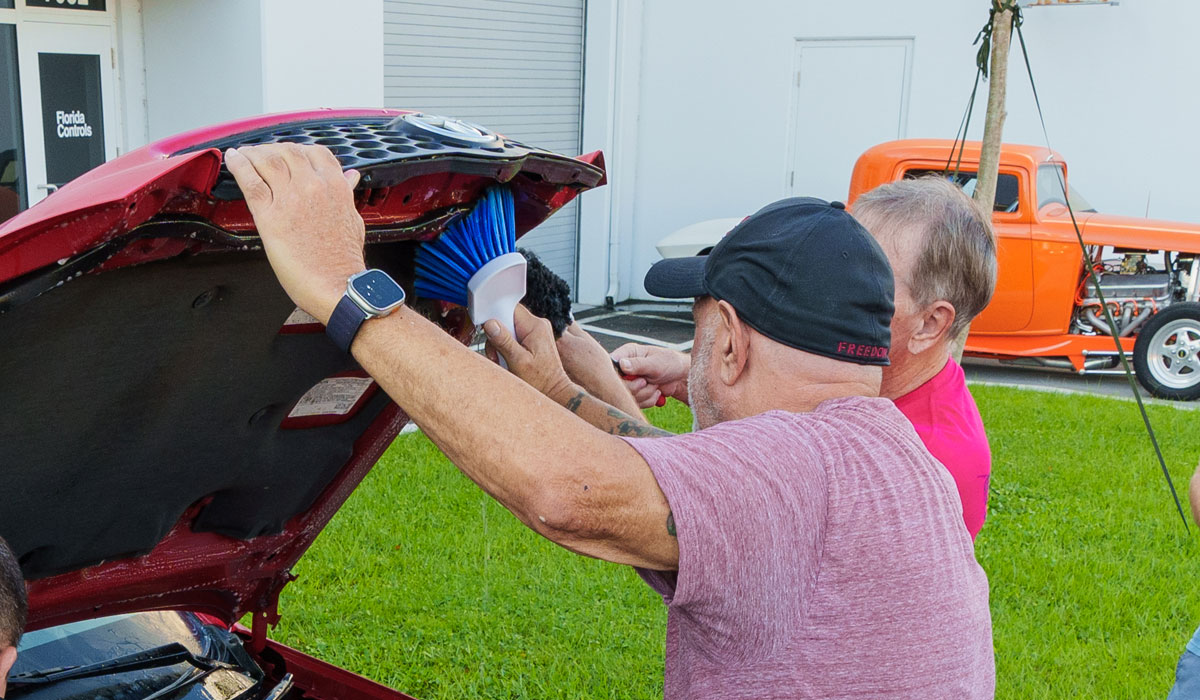
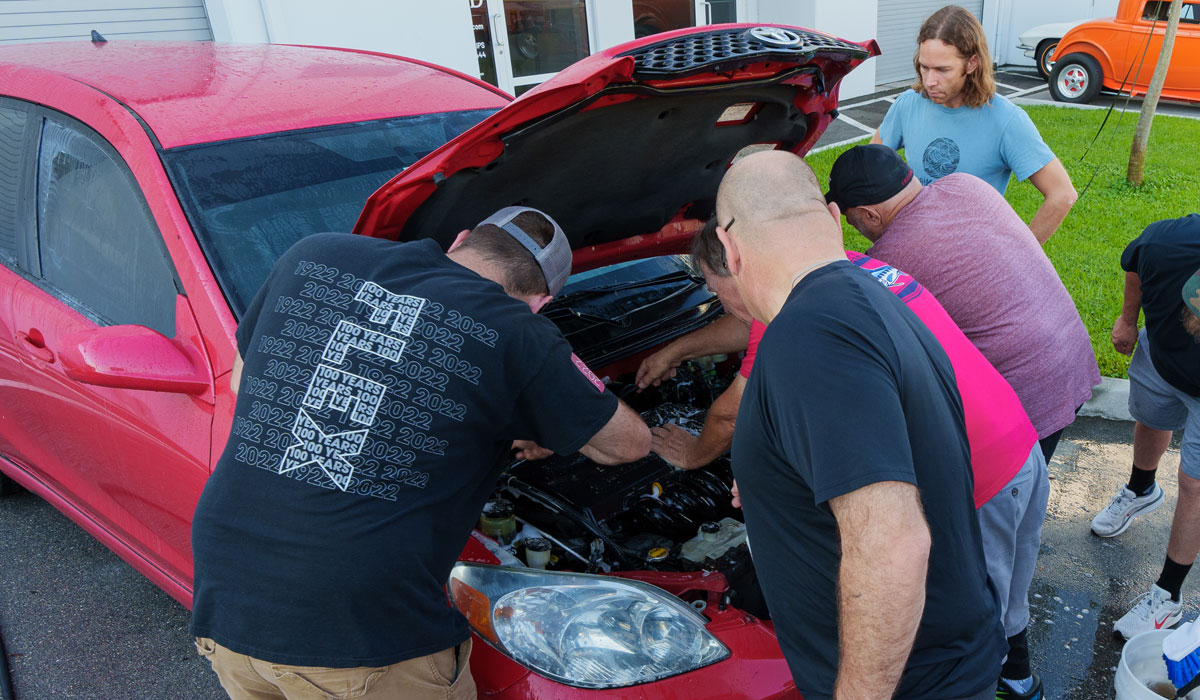
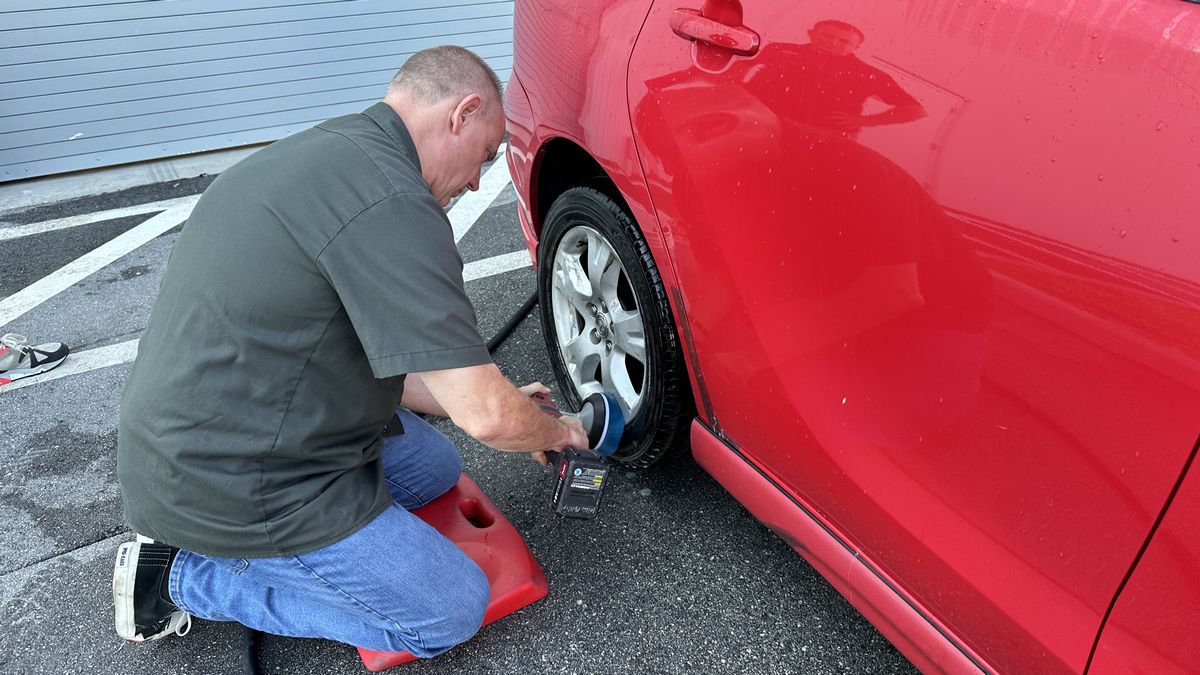
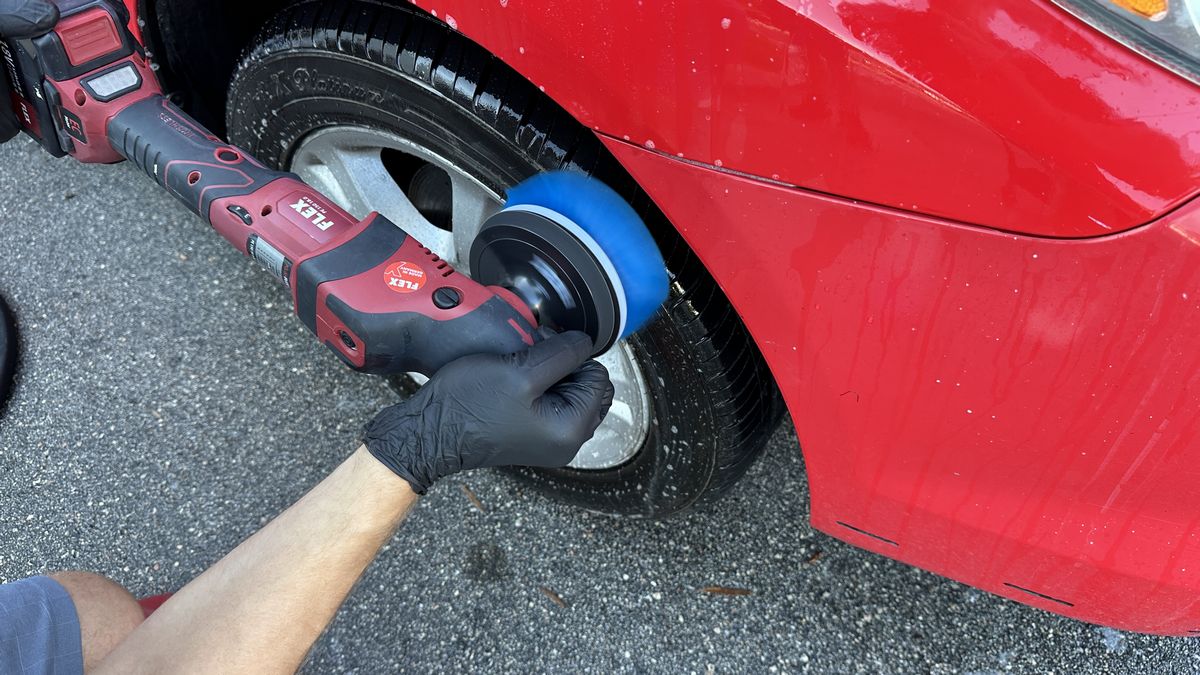
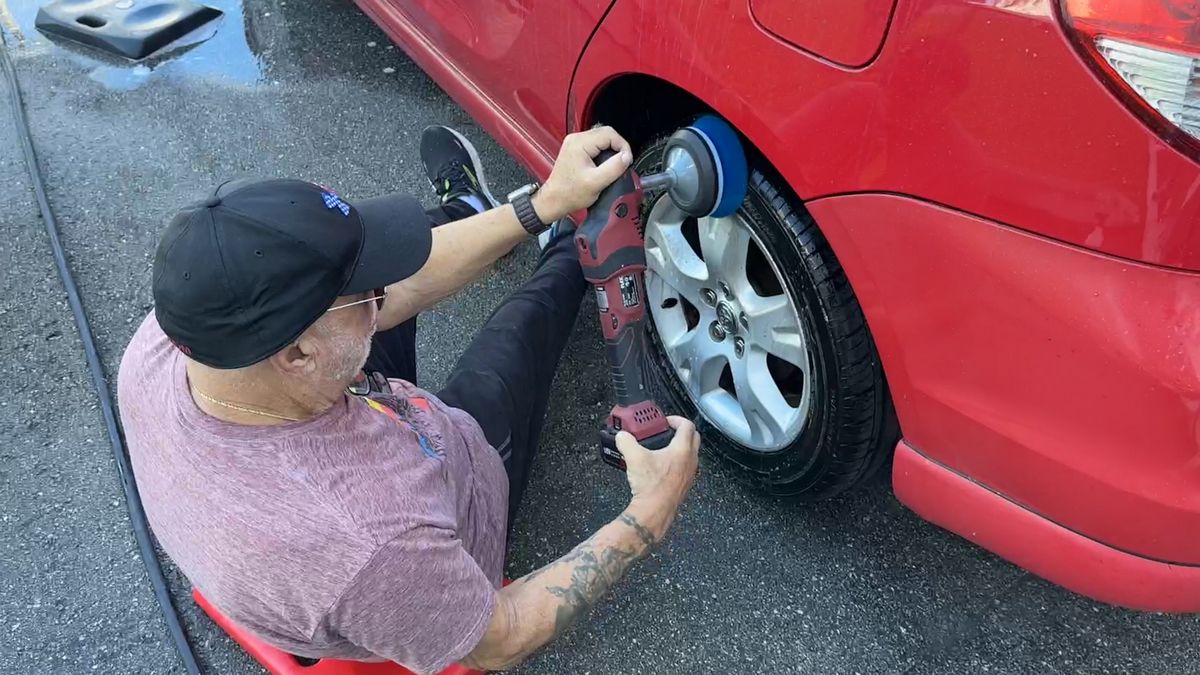
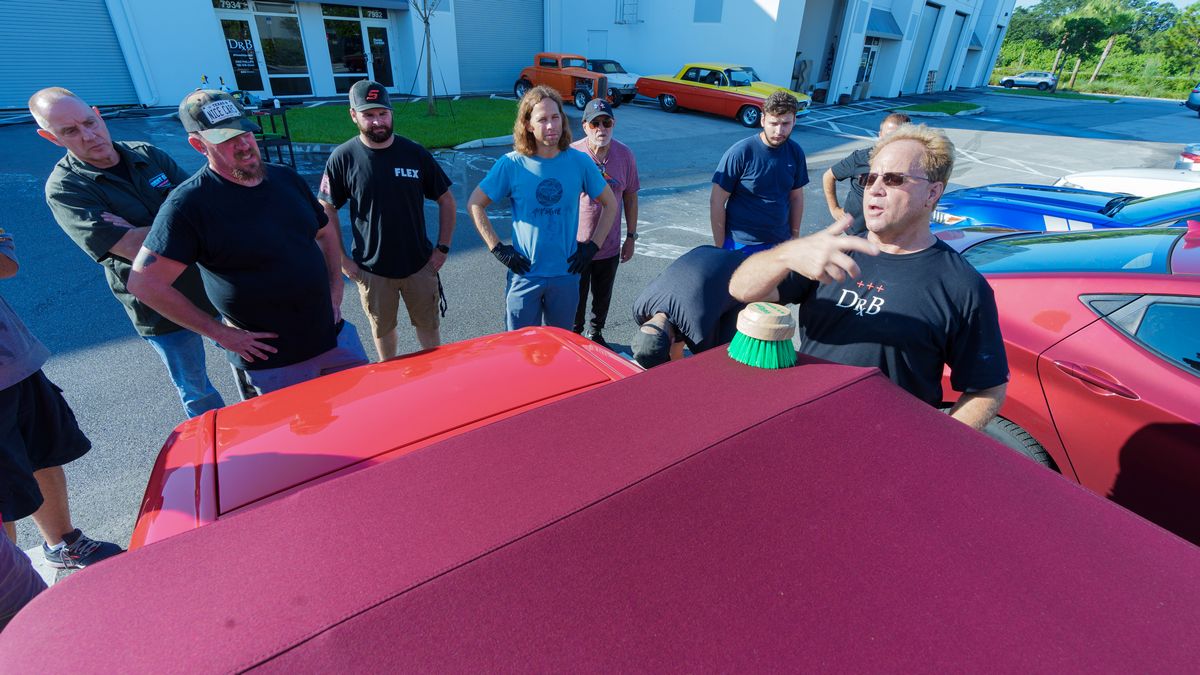
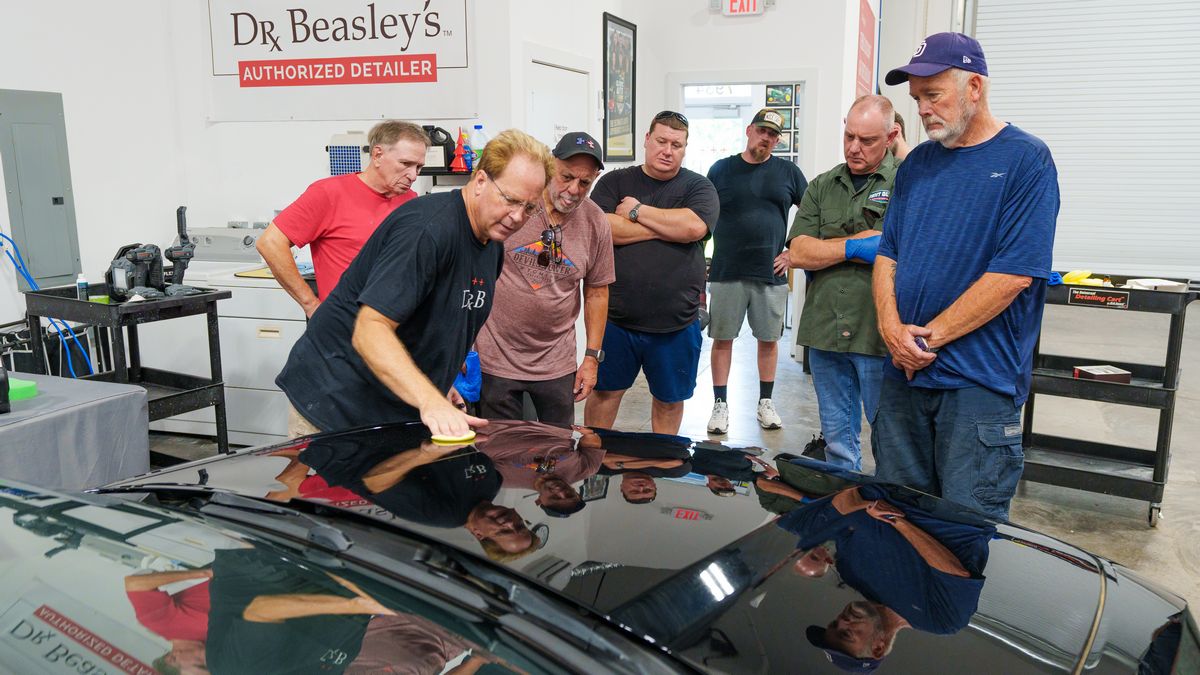
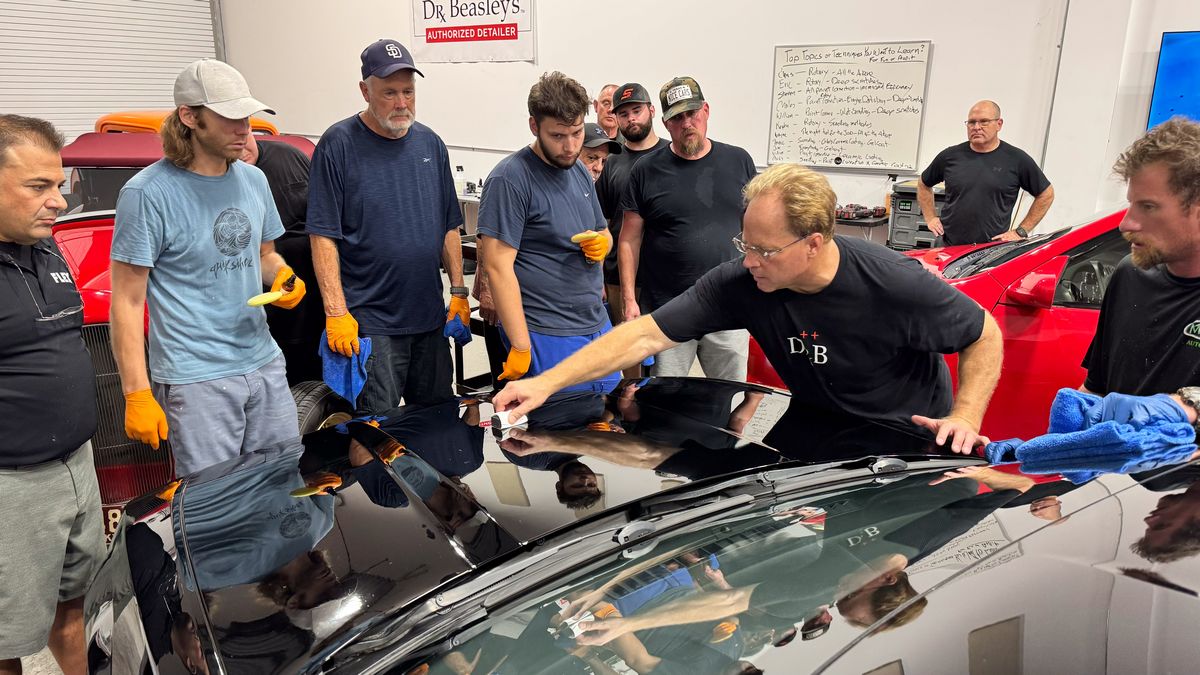
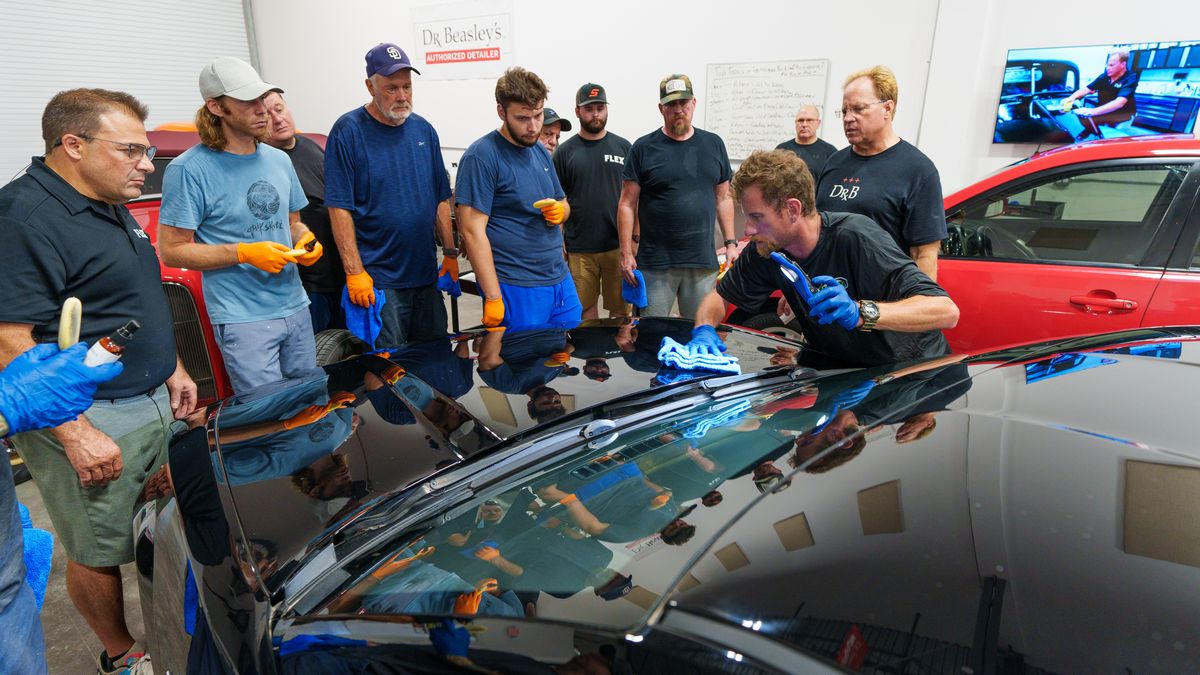
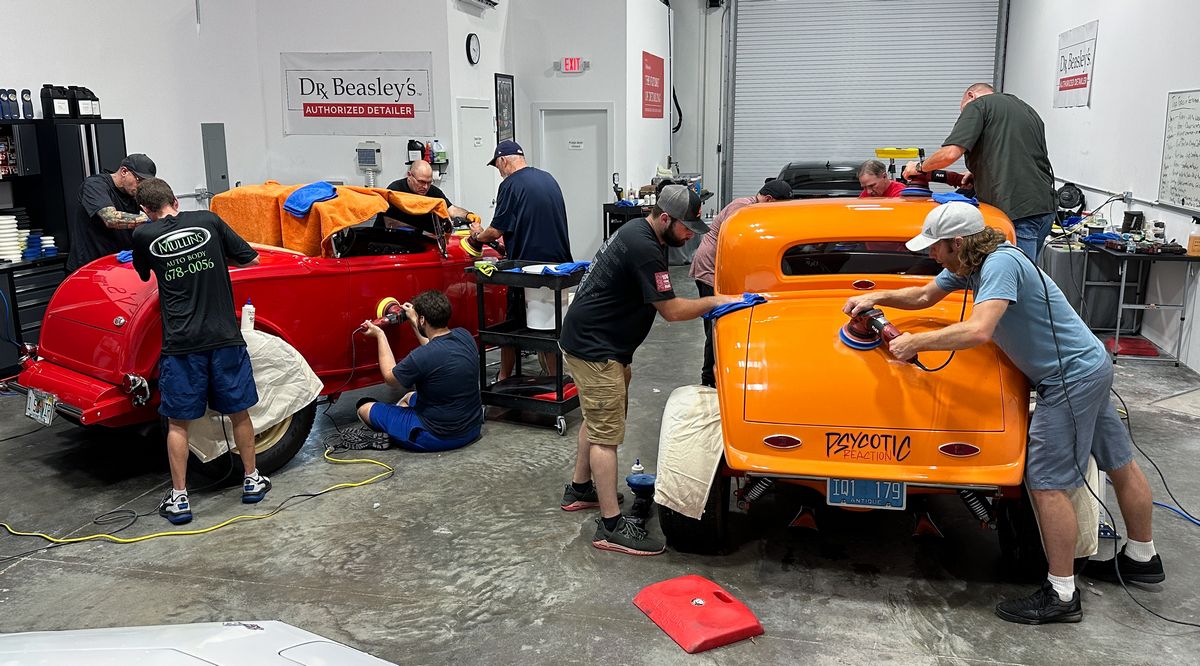
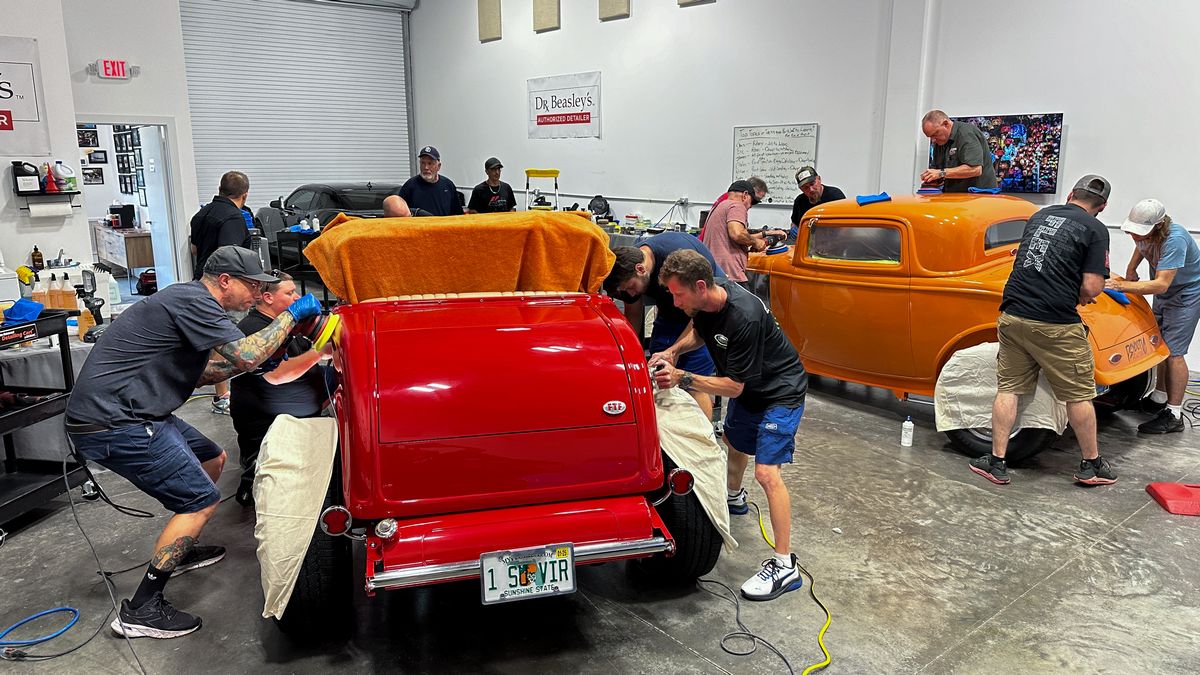
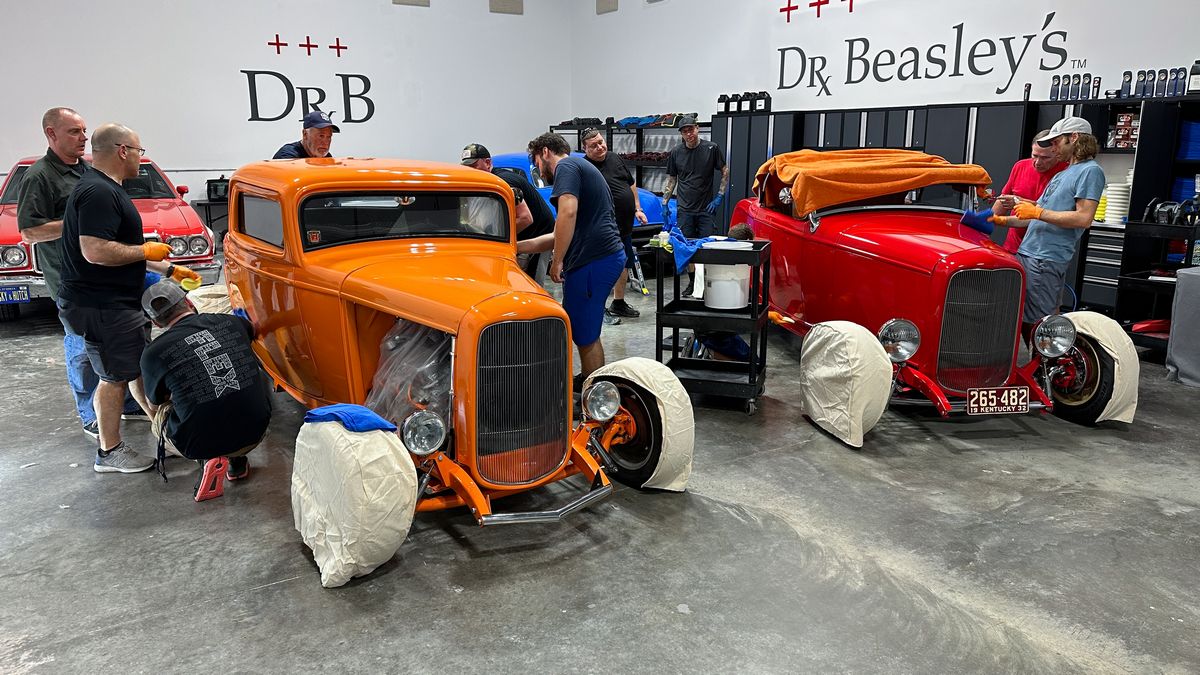
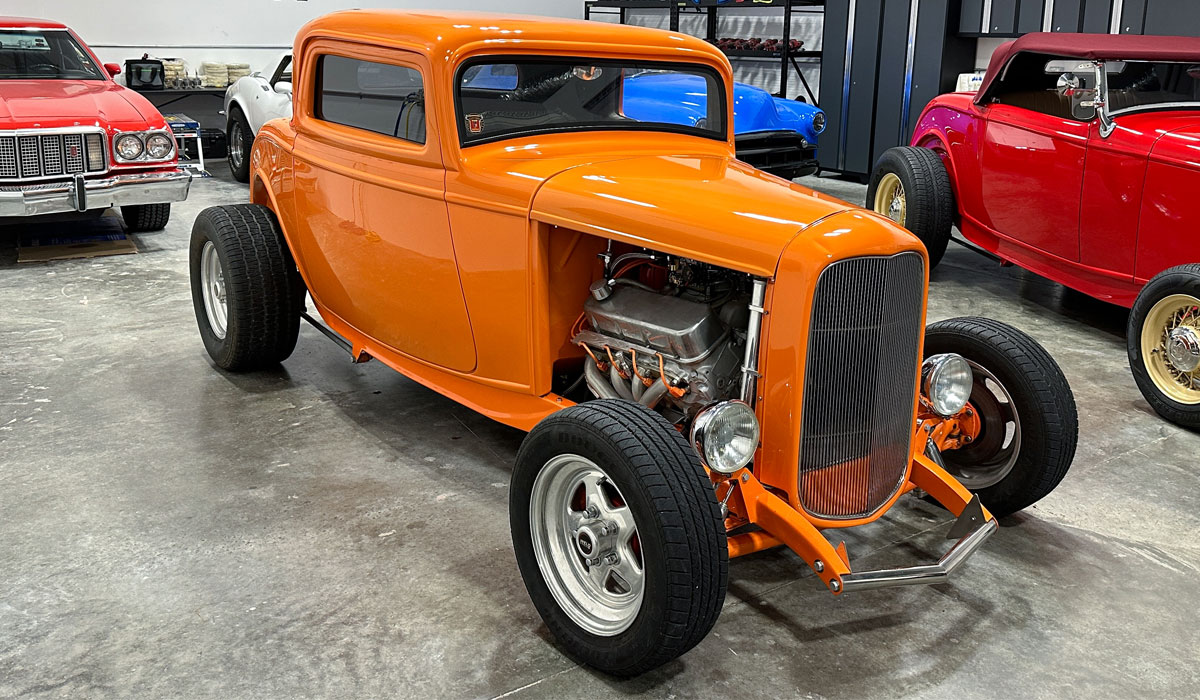
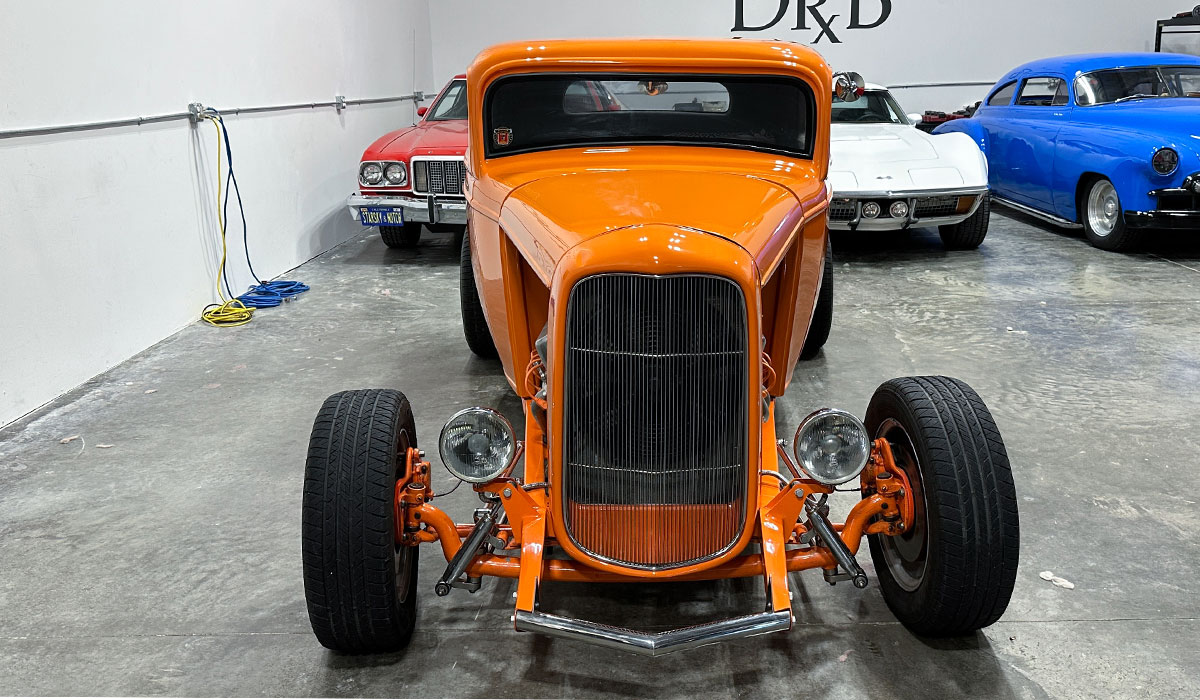
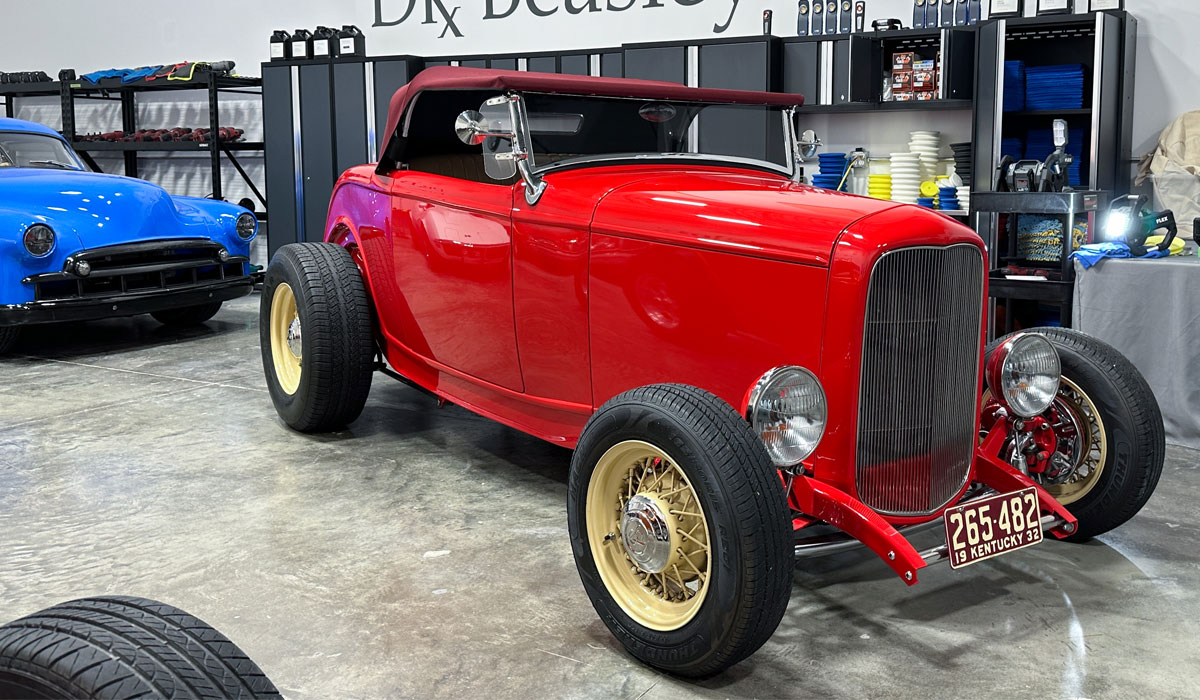
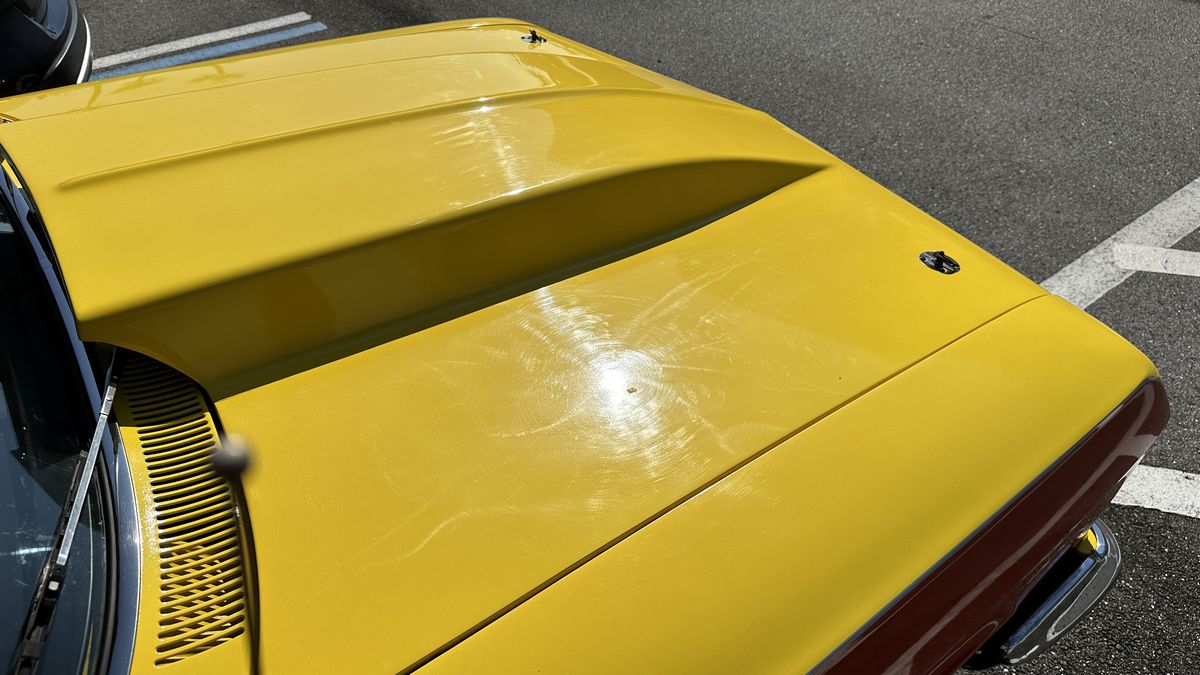
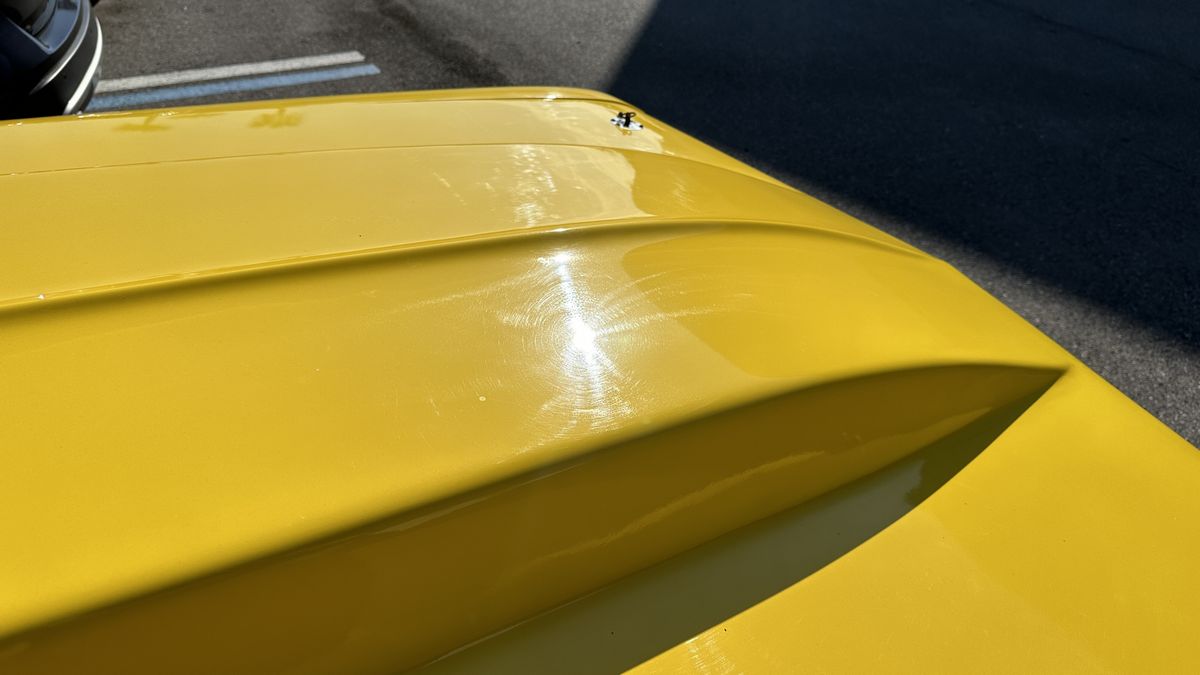
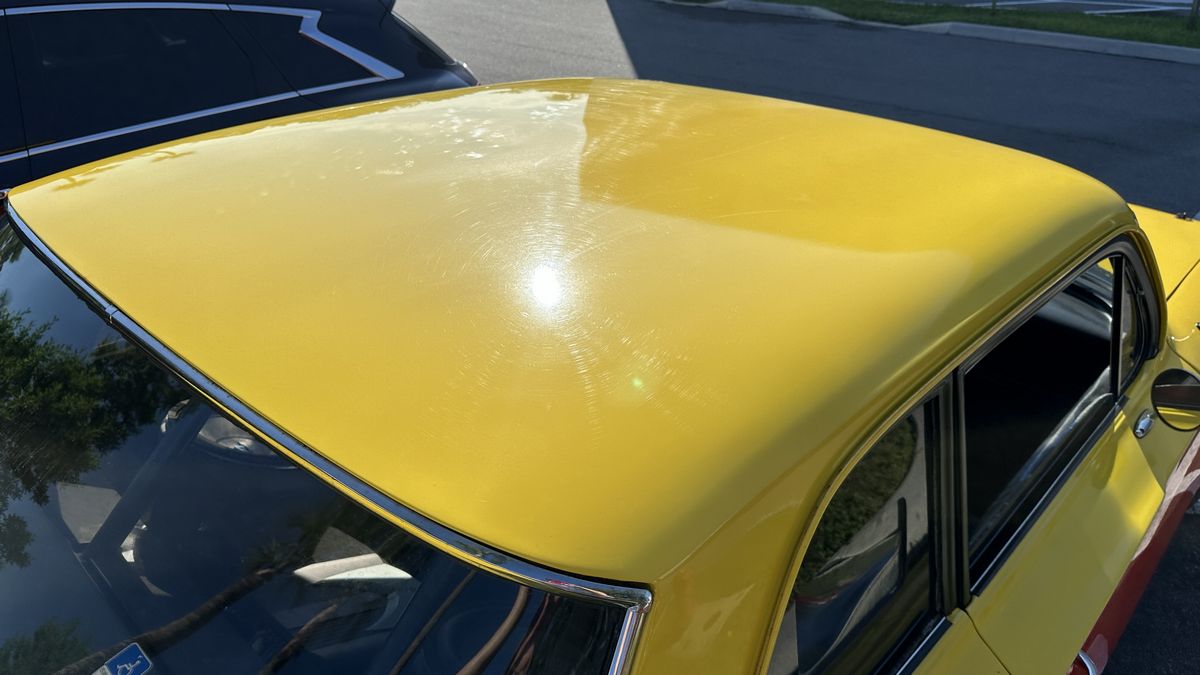
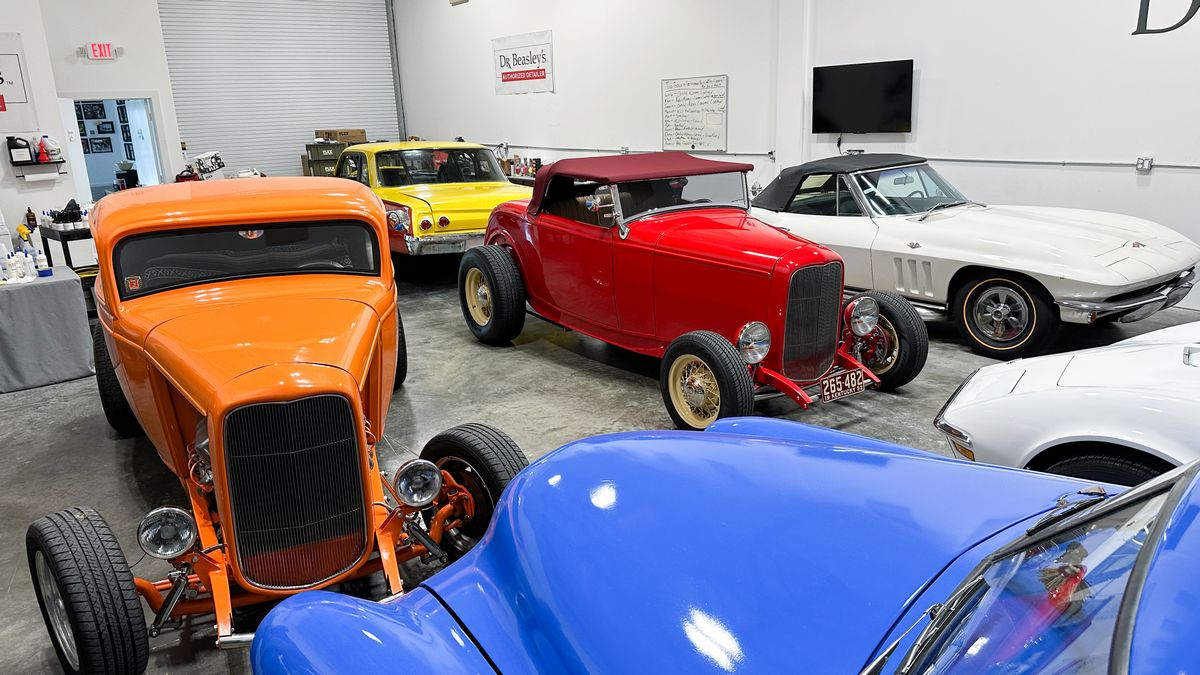
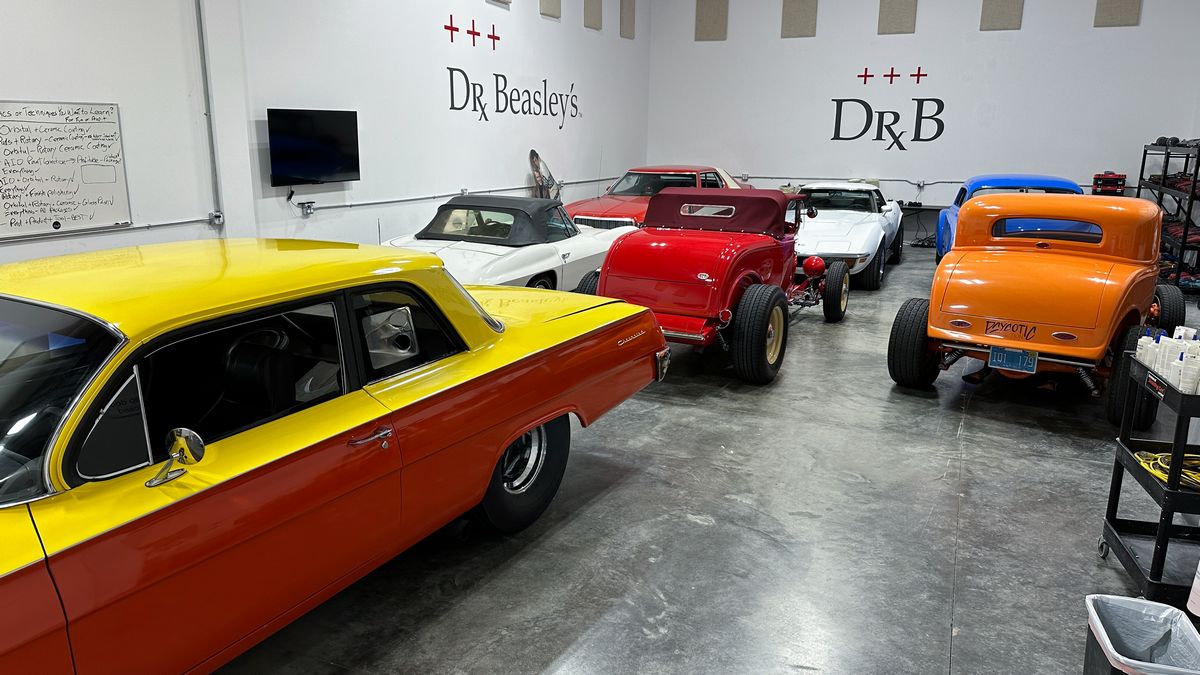
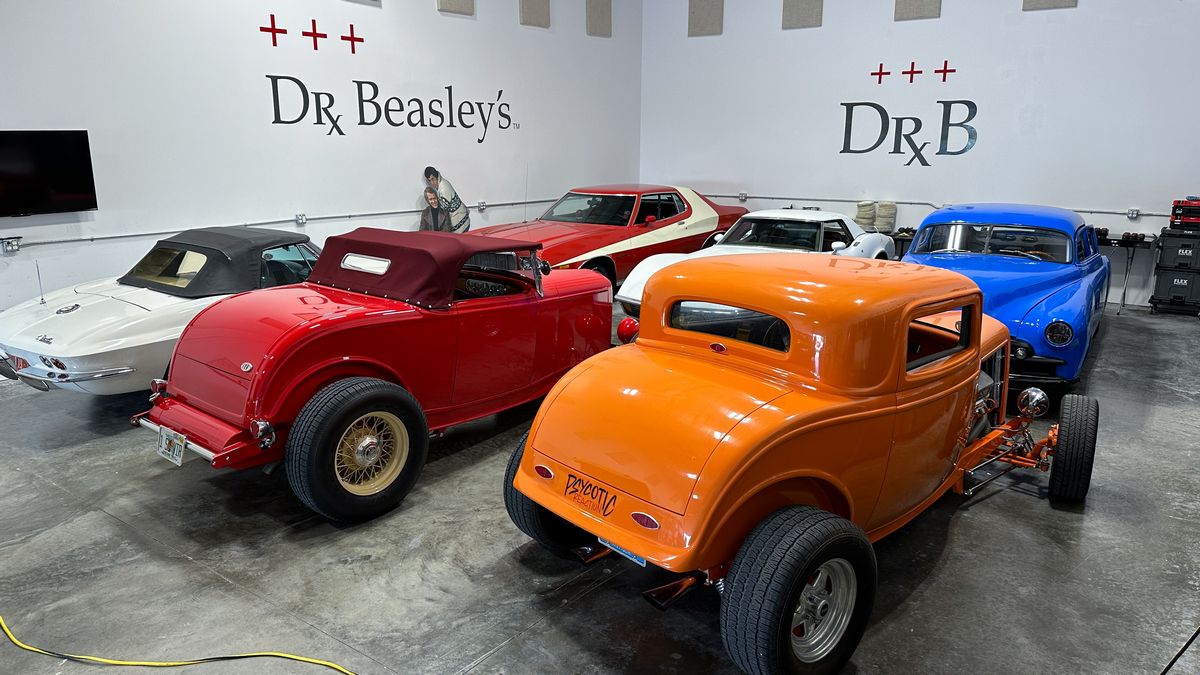
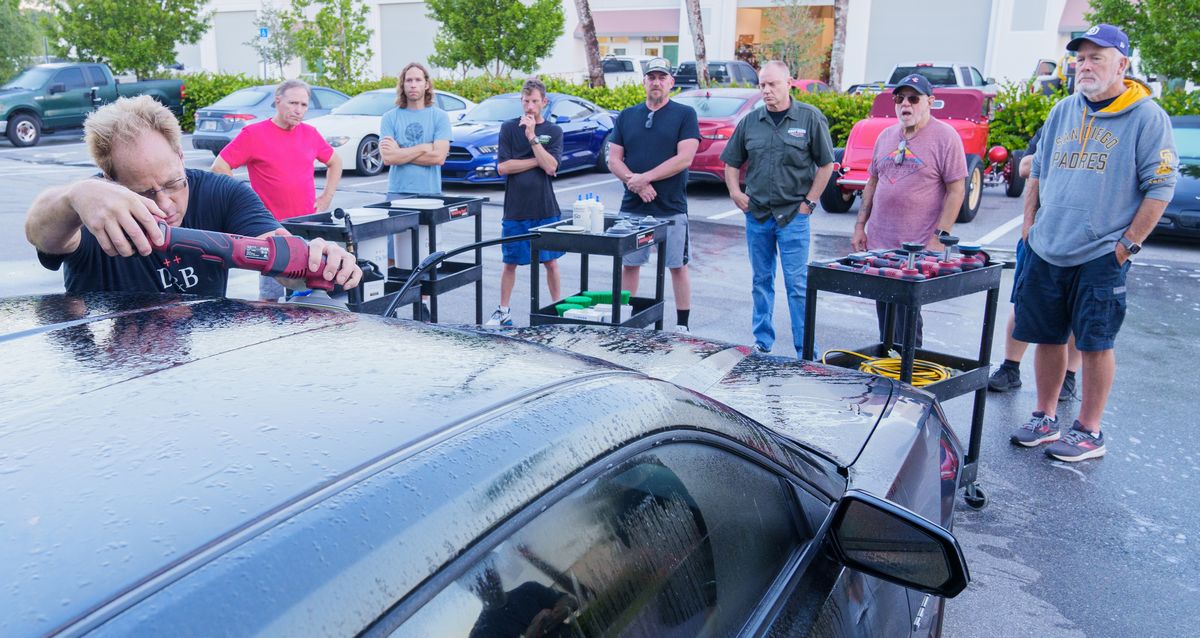
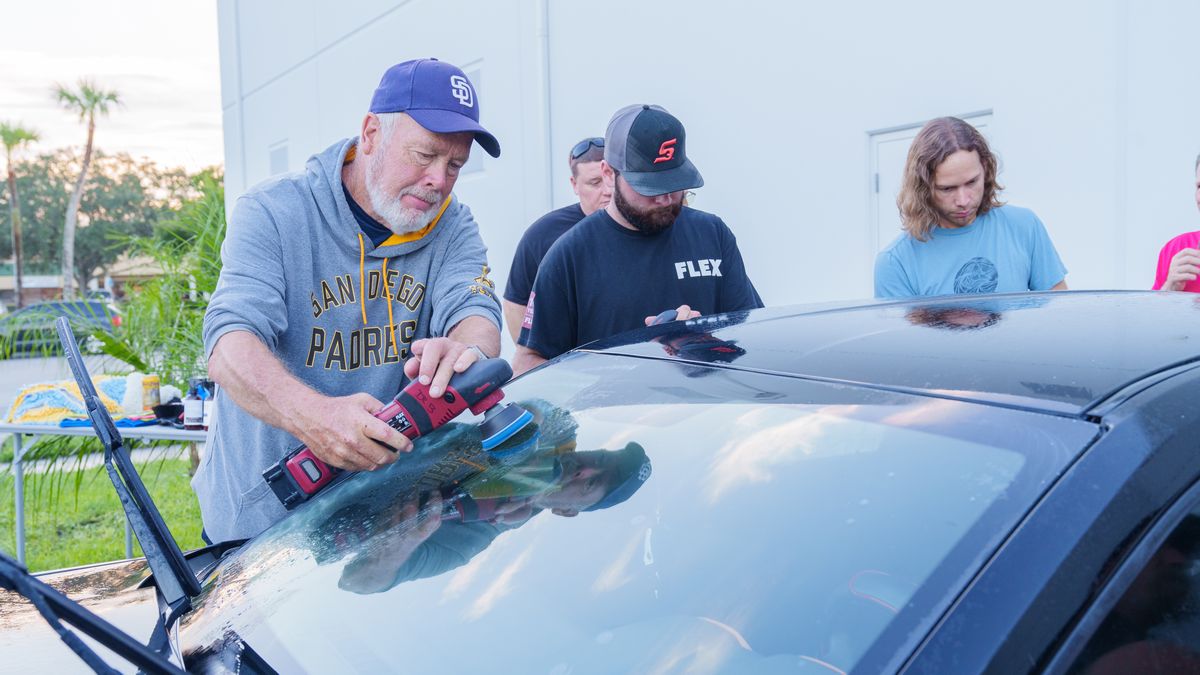
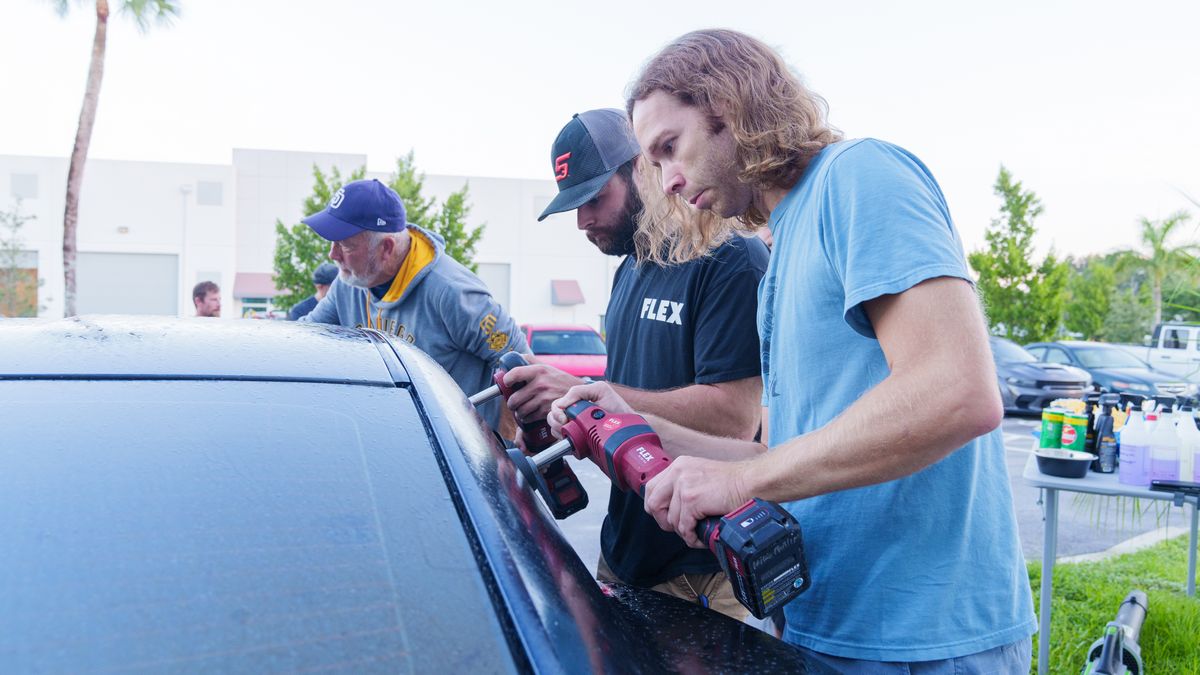
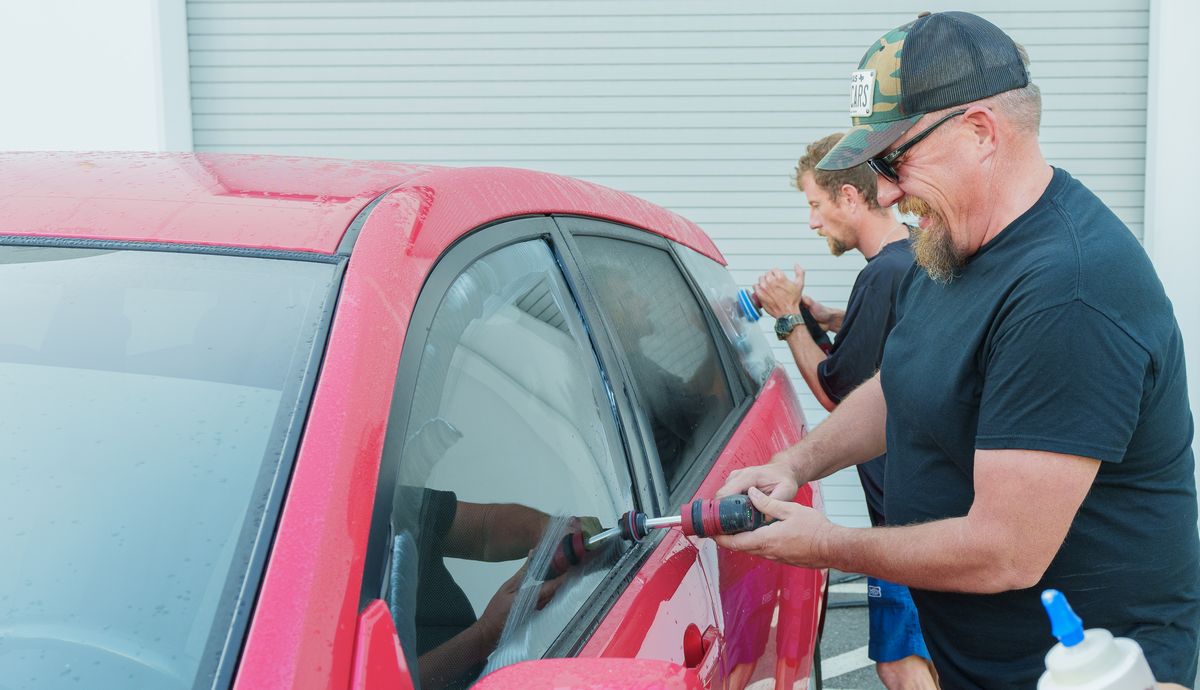
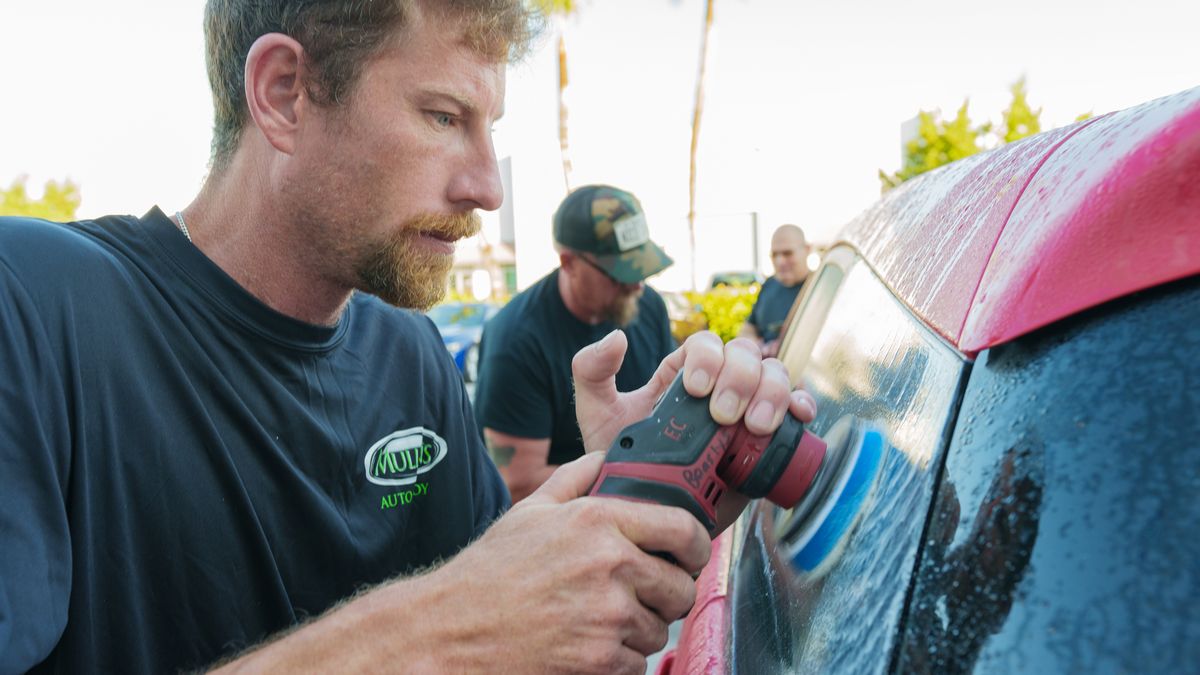
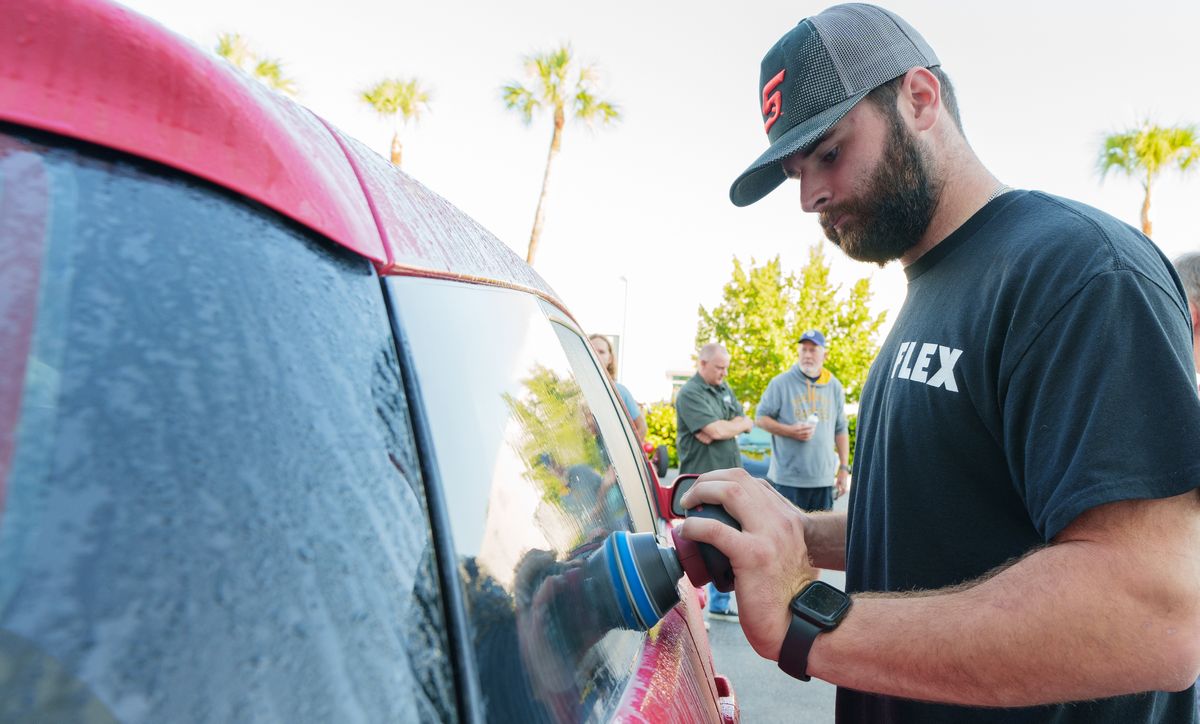
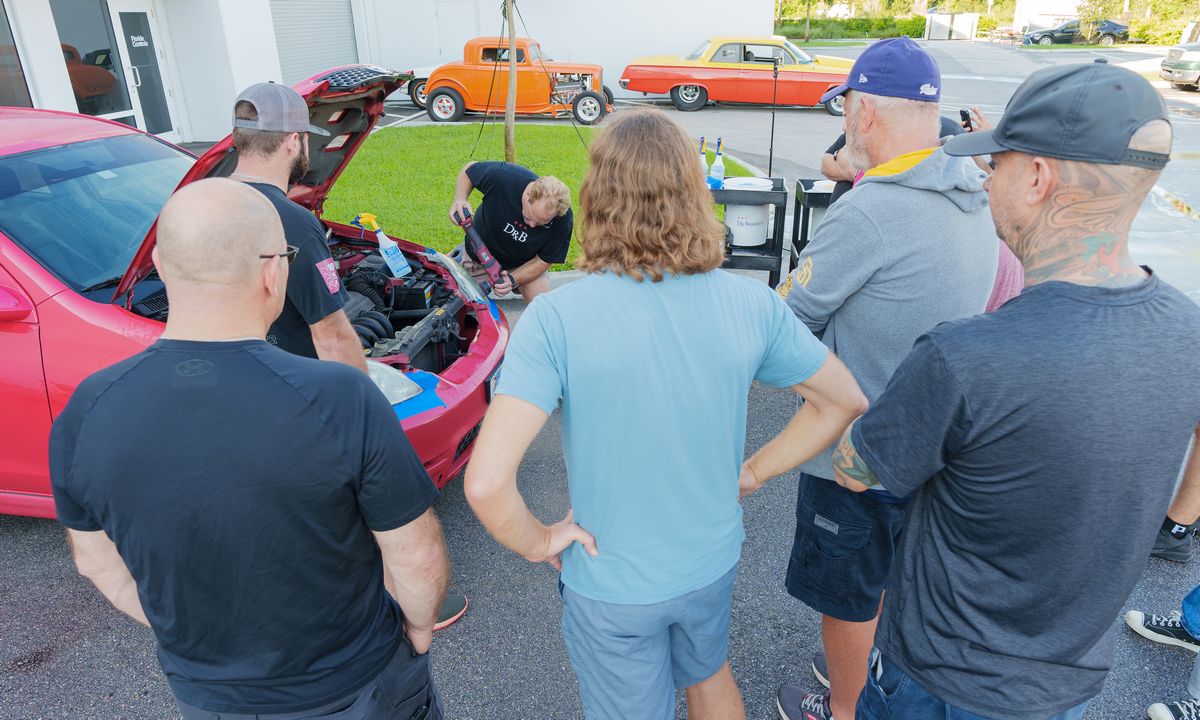
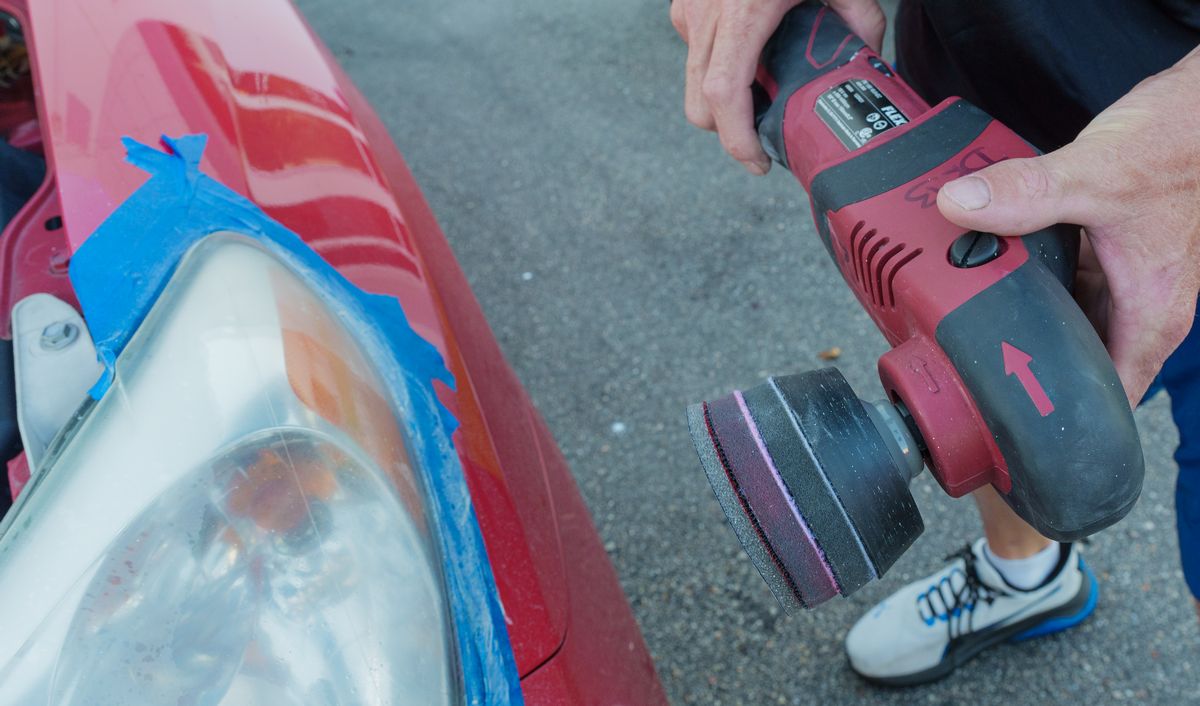
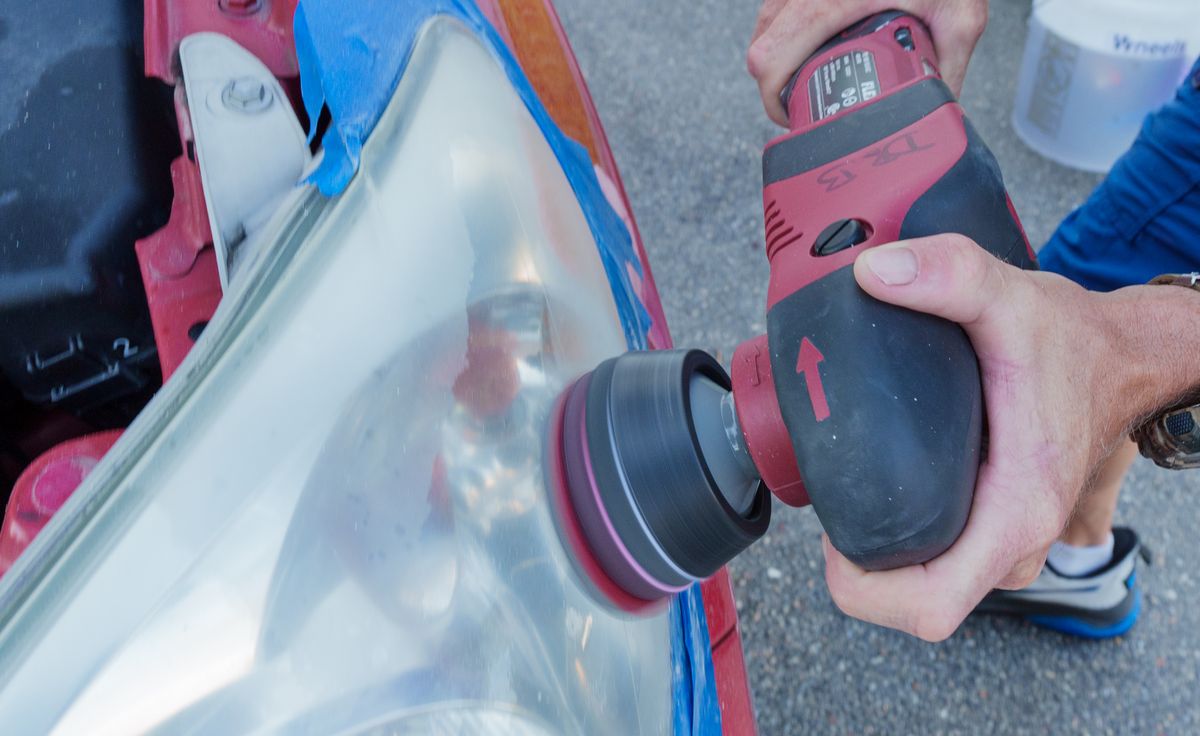
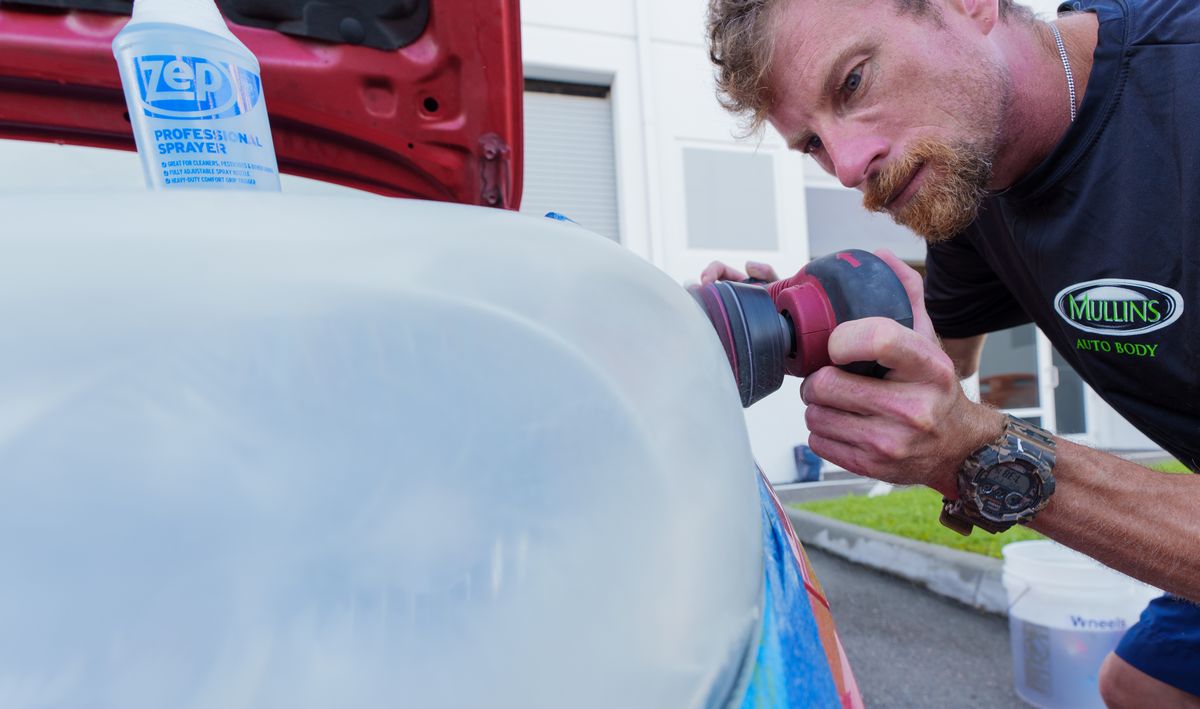
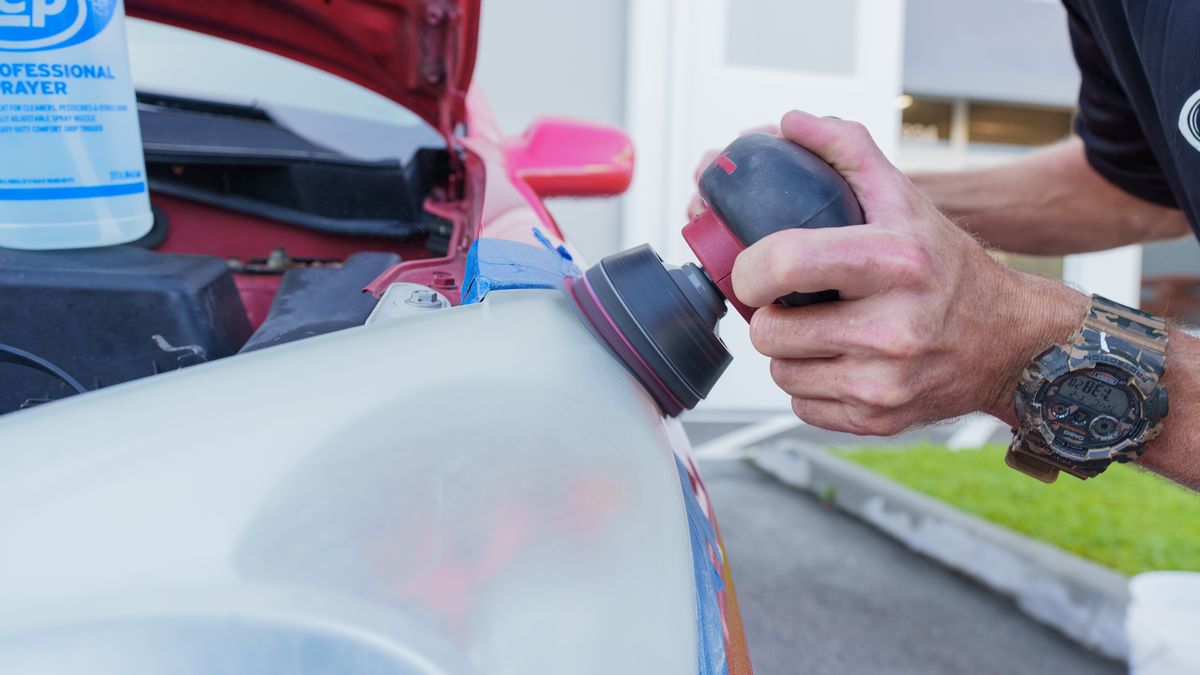
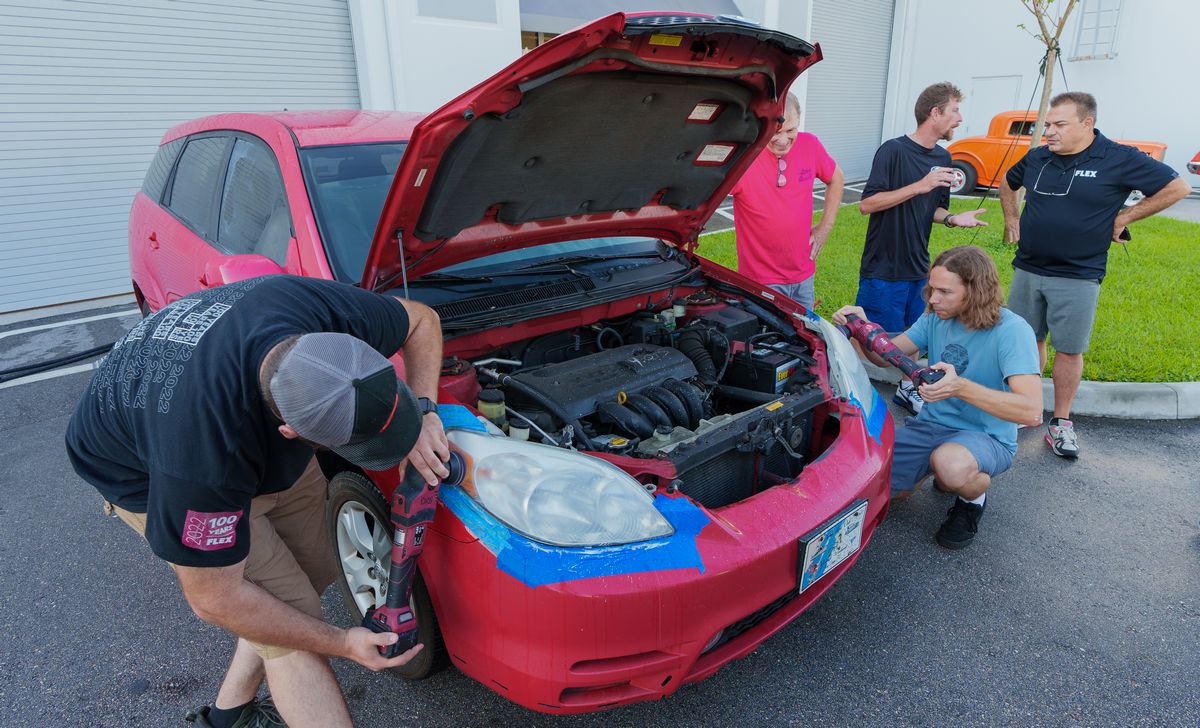
I took the pictures below the night before the class. You'll see 7 cars in the garage, and there's 2 more cars parked outside for a total of 9 training cars for the first 2-days of this 3-day class. You'll also see the 24' Sea Hunt Center Console detailed on the 3rd day.
If you're looking to take the most hands-on car or boat detailing class, these are the classes to take. No one else shows you the actual cars and boats you'll be training on BEFORE you pay for the class. I always do this so you can have confidence, it's going to be a GREAT class.
And while this class is over, future class dates and topics can be found here,
Future Detailing Classes for 2025
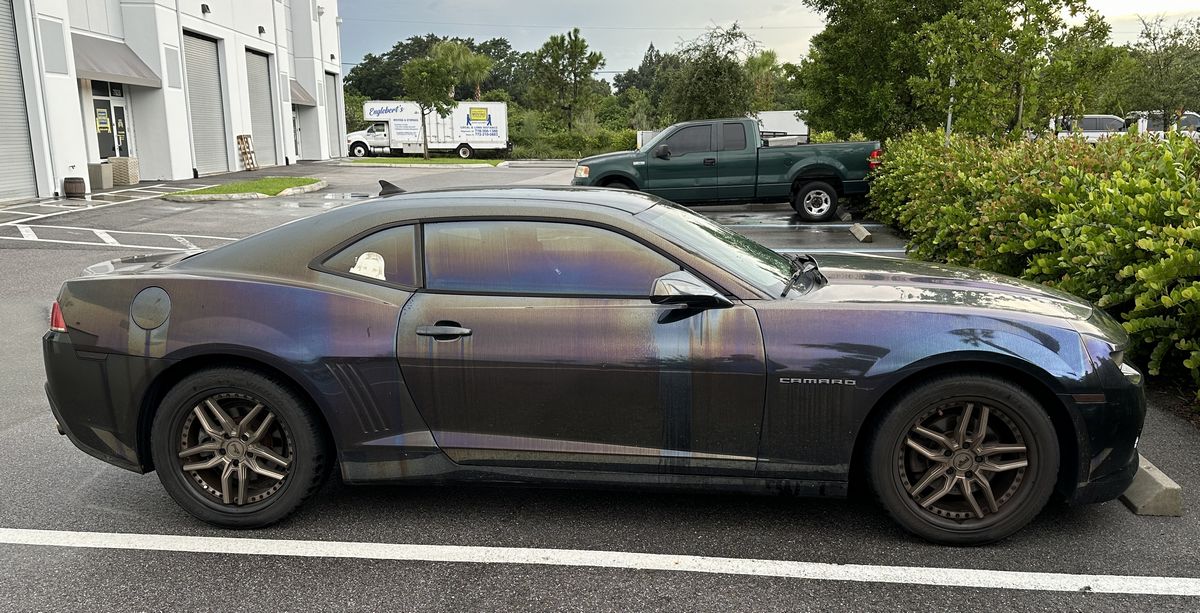
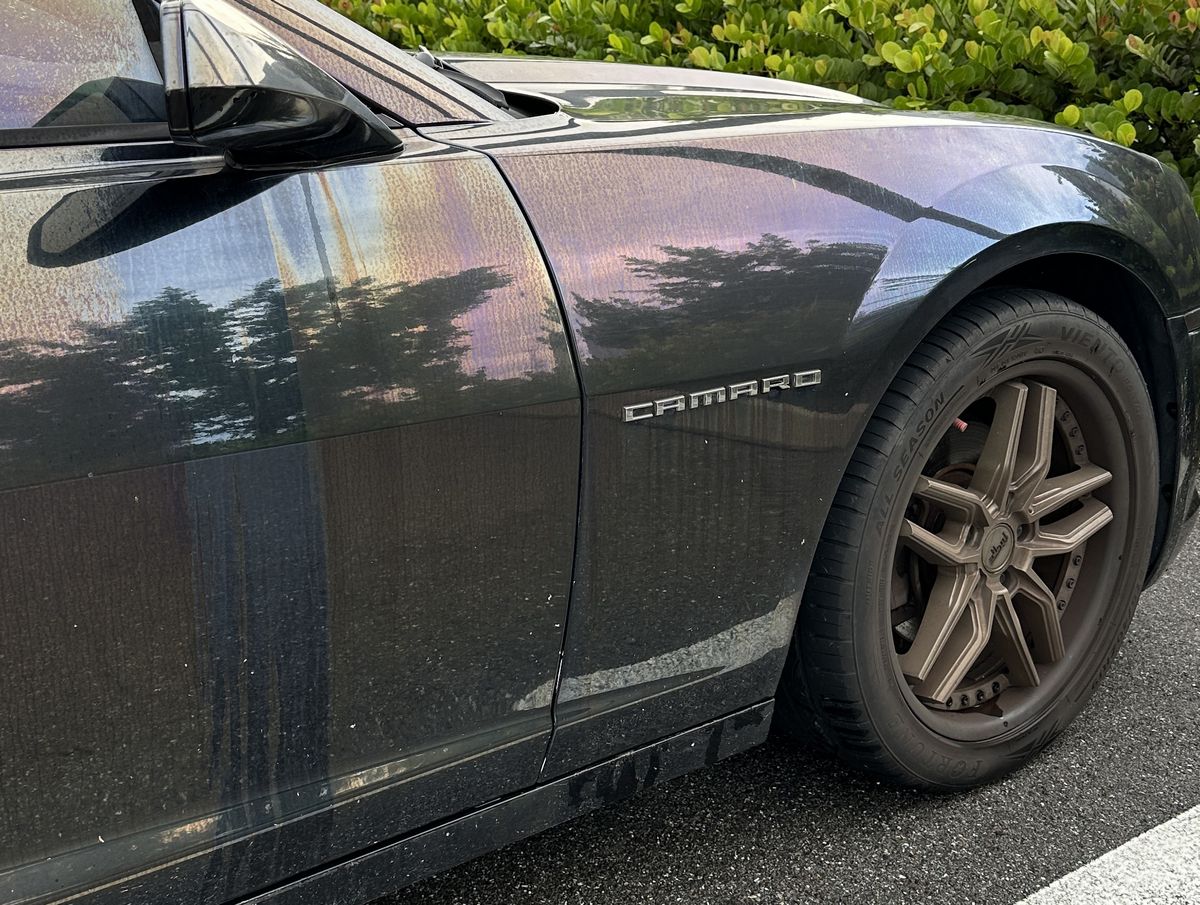
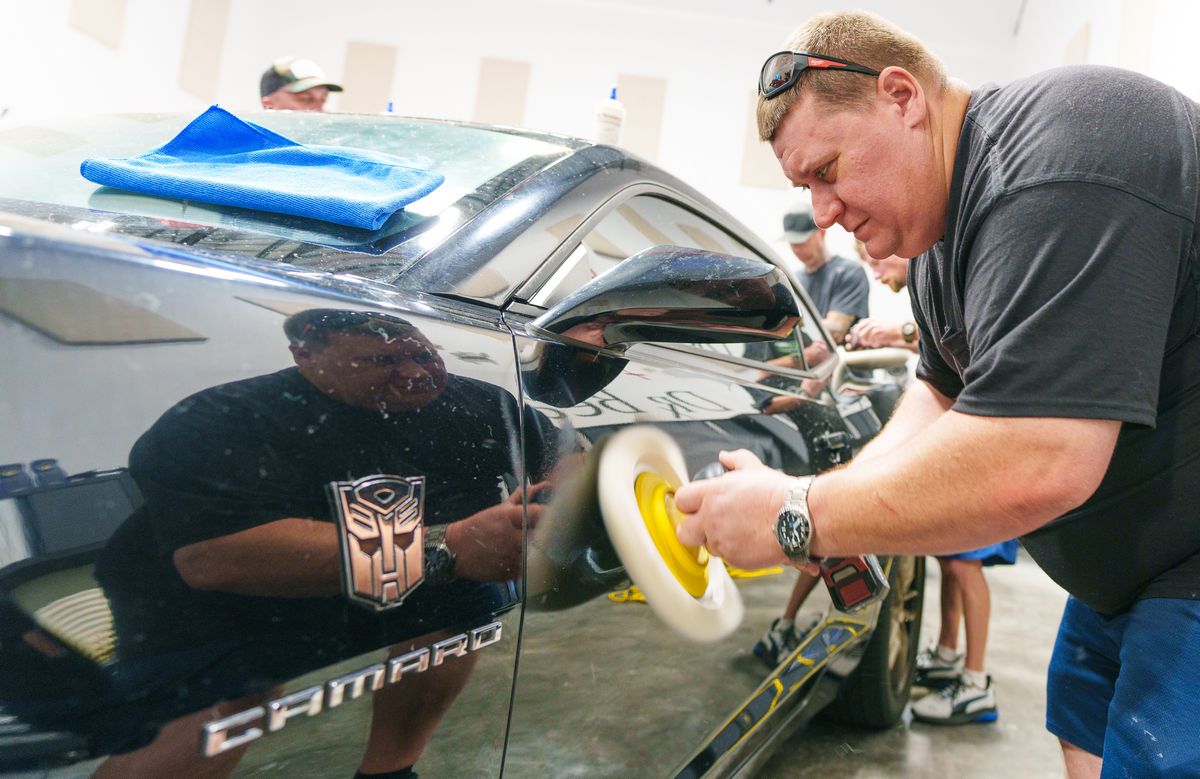
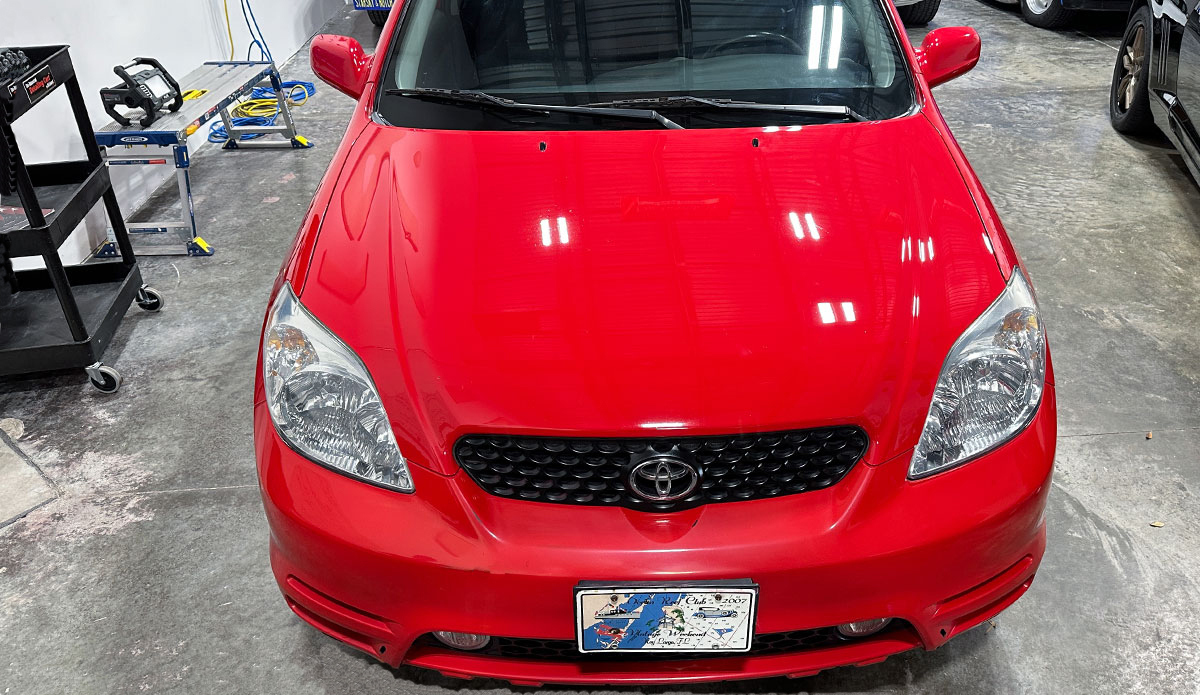
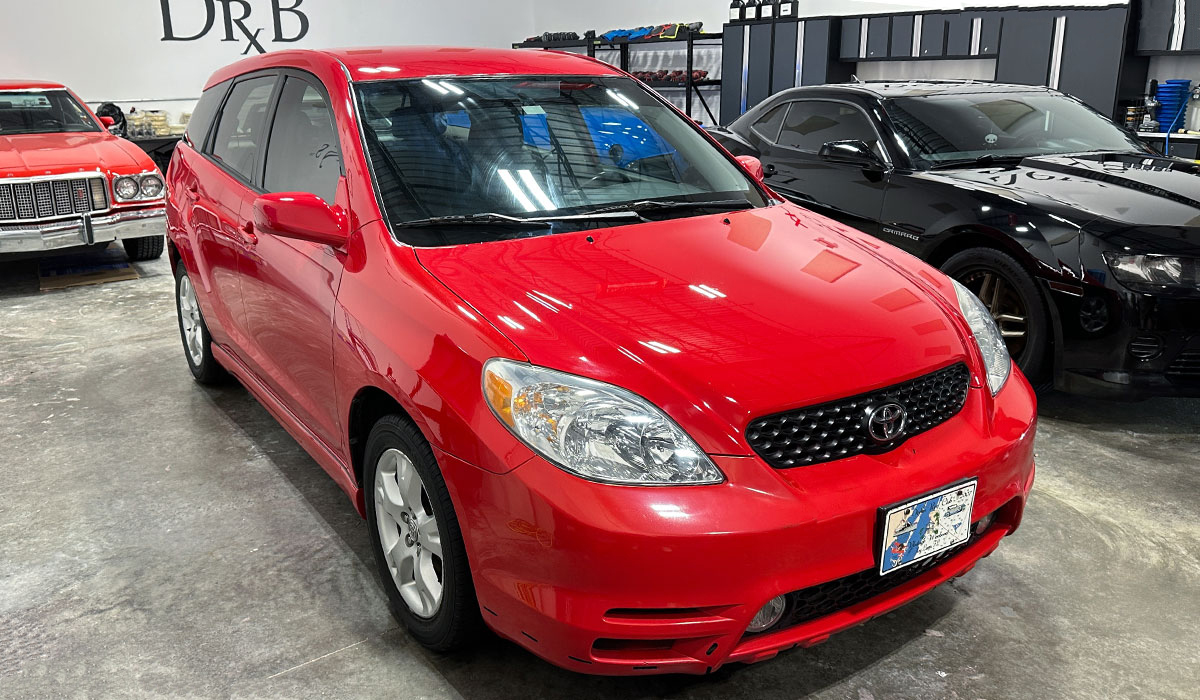
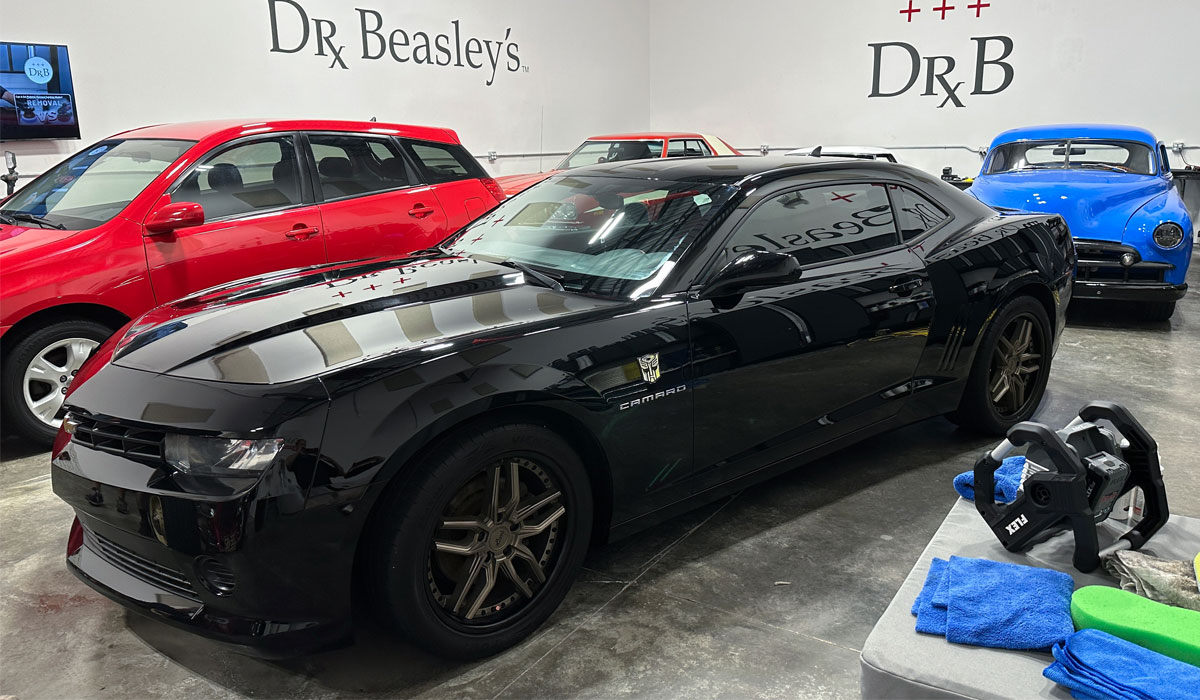
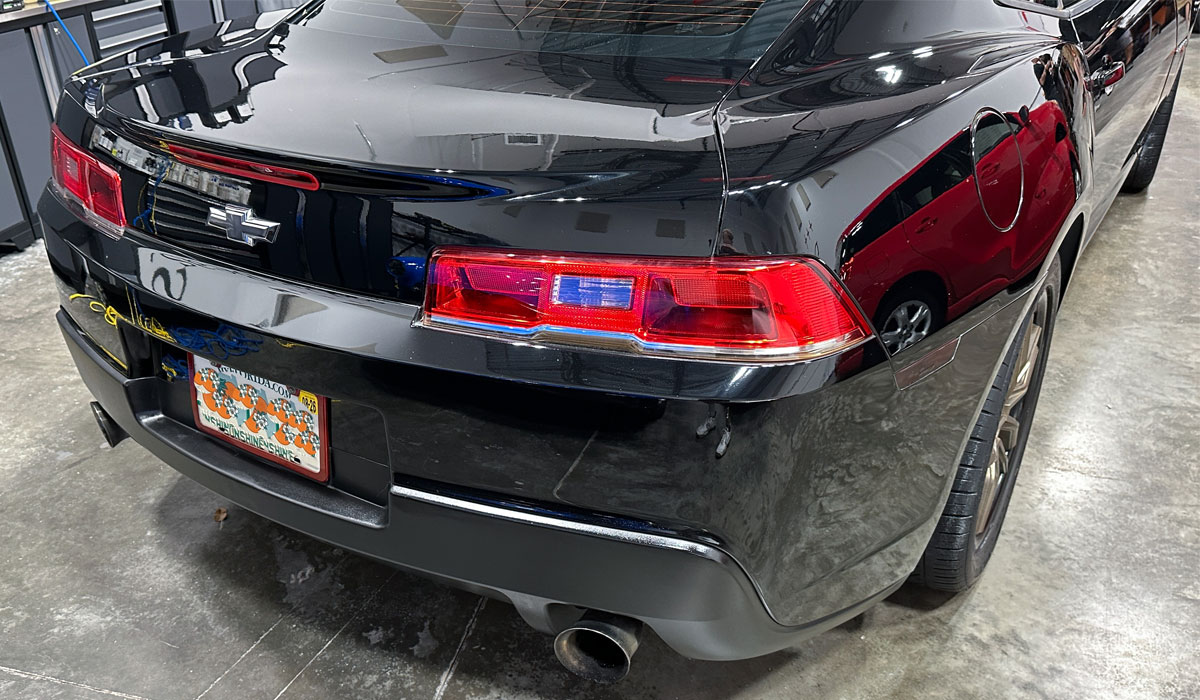
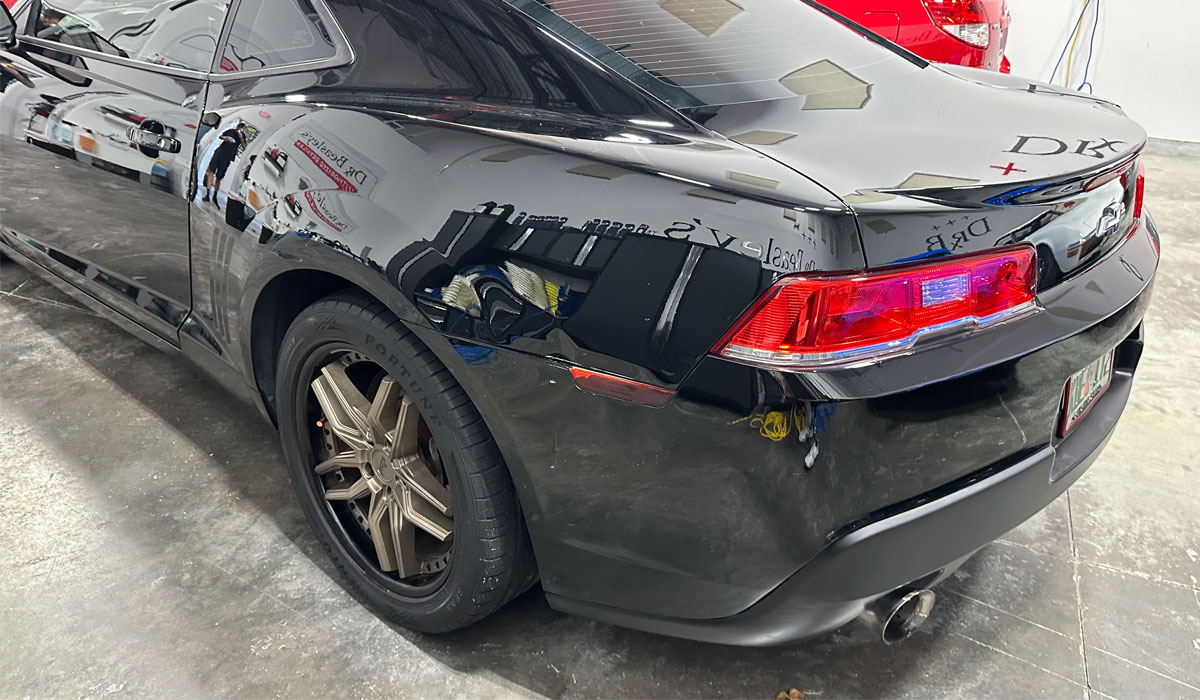
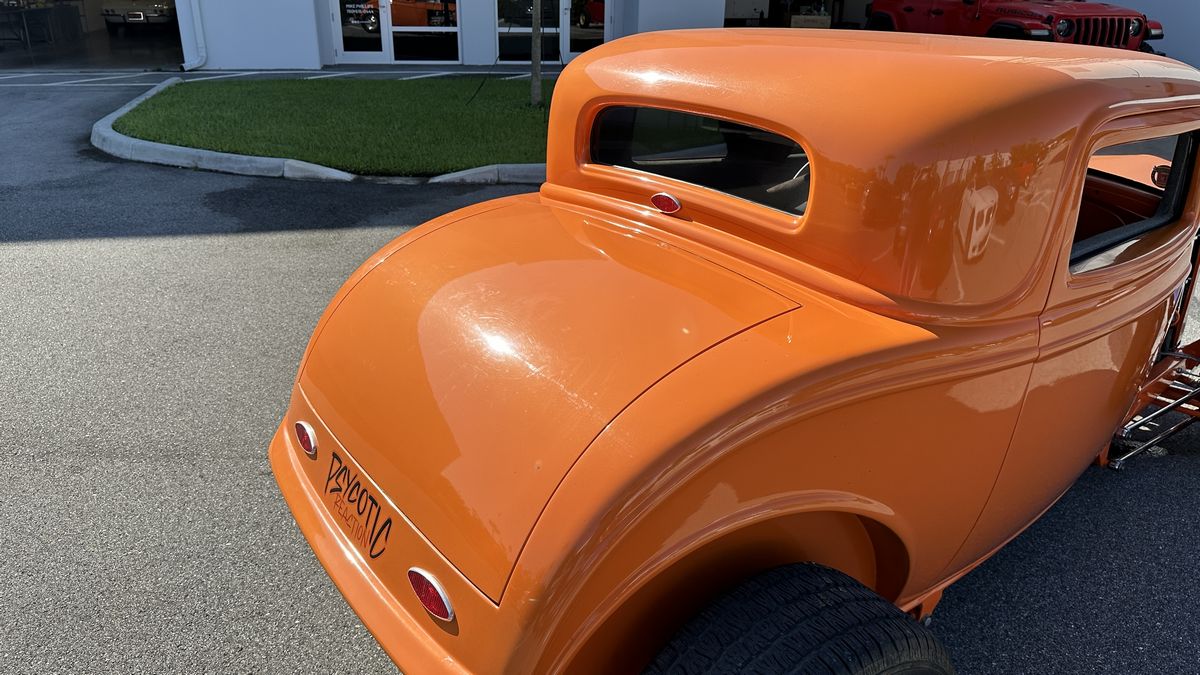
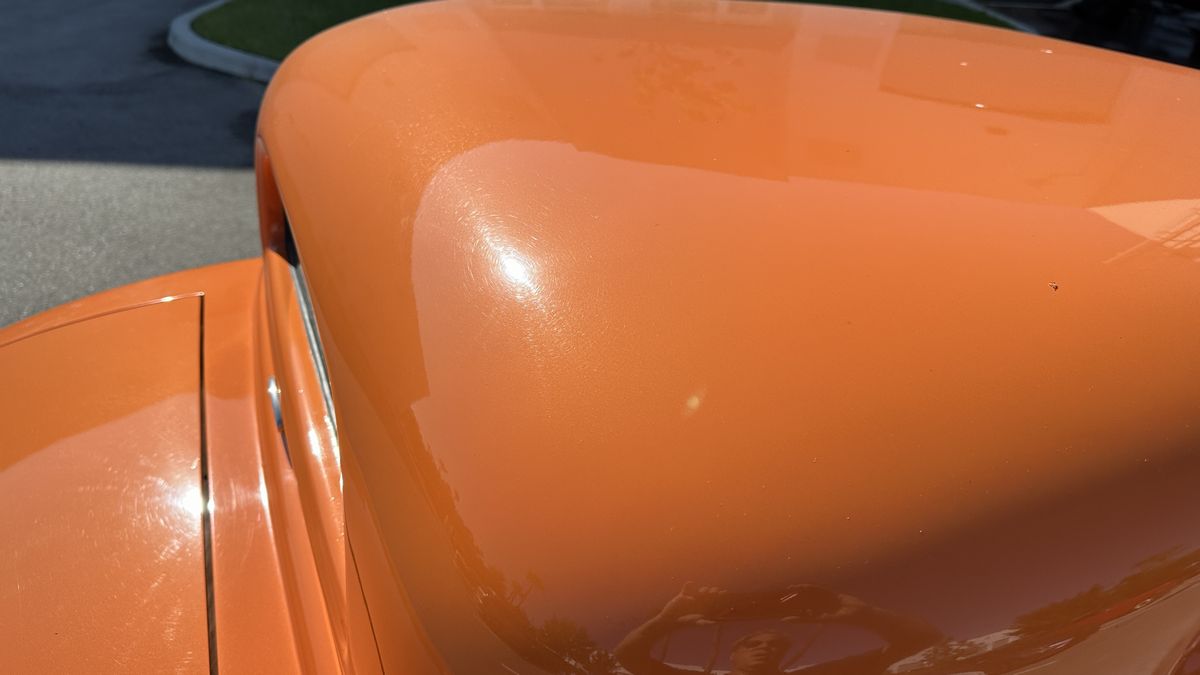
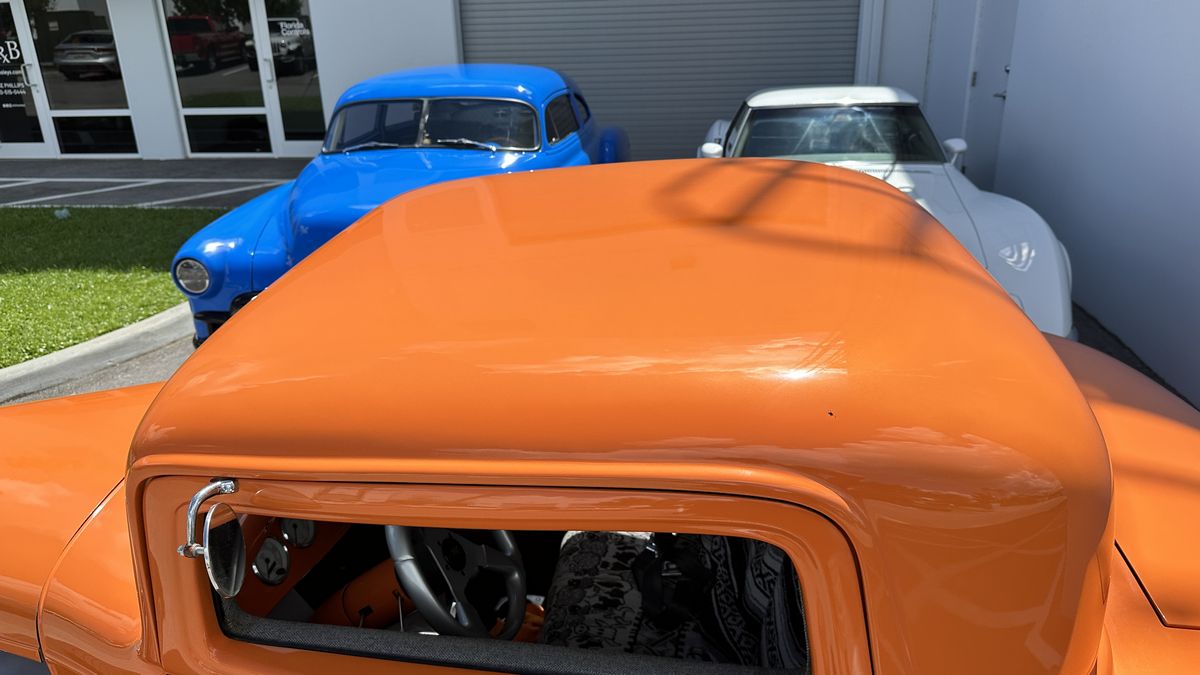
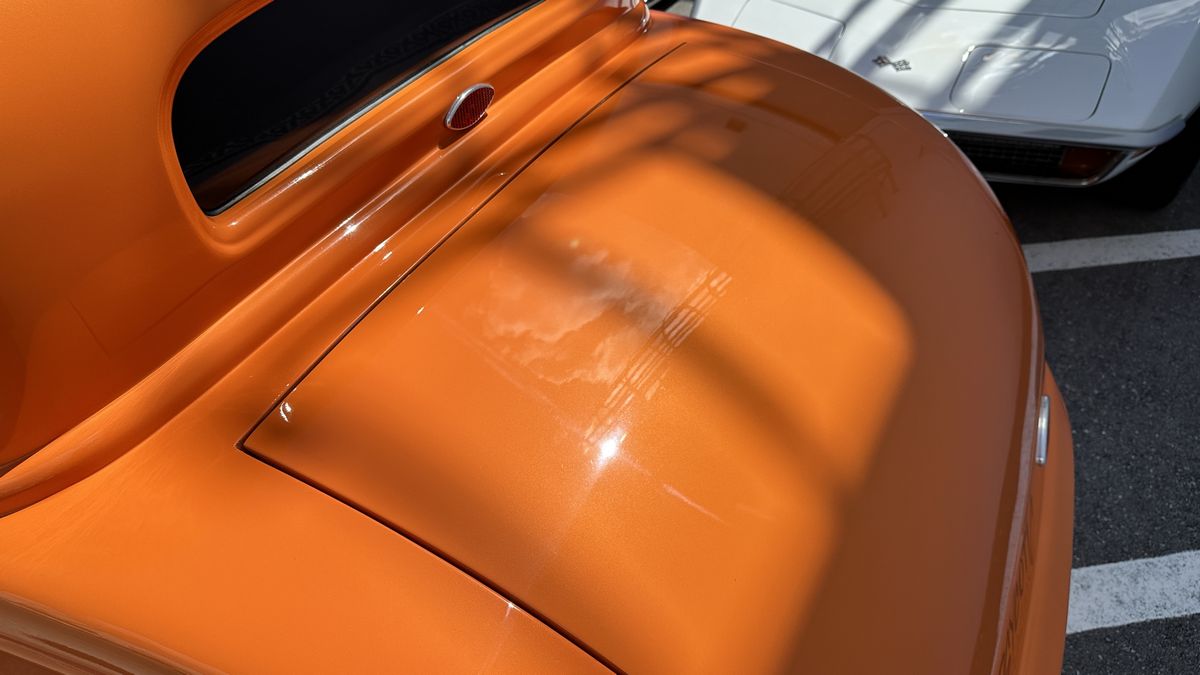
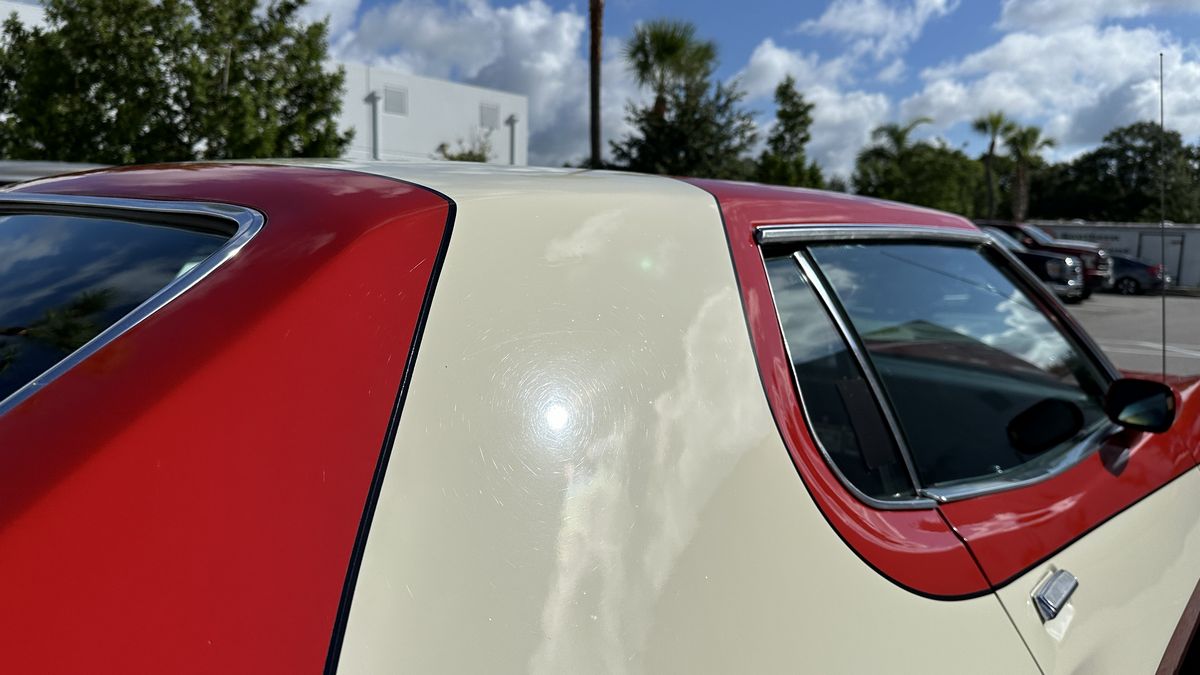
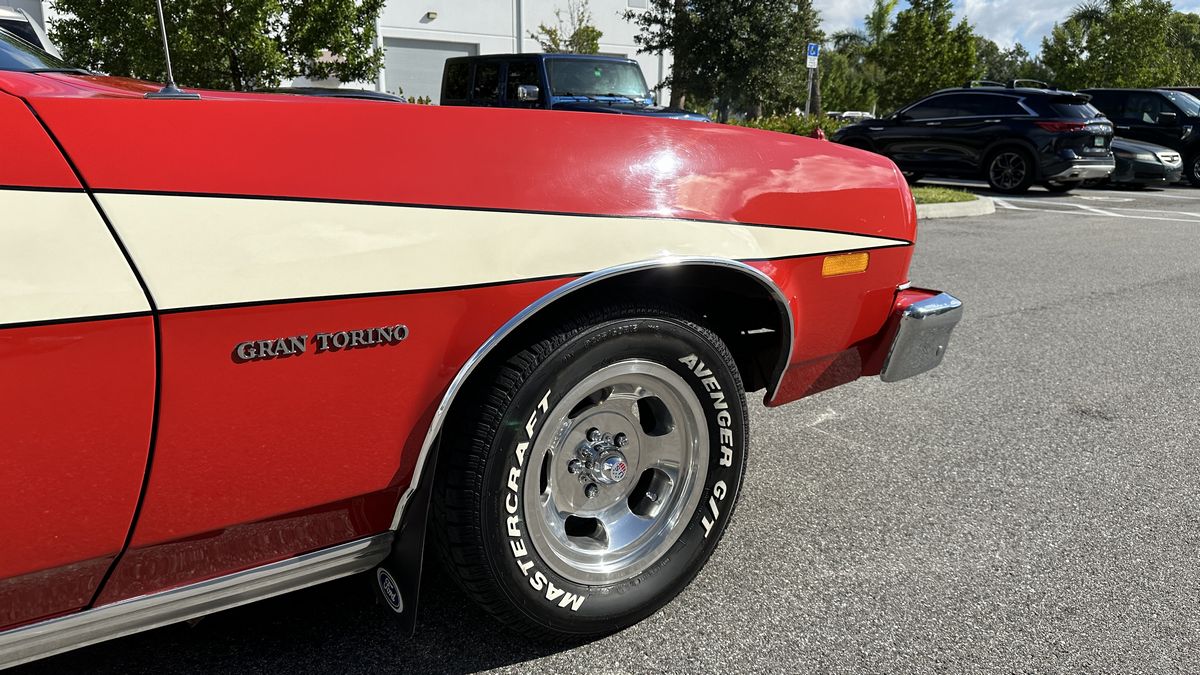
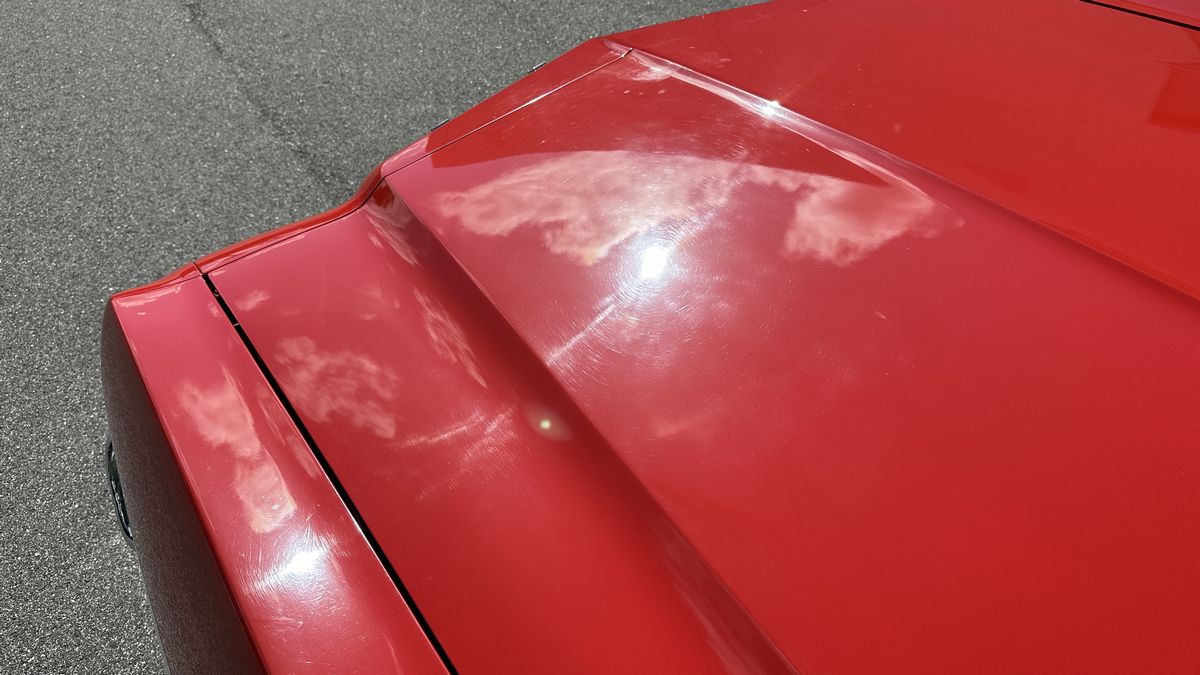
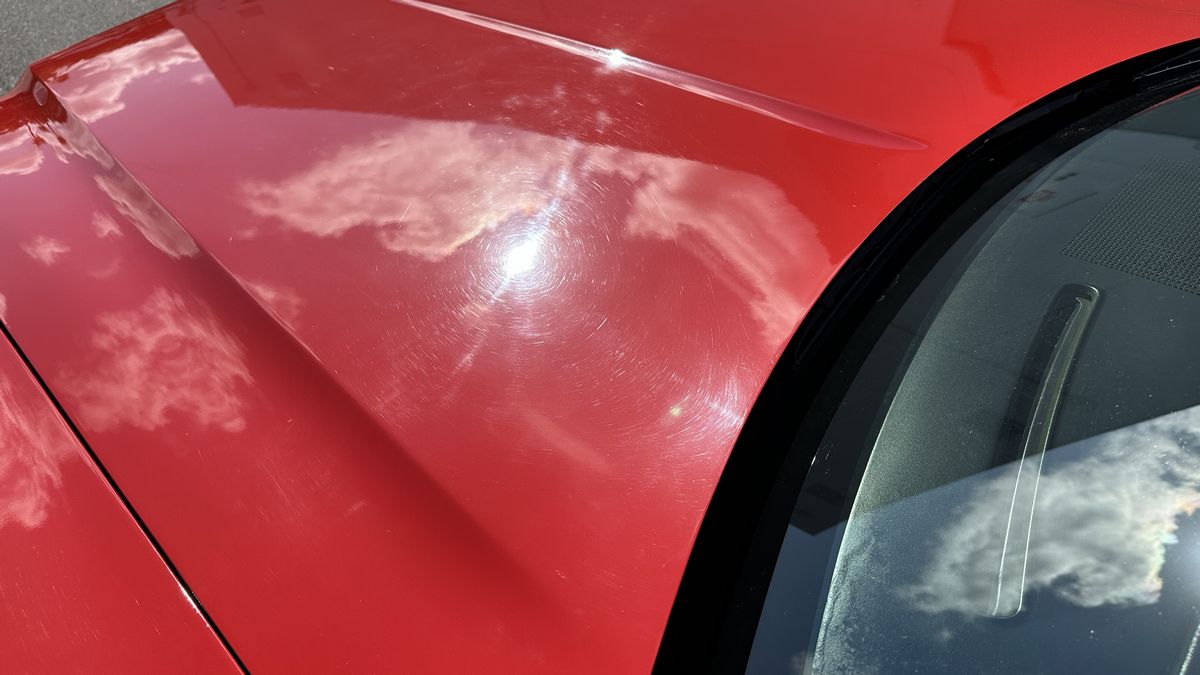
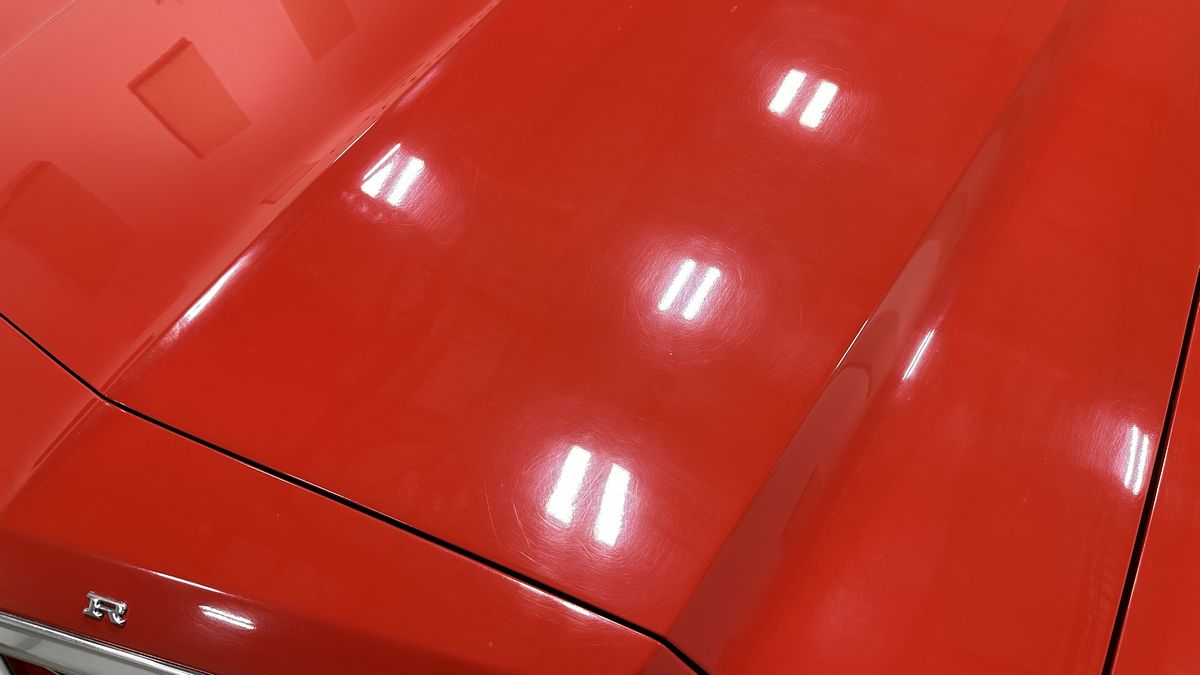
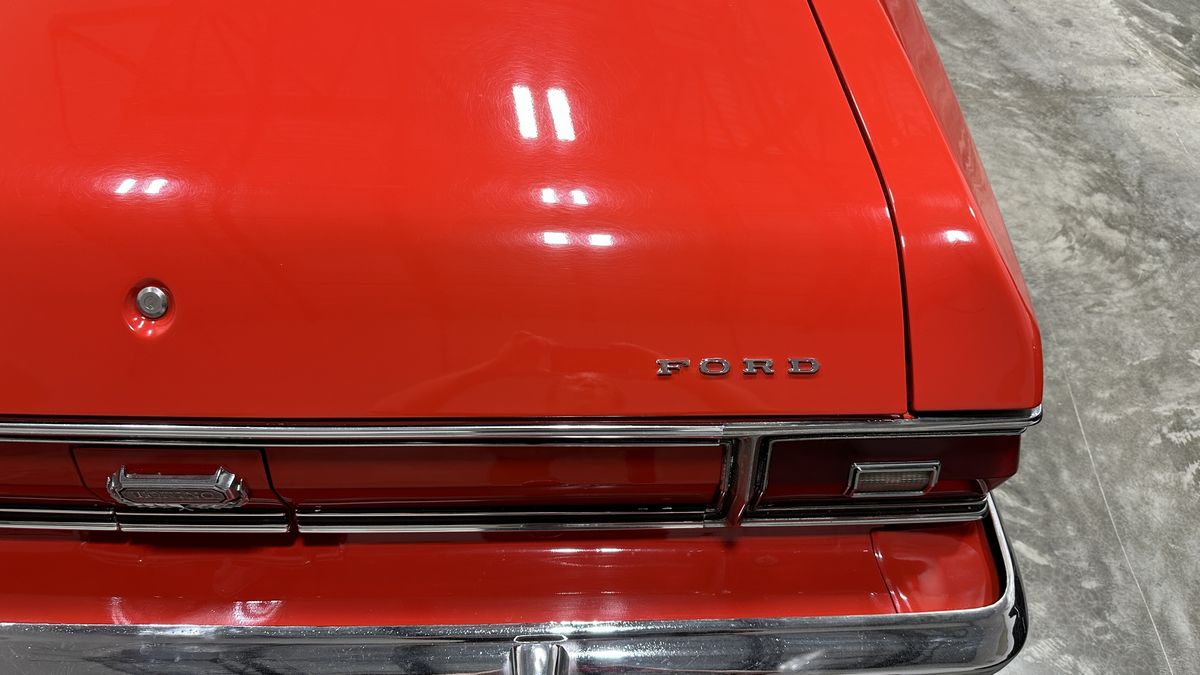
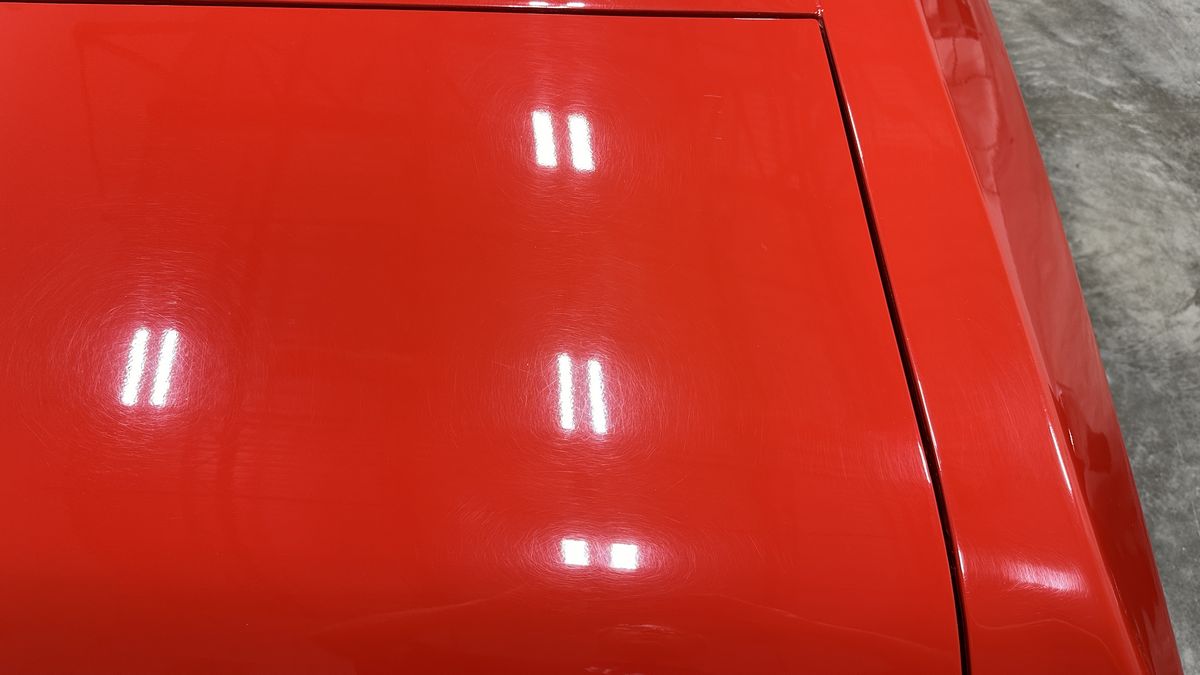
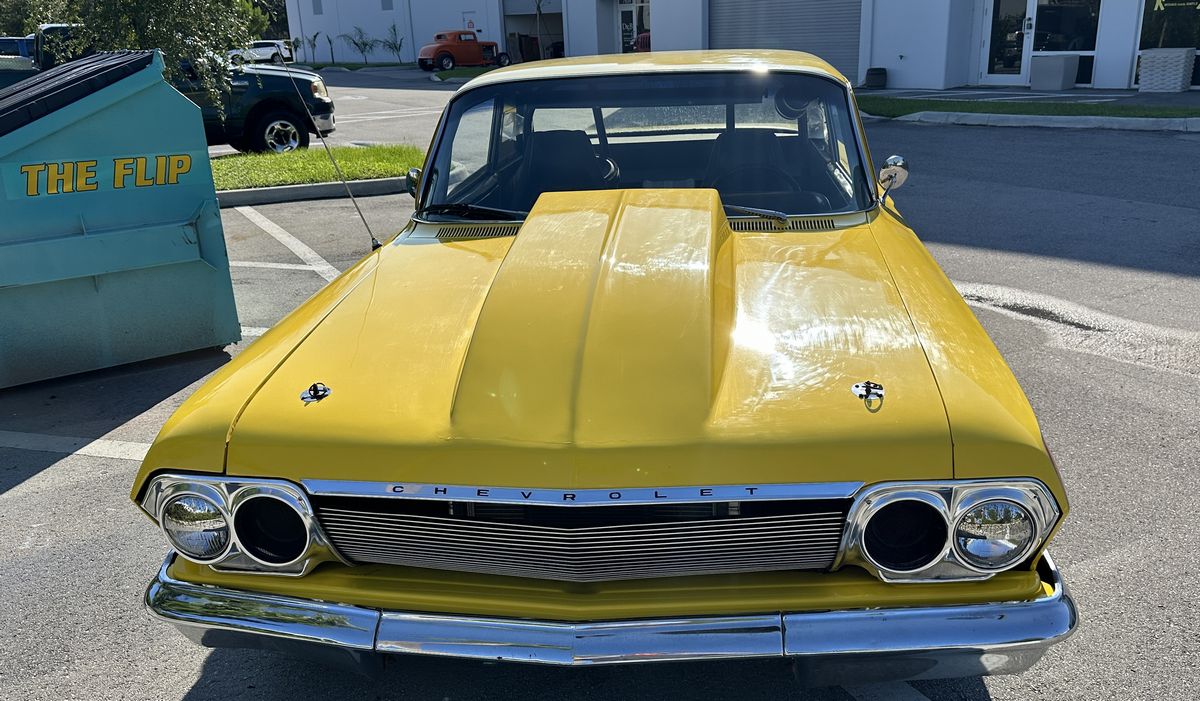
Here's 7 of the cars, with 2 more parked outside, the 2020 Camaro and the 2013 Toyota Matrix.
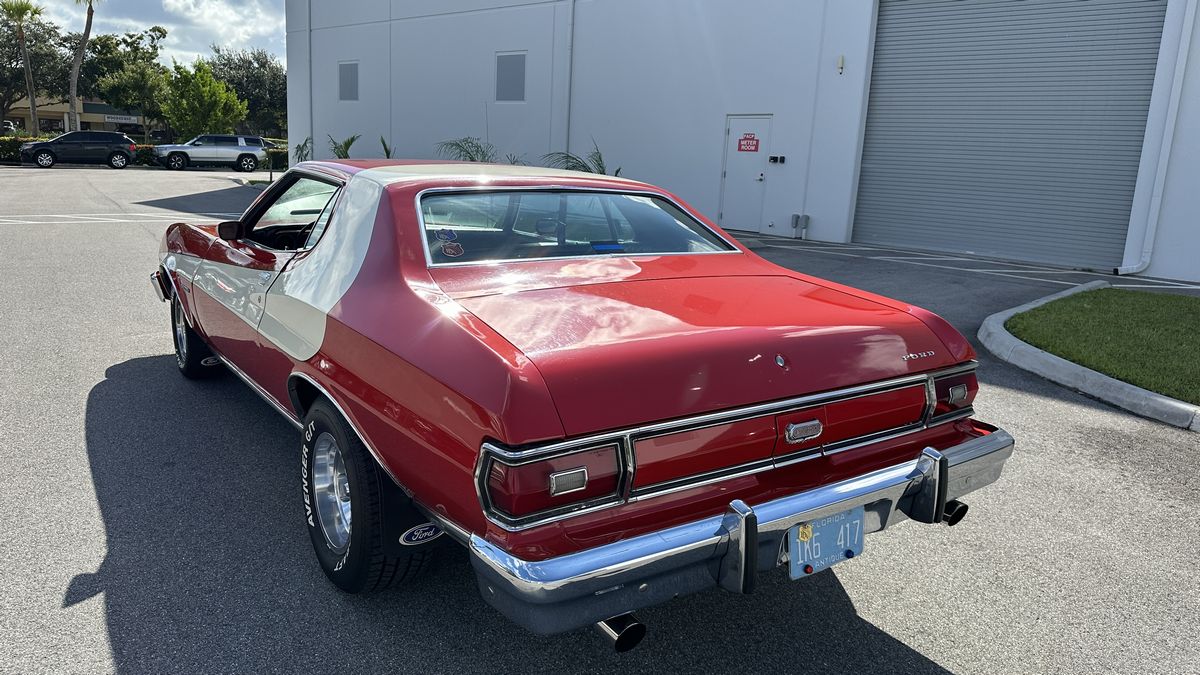
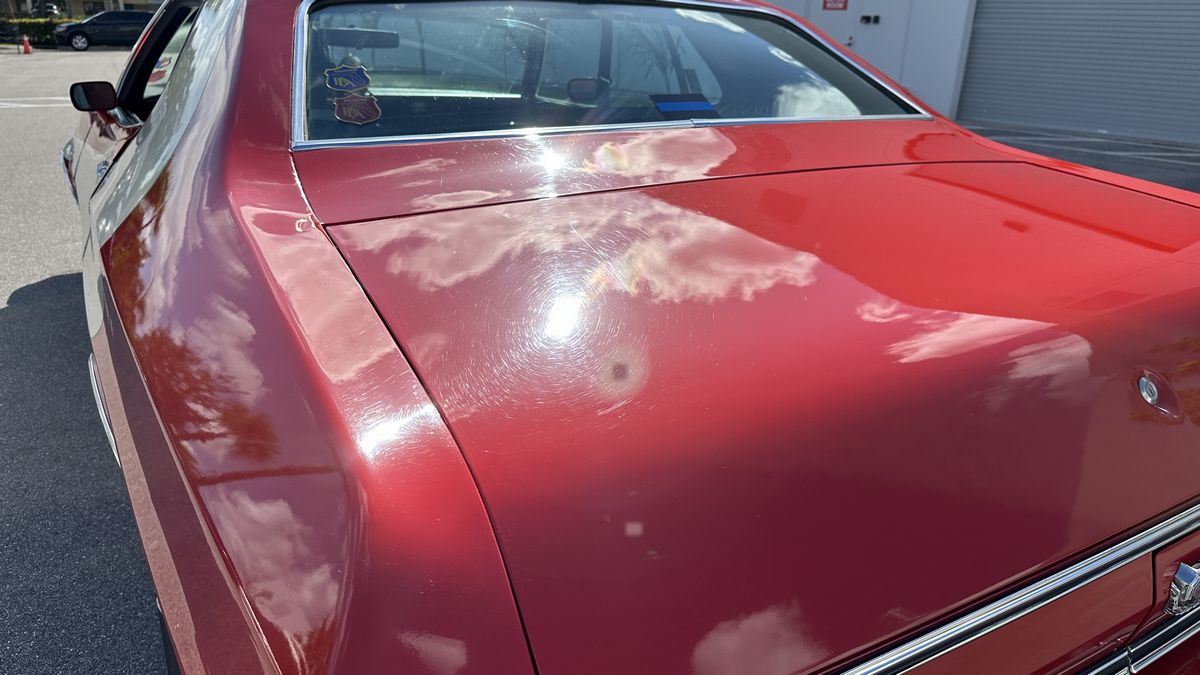
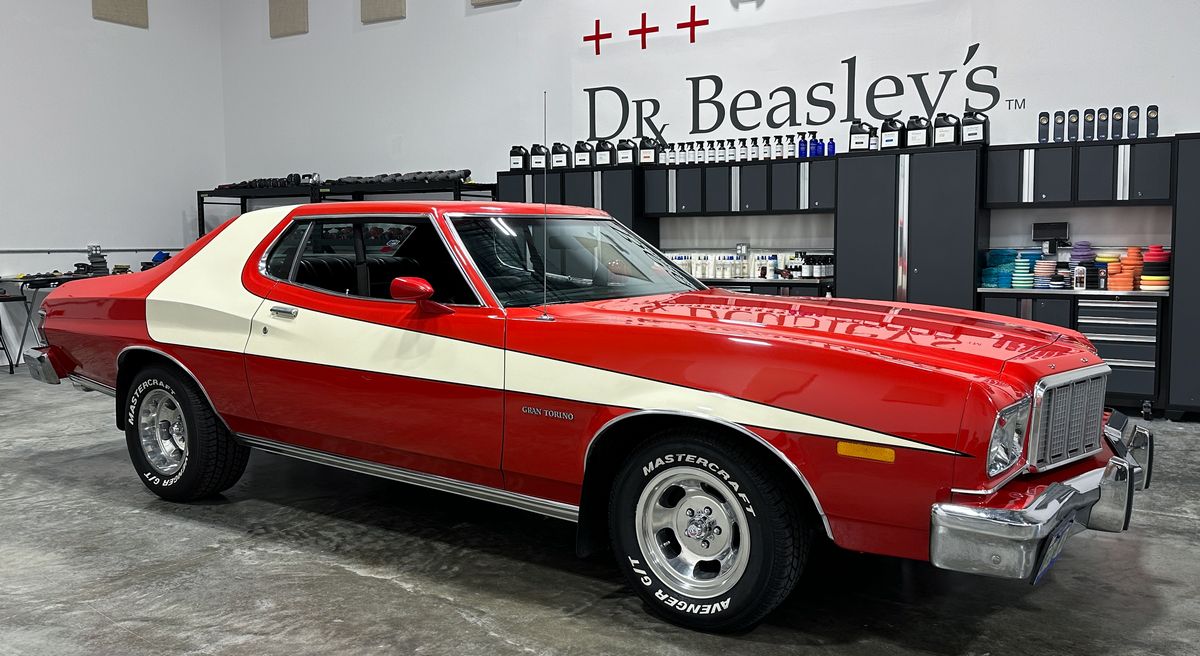
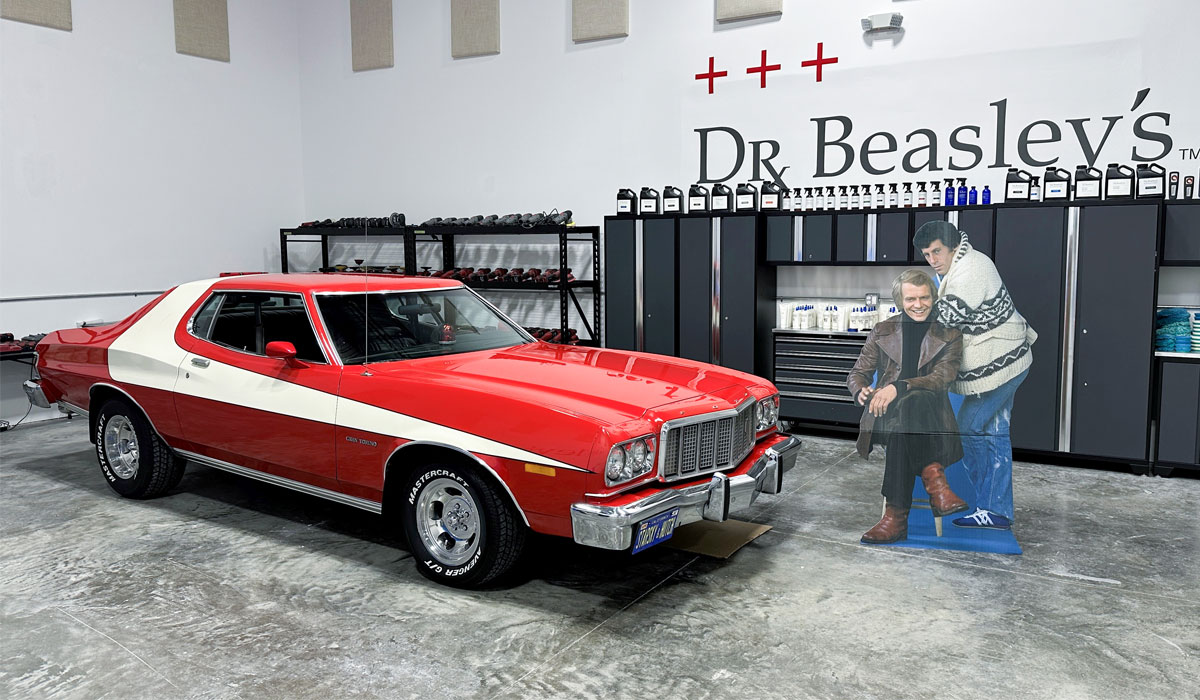
I've never seen any other detailing class with a real Starsky & Hutch Police Car for the students to train on.
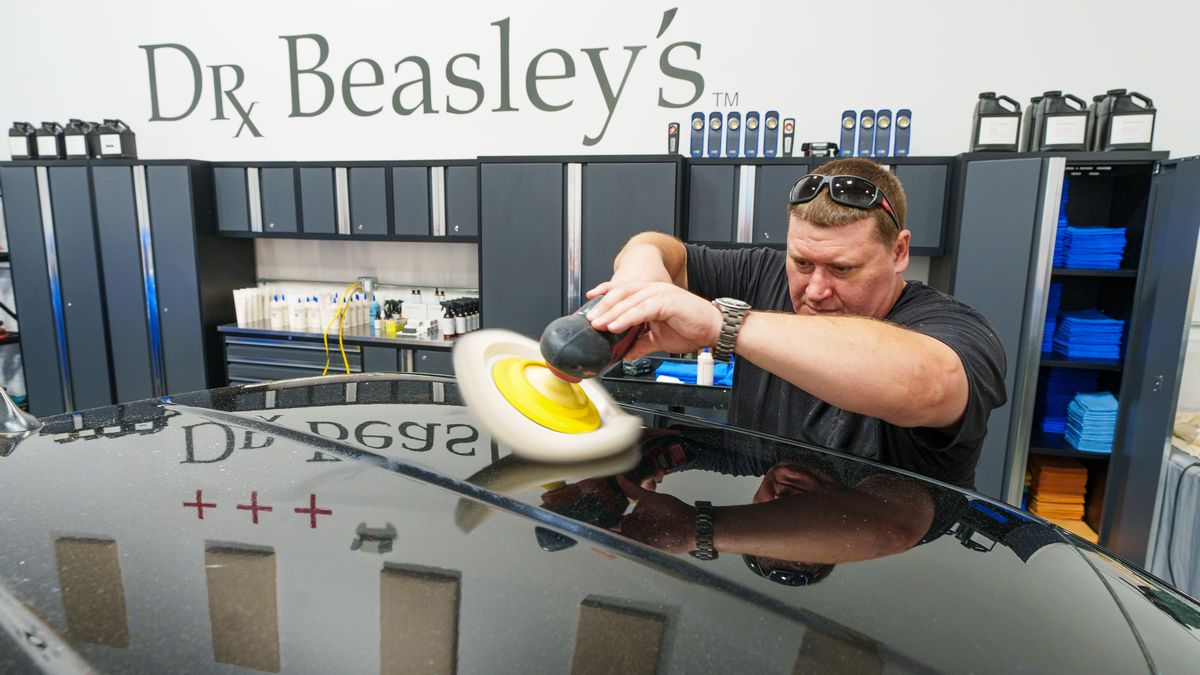
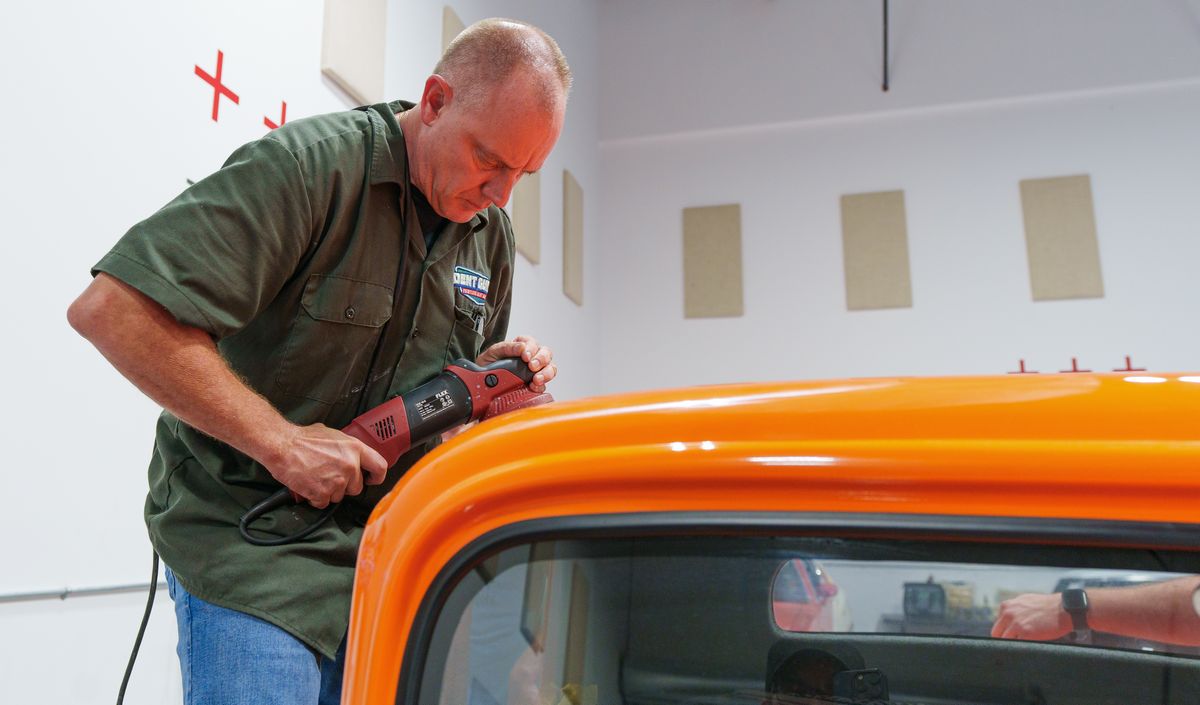
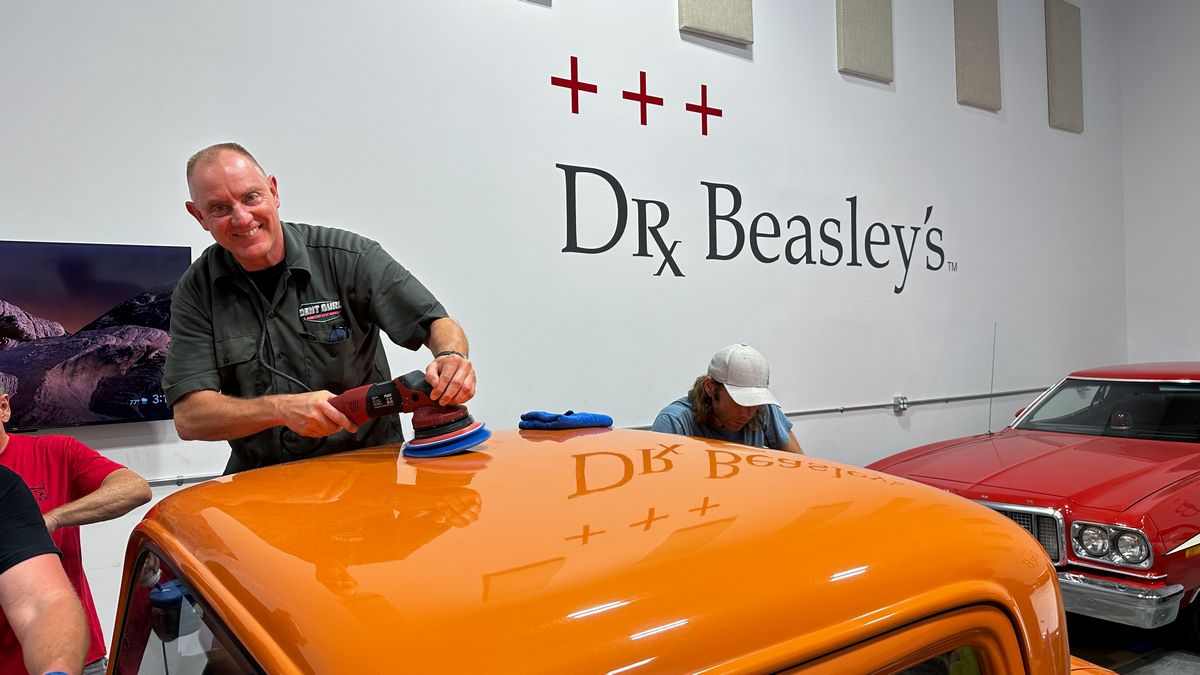
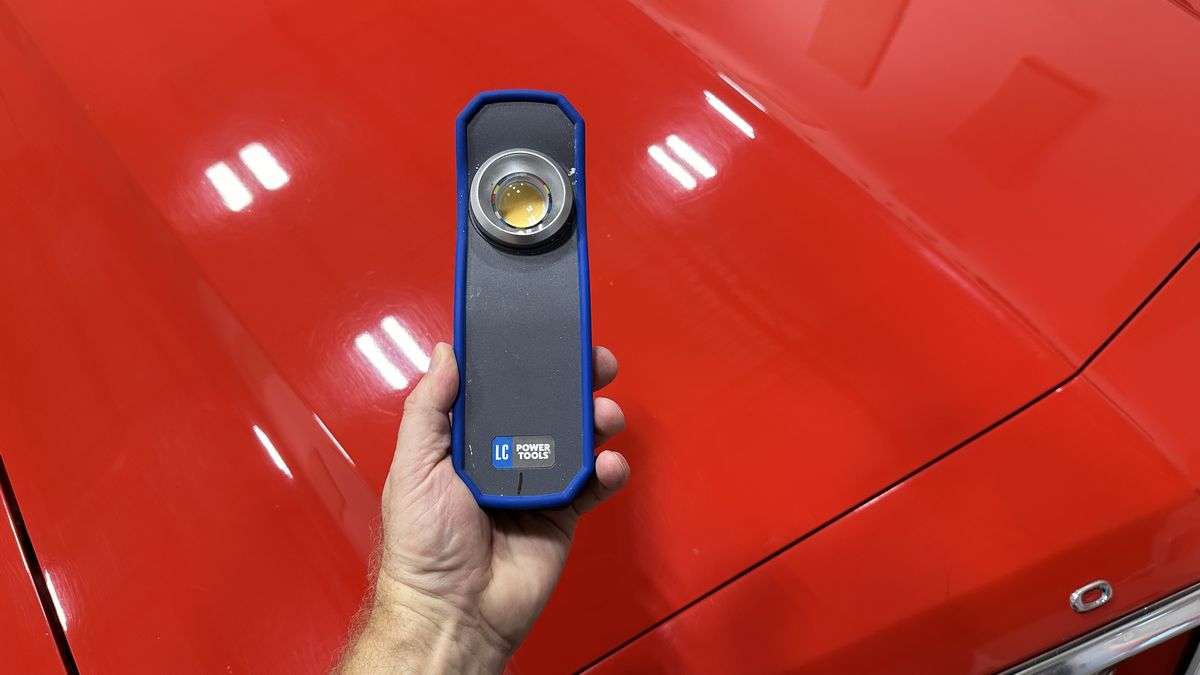
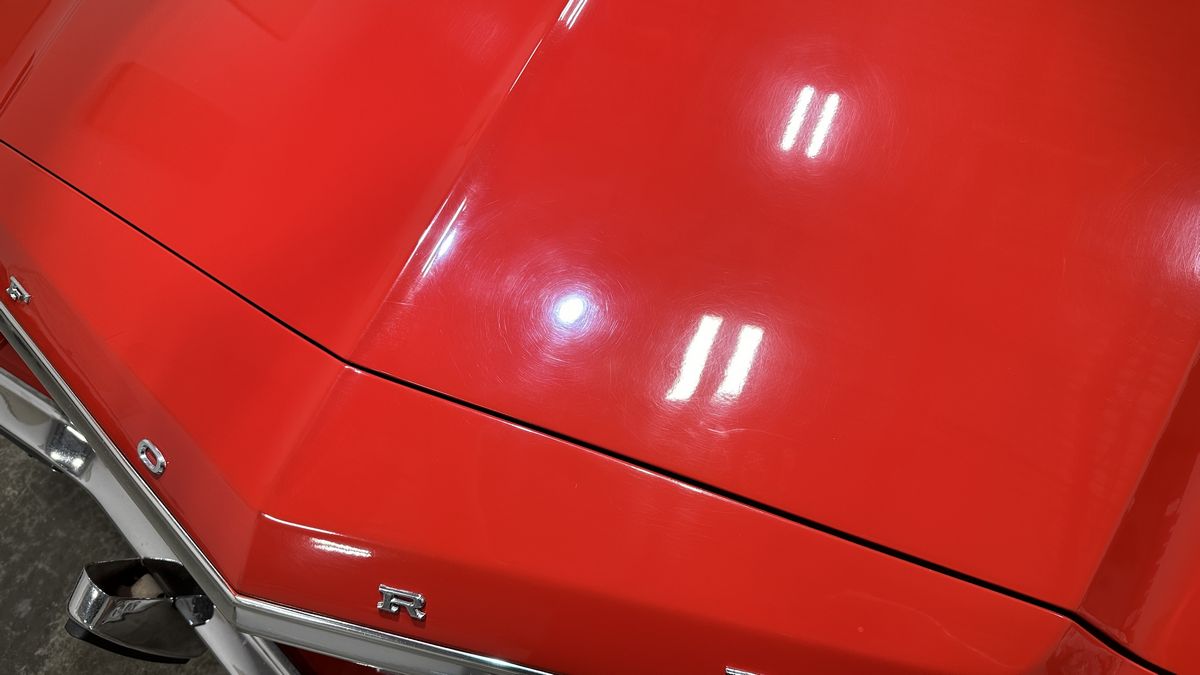
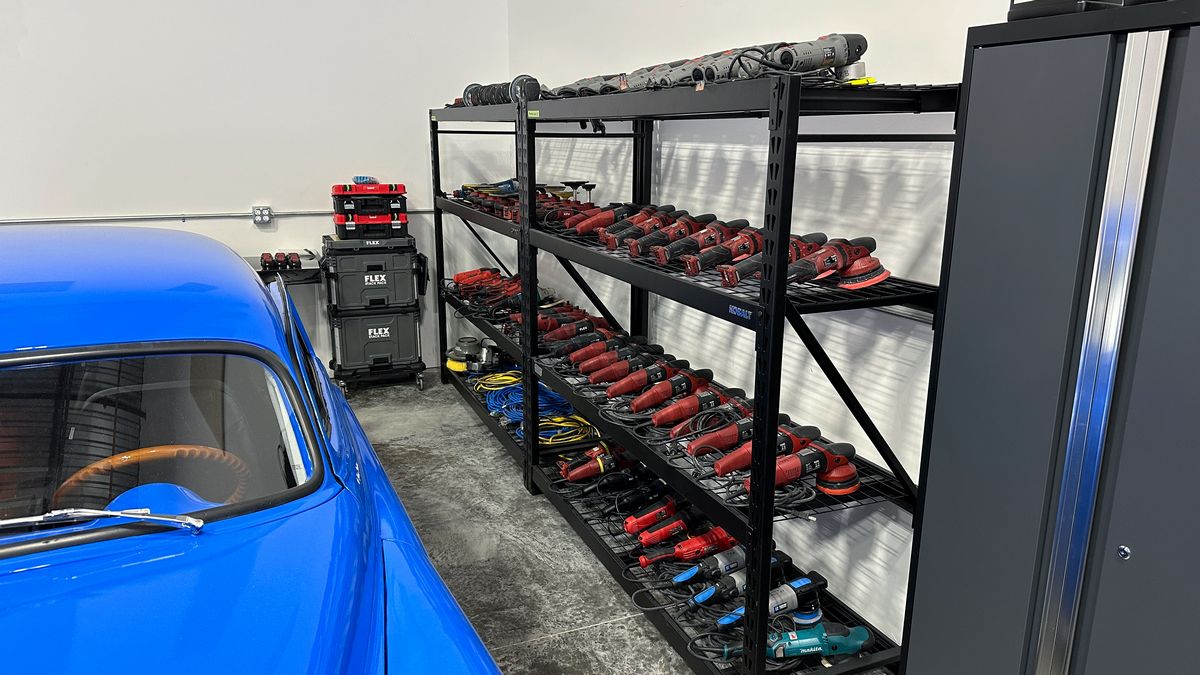
More than enough tools and the power to run them.
Here's the two cars that were parked outside as there just wasn't enough room to bring them into the garage.
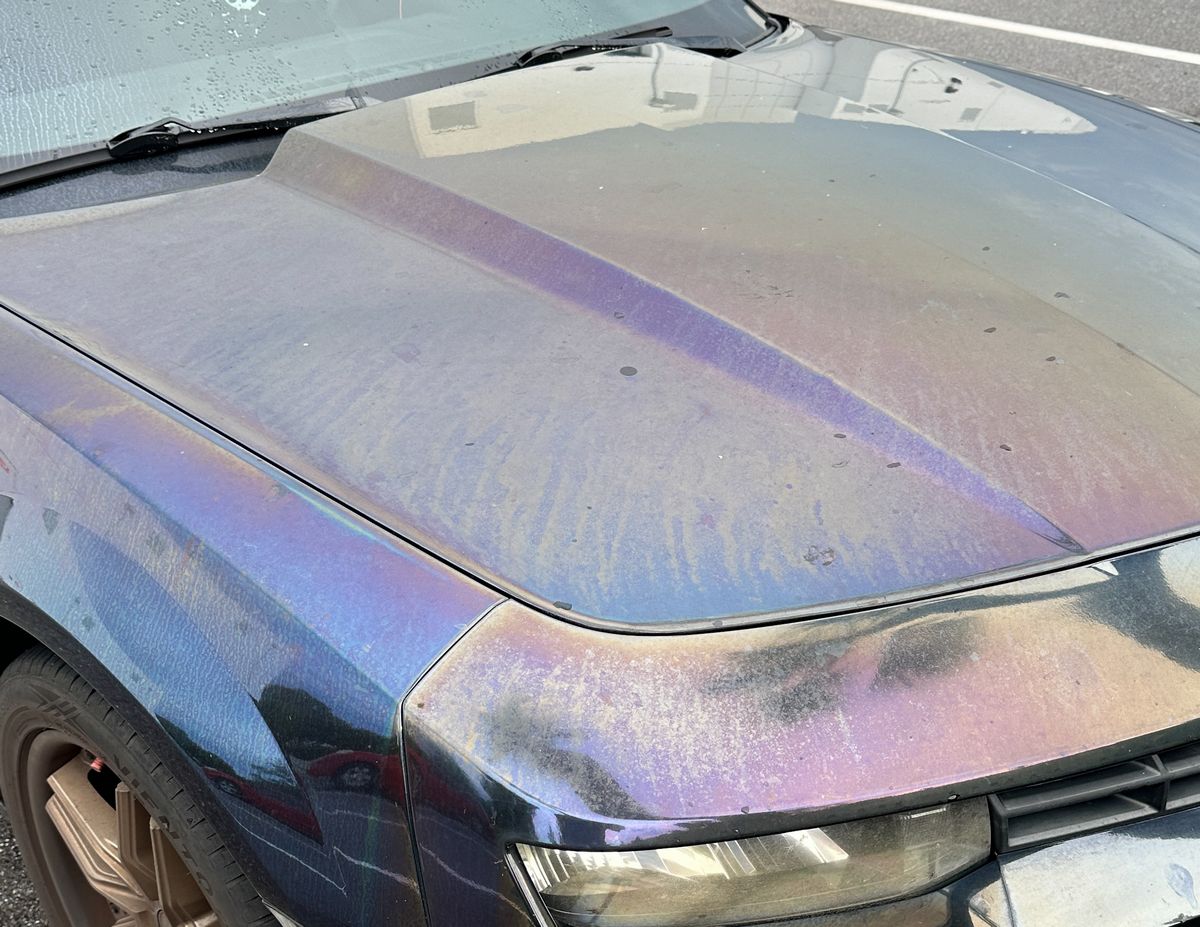
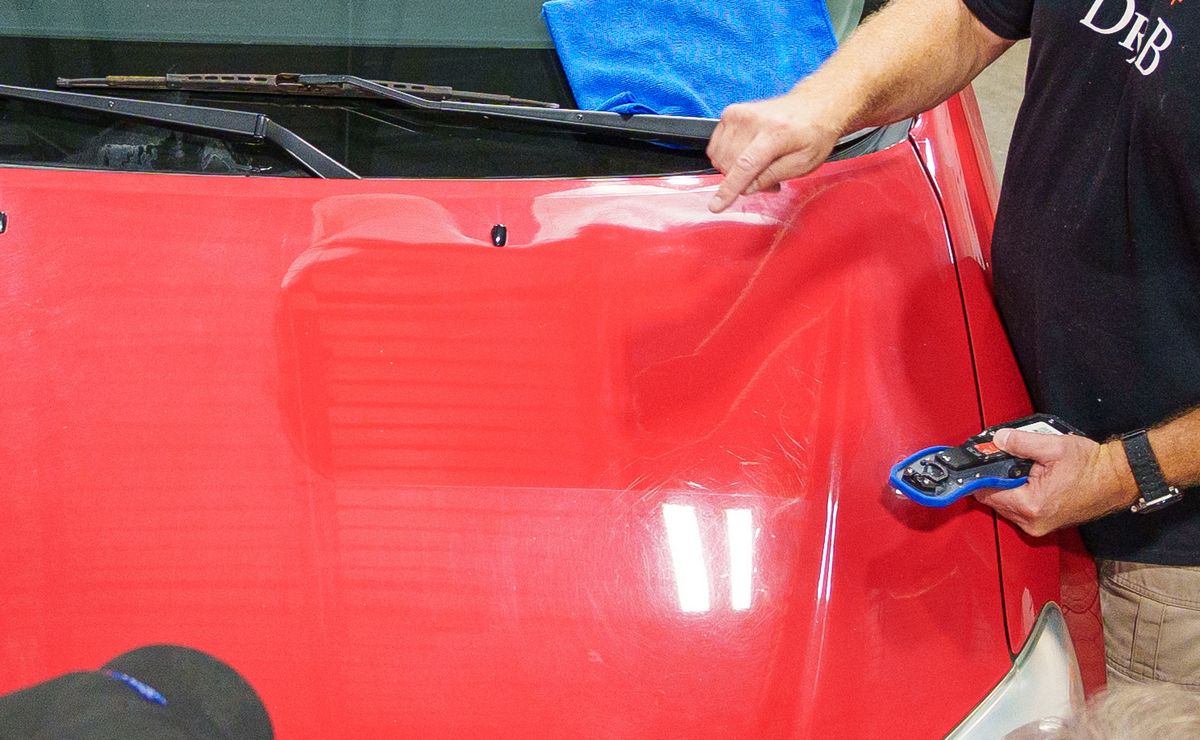
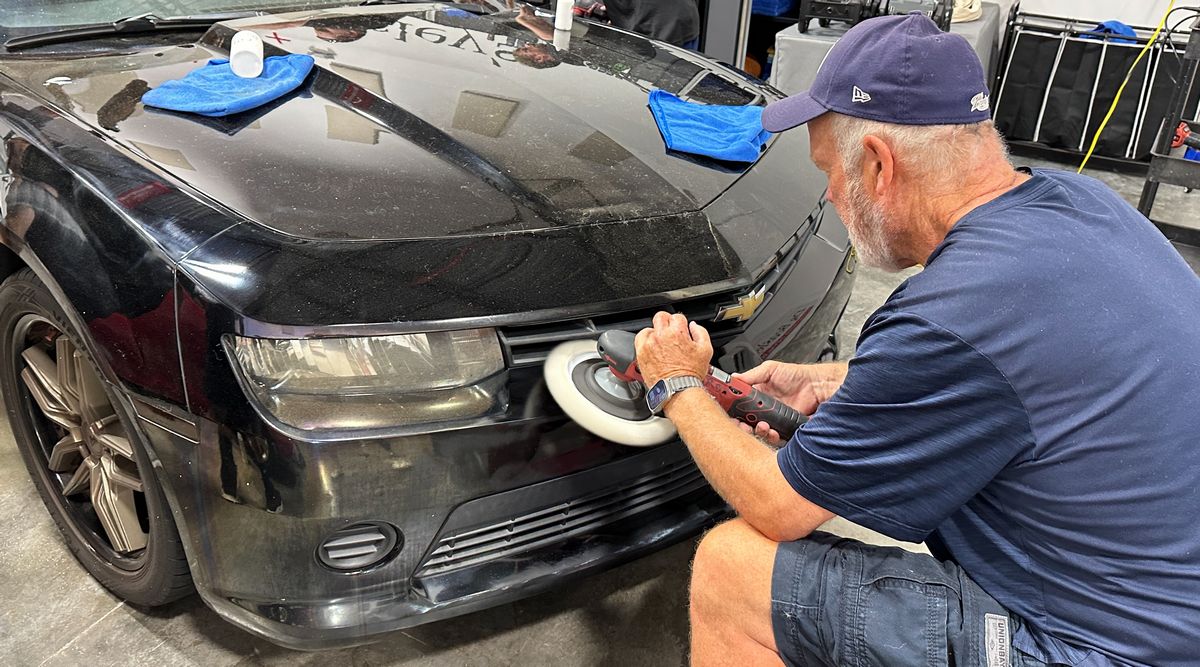
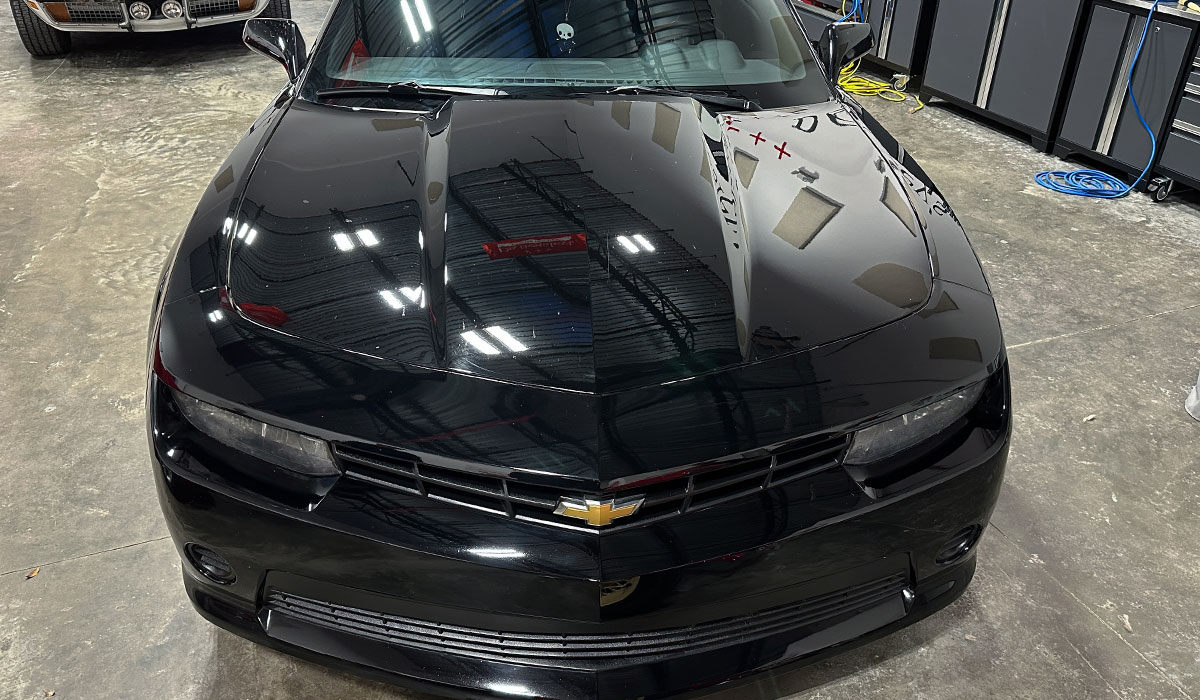
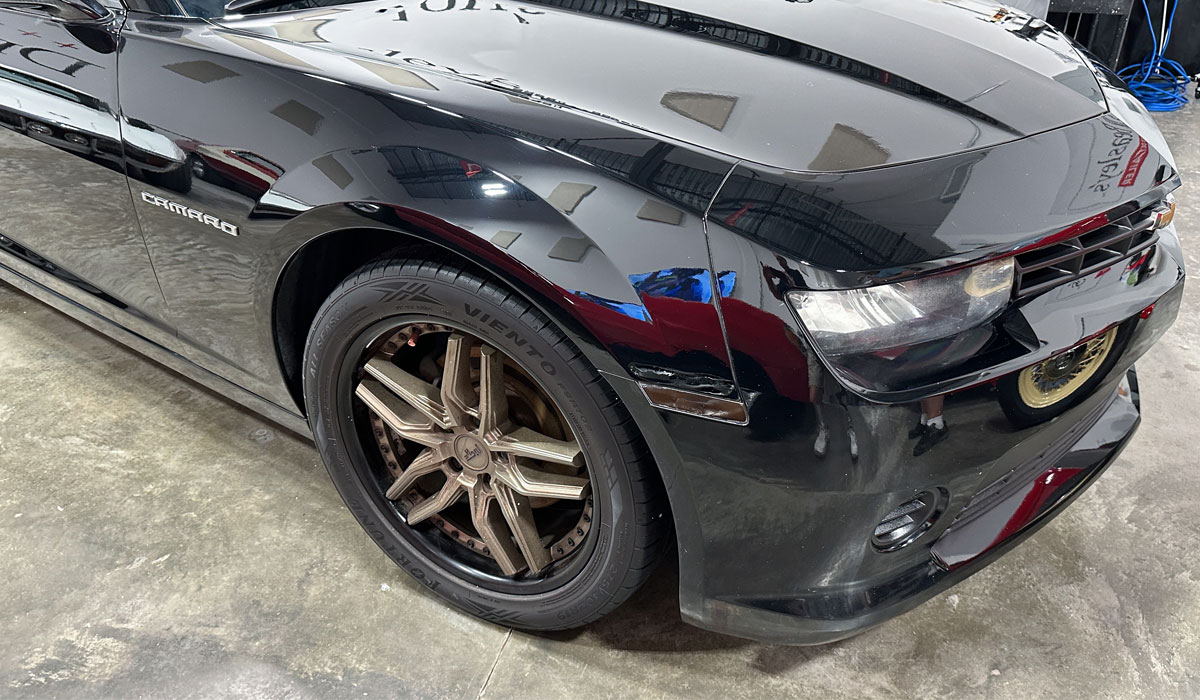
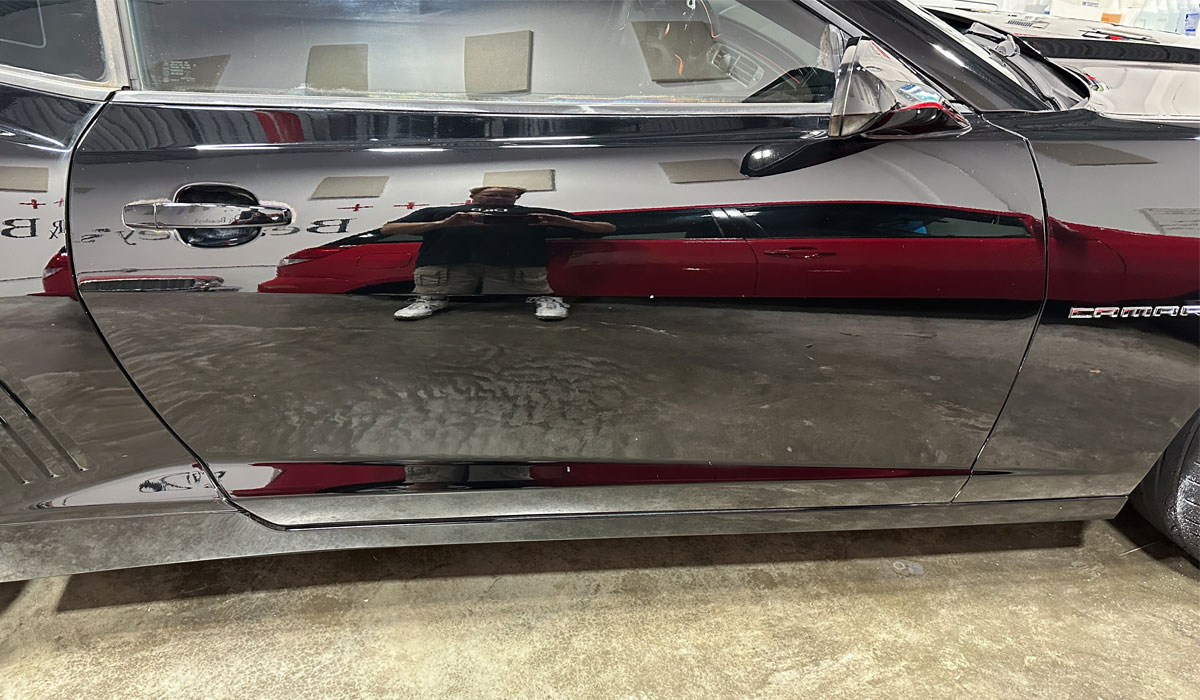
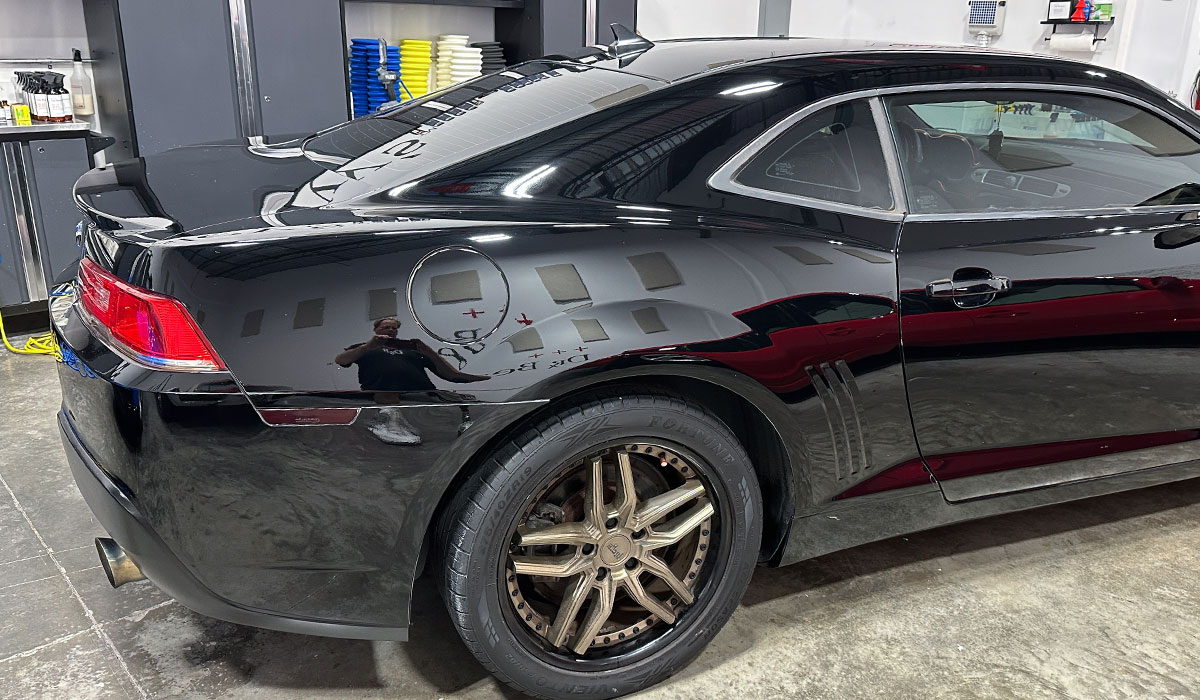
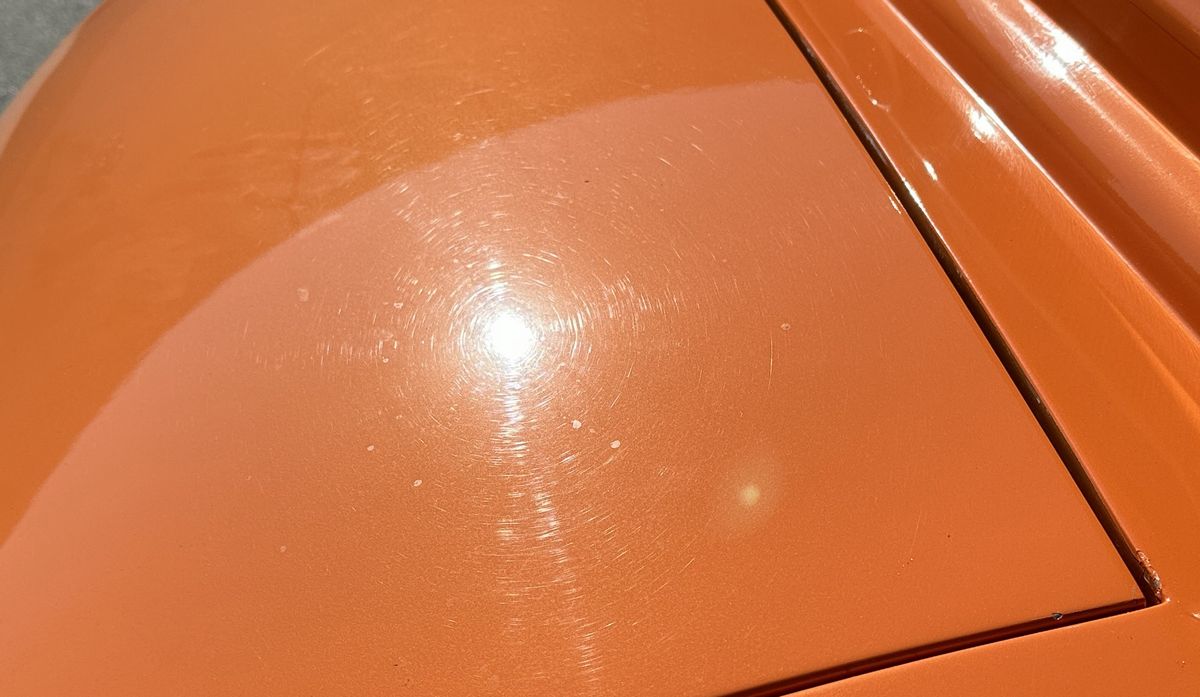
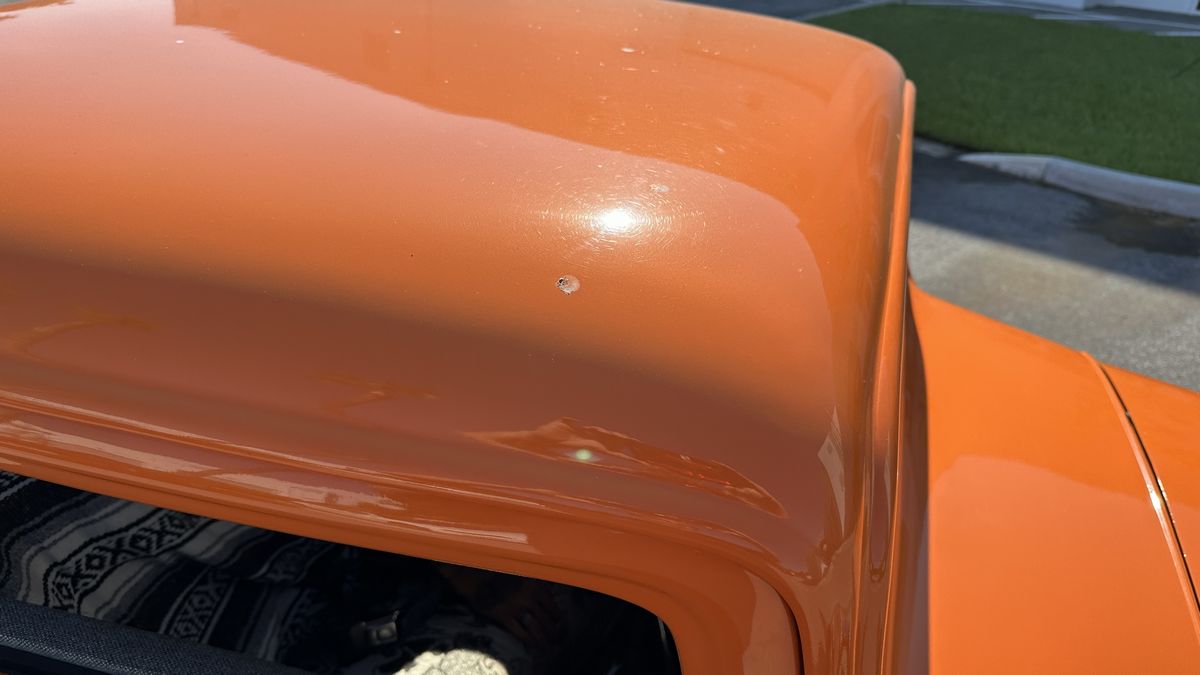
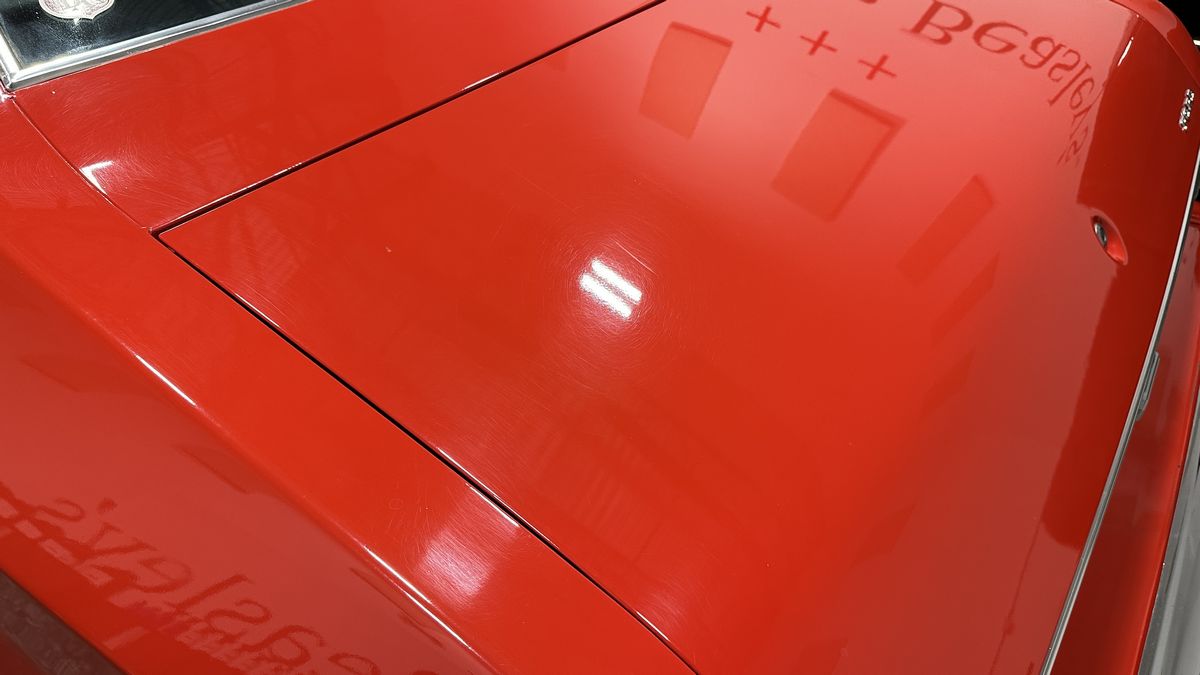
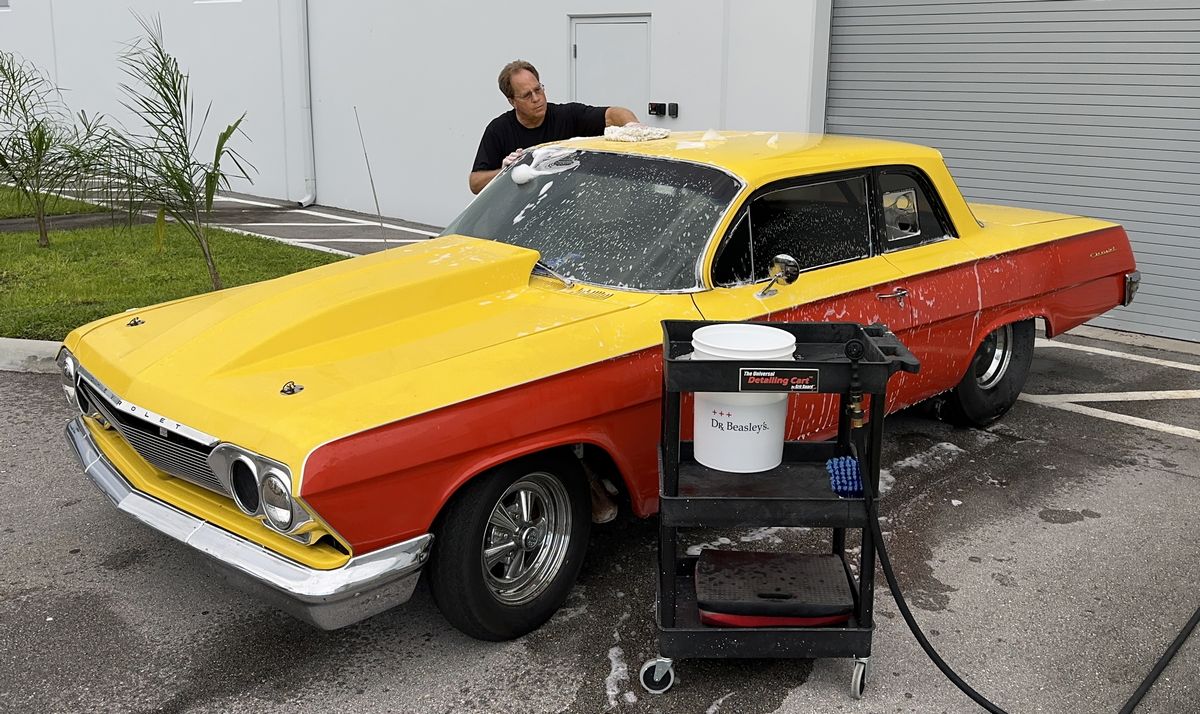
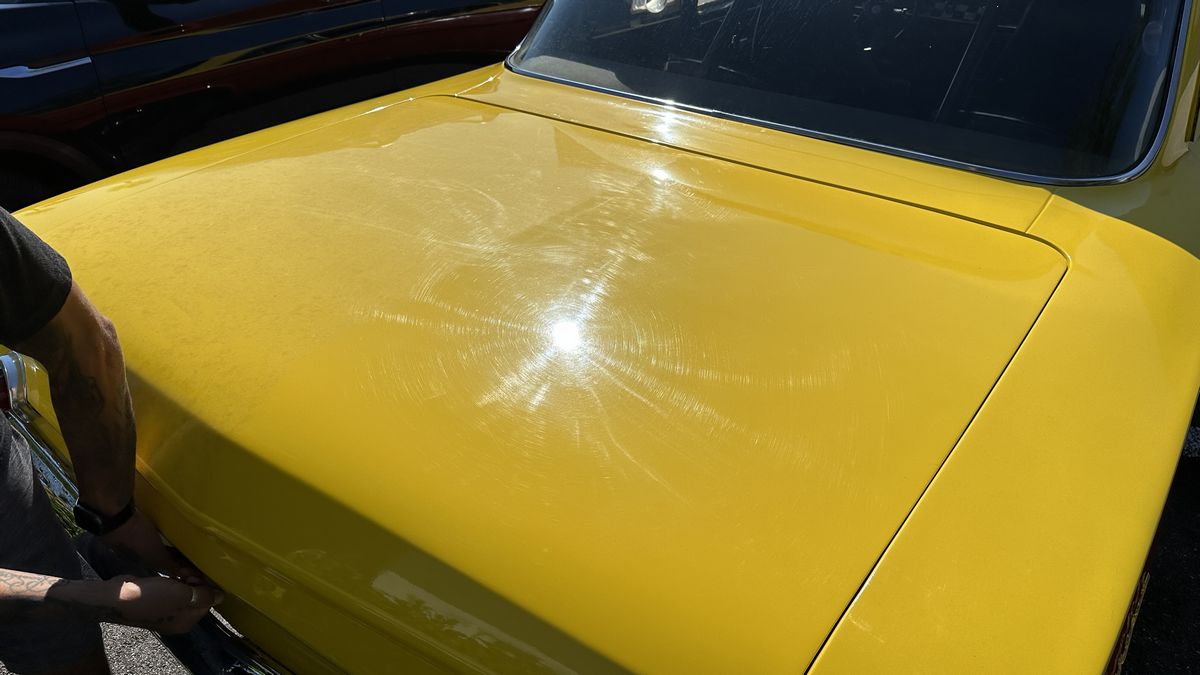
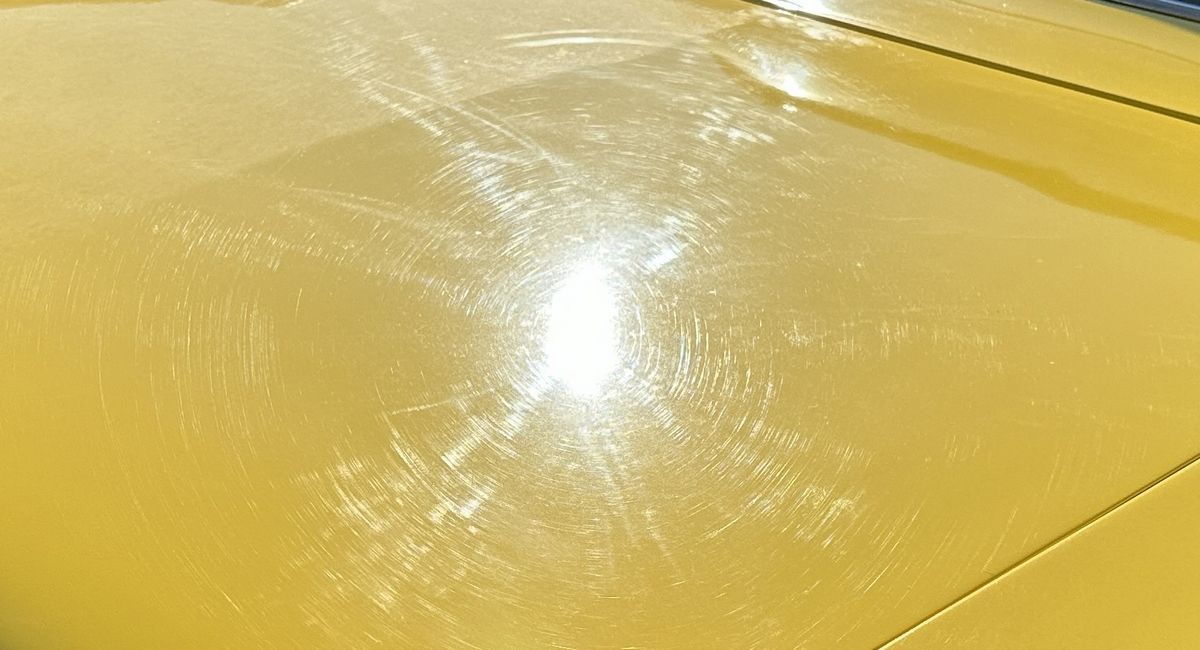
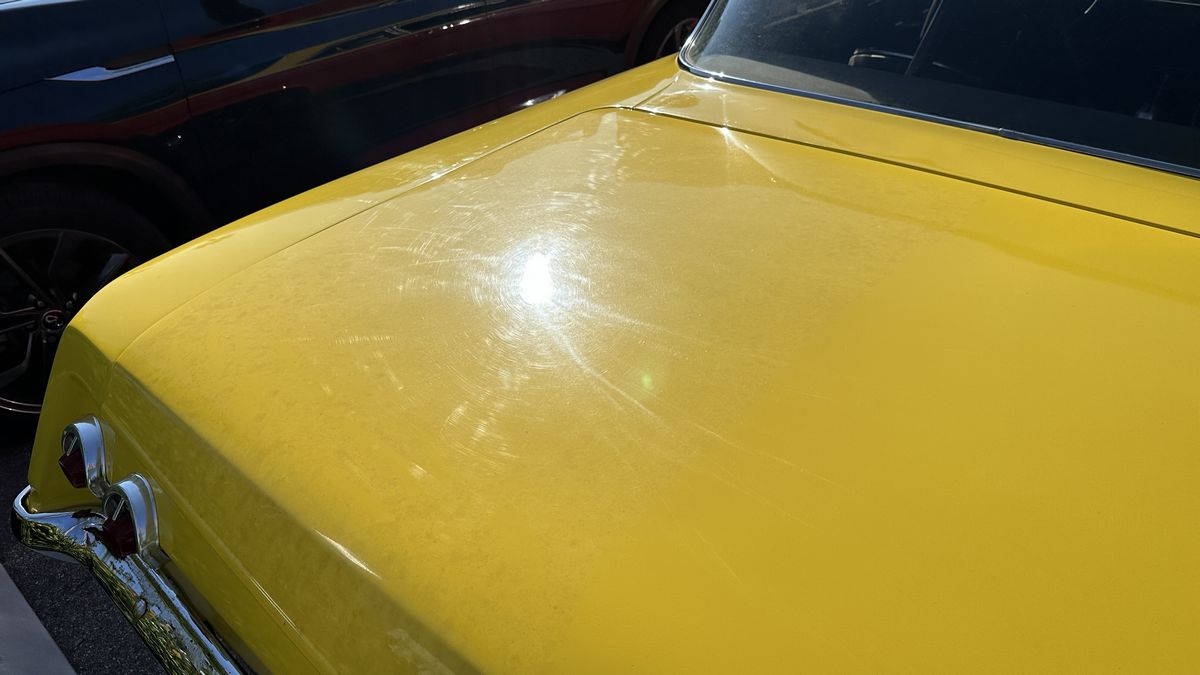
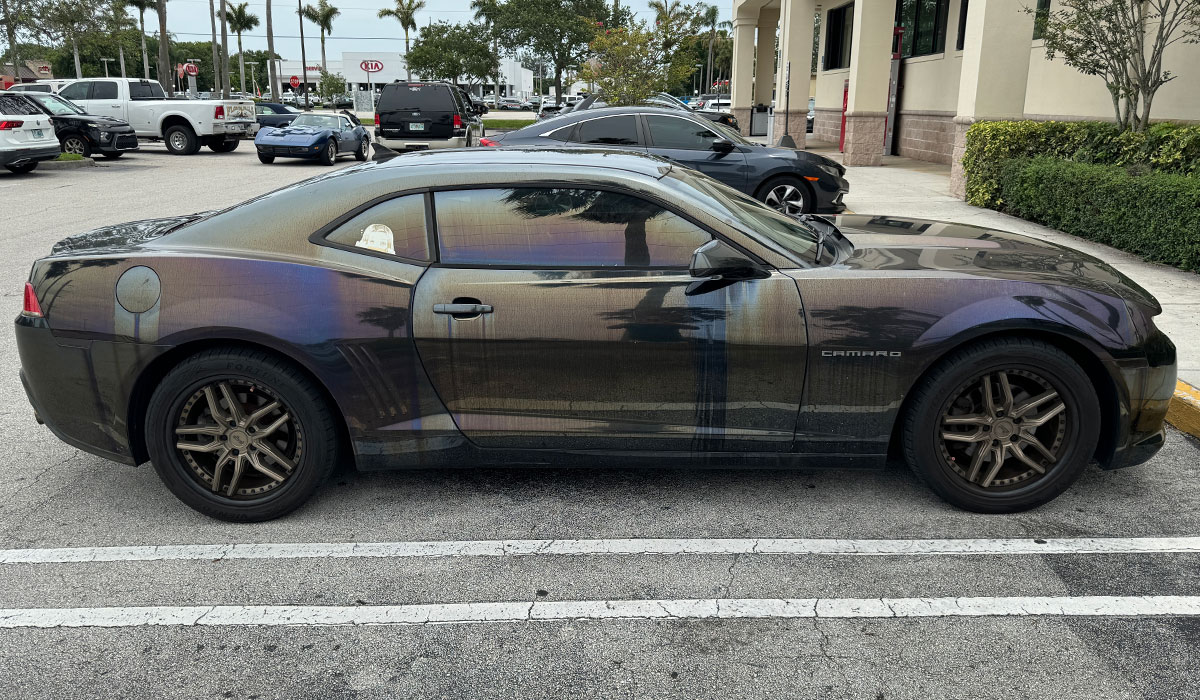
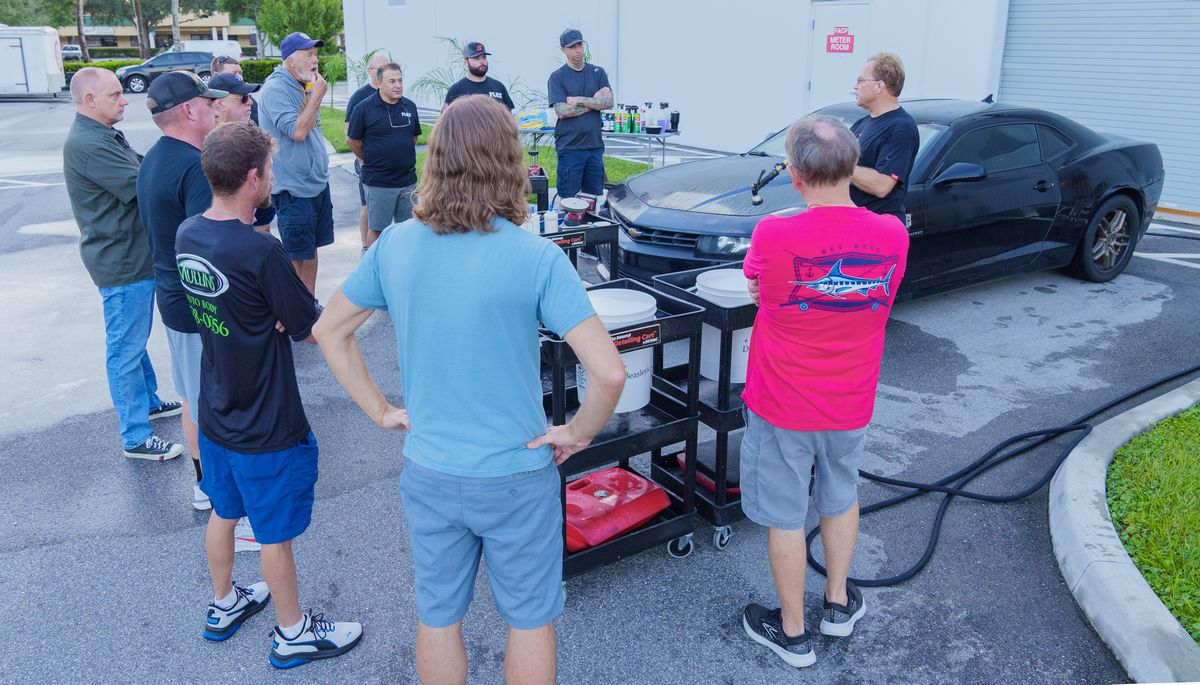
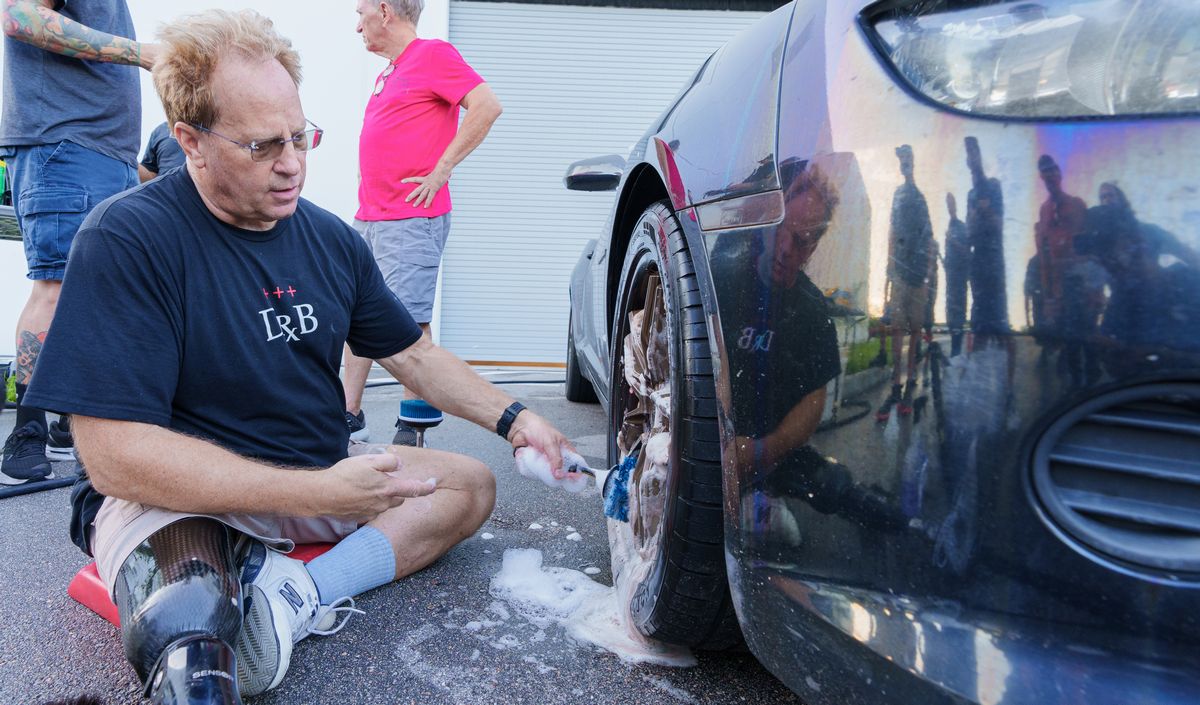
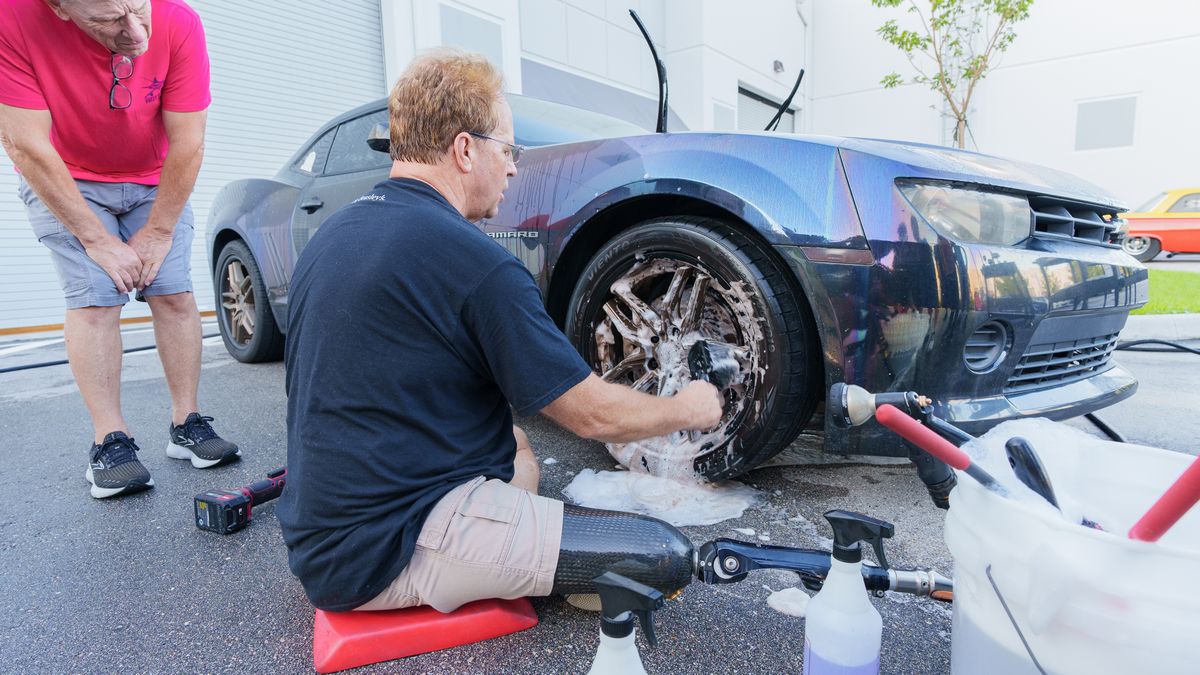
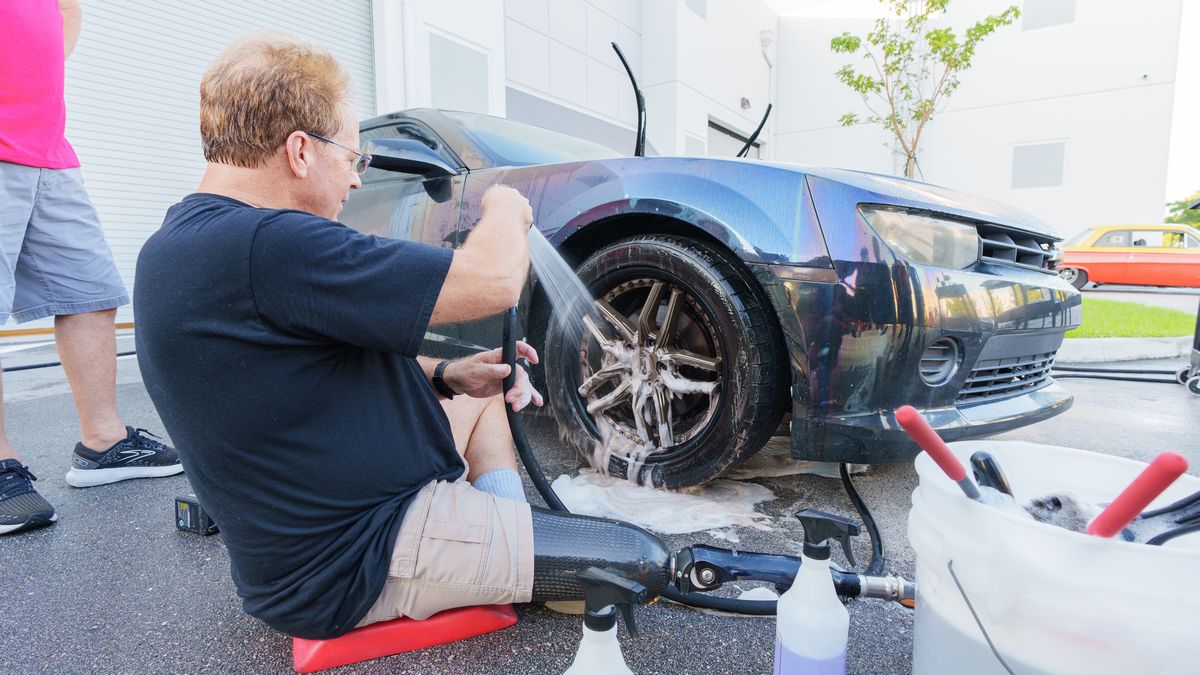
2020 Camaro - Horrendous Hard Water Mineral Staining
I met the owner at a local Walgreens, and she agreed to let us use her Camaro for the September class. As you can see by the pictures, the paint is in absolutely horrible condition.
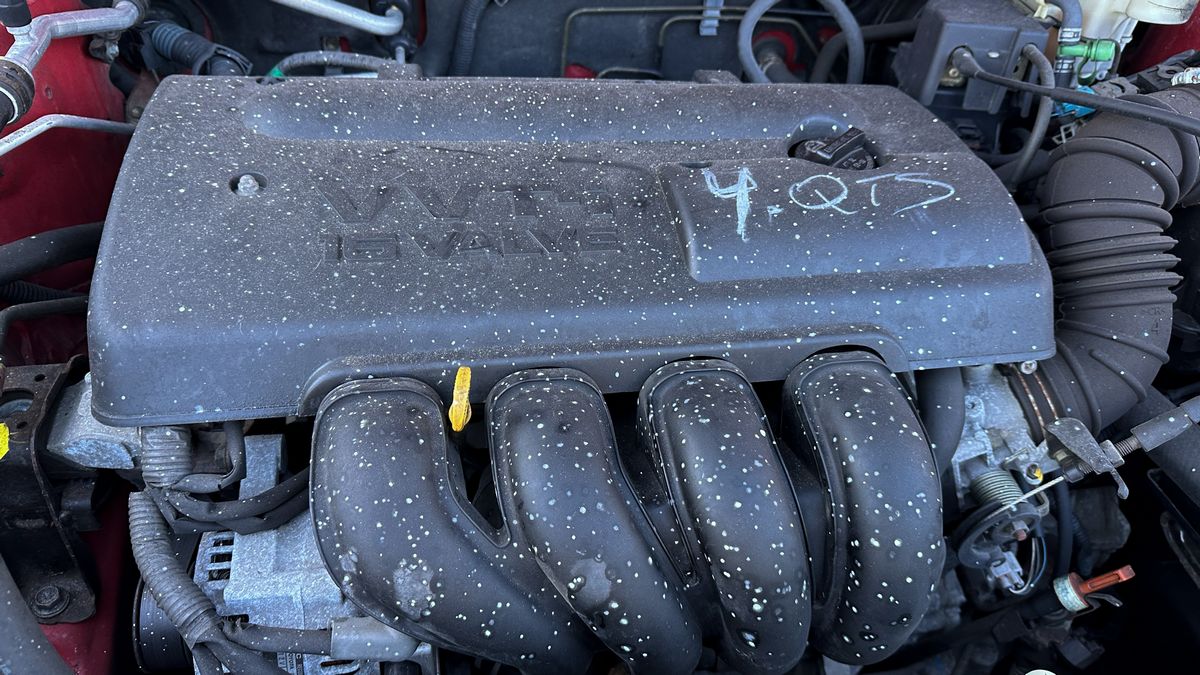
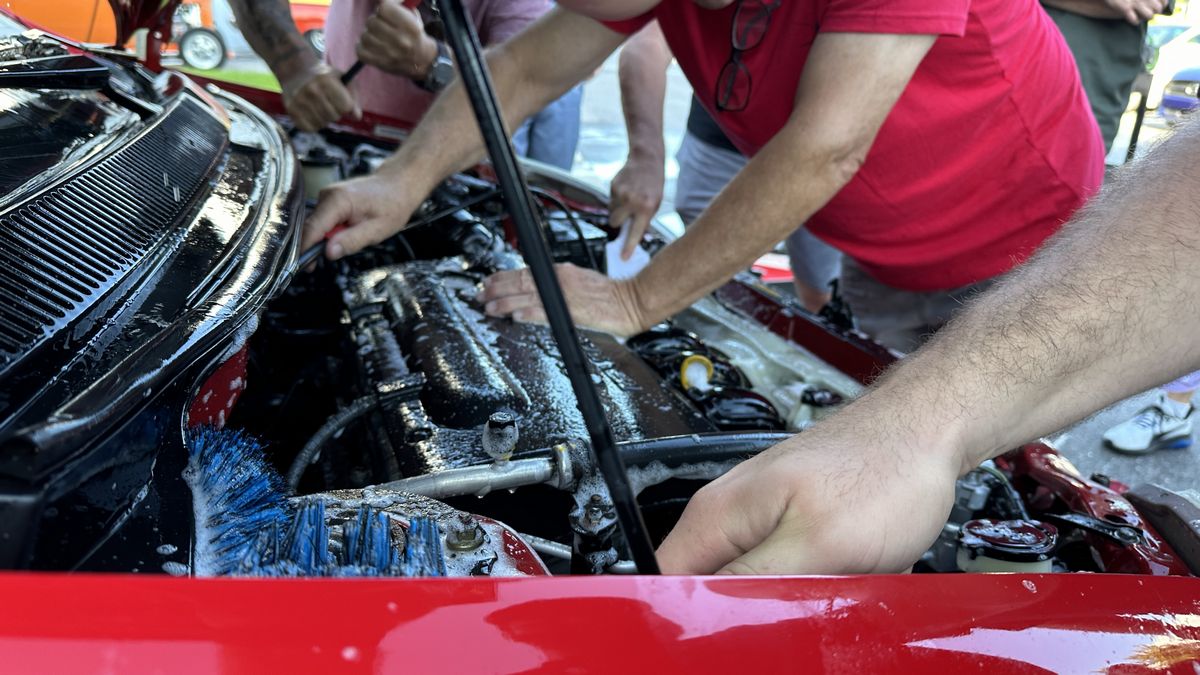
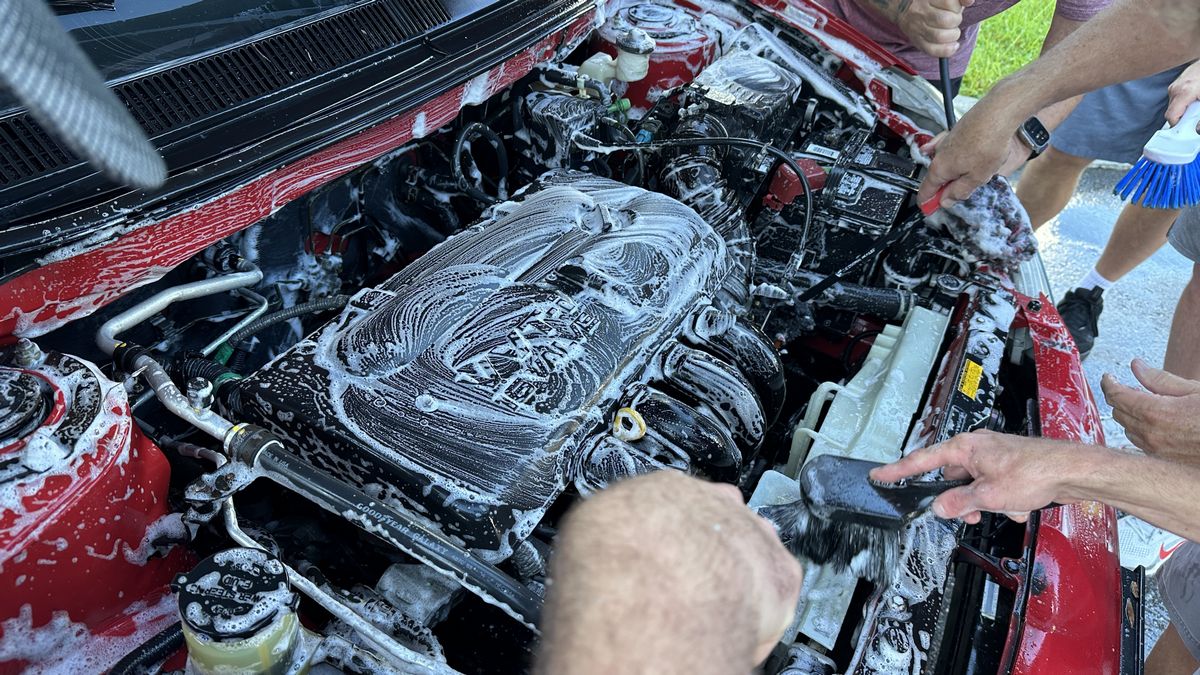
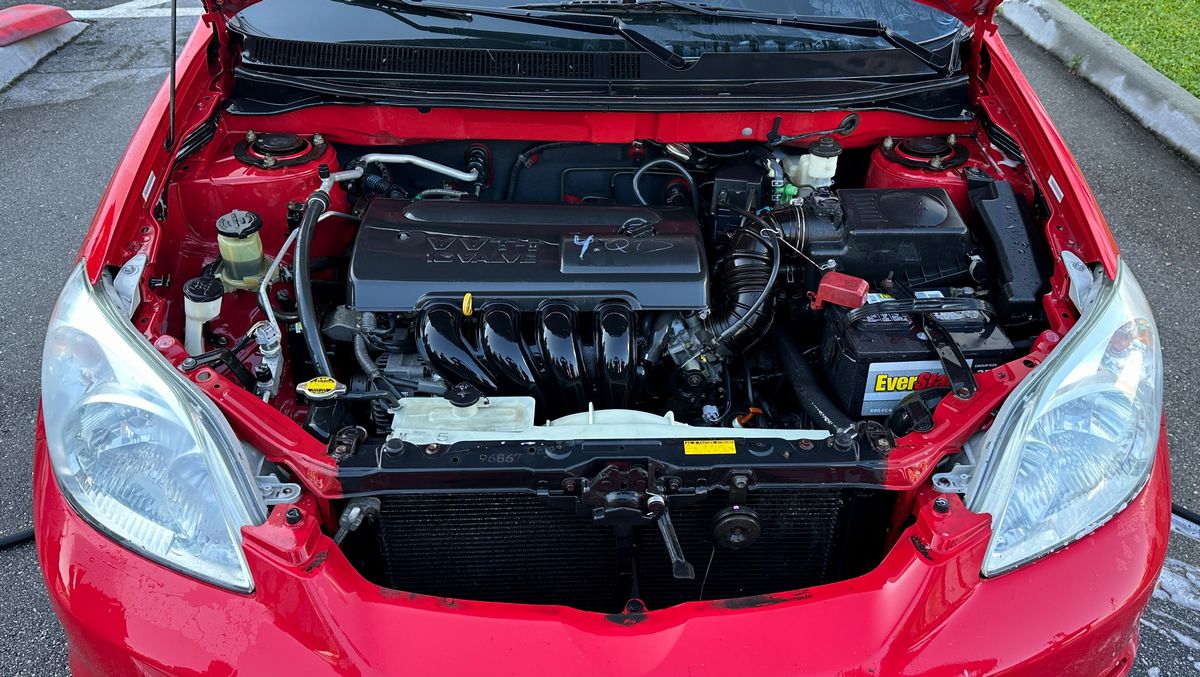
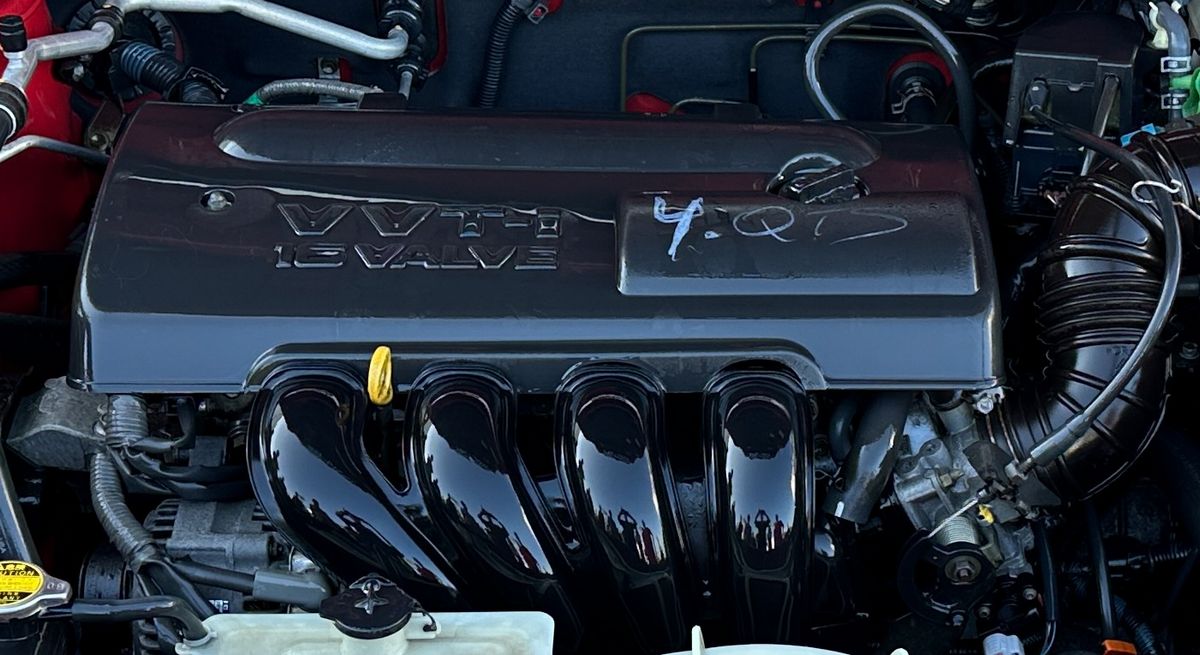
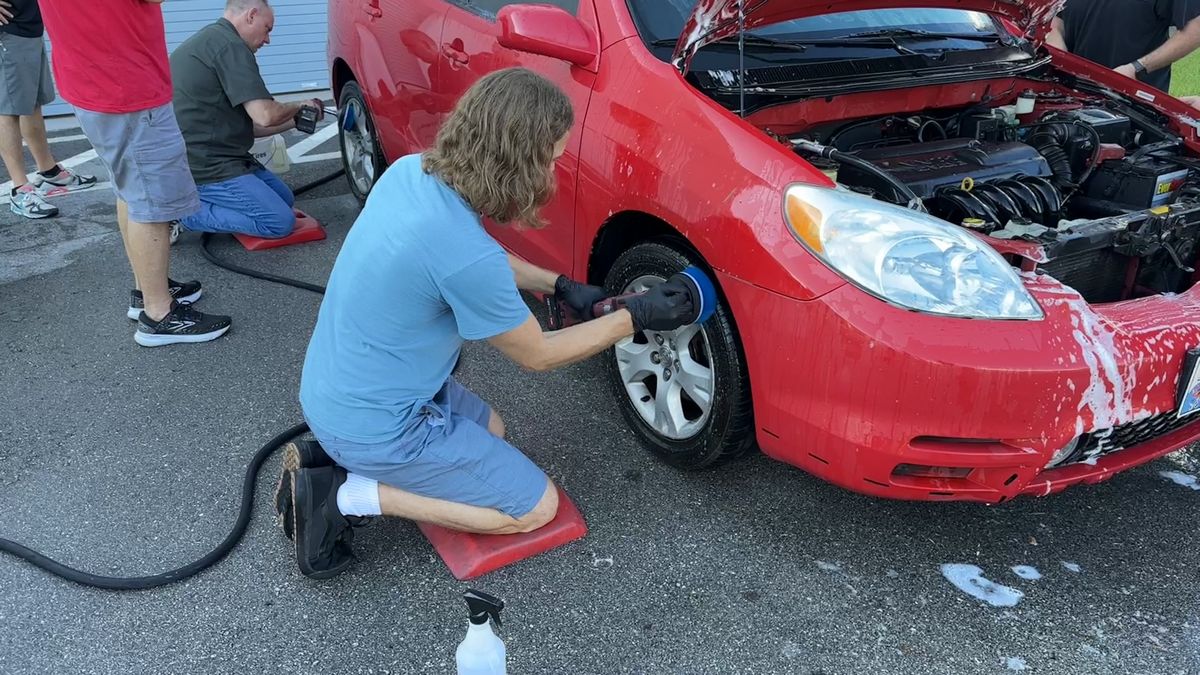
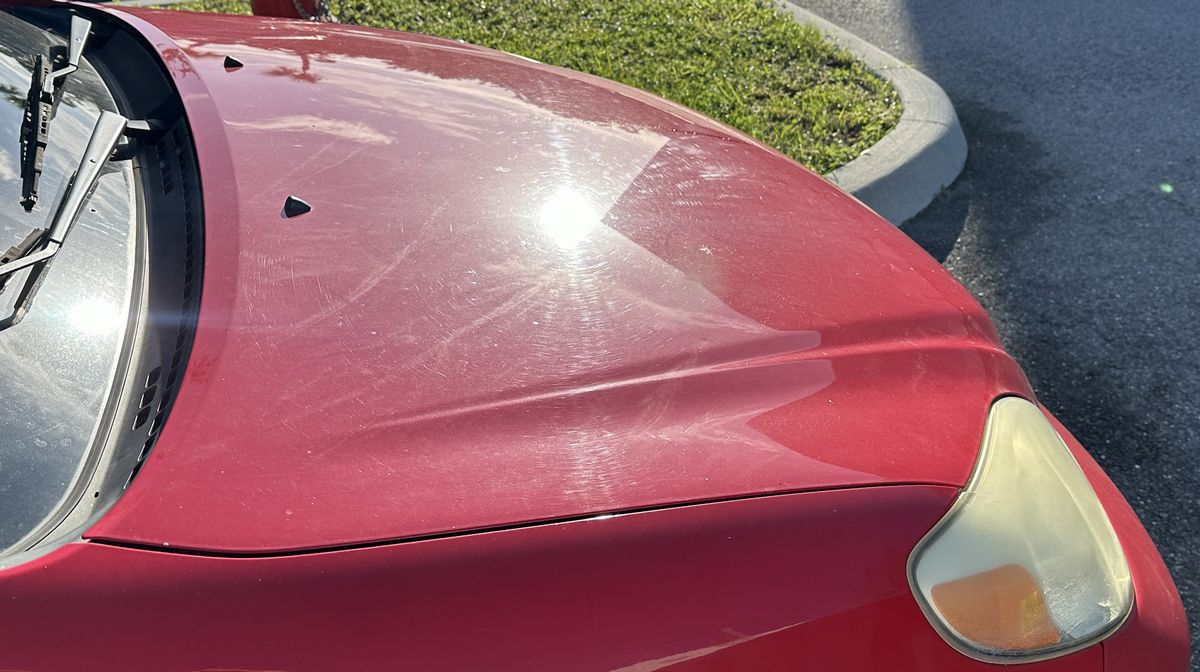
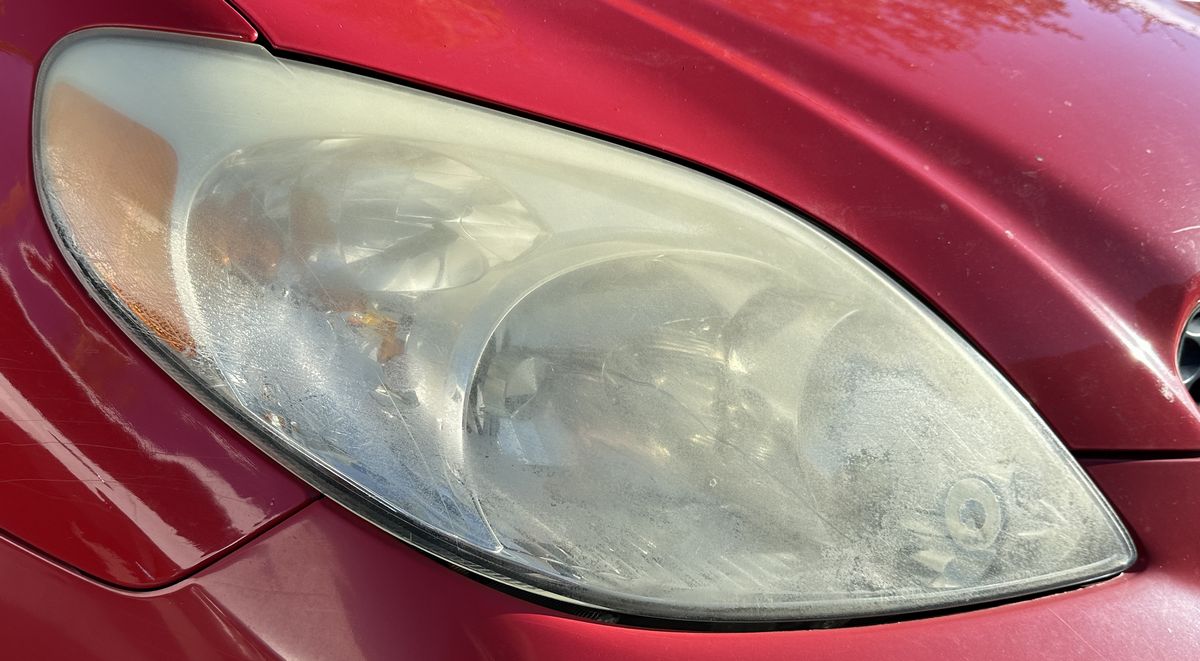
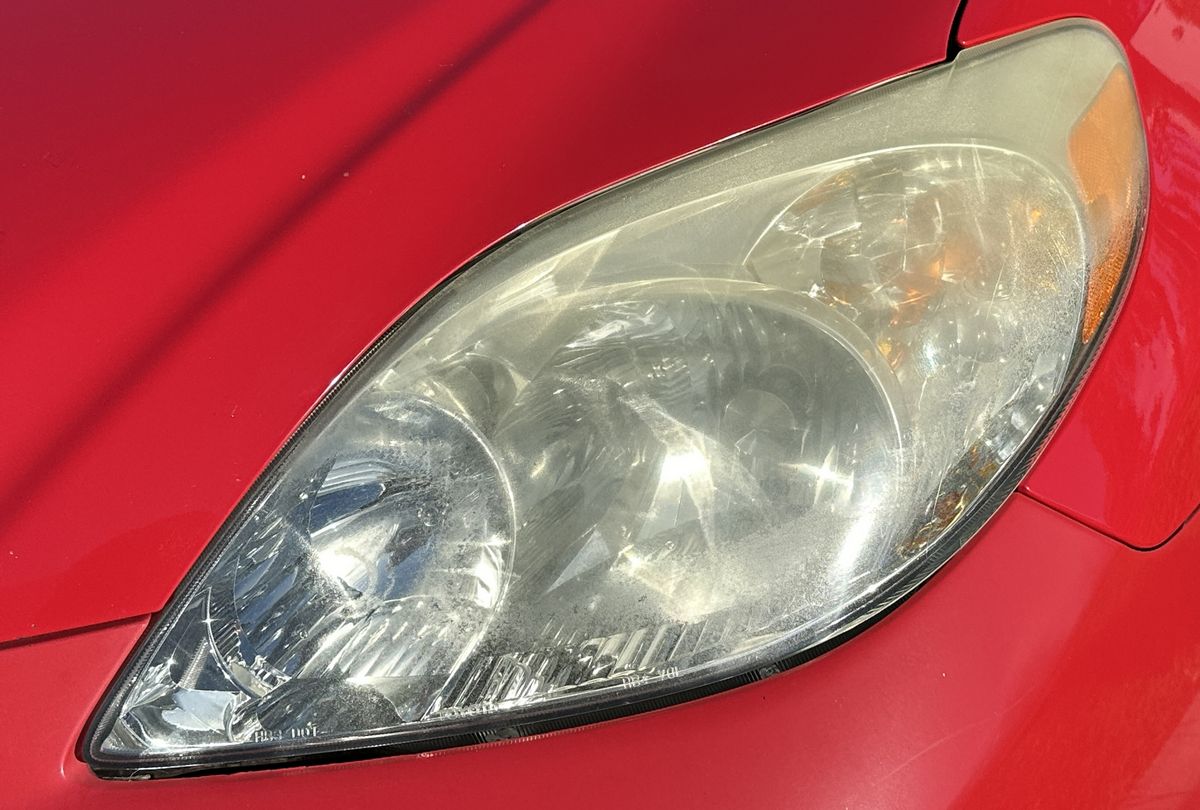
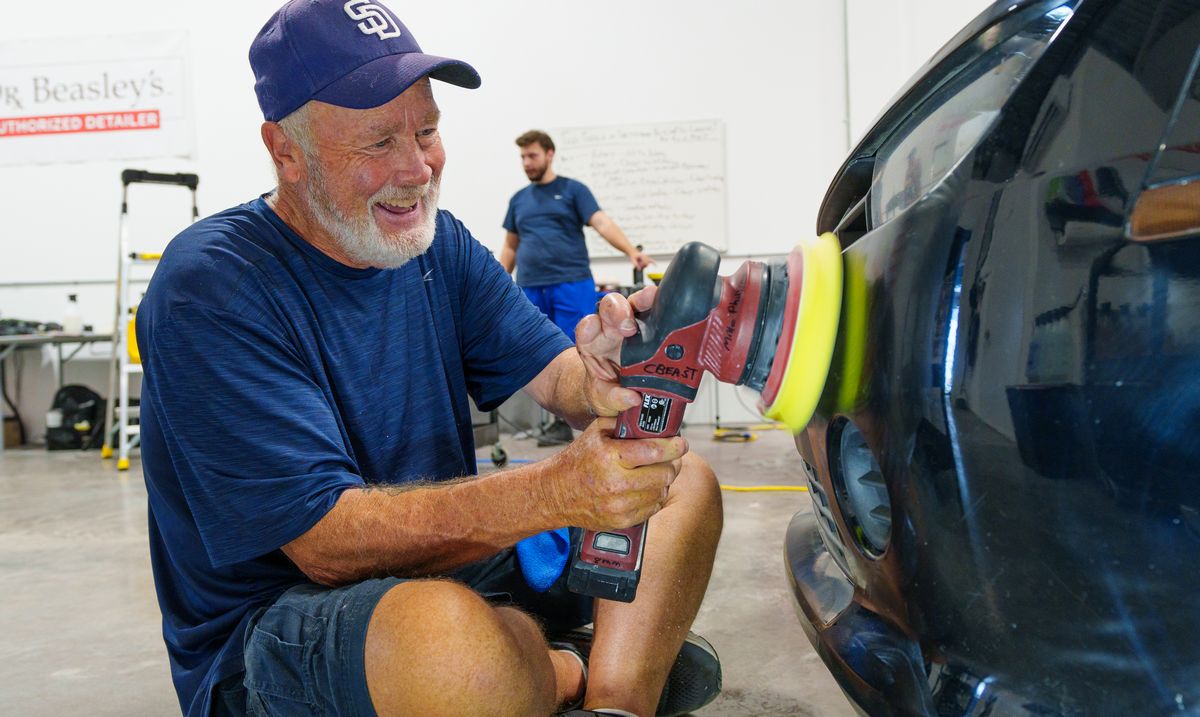
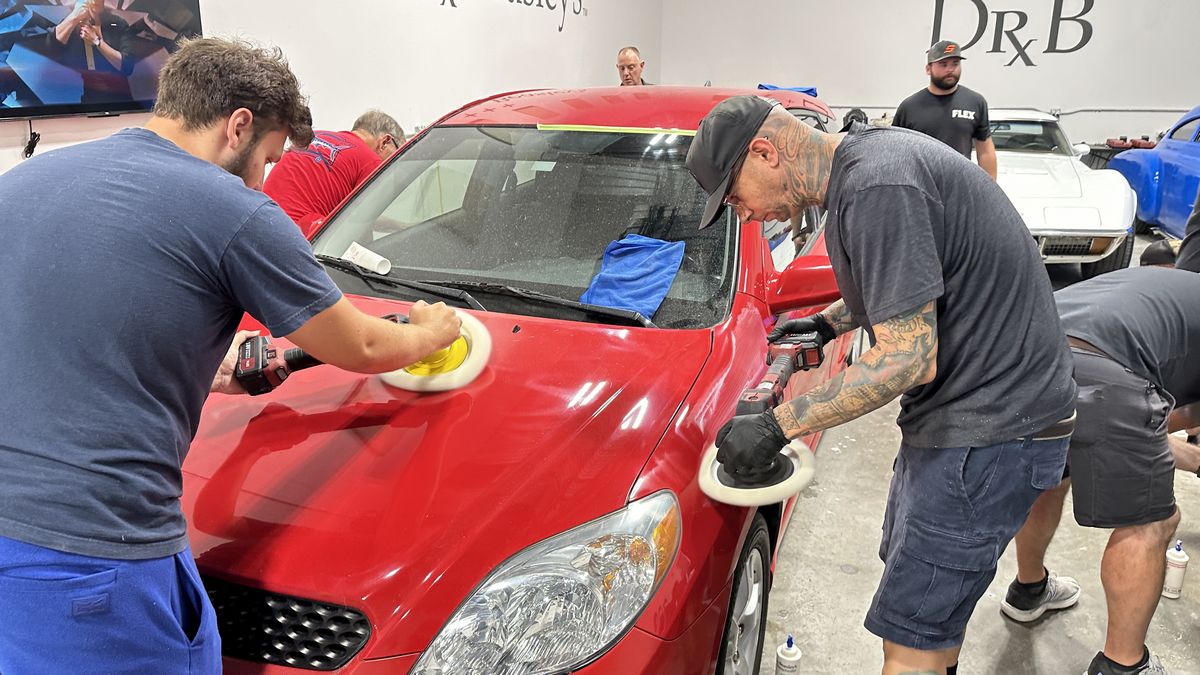
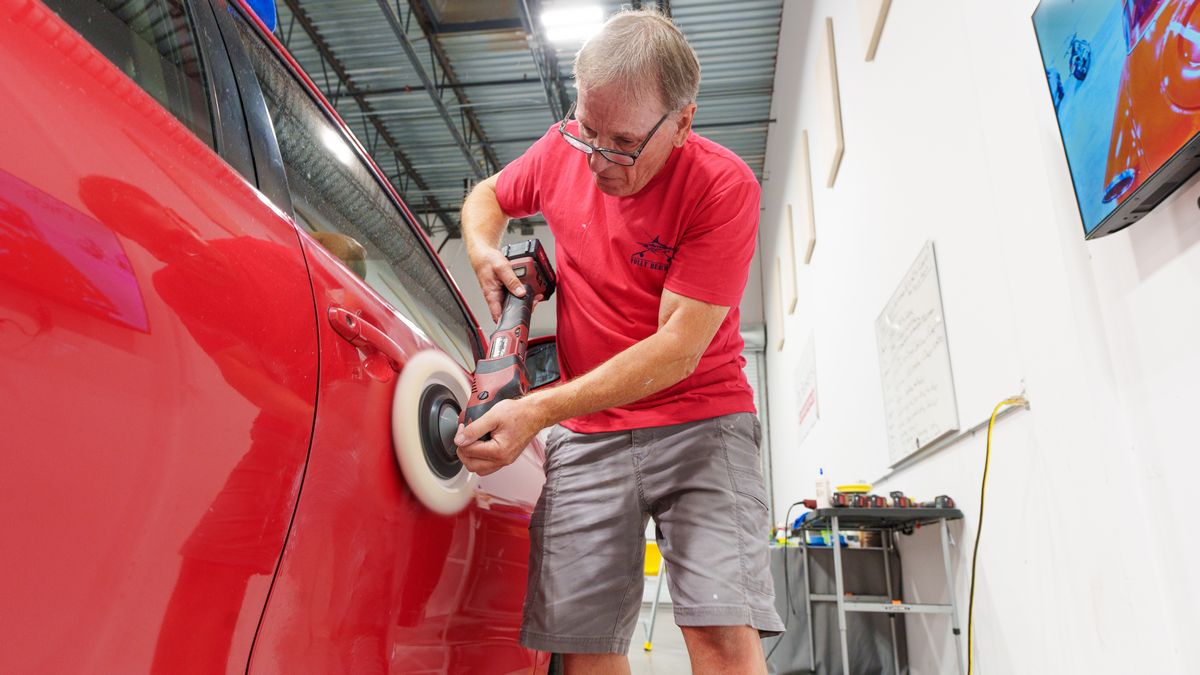
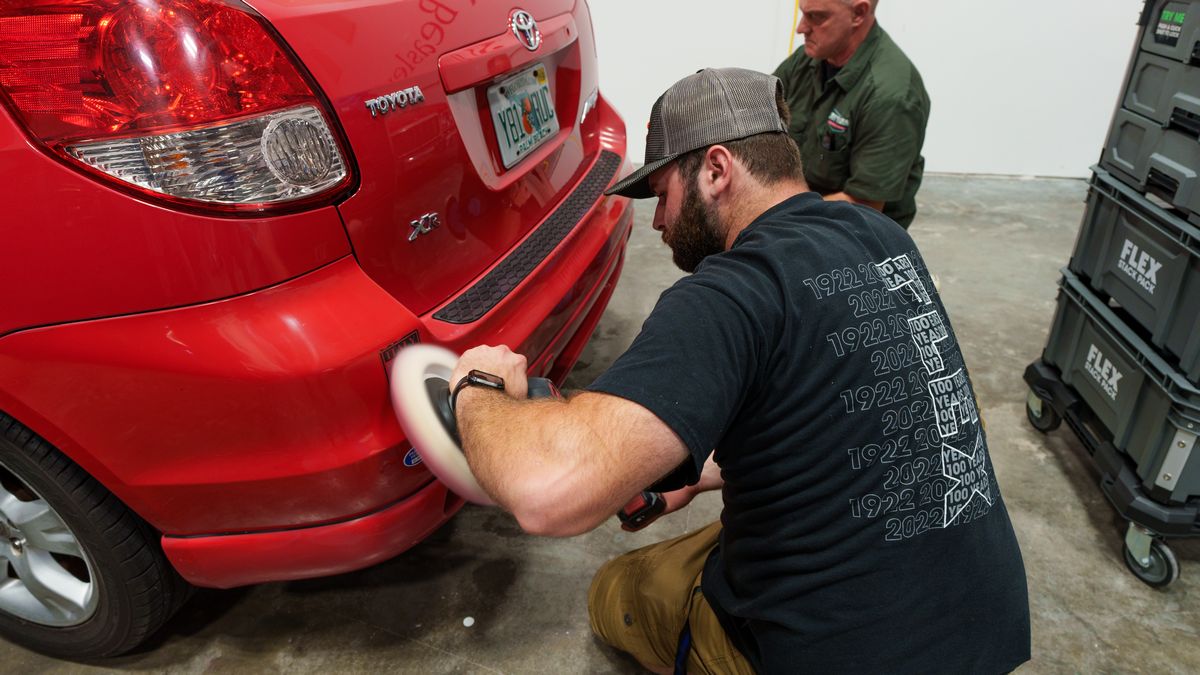
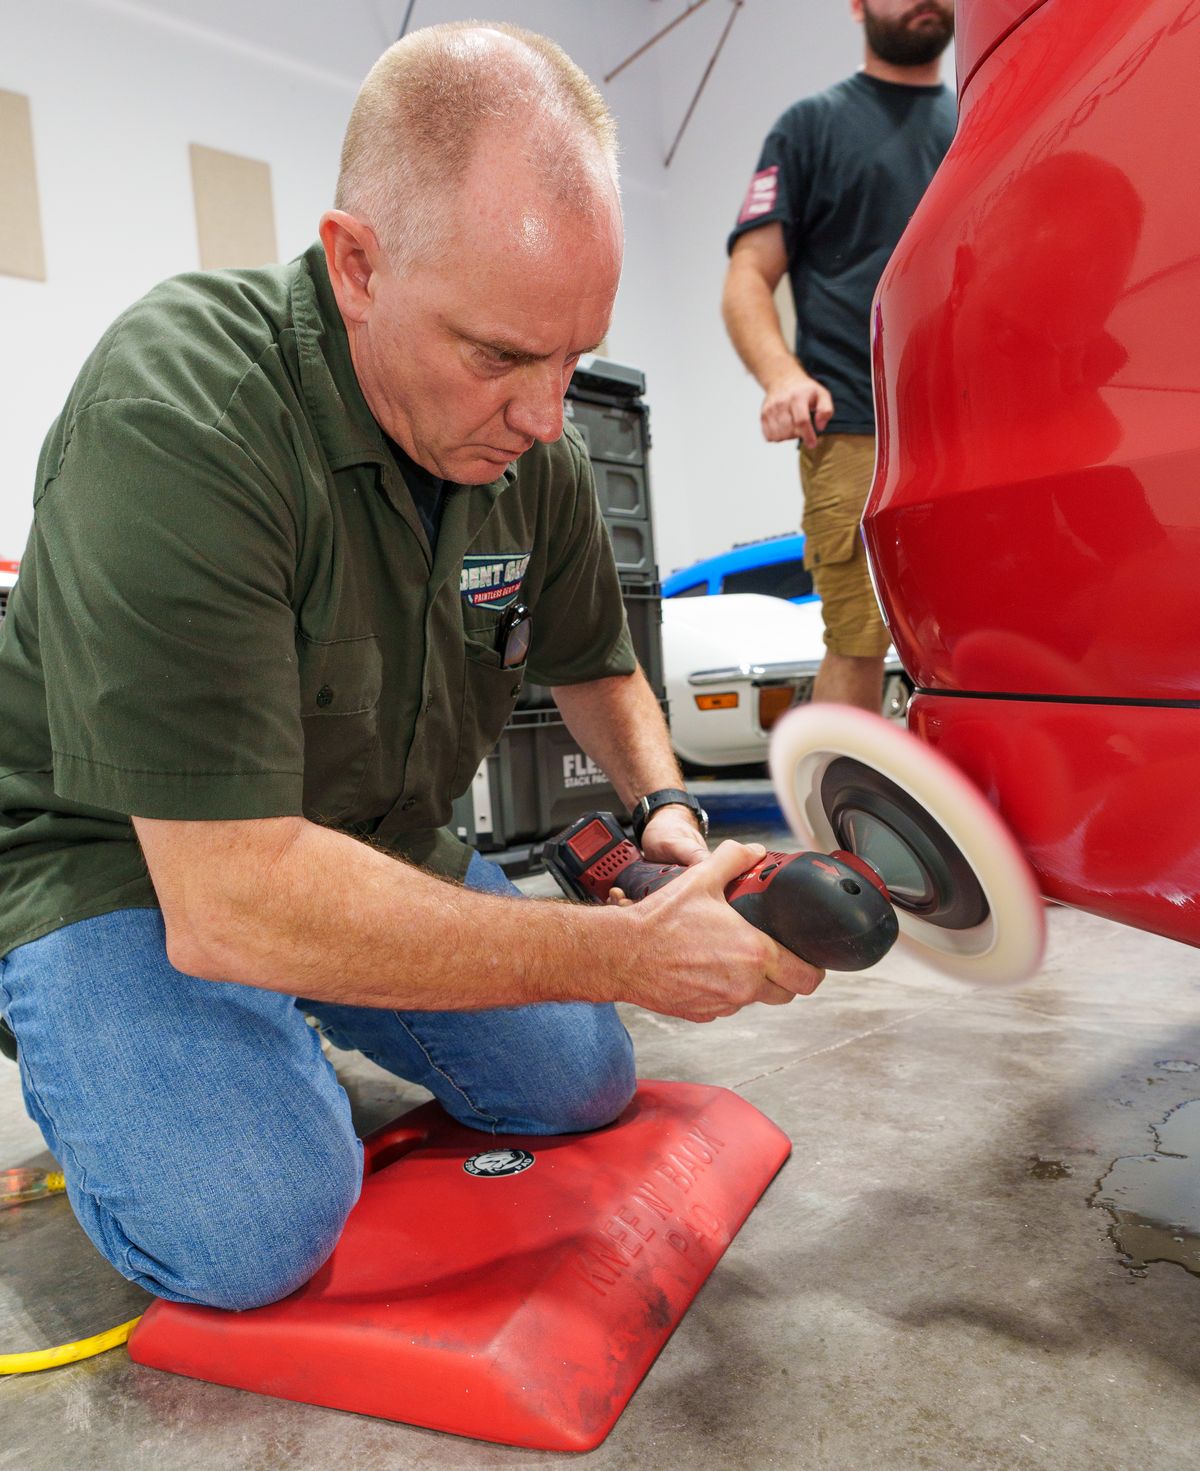
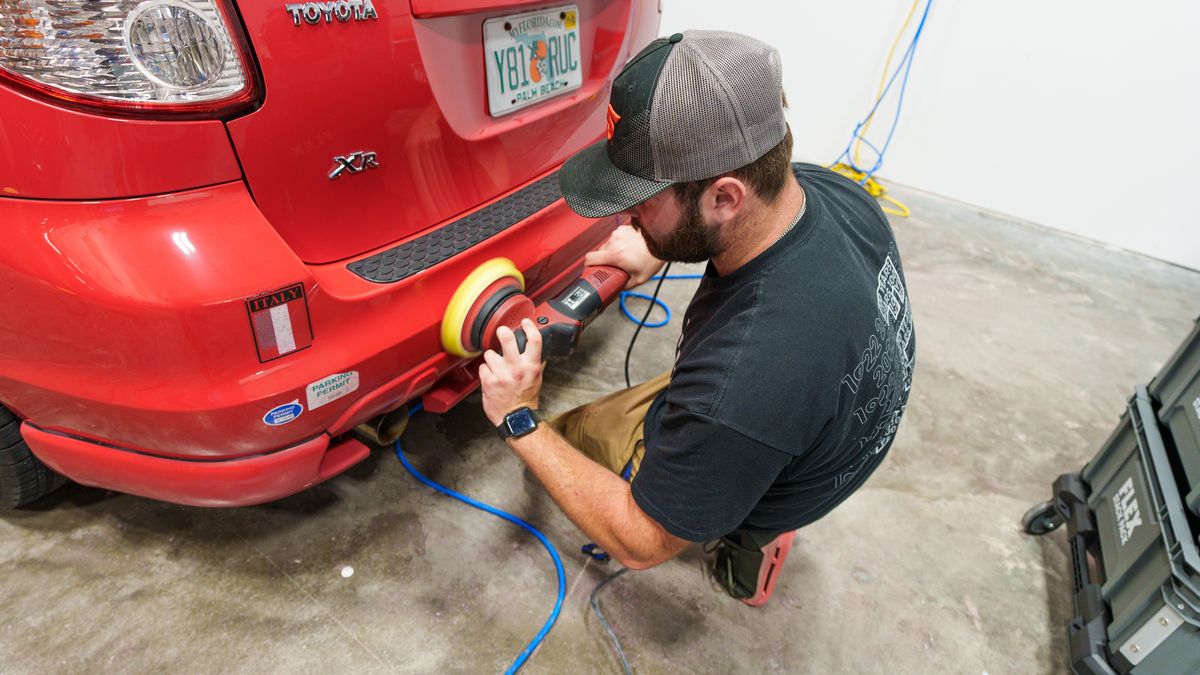
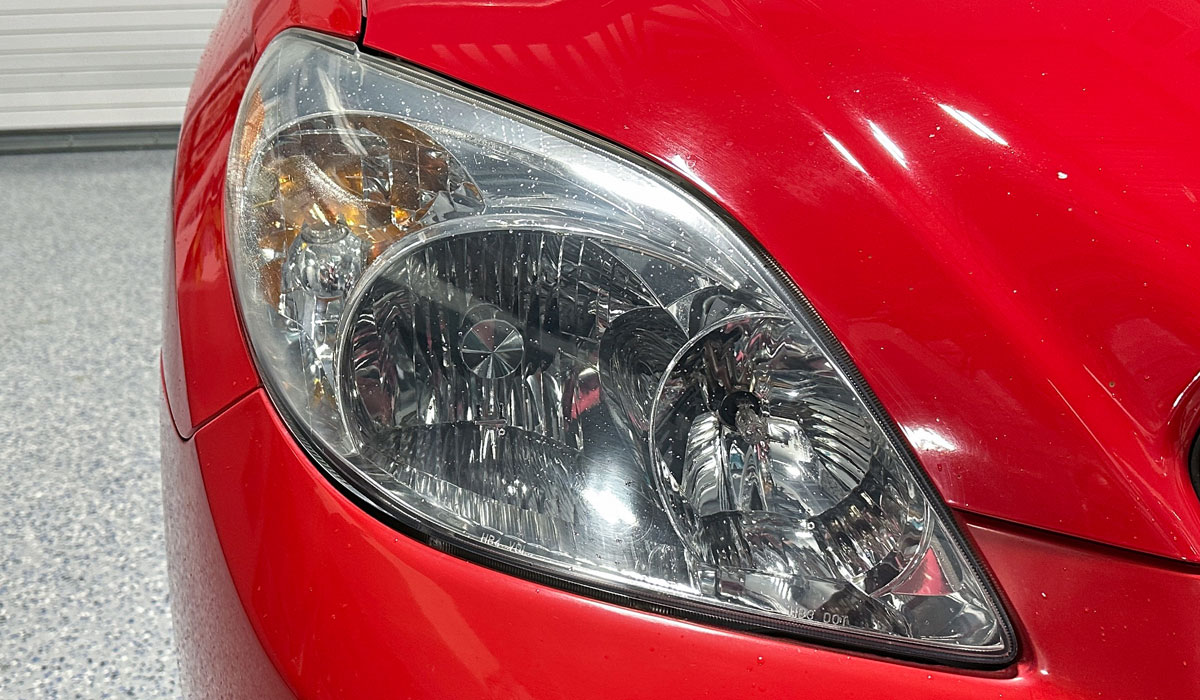
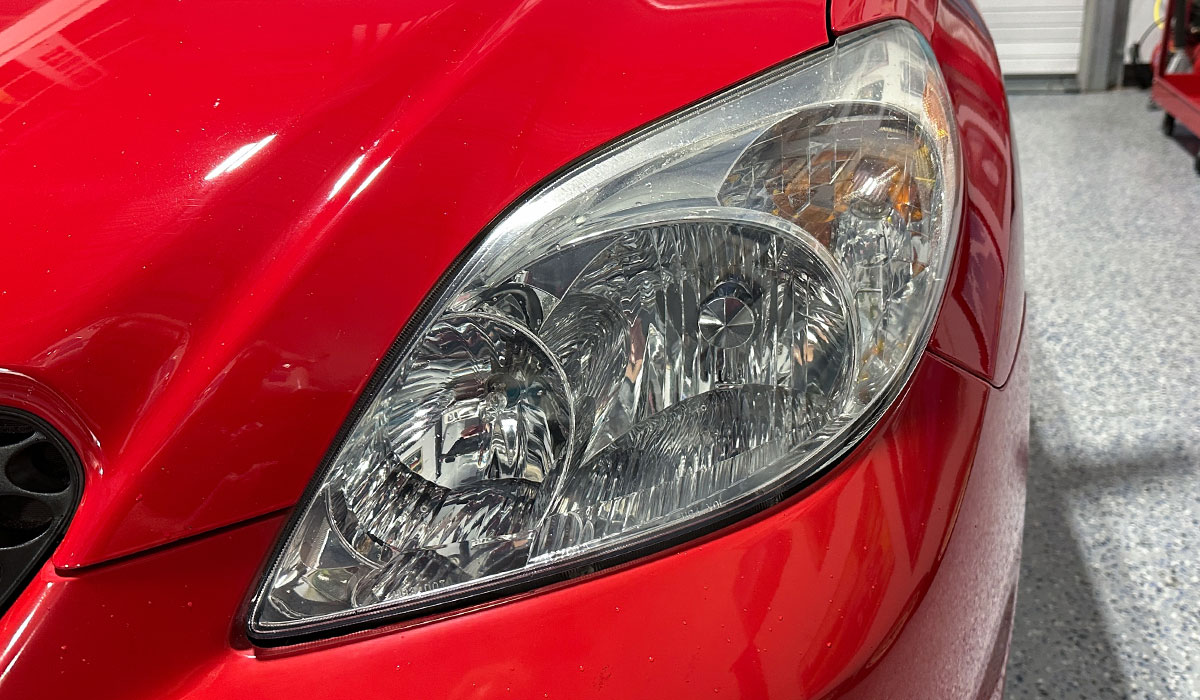
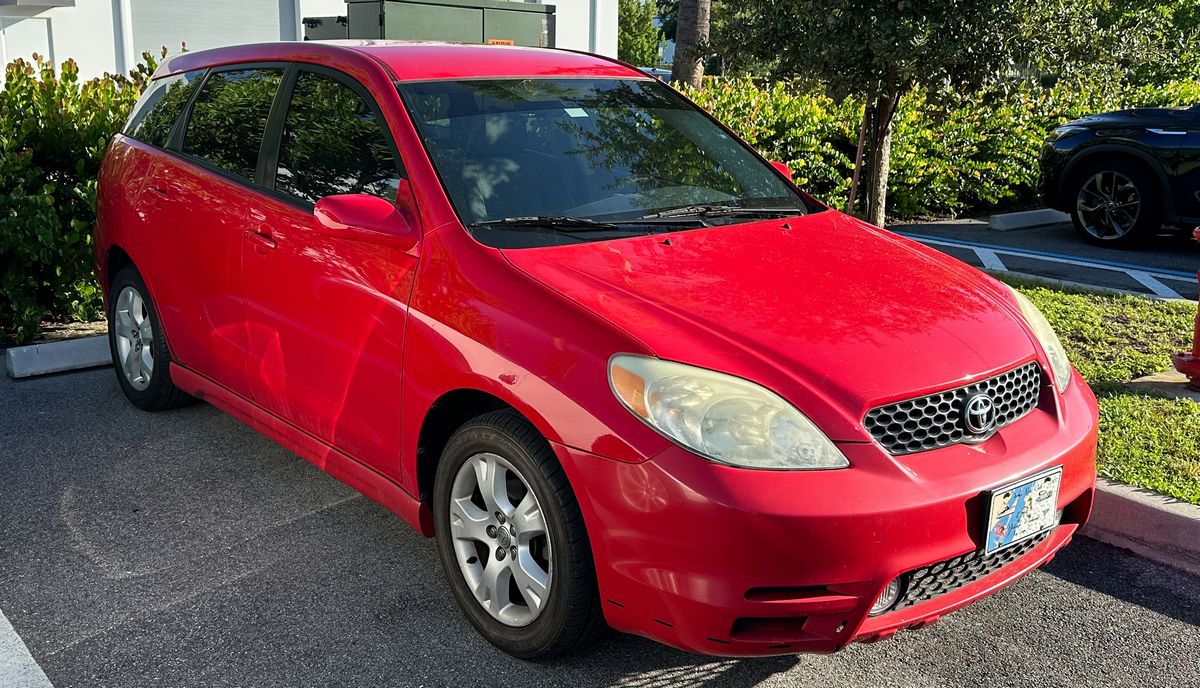
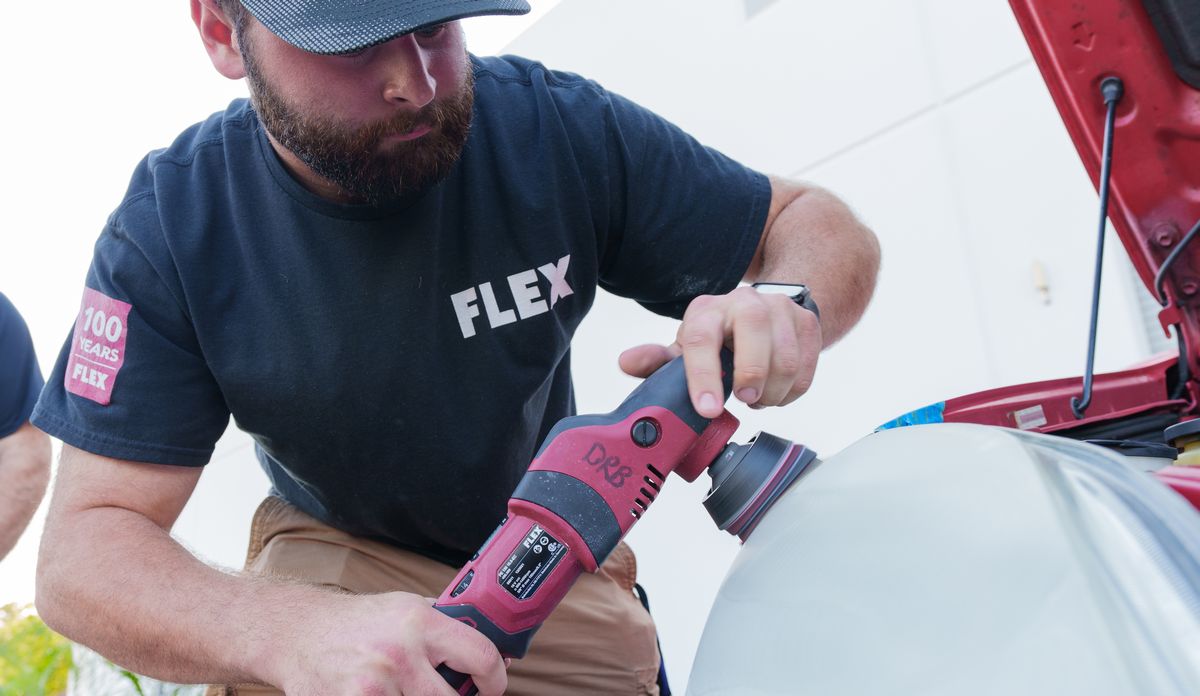
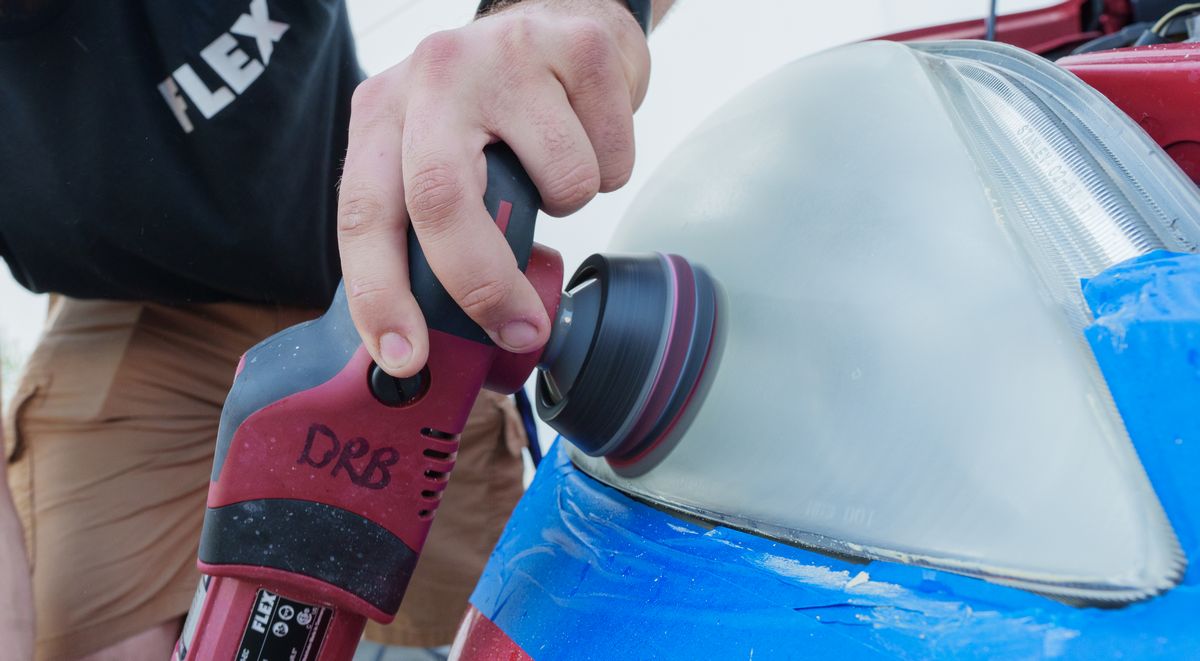
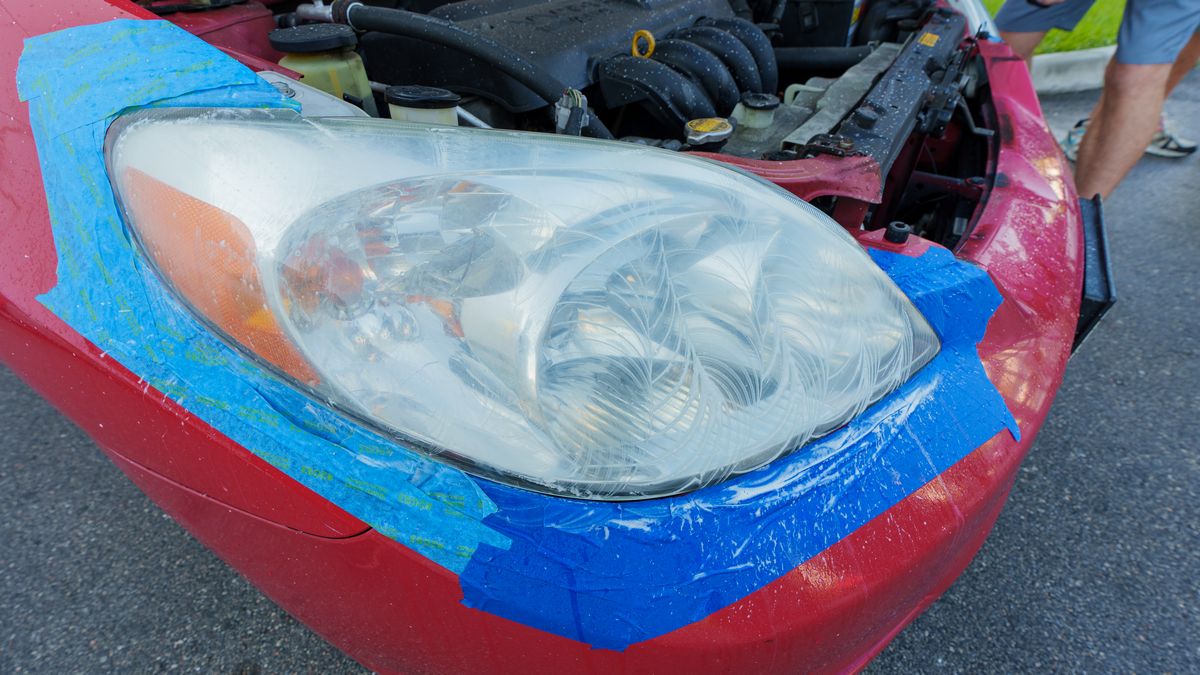
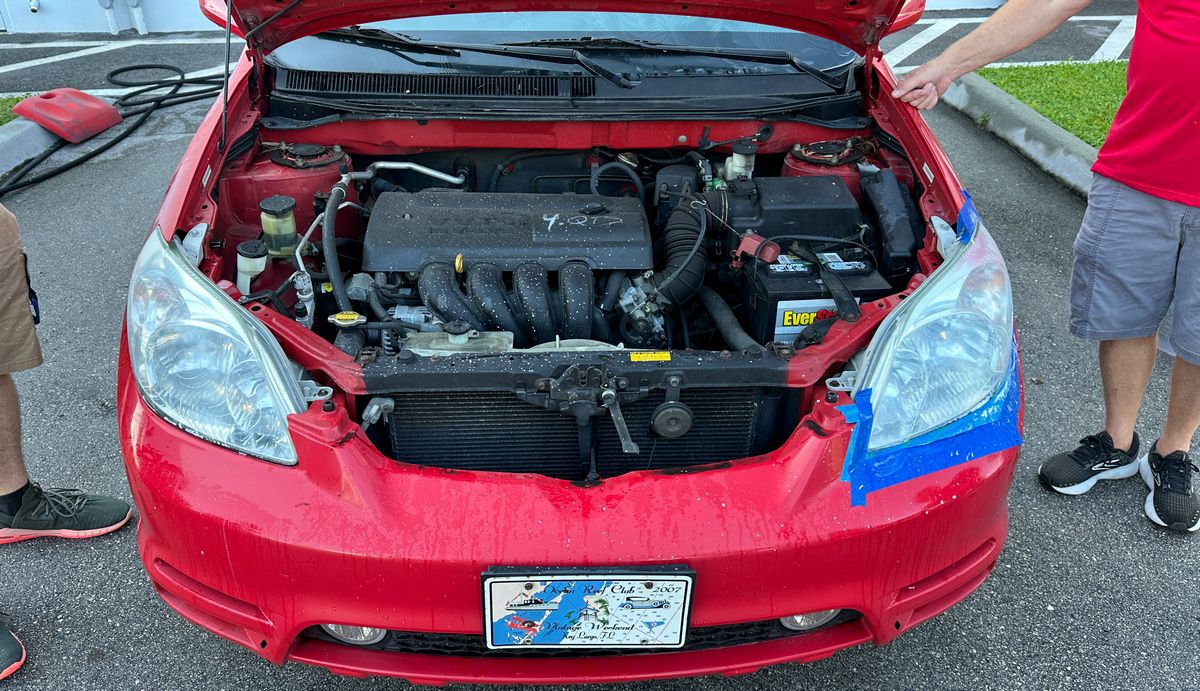
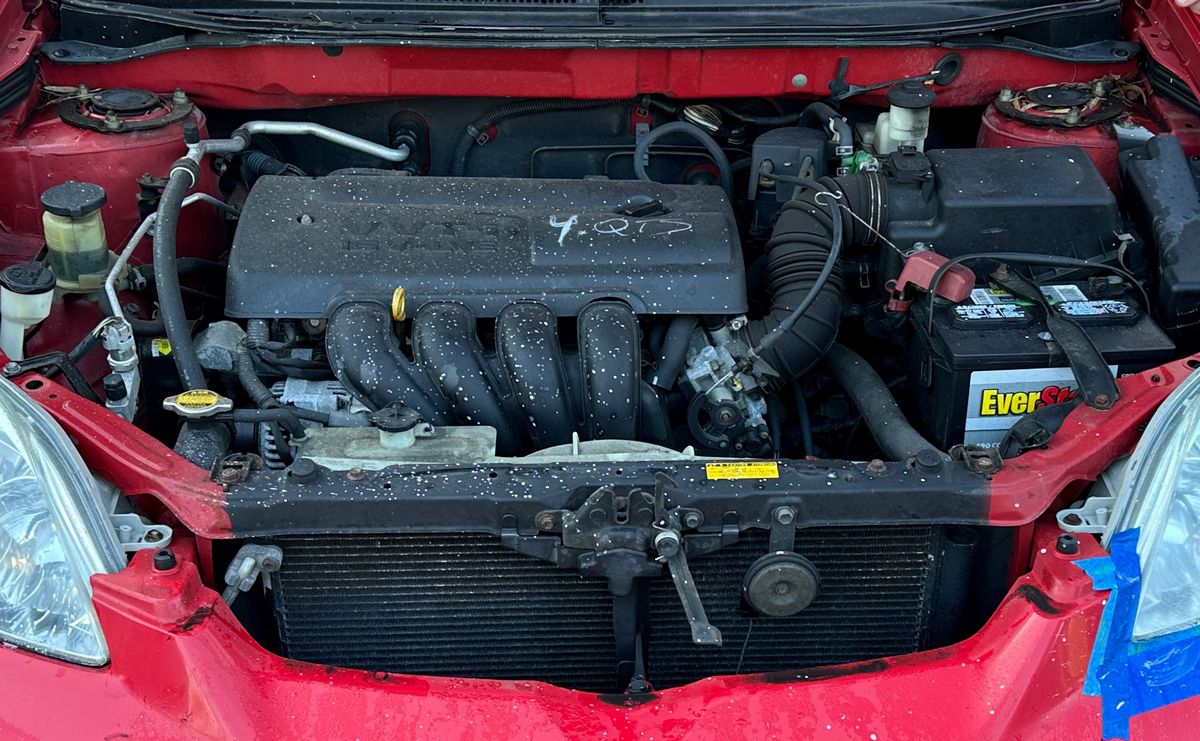
2013 Toyota Matrix
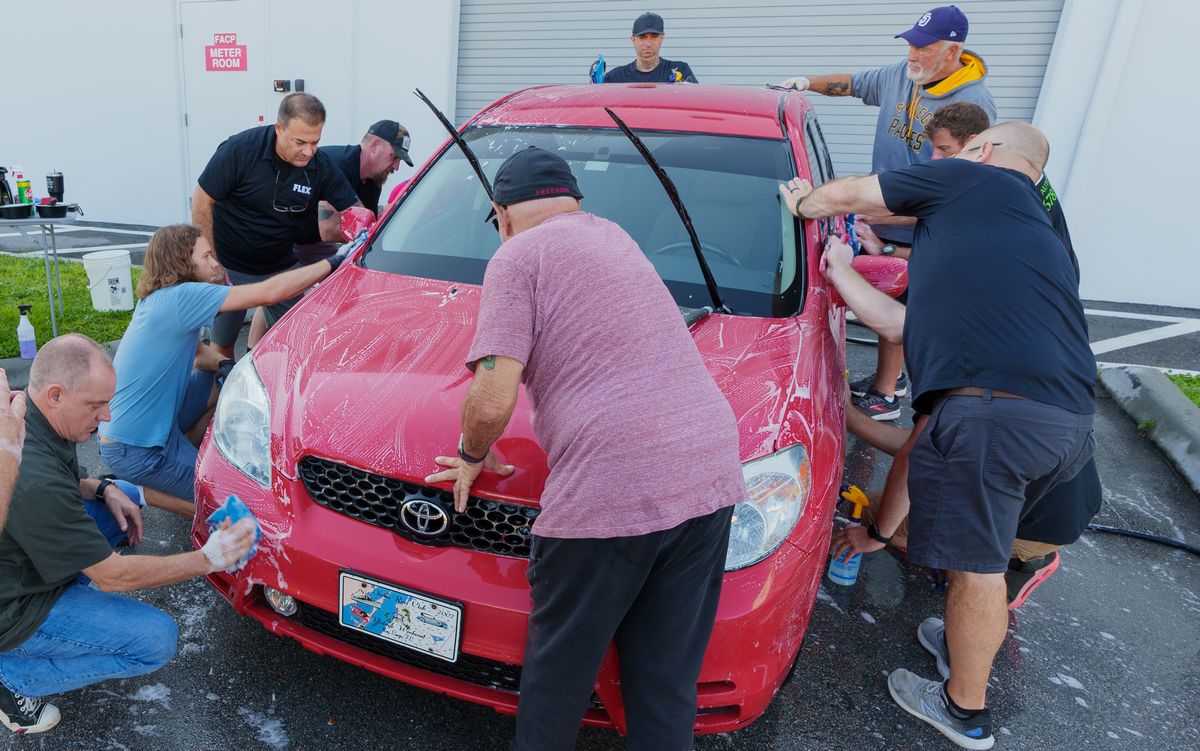
This belongs to my buddy's grandma. With around 80,000 miles on the odometer, my experienced assessment is this car has NEVER been detailed at any level outside of taking the car through a swirl-o-matic car wash.
Mike
Full Garage!
I took the pictures below the night before the class. You'll see 7 cars in the garage, and there's 2 more cars parked outside for a total of 9 training cars for the first 2-days of this 3-day class. You'll also see the 24' Sea Hunt Center Console detailed on the 3rd day.
If you're looking to take the most hands-on car or boat detailing class, these are the classes to take. No one else shows you the actual cars and boats you'll be training on BEFORE you pay for the class. I always do this so you can have confidence, it's going to be a GREAT class.
And while this class is over, future class dates and topics can be found here,
Future Detailing Classes for 2025
Here's 7 of the cars, with 2 more parked outside, the 2020 Camaro and the 2013 Toyota Matrix.
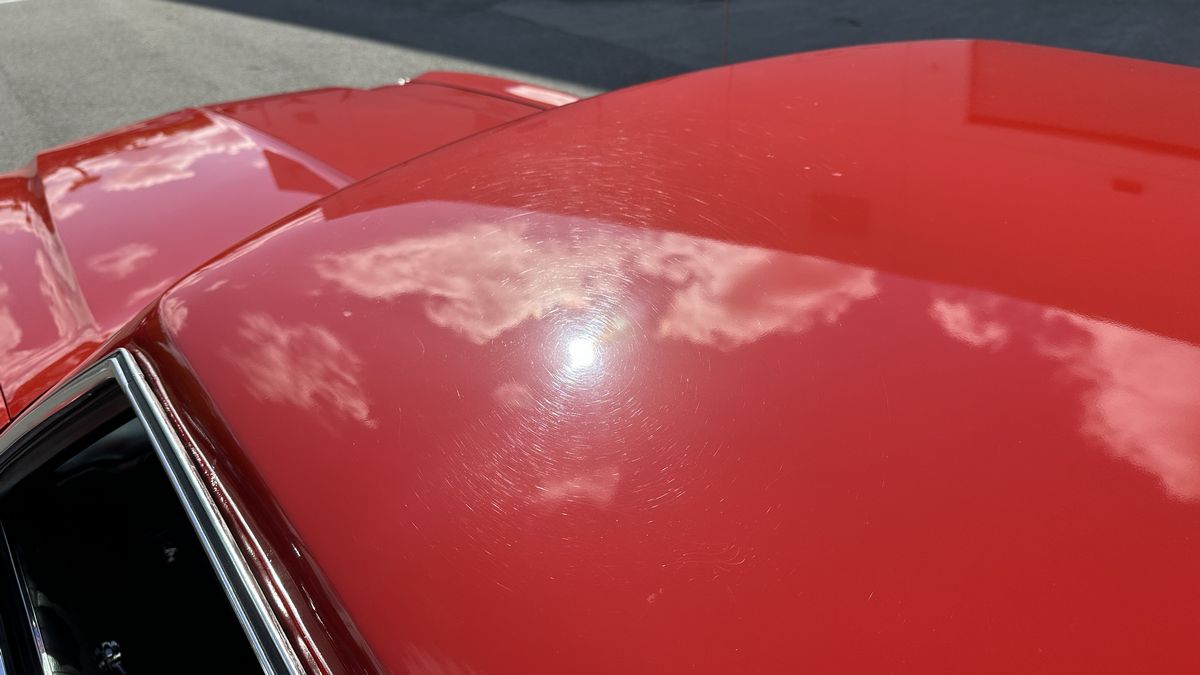
I've never seen any other detailing class with a real Starsky & Hutch Police Car for the students to train on.
More than enough tools and the power to run them.
Here's the two cars that were parked outside as there just wasn't enough room to bring them into the garage.
2020 Camaro - Horrendous Hard Water Mineral Staining
I met the owner at a local Walgreens, and she agreed to let us use her Camaro for the September class. As you can see by the pictures, the paint is in absolutely horrible condition.
2013 Toyota Matrix
This belongs to my buddy's grandma. With around 80,000 miles on the odometer, my experienced assessment is this car has NEVER been detailed at any level outside of taking the car through a swirl-o-matic car wash.
Mike
Last edited:
")