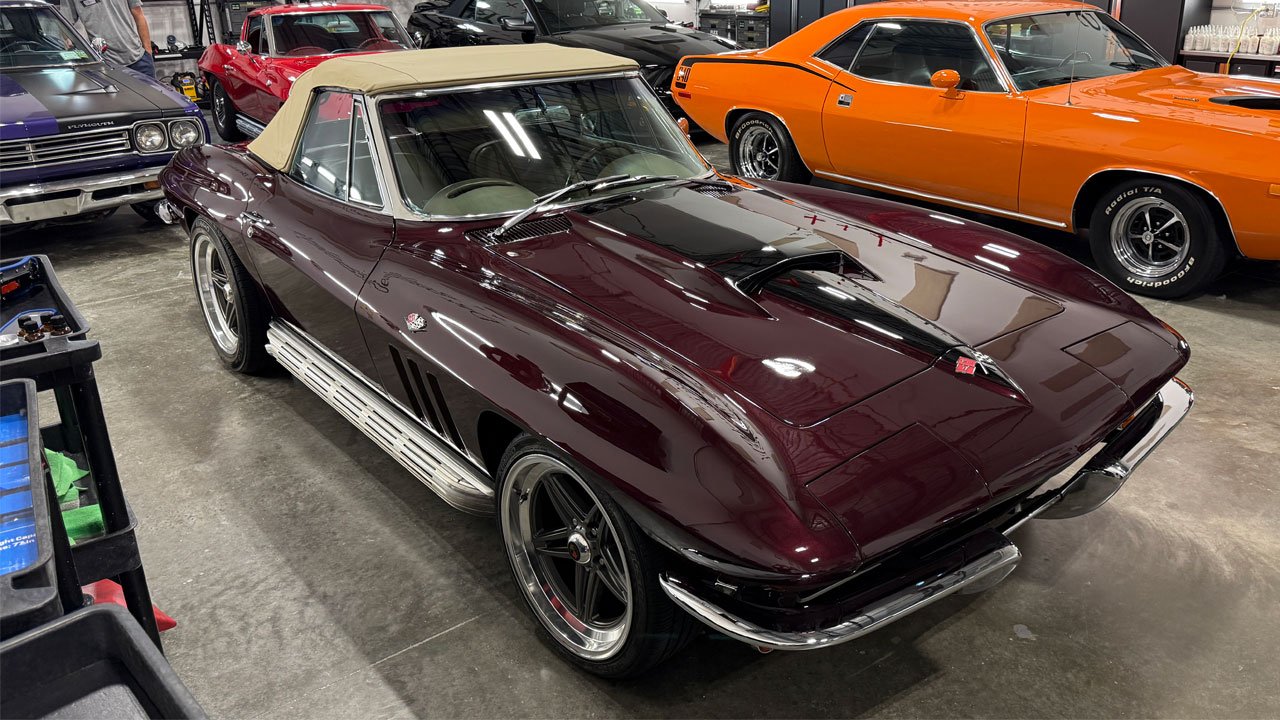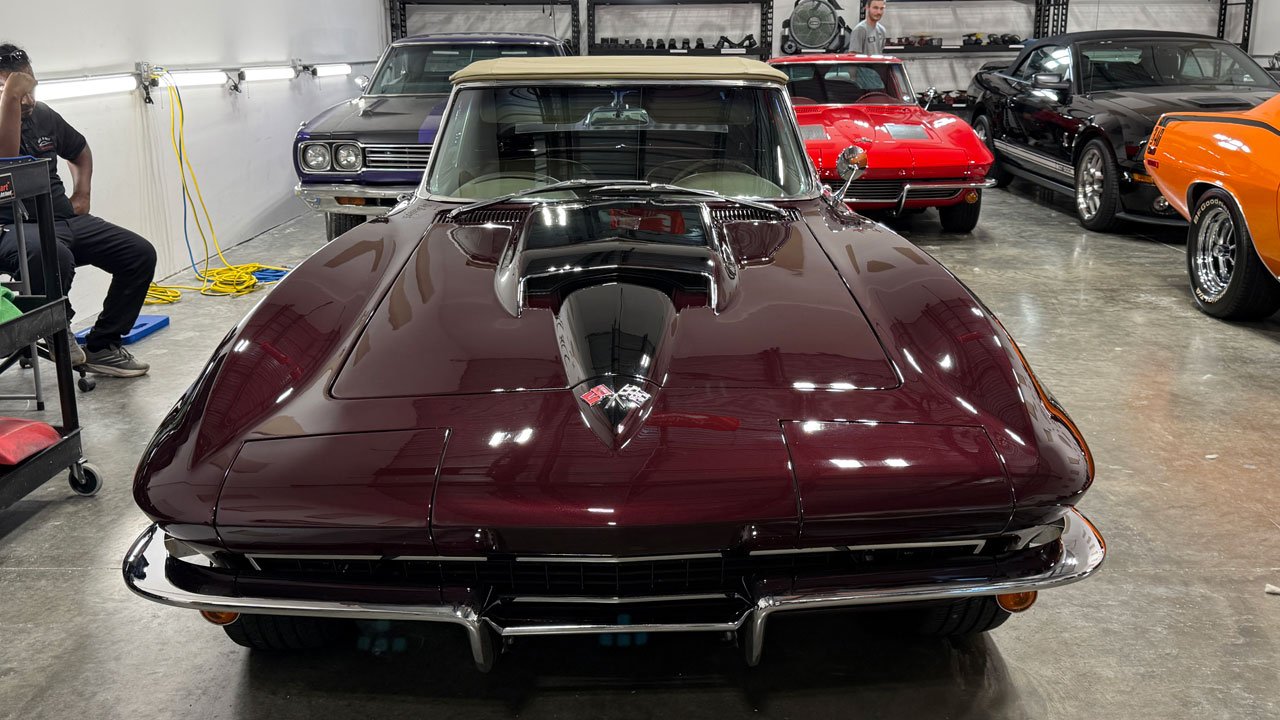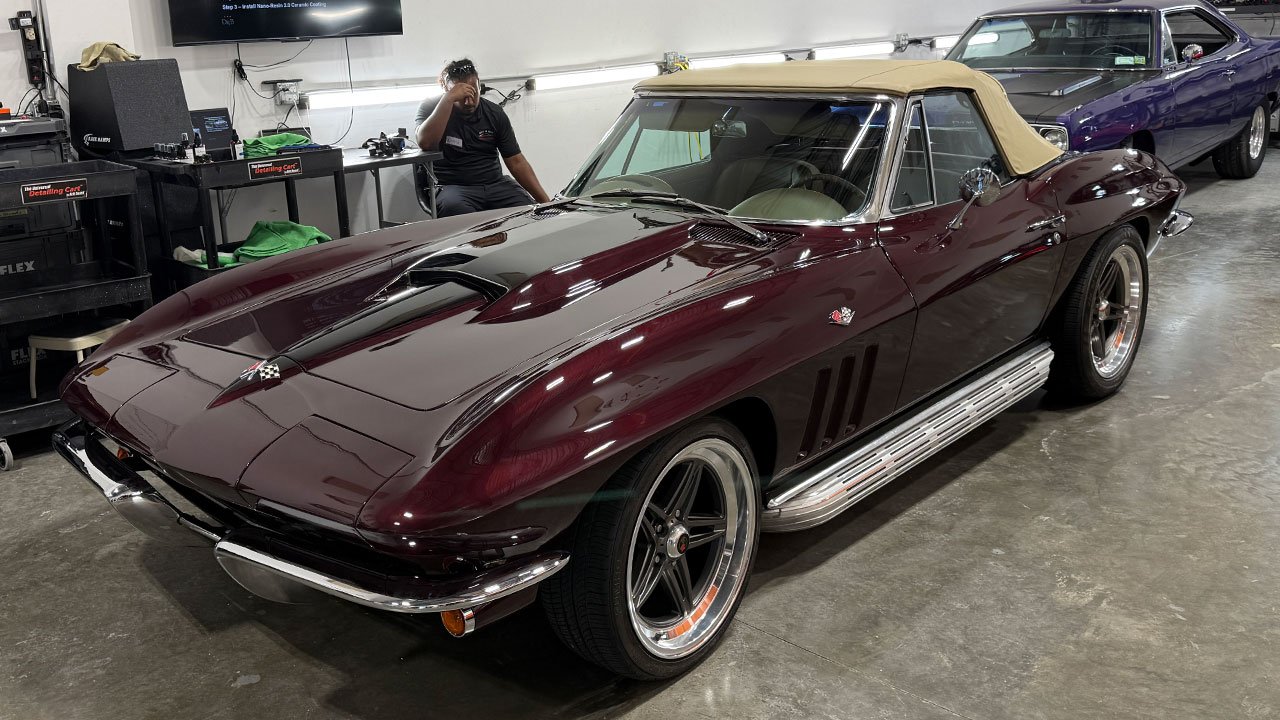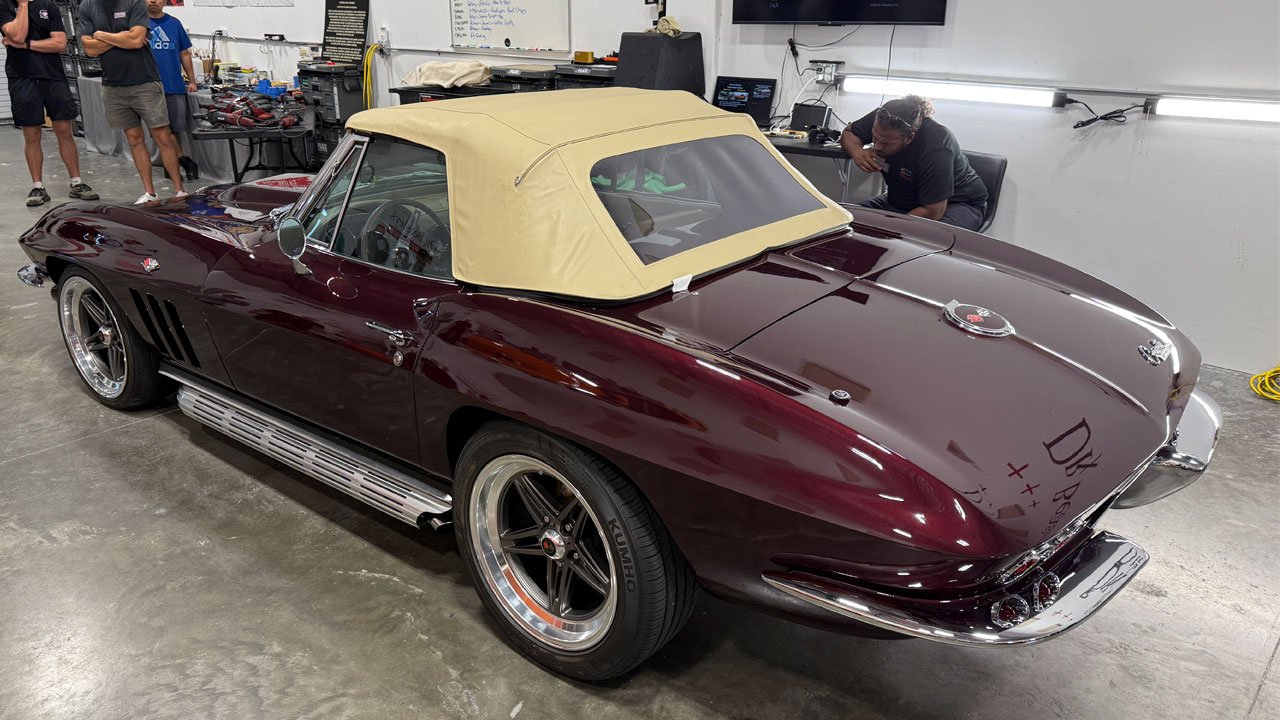

Pictures - September 18th 19th 20th 2026 Class in Stuart Florida - Dr. Beasley's & Mike Phillips

More...

Gear-Driven-Orbital Polishers​


🔥 FROM CUTTING HARD TO REFINING THE FINISH! 🔥​

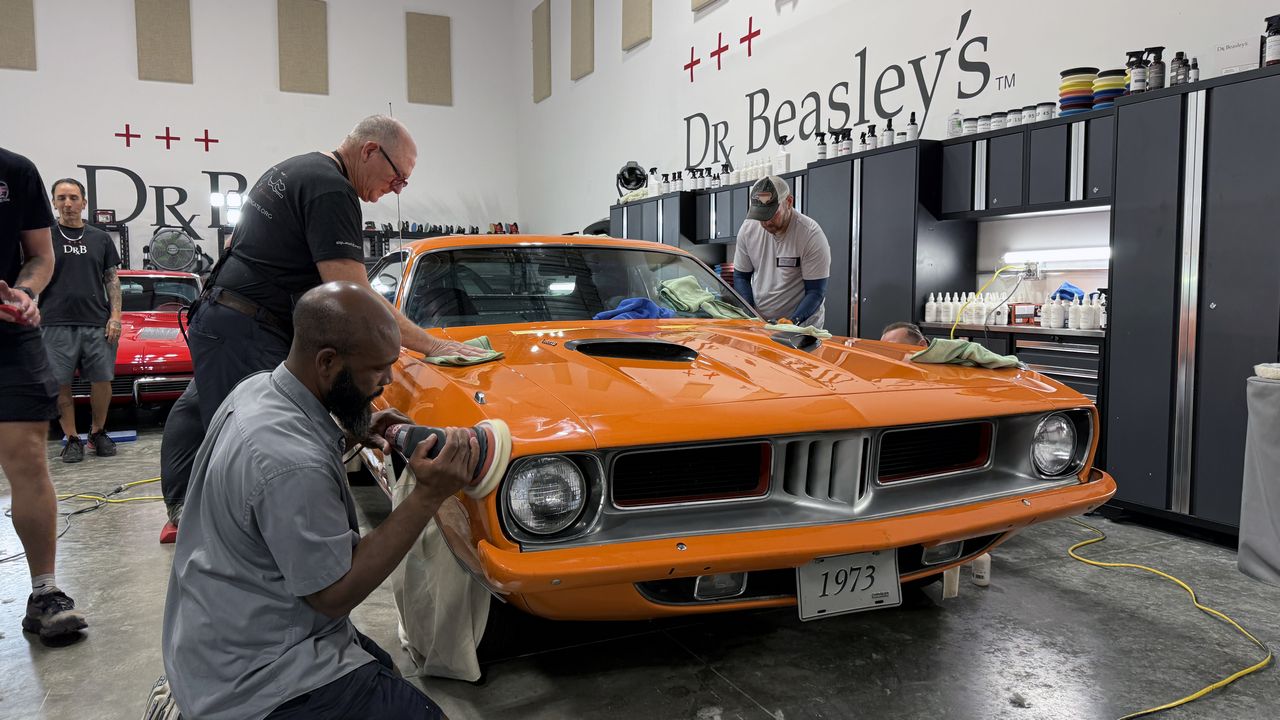
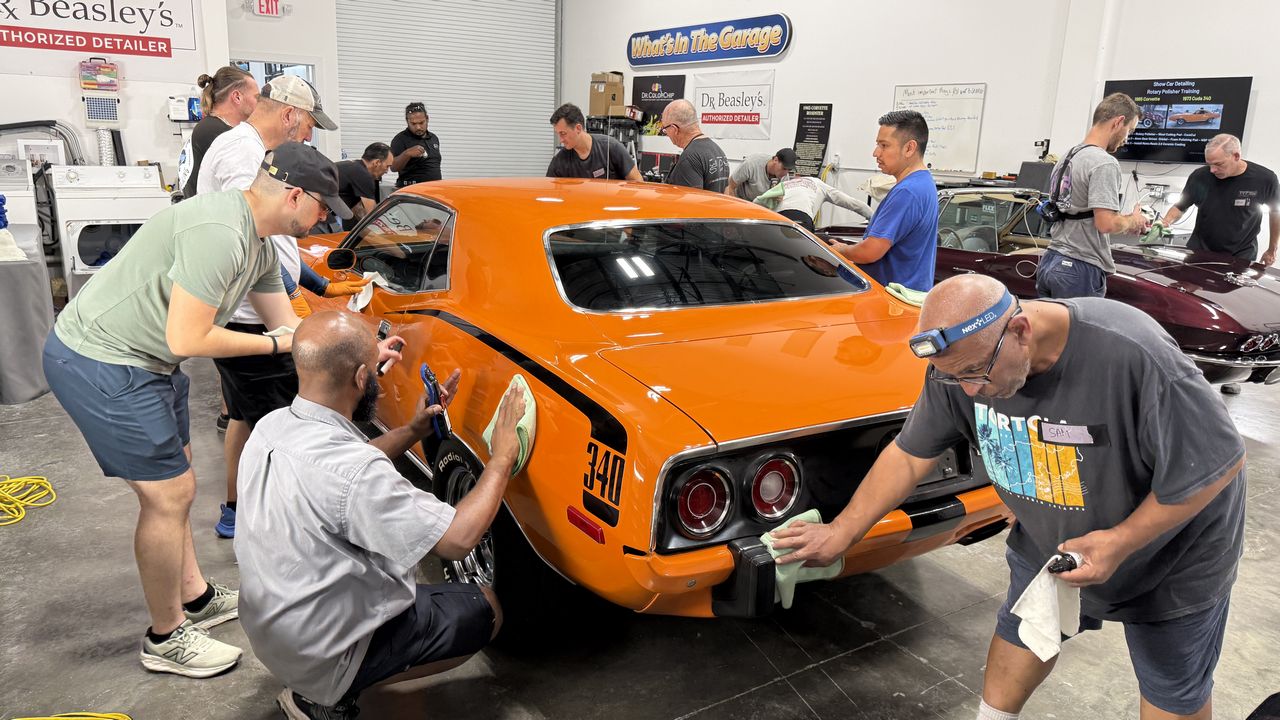
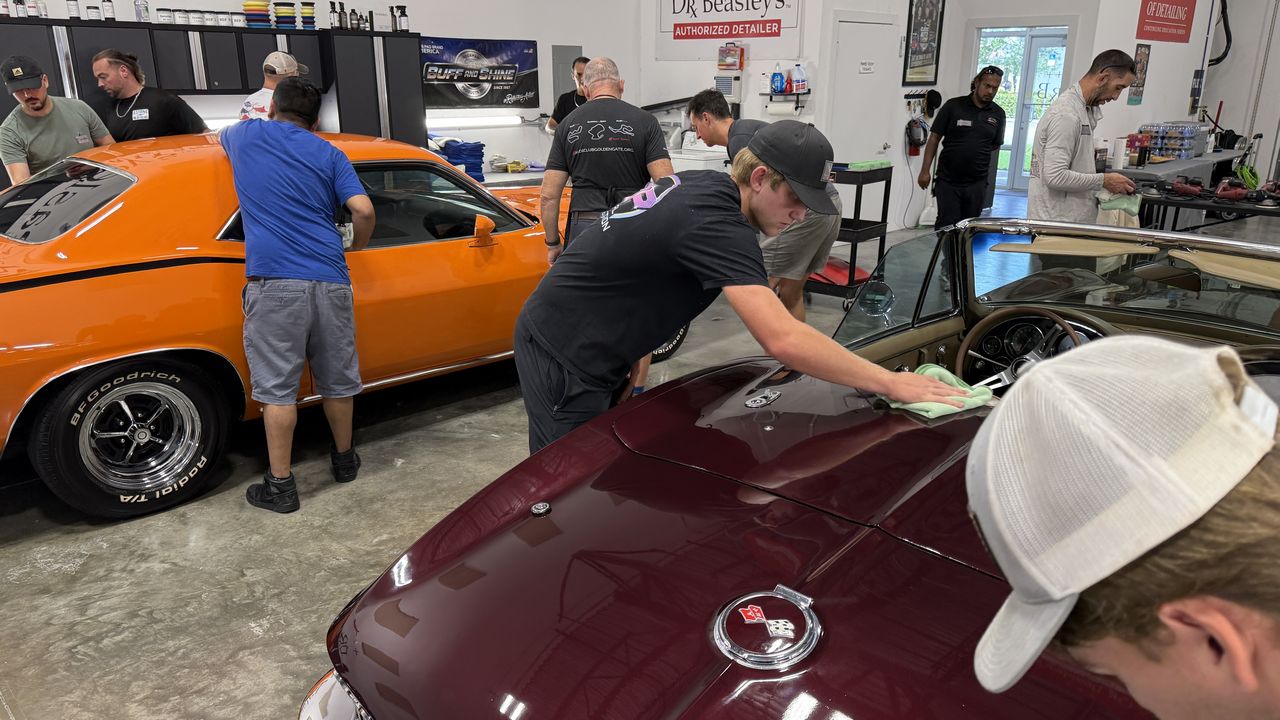
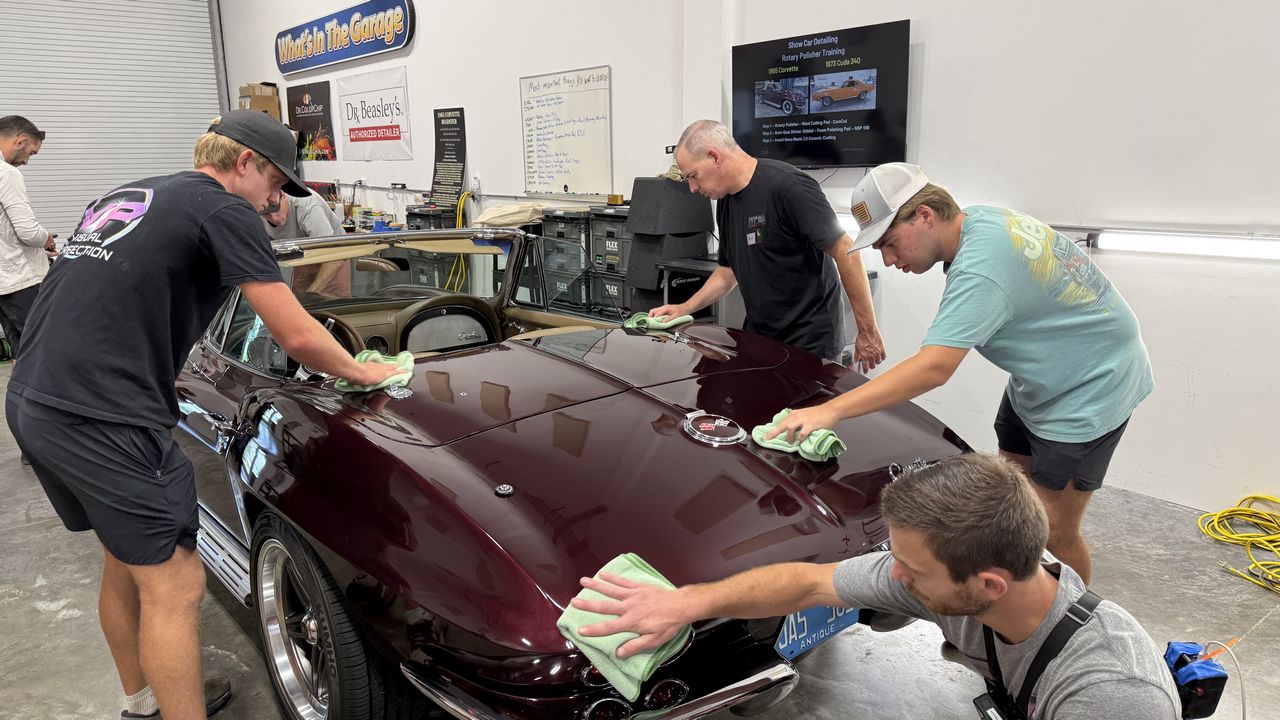
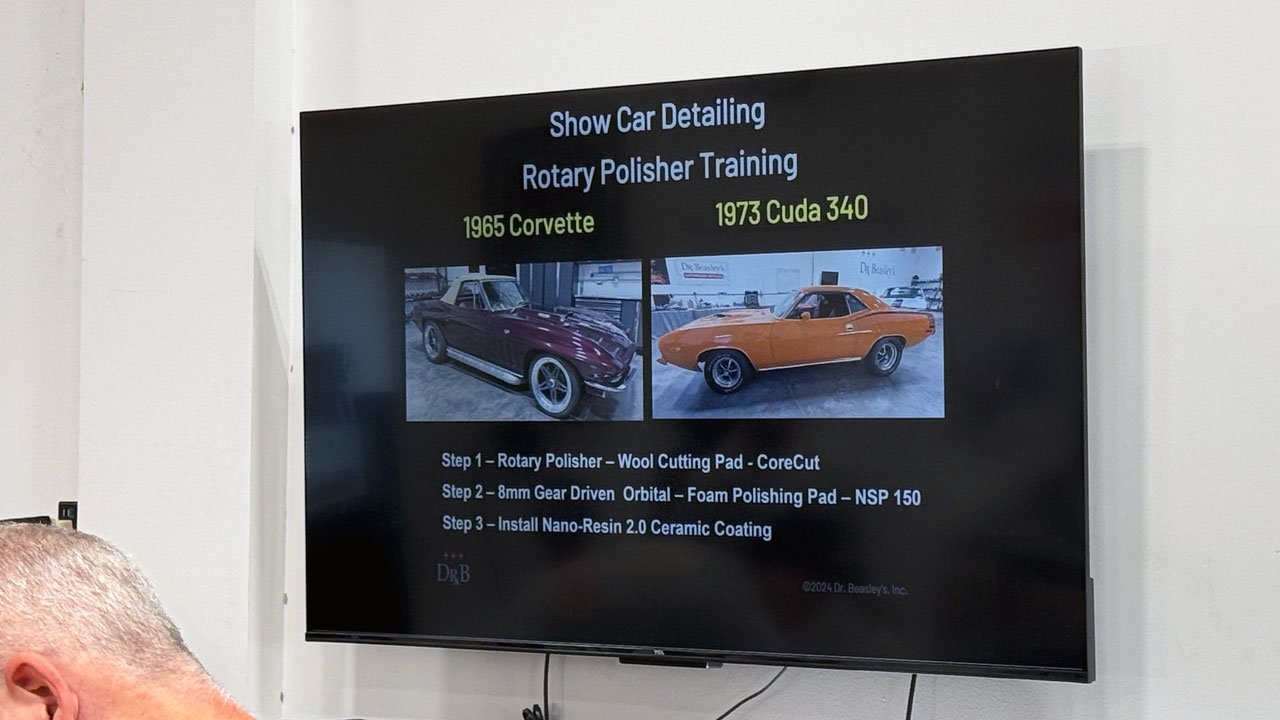
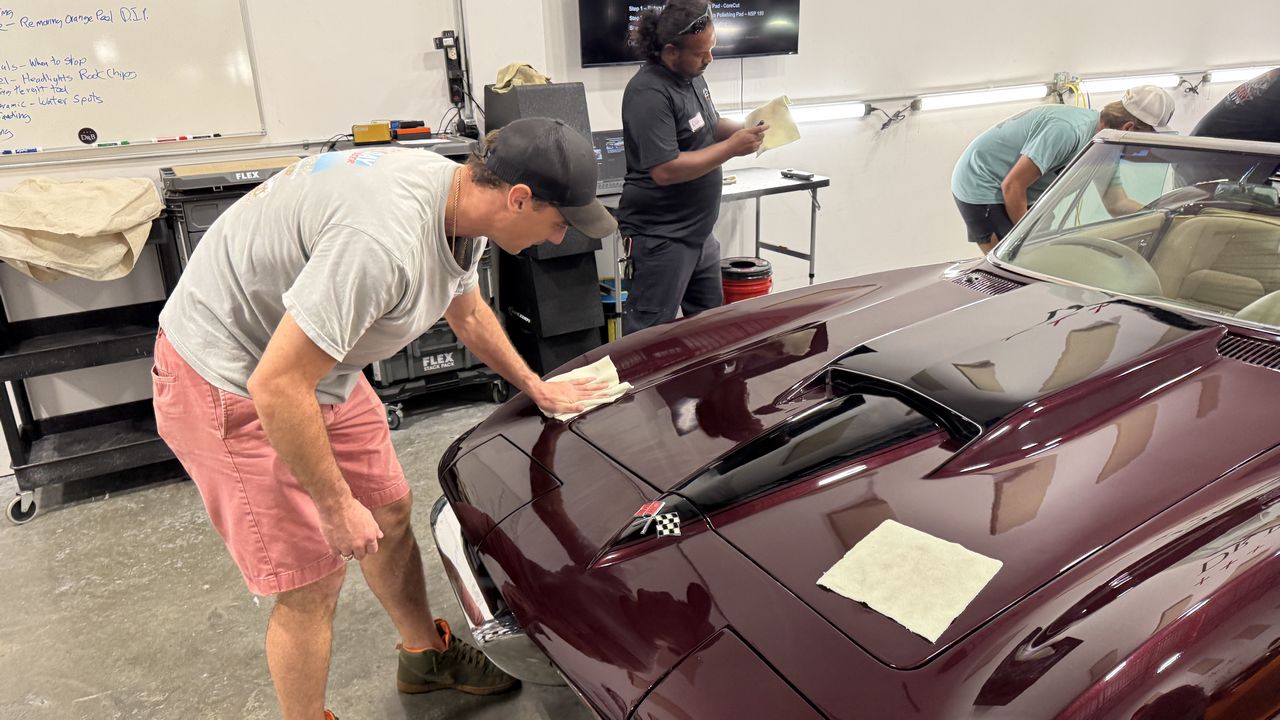
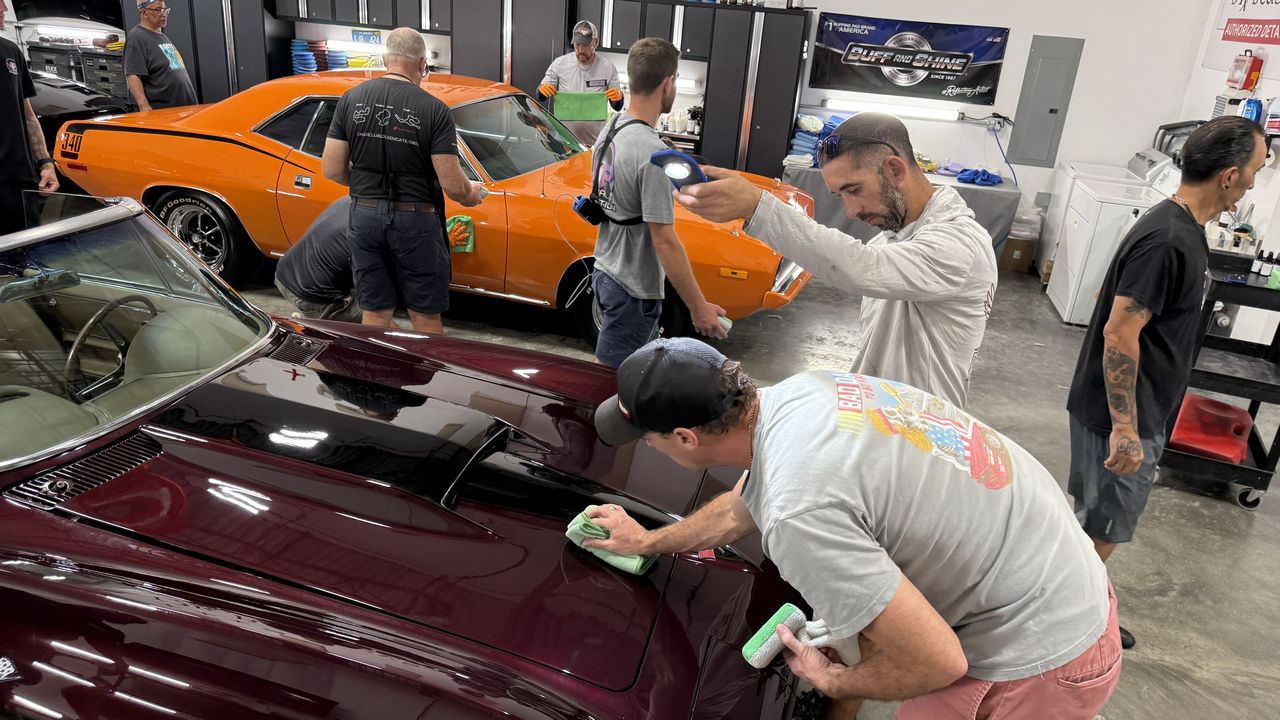
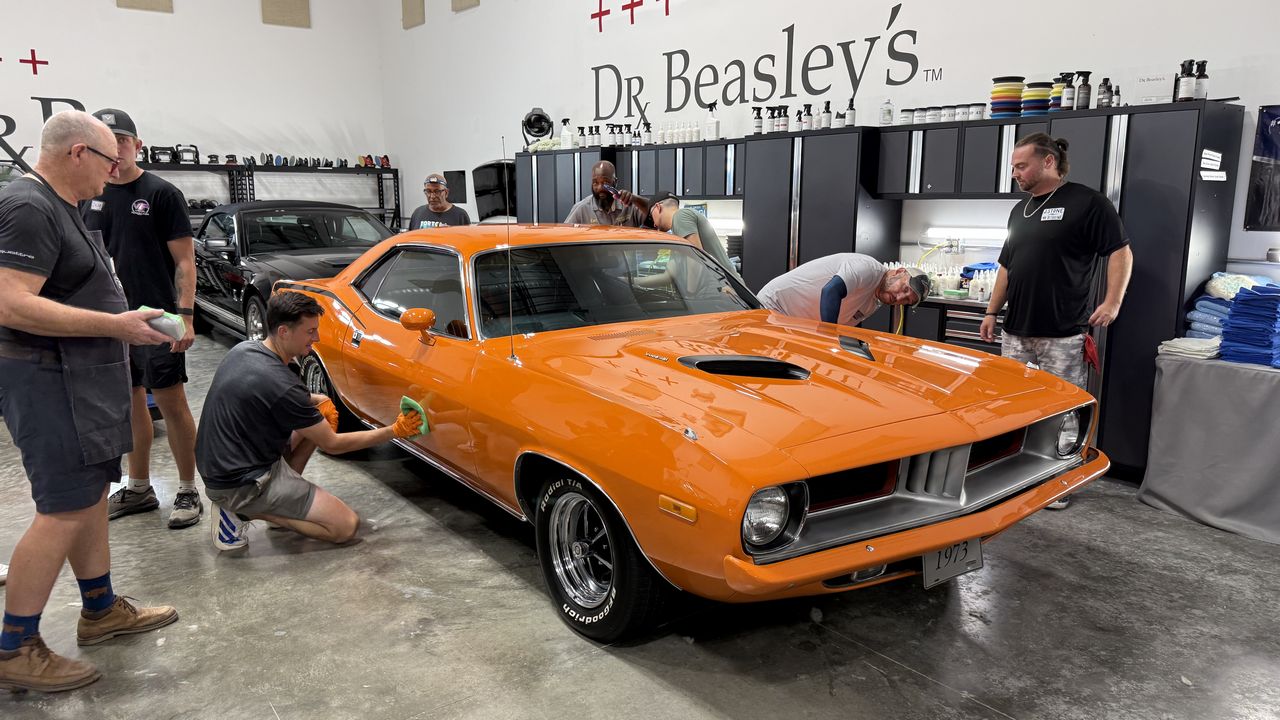
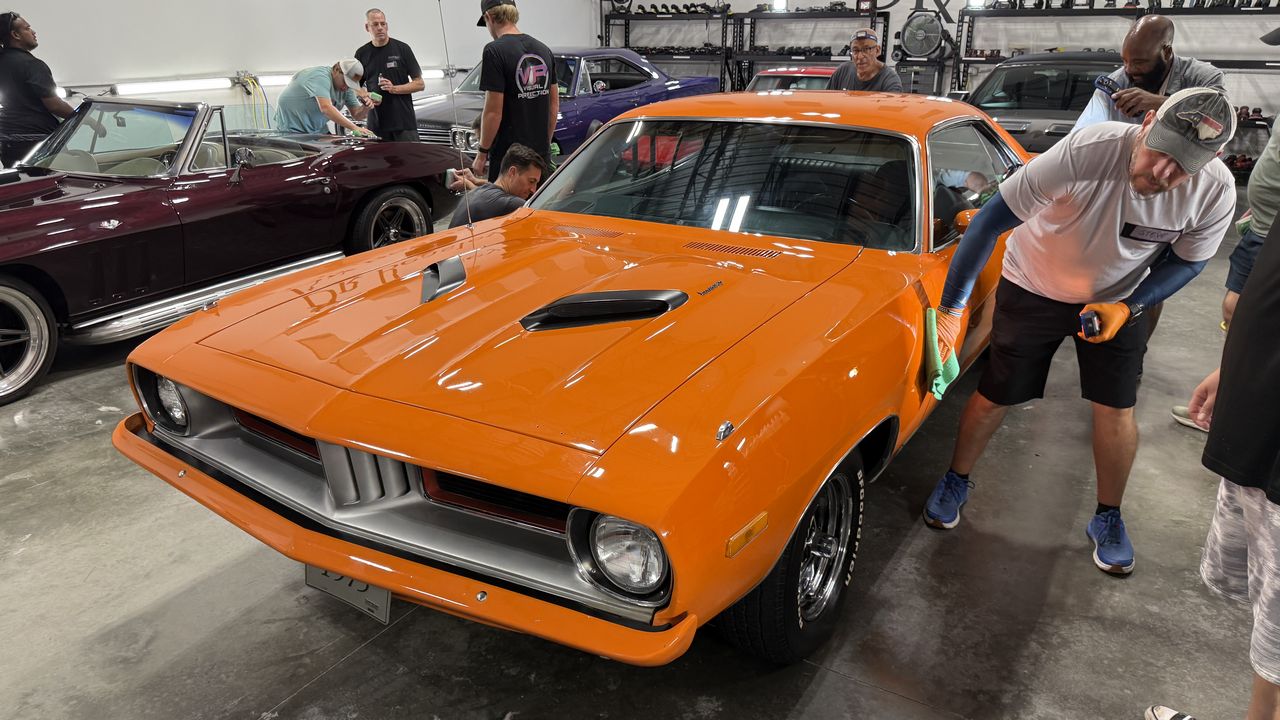
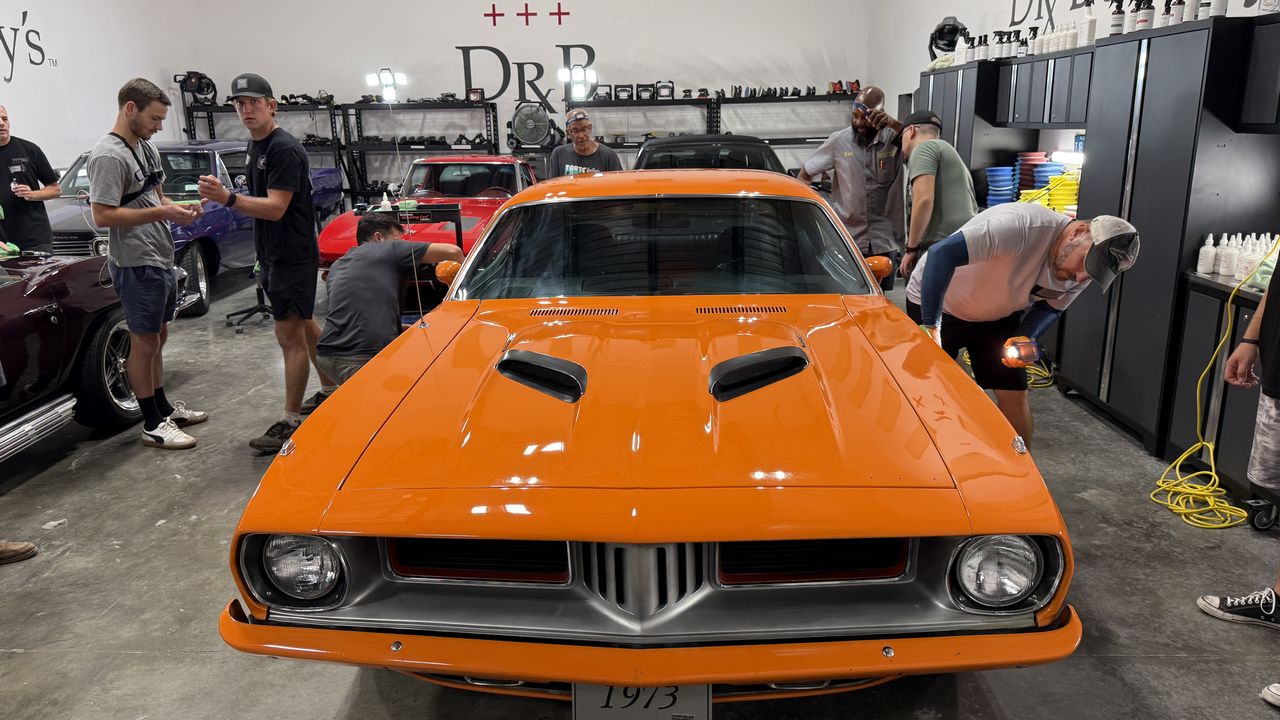
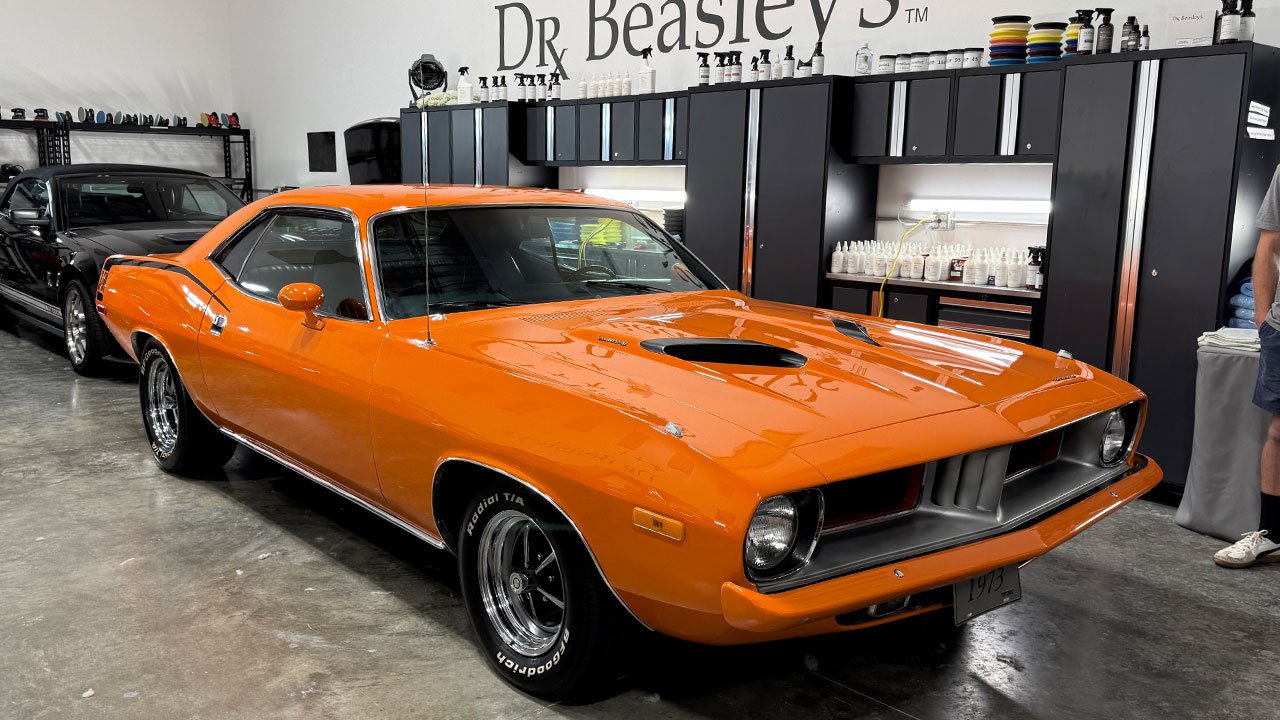
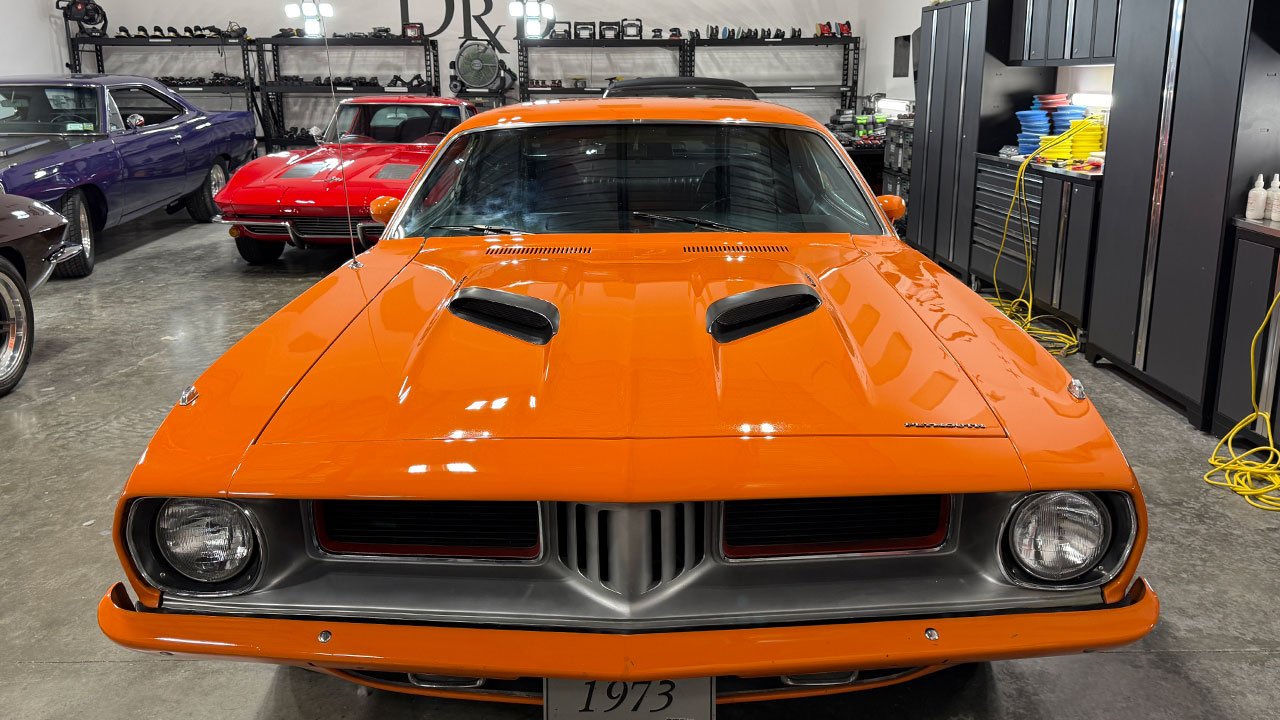
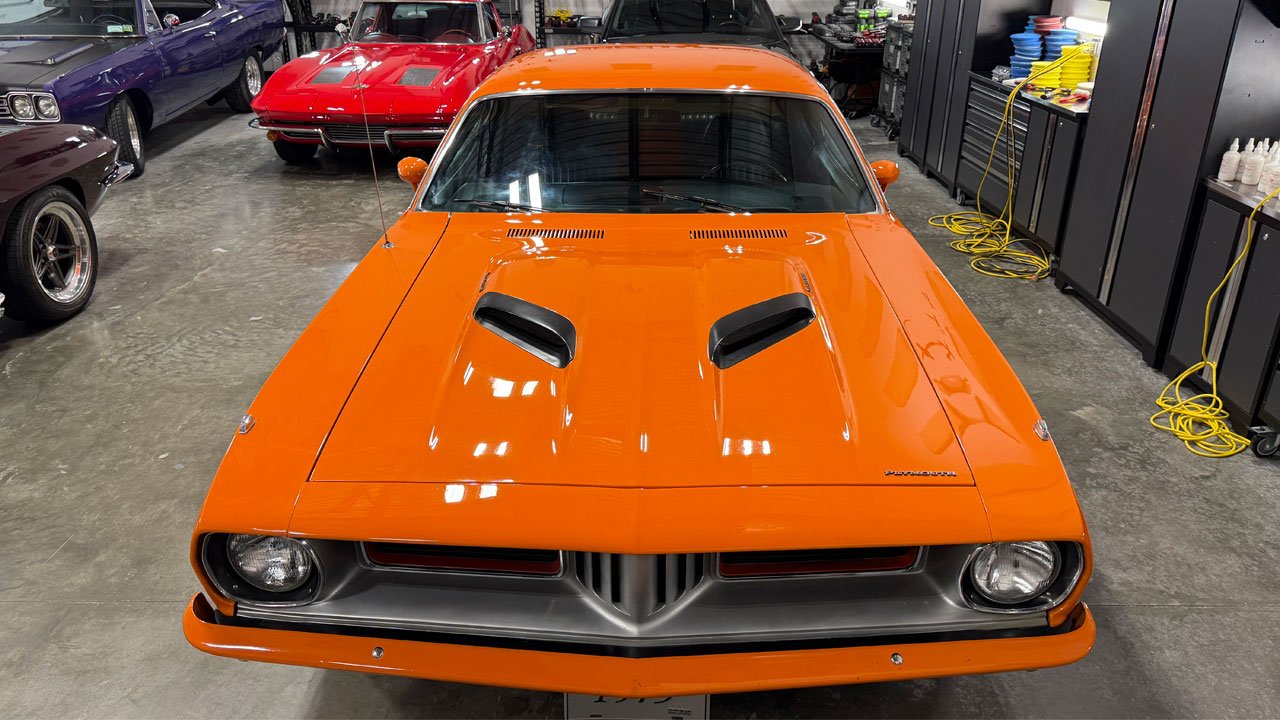
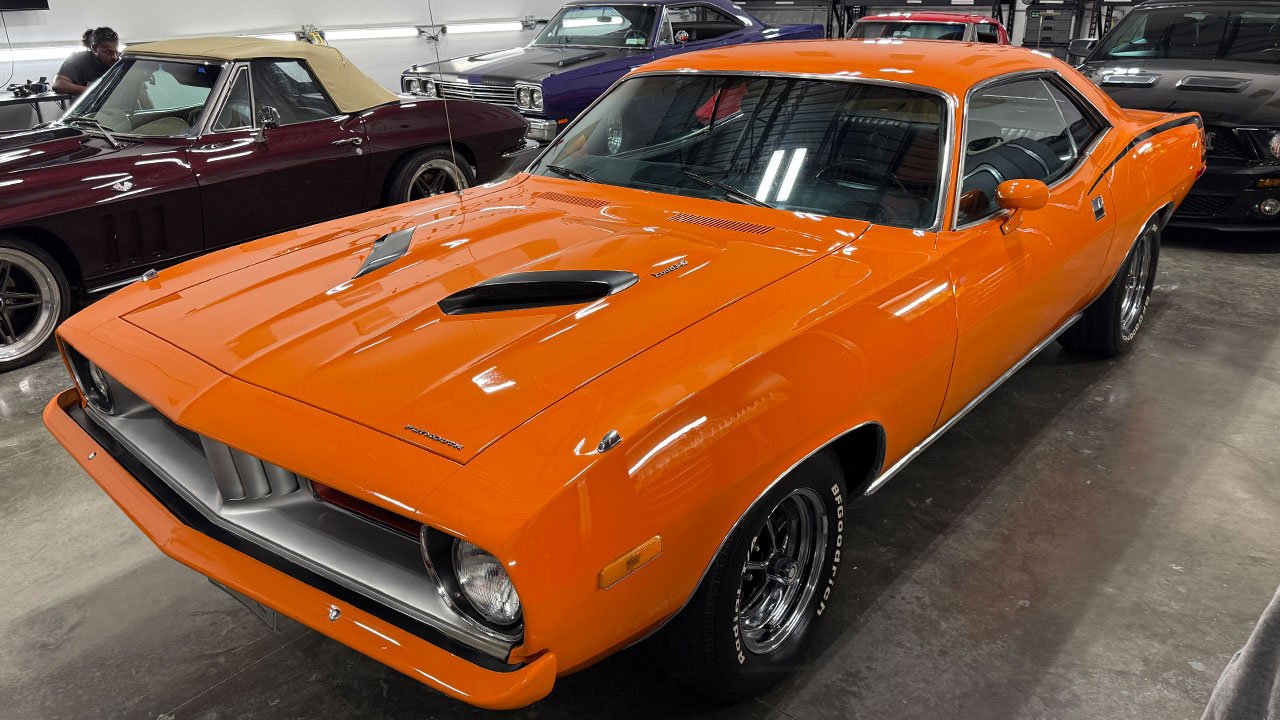
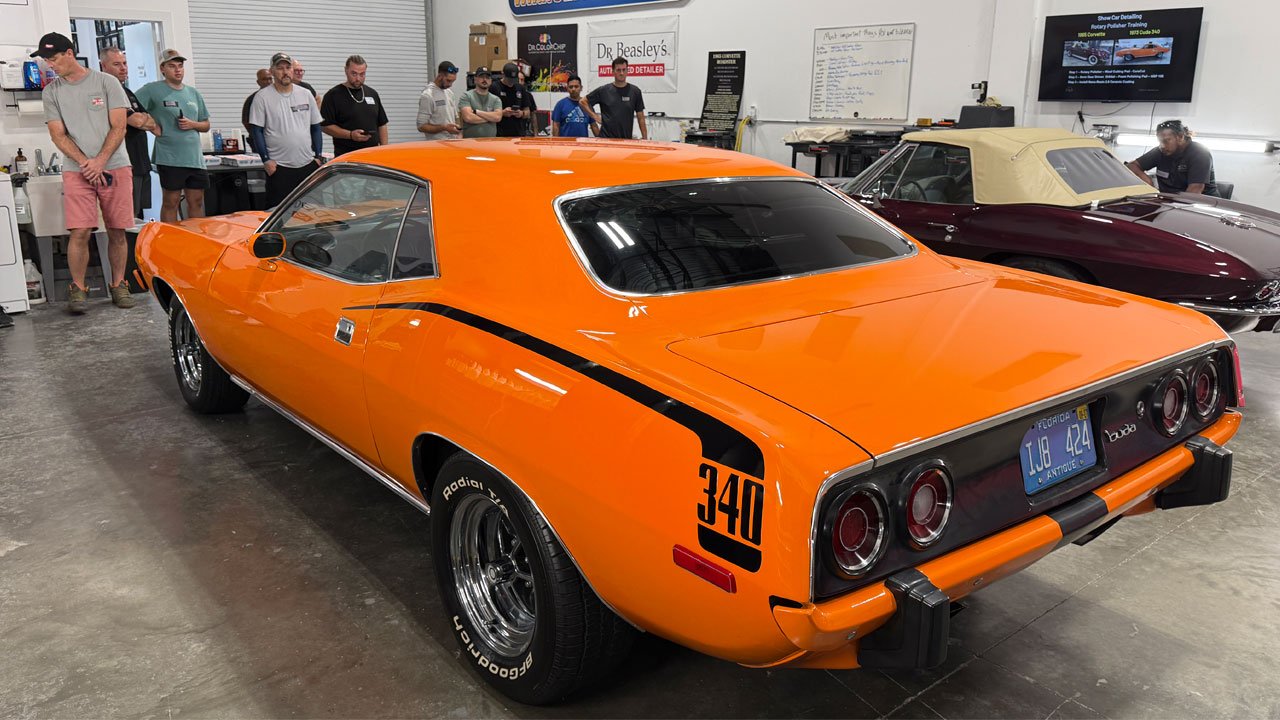
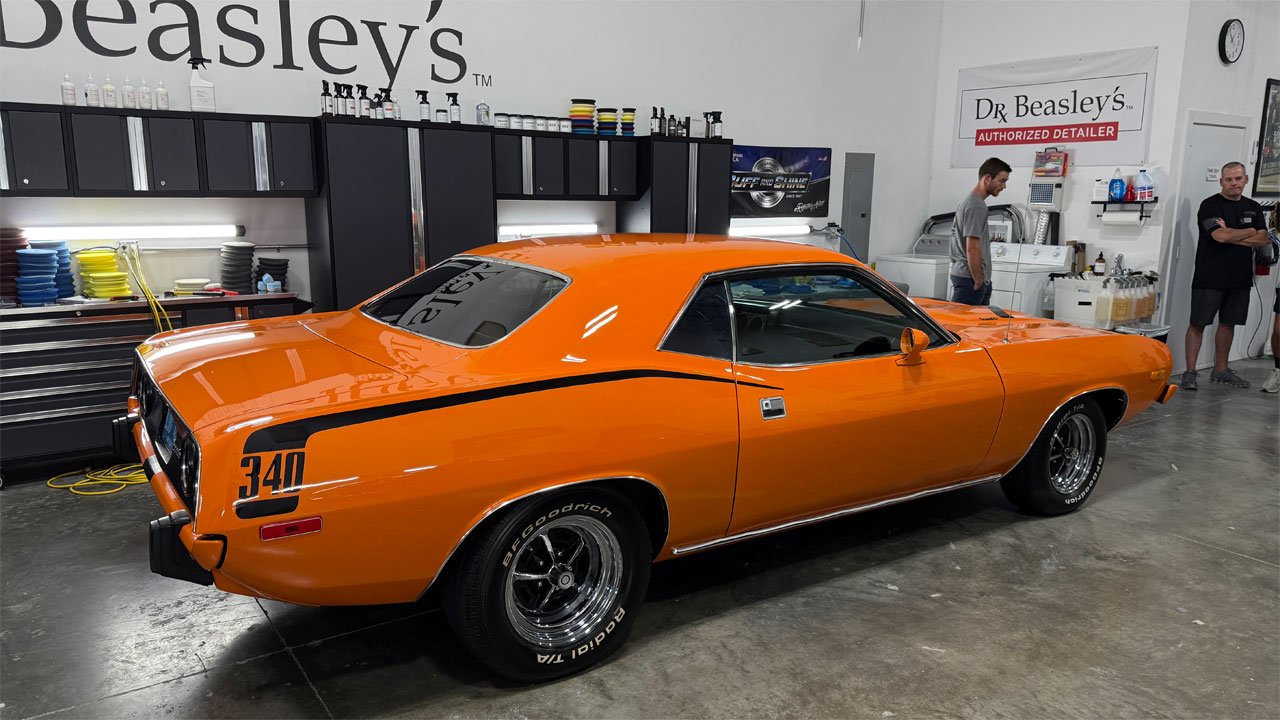
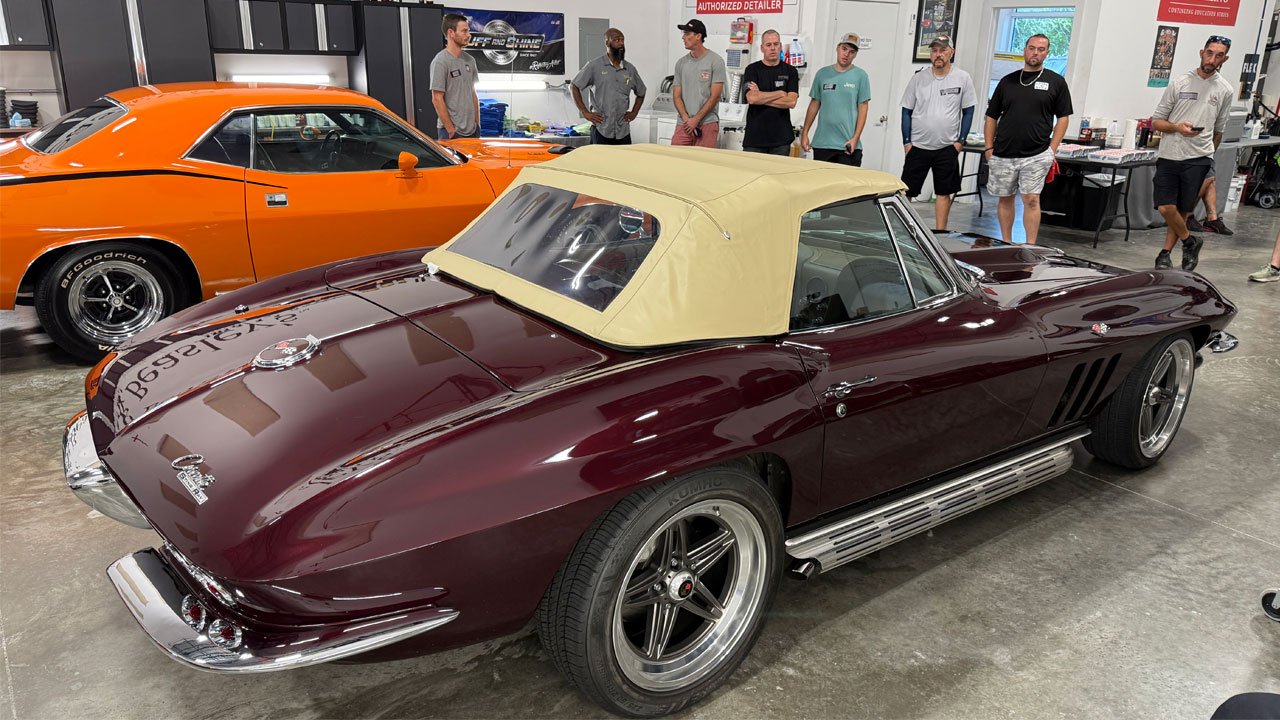
The 1963 Split Window Corvette and 1973 Cuda 340 have already been CUT HARD using rotary polishers and wool cutting pads to remove YEARS of swirls, scratches and neglected paint! 💪😎

But we're not finished...

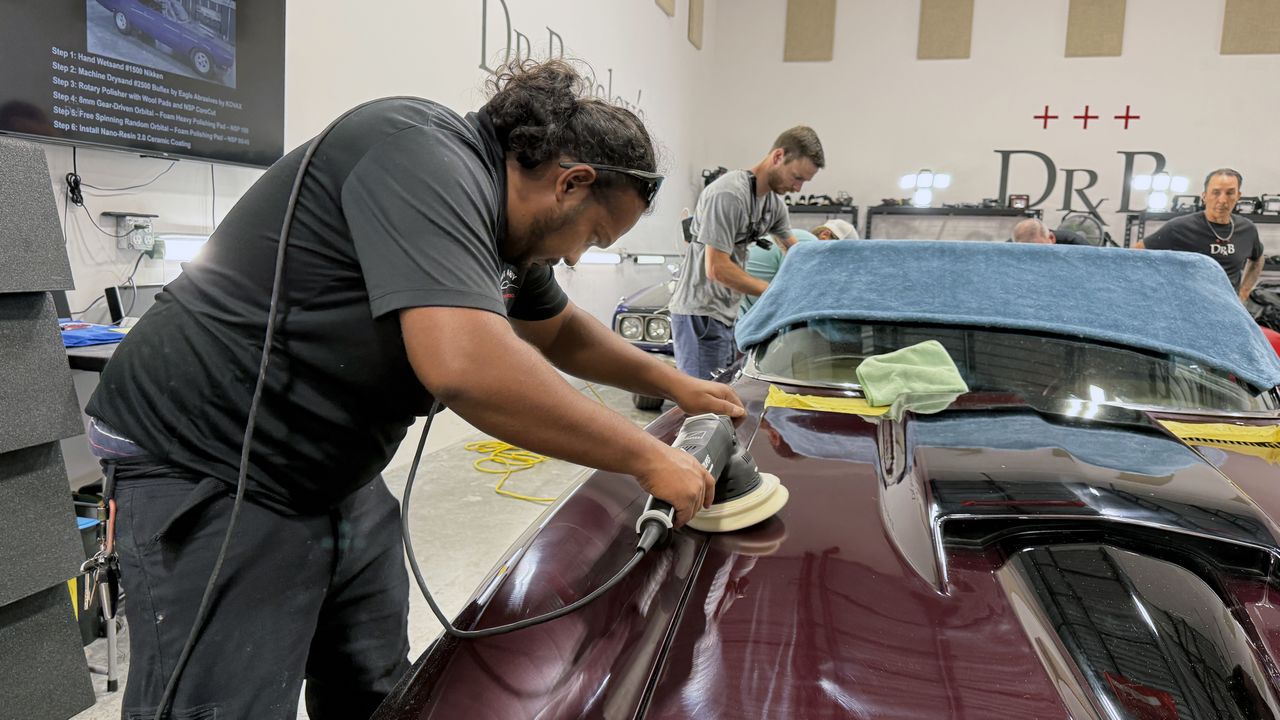
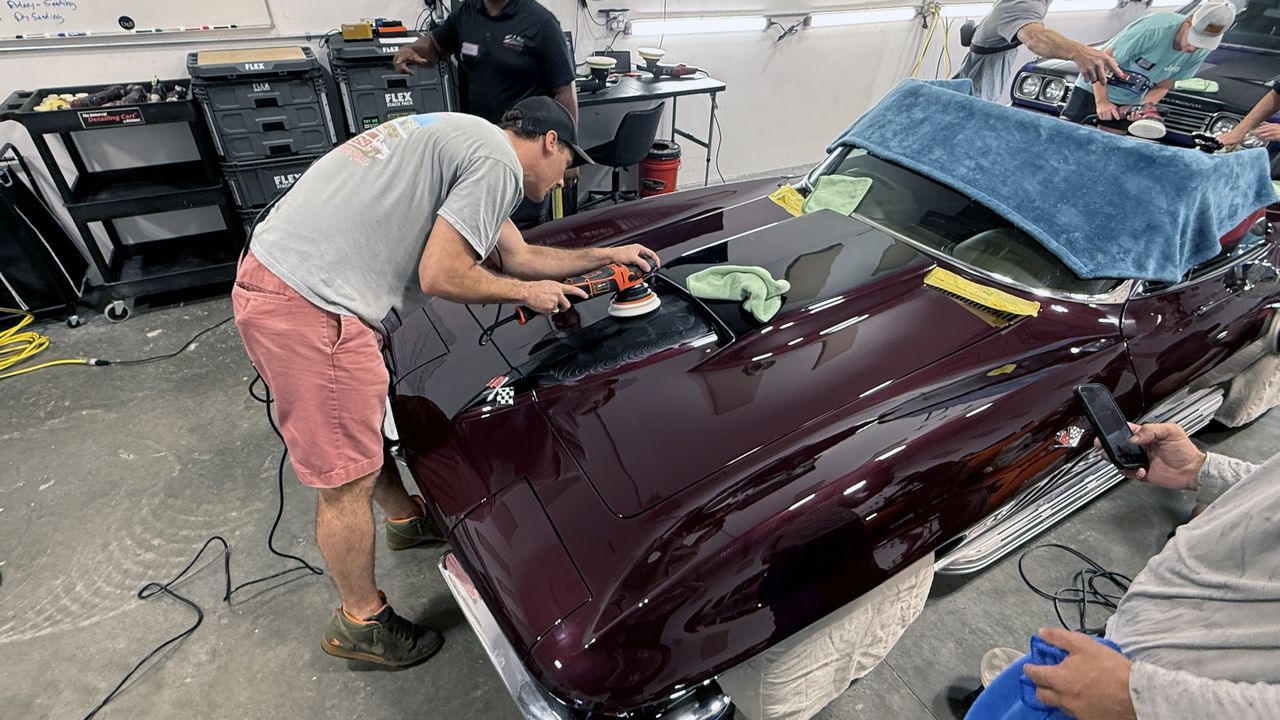
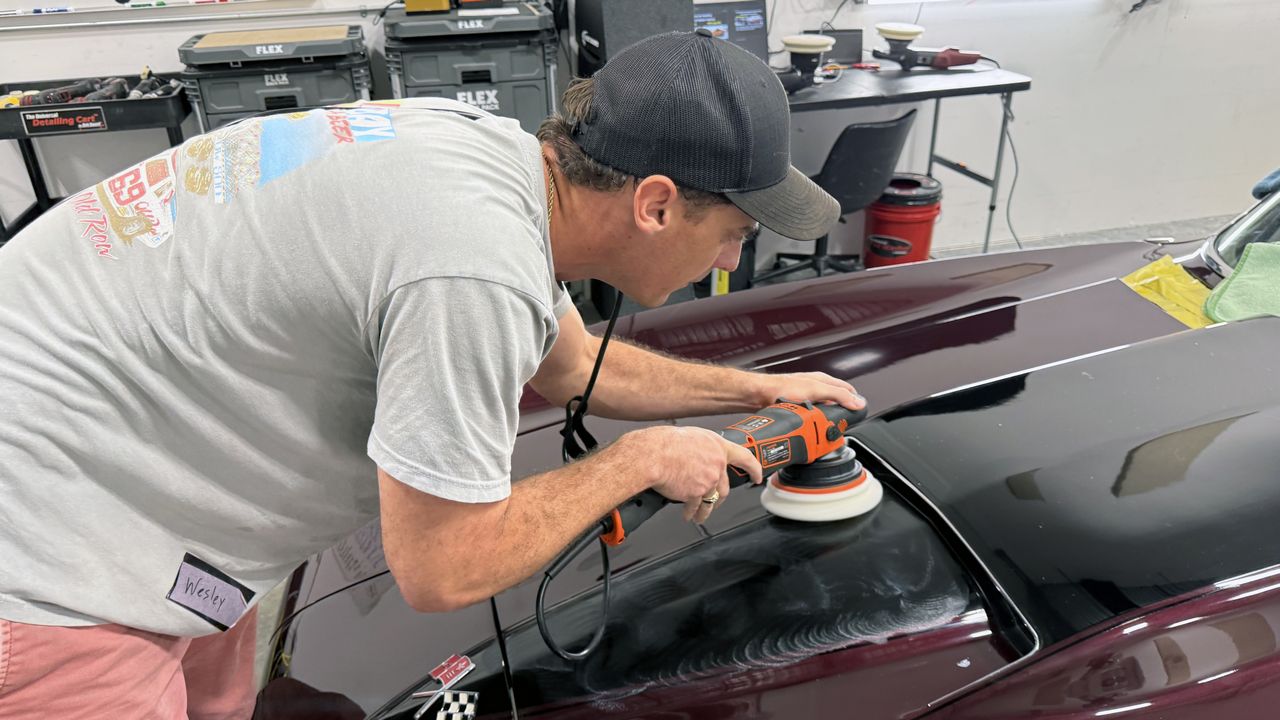
⚙️ NEXT UP — GEAR-DRIVEN ORBITAL POLISHERS! ⚙️​

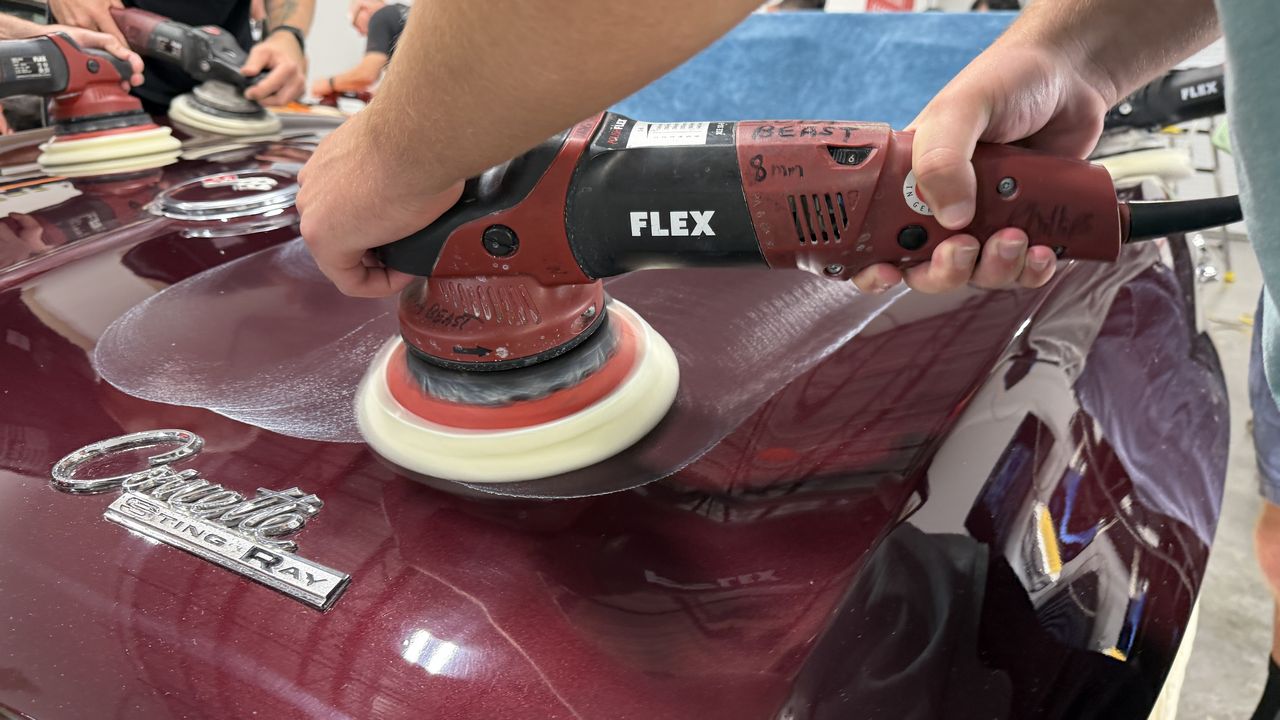
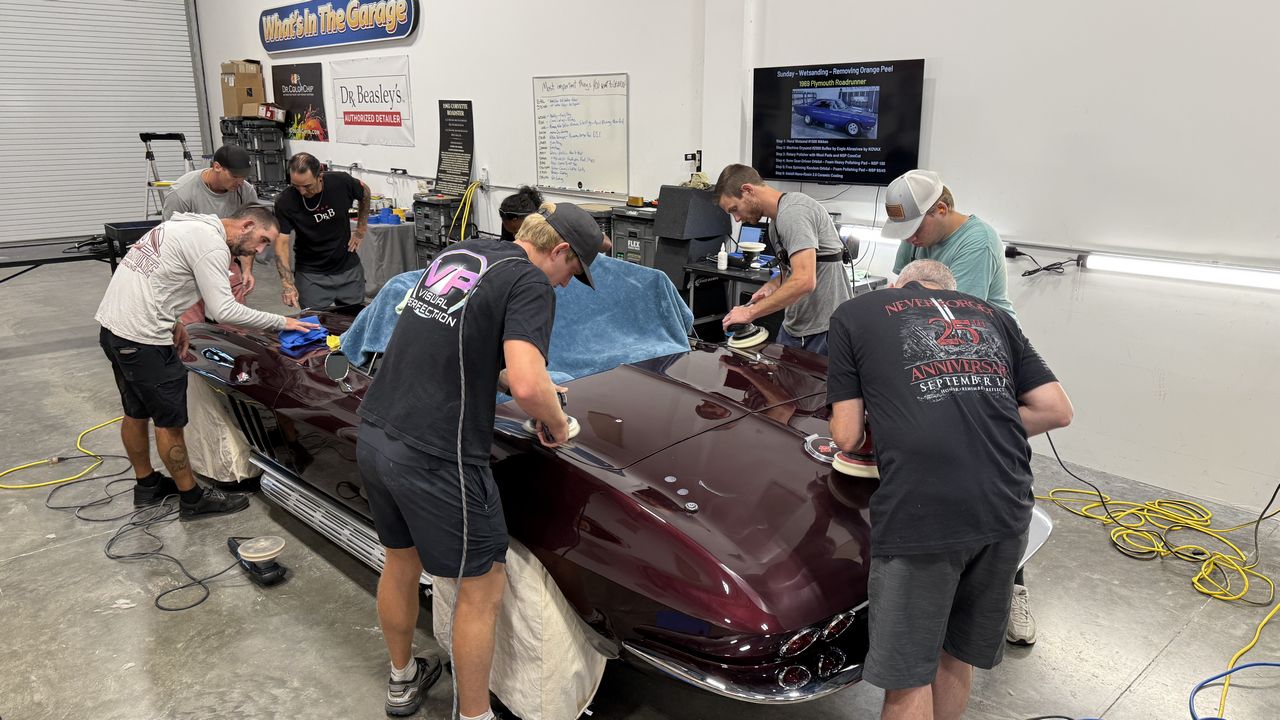
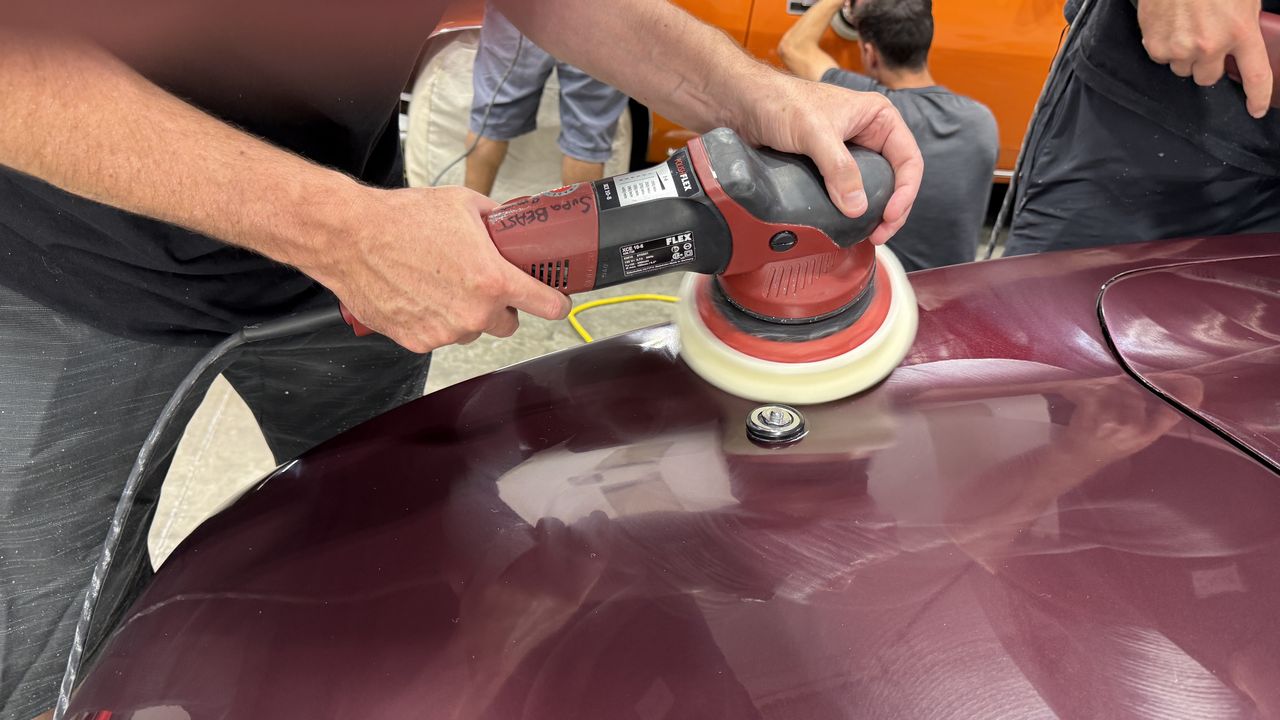
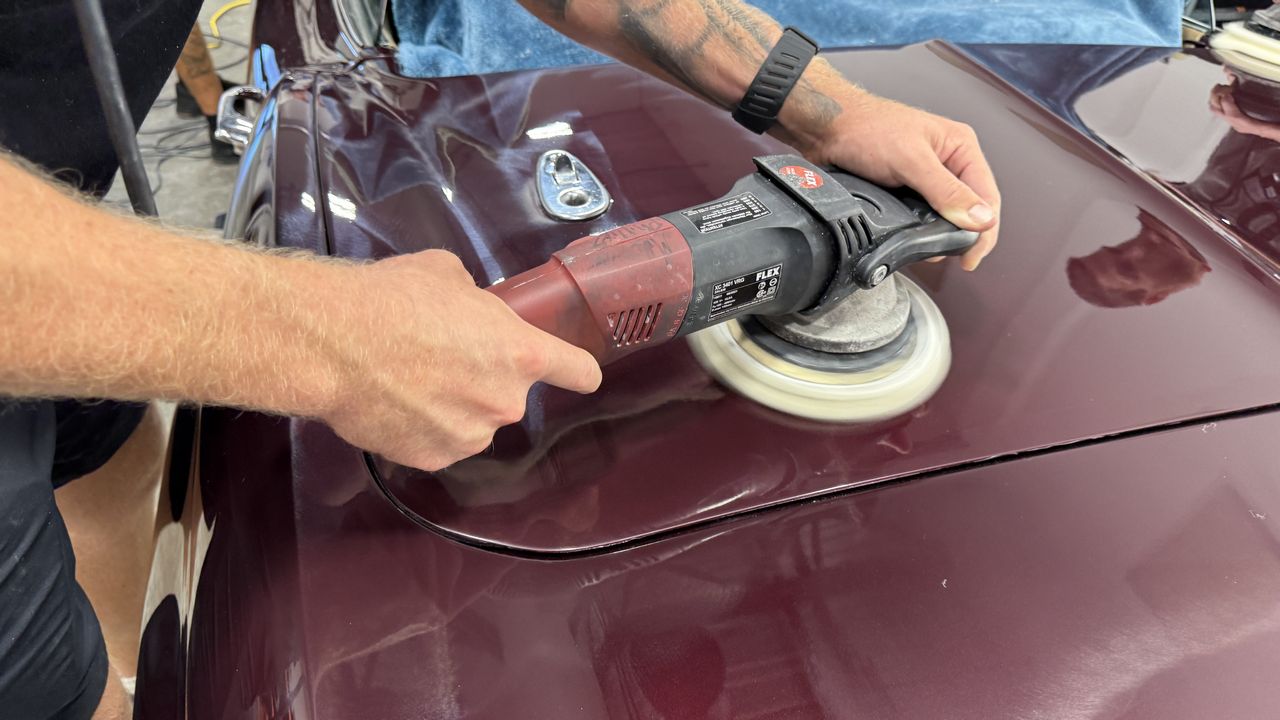
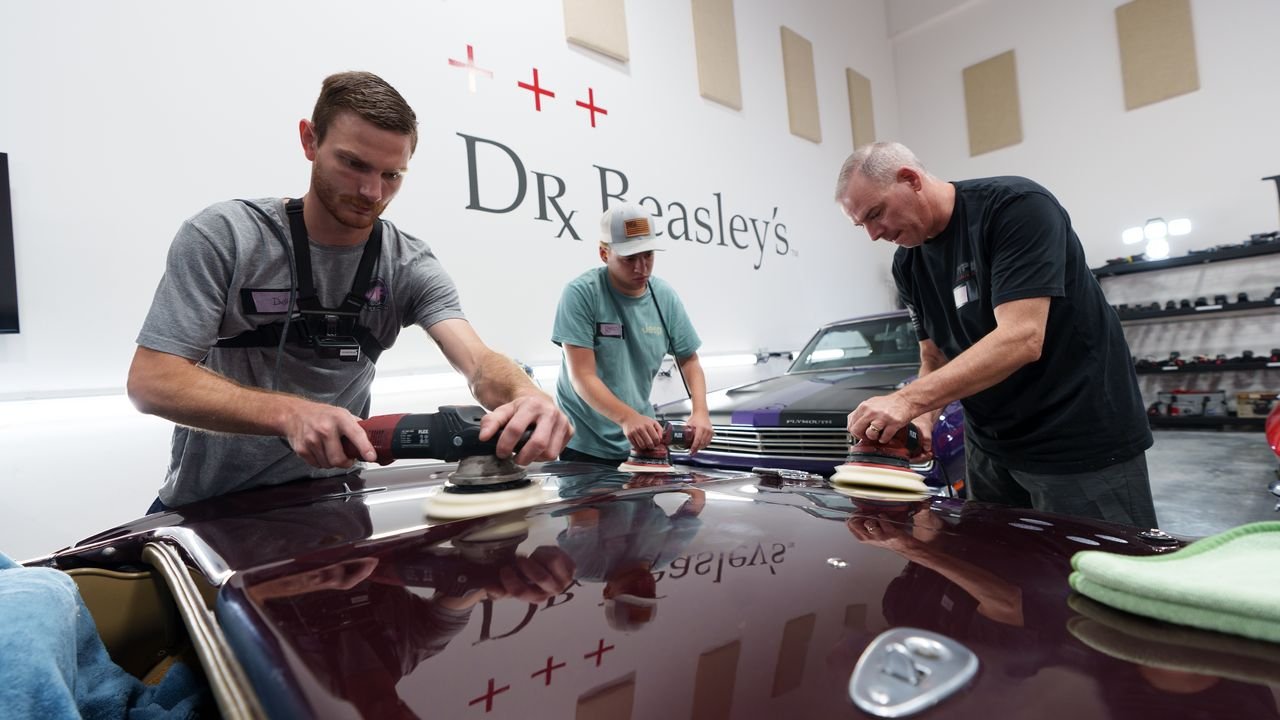
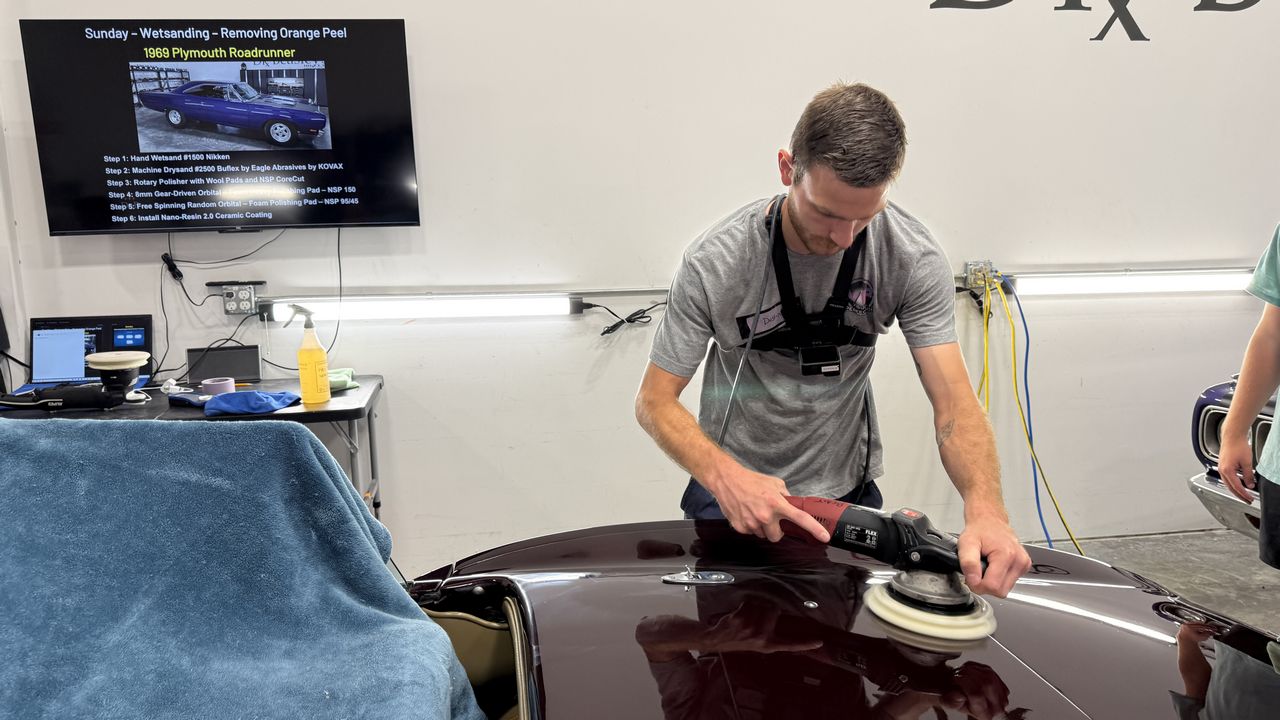
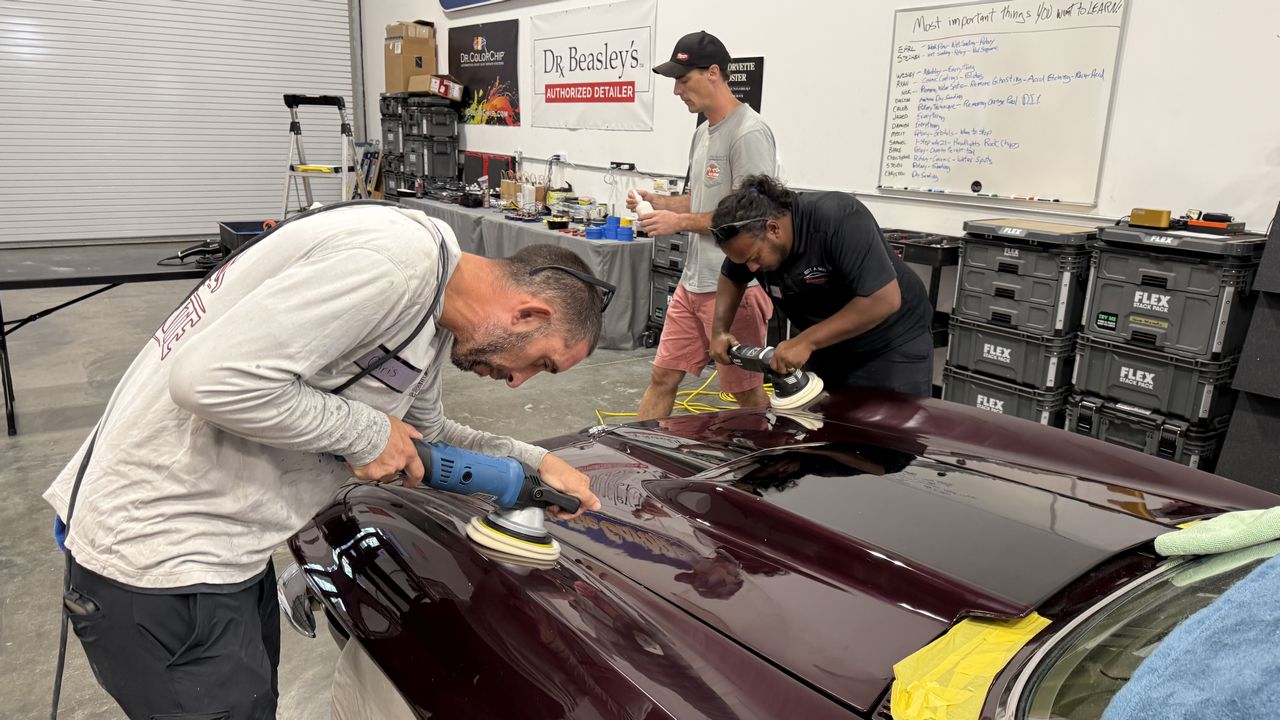
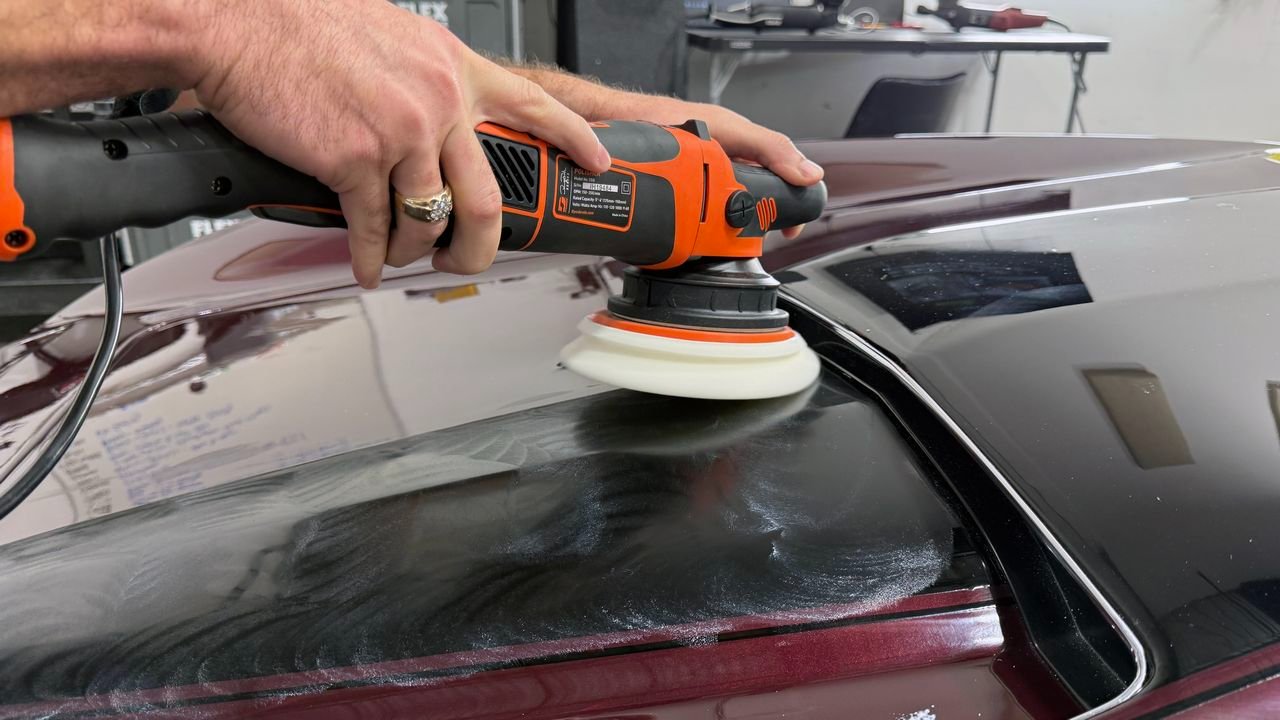
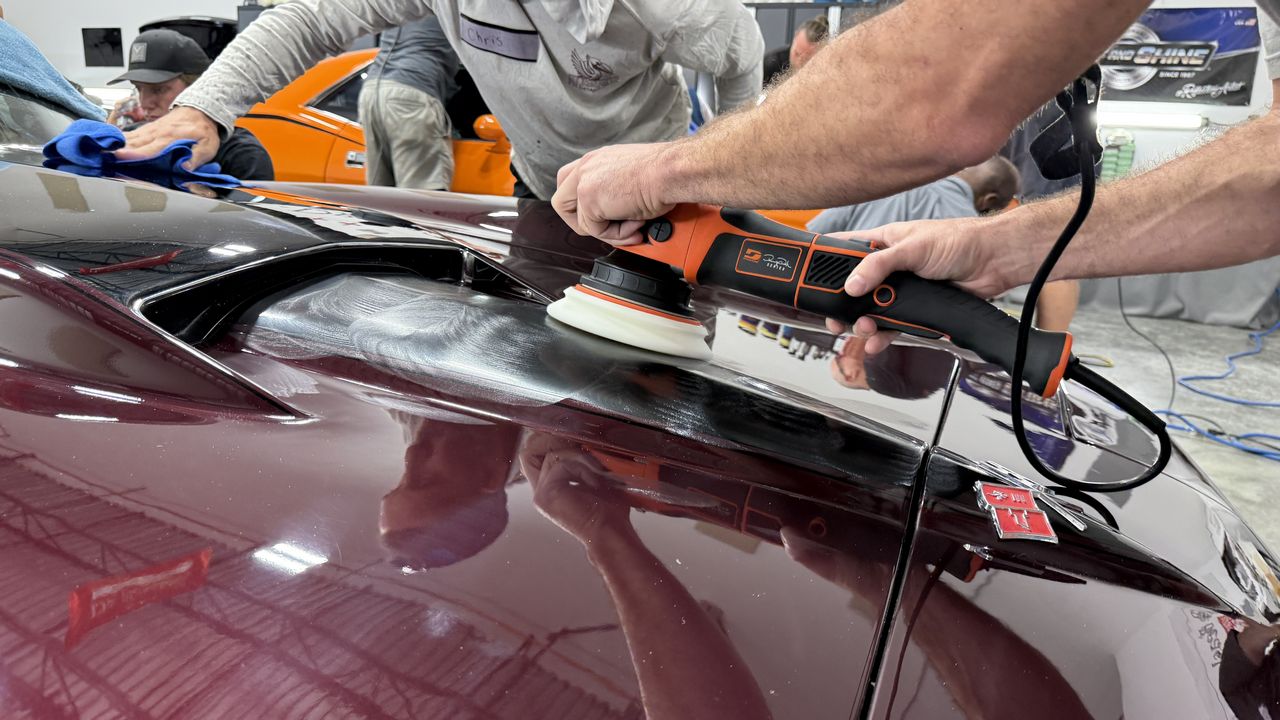
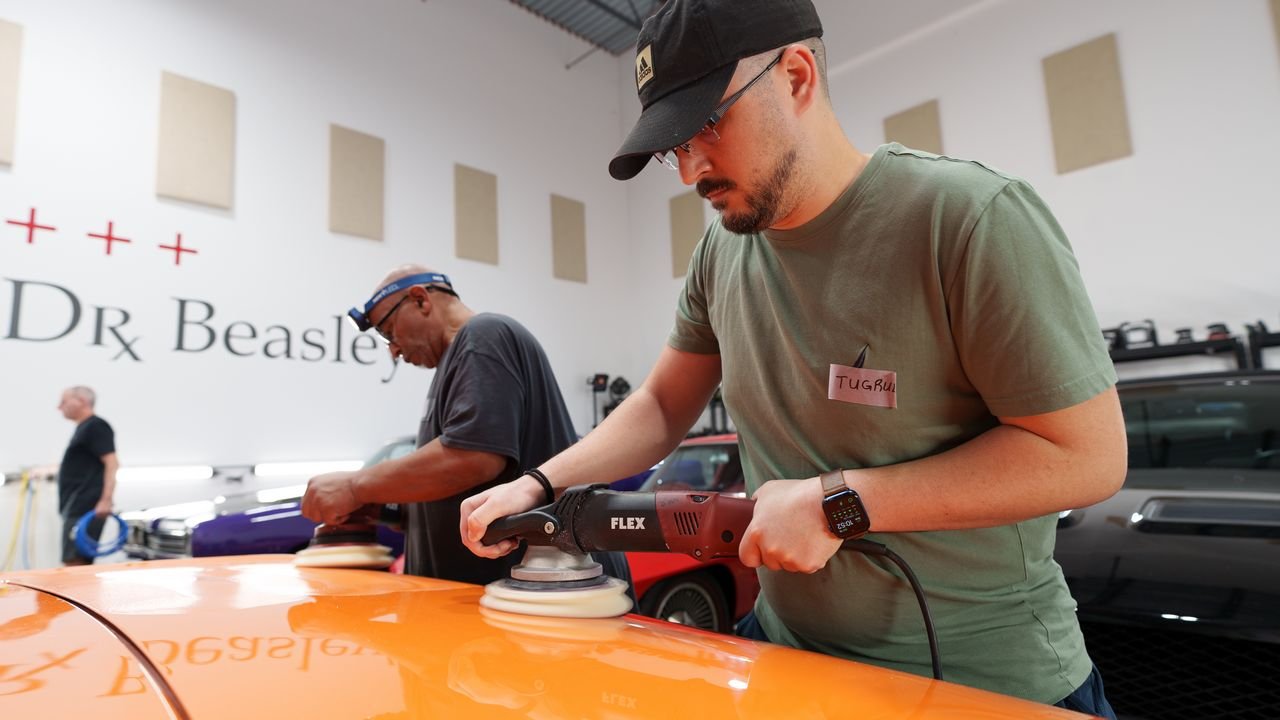
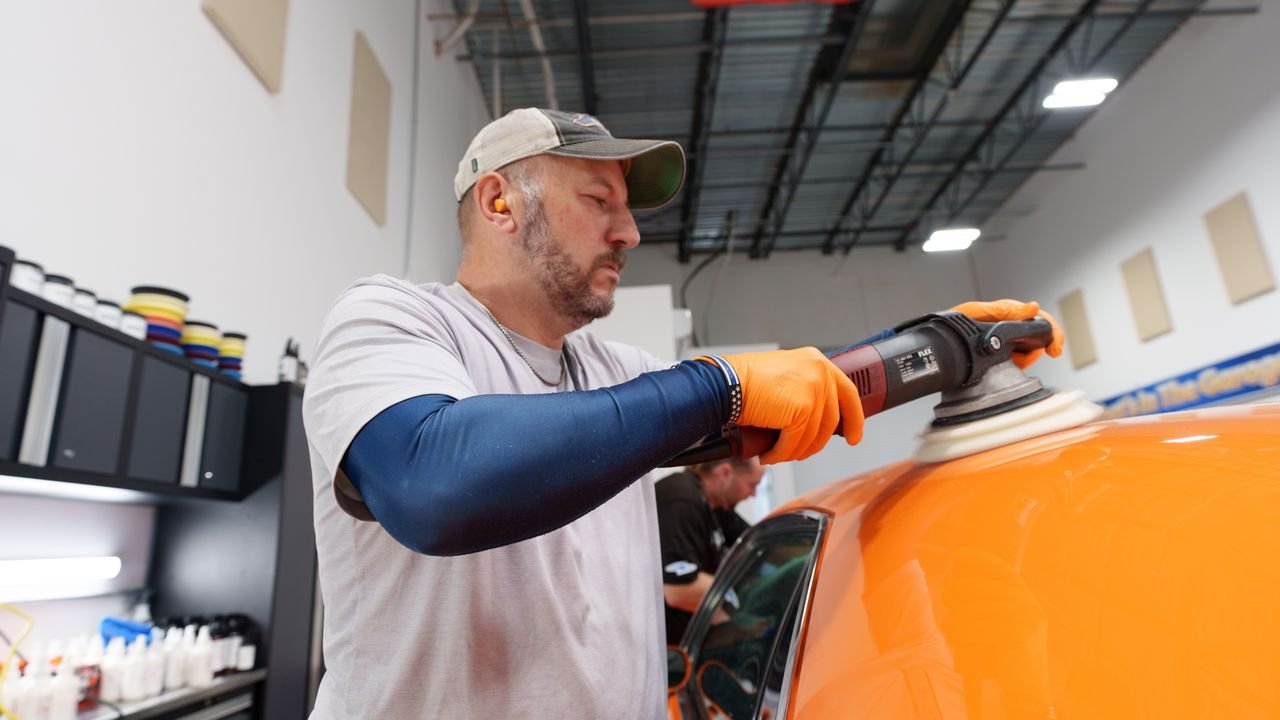
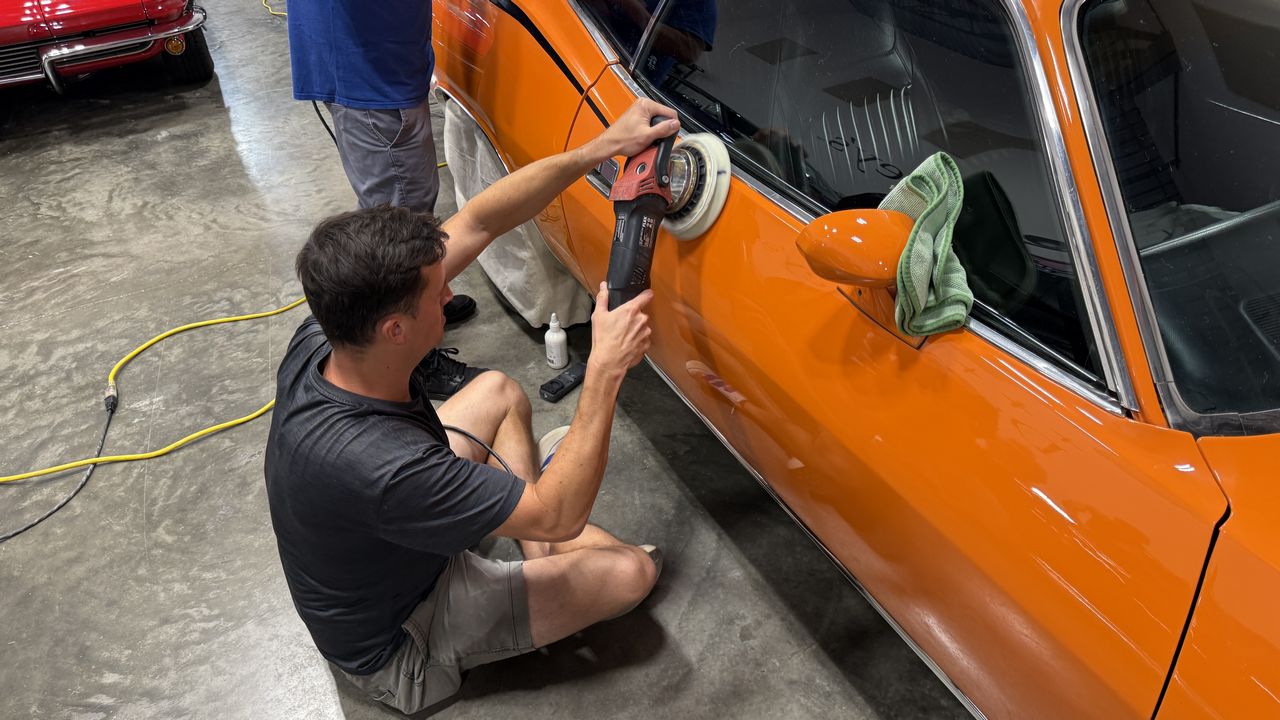
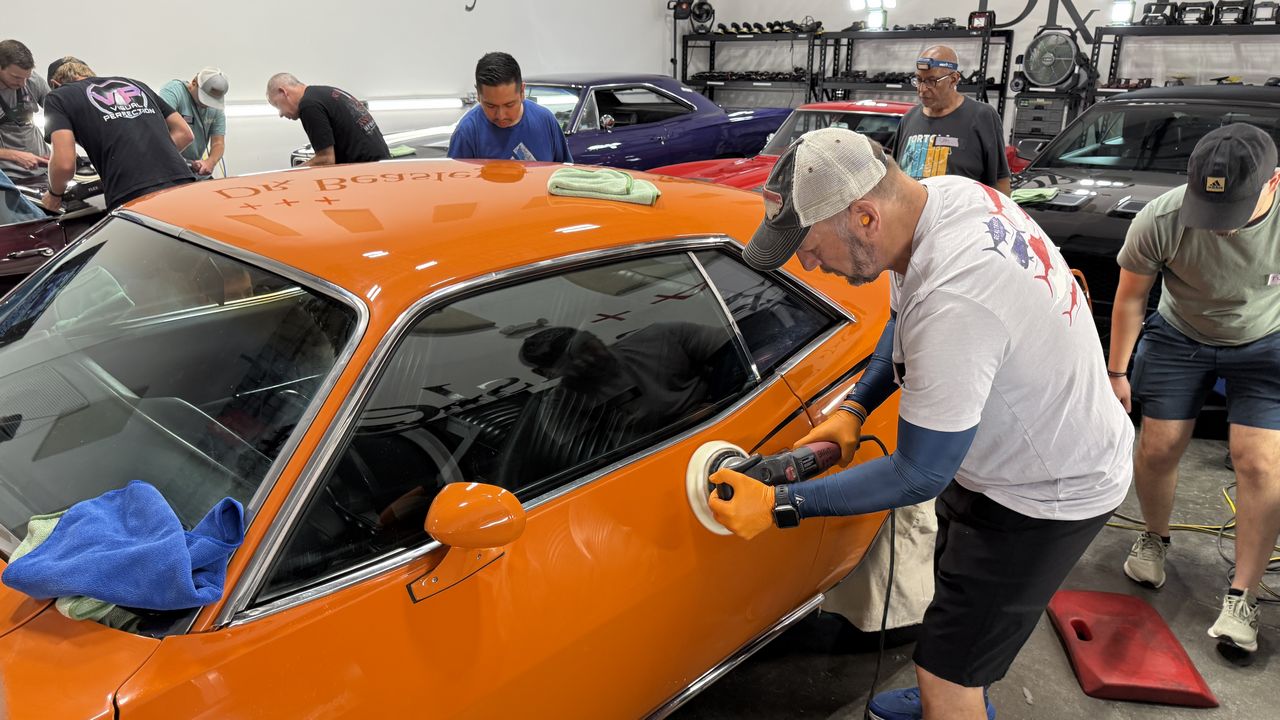
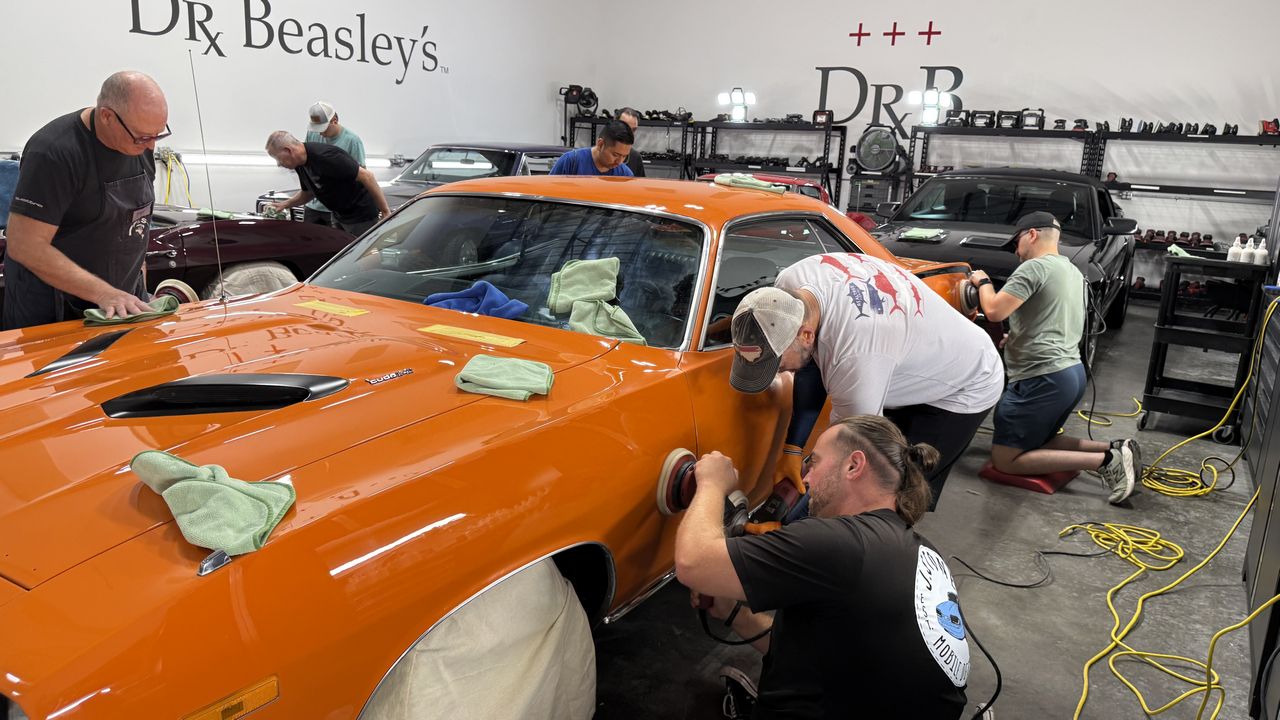
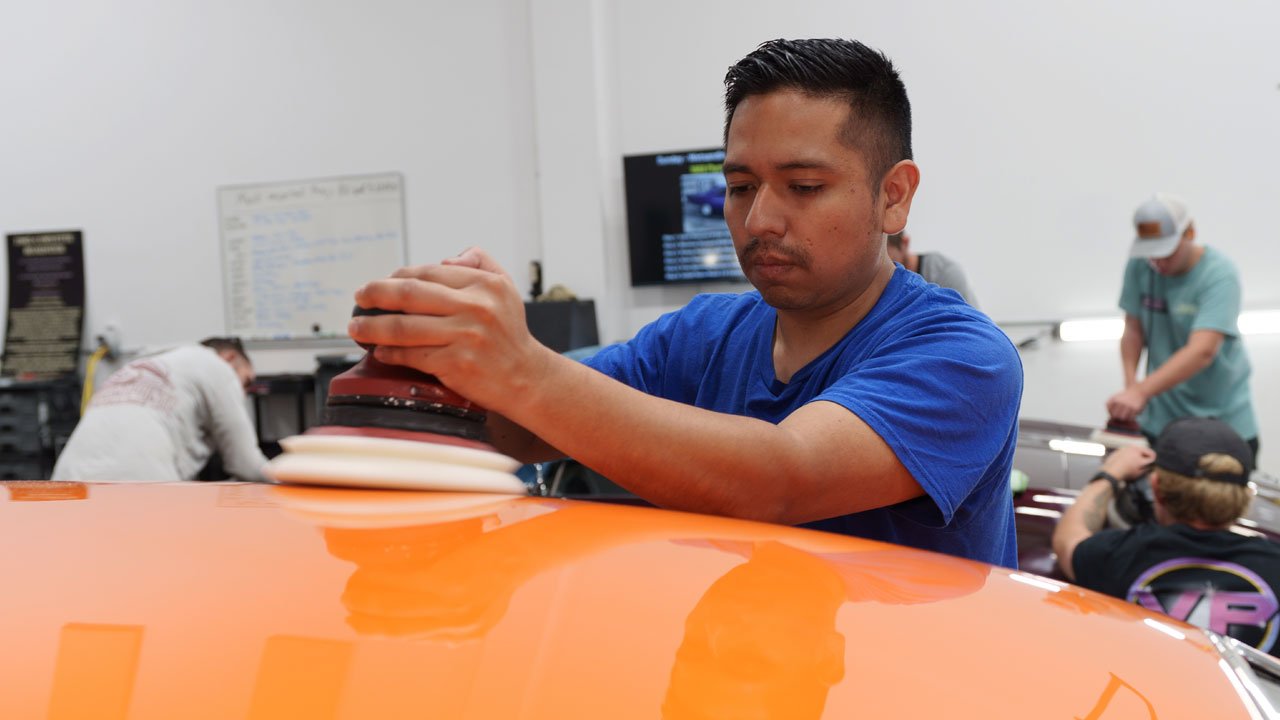
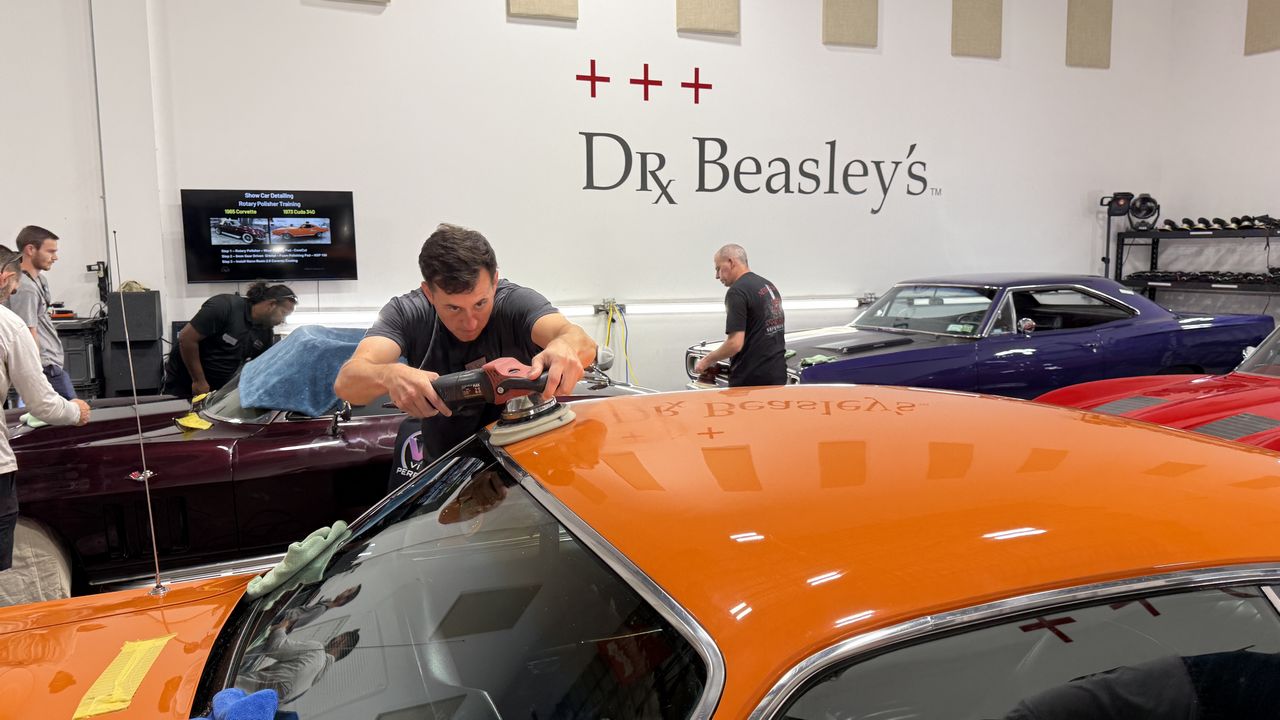
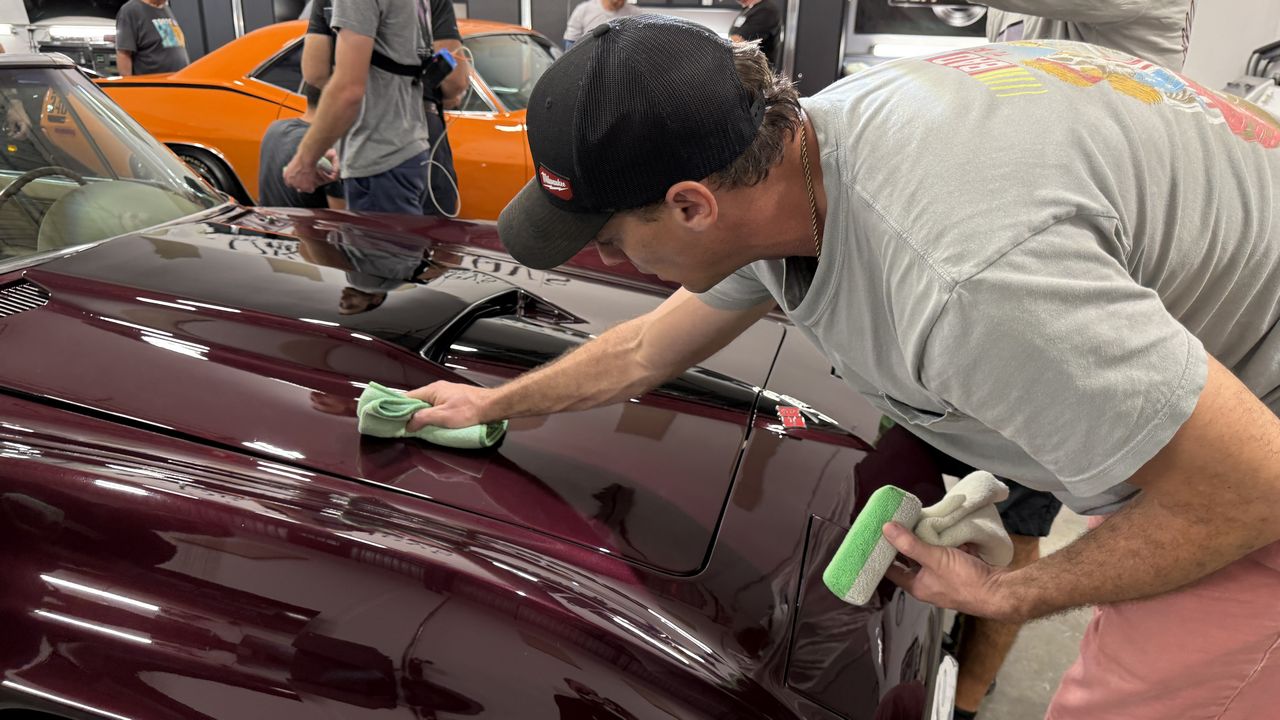
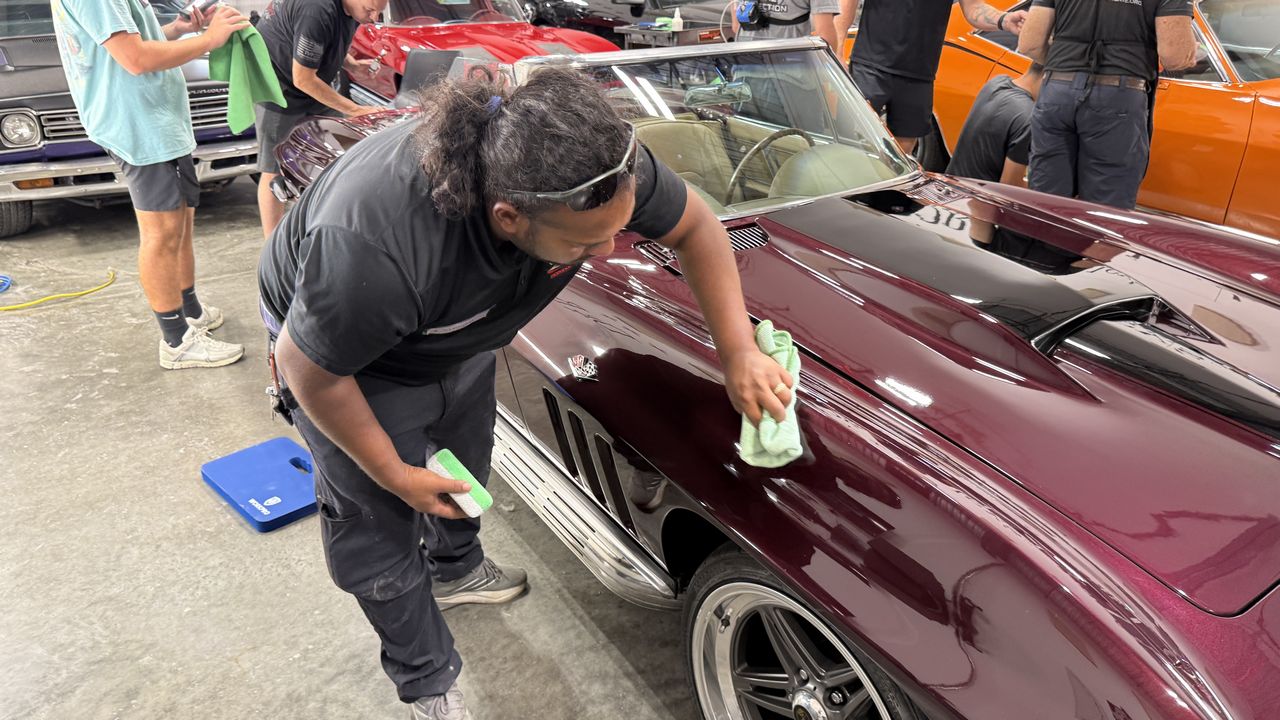
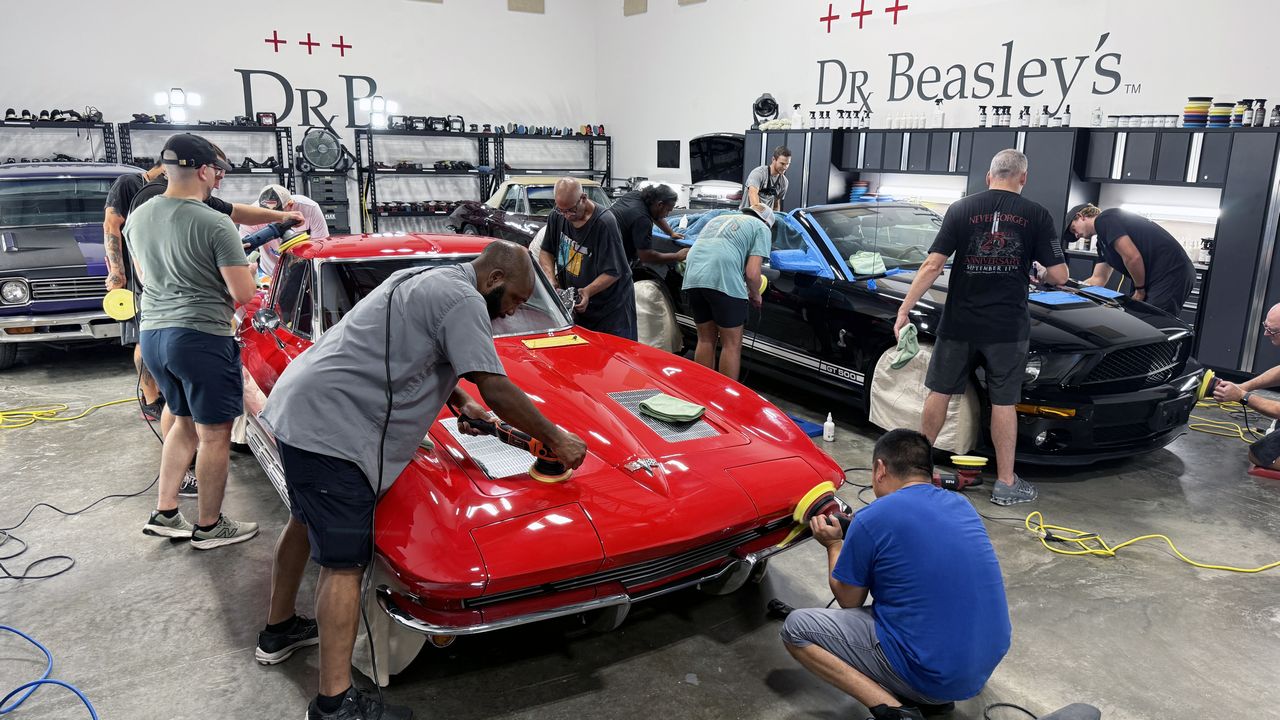
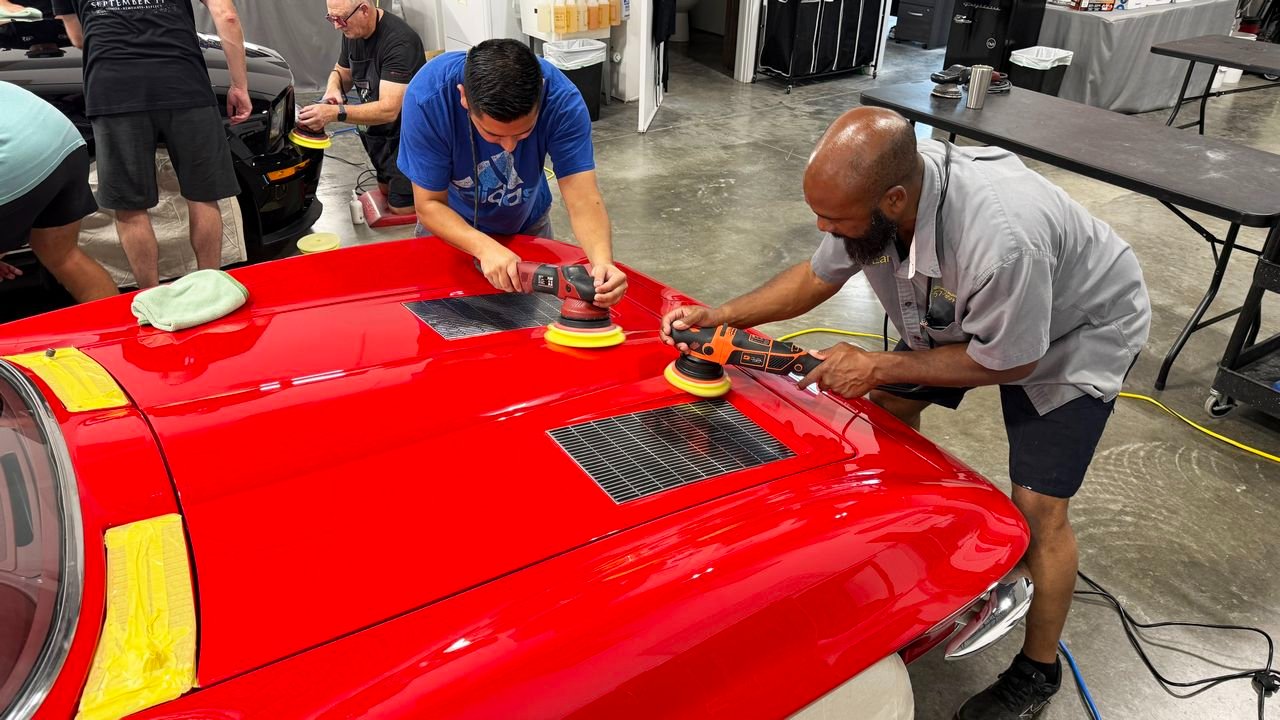
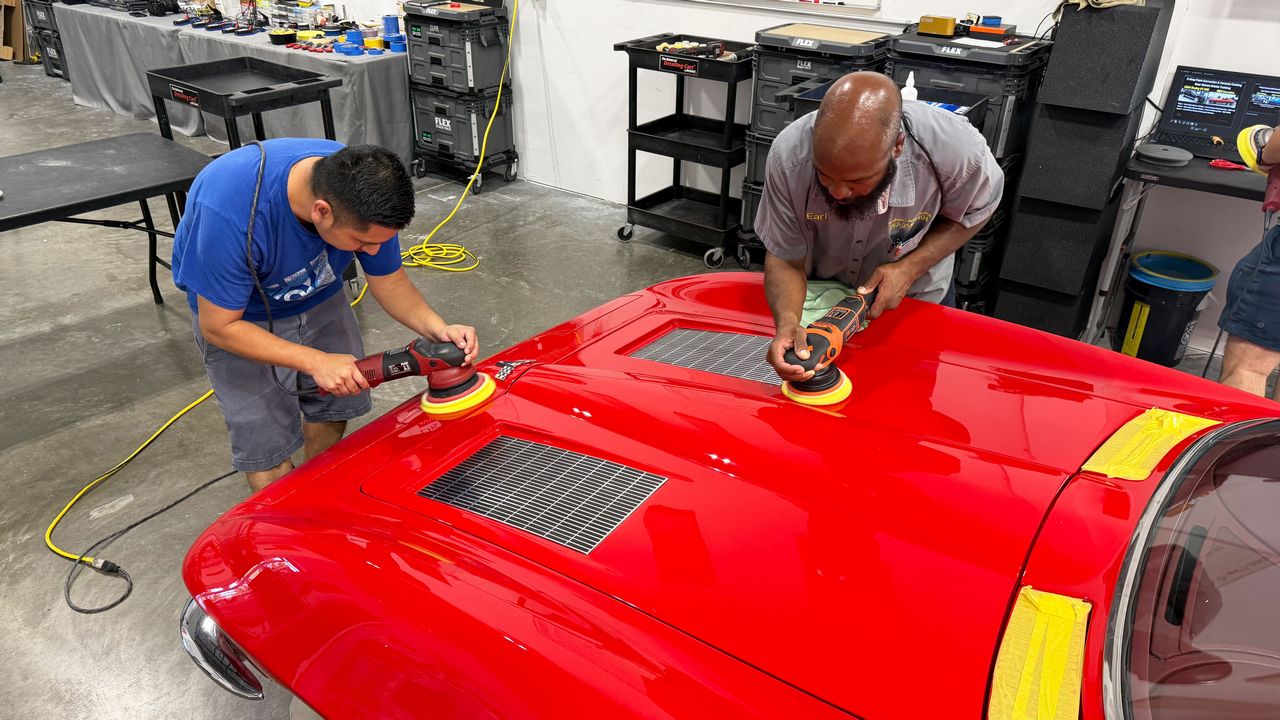
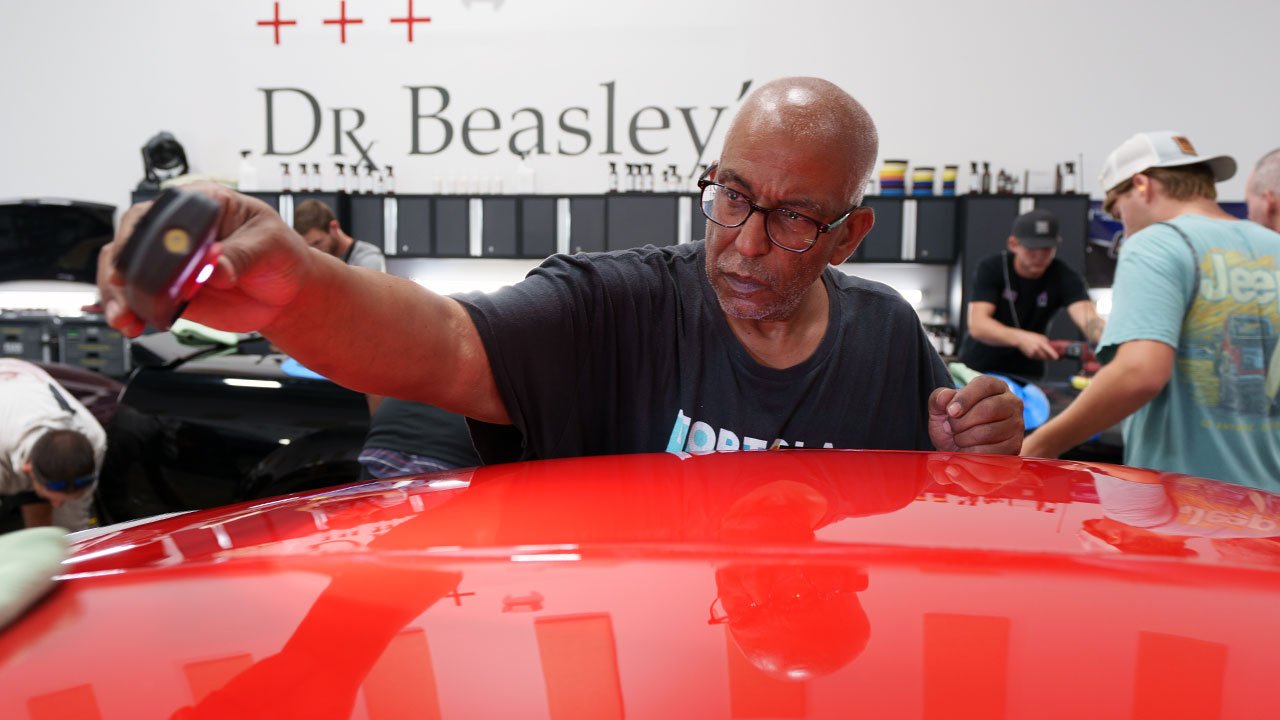
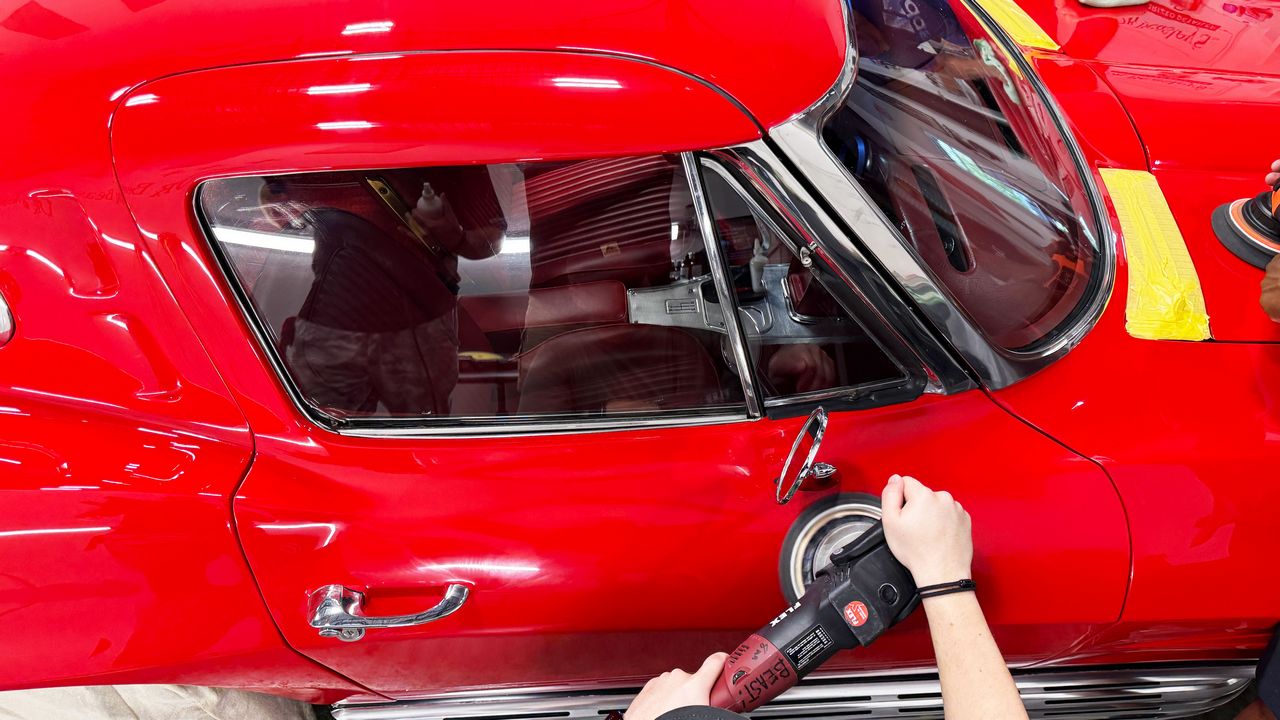
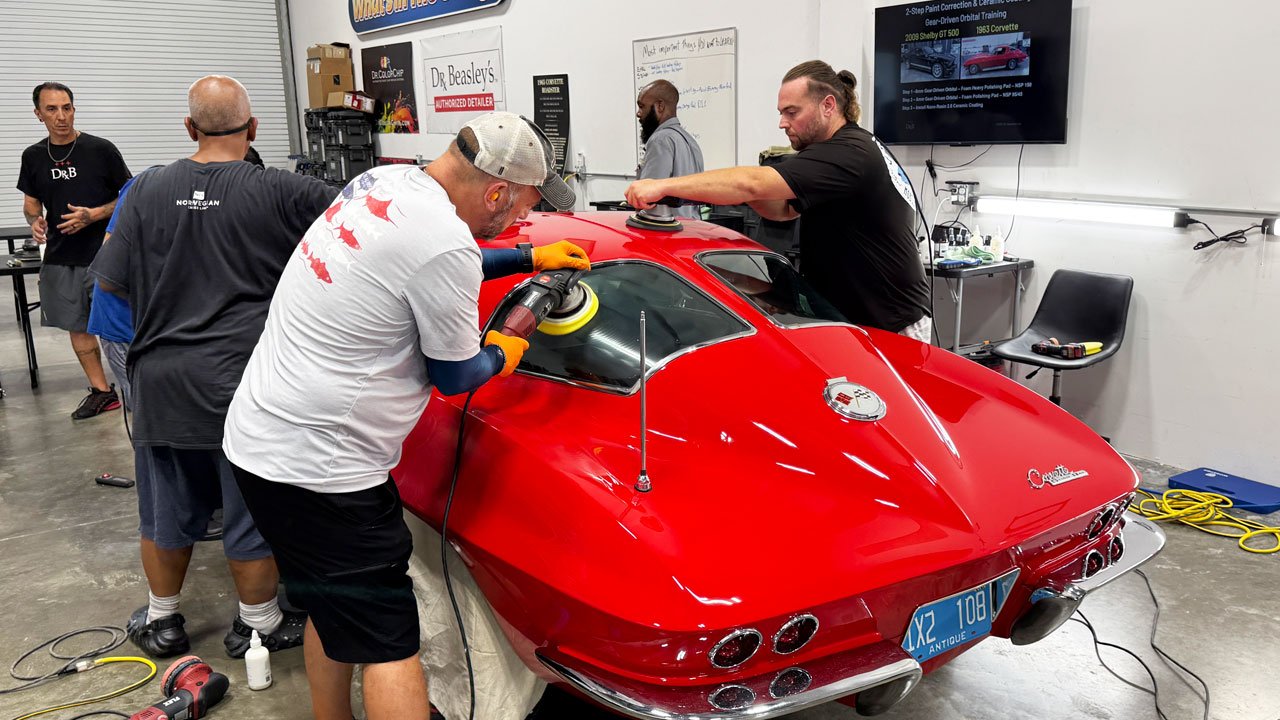
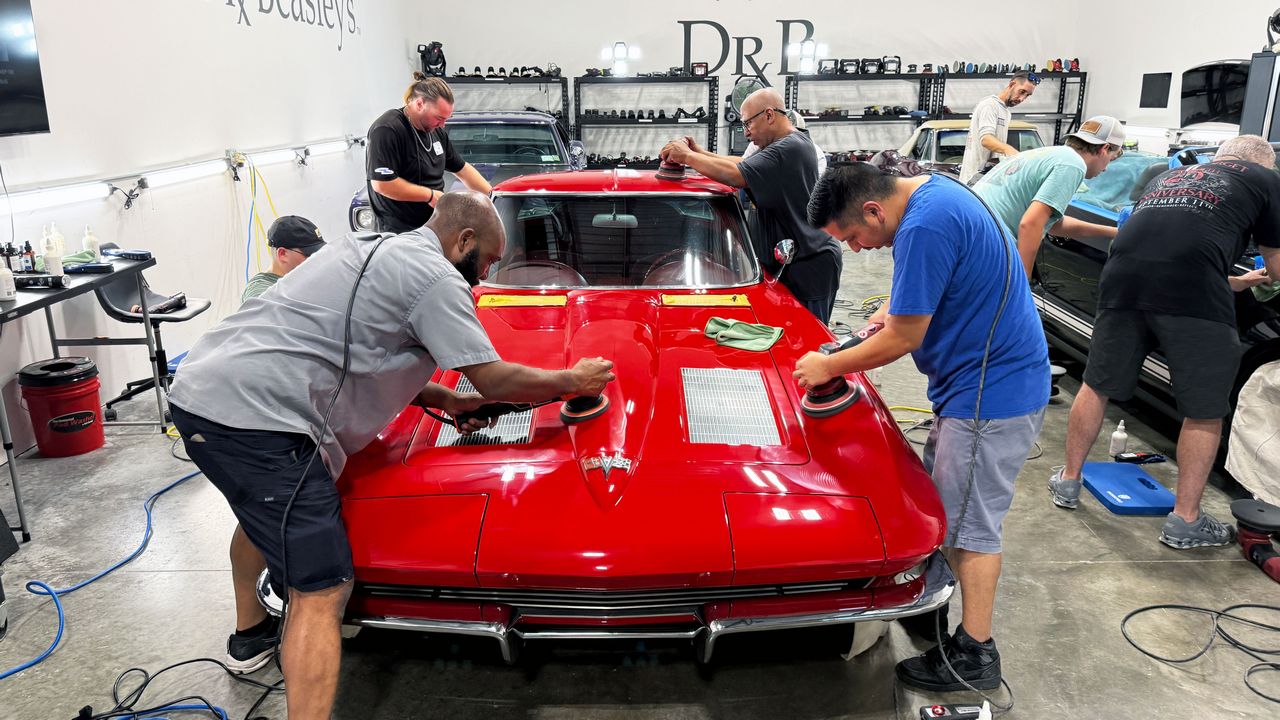
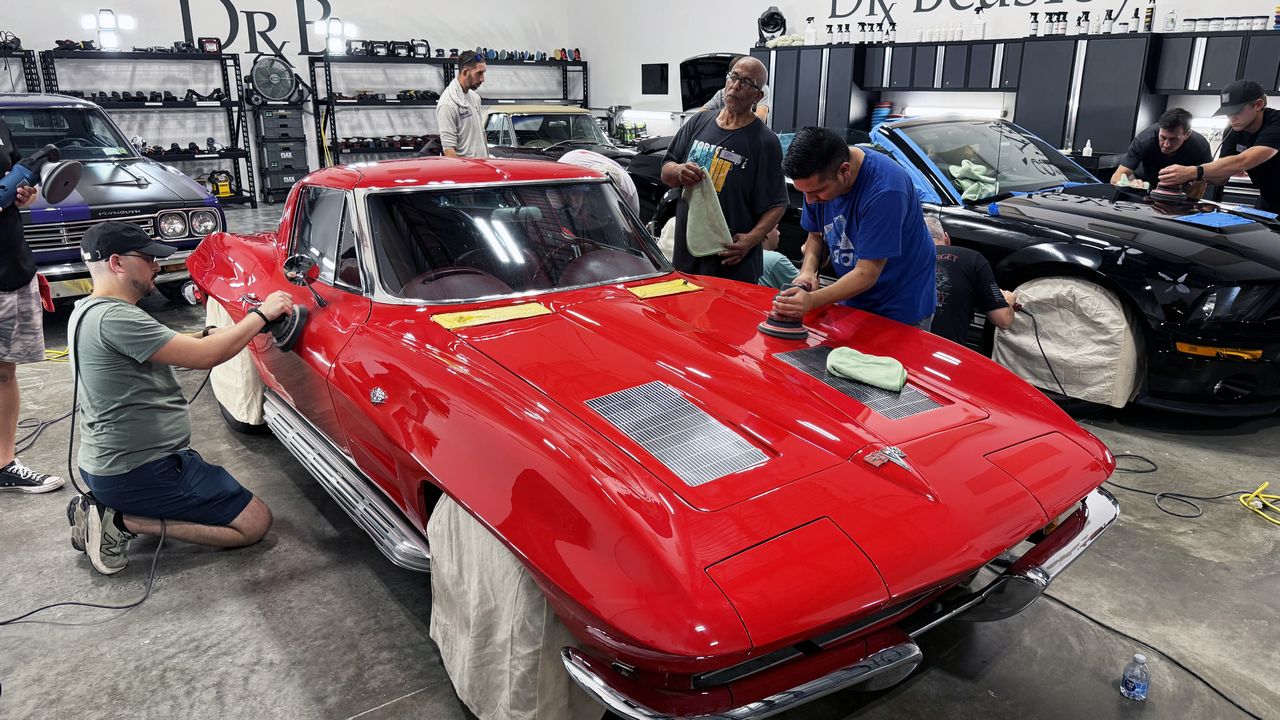
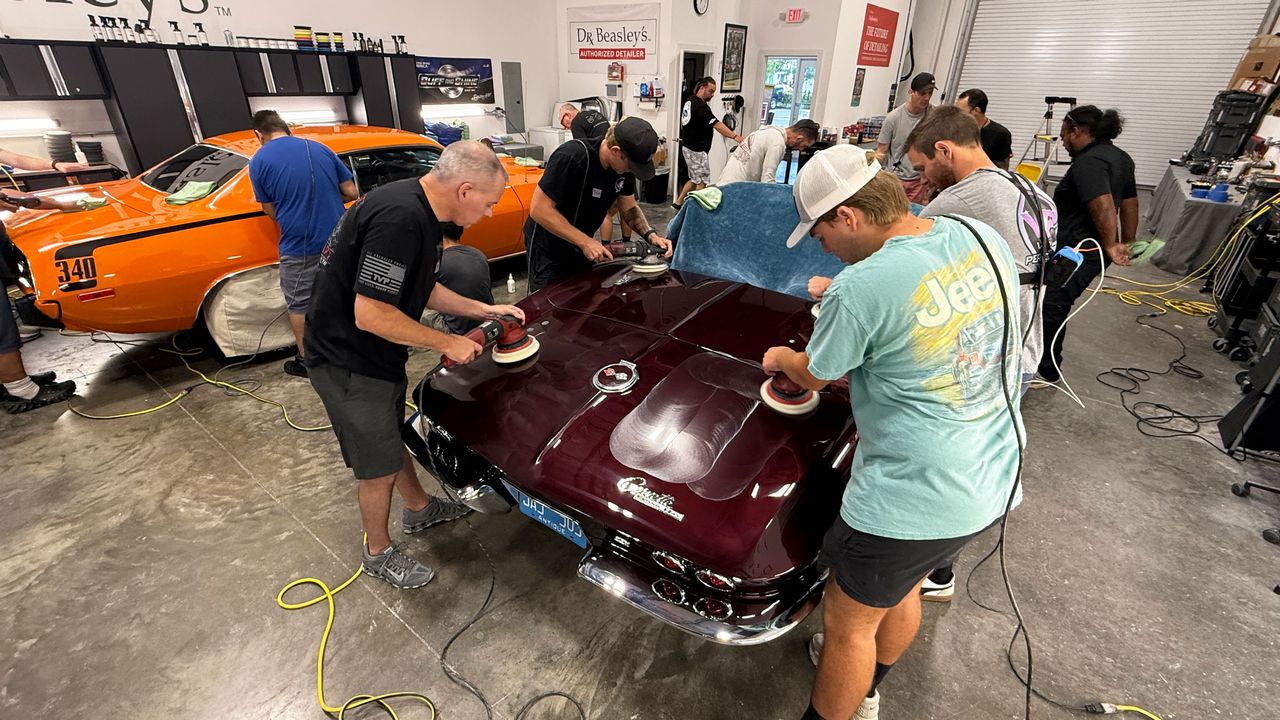
Now the class switches gears—literally—and learns how to refine the results from that first aggressive correction step using gear-driven orbital polishers paired with Buff and Shine EdgeGuard foam polishing pads.

And we're not training with just ONE brand or ONE tool.

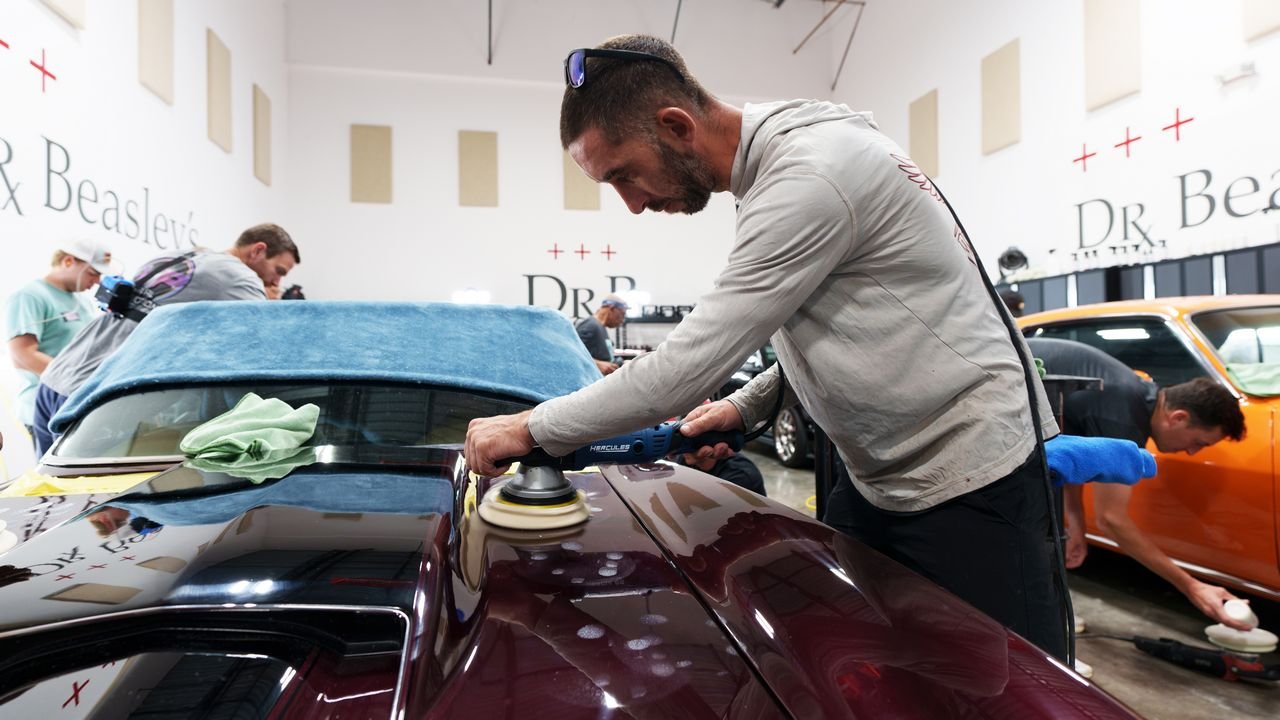
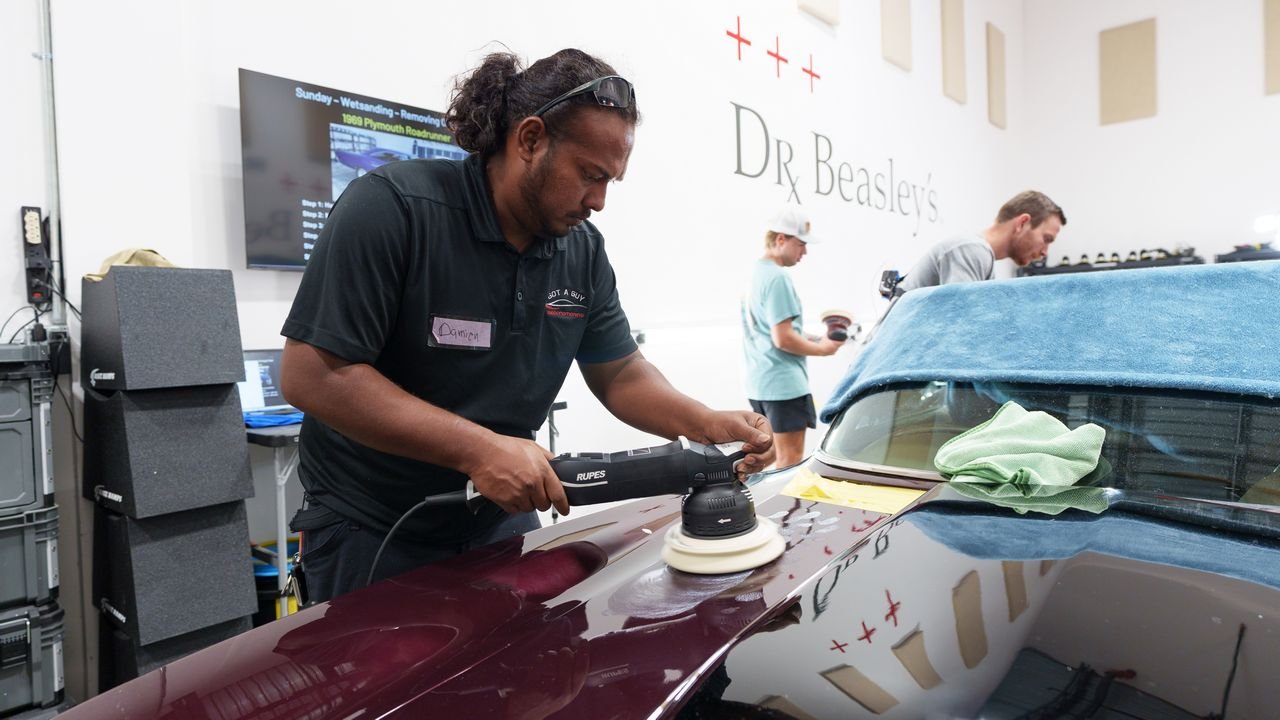
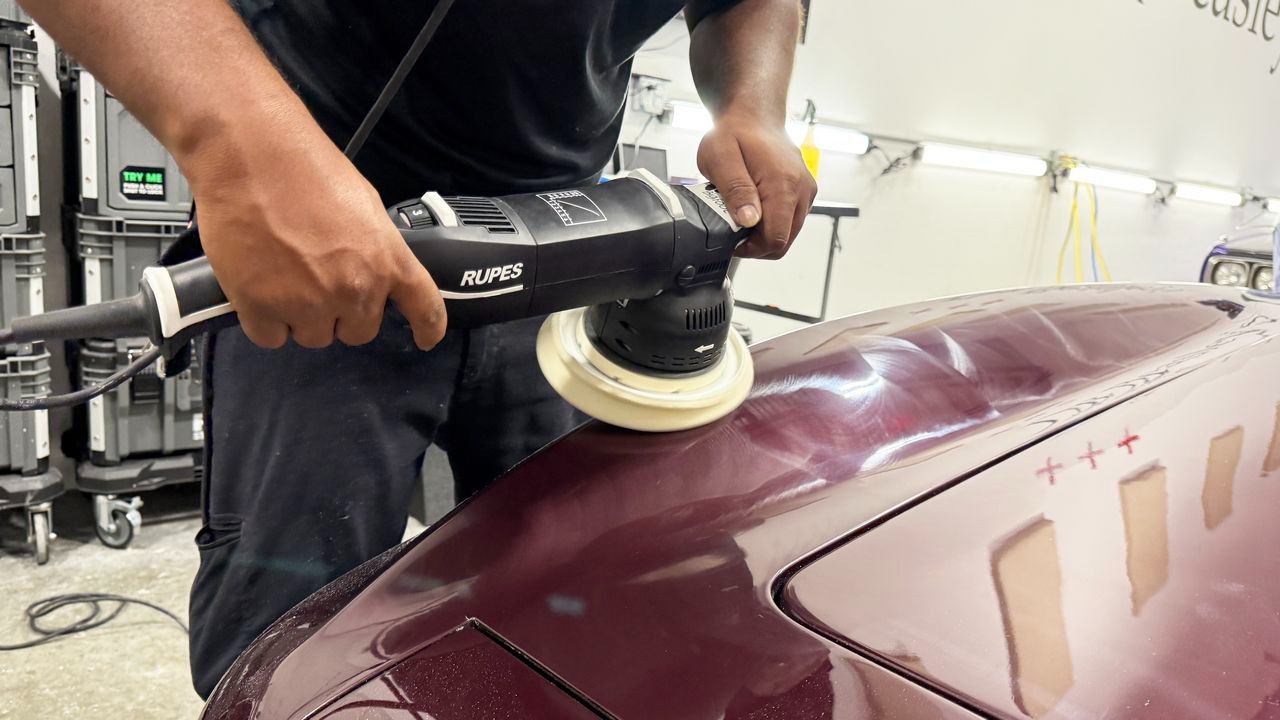
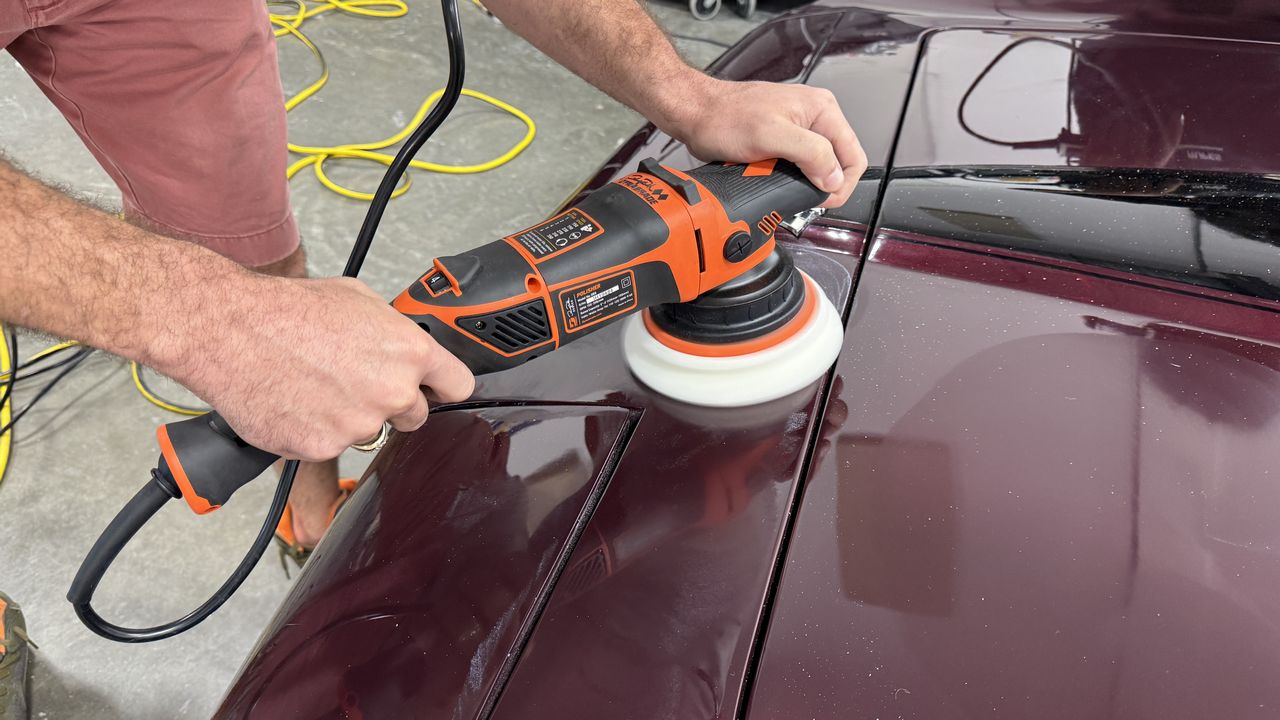
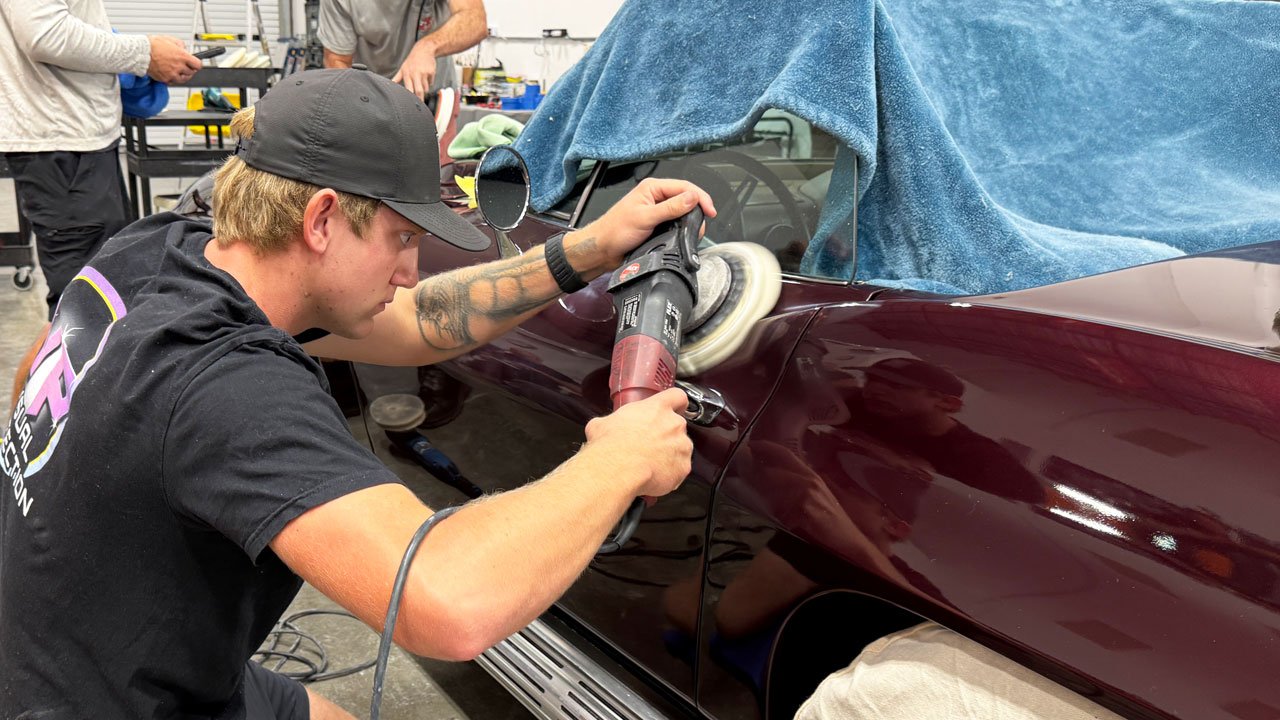
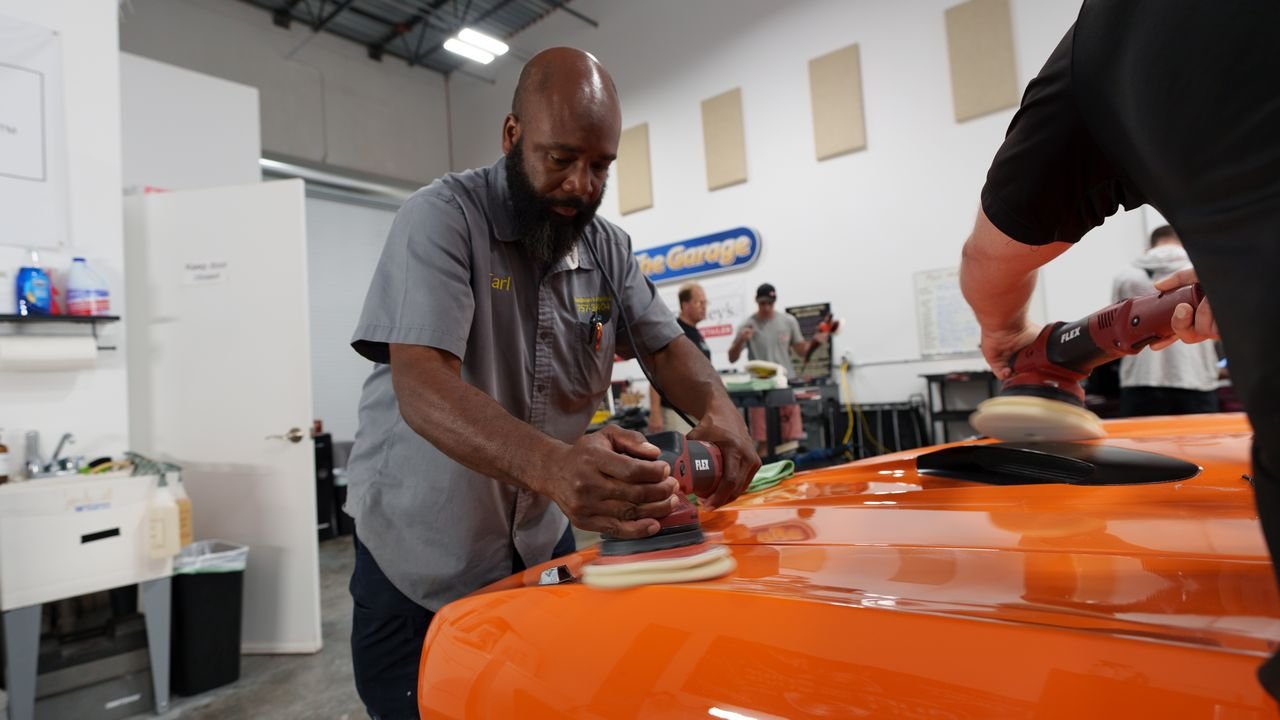
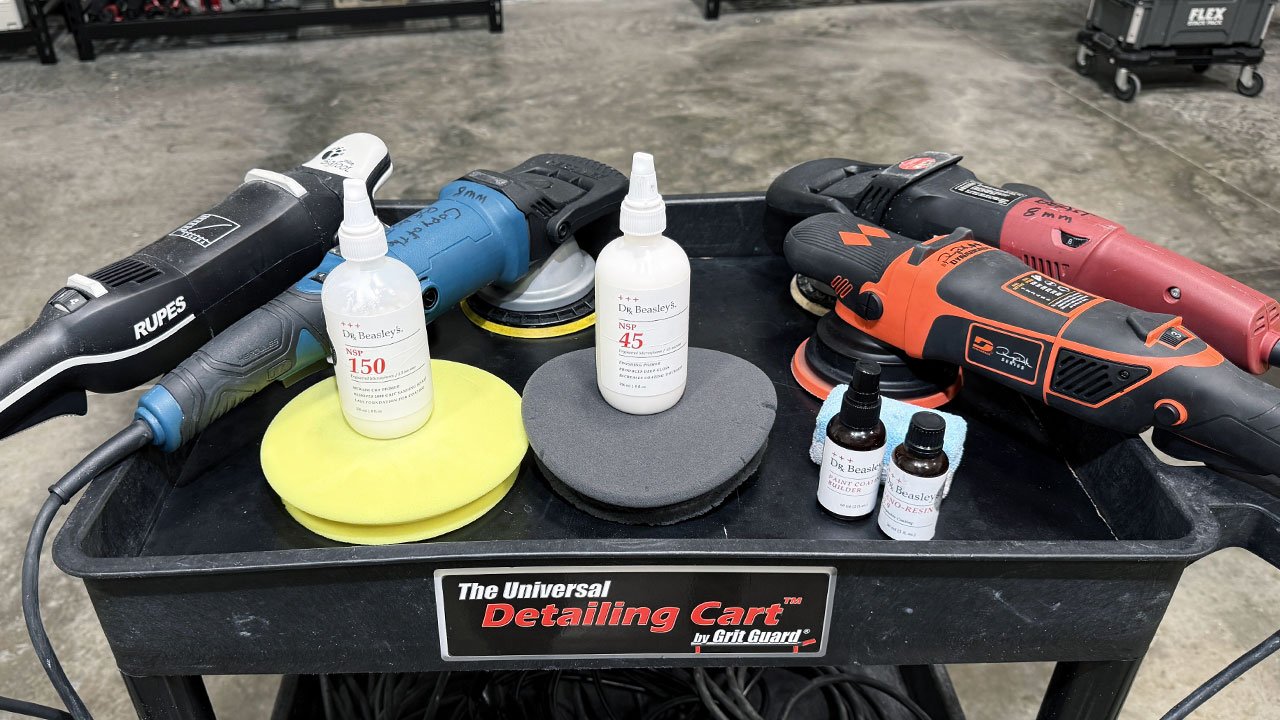
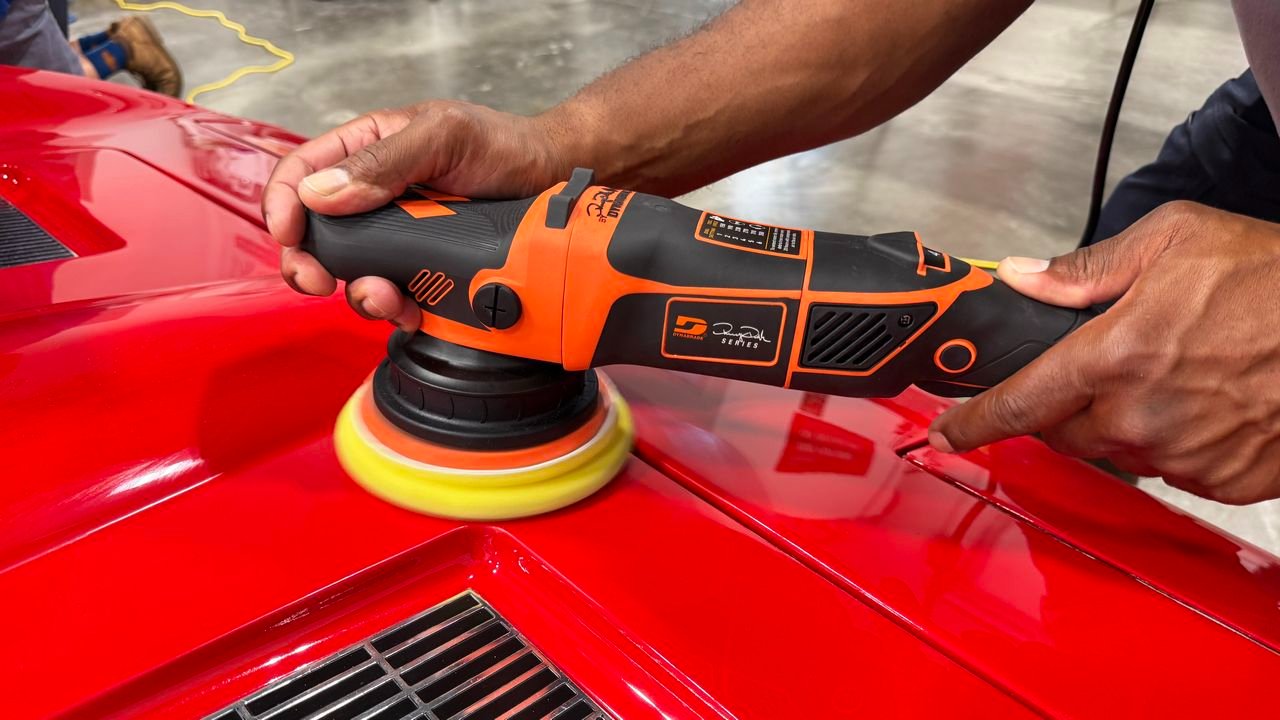
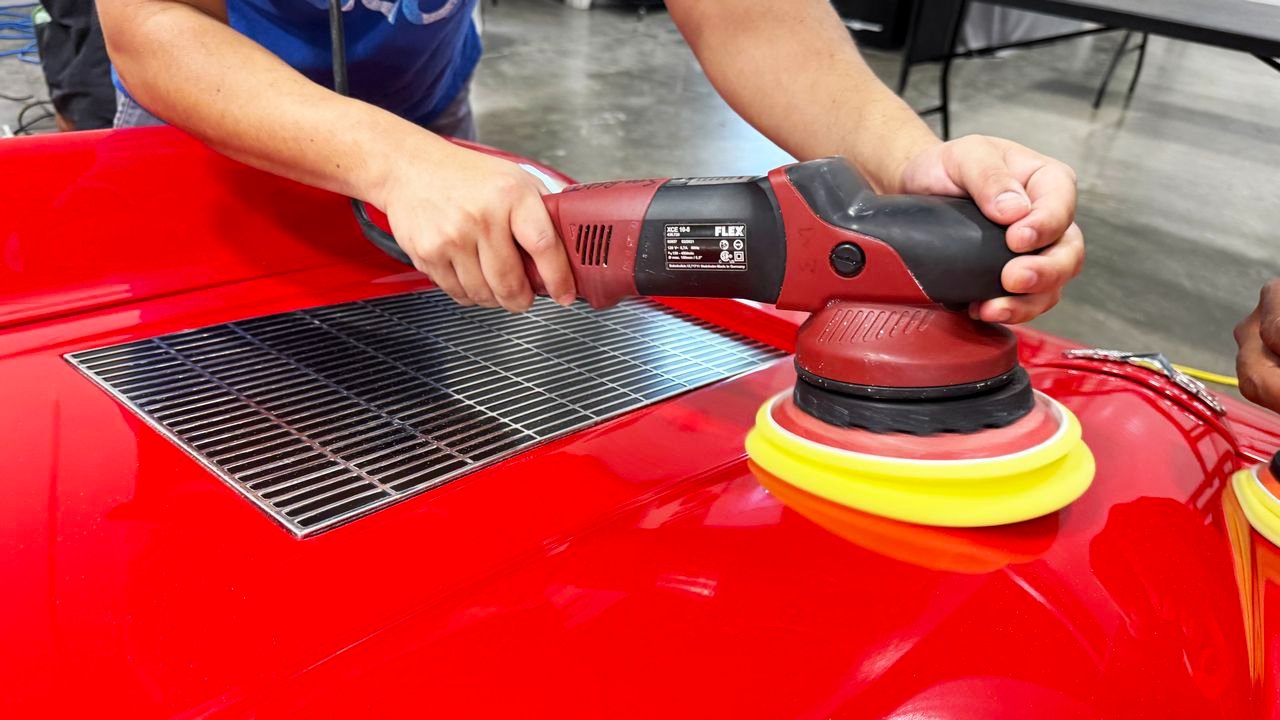
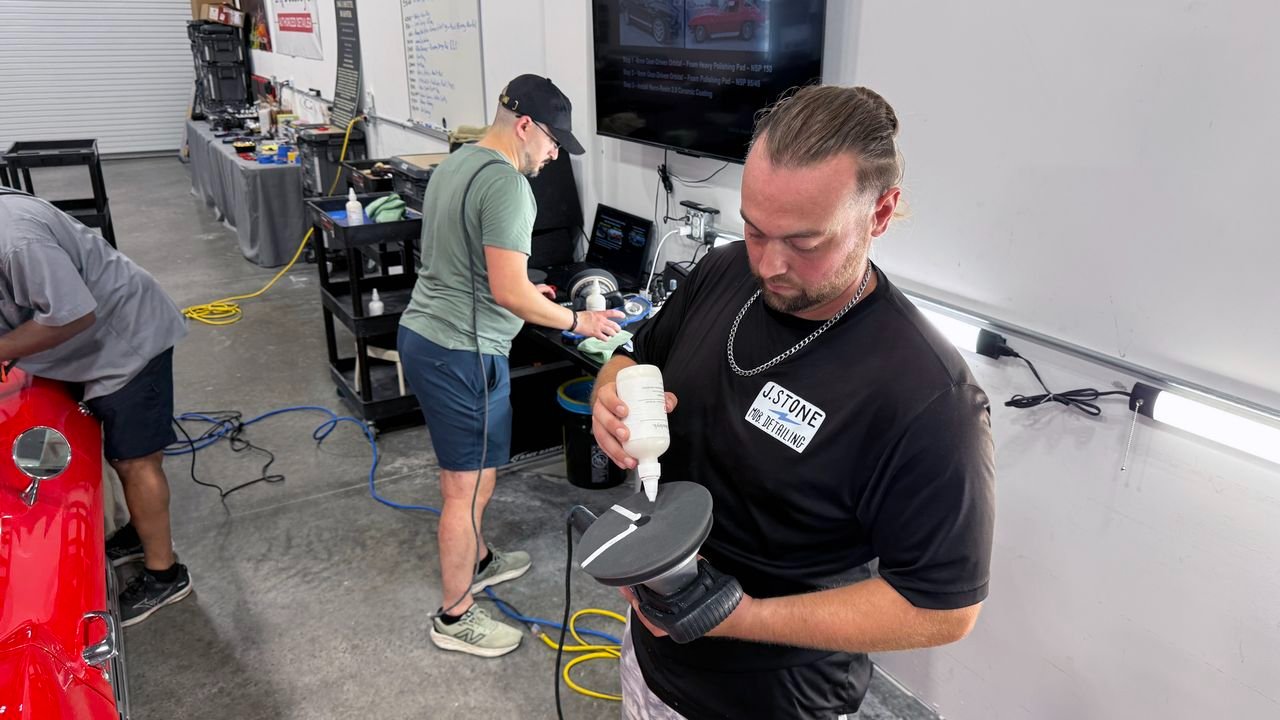
Students get their hands on a VARIETY of gear-driven orbital polishers so they can actually FEEL the differences for themselves:

🔴 FLEX — 8mm
🔵 Dynabrade — 7mm
🟢 RUPES — 5mm
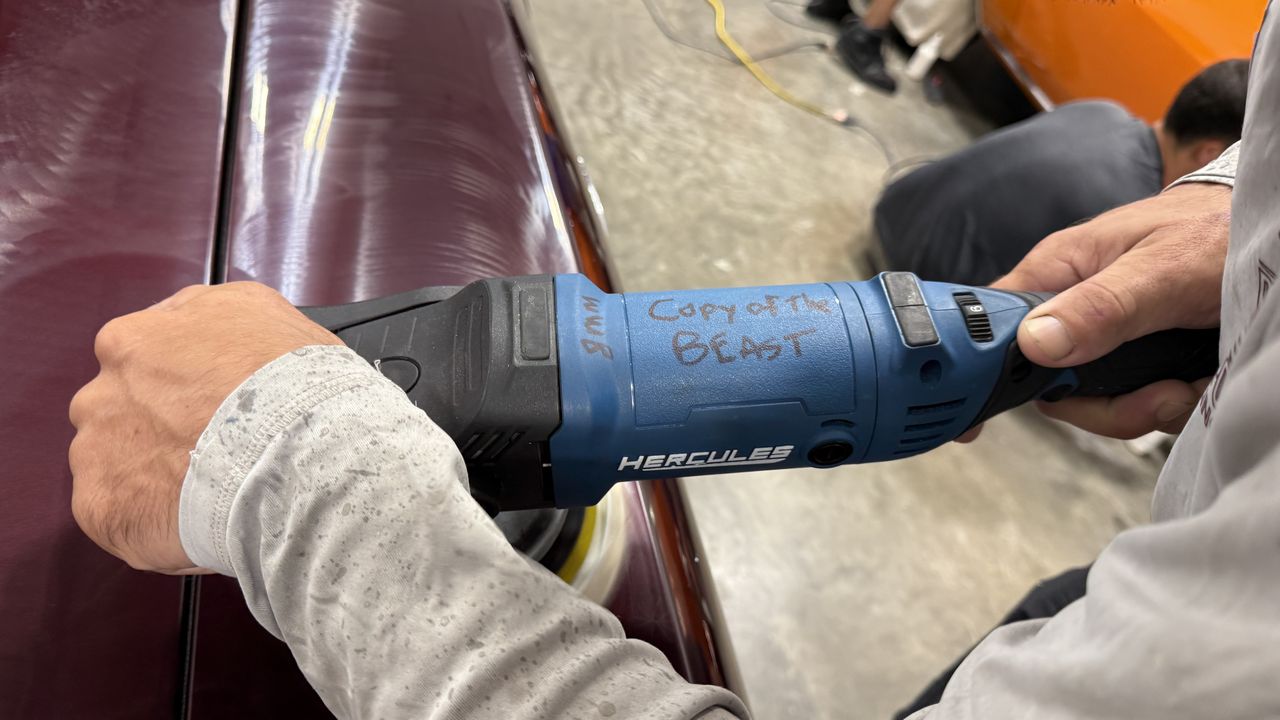
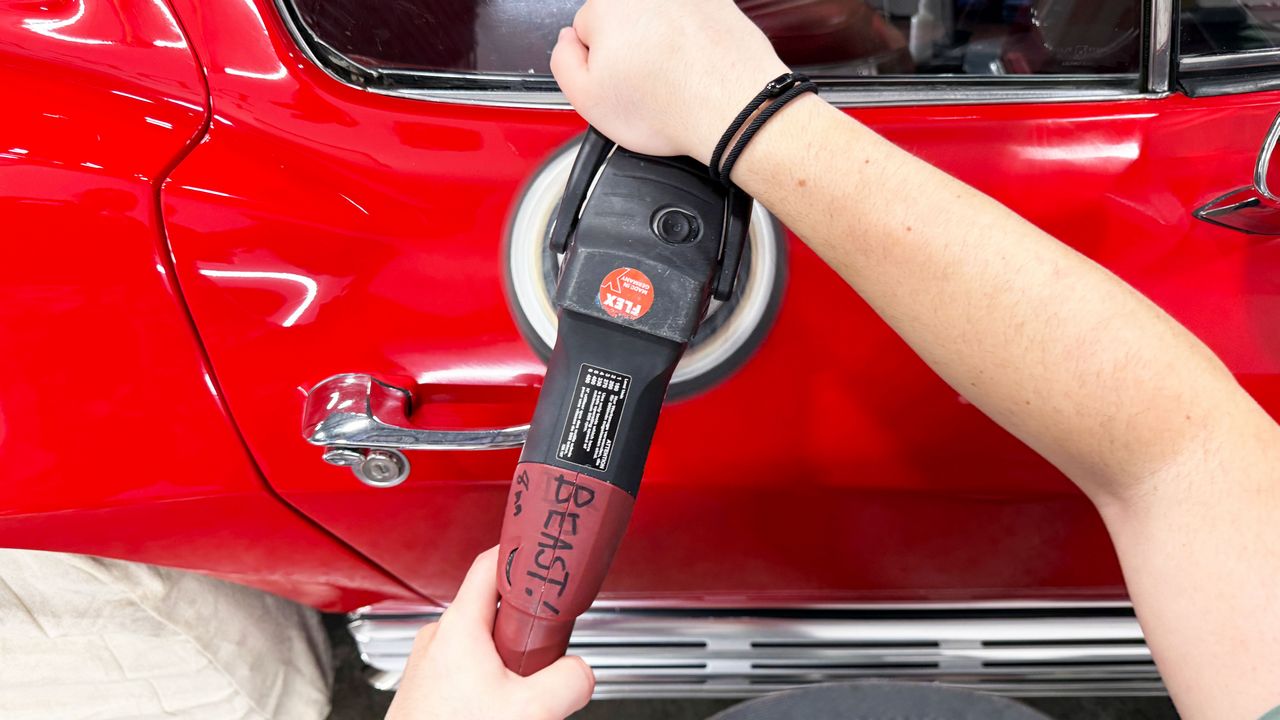
🟠 Harbor Freight — 8mm — a copy of the legendary FLEX XC 3401 VRG — aka THE BEAST! 💪🔥

WHY GEAR-DRIVEN? 🤔​

Because unlike a free-spinning random orbital polisher, the pad CANNOT stop rotating. The gears FORCE both the rotation and the orbital action.

That means...

⚙️ NO PAD STALLING!
💪 CONSISTENT PAD ROTATION!
🔥 SERIOUS CORRECTING ABILITY!
✨ AND THE ABILITY TO CREATE A BEAUTIFUL, REFINED FINISH!

This is what my classes are all about.

Not simply showing you WHAT tool to use...

👉 YOU GET TO USE THEM ALL!​


  • You learn the differences.
  • You feel the differences.
  • You develop the techniques.
  • And then YOU decide which tools YOU like best! 😎
  • And you're learning all of this on...

🏁 1963 SPLIT WINDOW CORVETTE & 1973 CUDA 340

Not demo hoods.
Not test panels.
Not rental cars.

REAL CARS. REAL PAINT. REAL HANDS-ON TRAINING. 💪🔥​

🪑❌ NO CHAIRS!
😴❌ ZERO SITTING!
💻❌ NO POWERPOINT!

⚙️ MORE TOOLS. MORE TECHNIQUES. MORE HANDS-ON TIME. 😎​

That's how you build real-world detailing skills! 🏁🔥
full


full


full


full


full


full


full


full


full


full


full


full


full


full


full


full


full


full


full


full


Mike
 
Last edited:
More...

🔥 NEXT UP — PERFECTING THE CUDA! 🔥​

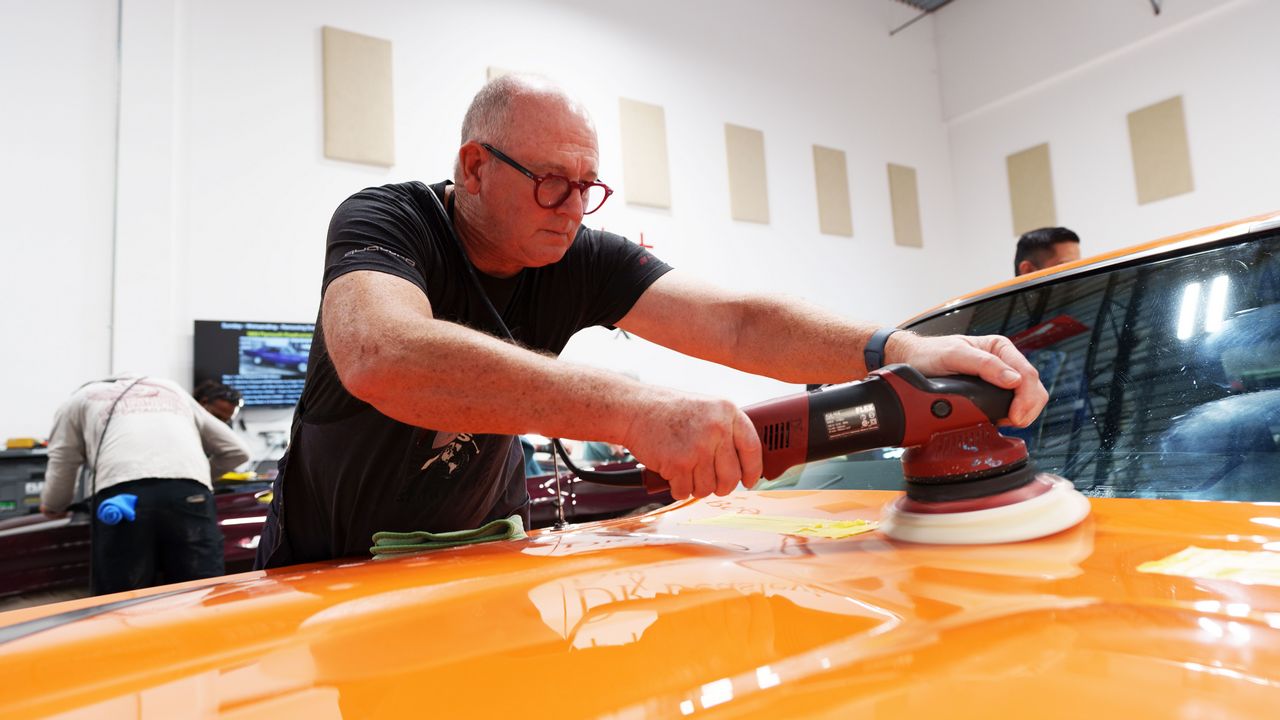
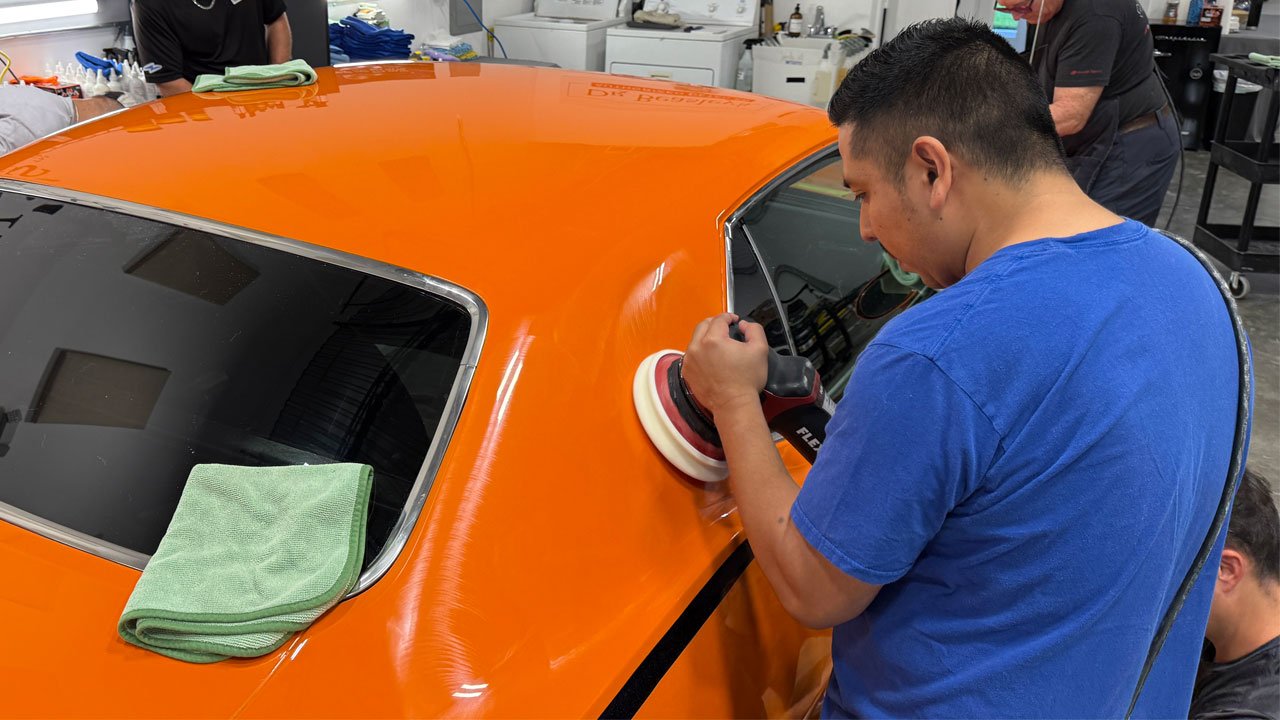
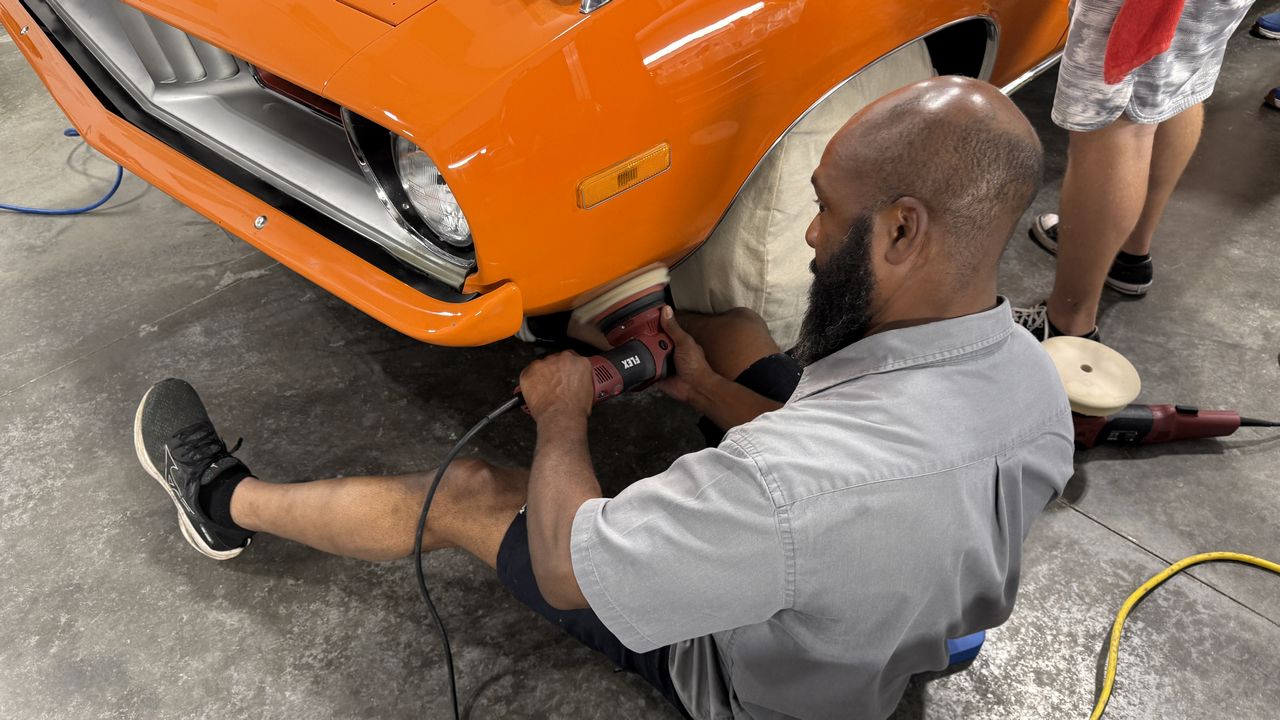
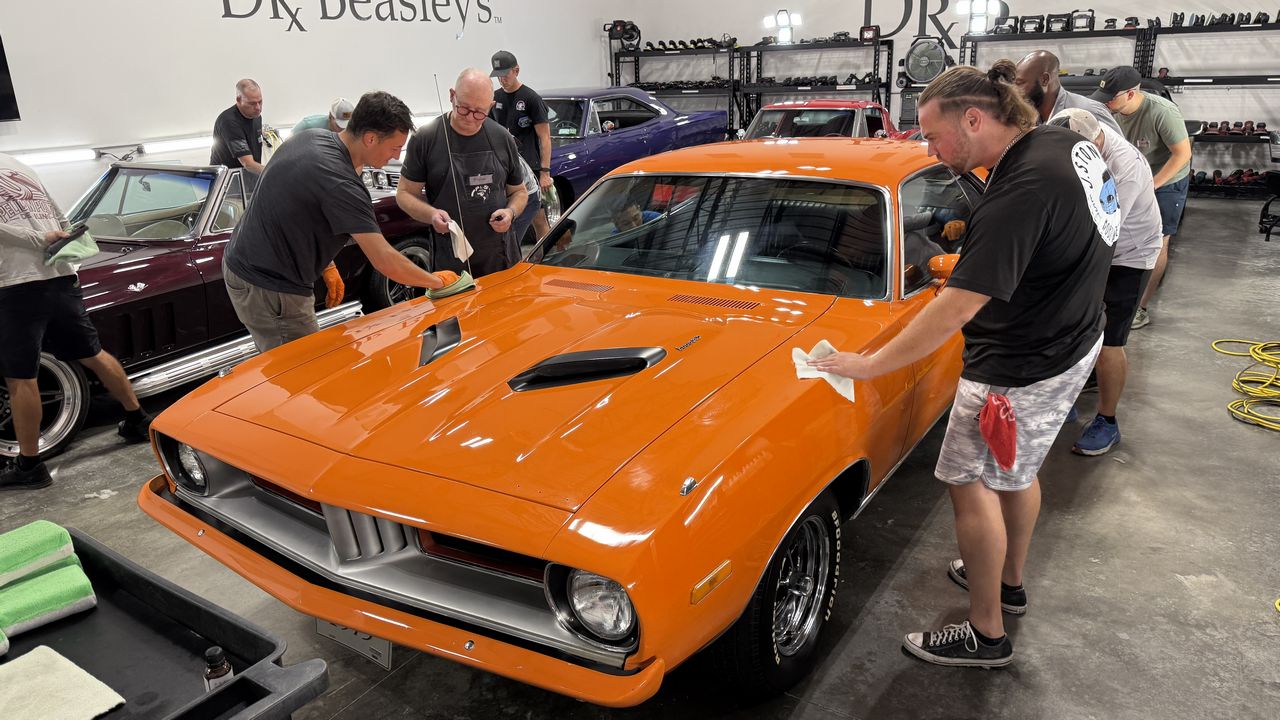
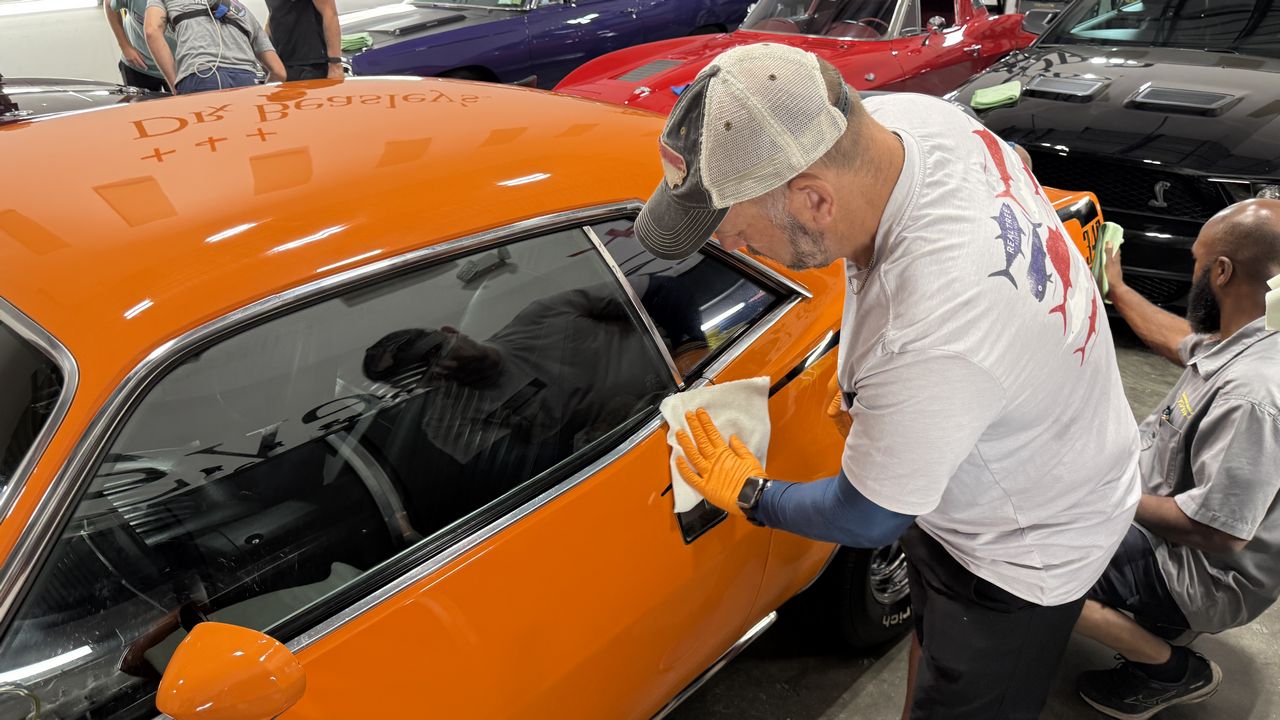
While half the class is perfecting the paint on the 1965 Corvette Stingray, the other half is doing the same thing on this 1973 Cuda 340! 😎🏁

After CUTTING HARD with rotary polishers and wool pads, the class switches over to gear-driven orbital polishers with Buff and Shine EdgeGuard foam polishing pads to refine the results and bring the finish to the next level. ✨

But this Cuda adds another important lesson...

⚠️ WORKING SAFELY AROUND GLOSSY GRAPHICS!​

Real-world detailing means knowing when to GO FOR IT 💪 and when to SLOW DOWN and use finesse. 🎯

That's exactly what the students are learning here—perfecting the paint while being extra careful around the Cuda's glossy graphics.

⚙️ Multiple Gear-Driven Polishers
🧽 Buff and Shine EdgeGuard Pads
🎯 Real-World Technique
👐 100% HANDS-ON TRAINING!

🪑❌ NO CHAIRS!
💻❌ NO POWERPOINT!
🧠❌ NO BRAIN DRAIN!

🔥 REAL CARS. REAL TOOLS. REAL SKILLS. 🔥

And once again... YOU'RE doing the work—not watching ME do it! 😎

https://themikephillipsforum.com/media/2026-sept086-jpg.11770/full

[img]https://themikephillipsforum.com/media/2026-sept087-jpg.11771/full

full


full


full


full


full


full


full


full


full


full


full


full


full


Mike
 
More...

✨ NOW IT’S TIME TO LOCK IN ALL THAT HARD WORK! ✨​

After CUTTING the paint hard to remove years of swirls and scratches, followed by refining and perfecting the finish, we’re finally ready for the payoff! 😎

First, the class wipes the paint down with:

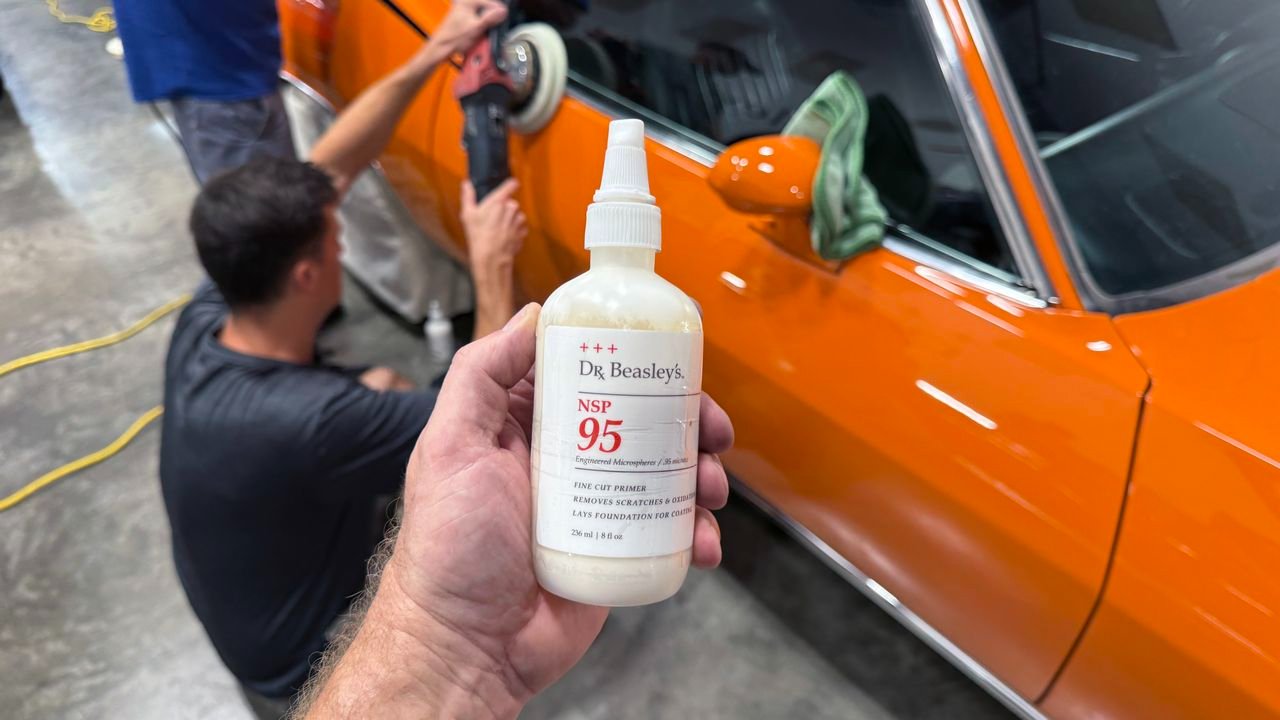
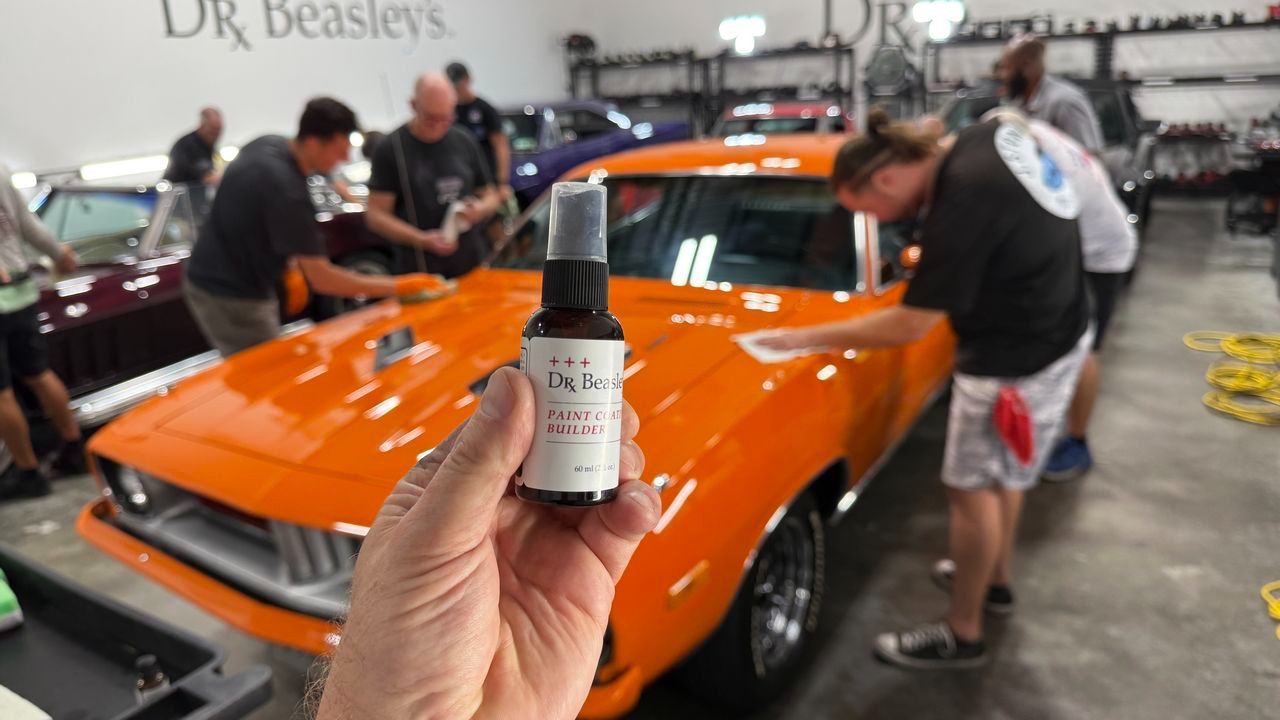
🧪 Dr. Beasley’s Paint Coating Builder

Then it’s time to install:

🛡️ Dr. Beasley’s Nano-Resin 2.0 Ceramic Coating
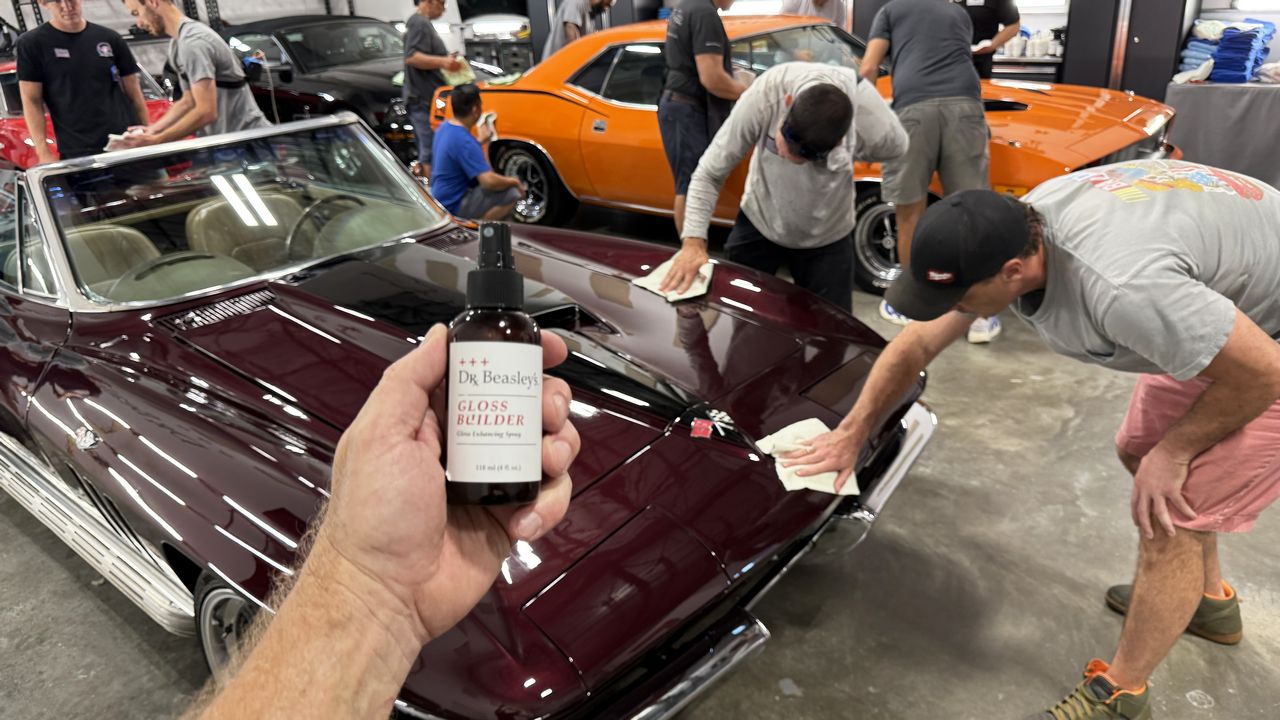
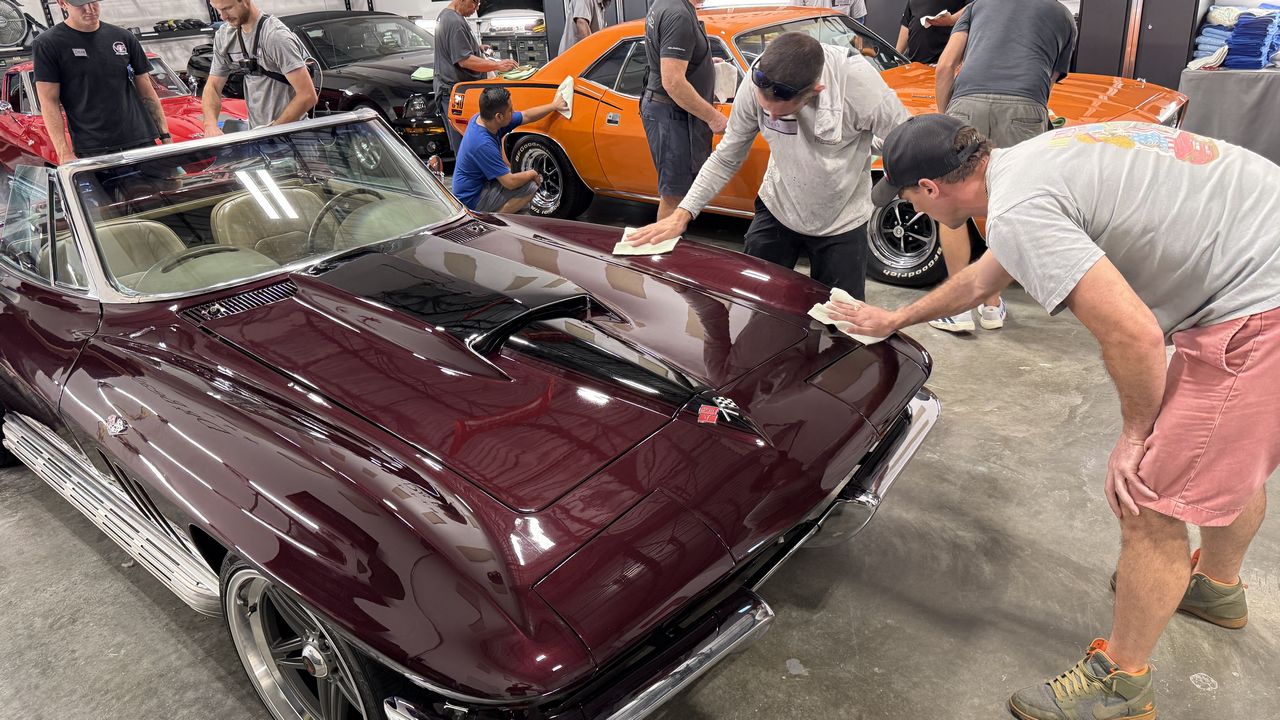
This is where all that hard work comes together! 🔥

💪 Correct the paint.
✨ Perfect the paint.
🧪 Prep the surface.
🛡️ Install the ceramic coating.

And just like every other step in the process...

👉 THE STUDENTS DO THE WORK!​

Because you don't learn how to install a ceramic coating by watching someone else do it—you learn by DOING IT YOURSELF! 😎

🪑❌ NO CHAIRS!
💻❌ NO POWERPOINT!
🧠❌ NO BRAIN DRAIN!

🔥 REAL CARS. REAL PRODUCTS. REAL HANDS-ON TRAINING. 🔥


full


full


full


full


full


full


full


full


full


full


full


full


full


full


full


full
 
More...

Next up, the class will learn how to do a two-step paint correction and ceramic coating but before we get started, we're going to go over how to apply a fabric protectant to the top.

Protect the top. Perfect the paint. Work smarter!​


The canvas cloth top on this 2007 Ford Shelby GT500 Mustang gets some attention before the class tackles the paint!

First, we thoroughly clean the top using RAGGTOPP Fabric & Vinyl Cleaner, rinse well, and let the fabric fully dry before applying RAGGTOPP Fabric Protectant.

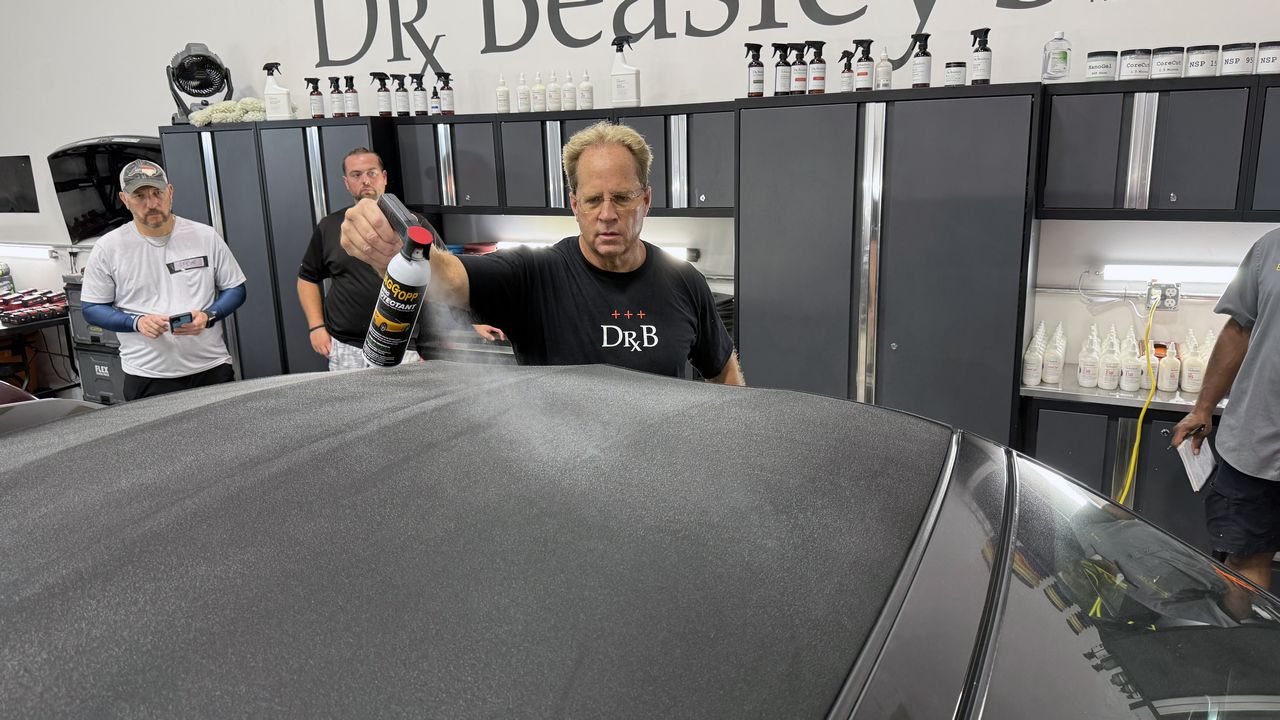
👉 Spray INTO the center of the top!

As I work around the outside, I aim toward the center so any overspray lands on the fabric we’re protecting. Spray outward and you’re sending product onto the glass and paint—wasting protectant and creating extra cleanup!

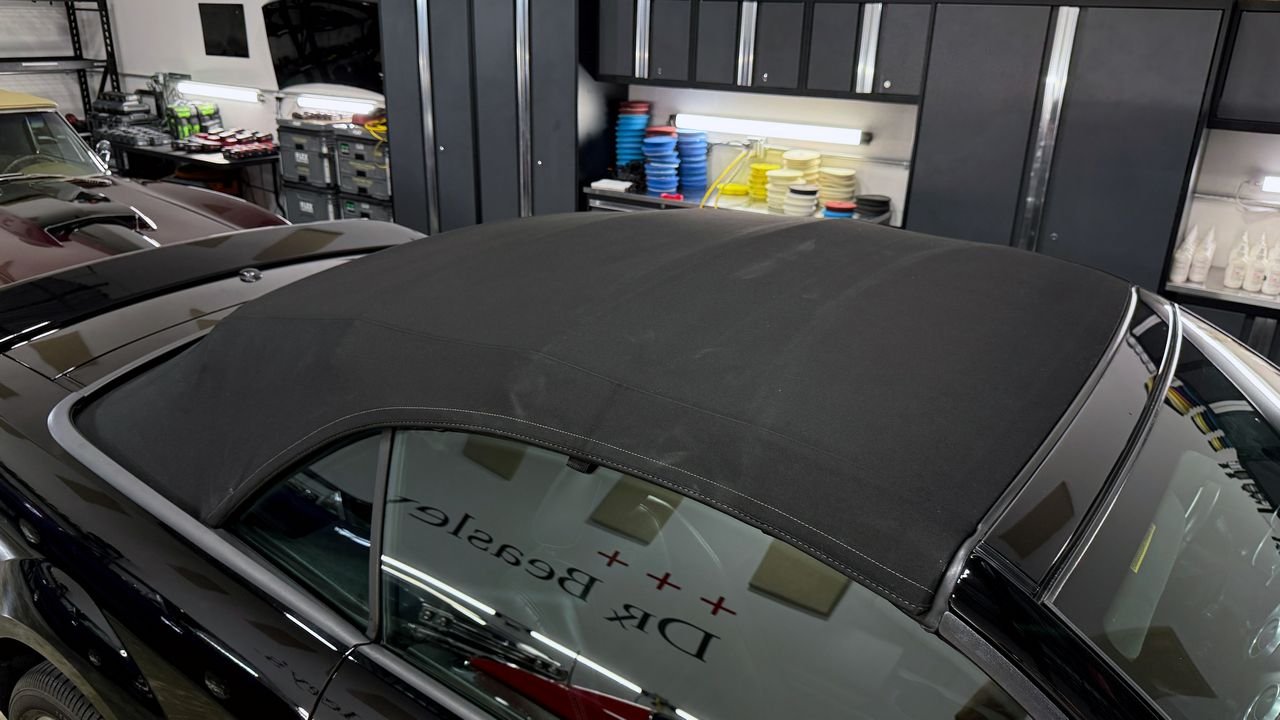
After application, the black fabric looks like it’s covered in a light mist of morning dew.

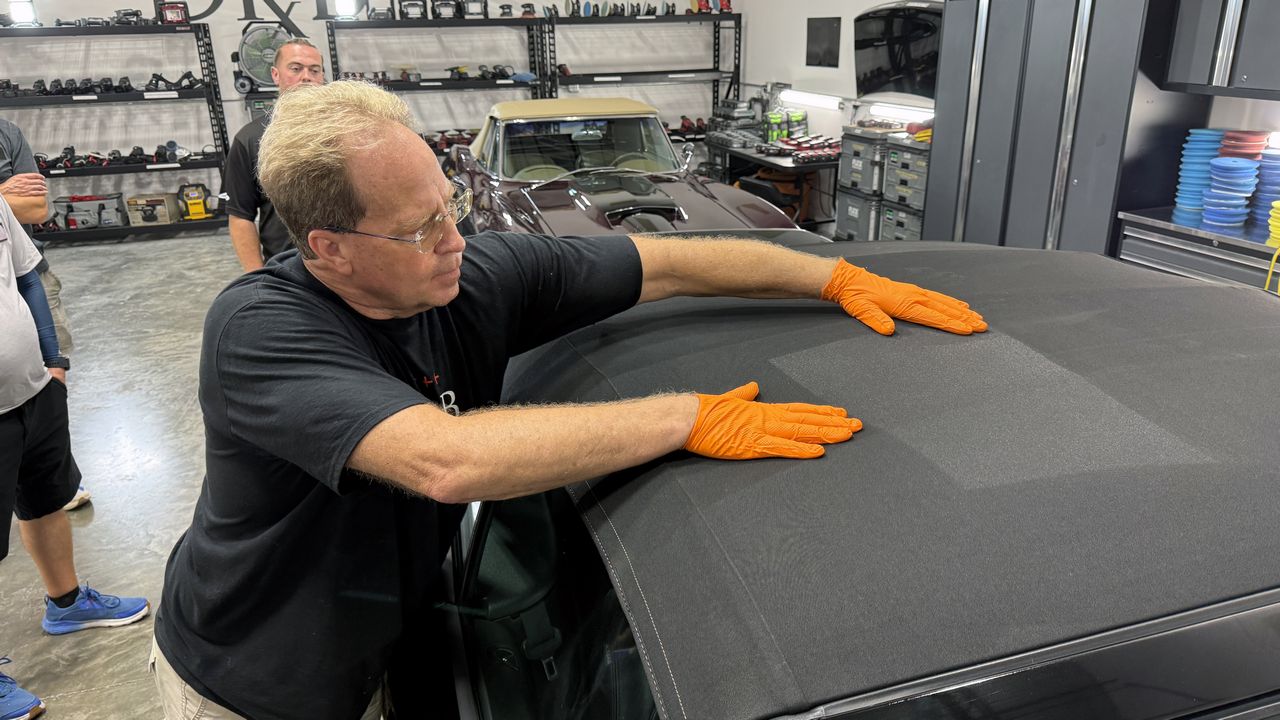
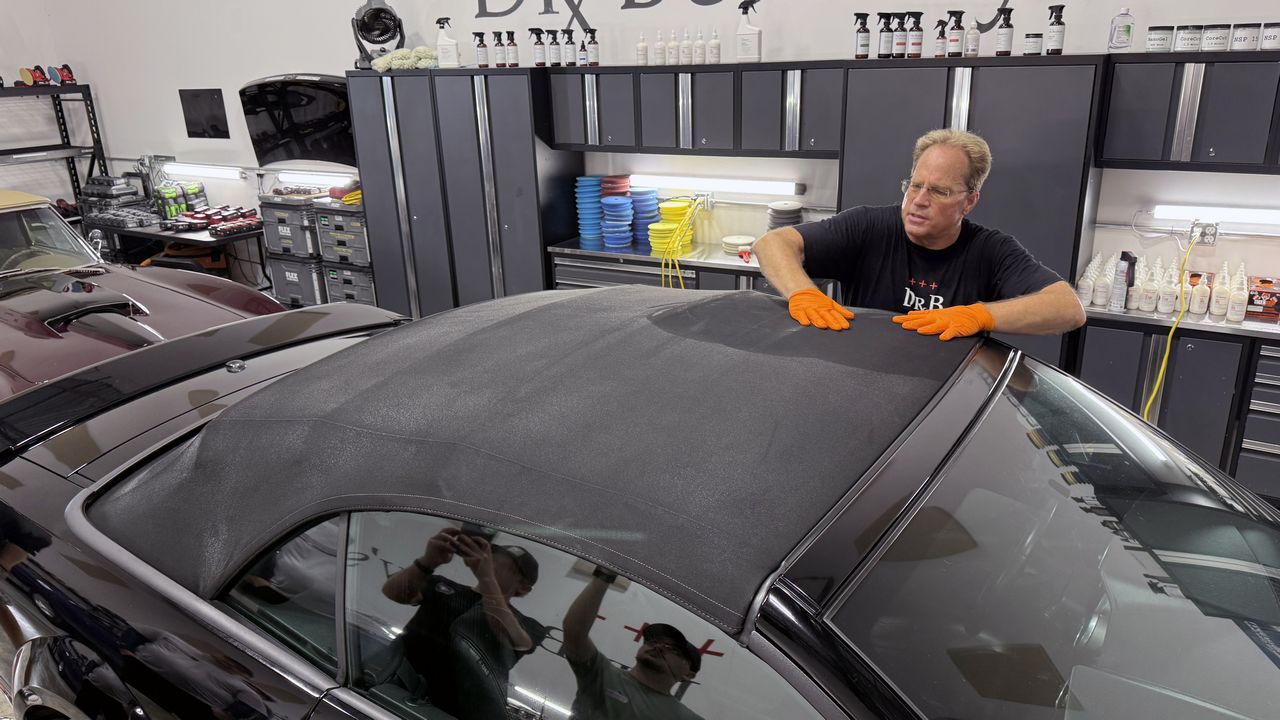
Here’s an extra technique I teach: put on nitrile gloves and gently massage the protectant INTO the weave. My goal is to work it into the fabric, then allow it to dry.

Why do I use RAGGTOPP? Here’s what the topping manufacturer says.

I reached out to Spencer, the owner of RAGGTOPP, and asked him to obtain an official recommendation from Haartz about caring for their cloth convertible tops. He provided this statement from Matt Williams, Vice President of Sales, Haartz Corporation:

"Due to the unique use and exposure conditions of convertible topping, including outdoor exposure and abrasion while the roof is in the stored open position, Haartz recommends only RAGGTOPP Cleaner and Protectant products given their unique ability to maintain the performance as applied by finishes from the factory. We do not recommend fabric ceramic coatings be applied to convertible topping materials as these chemicals have not been tested by the Haartz factory and could cause adverse effects."

That’s valuable guidance directly from the company that manufactures convertible topping materials—and information I want my students and fellow detailers to have.

💡 Pro workflow tip: Protect the top BEFORE paint correction. Any incidental overspray on paint scheduled for polishing can be addressed during those steps. Overspray on glass still needs to be wiped off.
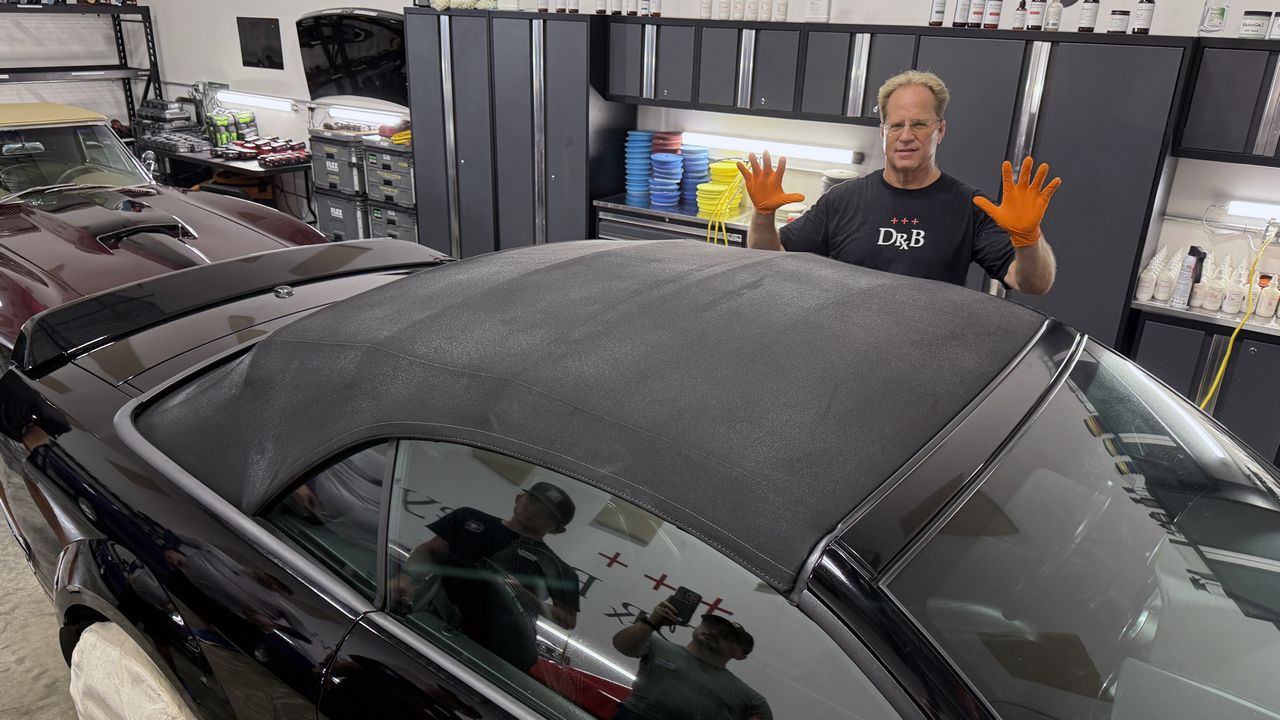
Once the treated top is fully dry, down it goes before the polishers come out! That keeps accidental compound or polish splatter off the freshly cleaned fabric—and saves another round of cleaning.

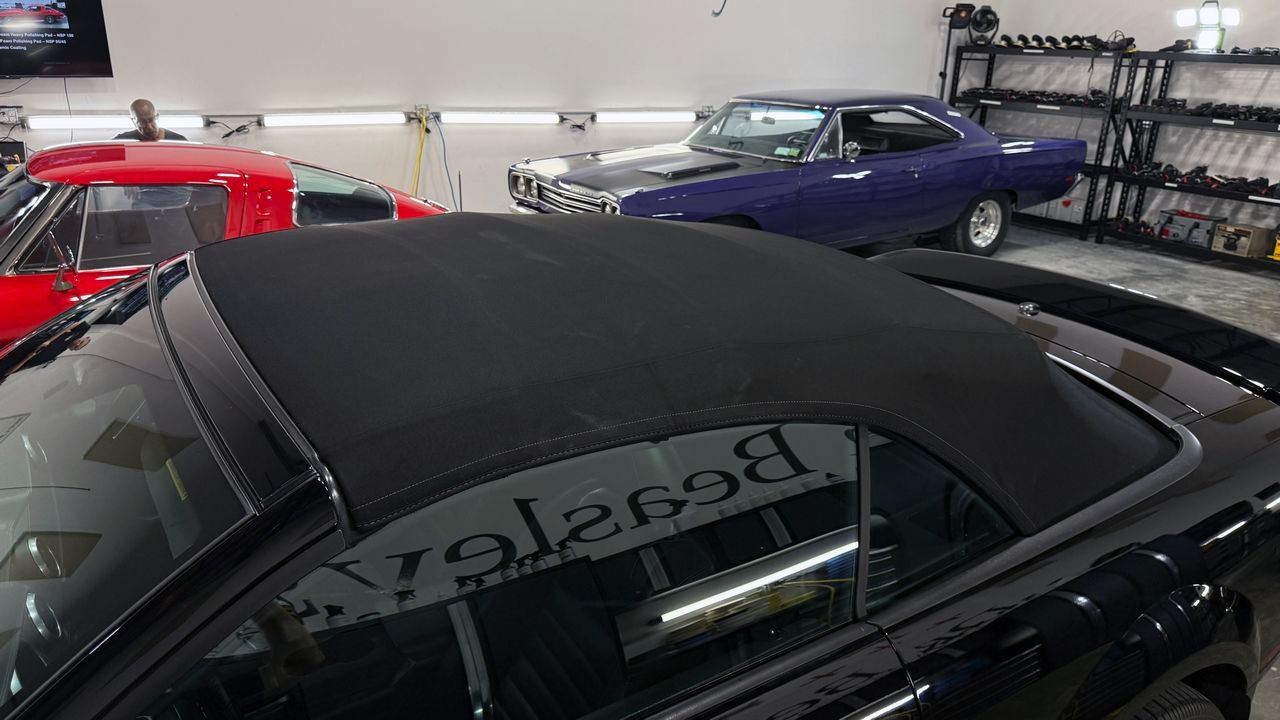
The final pictures tell the story: a darker, crisper-looking black top with renewed water repellency and protection!

More than learning which product to use—you’re learning the techniques, manufacturer recommendations, and order of operations that make the entire job more efficient. 💪

This is what I mean by spraying INTO the center of the top - no matter where you're standing. This puts the majority of overspray ONTO the fabric (where you want it) - not on the glass and paint.

full


Once you drain an entire can onto a fabric top, next work the product into the weave of the materail. You want the product worked in and then drying, not sitting on the top drying.

full


full


full


[heading-2]Nice![/heading]
The black cloth top has a darker, crisper appearance.

full


full


Mike
 
More...

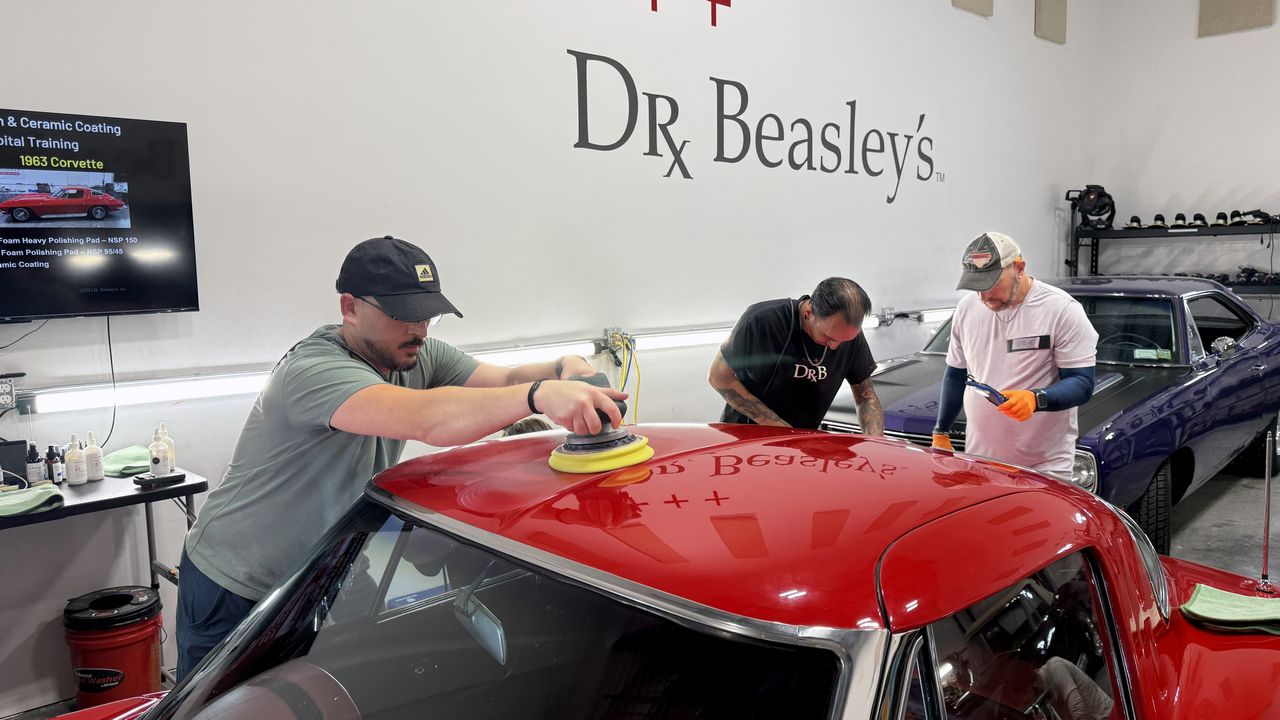
1963 Split Window Corvette — Iconic Looks. Serious Paint Correction! 😎

One of the most beautiful cars ever built, the 1963 Corvette Split Window Coupe featured that unmistakable rear window design for just ONE model year—and our class gets to train on it! 🔥

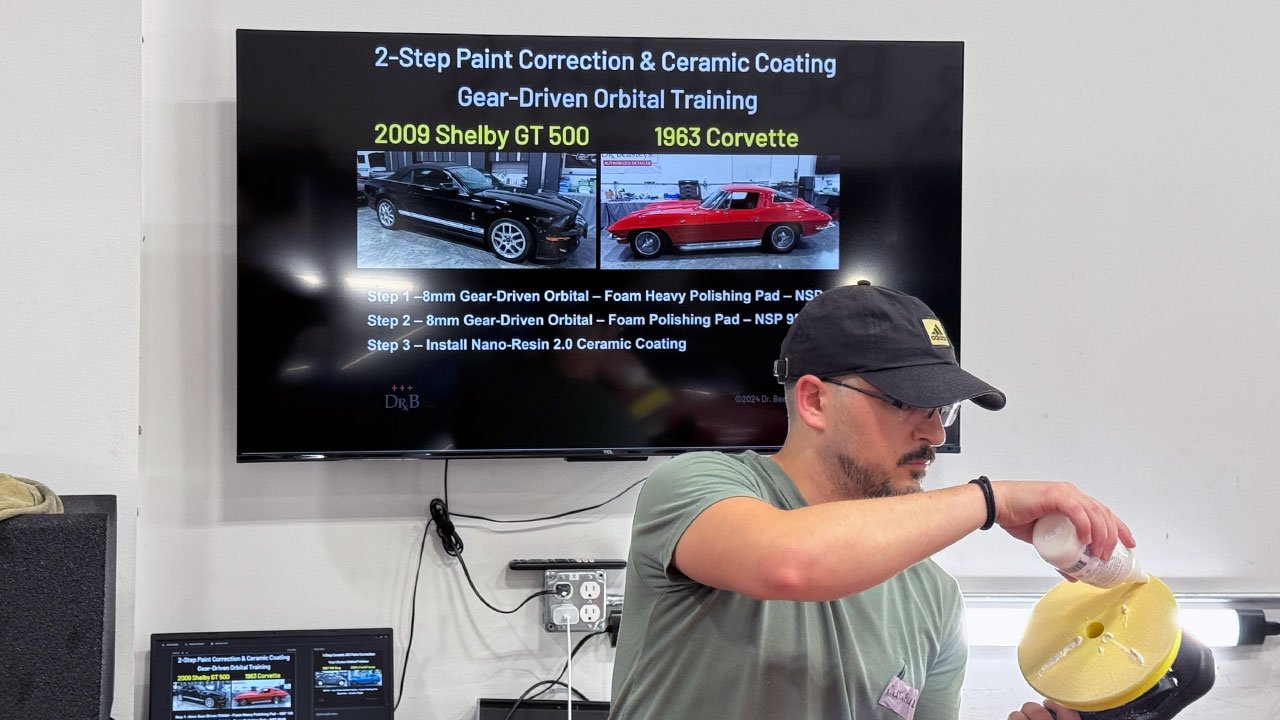
Next topic: 2-Step Paint Correction & Ceramic Coating—a popular detailing package with strong profit potential when you have the skills and process dialed in.

This professionally restored Corvette wears a modern basecoat/clearcoat finish. Our Test Spot showed the paint is on the soft side of medium, helping us choose the right combination before tackling the entire car.

Choose your tool! 💪
Students can try ANY gear-driven orbital polisher in the shop: FLEX, Dynabrade, RUPES, Harbor Freight, or Makita. Discover what feels comfortable, what works for you, and which tool you LOVE!

🔬 Step 1 — Correct the paint:
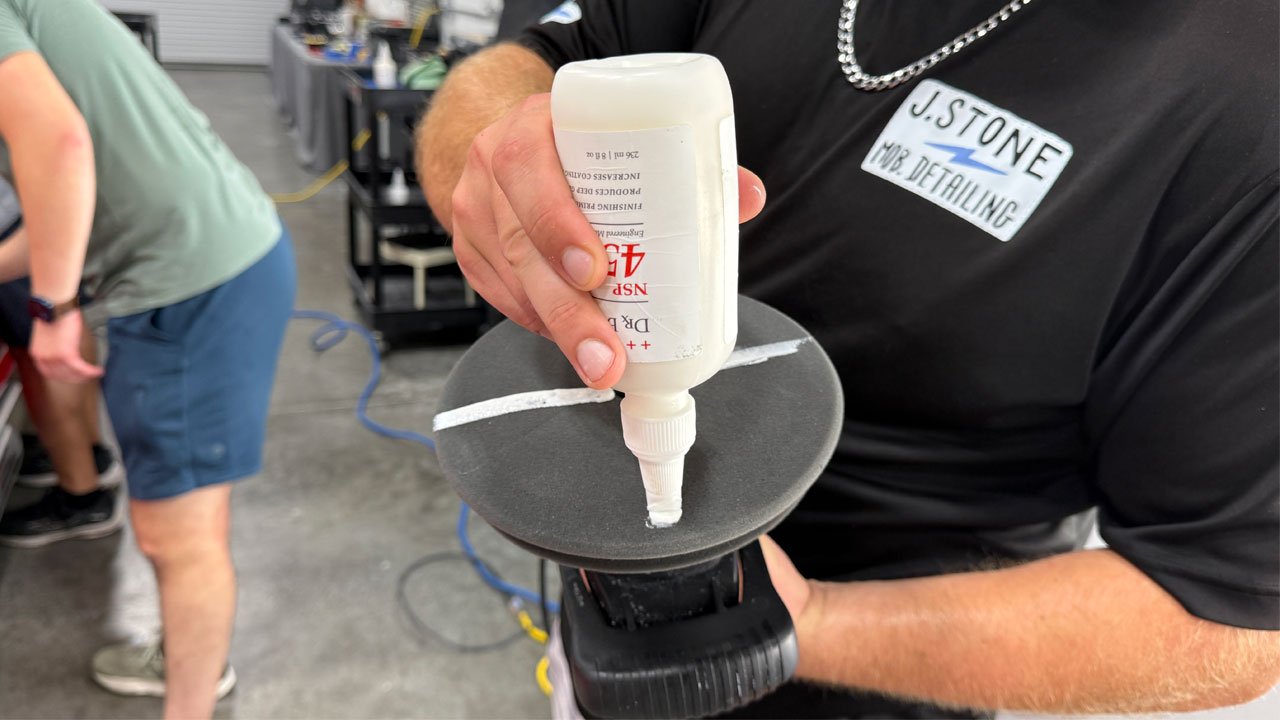
Dr. Beasley’s NSP 150 paired with Buff and Shine yellow foam polishing pads to tackle swirls, scratches, and other paint defects.

🔬 Step 2 — Perfect the finish:
Dr. Beasley’s NSP 45 paired with Buff and Shine EdgeGuard soft, black foam finishing pads to refine the finish and bring out incredible gloss and clarity.

Then comes the ceramic coating to protect all that hard work!

Real paint. Real tools. Real skills you can turn into income.

No chairs. ZERO sitting. No PowerPoint presentation. Just hands-on training on some of the coolest cars on the planet! 🏁

full


full


full


full


full


full


full


full


full


full


full


full


full


full


full


full


Mike
 
Back
Top