- Admin
- #1
- Joined
- May 21, 2021
- Messages
- 1,467
- Reaction score
- 799
- Points
- 113
- Location
- Stuart, Florida
- Website
- themikephillipsforum.com
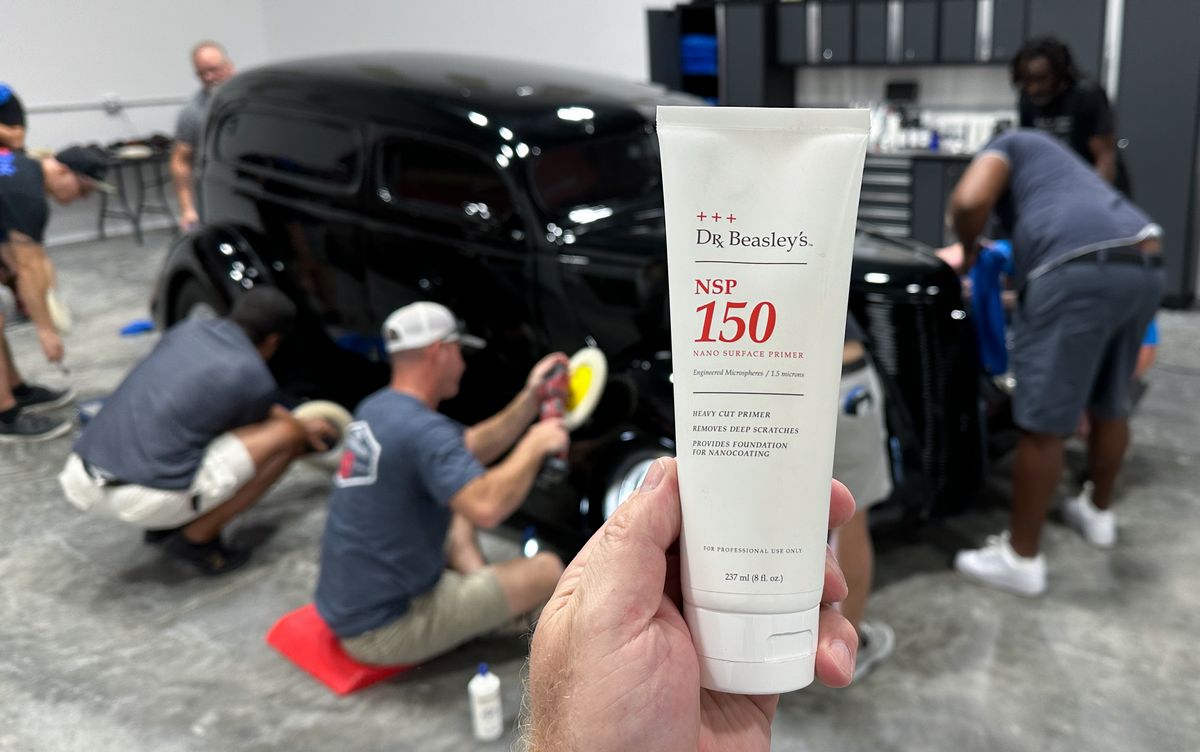
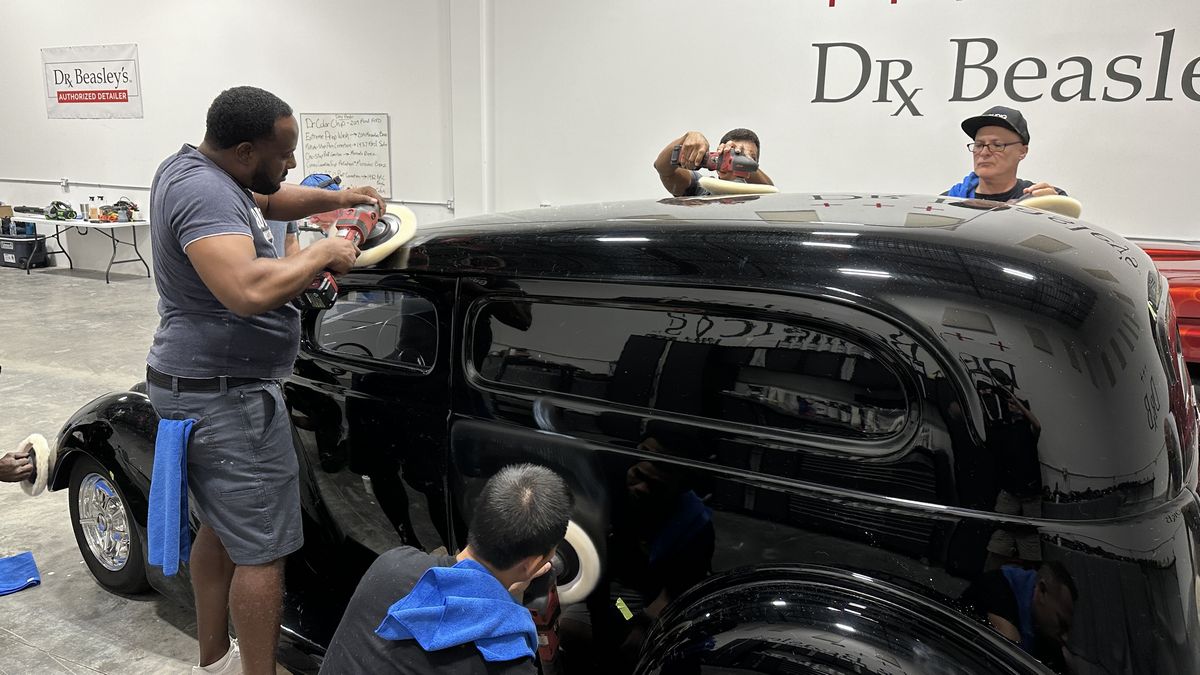
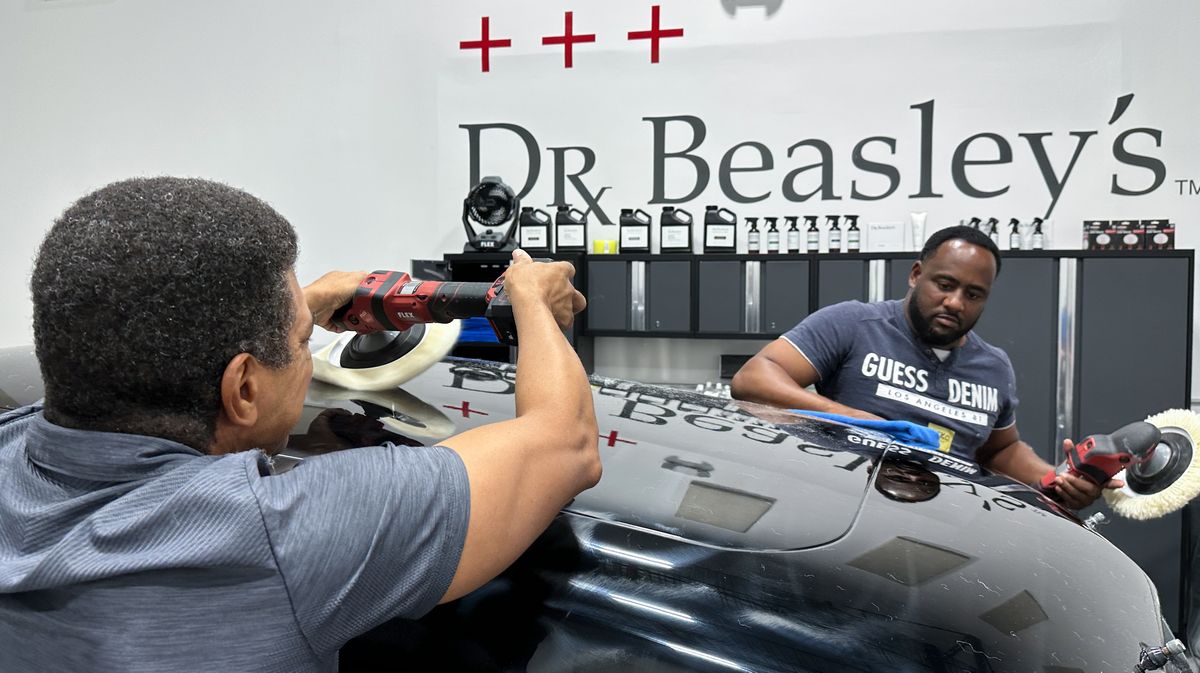
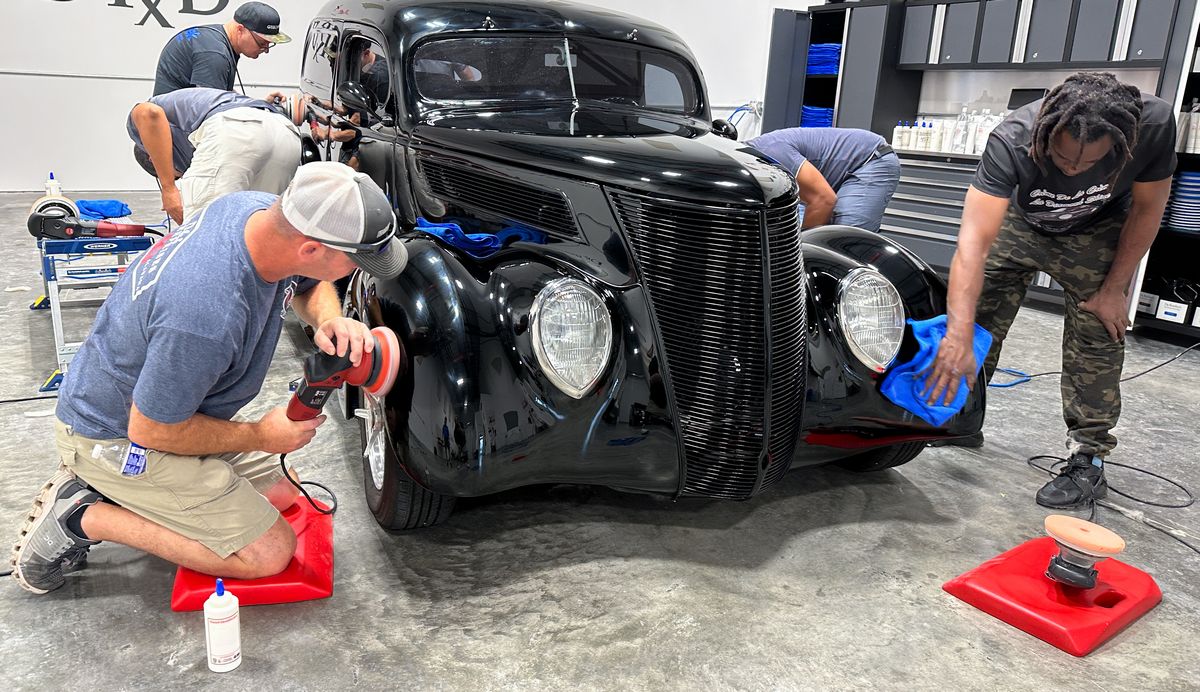
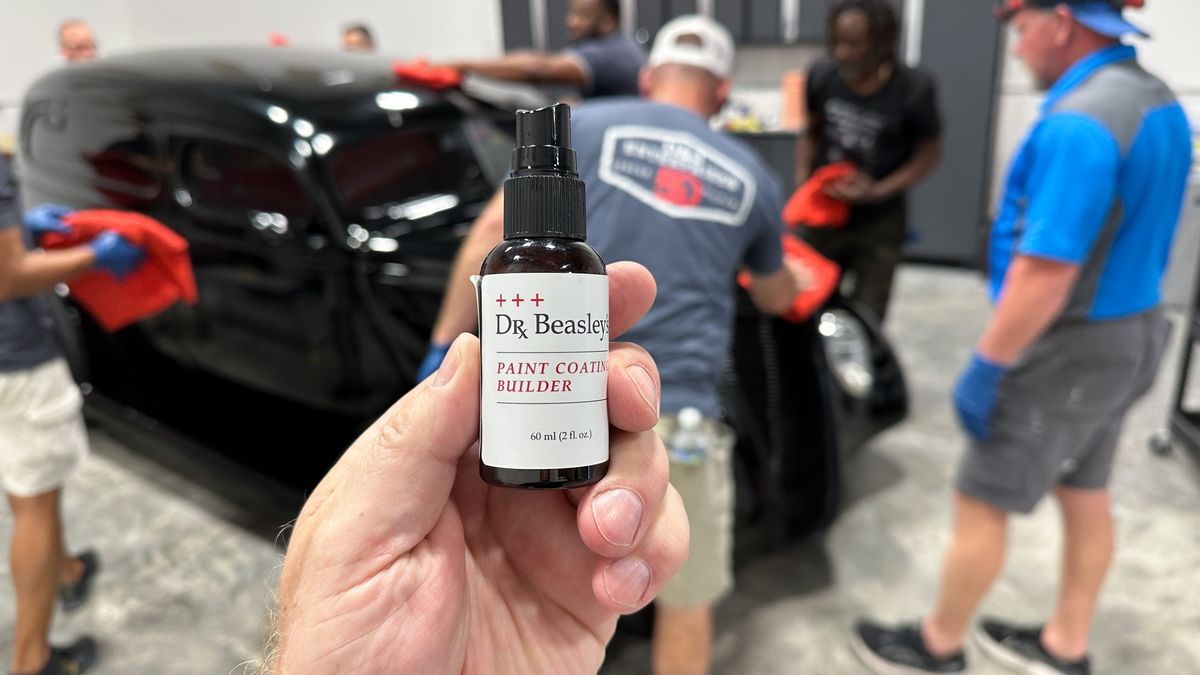
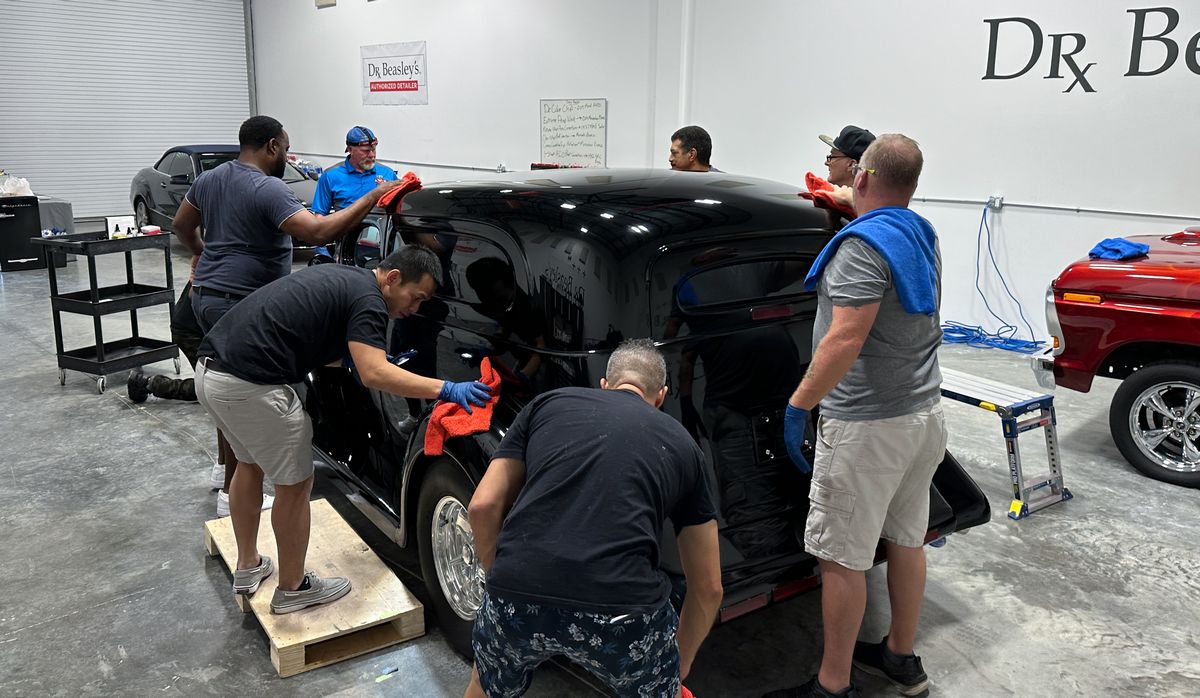
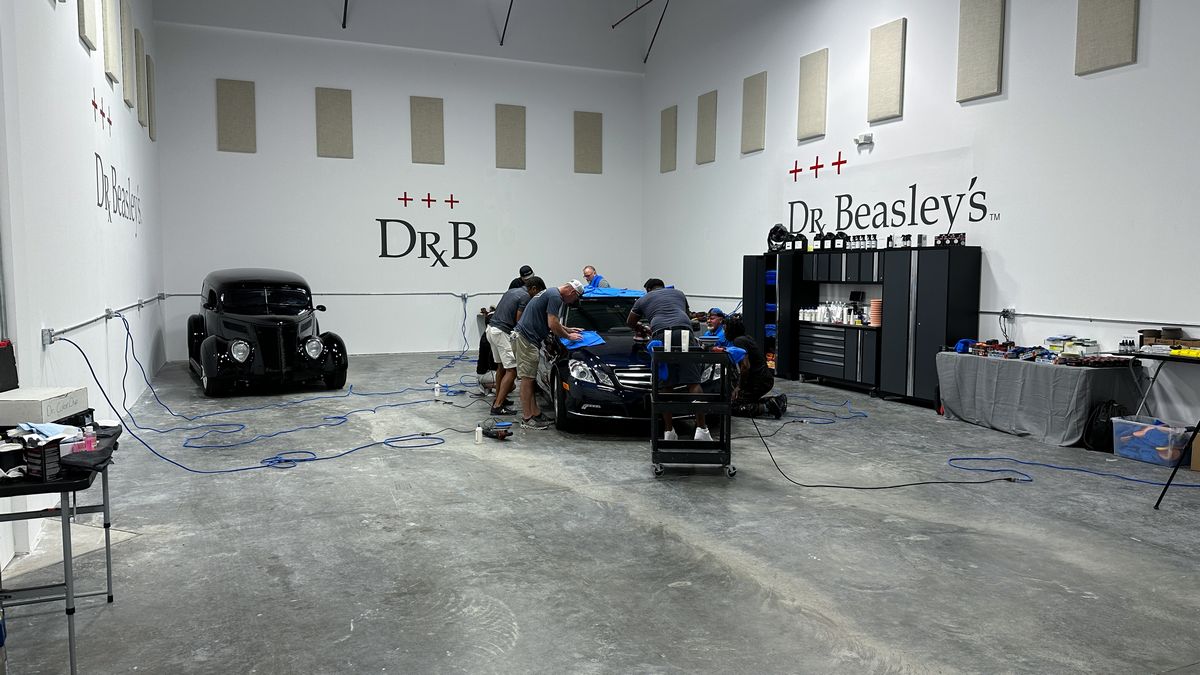
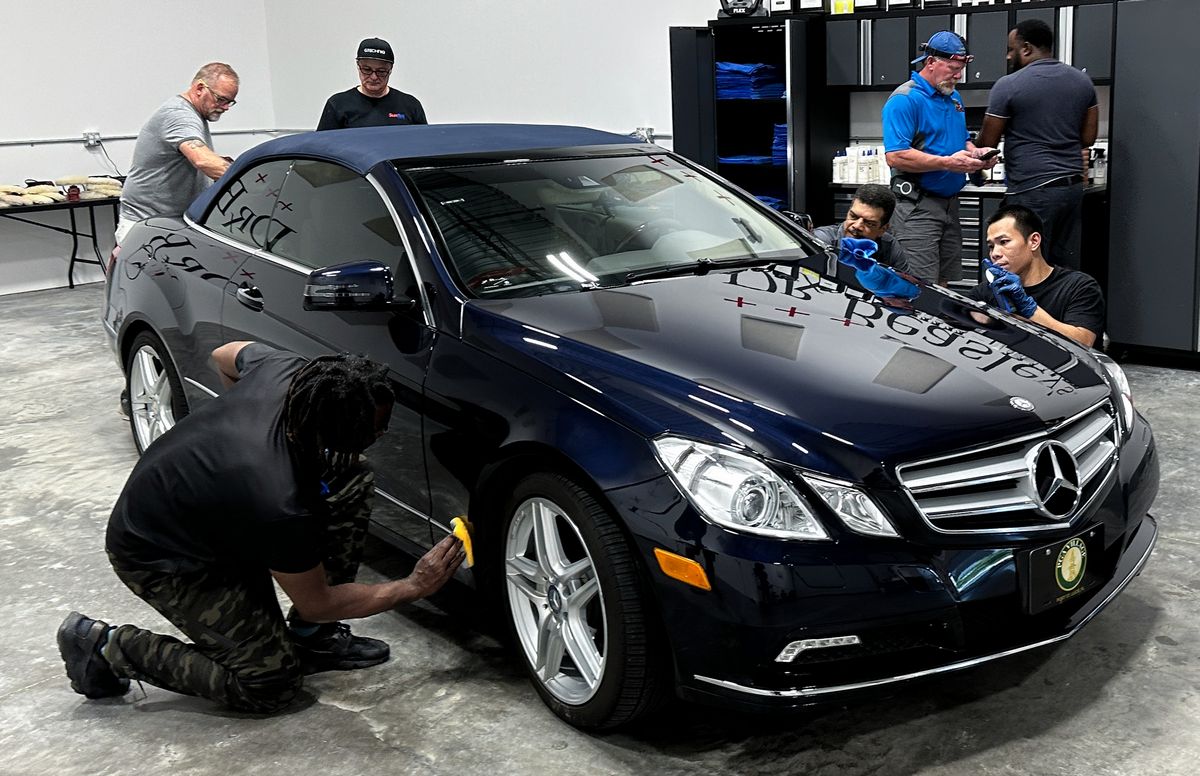
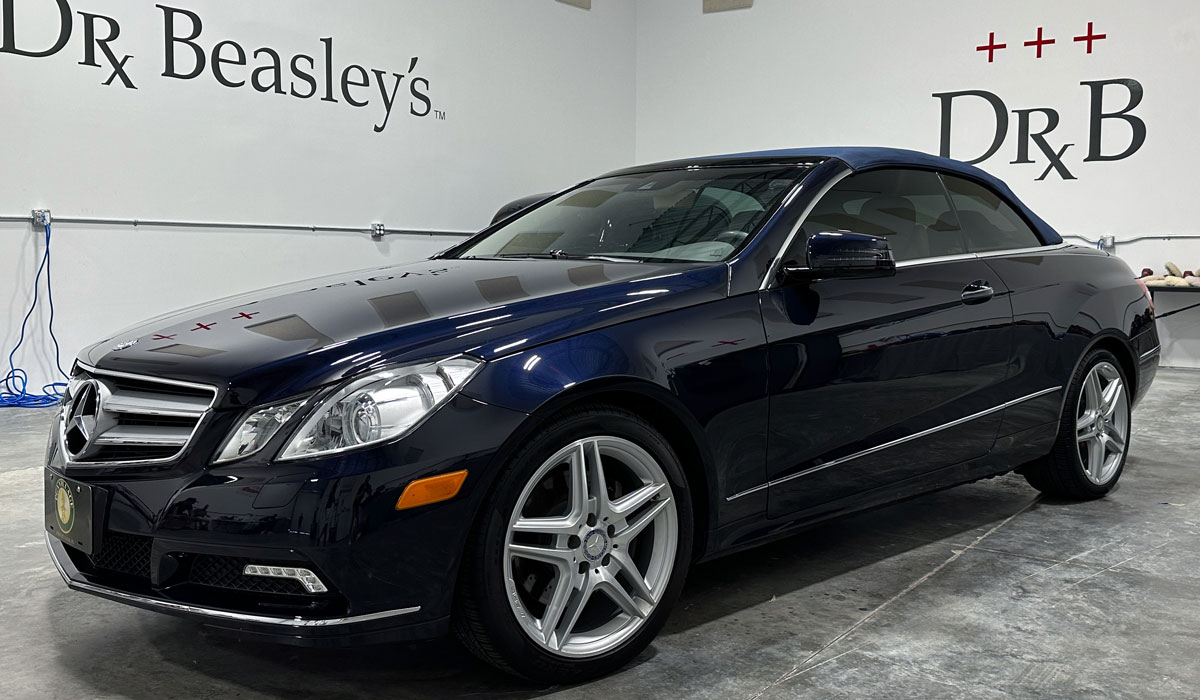
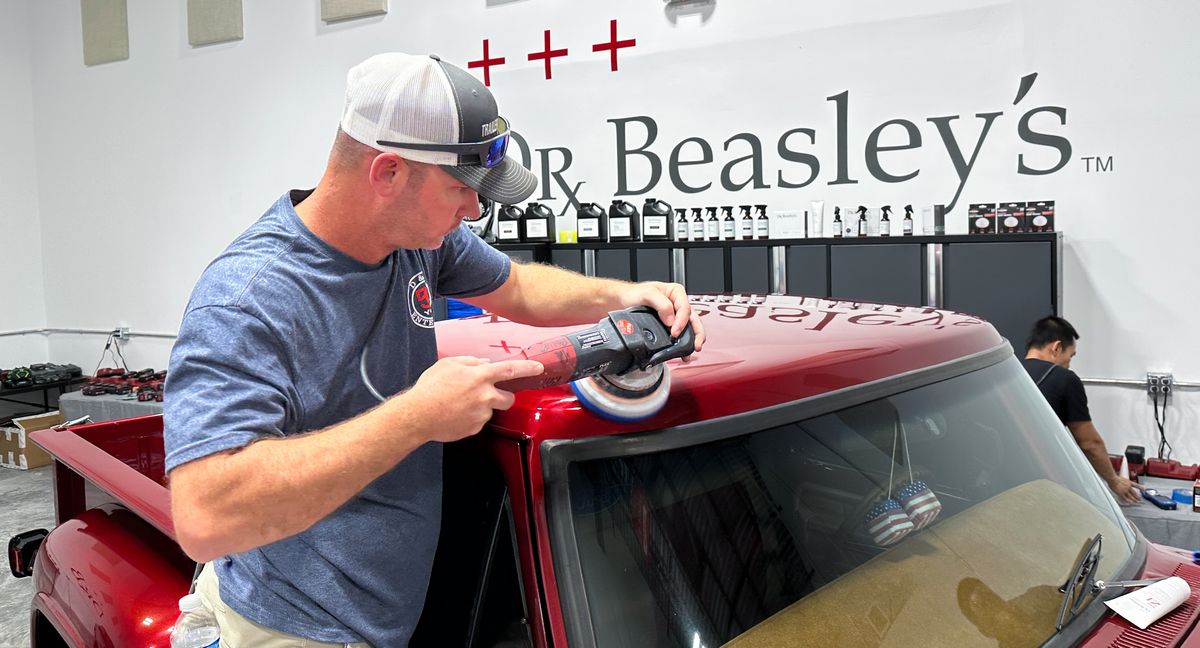
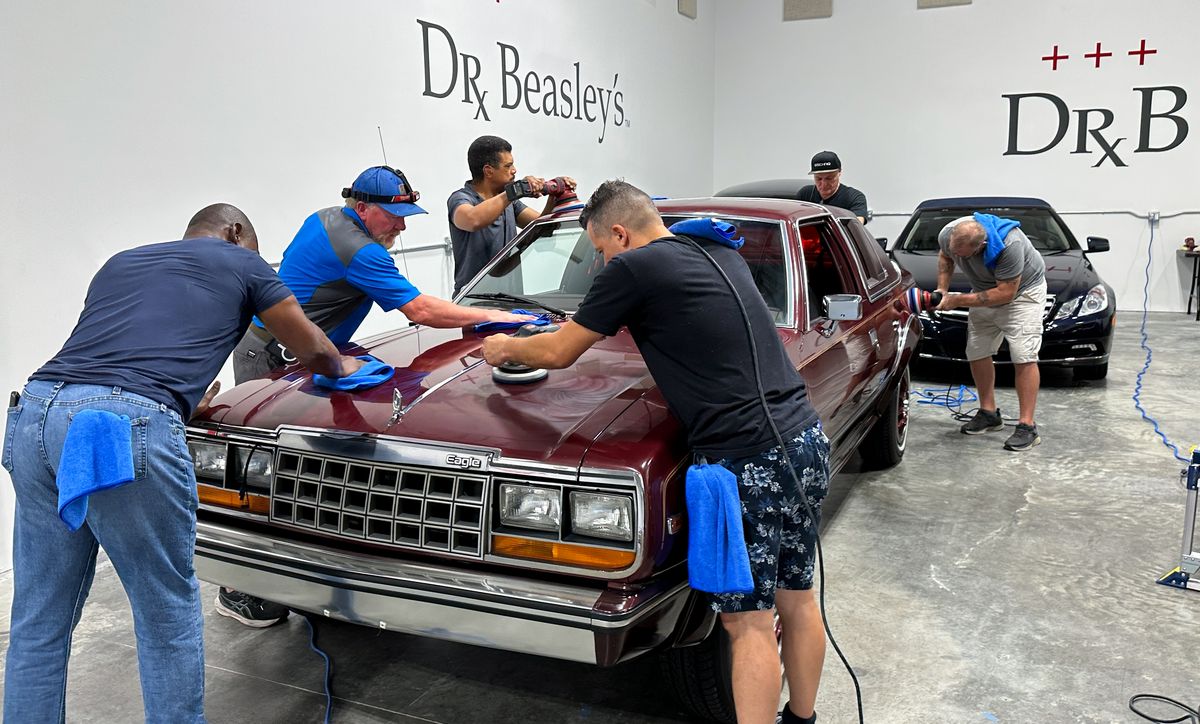
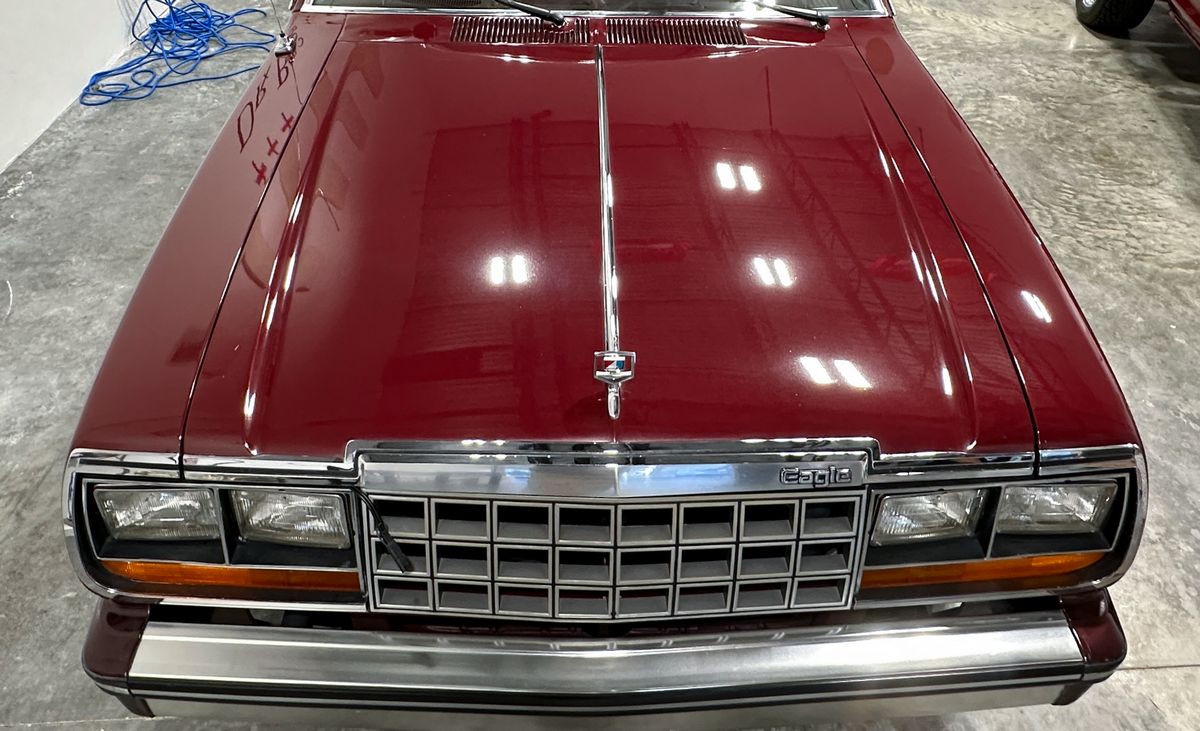
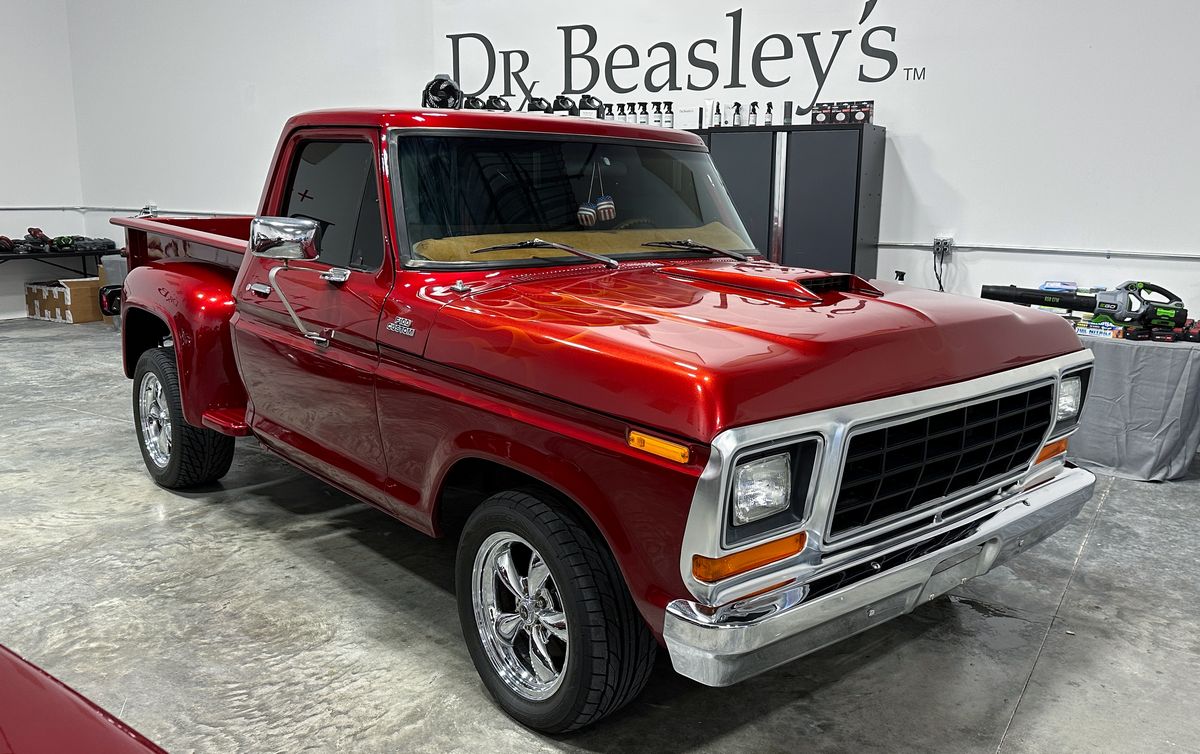
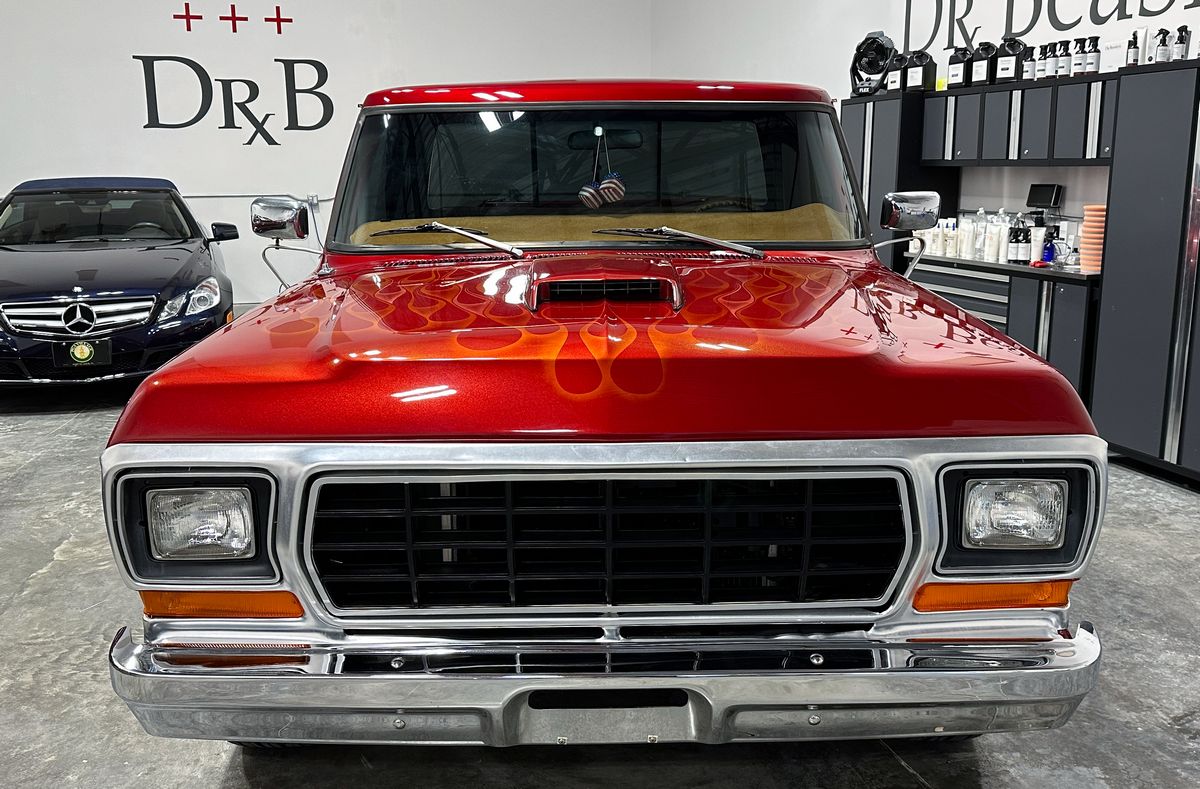
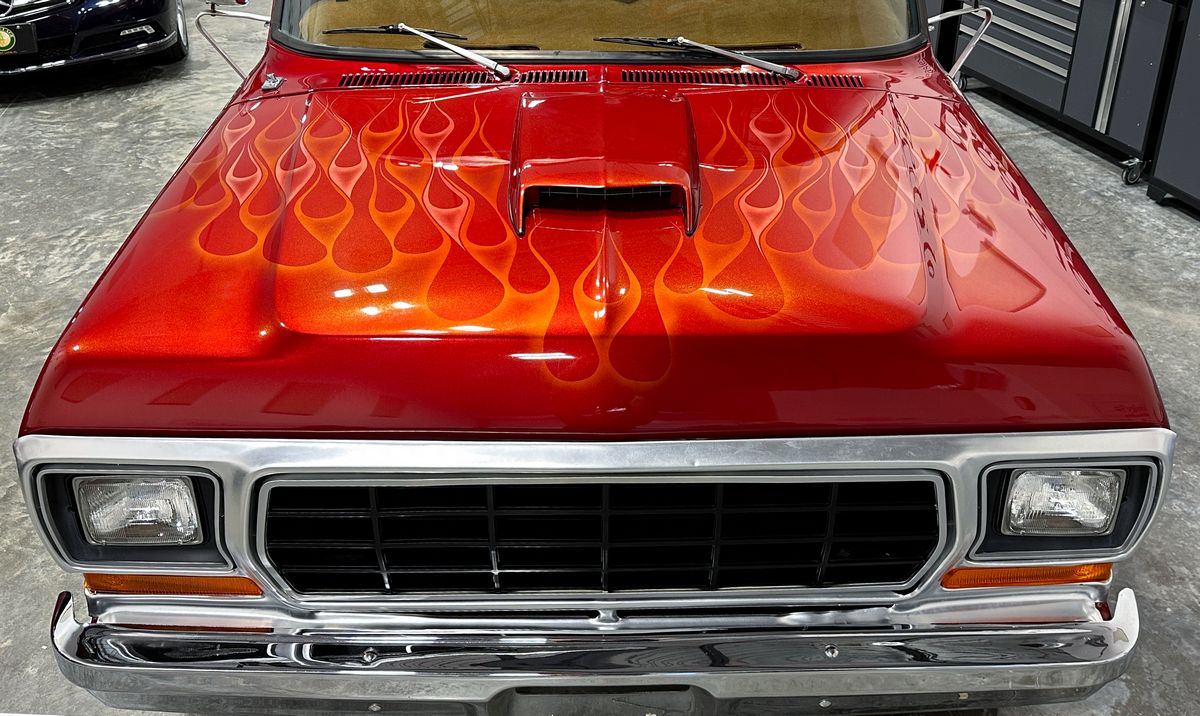
What our 1-Day Extreme Detailing Class looks like - 146 pictures!
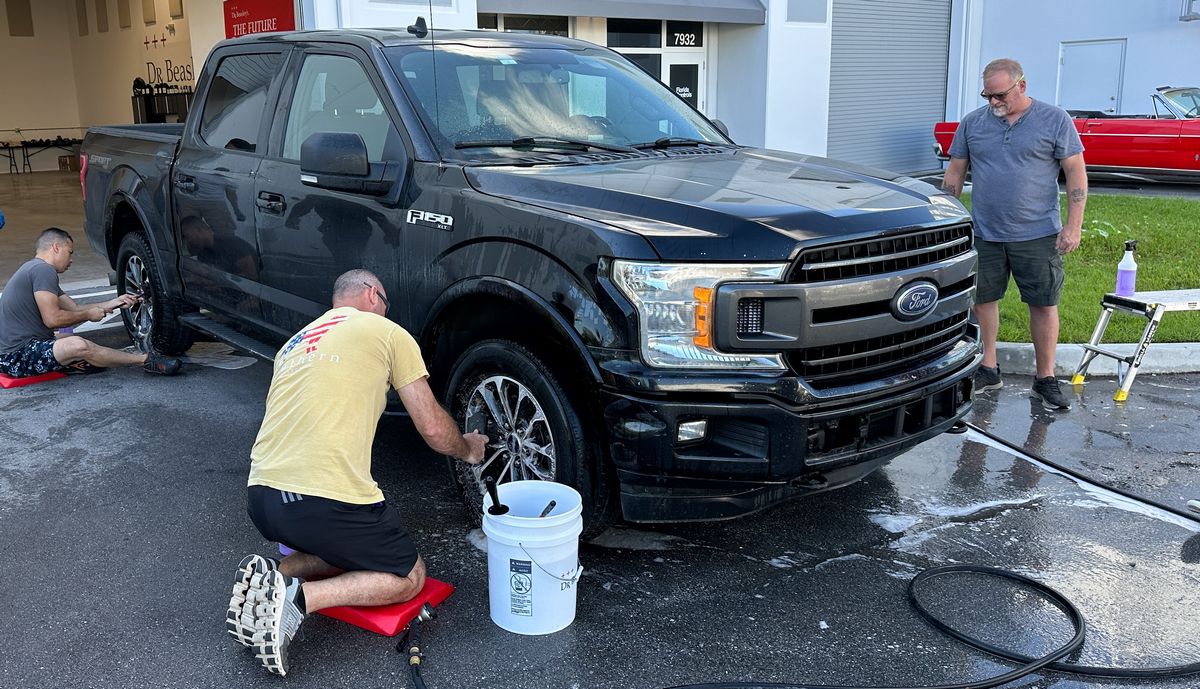
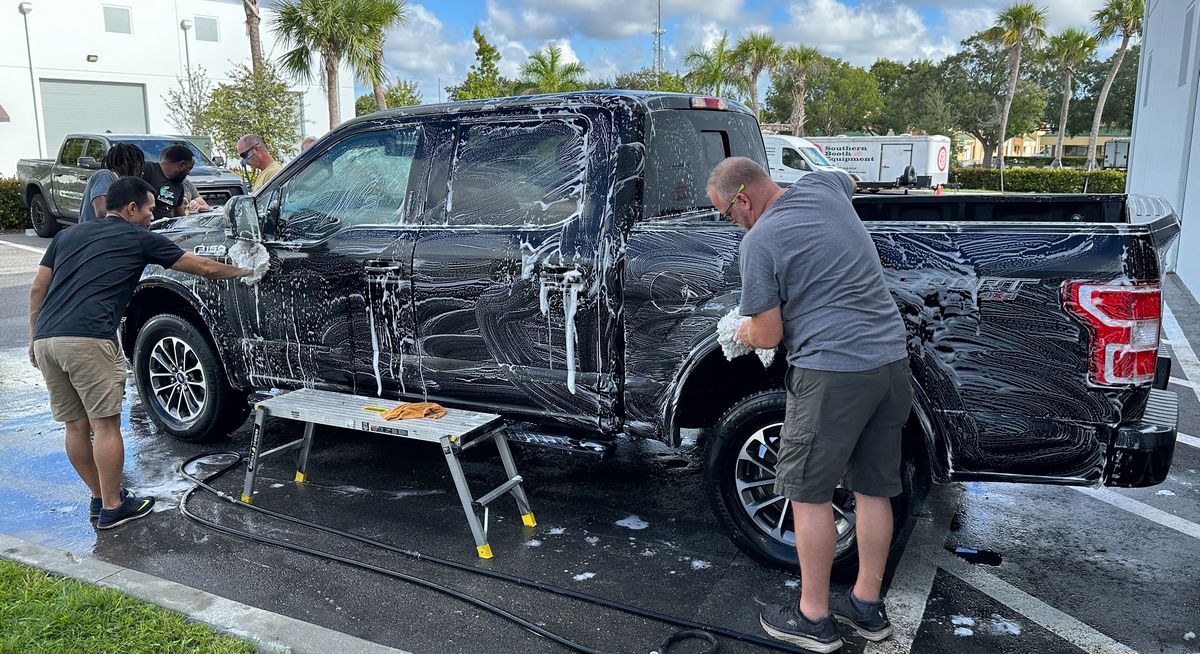
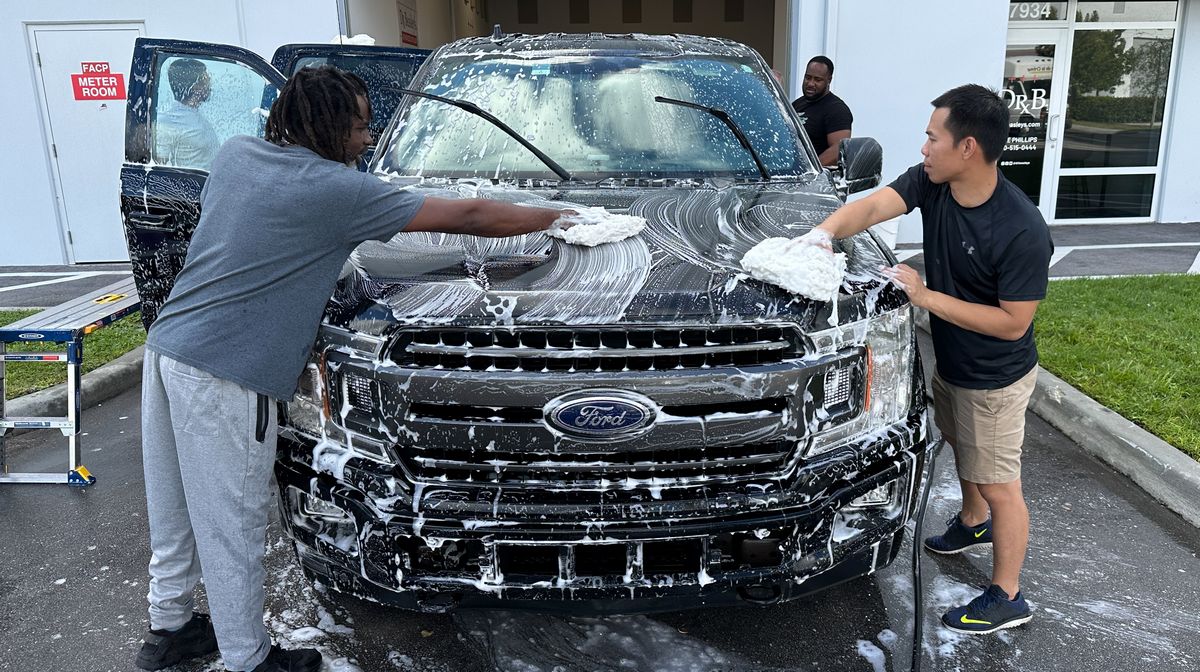
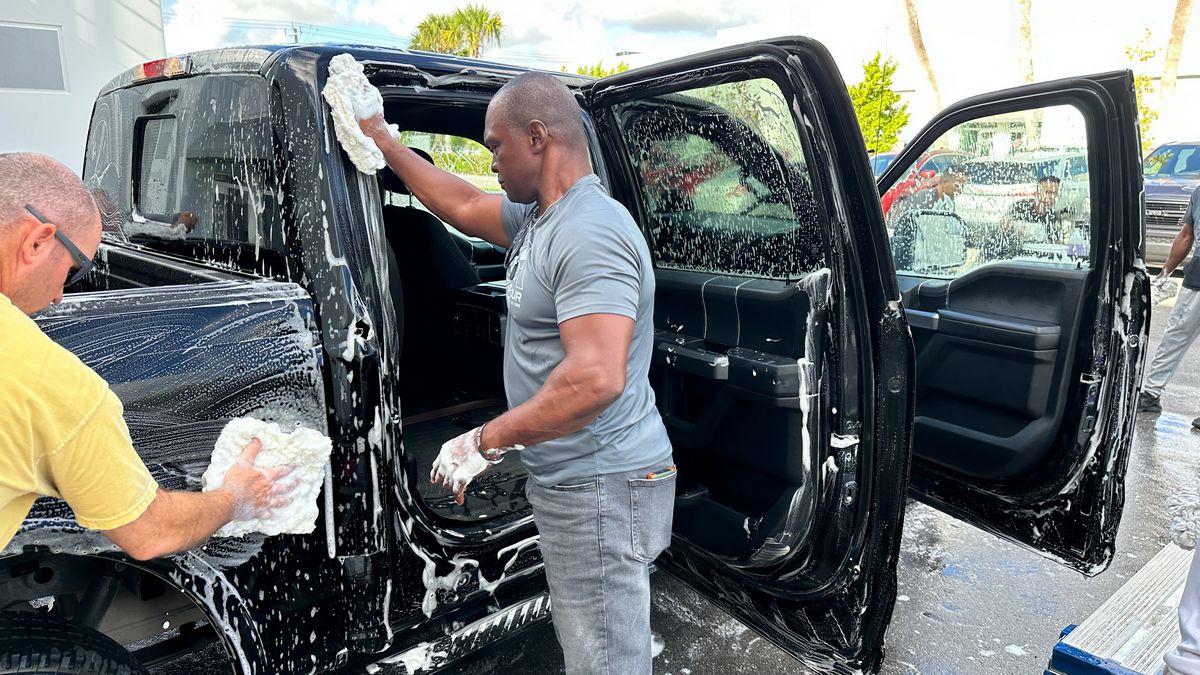
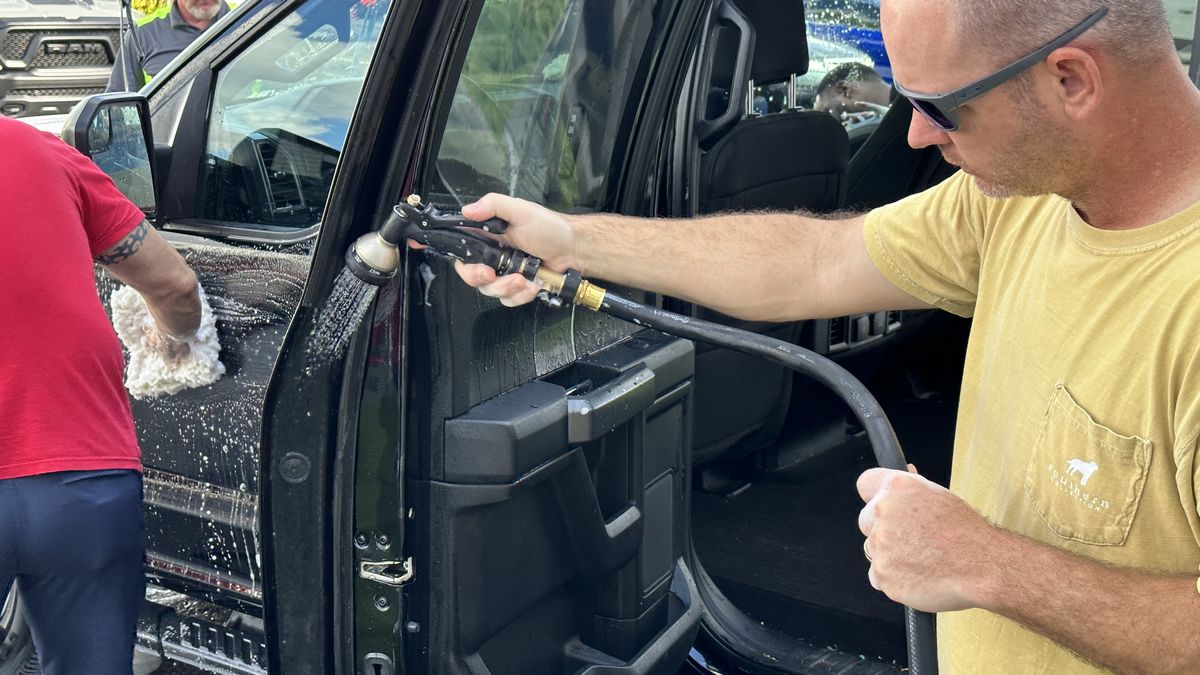
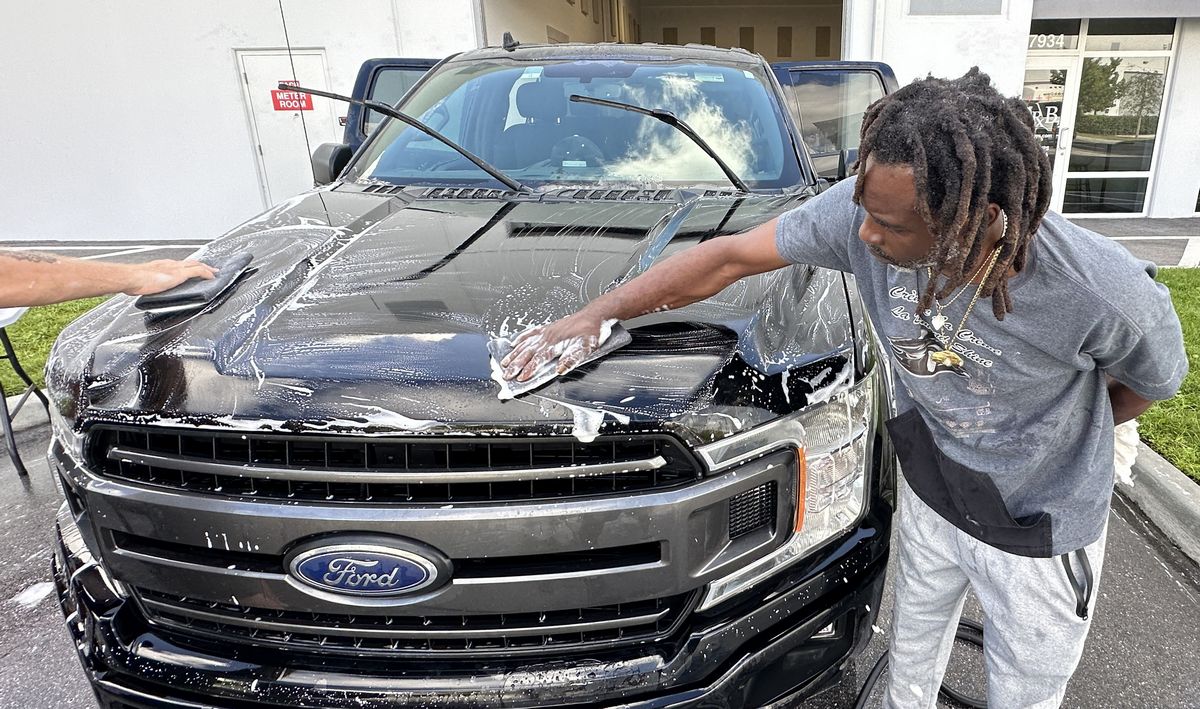
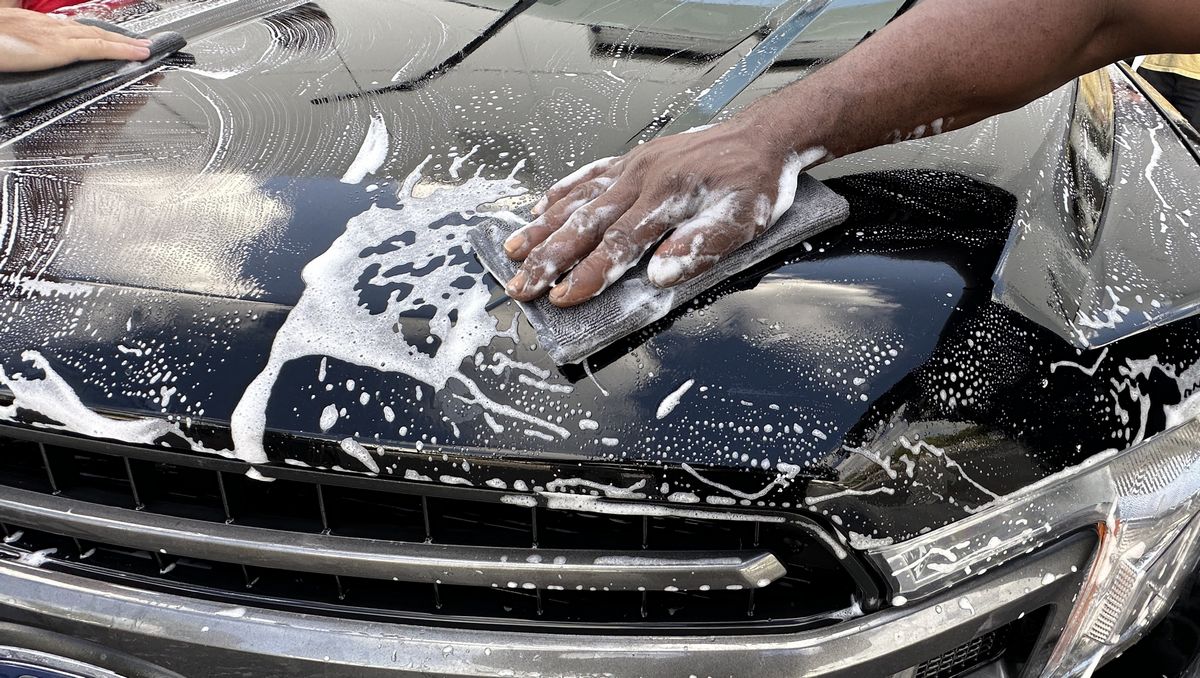
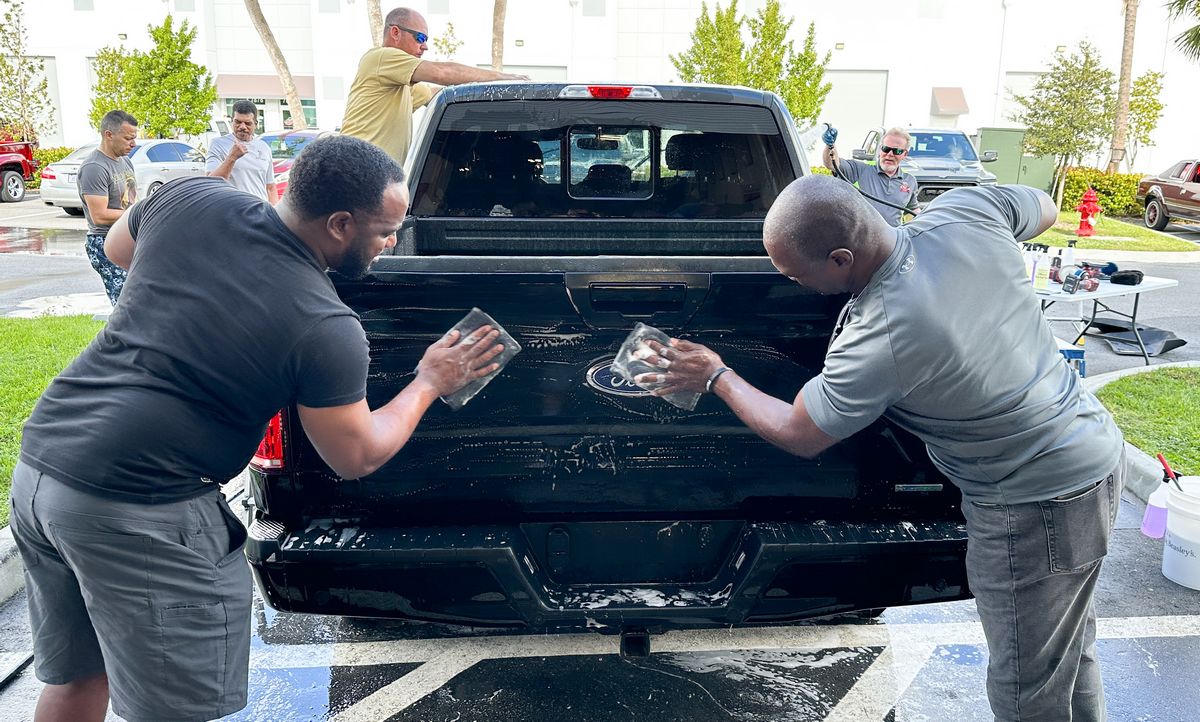
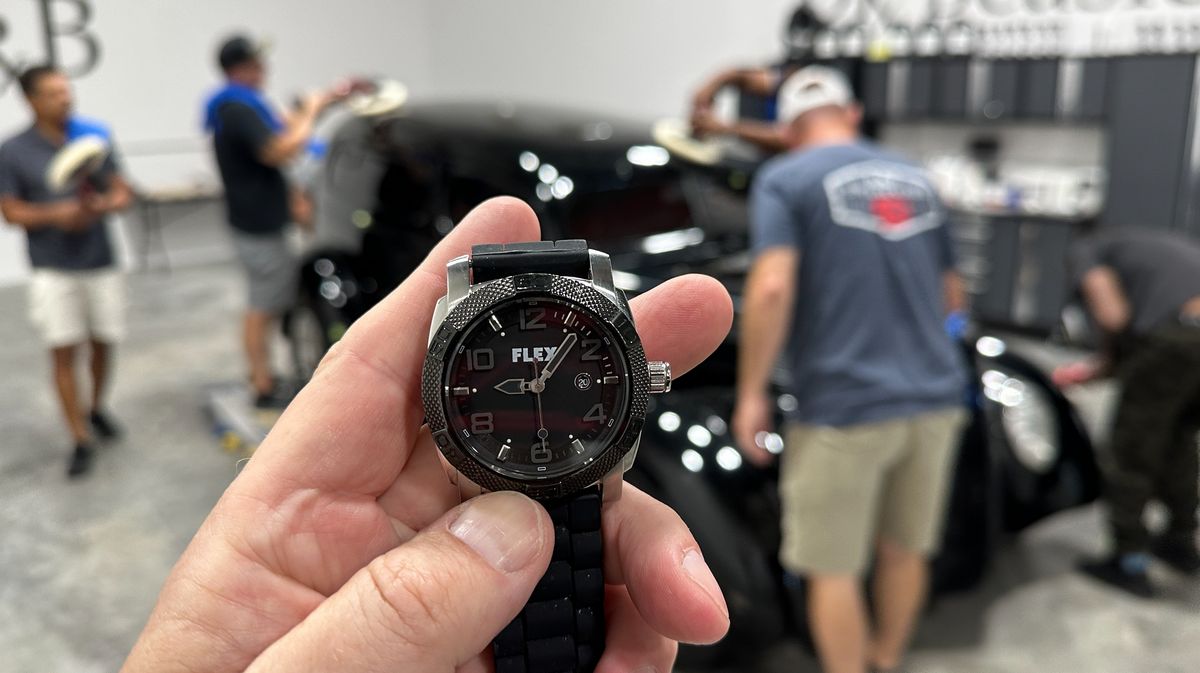
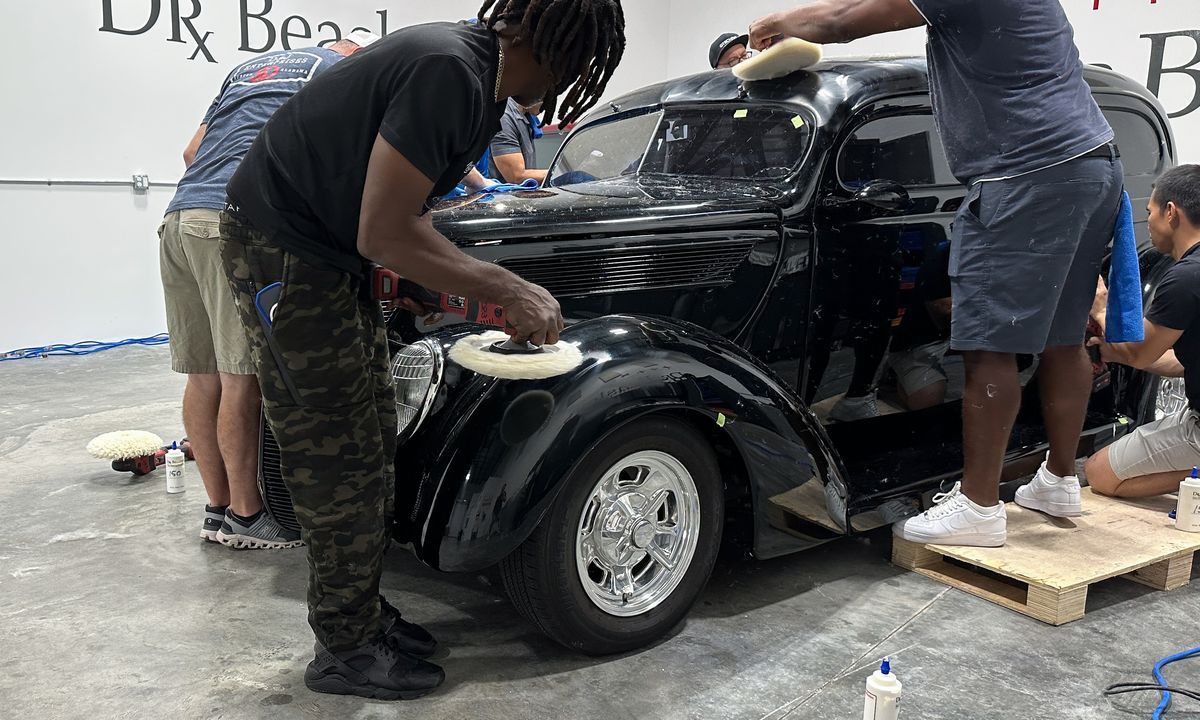
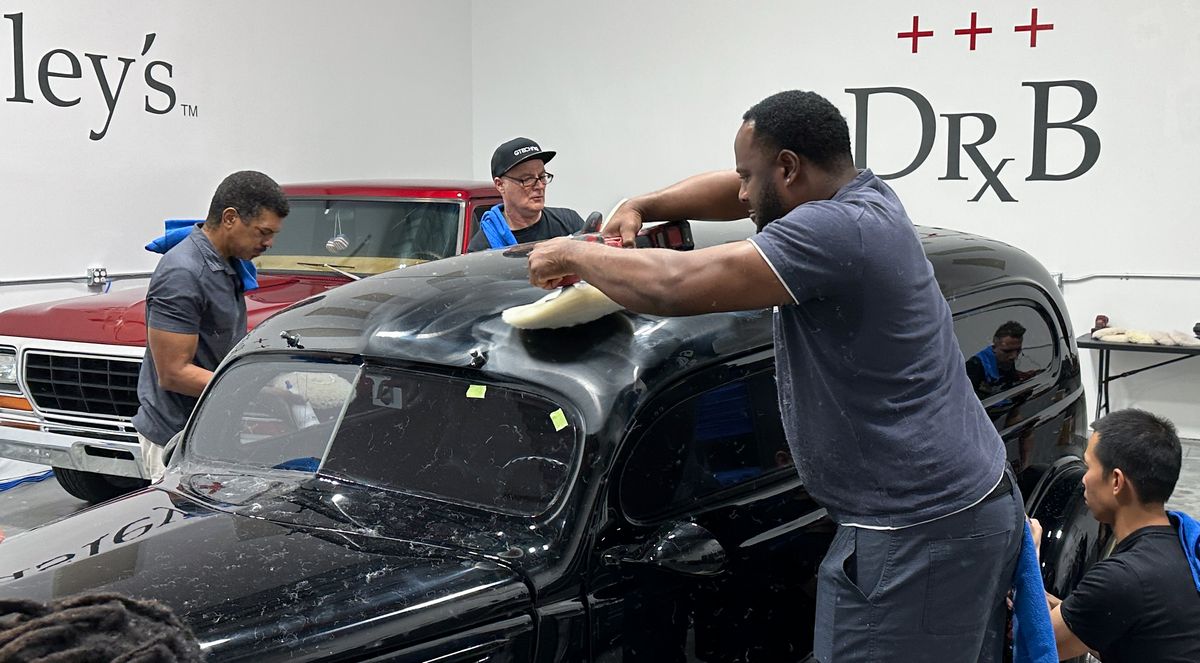
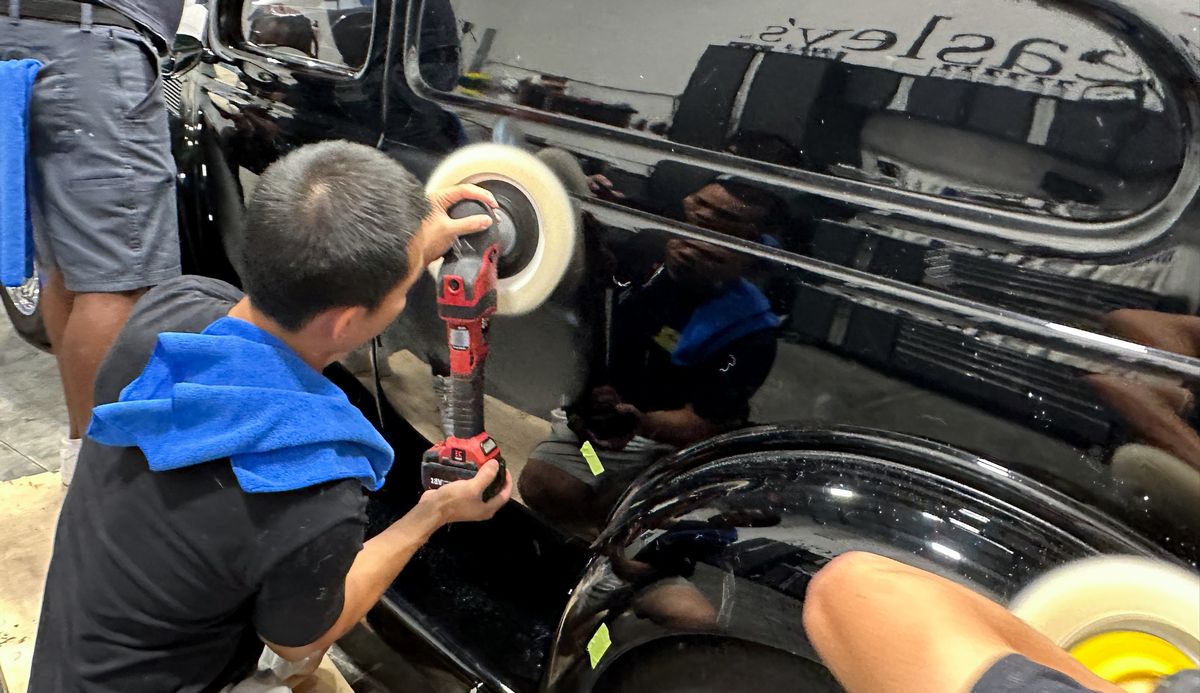
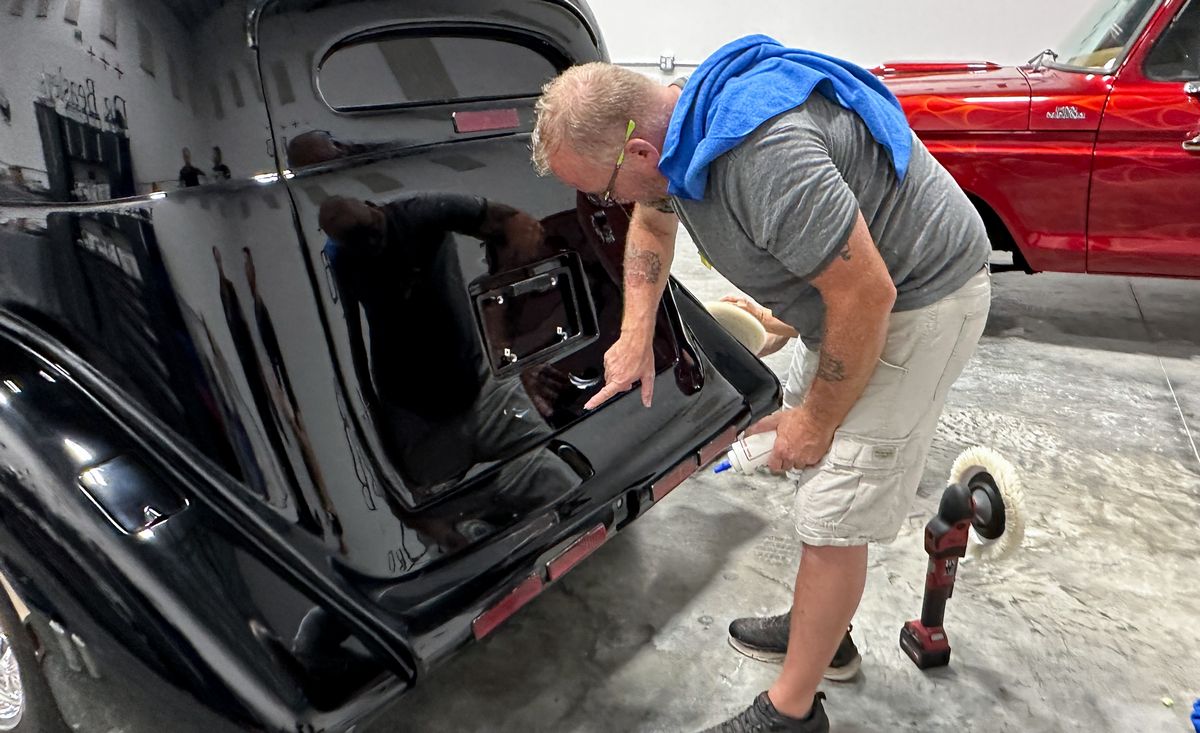
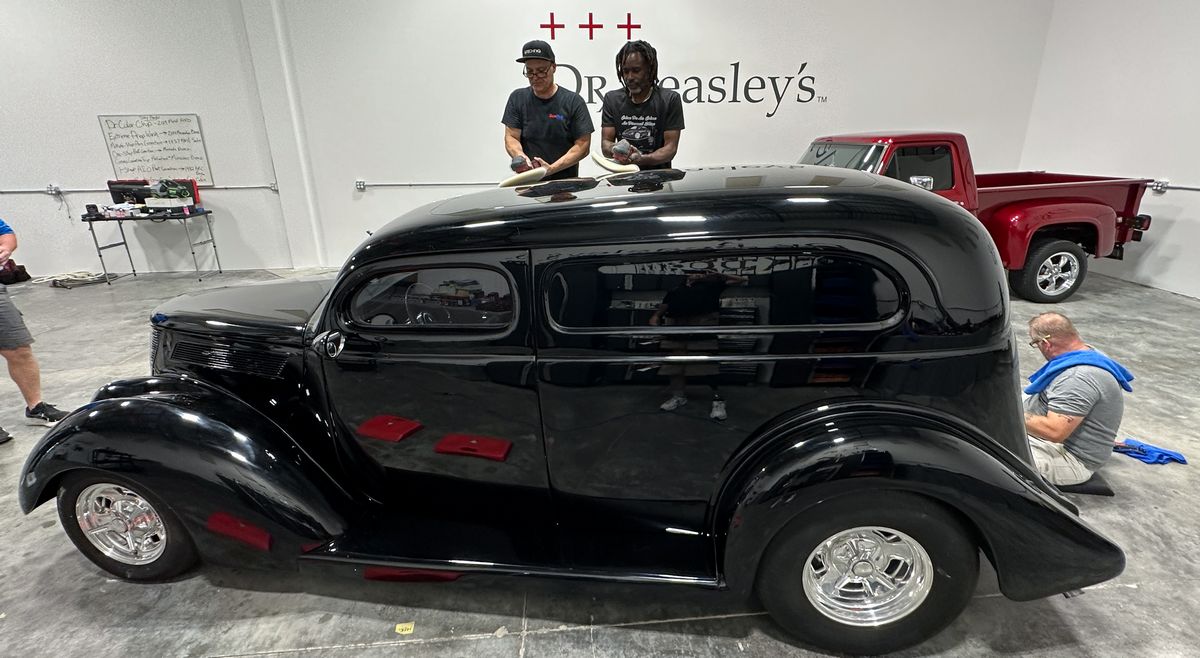
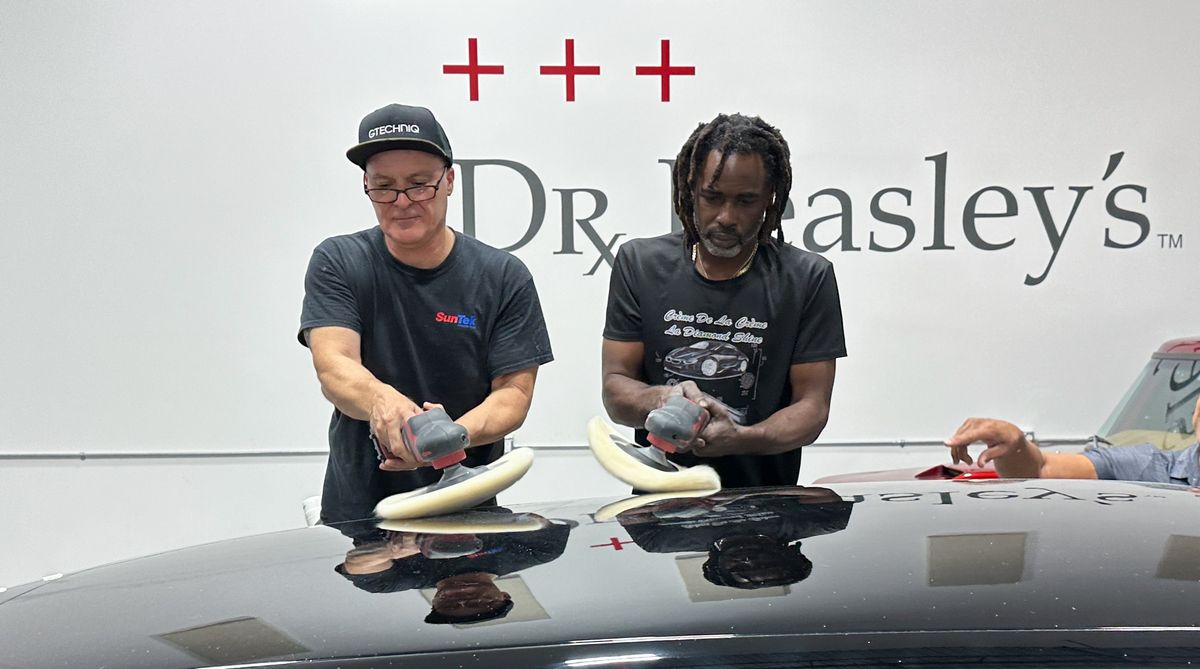
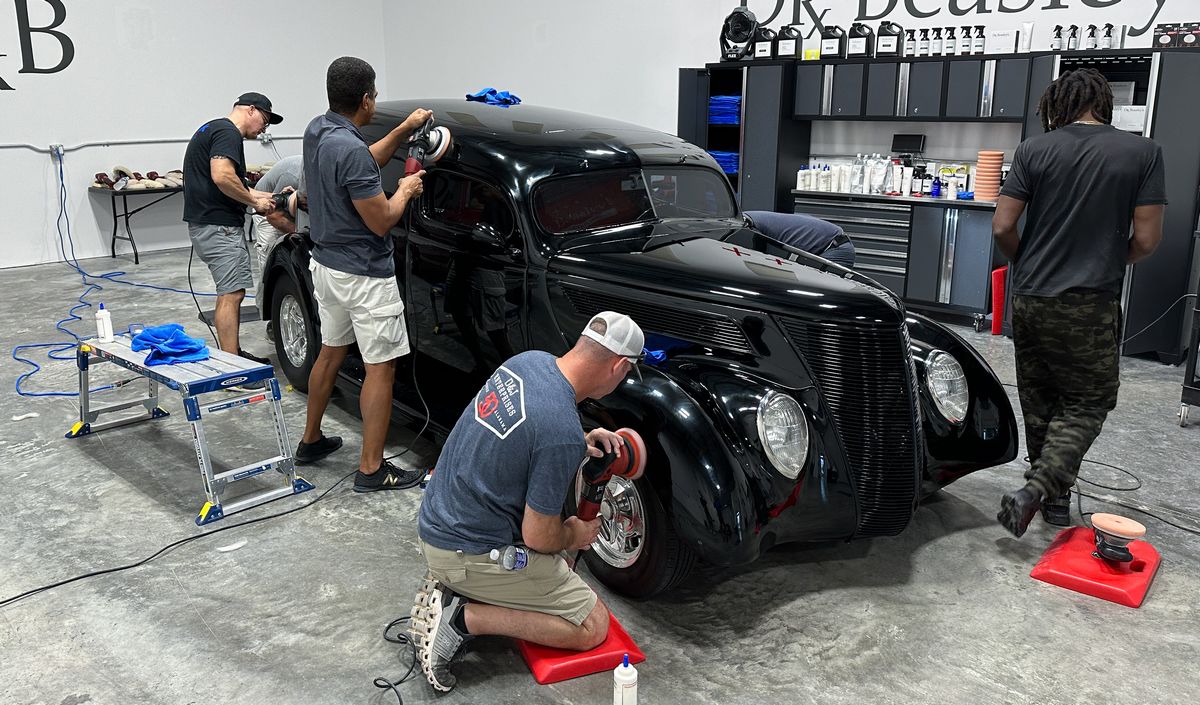
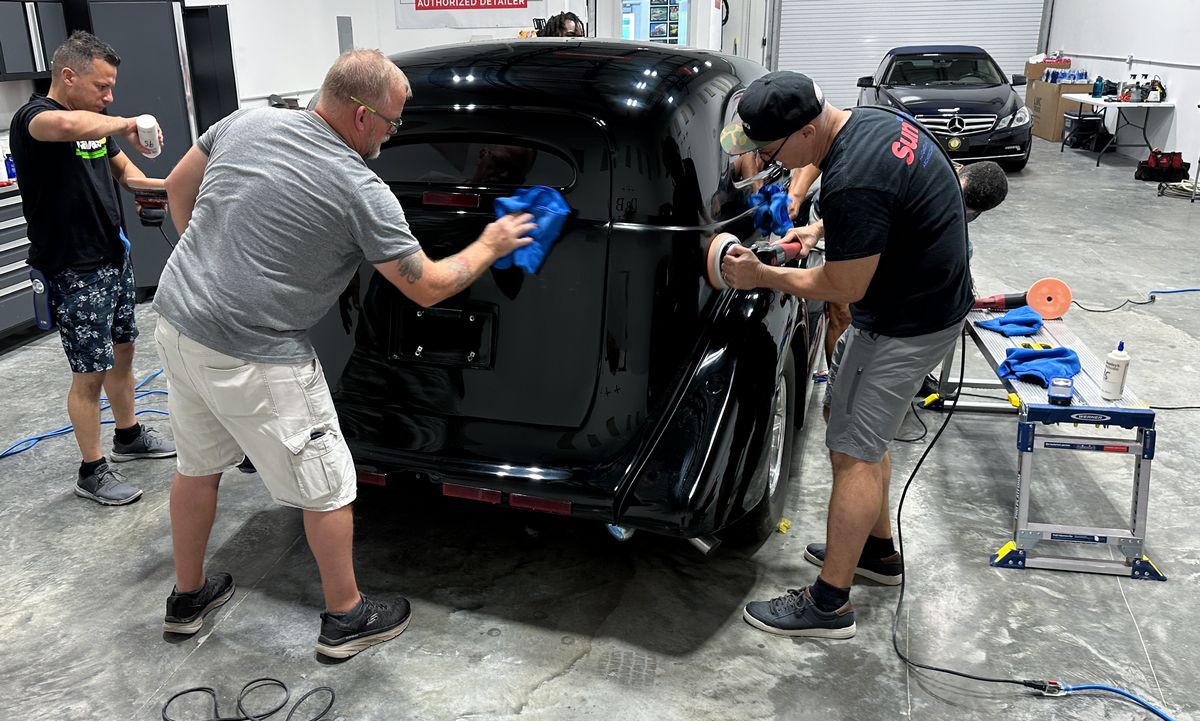
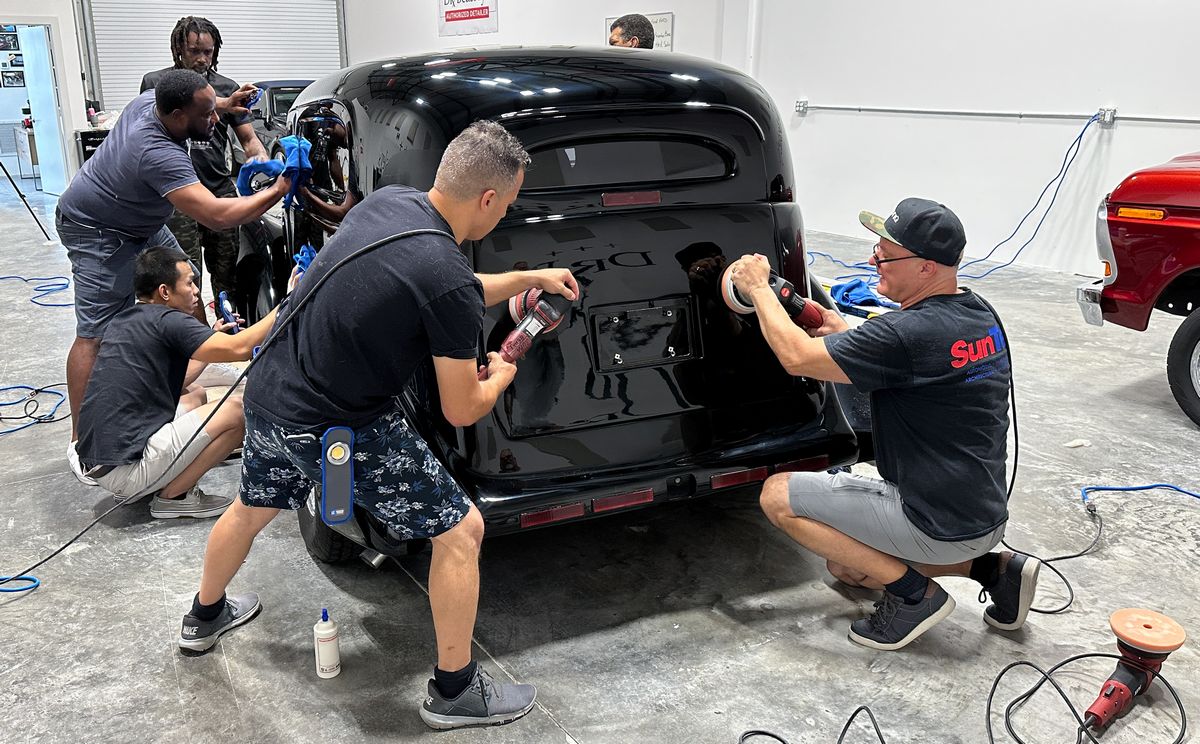
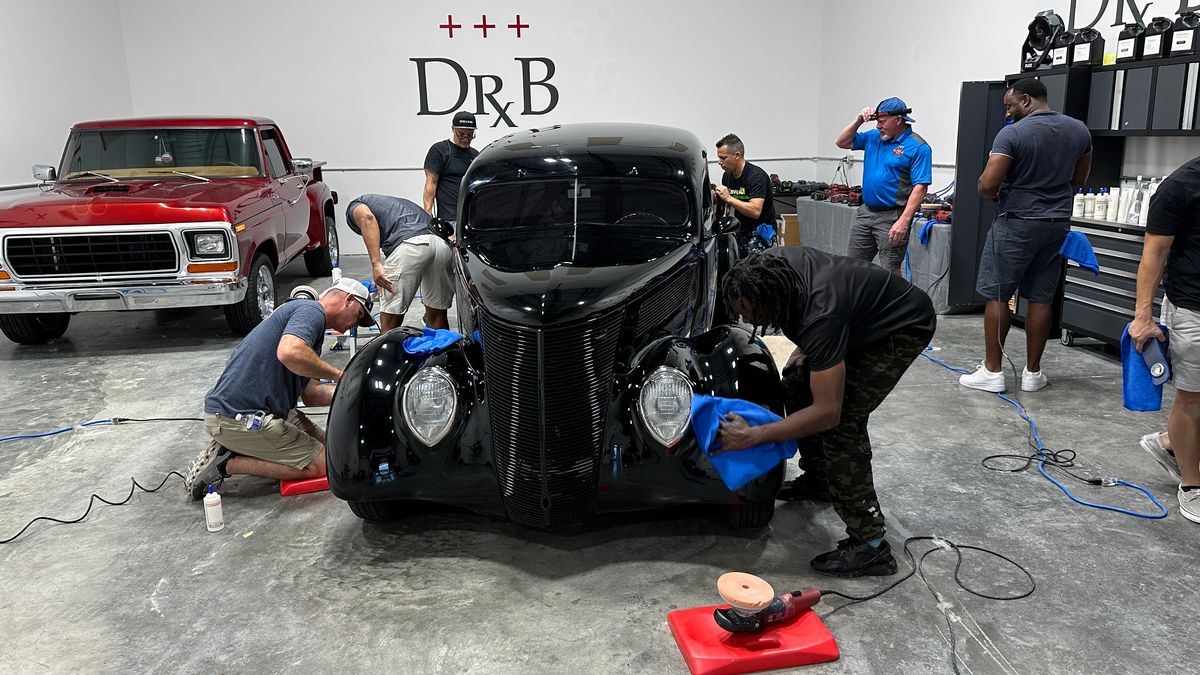
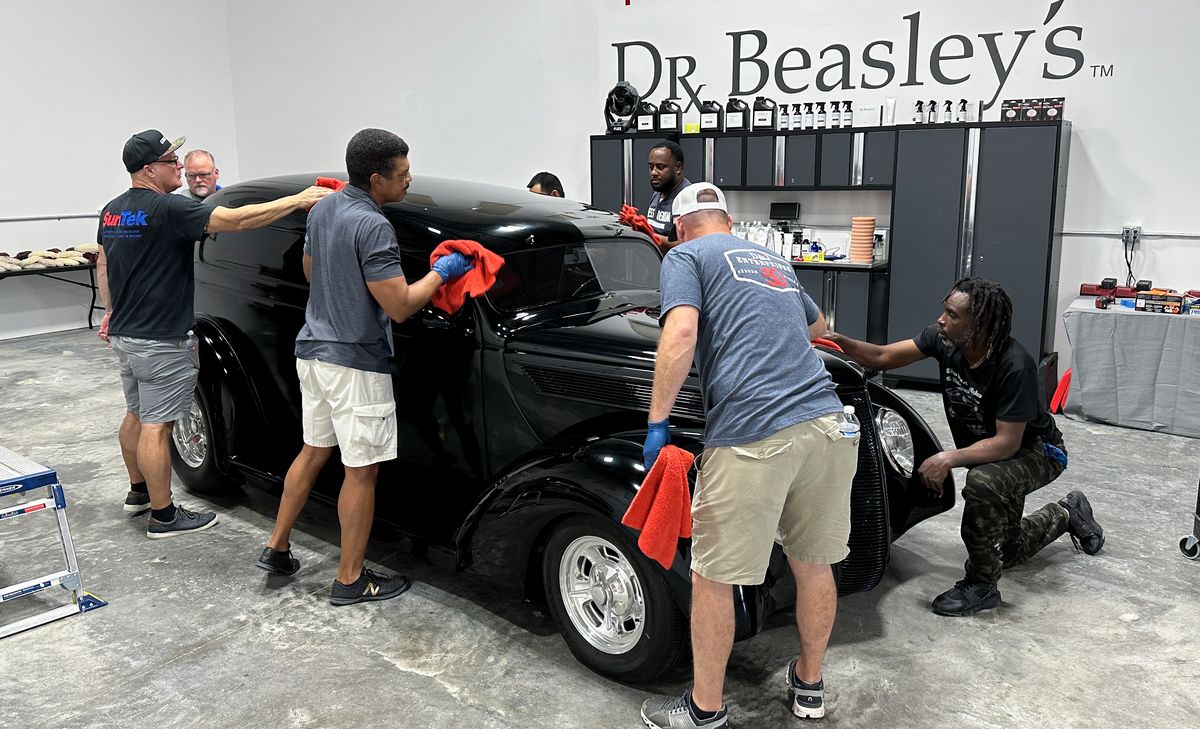
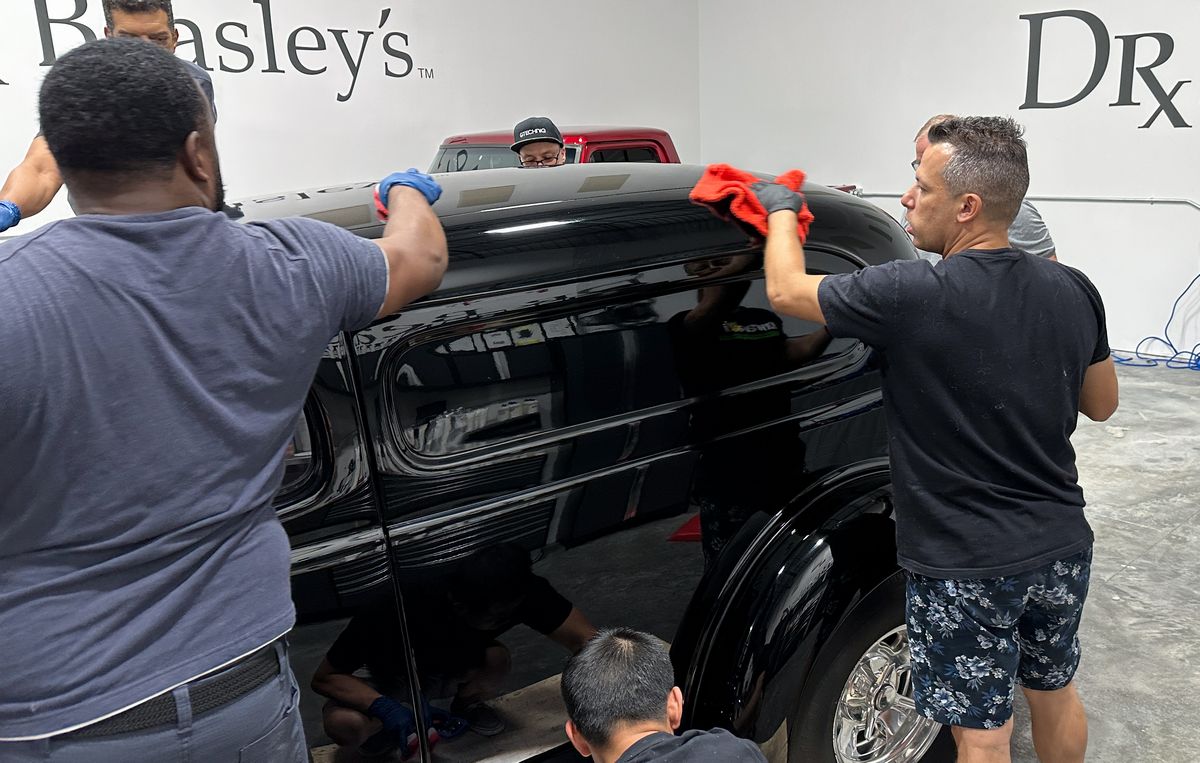
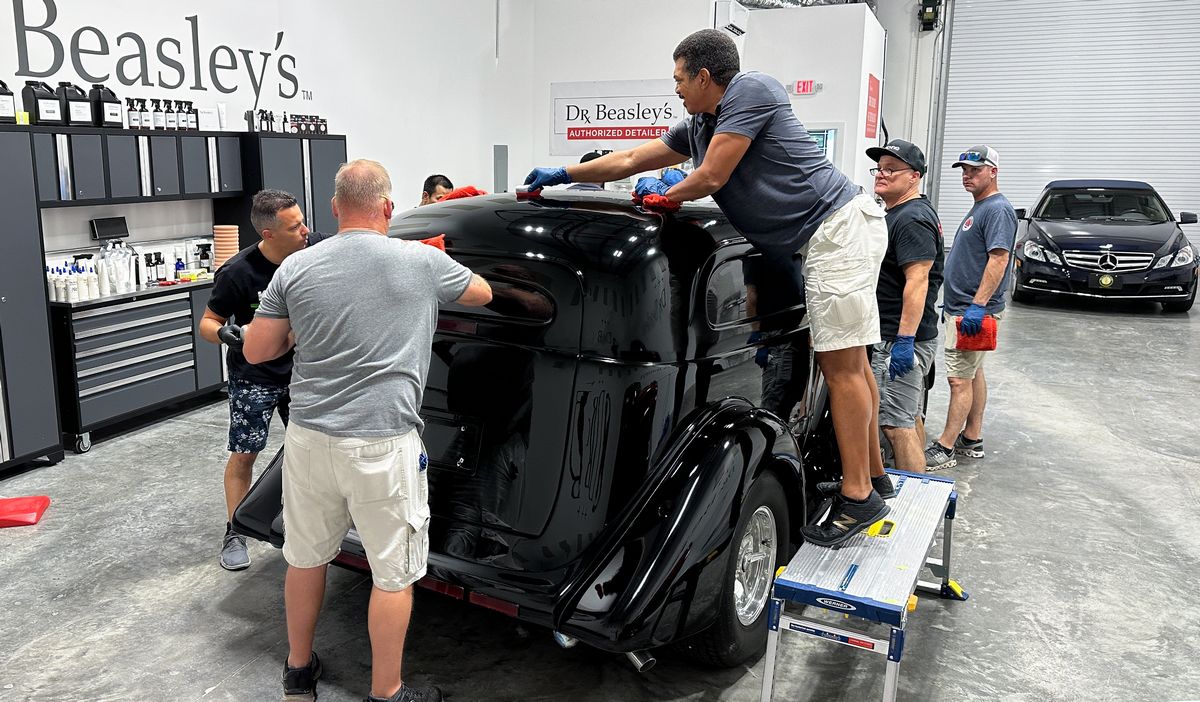
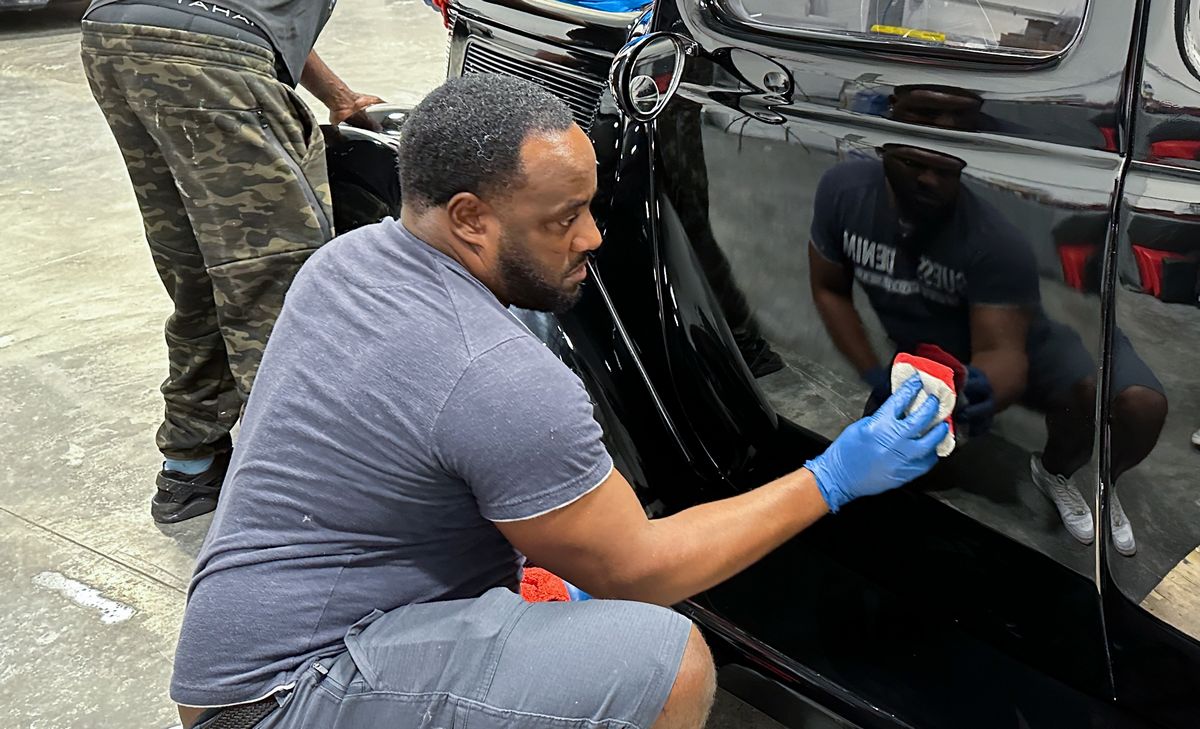
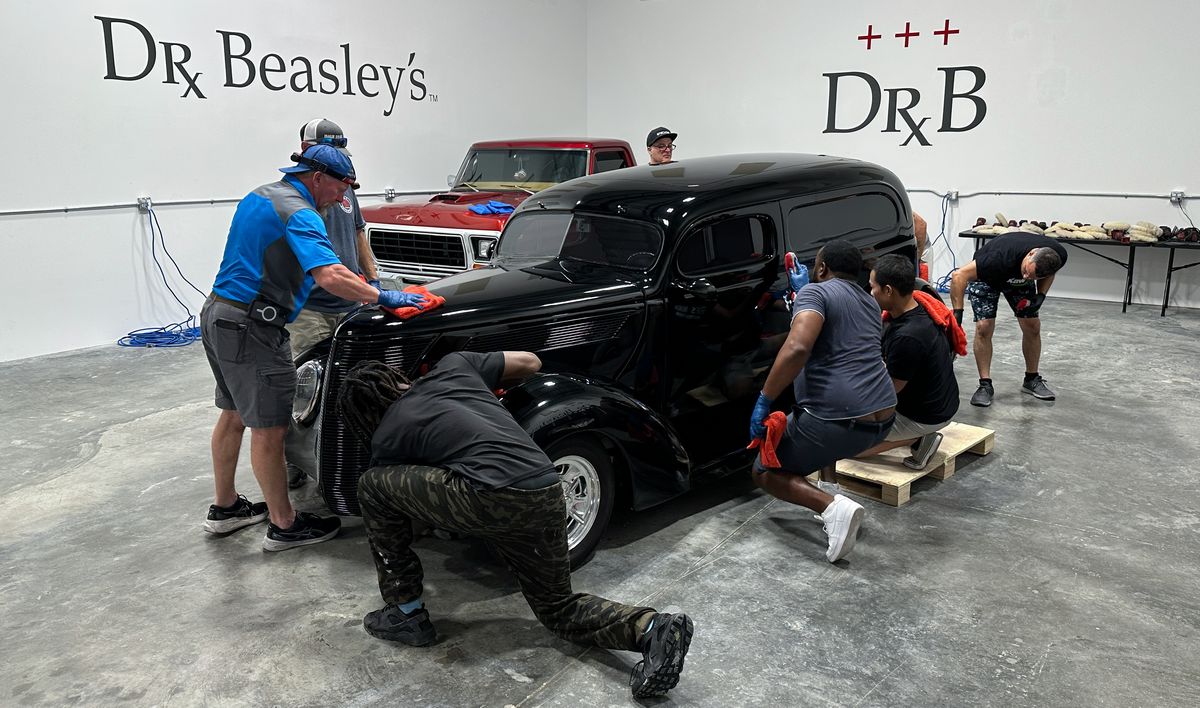
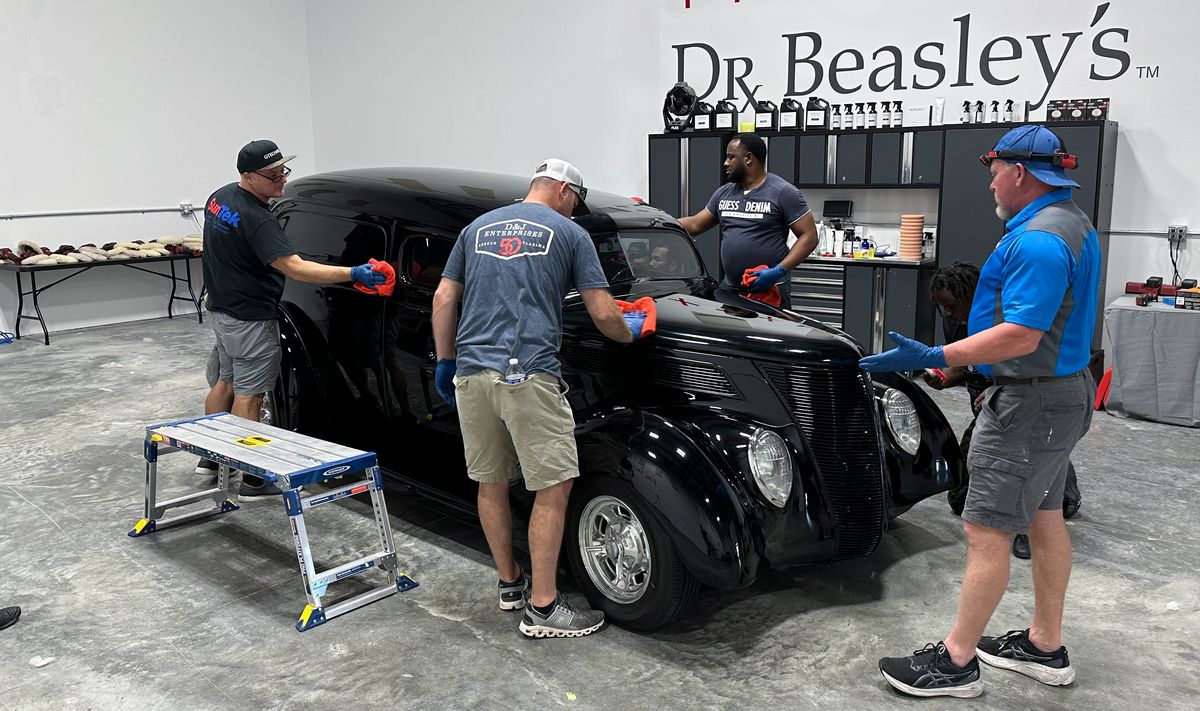
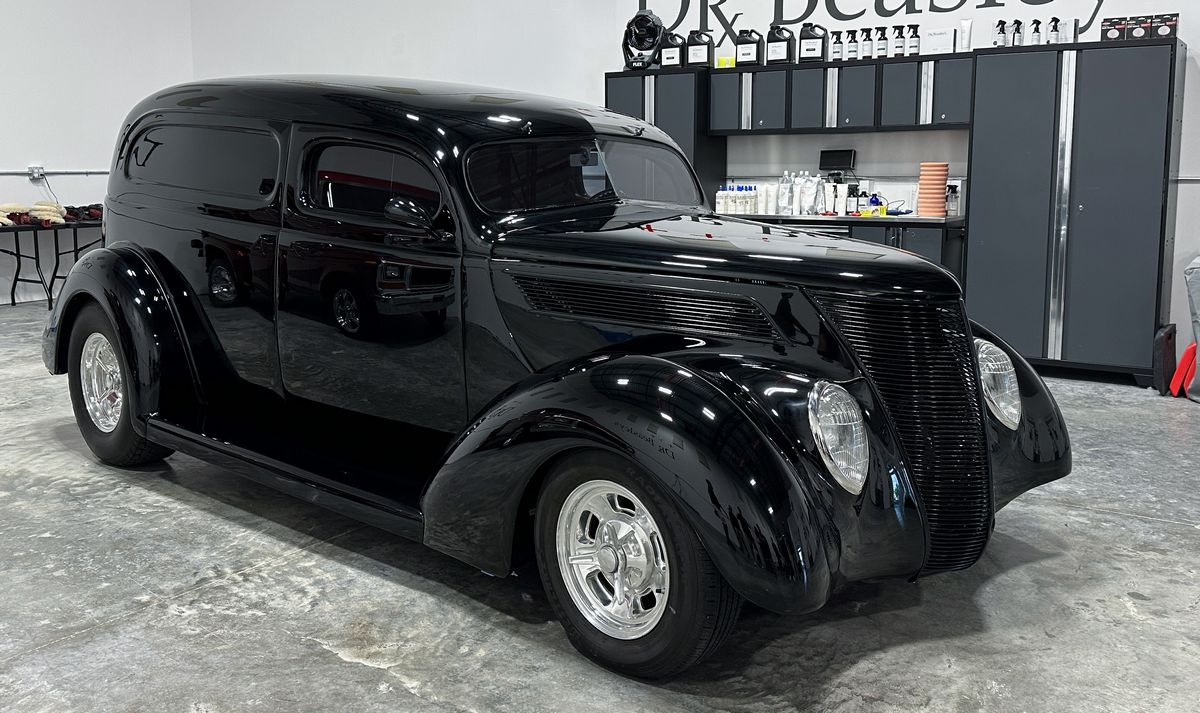
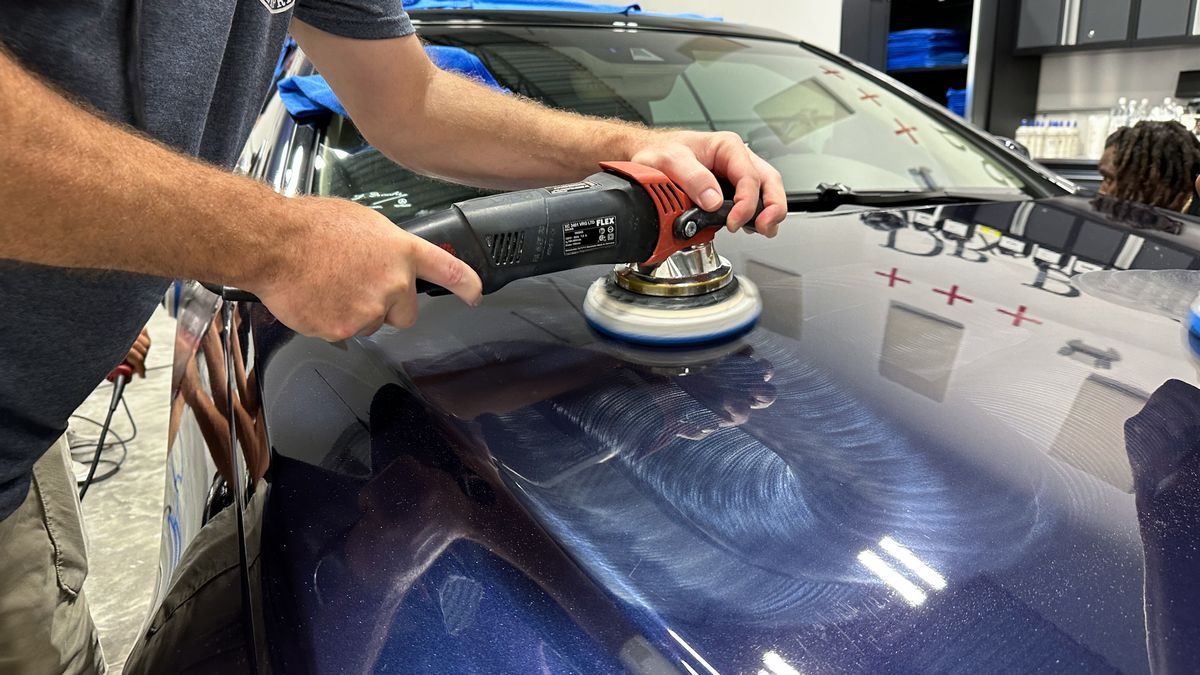
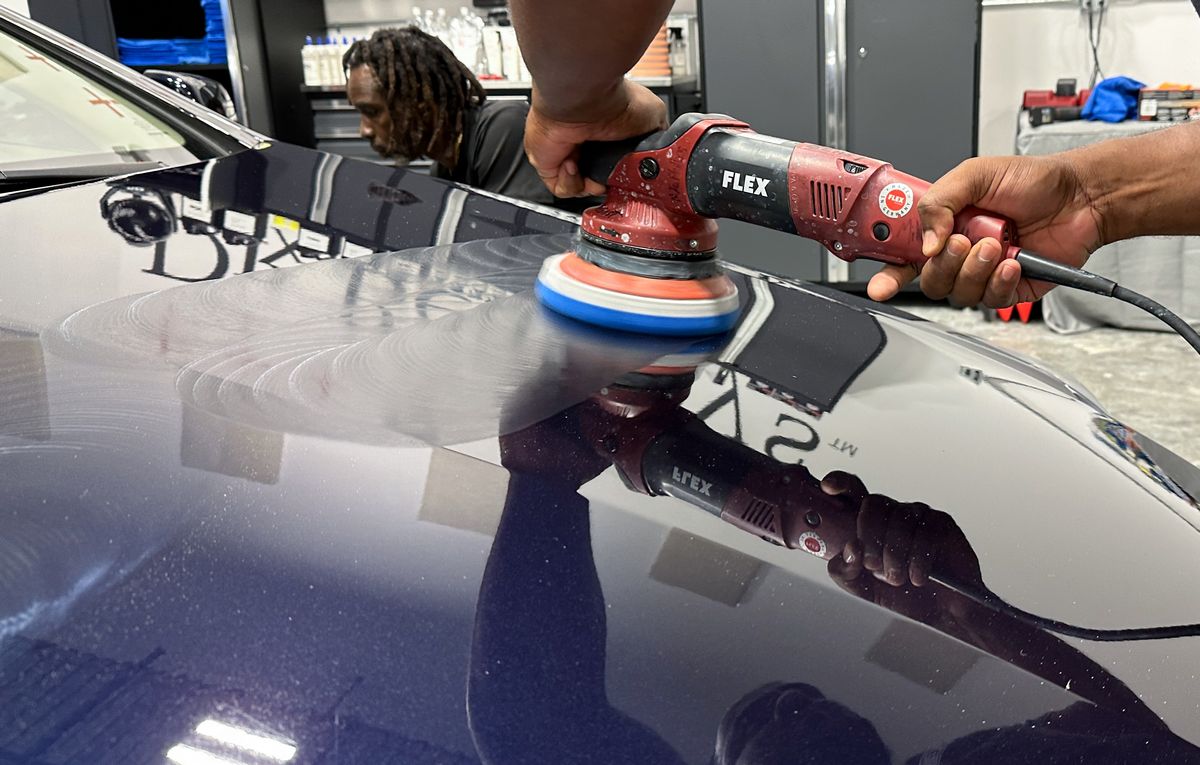
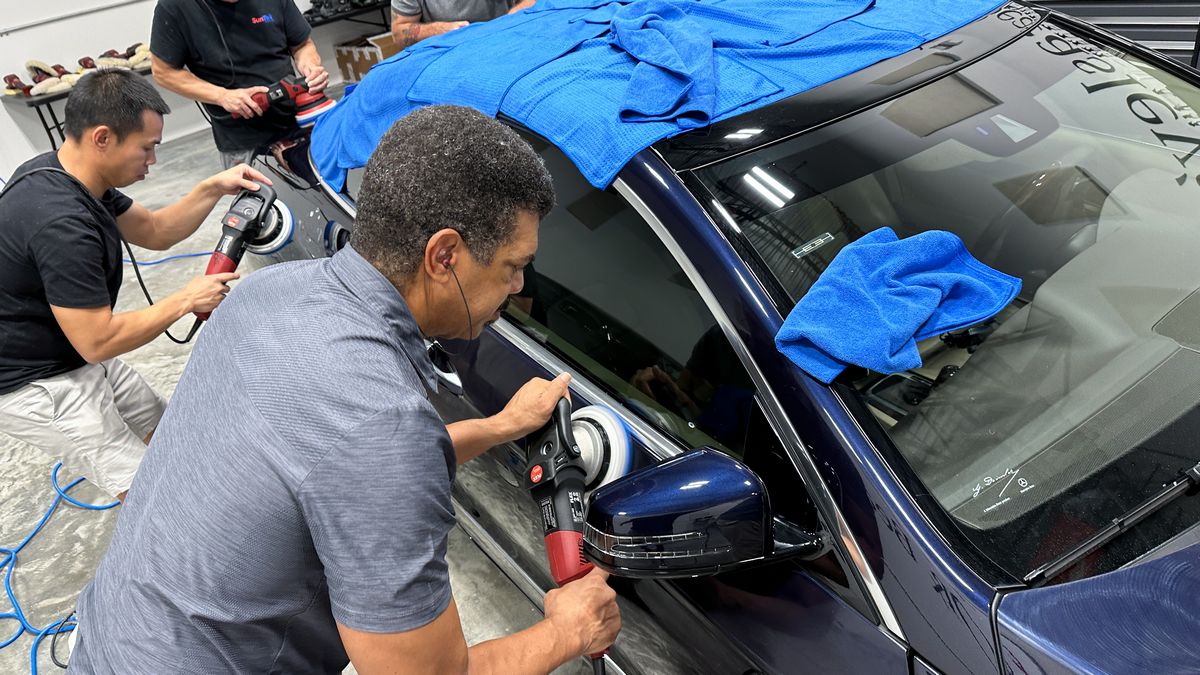
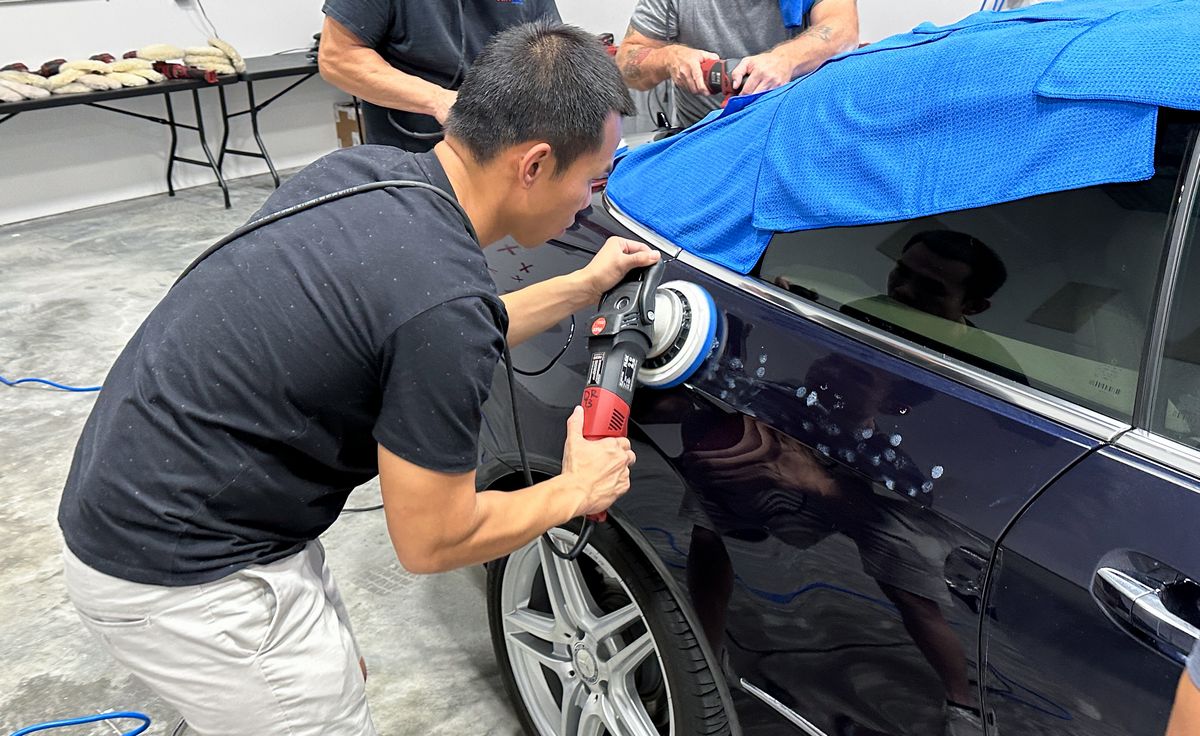
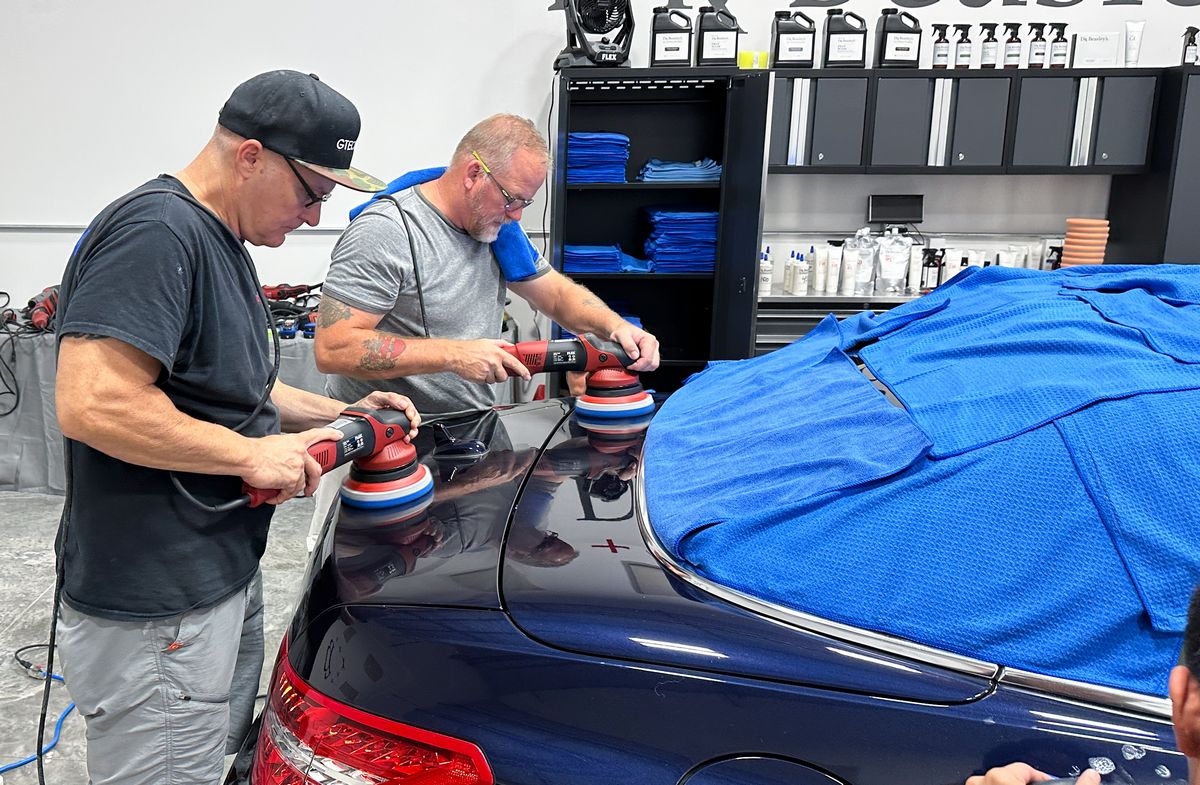
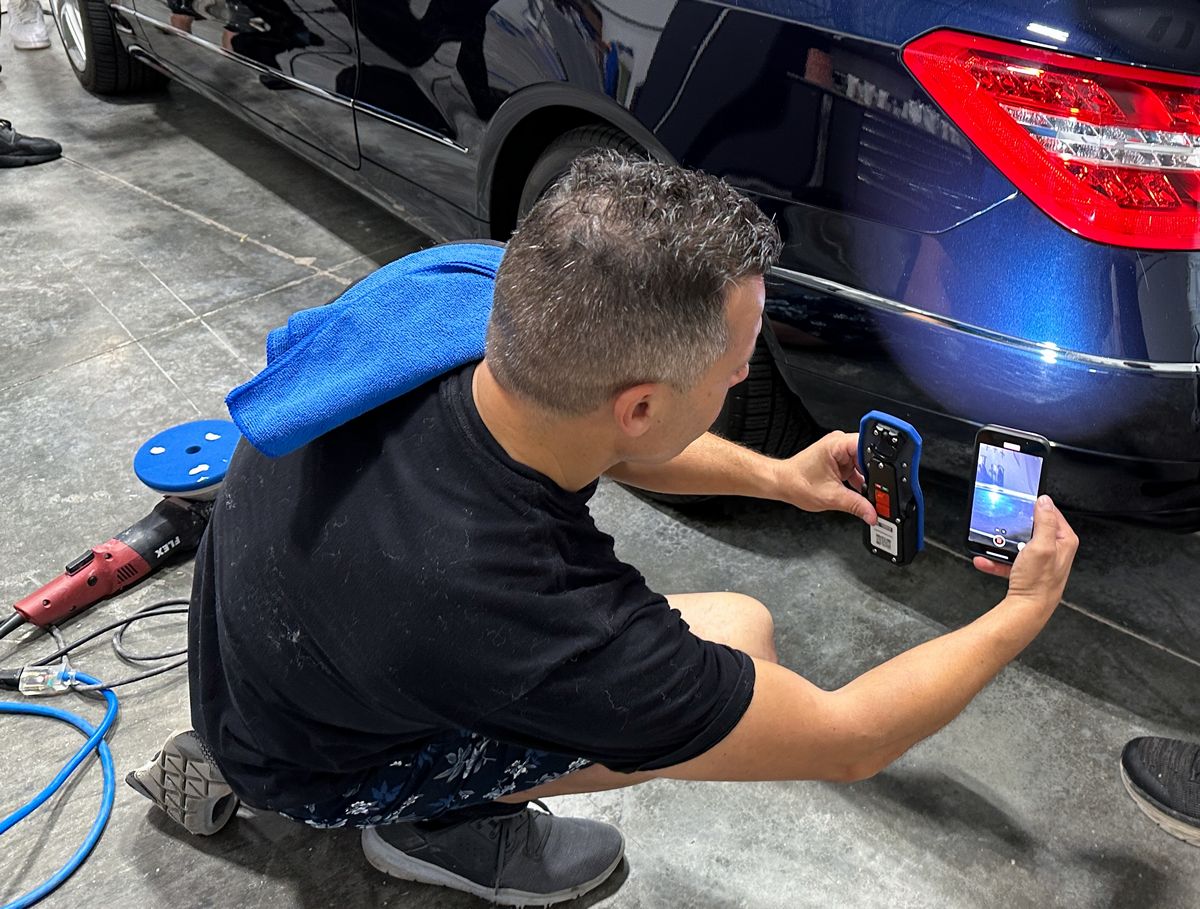
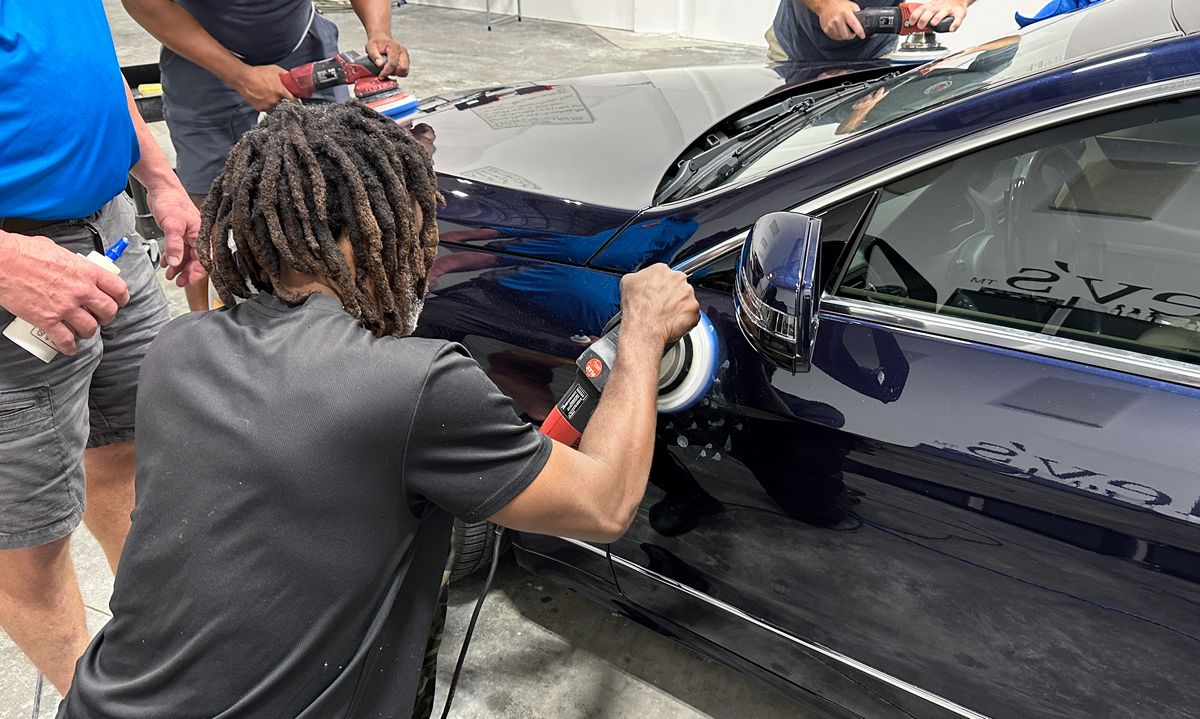
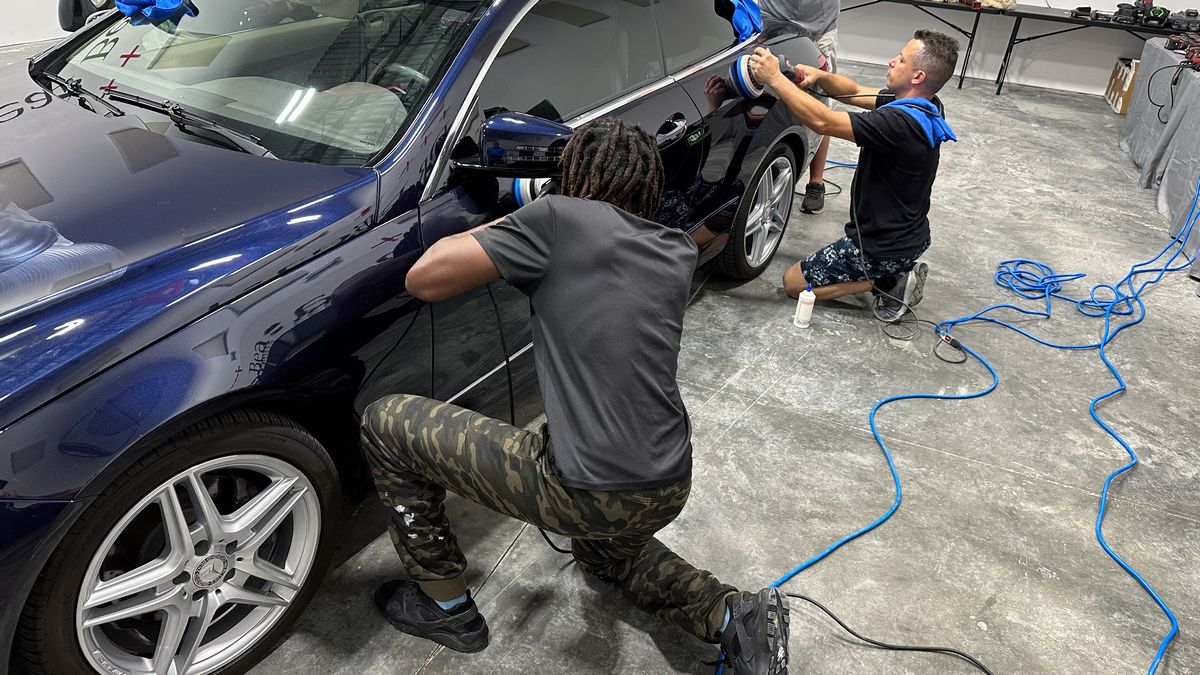
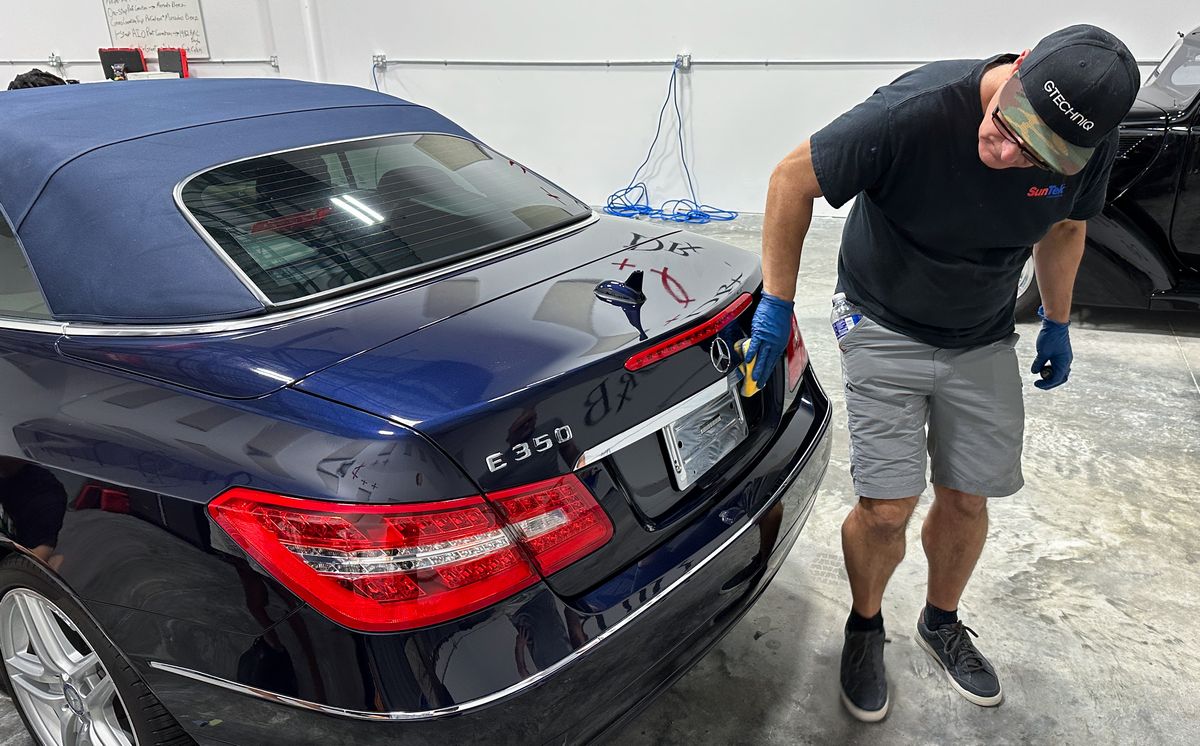
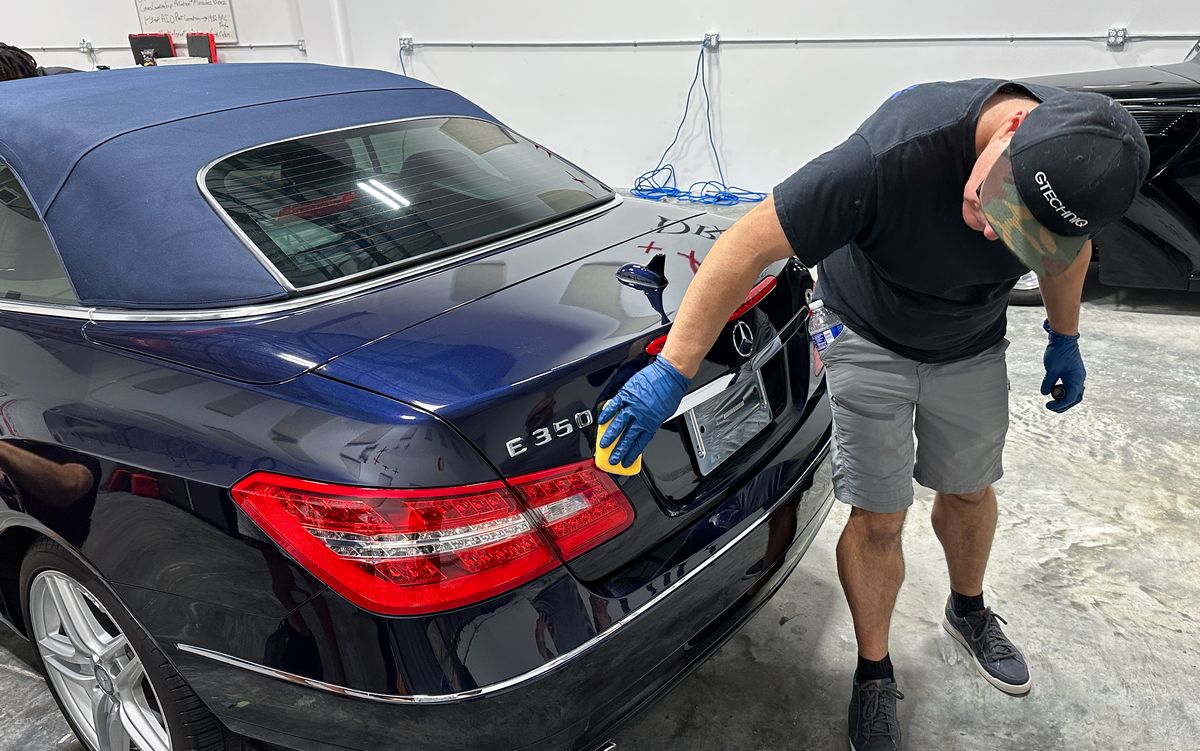
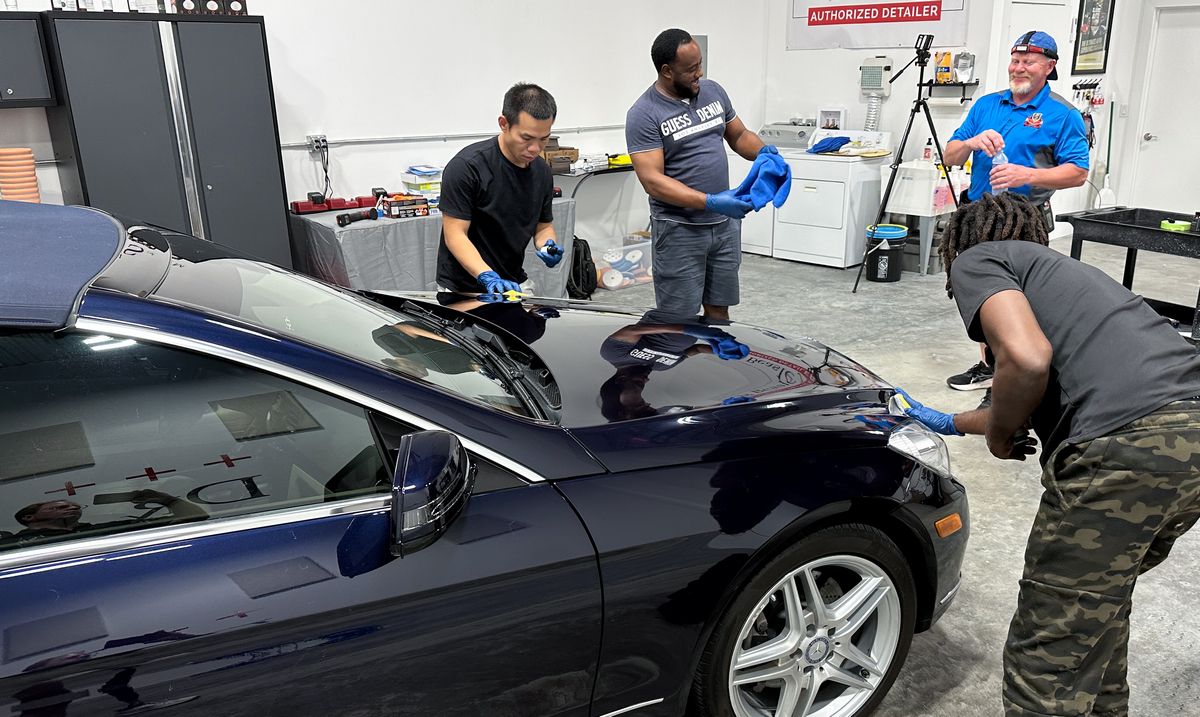
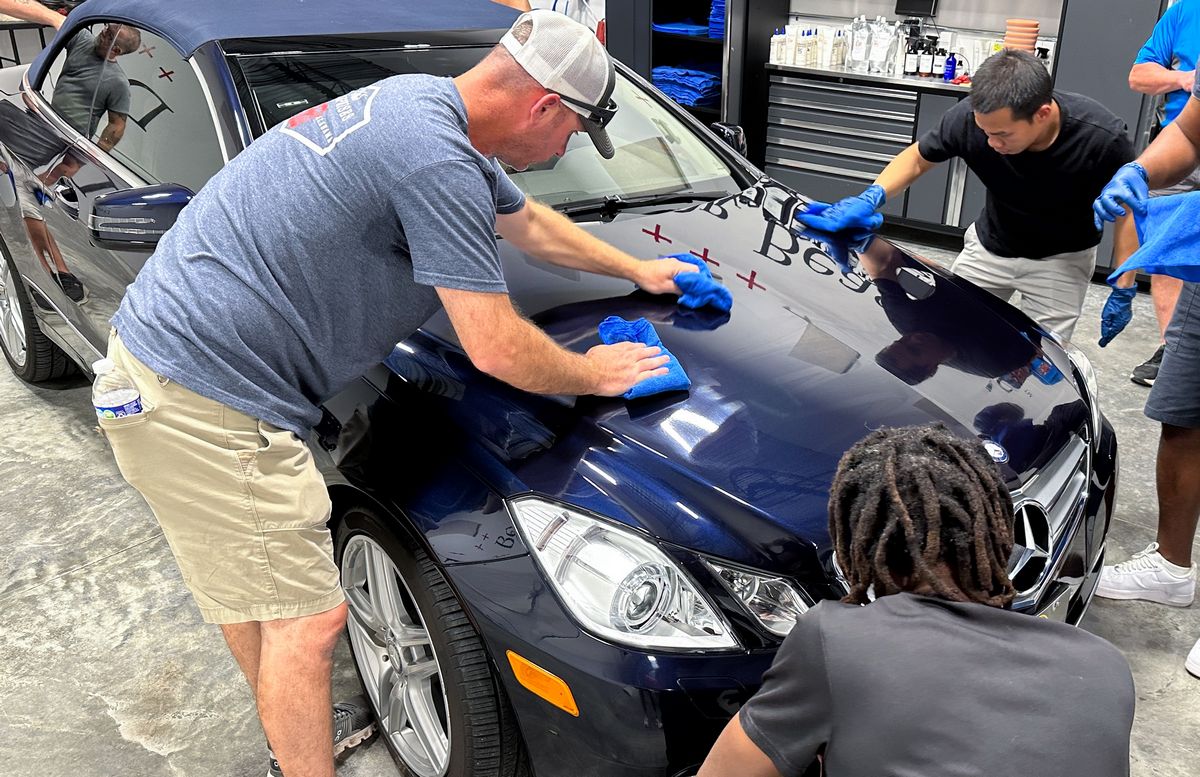
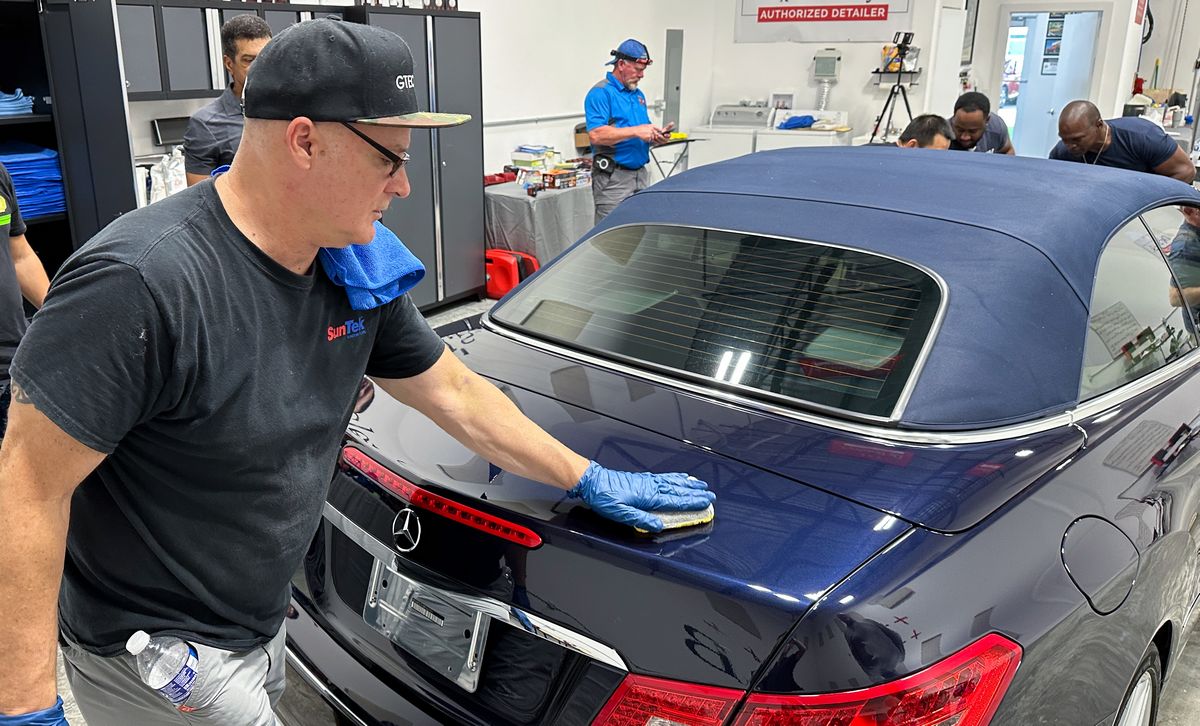
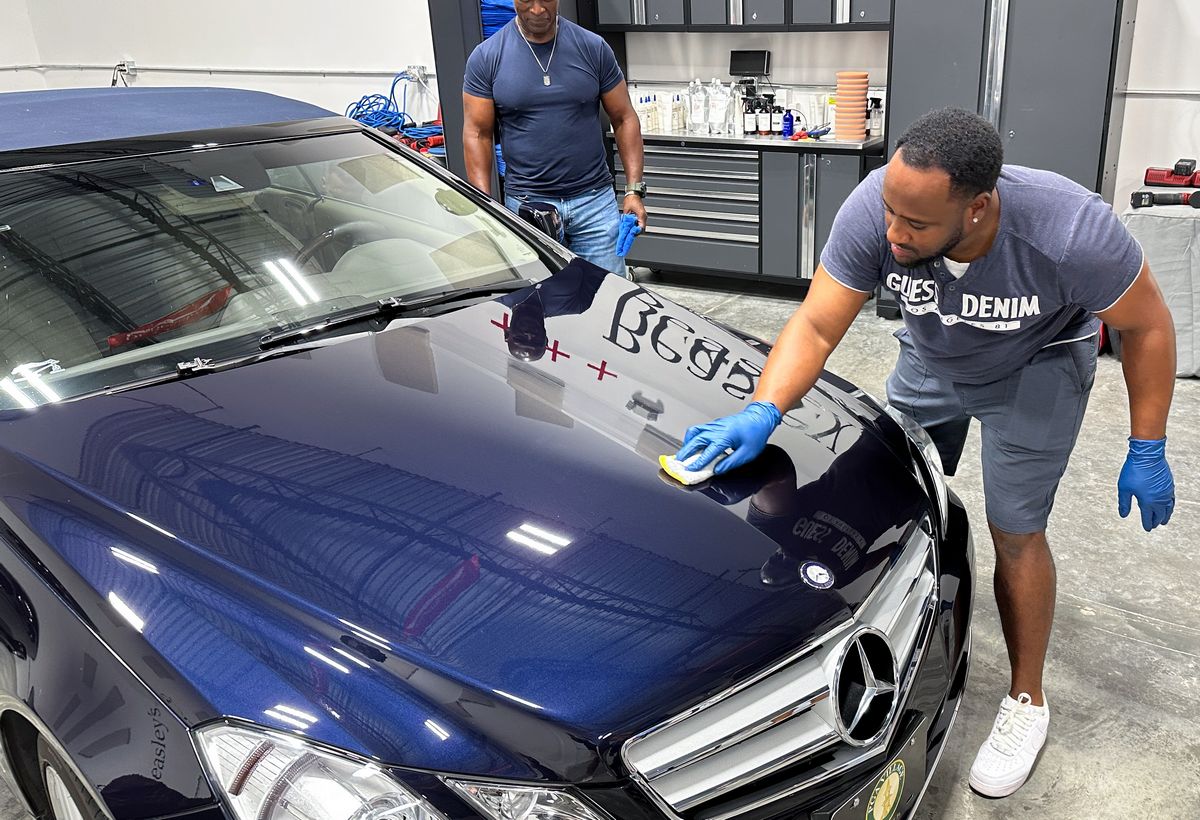
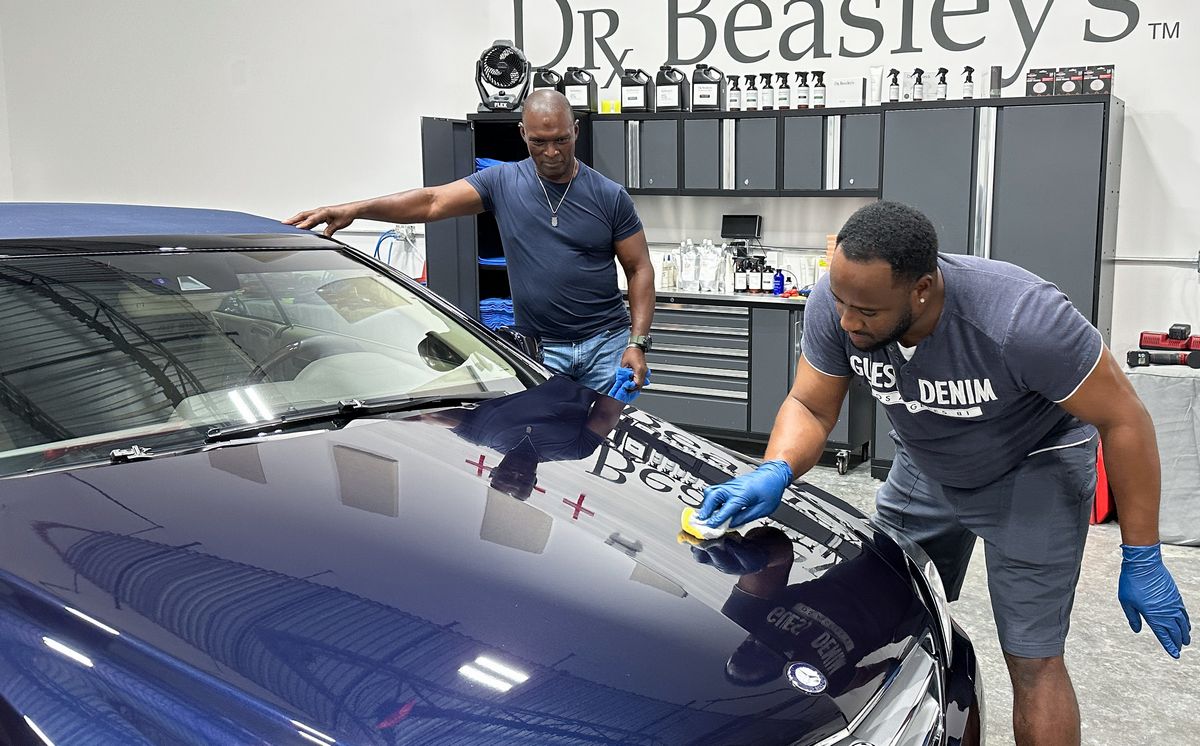
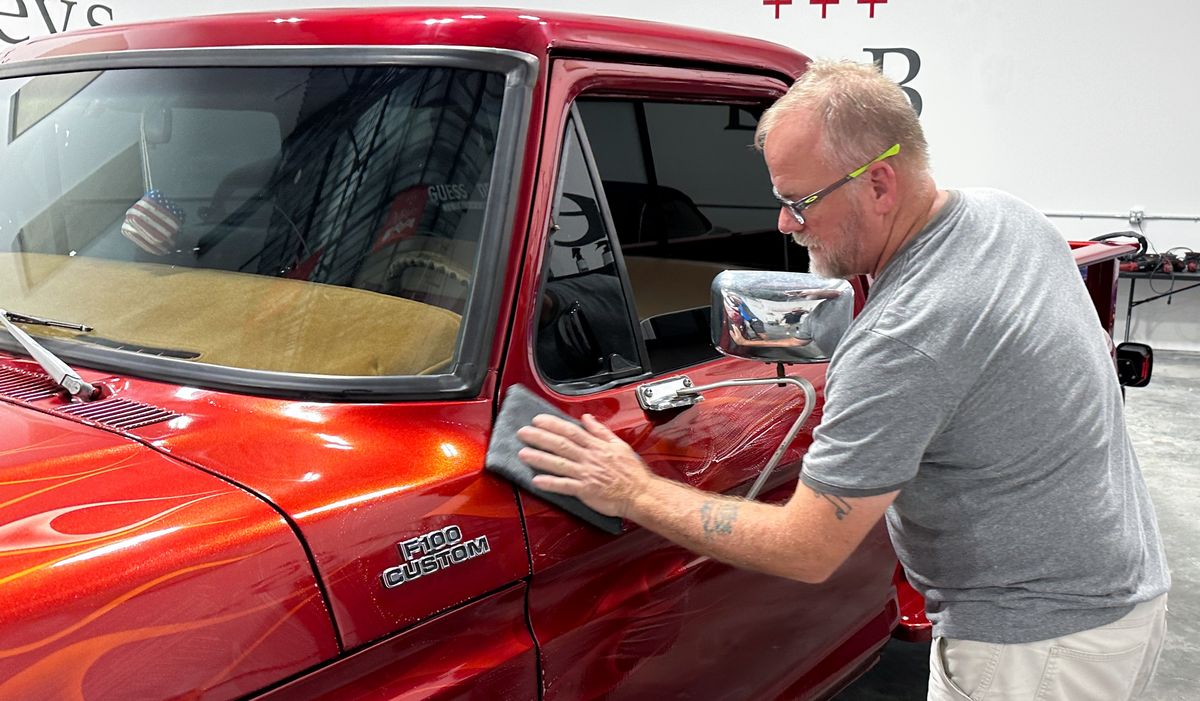
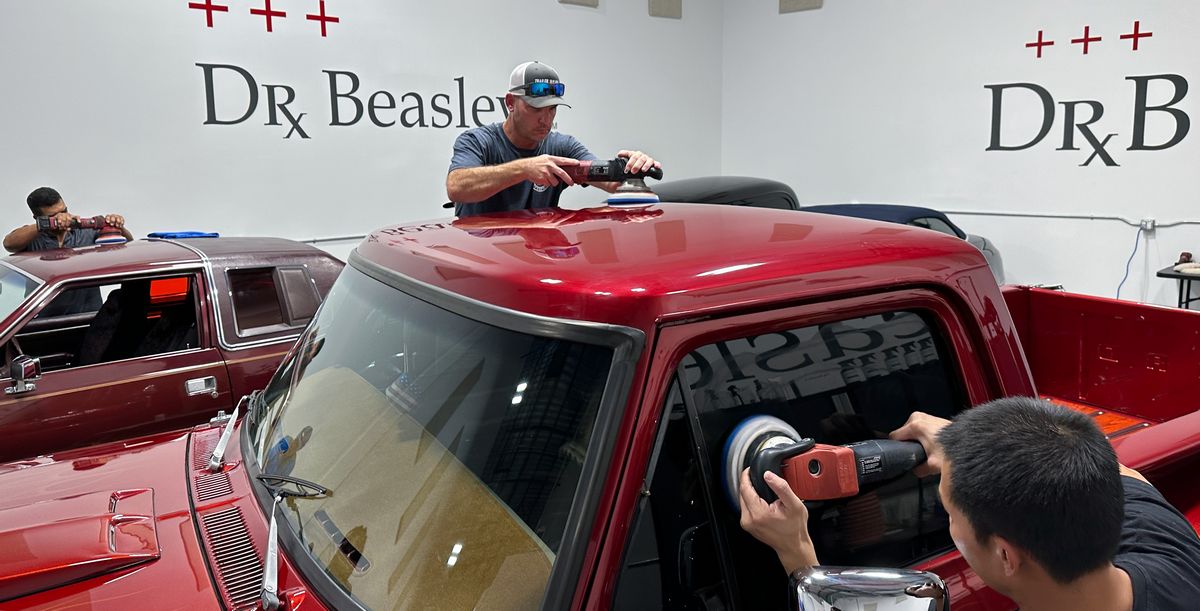
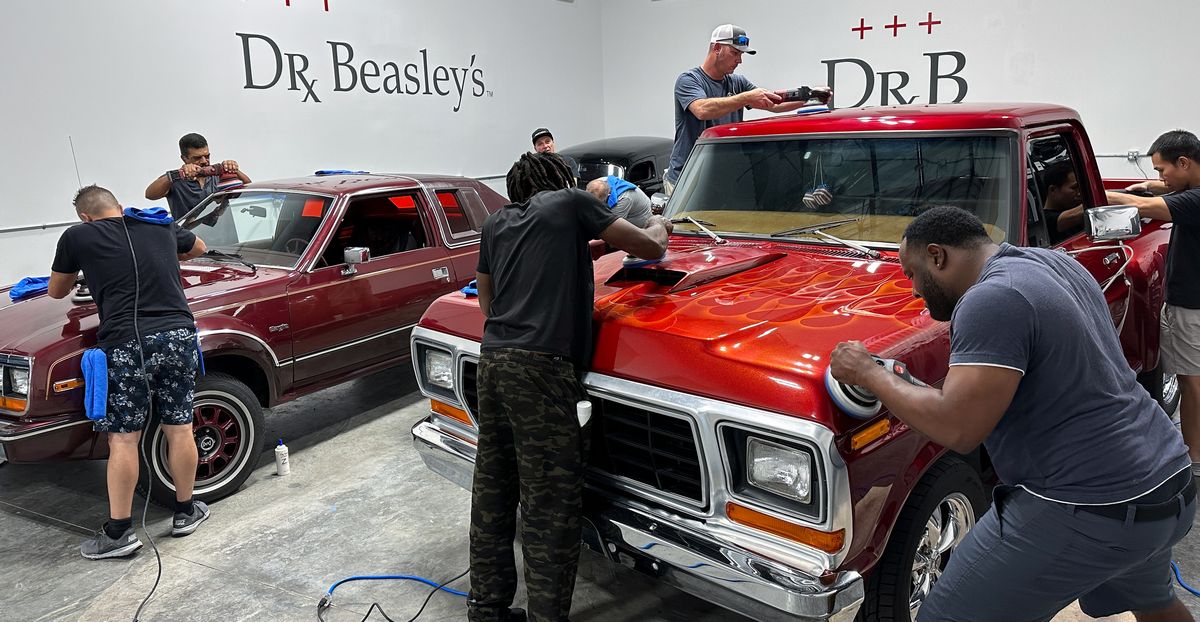
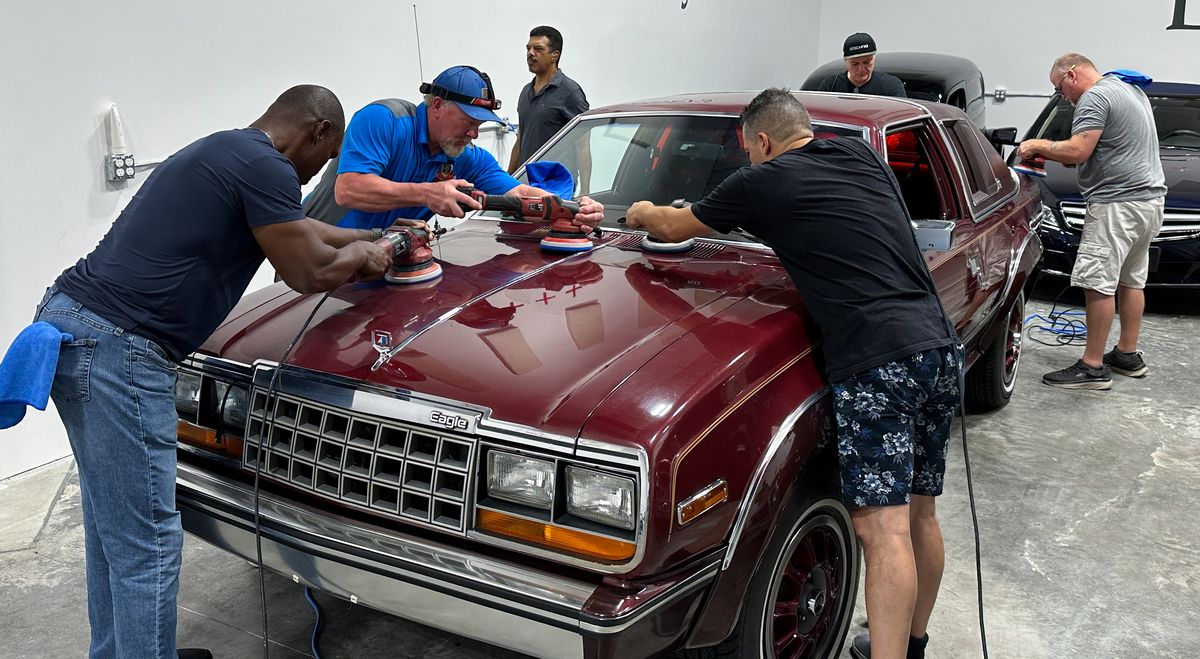
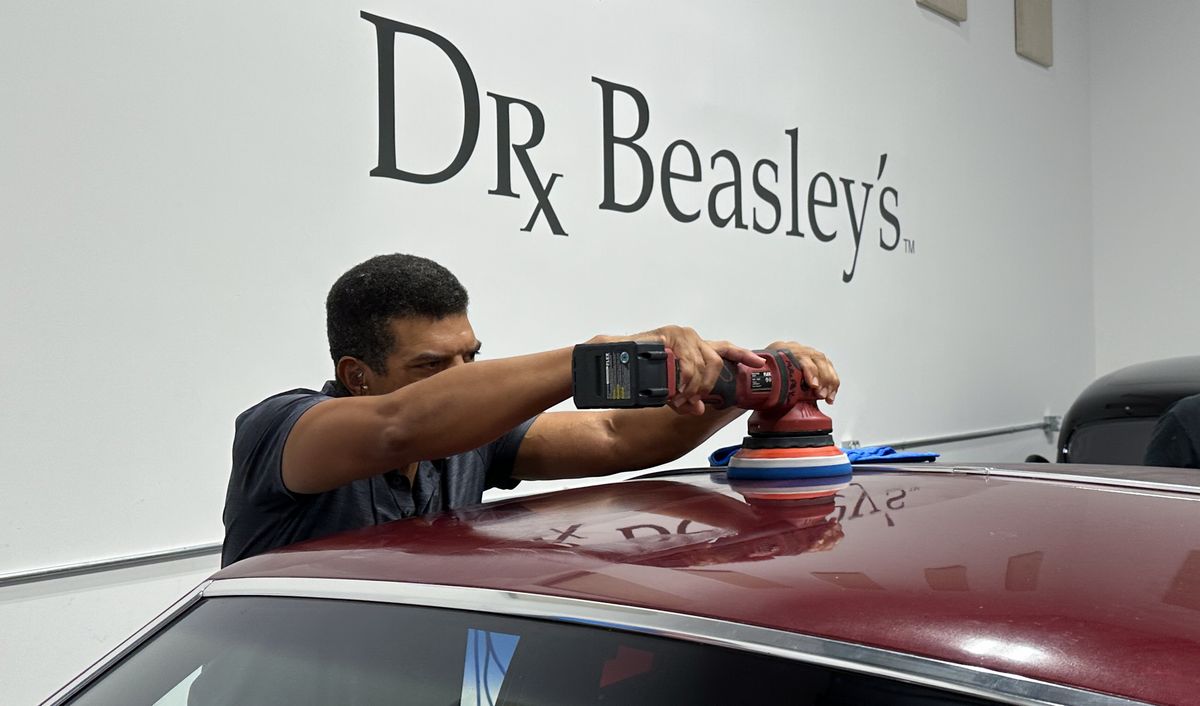
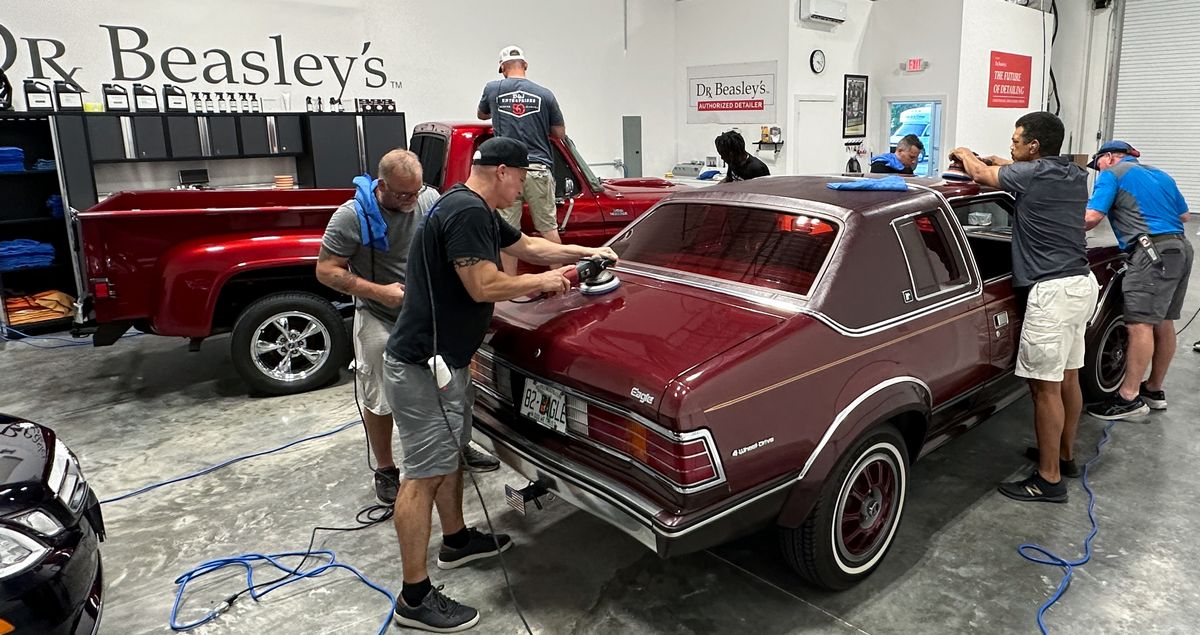
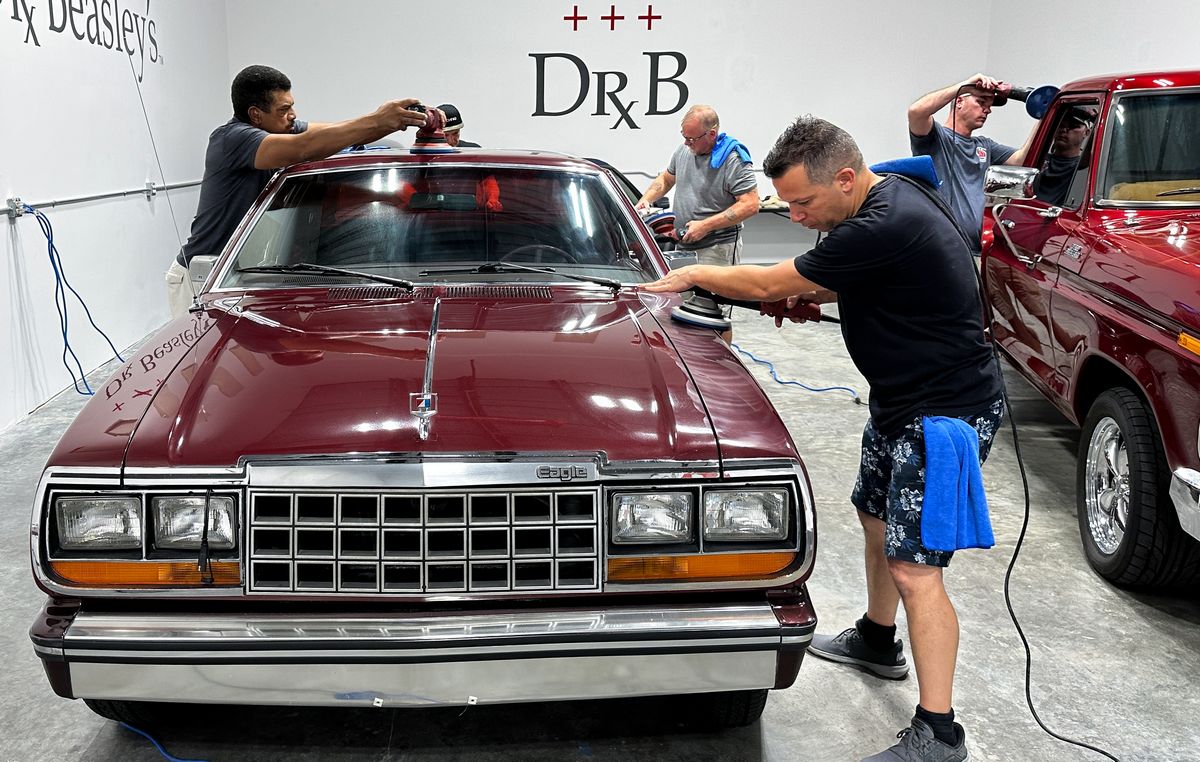
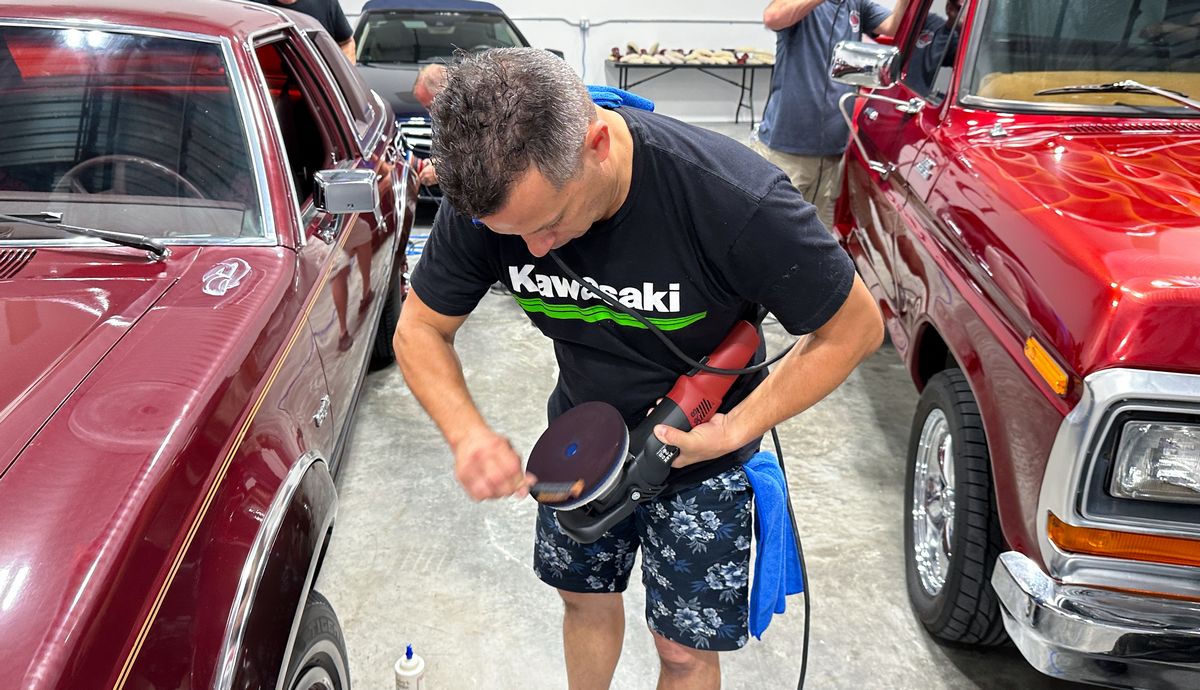
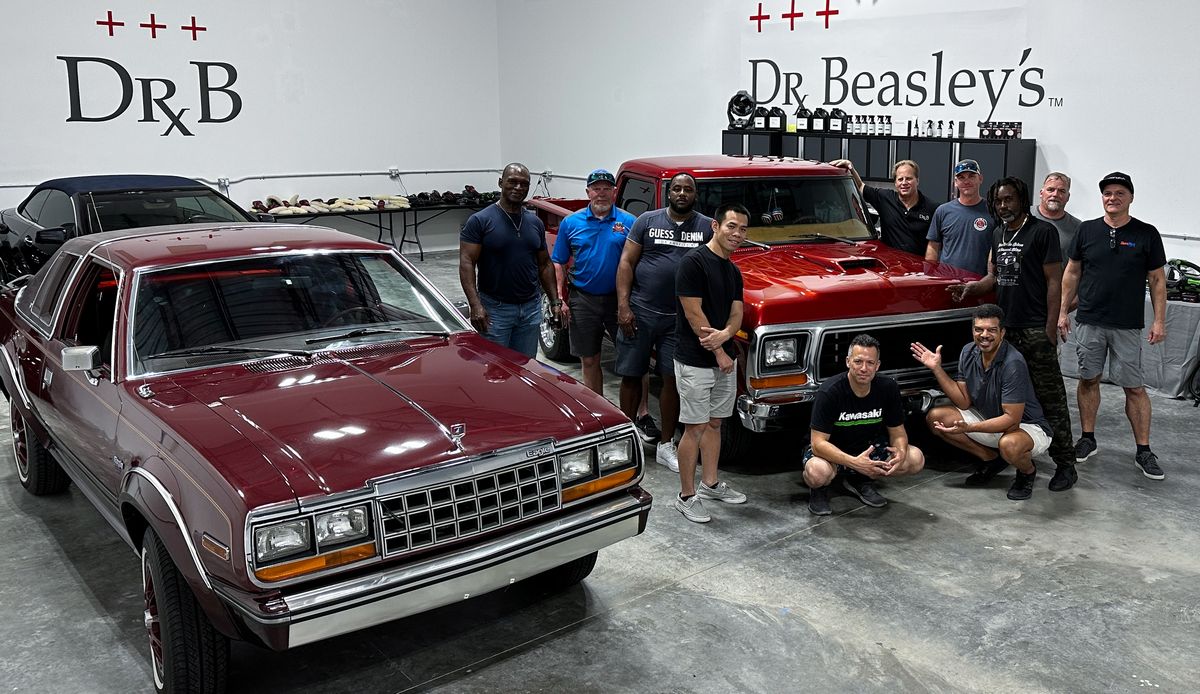
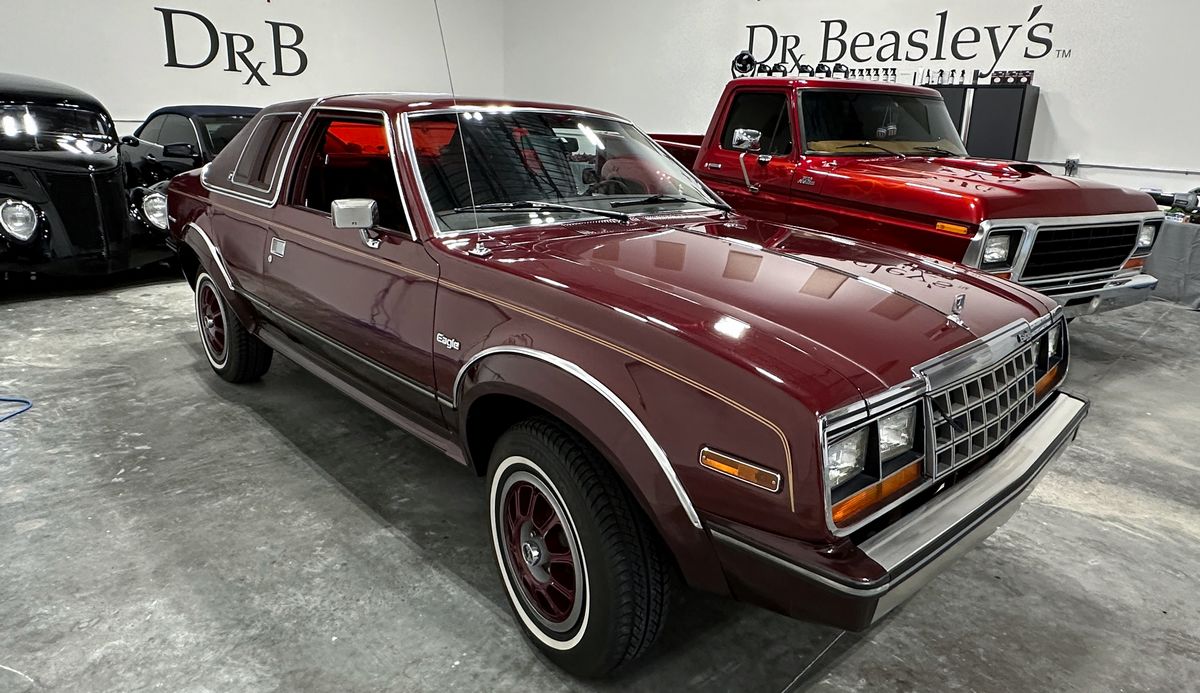
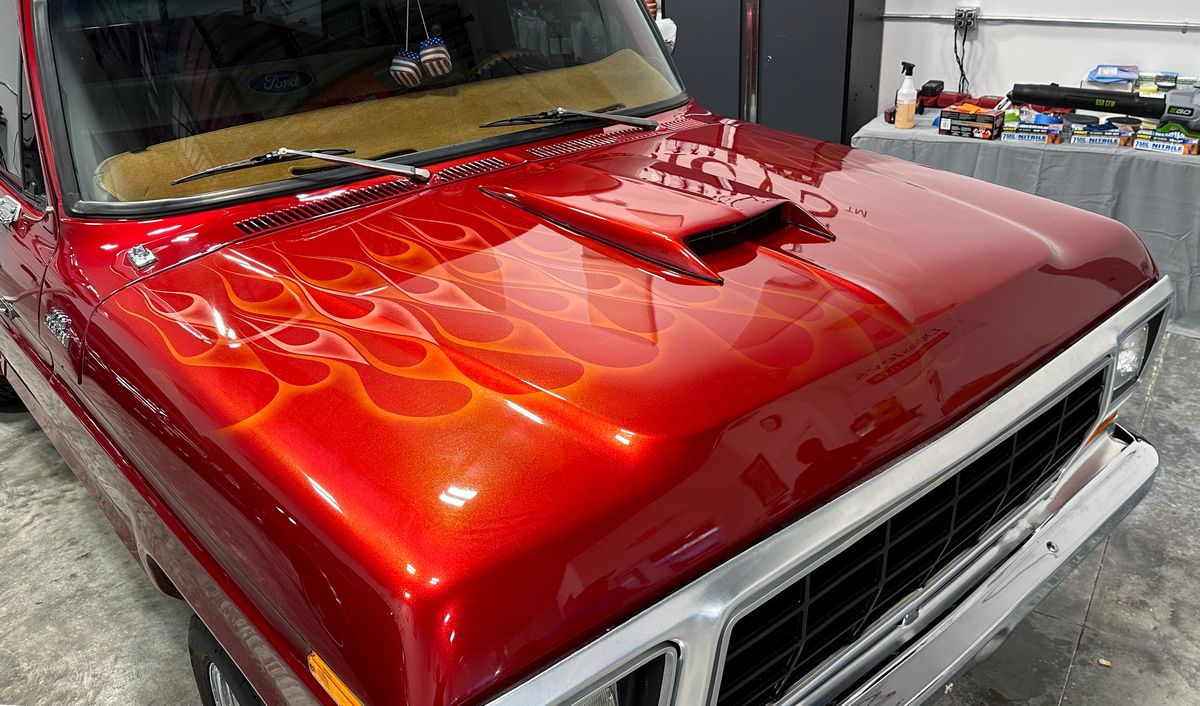
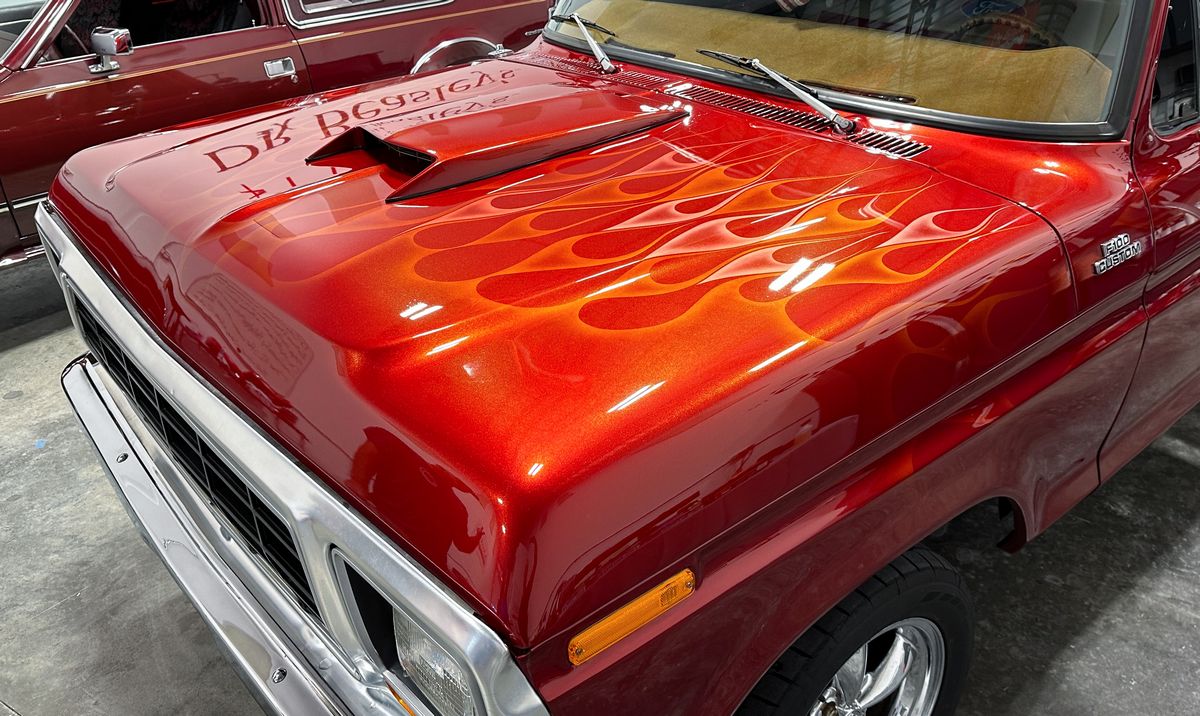
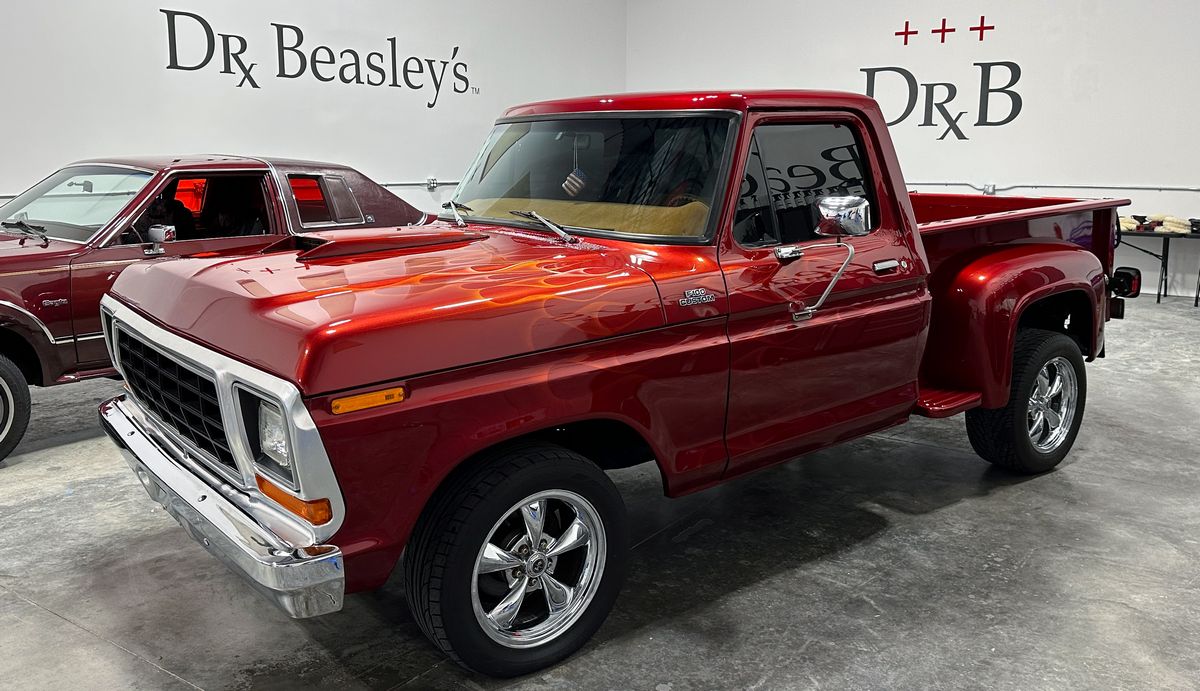
Before you sign-up for any car detailing class anywhere in America, do your research and confirm you're getting what you want. We LOVE to prove how hands-on our classes are and that there is literally no chairs, no sitting, no PowerPoint and no demo hoods. At our classes you're on your feet, with products and tools in your hands, working on the real deal, that is real training cars.
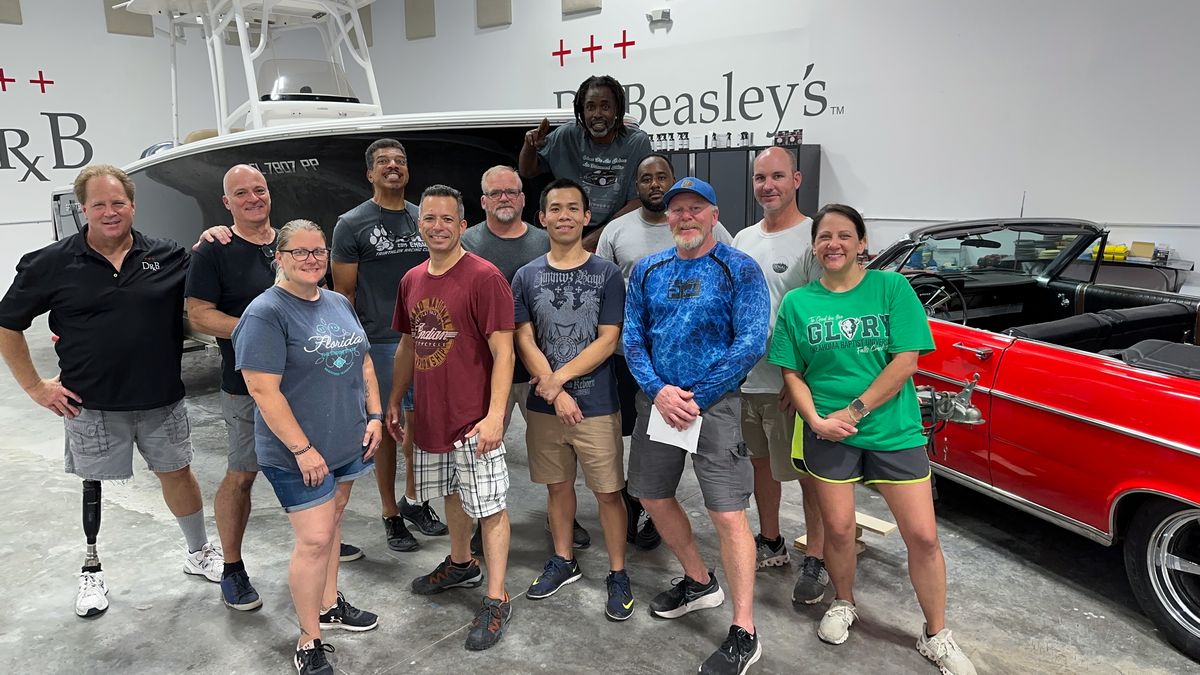
Here's the topics our 1-day class covers and the pictures to back it up. And yes, we start early at 7:30am and go until all topics and all cars are completed. So get a good night's sleep the night before the class and wear comfortable work clothes or training cloths.
Topics covered.
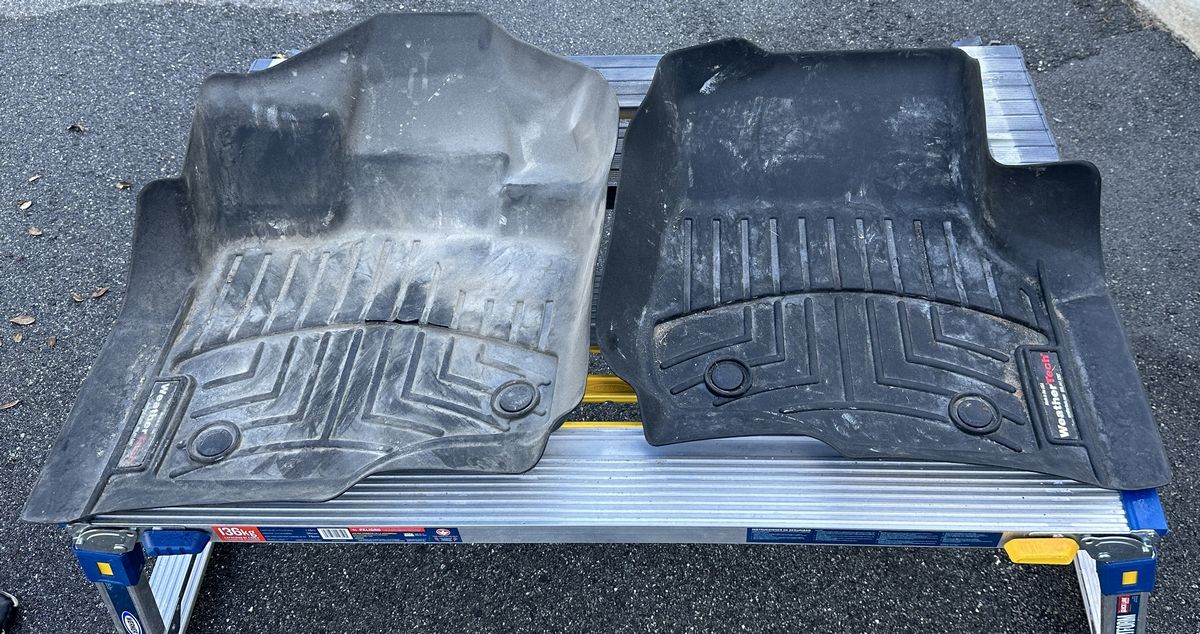
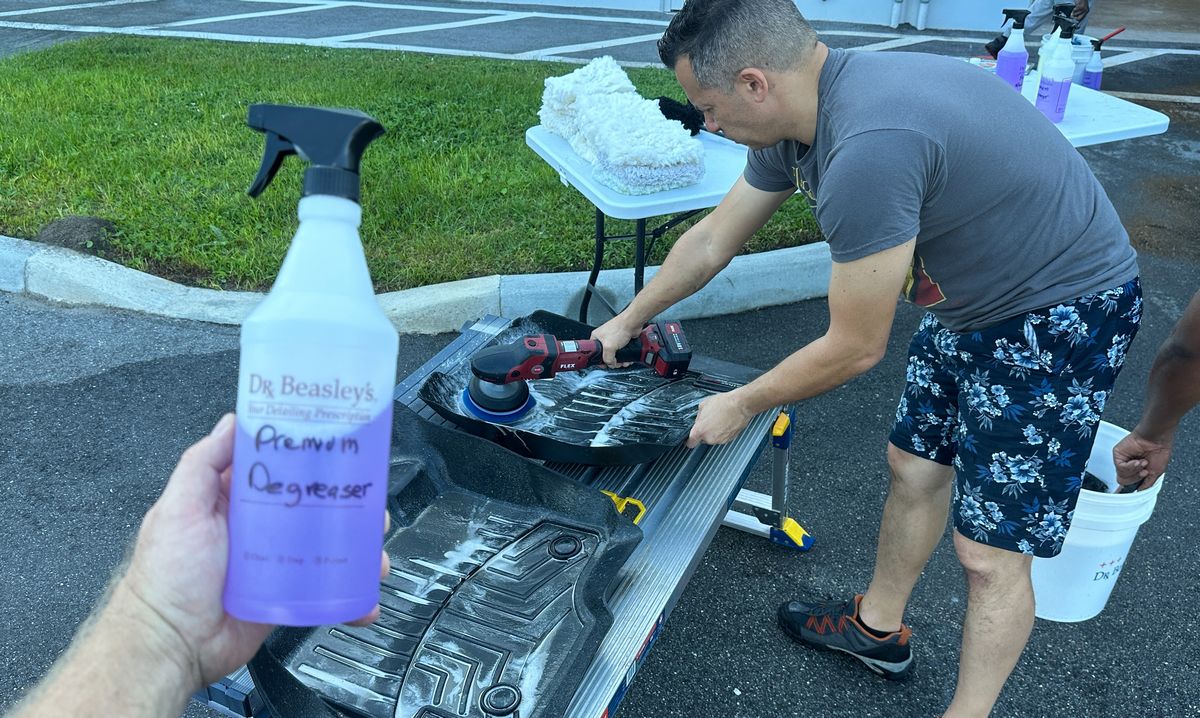
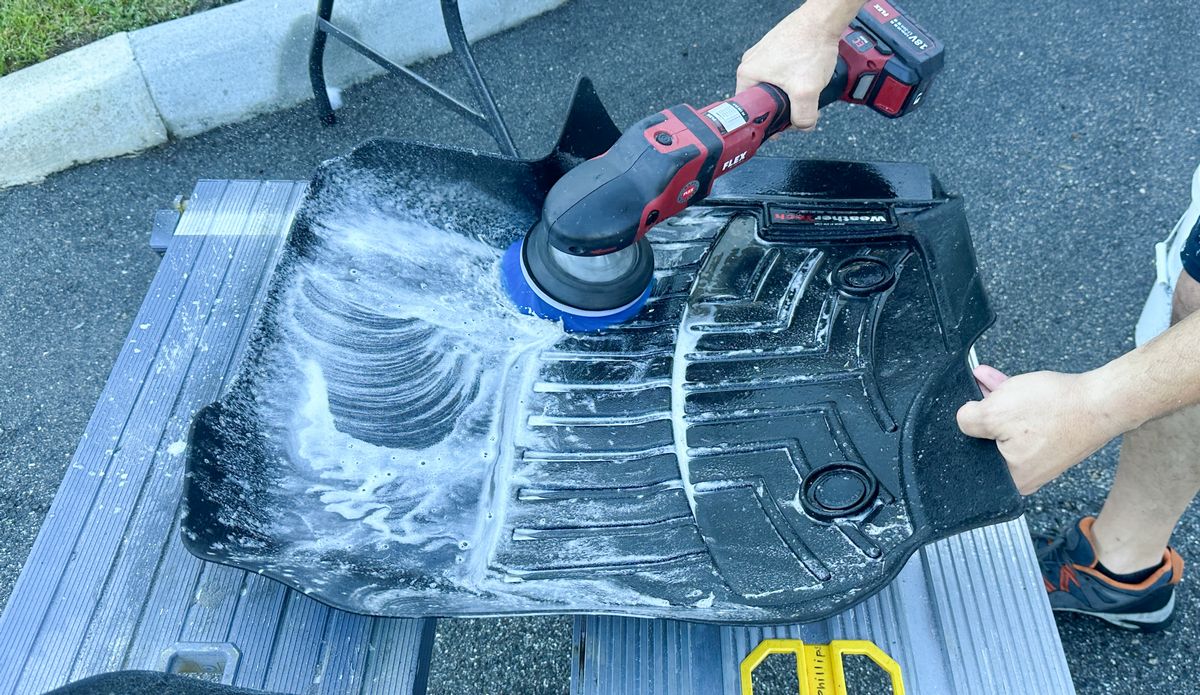
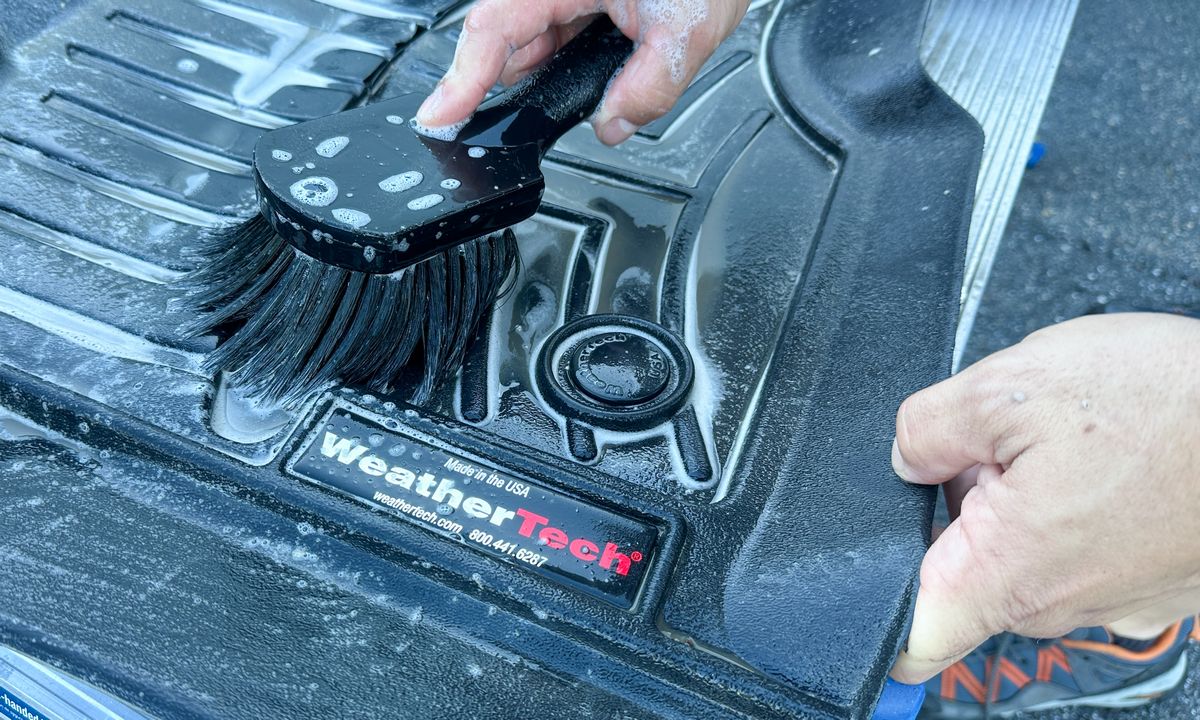
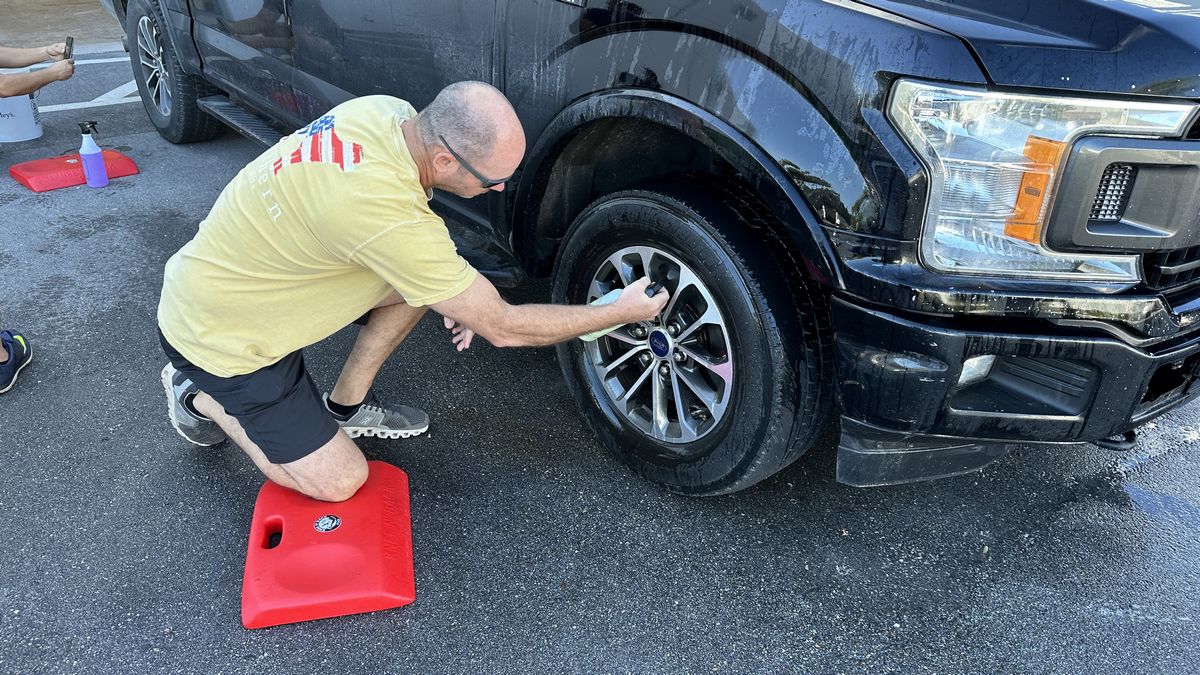
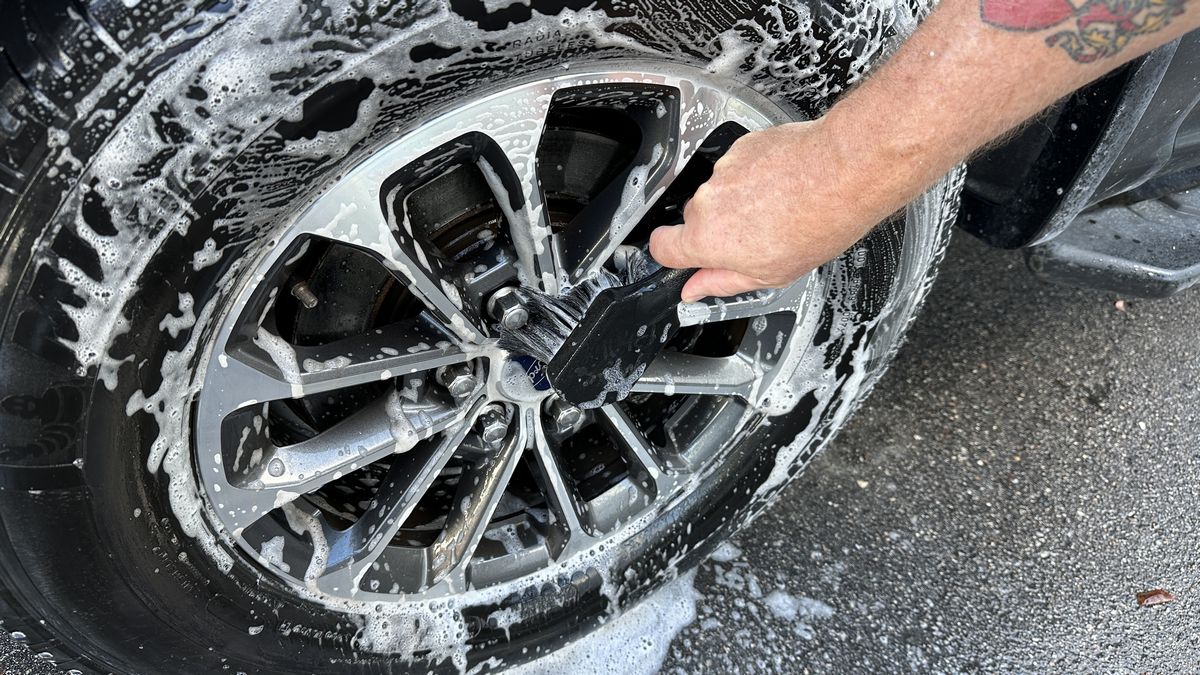
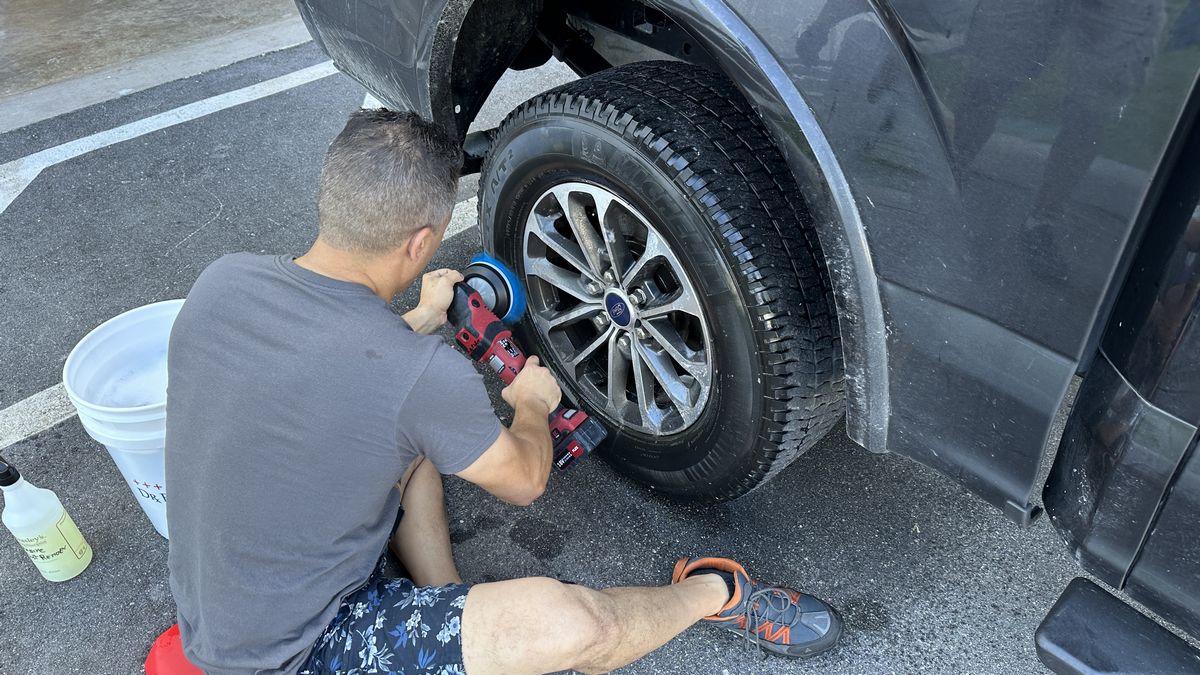
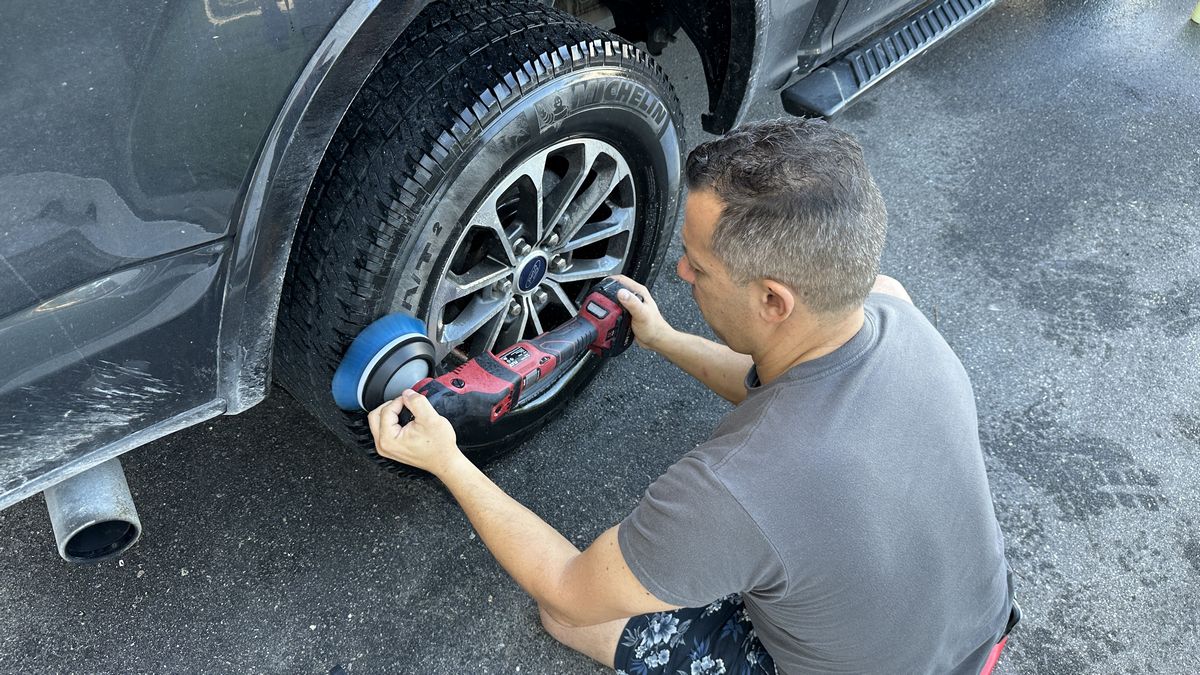
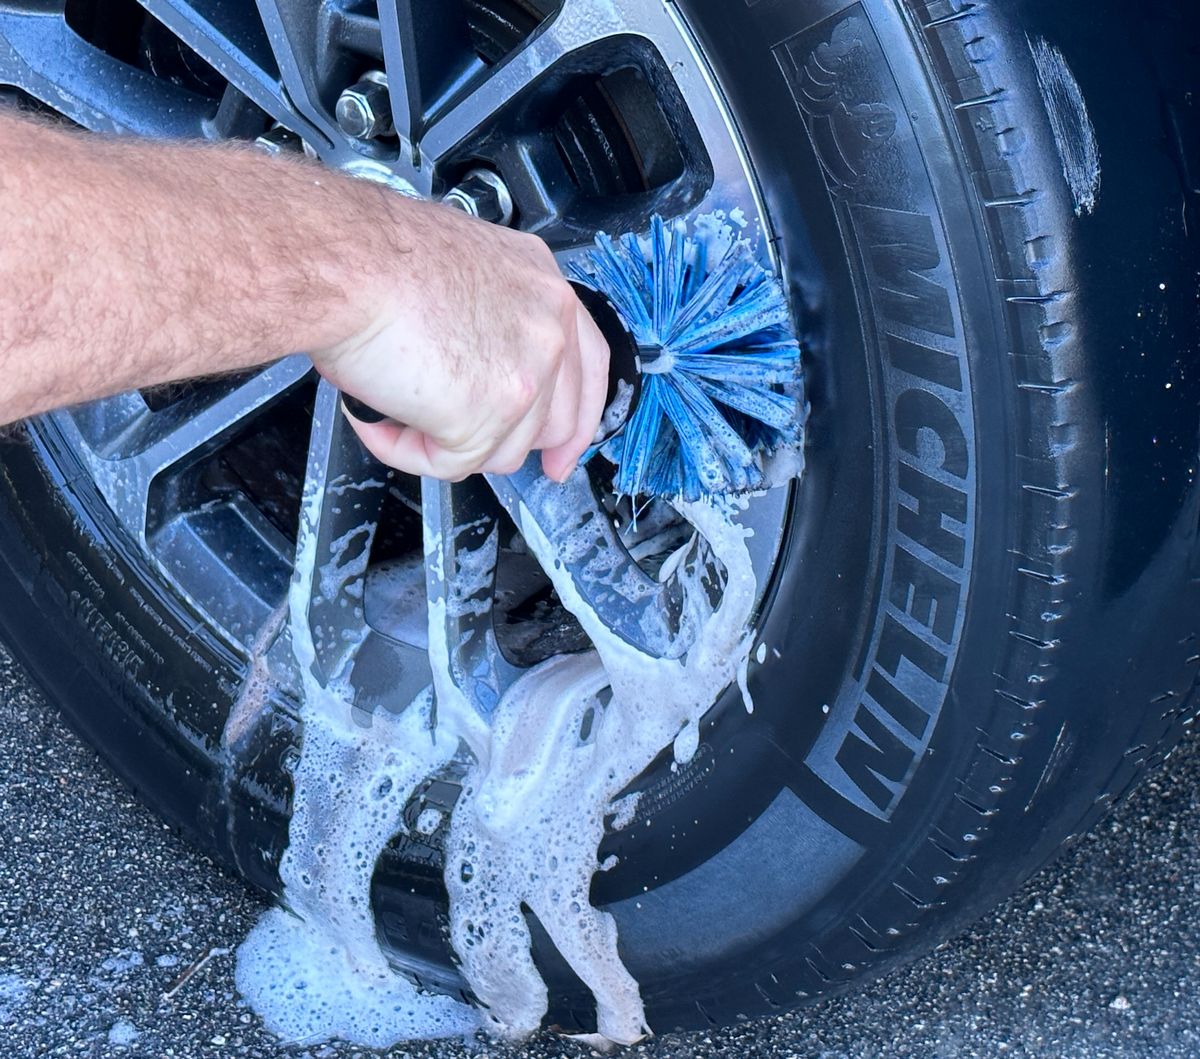
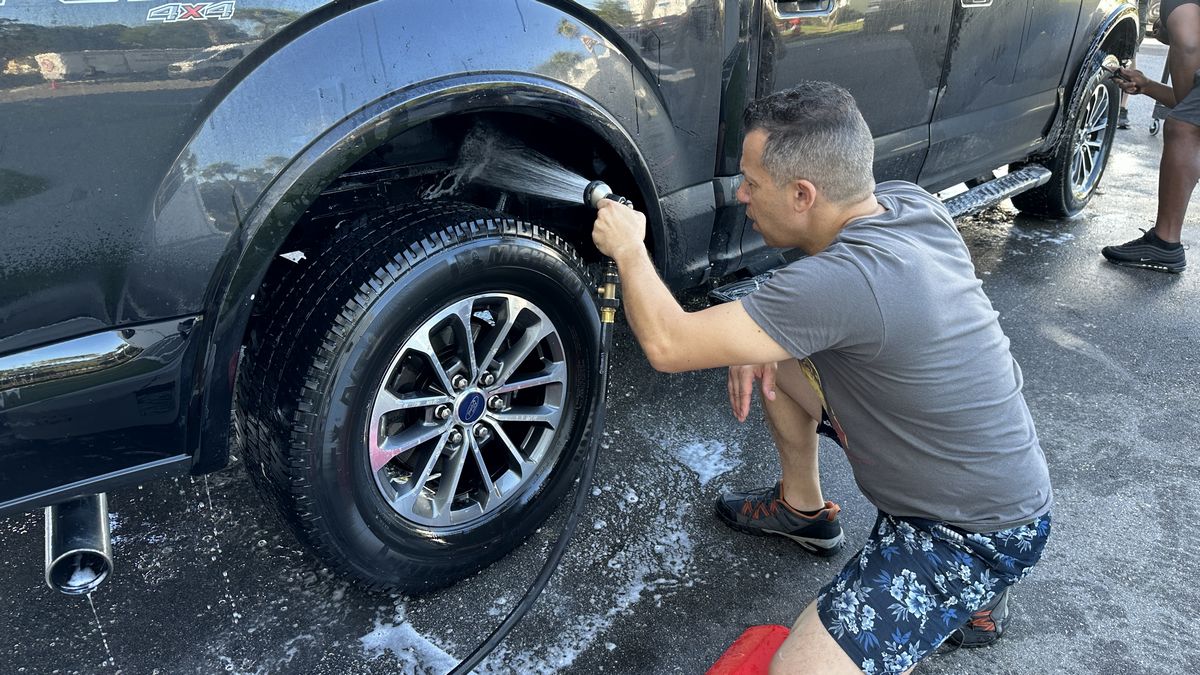
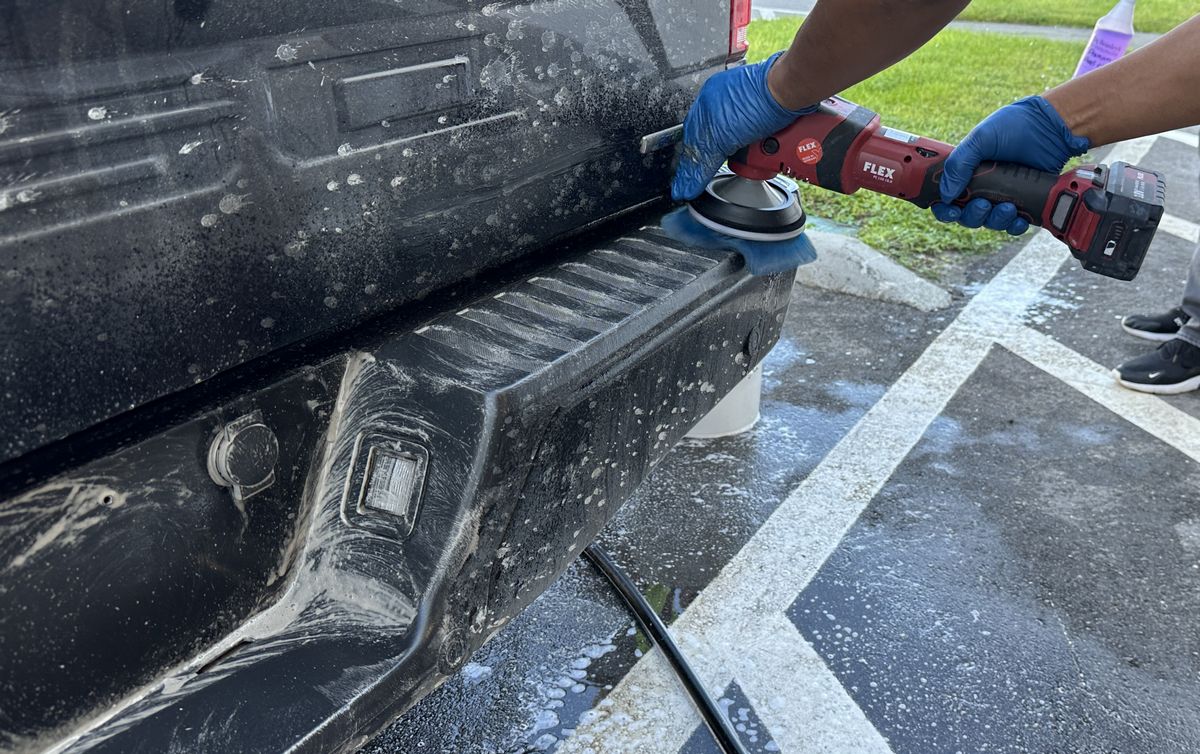
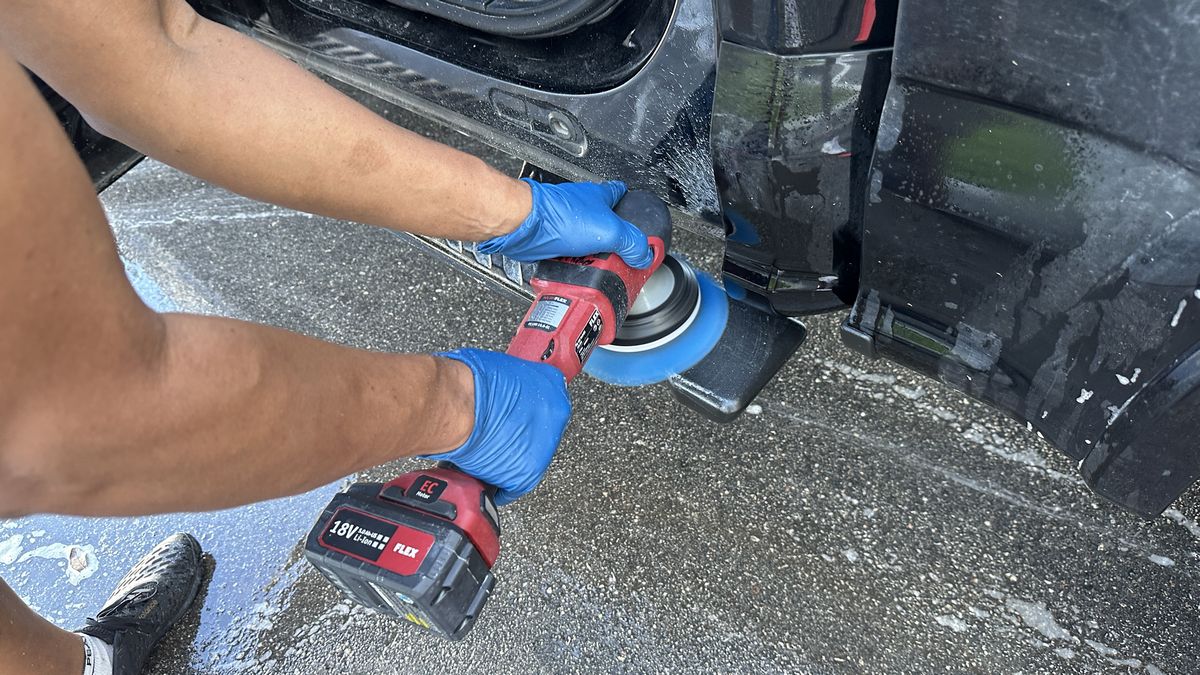
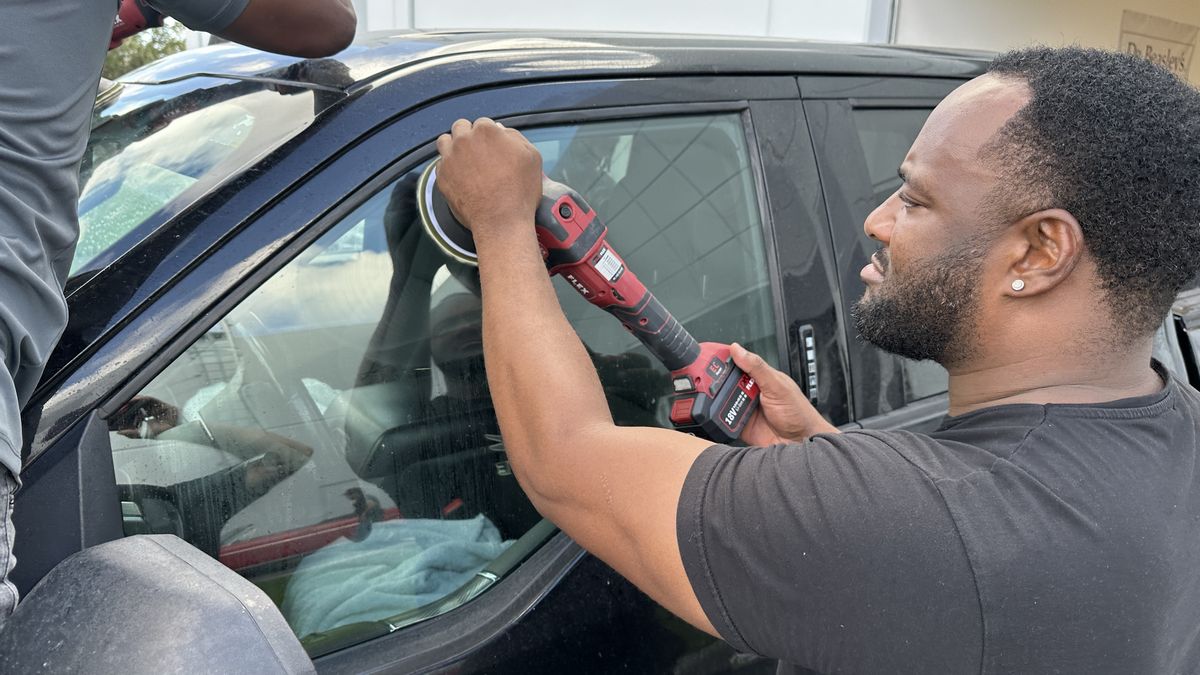
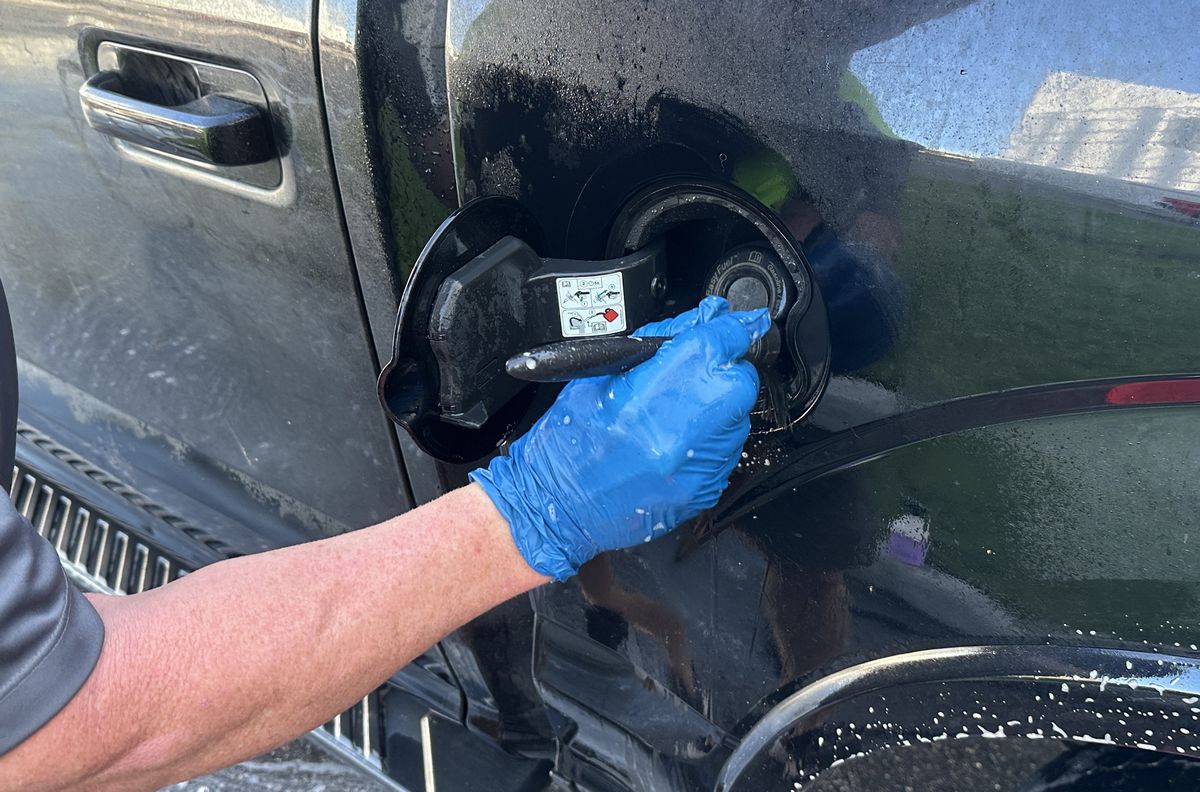
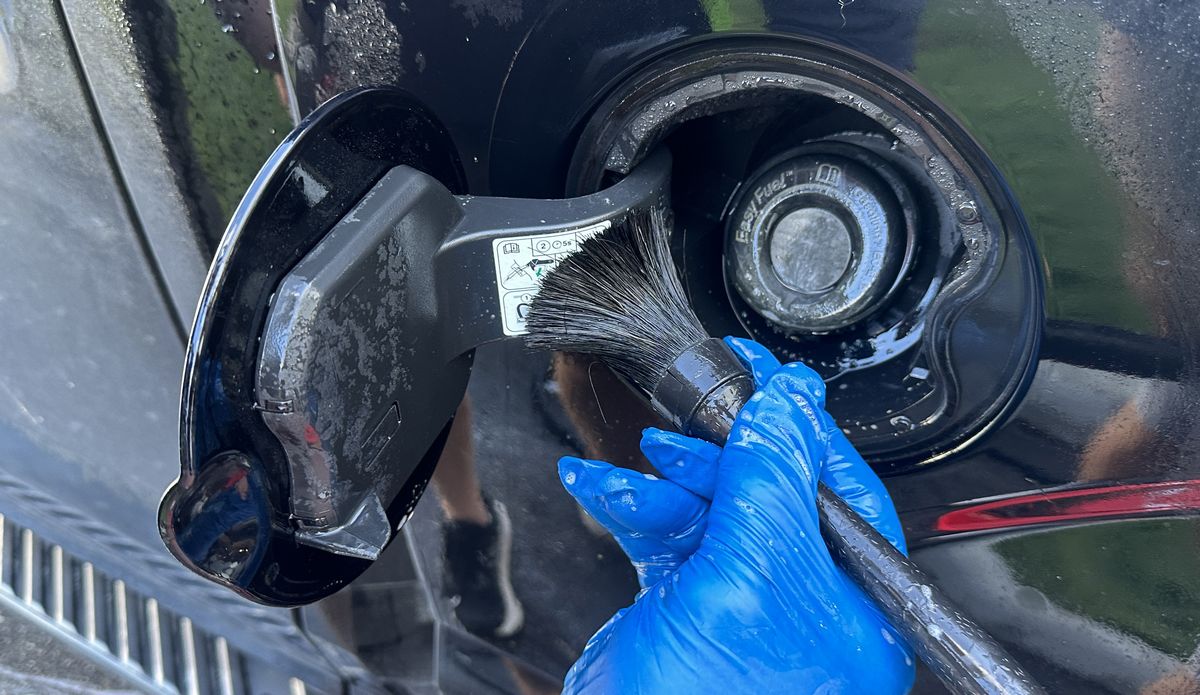
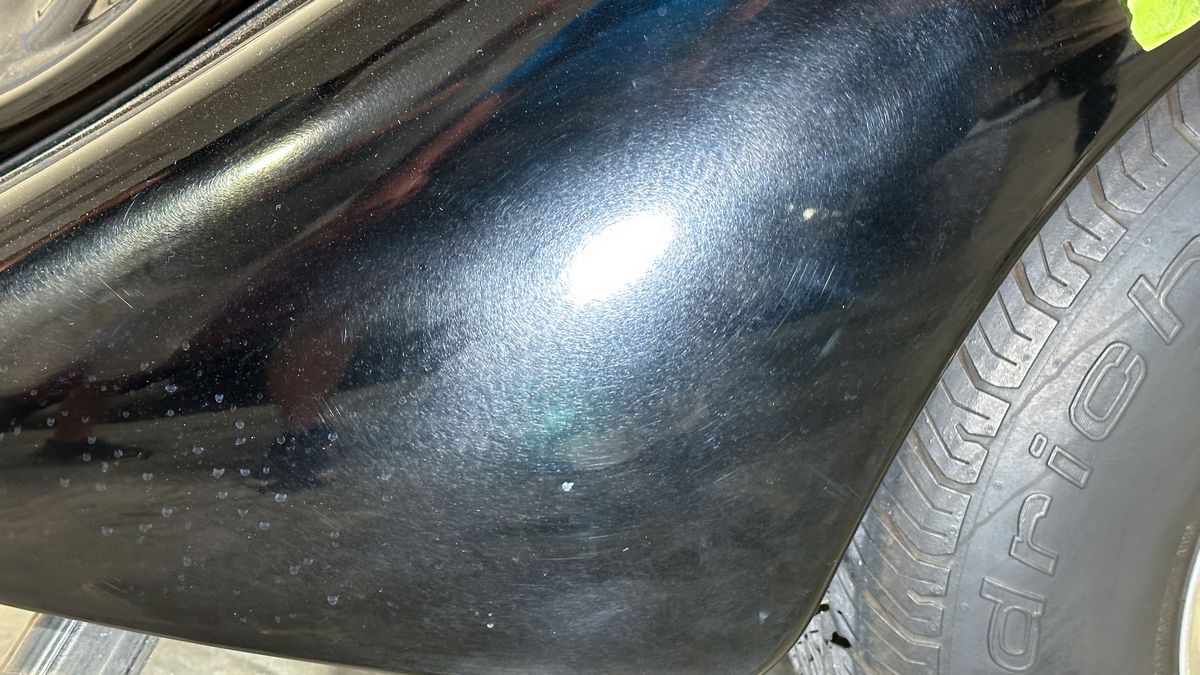
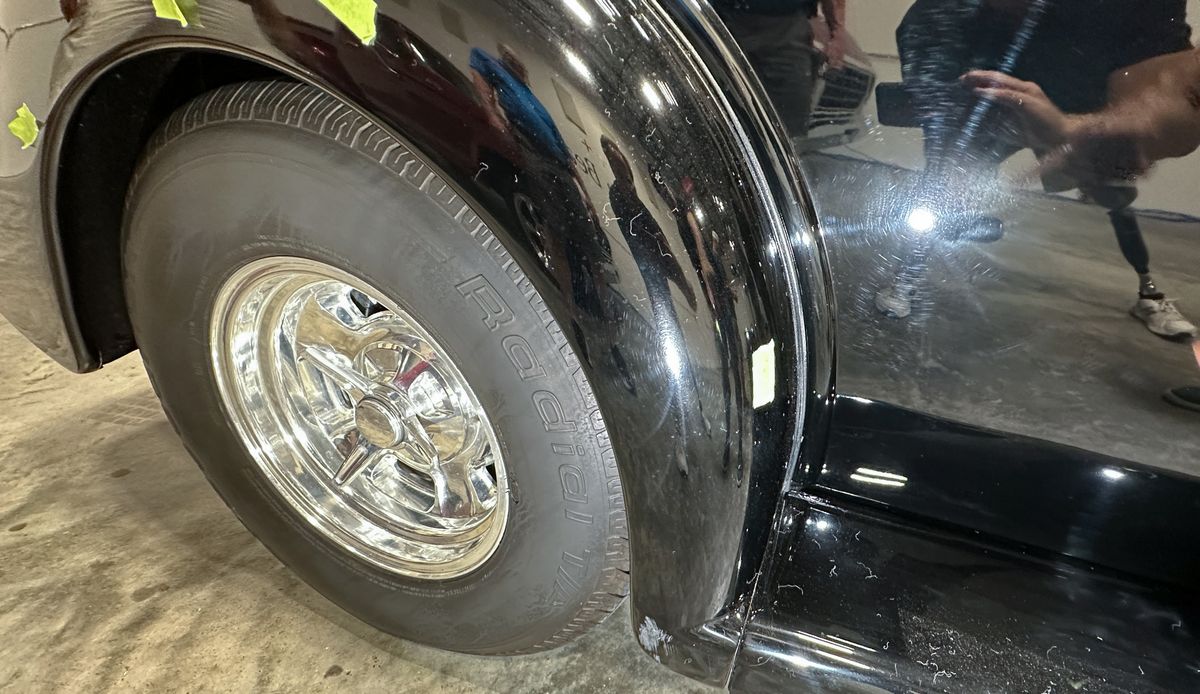
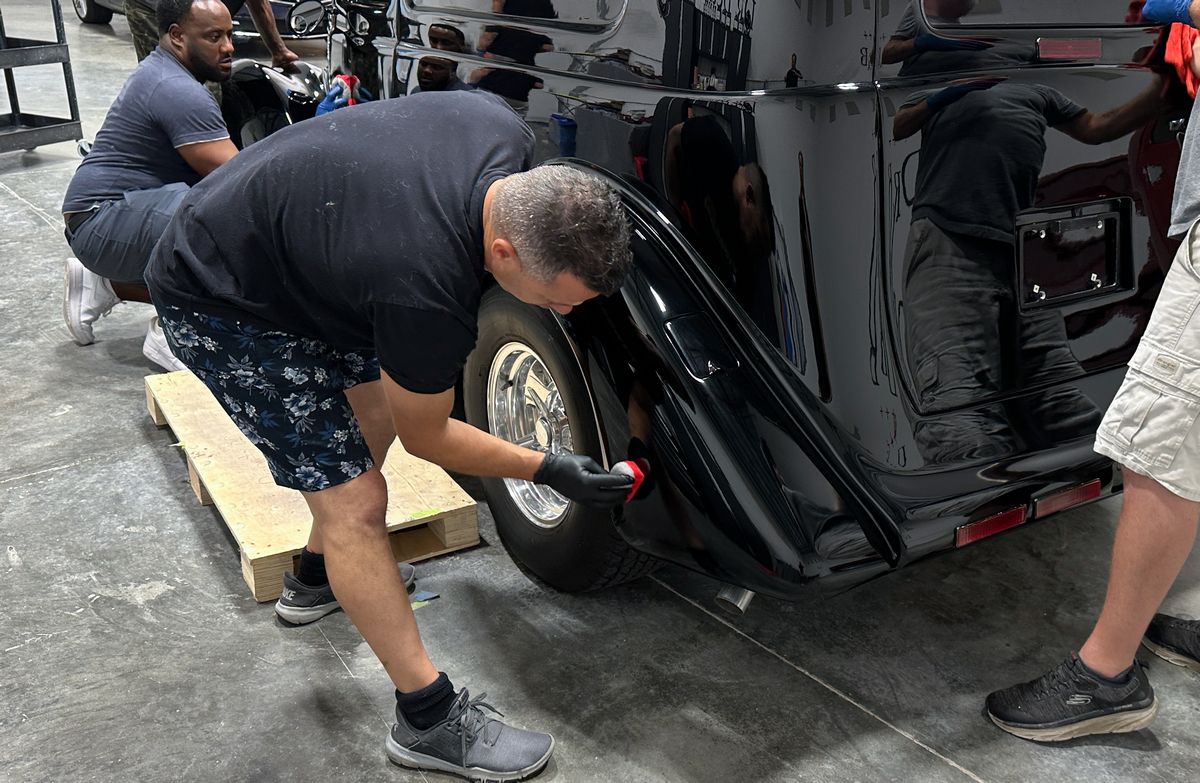
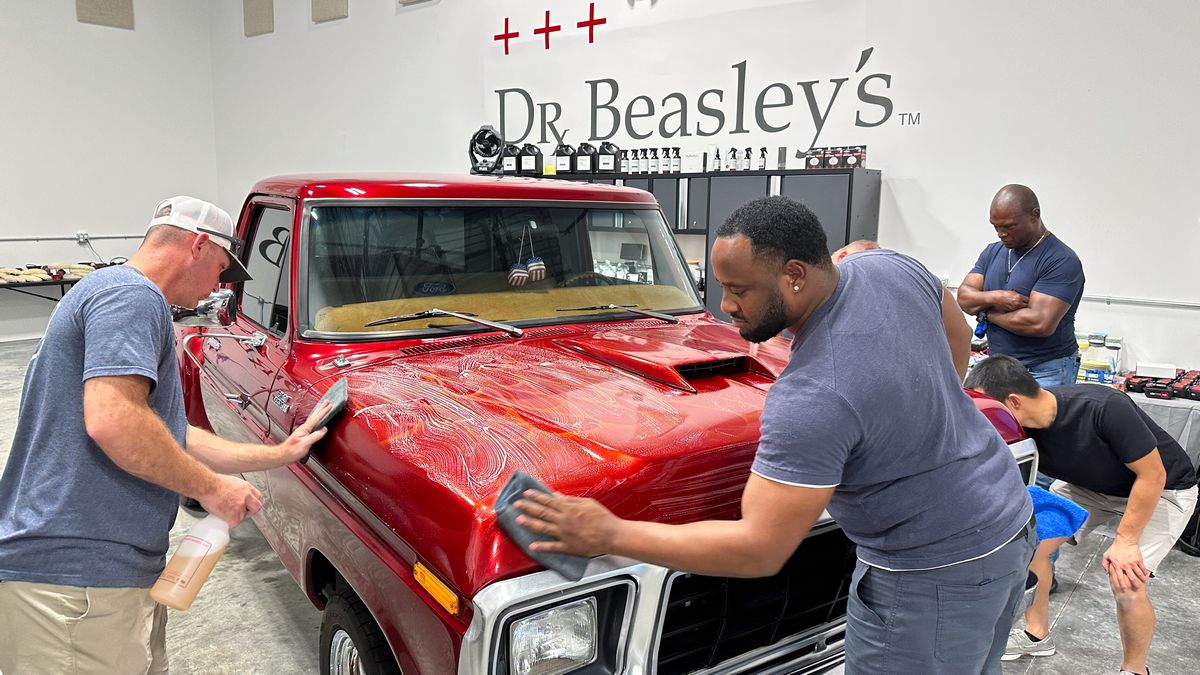
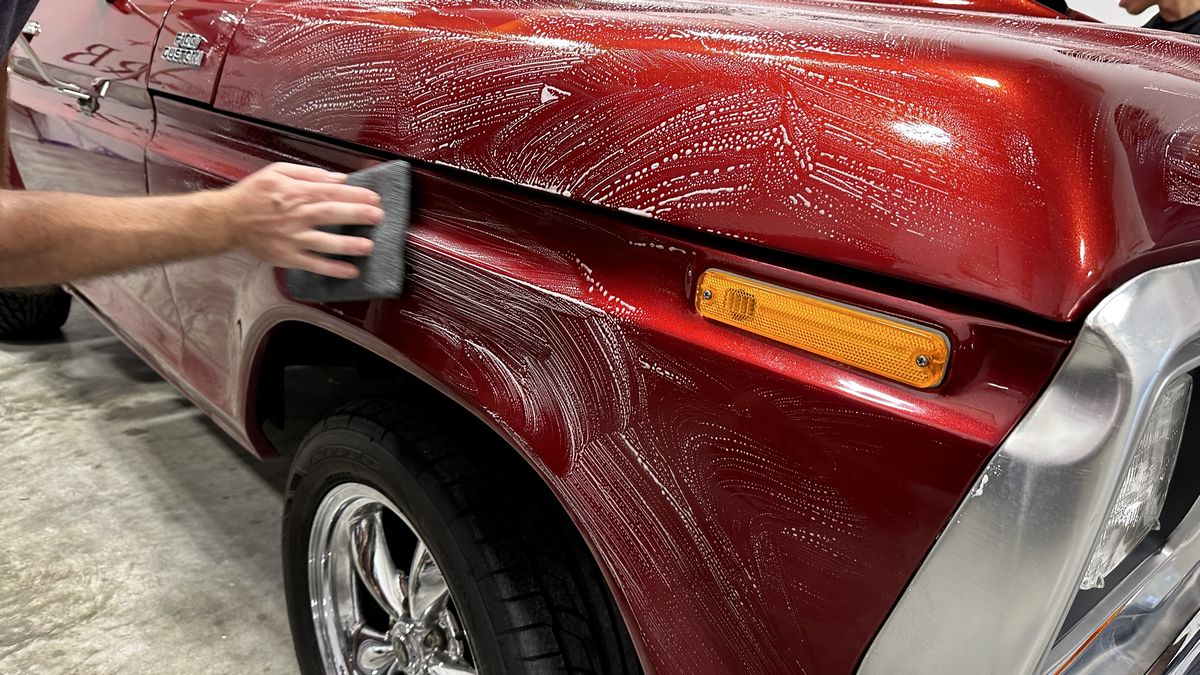
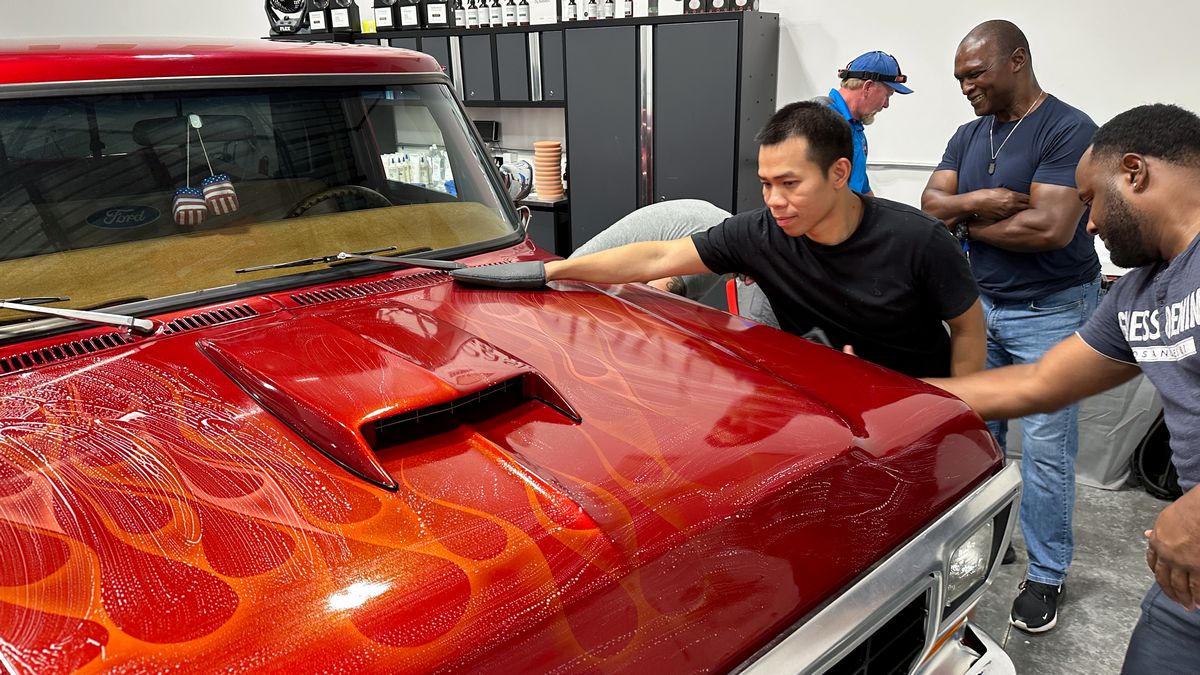
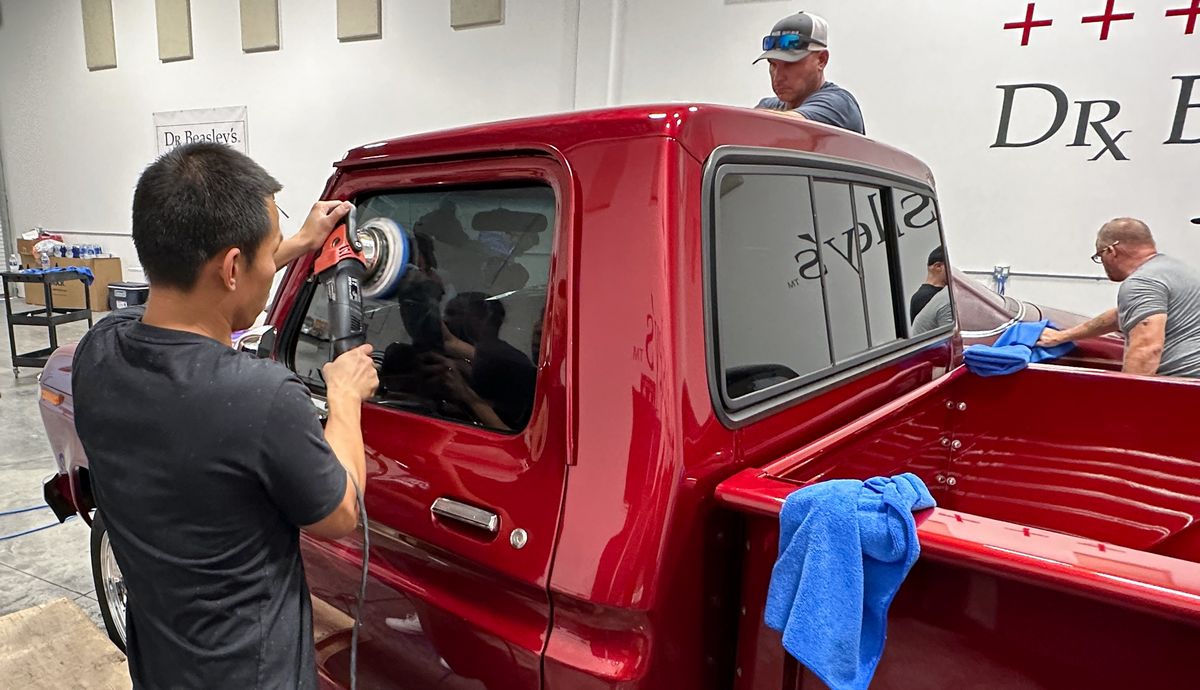
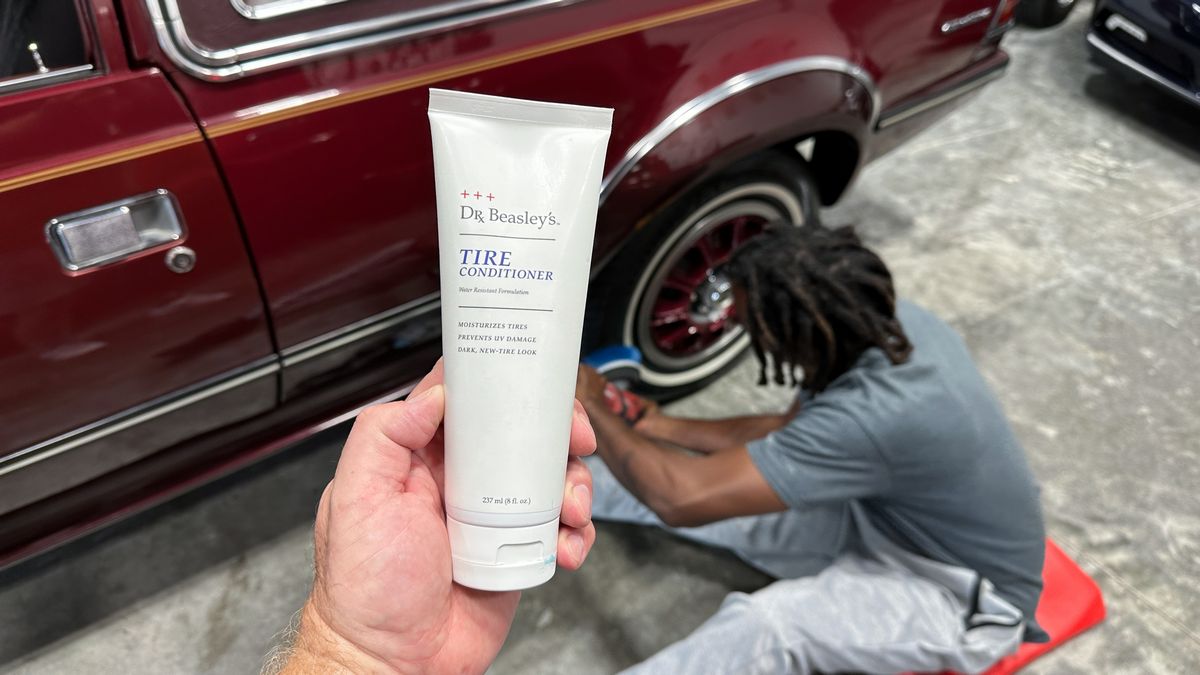
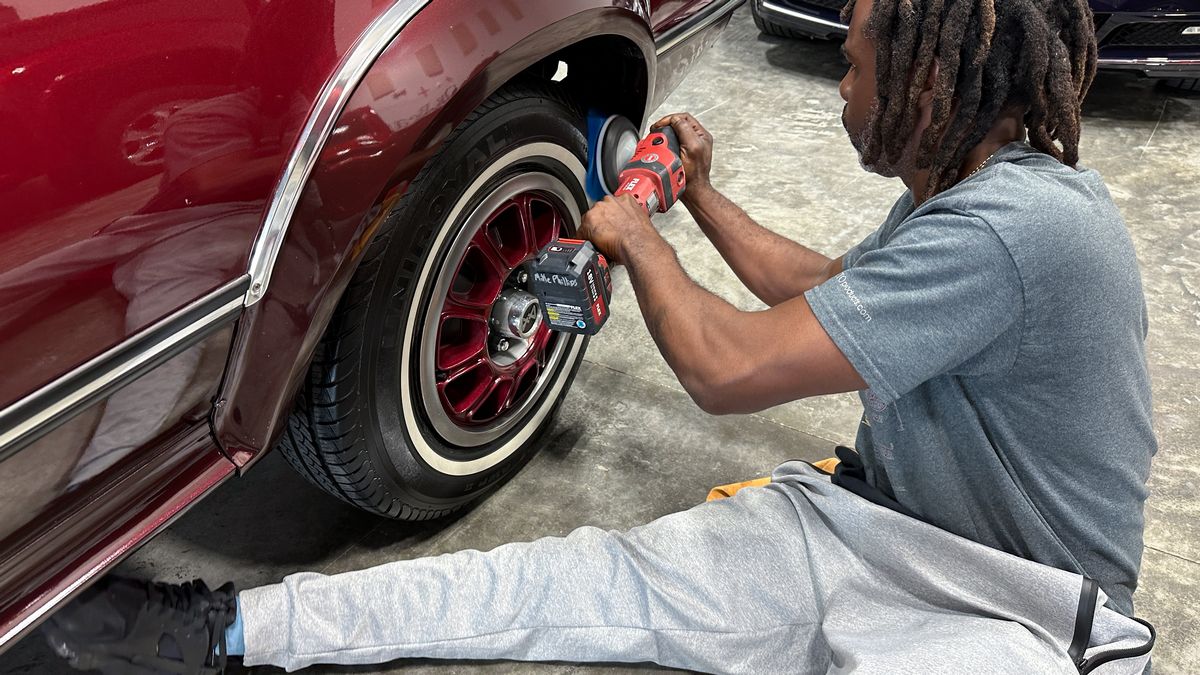
1: Extreme Prep Wash - Machine scrubbing tires - Topical Glass Polishing - Mechanical Decontamination.
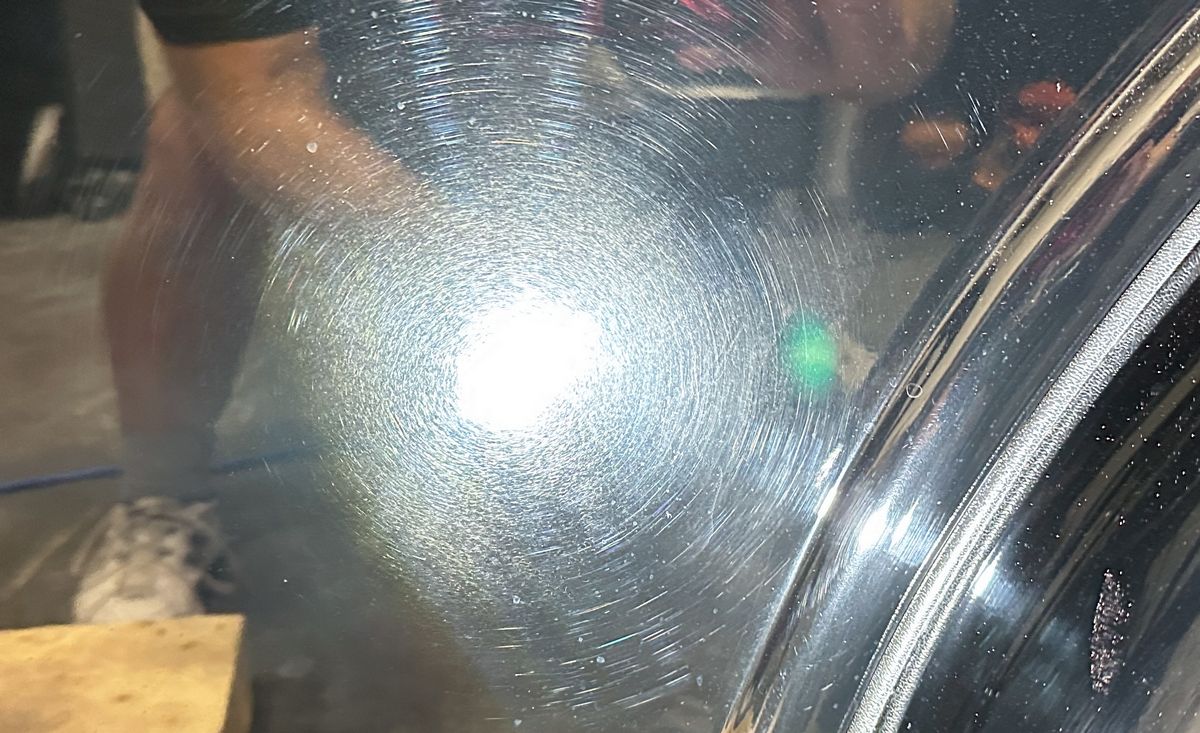
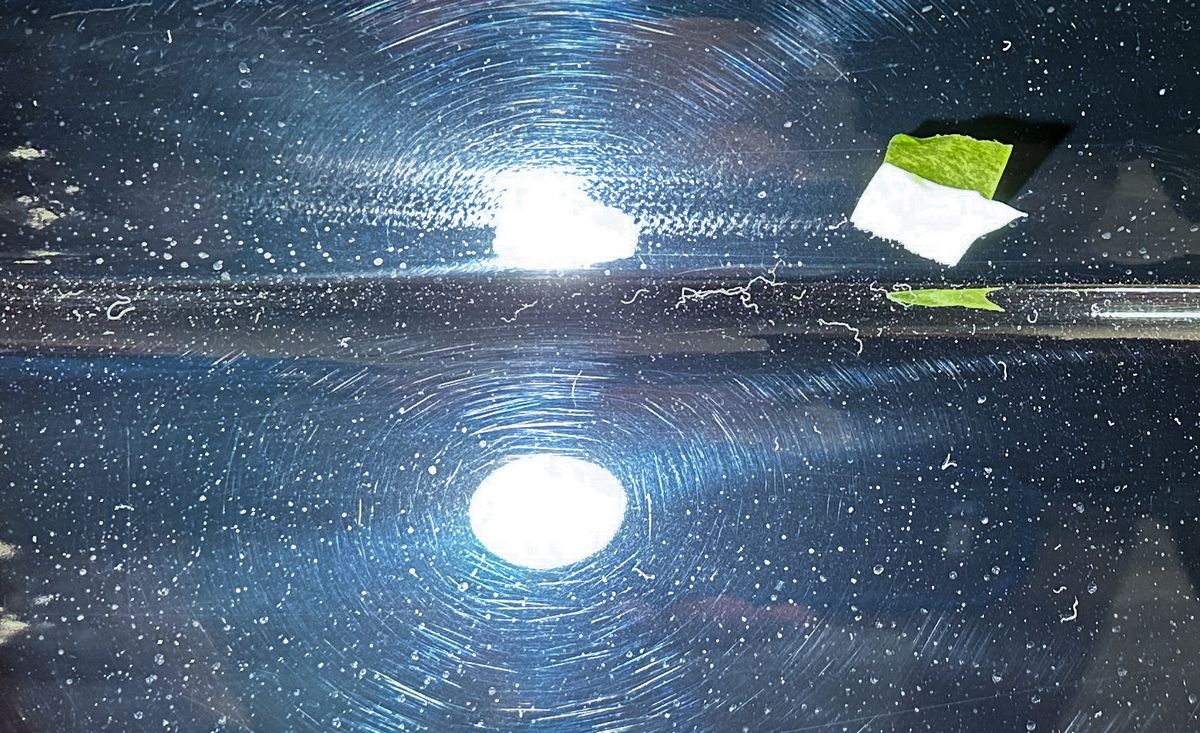
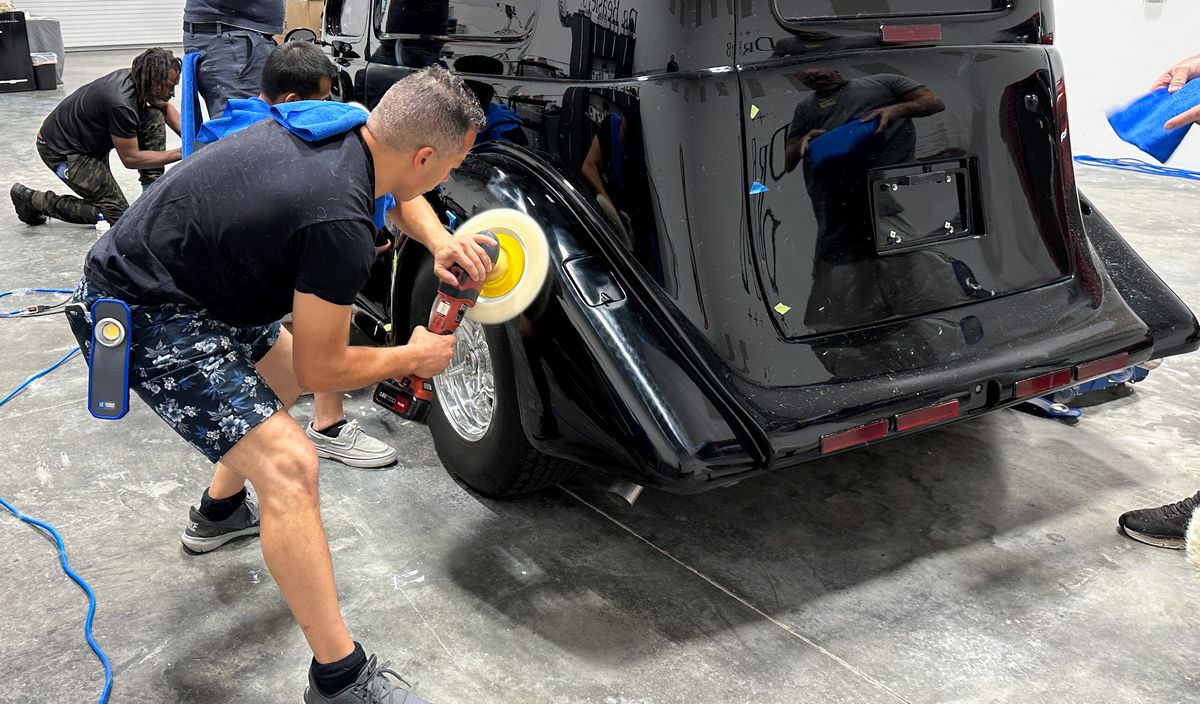
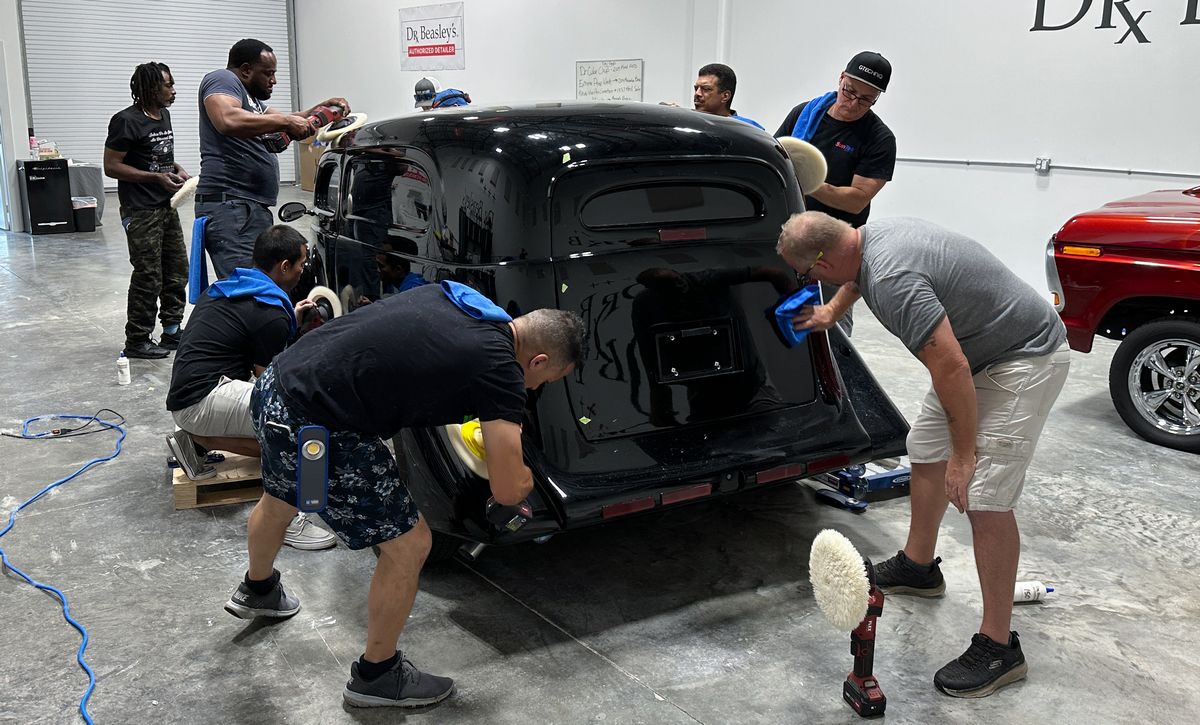
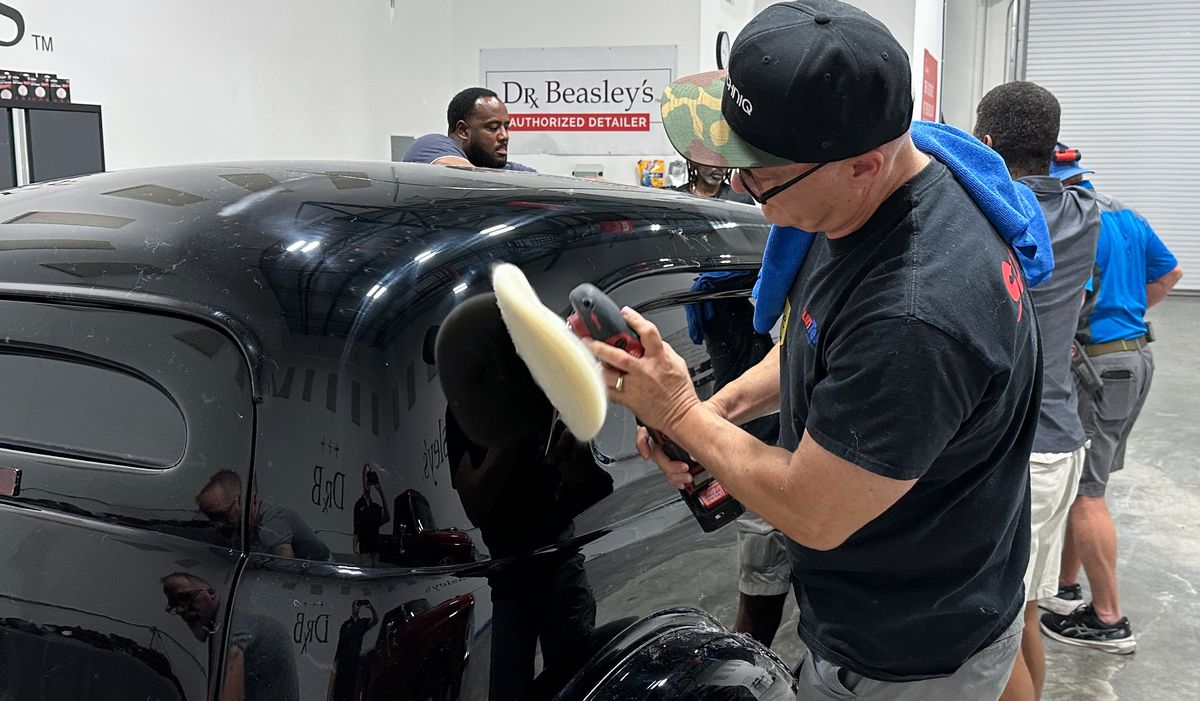
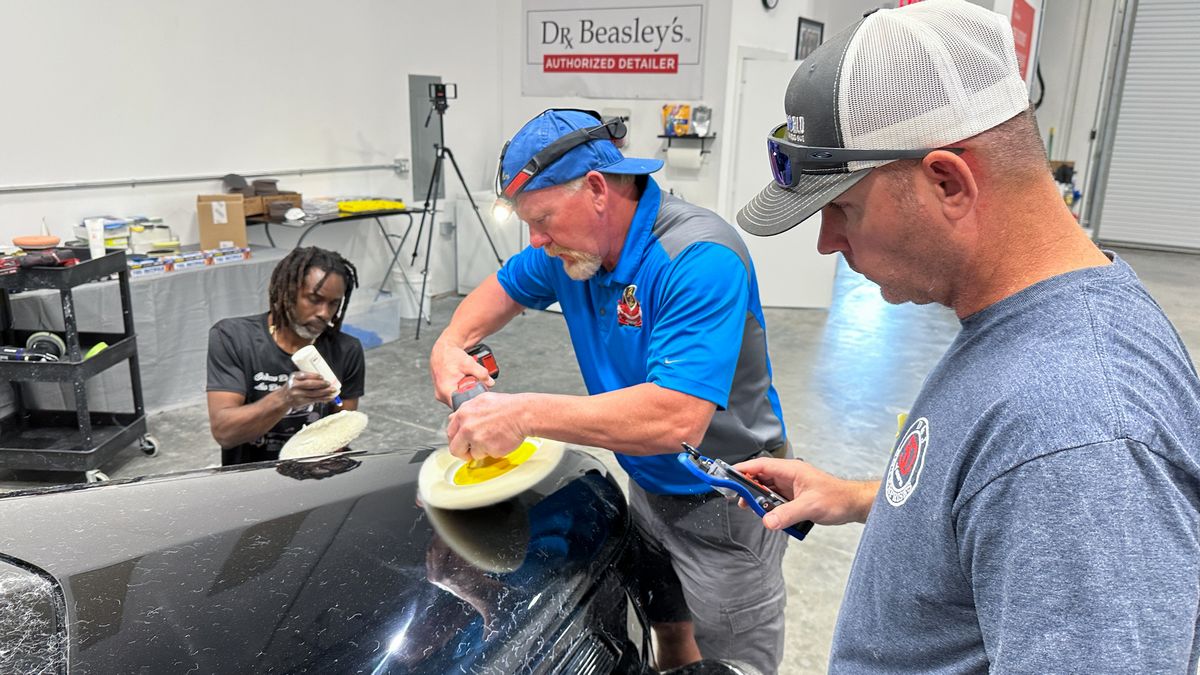
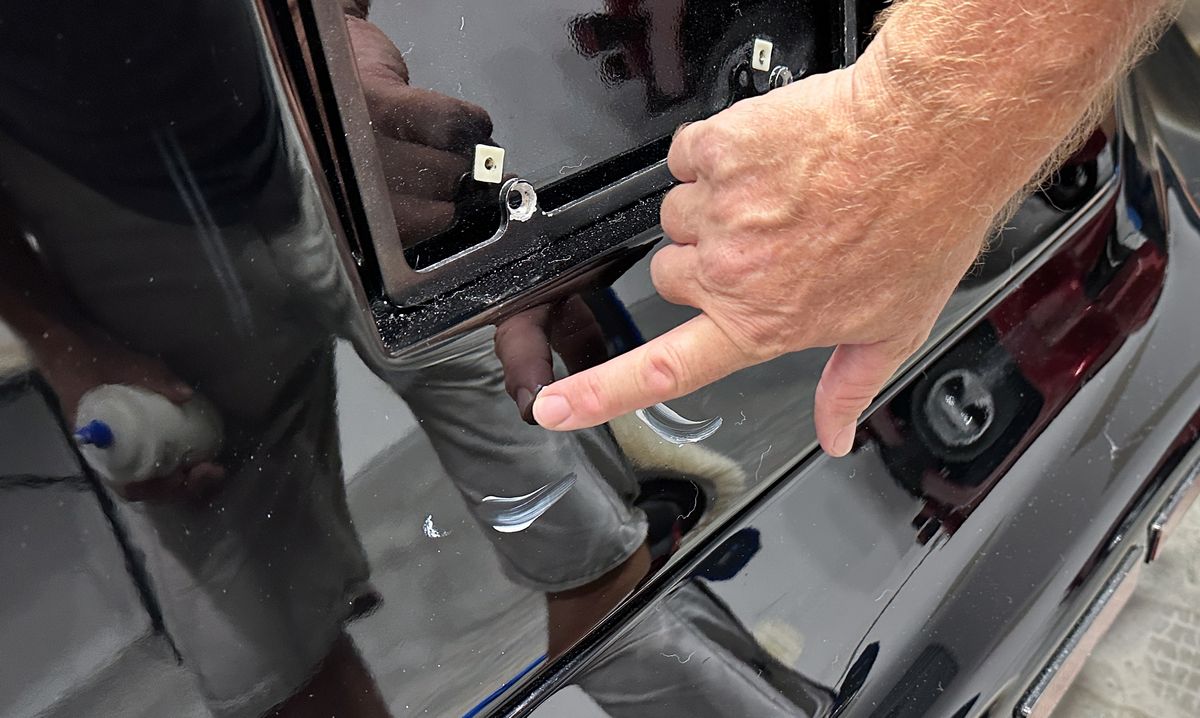
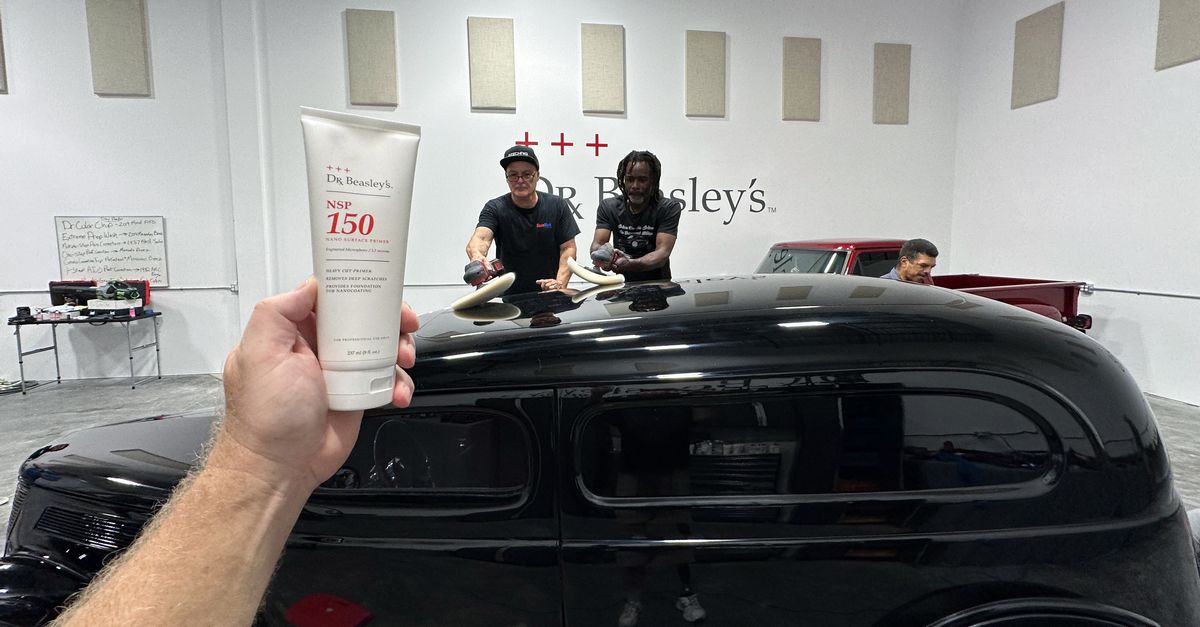
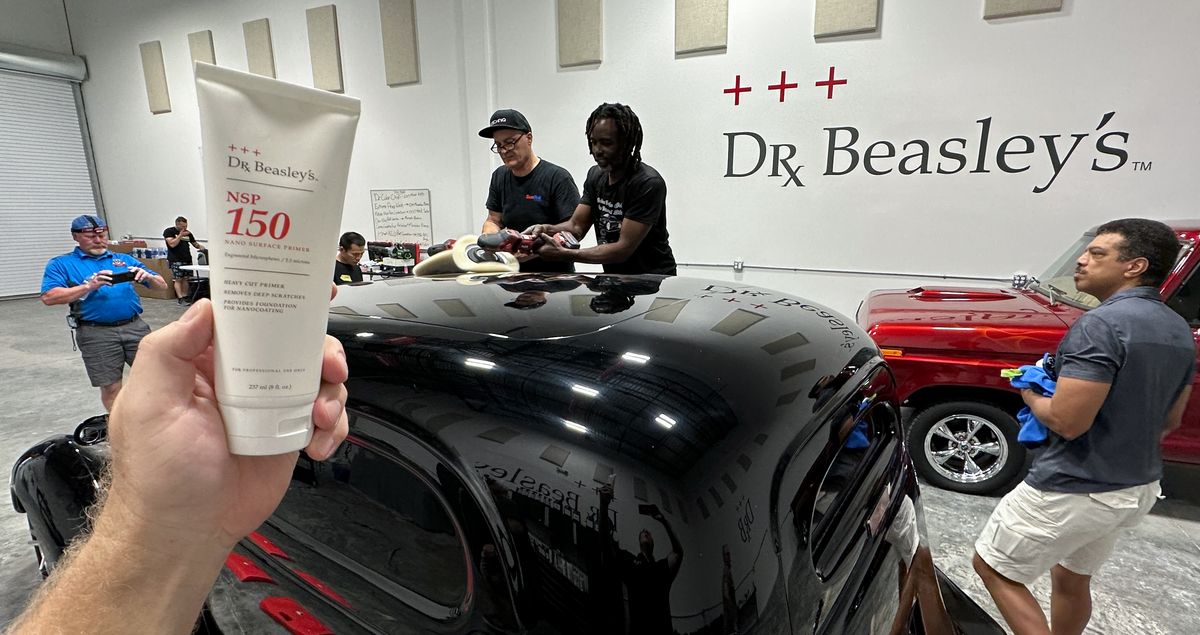
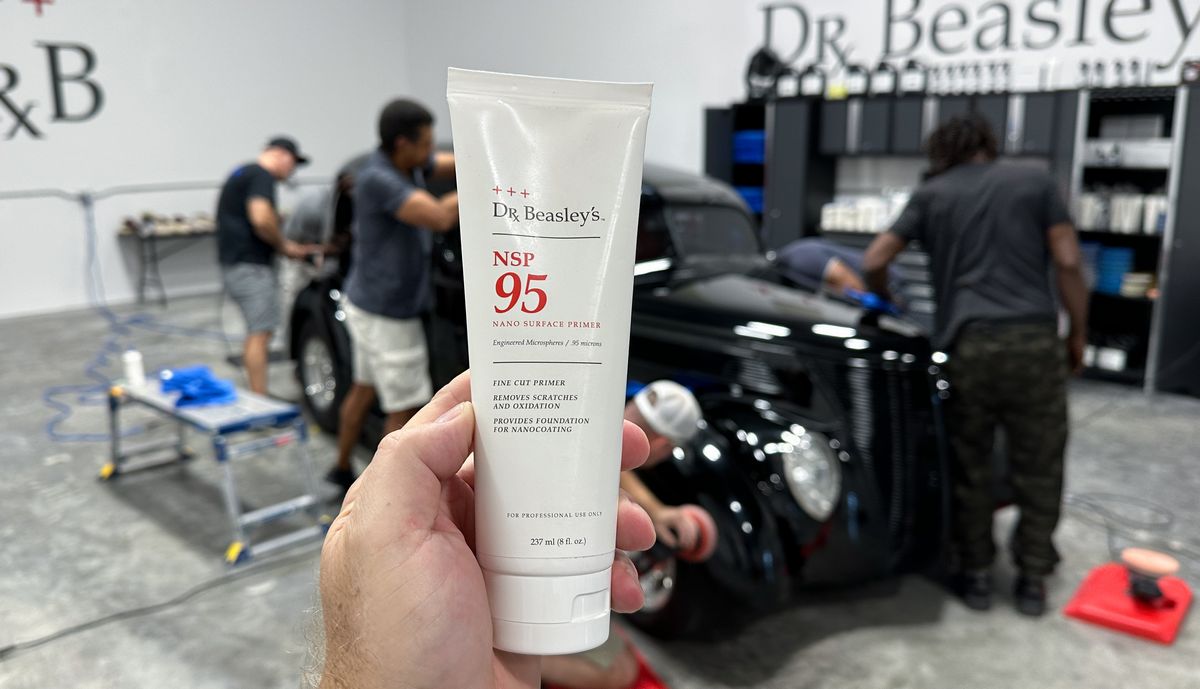
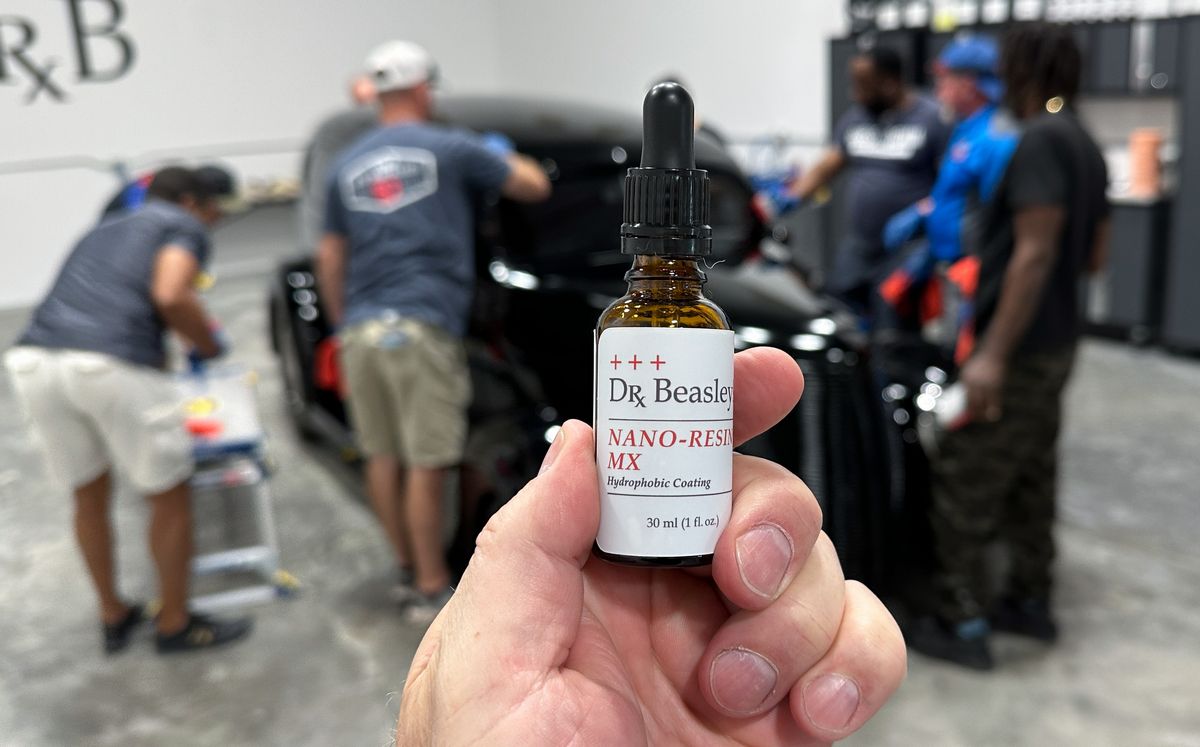
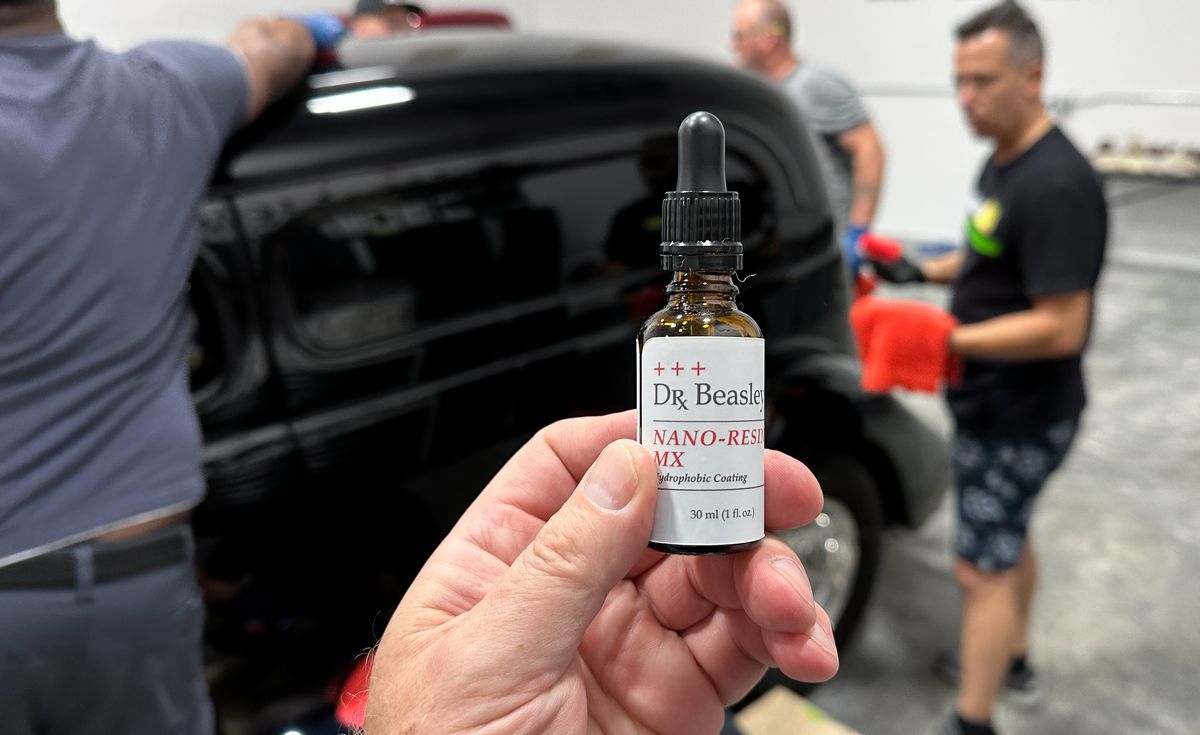
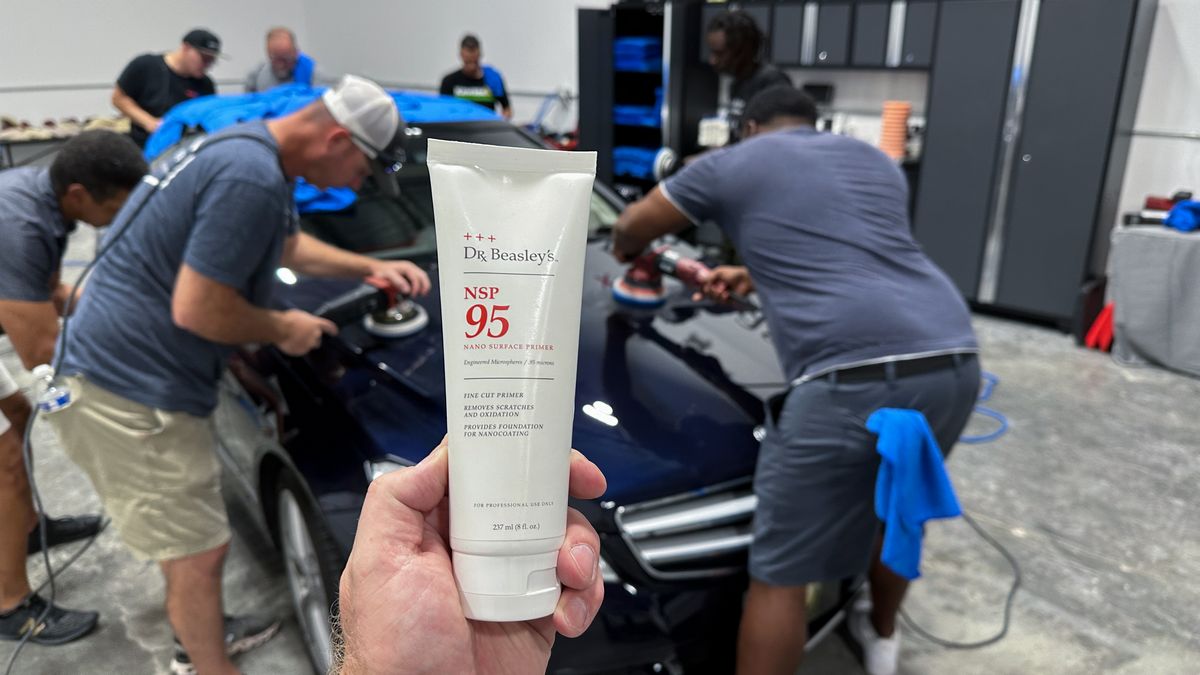
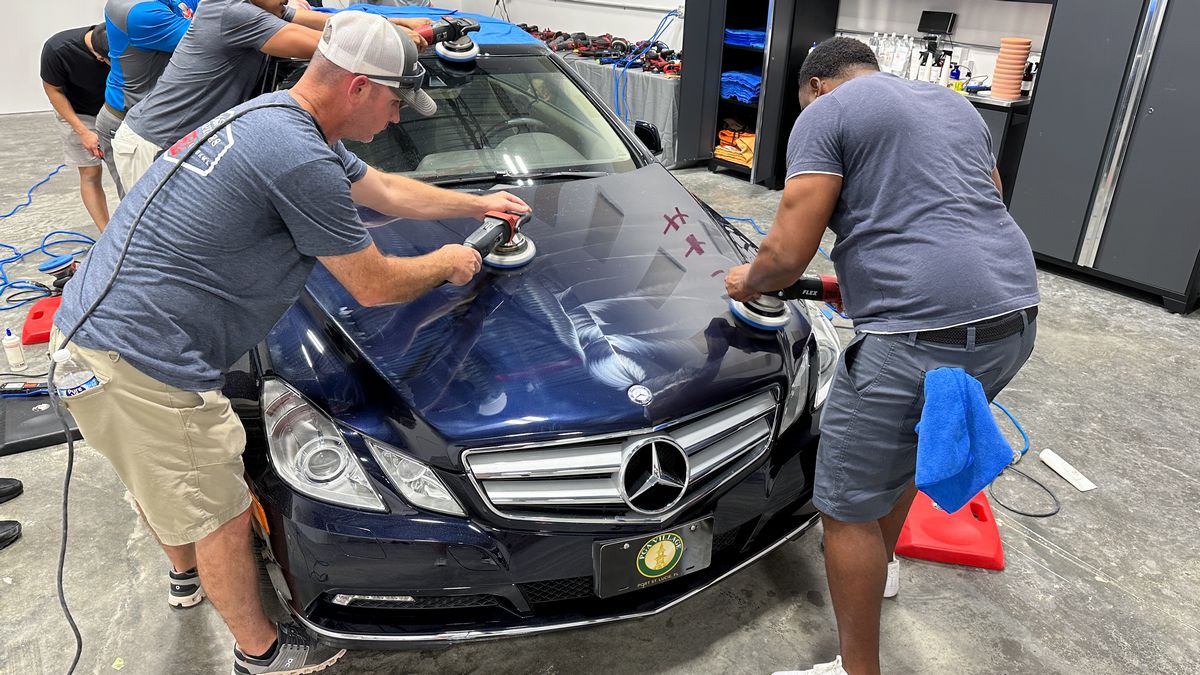
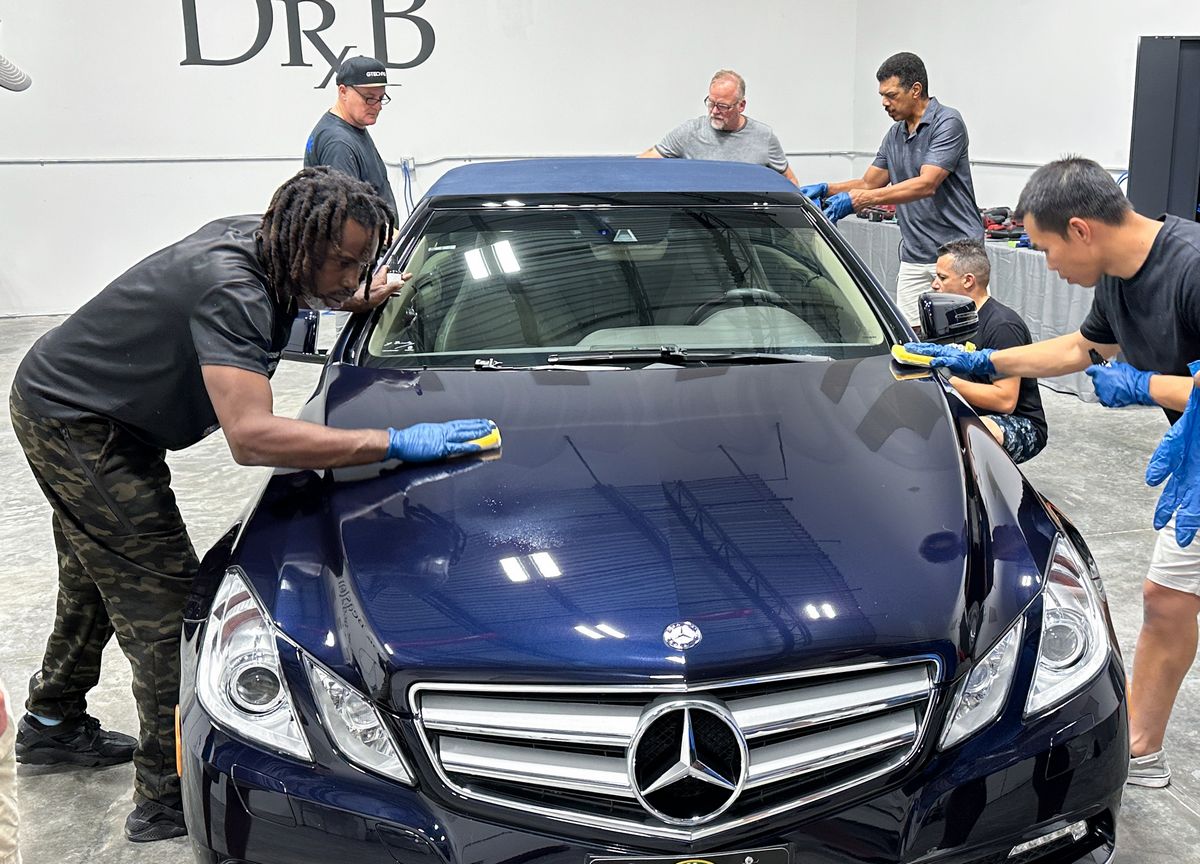
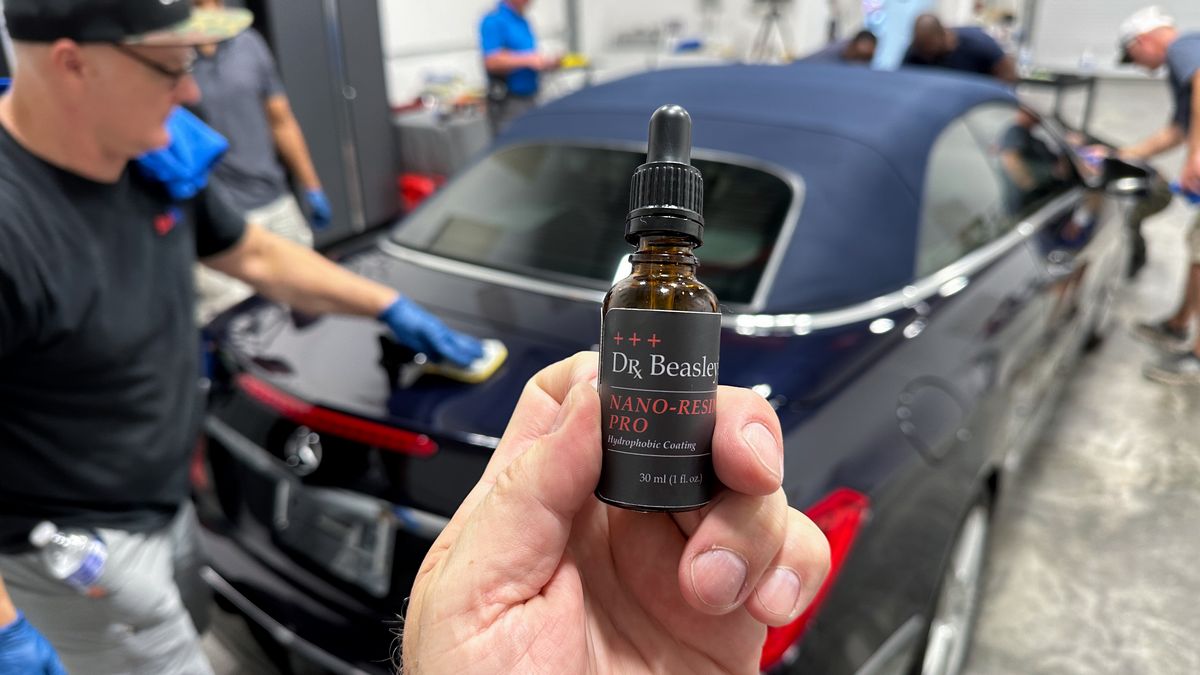
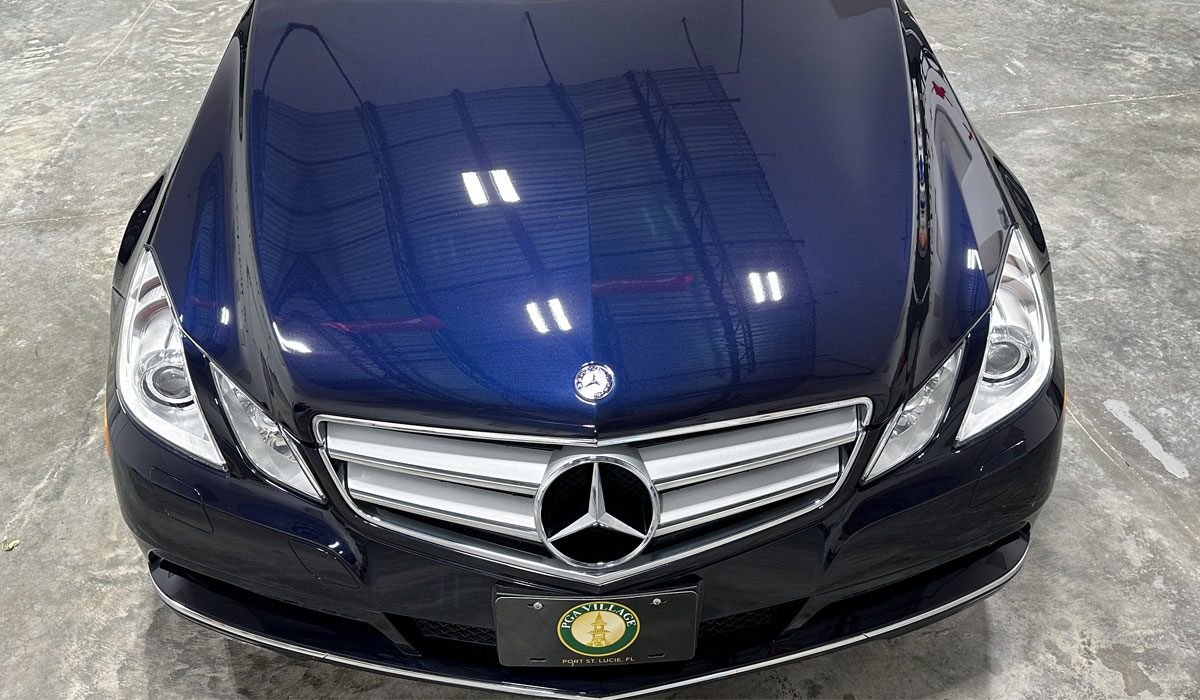
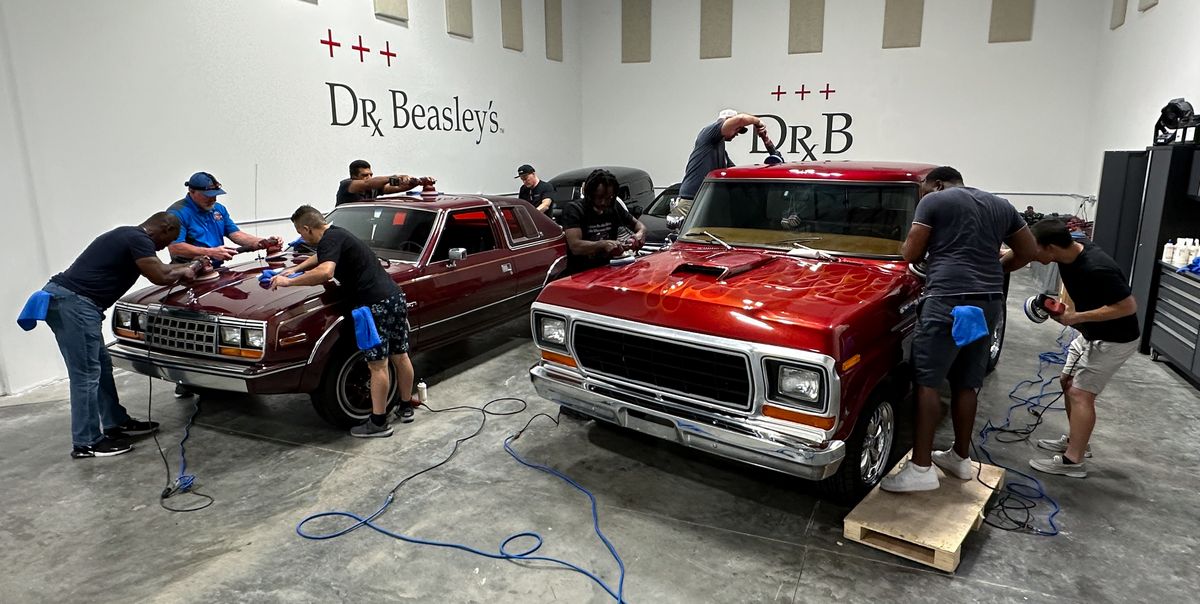
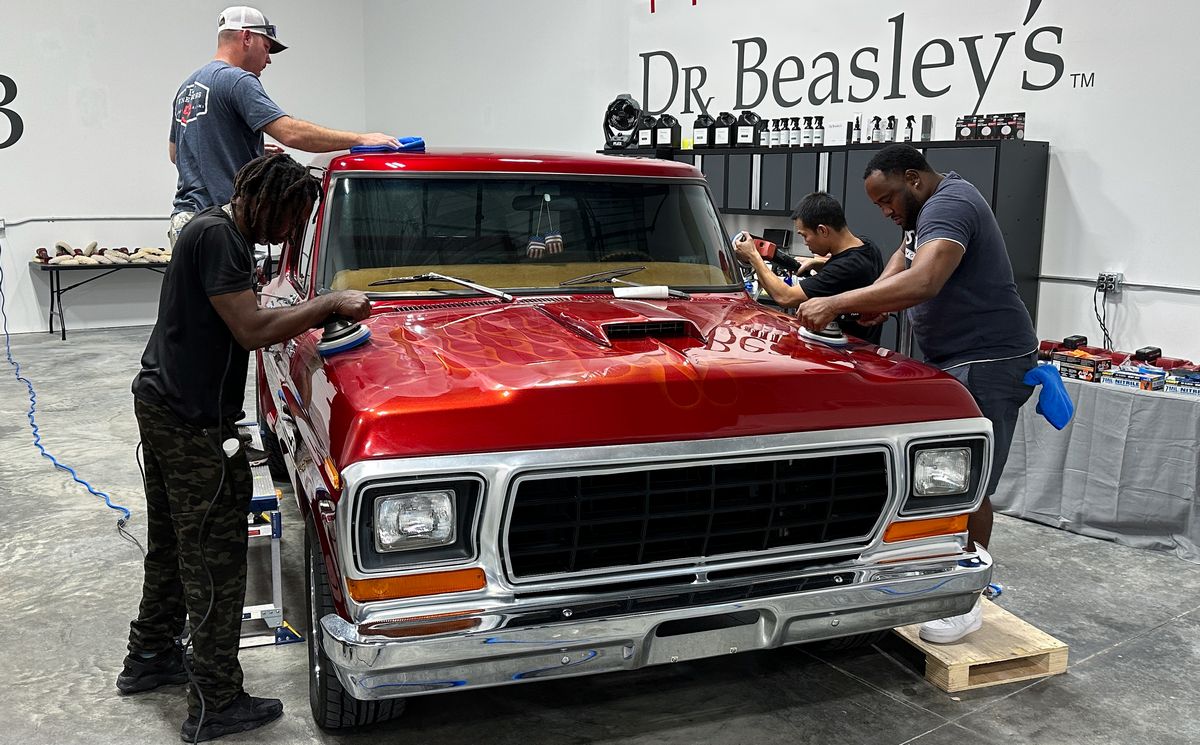
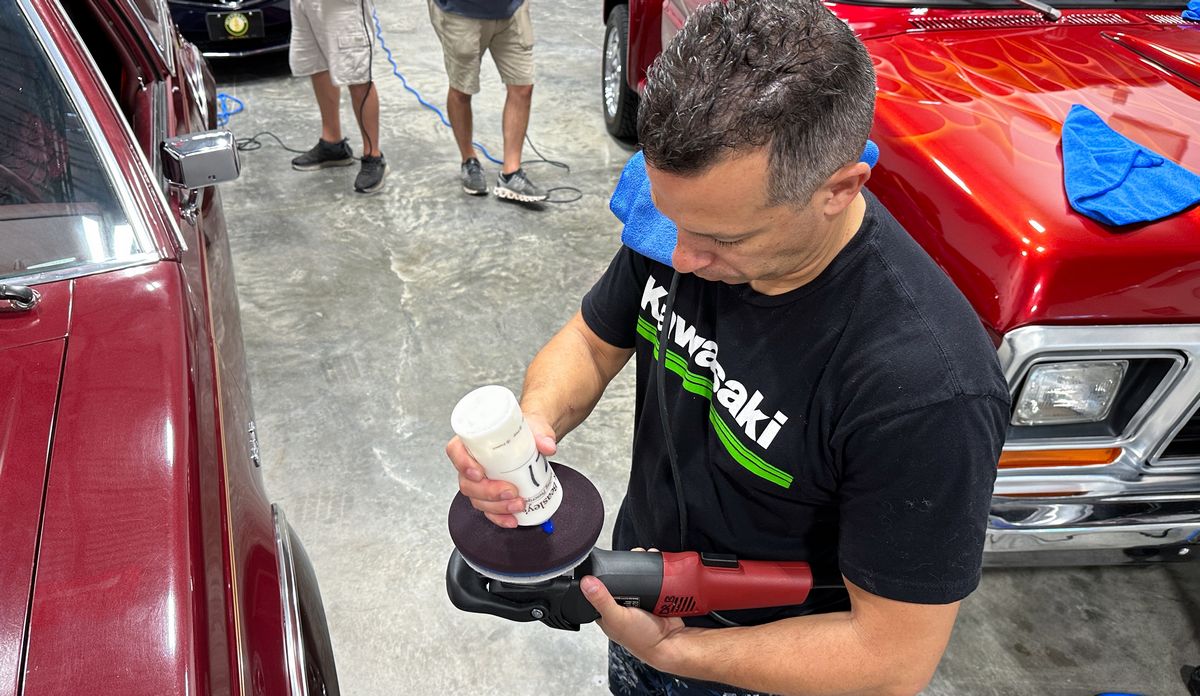
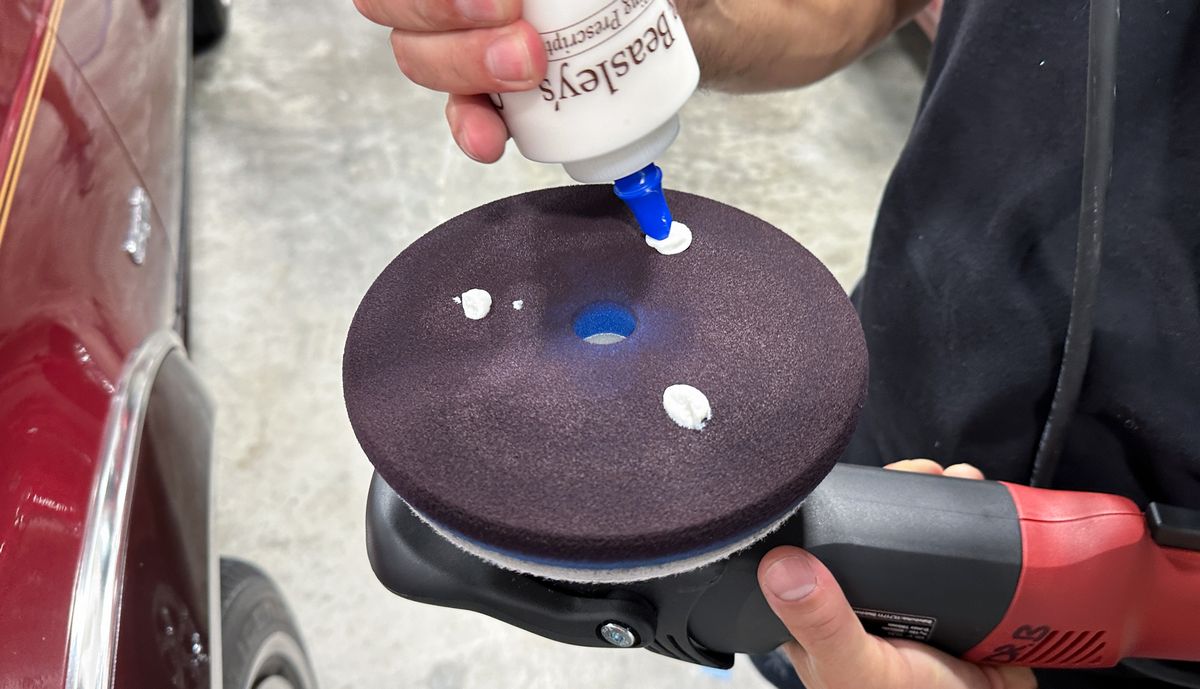
2: Multiple-Step Paint Correction aka Show Car Detailing - Rotary, Orbital polishers with NSP 150/95 - Nano-Resin MX Ceramic Coating Installation.
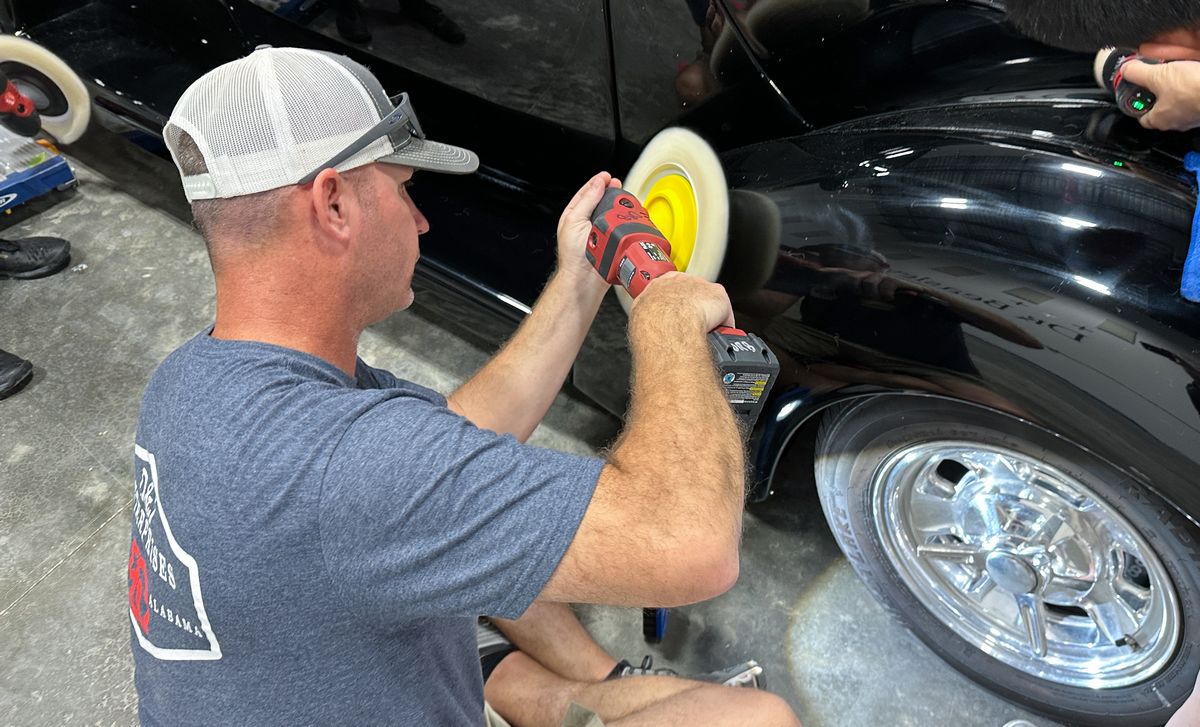
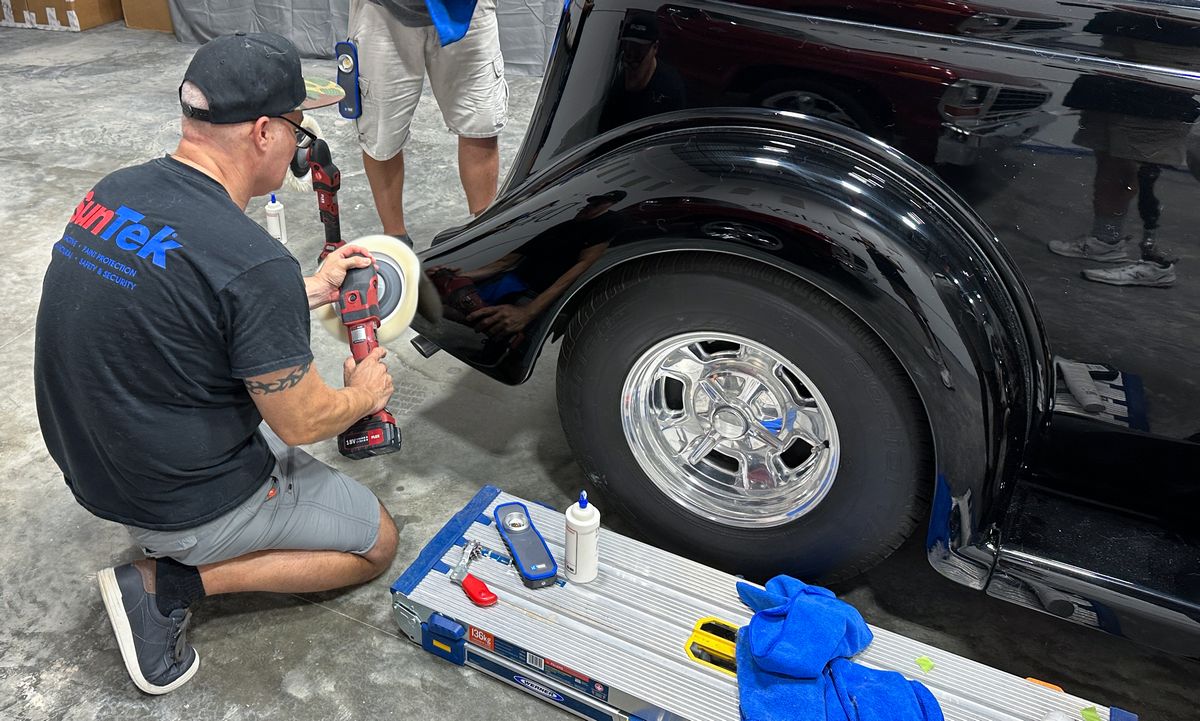
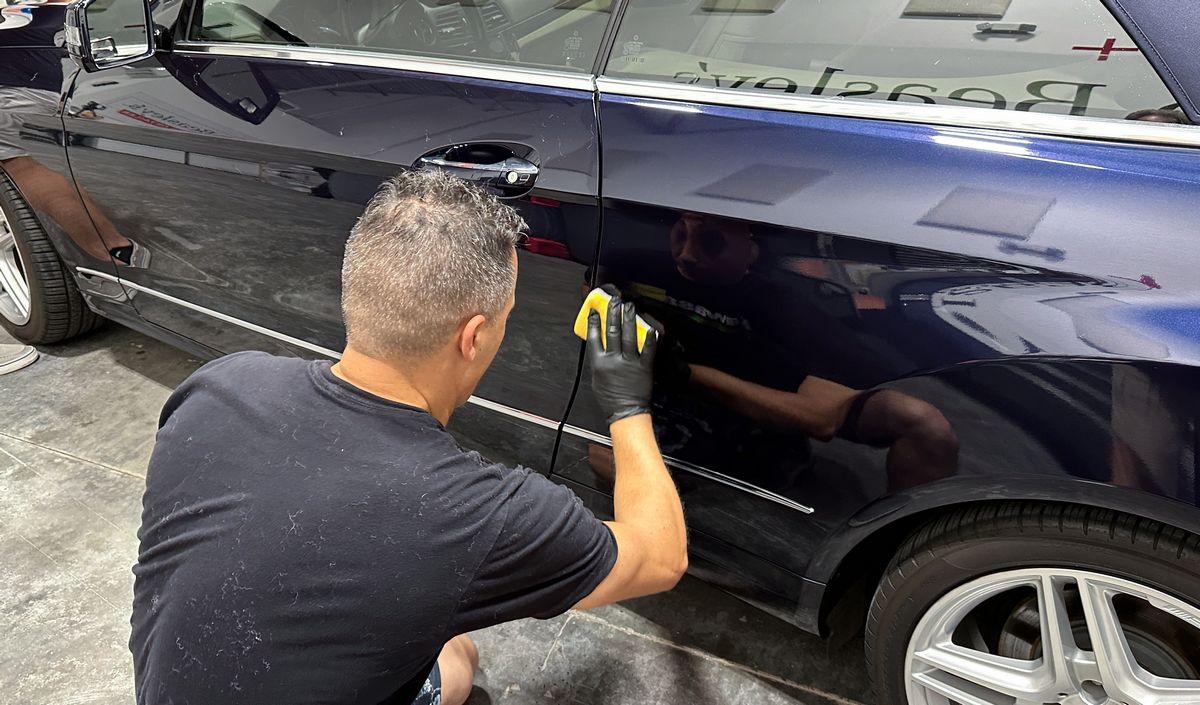
3: One-Step Paint Correction - Orbital polishers with NSP 150/95 - Nano-Resin MX Ceramic Coating Installation.
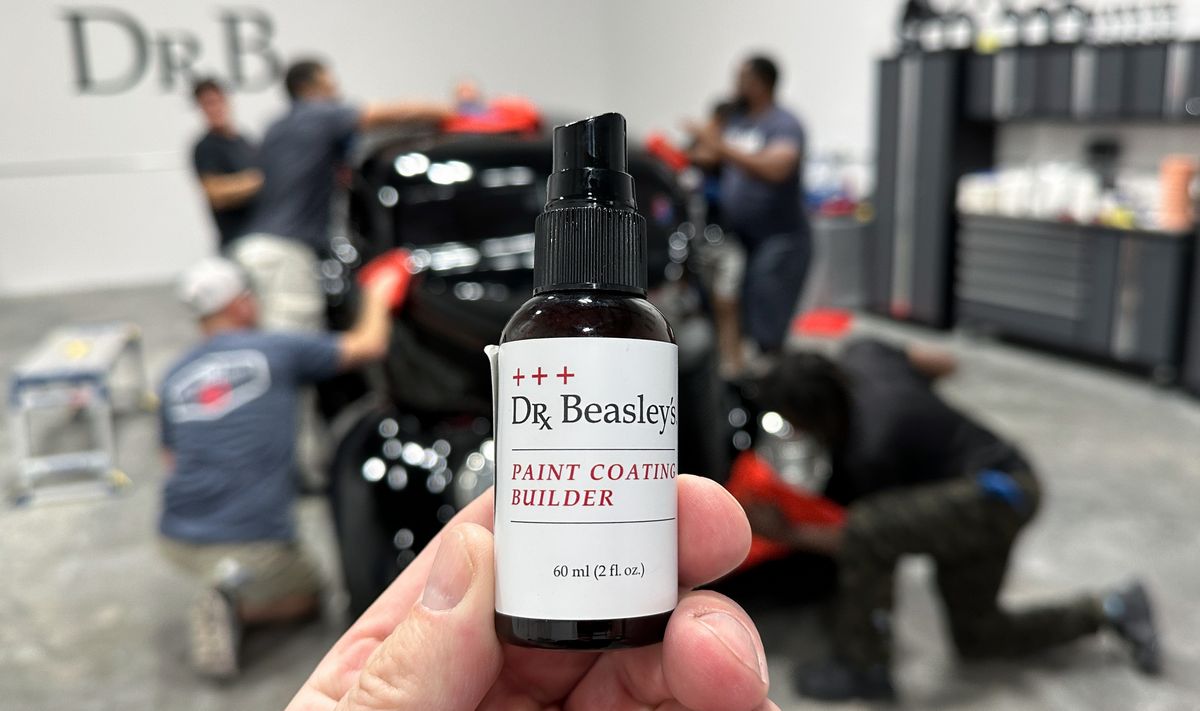
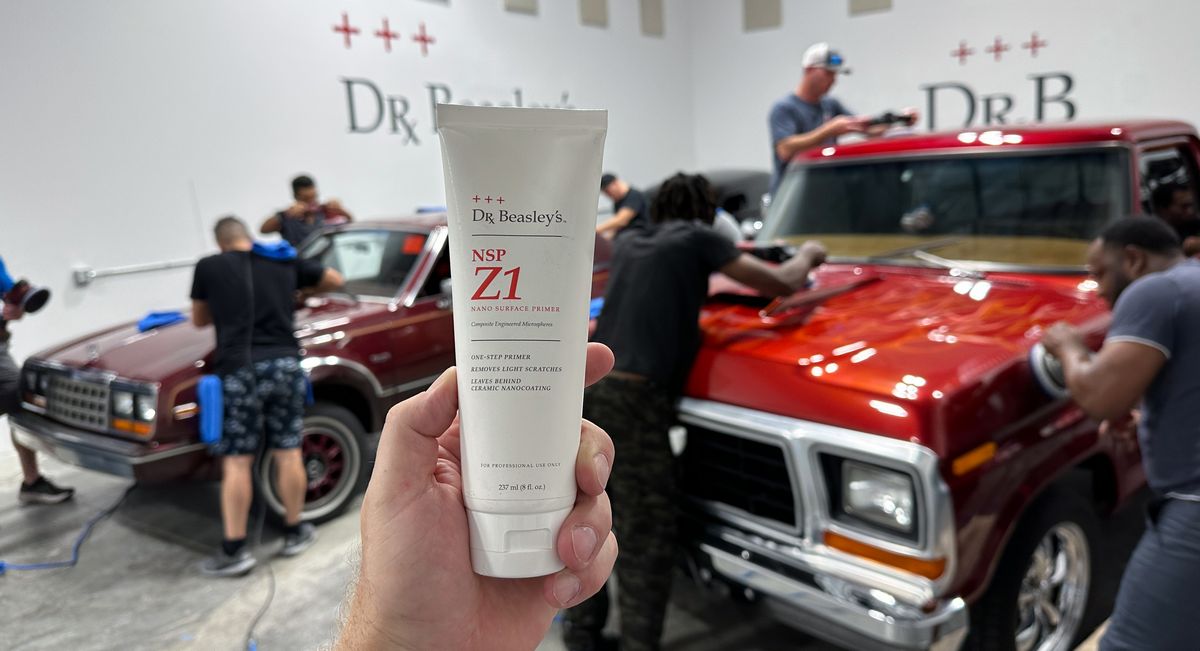
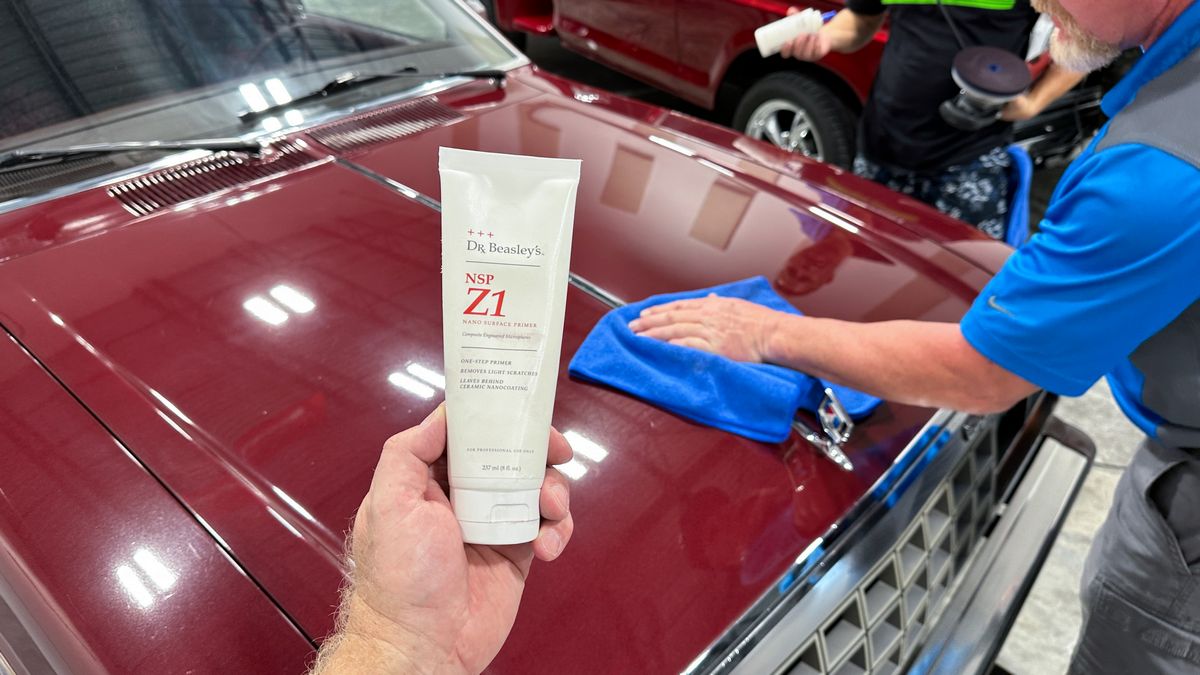
4: One-Step Ceramic AIO Paint Correction - Orbital Polishers and Dr. Beasley's NSP Z1 Ceramic AIO.
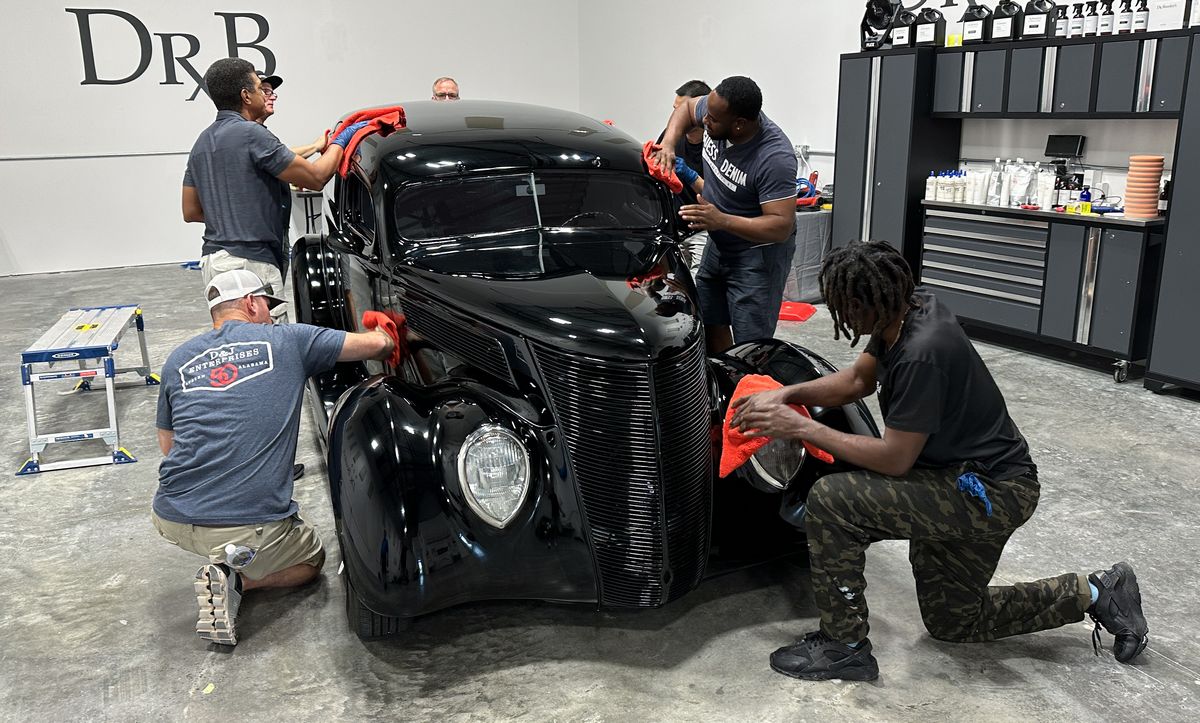
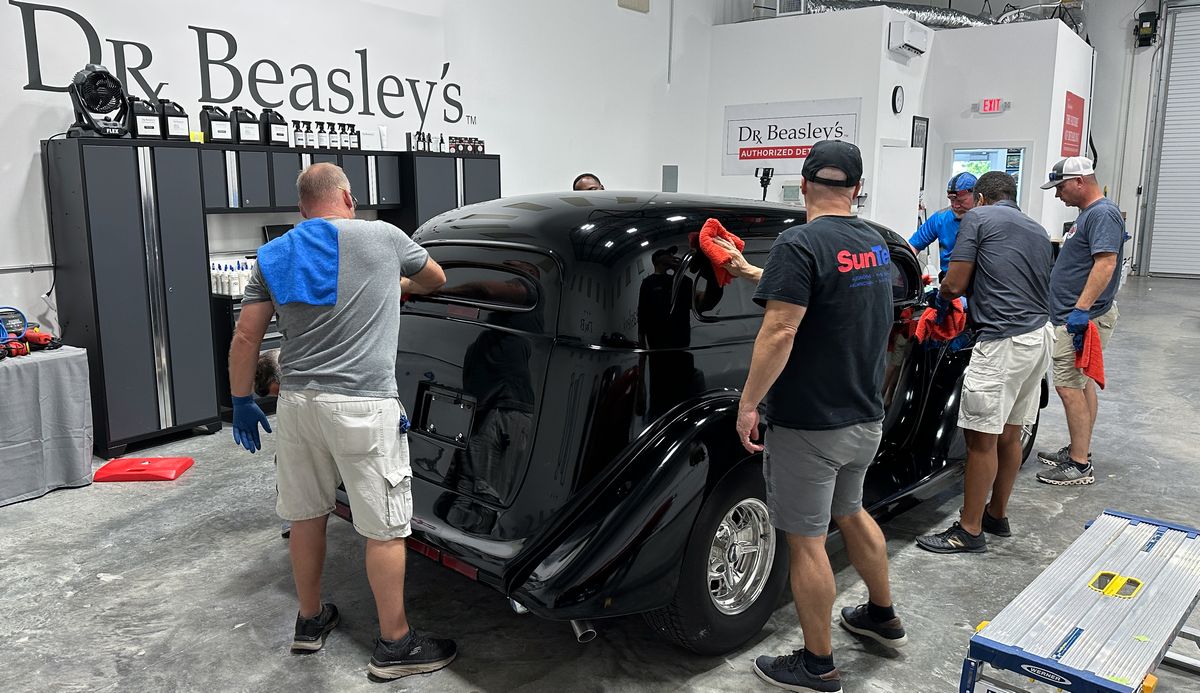
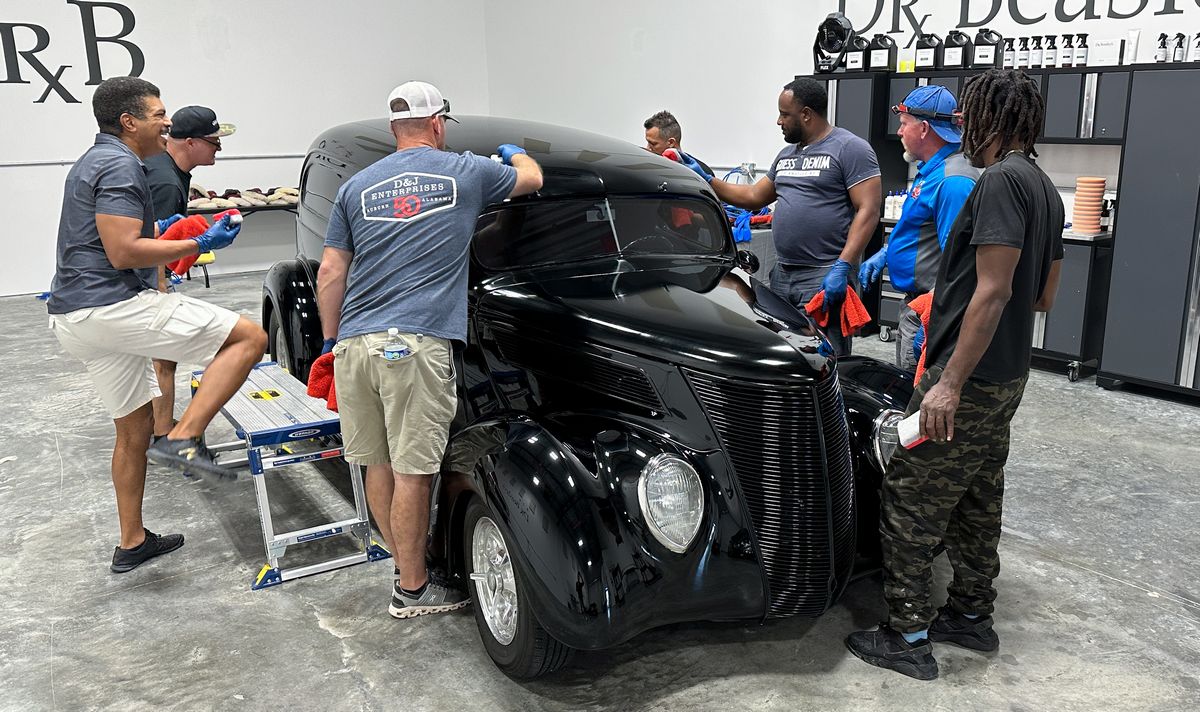
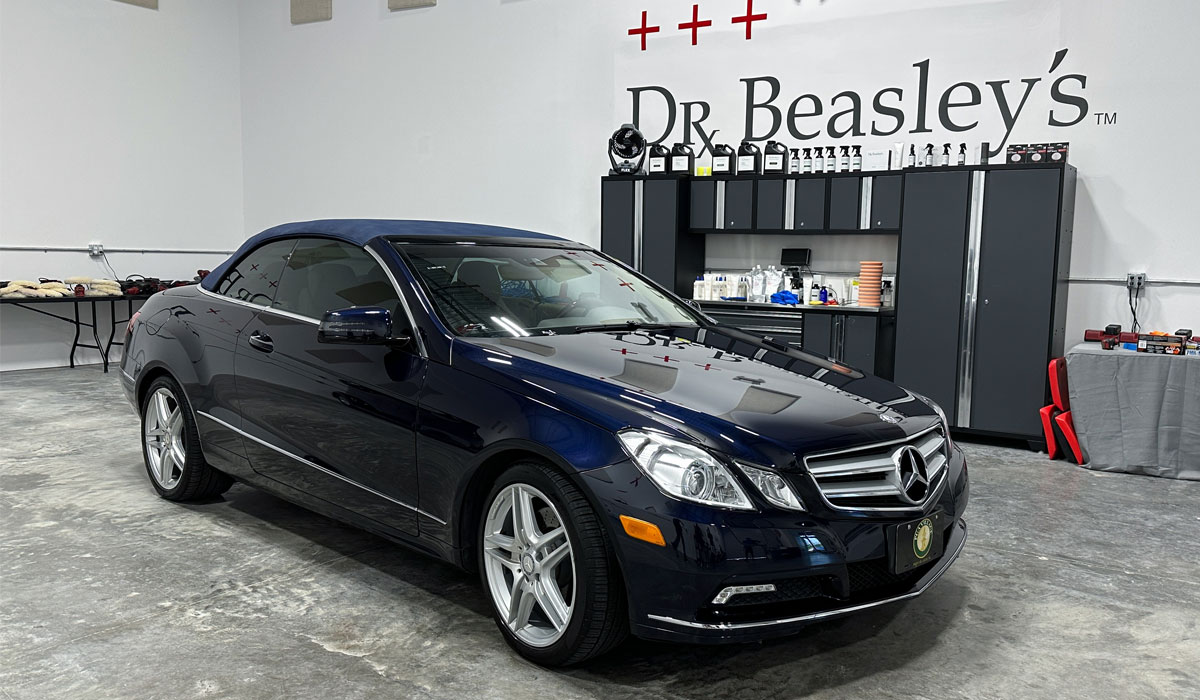
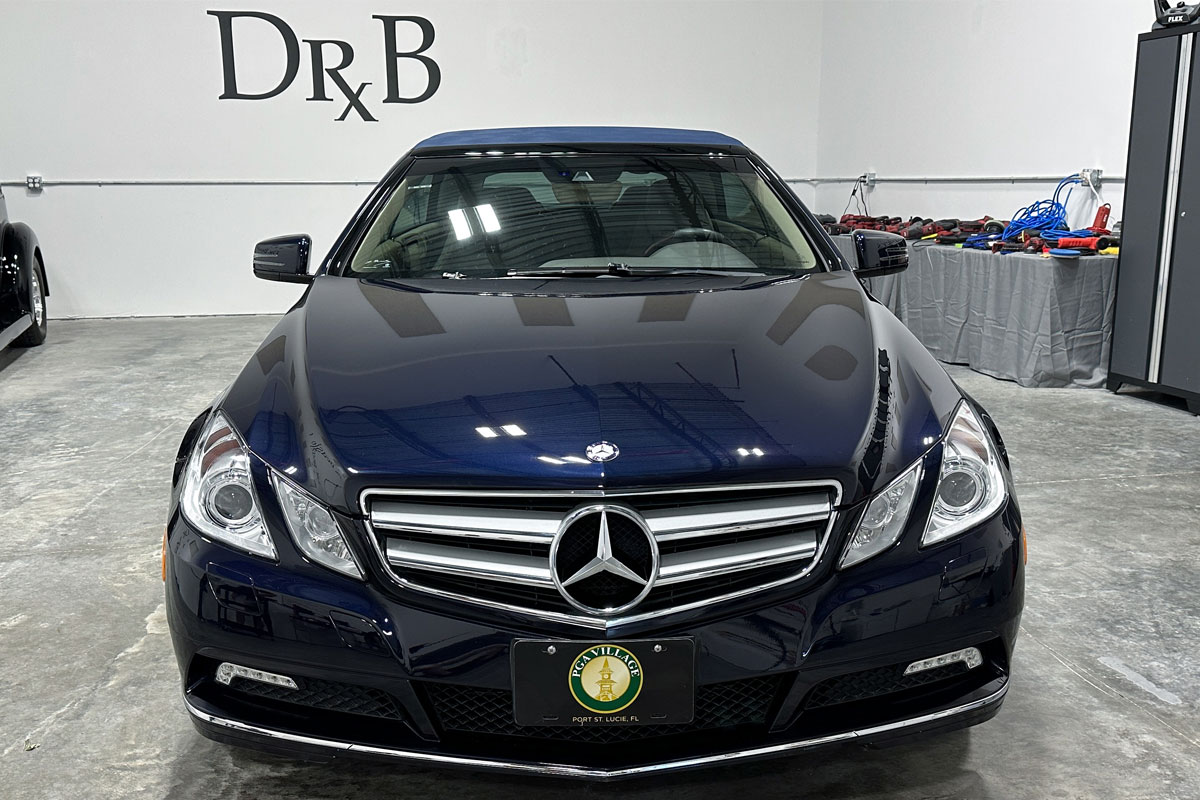
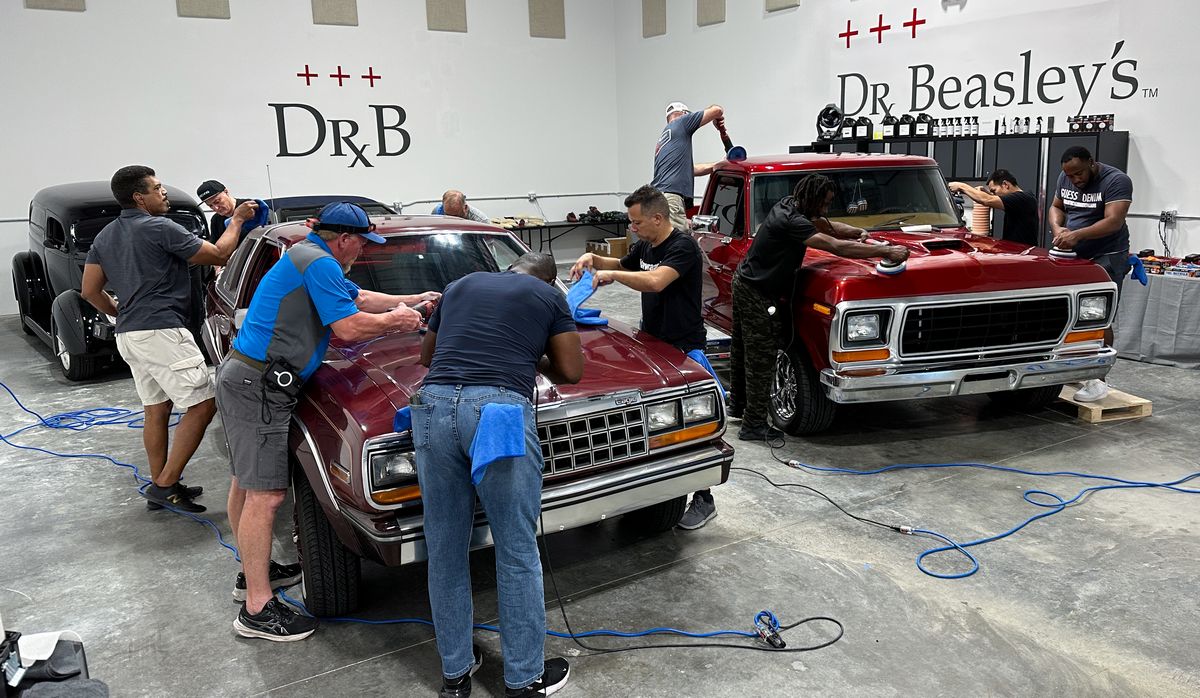
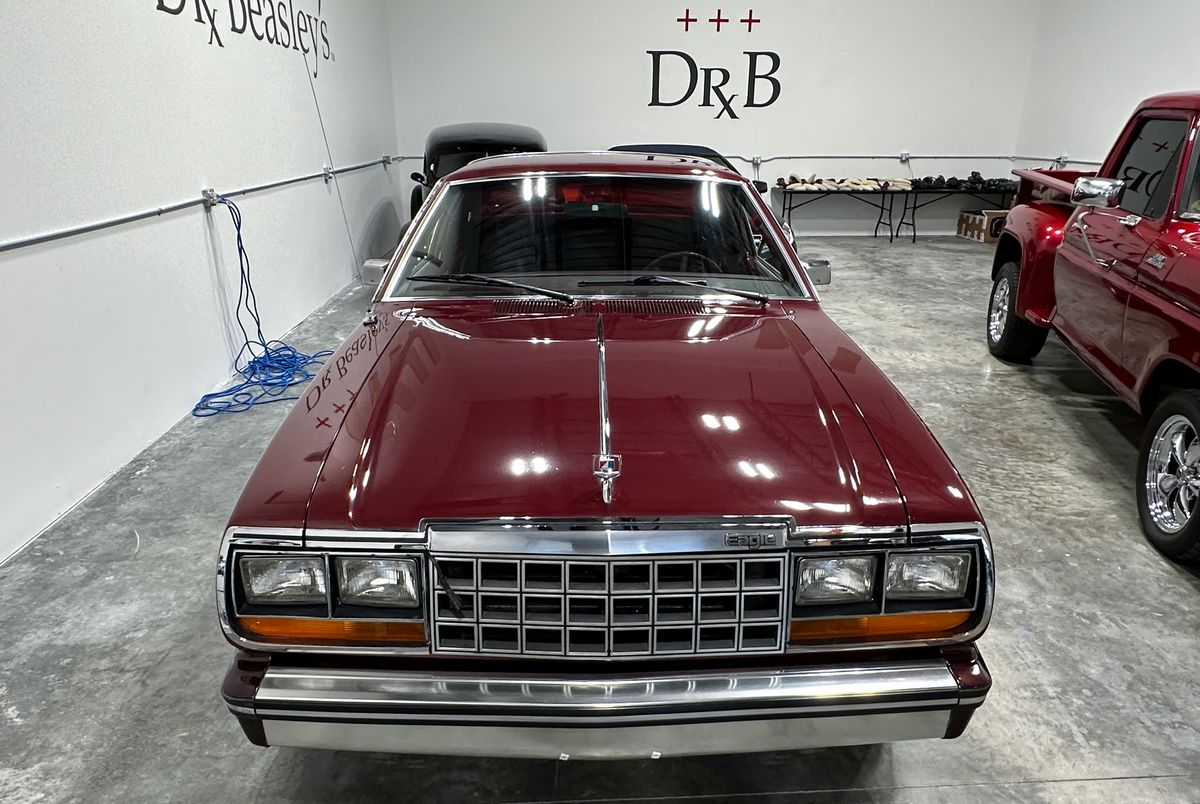
Below are what this 1-day class looks like using pictures from our most recent class.
This is a LOT to cover in a single day and you are welcome to take pictures and videos to help you remember this intense training course.
")
Before you sign-up for any car detailing class anywhere in America, do your research and confirm you're getting what you want. We LOVE to prove how hands-on our classes are and that there is literally no chairs, no sitting, no PowerPoint and no demo hoods. At our classes you're on your feet, with products and tools in your hands, working on the real deal, that is real training cars.
Here's the topics our 1-day class covers and the pictures to back it up. And yes, we start early at 7:30am and go until all topics and all cars are completed. So get a good night's sleep the night before the class and wear comfortable work clothes or training cloths.
Topics covered.
1: Extreme Prep Wash - Machine scrubbing tires - Topical Glass Polishing - Mechanical Decontamination.
2: Multiple-Step Paint Correction aka Show Car Detailing - Rotary, Orbital polishers with NSP 150/95 - Nano-Resin MX Ceramic Coating Installation.
3: One-Step Paint Correction - Orbital polishers with NSP 150/95 - Nano-Resin MX Ceramic Coating Installation.
4: One-Step Ceramic AIO Paint Correction - Orbital Polishers and Dr. Beasley's NSP Z1 Ceramic AIO.
Below are what this 1-day class looks like using pictures from our most recent class.
This is a LOT to cover in a single day and you are welcome to take pictures and videos to help you remember this intense training course.
Last edited: