- Admin
- #1
- Joined
- May 21, 2021
- Messages
- 1,467
- Reaction score
- 799
- Points
- 113
- Location
- Stuart, Florida
- Website
- themikephillipsforum.com
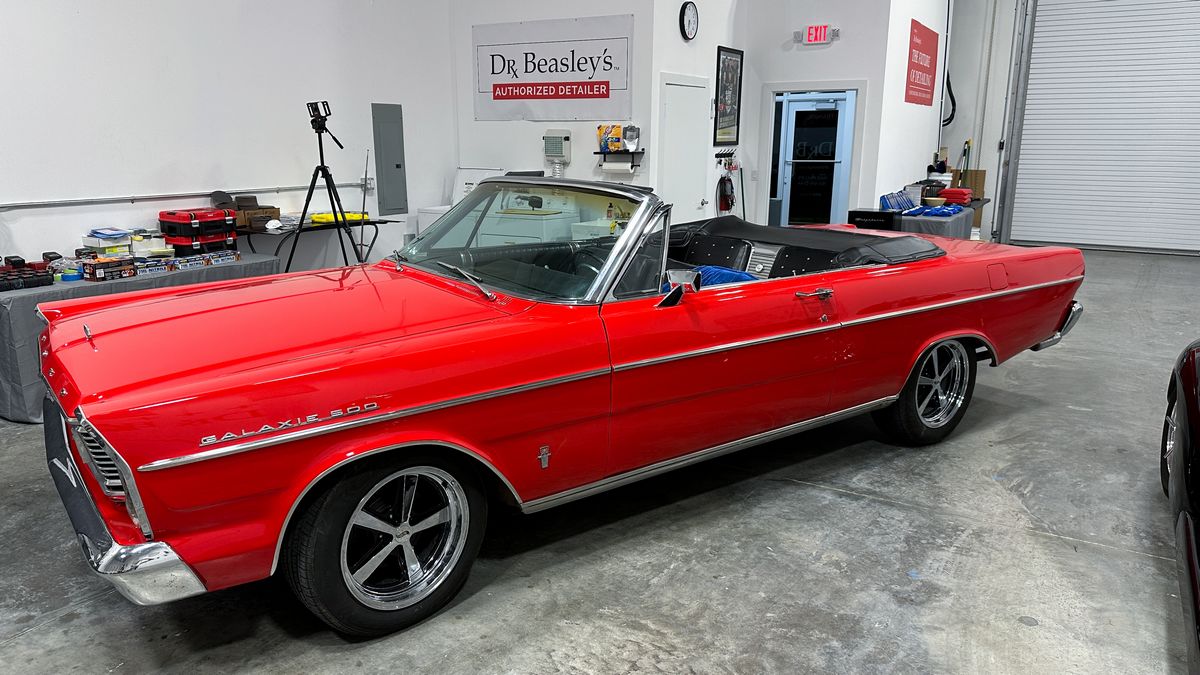
1-day Dry Sanding by Hand & Machine - Learn to remove Orange Peel in Escondido, California - Sunday, March 24th
NOTE: You must take the Extreme Paint Correction & Ceramic Coating Class in Escondido, California on Saturday, March 23rd in order to take this advanced class. The price for the 1-day Saturday class is $595.00 - if you take the second day, the price for both days is $990.00.
For more information, class description and pictures showing what the Day 1 class looks like, click the link below.
1-day Extreme Paint Correction & Ceramic Coating Class in Escondido, California - Saturday, March 23rd
Class Description
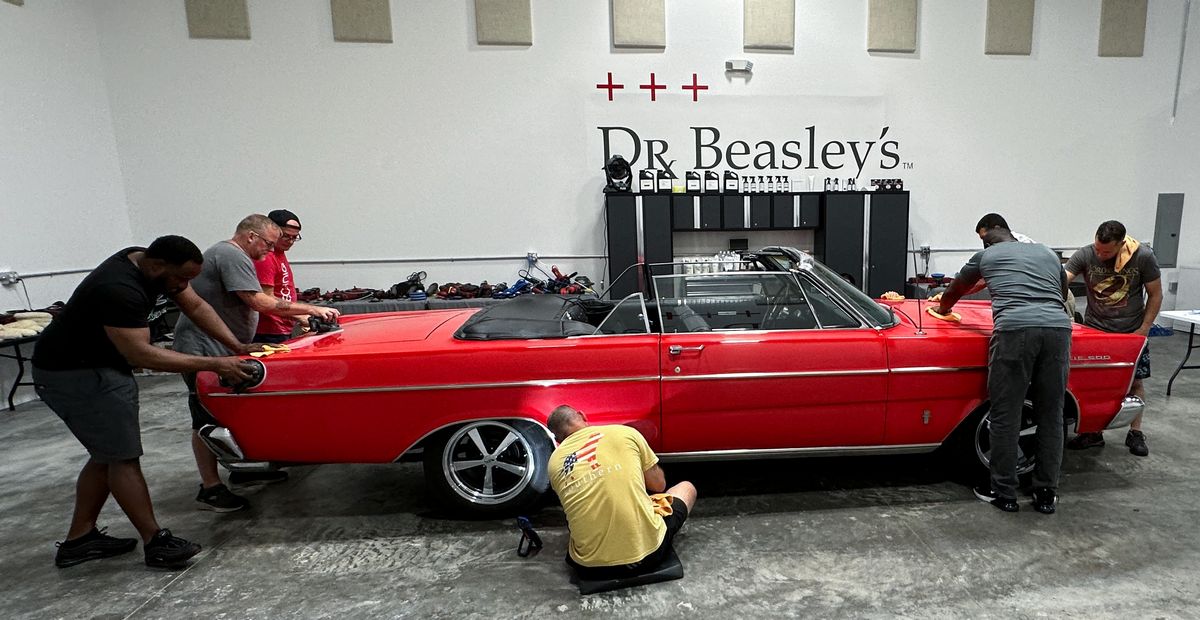
Day 2: Machine Dry Sanding and Ceramic All-in-One Paintwork Correction
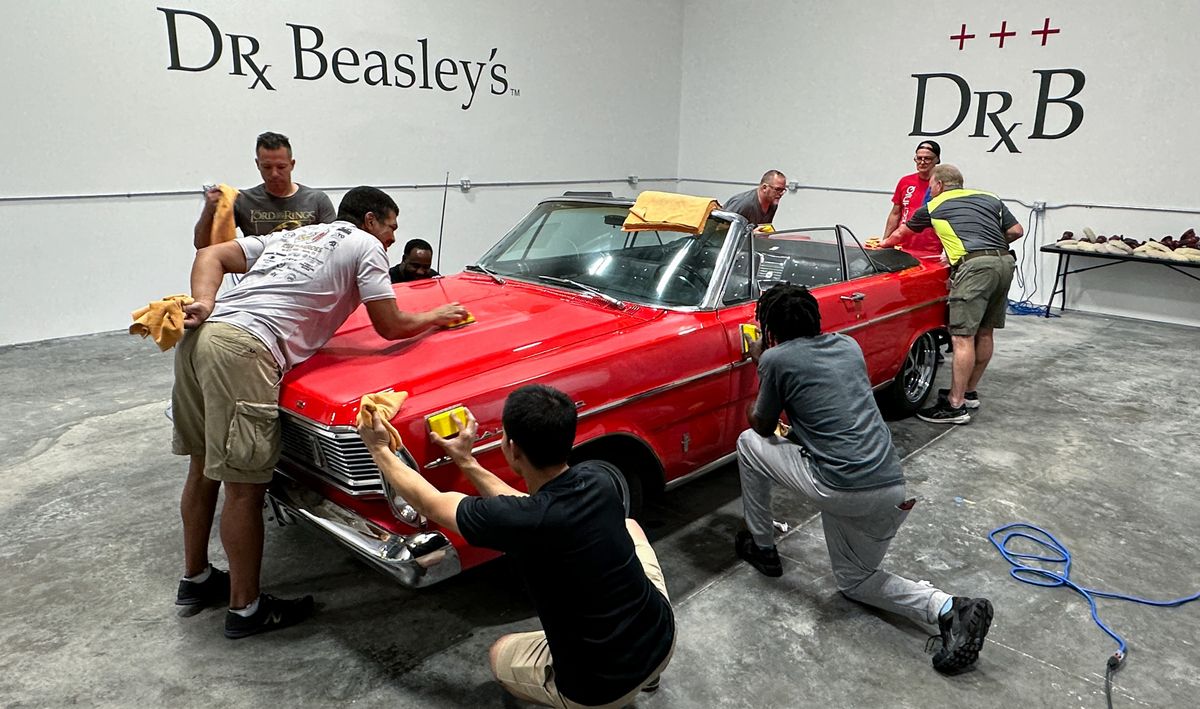
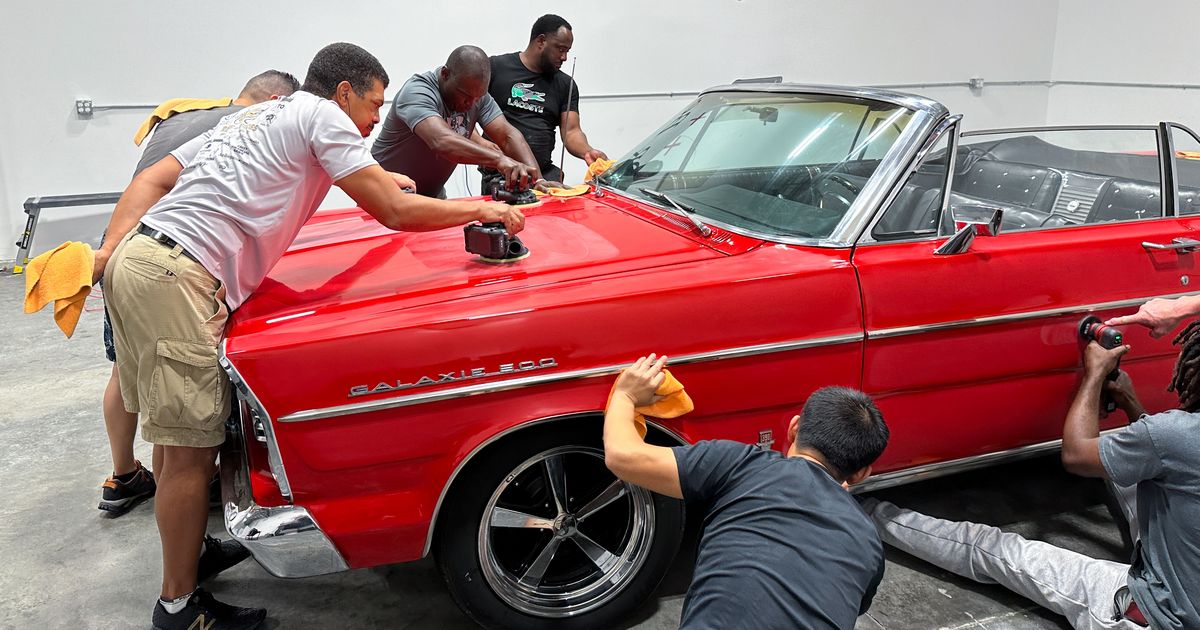
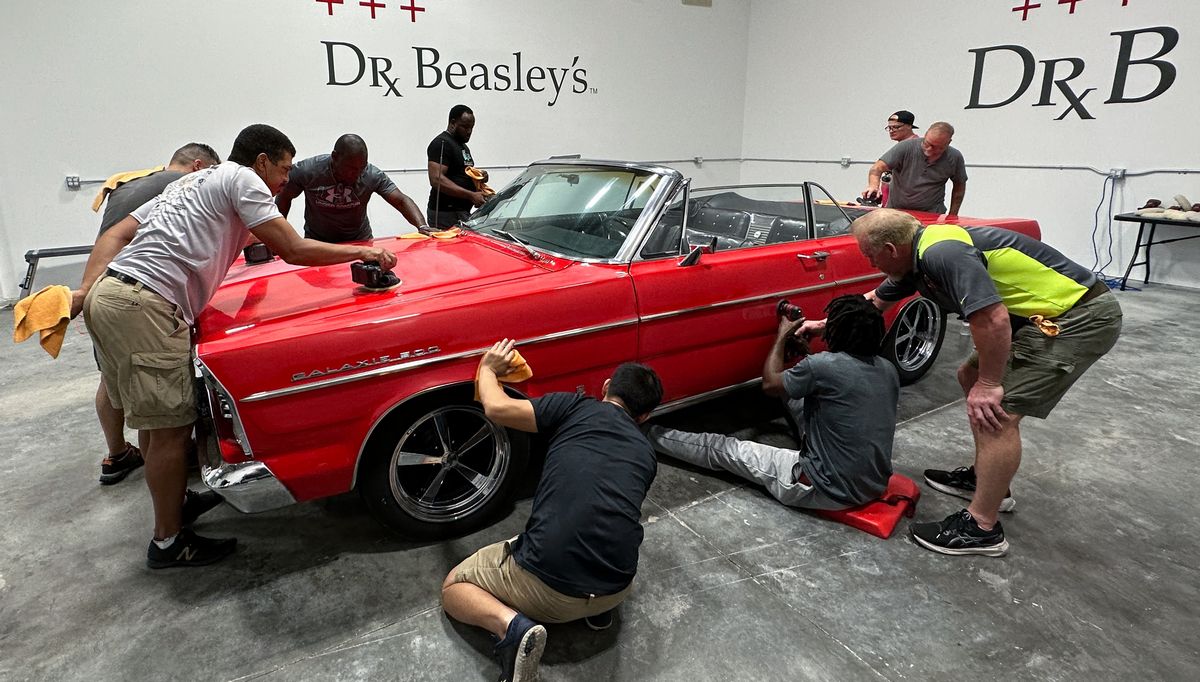
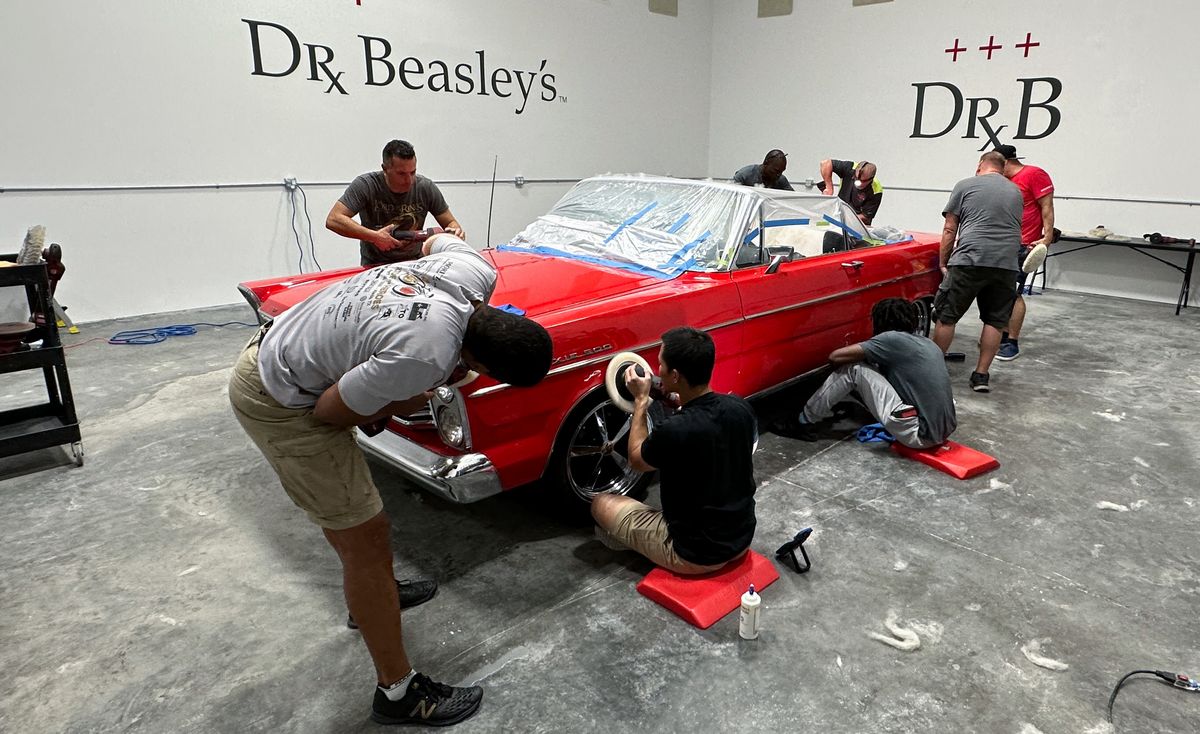
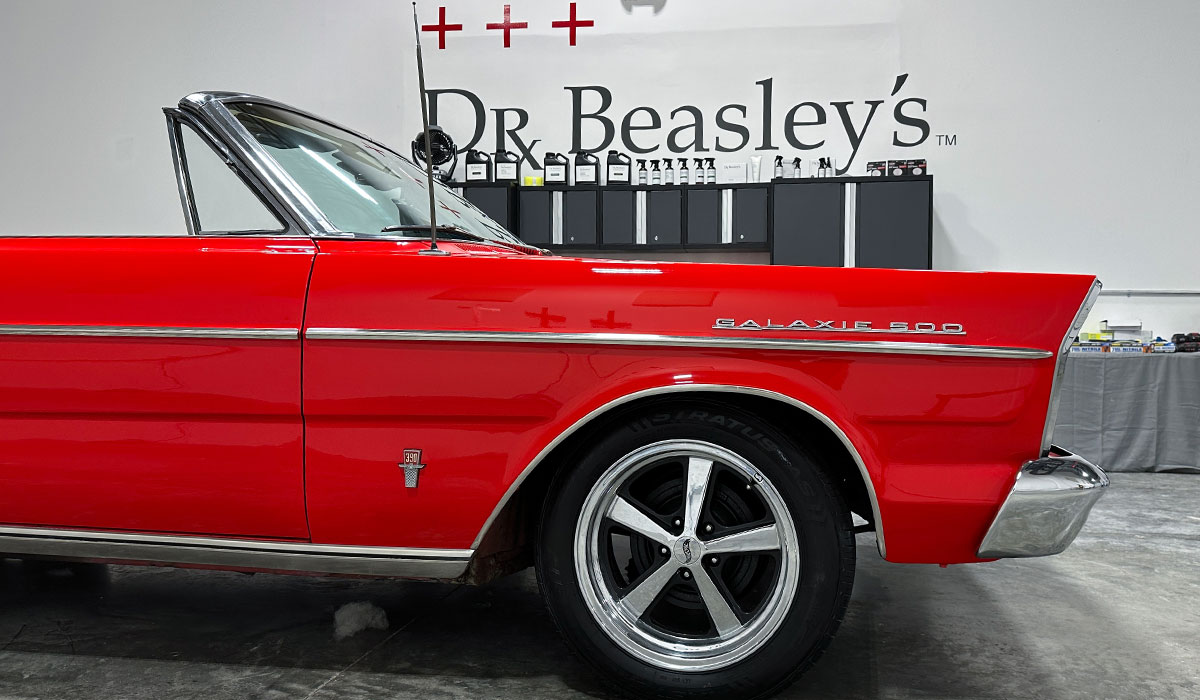
The second day of this course builds on the skills taught the day previous. Students will learn two paintwork correction techniques: including both hand and machine dry sanding for orange peel removal (typically reserved for show car work) and Ceramic All-in-One or AIO paintwork correction (typically used in production work). Students will use this knowledge to complete paintwork correction on real test vehicles.
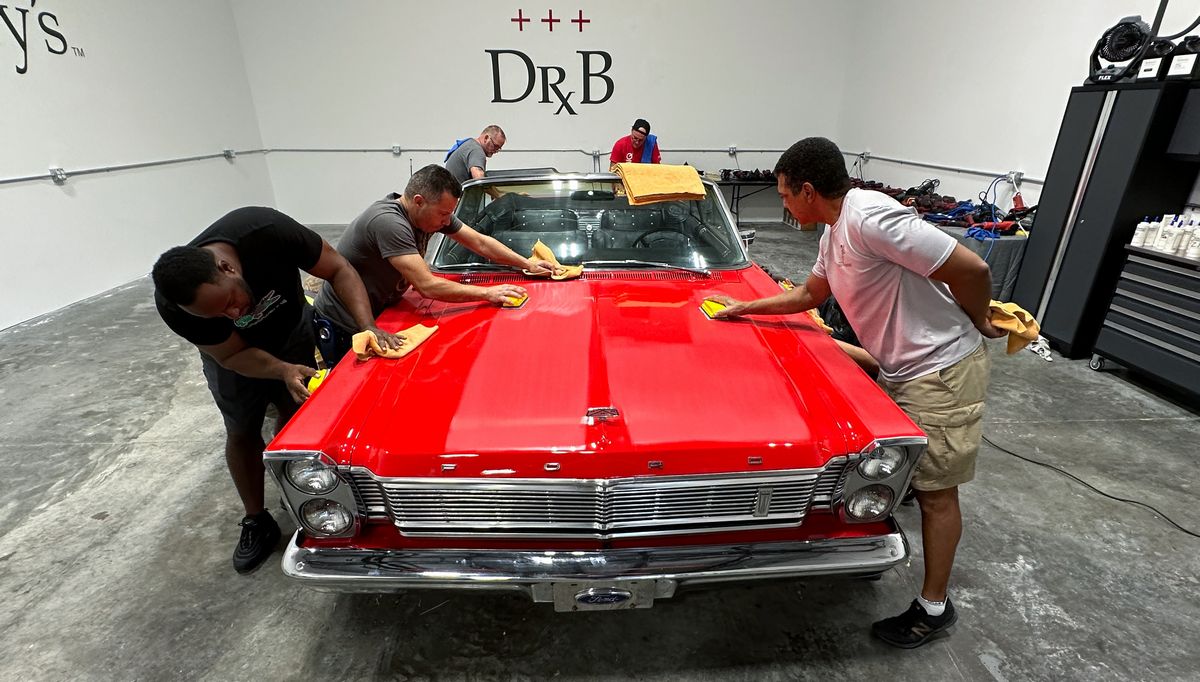
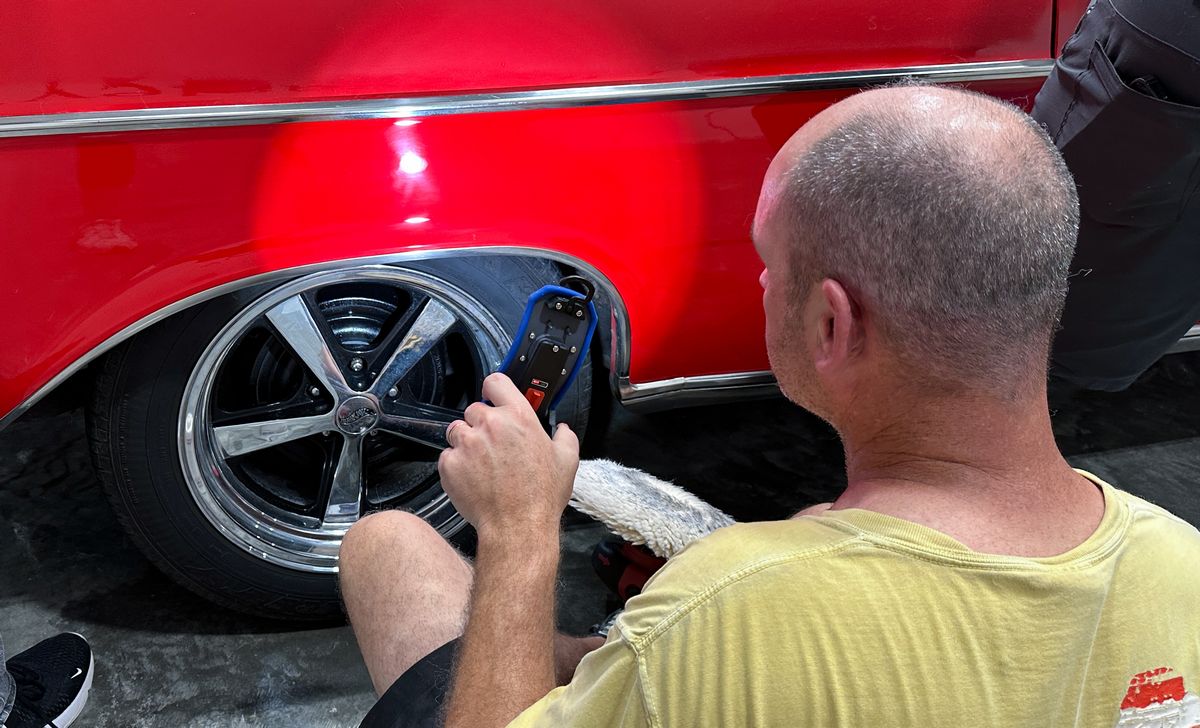
Extreme Prep Washing
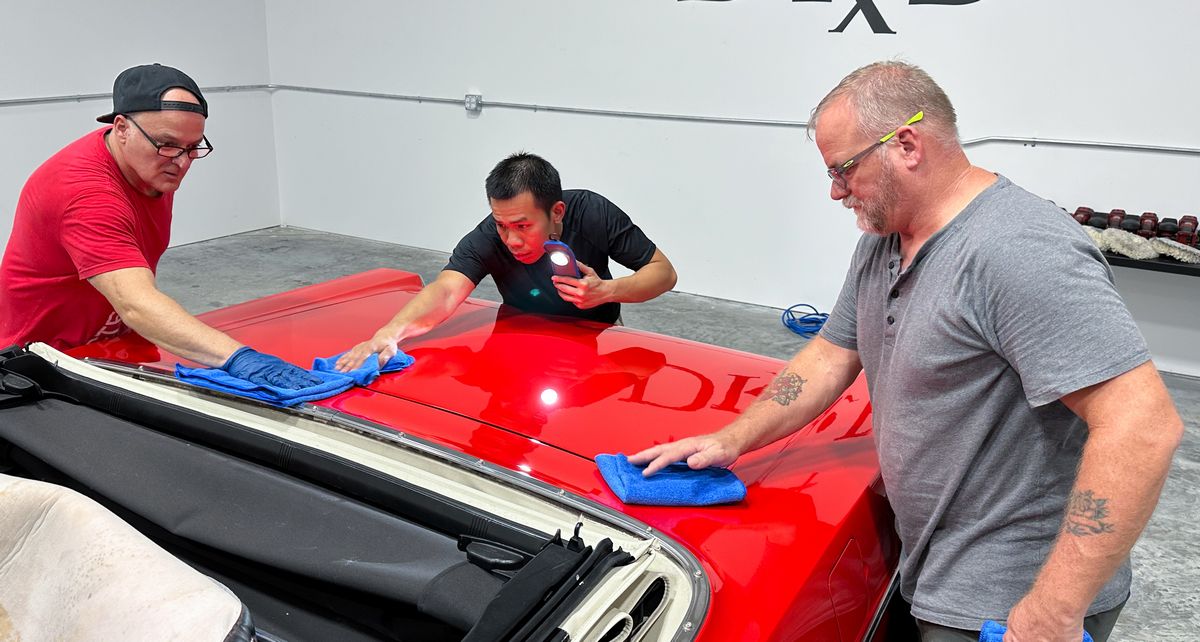
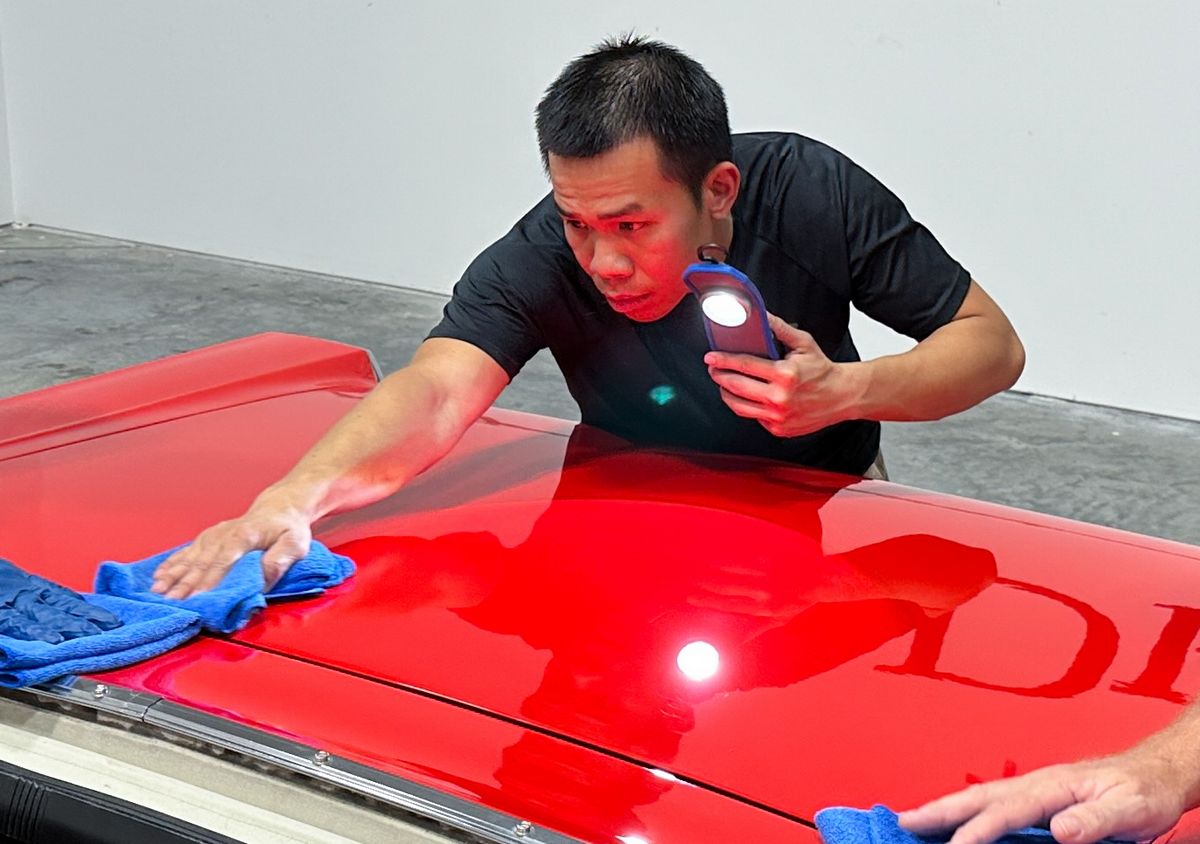
Before an aggressive procedure like machine dry sanding can be attempted, the vehicle must be fastidiously clean. The focus is getting the car surgically clean and also mechanically decontaminated to prep the paint for sanding.
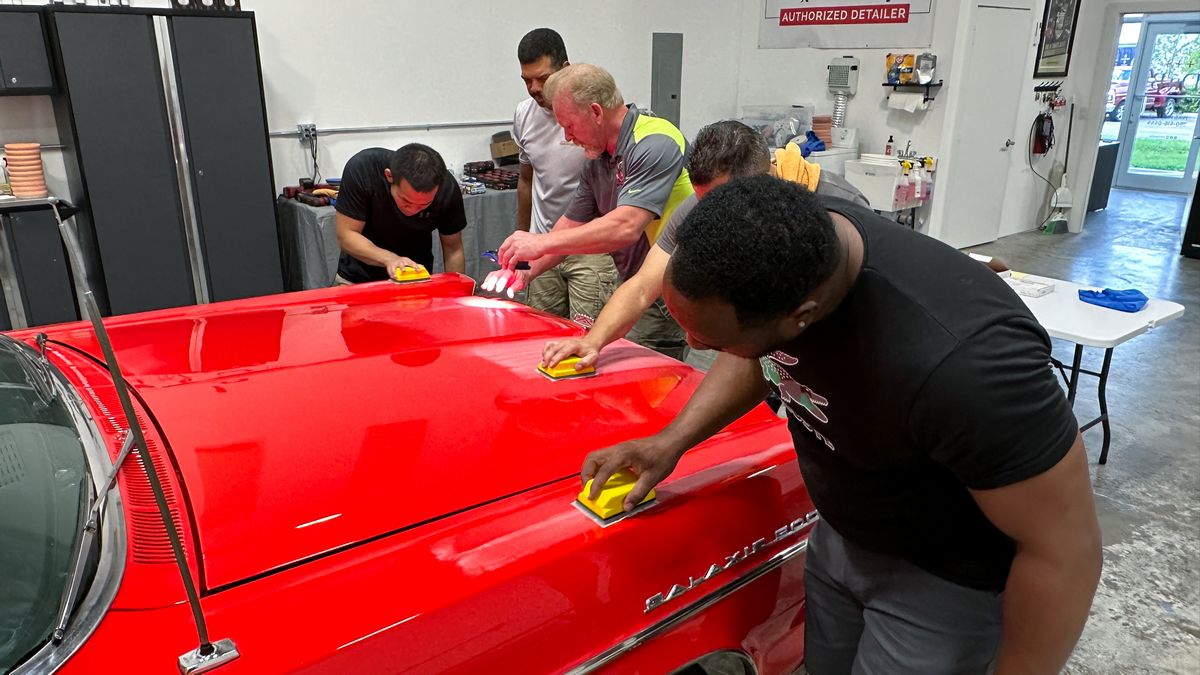
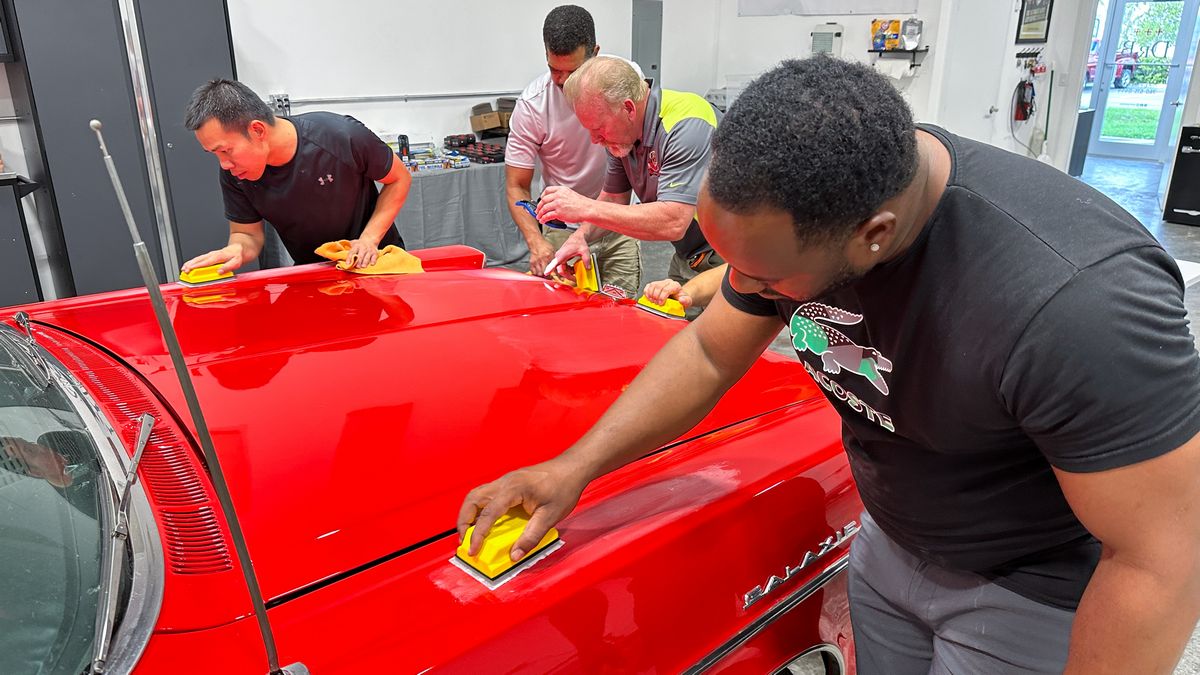
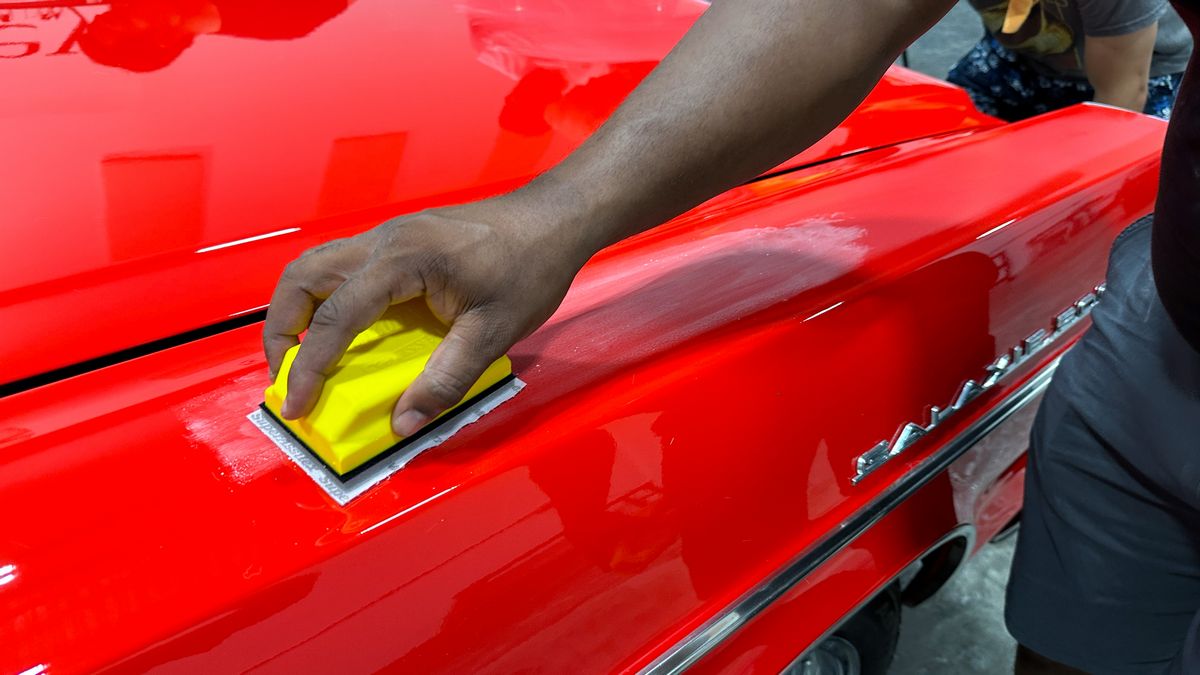
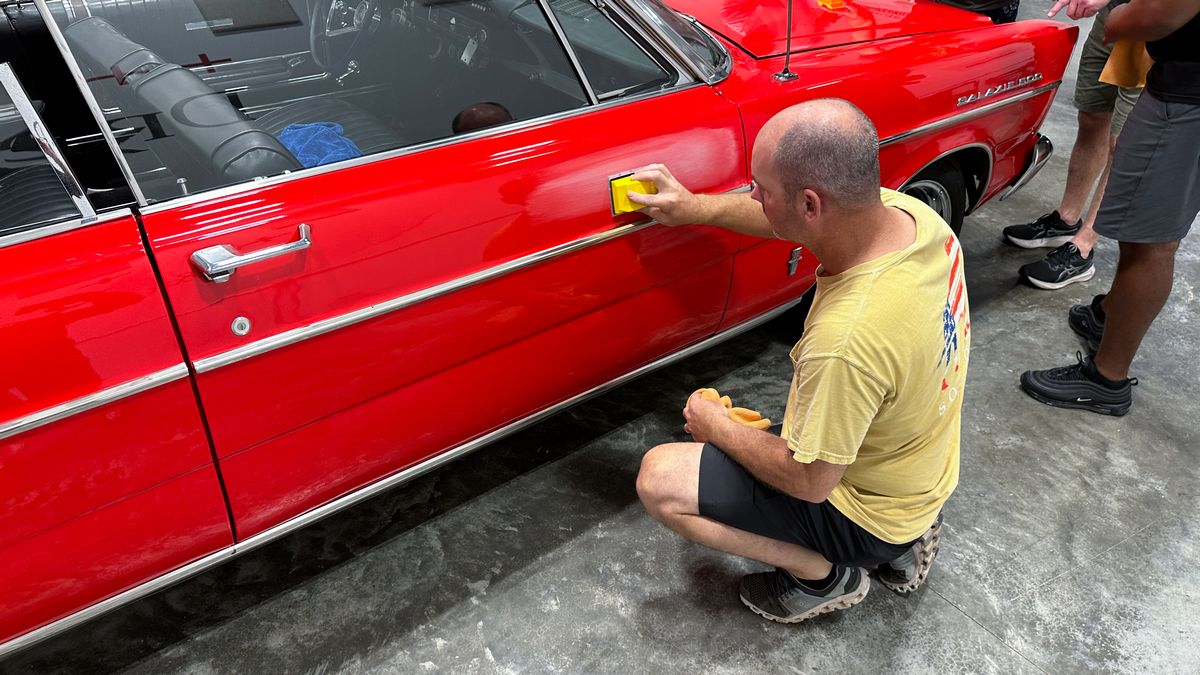
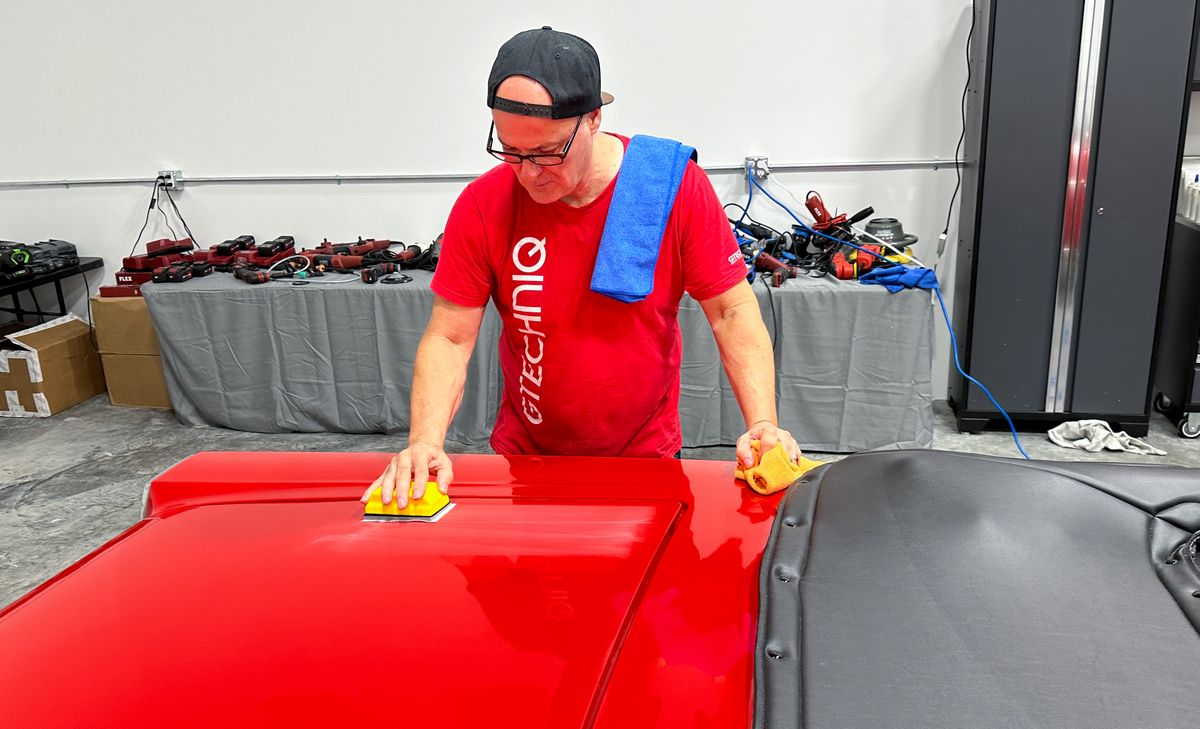
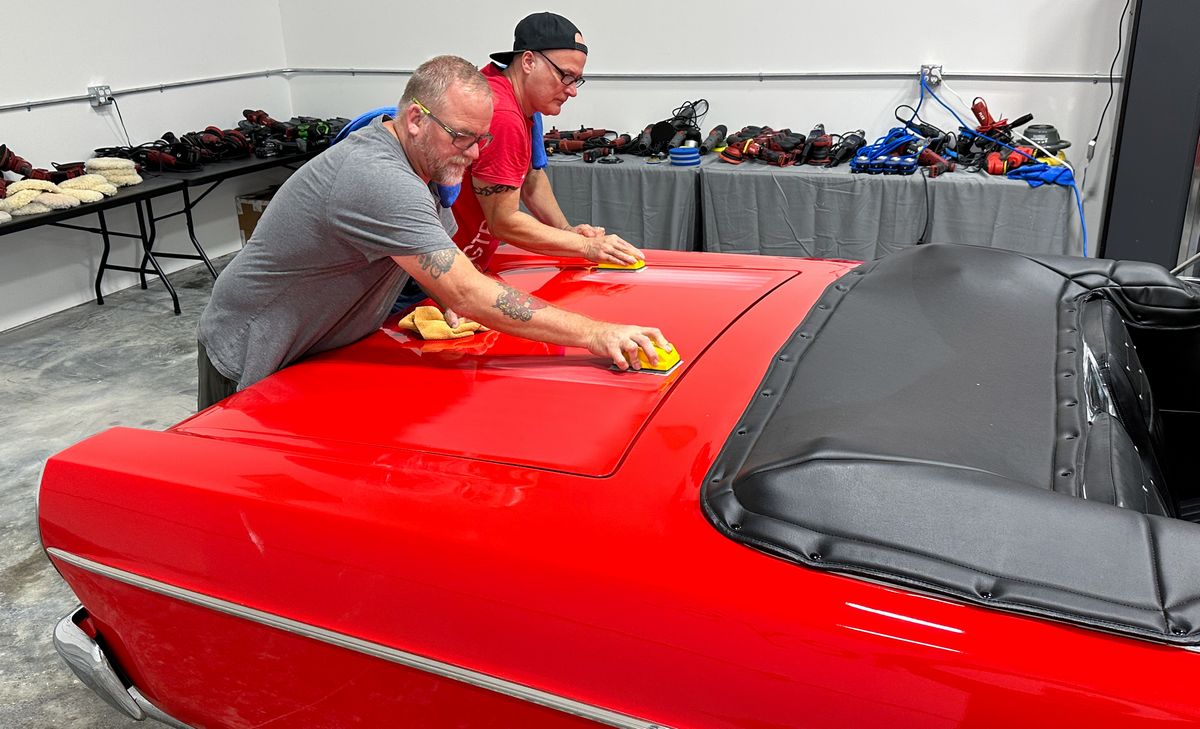
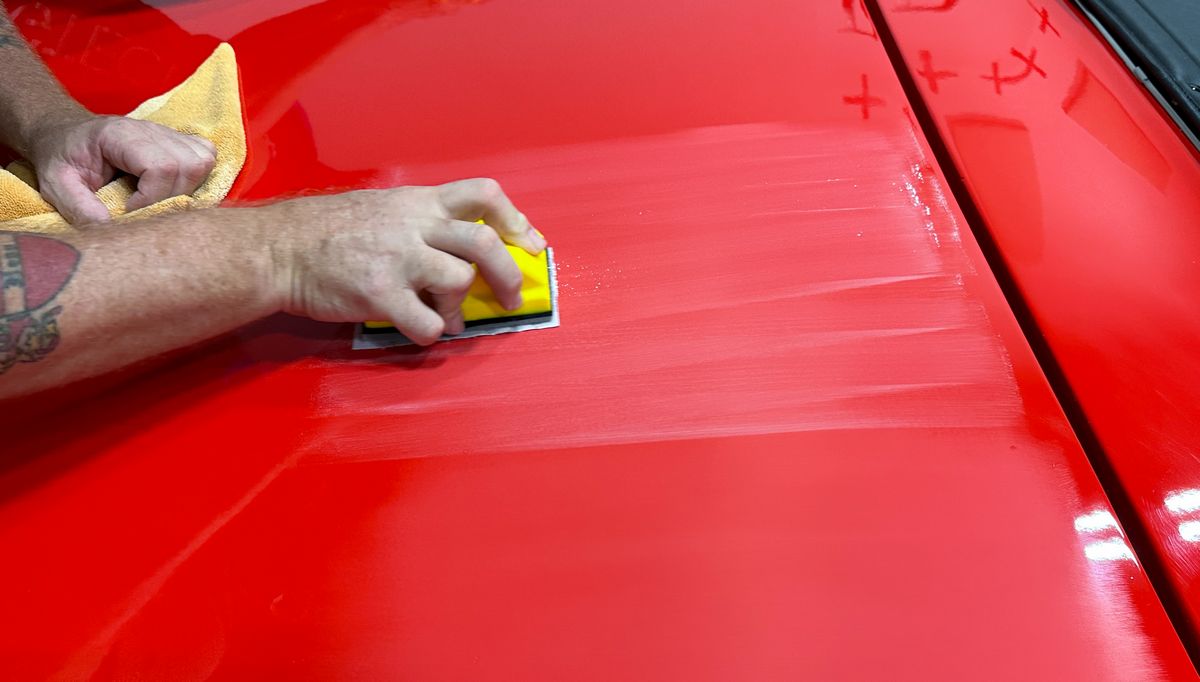
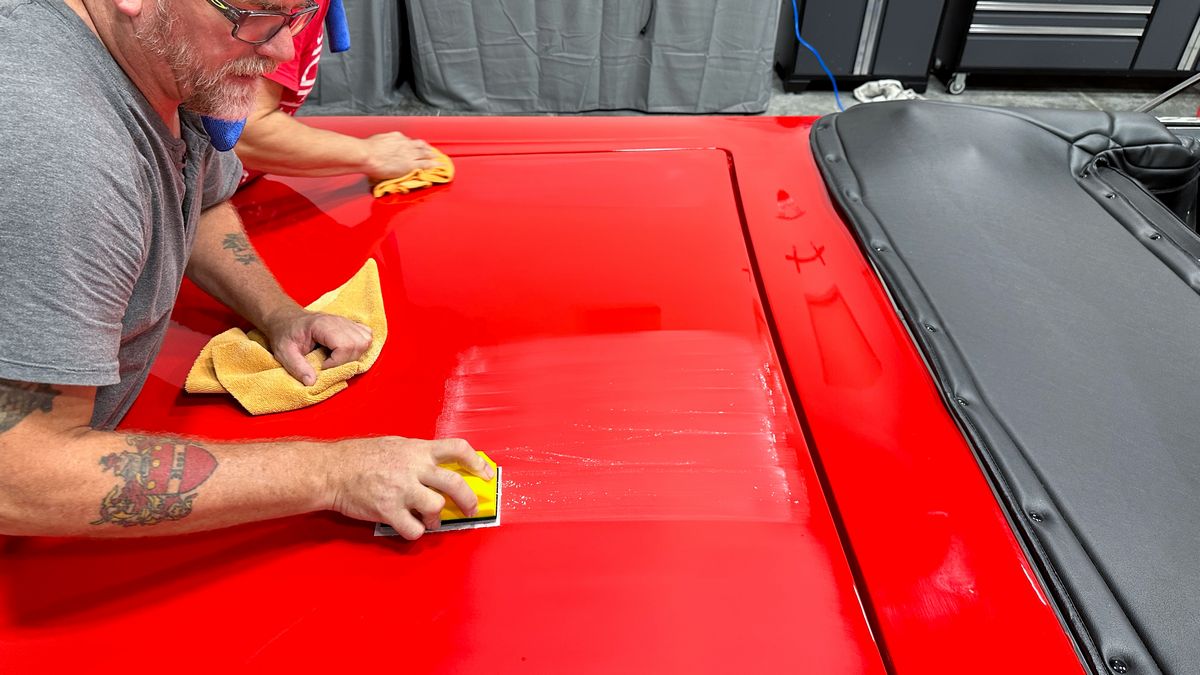
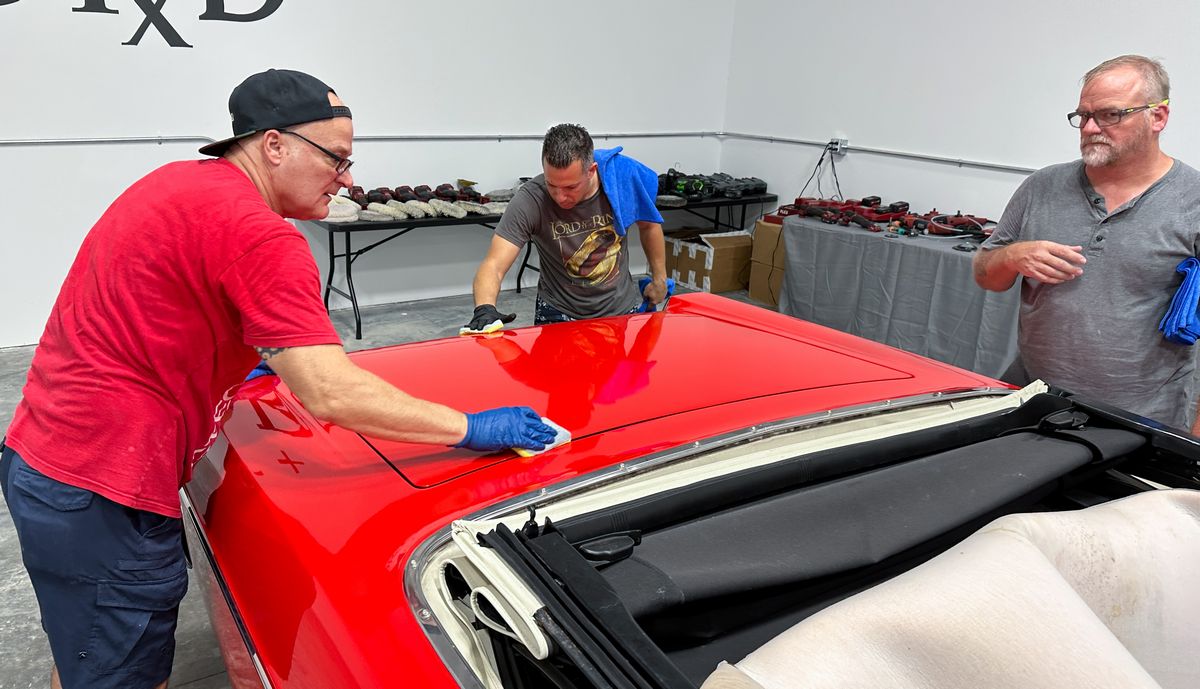
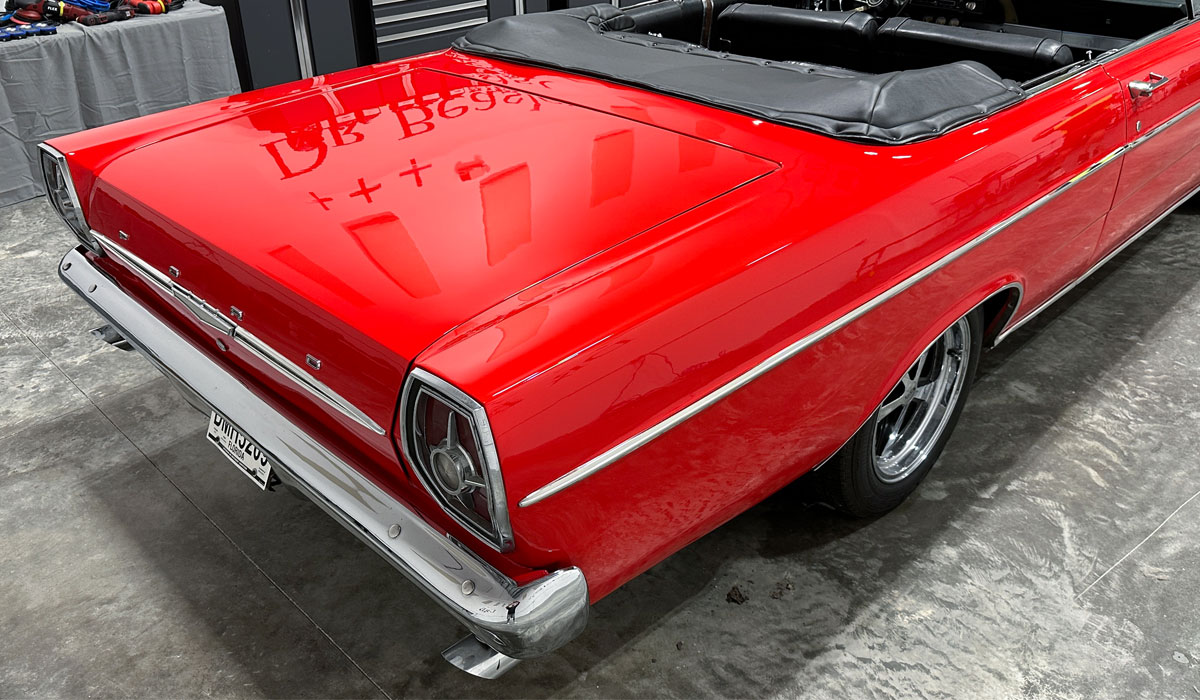
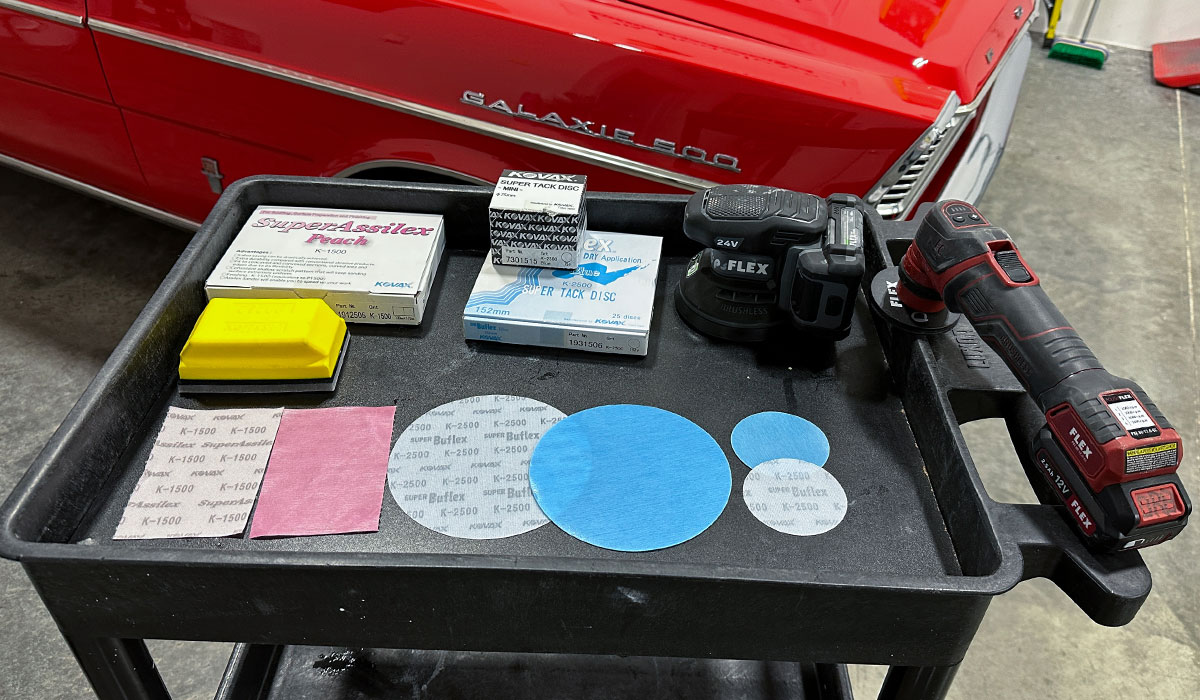
Hand & Machine Dry Sanding with Eagle Abrasives by KOVAX system
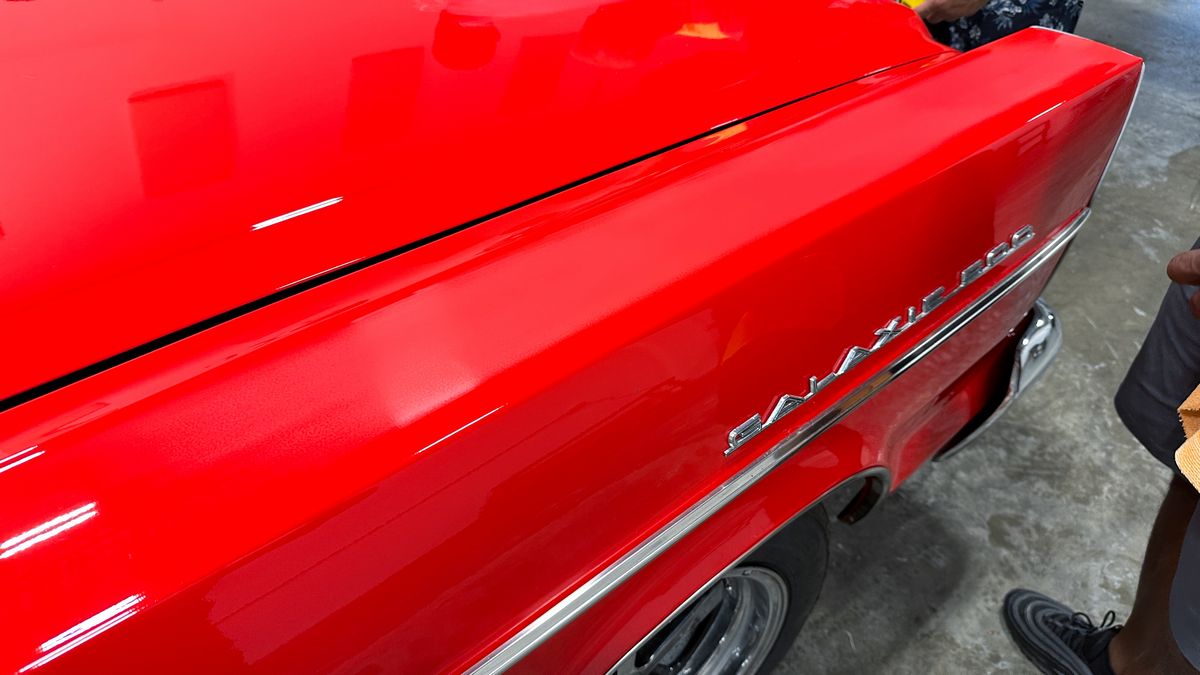
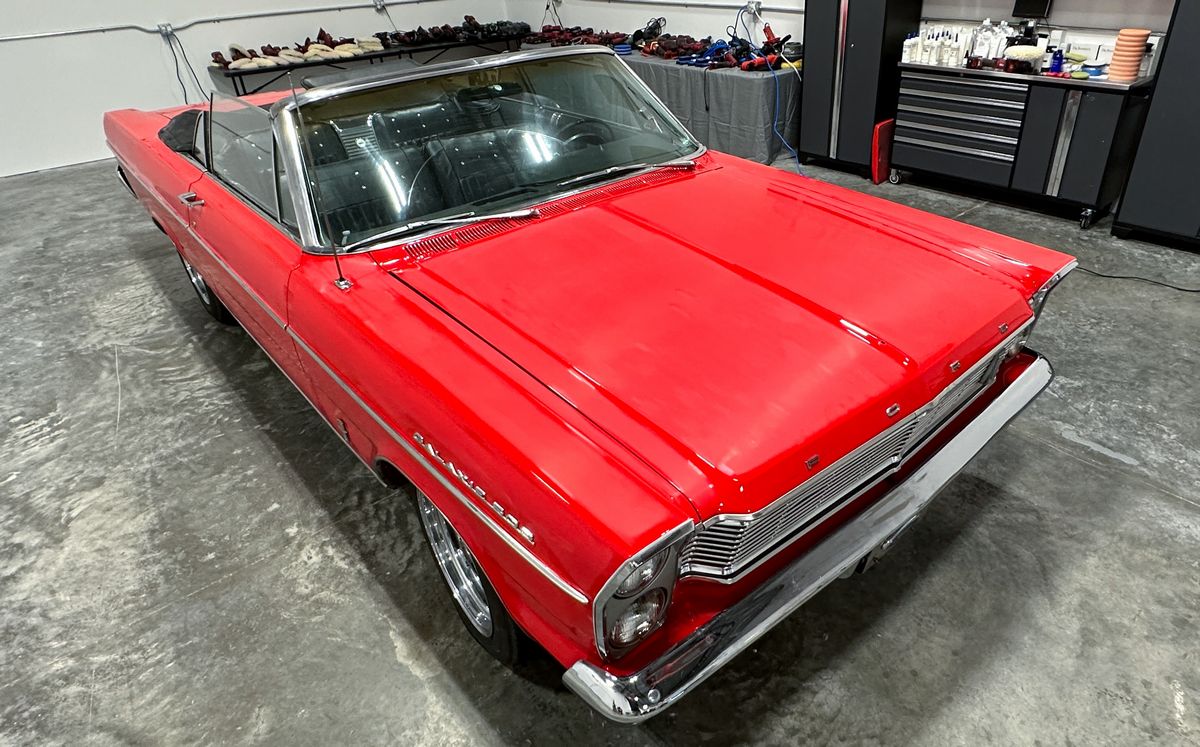
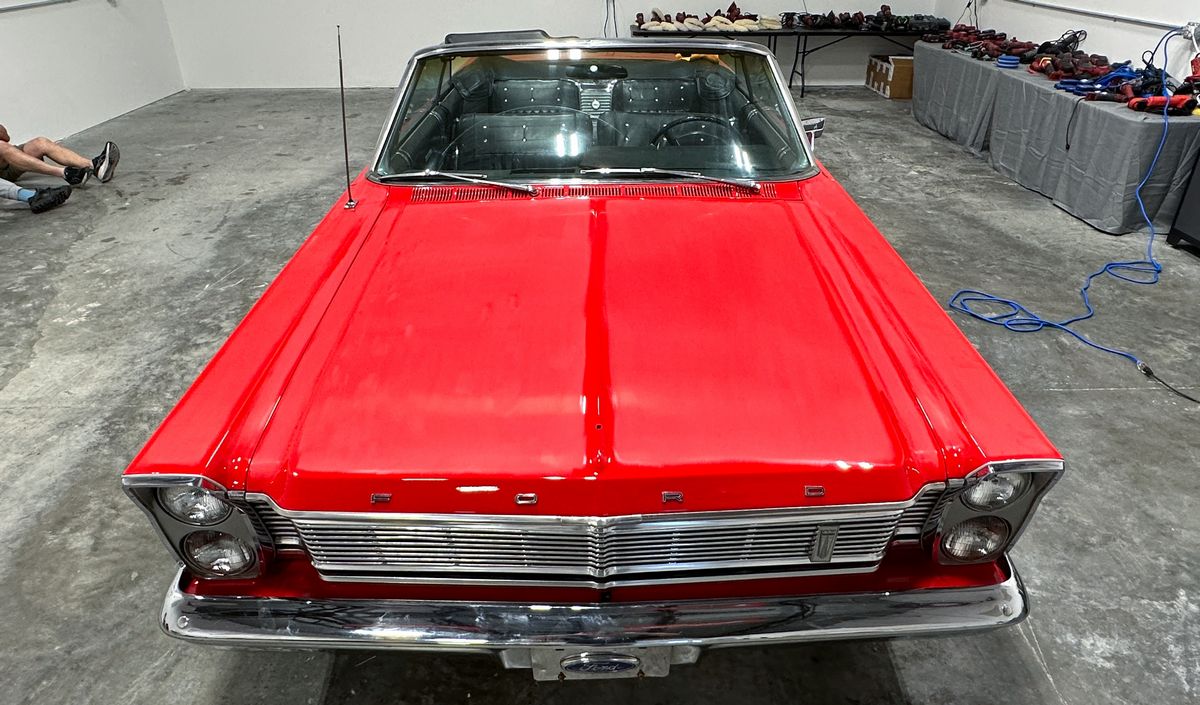
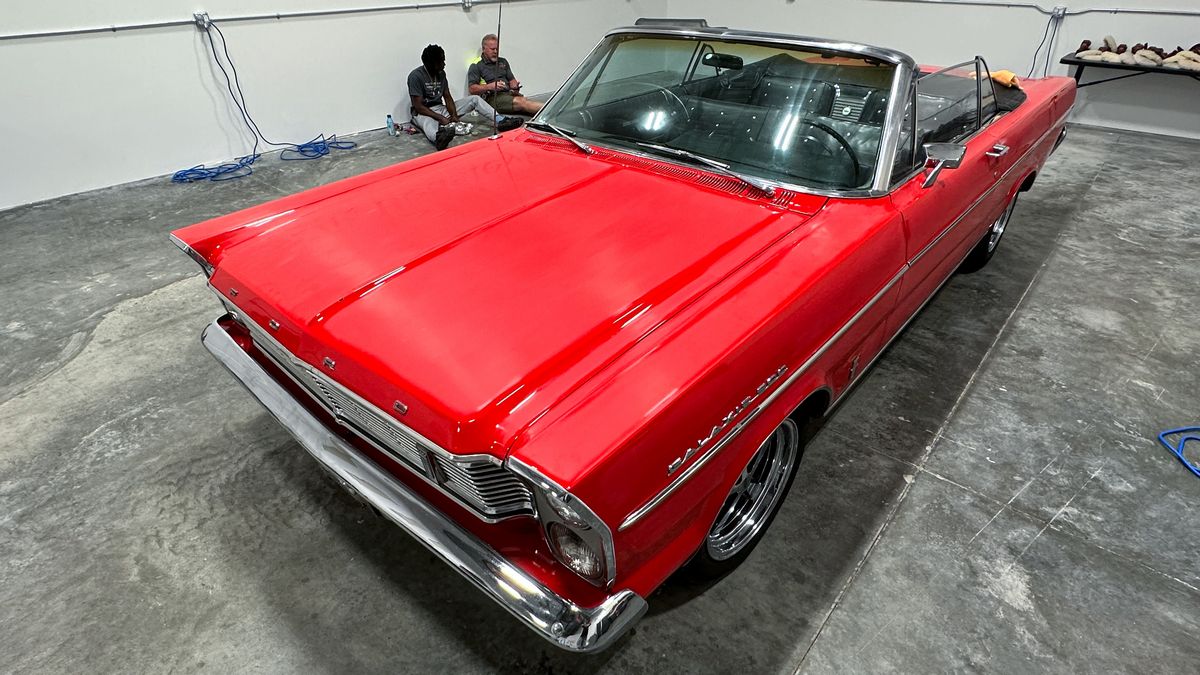
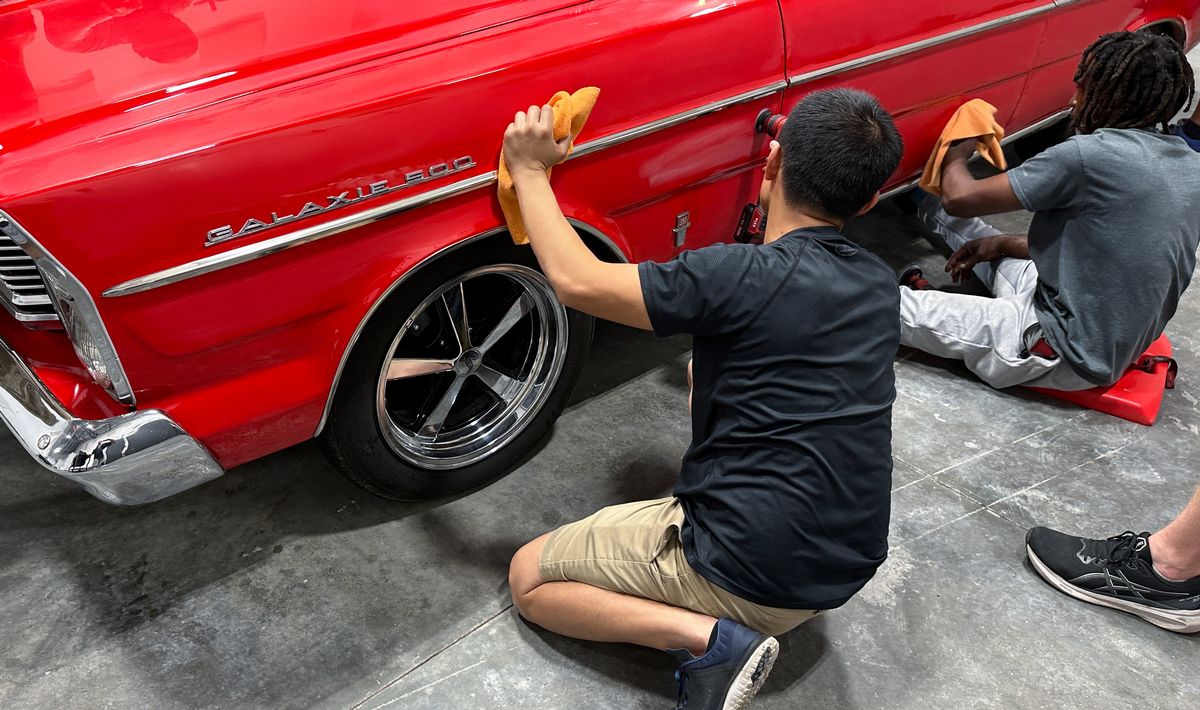
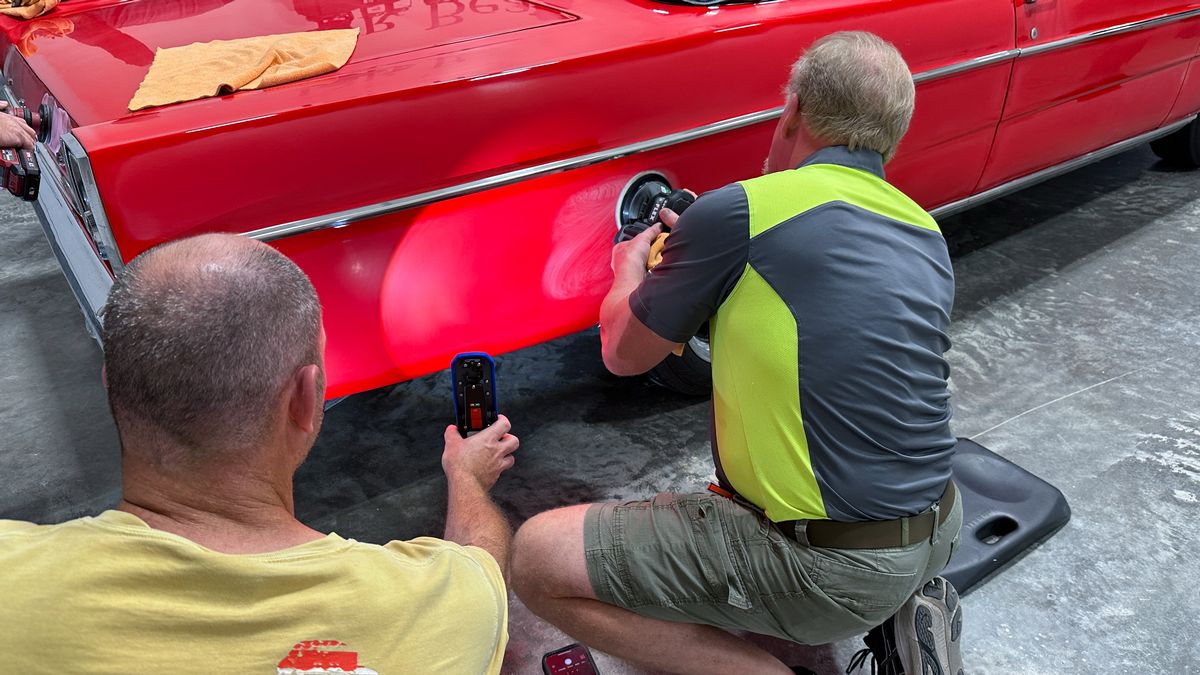
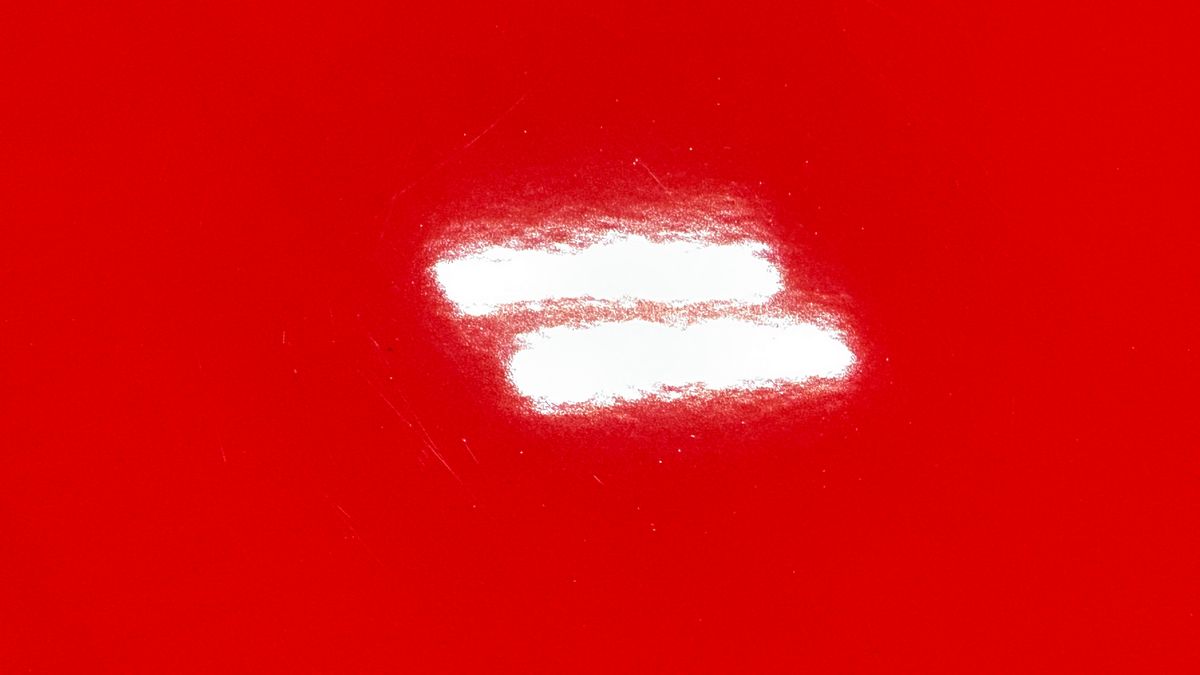
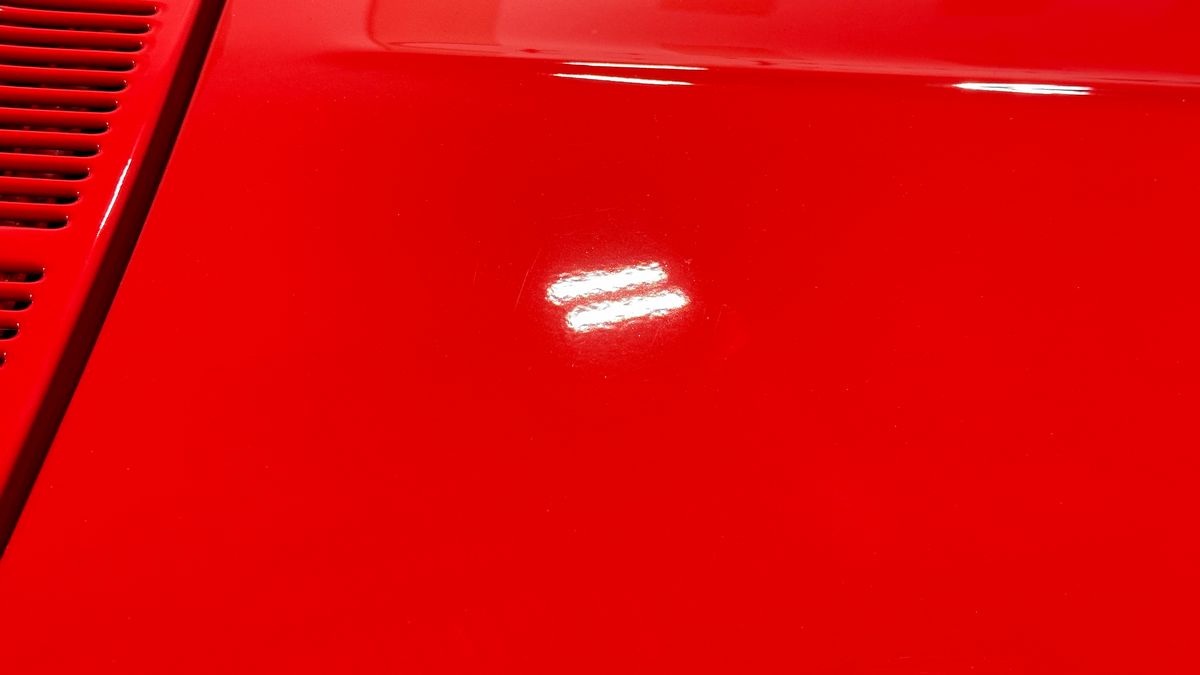
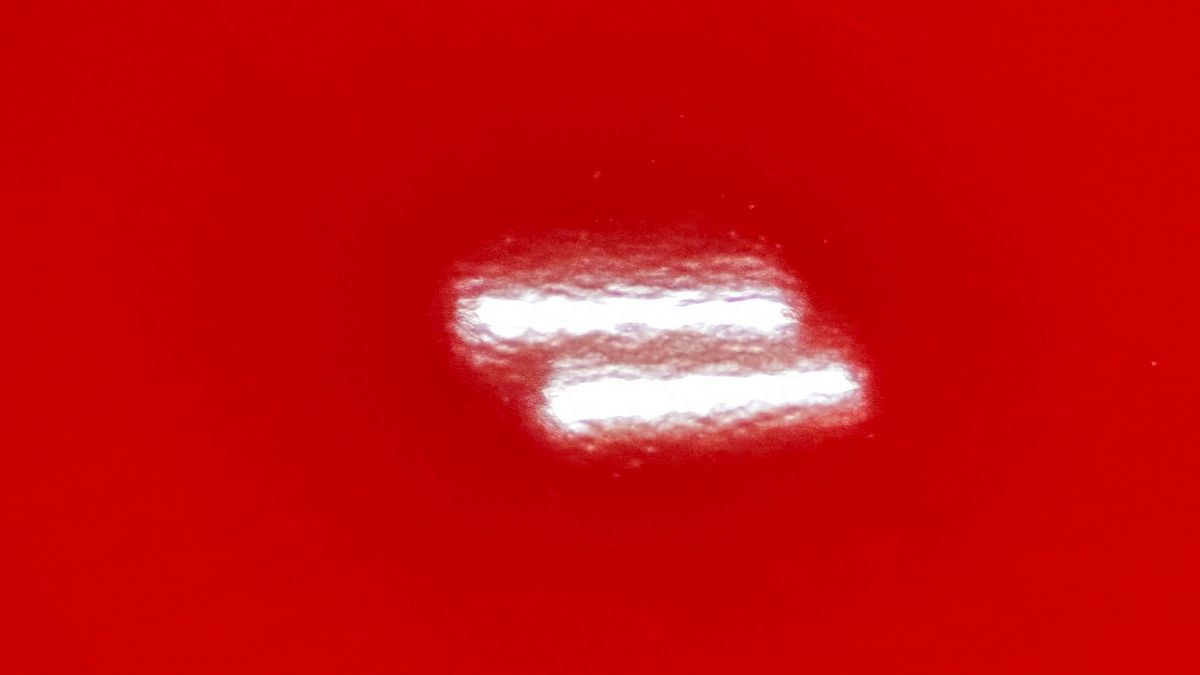
Once the vehicle is fully prepped, students will learn how to conduct one of the most aggressive paintwork correction procedures including hand and machine dry sanding. The ultimate paintwork correction procedure for producing a show car finish, it is often used to remove orange peel on custom paint jobs for Concours d’Elegance events.
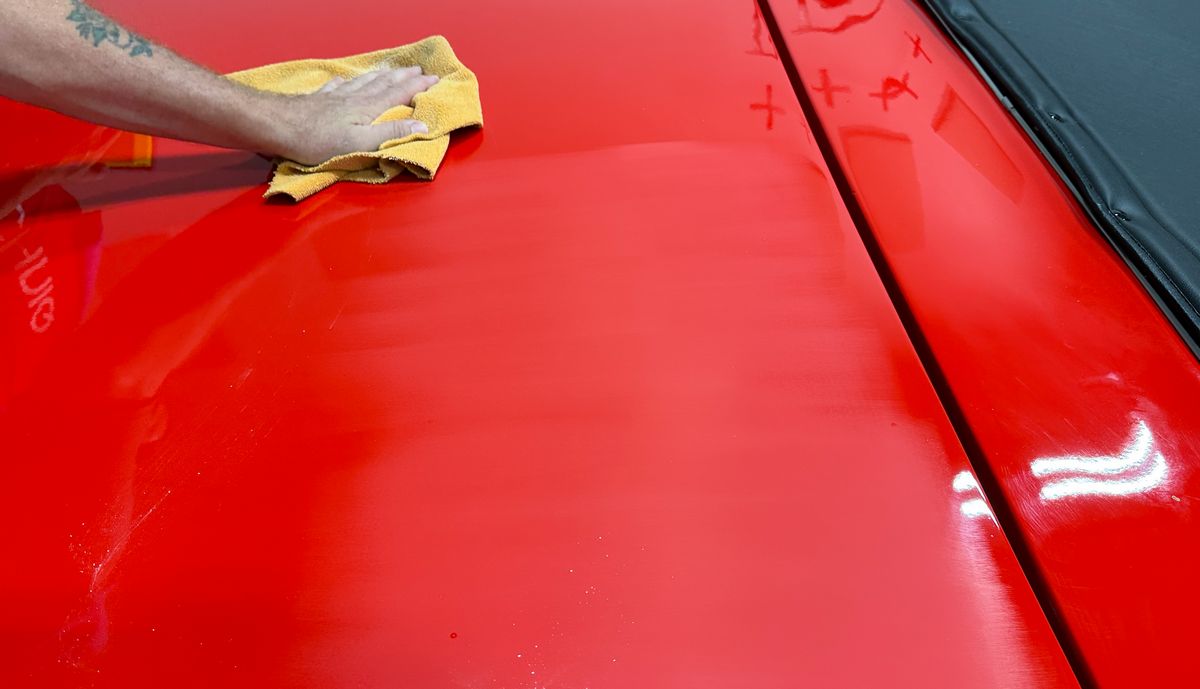
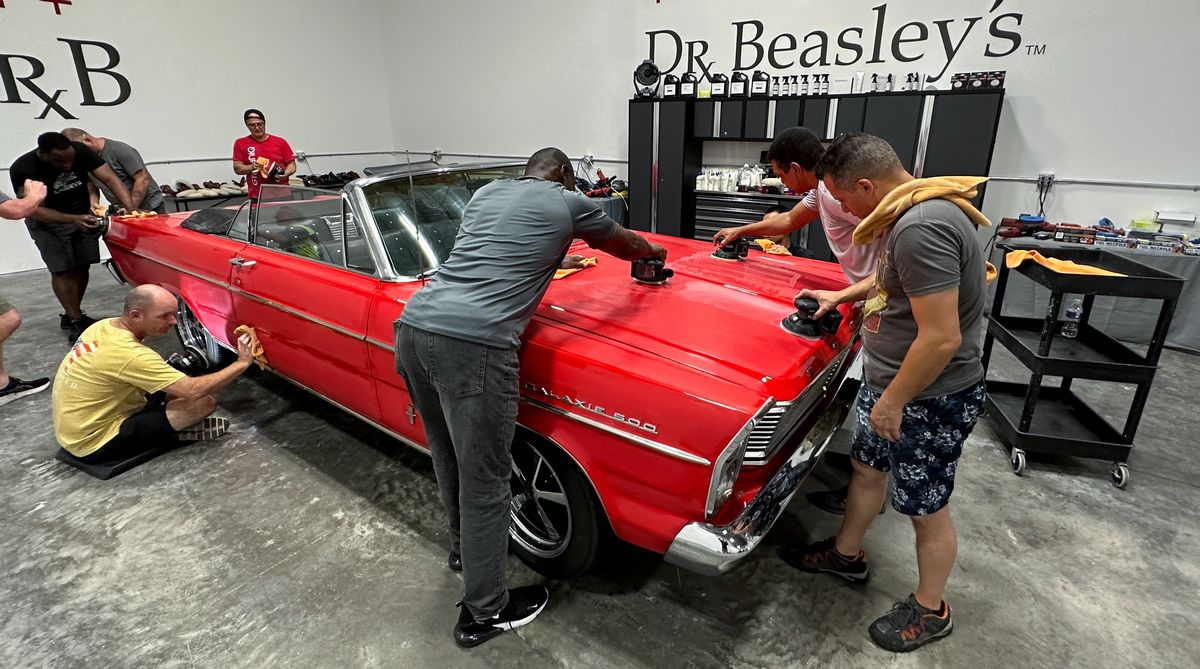
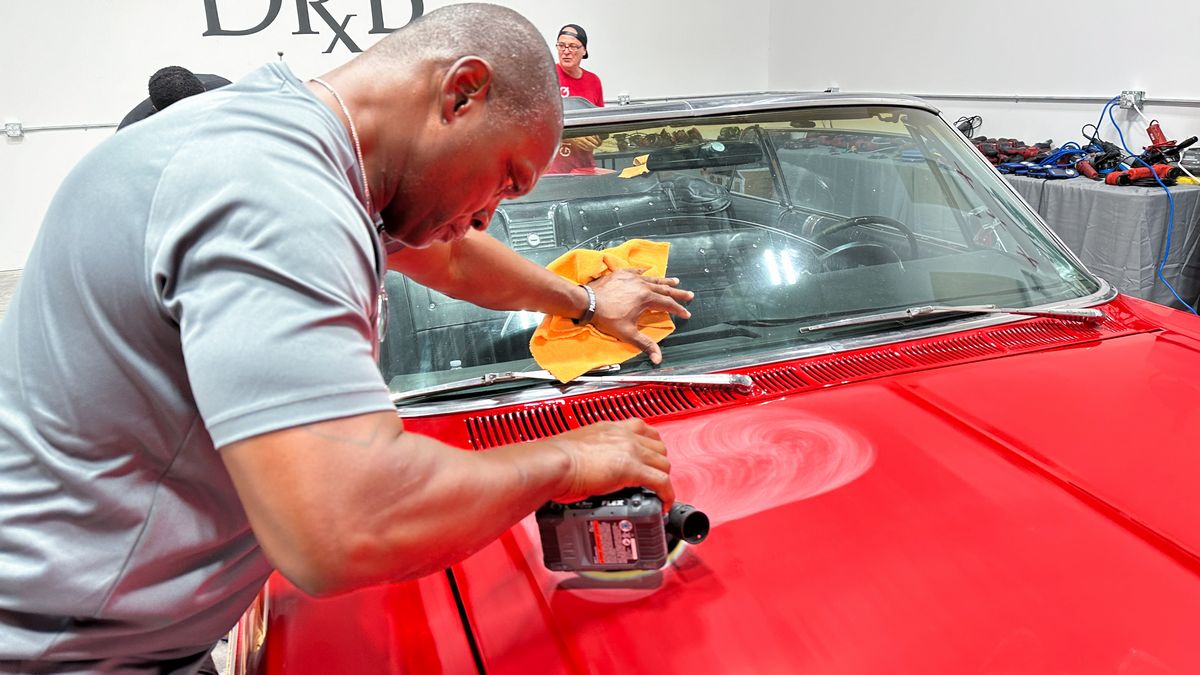
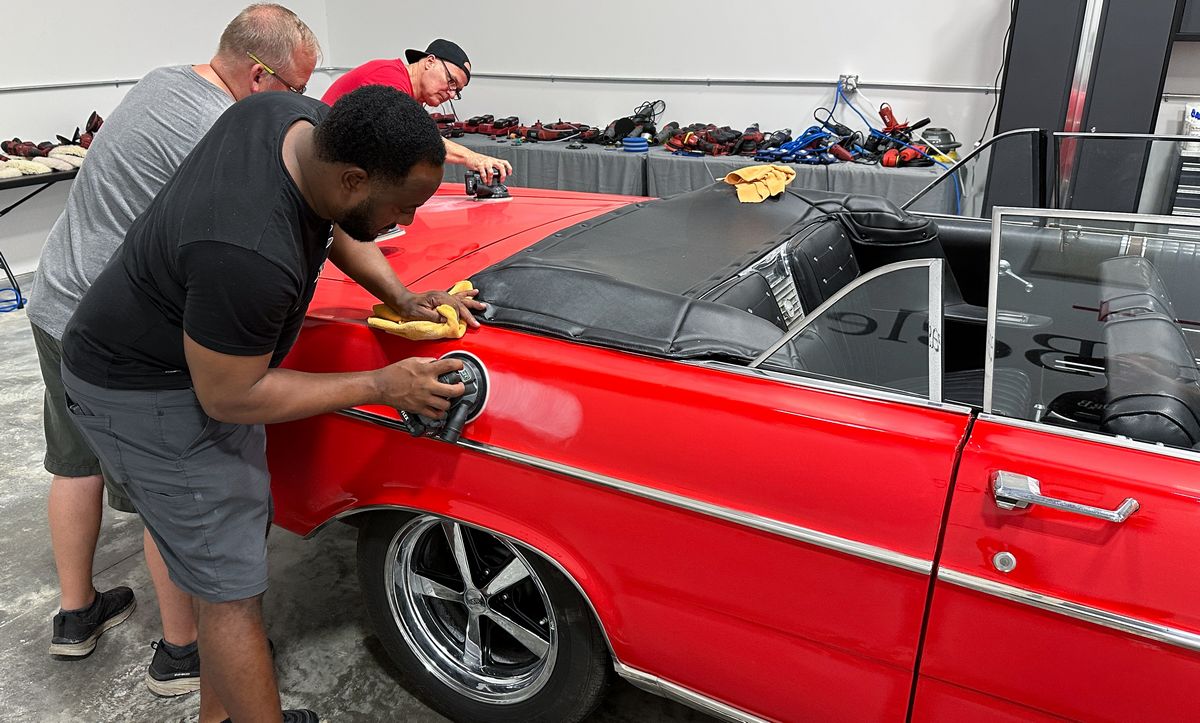
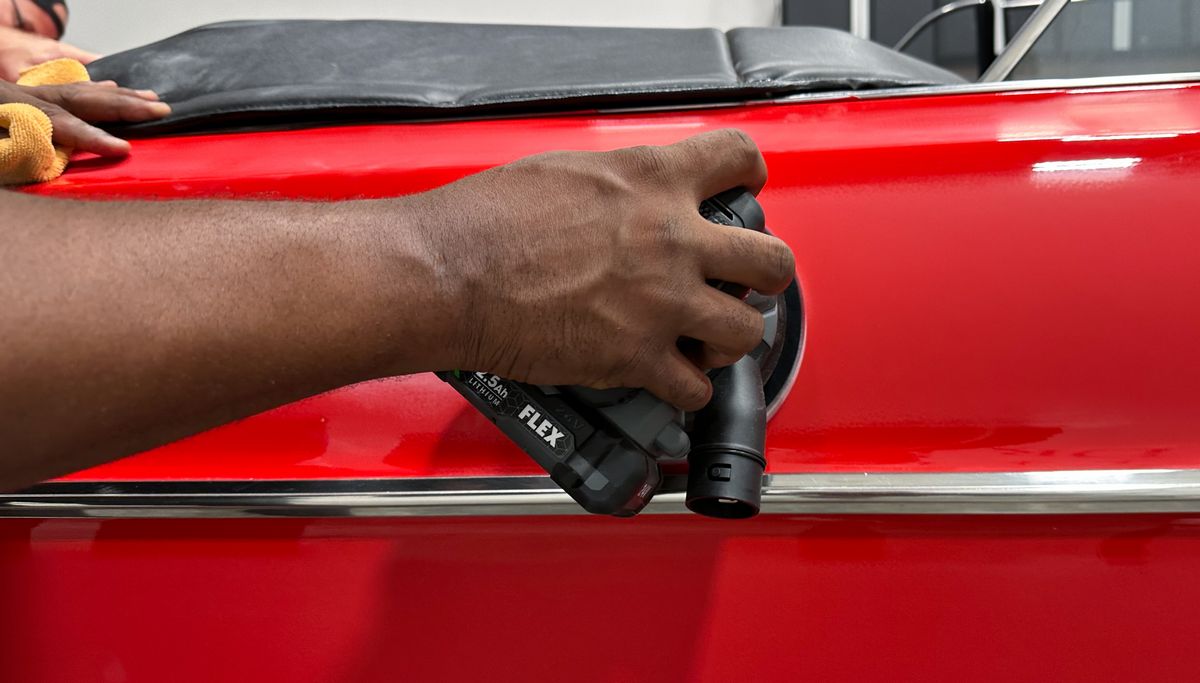
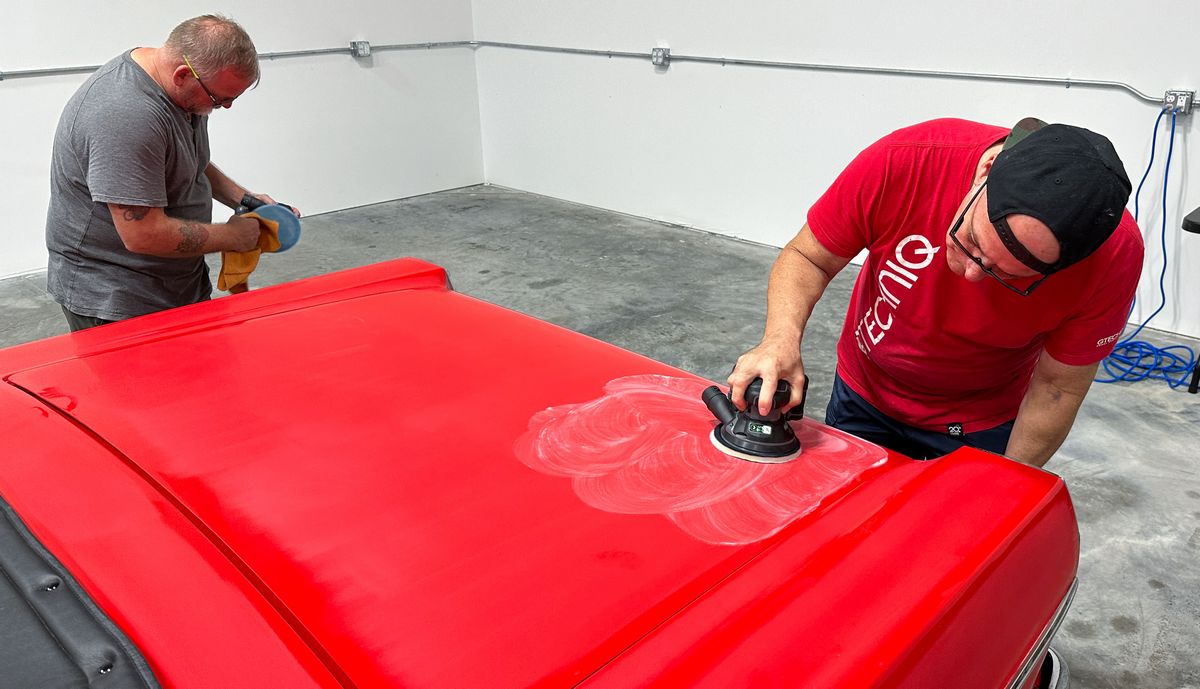
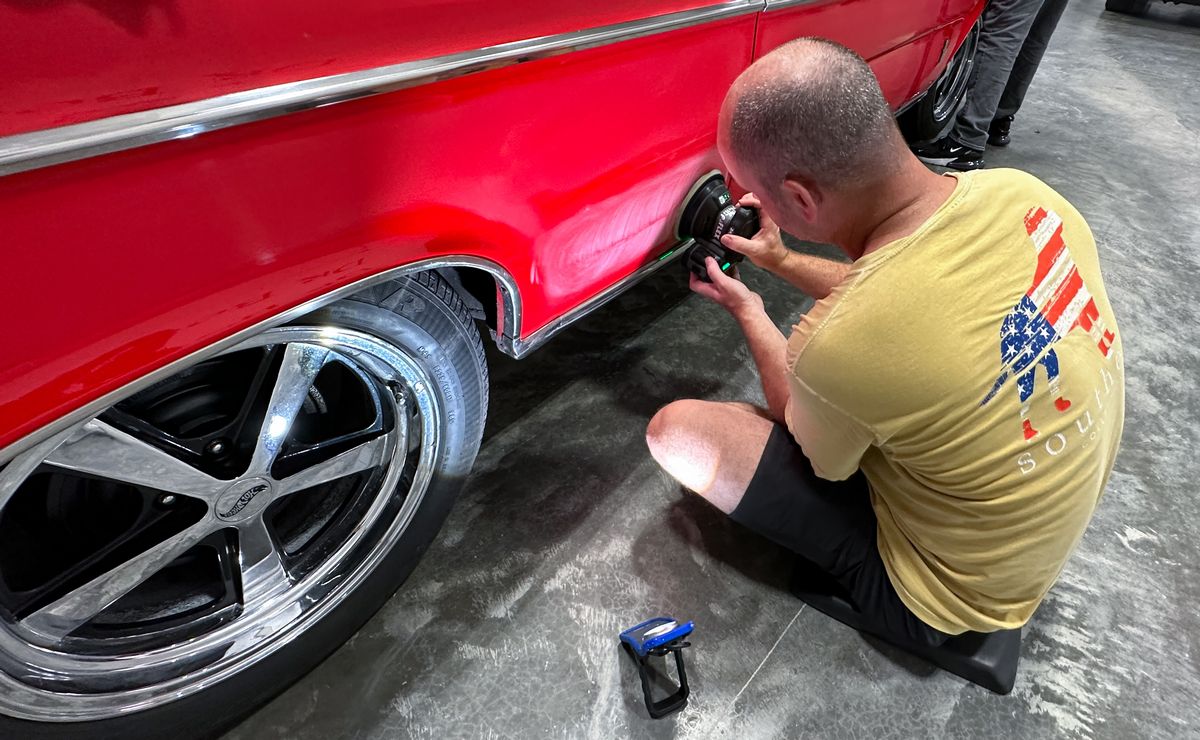
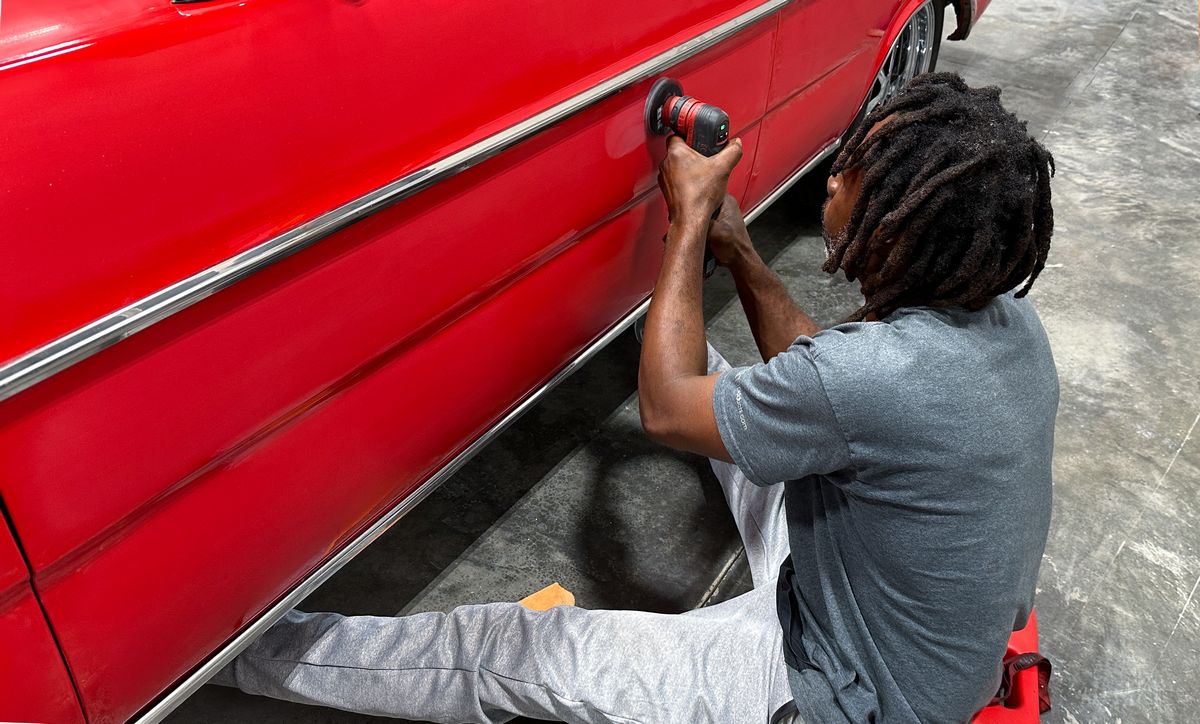
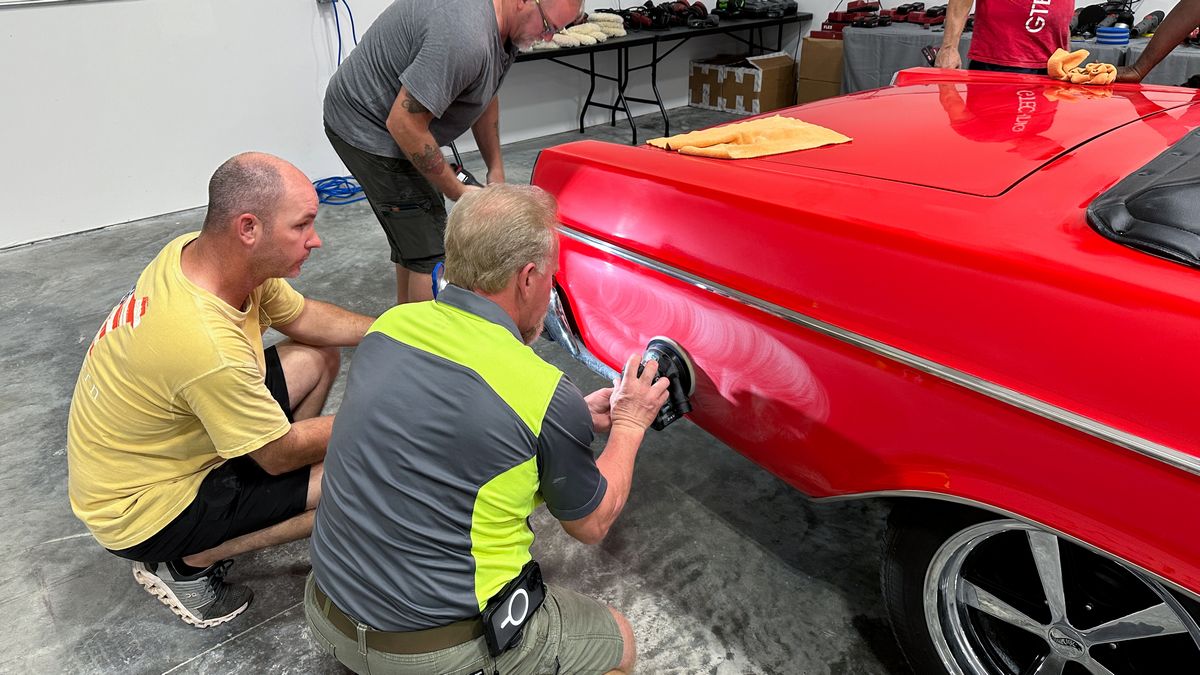
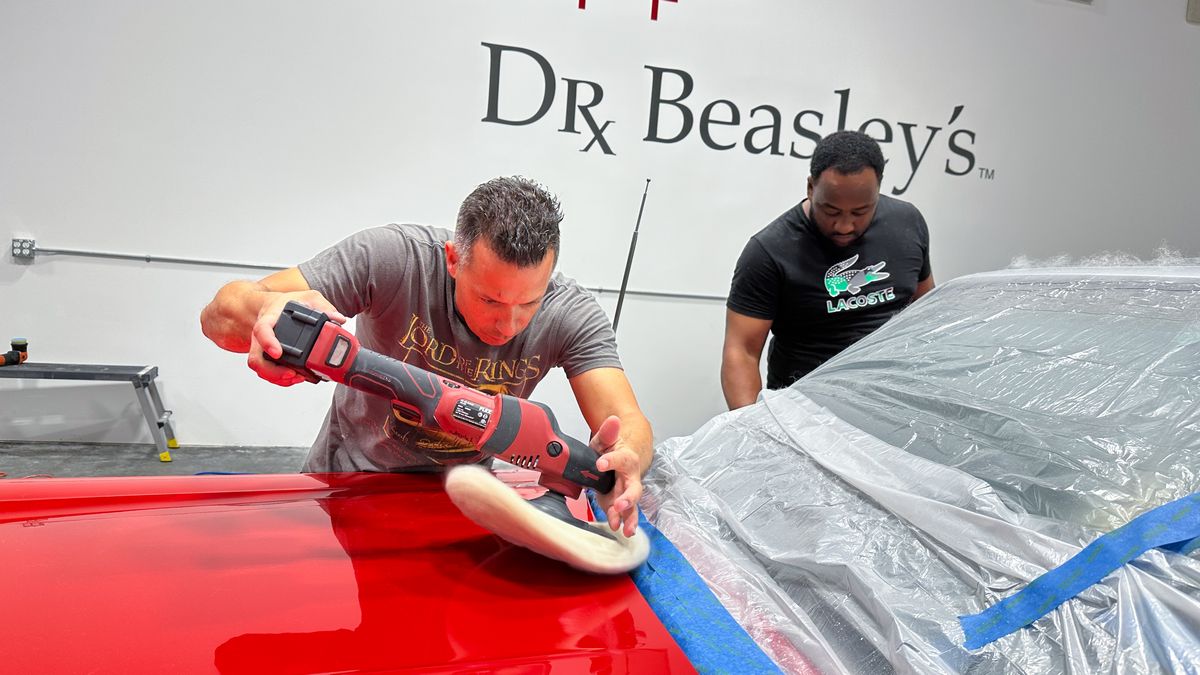
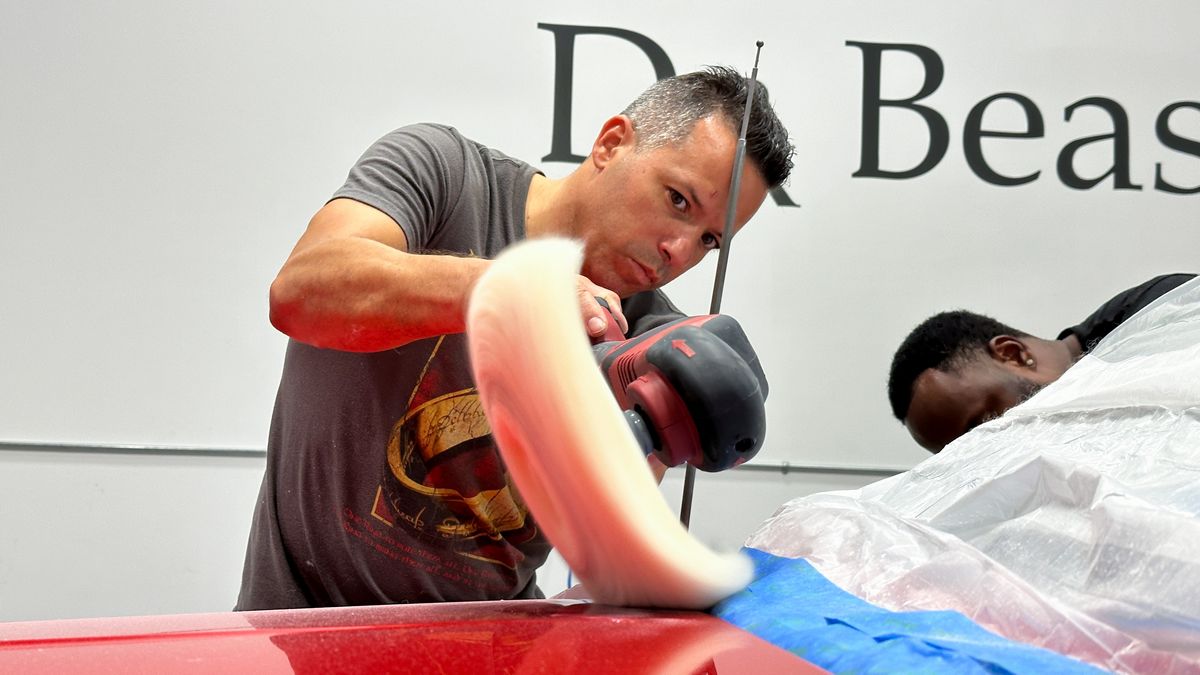
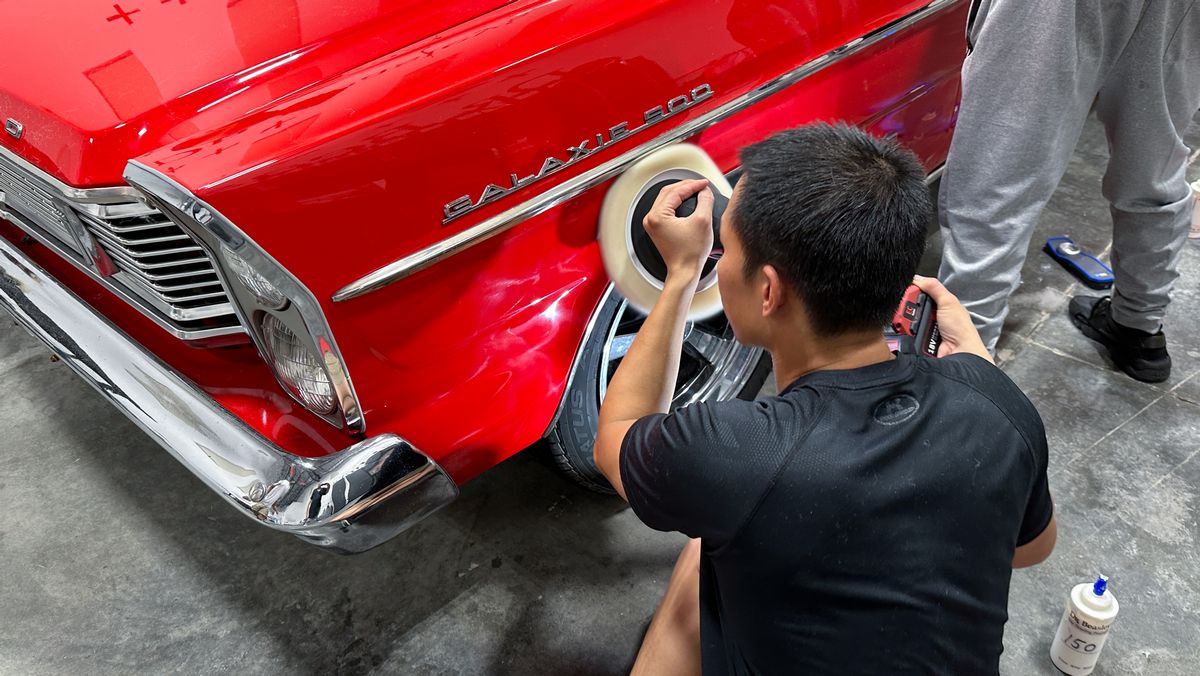
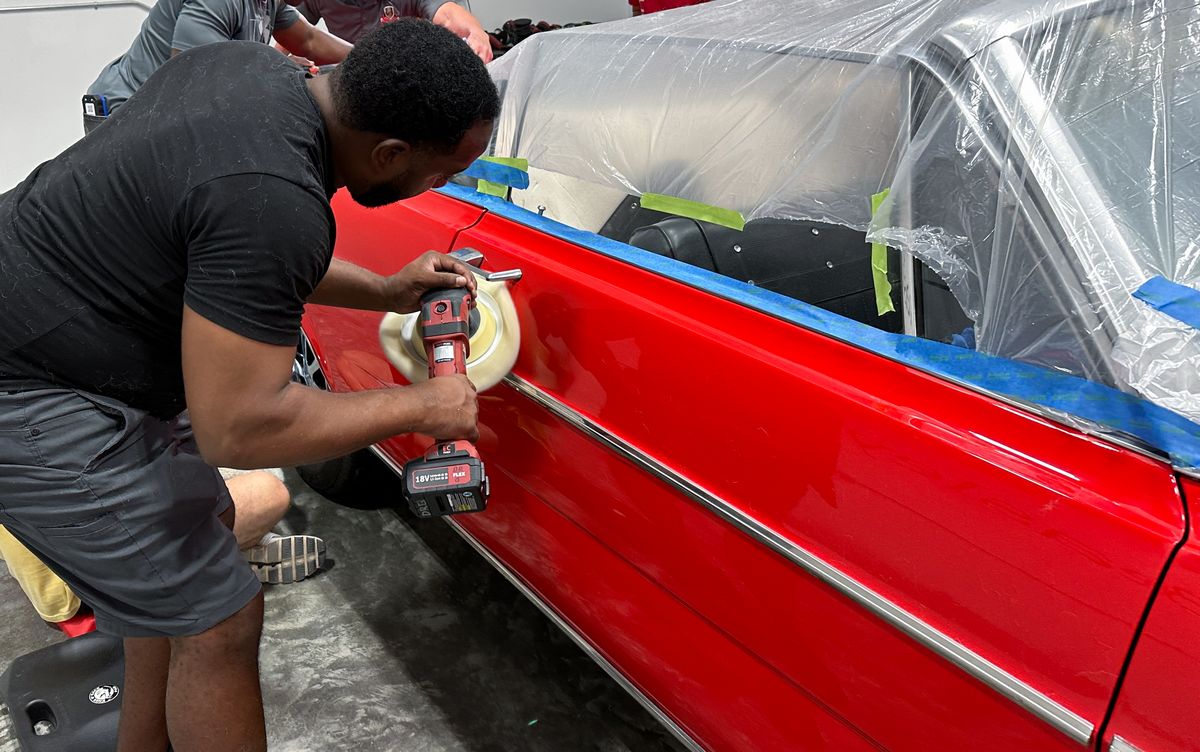
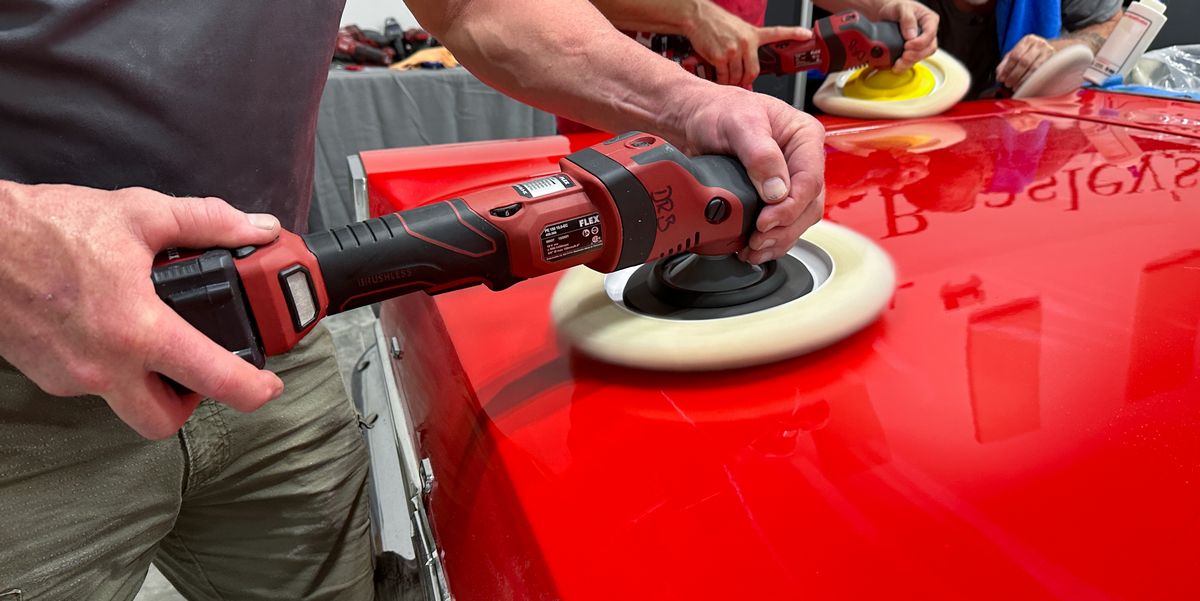
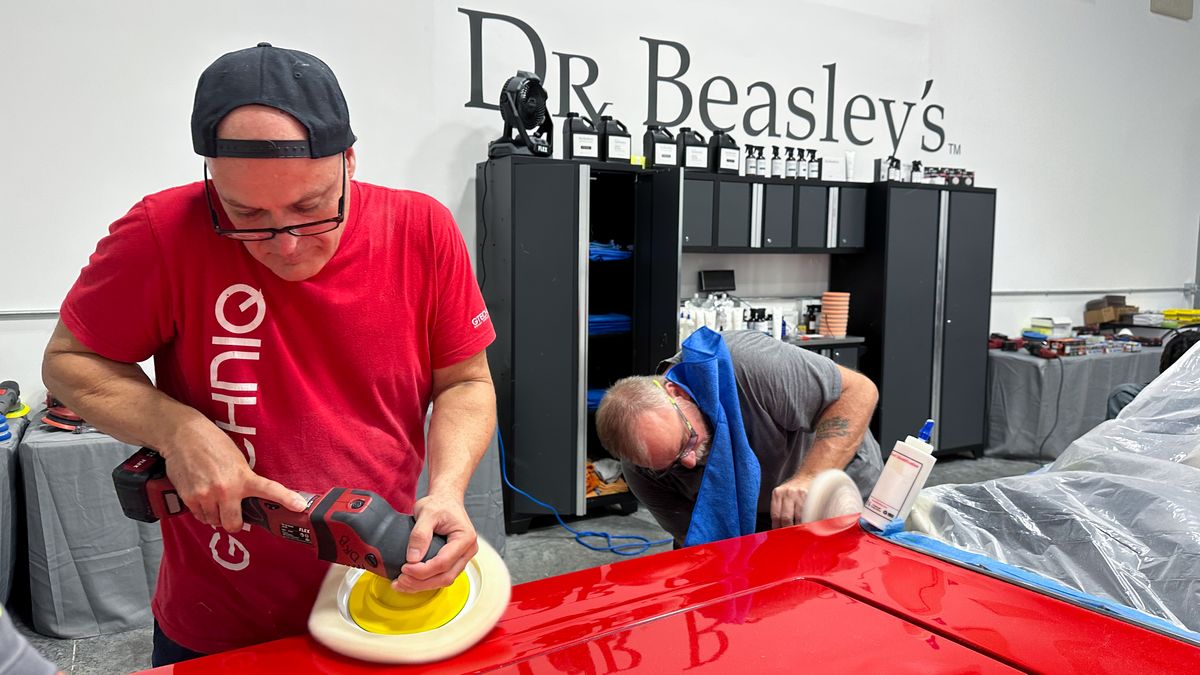
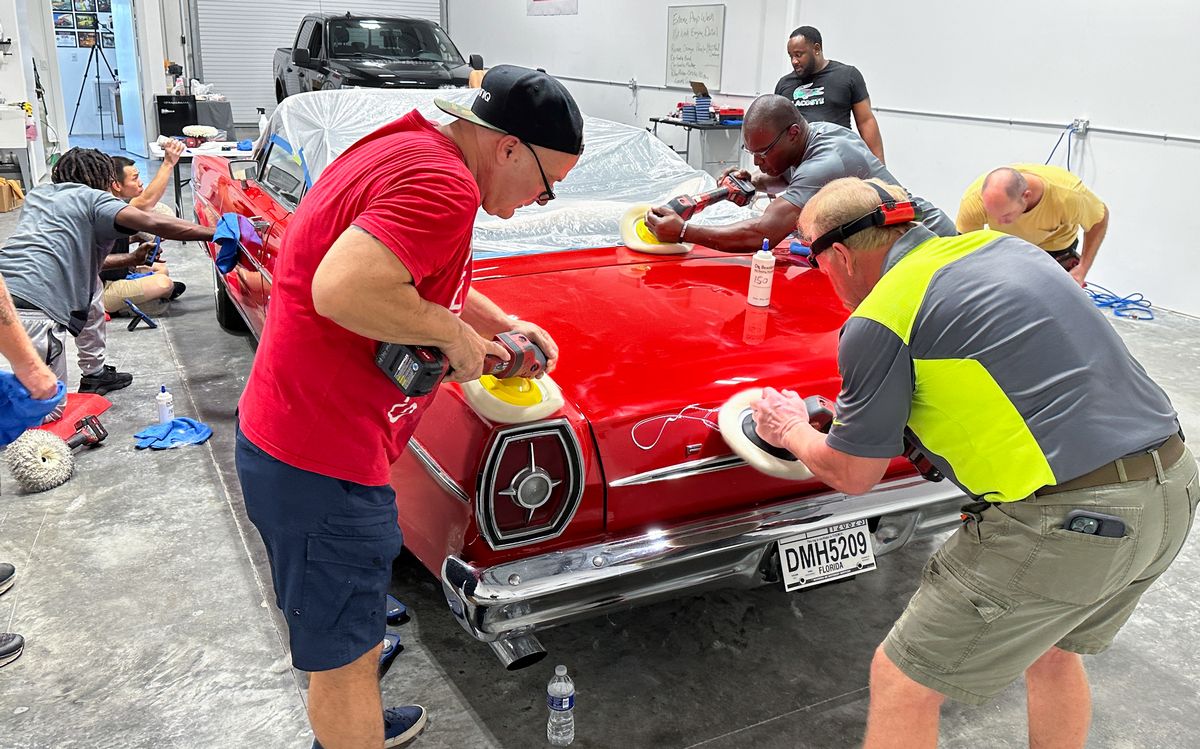
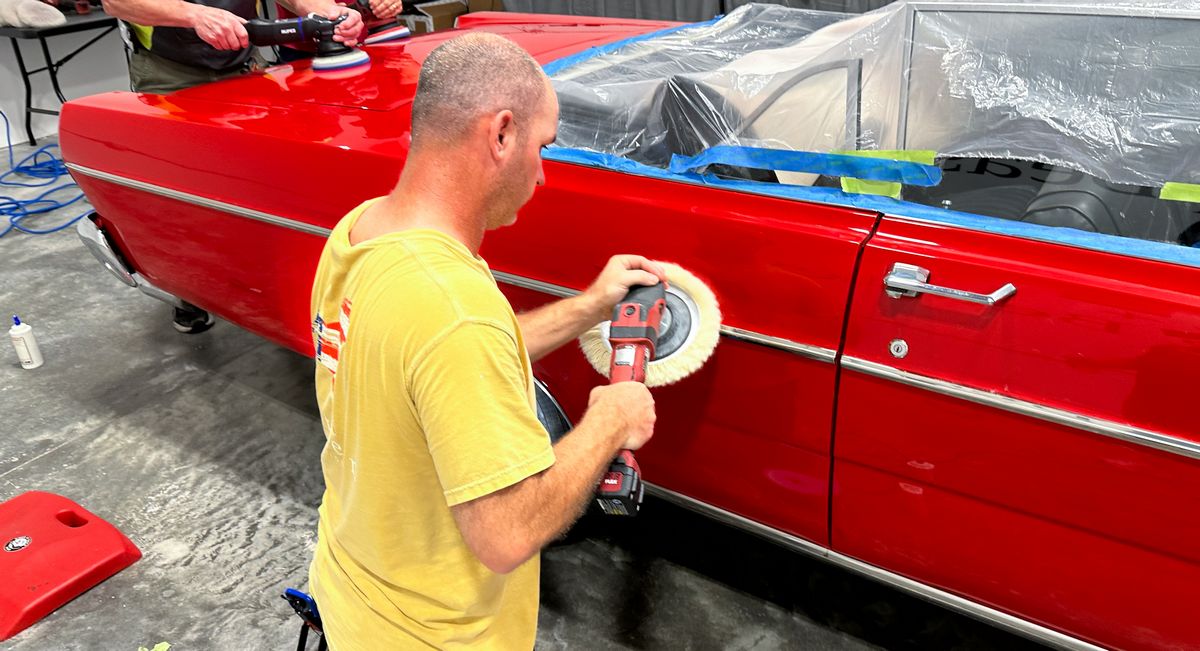
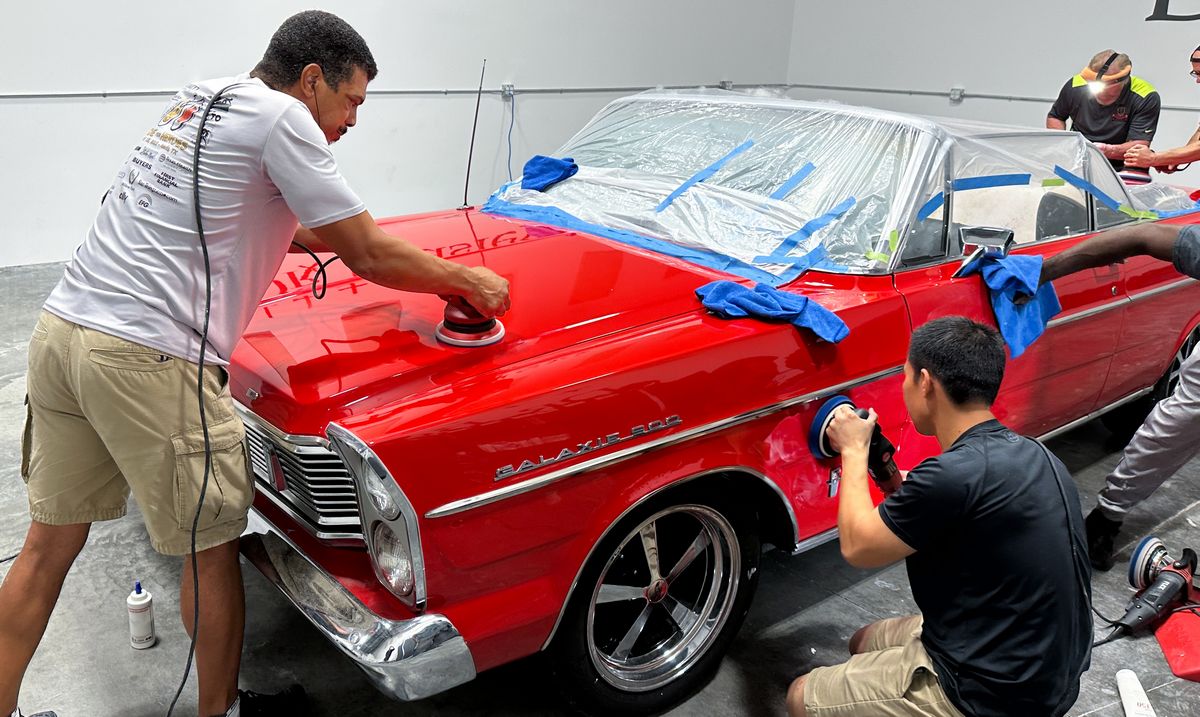
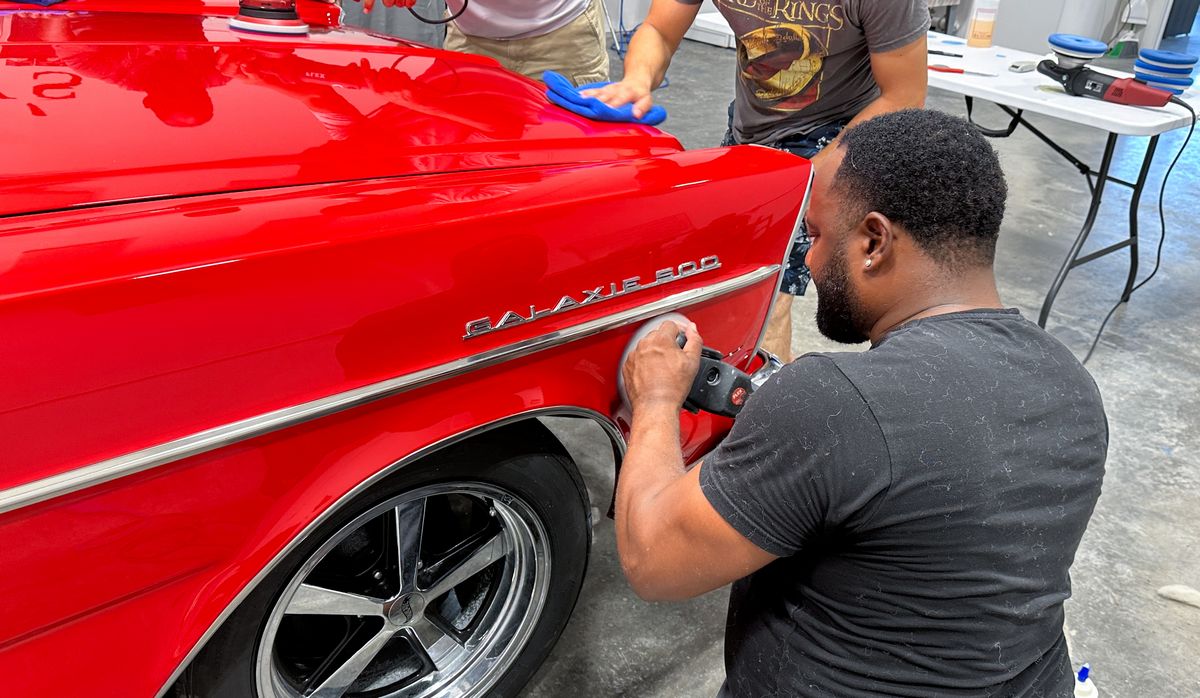
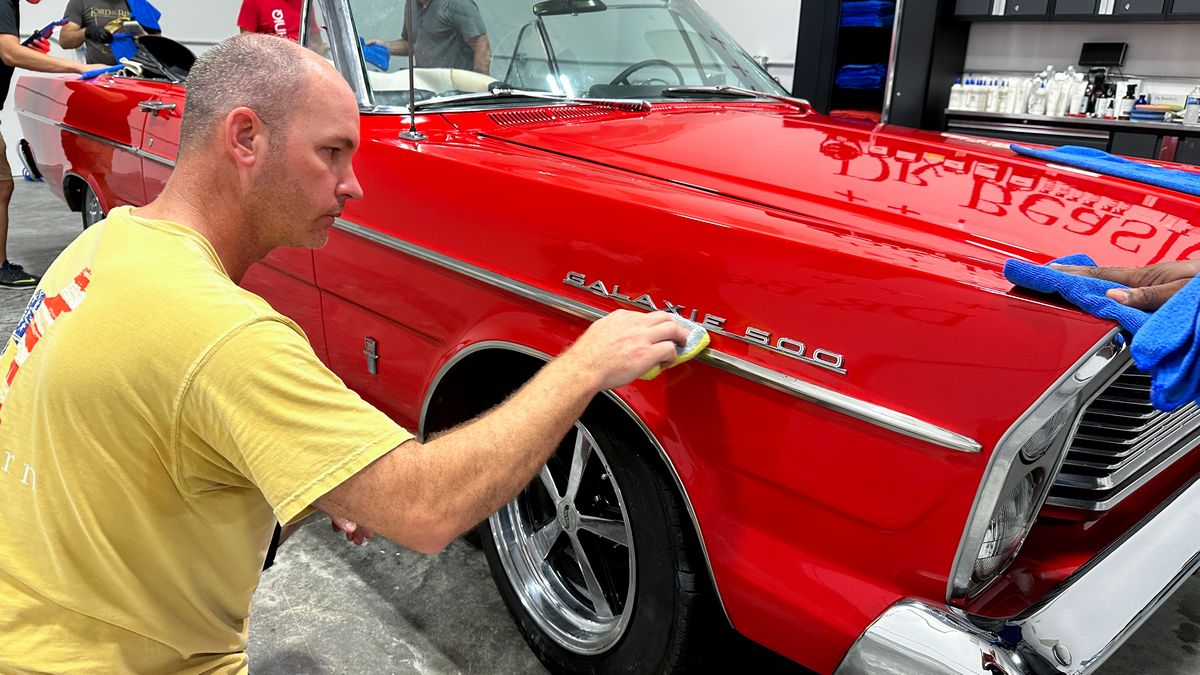
Sanding Mark Removal with Rotary Polishers and Wool Pads
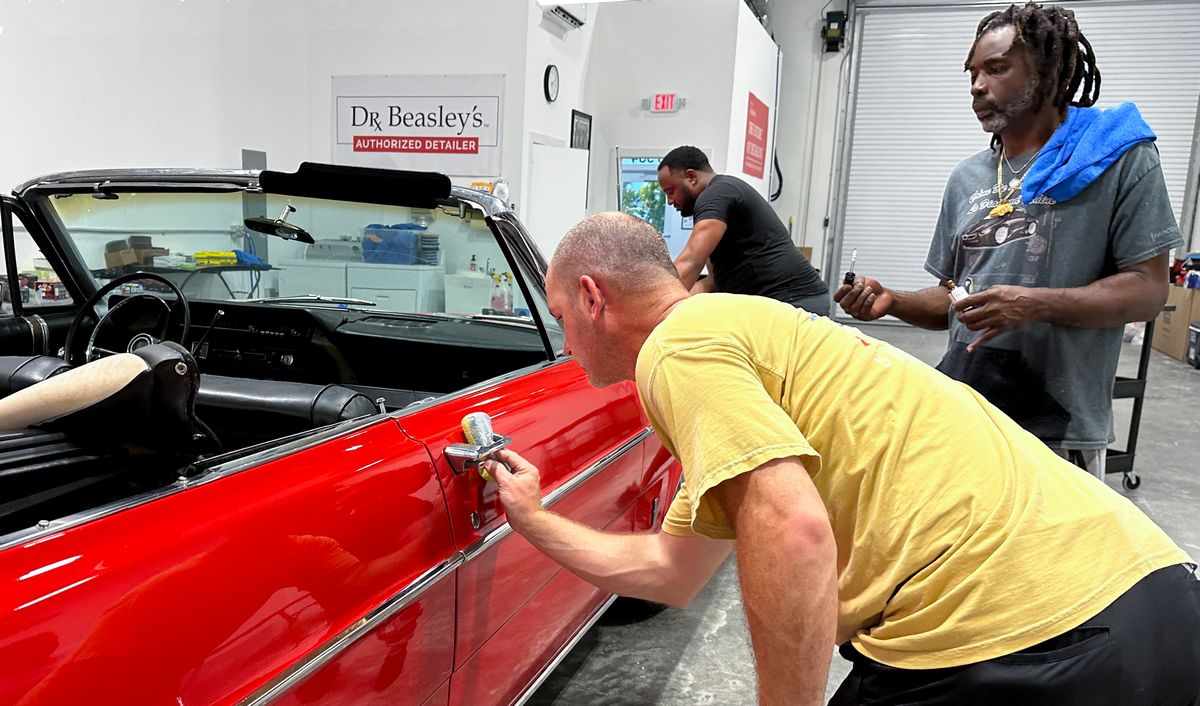
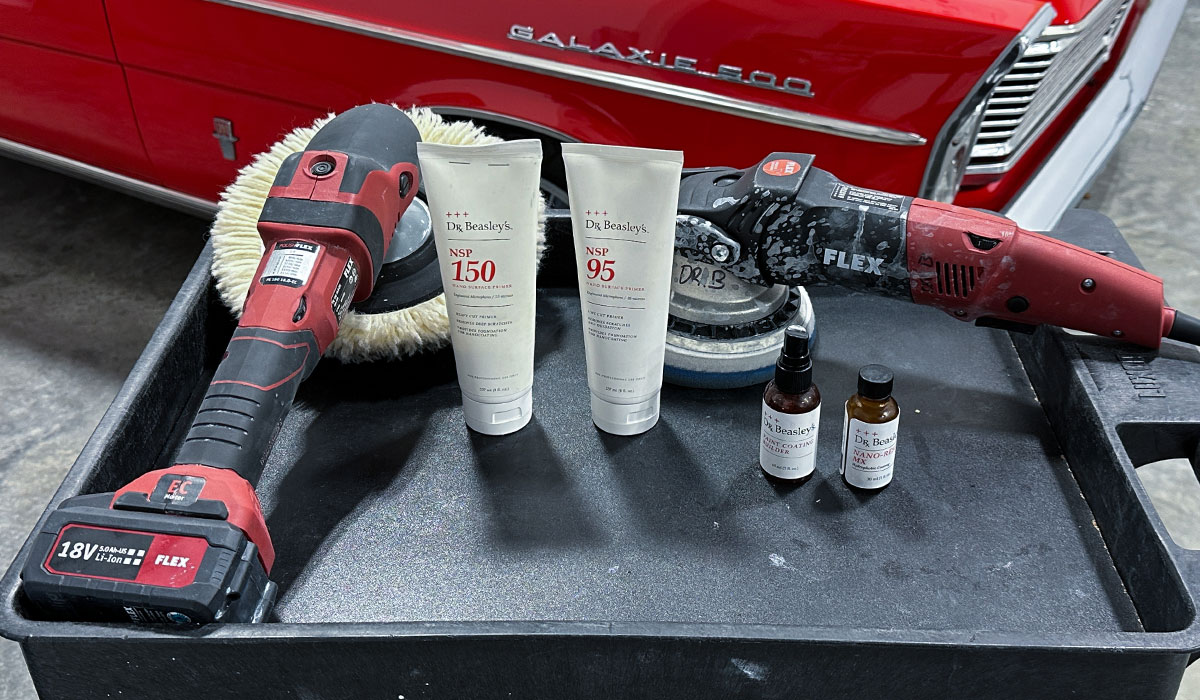
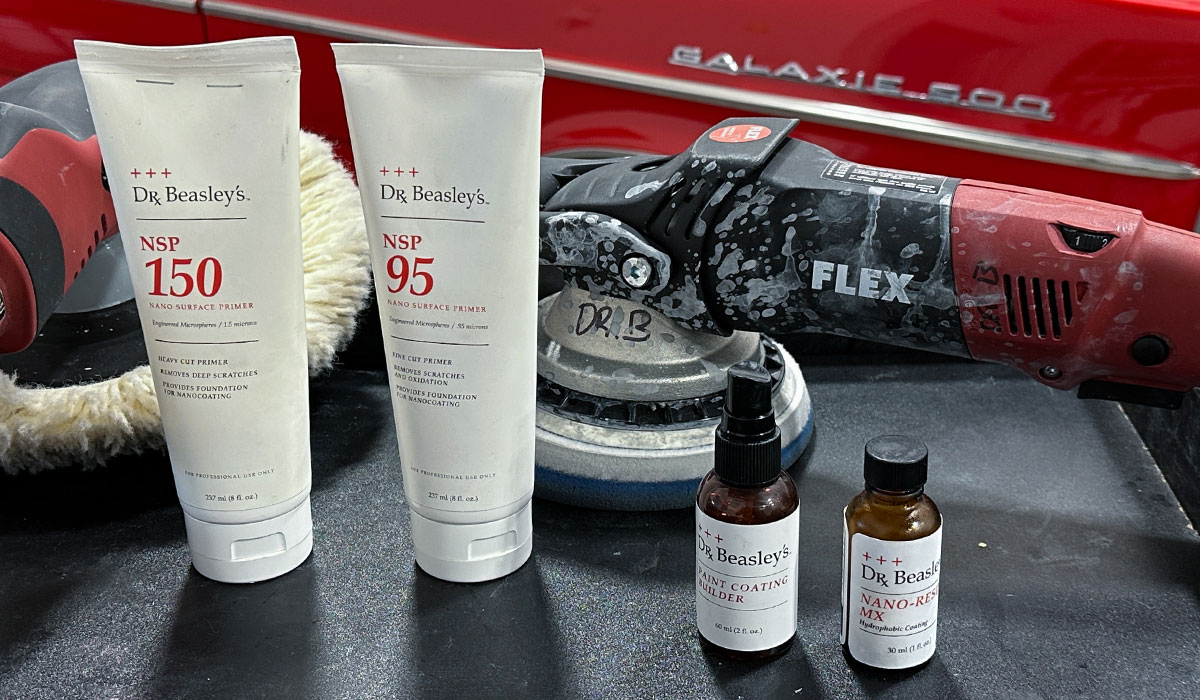
After sanding, students will train using rotary polishers with wool cutting pads and Dr. Beasley's NSP 150 Primer to remove 100% of the sanding marks.
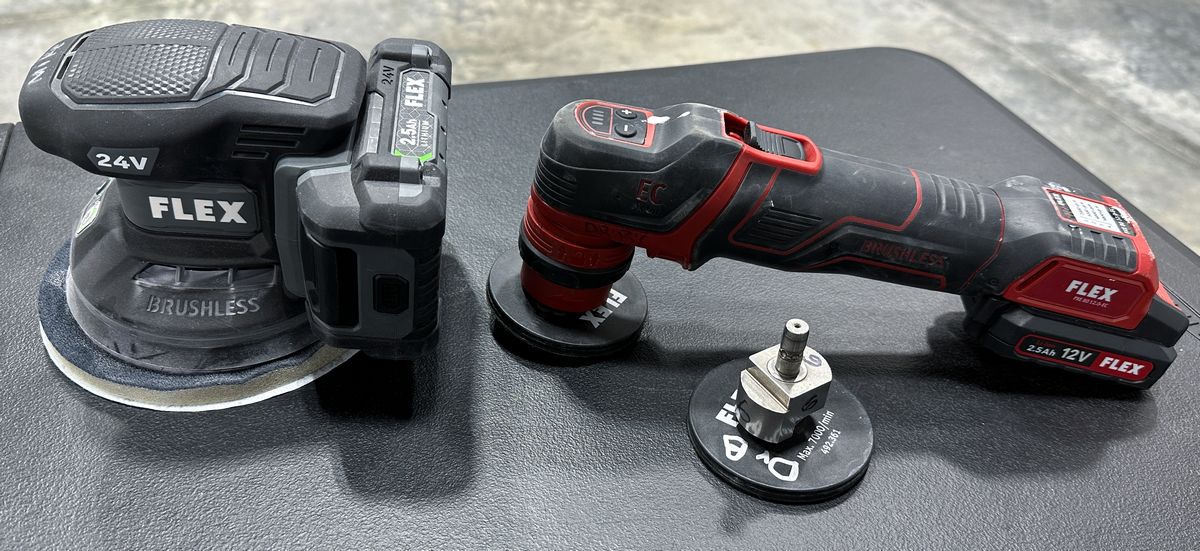
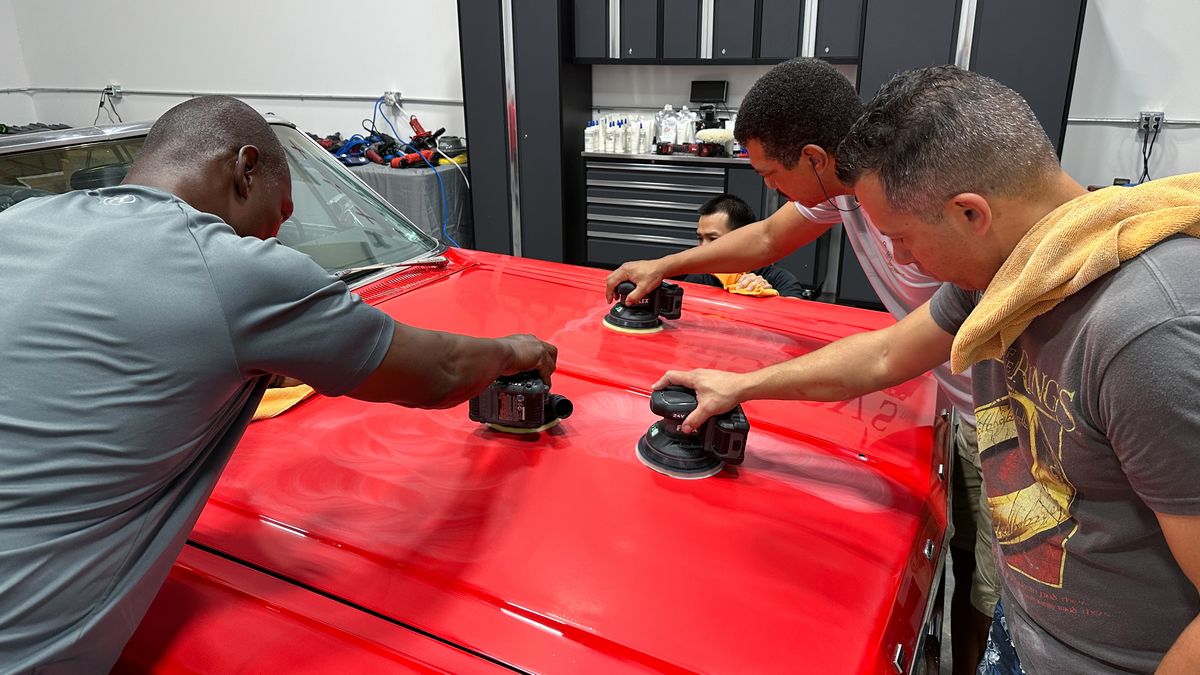
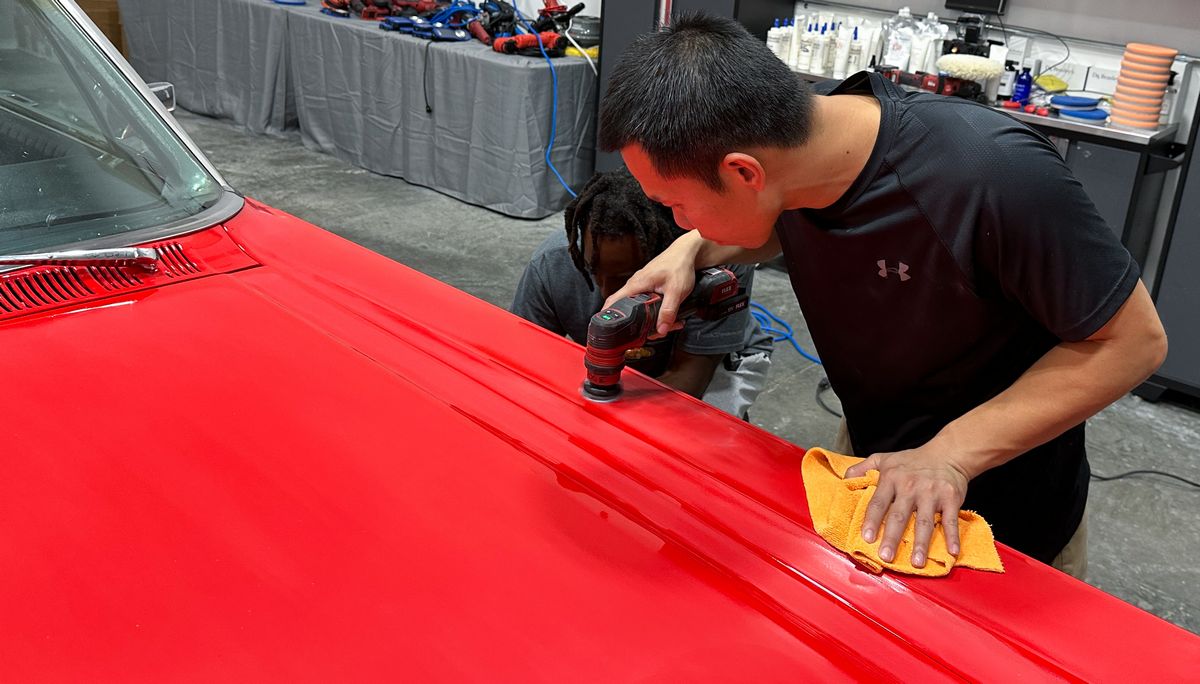
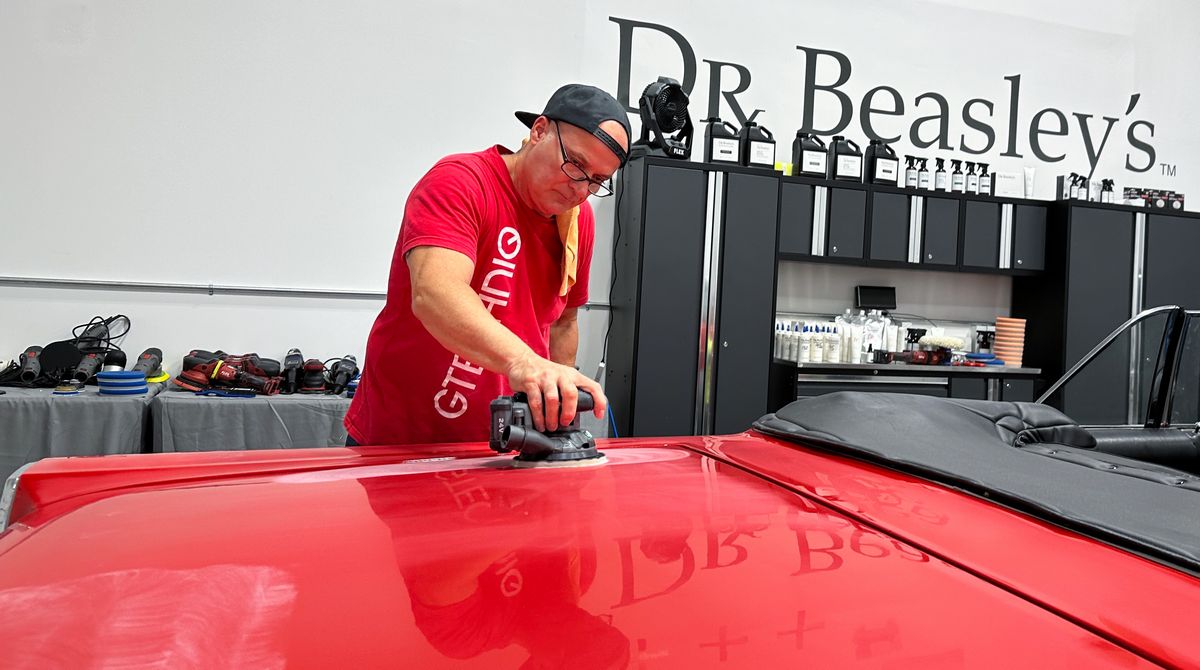
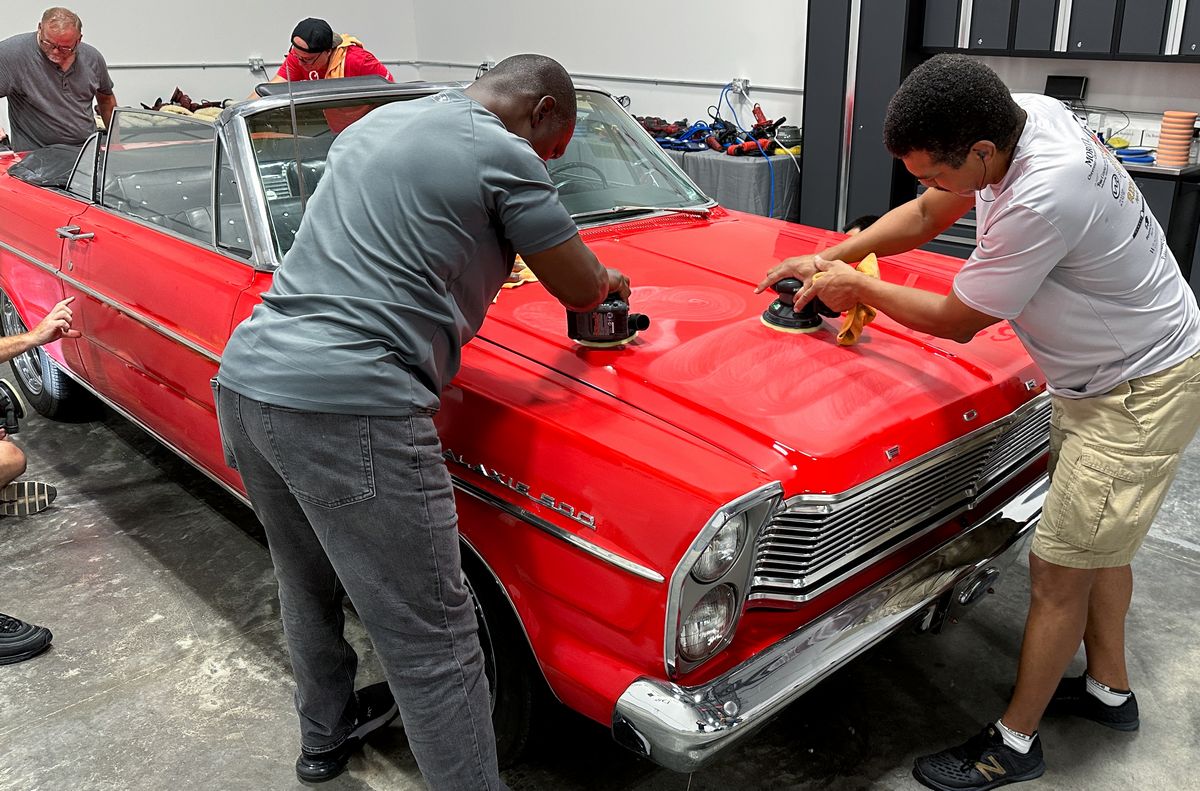
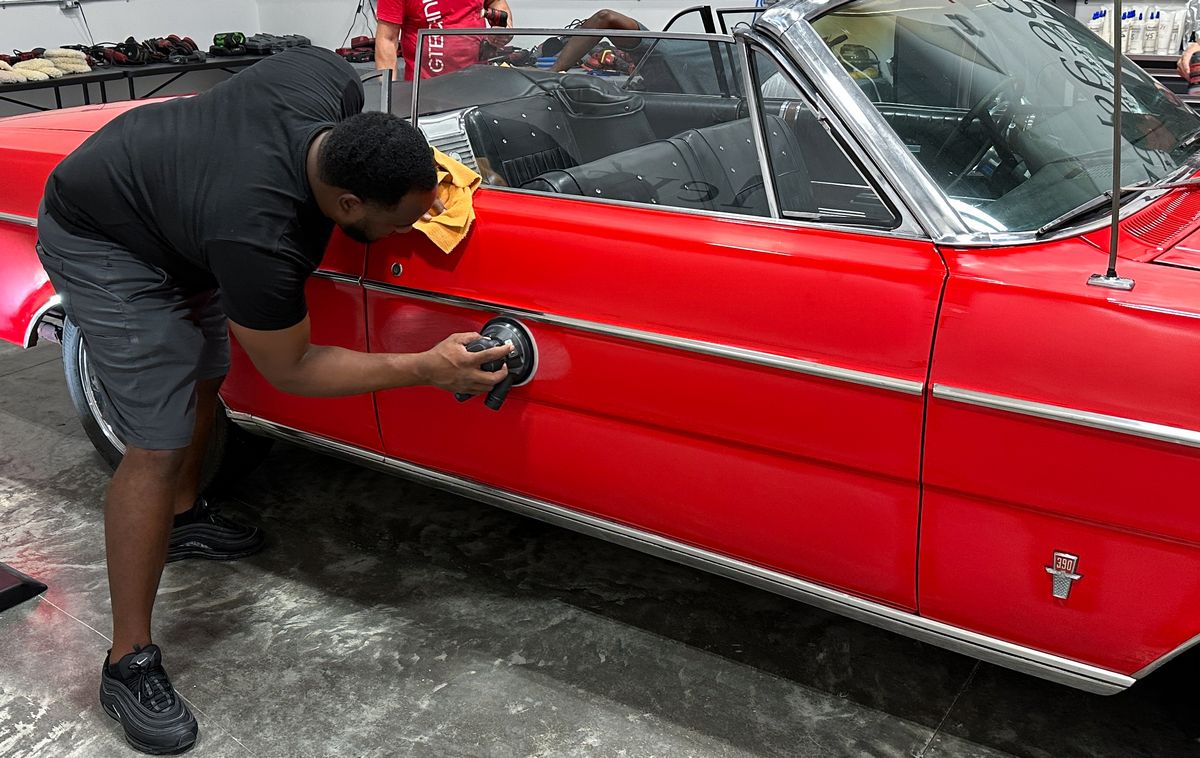
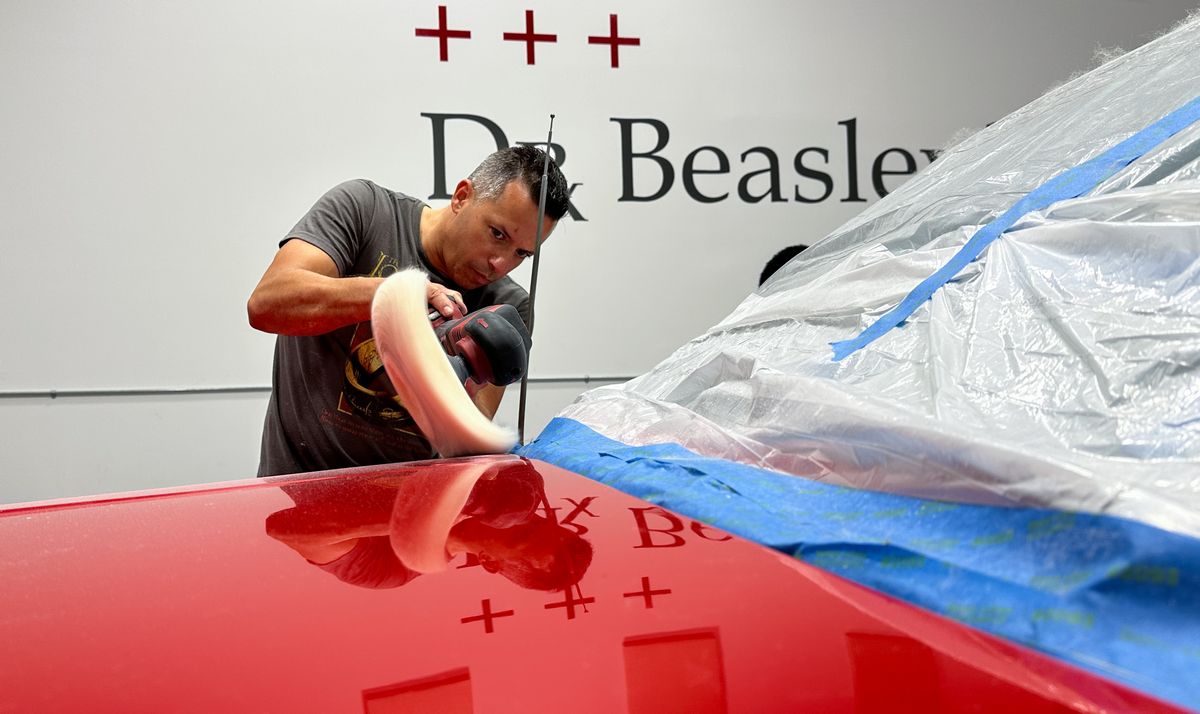
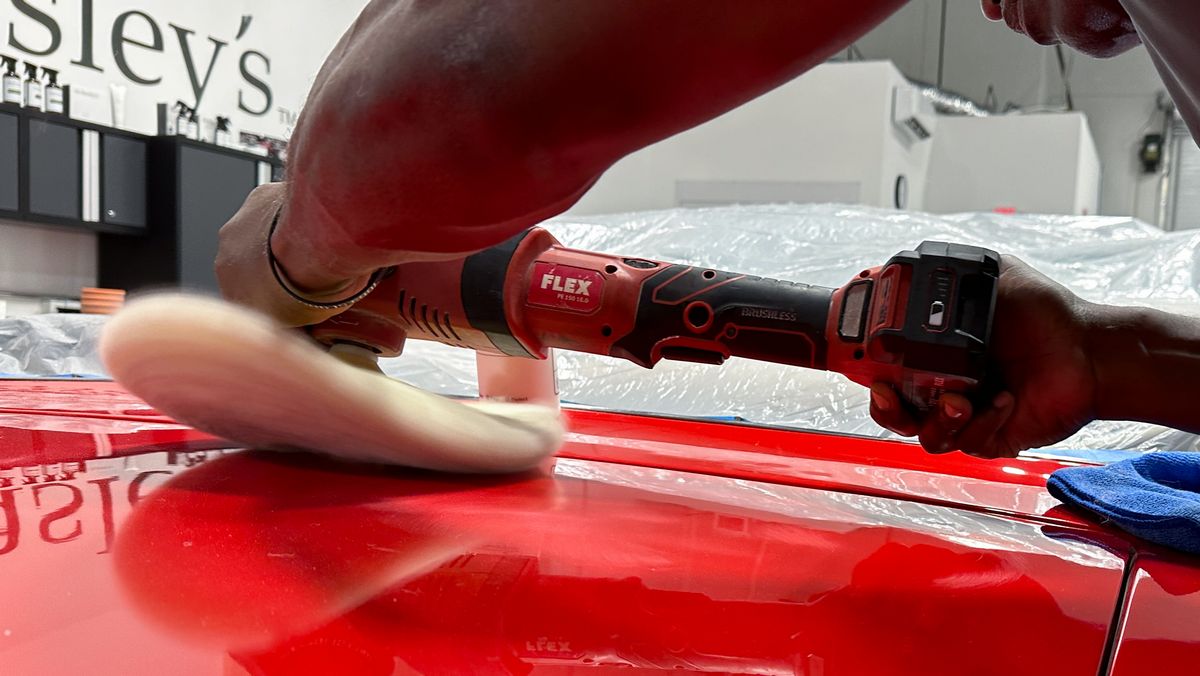
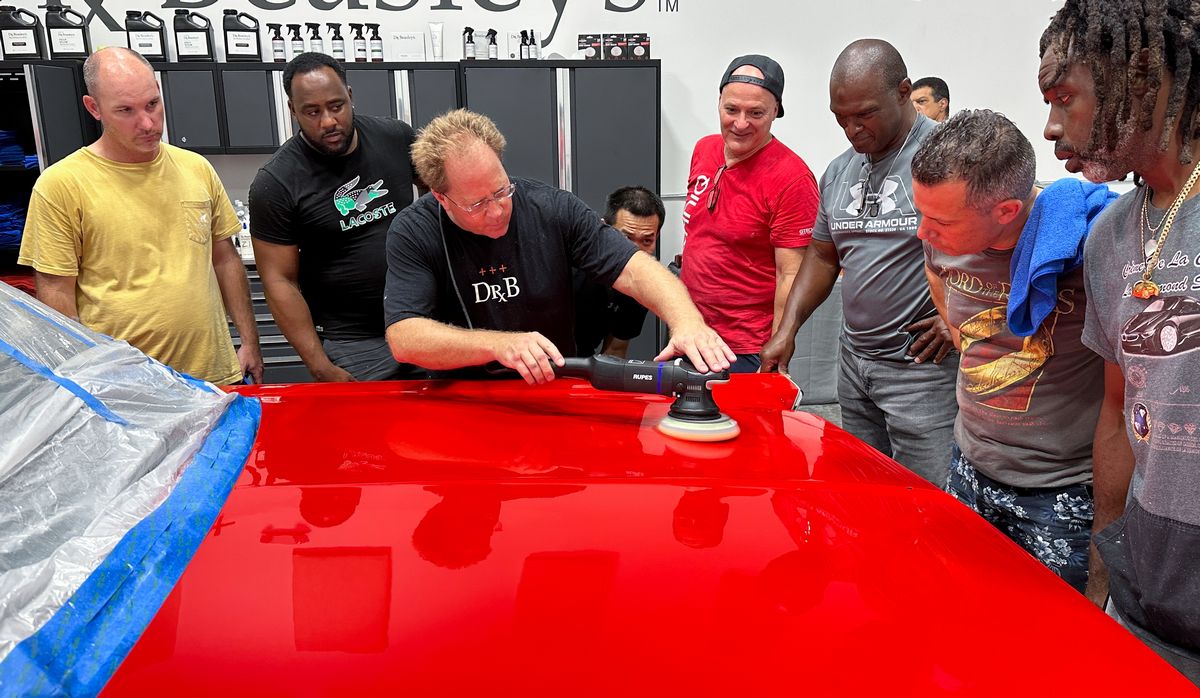
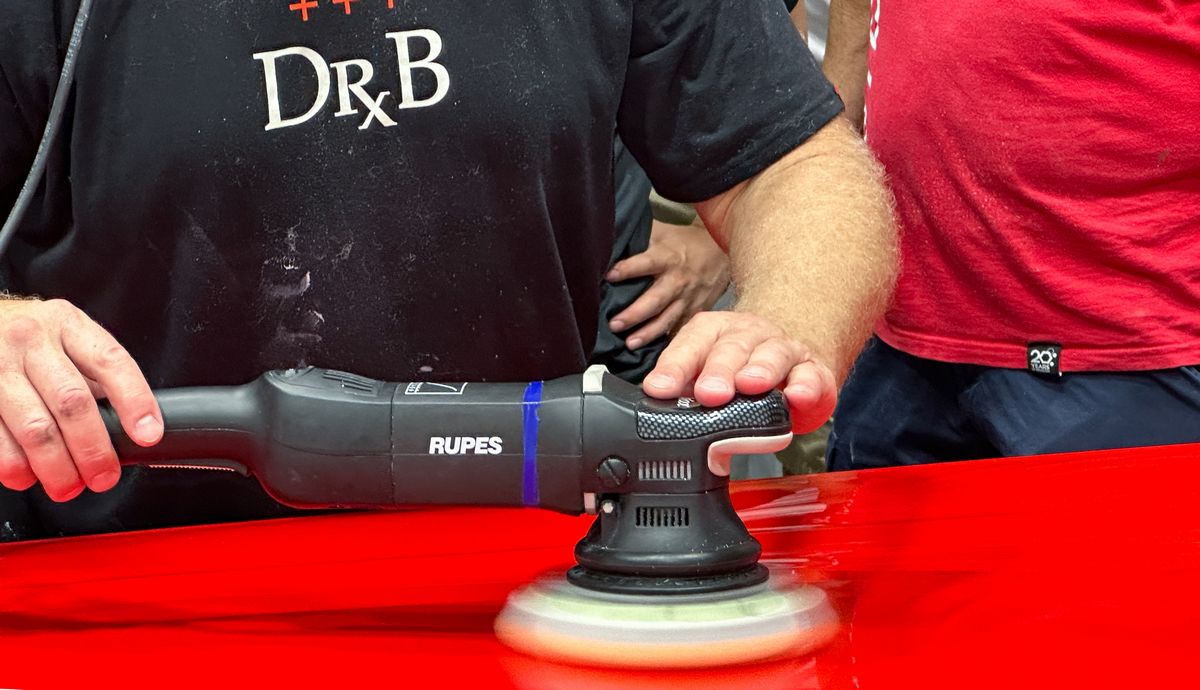
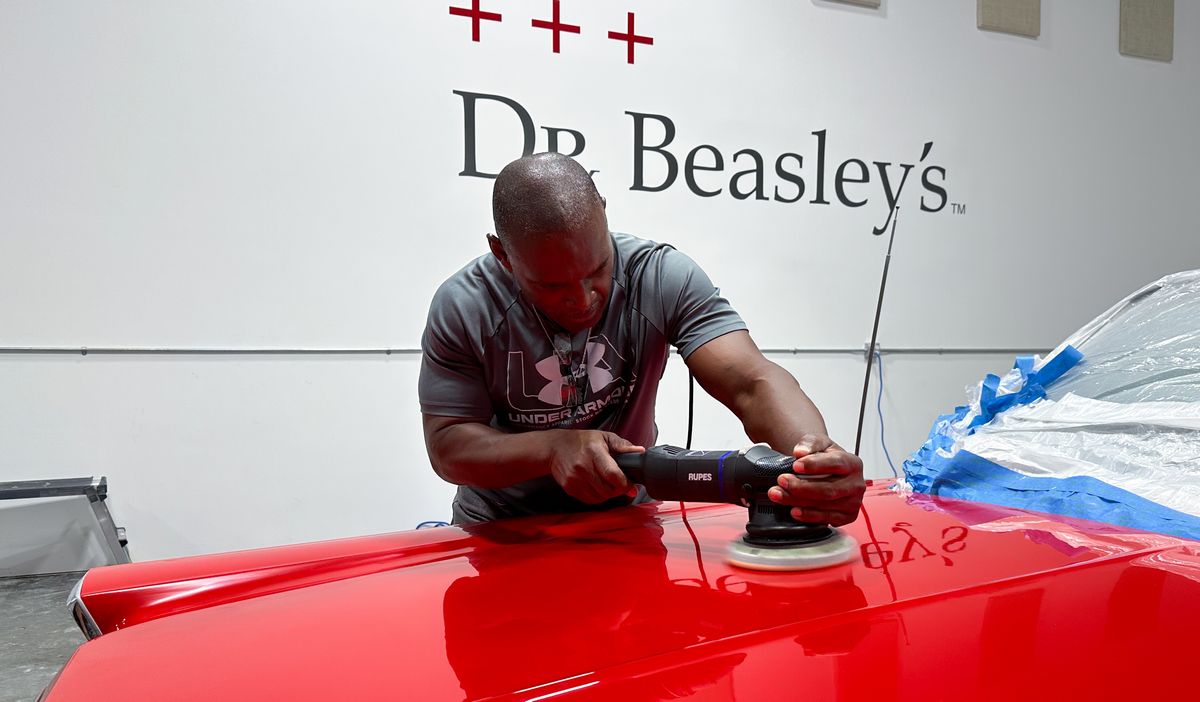
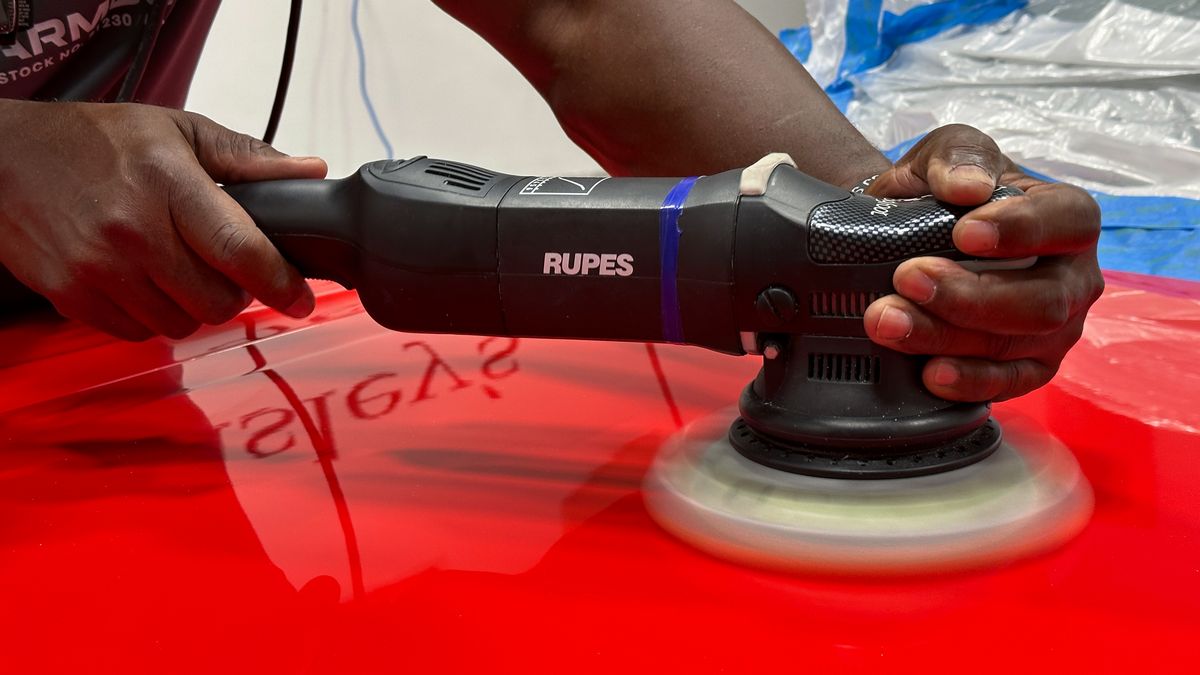
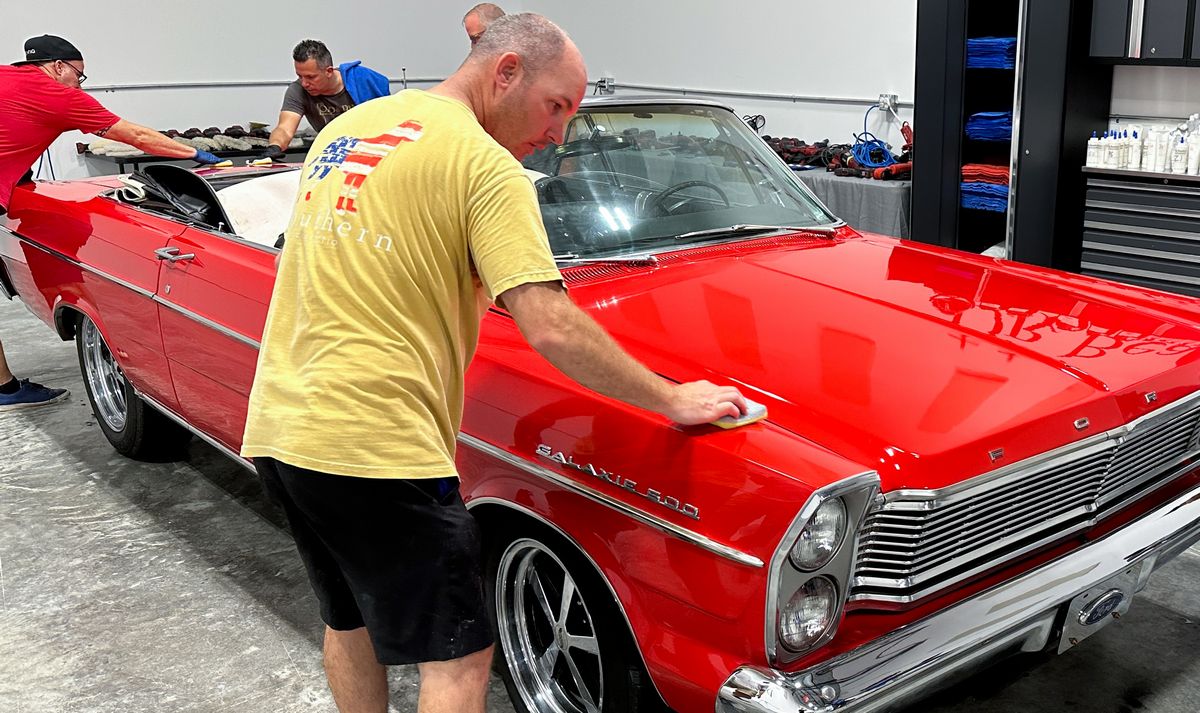
Finishing with Orbital Polishers and Foam Pads and Dr. Beasley's NSP 95
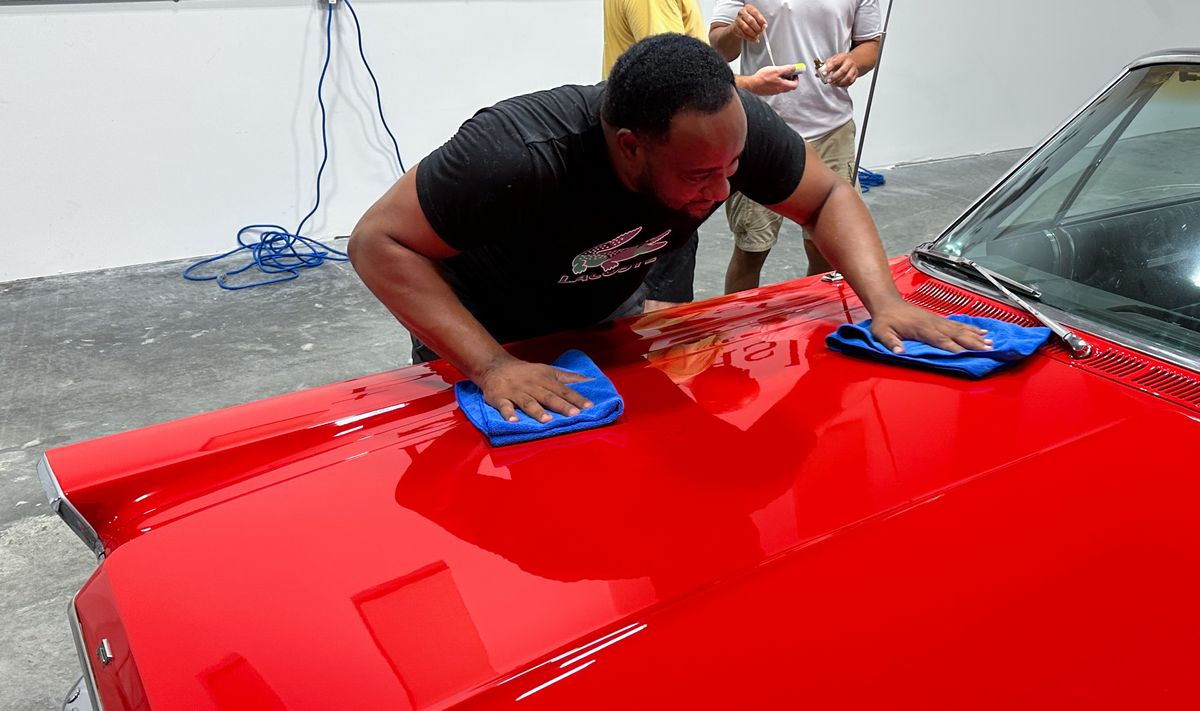
After the rotary work, students will use orbital polishers to remove any holograms from the fibers that make up wool cutting pads.
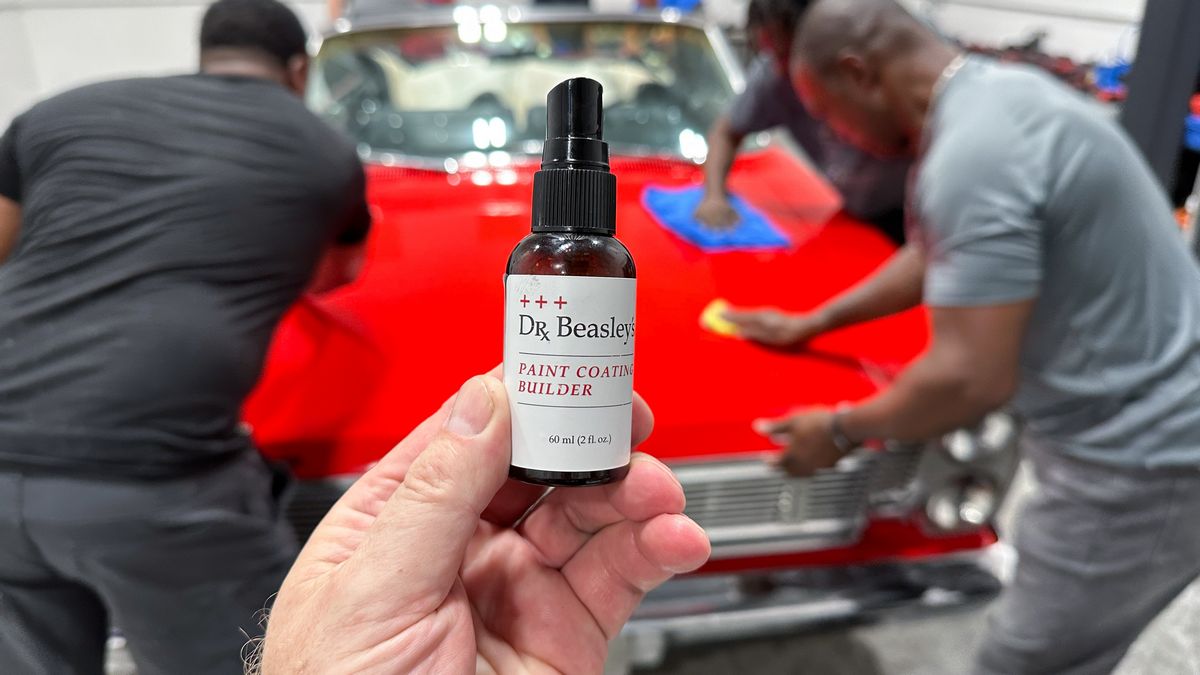
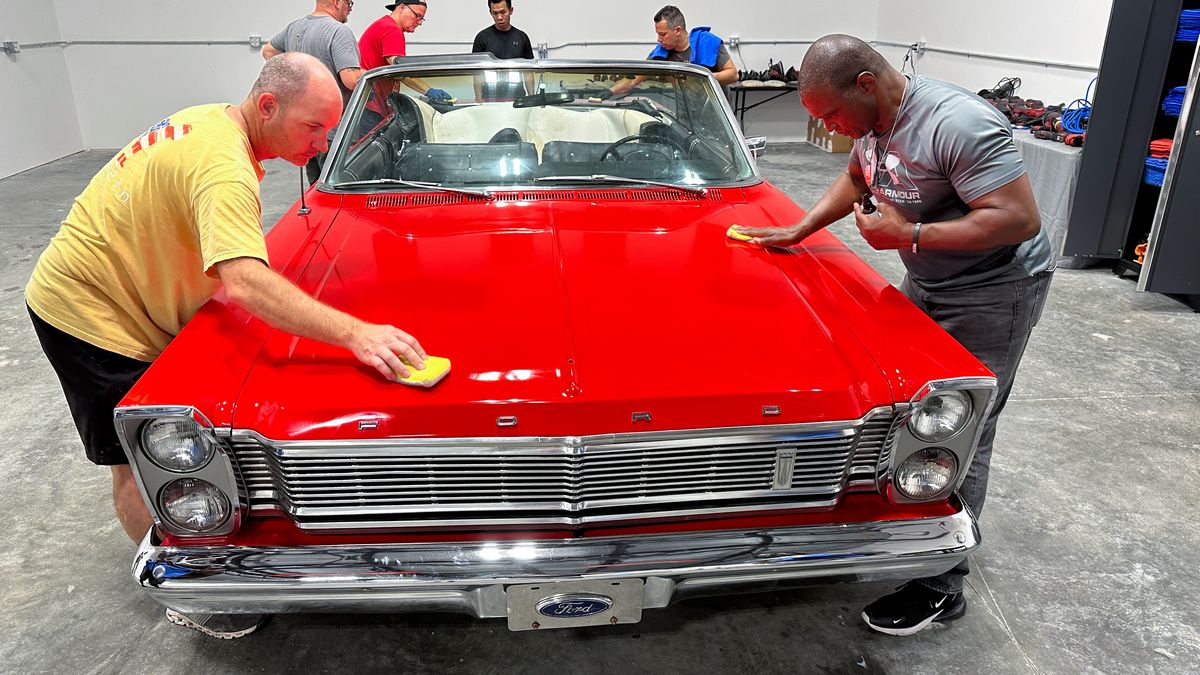
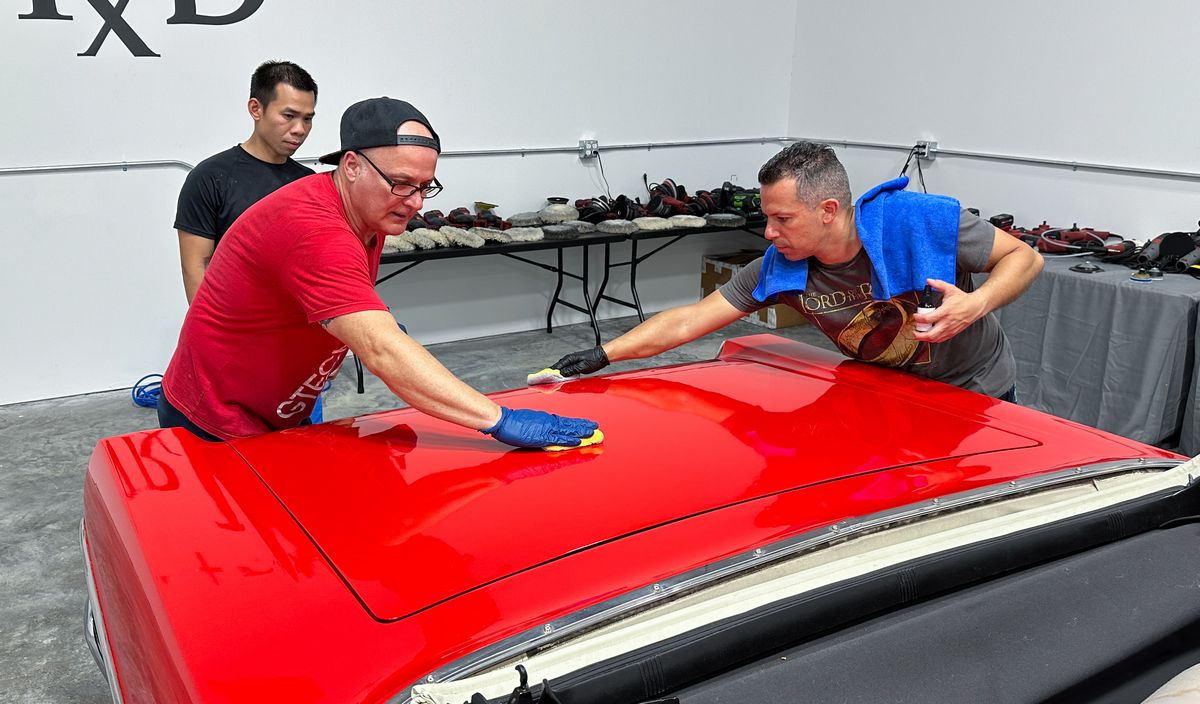
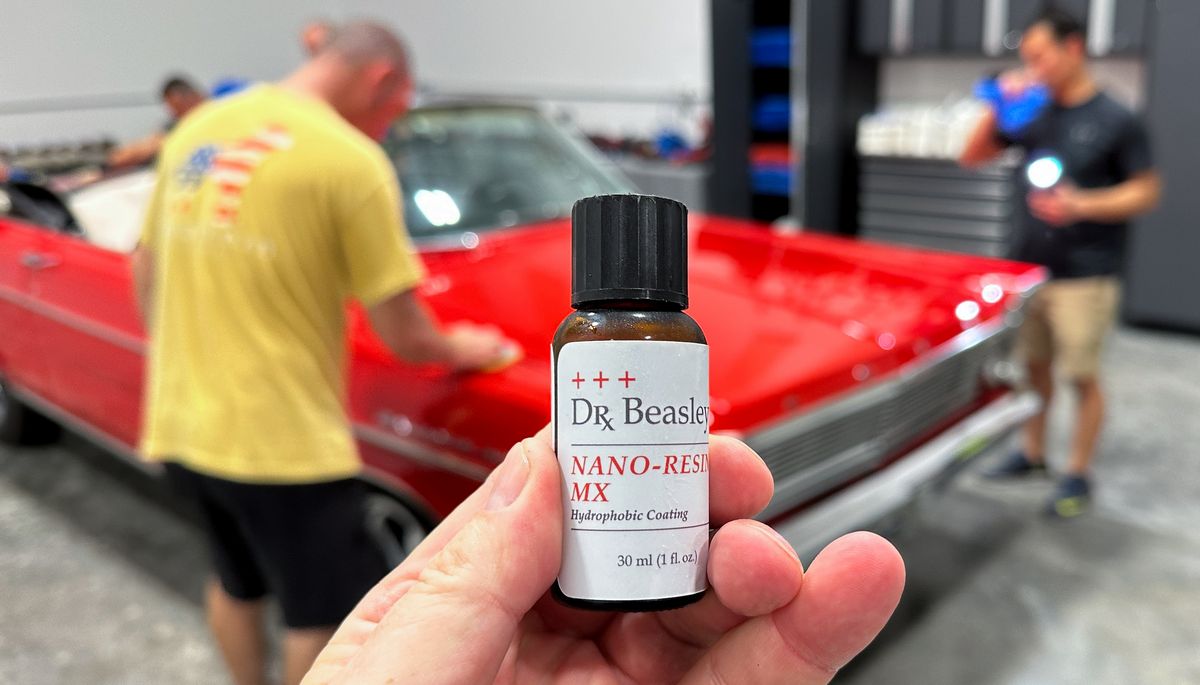
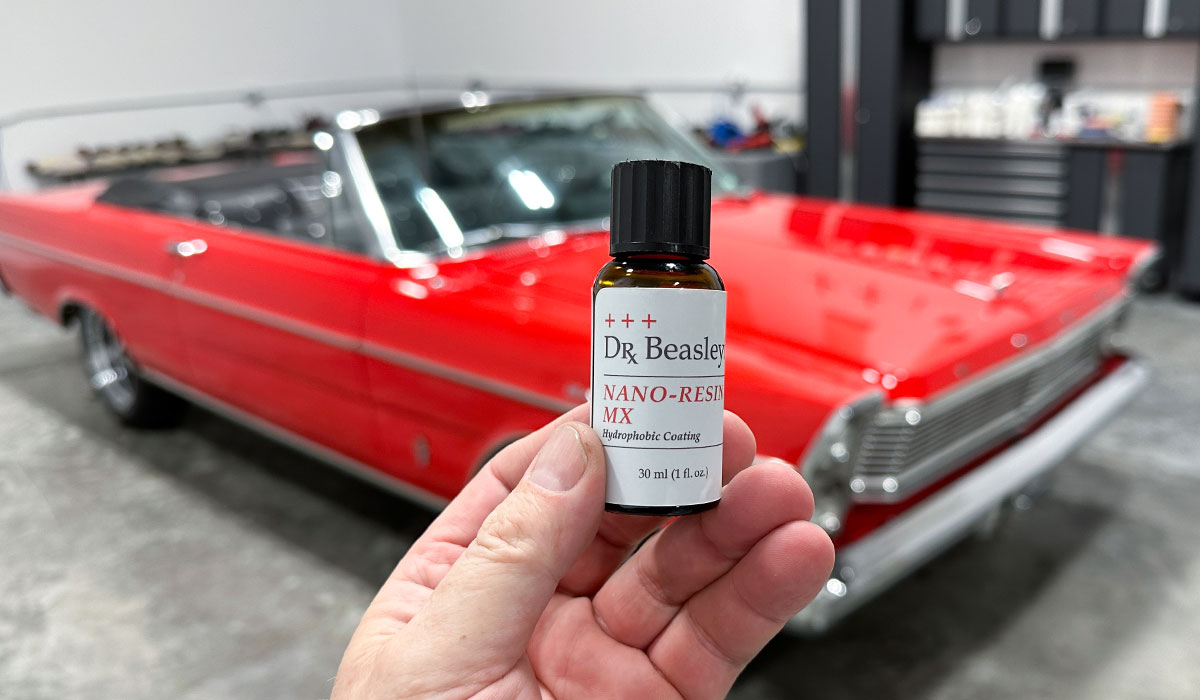
Installing a Ceramic Coating - Dr. Beasley's Nano-Resin MX Ceramic Coating
The final step will be to seal the paint by installing the Dr. Beasley's Nano-Resin MX Ceramic Coating.
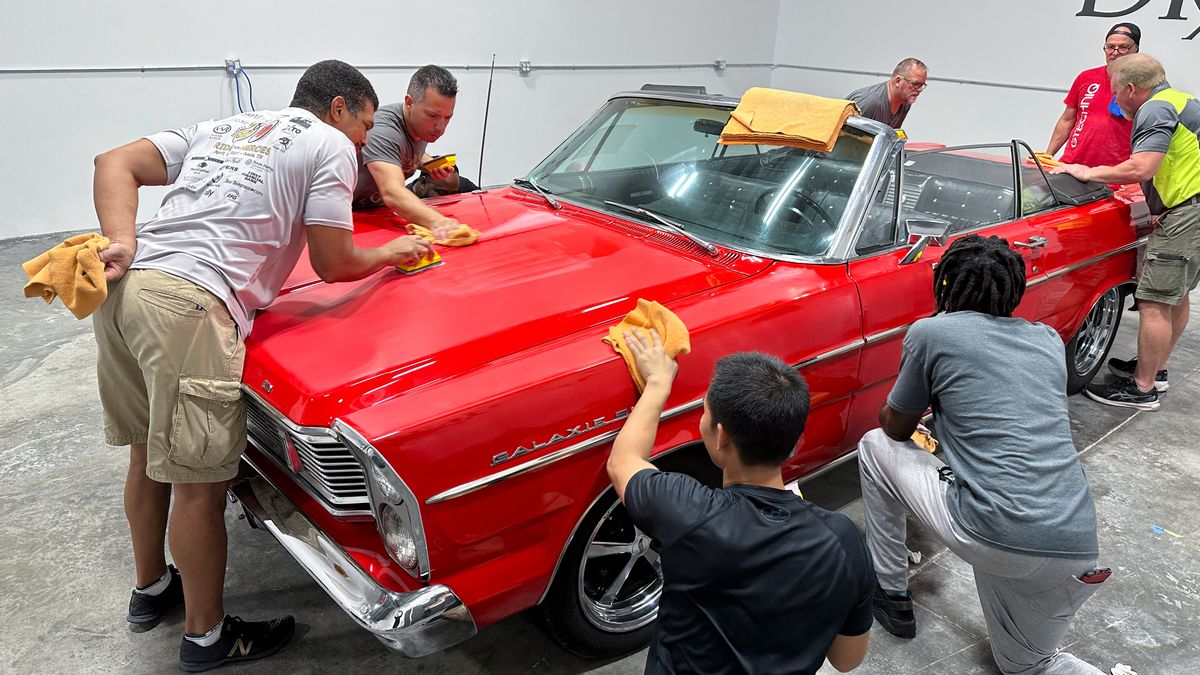
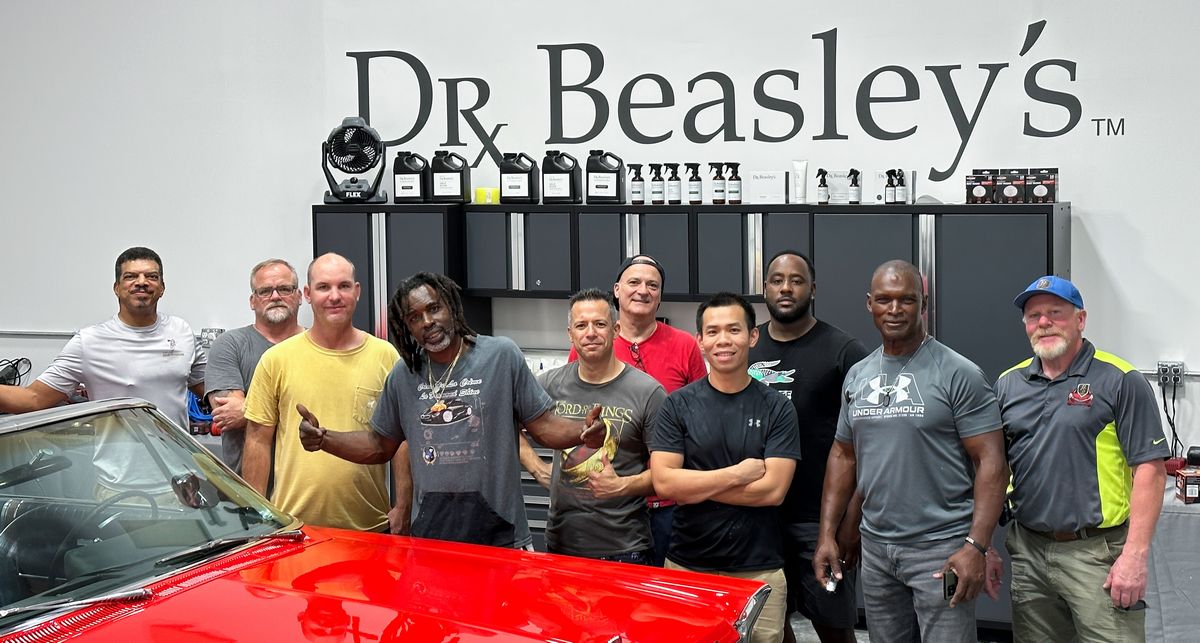
Graduation Ceremony
Following the completion of the day’s lessons, students will participate in a graduation ceremony with an opportunity for a photo with Mike as well as a group photo in front of the cars that were detailed.
Price for both days: $990.00
Click here to register for this class
Questions? Text or call me at 760-515-0444
Mike Phillips
NOTE: You must take the Extreme Paint Correction & Ceramic Coating Class in Escondido, California on Saturday, March 23rd in order to take this advanced class. The price for the 1-day Saturday class is $595.00 - if you take the second day, the price for both days is $990.00.
For more information, class description and pictures showing what the Day 1 class looks like, click the link below.
1-day Extreme Paint Correction & Ceramic Coating Class in Escondido, California - Saturday, March 23rd
Class Description
Day 2: Machine Dry Sanding and Ceramic All-in-One Paintwork Correction
The second day of this course builds on the skills taught the day previous. Students will learn two paintwork correction techniques: including both hand and machine dry sanding for orange peel removal (typically reserved for show car work) and Ceramic All-in-One or AIO paintwork correction (typically used in production work). Students will use this knowledge to complete paintwork correction on real test vehicles.
Extreme Prep Washing
Before an aggressive procedure like machine dry sanding can be attempted, the vehicle must be fastidiously clean. The focus is getting the car surgically clean and also mechanically decontaminated to prep the paint for sanding.
Hand & Machine Dry Sanding with Eagle Abrasives by KOVAX system
Once the vehicle is fully prepped, students will learn how to conduct one of the most aggressive paintwork correction procedures including hand and machine dry sanding. The ultimate paintwork correction procedure for producing a show car finish, it is often used to remove orange peel on custom paint jobs for Concours d’Elegance events.
Sanding Mark Removal with Rotary Polishers and Wool Pads
After sanding, students will train using rotary polishers with wool cutting pads and Dr. Beasley's NSP 150 Primer to remove 100% of the sanding marks.
Finishing with Orbital Polishers and Foam Pads and Dr. Beasley's NSP 95
After the rotary work, students will use orbital polishers to remove any holograms from the fibers that make up wool cutting pads.
Installing a Ceramic Coating - Dr. Beasley's Nano-Resin MX Ceramic Coating
The final step will be to seal the paint by installing the Dr. Beasley's Nano-Resin MX Ceramic Coating.
Graduation Ceremony
Following the completion of the day’s lessons, students will participate in a graduation ceremony with an opportunity for a photo with Mike as well as a group photo in front of the cars that were detailed.
Price for both days: $990.00
Click here to register for this class
Questions? Text or call me at 760-515-0444
Mike Phillips
Last edited:
")