
- Admin
- #1
- Joined
- May 21, 2021
- Messages
- 2,530
- Reaction score
- 1,496
- Points
- 113
- Location
- Stuart, Florida
- Website
- themikephillipsforum.com
1979 Corvette - Rotary Polisher Training Car - Extreme Showcar Makeover! - Mike Phillips
The FIRST tool you learn how to use at our 1-day and 2-day detailing classes is the Rotary Polisher. You learn how to do American Style rotary work, which means using a rotary with a whopping 8" WOOL CUTTING pad and of course, with Dr. Beasley's NSP CoreCut Primer.
The topic of the FIRST class session in the morning of the first day is called - Show Car Detailing - or - Multiple-Step Paint Correction. For this class session I bring in cool cars with the WORST condition paint.
For the upcoming September 2-day class, here's ONE of TWO cars for the first training session n Saturday morning.
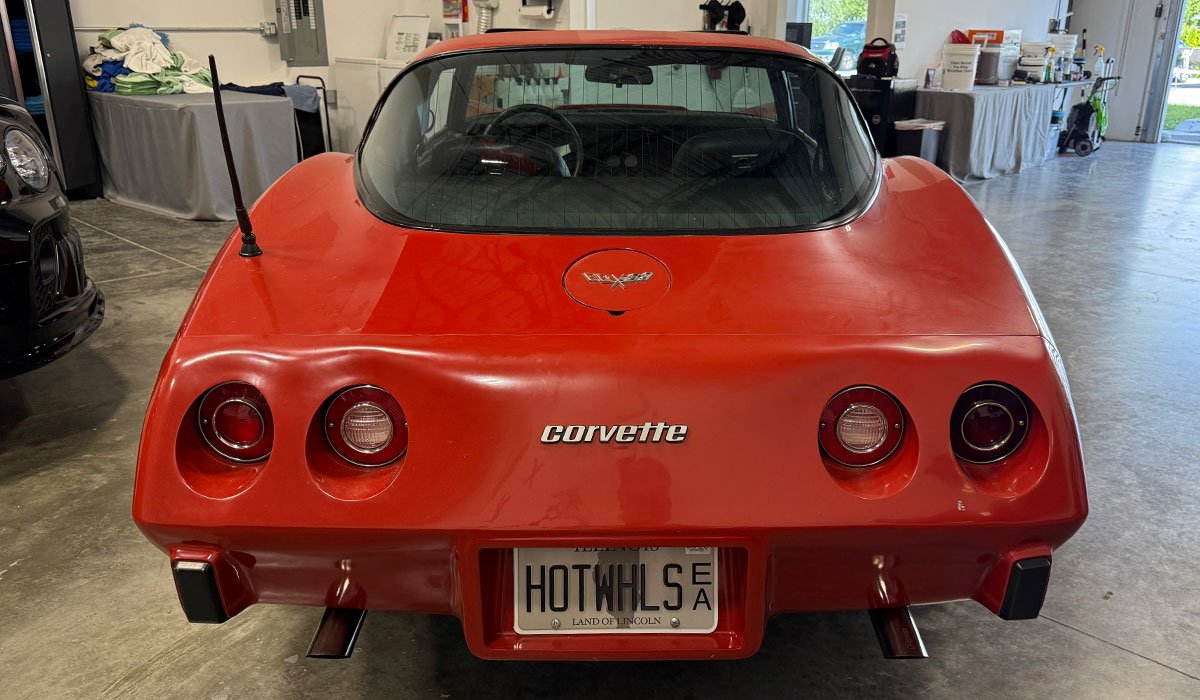
1979 Corvette - Extreme Showcar Makeover! TRAINING CAR!
Now this will be a challenge for the class to perfect!
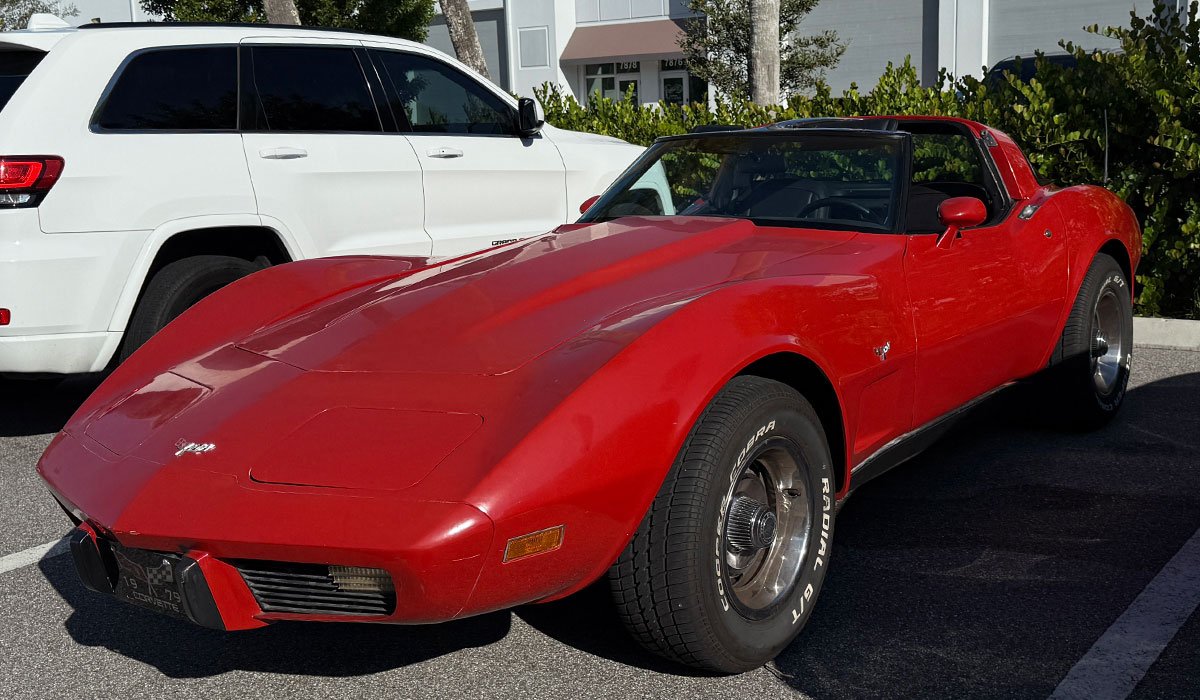
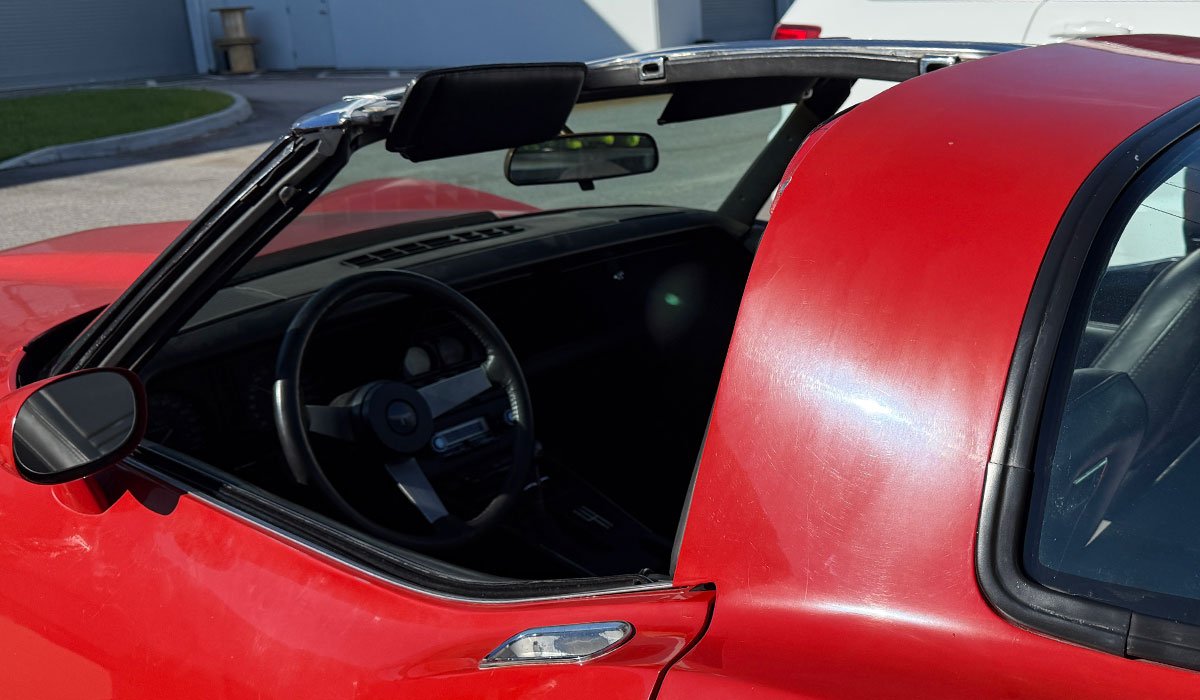
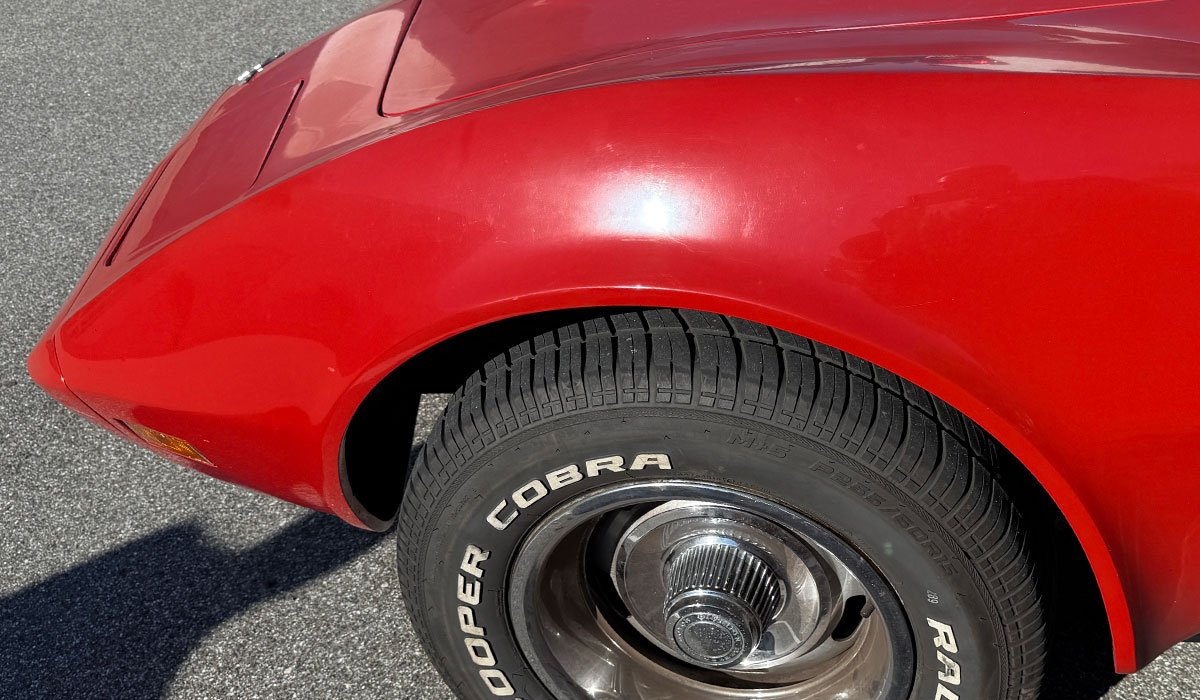
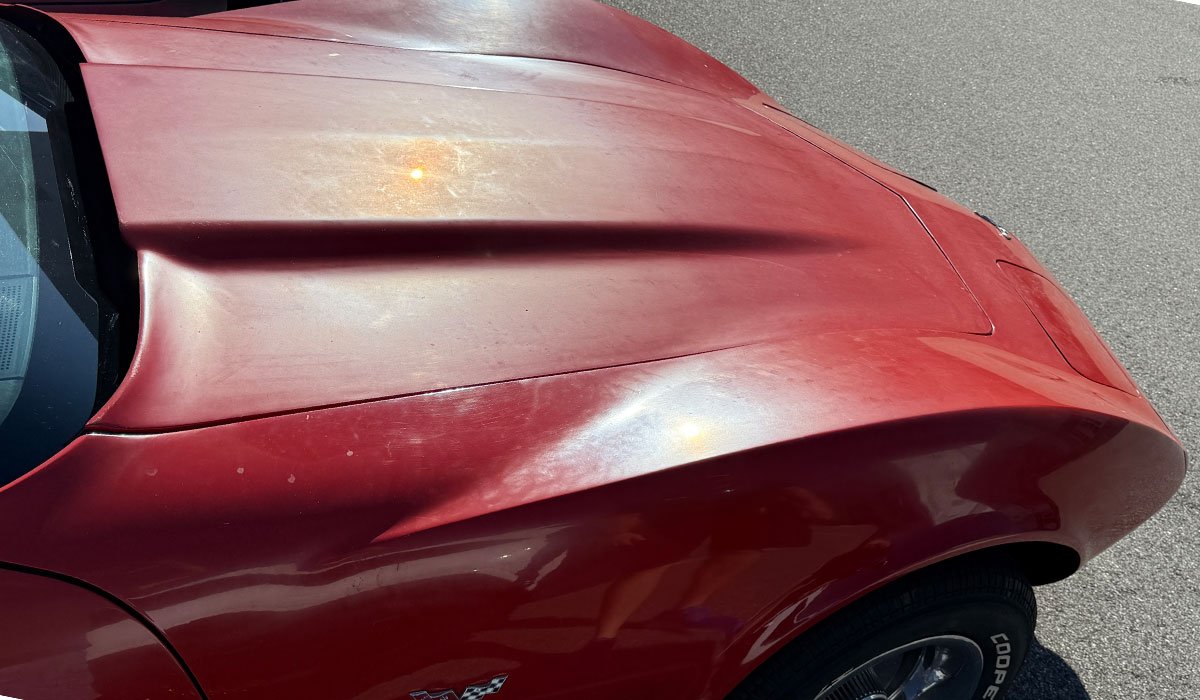
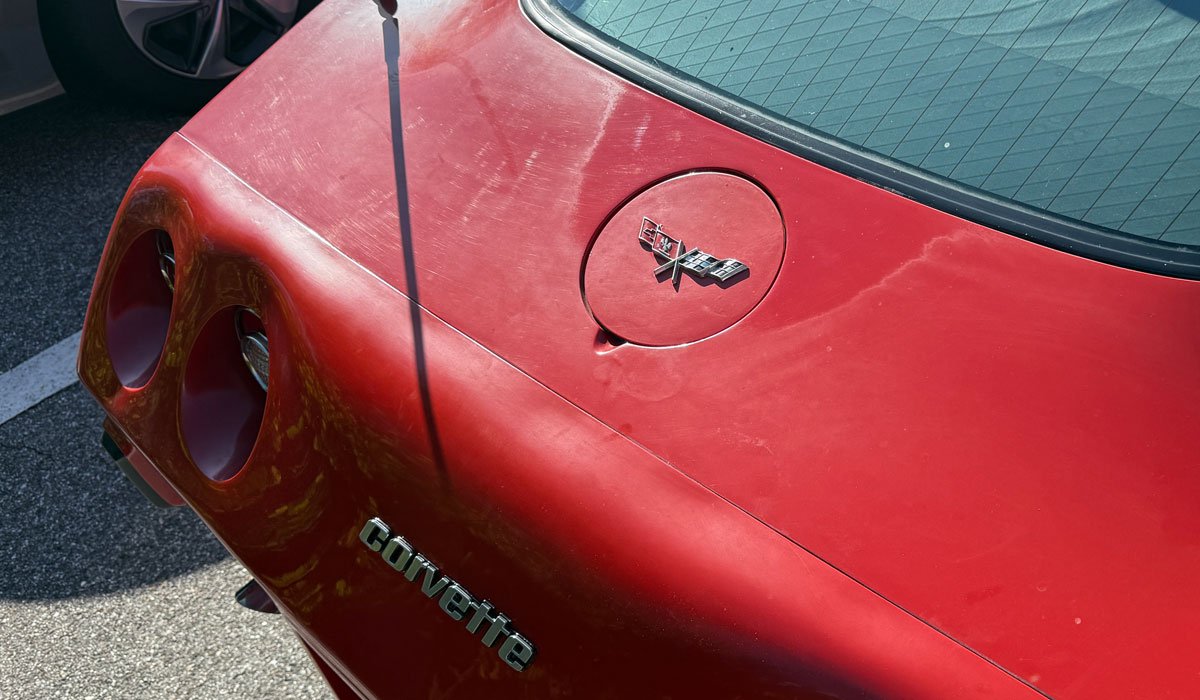
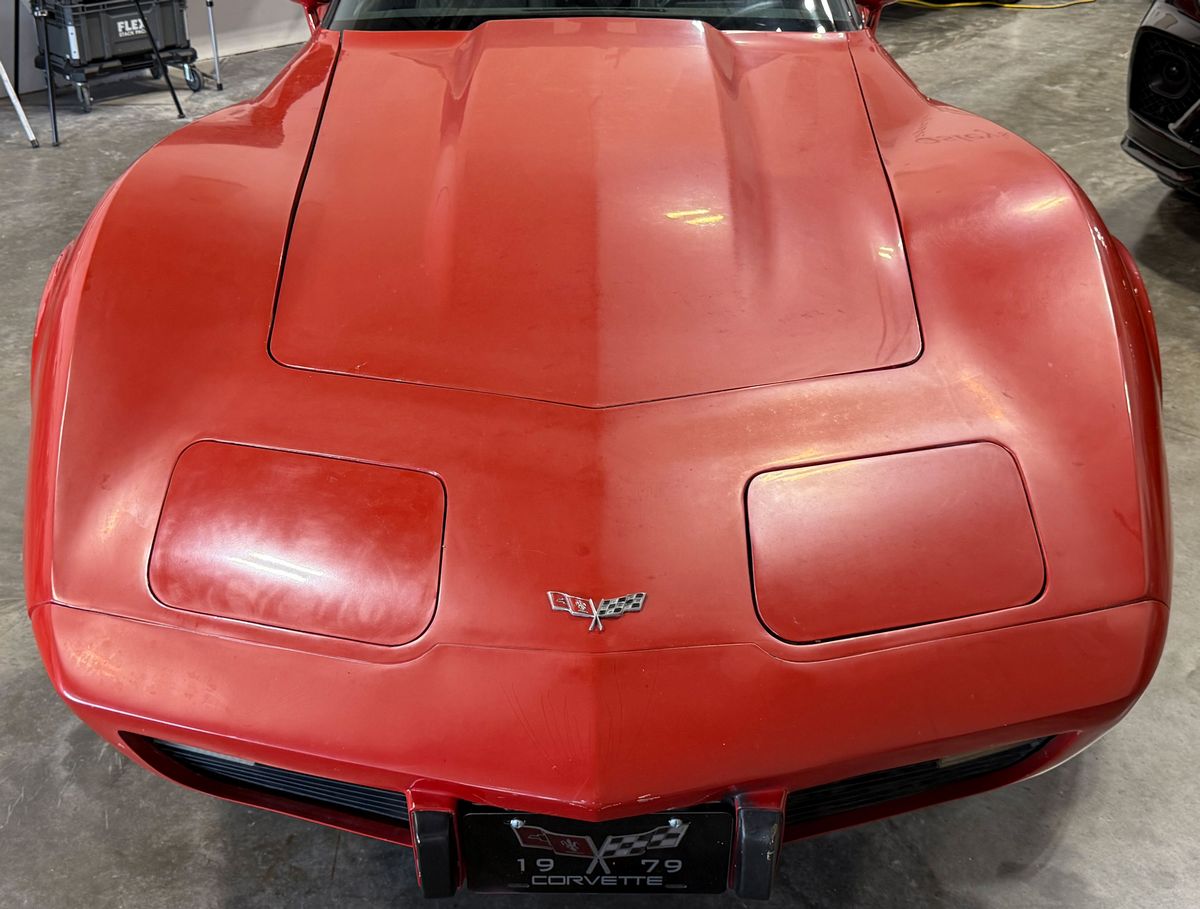
Outside Full Sun Before Pictures
When cars arrive here, while they are outside, I try to use the overhead sun to capture the current condition of the paint. One word describes this paint - BAD

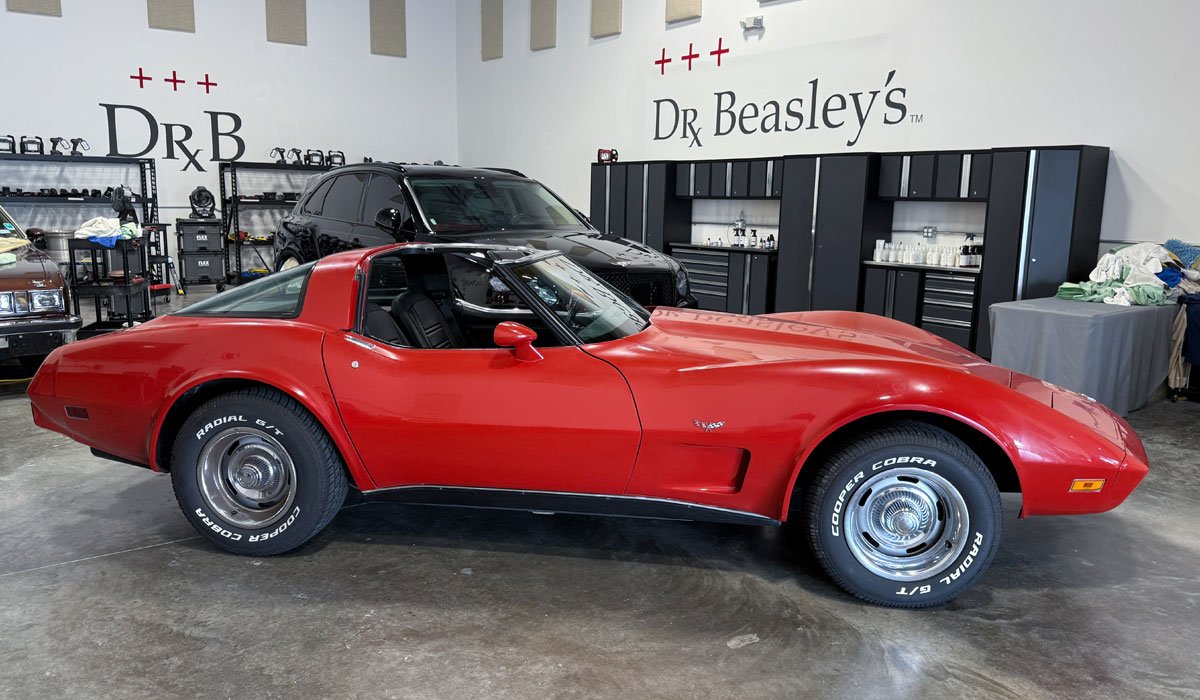
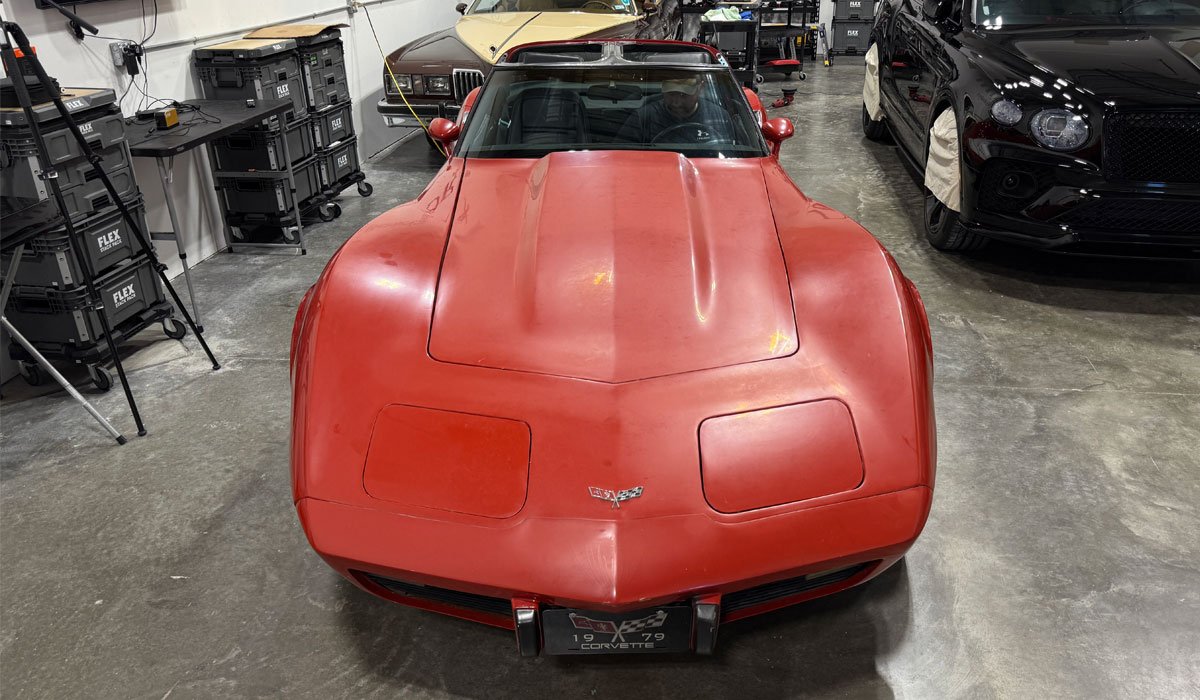
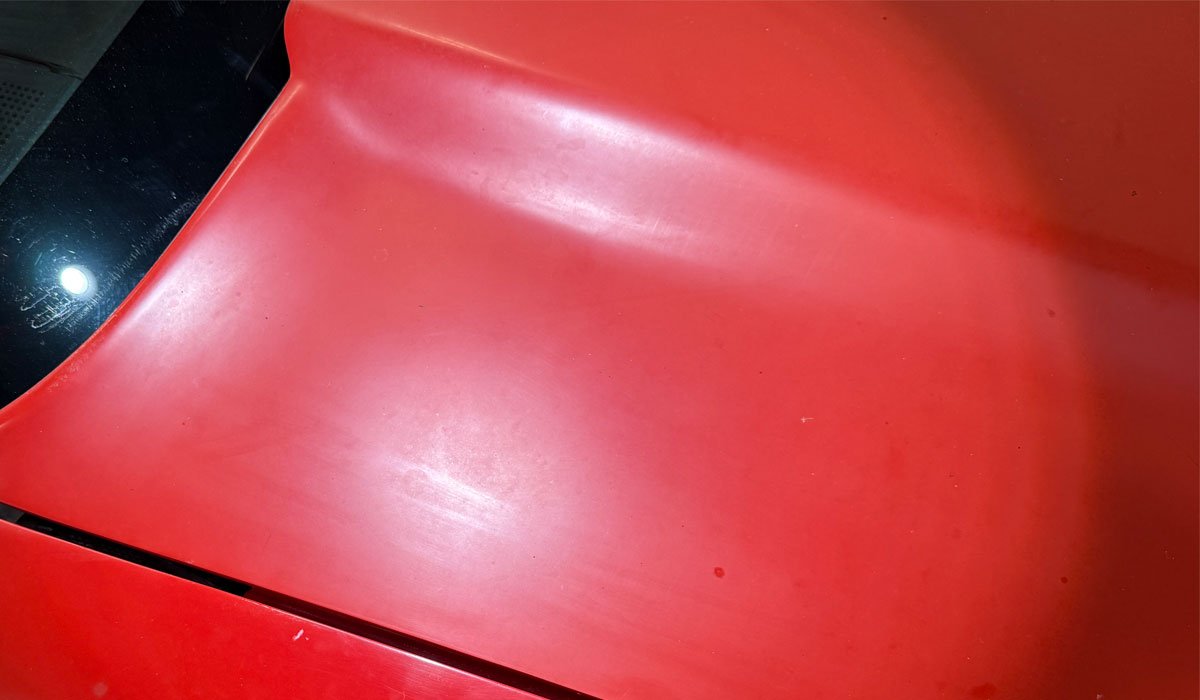
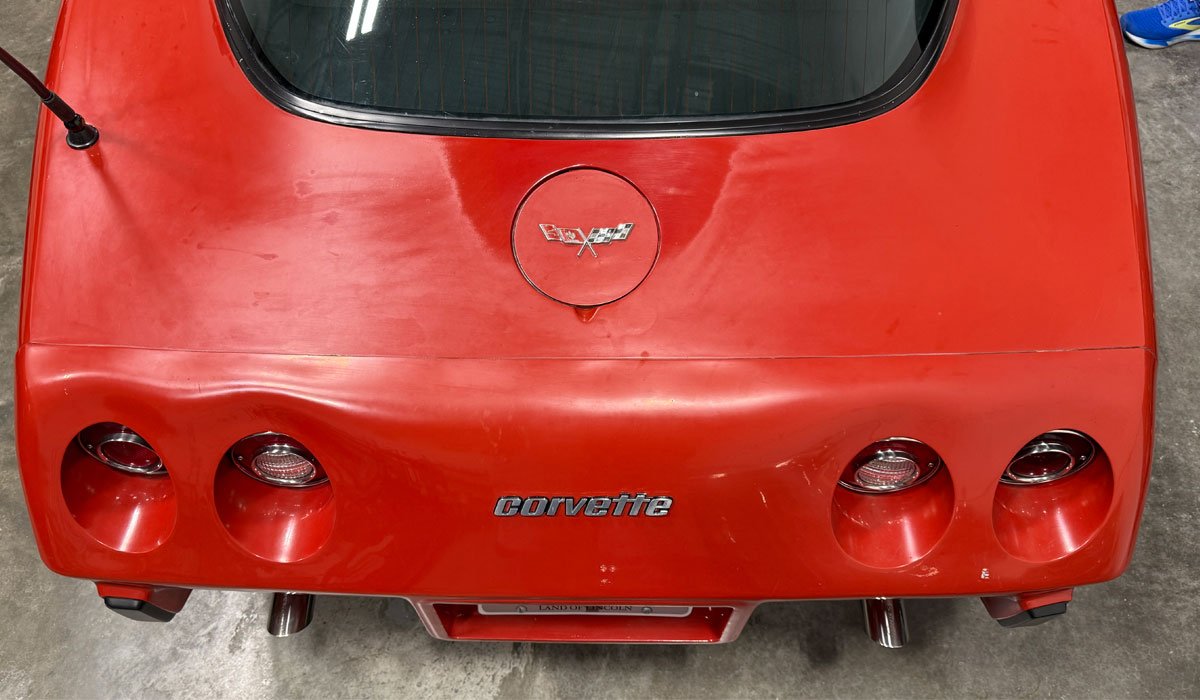
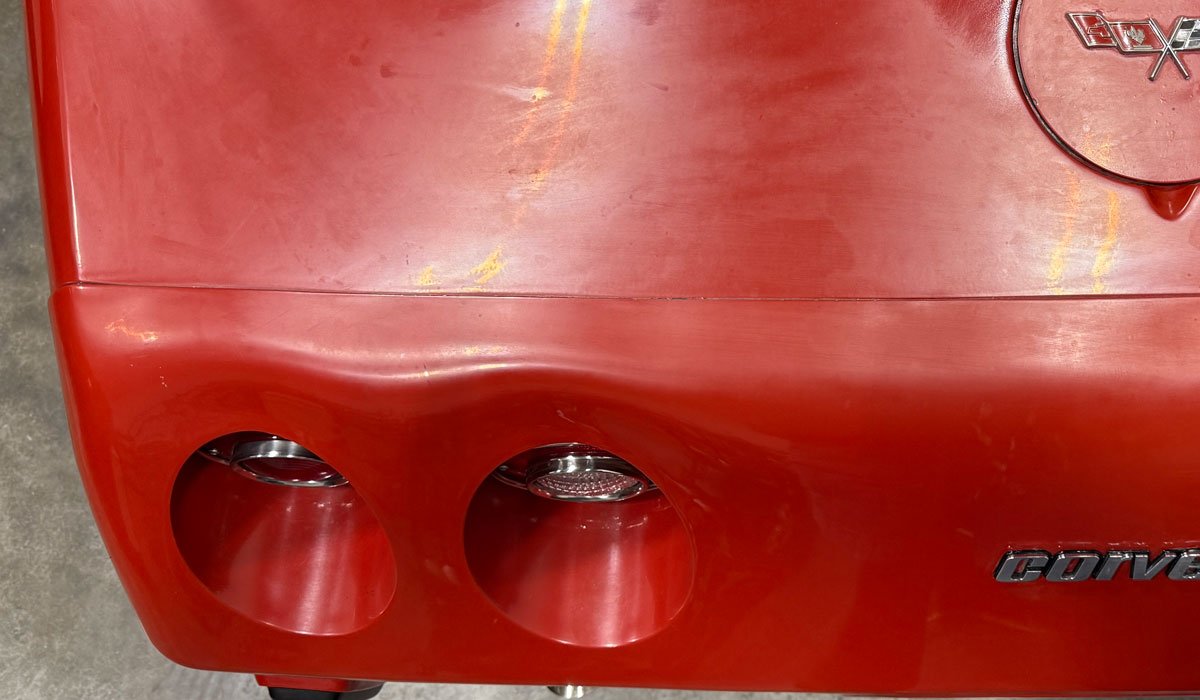
Inside Before Pictures
After moving the car inside, here's some photo-documentation to show the true and accurate condition of the paint.
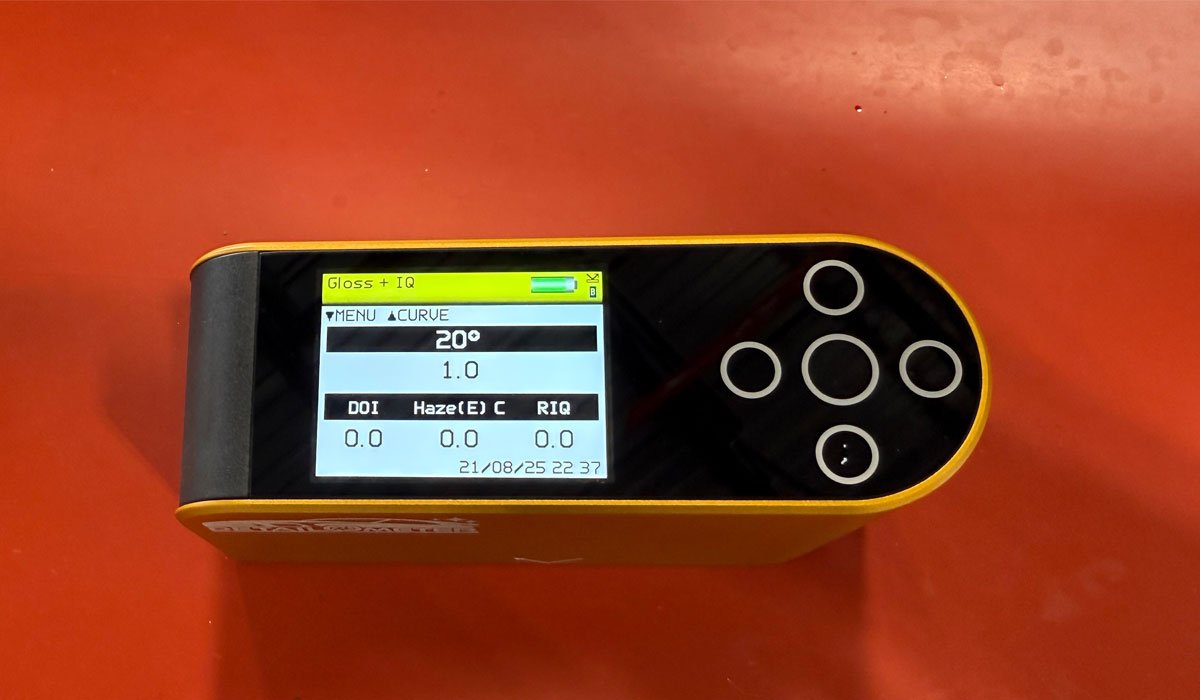
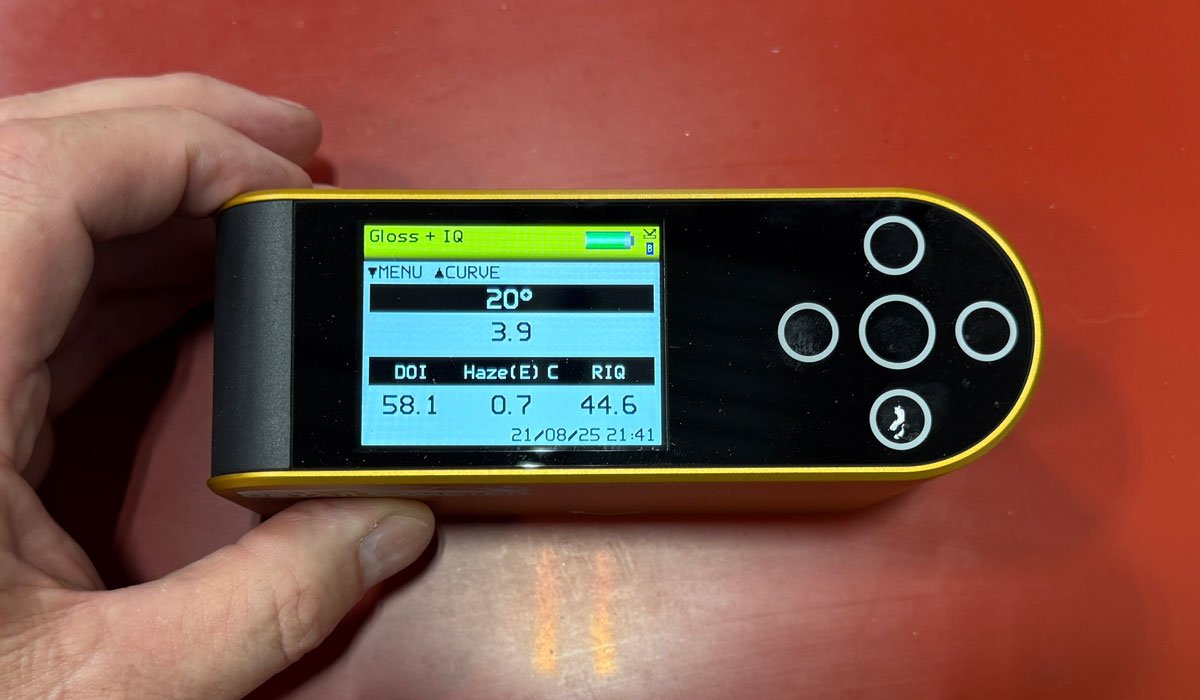
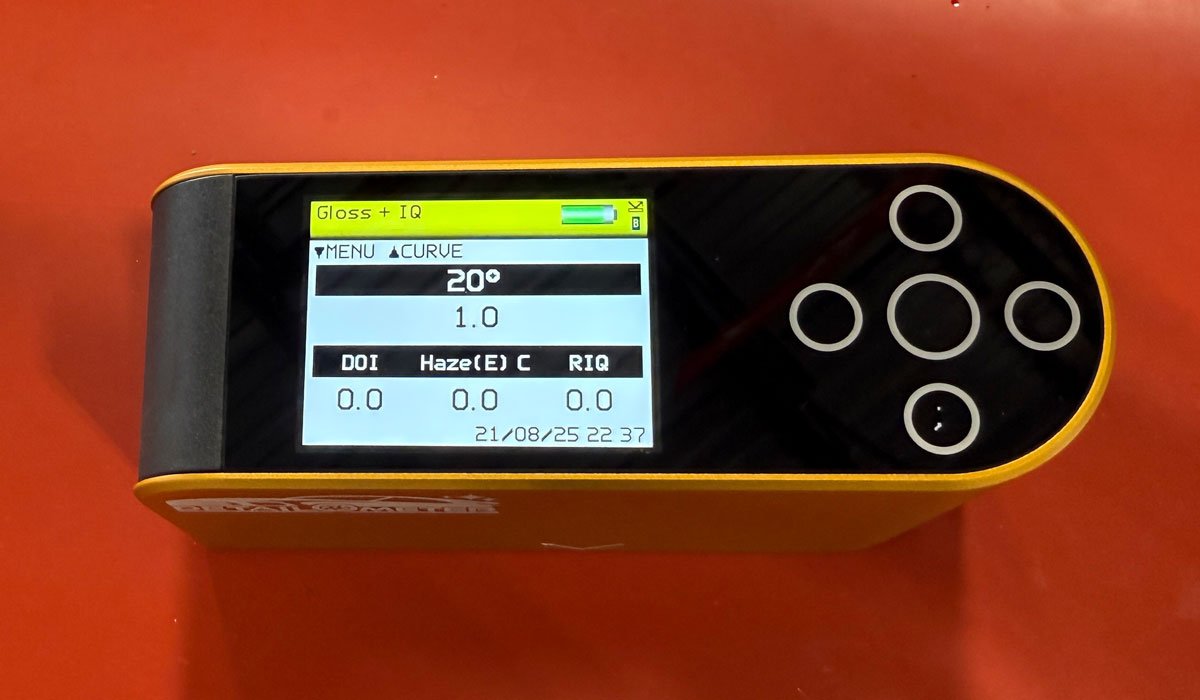
Detailometer
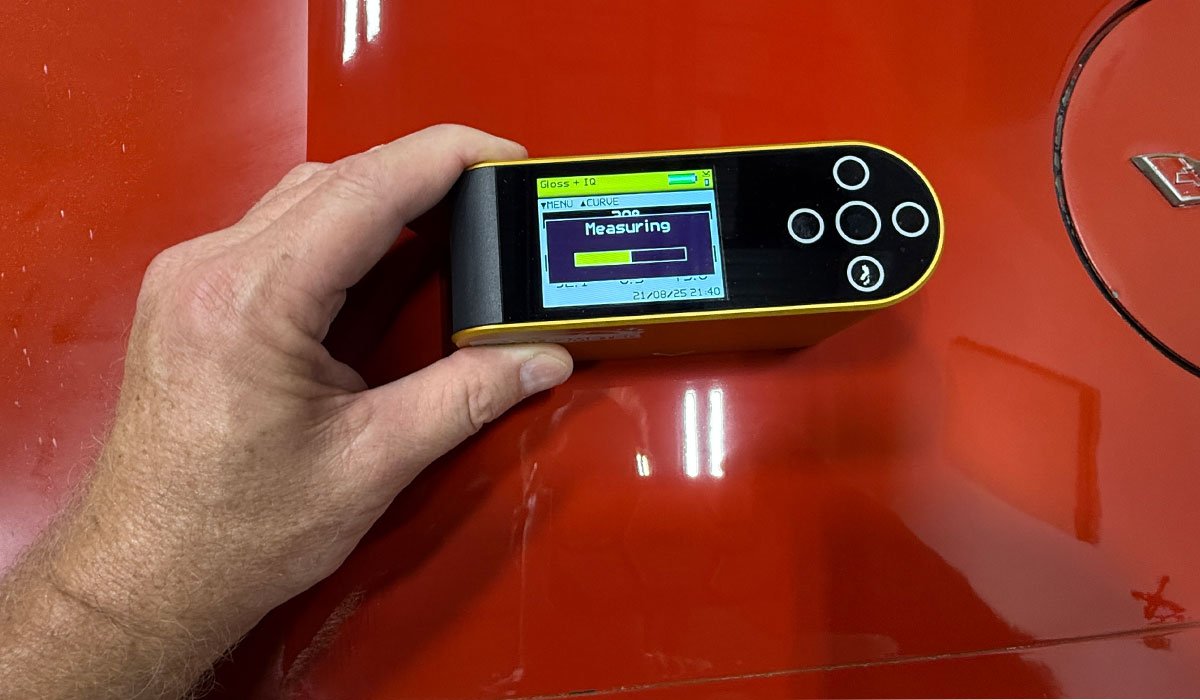
Let's get some readings using our Detailometer
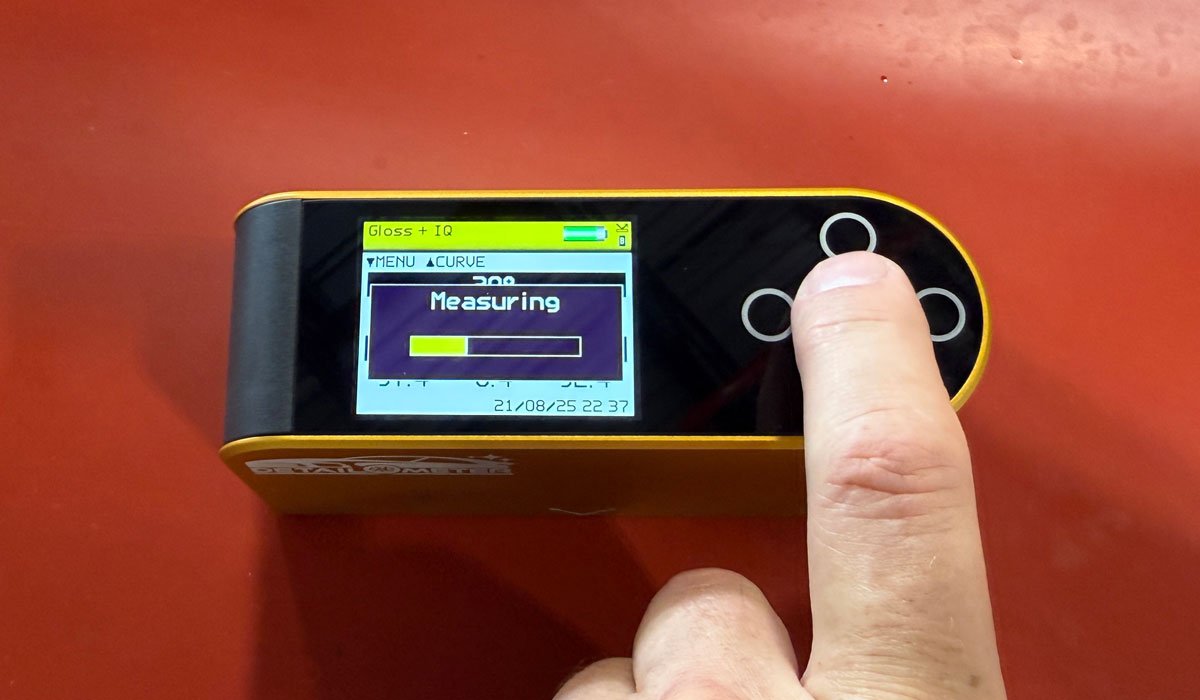
WOW!
I've never seen reading this low. Unreal.
There are no problems, only teaching opportunities
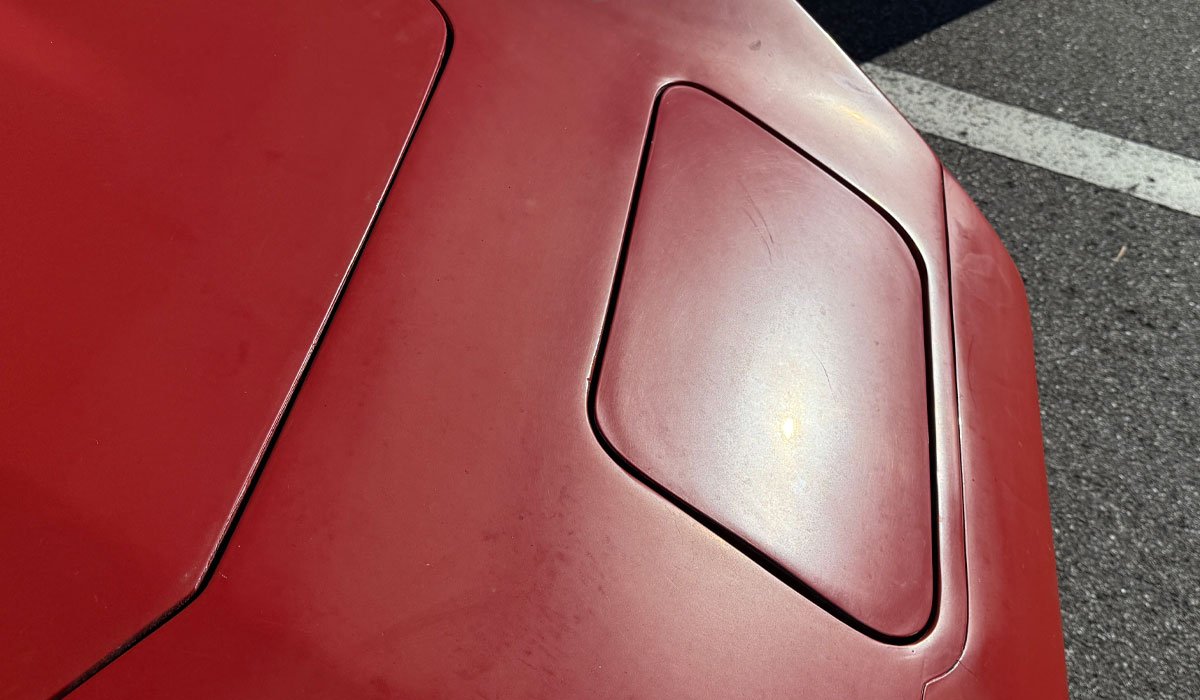
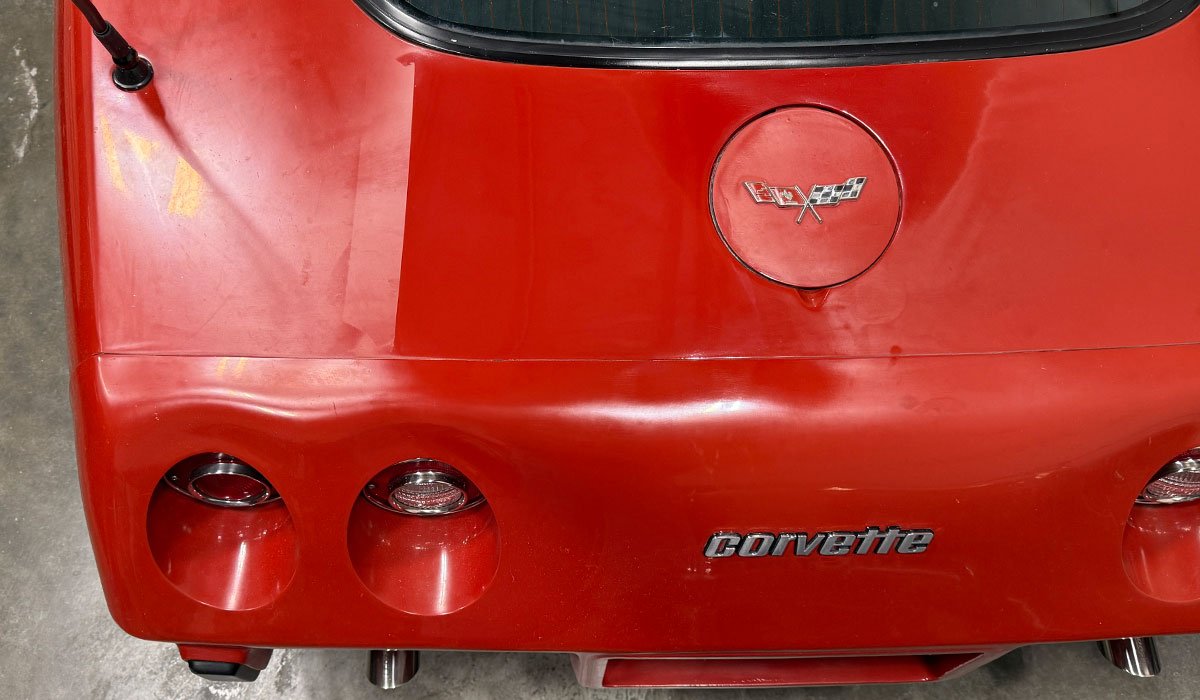
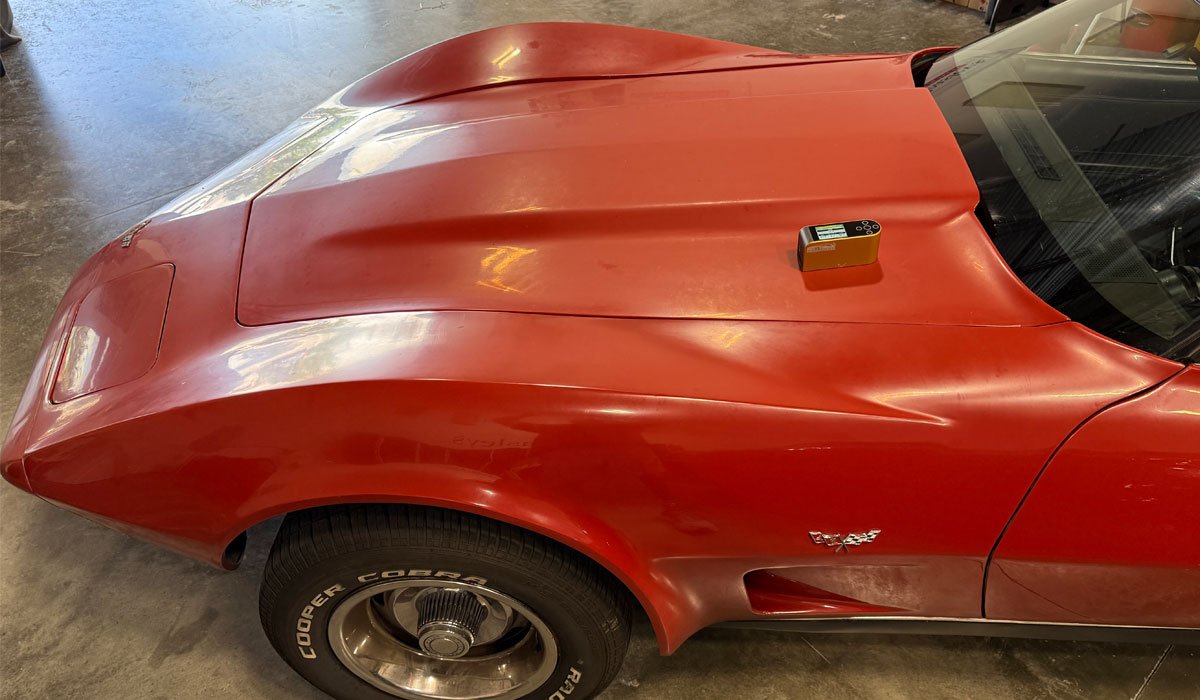
You can see there's some decent looking paint above the fuel door. At some point, someone did some touch-up paint work and now it sticks out like a sore thumb. Not to worry, when the class buffs out the old, faded paint, it will blend in with the newer paint.
I use cars like this to teach the class that there are cars that will have problems like this, and this makes for real-world training.
Test Spot
I did a little test spot buffing with our CoreCut Primer, a Buff and Shine 8" wool pad and a rotary polisher. After cutting decades of neglected off the surface, I then polished using the BEAST with a Buff and Shine Blueberry heavy polishing foam pad and NSP 150 Heavy Primer.
First - let's take a reading using the Detailometer.
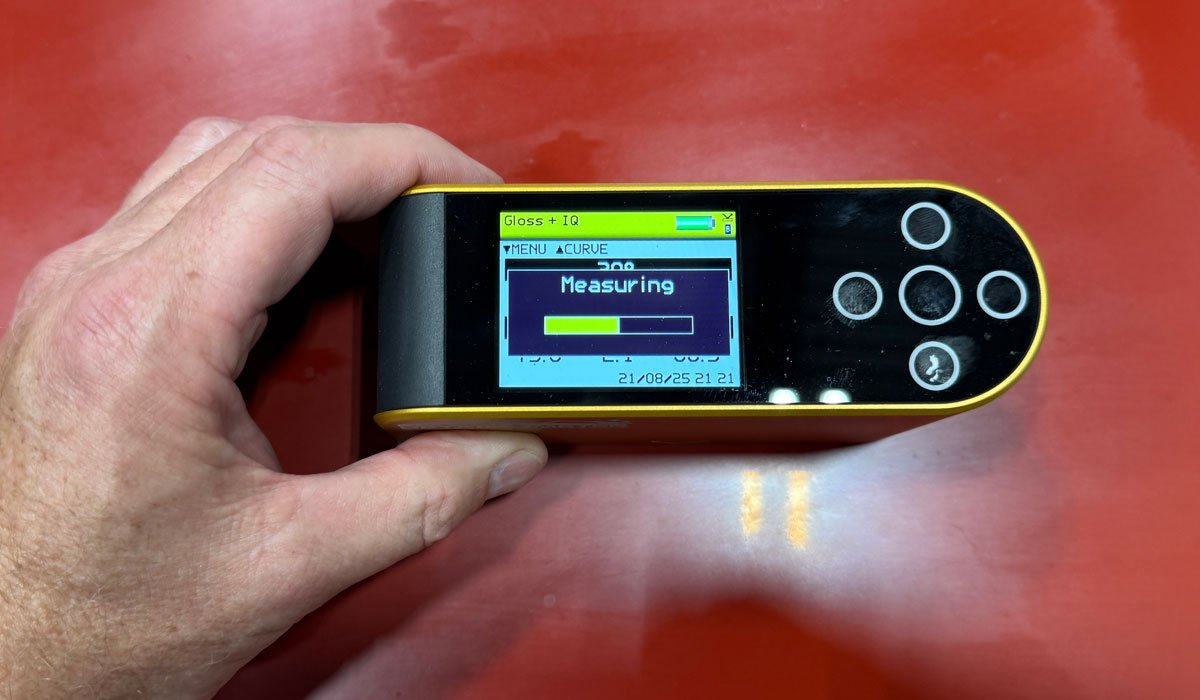
Not looking good, but better than the paint on the hood.
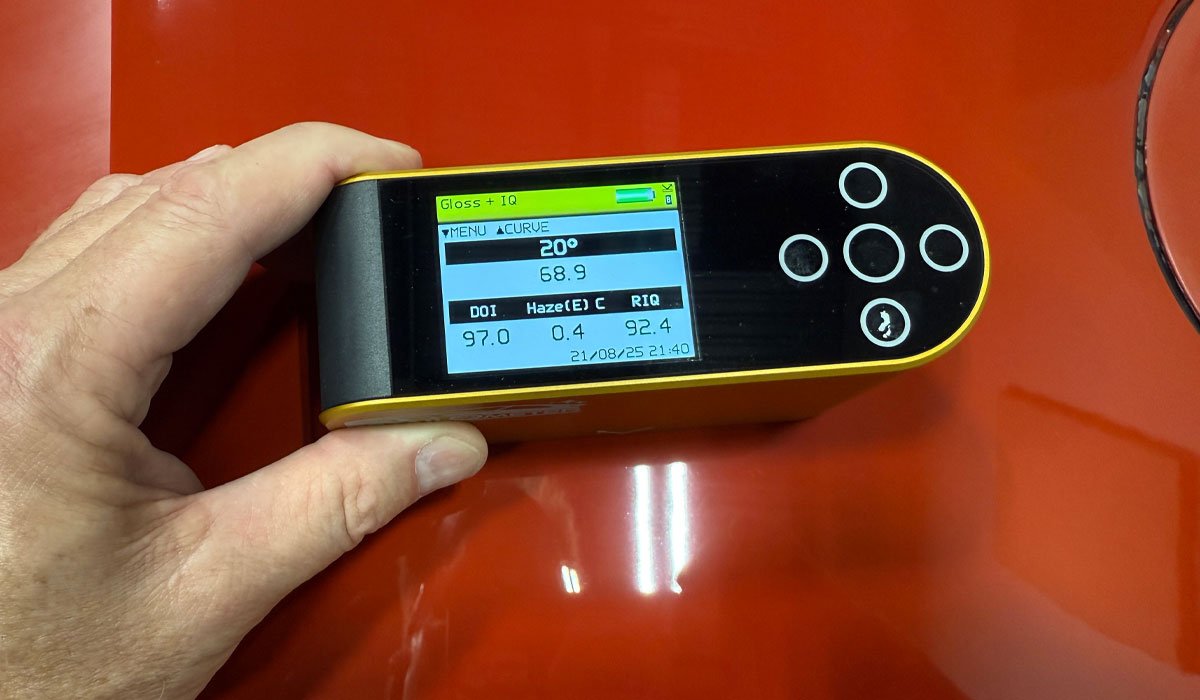
Test Spot Results
I think my class can save this paint job!
Let's take a fresh reading...
BOOM!
Dramatically improved! In fact, the results look so good, the owner will be happy to shine her up and save a repaint for some other day.
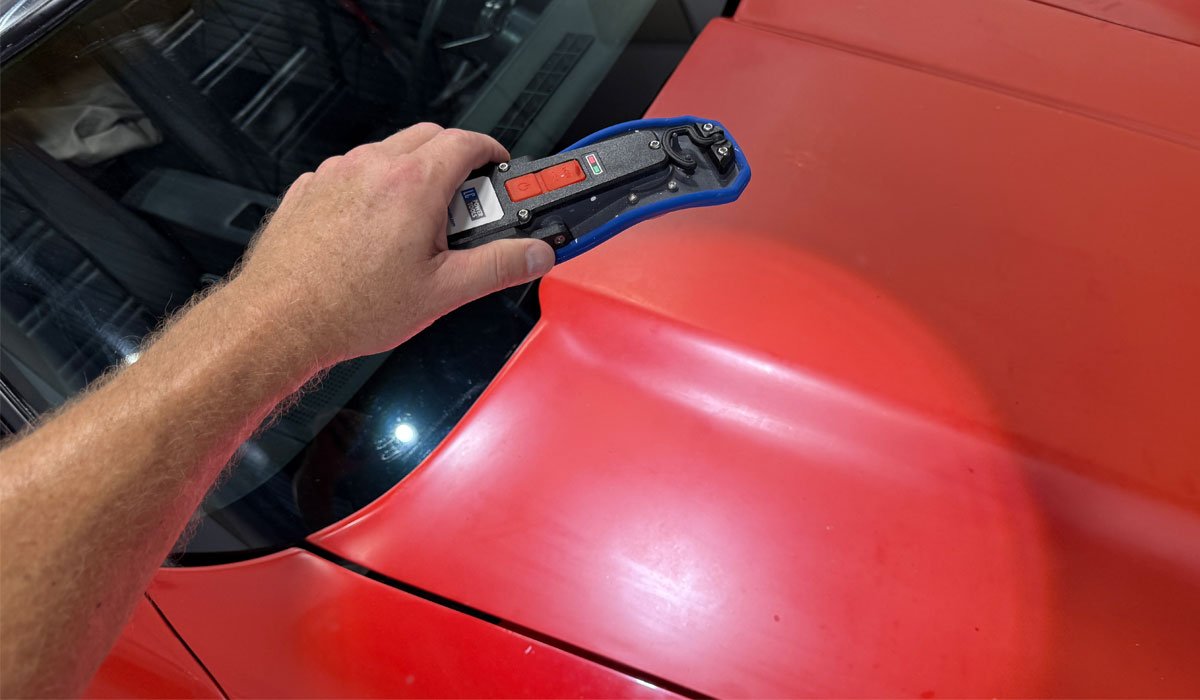
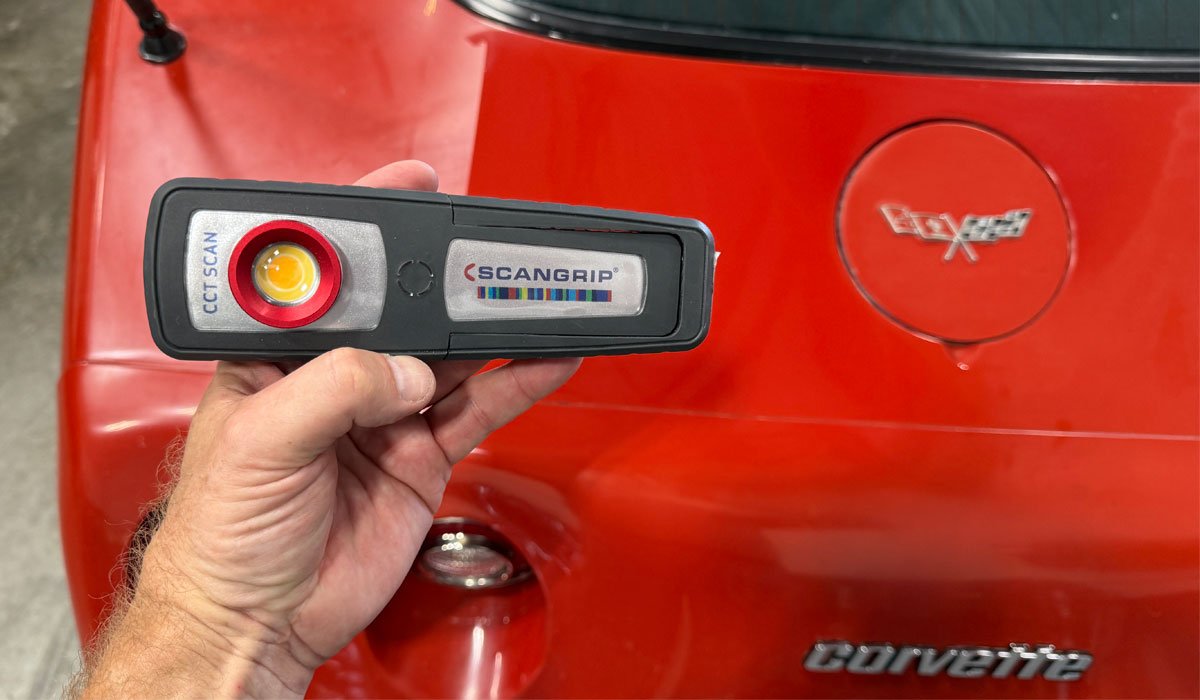
SCANGRIP
Just for fun, let's take a look at the before and after difference with a SCANGRIP swirl finder light.
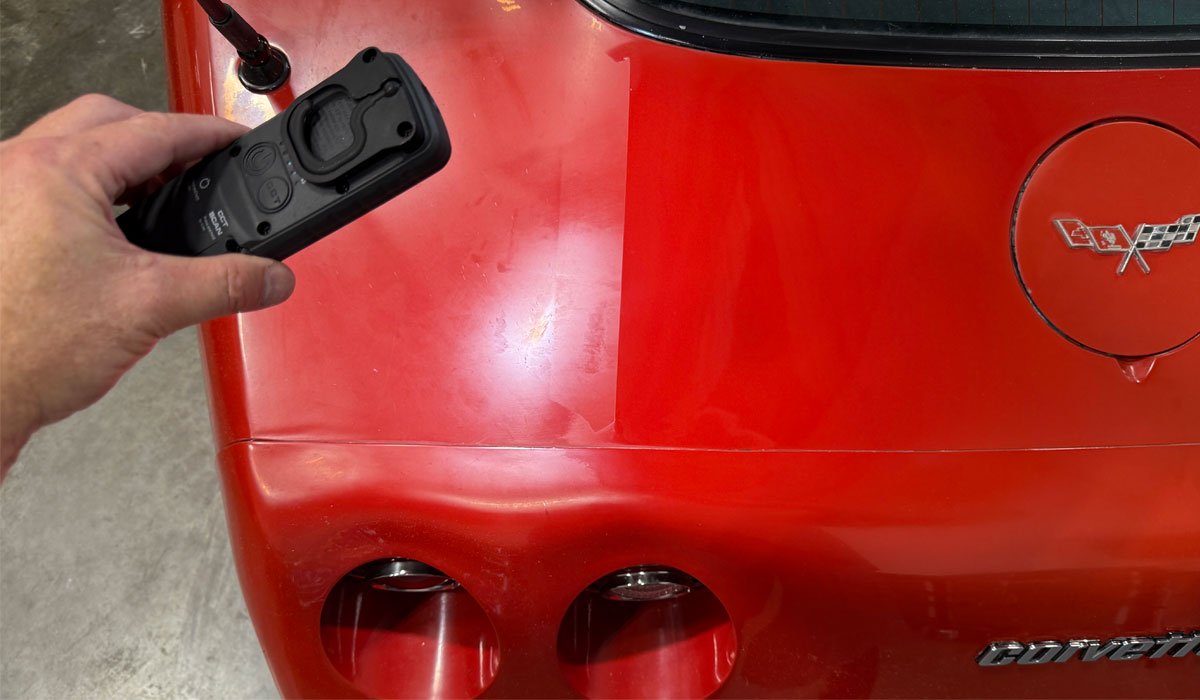
Here's light shining on the before side - it's just a blob of light.
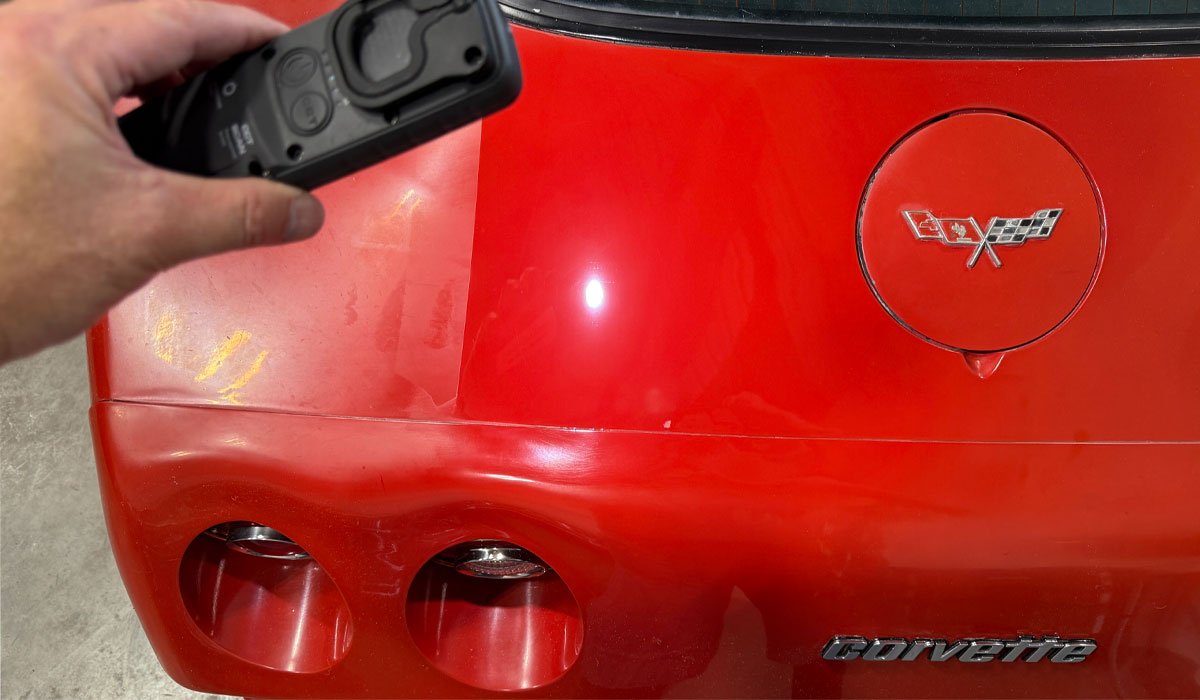
Here's light shining on the after side - now that's what I'm talking about!
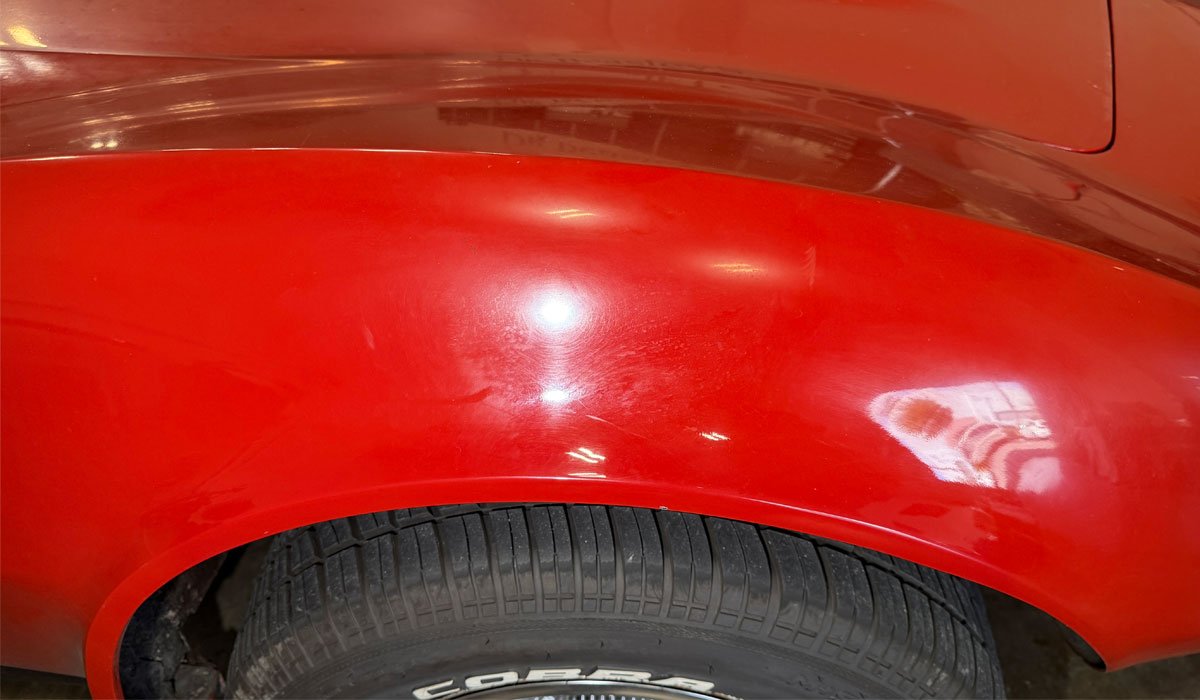
And of course, here's overhead LED lights.

More before shots
I love when the experts on social media look at picture of one of my training cars, and because they're NOT HERE - they make some snide comment about how I need to get cars that actually need paint correction. It's been happening all my life. And this is why I always photo-document the before condition of the cars. It makes the experts look, well, you no, less smart. LOL - To my knowledge, I'm the only guy that teaches both car and boat detailing classes that invests the time to ALWAYS capture great before, during and after pictures for my class write-ups. I simply never see anyone else to this.
The benefit? If you're looking for a good class to take, try to find both before and after pictures of any other class. Try. First, there's never as many cars as I bring in and a lot of times, if there is a car, it's a mundane daily driver. And when there are no cars, you're stuck training on either a demo hood or a test panel. Never at my classes.

One more Detailometer reading
I was thinking maybe something went wrong when I took the first reading on the other side of the hood because I've never seen such low reading with so many ZEROS. So I took a third set of measurements on the driver's side of the hood.
This first picture is called a Context Shot - it enables you to see exactly on the car where I'm going to take a measurement. Then after the class, I re-measure in this same area.

Wow! Again - so many ZEROS!
My class genuinly has their work cut out for them. This is going to be an very EXTREME show car makeover as well as a lot of fun!
Parting shot...
This is called capturing the UGLY!
If you snooze you lose!
This class is almost sold out and it WILL sell out - so if you were planning on taking this LAST 2-day class for 2025, where the second day includes learning to wet sand and machine sand to remove orange peel on some other dude's streetrod - you better get signed-up fast.
I expect the SOLD OUT notice to go up next week sometime.
Click this link to get signed-up - 2-Day 100% Hands-On Class Using More Tools and working on Cool Cars - $1,295.00
Questions? Shoot me a text or give me a call: 760-515-0444
This will be another class that raises the bar for all detailing classes.
Mike
The FIRST tool you learn how to use at our 1-day and 2-day detailing classes is the Rotary Polisher. You learn how to do American Style rotary work, which means using a rotary with a whopping 8" WOOL CUTTING pad and of course, with Dr. Beasley's NSP CoreCut Primer.
The topic of the FIRST class session in the morning of the first day is called - Show Car Detailing - or - Multiple-Step Paint Correction. For this class session I bring in cool cars with the WORST condition paint.
For the upcoming September 2-day class, here's ONE of TWO cars for the first training session n Saturday morning.
1979 Corvette - Extreme Showcar Makeover! TRAINING CAR!
Now this will be a challenge for the class to perfect!
Outside Full Sun Before Pictures
When cars arrive here, while they are outside, I try to use the overhead sun to capture the current condition of the paint. One word describes this paint - BAD
Inside Before Pictures
After moving the car inside, here's some photo-documentation to show the true and accurate condition of the paint.
Detailometer
Let's get some readings using our Detailometer
WOW!
I've never seen reading this low. Unreal.
There are no problems, only teaching opportunities
You can see there's some decent looking paint above the fuel door. At some point, someone did some touch-up paint work and now it sticks out like a sore thumb. Not to worry, when the class buffs out the old, faded paint, it will blend in with the newer paint.
I use cars like this to teach the class that there are cars that will have problems like this, and this makes for real-world training.
Test Spot
I did a little test spot buffing with our CoreCut Primer, a Buff and Shine 8" wool pad and a rotary polisher. After cutting decades of neglected off the surface, I then polished using the BEAST with a Buff and Shine Blueberry heavy polishing foam pad and NSP 150 Heavy Primer.
First - let's take a reading using the Detailometer.
Not looking good, but better than the paint on the hood.
Test Spot Results
I think my class can save this paint job!
Let's take a fresh reading...
BOOM!
Dramatically improved! In fact, the results look so good, the owner will be happy to shine her up and save a repaint for some other day.
SCANGRIP
Just for fun, let's take a look at the before and after difference with a SCANGRIP swirl finder light.
Here's light shining on the before side - it's just a blob of light.
Here's light shining on the after side - now that's what I'm talking about!
And of course, here's overhead LED lights.
More before shots
I love when the experts on social media look at picture of one of my training cars, and because they're NOT HERE - they make some snide comment about how I need to get cars that actually need paint correction. It's been happening all my life. And this is why I always photo-document the before condition of the cars. It makes the experts look, well, you no, less smart. LOL - To my knowledge, I'm the only guy that teaches both car and boat detailing classes that invests the time to ALWAYS capture great before, during and after pictures for my class write-ups. I simply never see anyone else to this.
The benefit? If you're looking for a good class to take, try to find both before and after pictures of any other class. Try. First, there's never as many cars as I bring in and a lot of times, if there is a car, it's a mundane daily driver. And when there are no cars, you're stuck training on either a demo hood or a test panel. Never at my classes.
One more Detailometer reading
I was thinking maybe something went wrong when I took the first reading on the other side of the hood because I've never seen such low reading with so many ZEROS. So I took a third set of measurements on the driver's side of the hood.
This first picture is called a Context Shot - it enables you to see exactly on the car where I'm going to take a measurement. Then after the class, I re-measure in this same area.
Wow! Again - so many ZEROS!
My class genuinly has their work cut out for them. This is going to be an very EXTREME show car makeover as well as a lot of fun!
Parting shot...
This is called capturing the UGLY!
If you snooze you lose!
This class is almost sold out and it WILL sell out - so if you were planning on taking this LAST 2-day class for 2025, where the second day includes learning to wet sand and machine sand to remove orange peel on some other dude's streetrod - you better get signed-up fast.
I expect the SOLD OUT notice to go up next week sometime.
Click this link to get signed-up - 2-Day 100% Hands-On Class Using More Tools and working on Cool Cars - $1,295.00
Questions? Shoot me a text or give me a call: 760-515-0444
This will be another class that raises the bar for all detailing classes.
Mike
Last edited: