248 Pictures - February 3-Day Car & Boat Detailing Class with Mike Phillips

Continued...


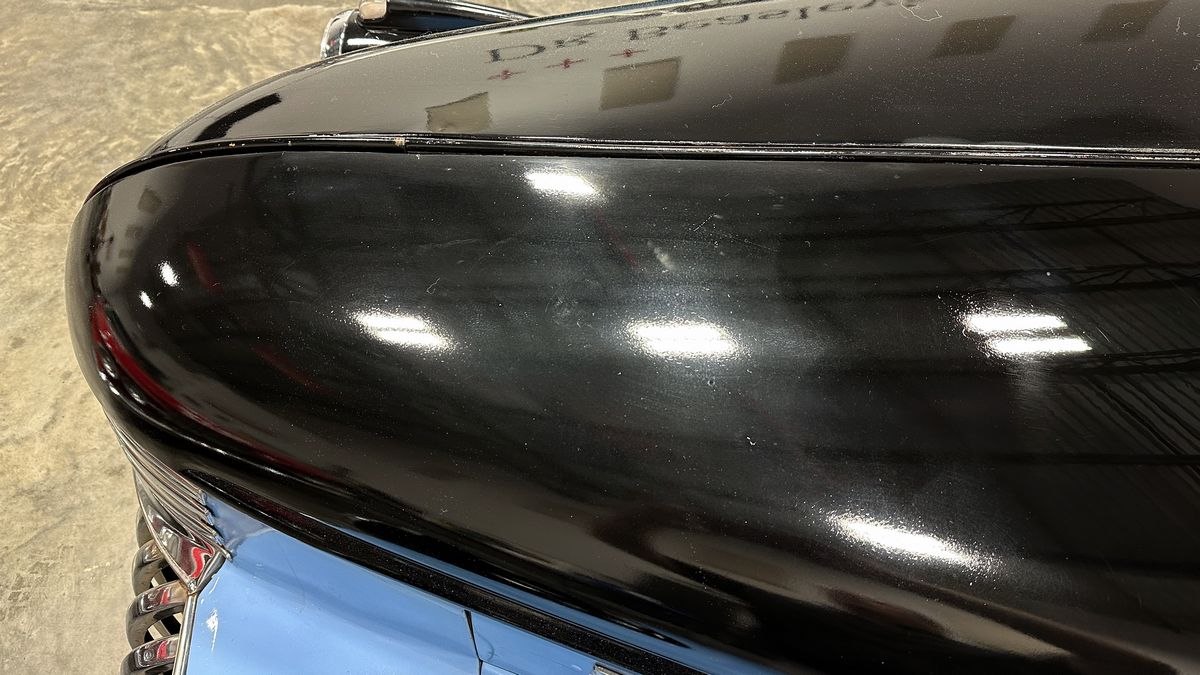
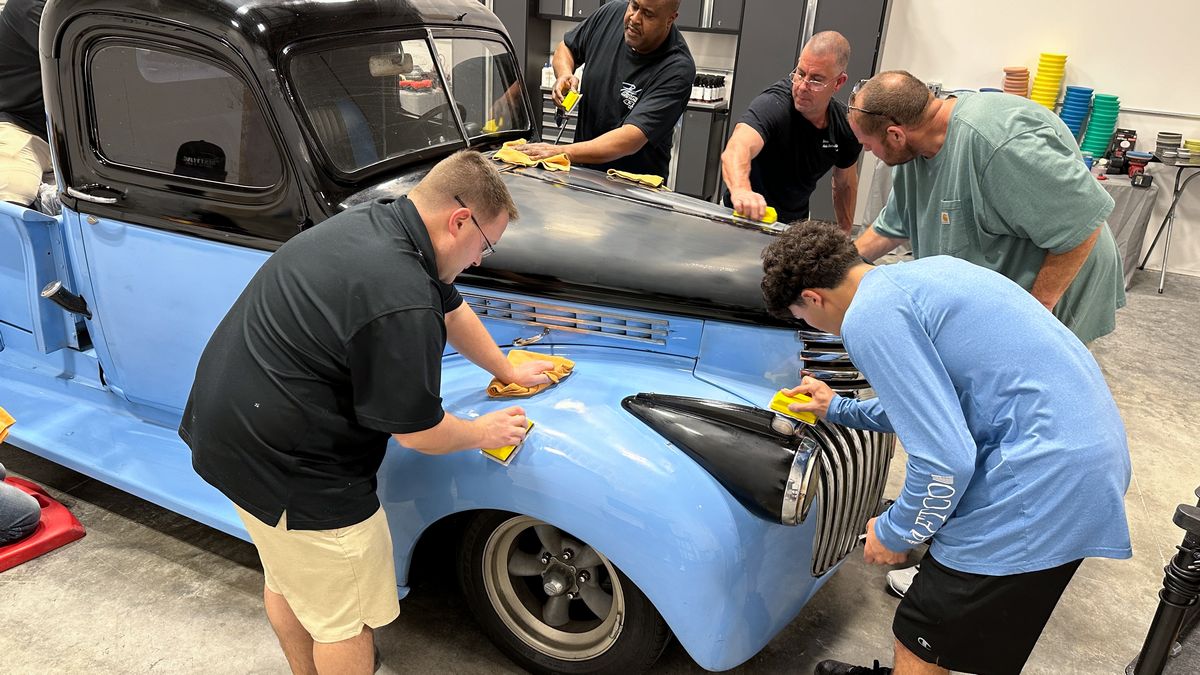
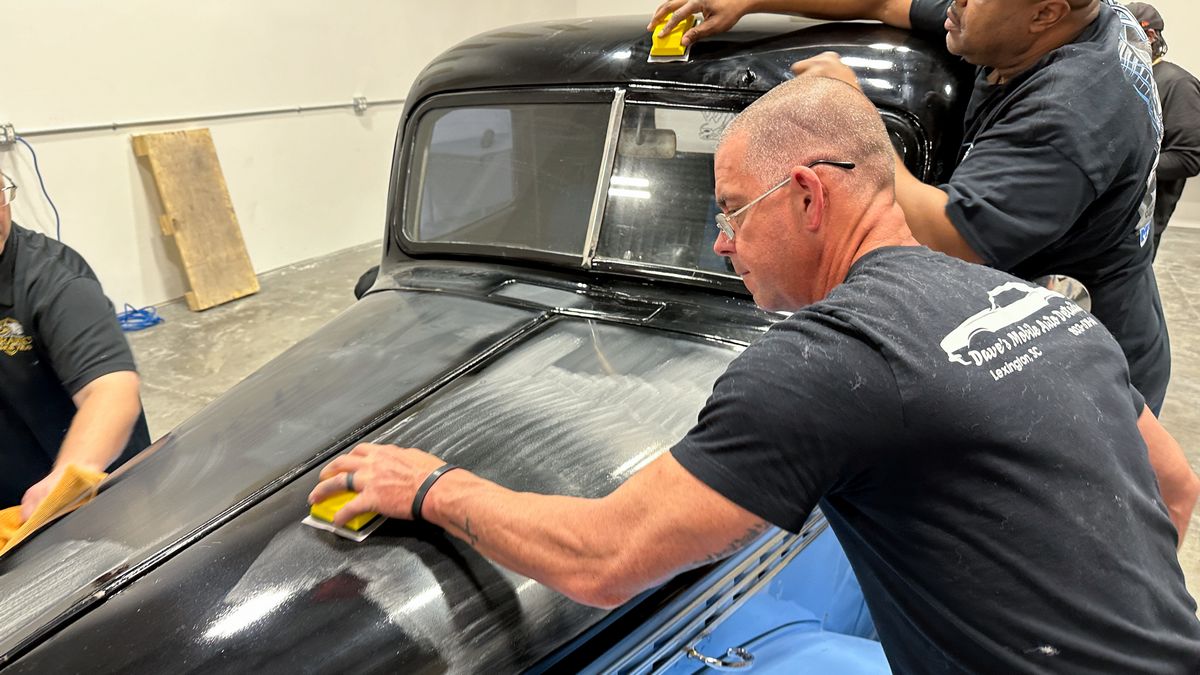
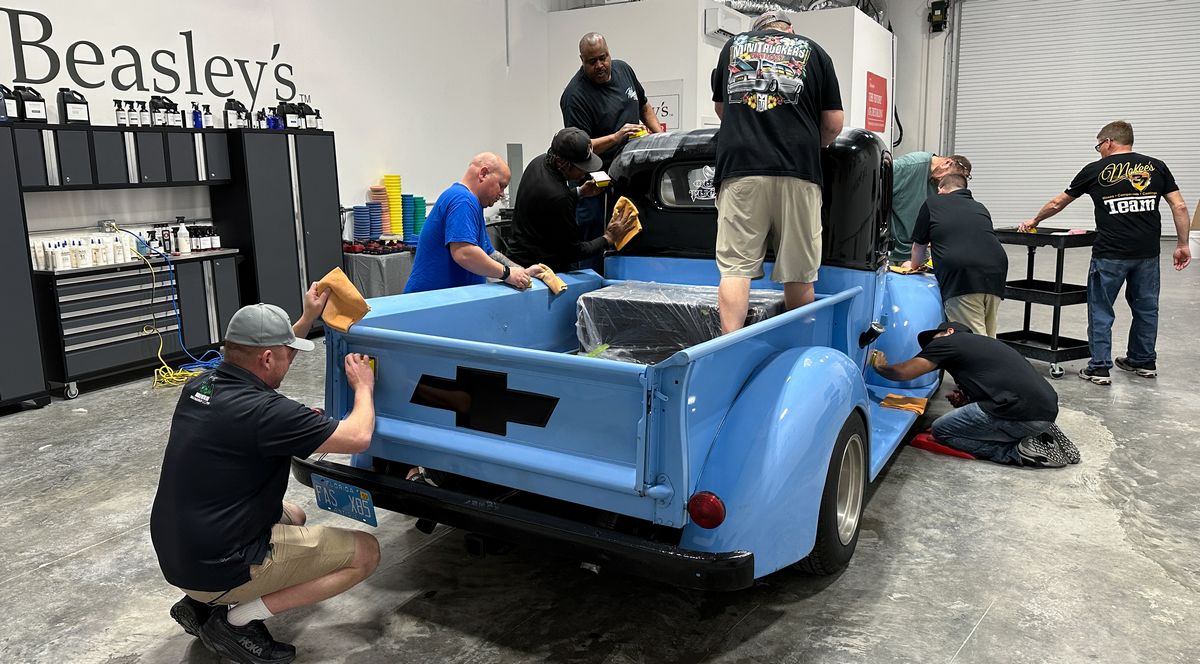
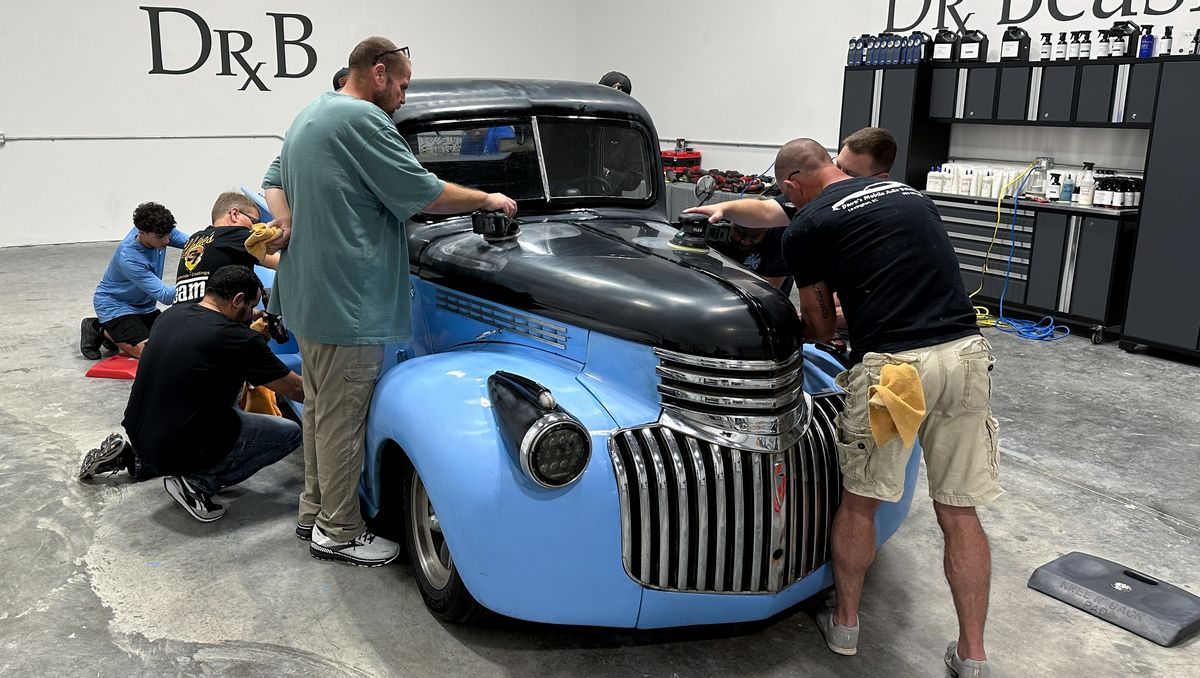
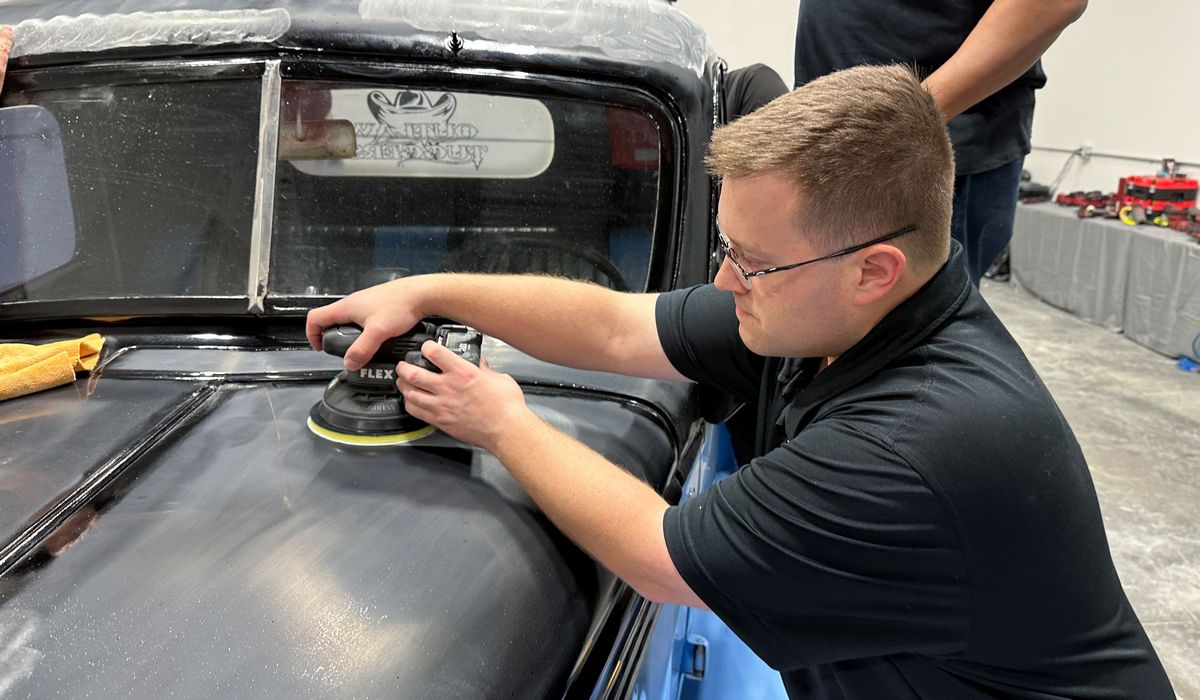
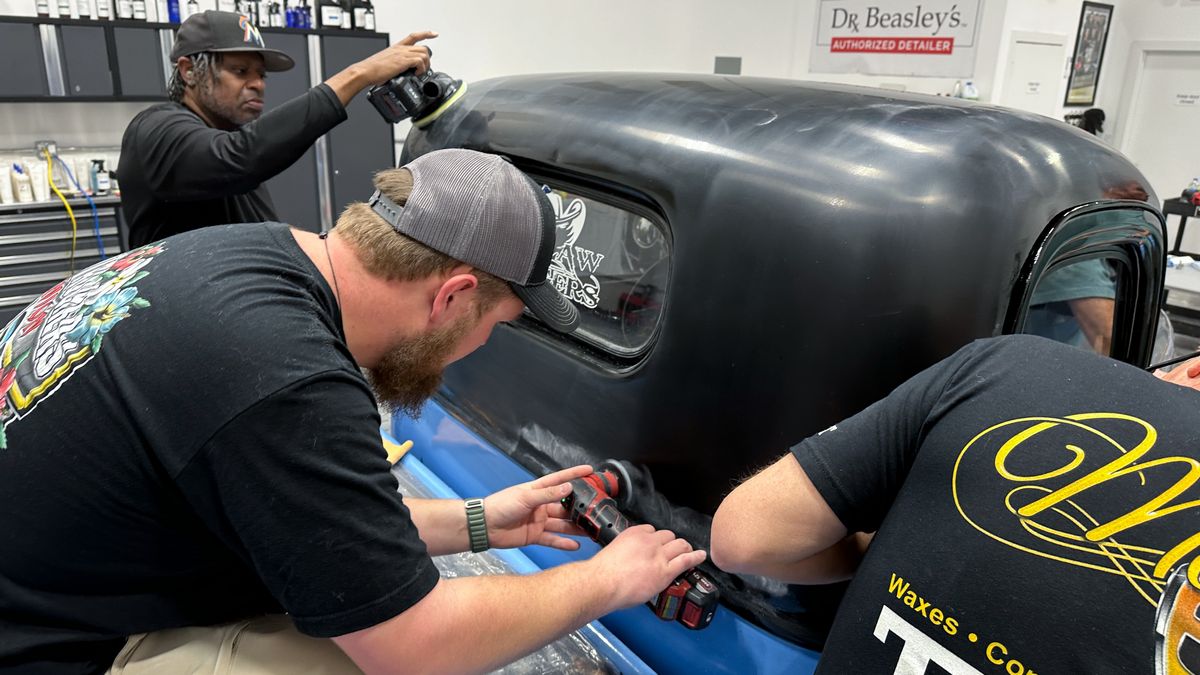
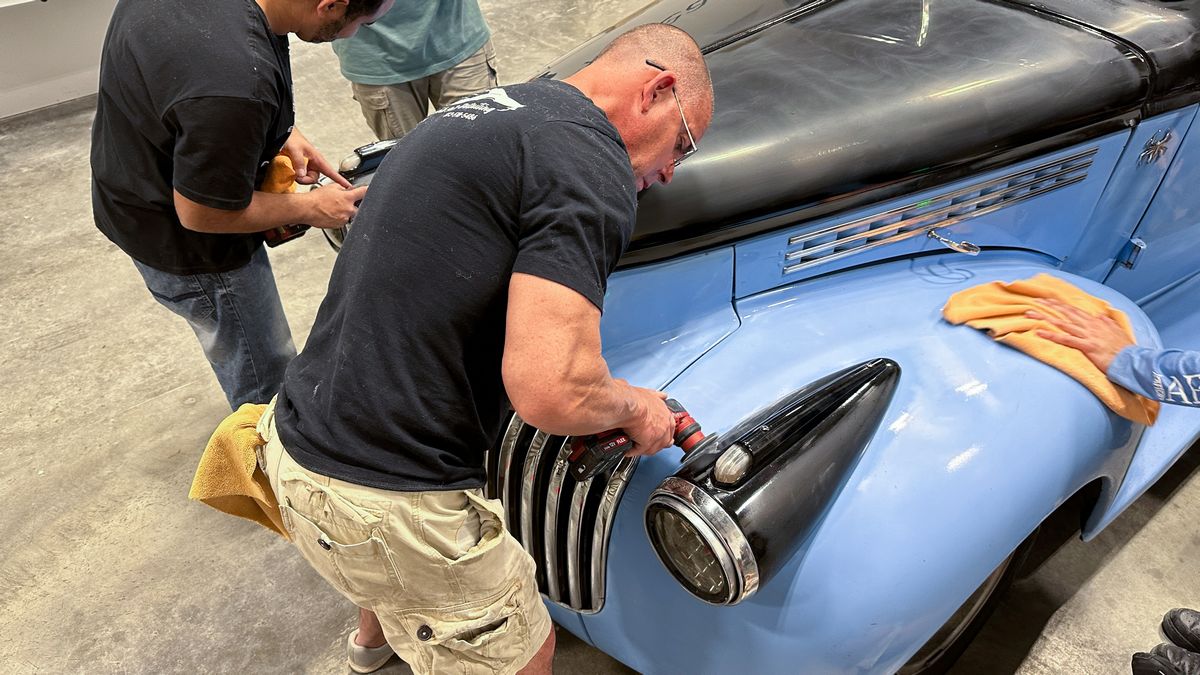
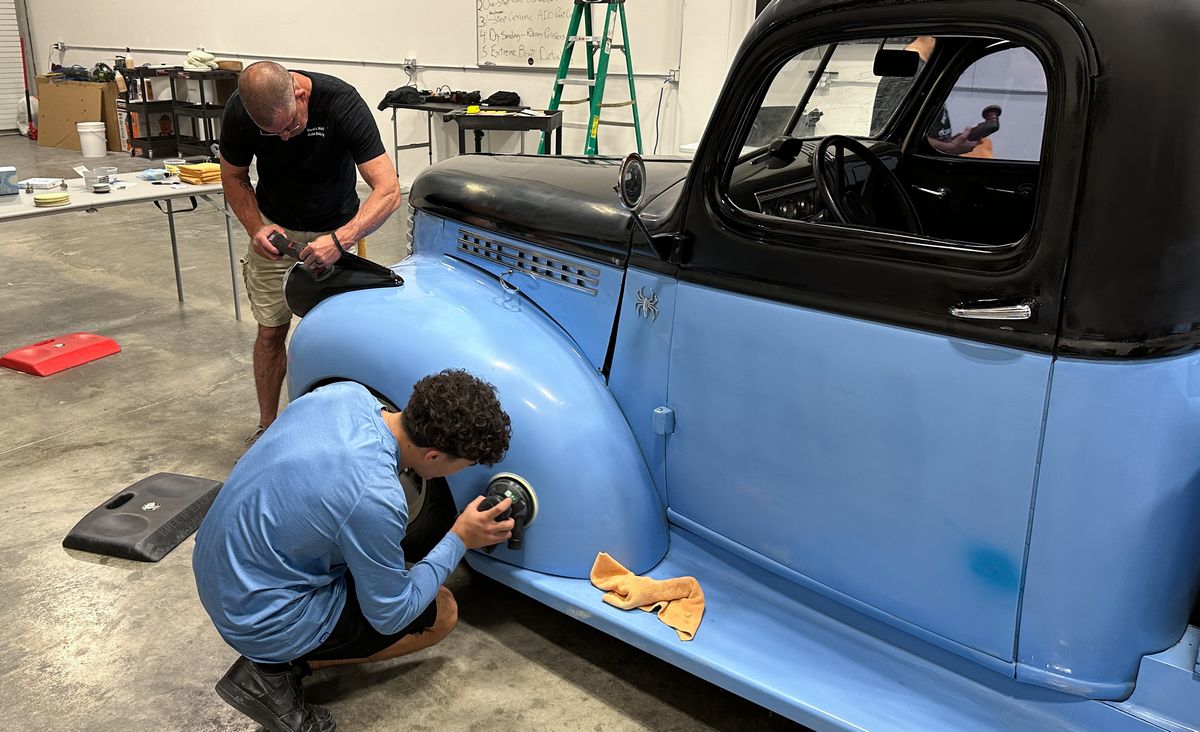
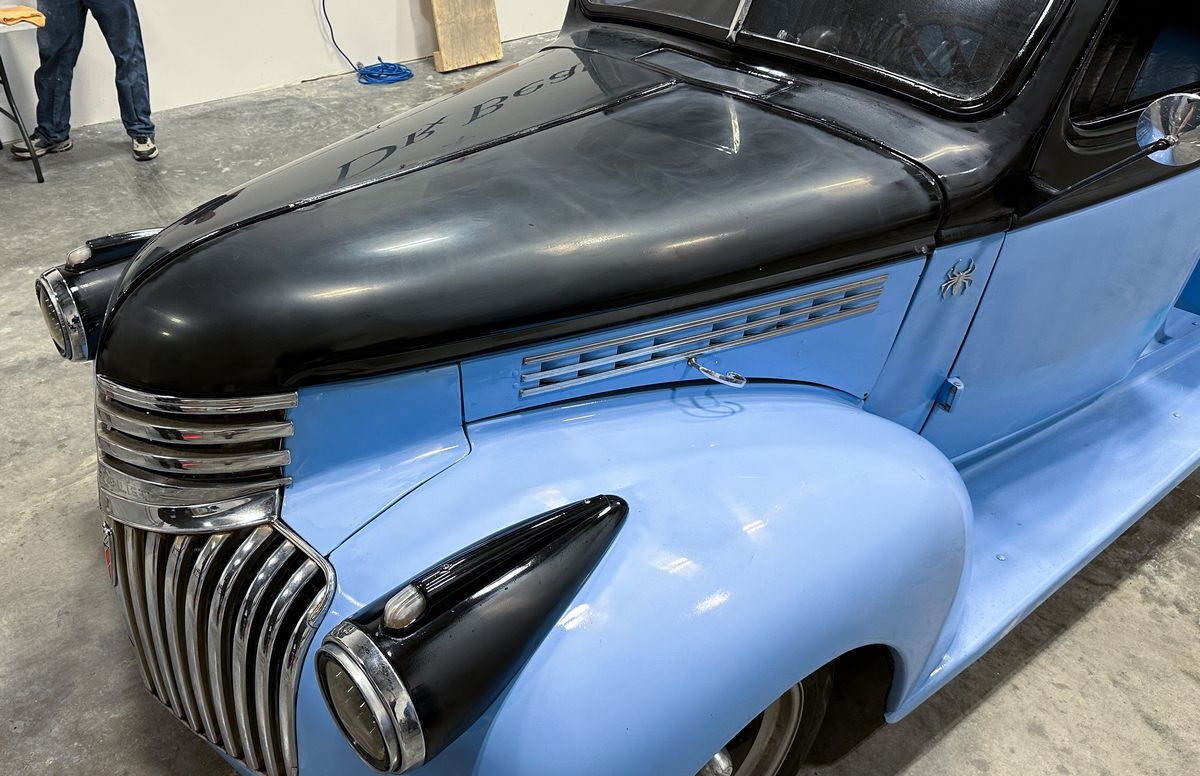
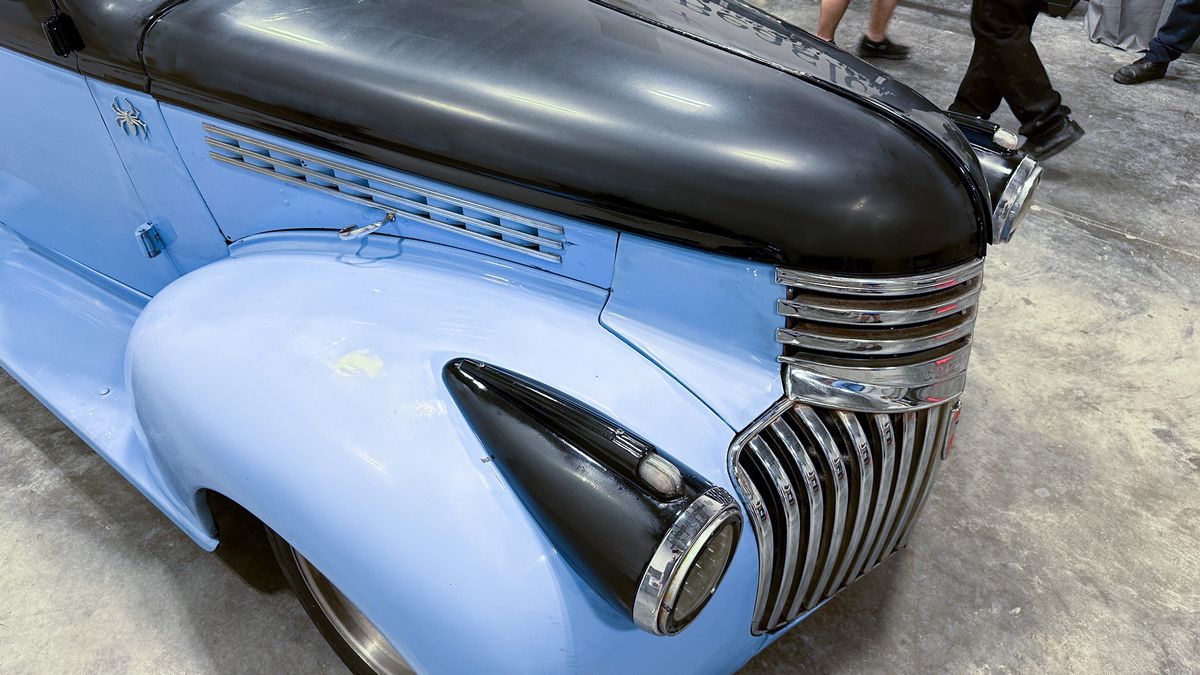
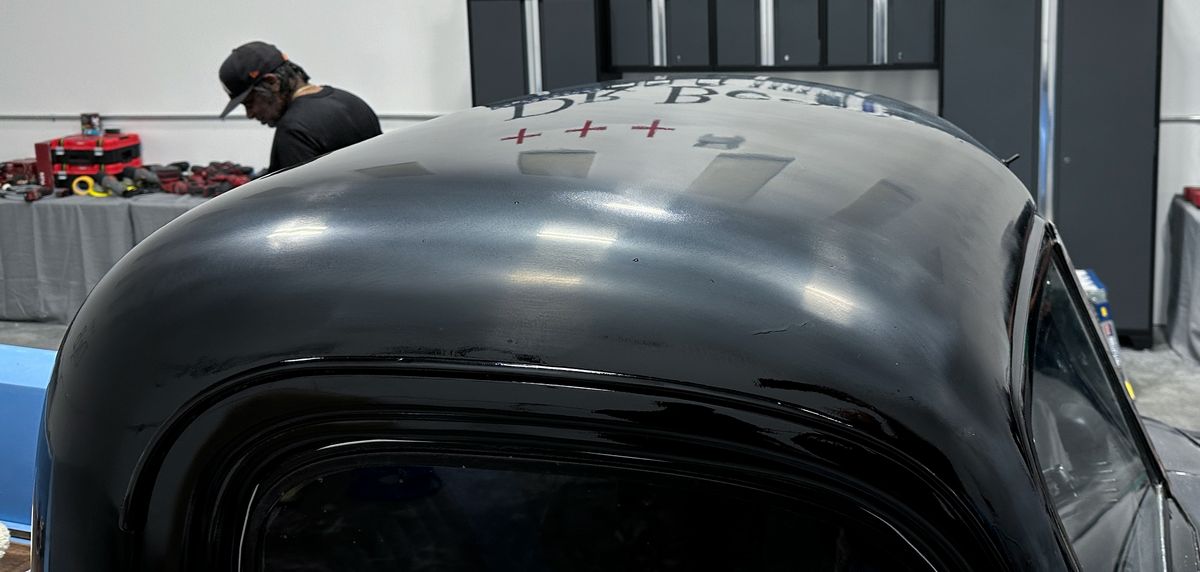
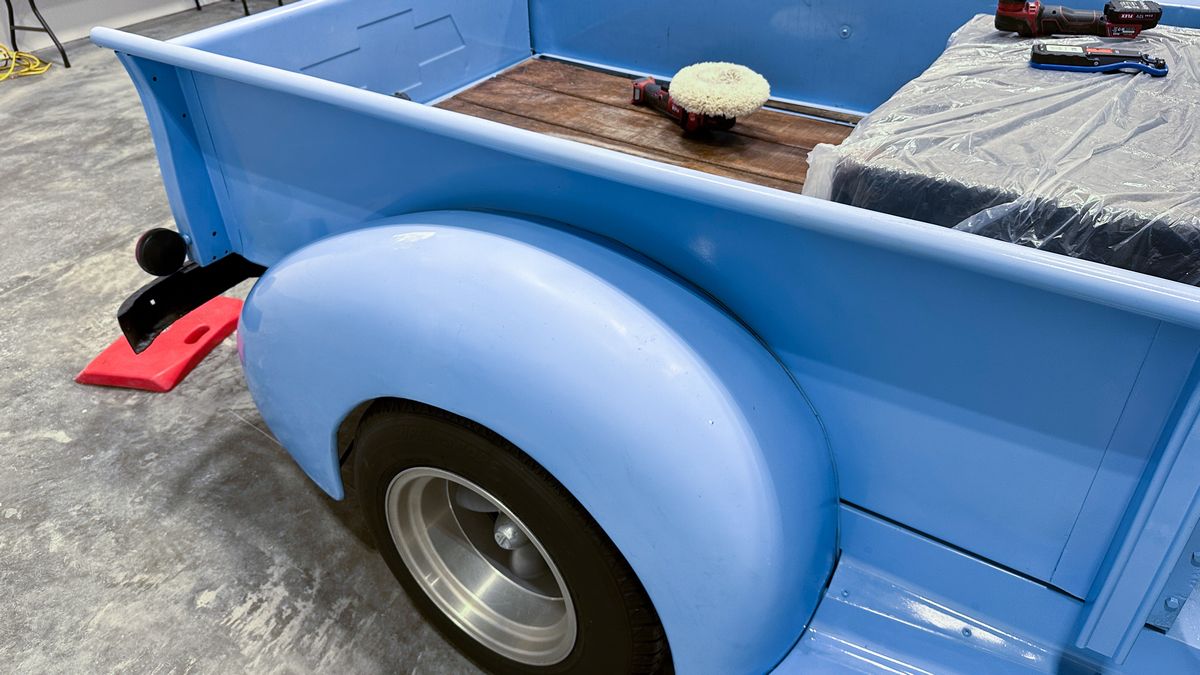
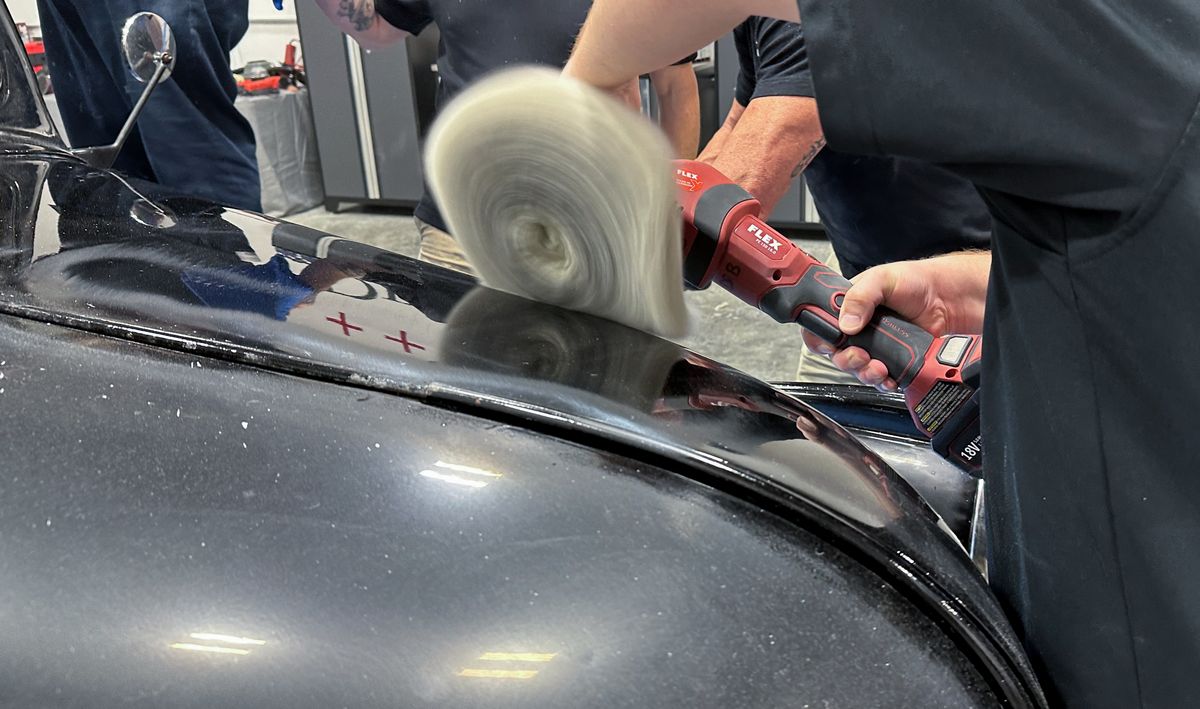
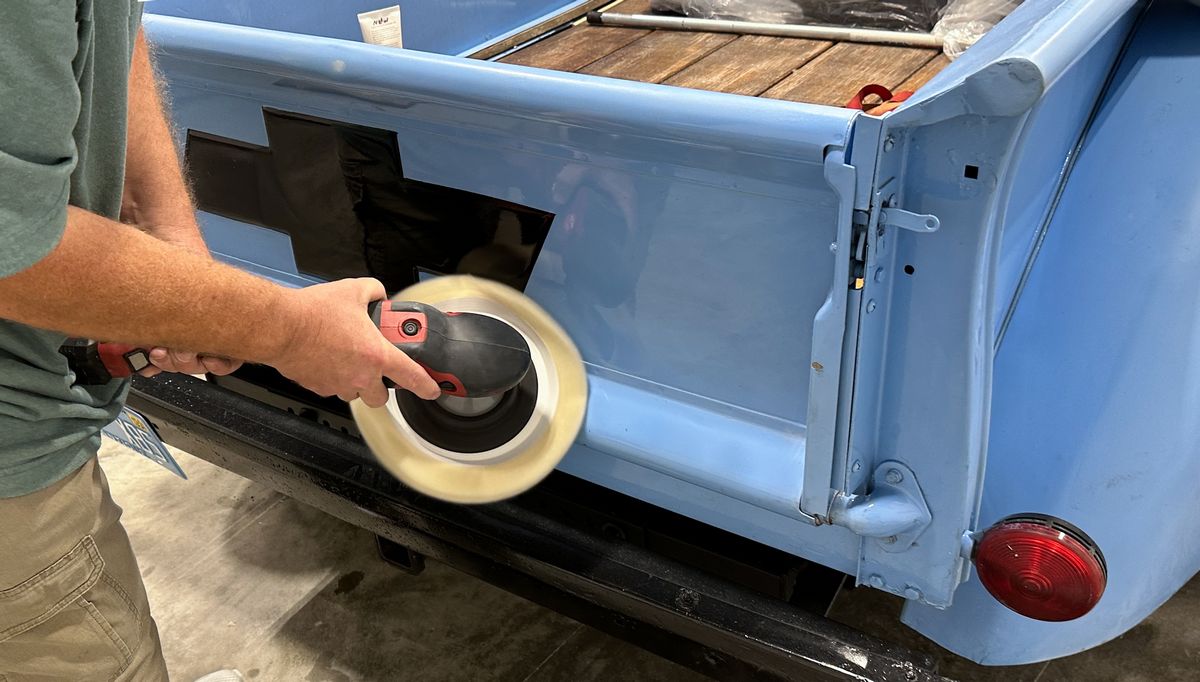
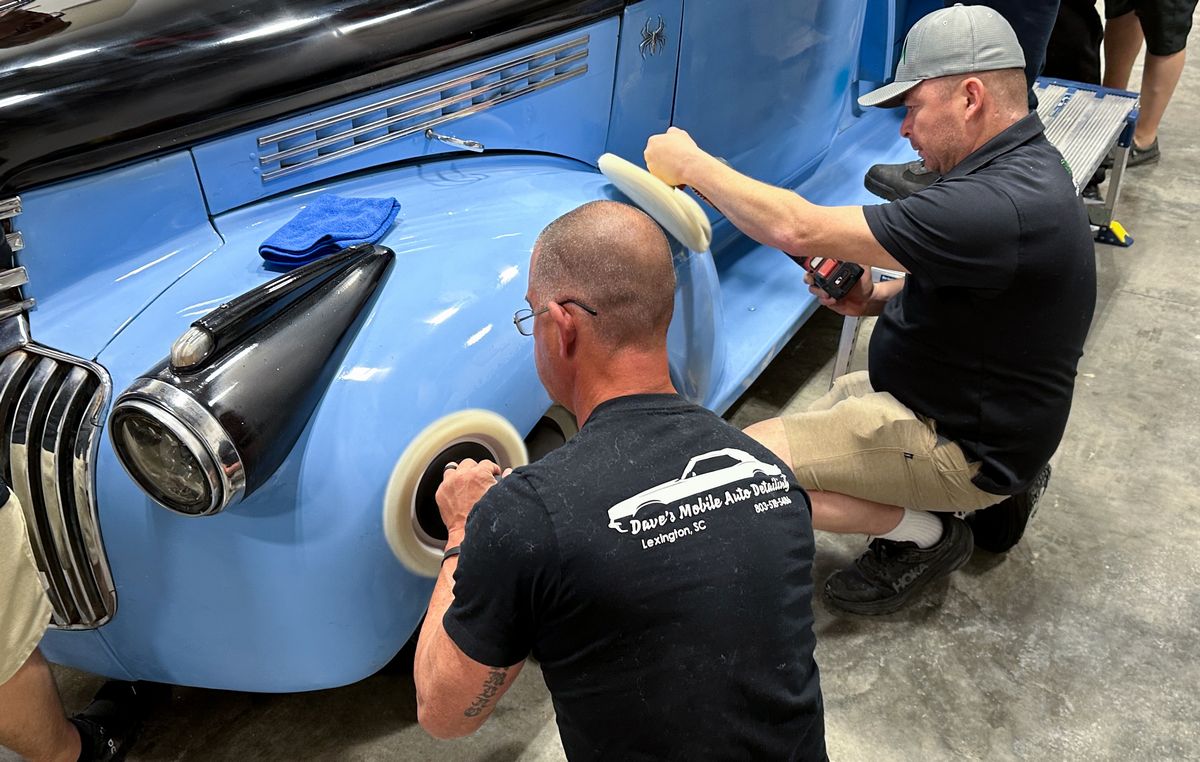
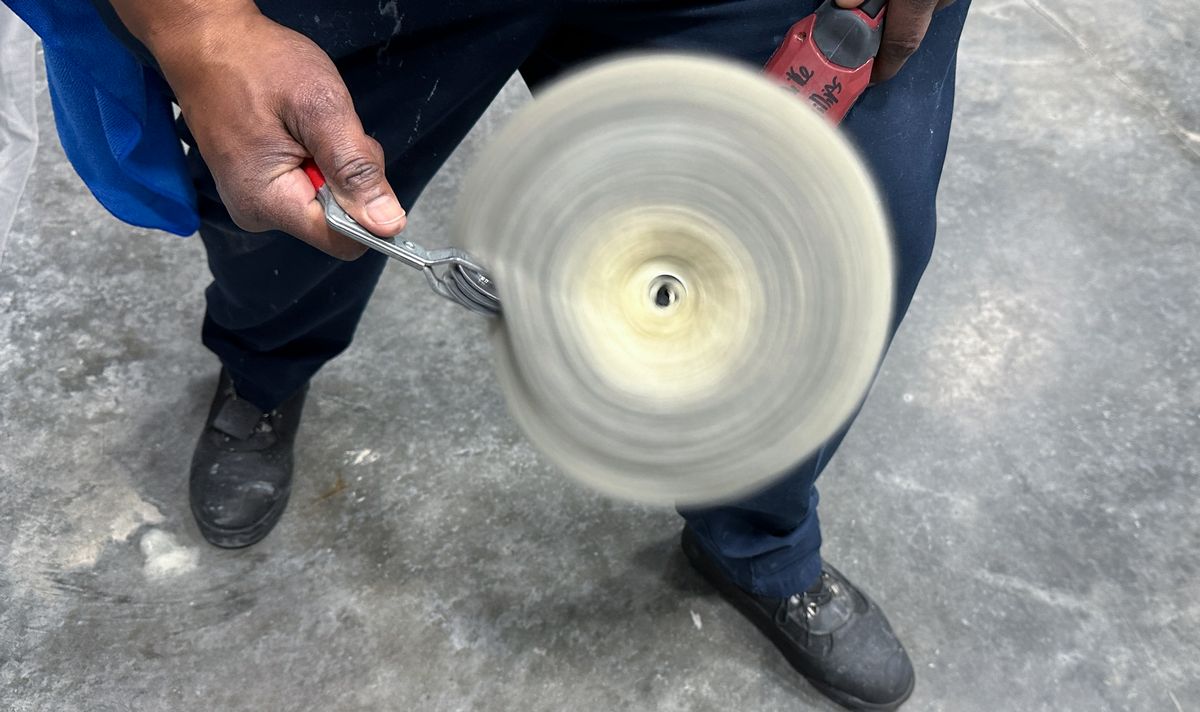
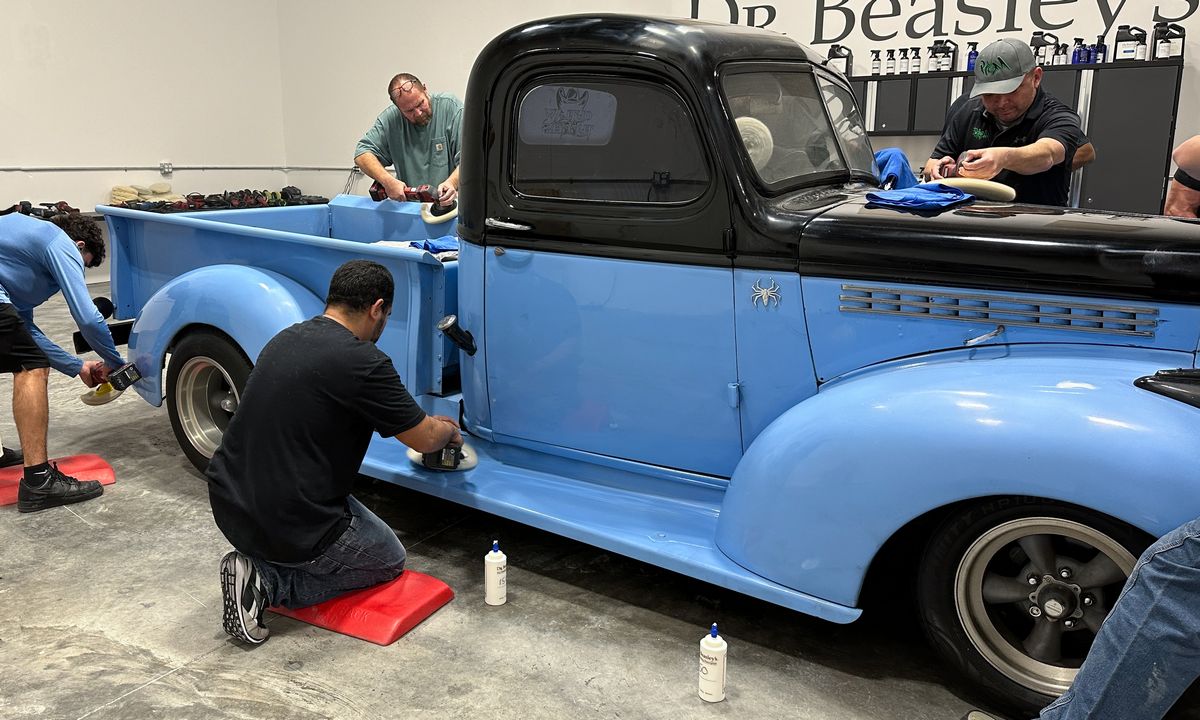
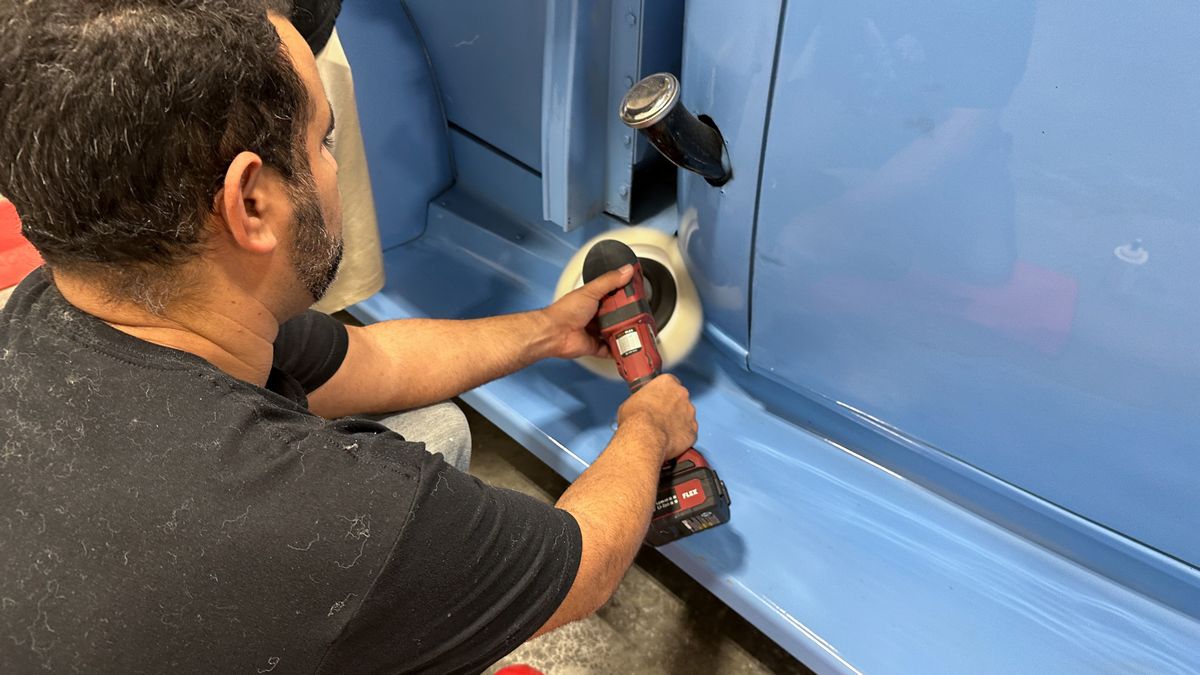
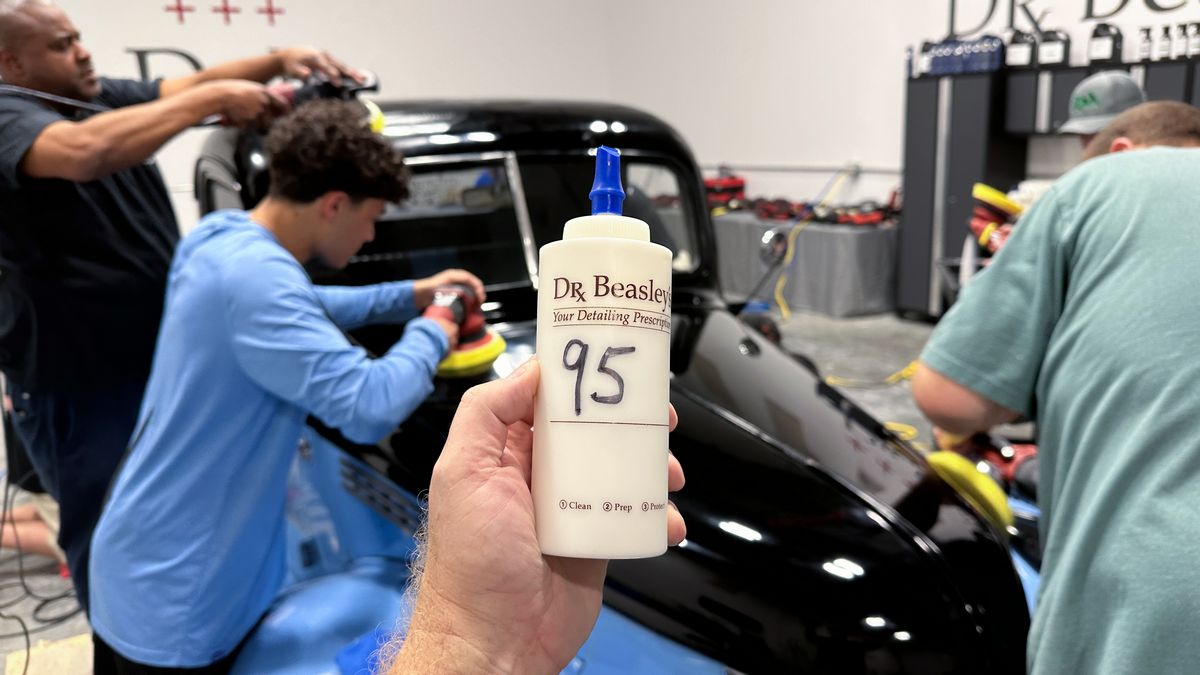
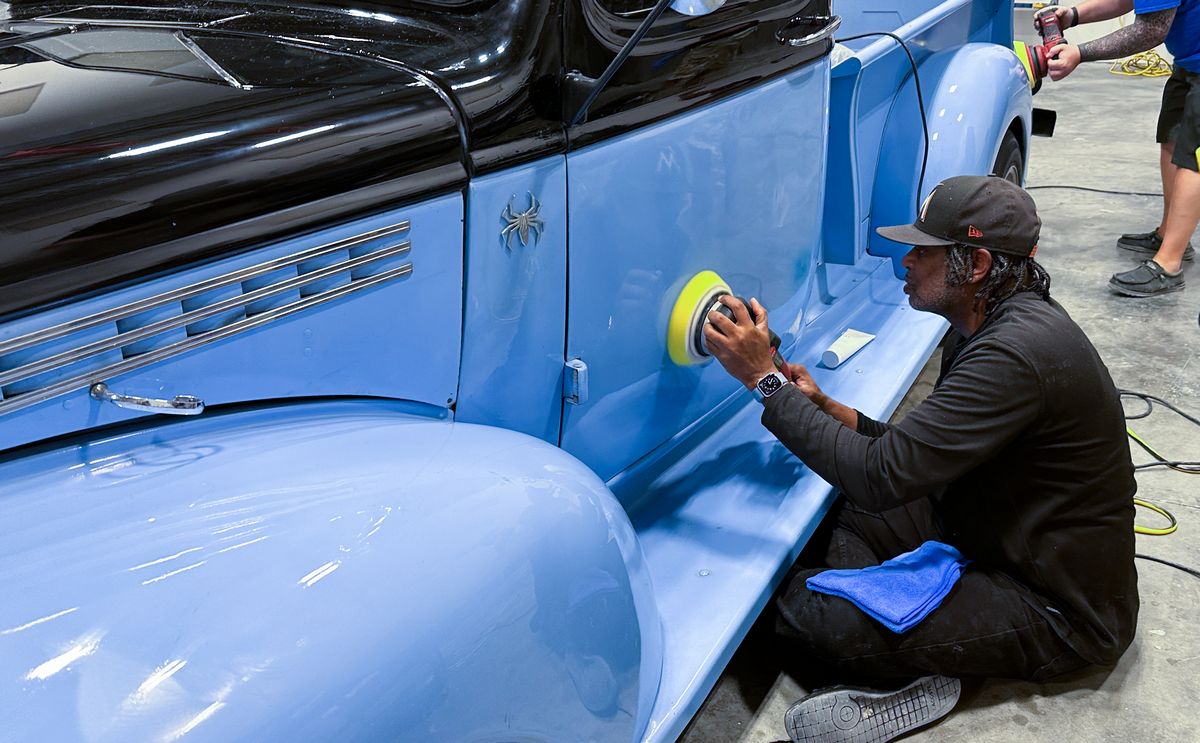
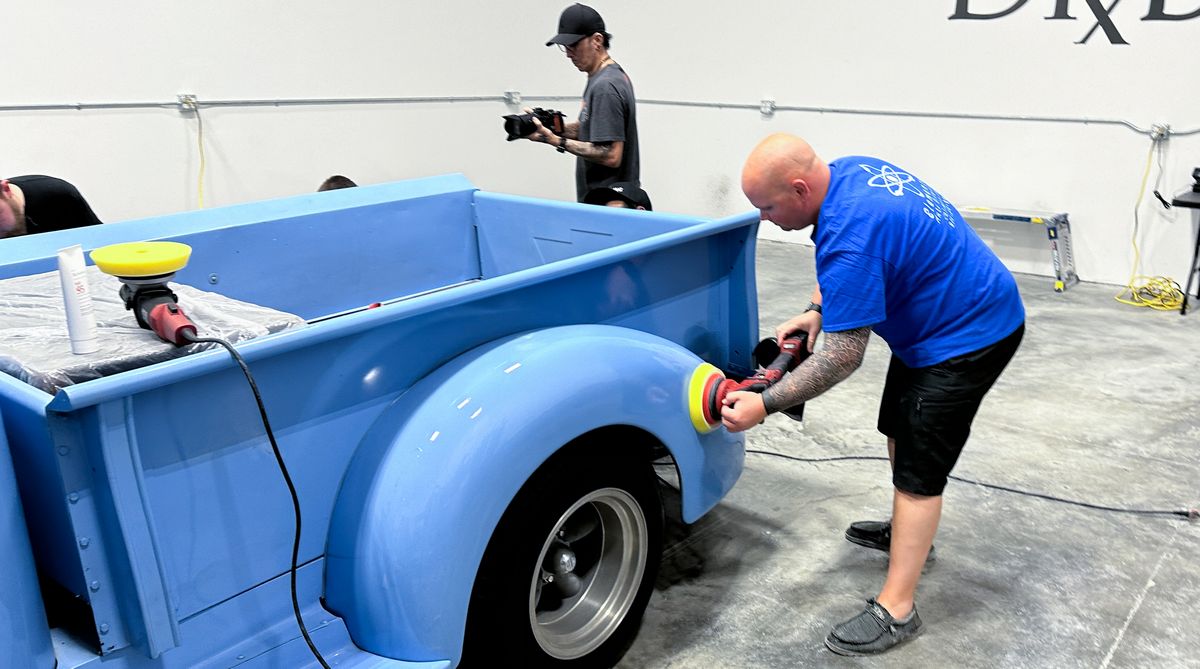
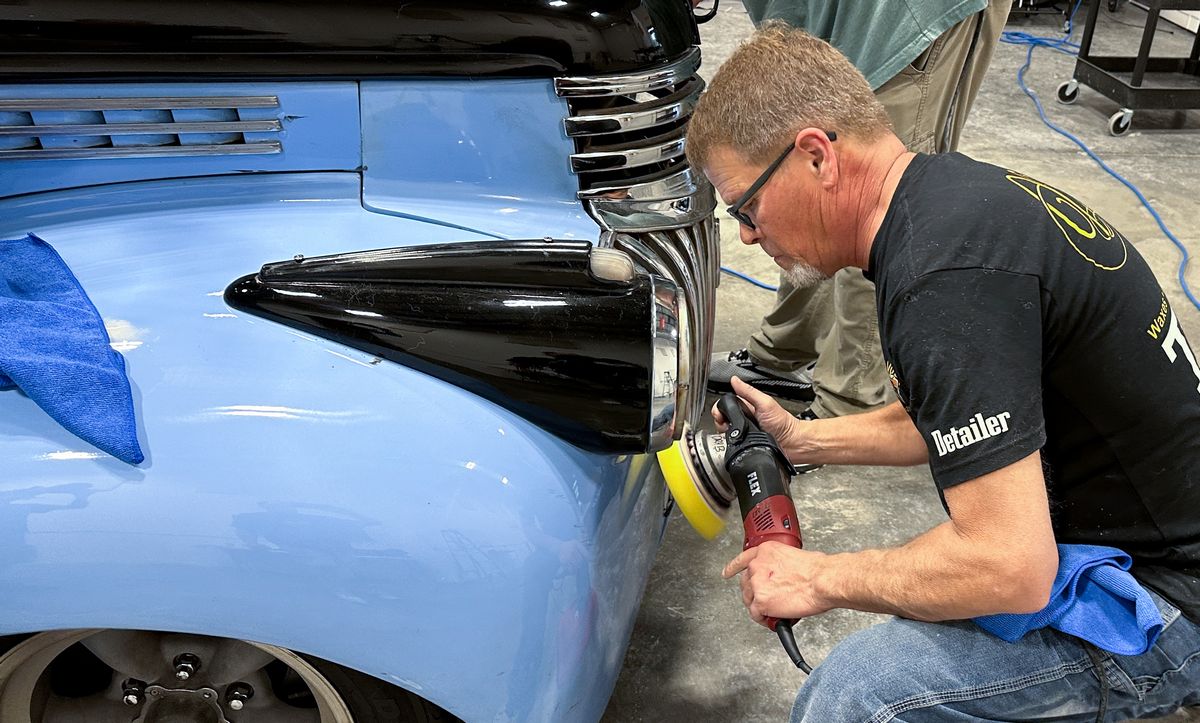
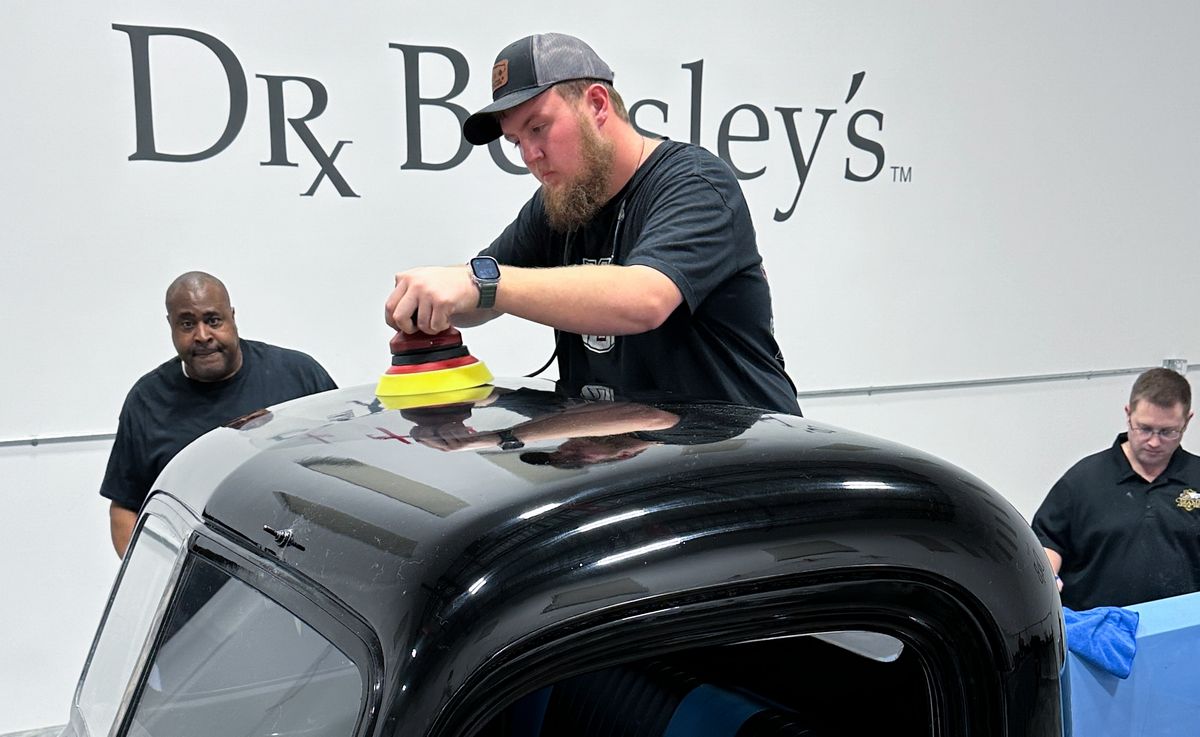
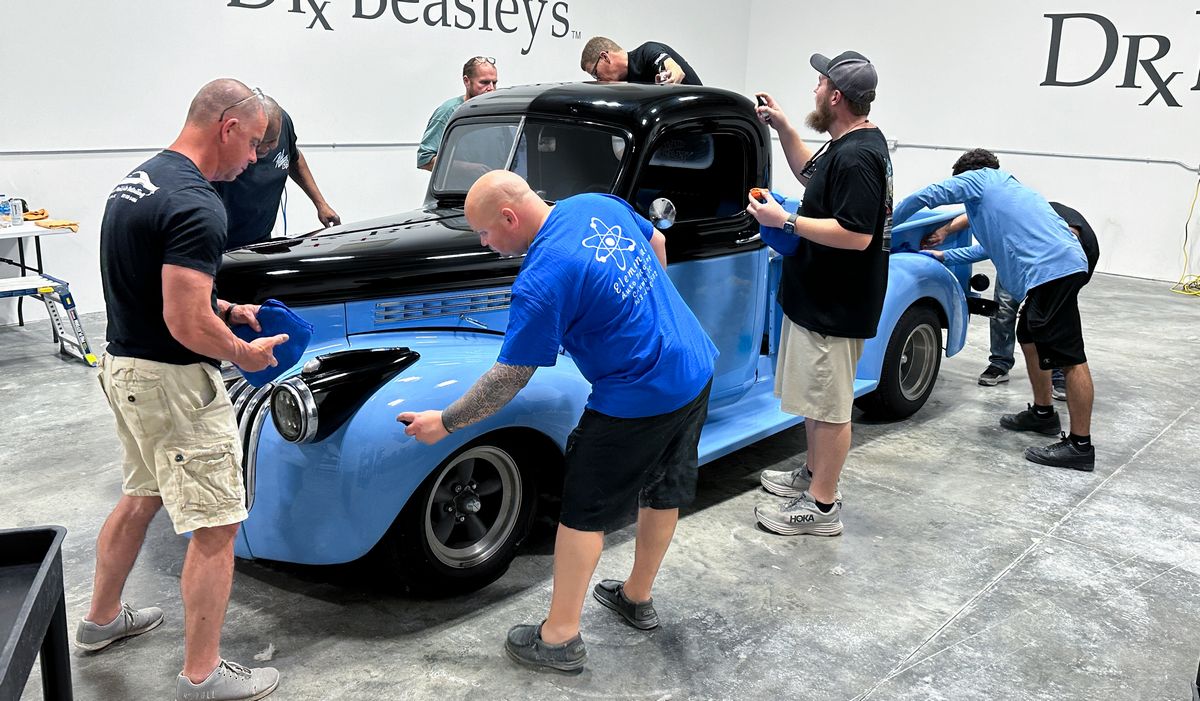
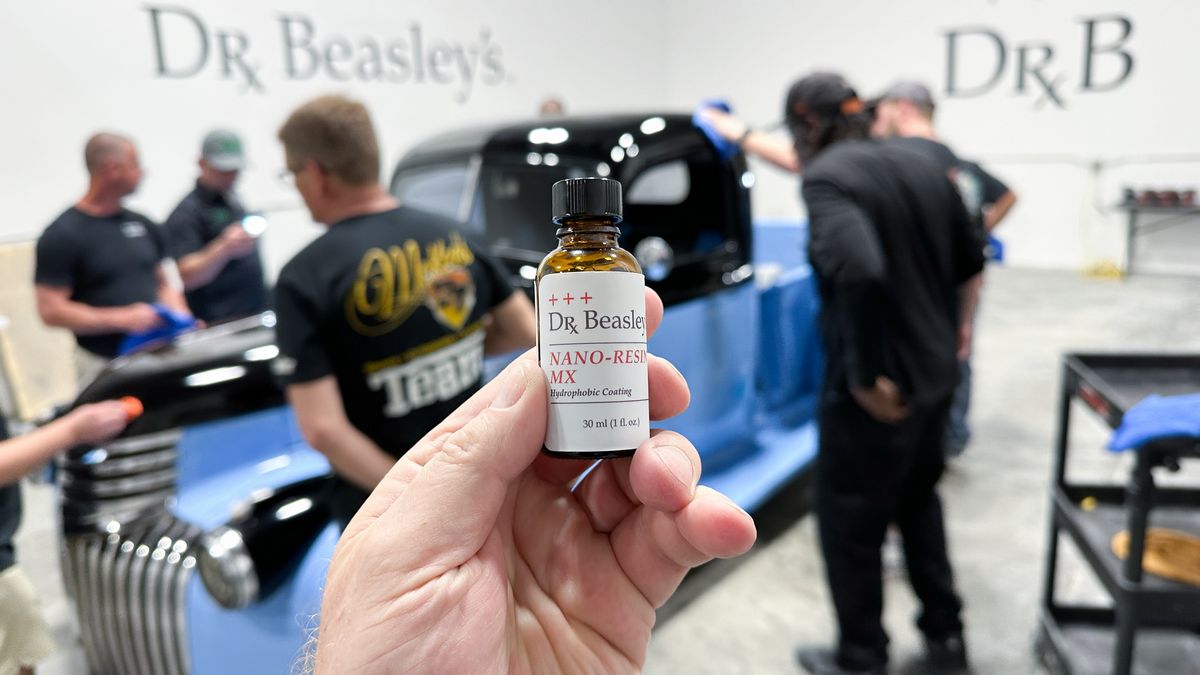
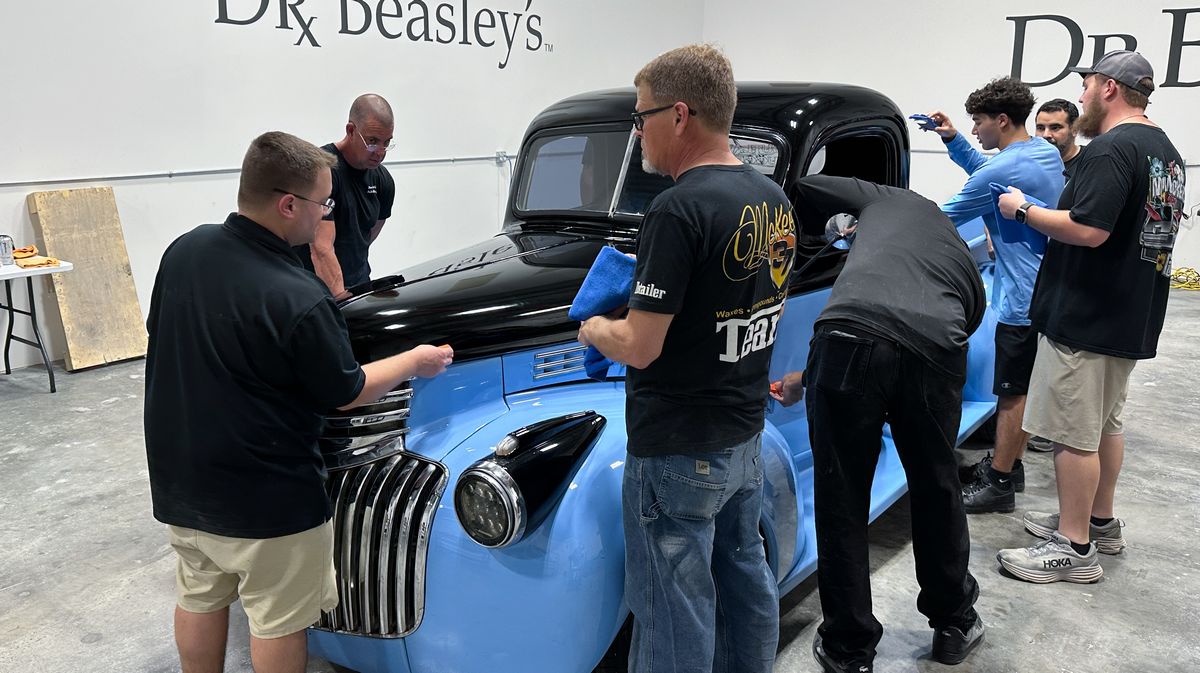
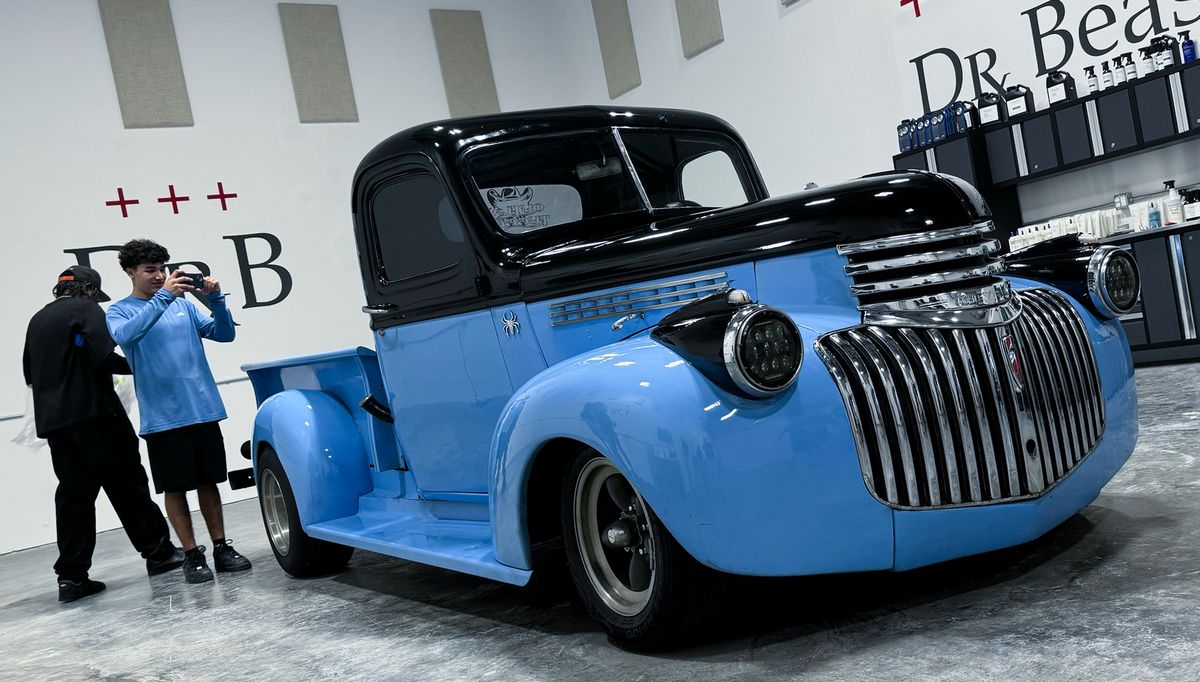
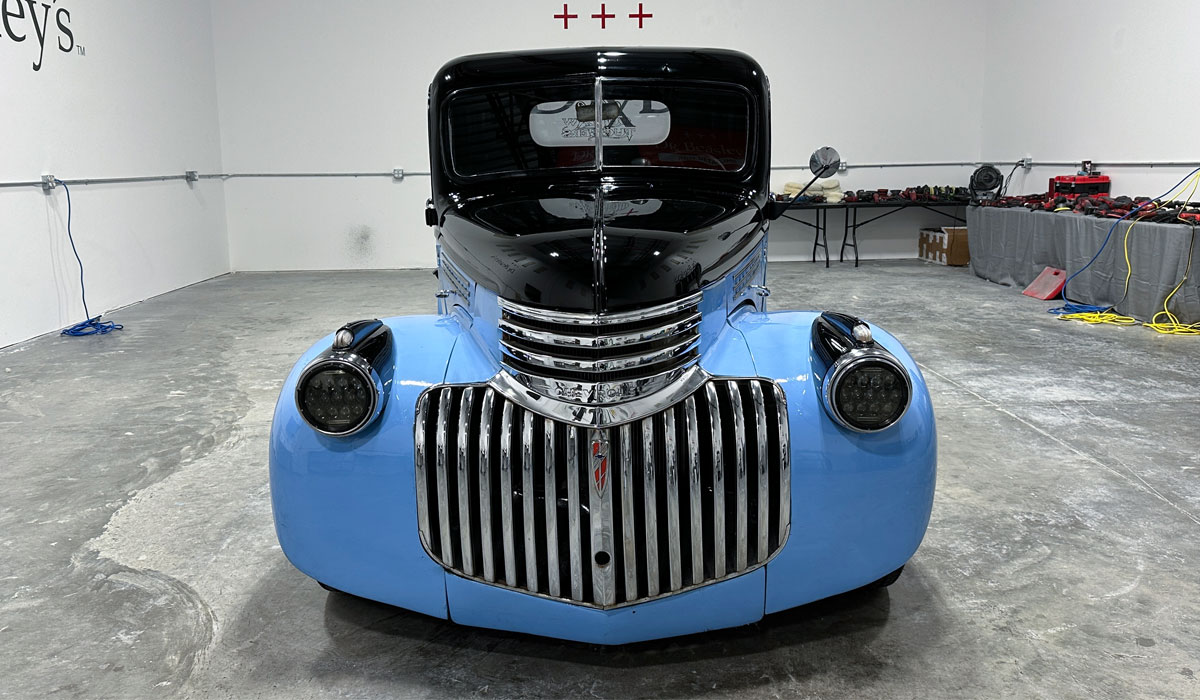
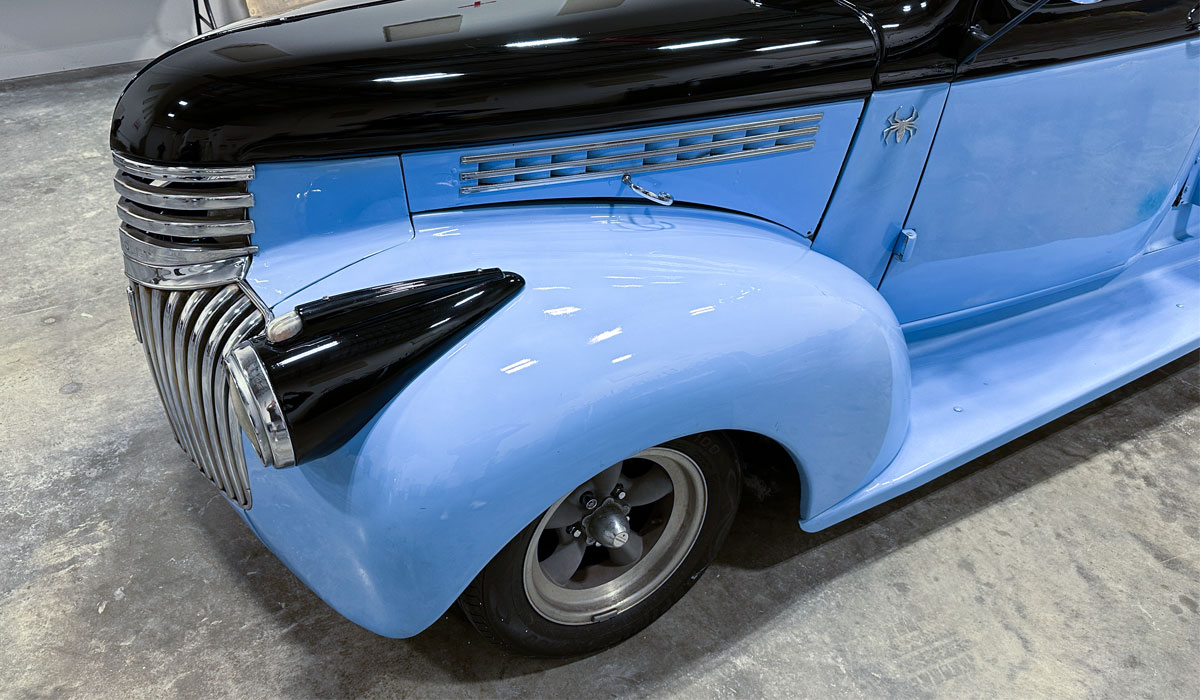
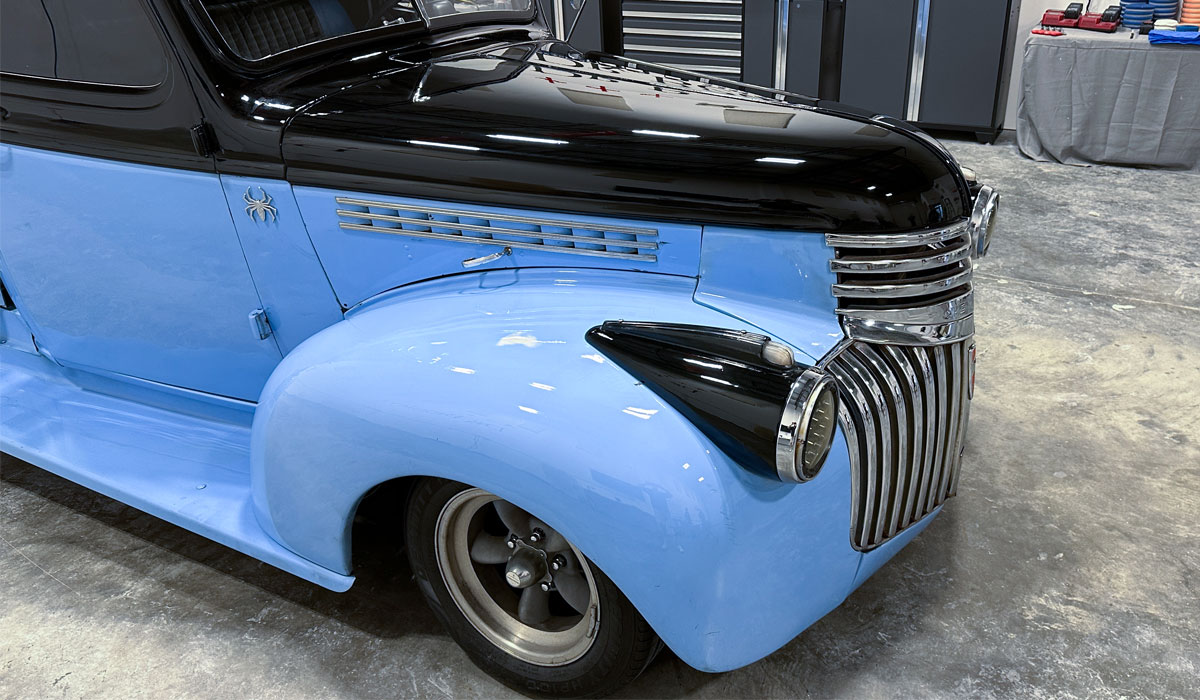
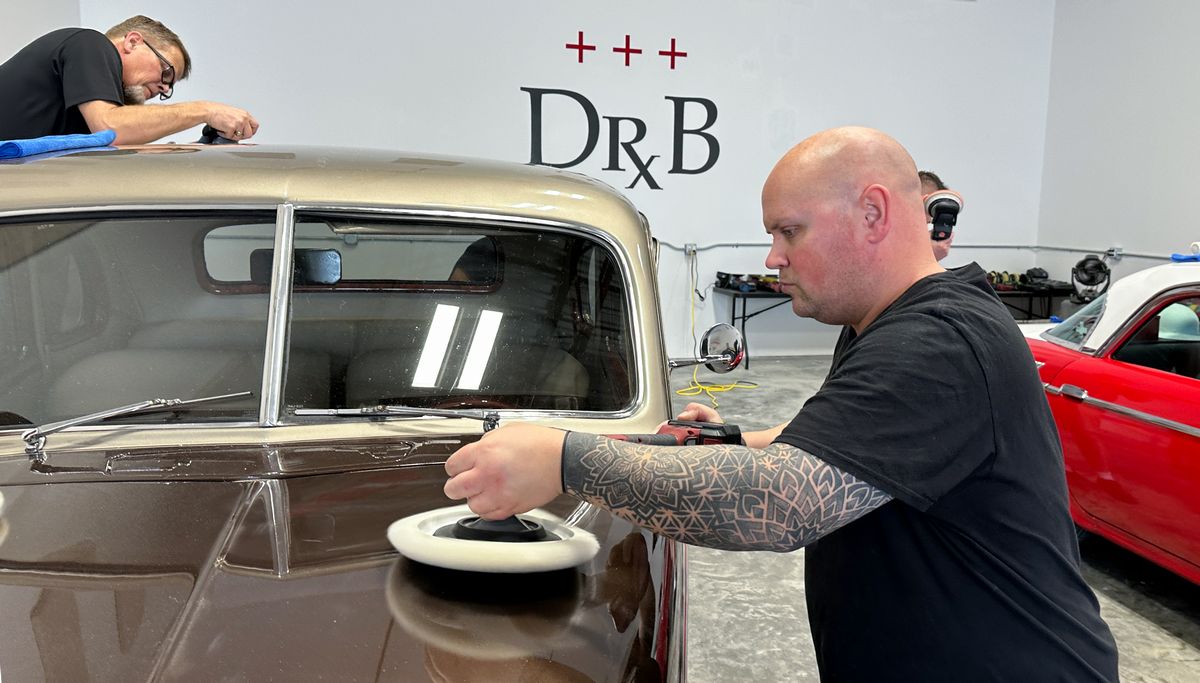
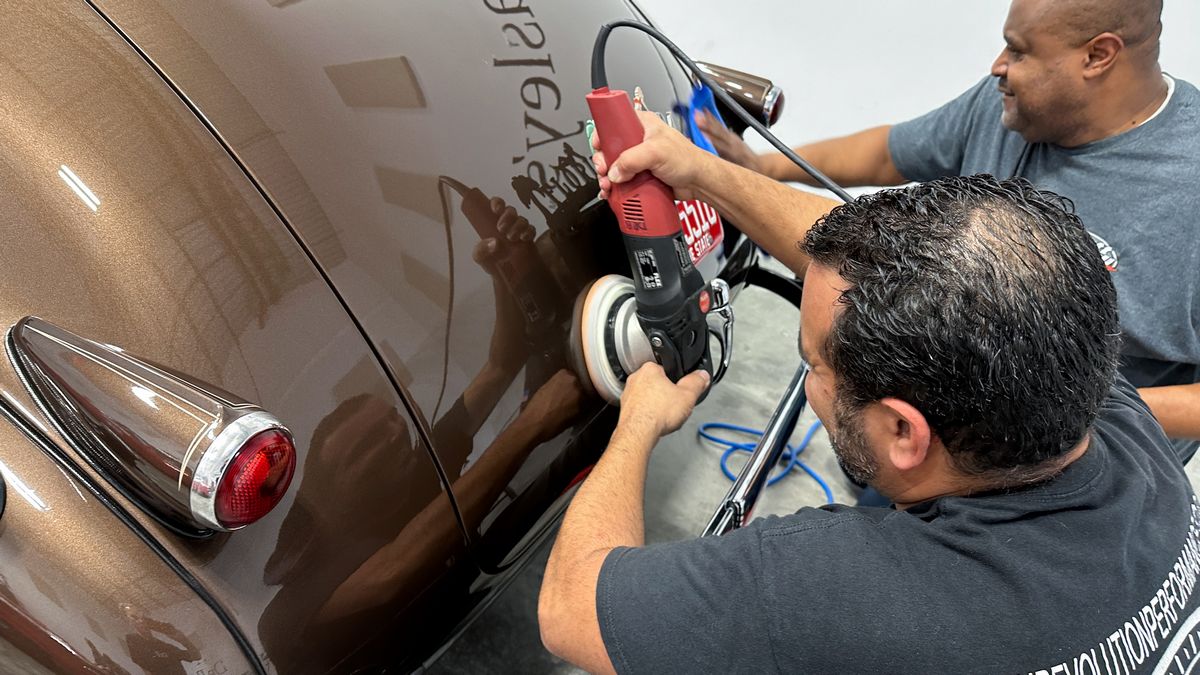
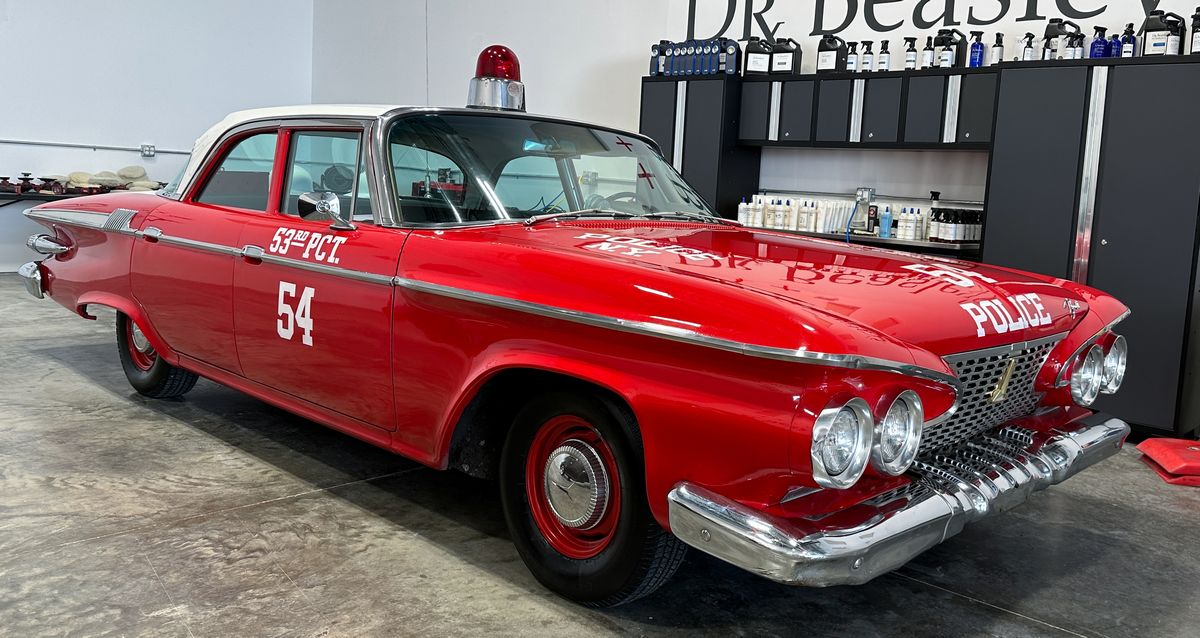
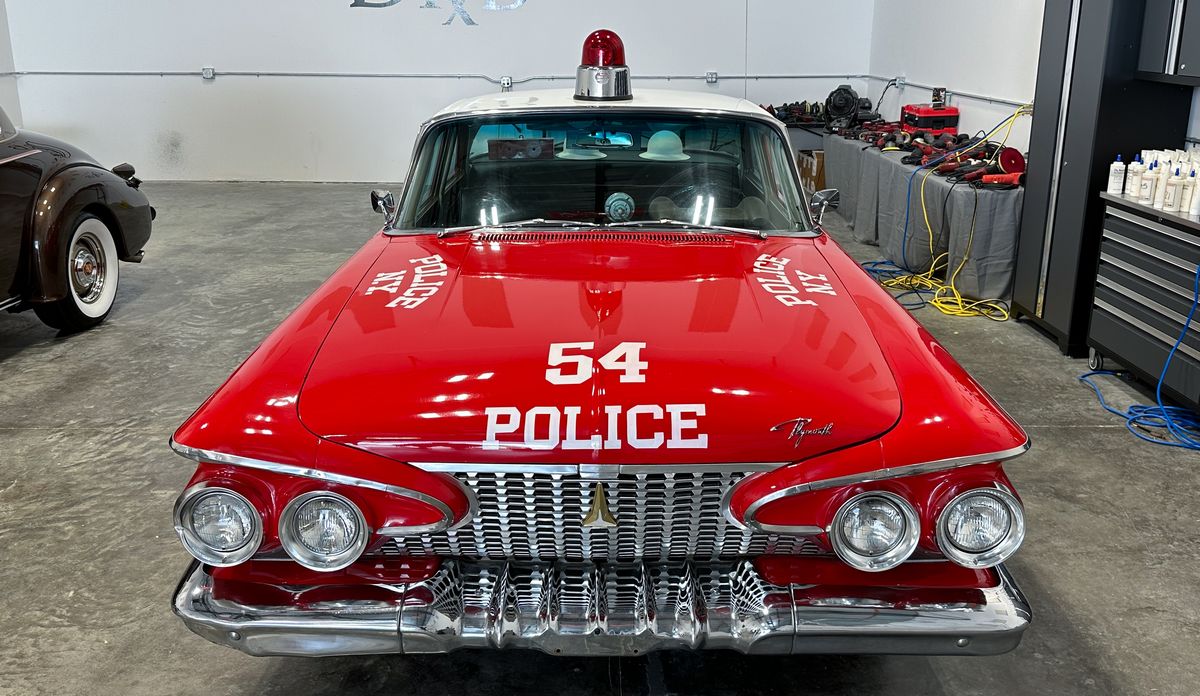
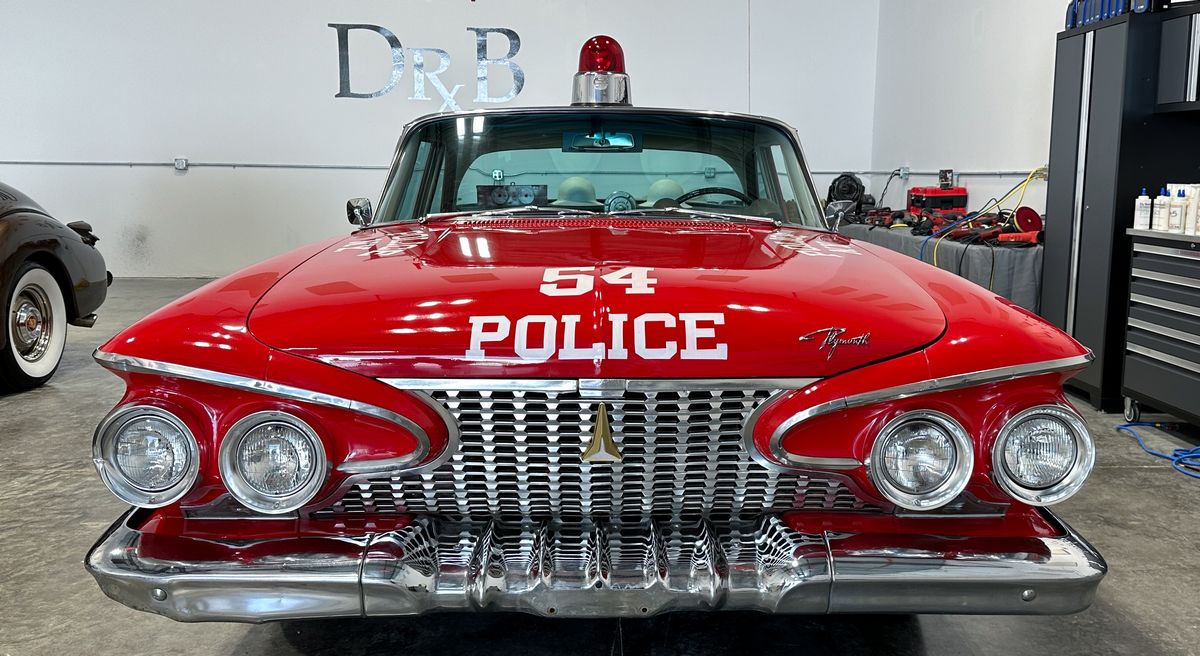
Due to the hardness of the paint, in order to remove even LIGHT swirls and scratches, the class had to bust out the rotary polishers with wool pads and the Dr. Beasley's NSP 150 Primer.

full


full


full


full


full


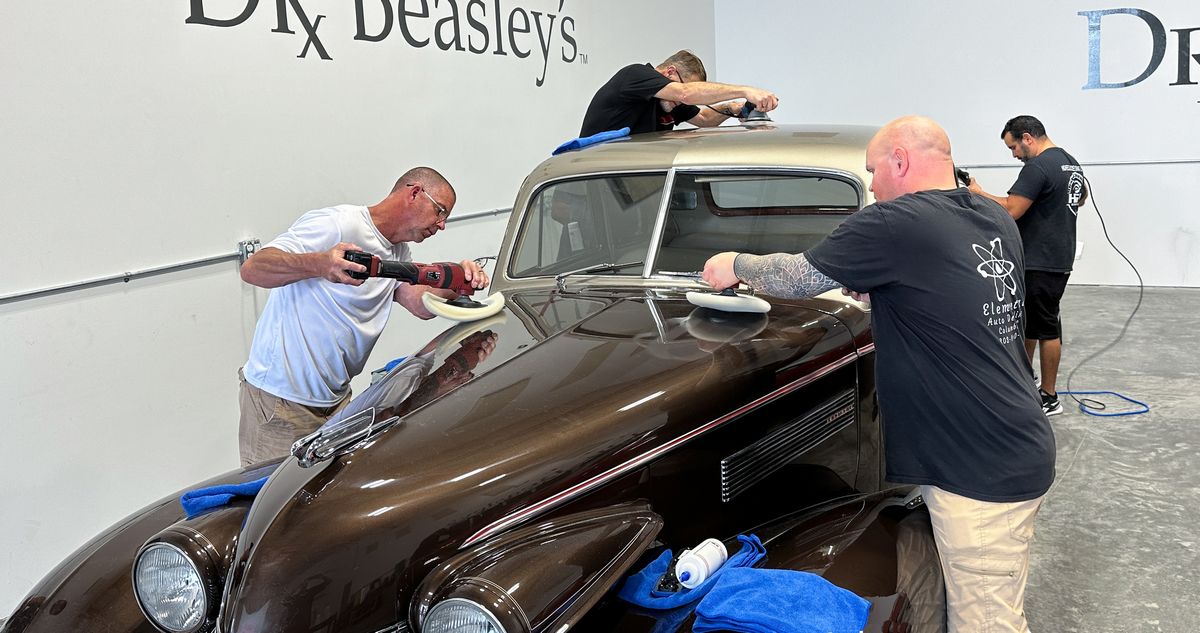
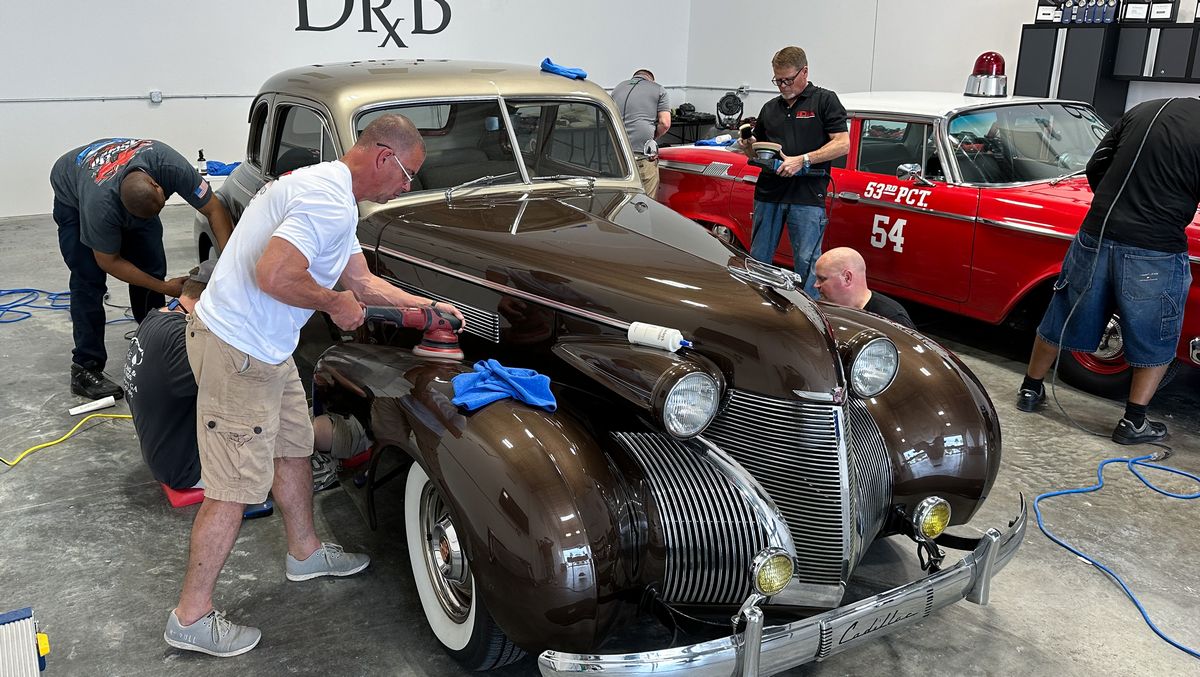
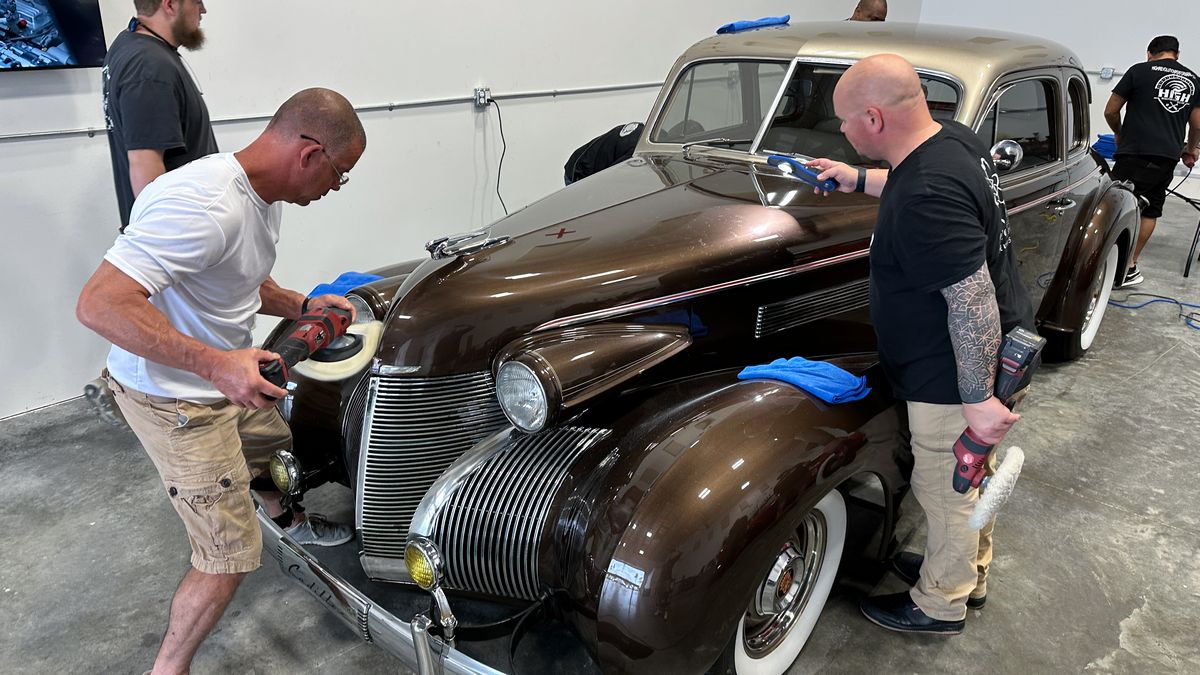
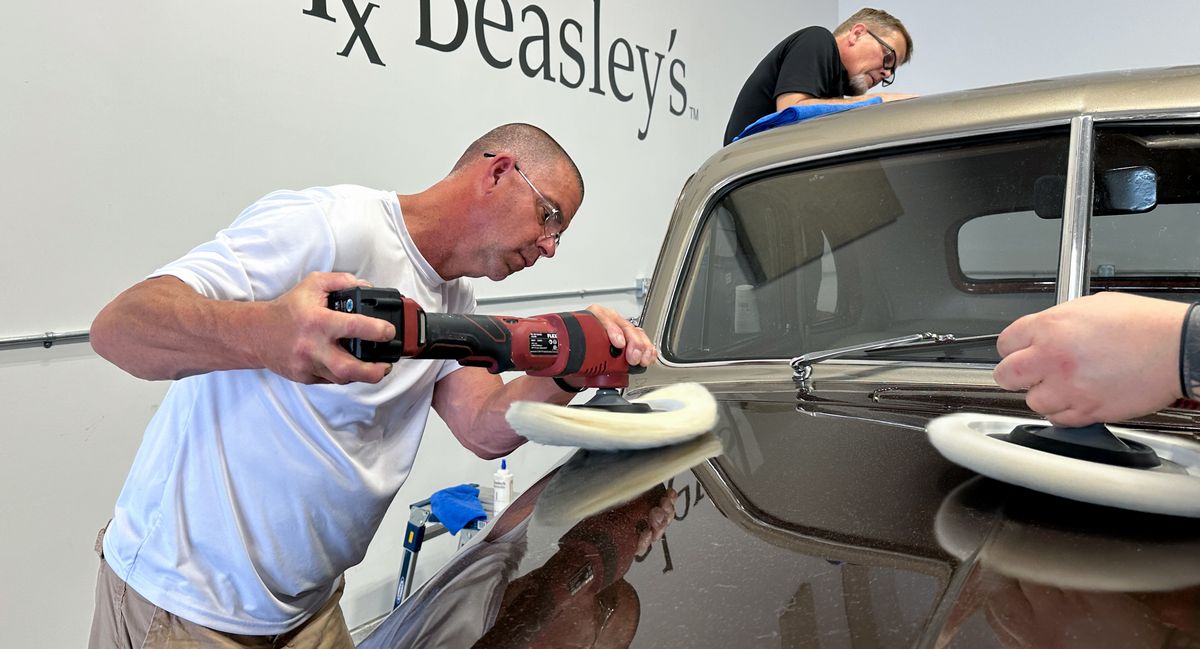
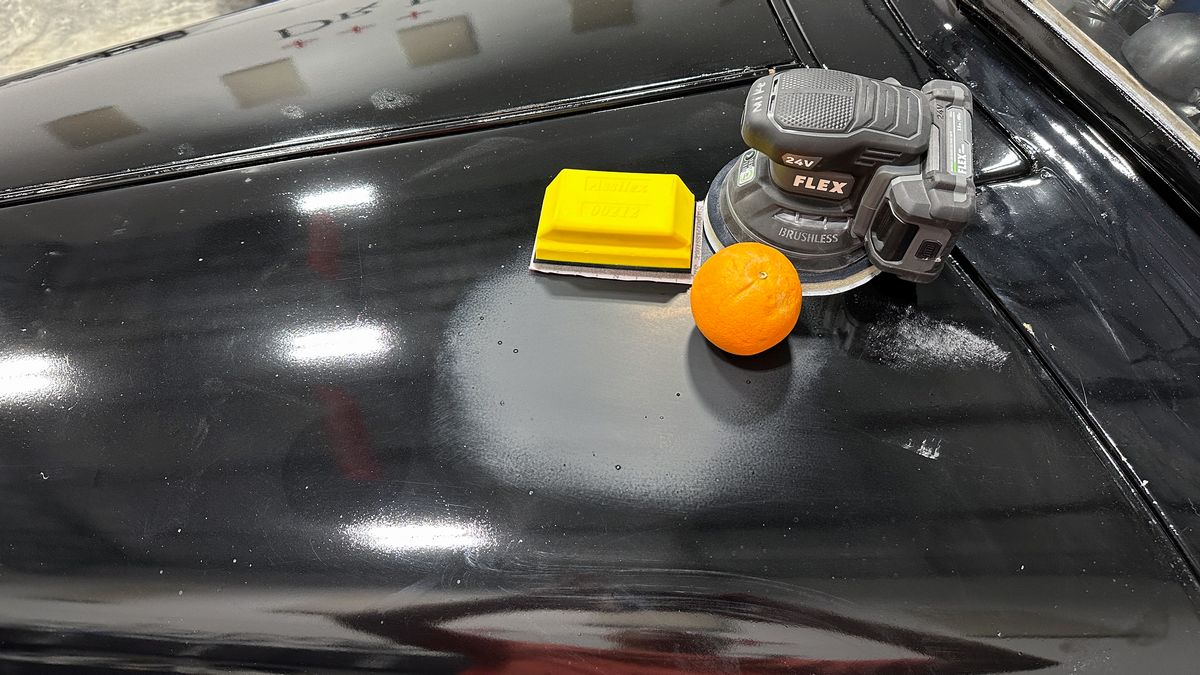
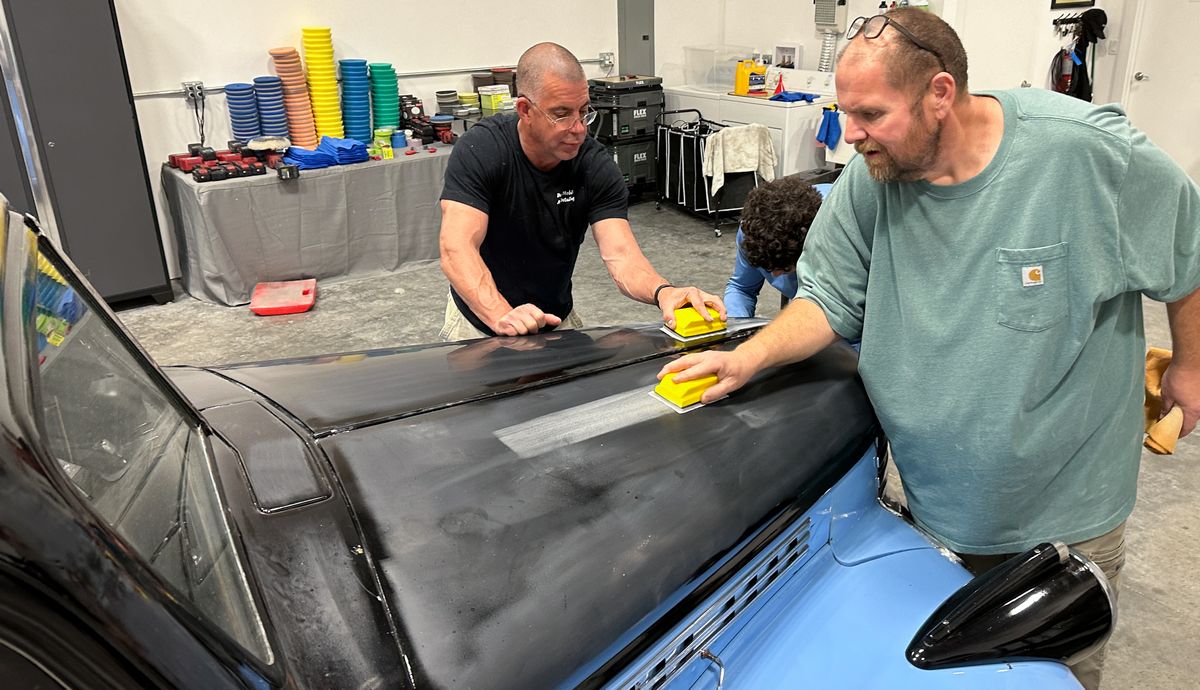
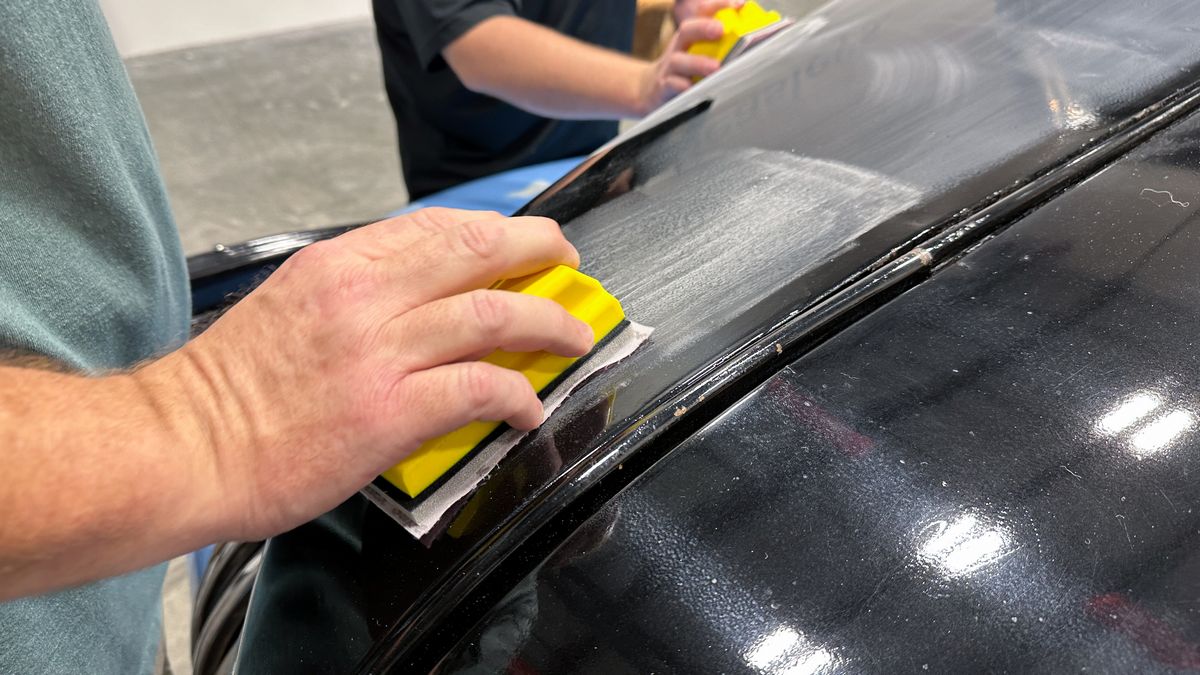
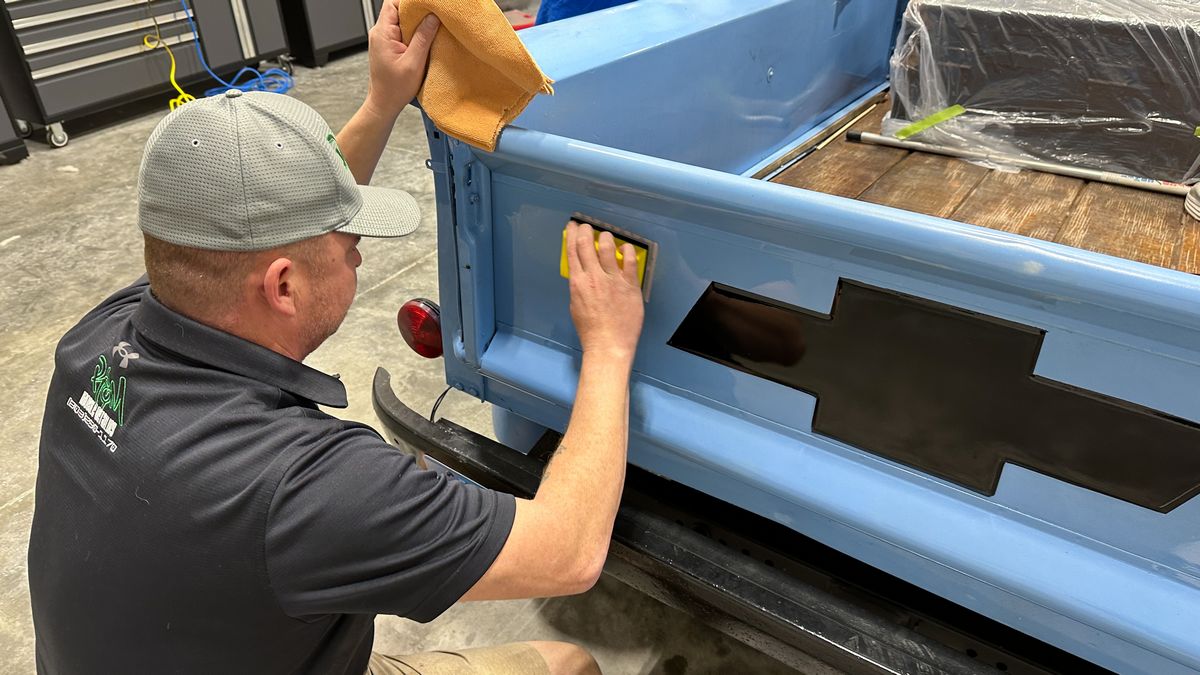
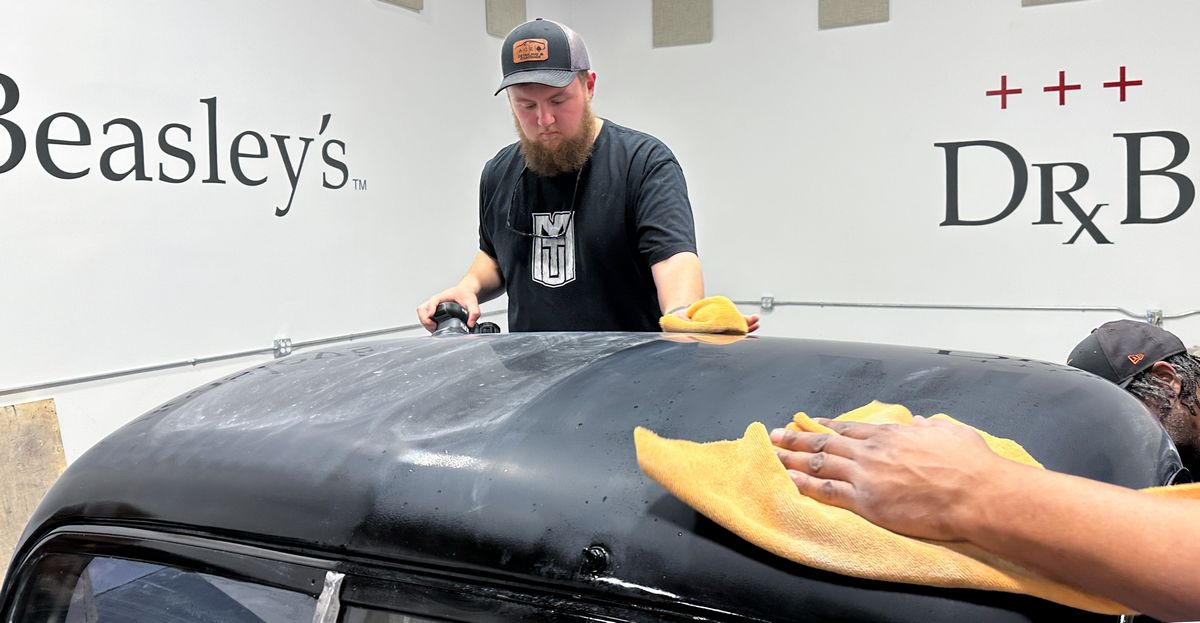
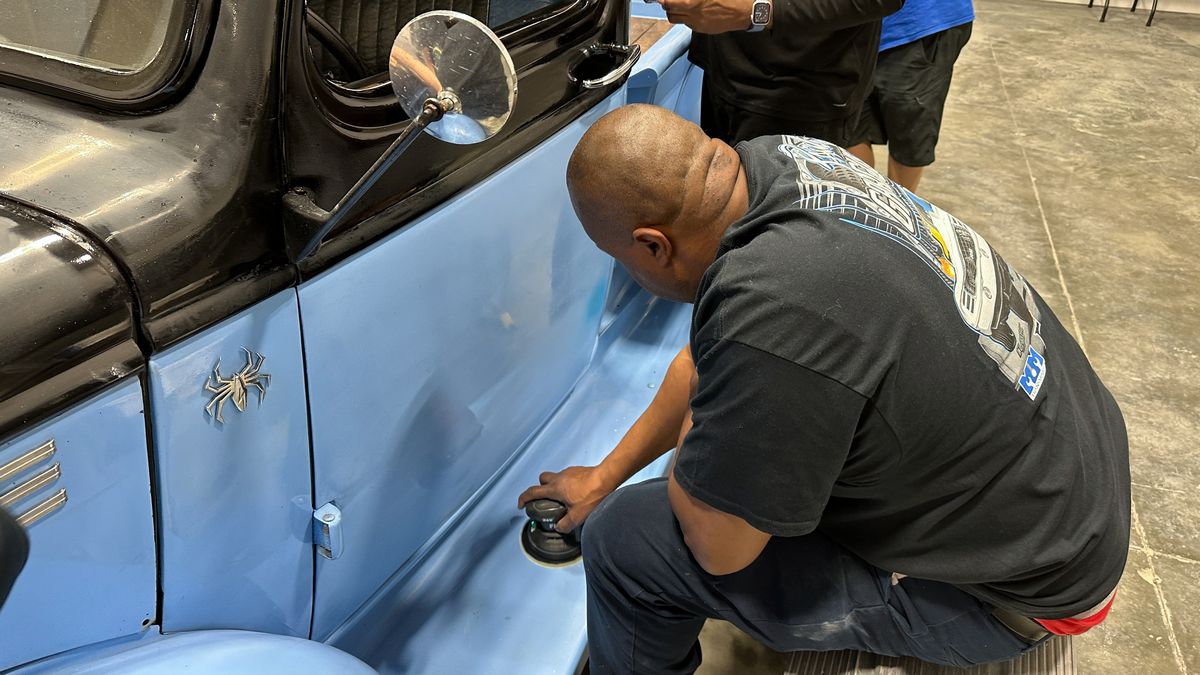
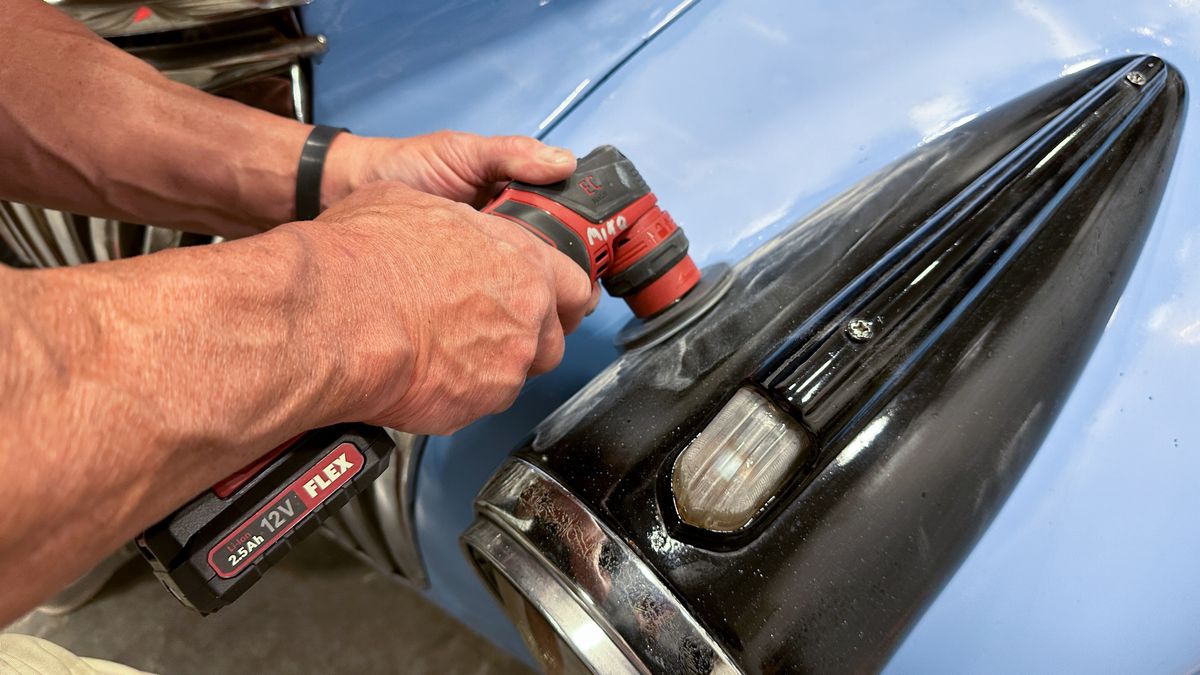
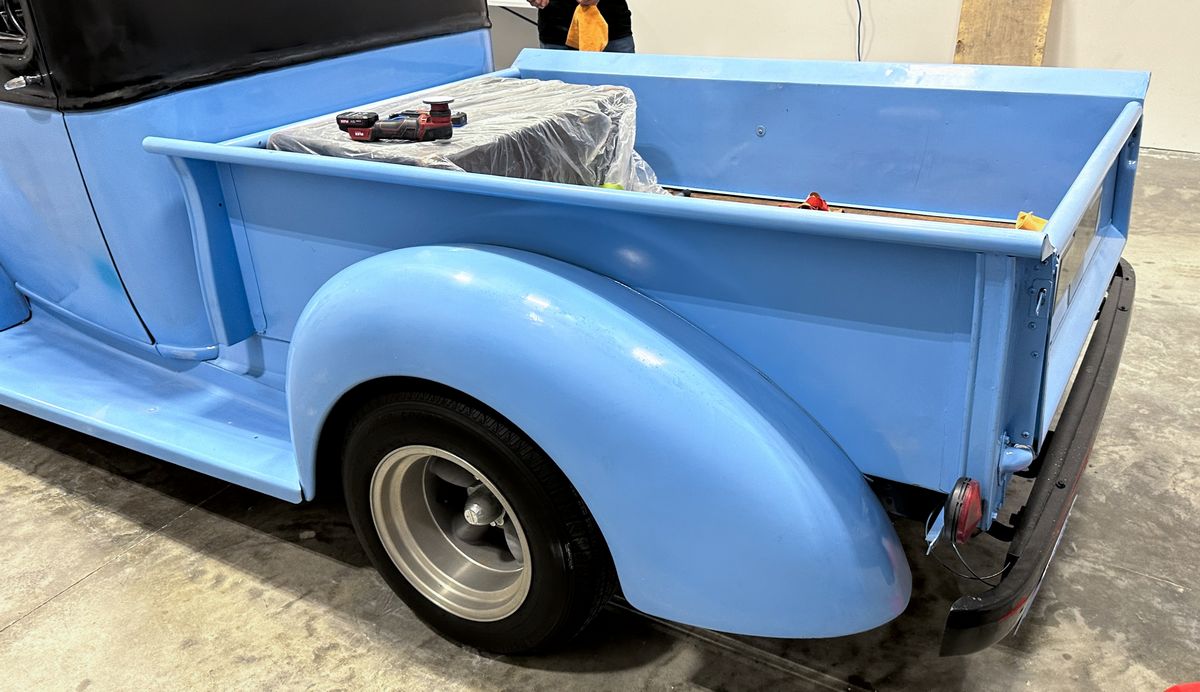
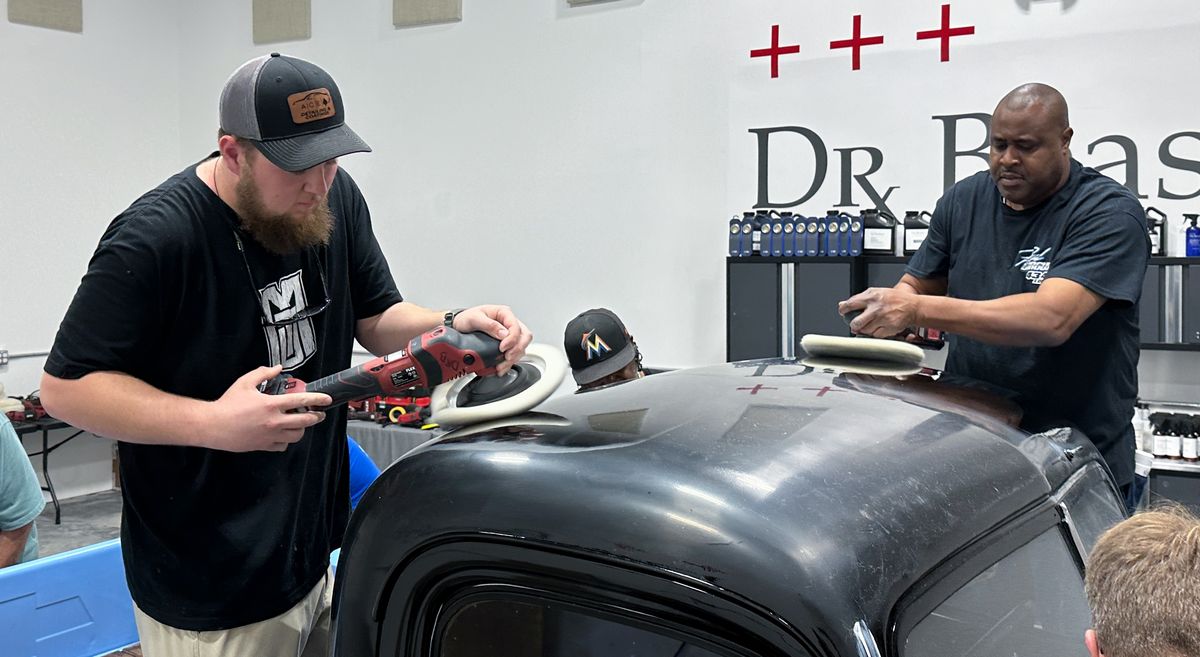
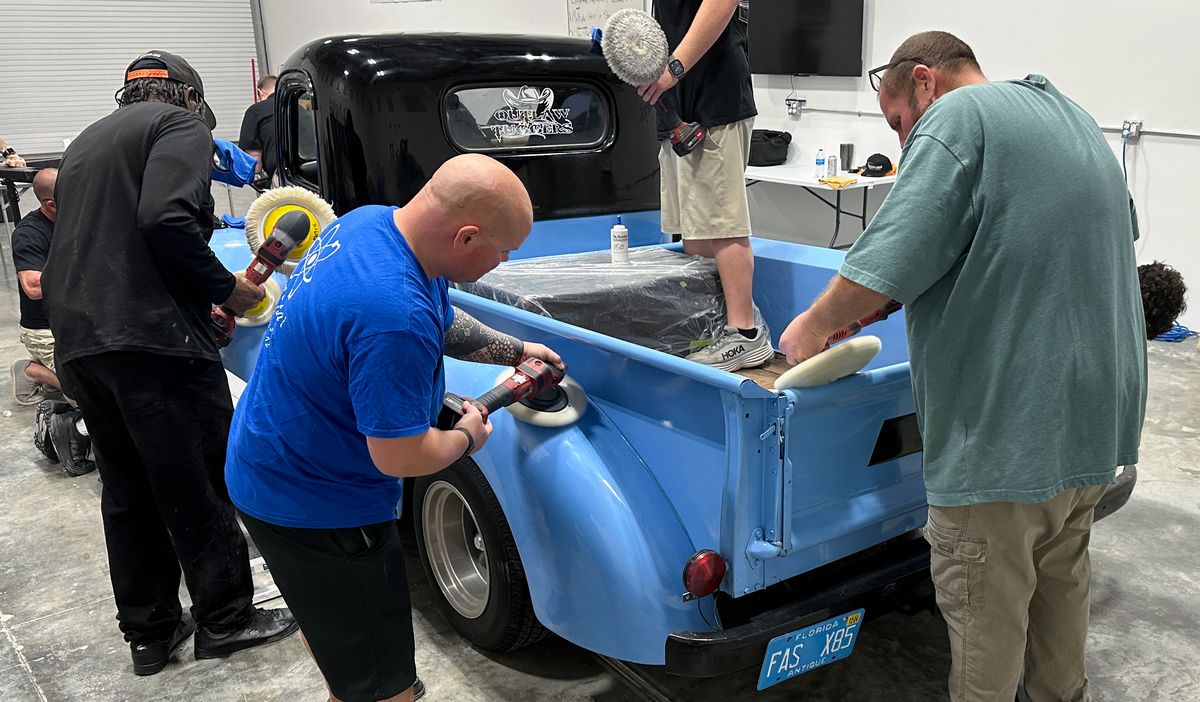
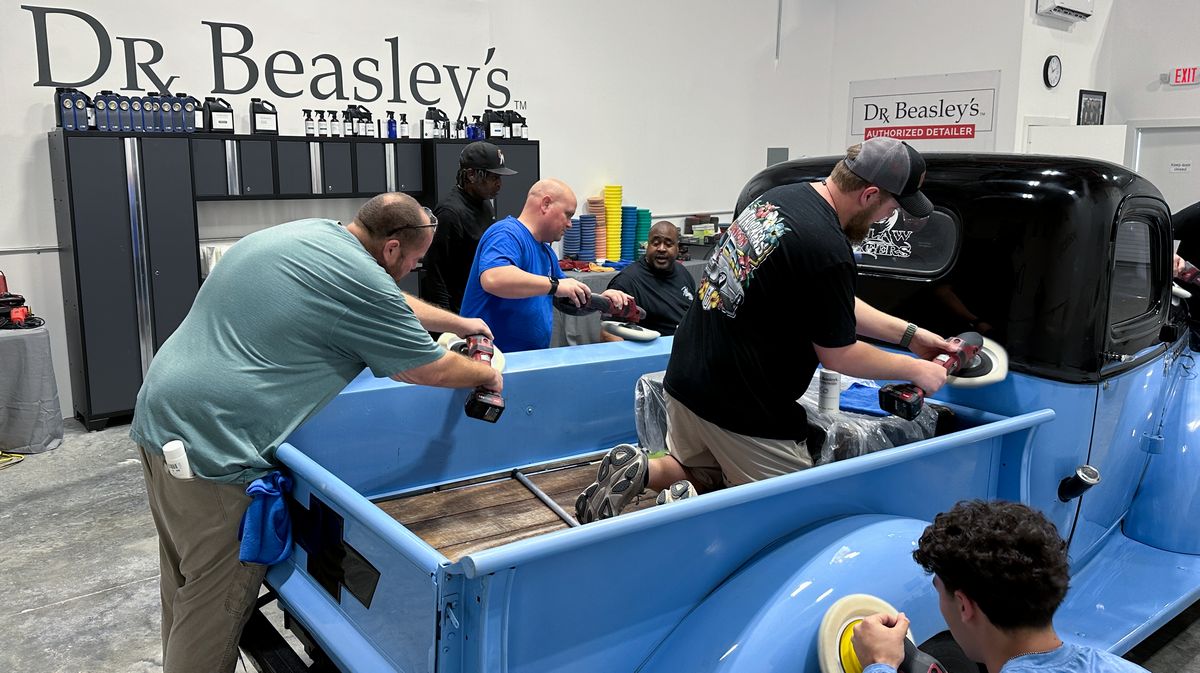
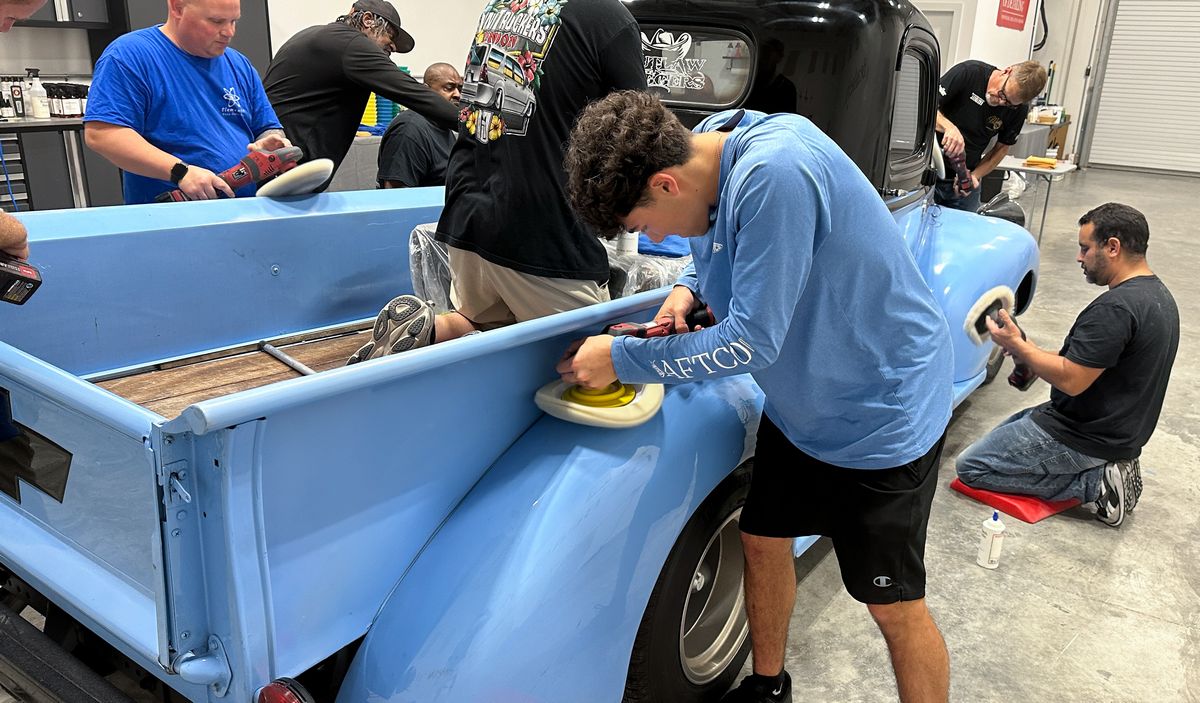
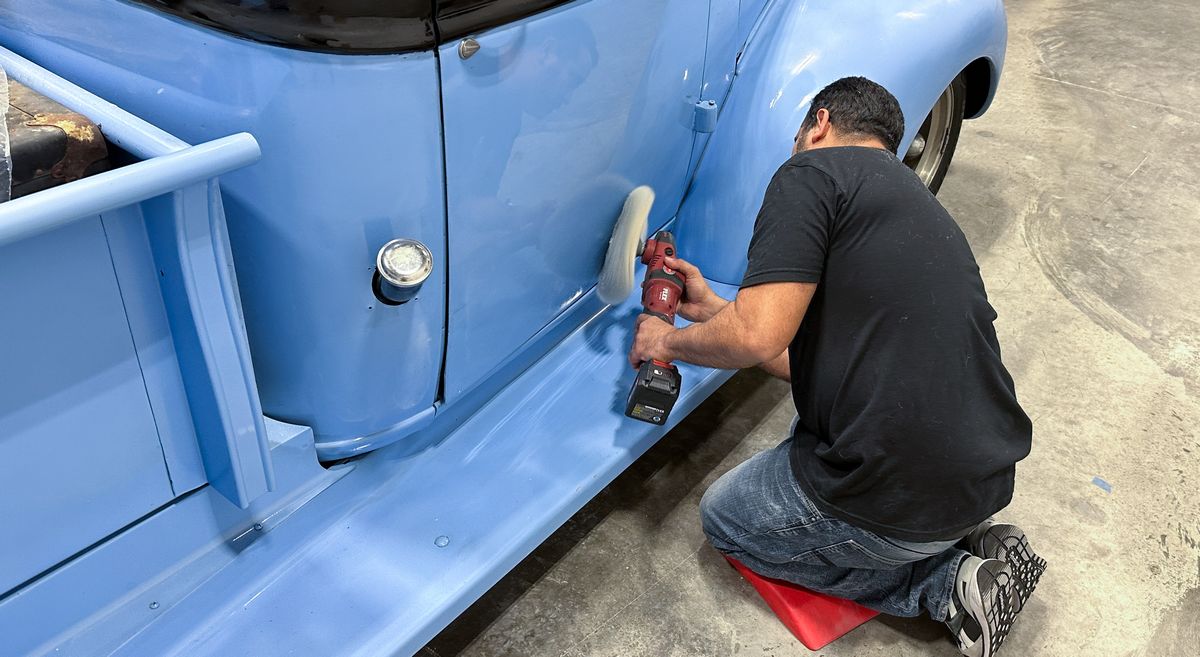
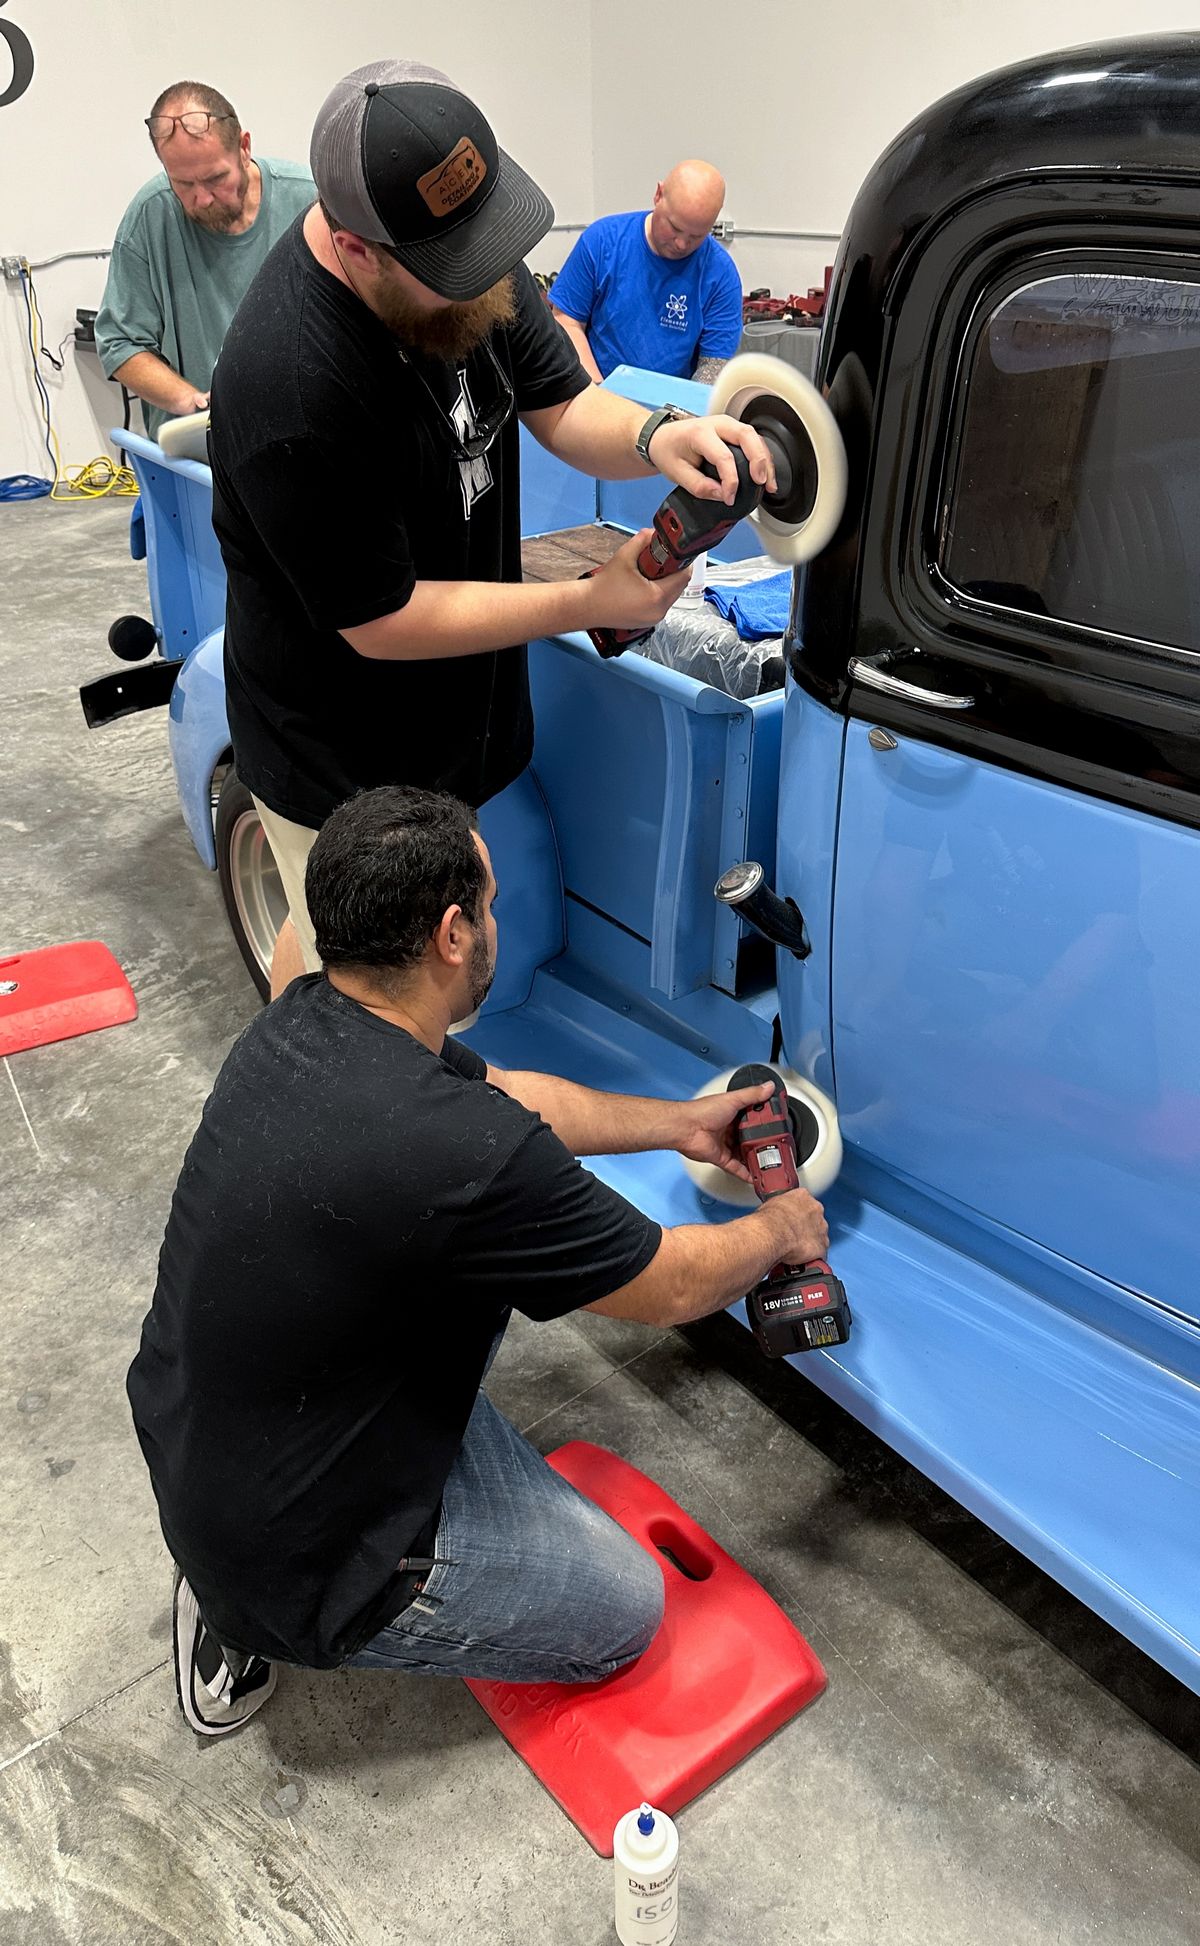
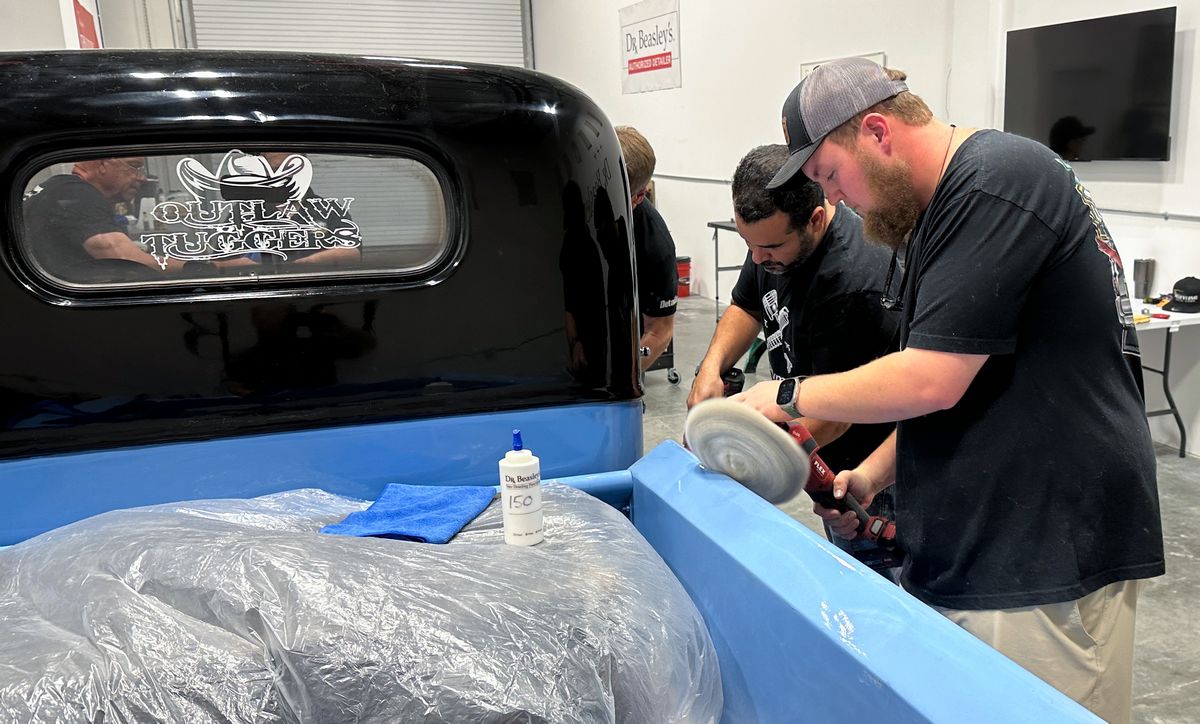
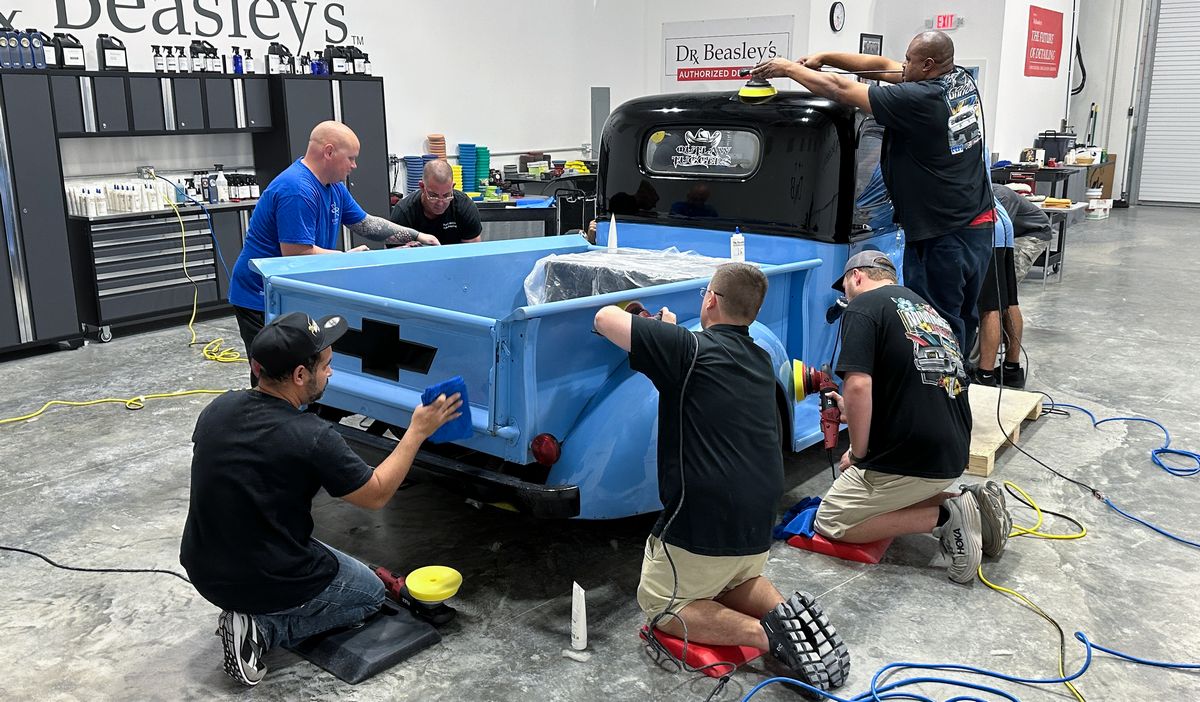
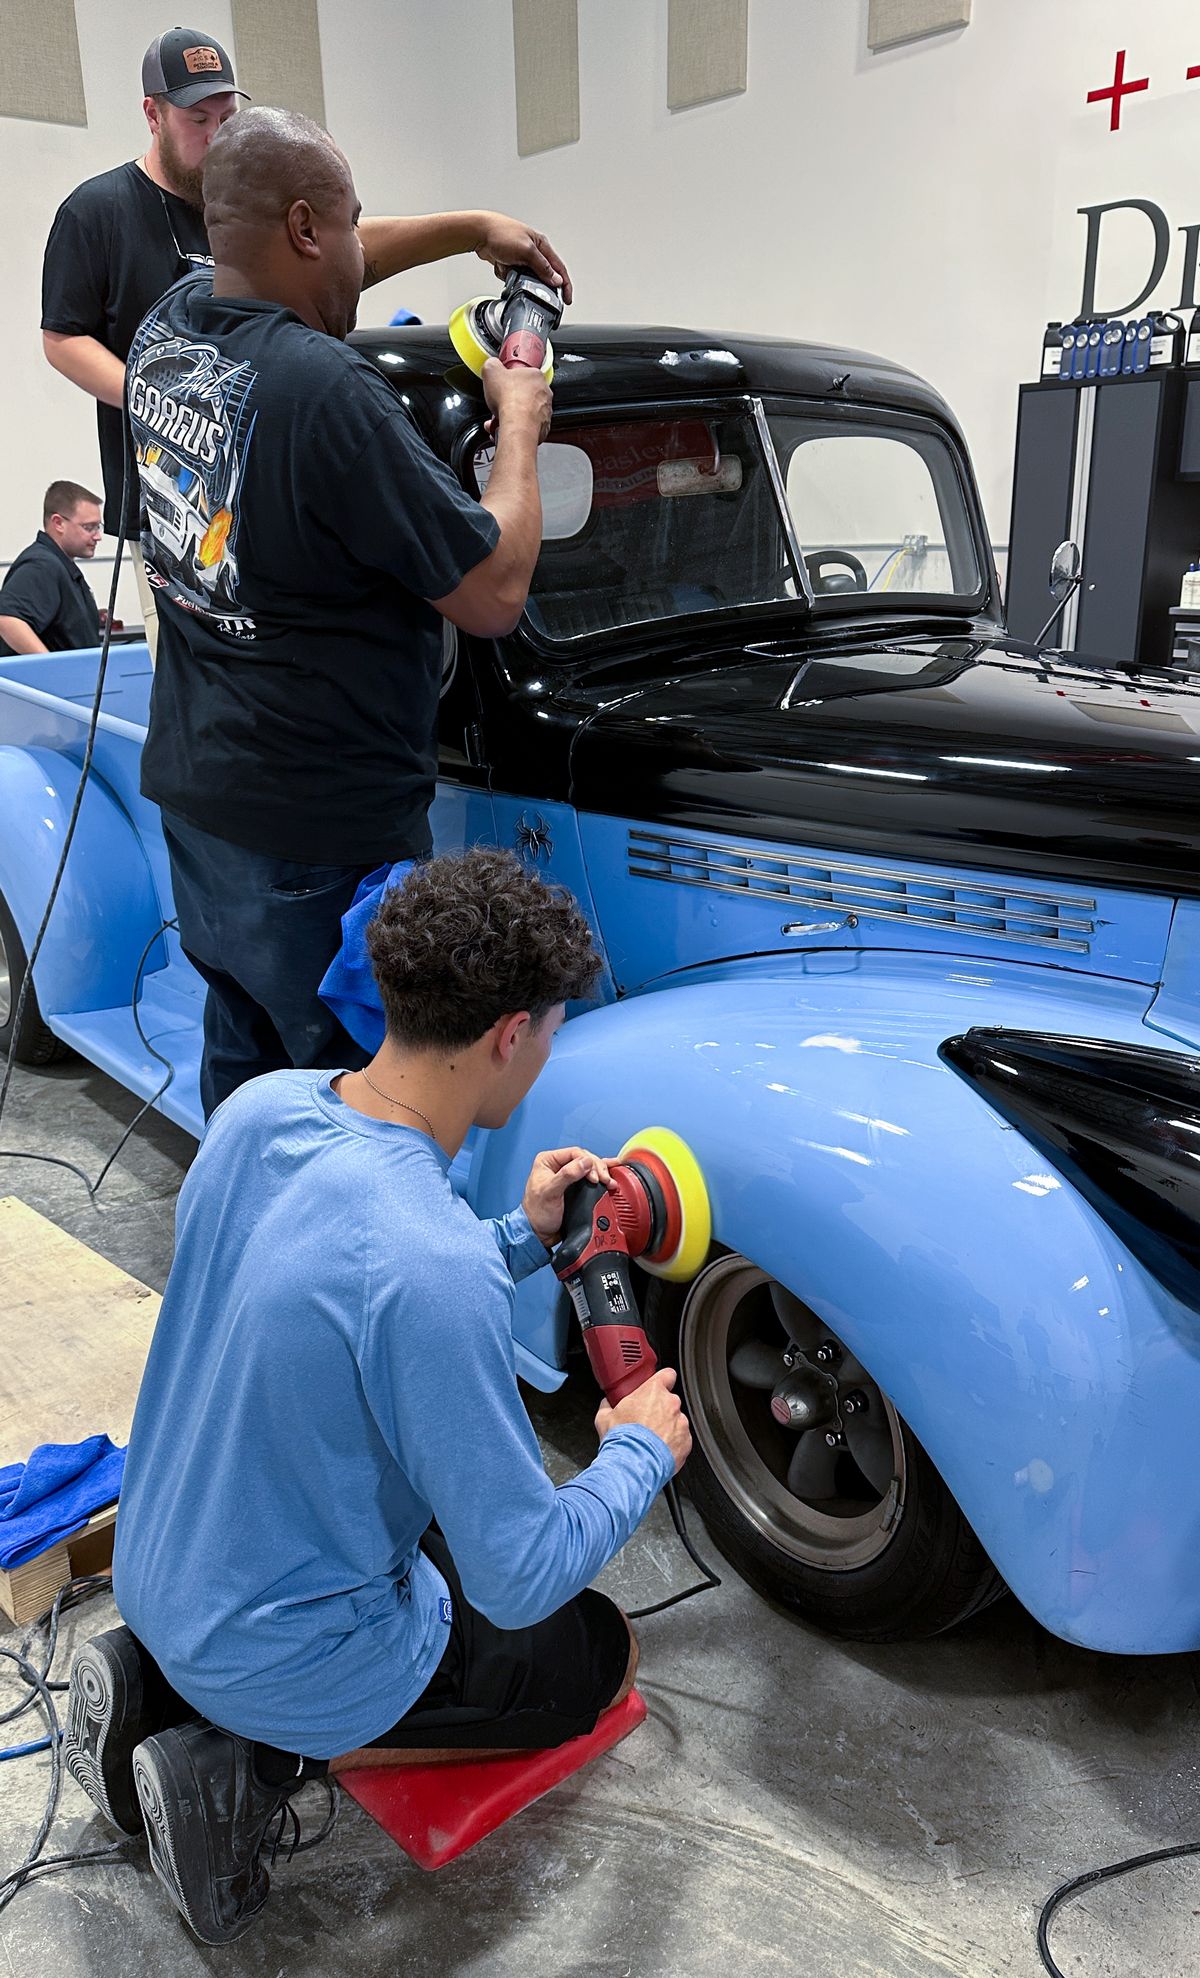
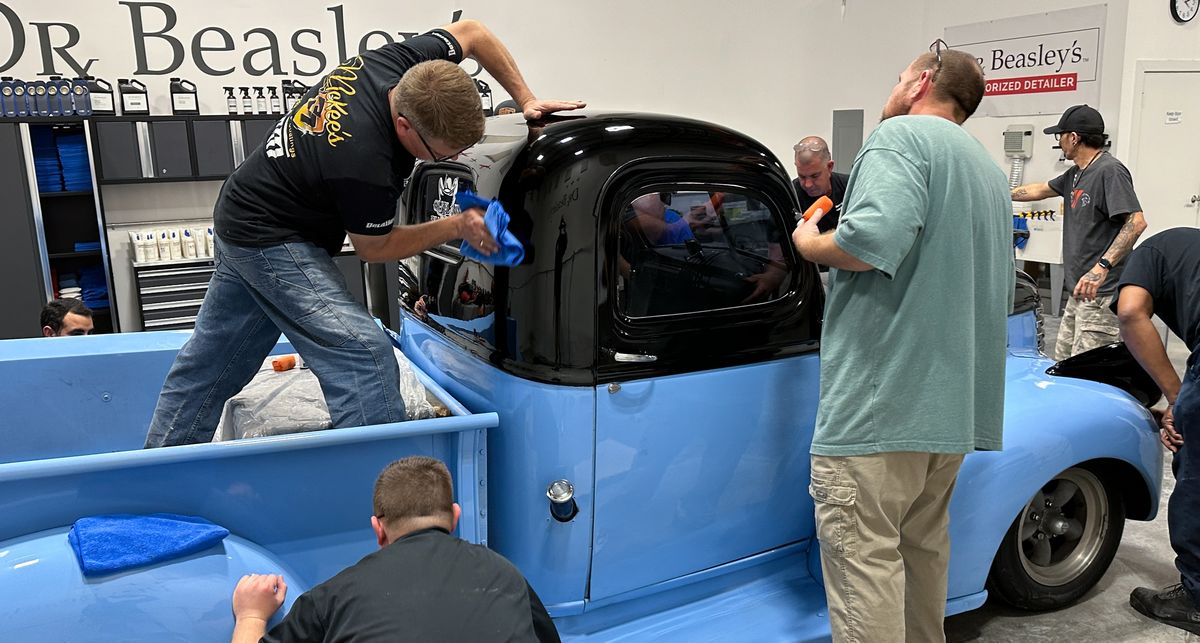
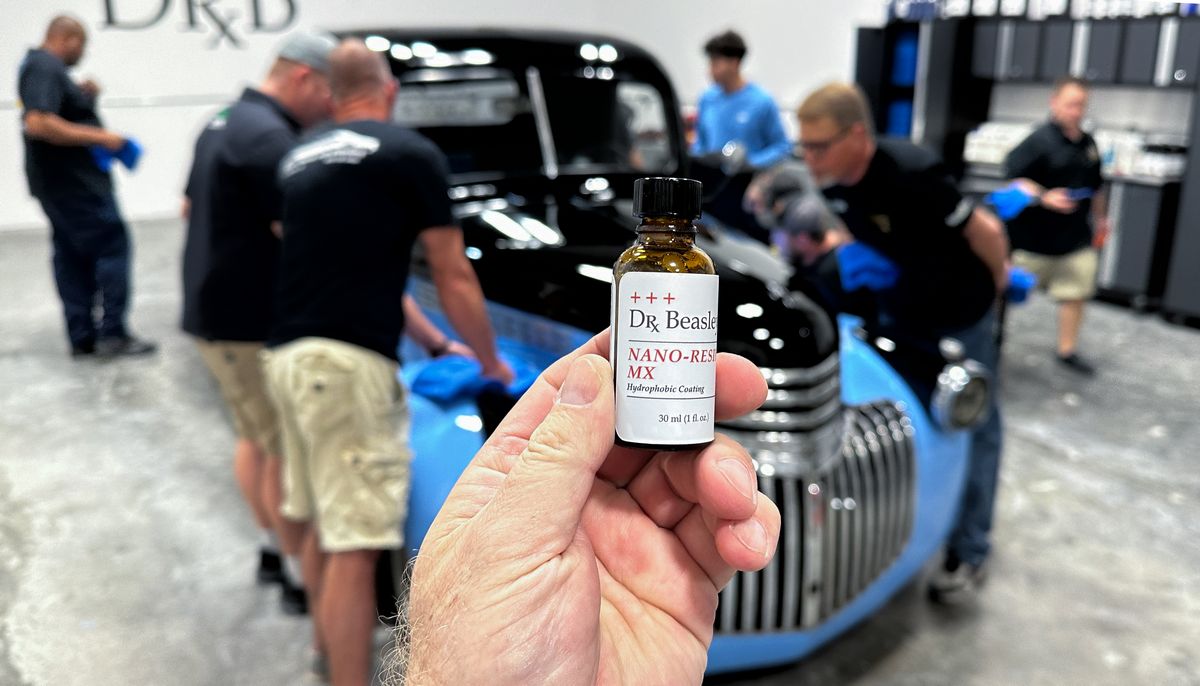
After cutting the paint on the hood, the class then switches over to foam pads with the NSP Z1 Primer

full


full


full


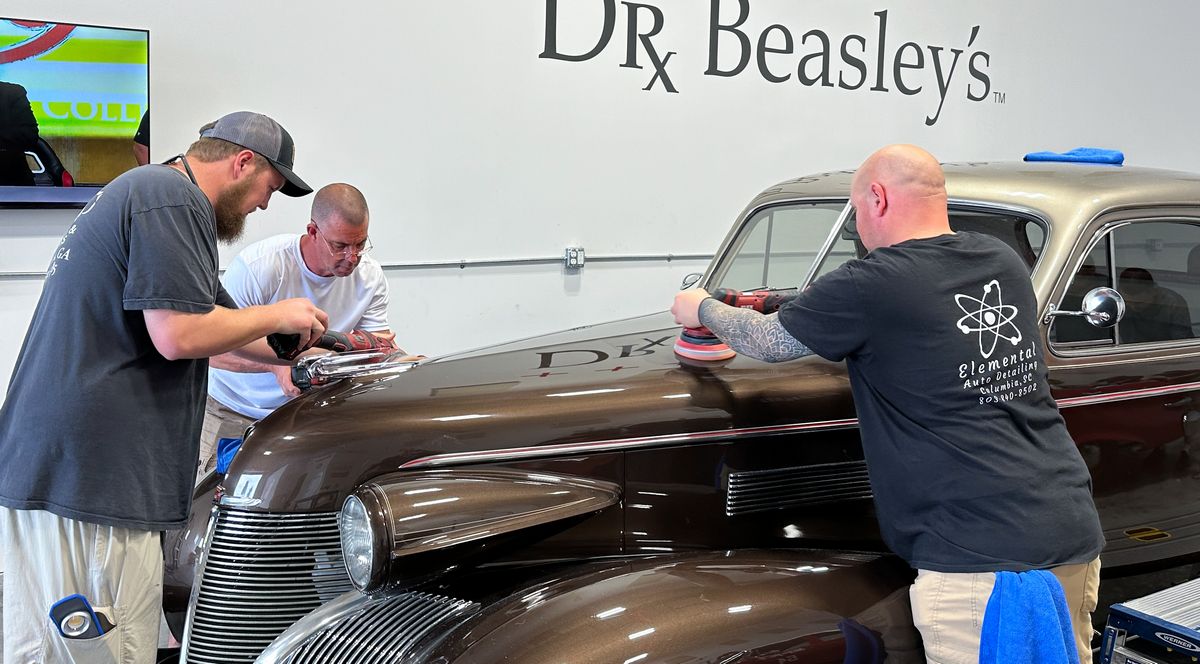
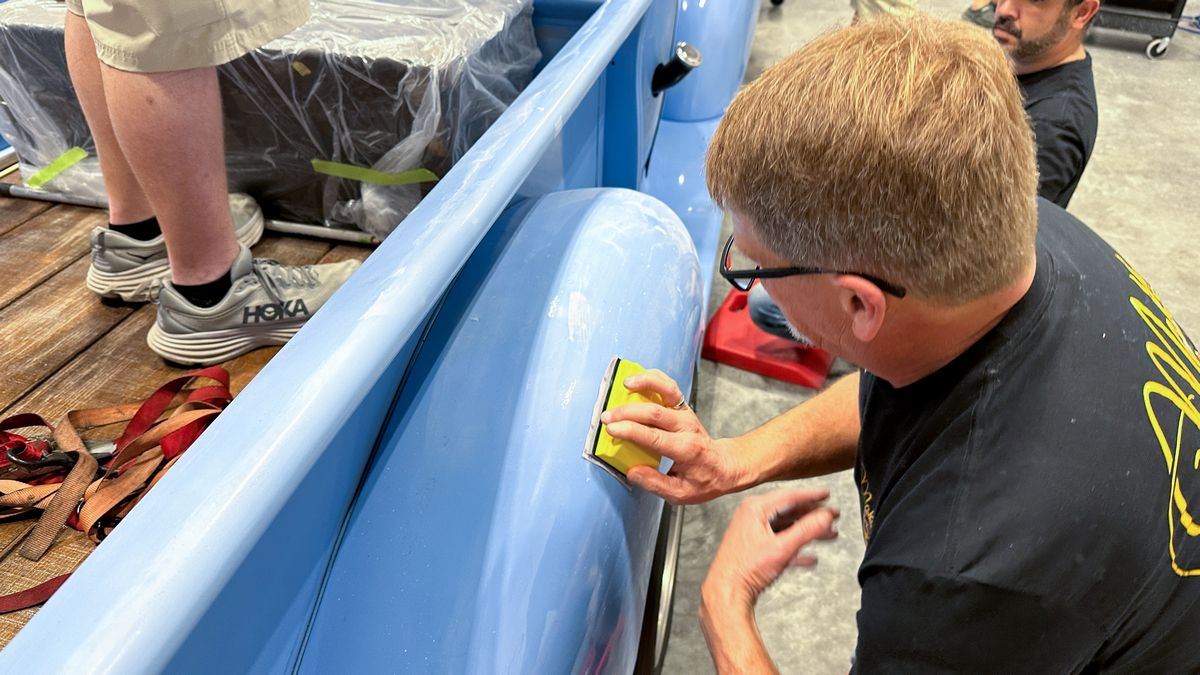
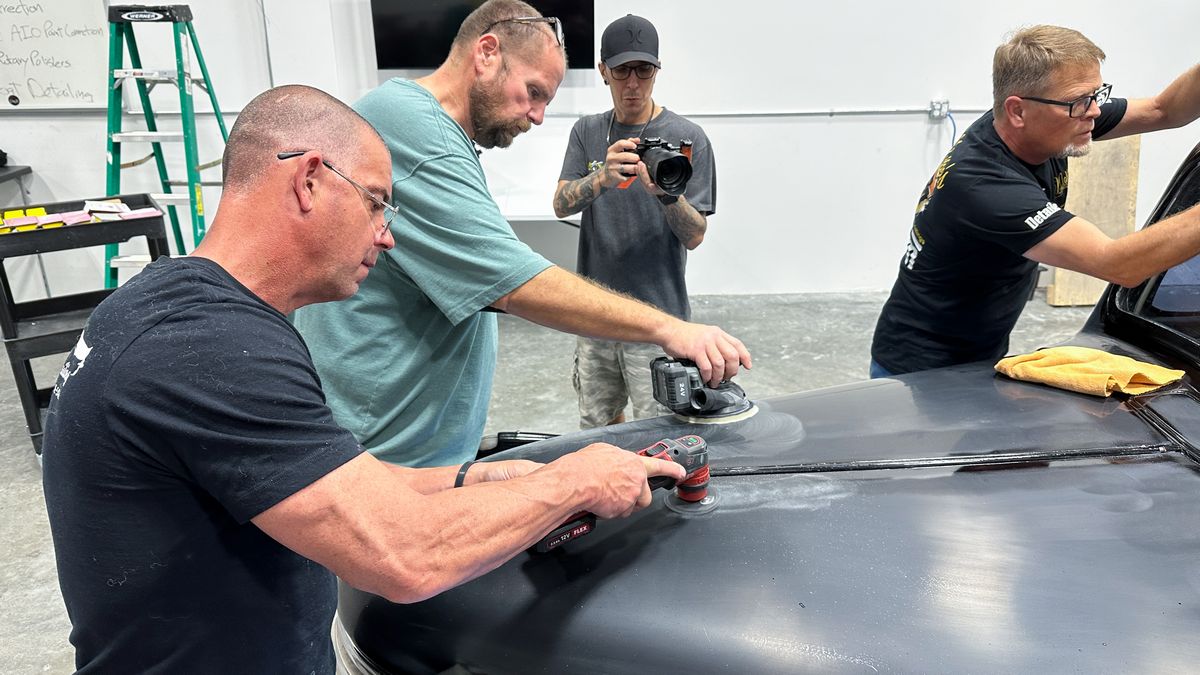
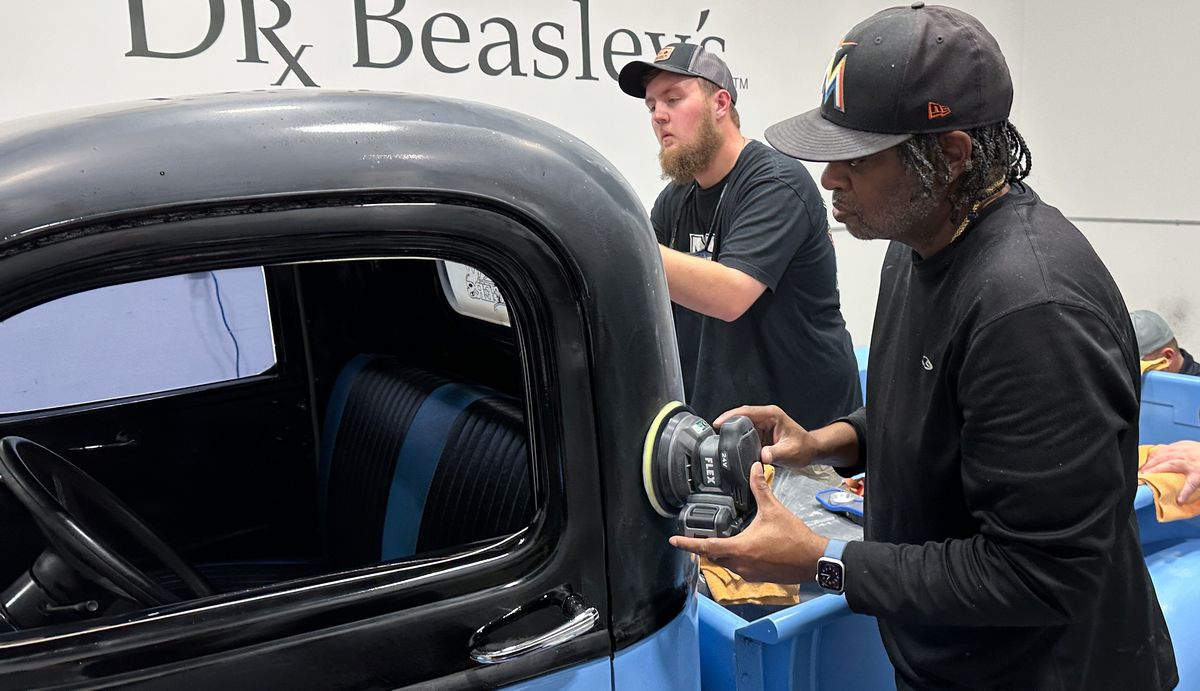
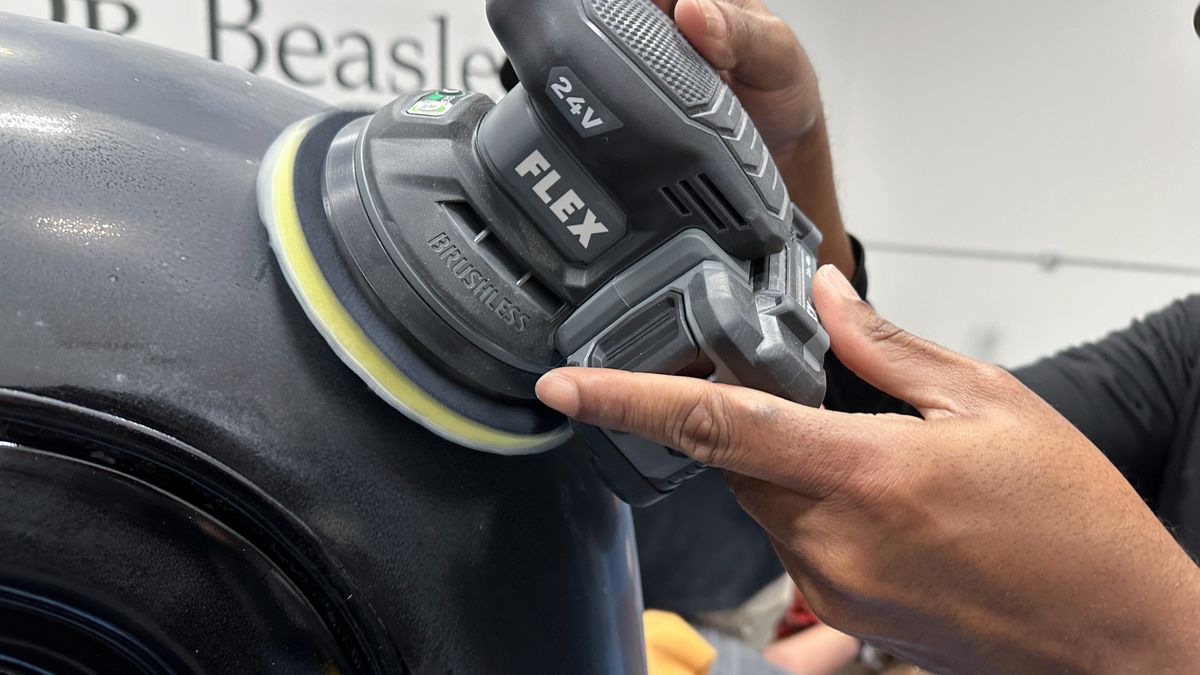
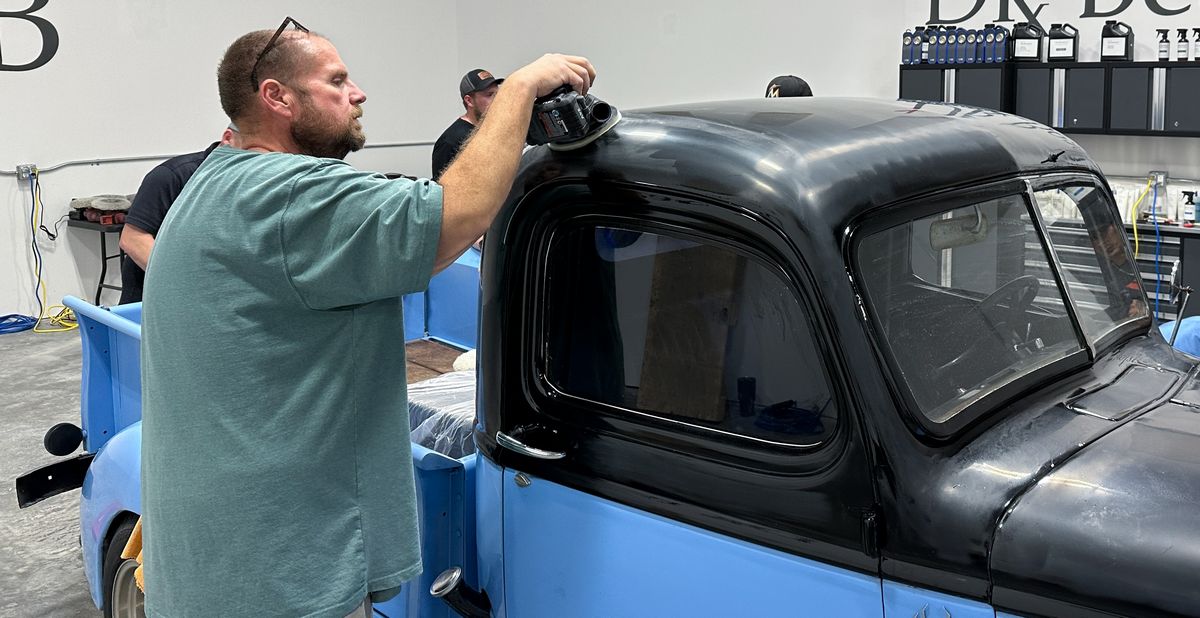
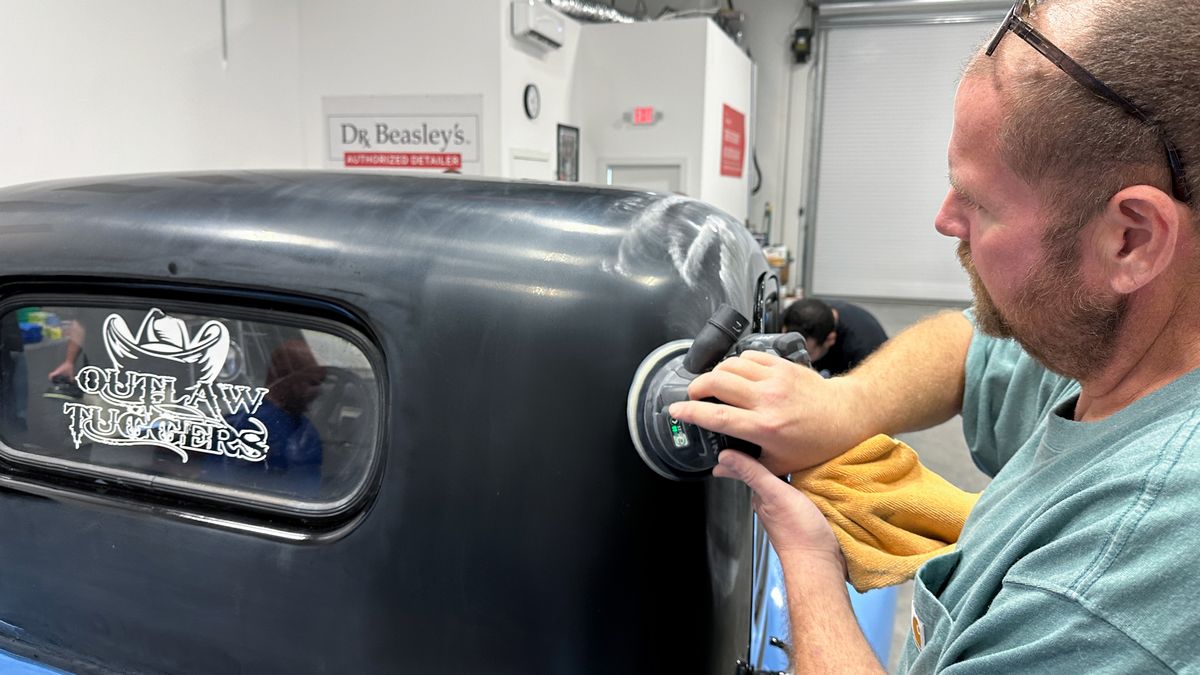
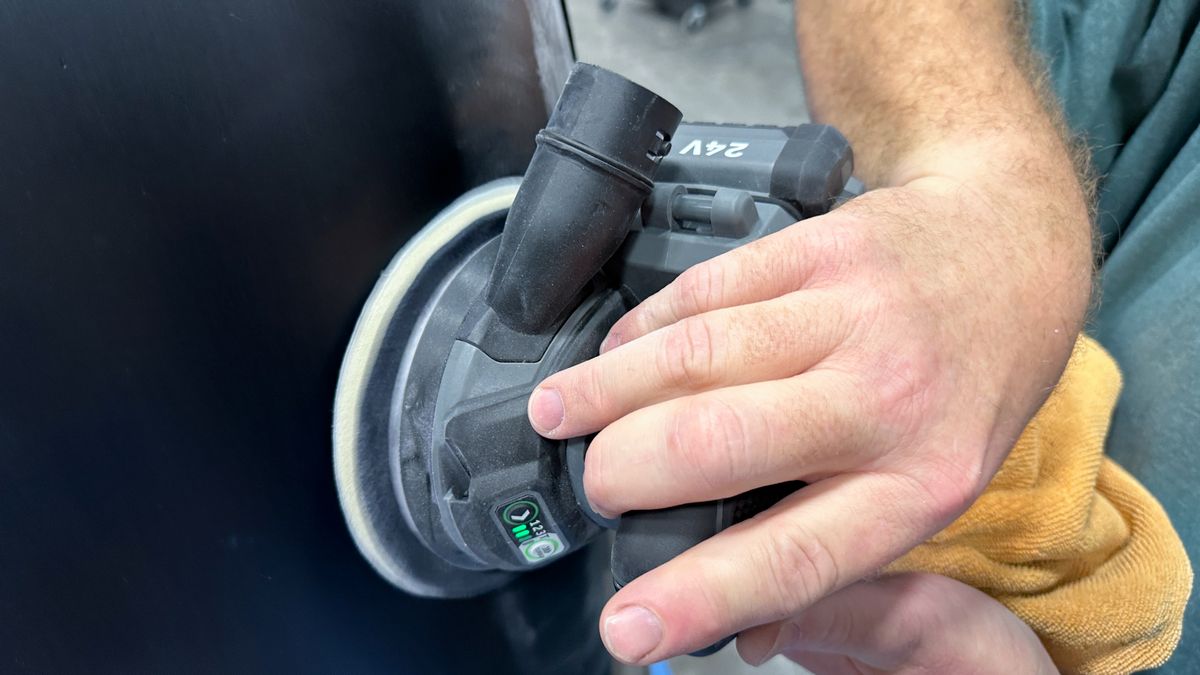
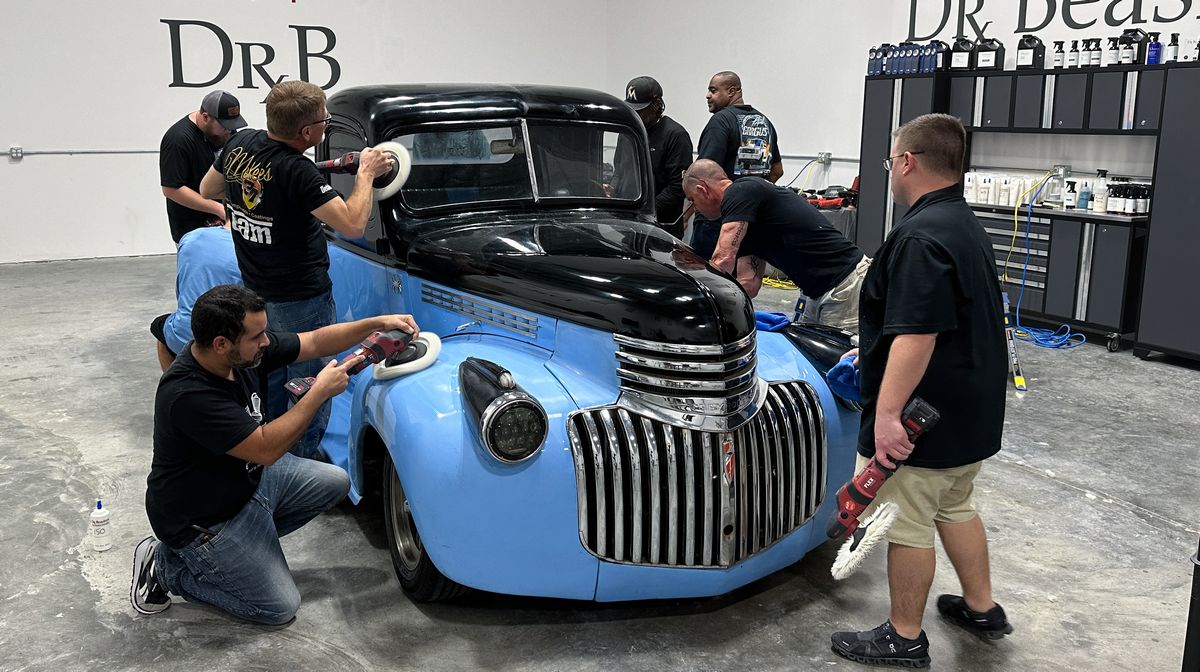
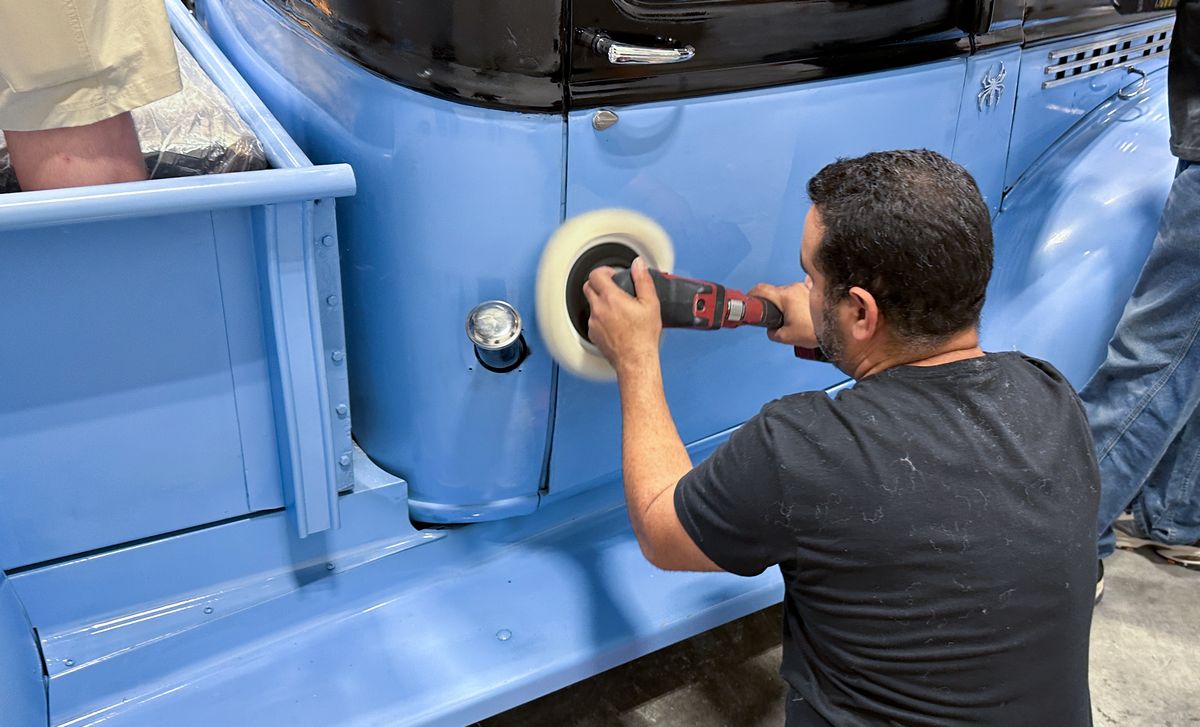
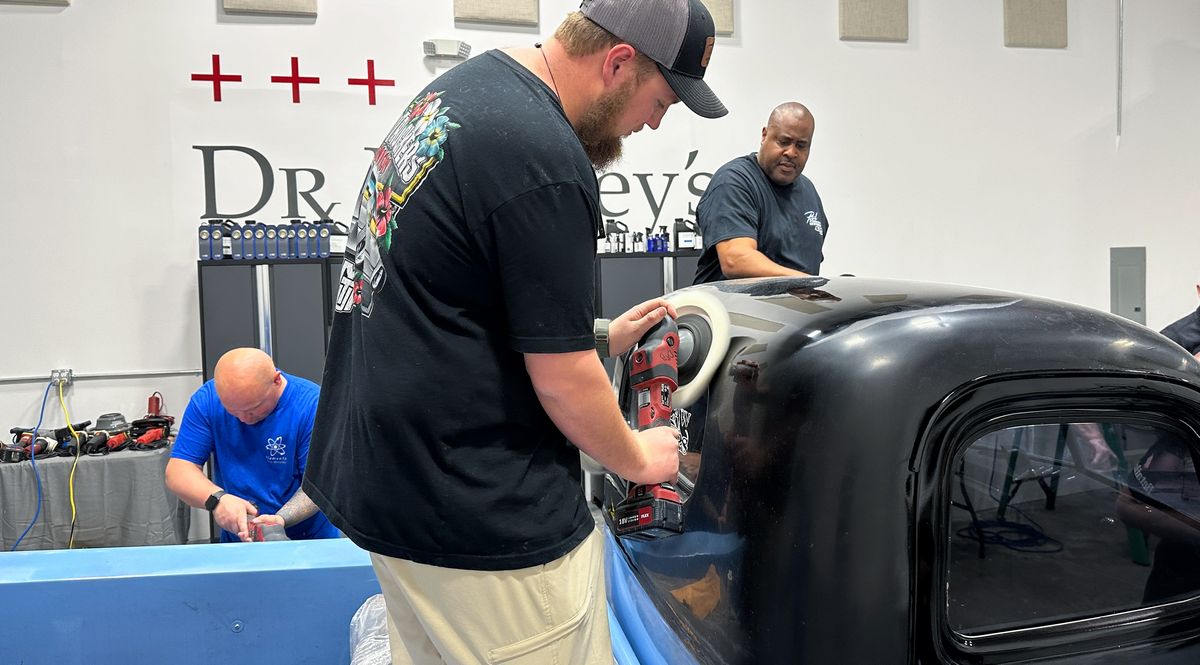
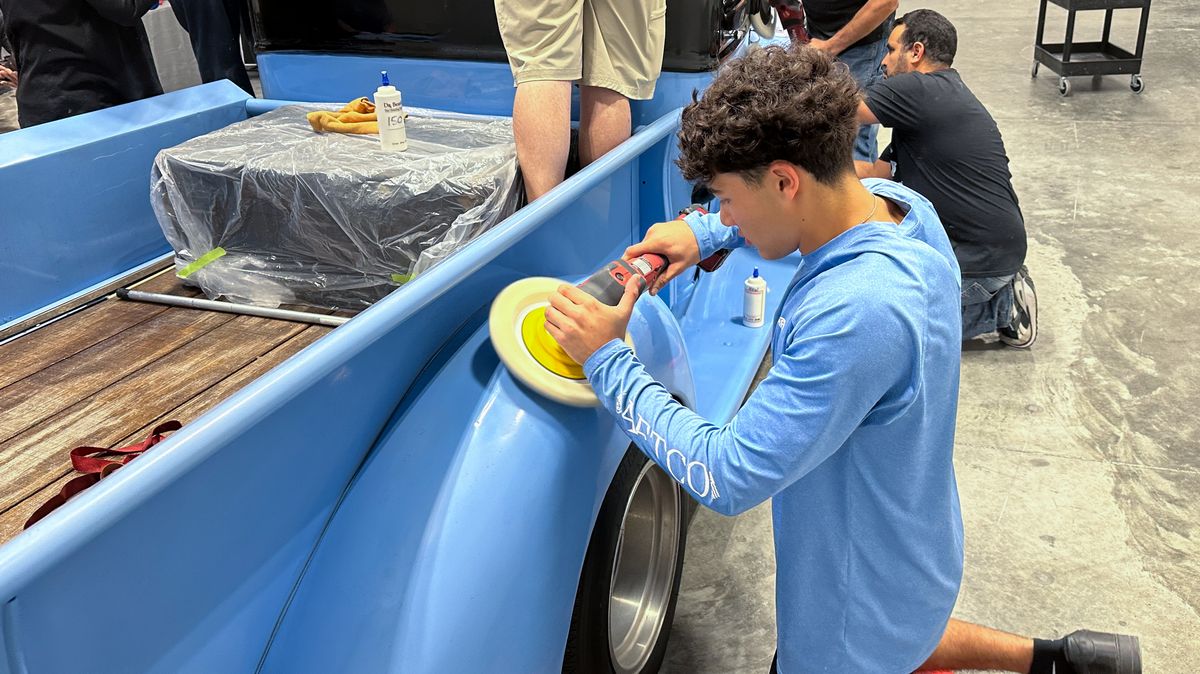
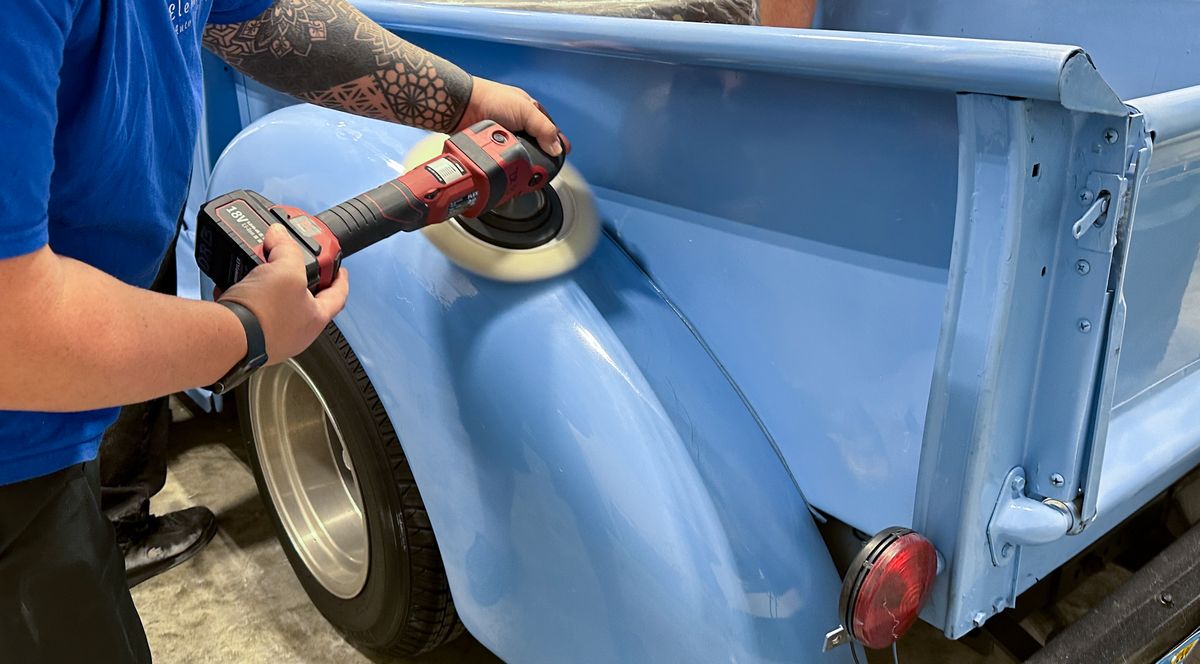
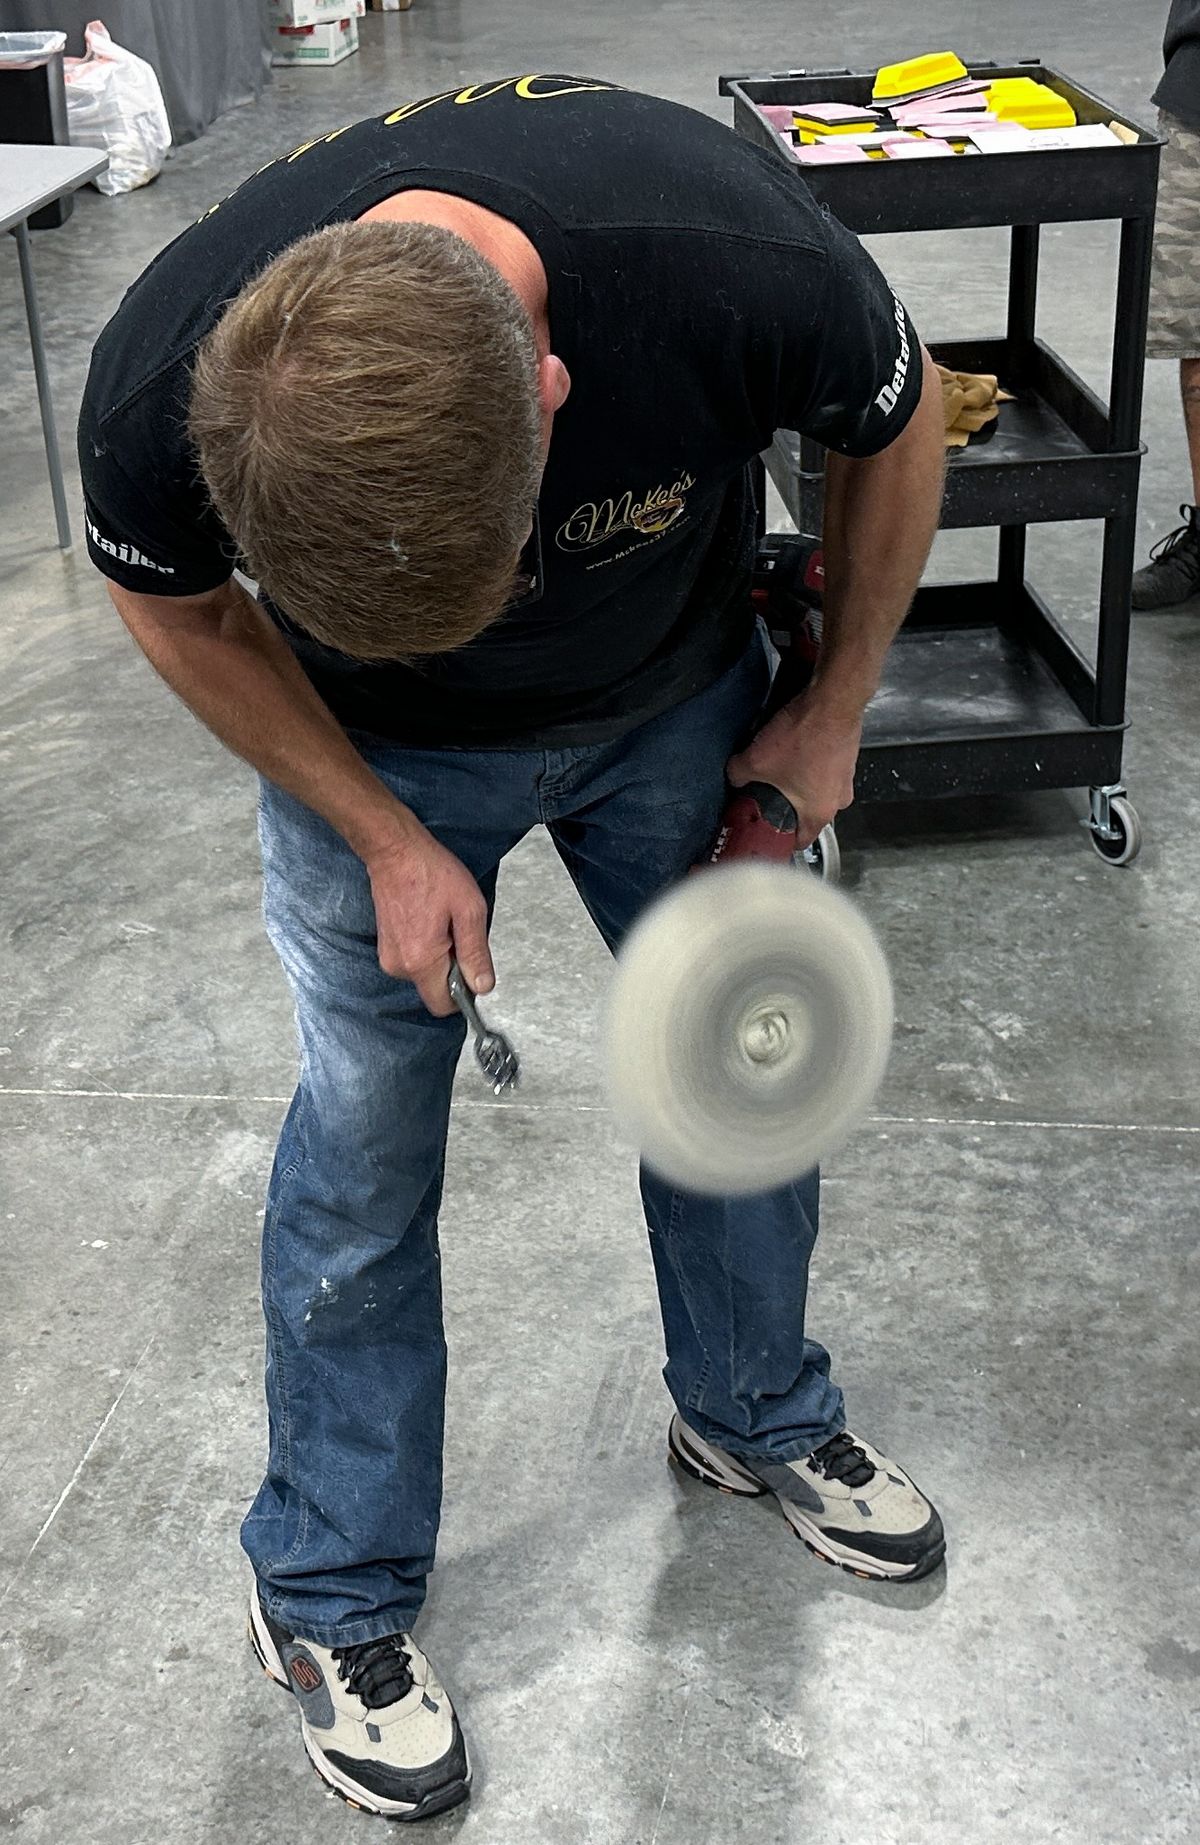
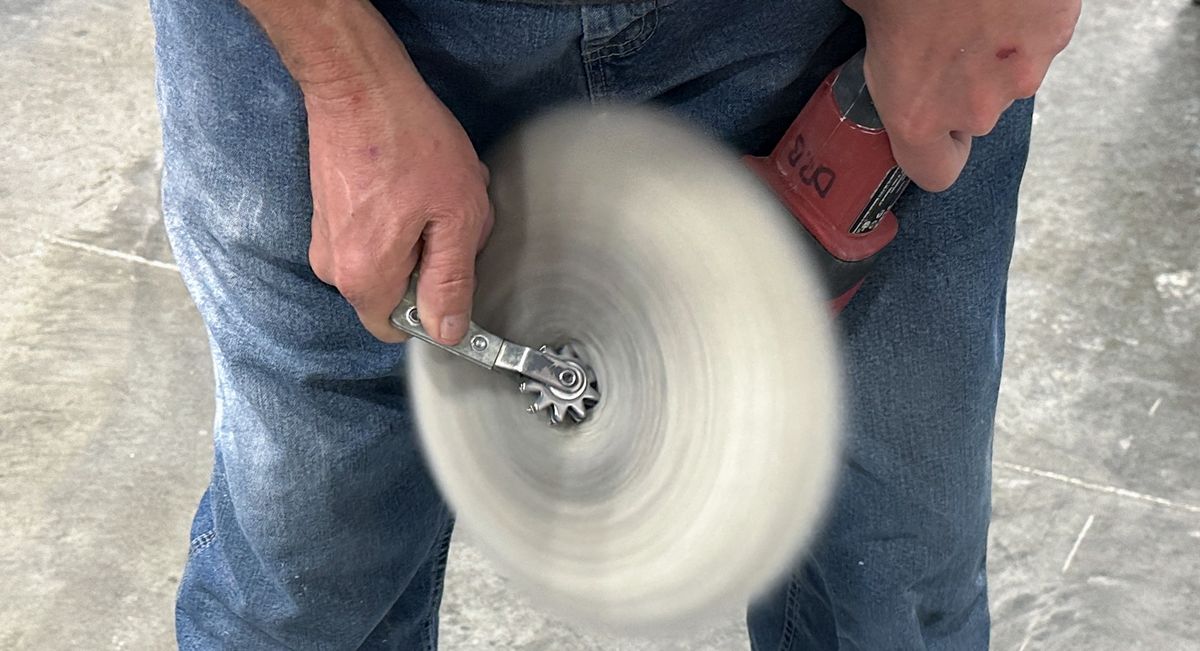
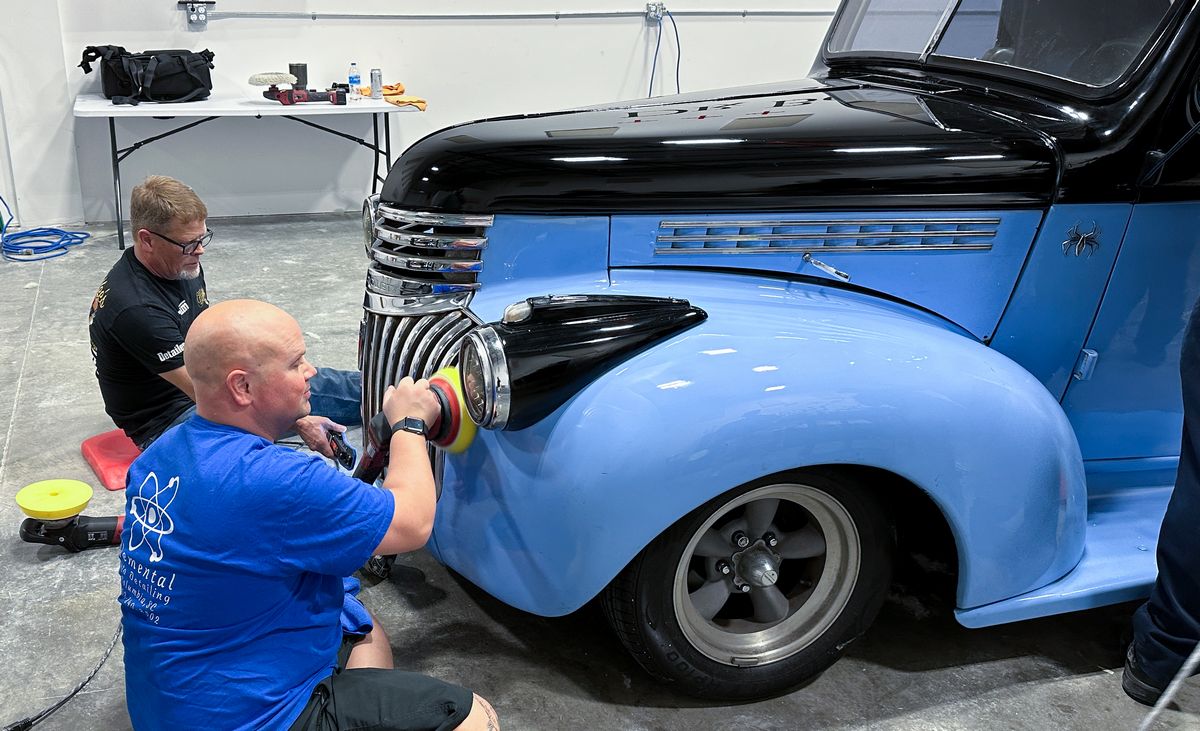
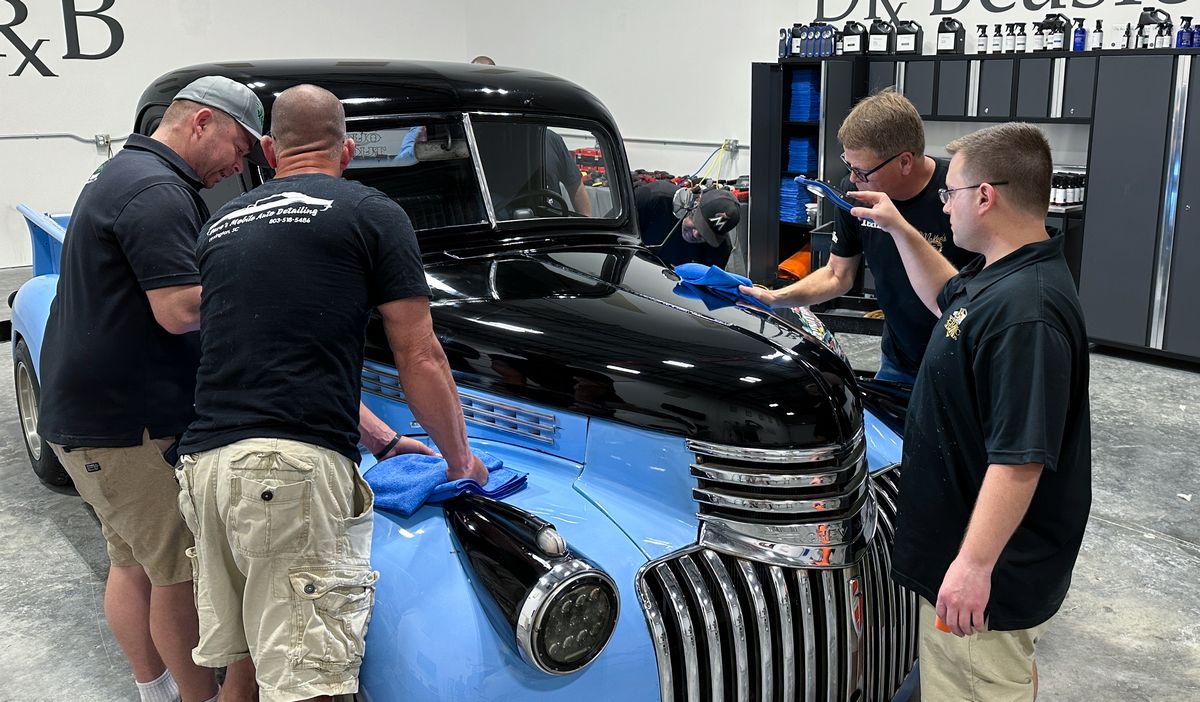
Making the POWER offered by the FLEX 3401 work for you!

full


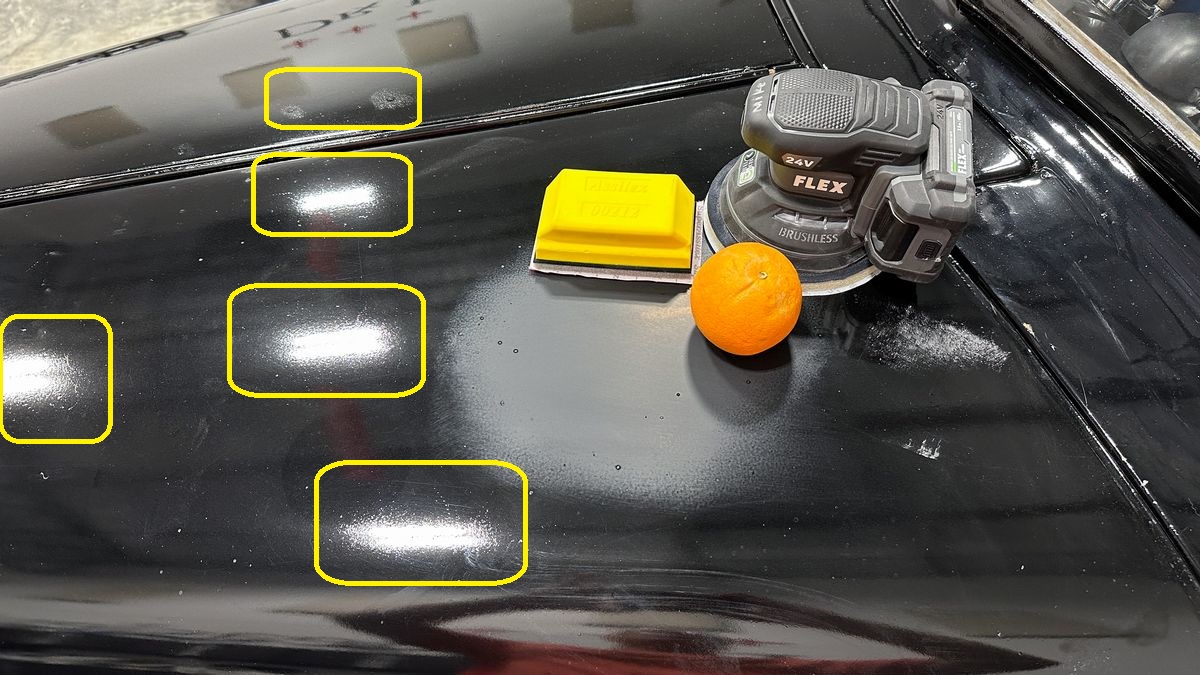
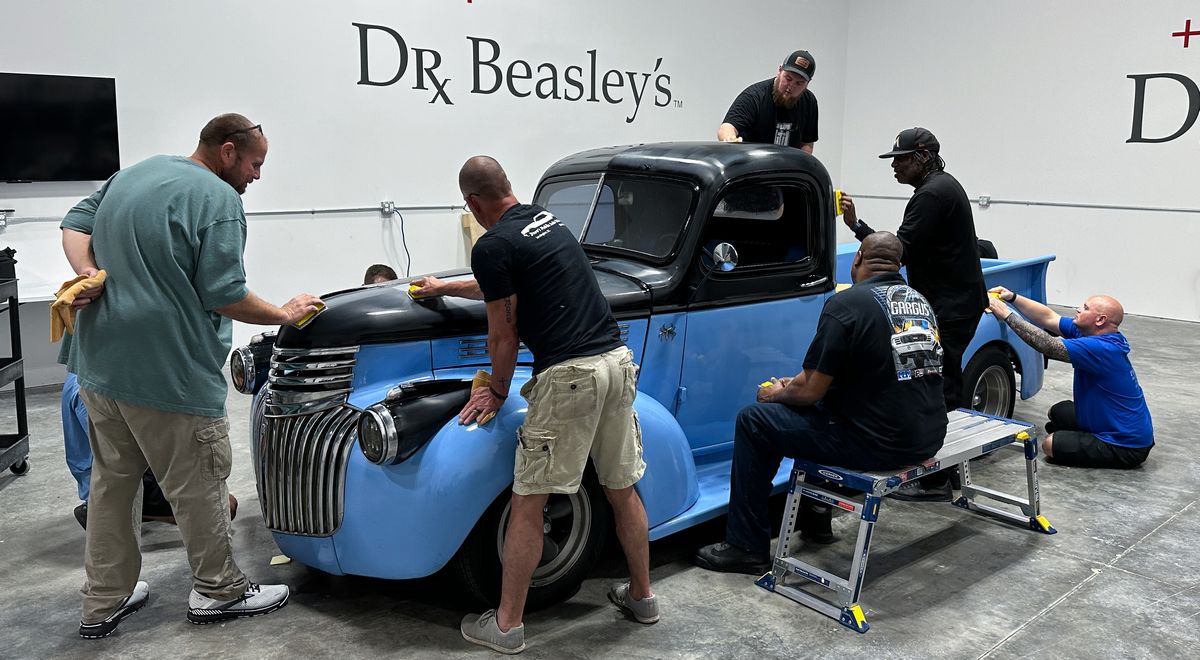
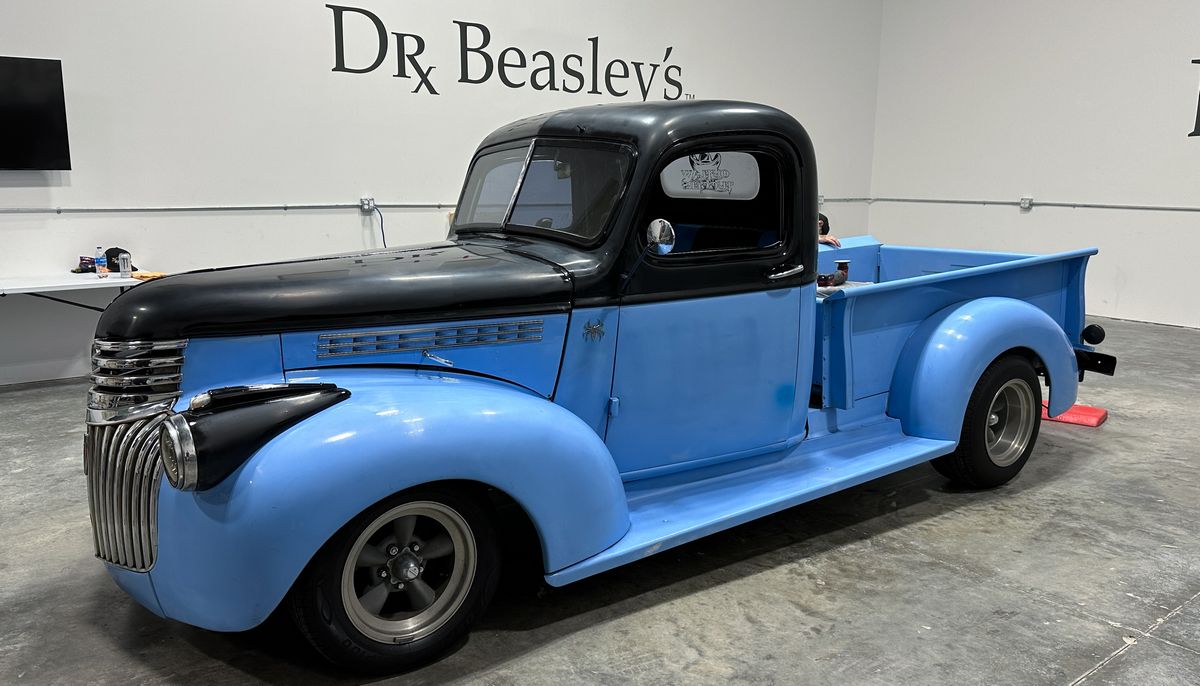
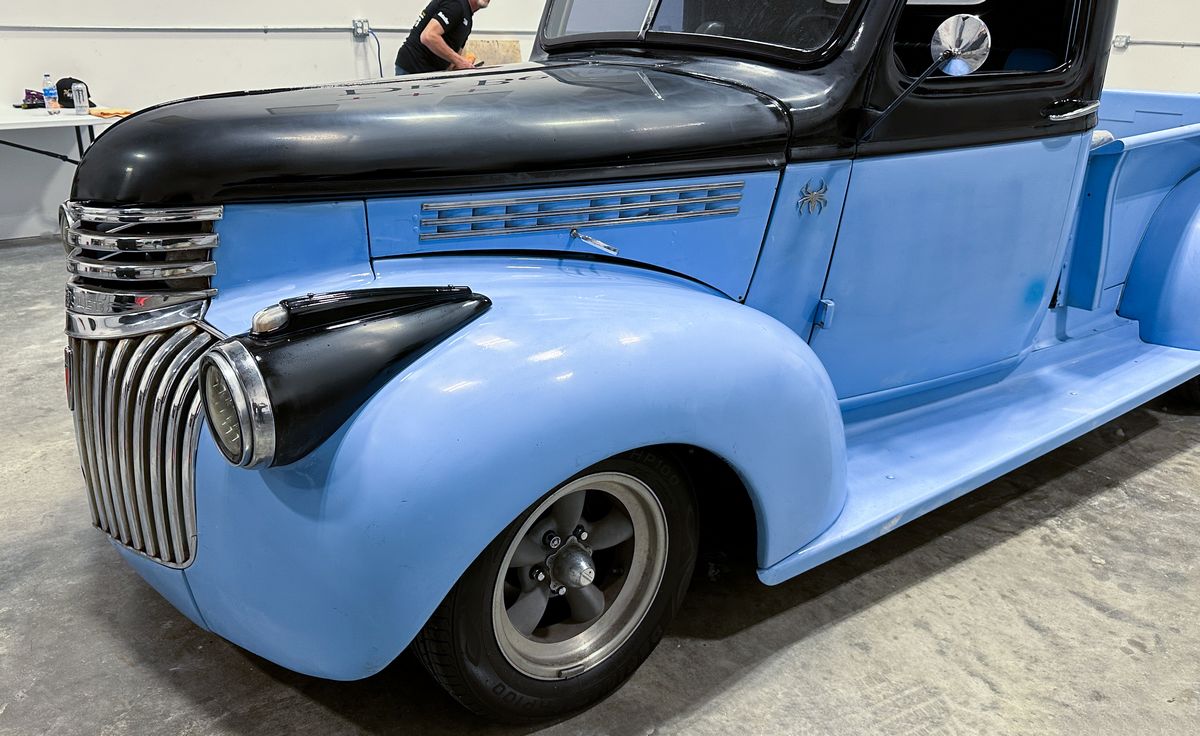
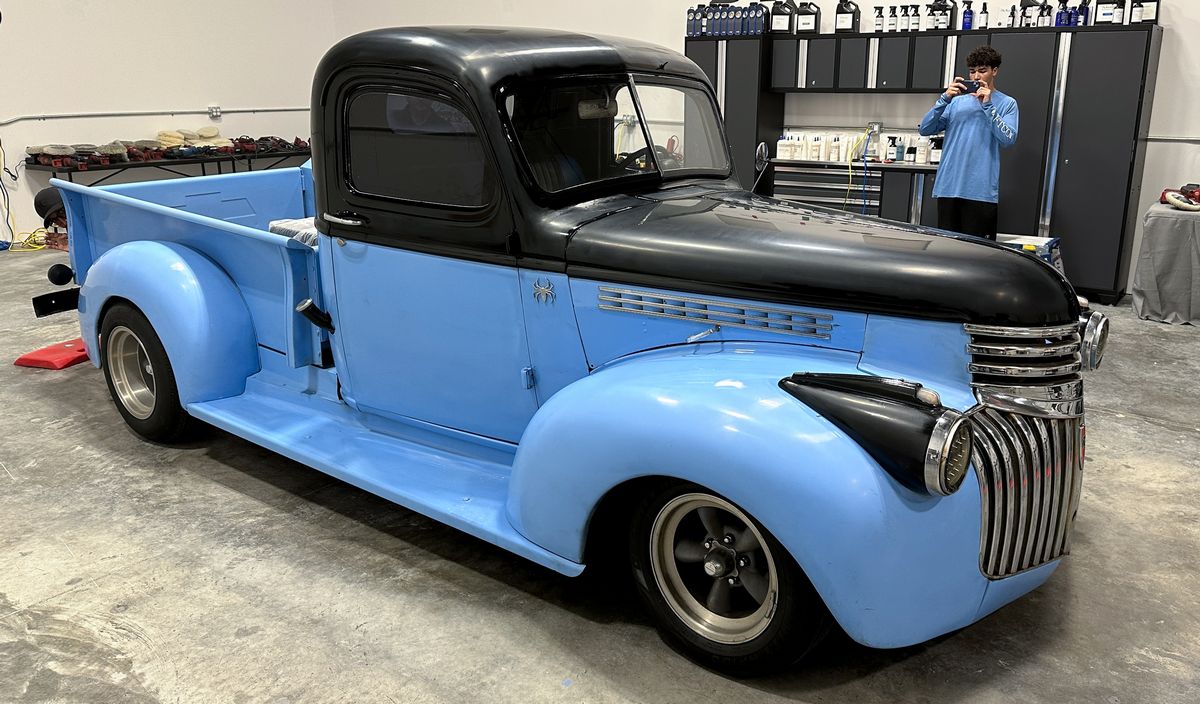
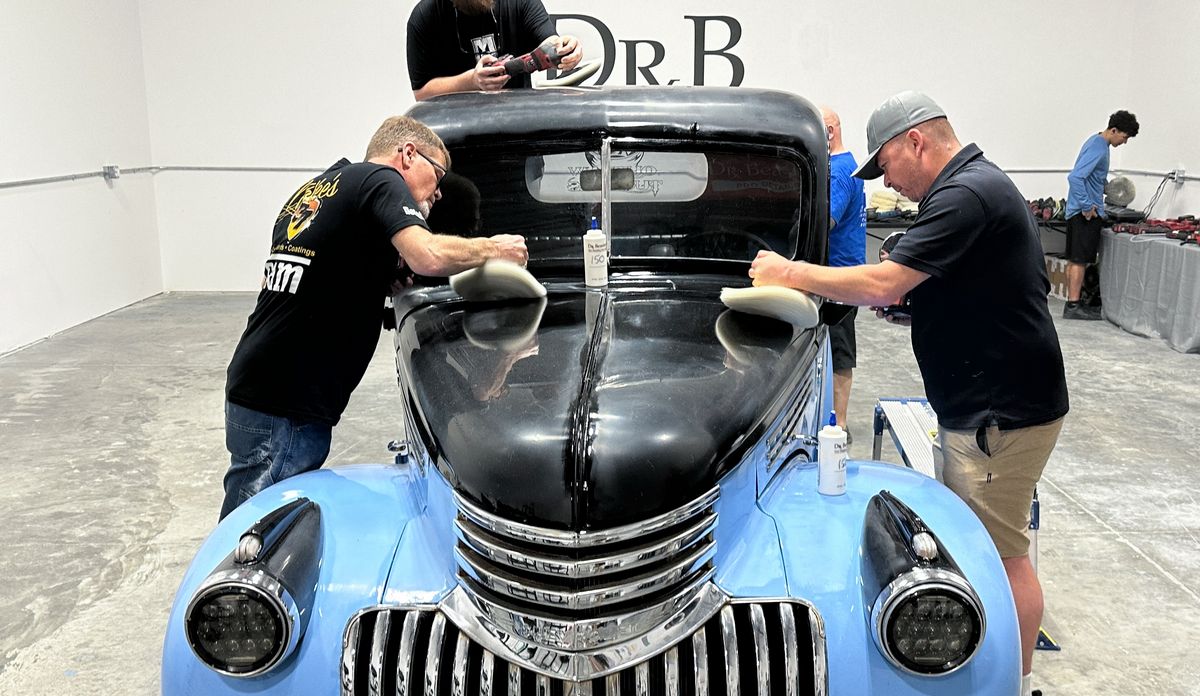
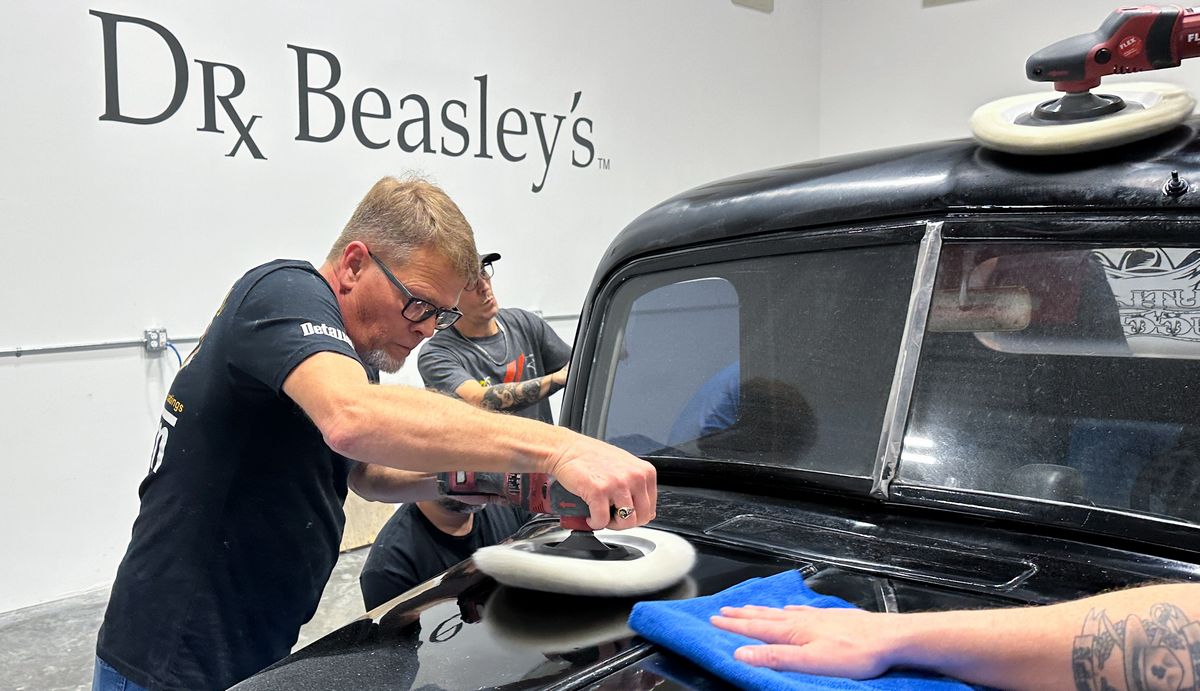
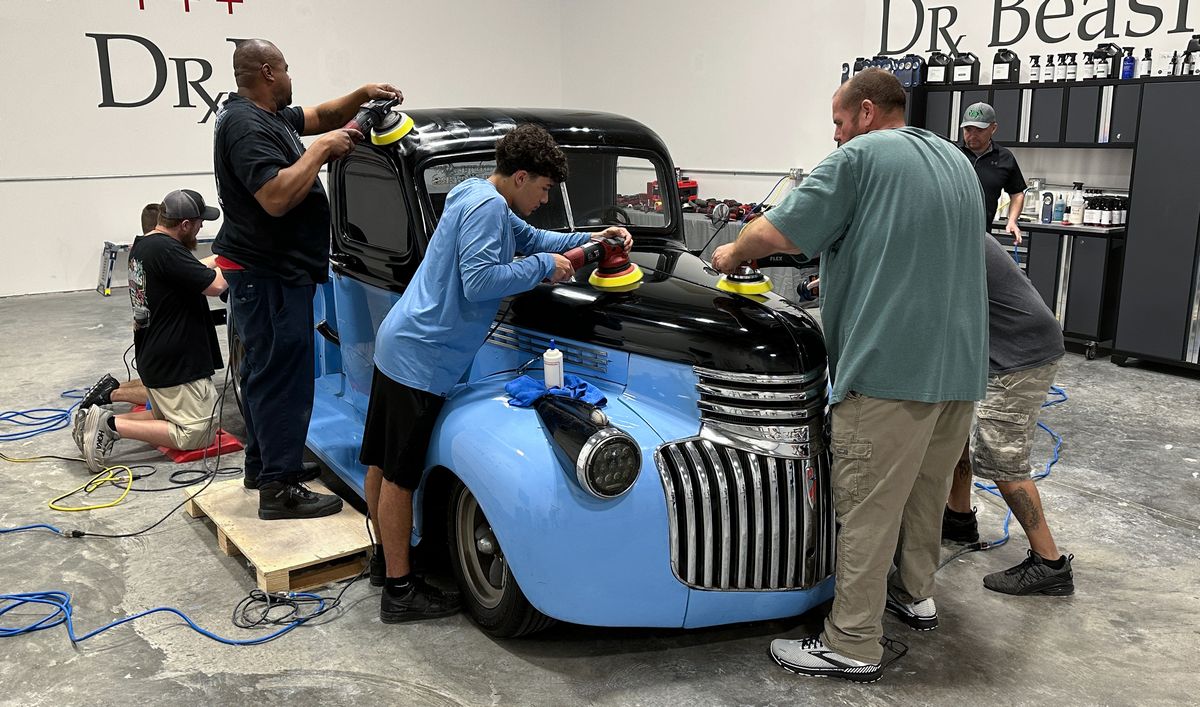
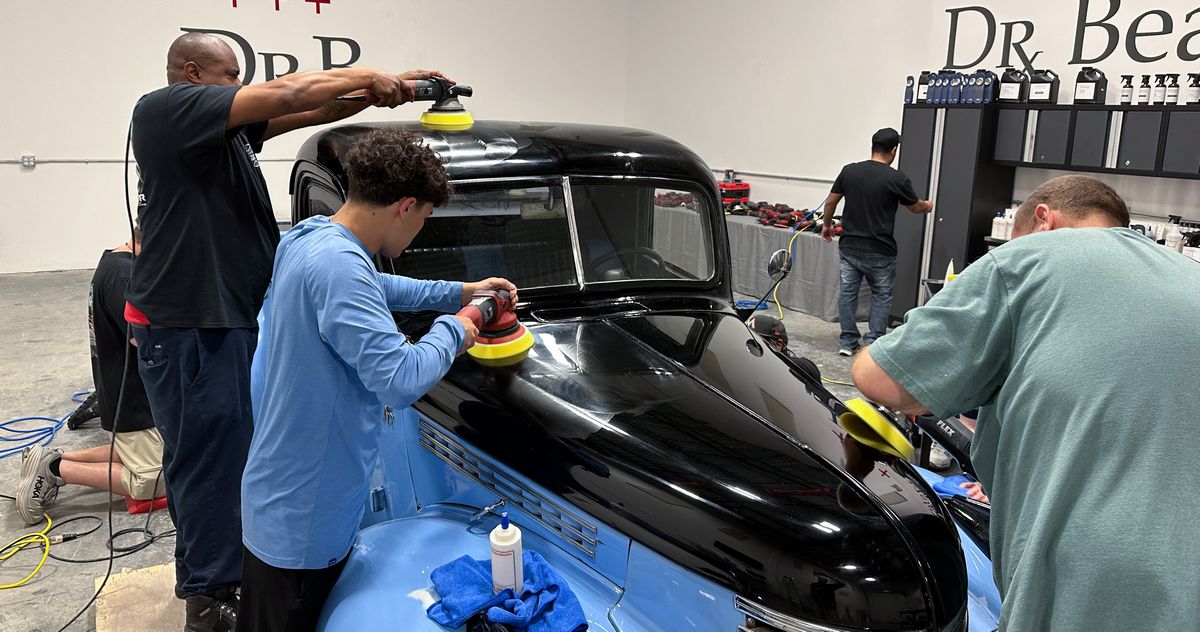
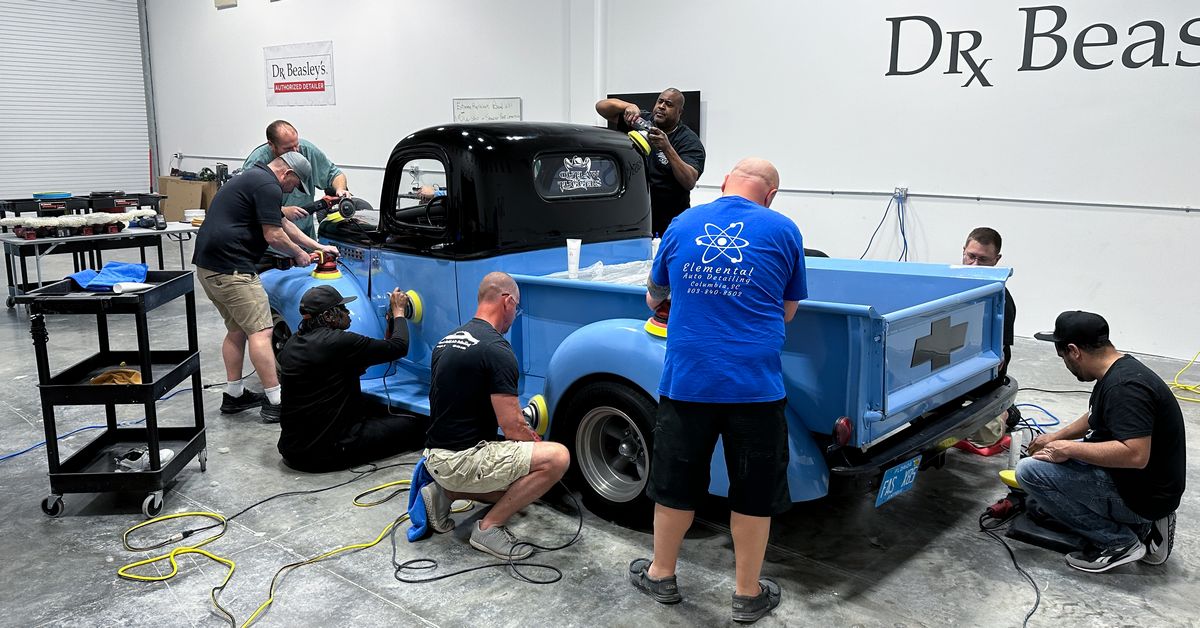
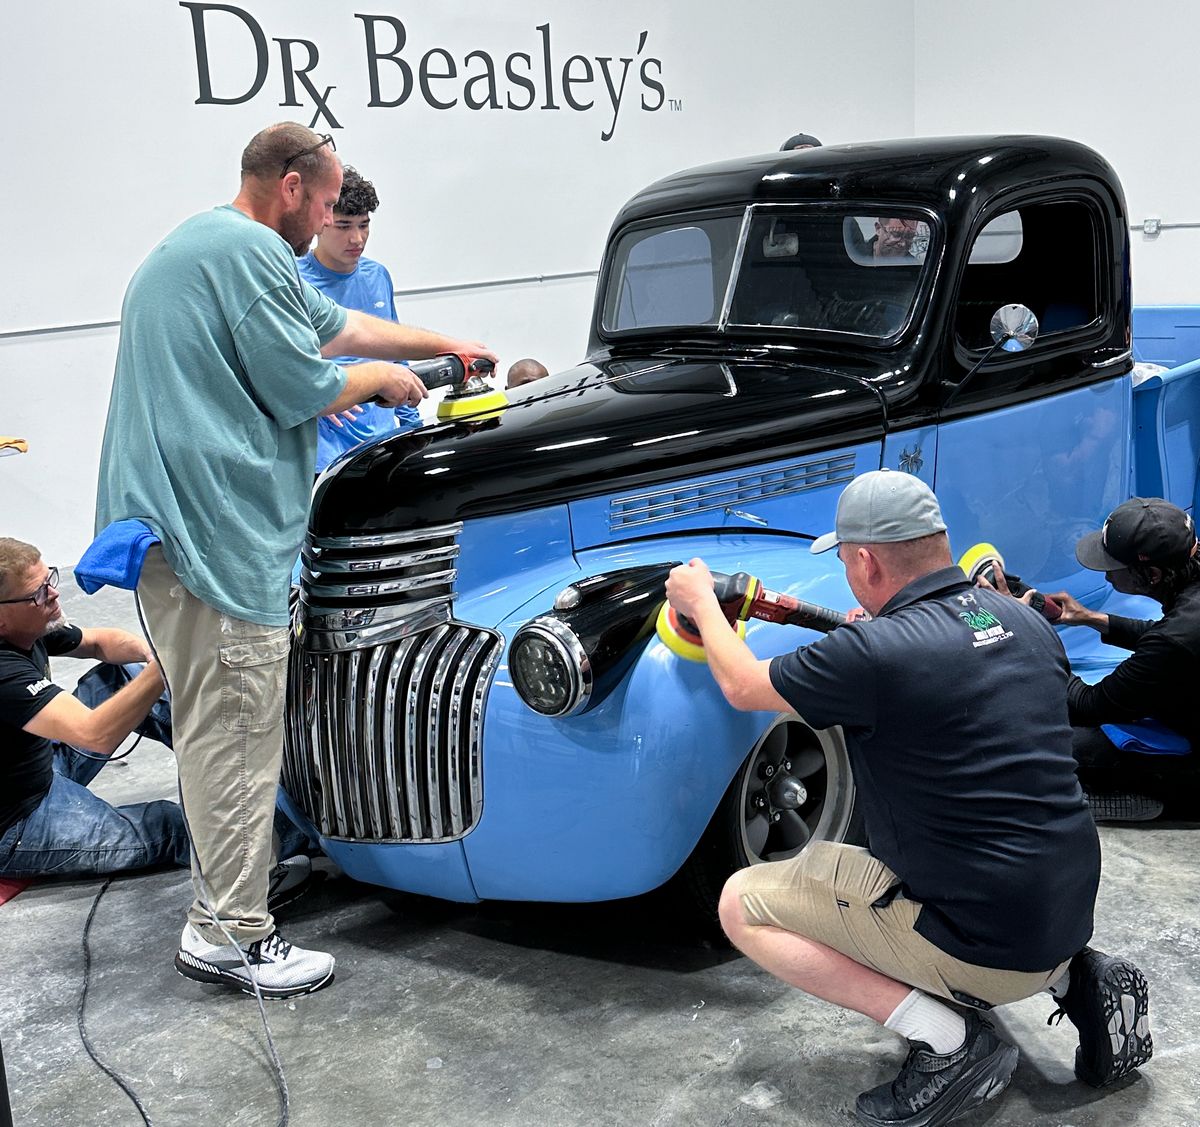
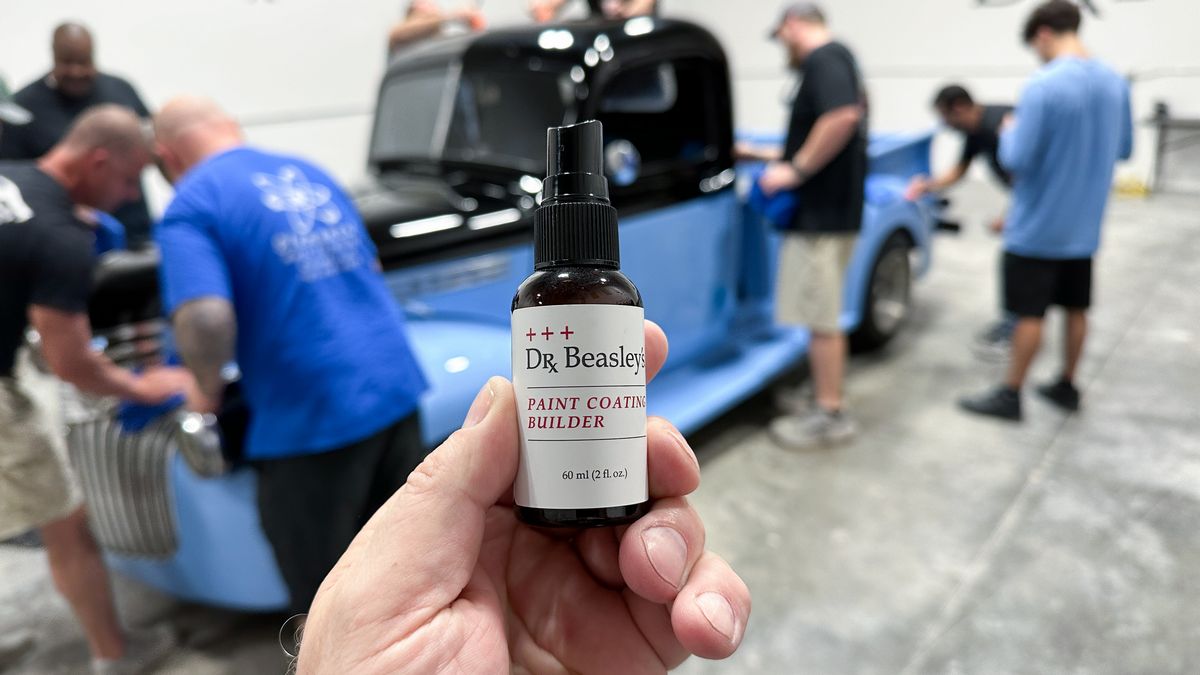
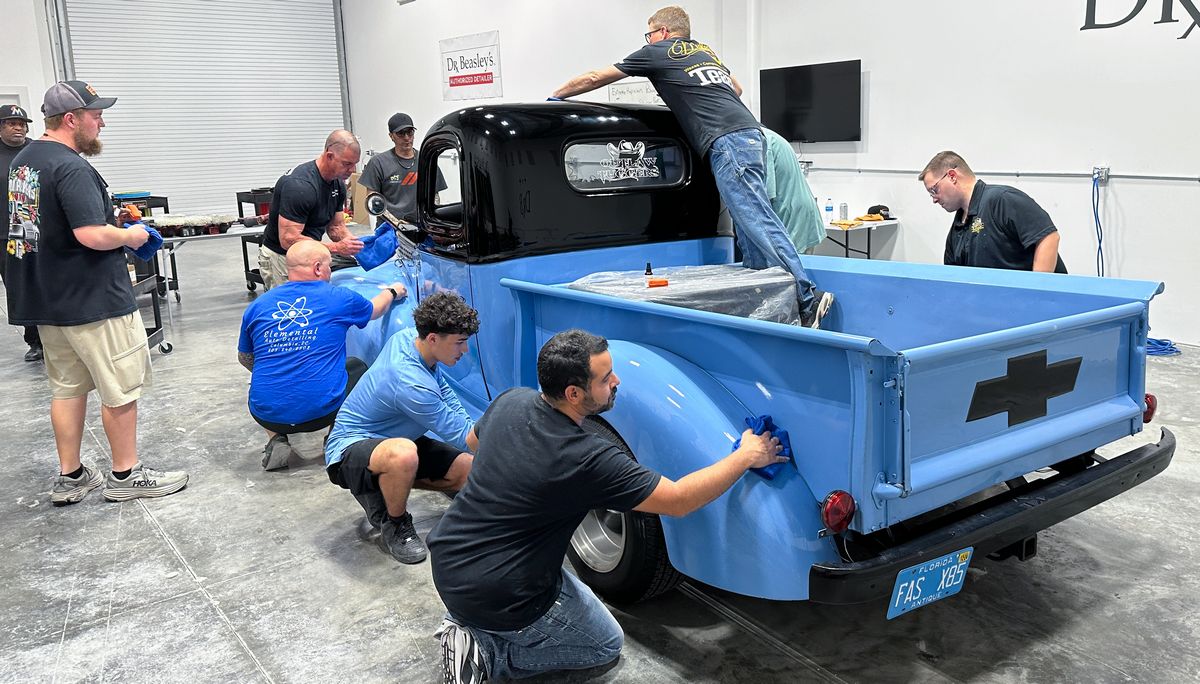
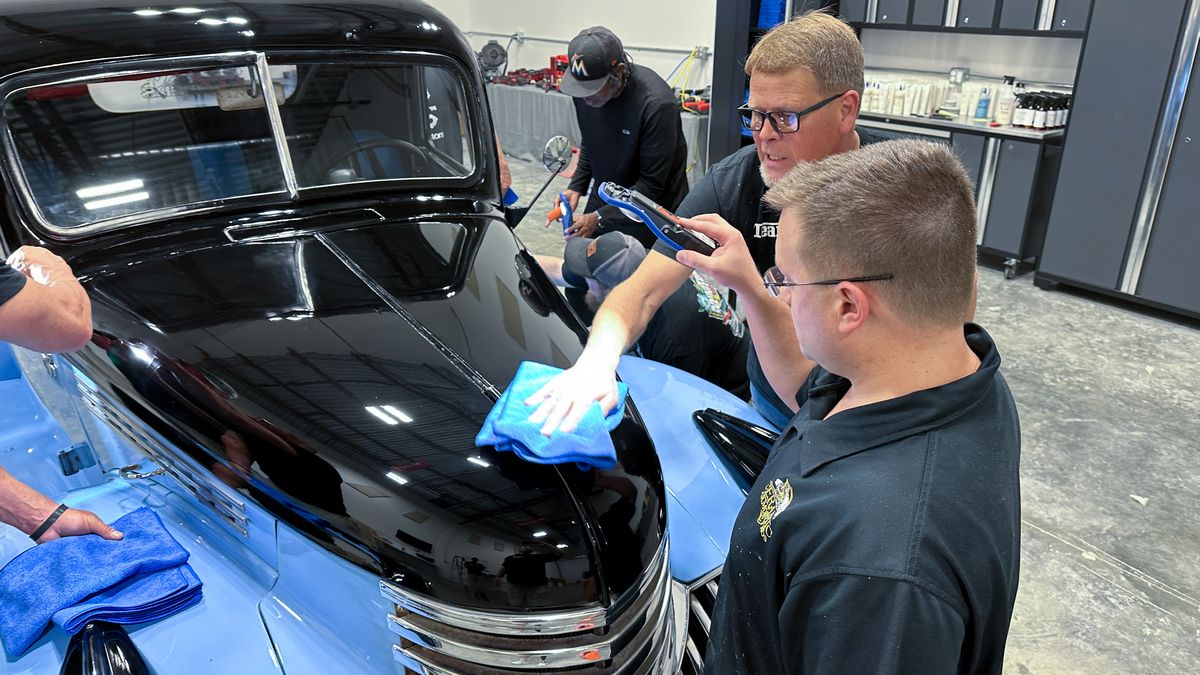
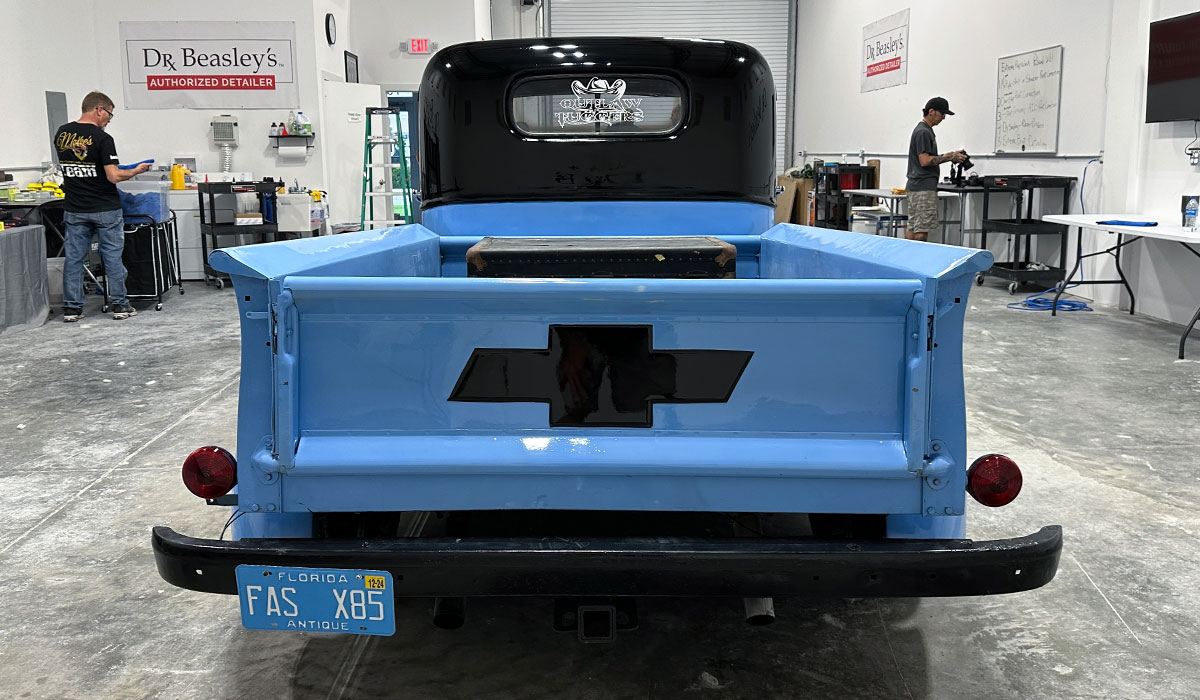
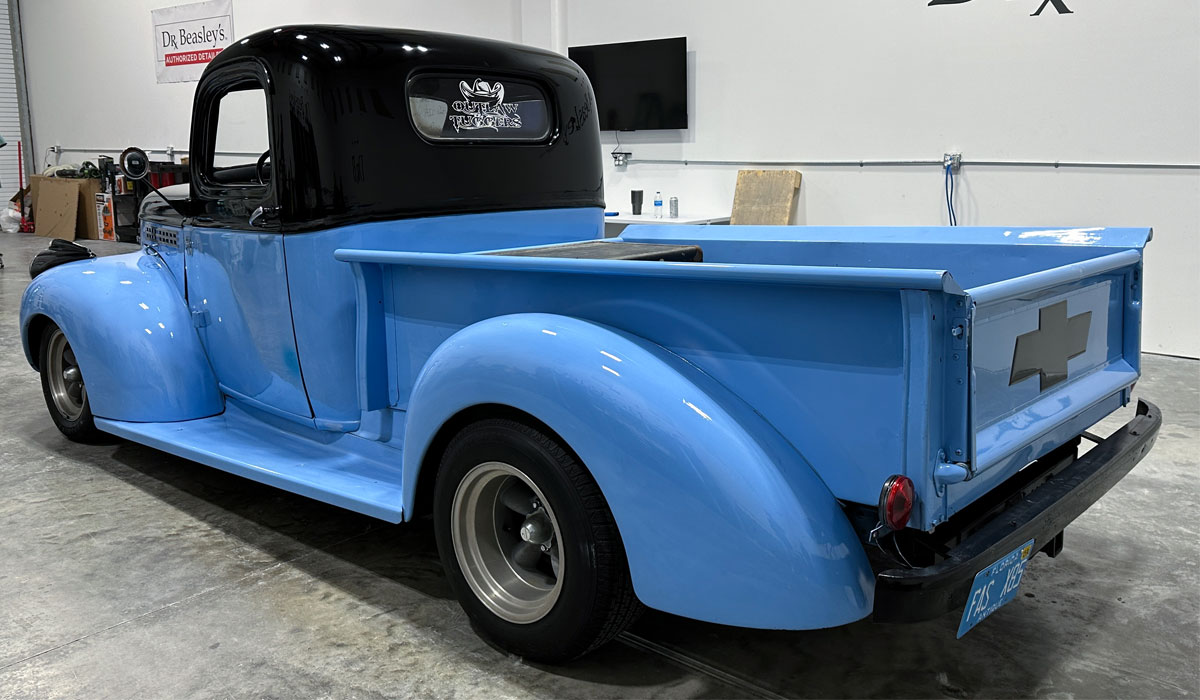
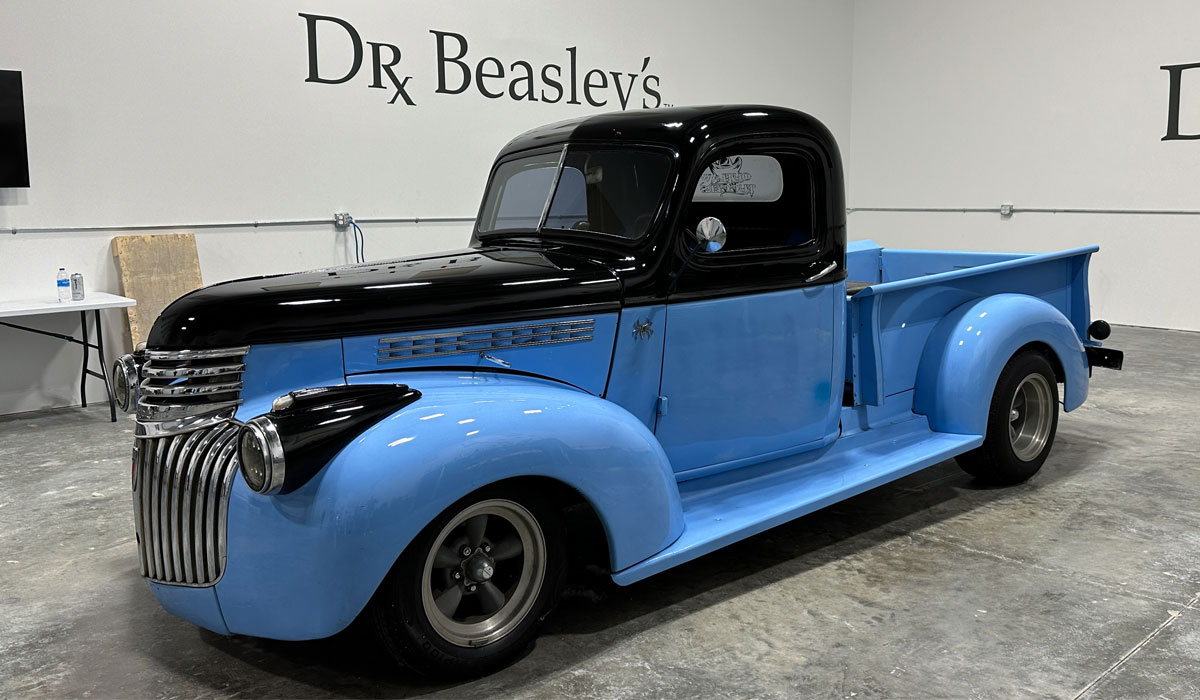
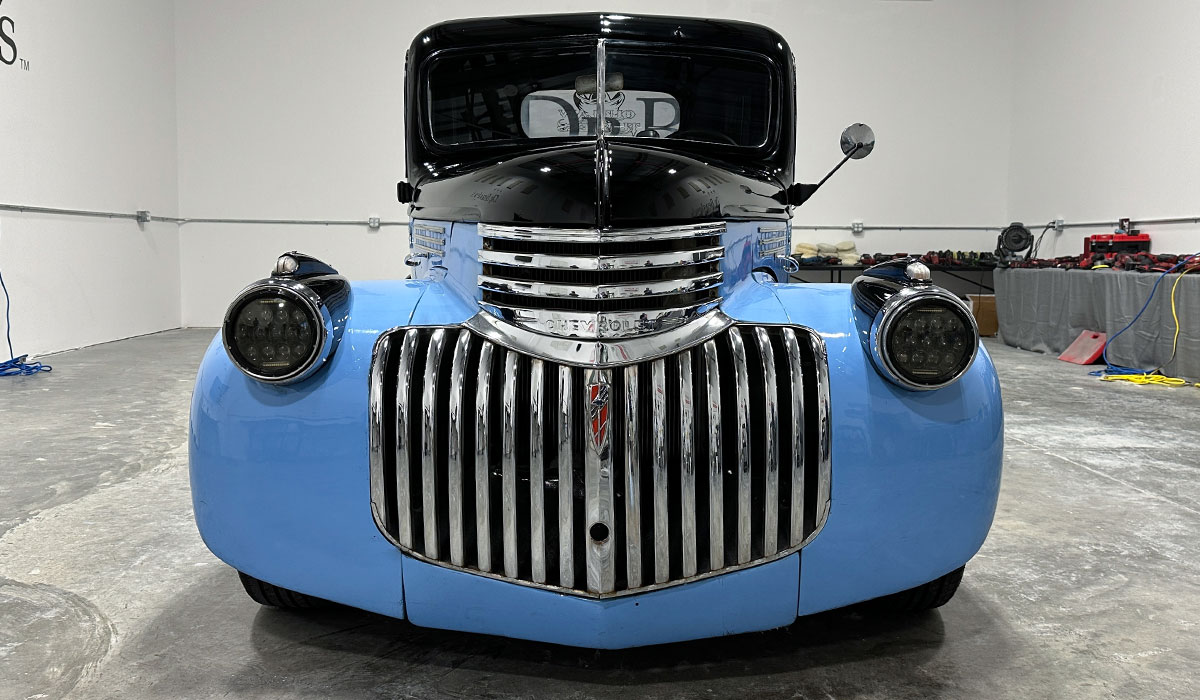
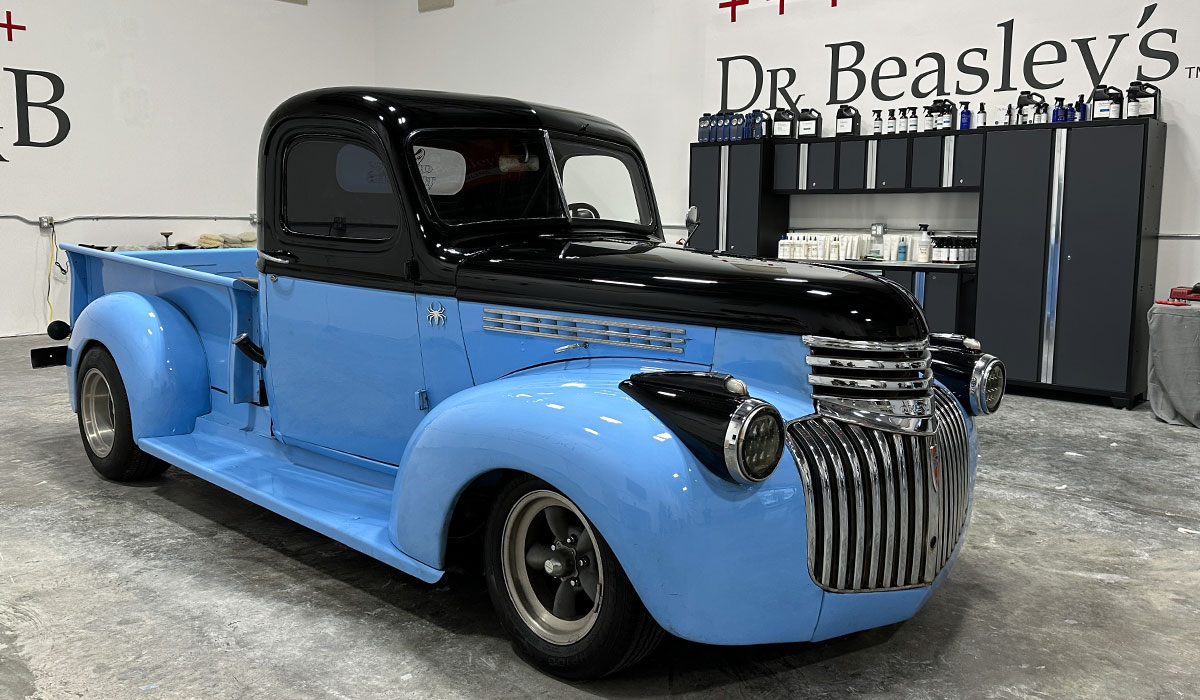
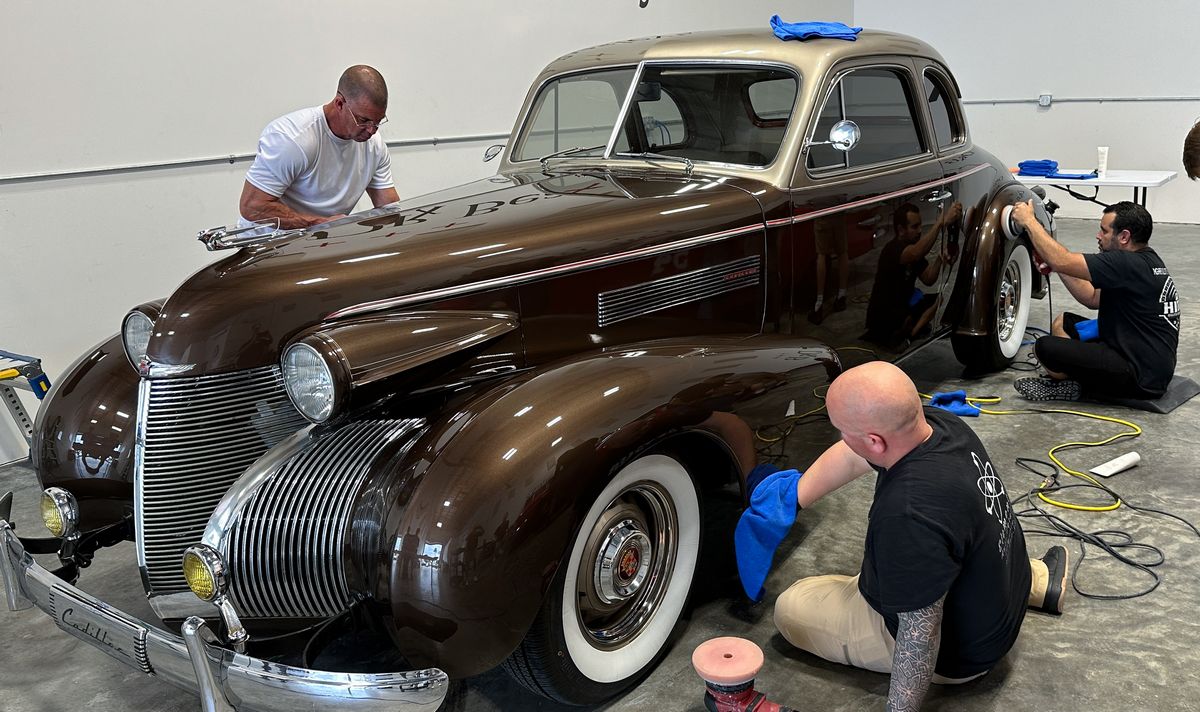
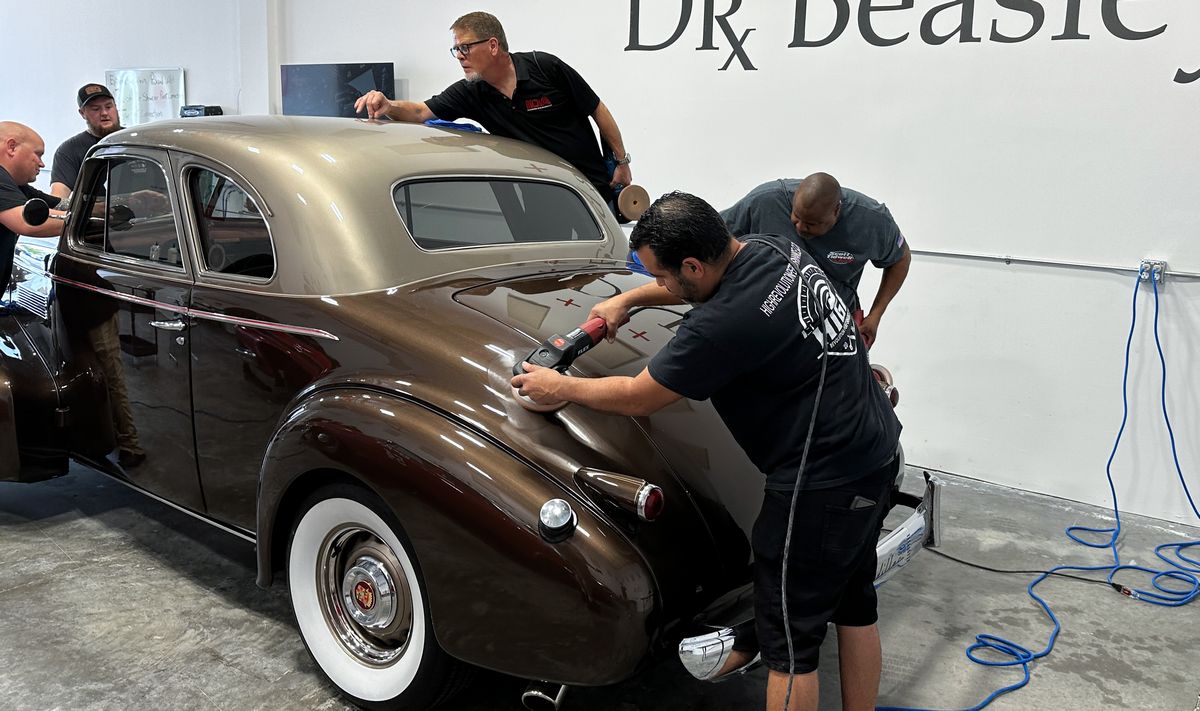
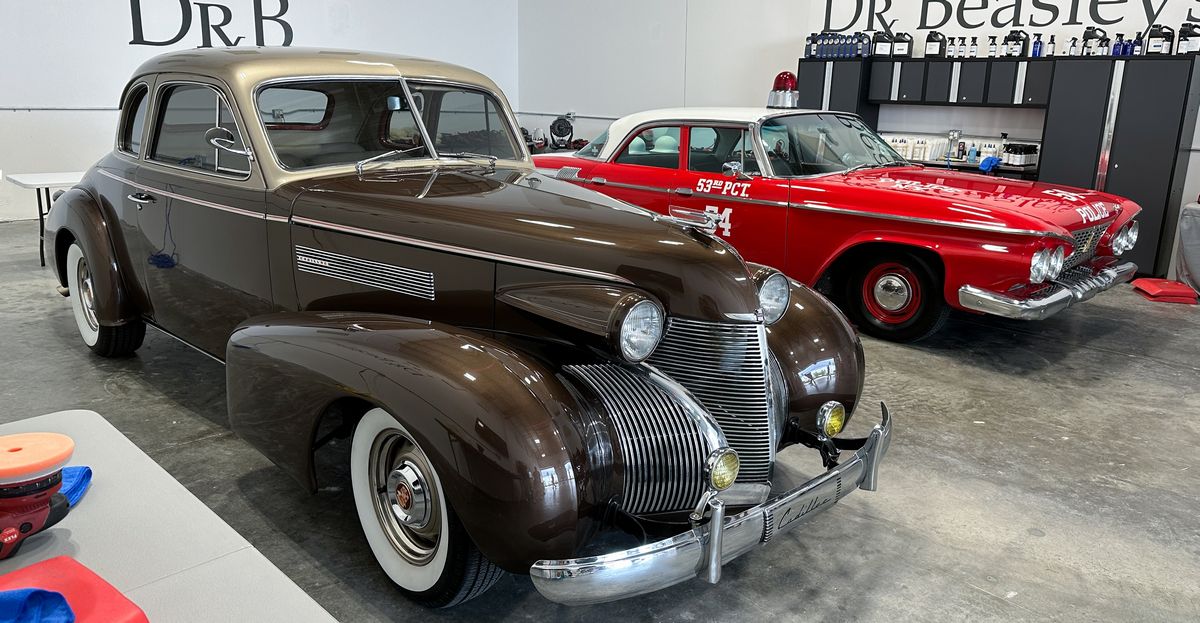
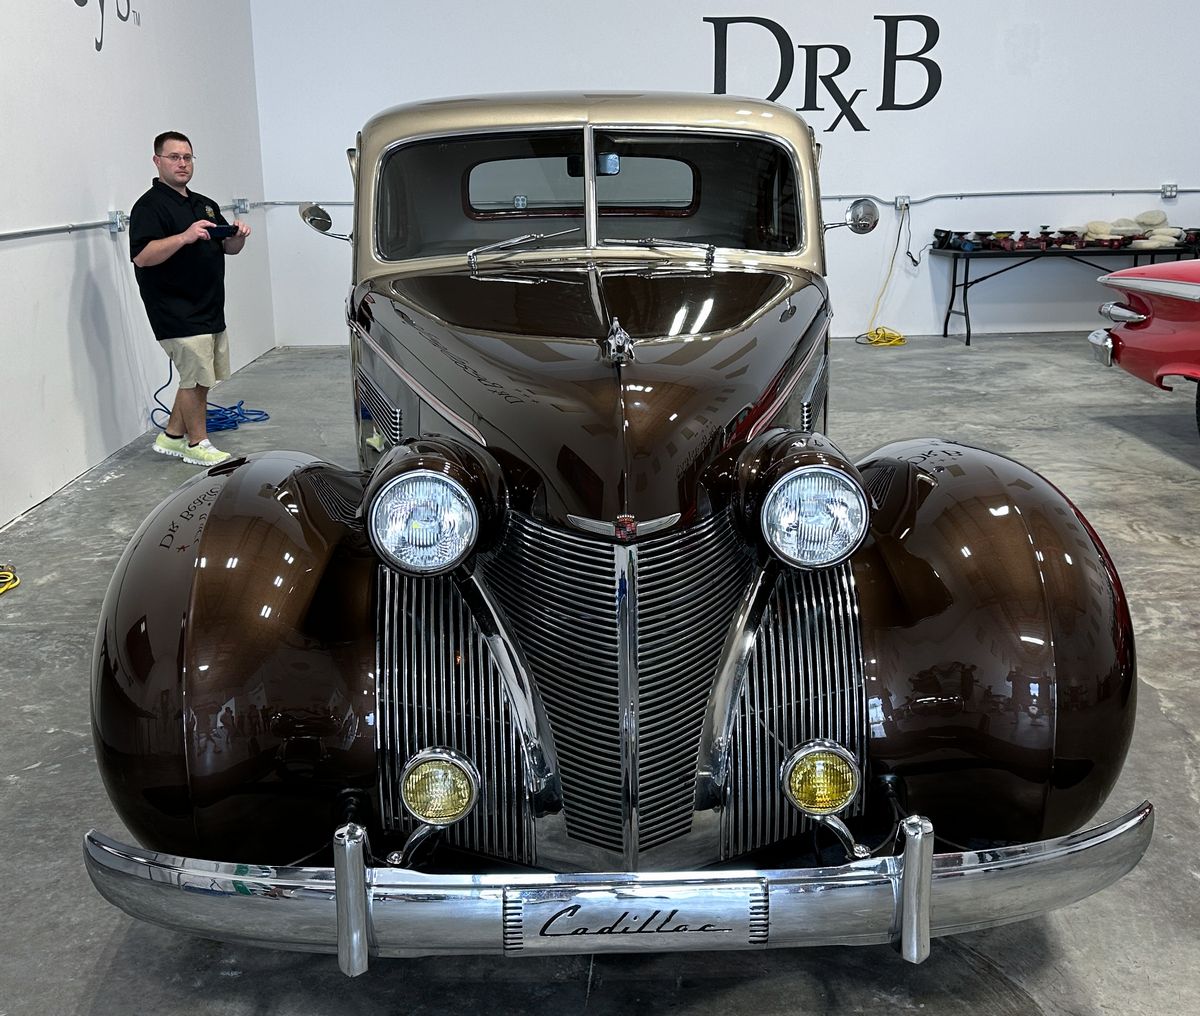
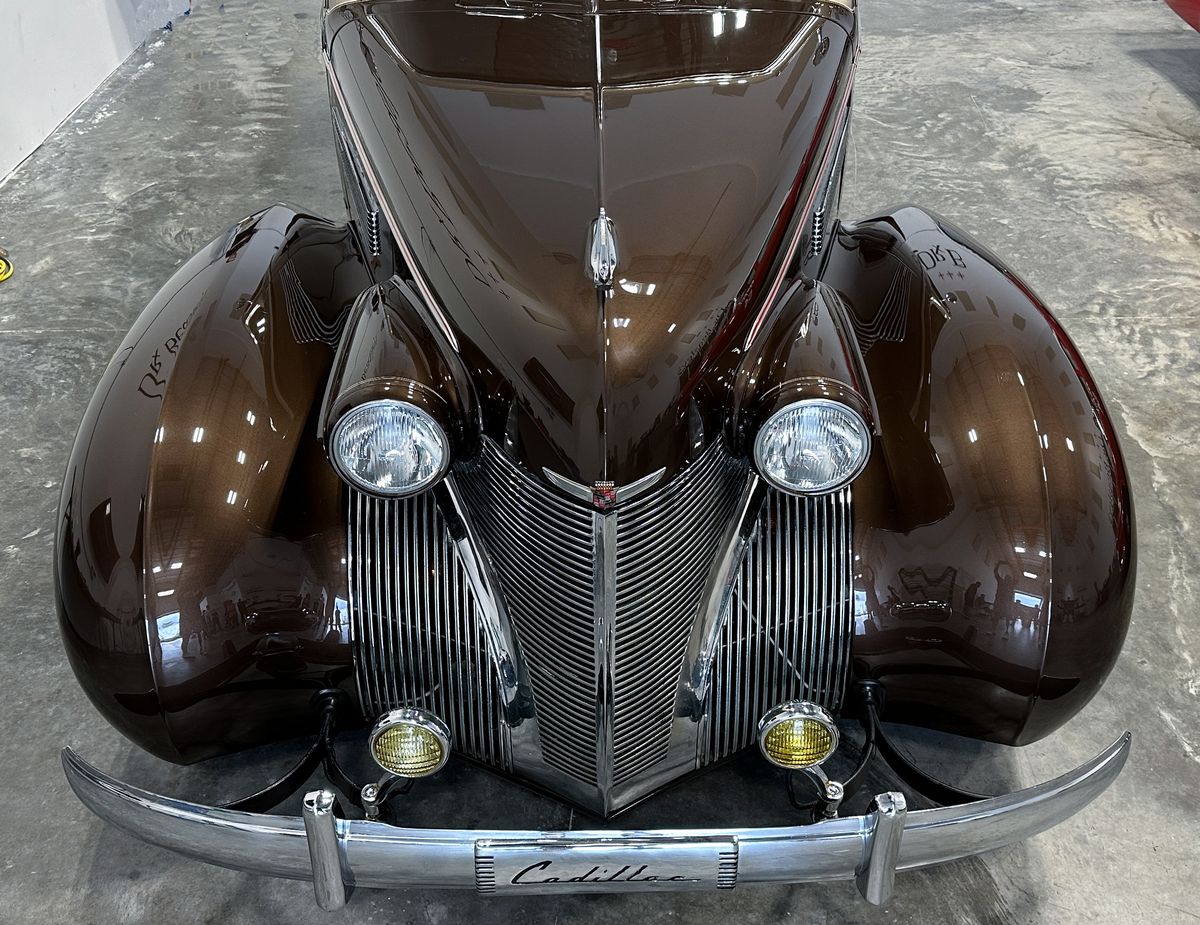
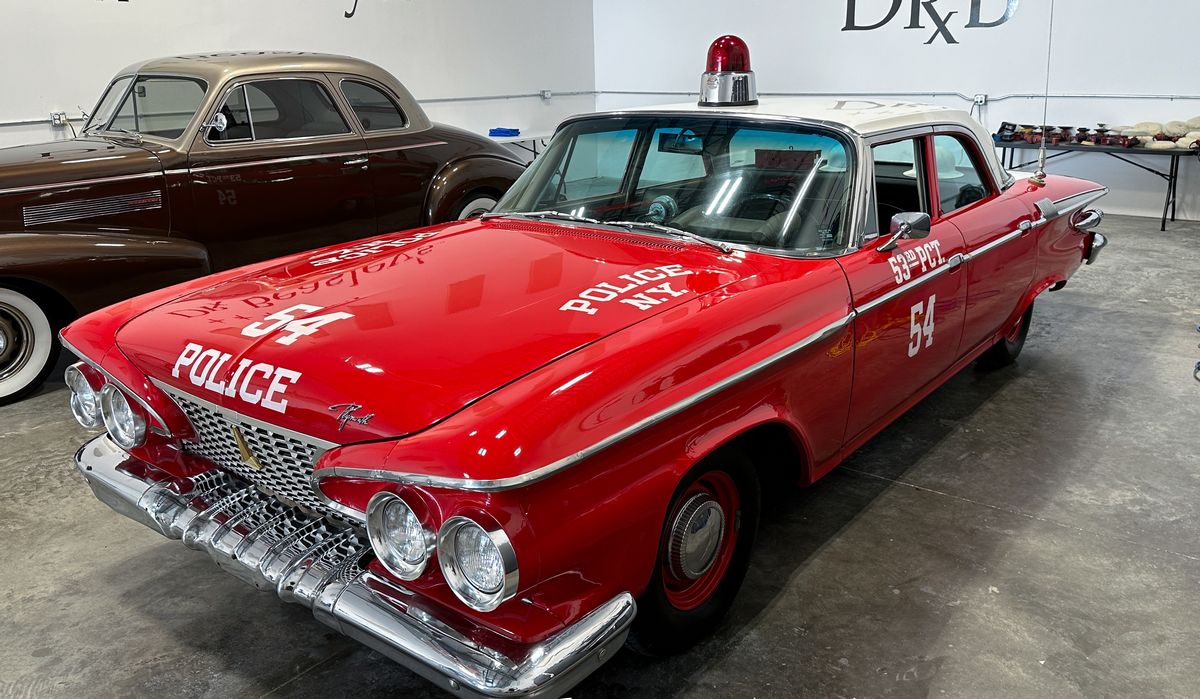
Here's the final results!

full


full


full


full


full


full


full


full


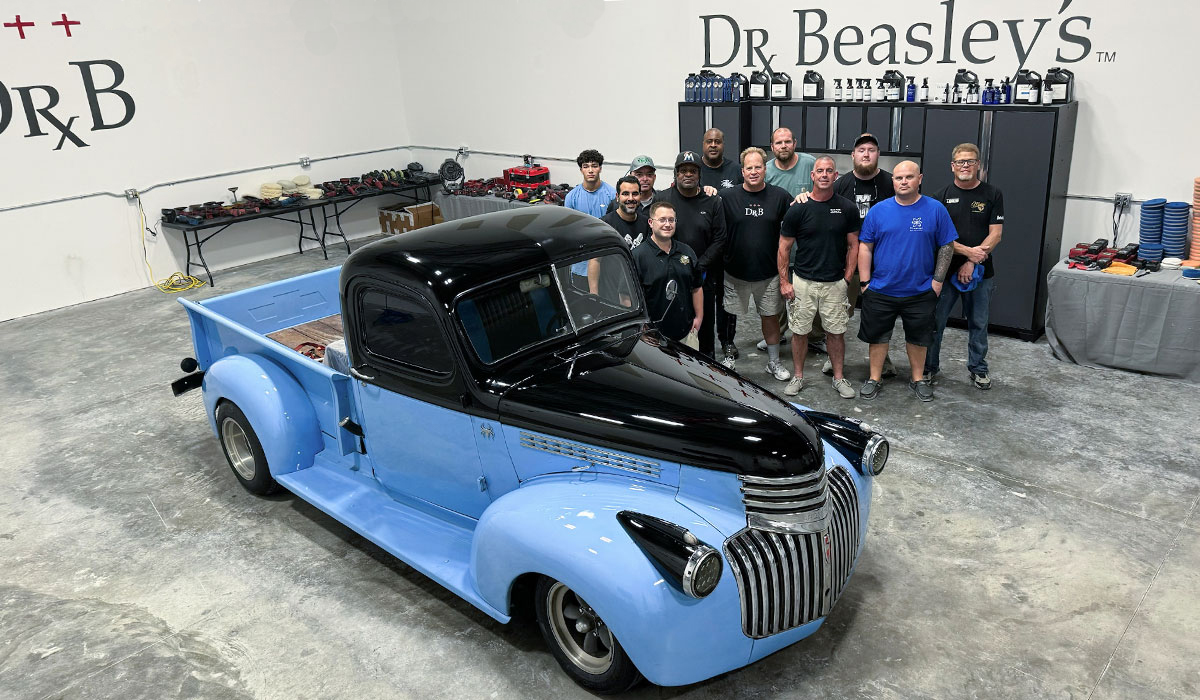
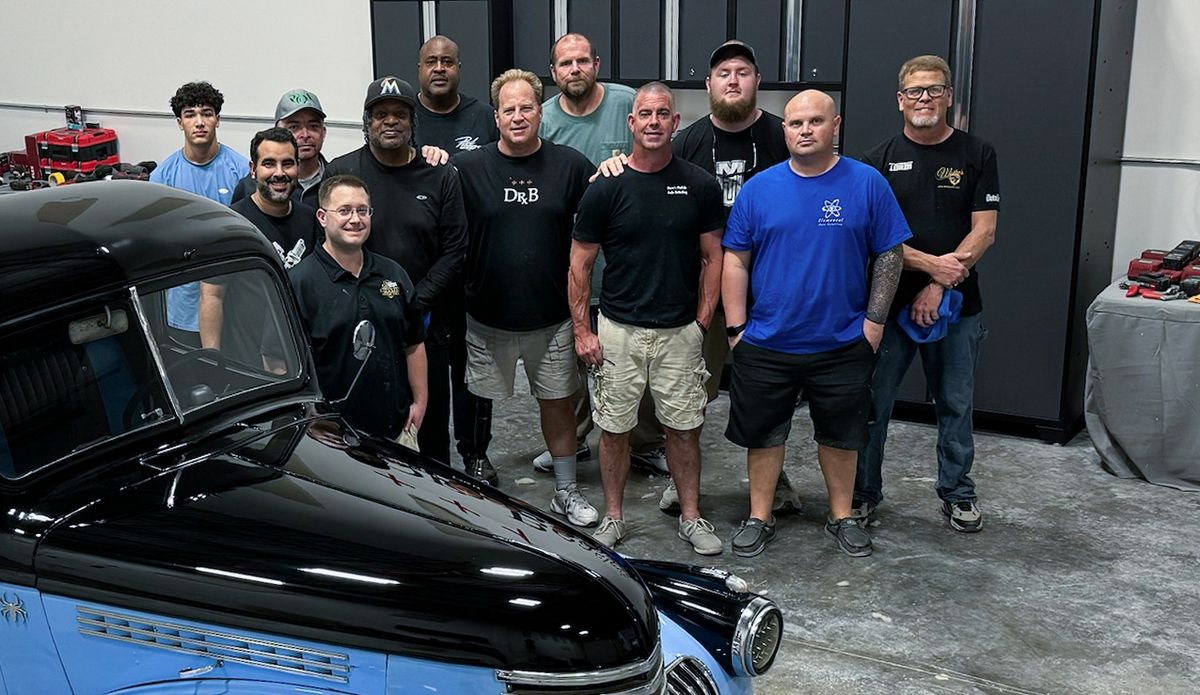
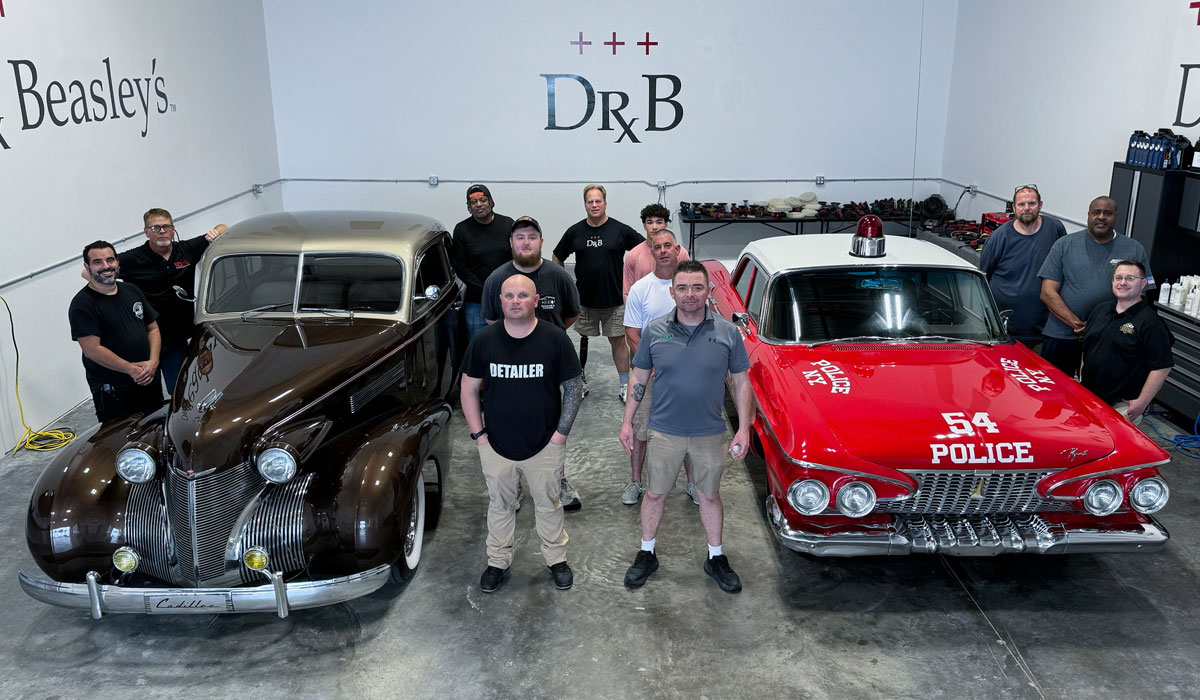
And here's the team that made the magic happen!

full


Dinner at Fresh Catch!
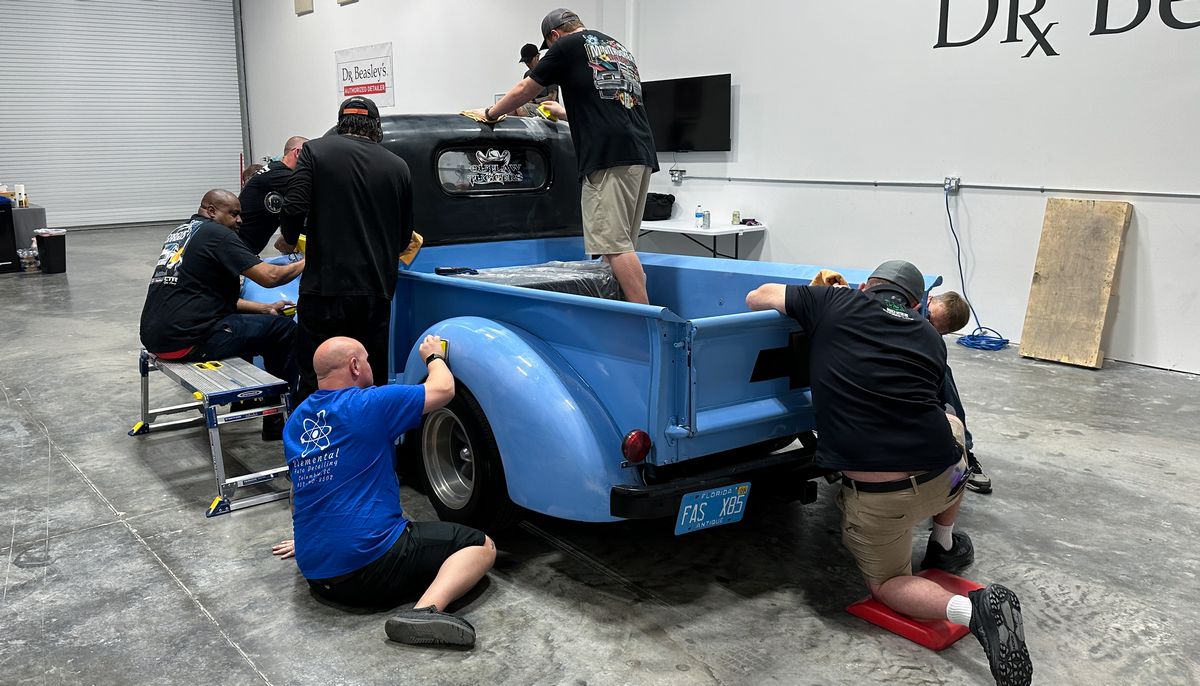
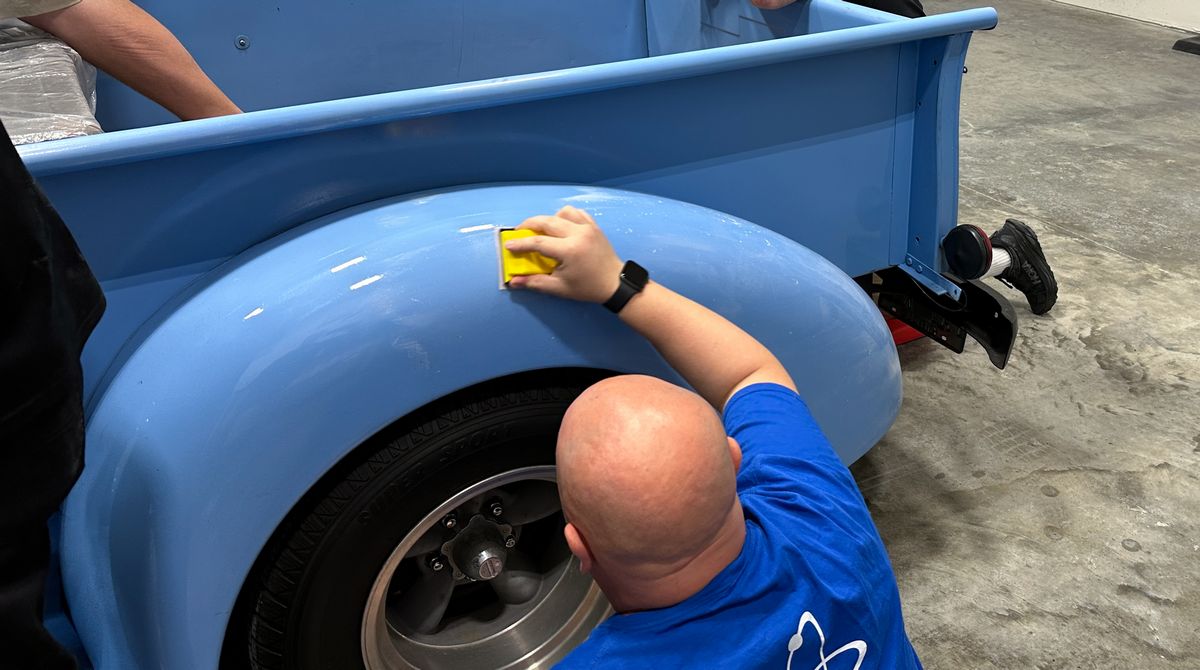
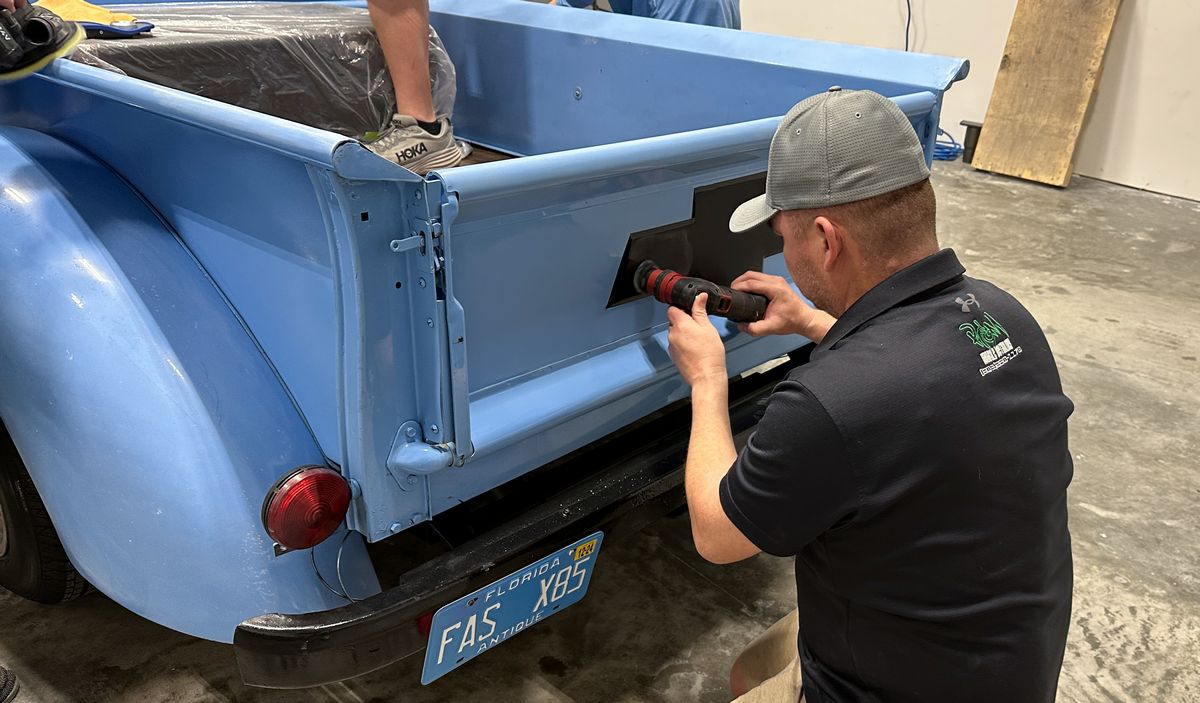
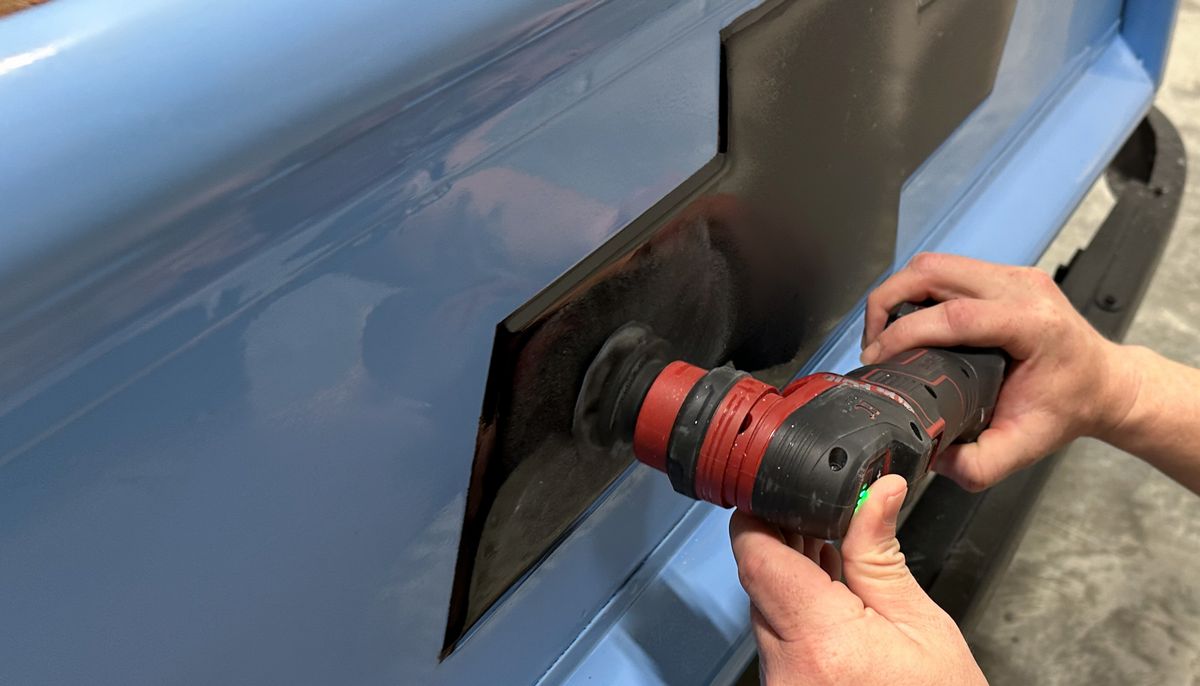
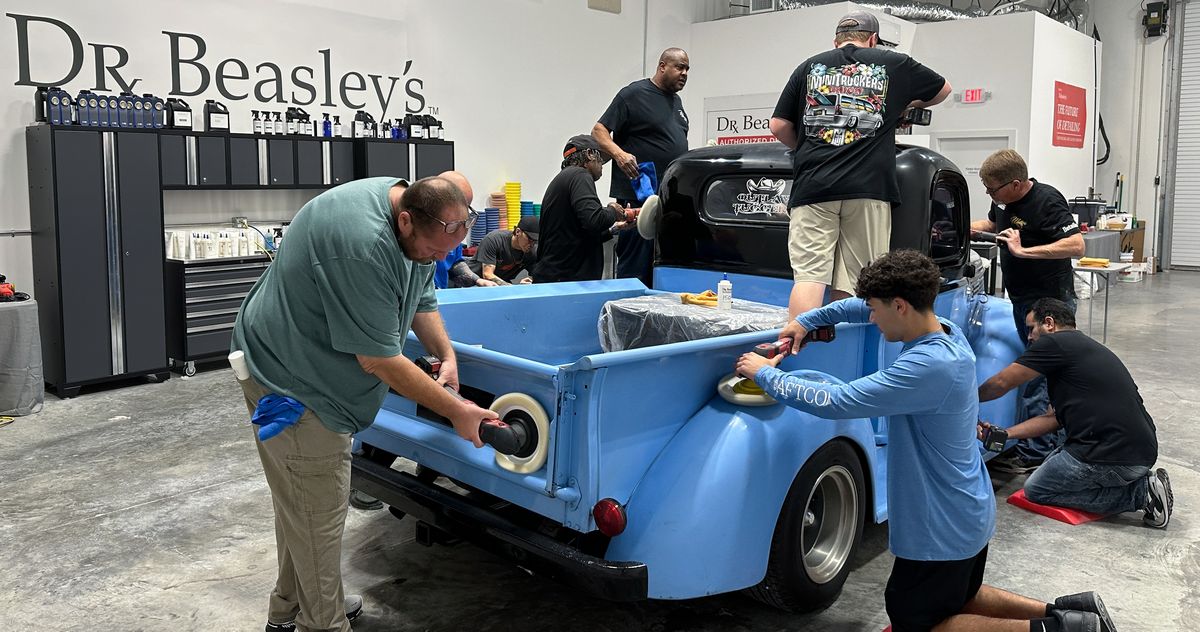
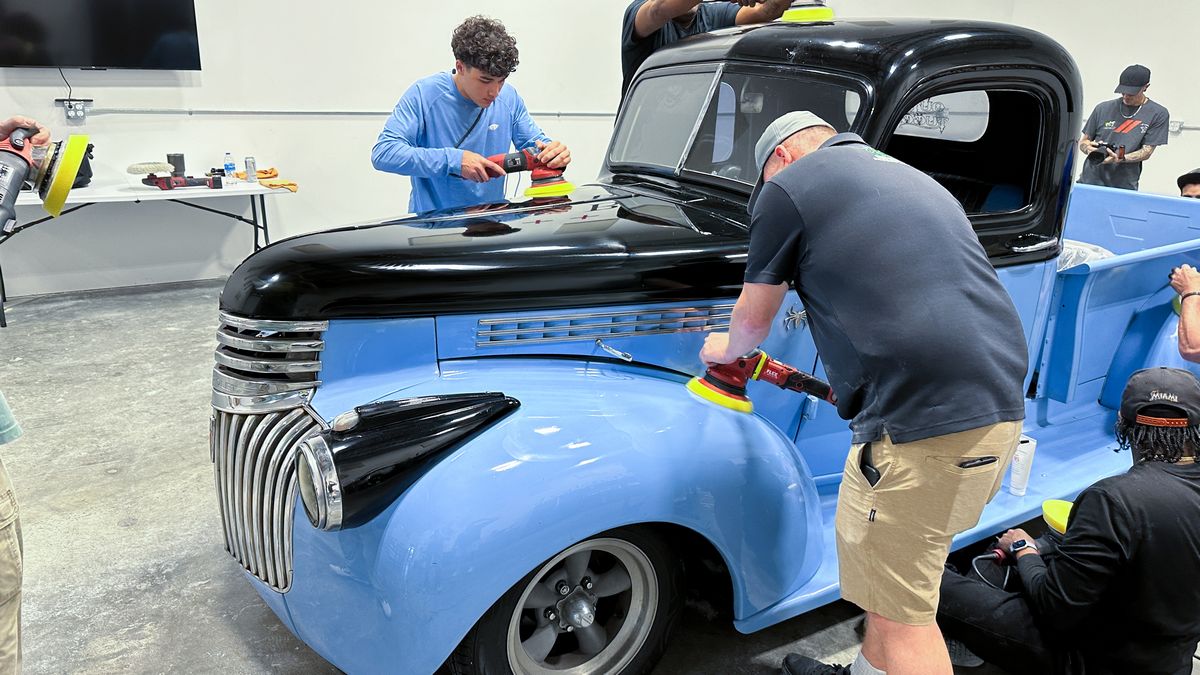
The class worked super hard today, knocking out 3 of the most popular and profitable topics in the car detailing world while getting plenty of hands-on time with rotary polisers as well as orbital polishers. This dinner was well-earned!

full


And I'm confident, all the guys slept great that night!


Mike
 
Continued...


Day 2 - Saturday Morning - Removing Orange Peel - Hand & Machine Sanding


Here's the hood on the 1941 Chevy Pickup Streetrod
The paint job on this truck is the definition of horrible. But this is why I LOVE this truck. The worse the paint, the more dramatic the transformation. Plus a paint job like this will challenge the students and along the way, give them confidence that when they return to their world, if a project like this ever comes there way, they'll know to either turn the job down, or how to do it right the first time.

full


full


We did a LIVE class showing how to remove orange peel via sanding, and to create the YouTube Thumbnail, I used an Orange on the paint with Orange Peel, to drive the paint home. Here's the link to that LIVE class. How to remove orange peel

full


full


And just to make sure everyone pays attention to just how bad this paint job is, I've highlightes the orange peel and also bird dropping etchings.

full


Block Hand Sanding Dry
To knock the orange peel down and level any surface texture, the class starts out hand sanding dry using the Eagle Abrasives by KOVAX sanding system.

full


full


full


full


full


full


full


full


full


full


Machine Dry Sanding
After blocking the paint flat, next up, the class refines the hand sanding marks by re-sanding only this time they're using the FLEX 3411X Cordless DA Sander and the FLEX PXE-80.

full


full


full


full


full


full


full


full


full


Mike
 
Last edited:
Continued...

First thing on Friday morning, the class started the day learning the way of the rotary polisher. Next up, they will get more time behind the rotary polisher, not buffing on a flat demo panel, but using carefulness and precision to remove 100% of the sanding marks in the 1941 Chevy Pickup Streetrod. And tomorrow, (Sunday the third day of this 3-day class), they will AGAIN get time behind the rotary polisher.

The goal is simple, create a learning environment that makes it easy to learn how to use what most consider to be the most difficult tool to learn how to use, (correctly), and to know when to choose the rotary over other options for paint correction. I love this old saying,

Use the right tool for the job

And this is why I put a lot of focus on my students learning how to use the rotary polisher AND BE COMFORTABLE using it, and by the time the students leave our class, they know how to use it and when to use it. They also know what to do after using it.

Check this out...

full


full


full


full


full


full


full


full


full


full


full


full


full


full


Clean Your Pads Often!
One of the most important aspects when using a rotary polisher with a wool pad to cut the paint to remove the sanding marks is to CLEAN YOUR PAD OFTEN. To clean a wool pad, you need a tool called the Pad Cleaning Spur.

full


full


full


full


full


full


full


full


full


Mike
 
Last edited:
Continued...

full


full


full


Machine Polishing to Remove Holograms While Maximizing Gloss and Clarity
After the rotary step, next up our Test Spot showed us we could repolish using foam polishing pads on gear-driven orbital polishers with the Dr. Beasley's NSP 95 to remove all the holograms left behind by the fibers of the wool pads and create a true show car finish.

full


full


full


full


full


full


full


full


full


full


full


full


full


Installing the Nano-Resin MX Ceramic Coating
MX is a ceramic coating designed to sheet water, versus make water bead-up. The big picture idea is if the water sheets or runs off the finish instead of causing the water to pile-up to form pretty water beads, which dramatically reduces the risk of getting water spots.


Paint Coating Builder
The first part of this 2-part system is to apply the Paint Coating Builder. This product applies fast and wipes off super easy. What it does is maximized the clarity and gloss created by the polishing system while preparing the paint for the ceramic coating. This product creates anchor points on the finish in which the second part, the actual ceramic coating can form a more perfect bond for greater longevity and thus, longer lasting protection. Besides these things, the coating makes the paint super glassy looking, and it feels very silky to the touch.

full


full


full


full


After removing the Paint Coating Builder, next the class installs the Nano-Resin MX Ceramic Coating.

full


full


full


full


If you're going to install ceramic coatings you MUST have a great hand-held light in order to inspect for high spots.

full


Mike
 
Back
Top