- Admin
- #19
- Joined
- May 21, 2021
- Messages
- 2,633
- Reaction score
- 1,567
- Points
- 113
- Location
- Stuart, Florida
- Website
- themikephillipsforum.com
More...
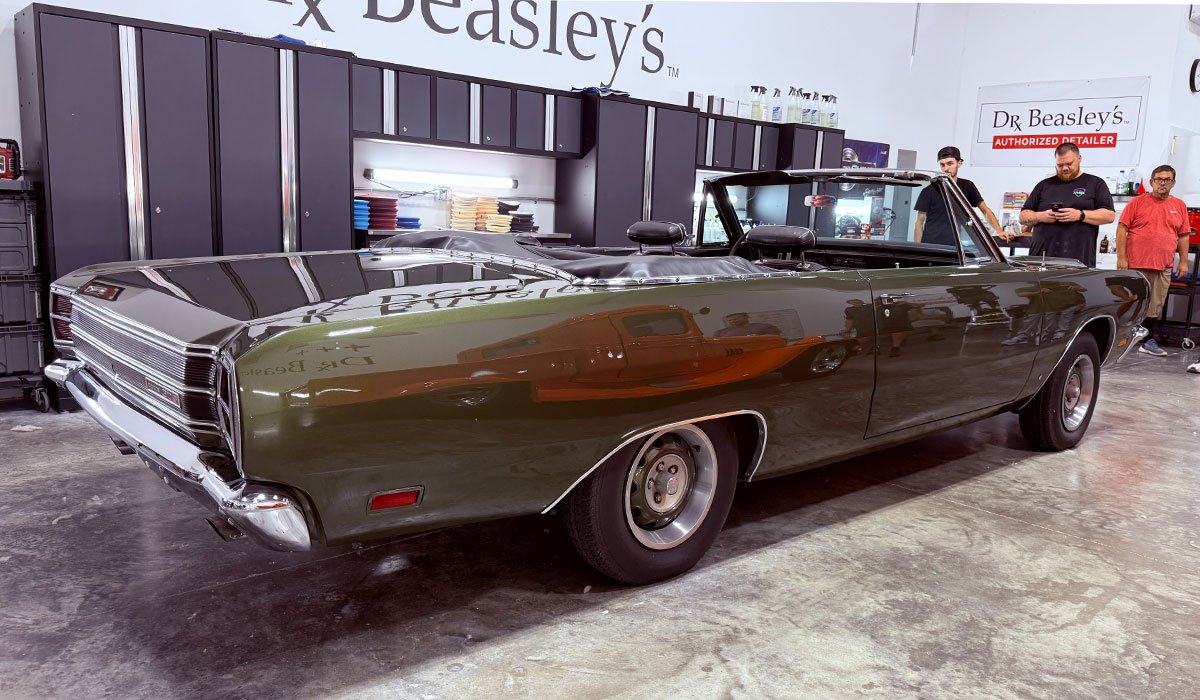
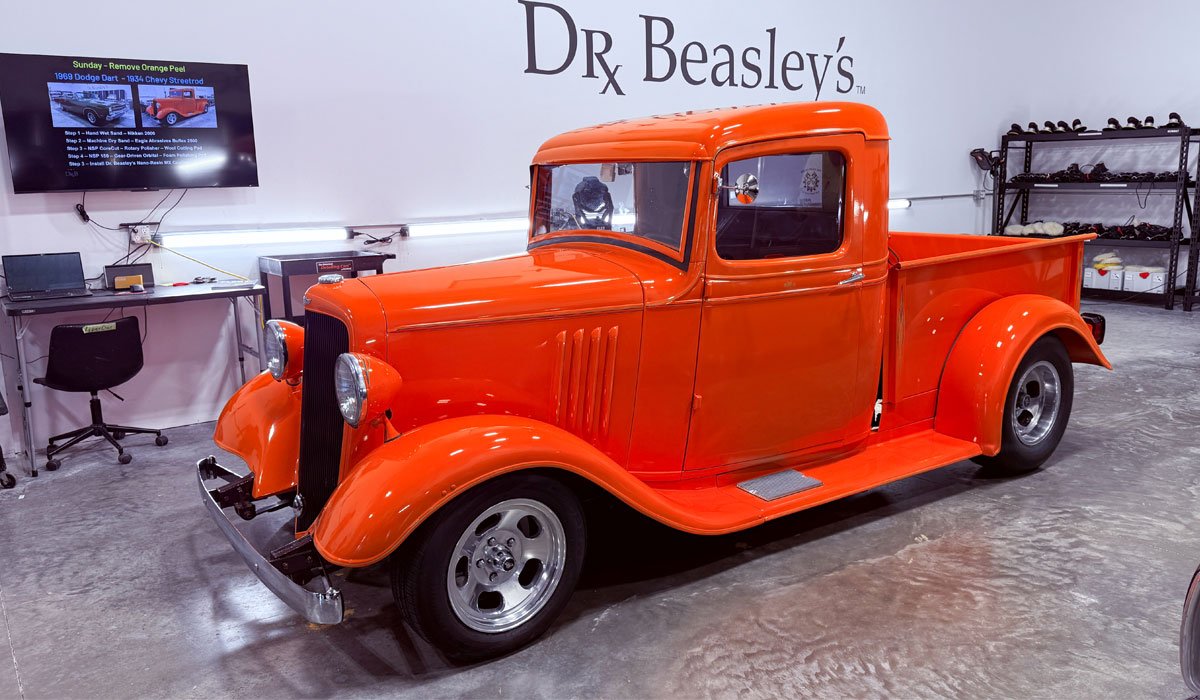
How to Use a Rotary Polisher American Style!
Most people don't know there's a huge difference in how people use rotary polishers. There's American style and everything else. American style is using the rotary like a Sledgehammer to cut FAST. And this is done using large 100% 4-ply, twisted wool cutting pads. These large pads with a quality compound and the right technique will make FAST work of removing 100% of the sanding marks not just on the easy to buff larger flat panels, but when buffing around edges, raised body lines, intricate areas and concave curves.
What's the other style?
Great question. In other countries, they use smaller pads, like 5 and 6" pads. Using smaller pads makes using the rotary polisher easier for newbies simply because there's less total surface area to manage. But the smaller pads make the process slower. Both styles get the job done, but what we teach is the American style because it's simply faster.
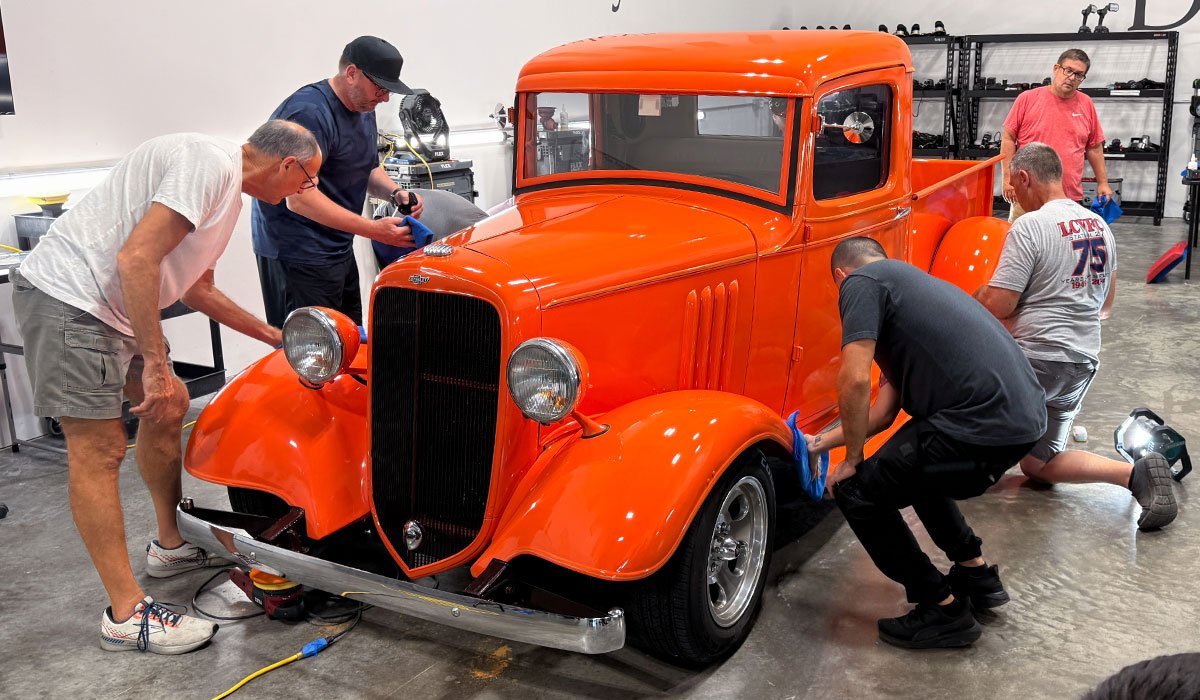
Here's the deal, in the real world, if you are ever going to sand down an entire car and then buff it out, you're not going to have a TEAM of people helping you. Chances are you'll be by yourself. If you're like me, the goal is to get the job done as fast as humanly possible while maintaining professional grade results. A larger 8" wool cutting pads enables you to work fast and efficient and at the end of the day, that's what it's all about. If you're not in a hurry, for example you're sanding and buffing your own car, not doing this as a professional getting paid, then by all means, use any size and type of pad you like, but after decades of doing this type of buffing, I'm telling you straight-up, the American style is the skill to learn and perfect. As I like to say, you want to get in and get out.
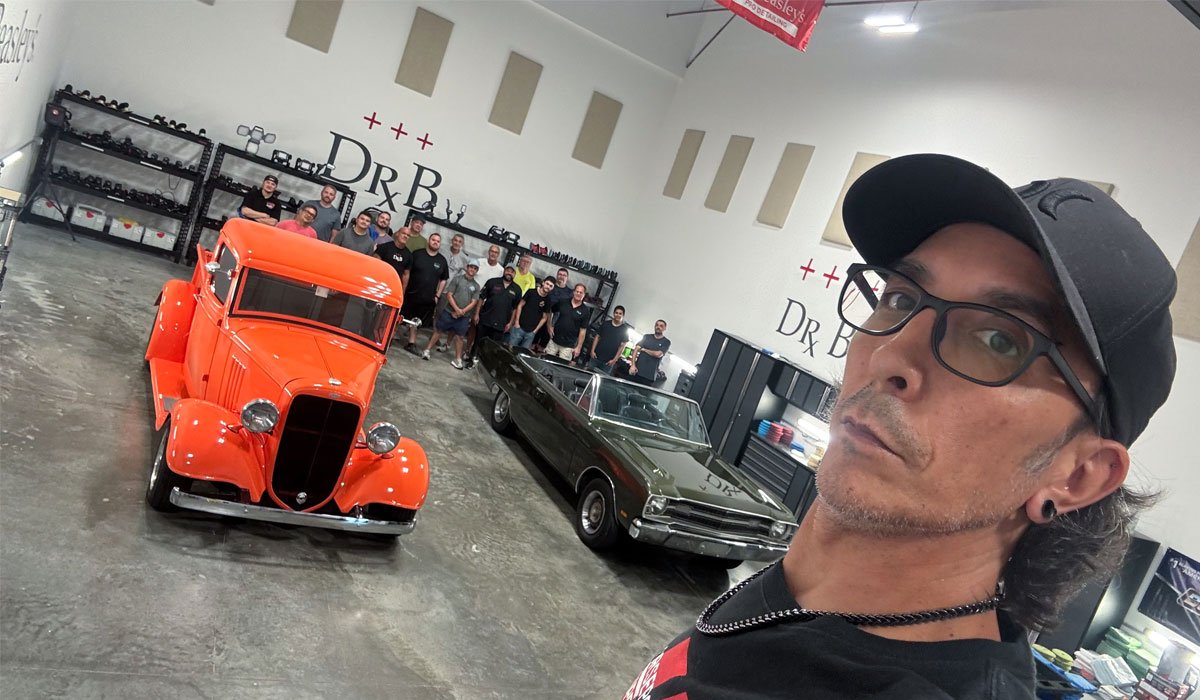
Building on Rotary Training from Day 1
One of the REASONS we start our classes with learning how to correctly use a rotary polisher on the first day of class is so that by the time we get to buffing out all the sanding marks or sanding scratches is so that each person is COMFORTABLE with using the rotary polisher. I can't make anyone an expert in a single class, but I can help to give them a FOUNDATION that they can then build on moving into the future.
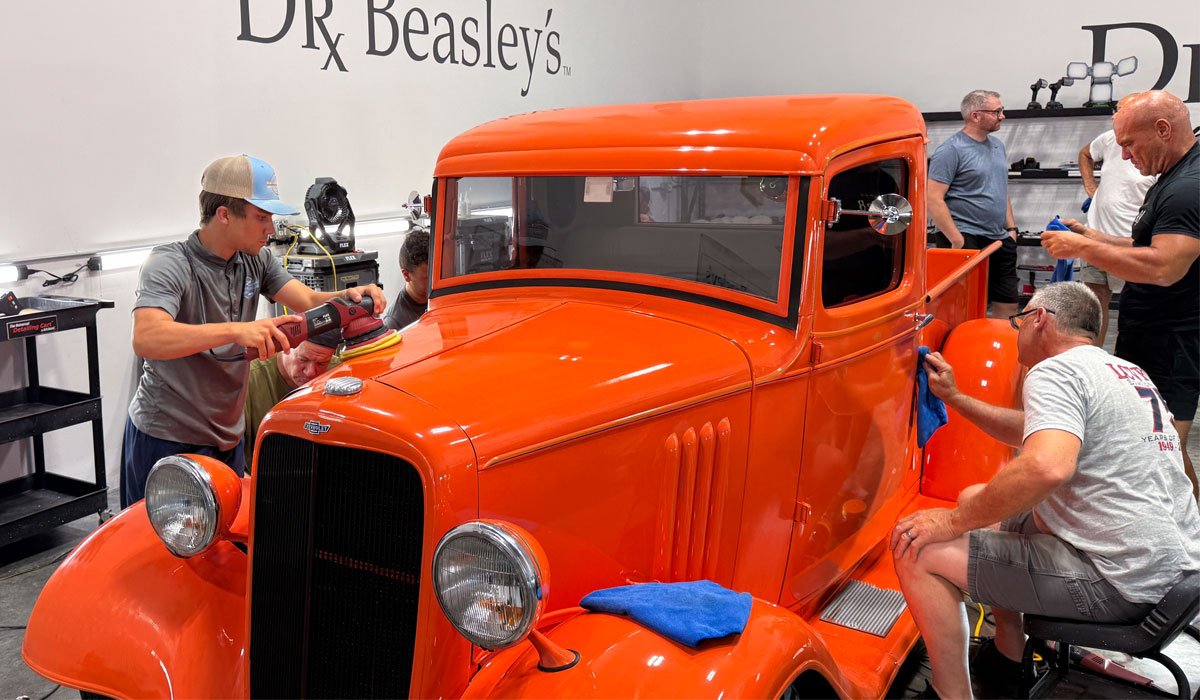
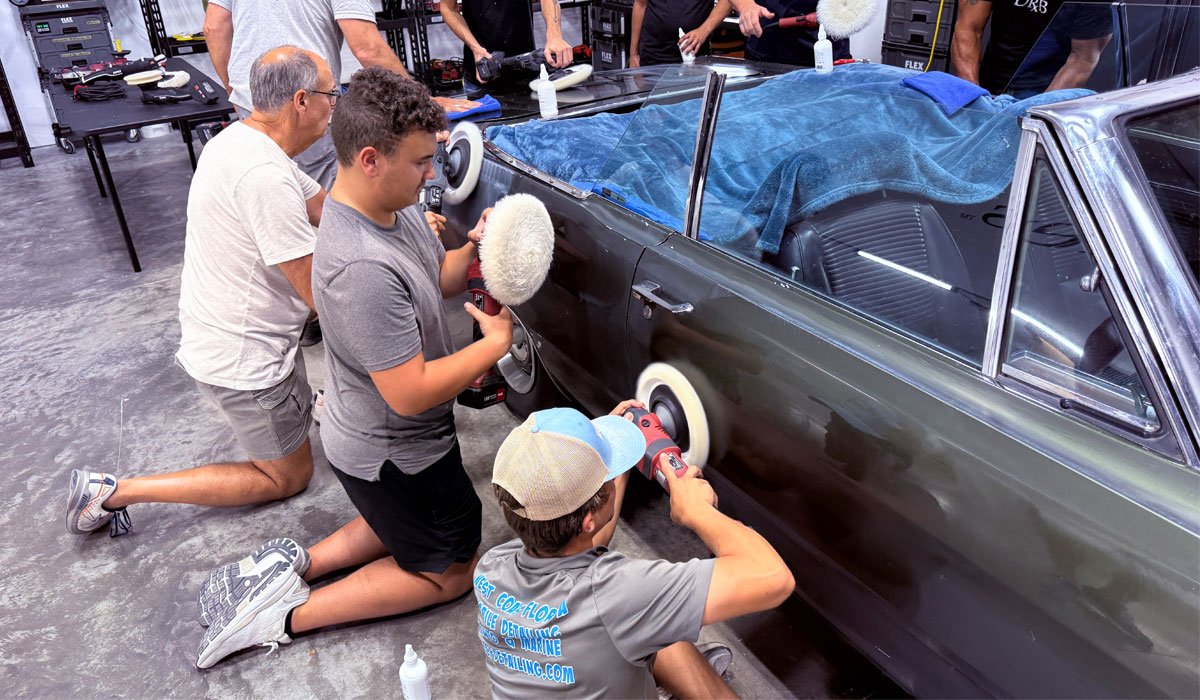
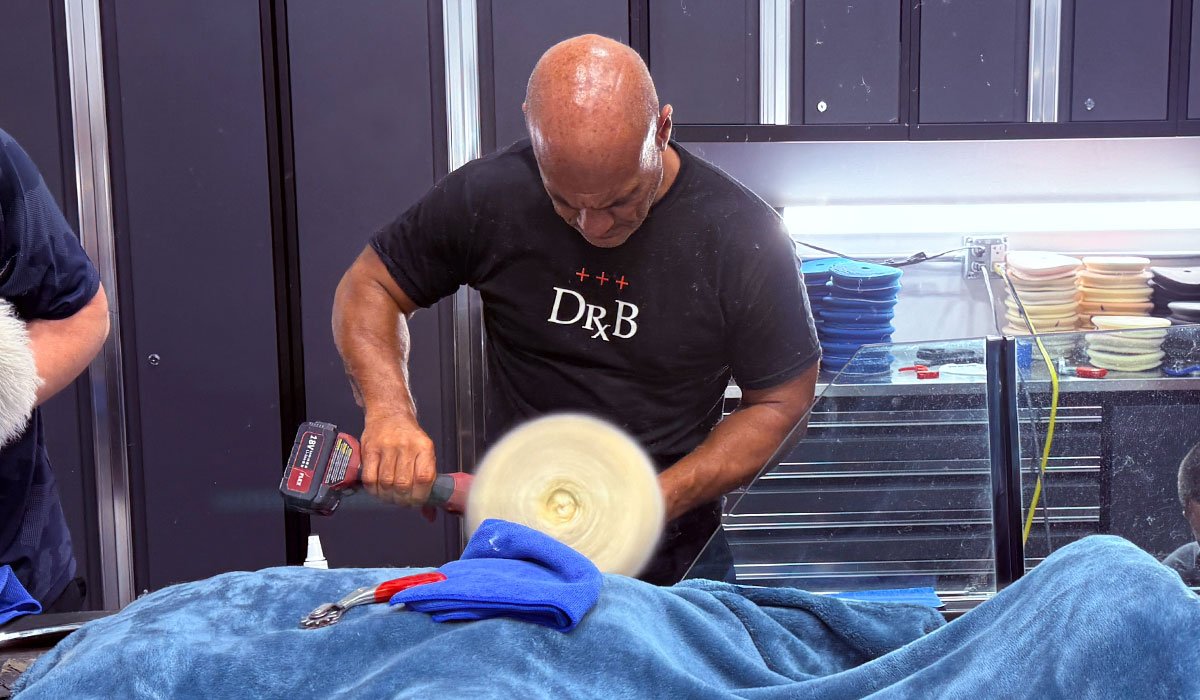
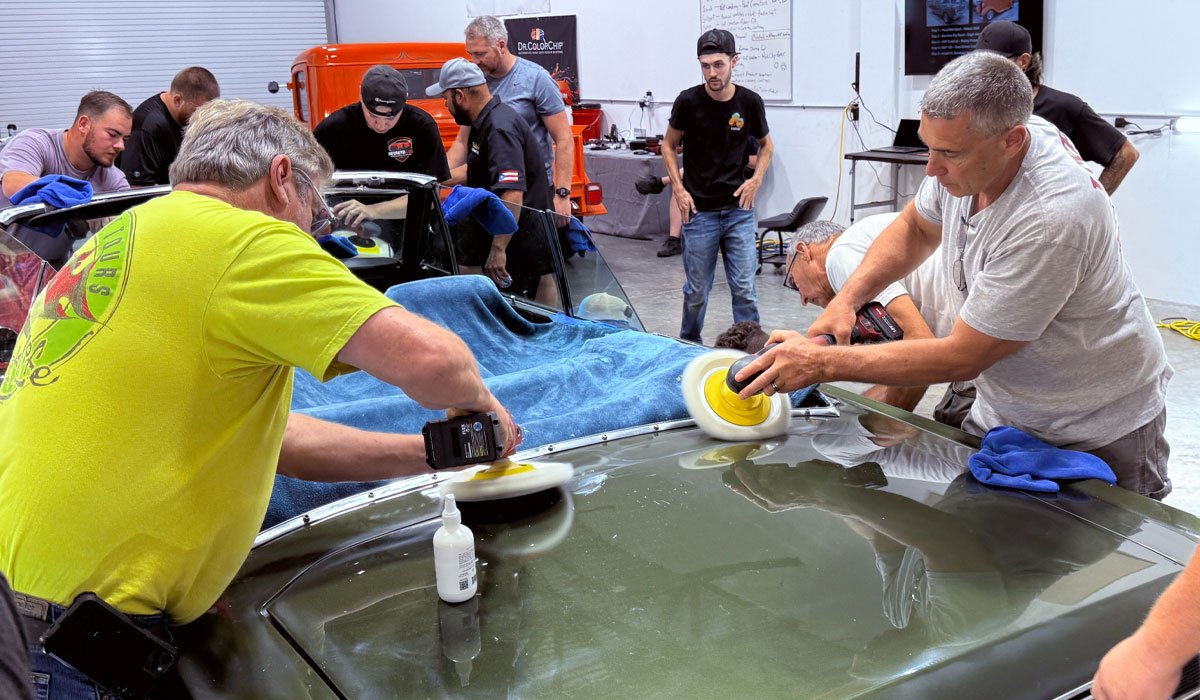
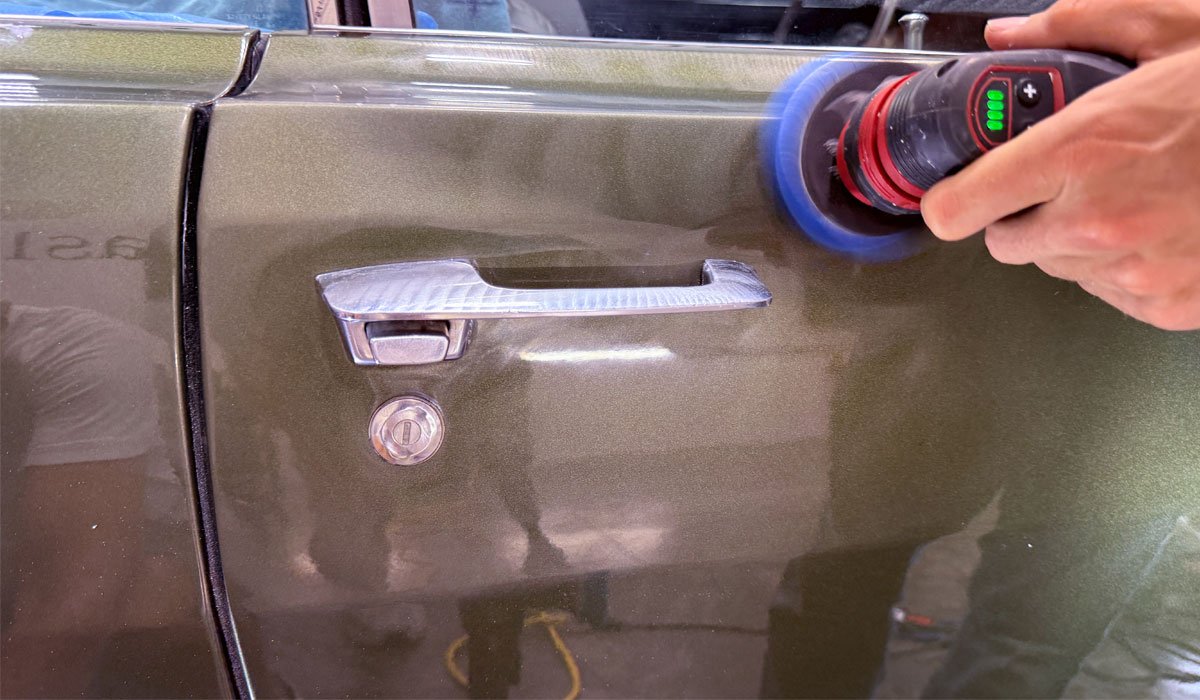
Here's Paden showing this cordless FLEX rotary who's the BOSS!
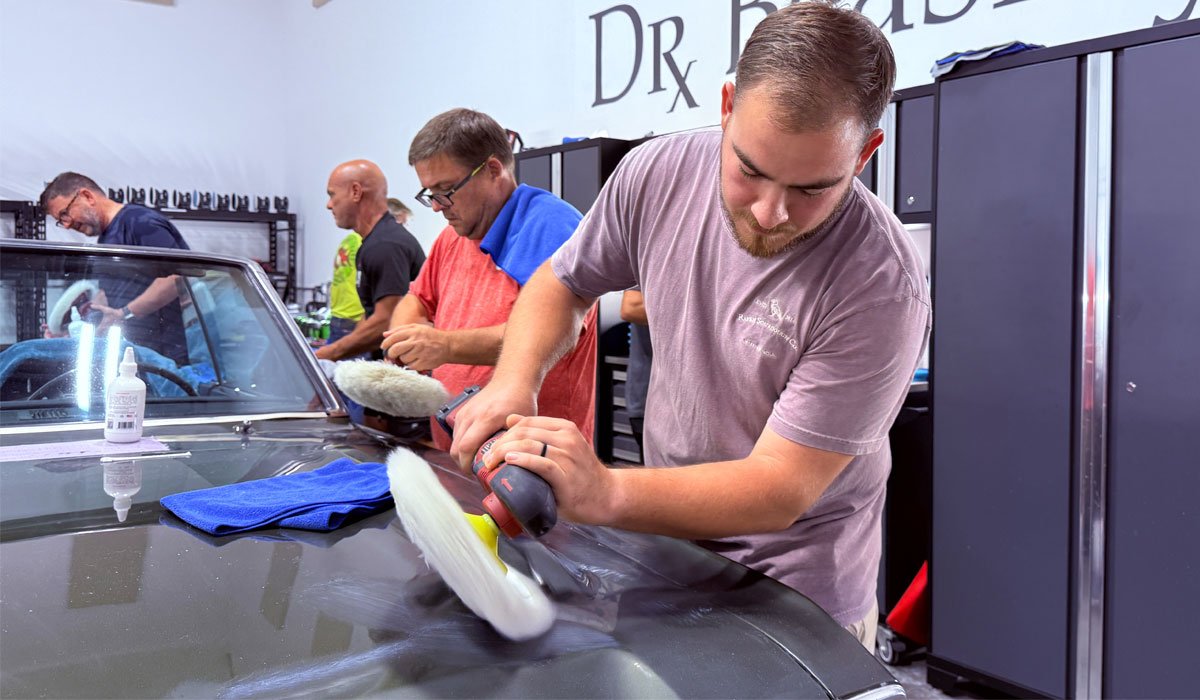
Large Buff and Shine Wool Cutting pads make FAST WORK when it comes to removing all the sanding marks.
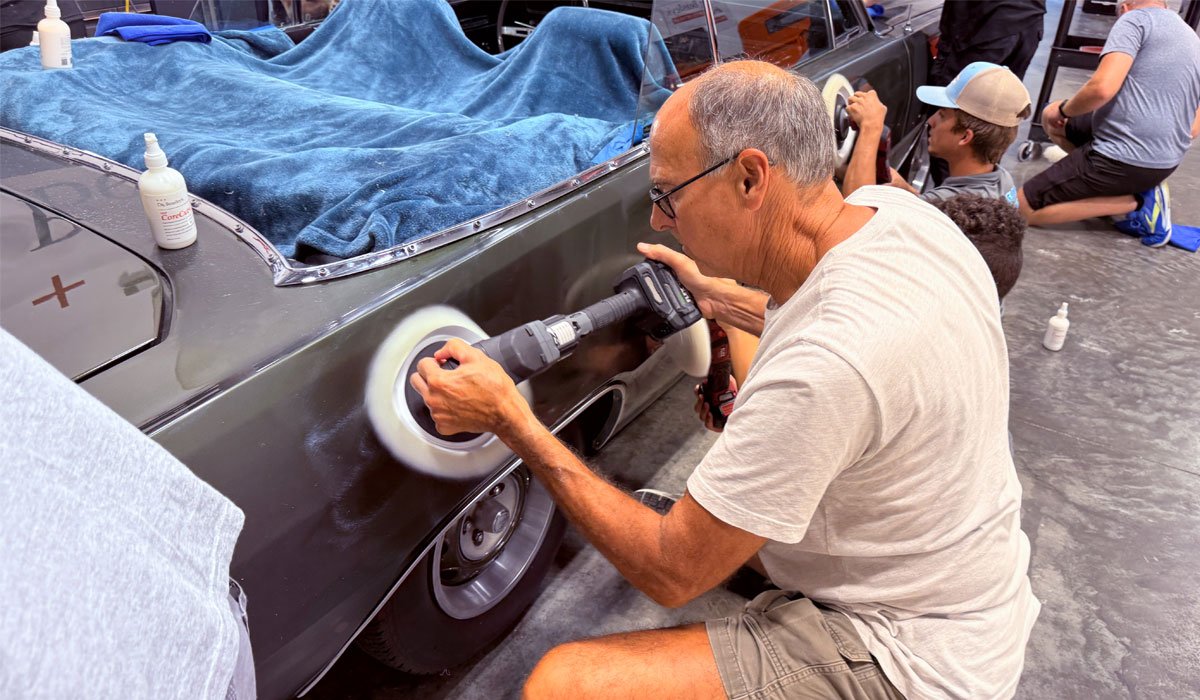
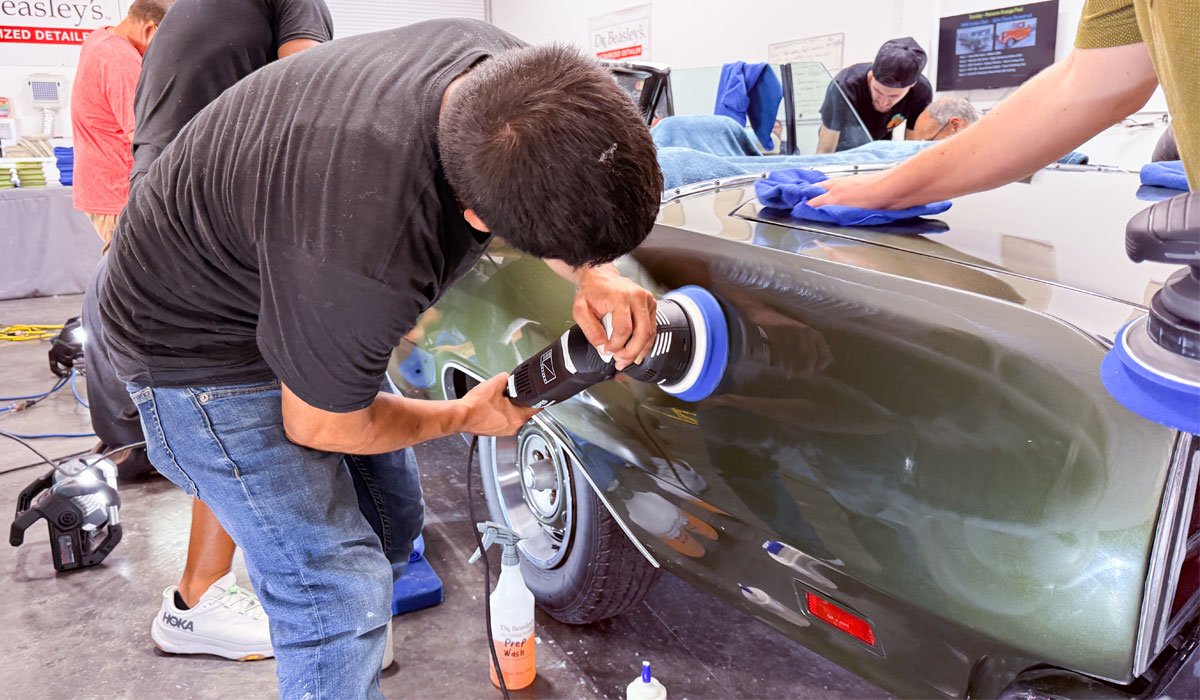
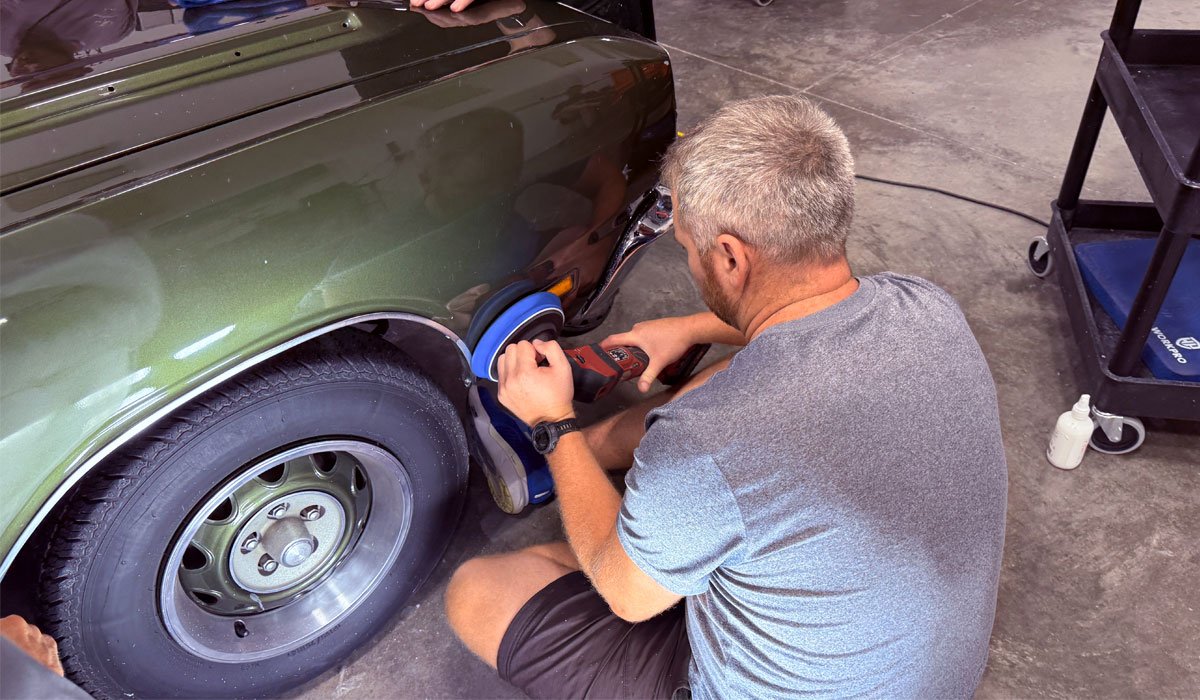
Here's Roger using the latest version of the FLEX cordless rotary polisher.
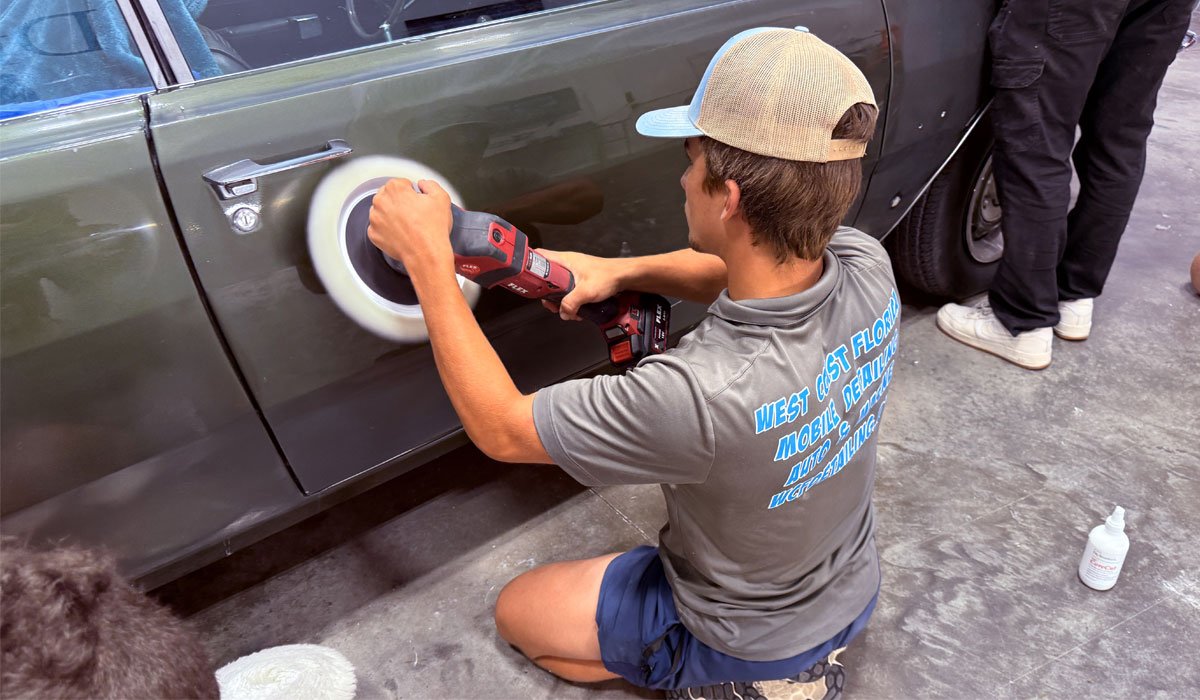
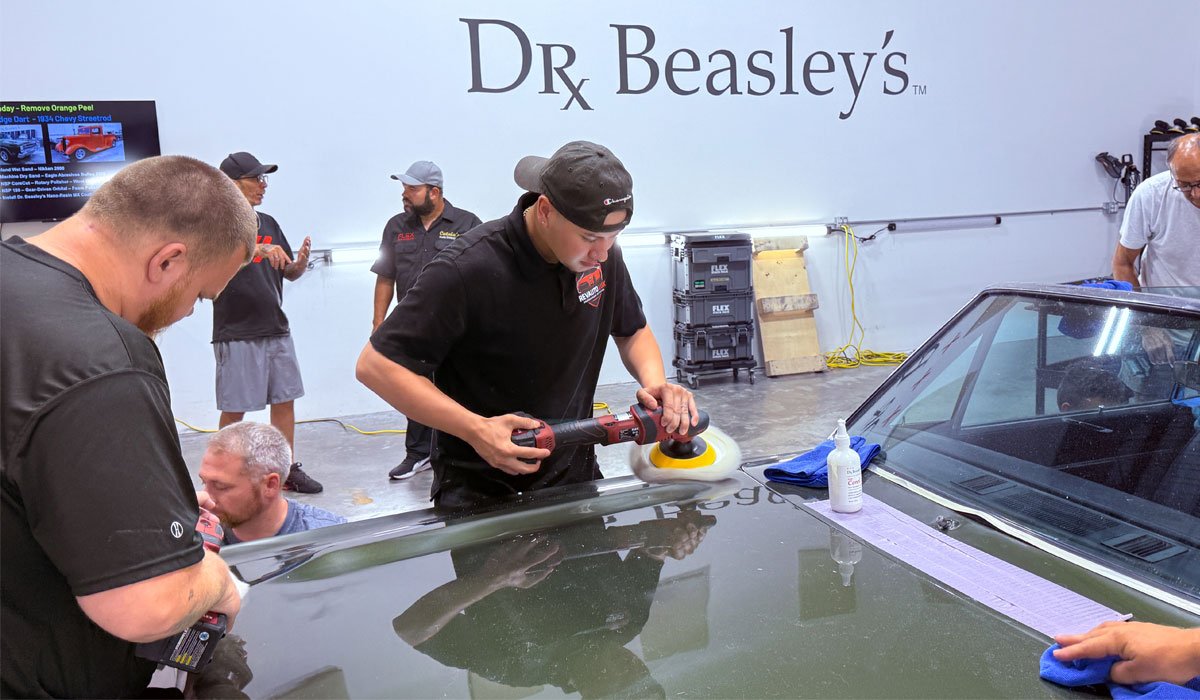
Josh is a natural when it comes to any polisher, including the rotary polisher.
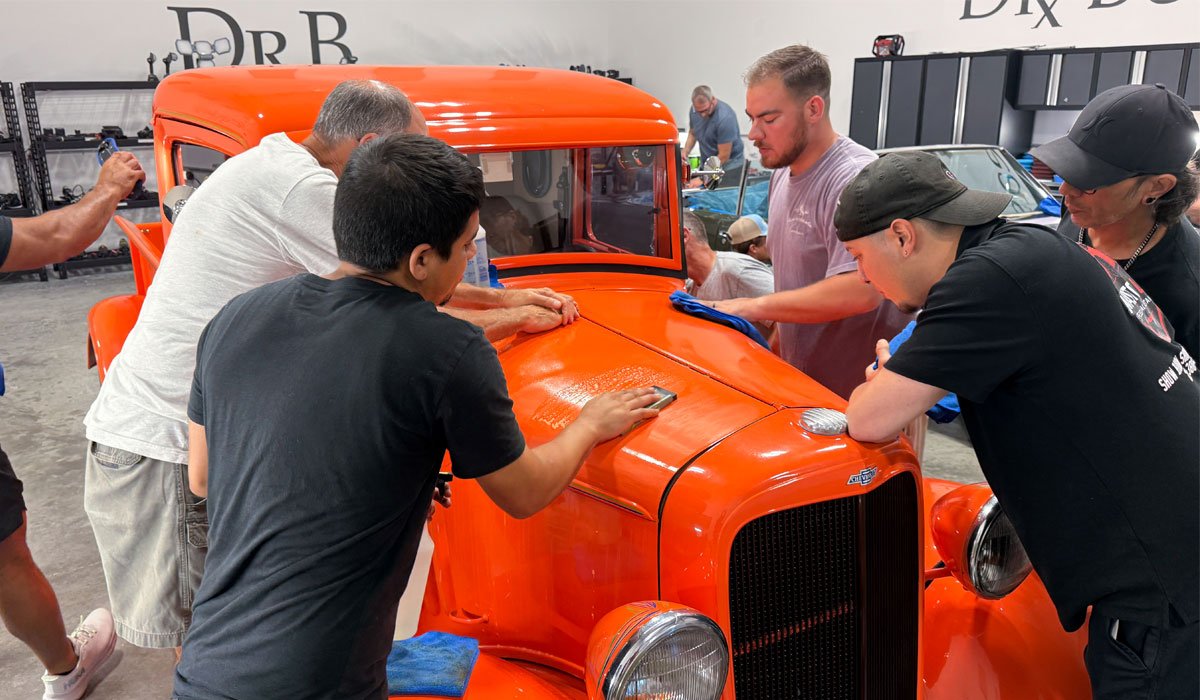
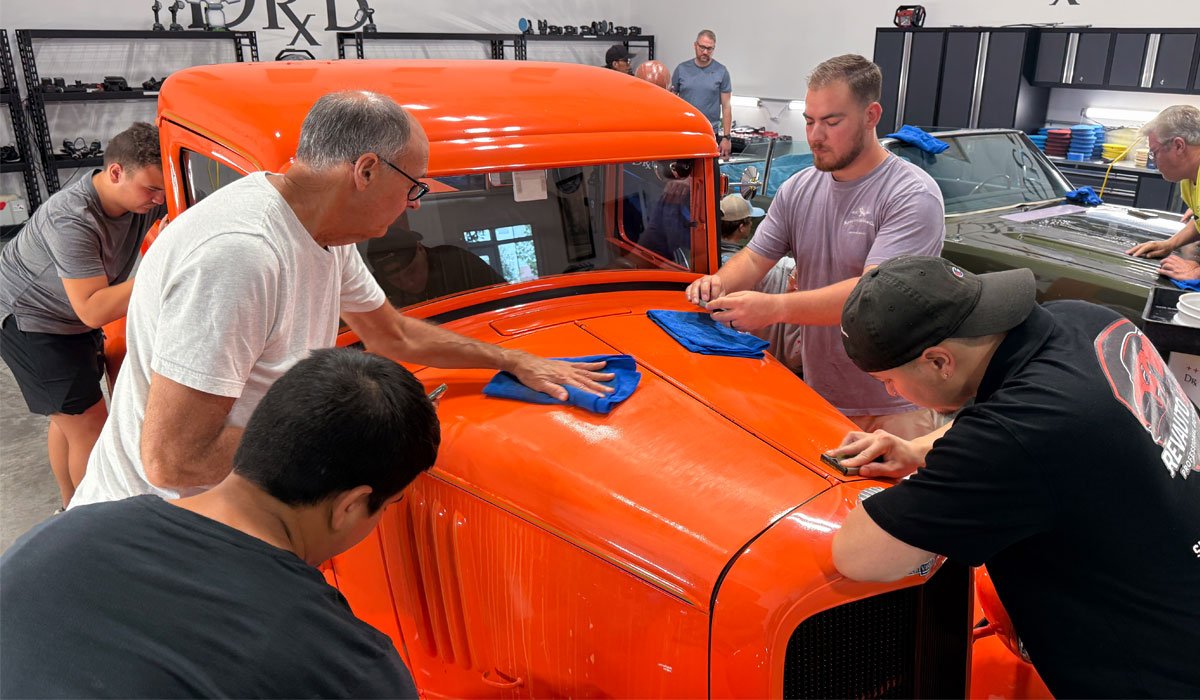
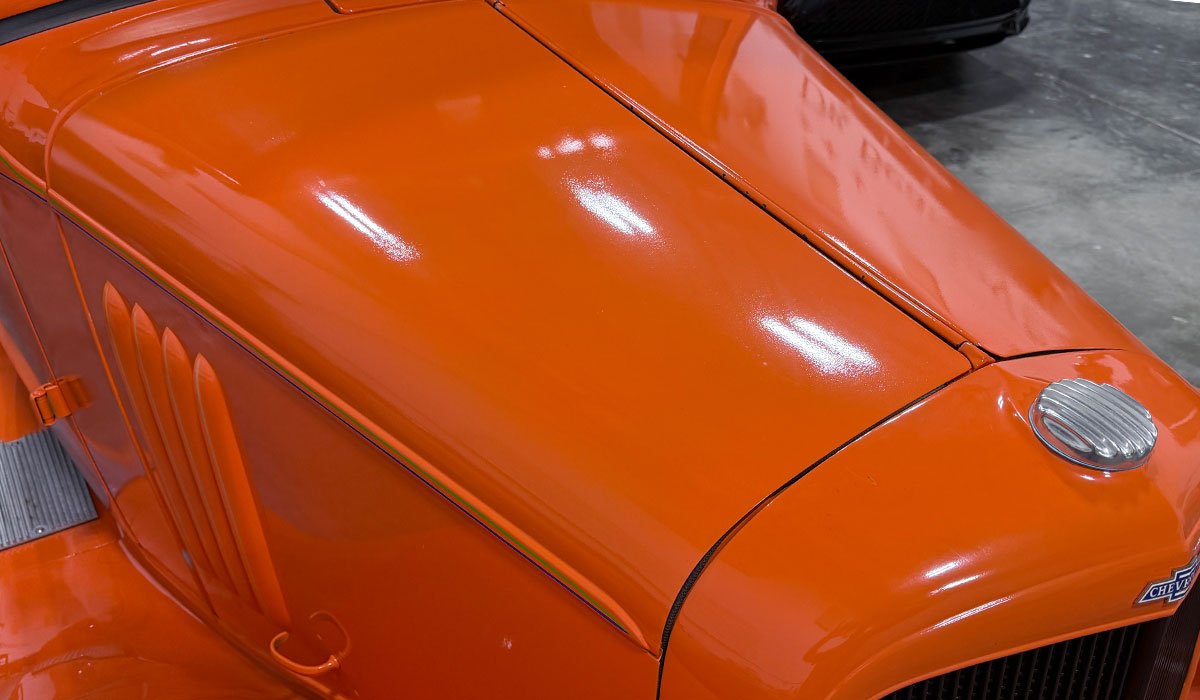
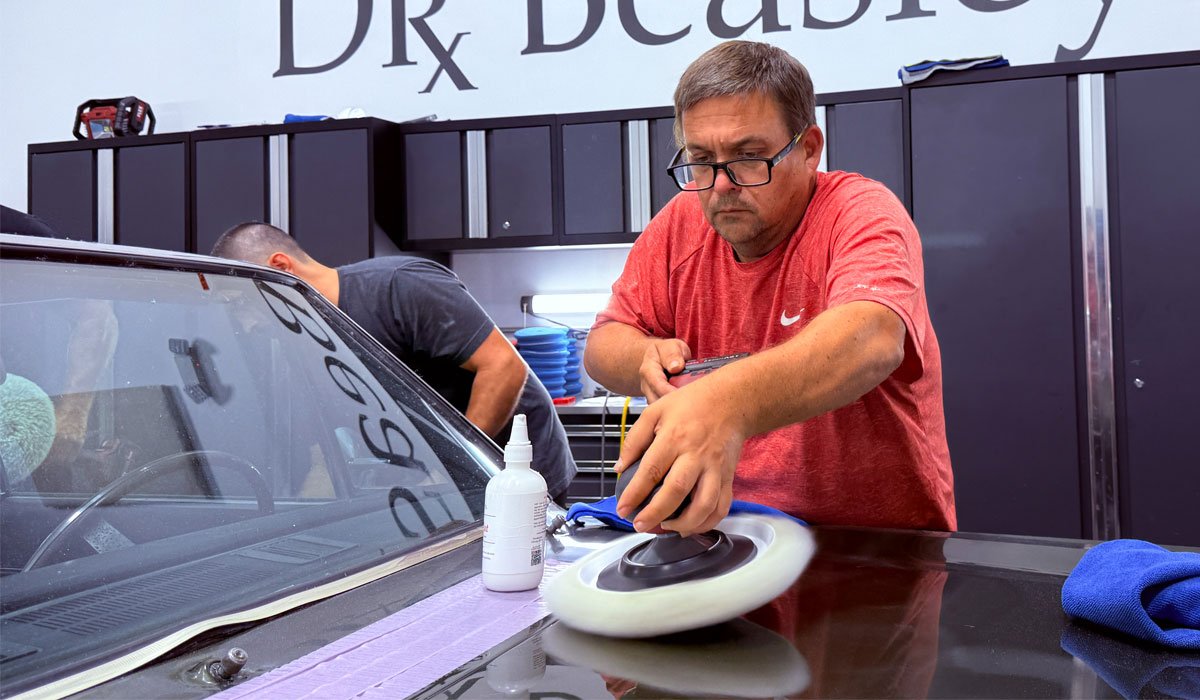
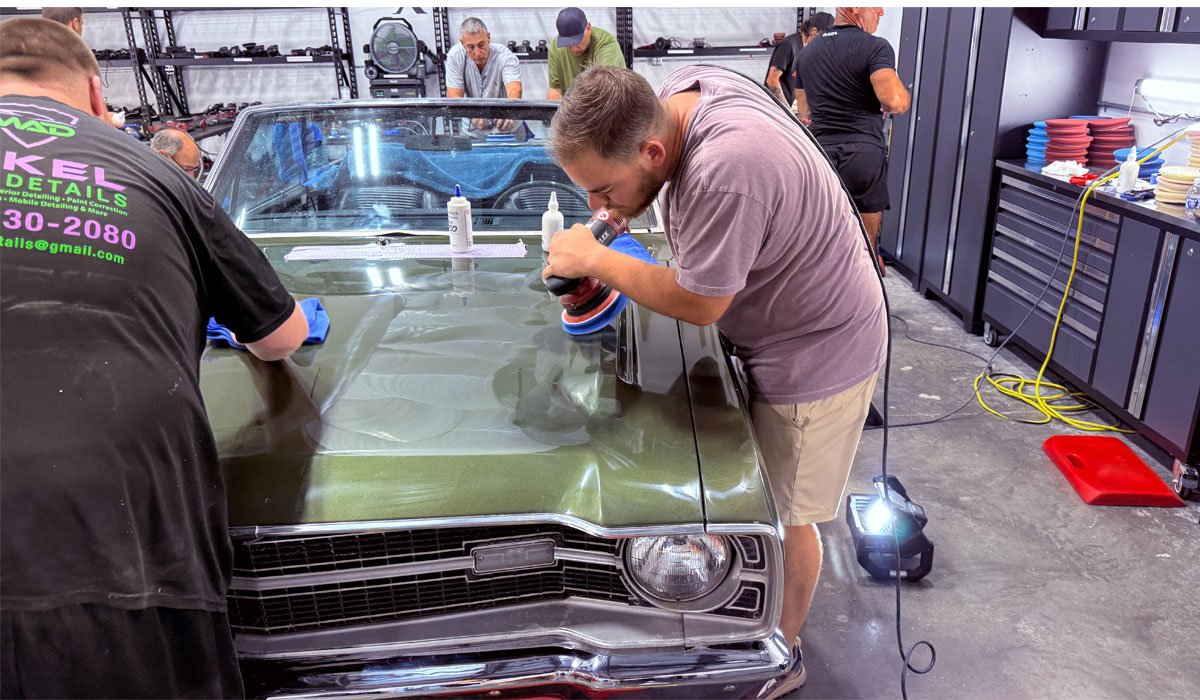
Here's Jonathan working out the sanding scratches next to the back edge of the hood.
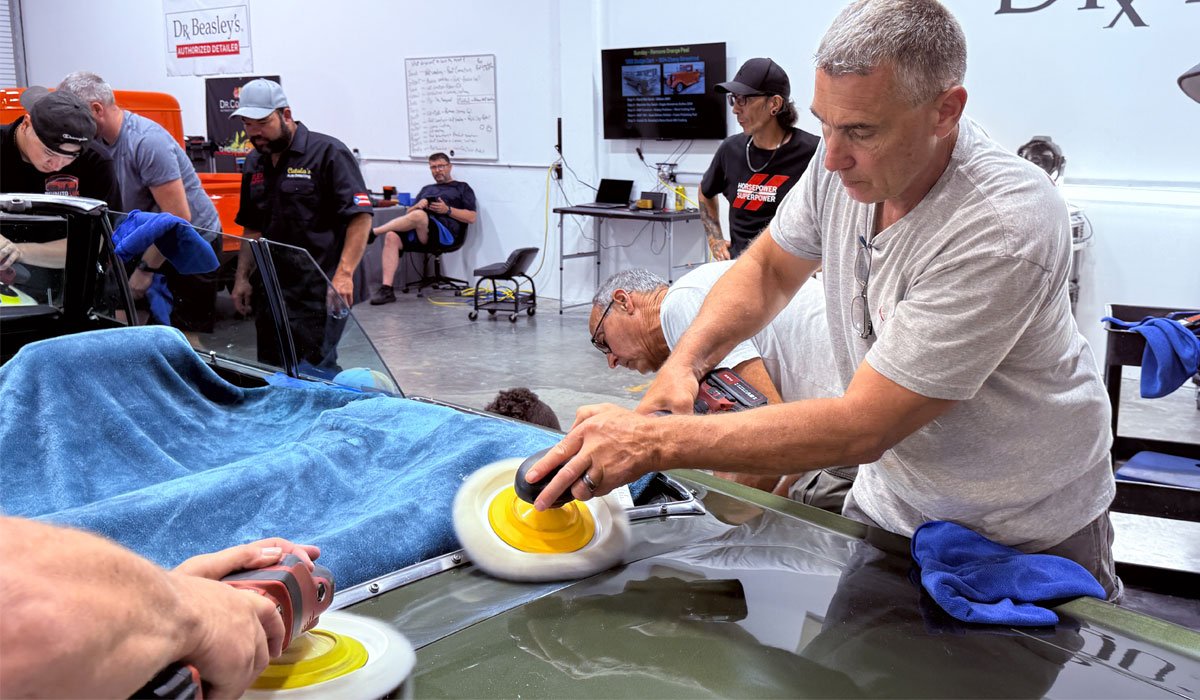
Making the Rotary Polisher Dance on Paint!
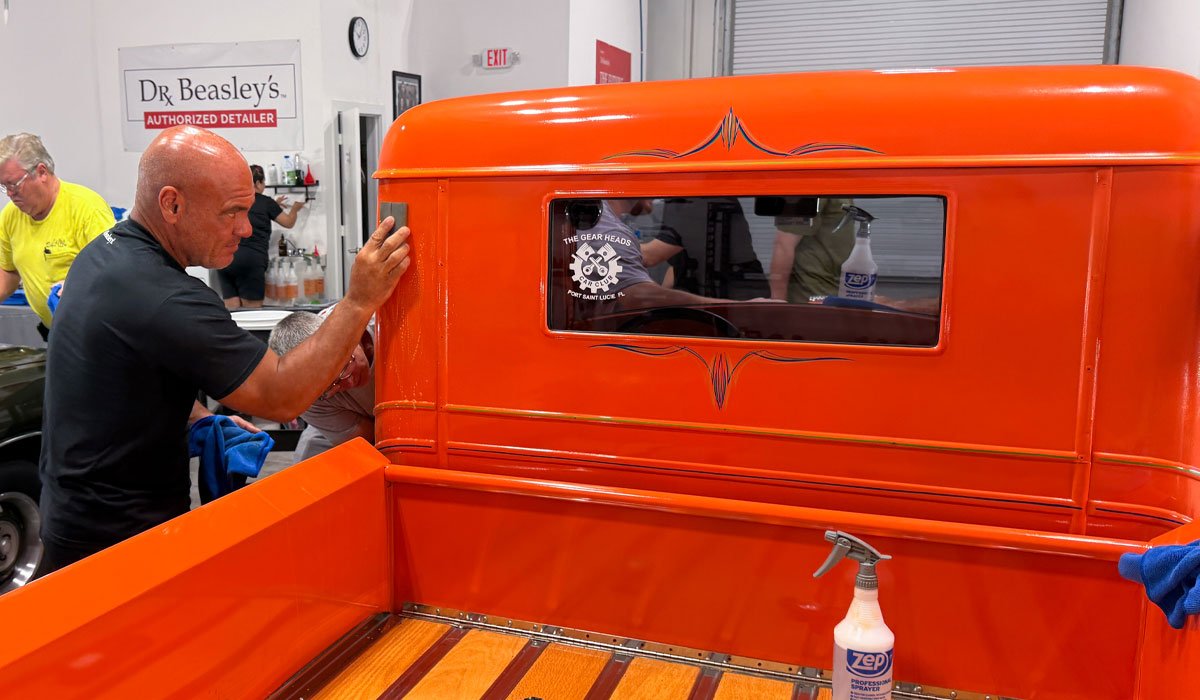
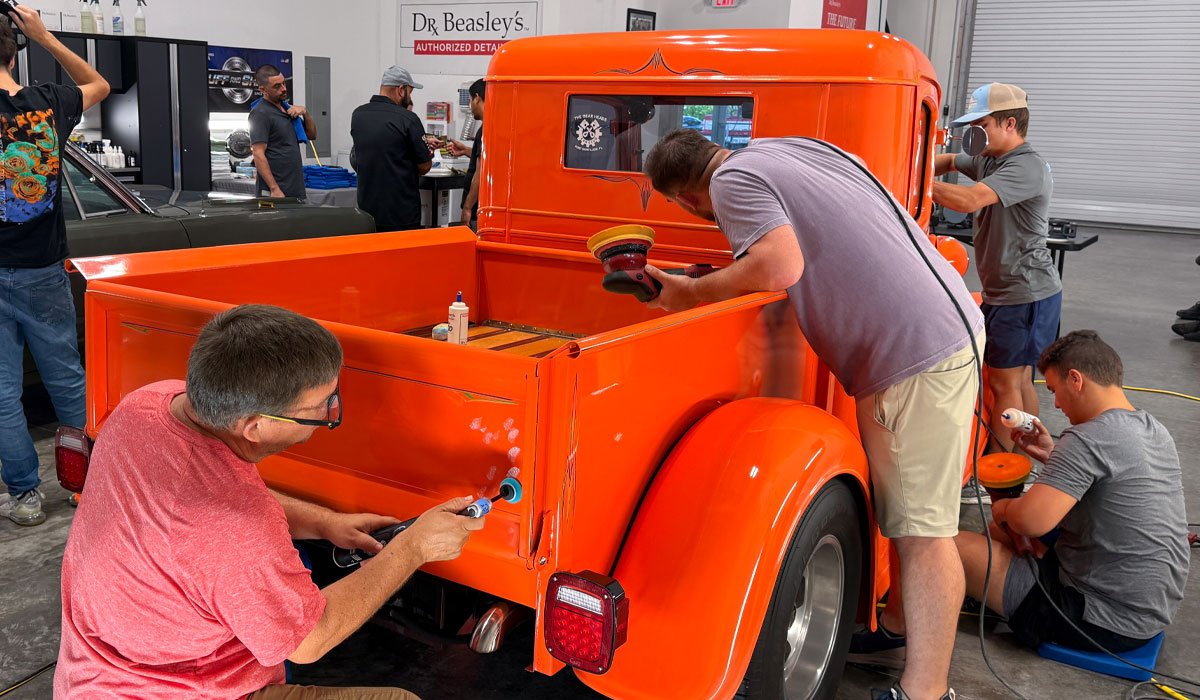
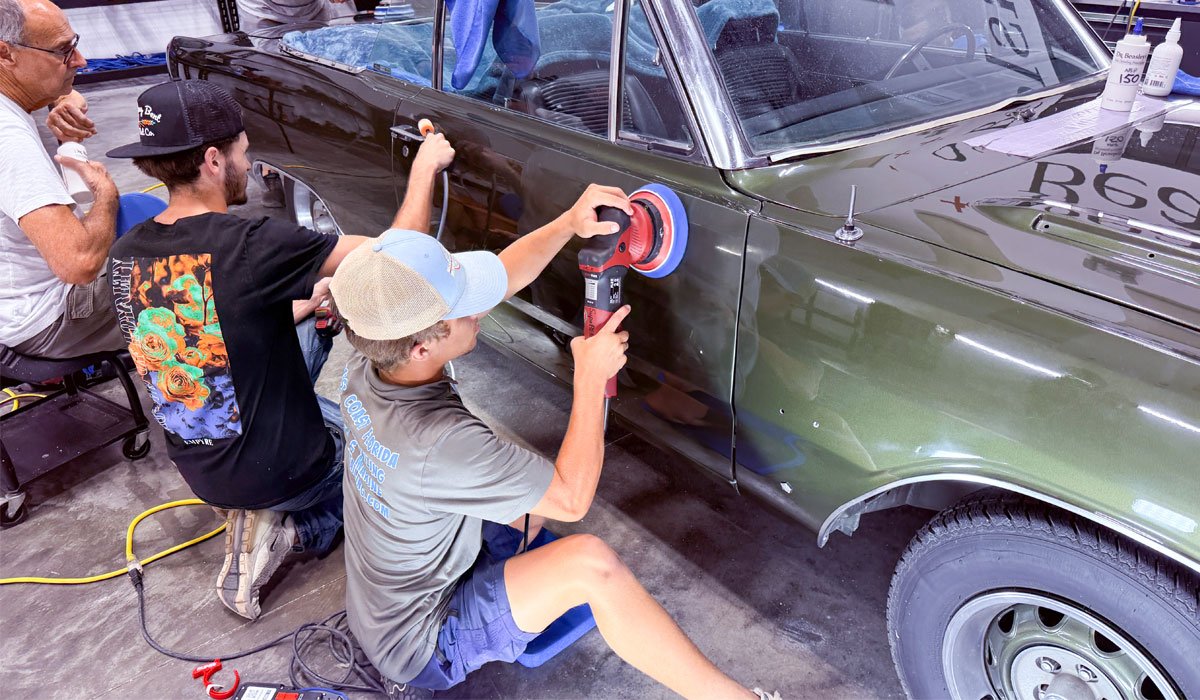
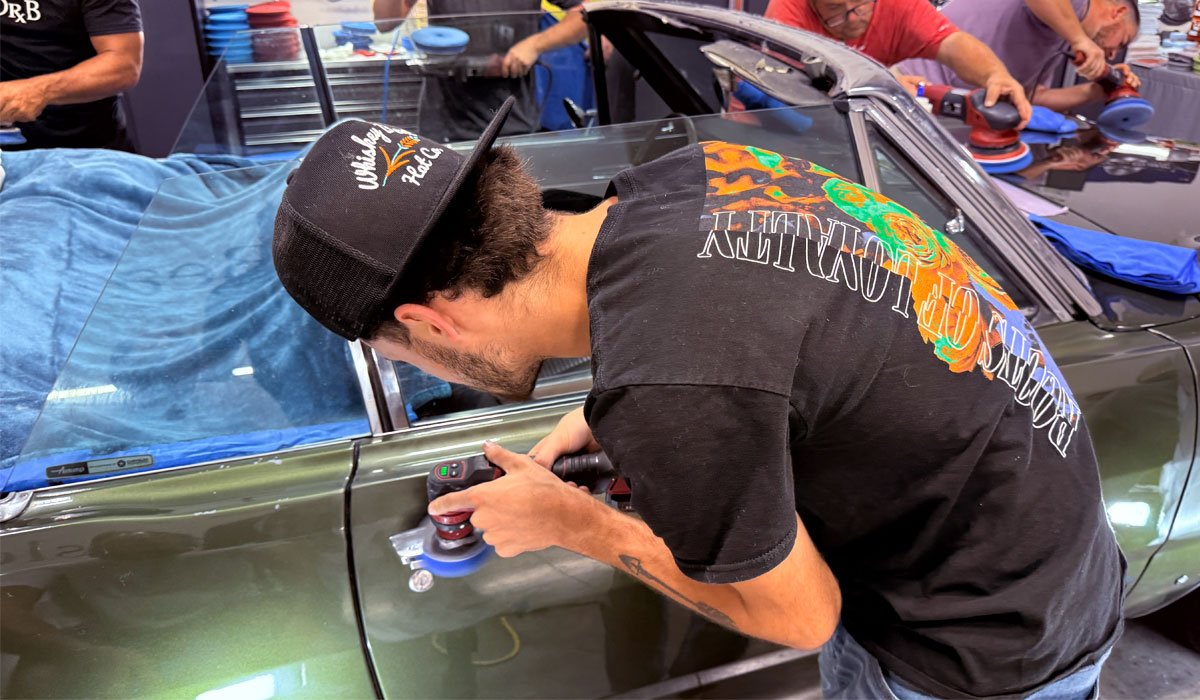
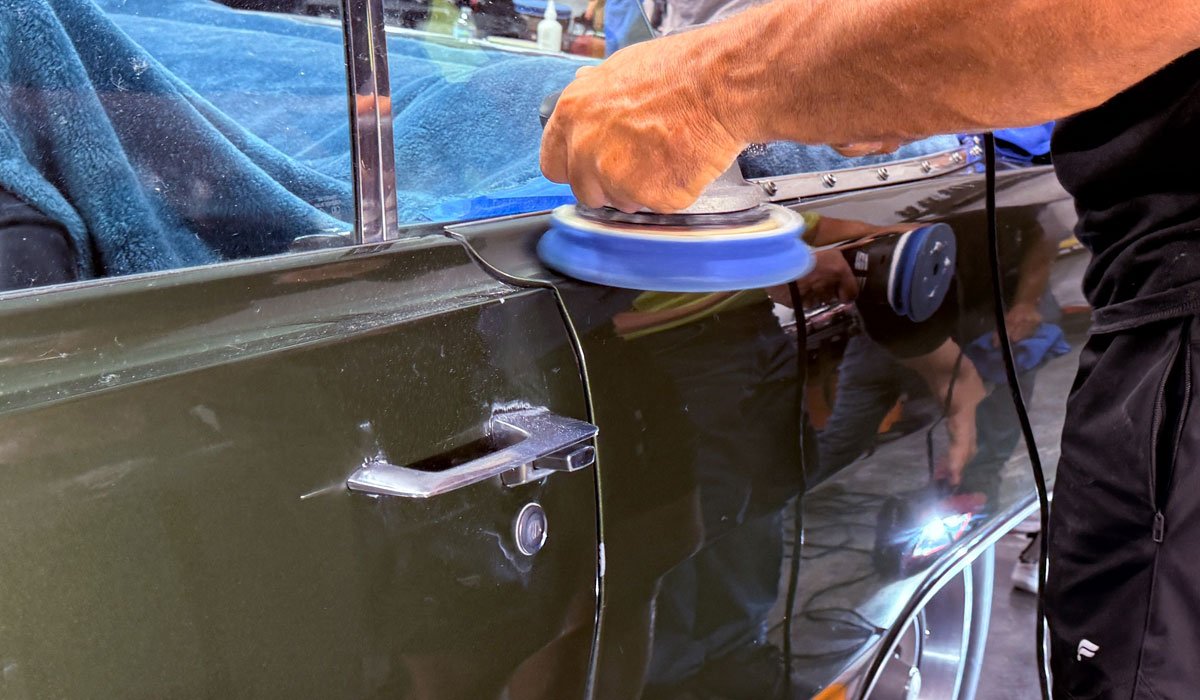
Here's Jared holding the rotary in a way to buff out a concave curve where the vertical side meets the horizontal portion of the car body. This is CORRECT TECHNIQUE. Nice work Jared!
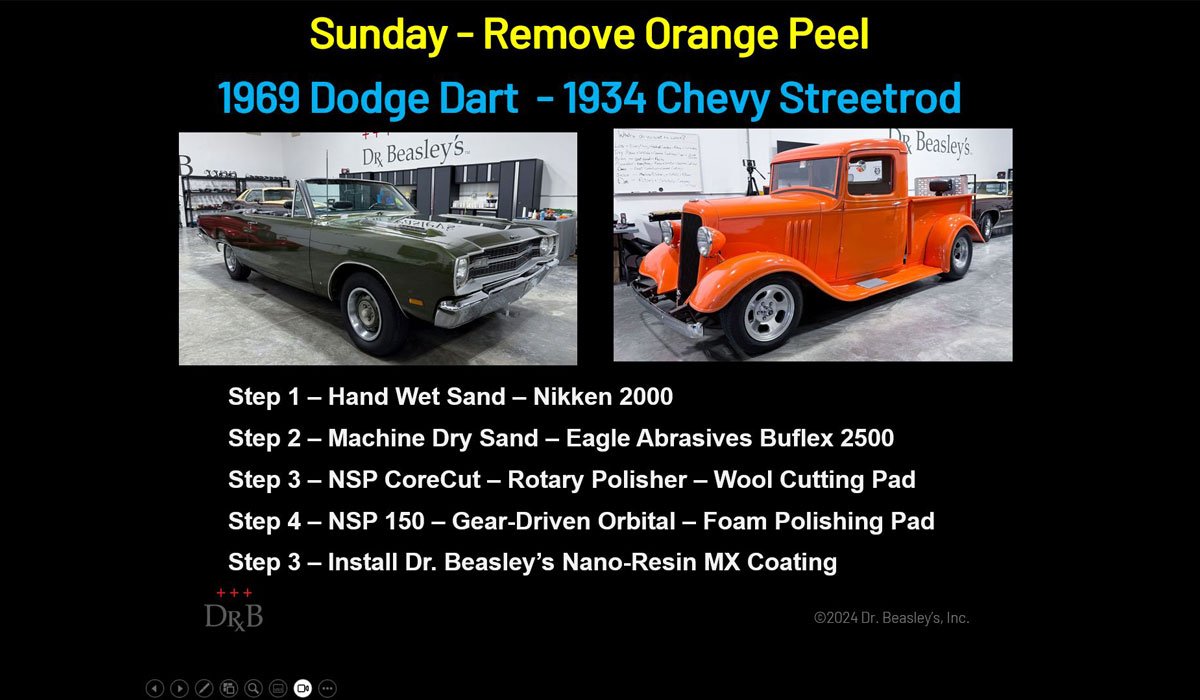
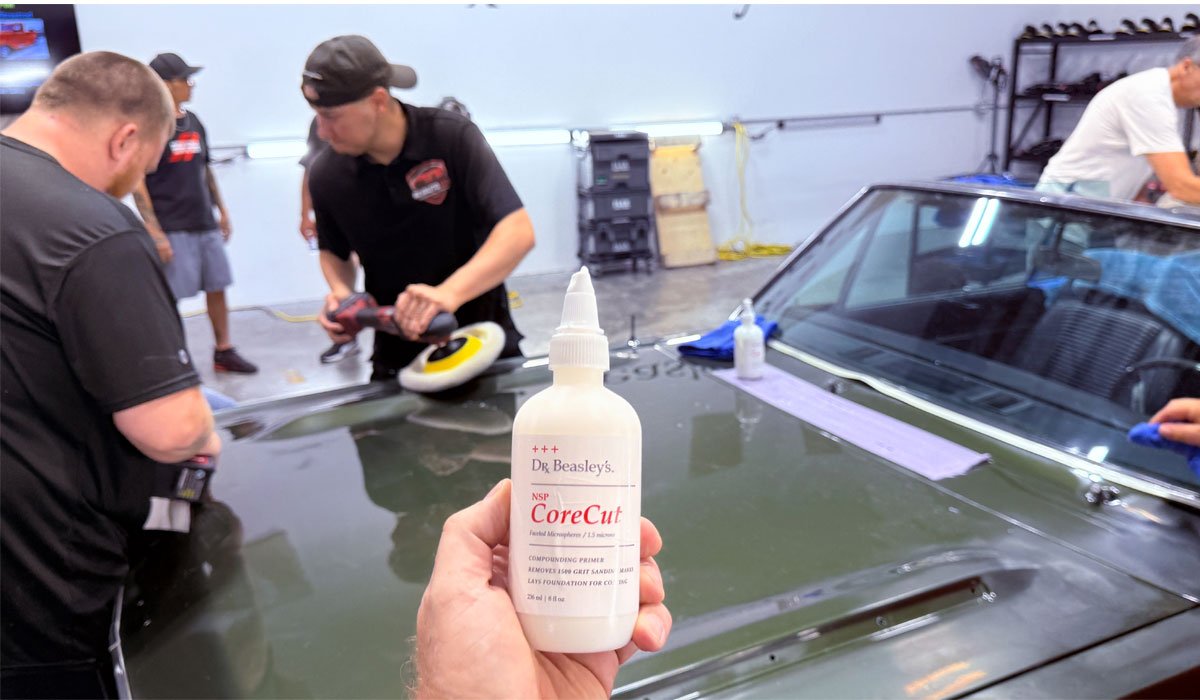
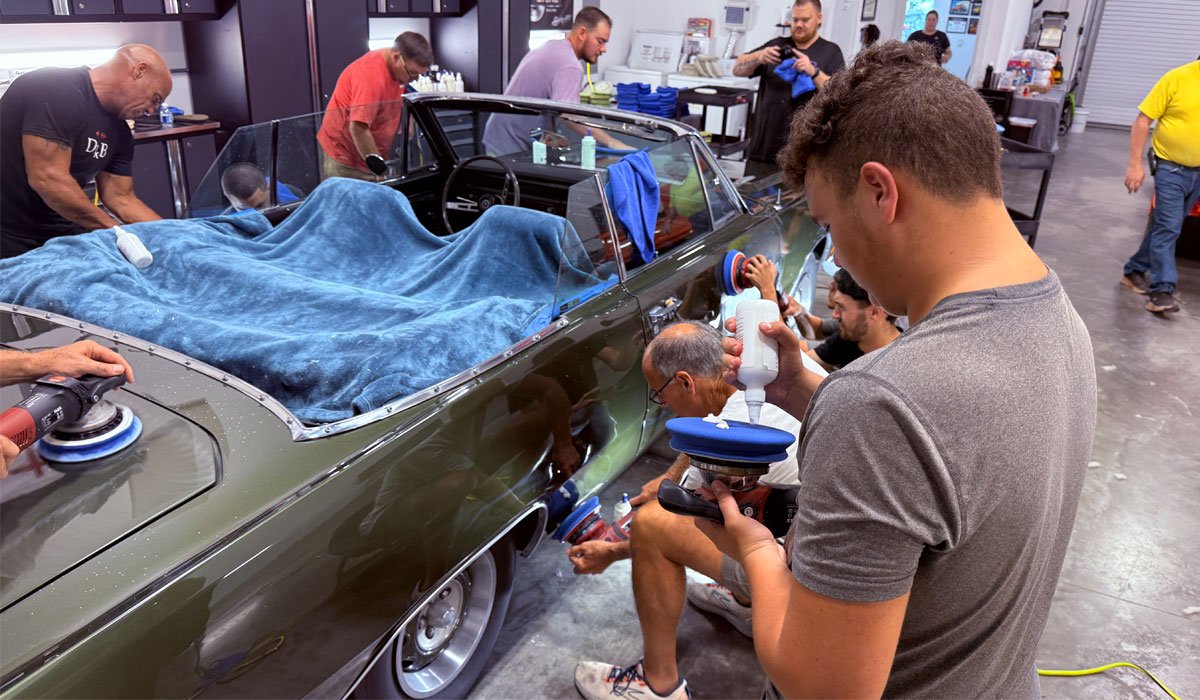
NSP CoreCut
Dr. Beasley's CoreCut is a fast-cutting compound that like all our NSP Primers, uses Nanogel as a carrying agent. After use, there's no need to use a panel wipe t chemically strip the paint before installing a ceramic coating.
Quintin has it down!
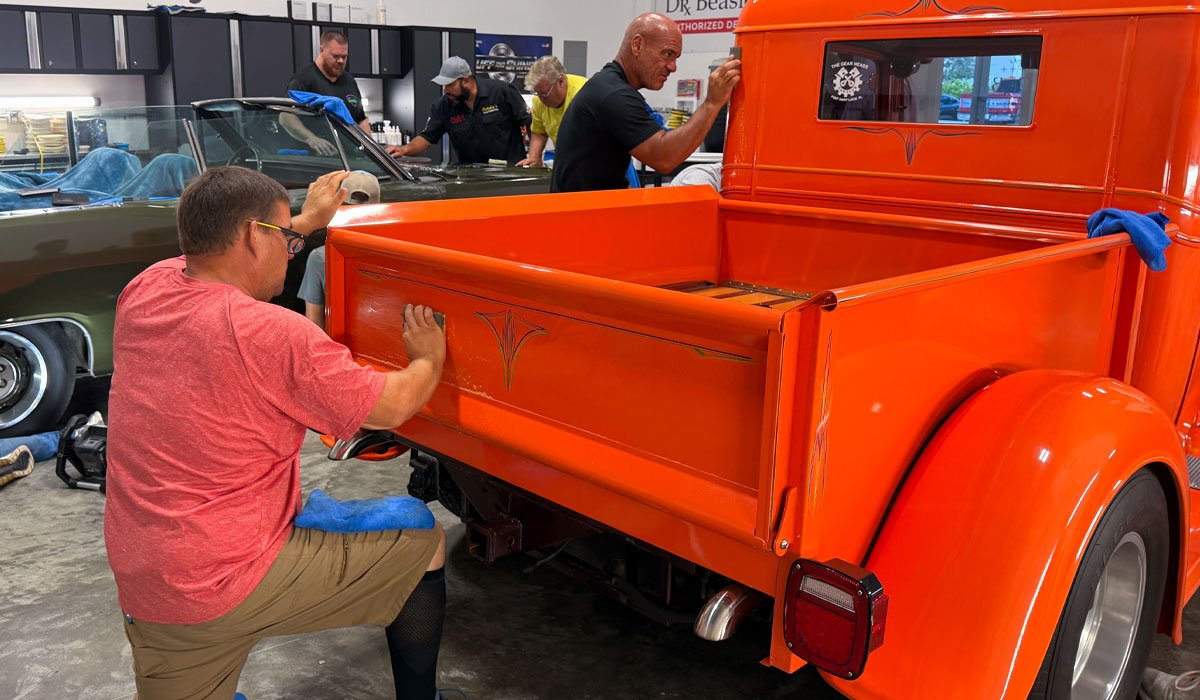
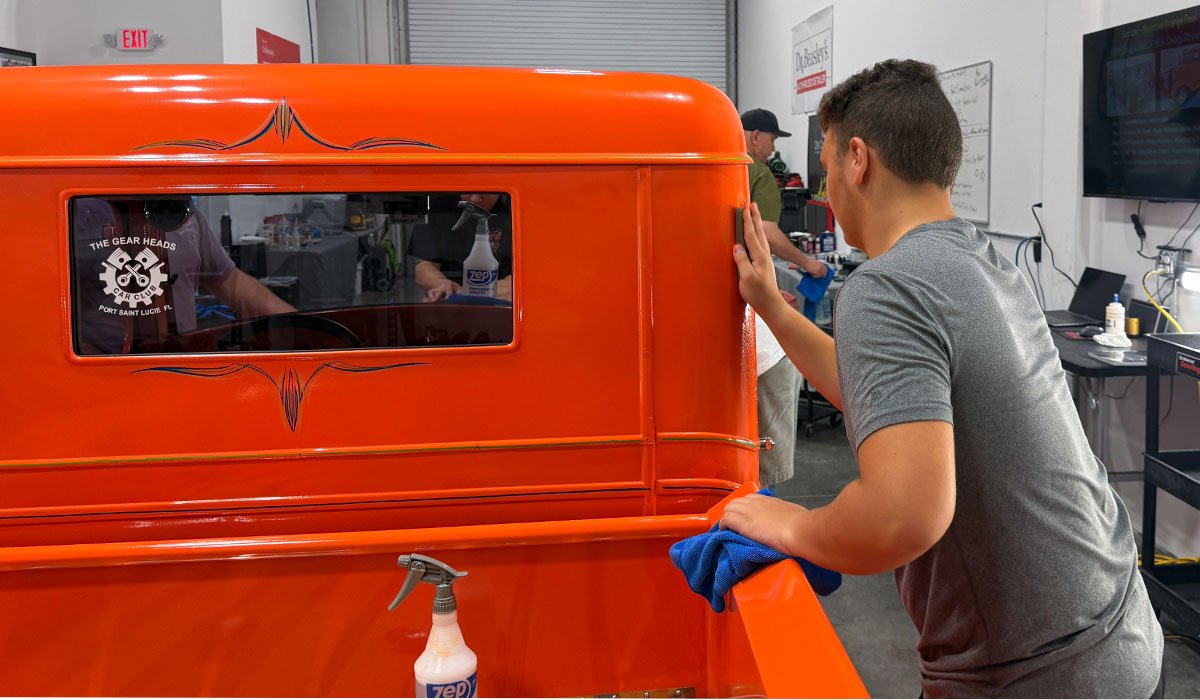
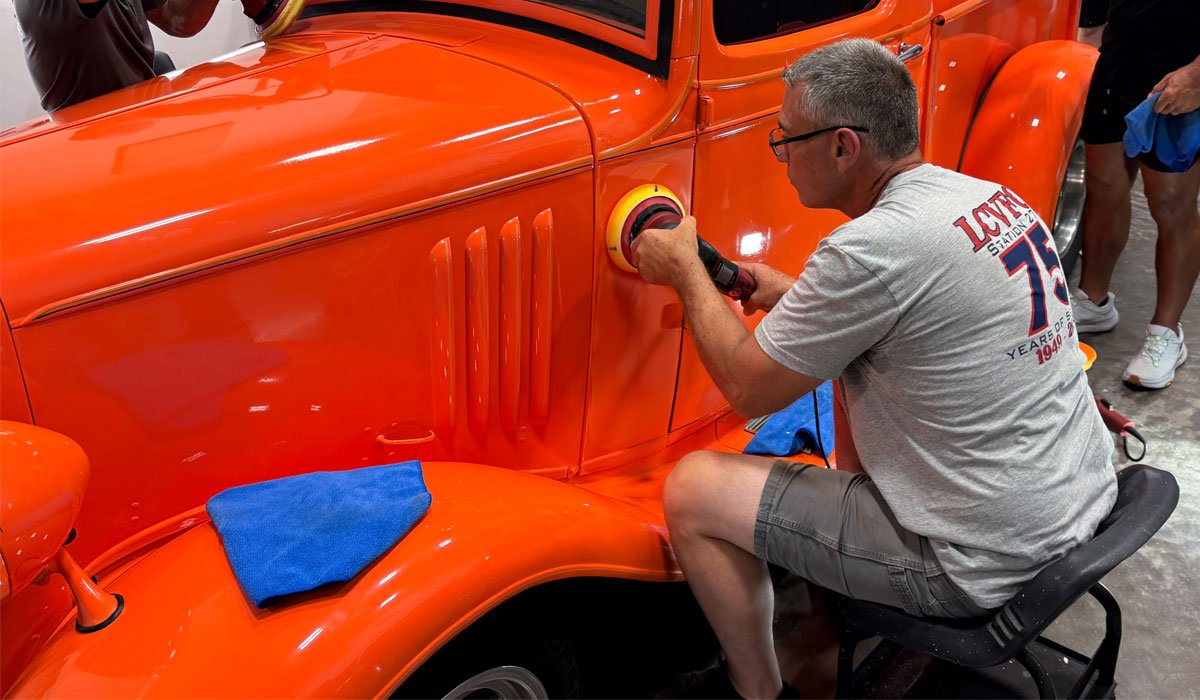
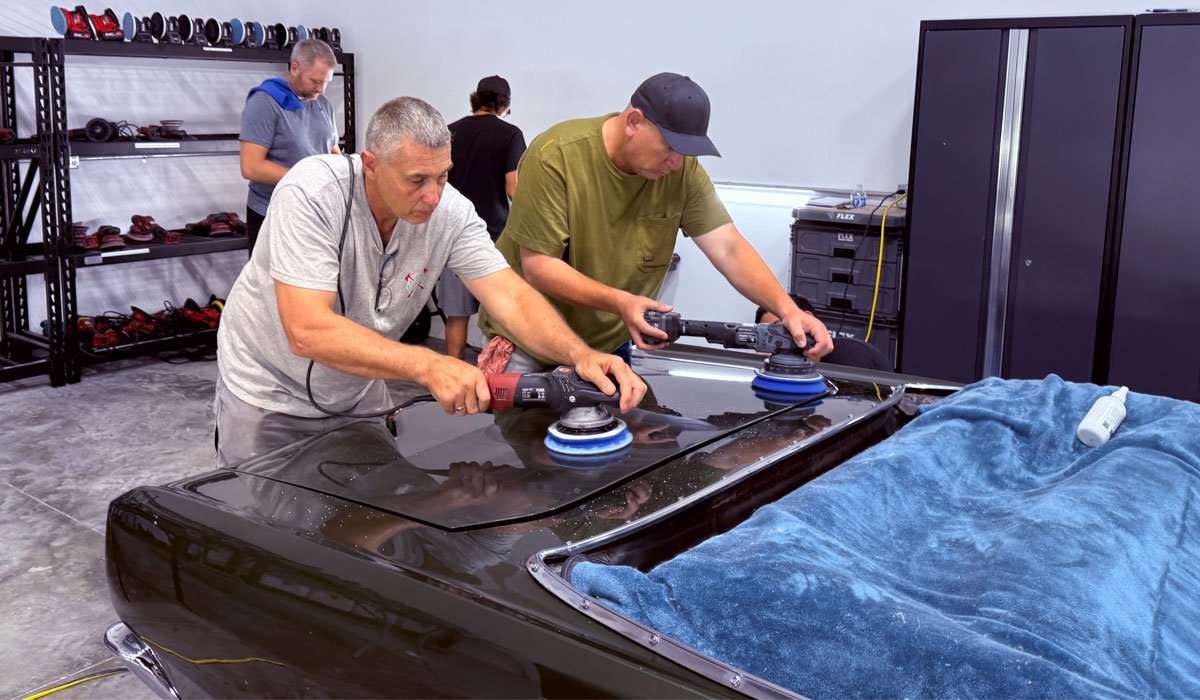
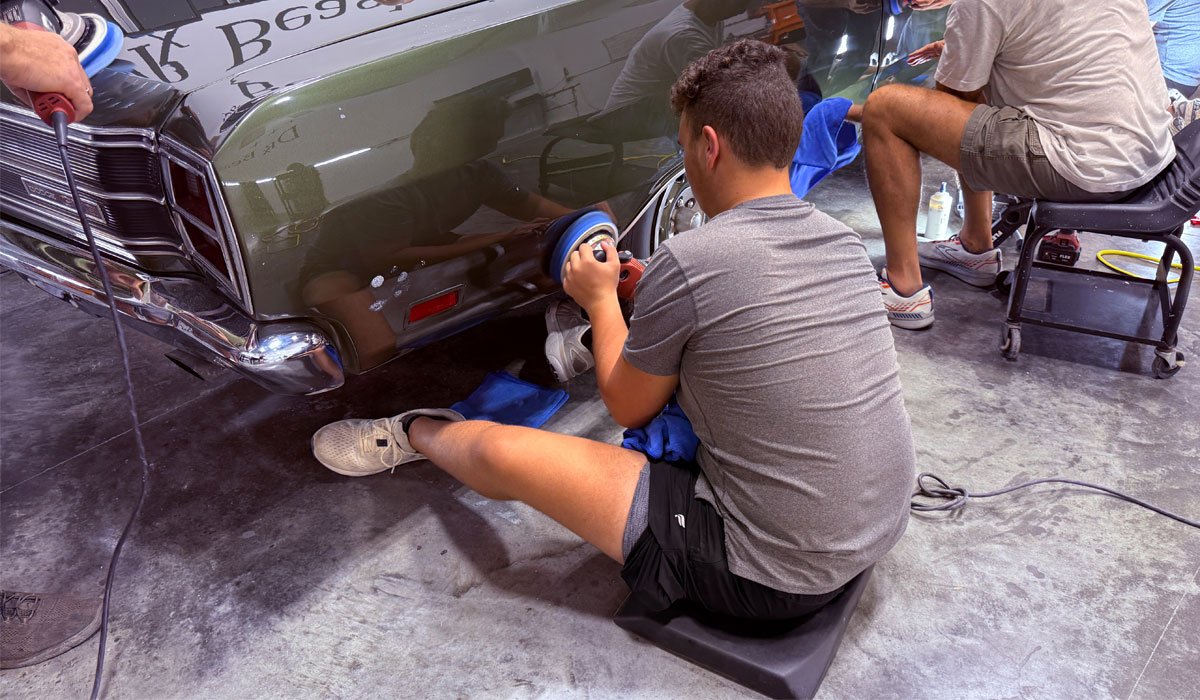
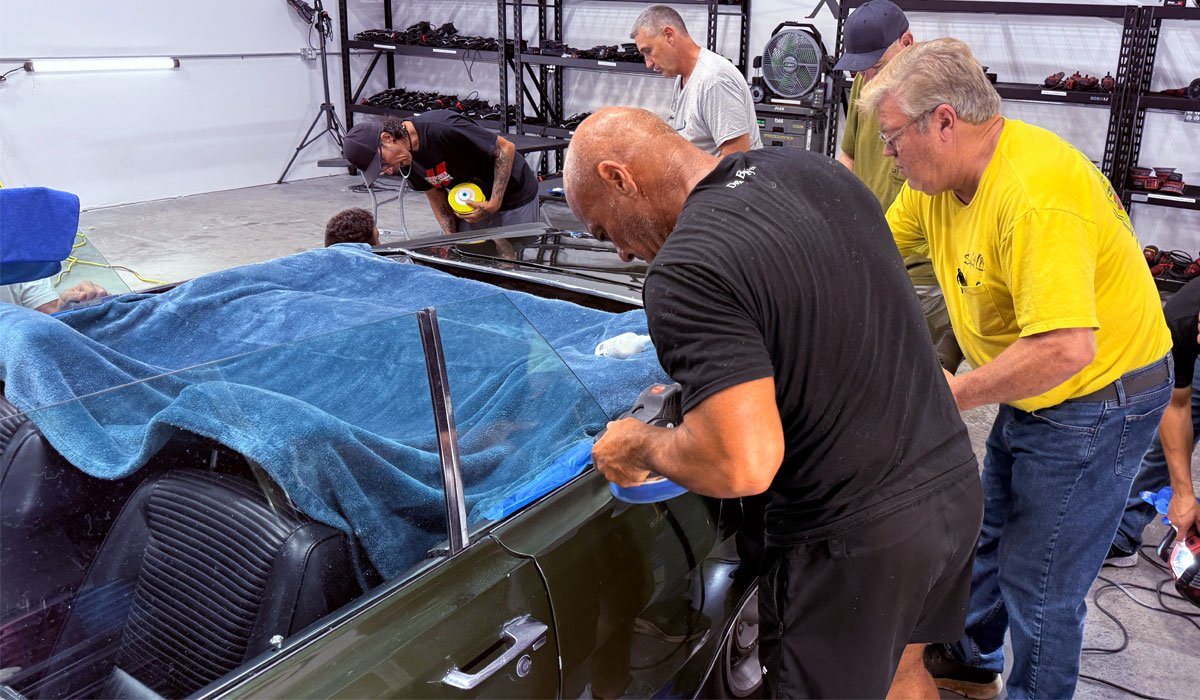
Here's Ray going up-on-edge to remove all the sanding marks on the Dutchman Panel. Nice work Ray!
Scott and Ray tag-teaming the Dutchman Panel.
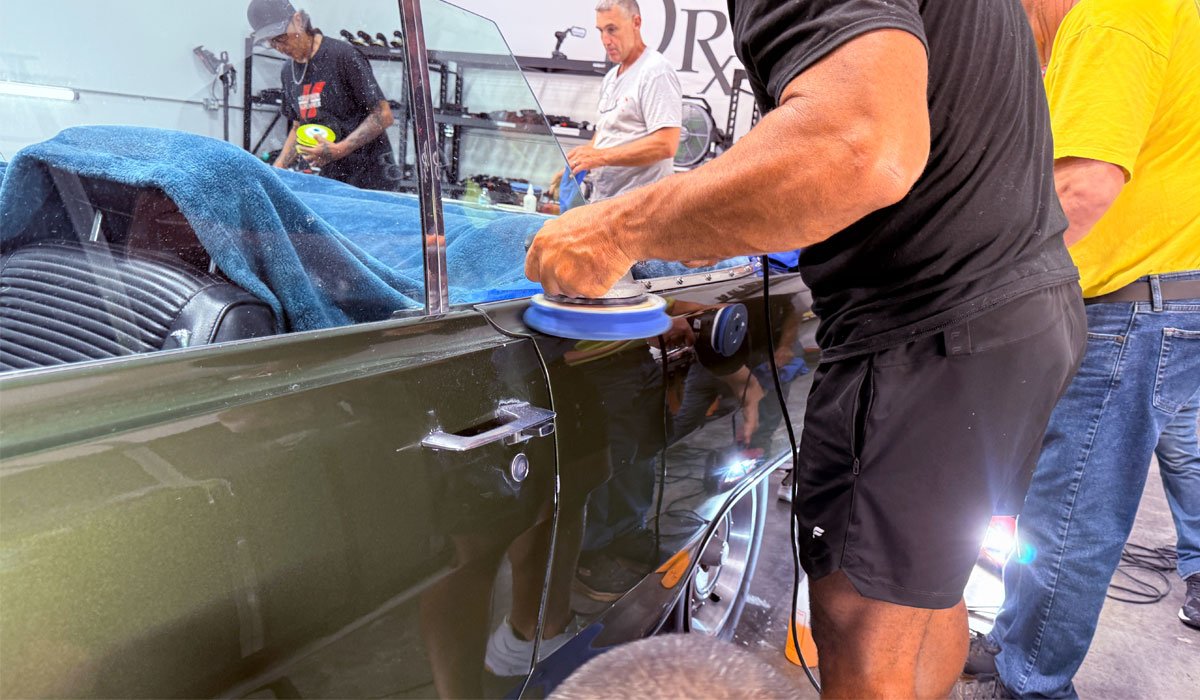
Buffing Flat or Going Up on Edge?
There are two schools of thought on the correct way to use a rotary polisher. I teach the technique for Going-Up-On-Edge. The reason why is simply because it's MUCH EASIER to control and buff with this larger size pad. If you try to hold this type of pad FLAT to the surface, it will work at the start while the large wool pad is DRY. As soon as the wool fibers start to become wet with product, it will be impossible to hold the pad flat because the polisher will start jerking you around.
The reason the polisher jerks you around when trying to buff with a wet wool pad flat to the surface is because in one moment, a PORTION of the pad surface will GRAB the paint, and this shows up as pulling or jerking the polisher around in your hand. Then in another moment, a different portion of the pad surface will grab the paint and jerk you again. This will continue until you remove the wet pad and start over using a dry pad. So "yes", you can switch to a clean, dry wool cutting pad often, but in the real world, it's simply easier and more time-efficient to go-up-on-edge when buffing.
Using either technique will get the job done, it's just the going-up-on-edge technique will be easier on you and when you consider you're going to be running this wool pad around a car for HOURS - you're going to need all the strength you can muster. So, pick your poison, but when someone tells me that buffing on edge is wrong, it just tells me this person has never buffed out a boat using a rotary polisher because it's impossible to hold a large wool buffing pads against the angled side of a boat hull for hours once the pad becomes wet with product. And this same principal applies to buffing out cars.
The next time you buff using a large wool pad on a rotary polisher, test for yourself and I'm confident after about 30 minutes into buffing - it's much easier to go-up-on-edge.
Mike
How to Use a Rotary Polisher American Style!
Most people don't know there's a huge difference in how people use rotary polishers. There's American style and everything else. American style is using the rotary like a Sledgehammer to cut FAST. And this is done using large 100% 4-ply, twisted wool cutting pads. These large pads with a quality compound and the right technique will make FAST work of removing 100% of the sanding marks not just on the easy to buff larger flat panels, but when buffing around edges, raised body lines, intricate areas and concave curves.
What's the other style?
Great question. In other countries, they use smaller pads, like 5 and 6" pads. Using smaller pads makes using the rotary polisher easier for newbies simply because there's less total surface area to manage. But the smaller pads make the process slower. Both styles get the job done, but what we teach is the American style because it's simply faster.
Here's the deal, in the real world, if you are ever going to sand down an entire car and then buff it out, you're not going to have a TEAM of people helping you. Chances are you'll be by yourself. If you're like me, the goal is to get the job done as fast as humanly possible while maintaining professional grade results. A larger 8" wool cutting pads enables you to work fast and efficient and at the end of the day, that's what it's all about. If you're not in a hurry, for example you're sanding and buffing your own car, not doing this as a professional getting paid, then by all means, use any size and type of pad you like, but after decades of doing this type of buffing, I'm telling you straight-up, the American style is the skill to learn and perfect. As I like to say, you want to get in and get out.
Building on Rotary Training from Day 1
One of the REASONS we start our classes with learning how to correctly use a rotary polisher on the first day of class is so that by the time we get to buffing out all the sanding marks or sanding scratches is so that each person is COMFORTABLE with using the rotary polisher. I can't make anyone an expert in a single class, but I can help to give them a FOUNDATION that they can then build on moving into the future.
Here's Paden showing this cordless FLEX rotary who's the BOSS!
Large Buff and Shine Wool Cutting pads make FAST WORK when it comes to removing all the sanding marks.
Here's Roger using the latest version of the FLEX cordless rotary polisher.
Josh is a natural when it comes to any polisher, including the rotary polisher.
Here's Jonathan working out the sanding scratches next to the back edge of the hood.
Making the Rotary Polisher Dance on Paint!
Here's Jared holding the rotary in a way to buff out a concave curve where the vertical side meets the horizontal portion of the car body. This is CORRECT TECHNIQUE. Nice work Jared!
NSP CoreCut
Dr. Beasley's CoreCut is a fast-cutting compound that like all our NSP Primers, uses Nanogel as a carrying agent. After use, there's no need to use a panel wipe t chemically strip the paint before installing a ceramic coating.
Quintin has it down!
Here's Ray going up-on-edge to remove all the sanding marks on the Dutchman Panel. Nice work Ray!
Scott and Ray tag-teaming the Dutchman Panel.
Buffing Flat or Going Up on Edge?
There are two schools of thought on the correct way to use a rotary polisher. I teach the technique for Going-Up-On-Edge. The reason why is simply because it's MUCH EASIER to control and buff with this larger size pad. If you try to hold this type of pad FLAT to the surface, it will work at the start while the large wool pad is DRY. As soon as the wool fibers start to become wet with product, it will be impossible to hold the pad flat because the polisher will start jerking you around.
The reason the polisher jerks you around when trying to buff with a wet wool pad flat to the surface is because in one moment, a PORTION of the pad surface will GRAB the paint, and this shows up as pulling or jerking the polisher around in your hand. Then in another moment, a different portion of the pad surface will grab the paint and jerk you again. This will continue until you remove the wet pad and start over using a dry pad. So "yes", you can switch to a clean, dry wool cutting pad often, but in the real world, it's simply easier and more time-efficient to go-up-on-edge when buffing.
Using either technique will get the job done, it's just the going-up-on-edge technique will be easier on you and when you consider you're going to be running this wool pad around a car for HOURS - you're going to need all the strength you can muster. So, pick your poison, but when someone tells me that buffing on edge is wrong, it just tells me this person has never buffed out a boat using a rotary polisher because it's impossible to hold a large wool buffing pads against the angled side of a boat hull for hours once the pad becomes wet with product. And this same principal applies to buffing out cars.
The next time you buff using a large wool pad on a rotary polisher, test for yourself and I'm confident after about 30 minutes into buffing - it's much easier to go-up-on-edge.
Mike
Last edited:
")