- Admin
- #1
- Joined
- May 21, 2021
- Messages
- 1,680
- Reaction score
- 929
- Points
- 113
- Location
- Stuart, Florida
- Website
- themikephillipsforum.com
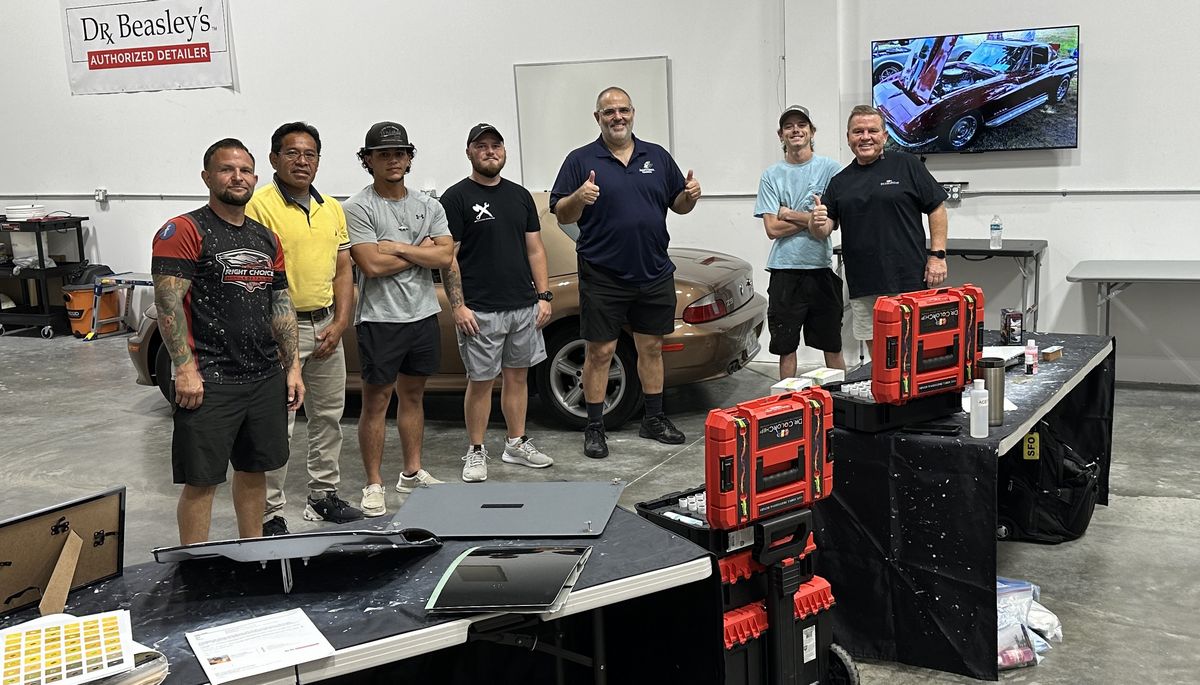
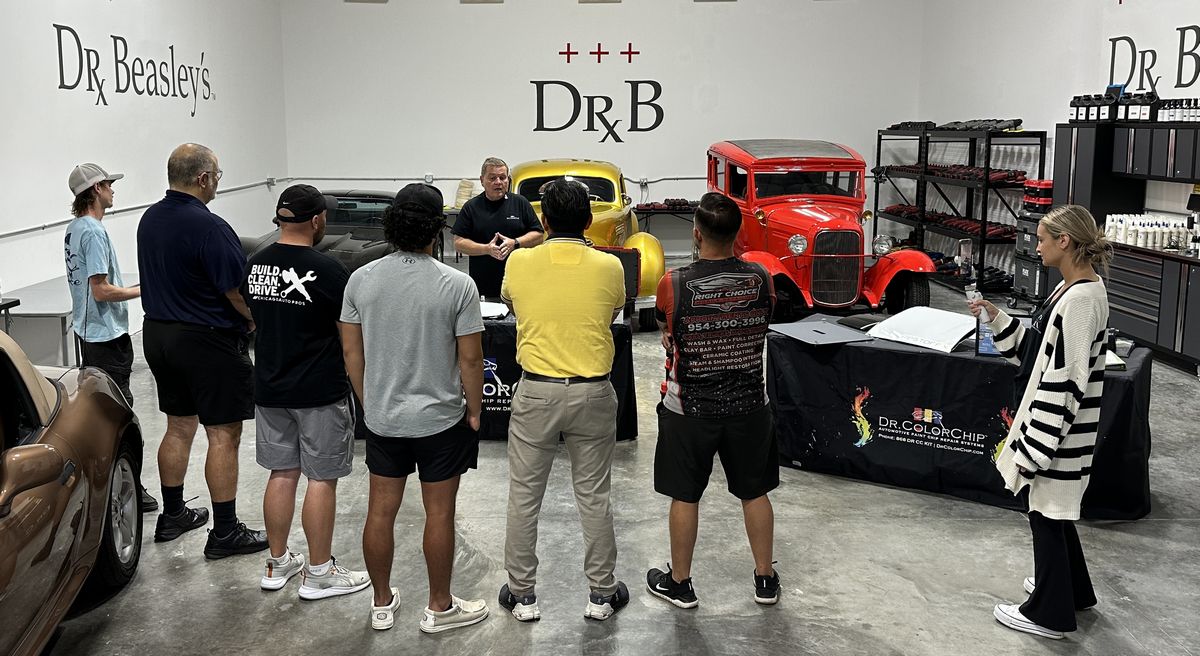
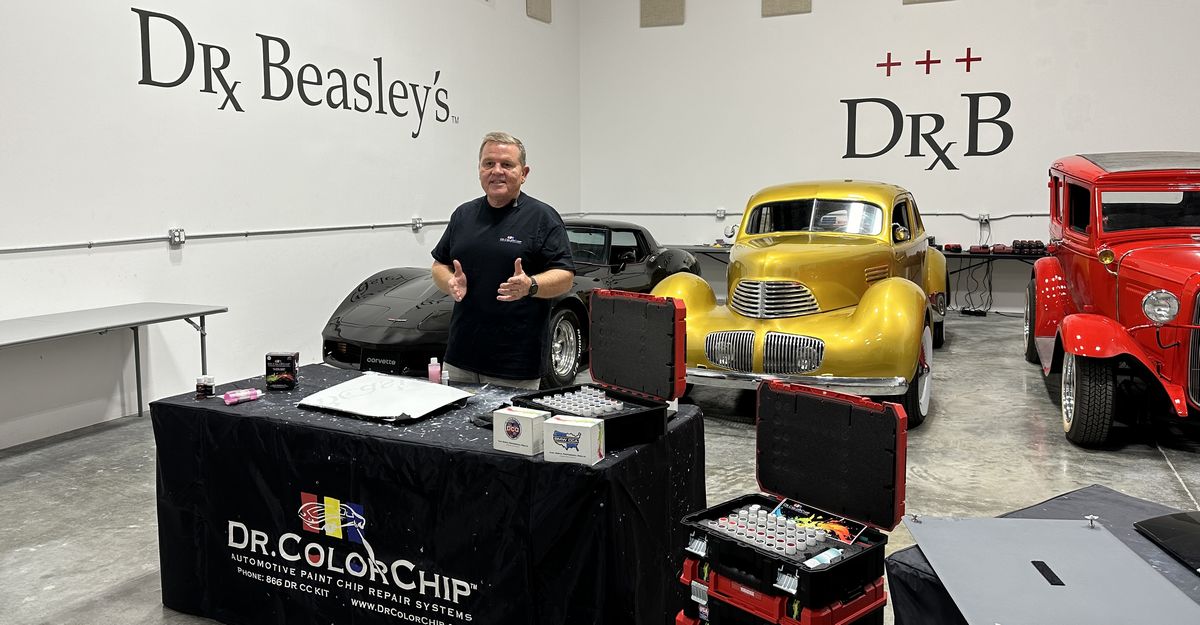
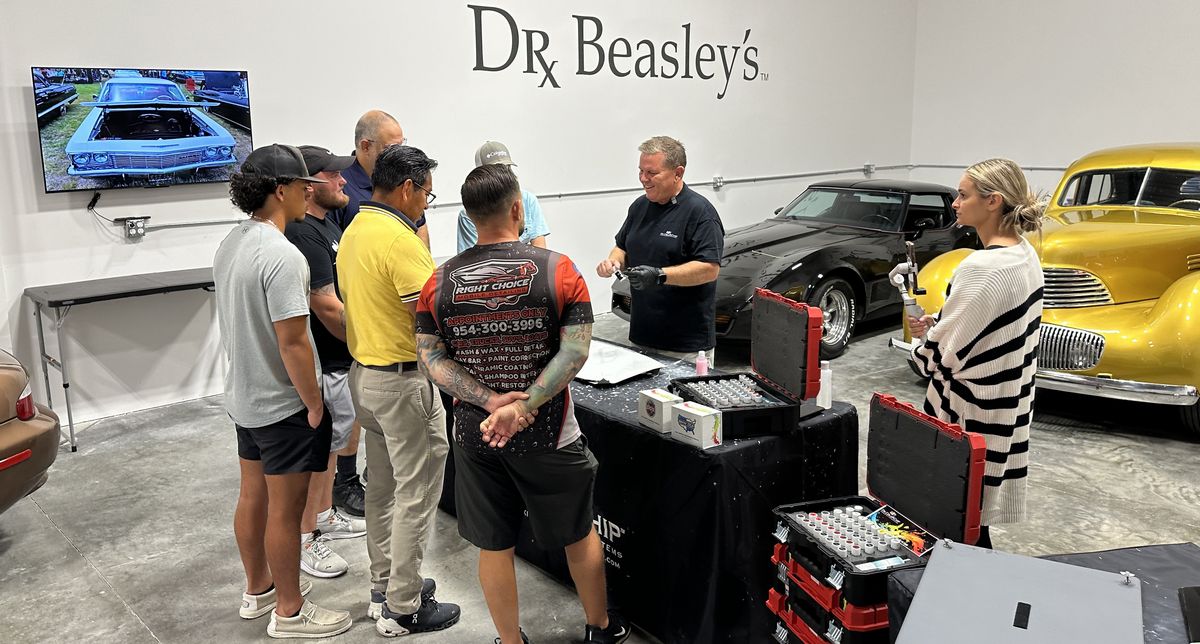
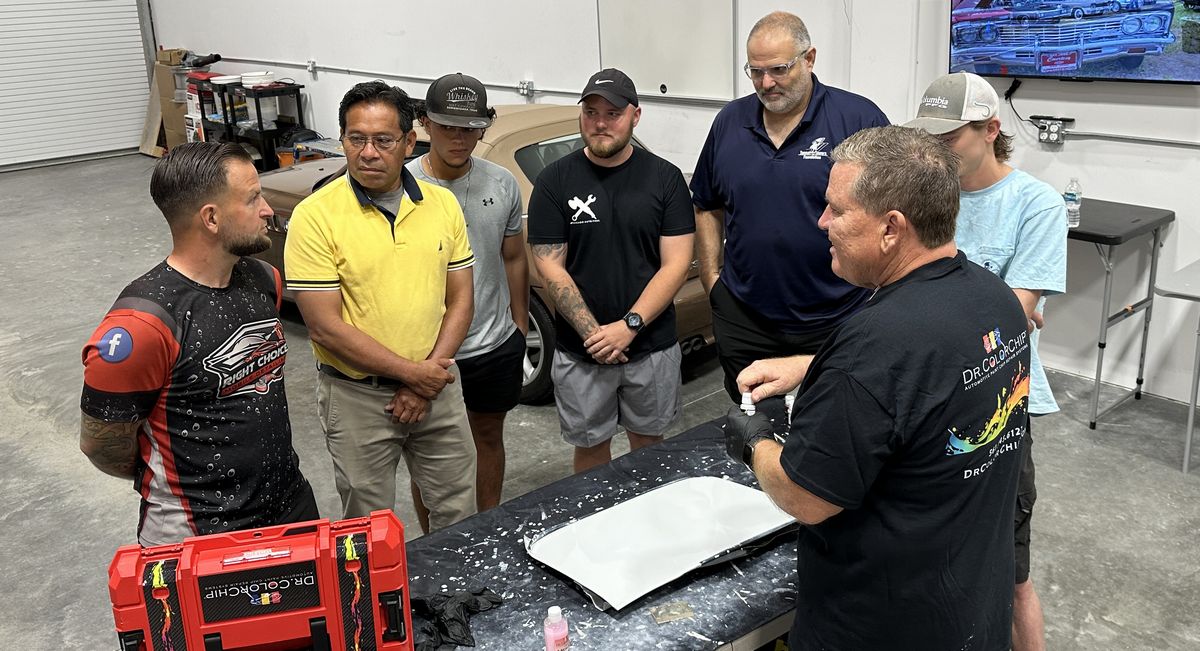
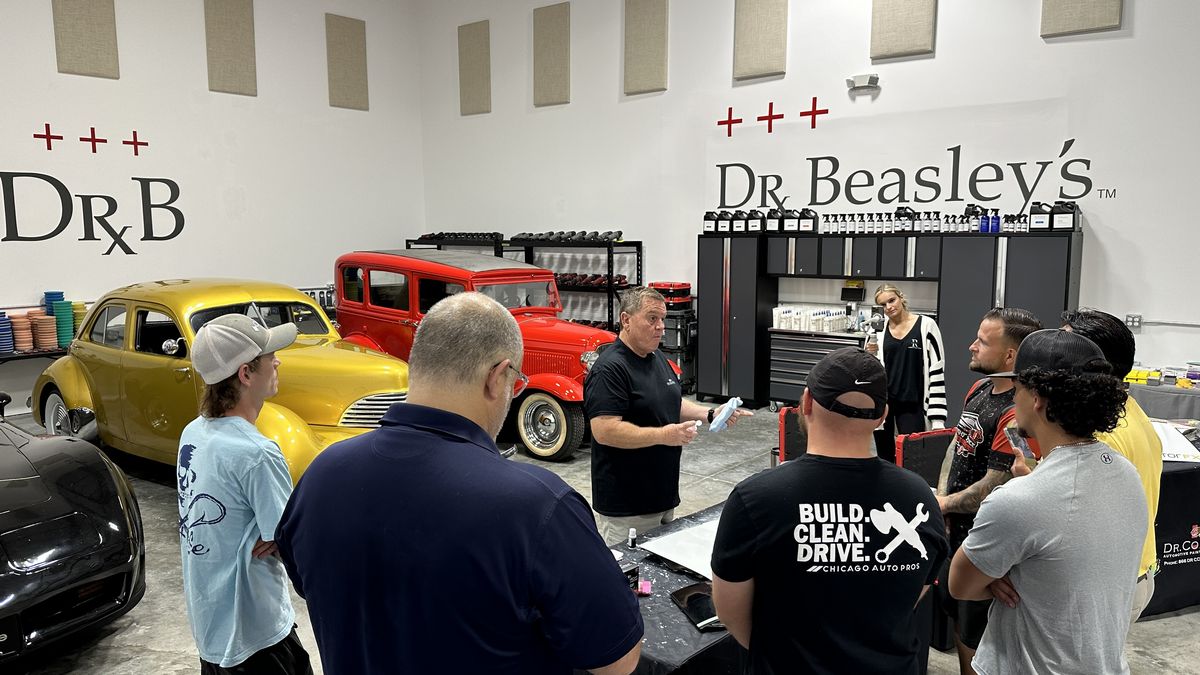
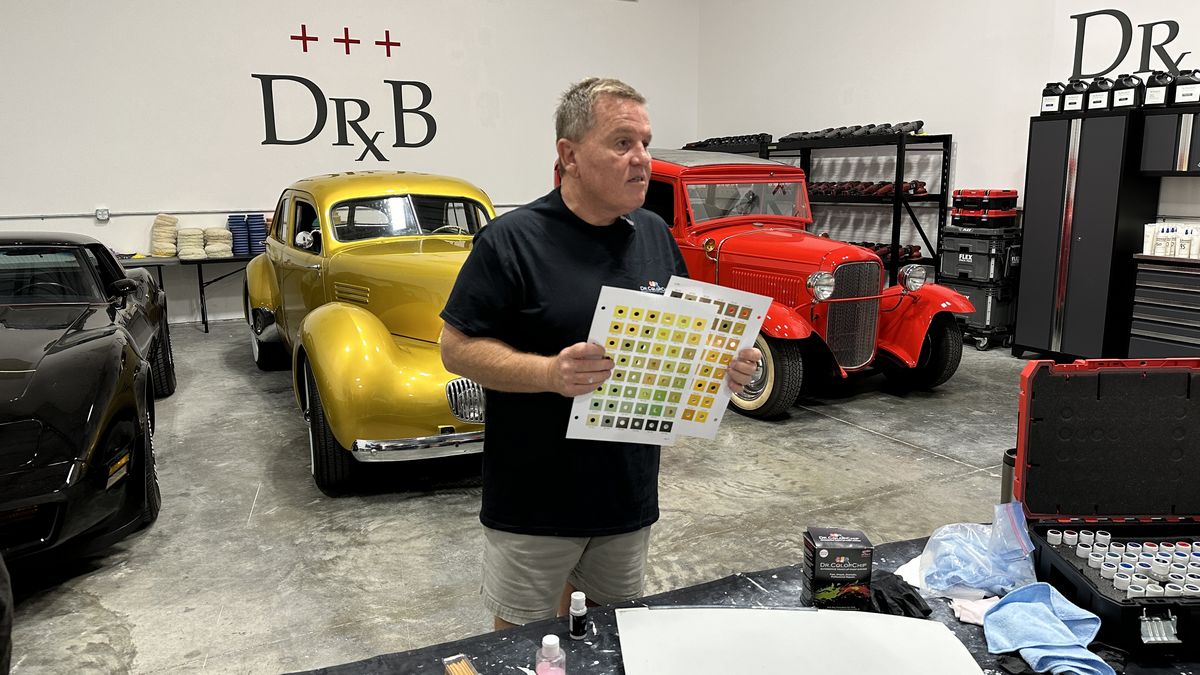
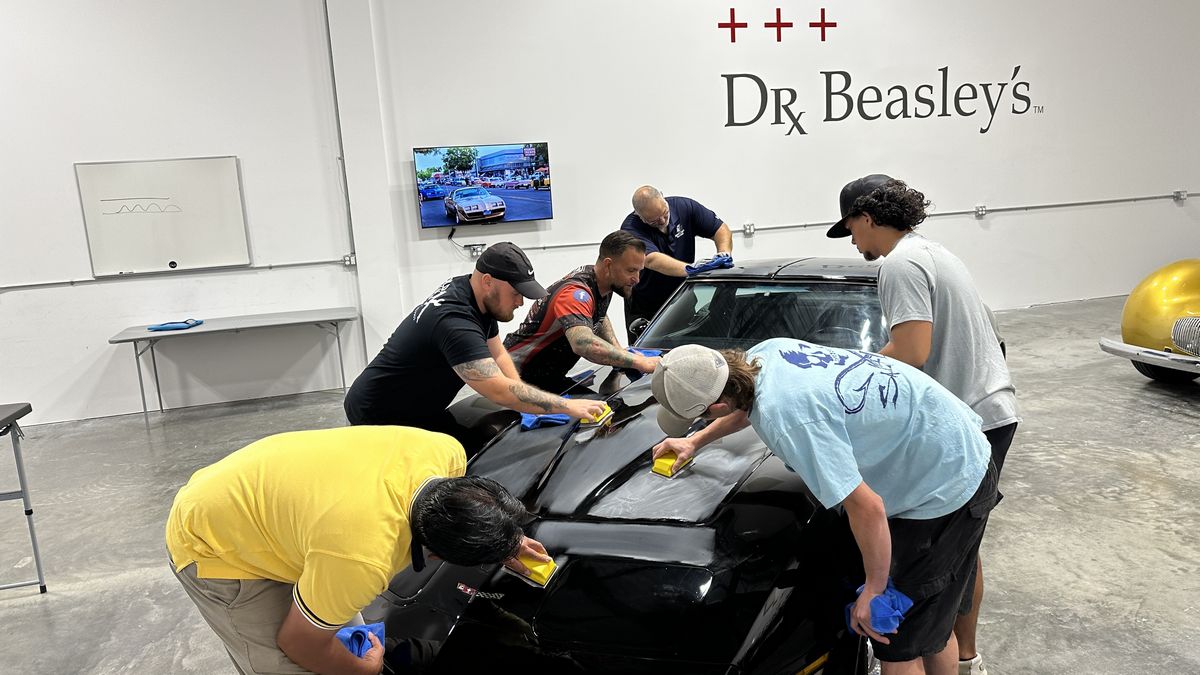
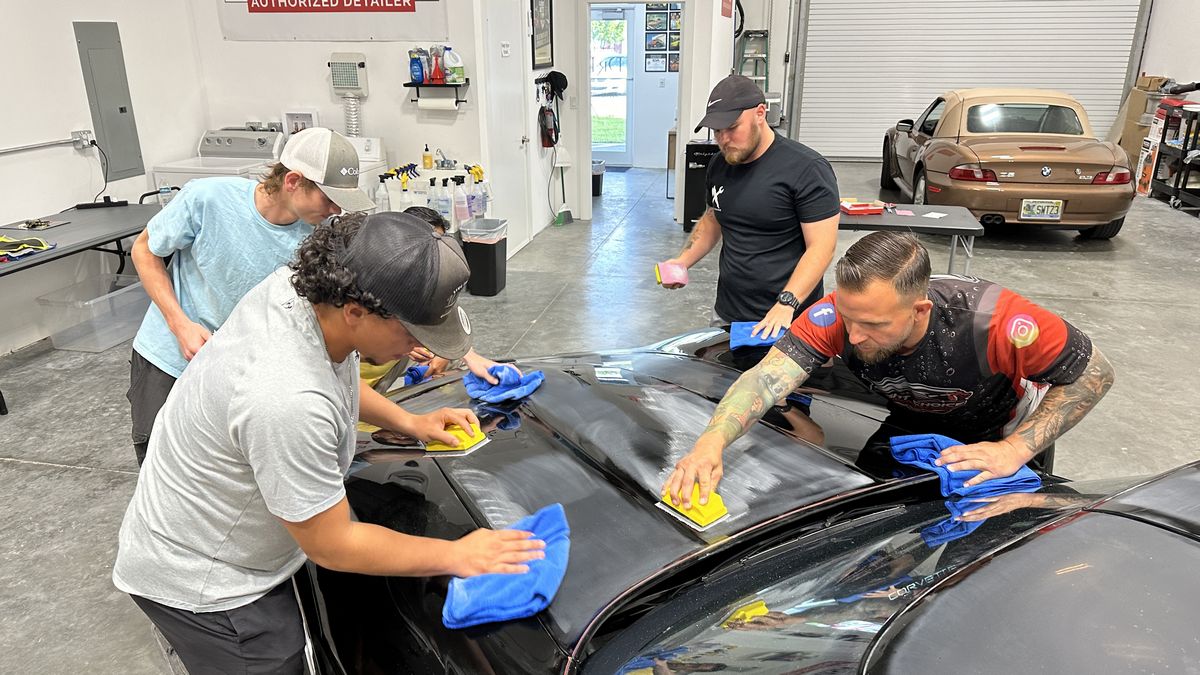
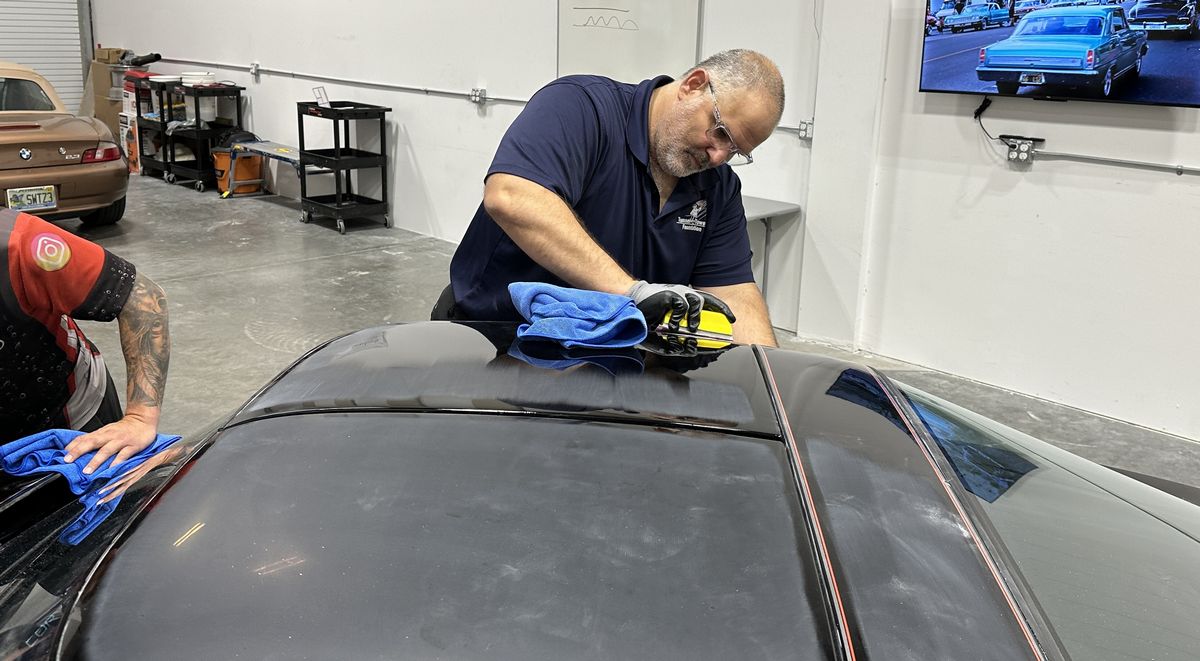
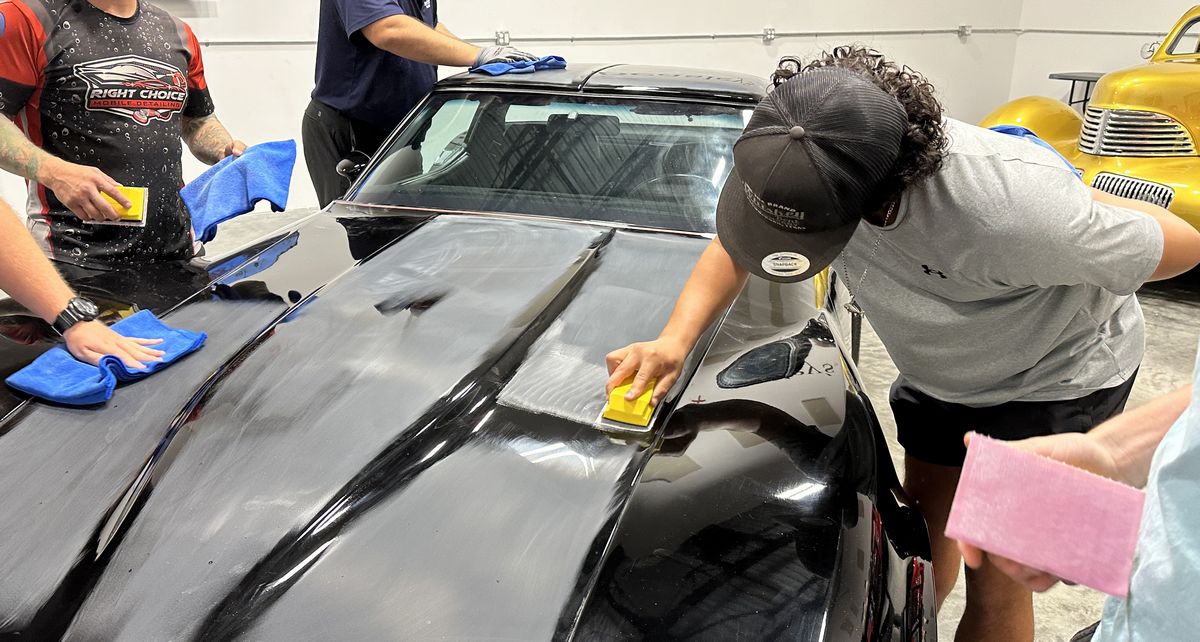
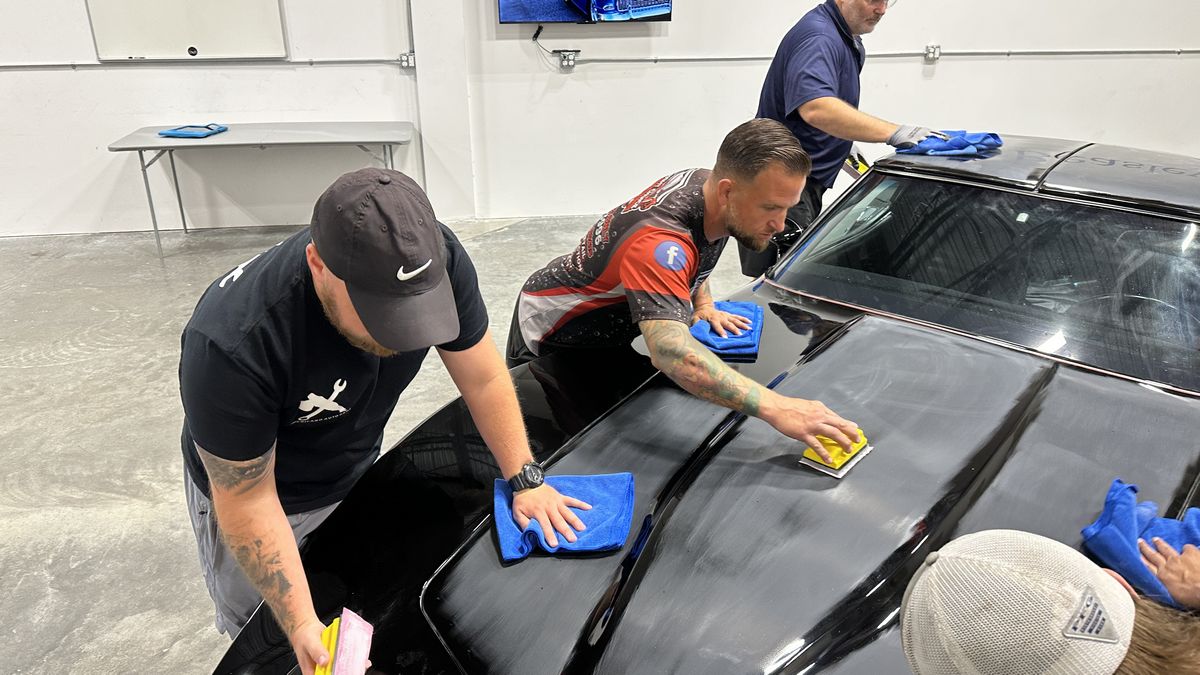
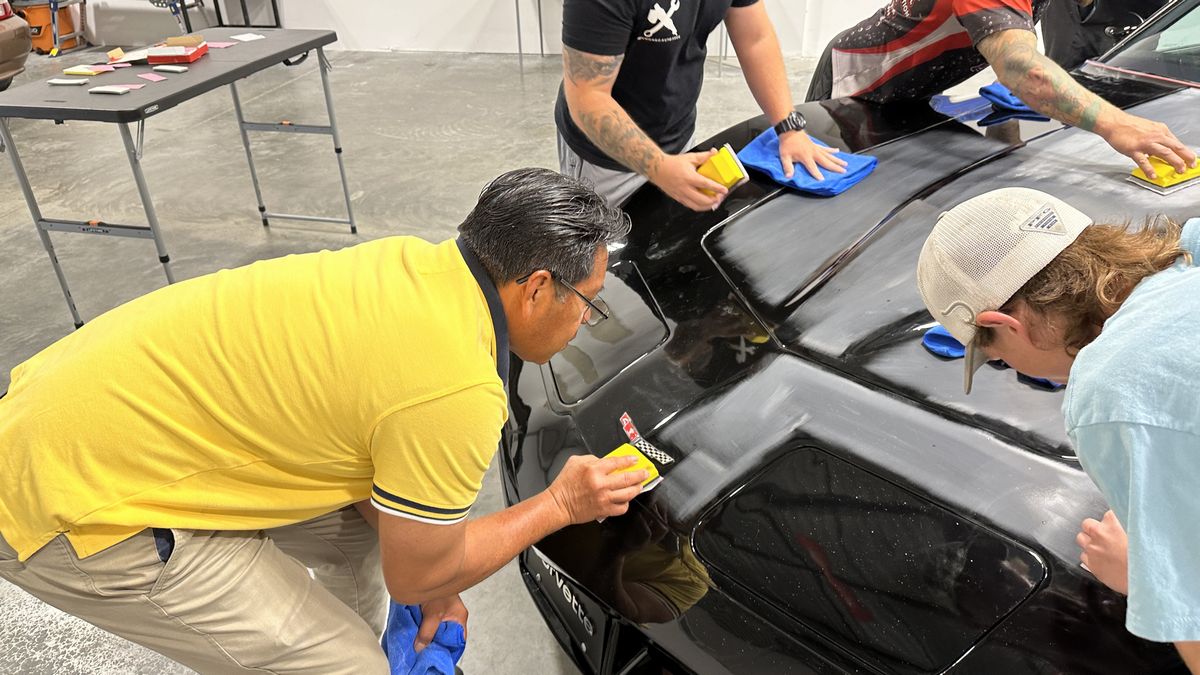
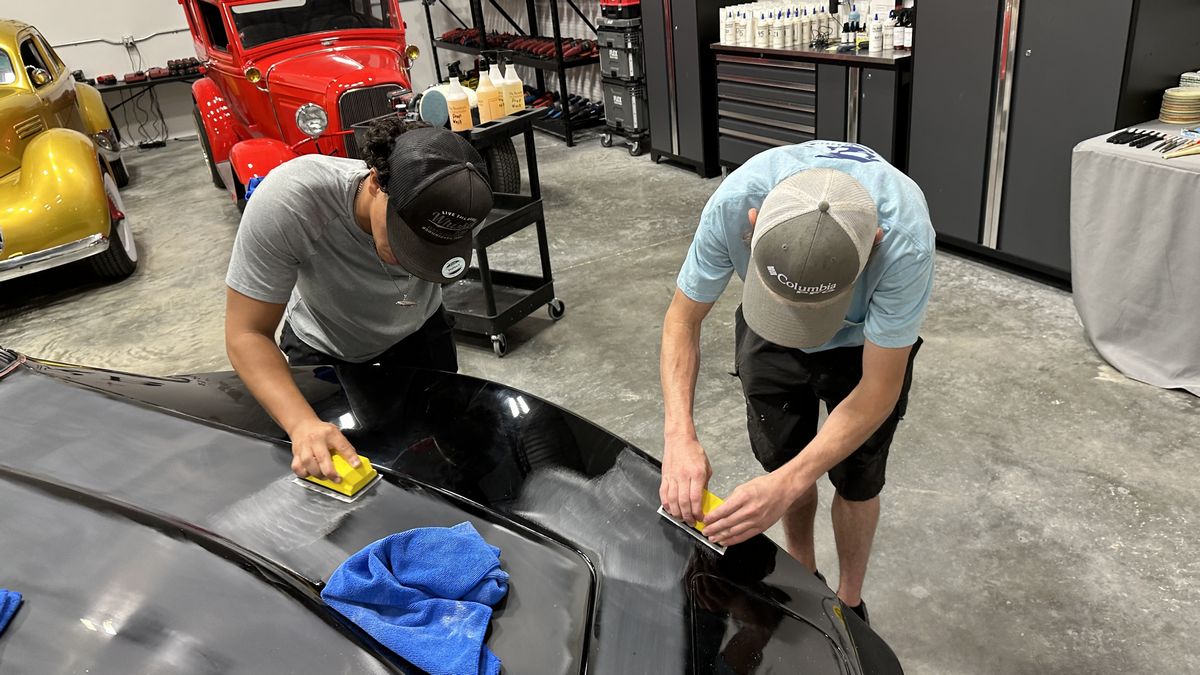
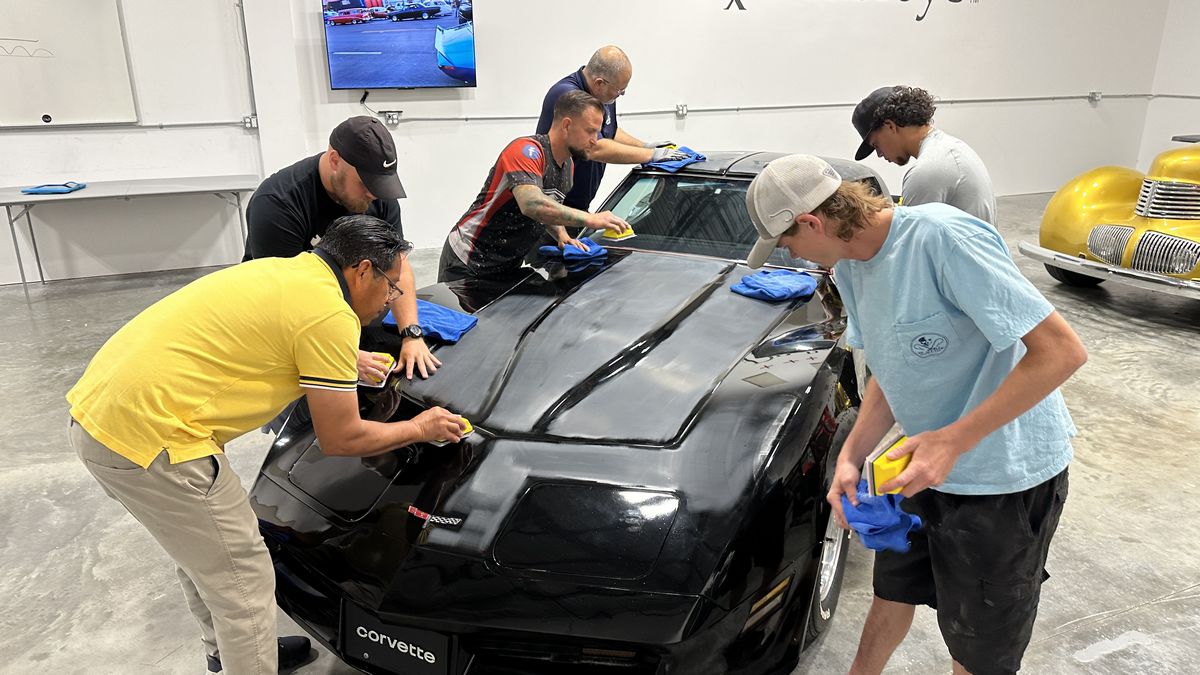
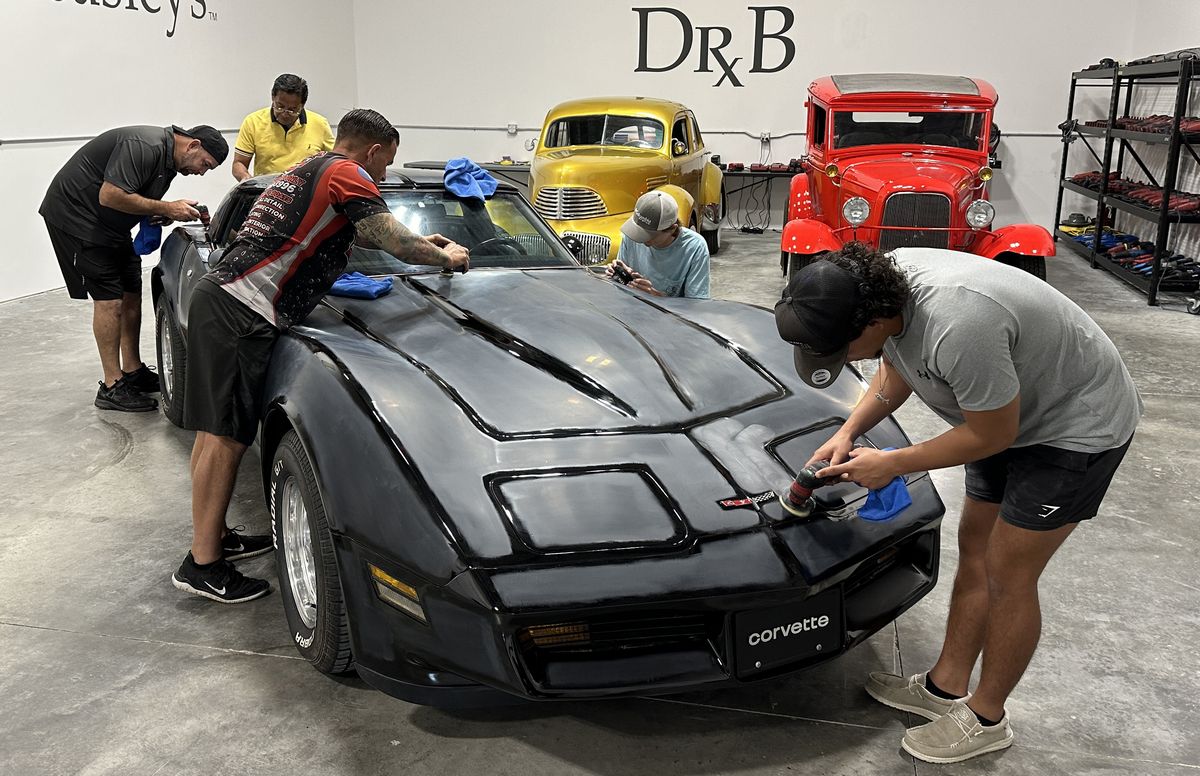
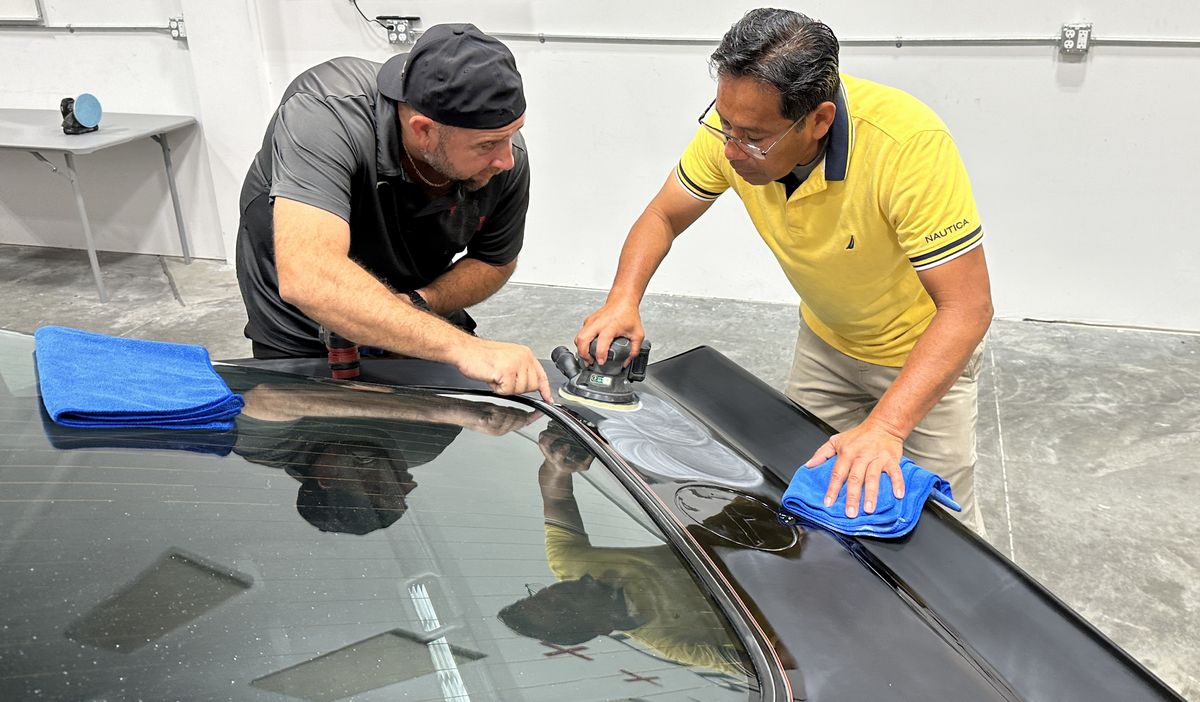
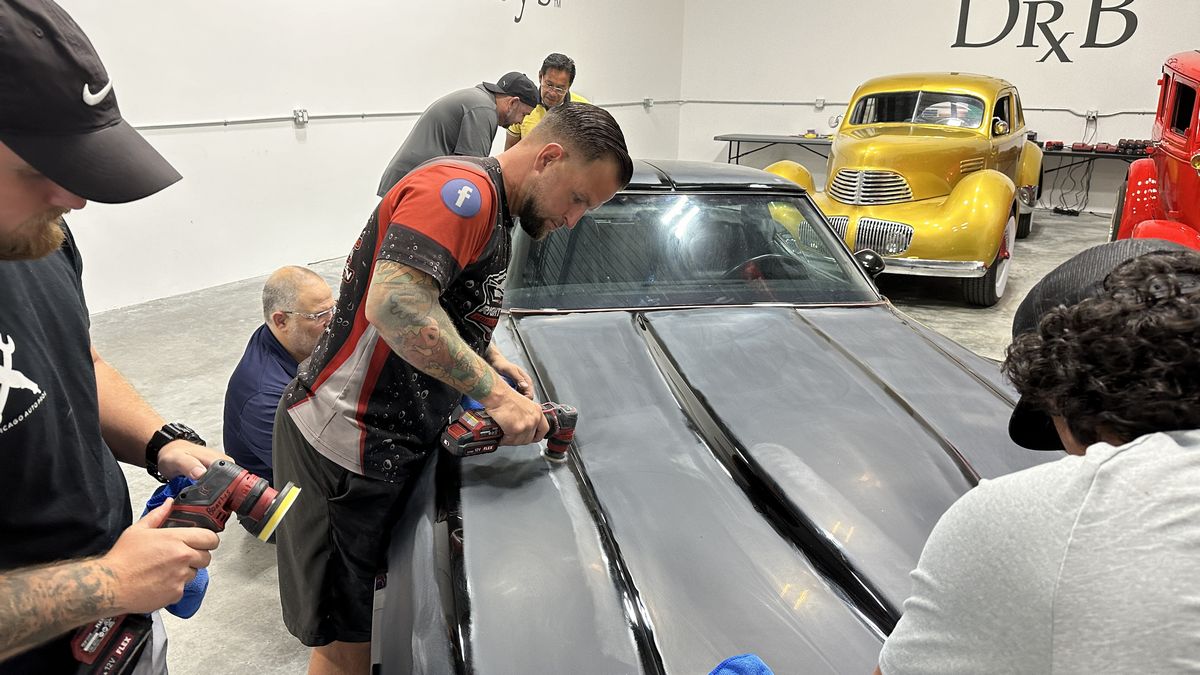
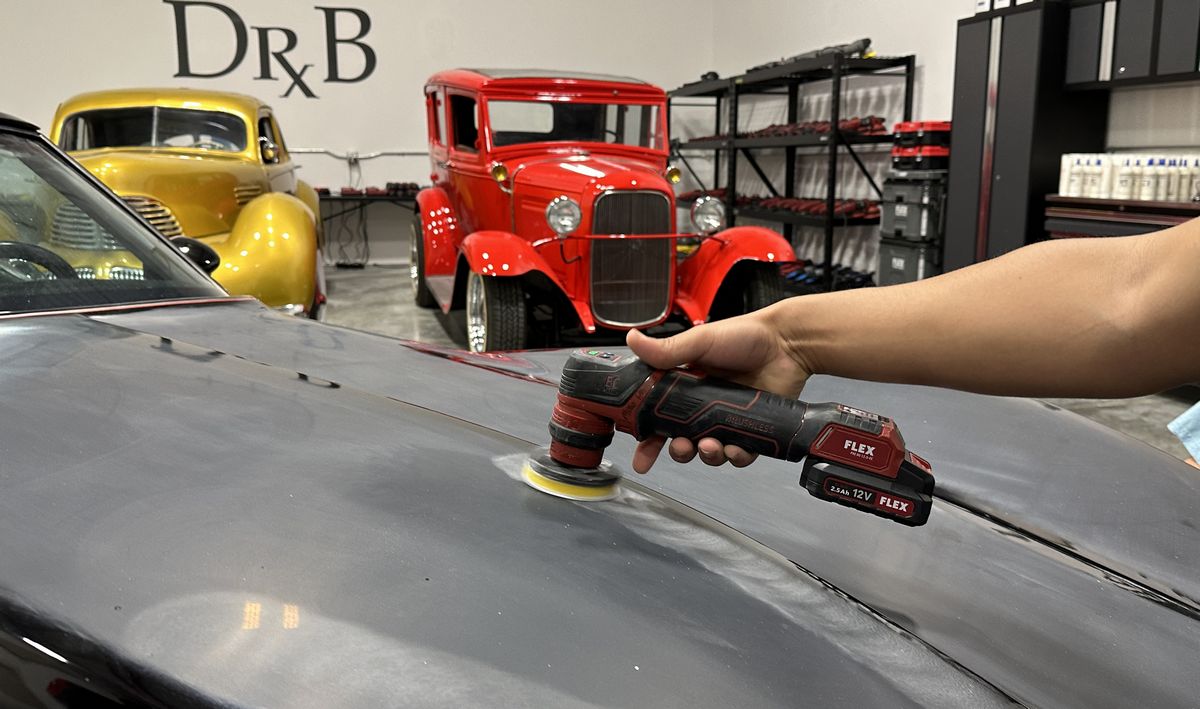
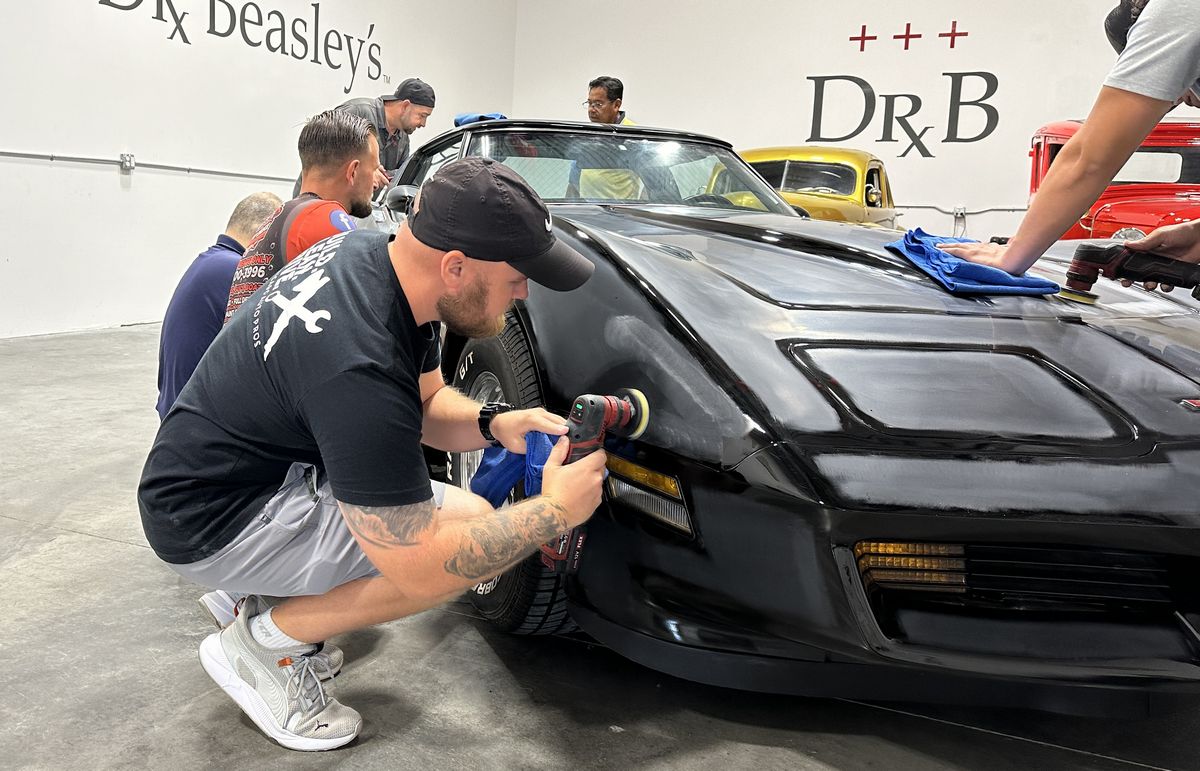
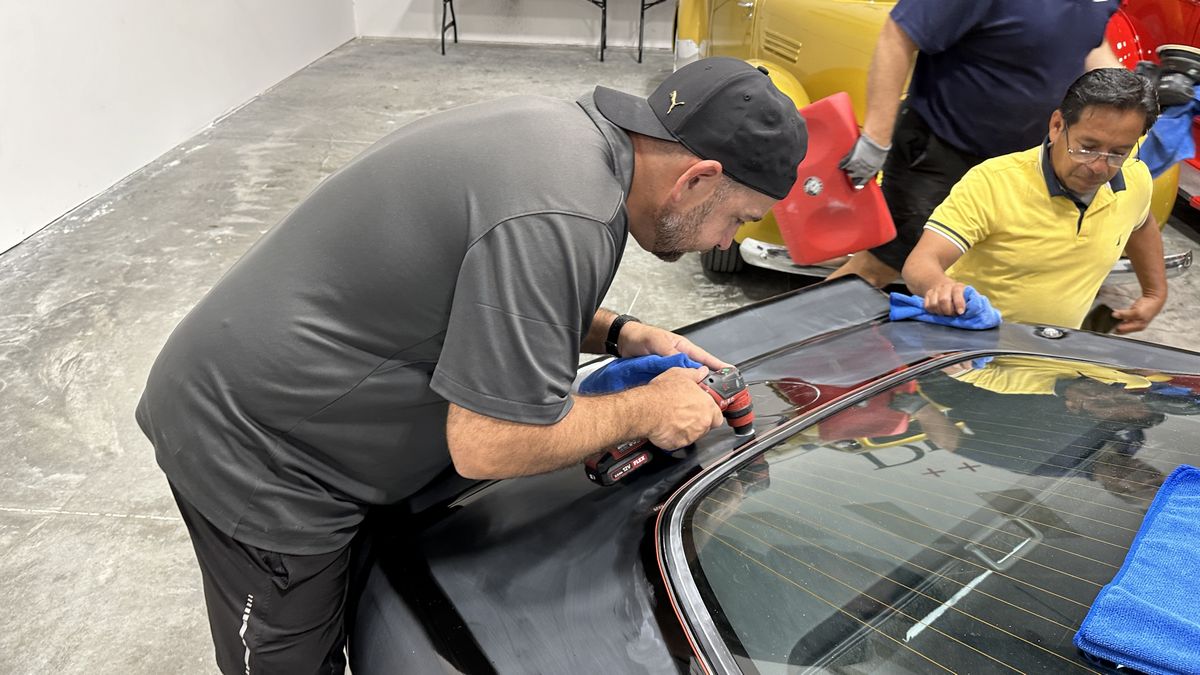
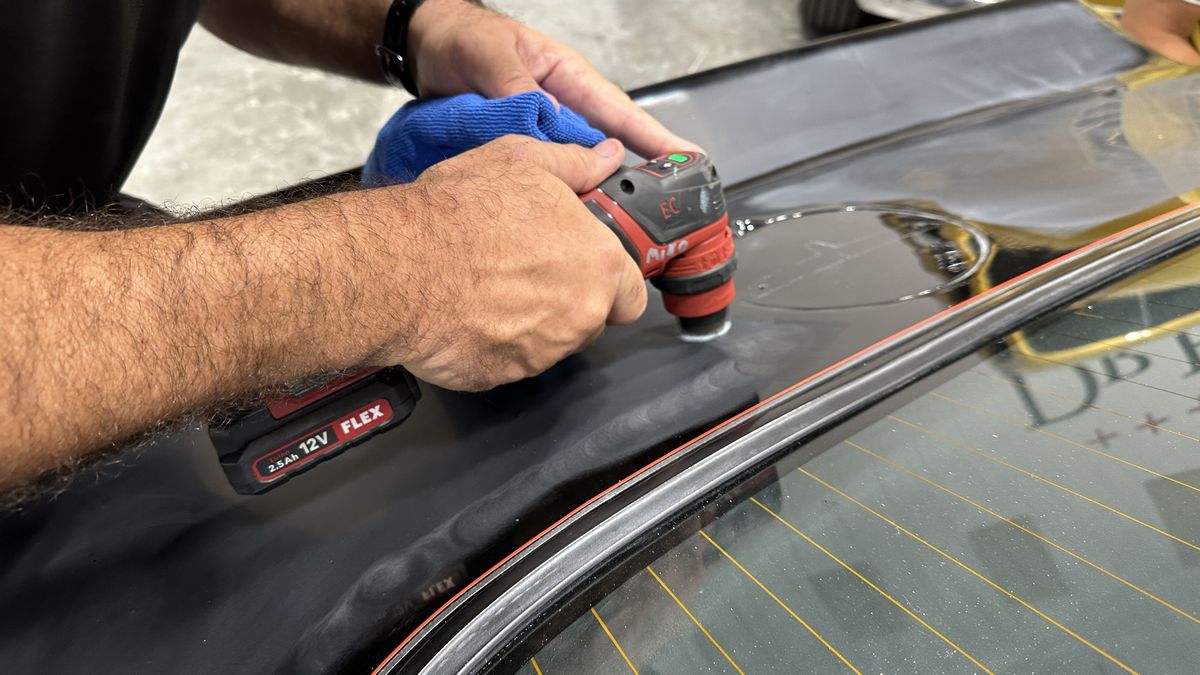
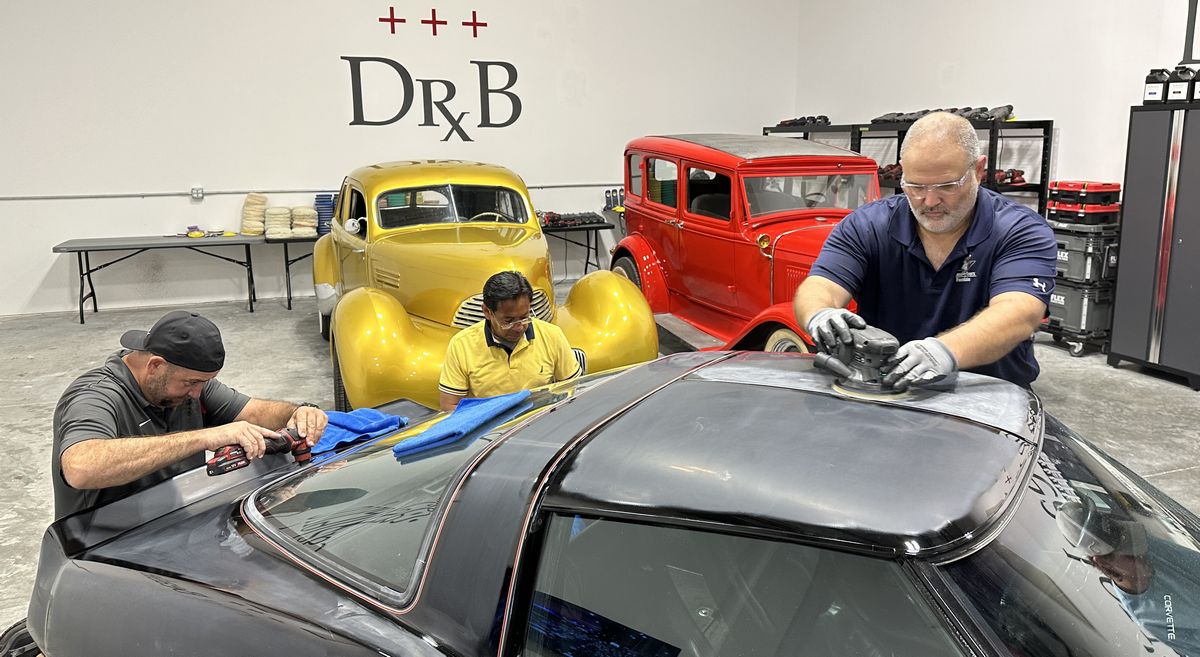
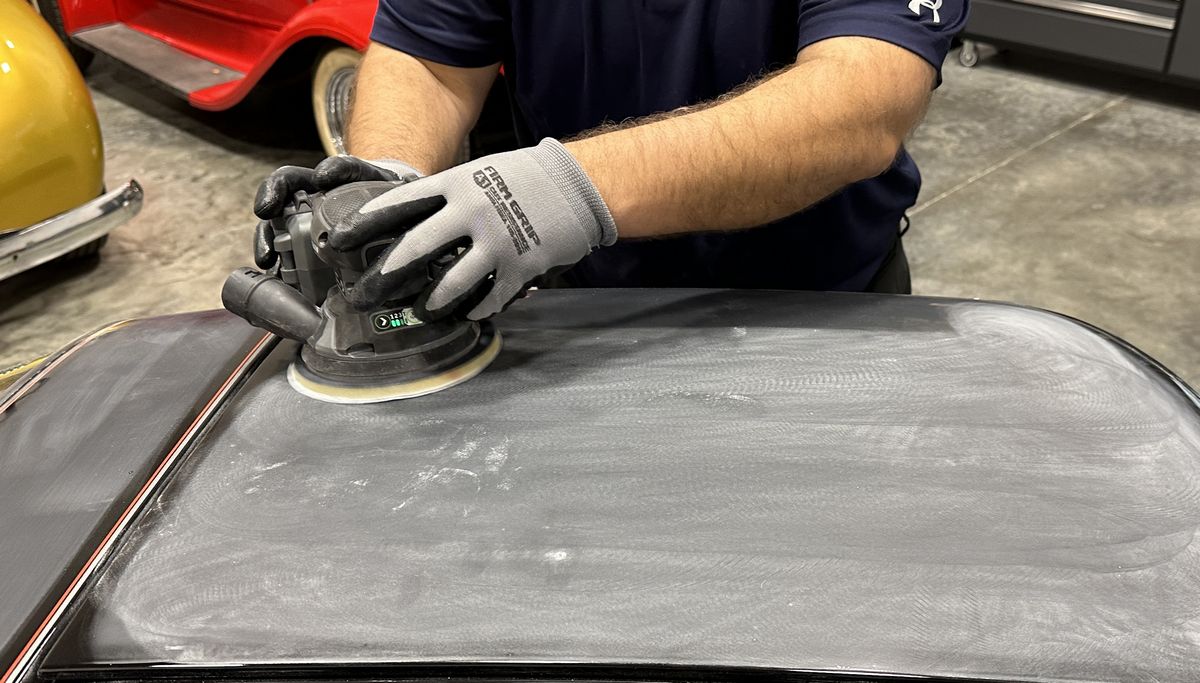
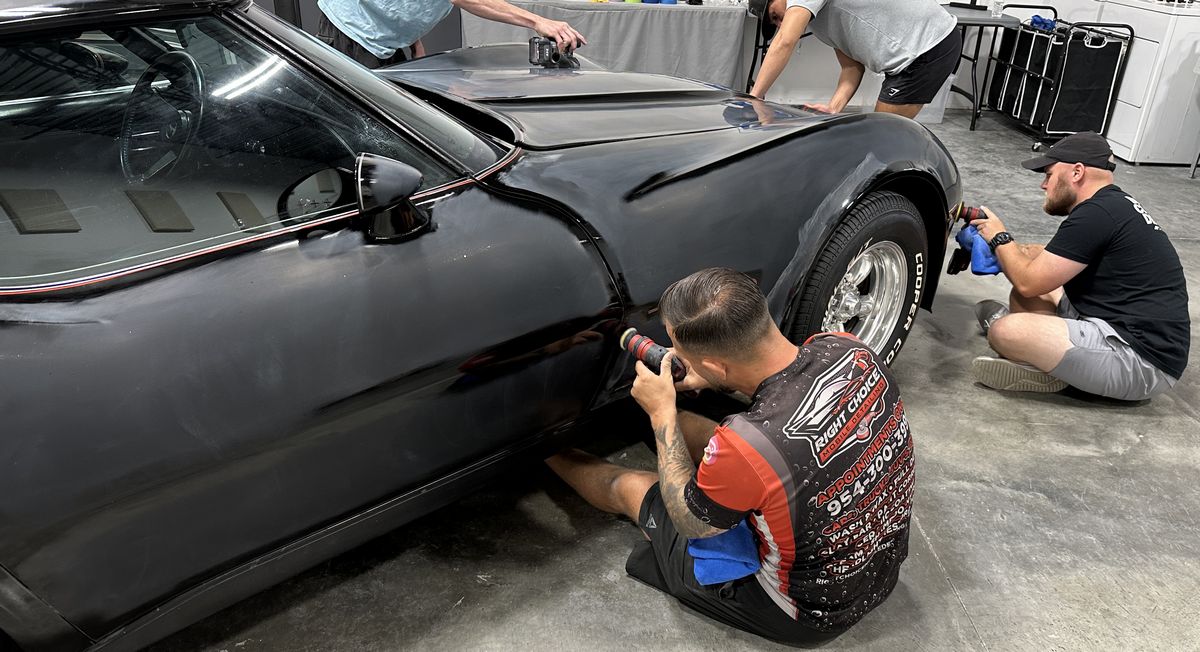
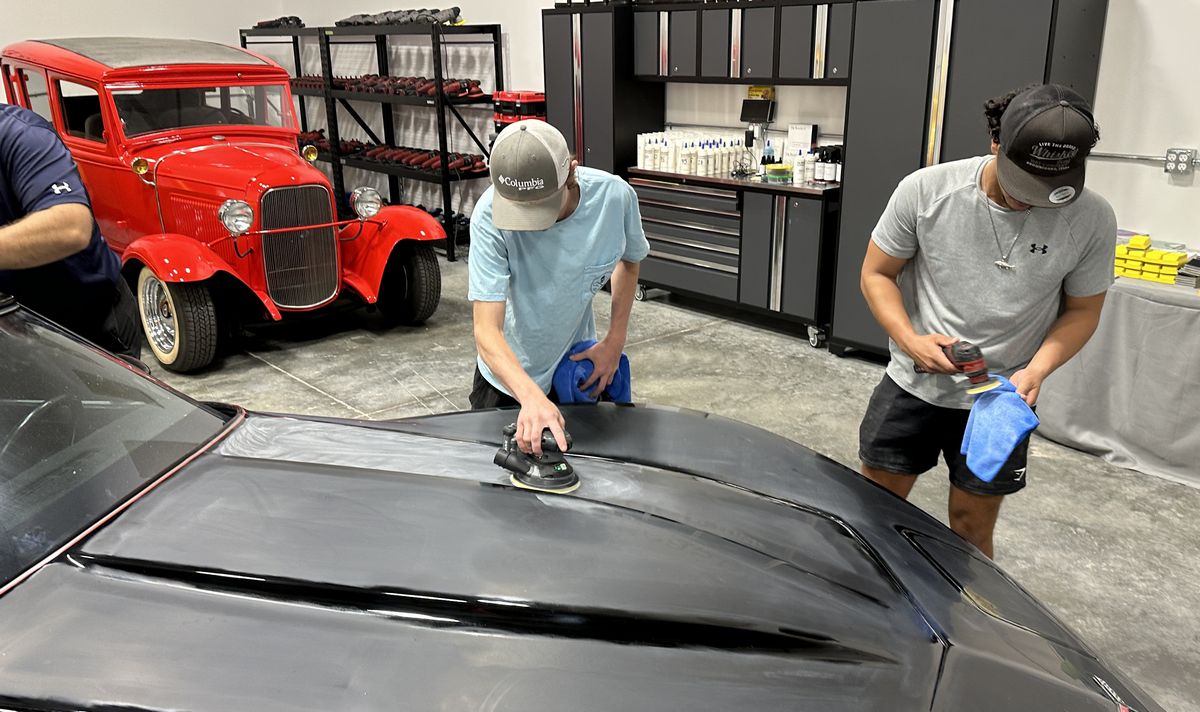
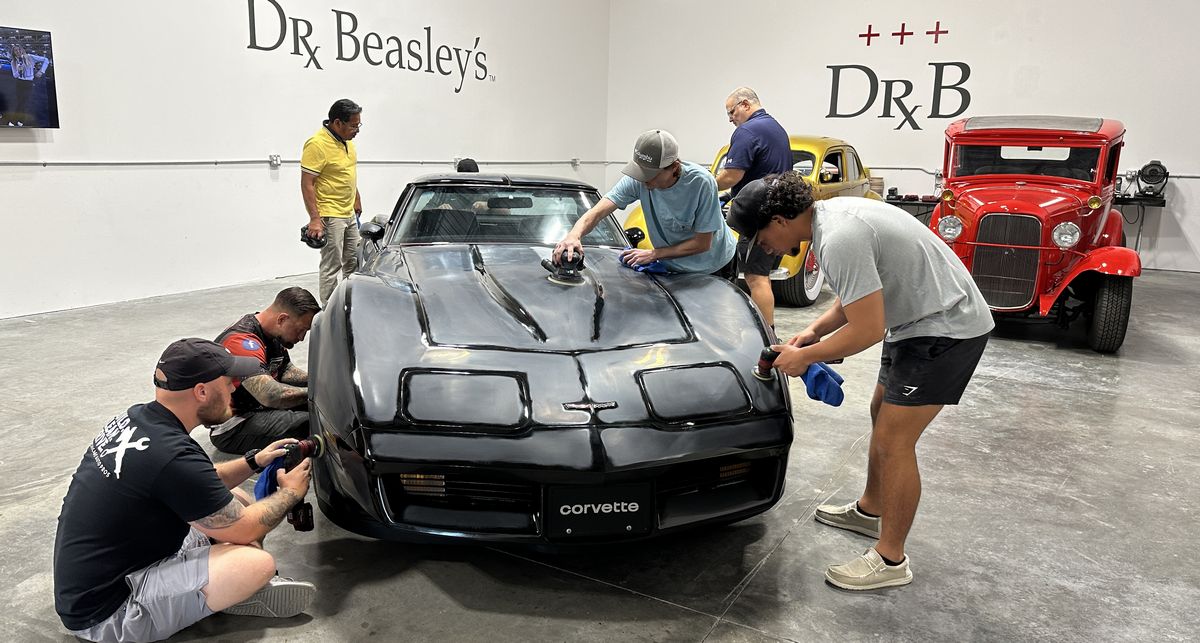
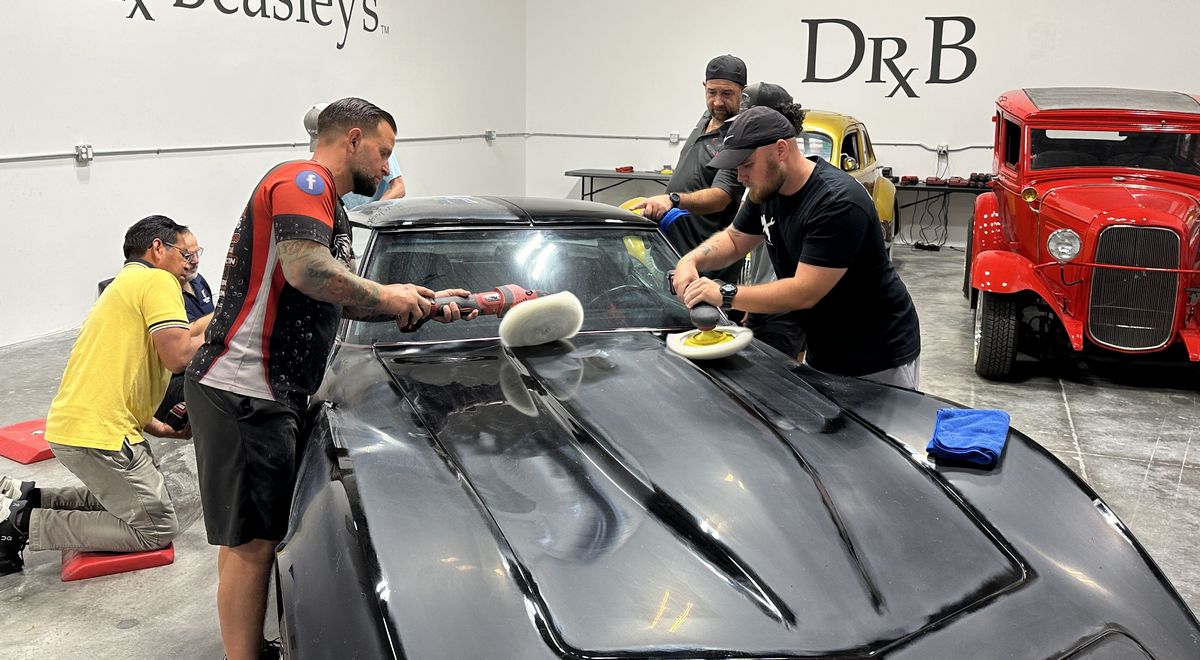
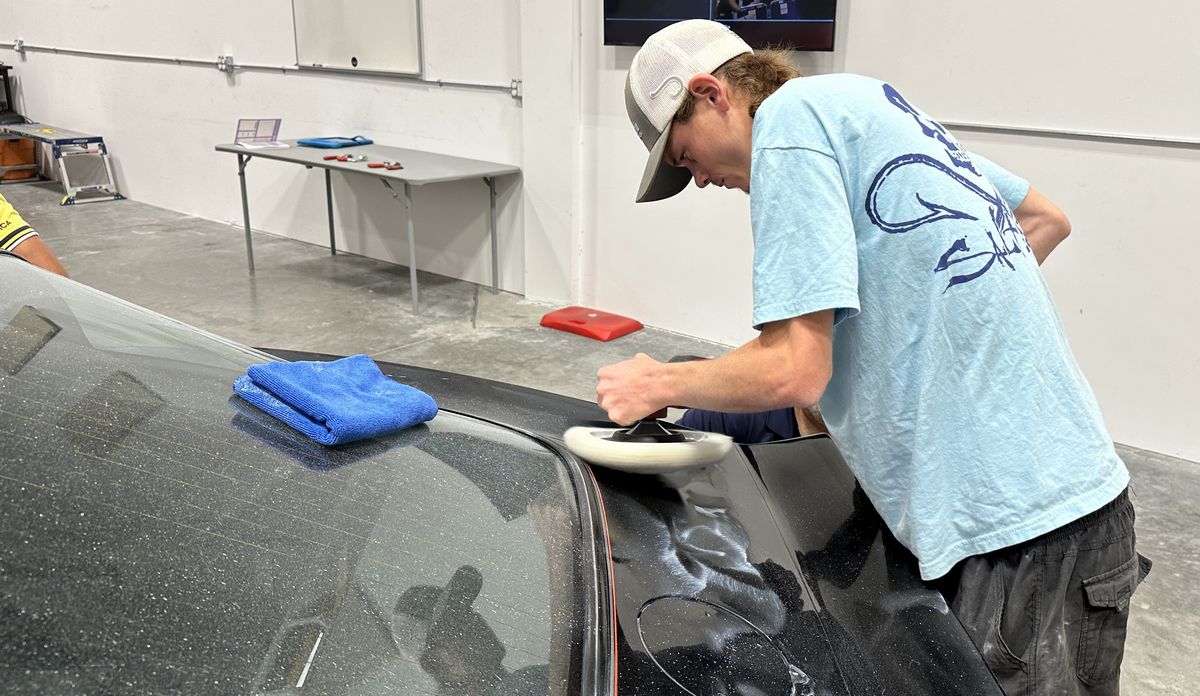
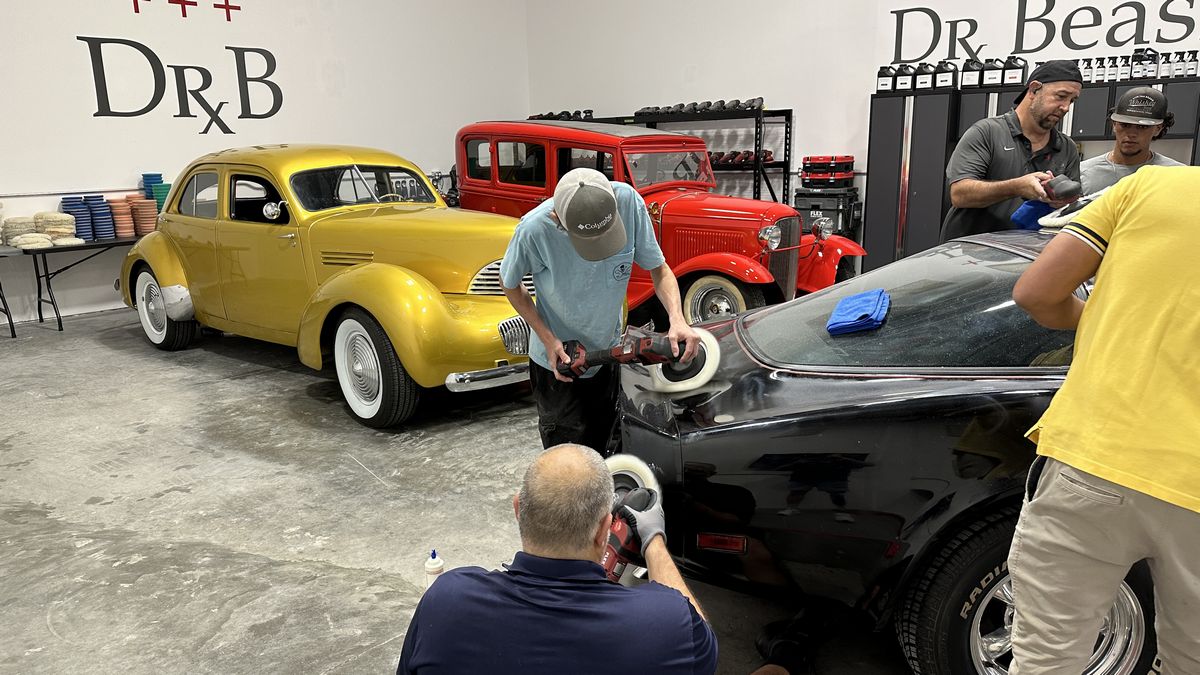
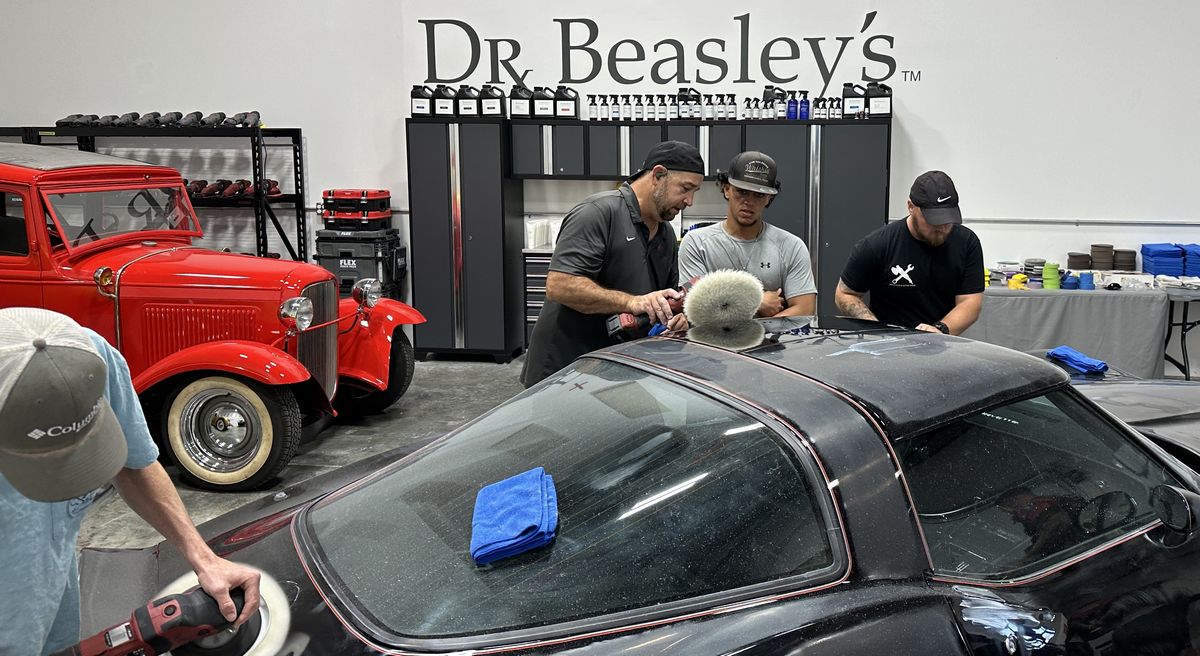
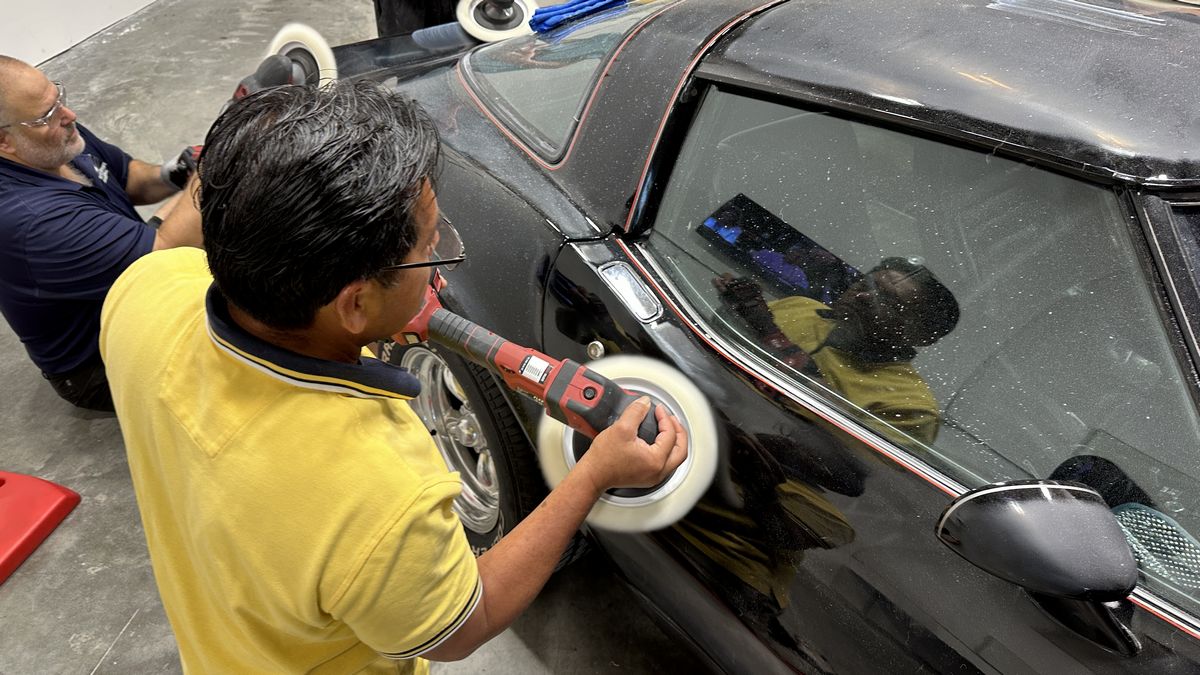
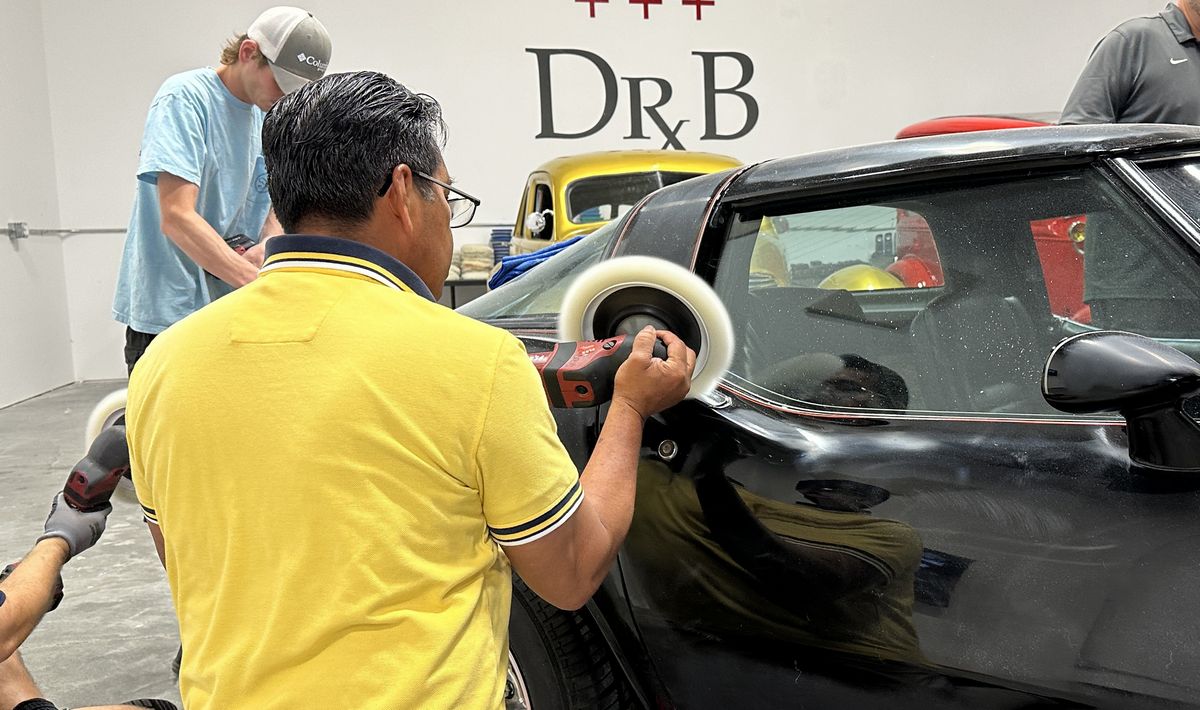
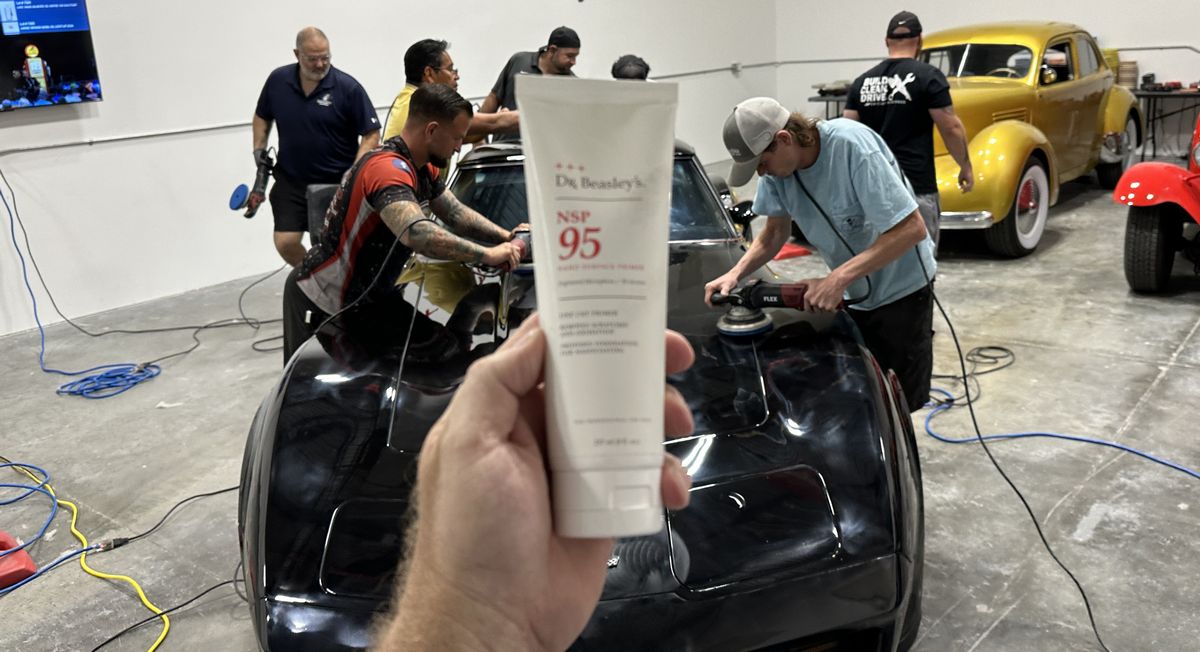
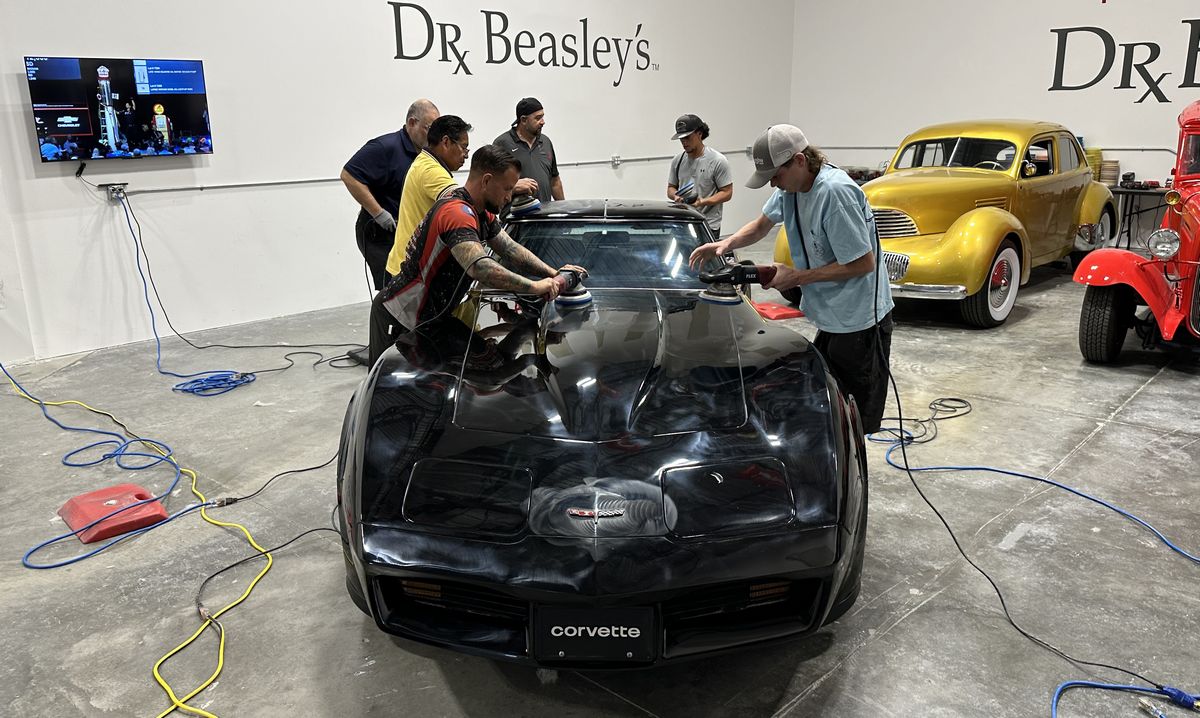
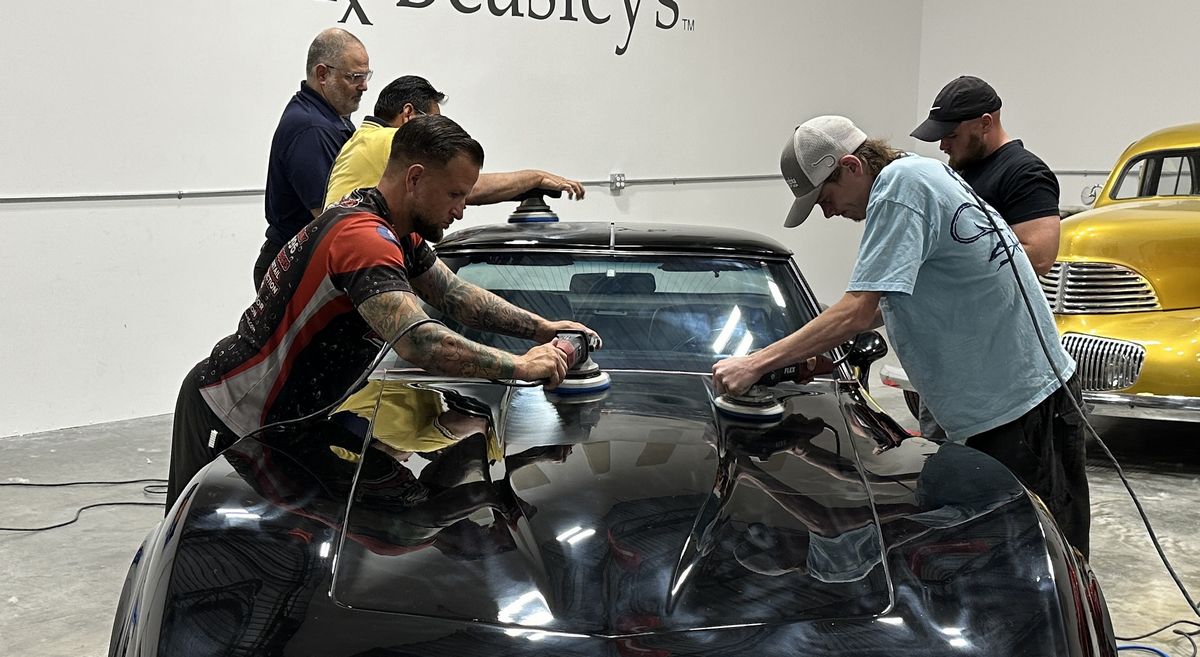
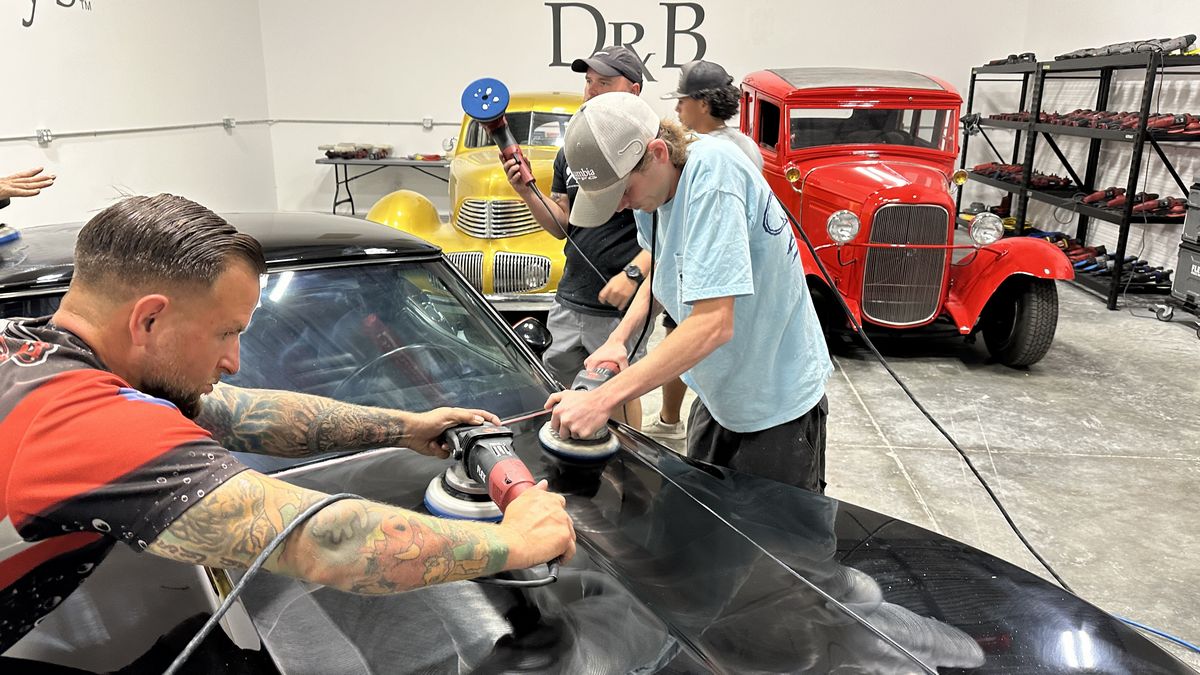
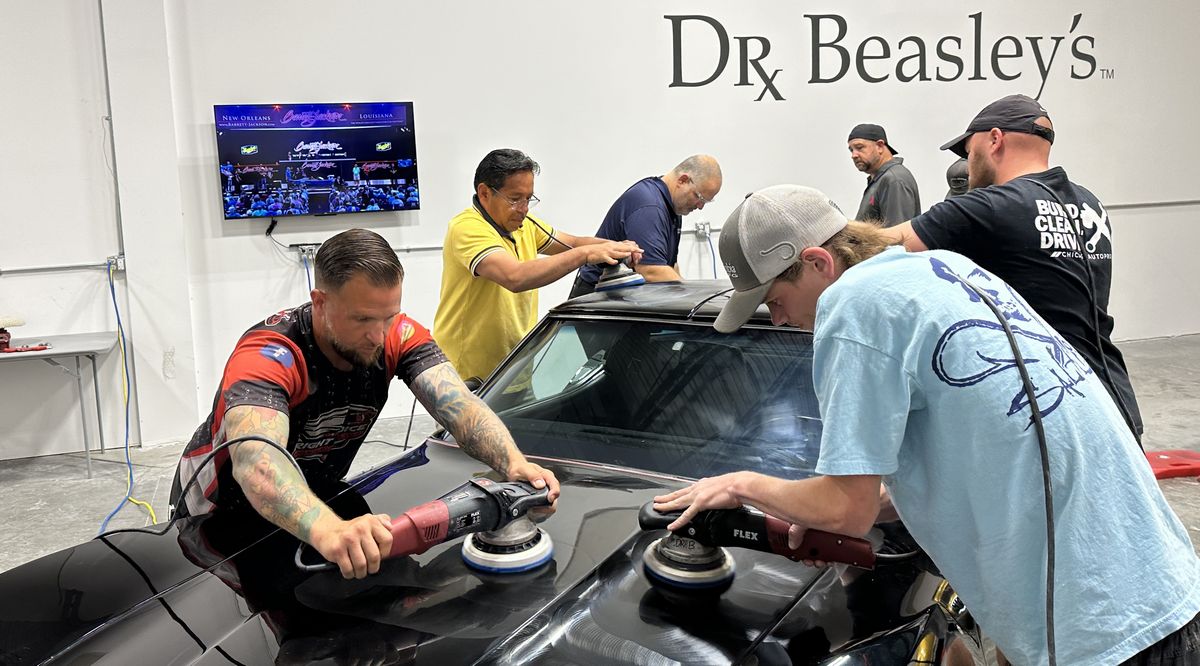
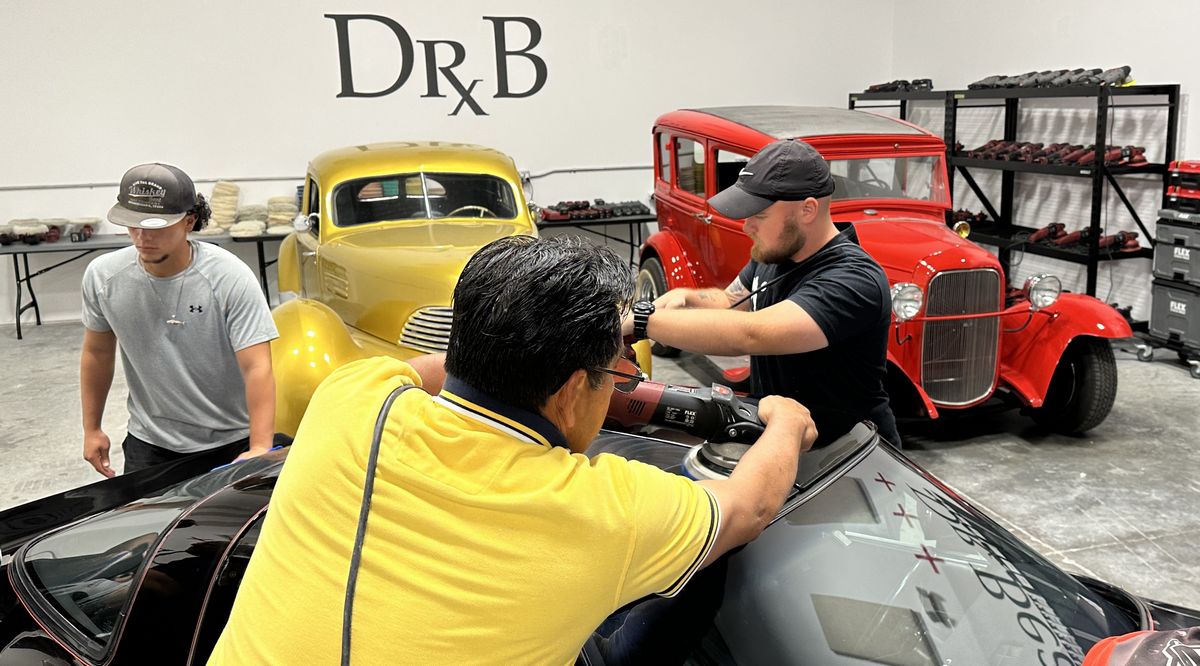
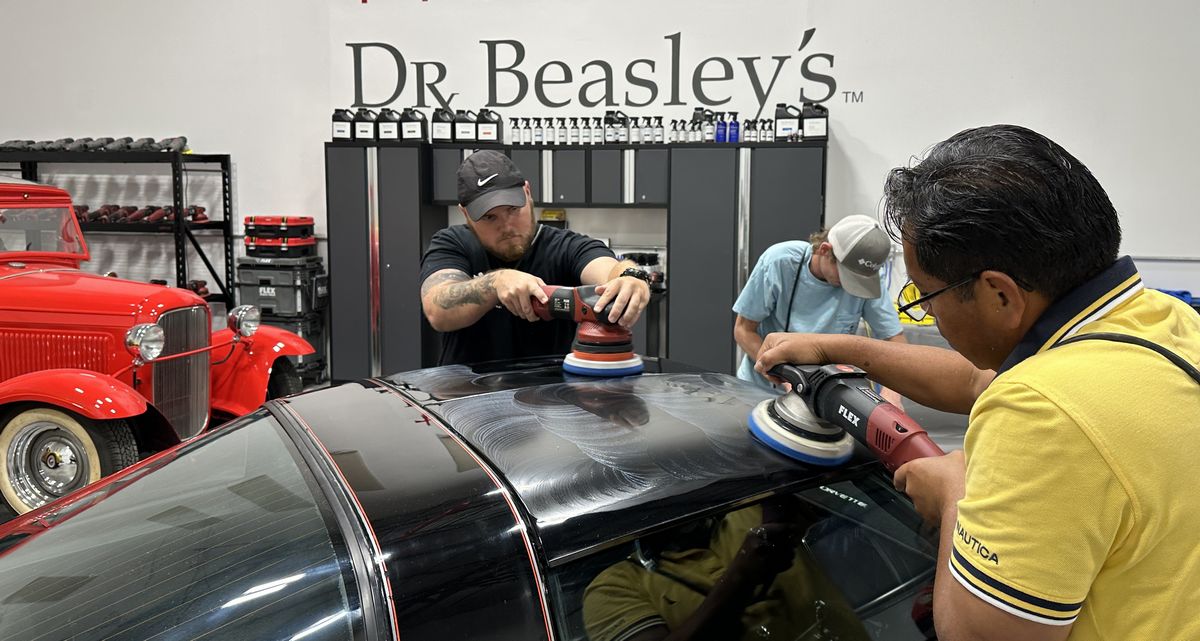
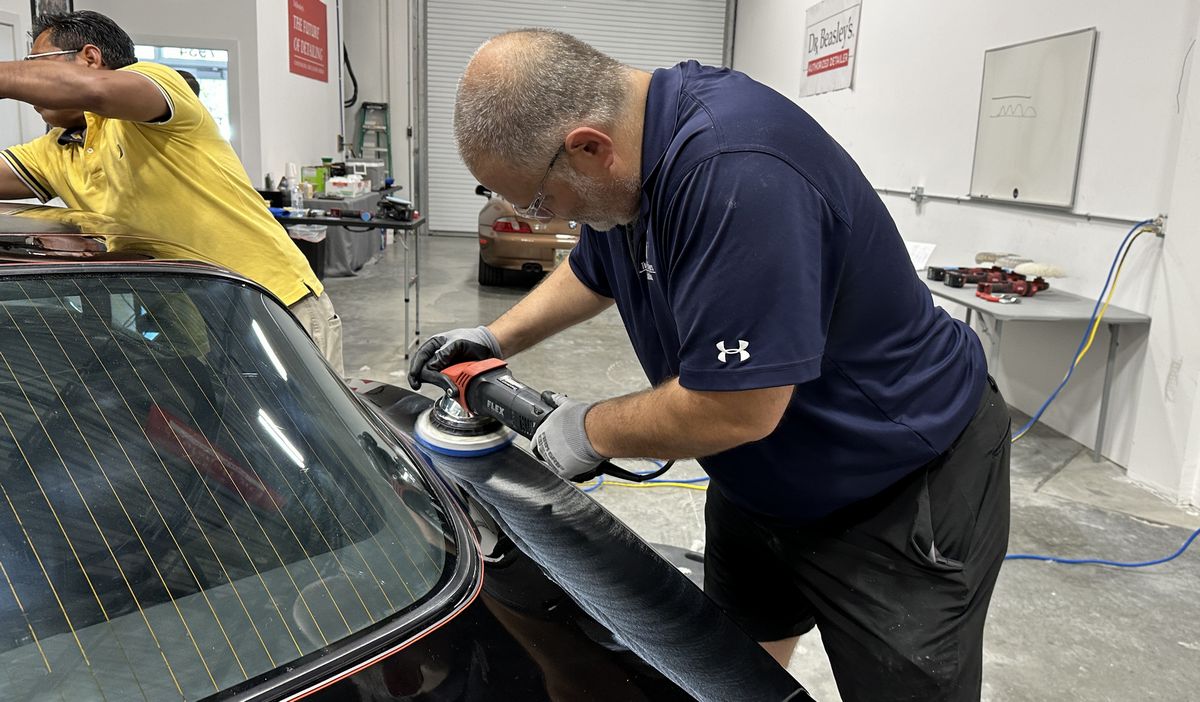
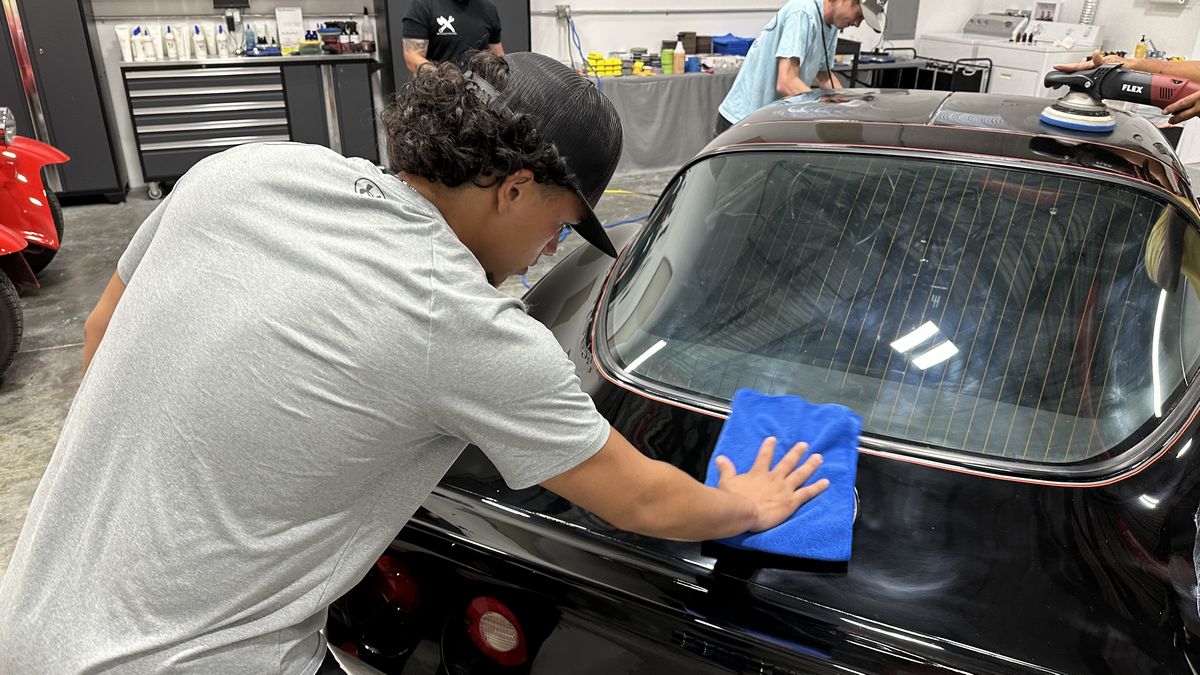
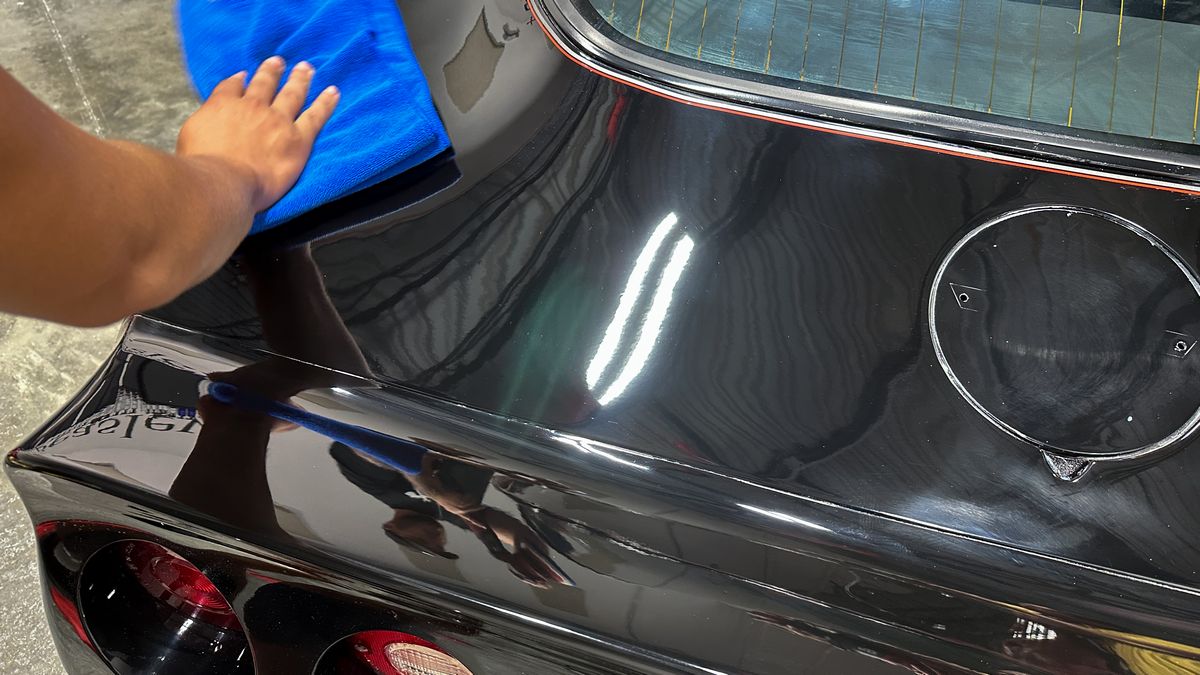
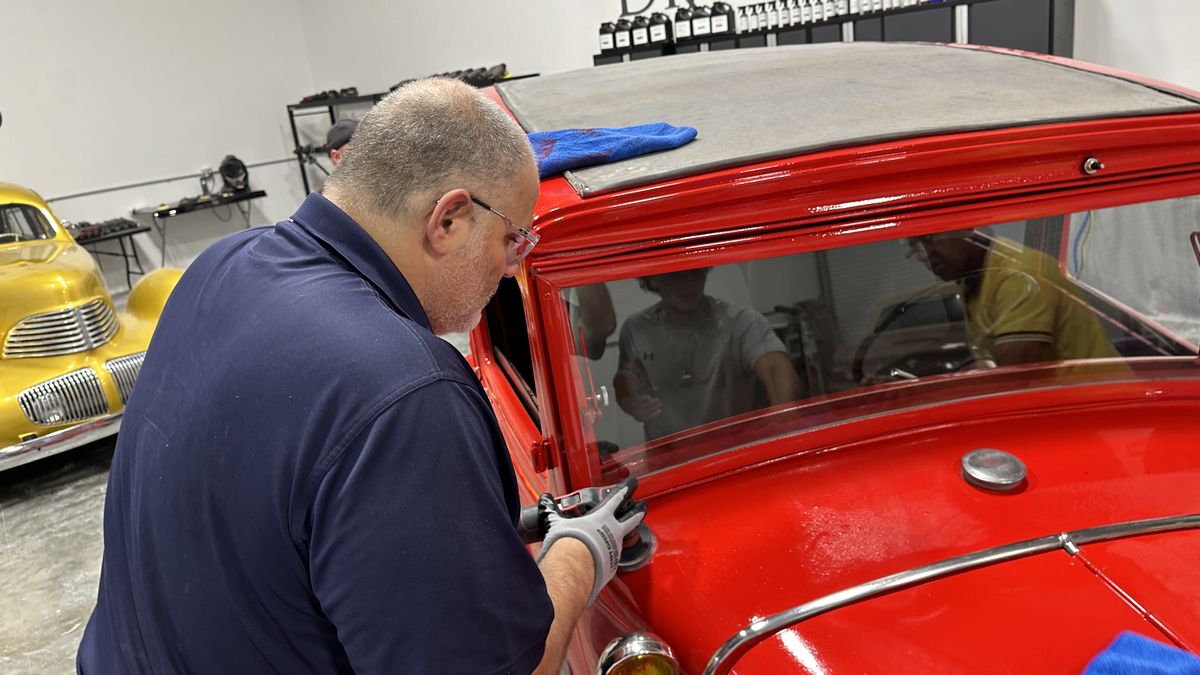
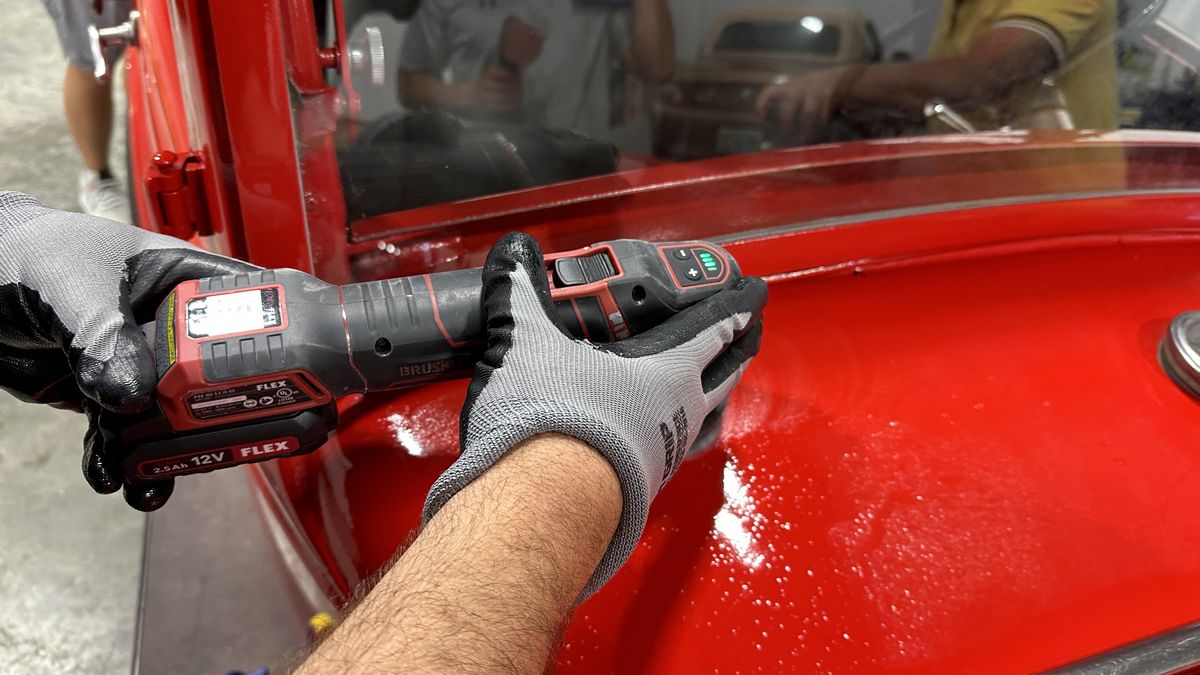
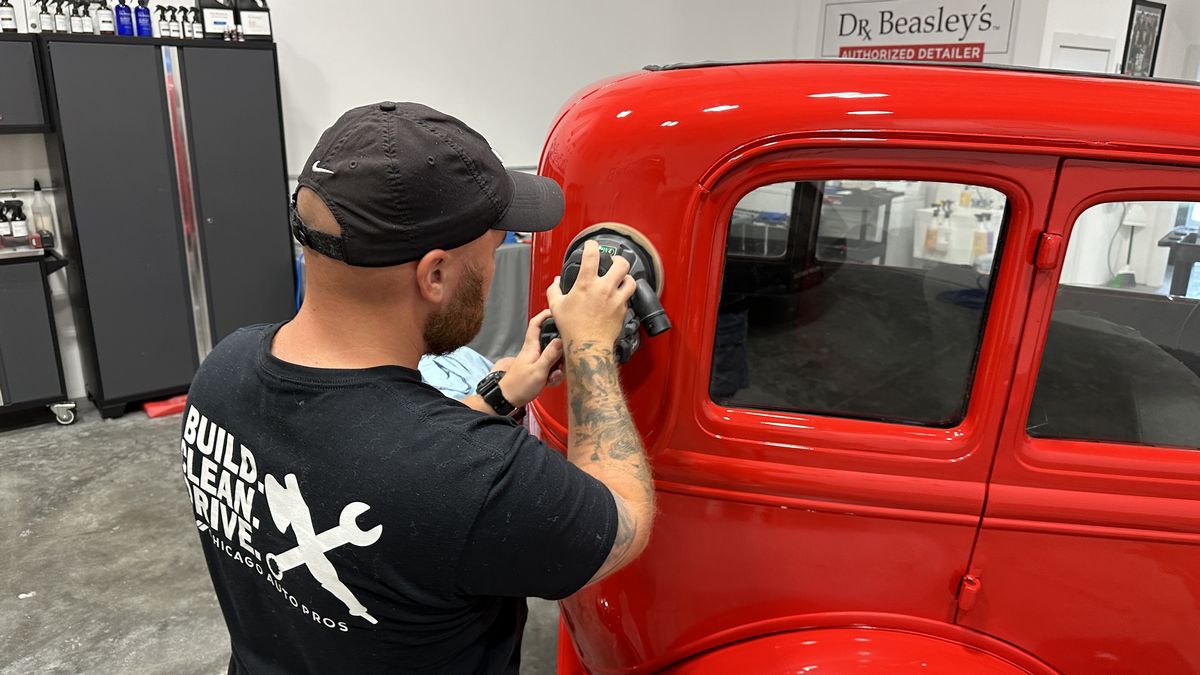
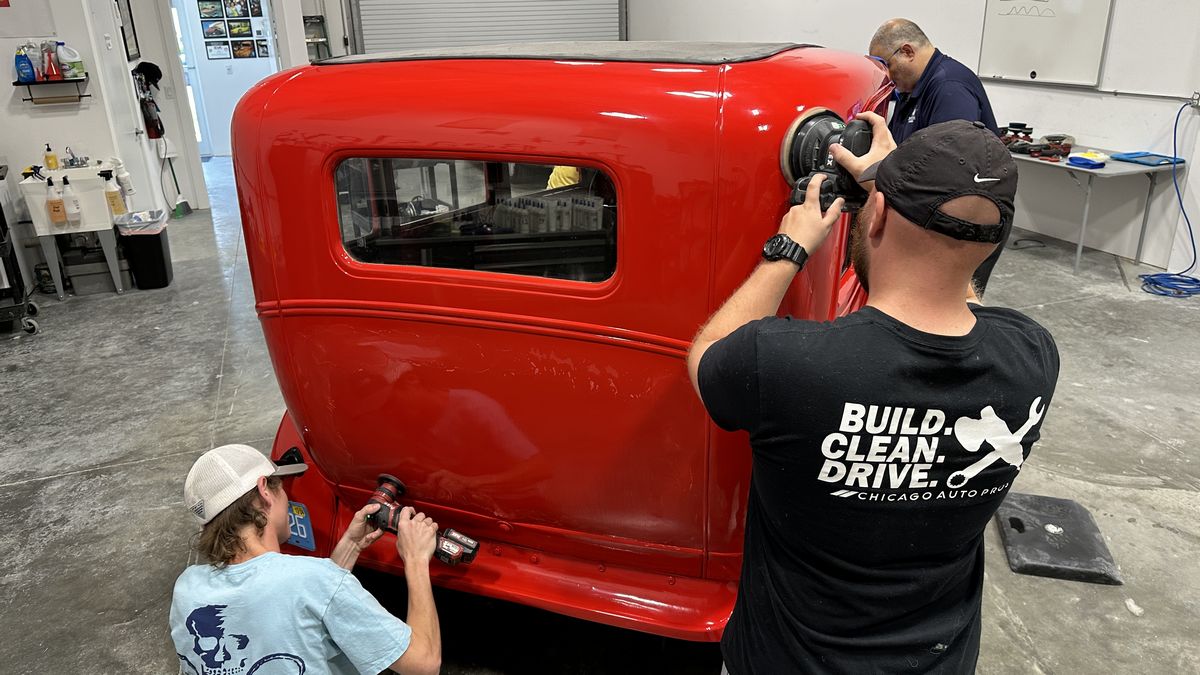
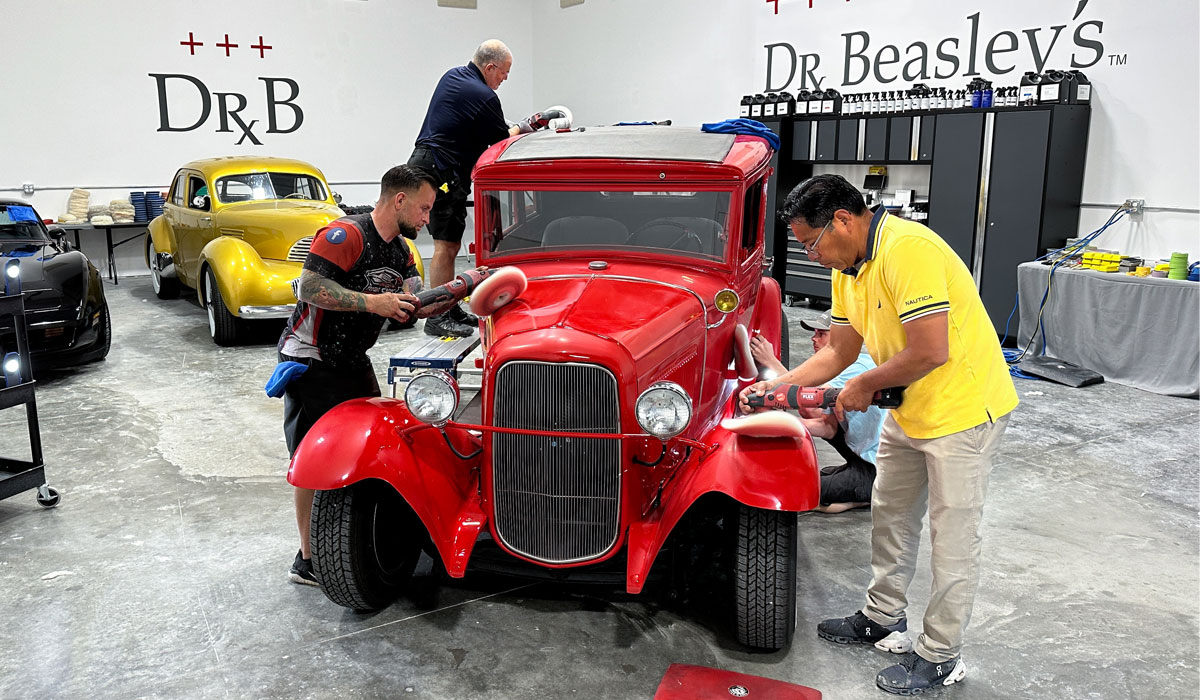
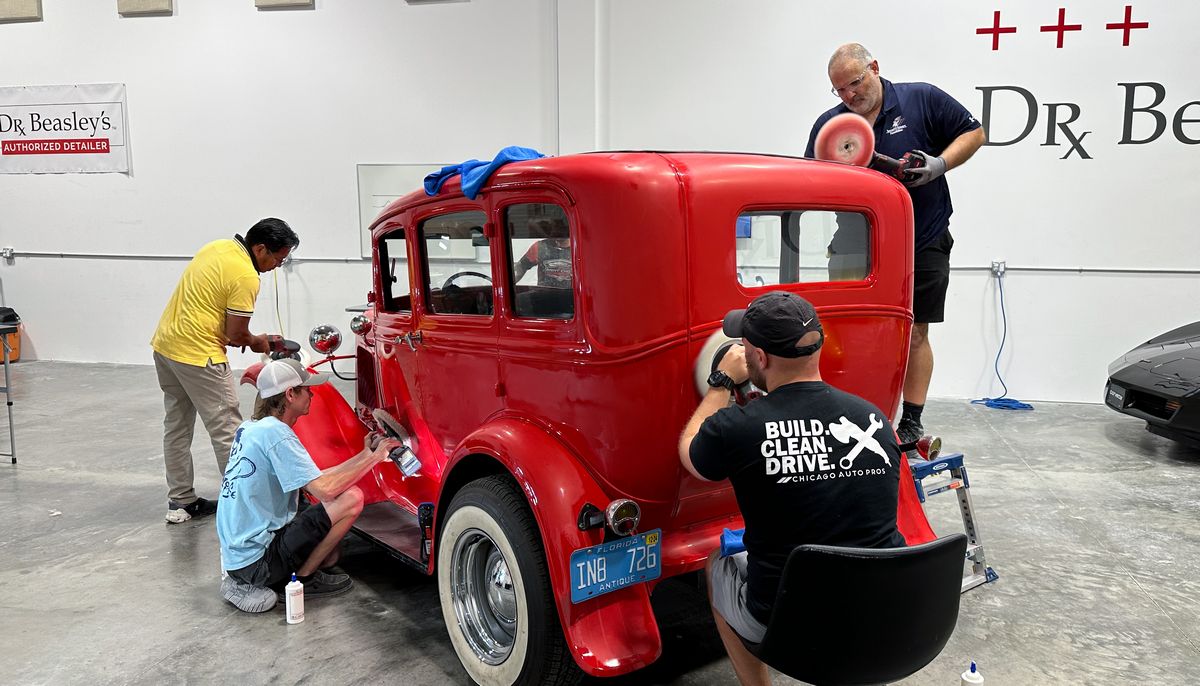
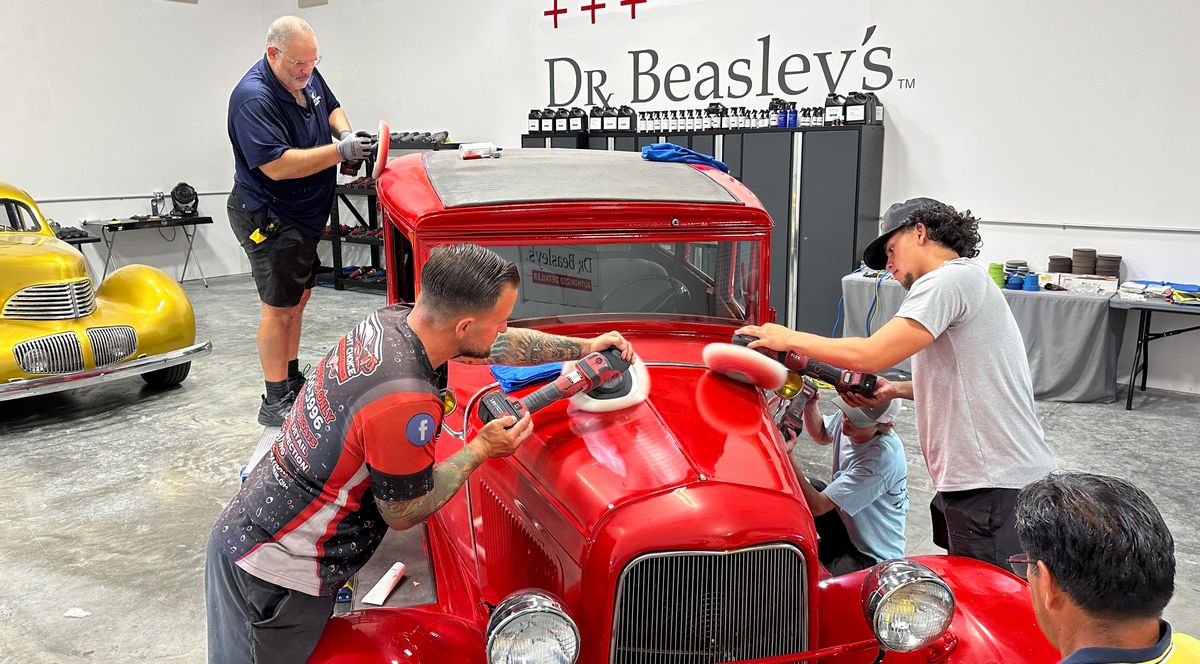
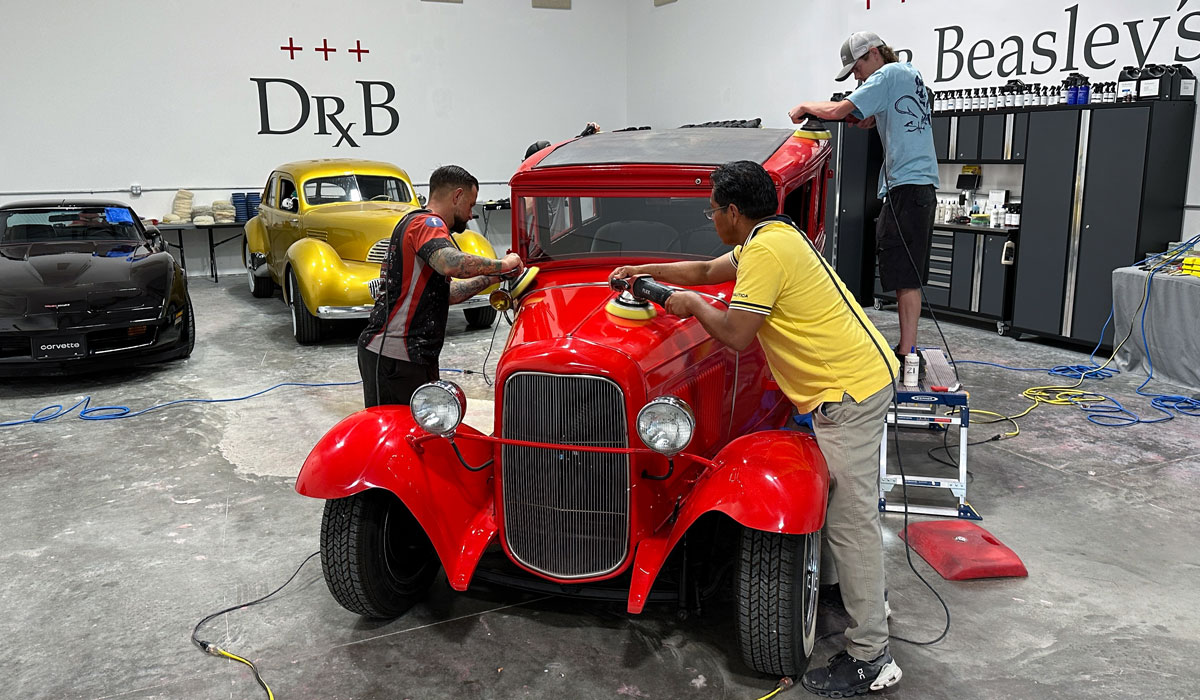
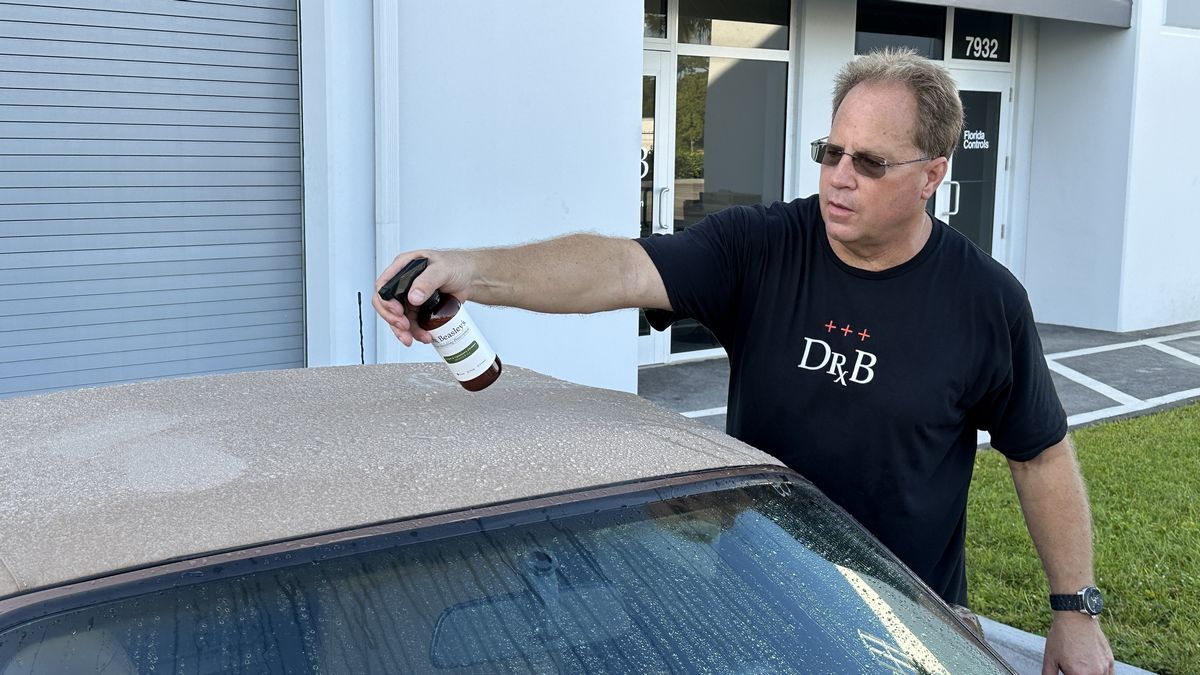
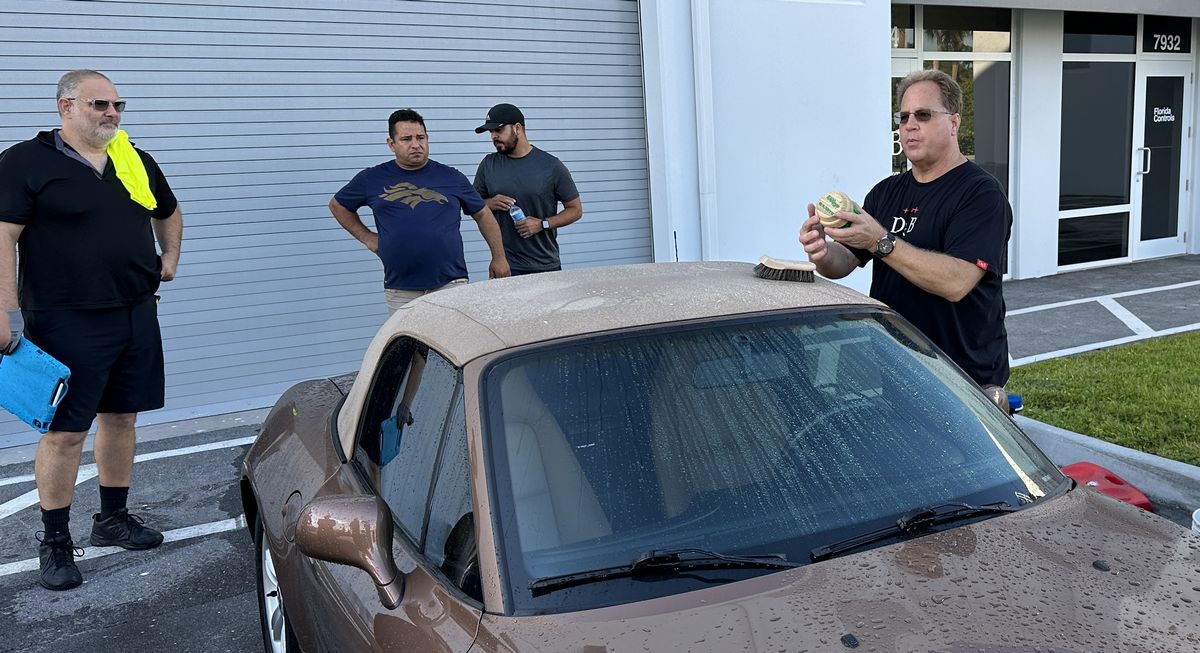
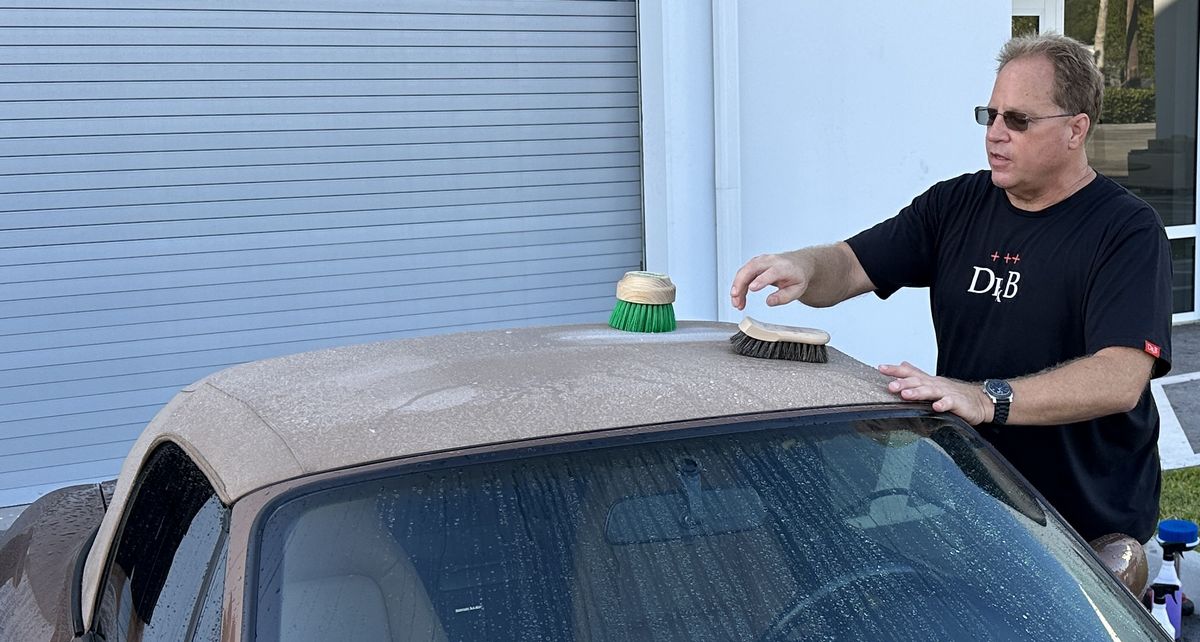
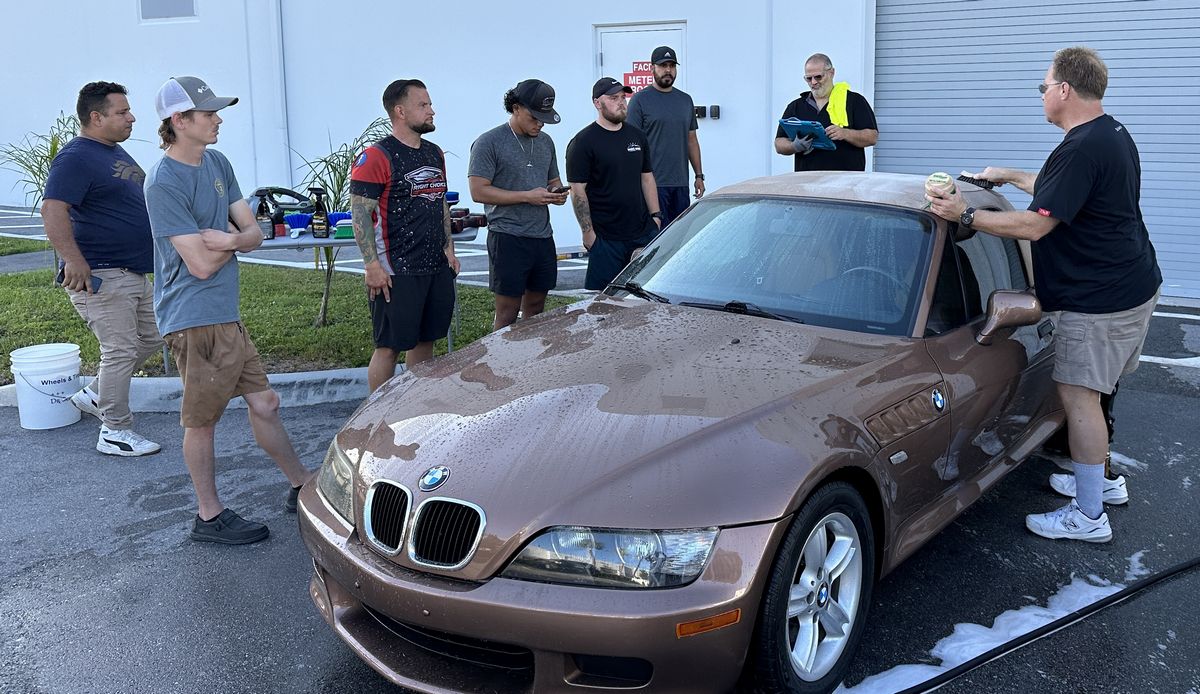
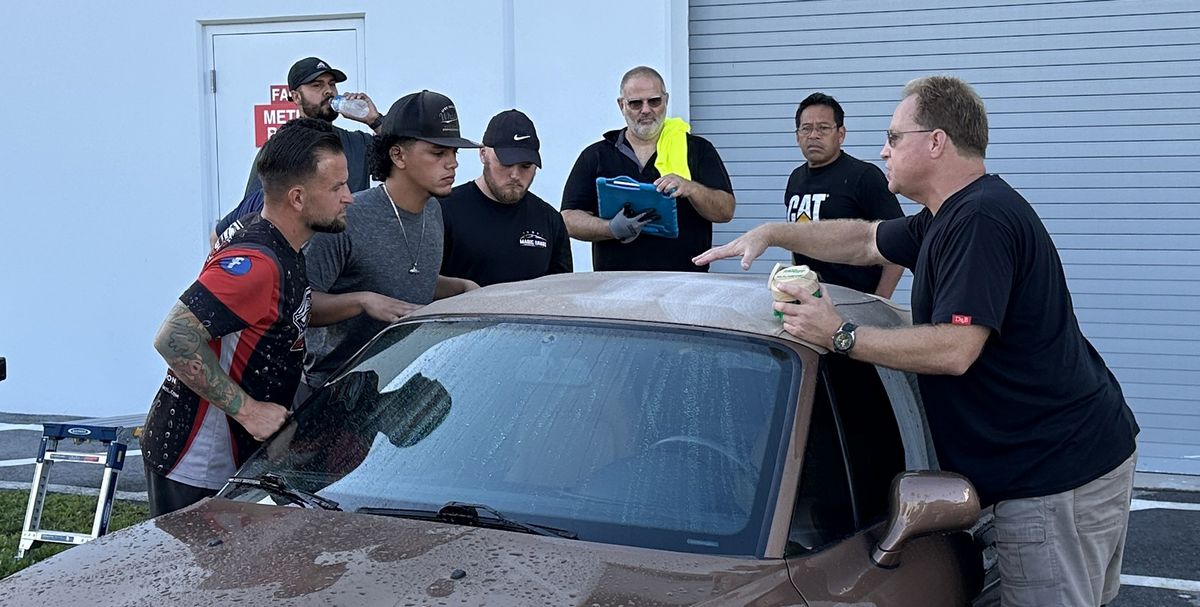
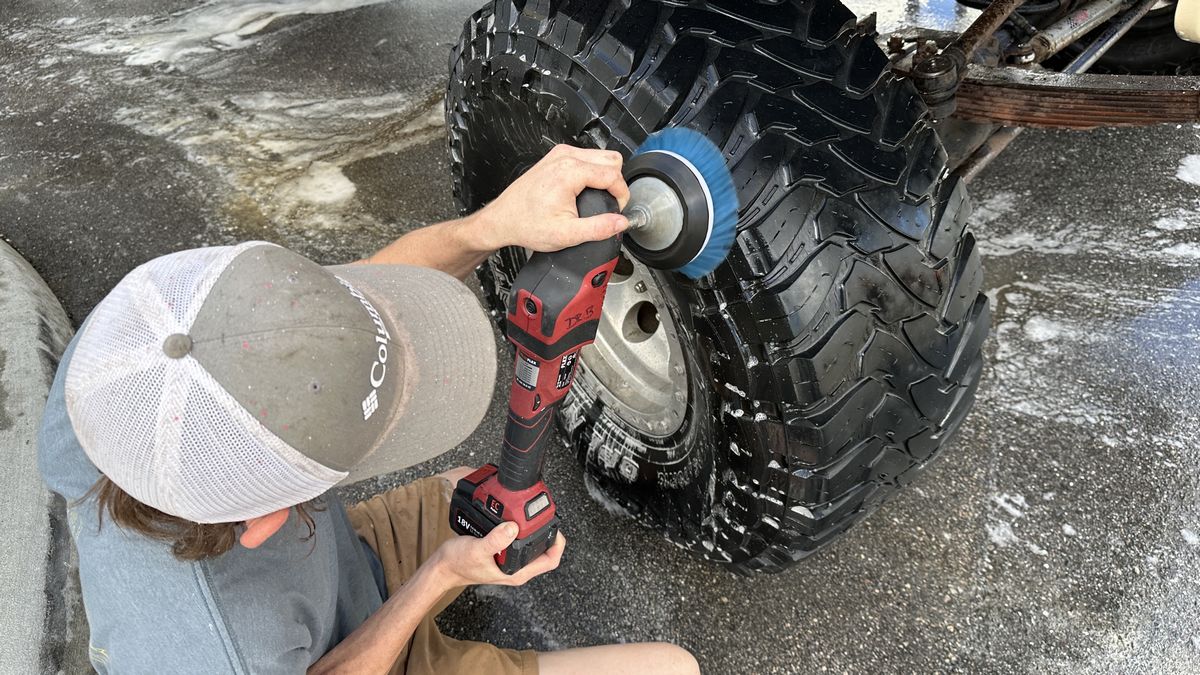
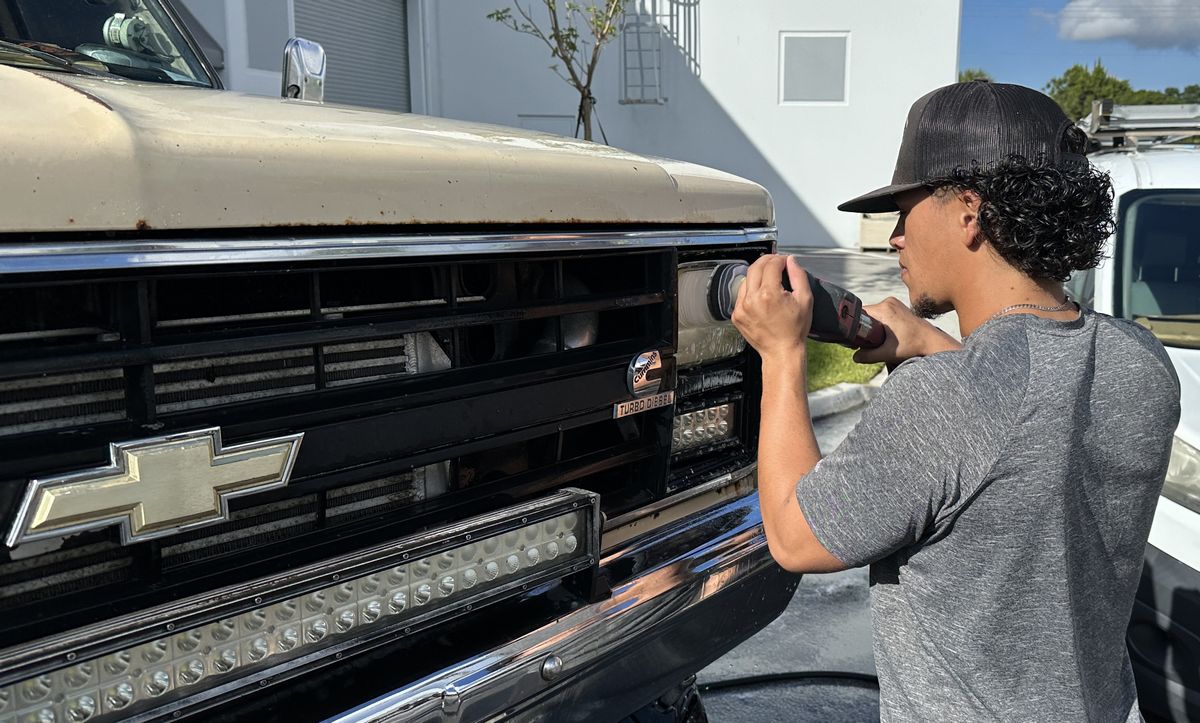
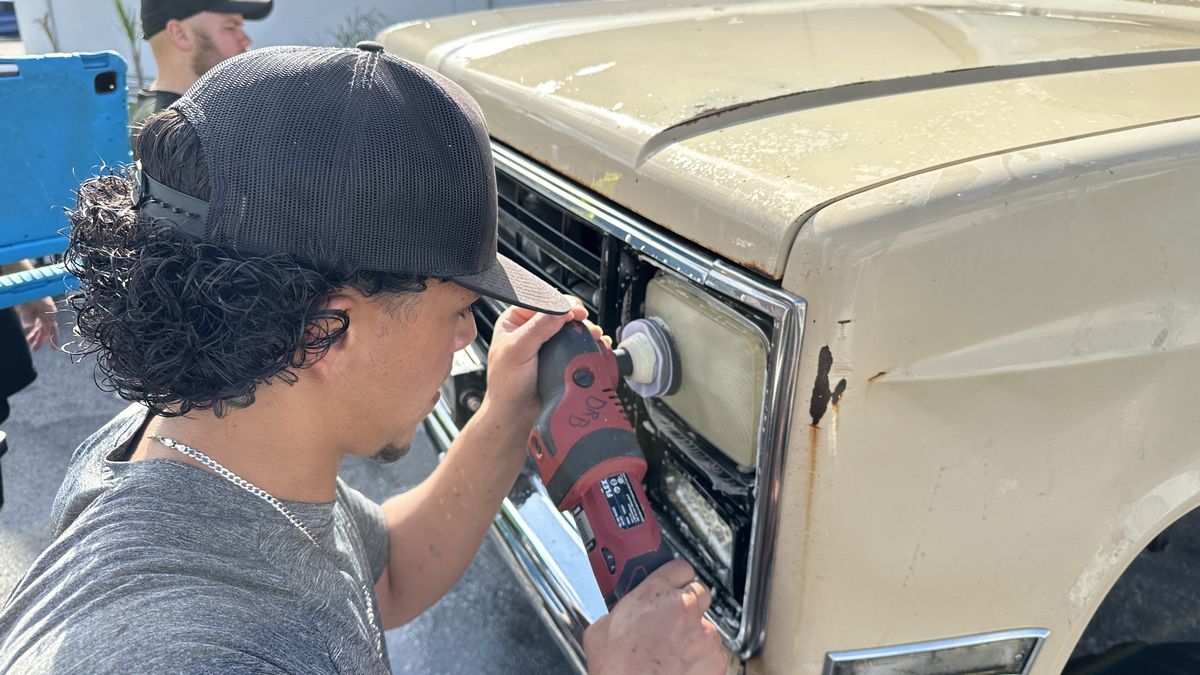
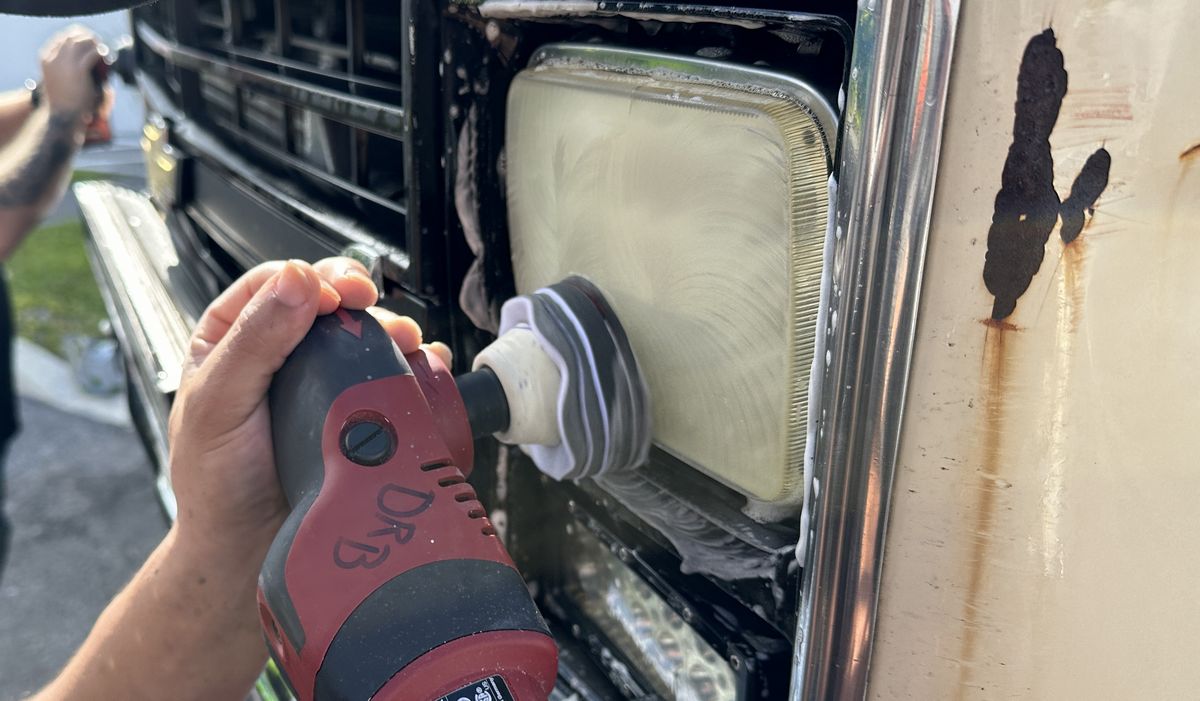
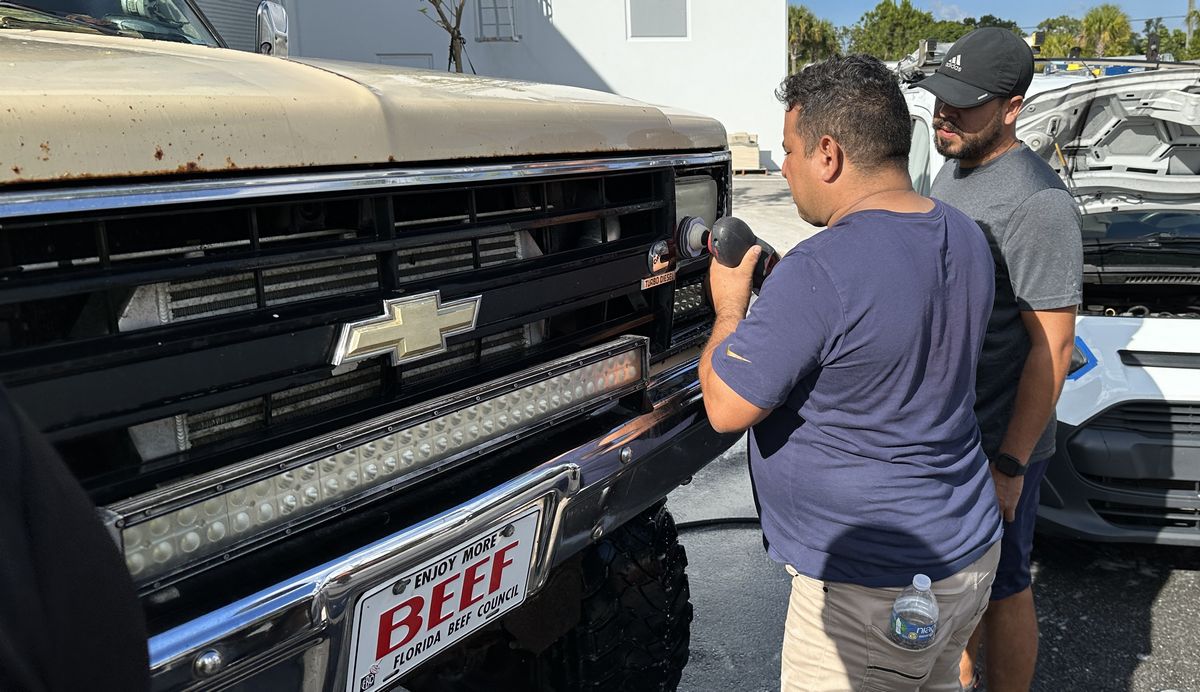
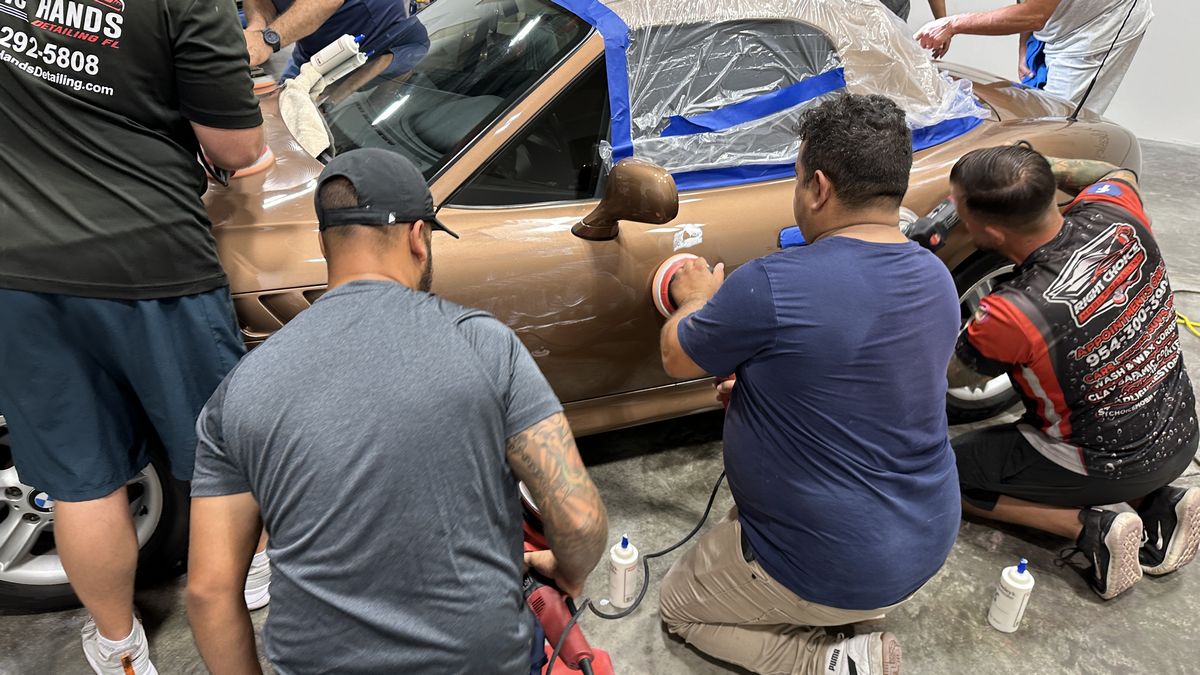
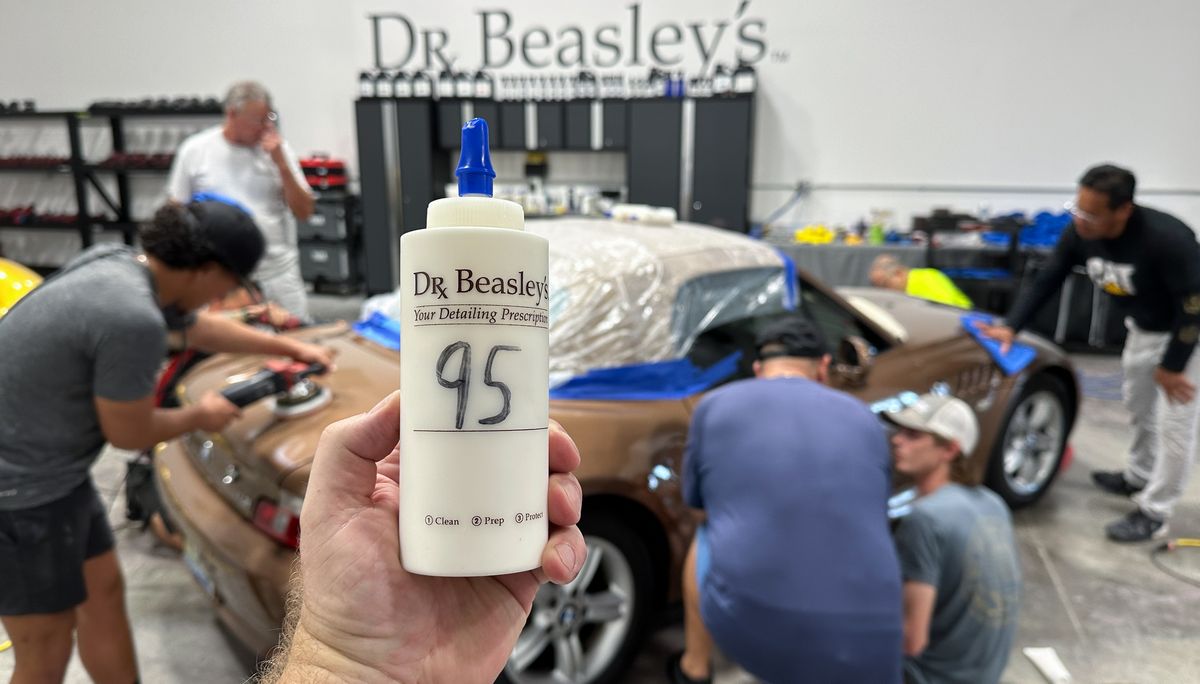
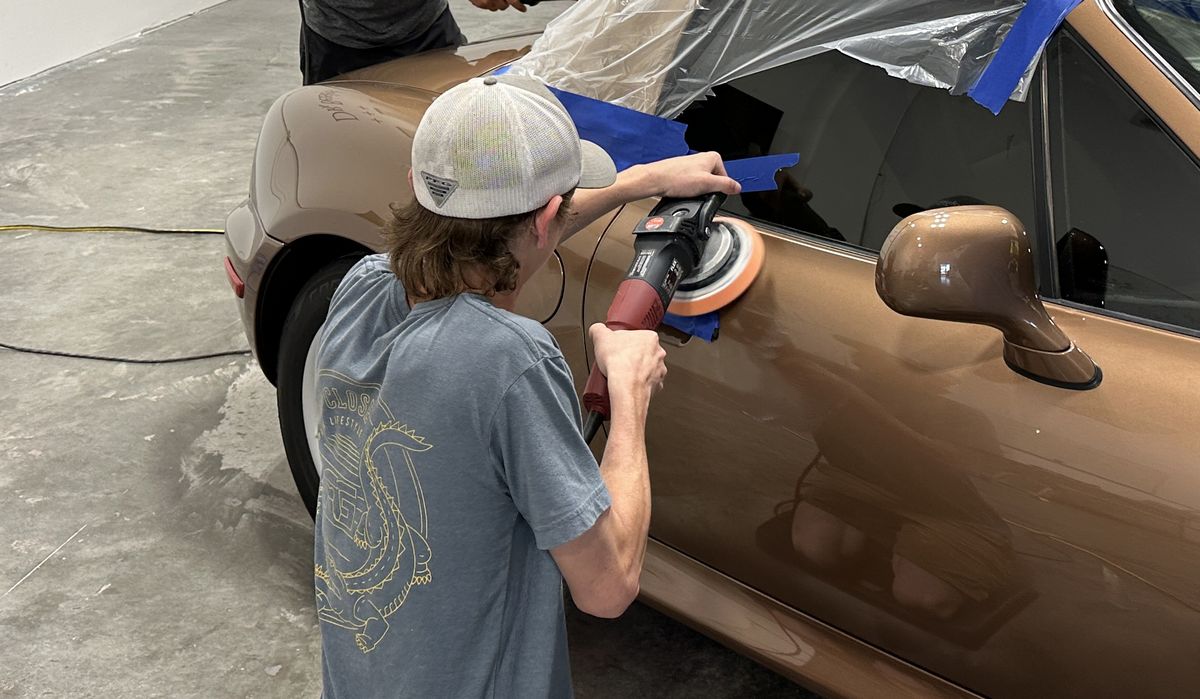
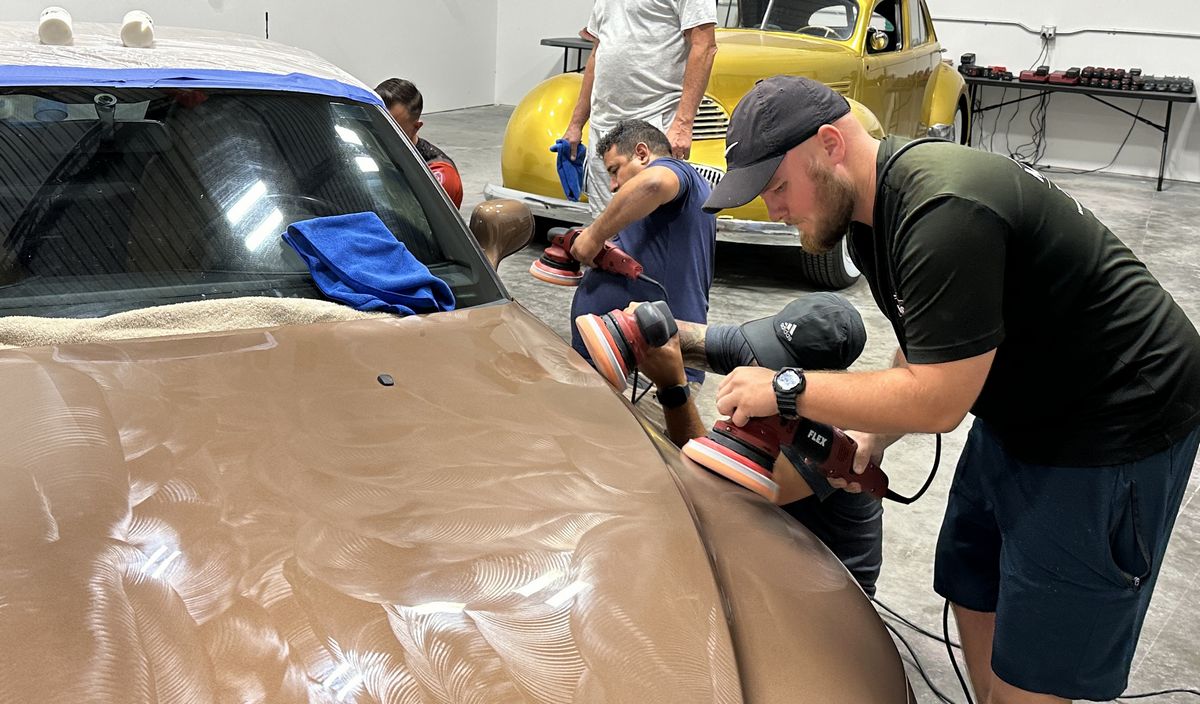
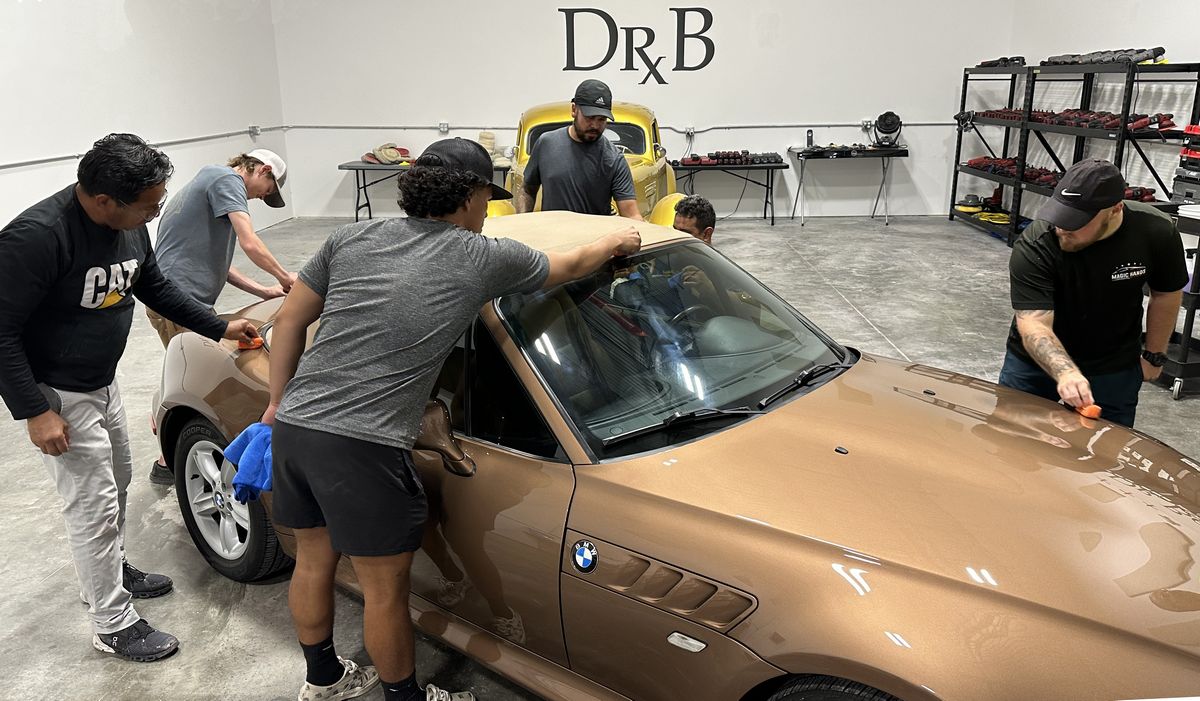
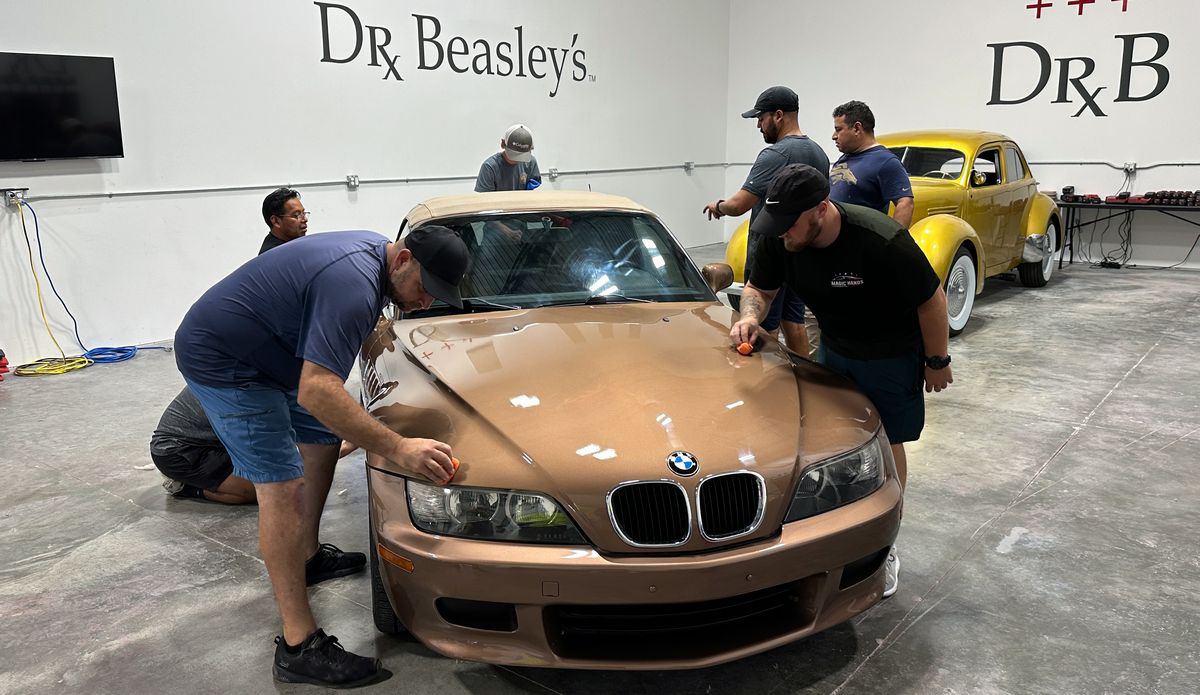
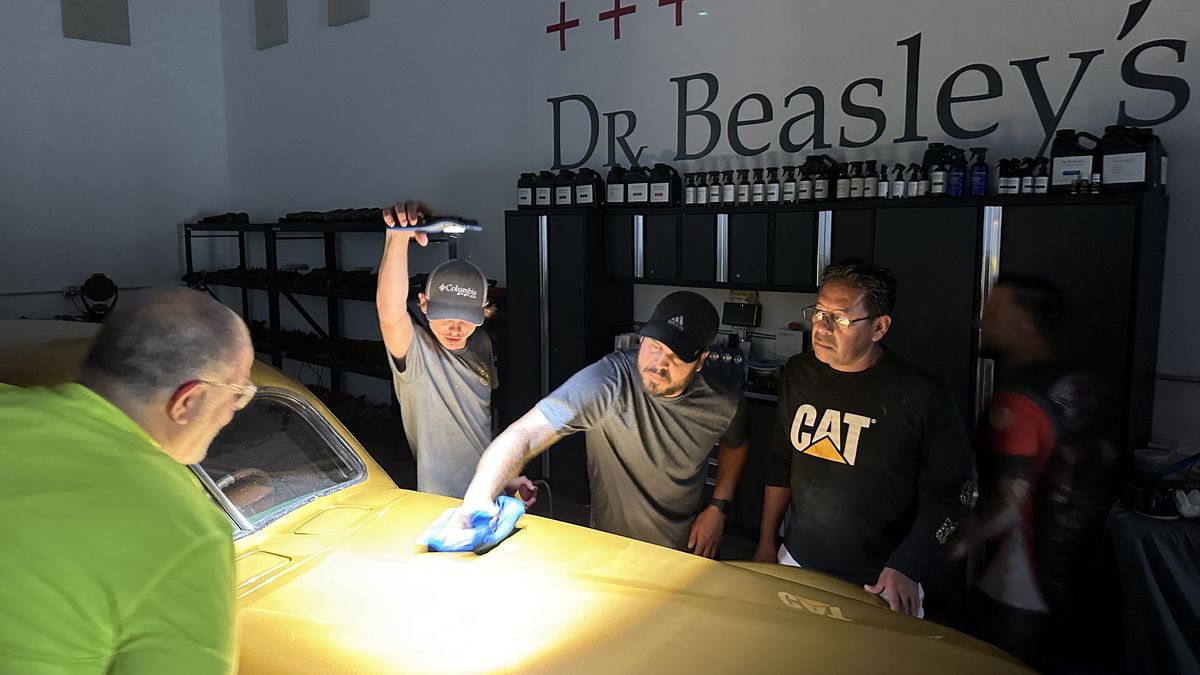
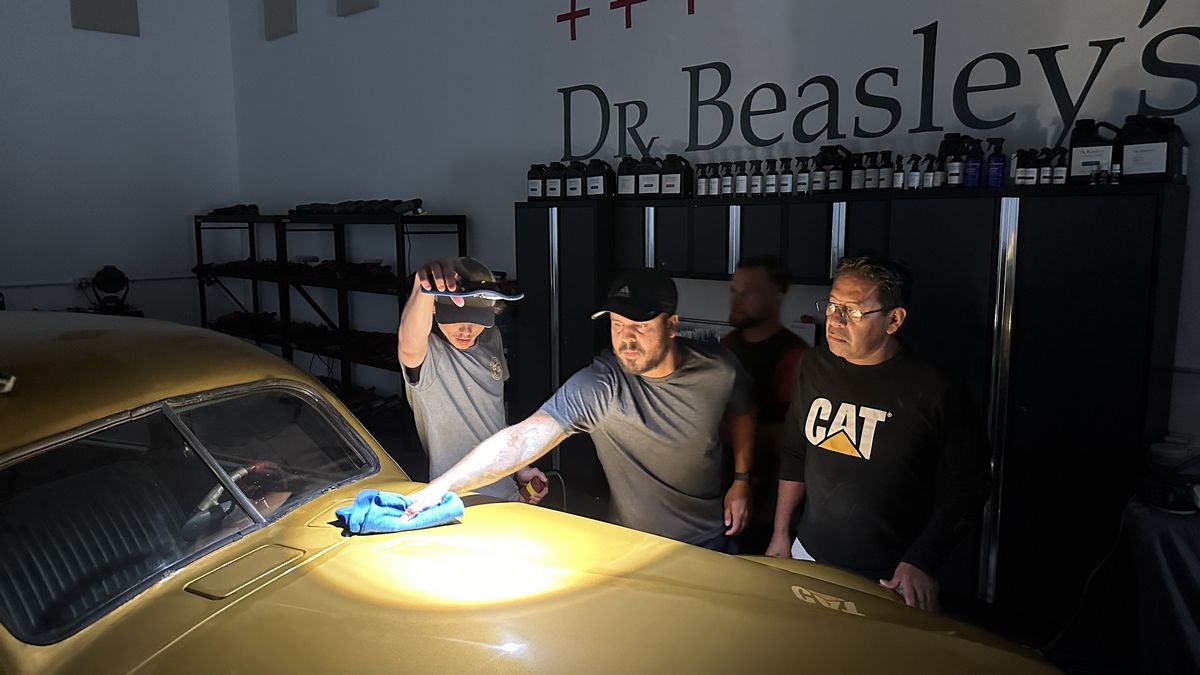
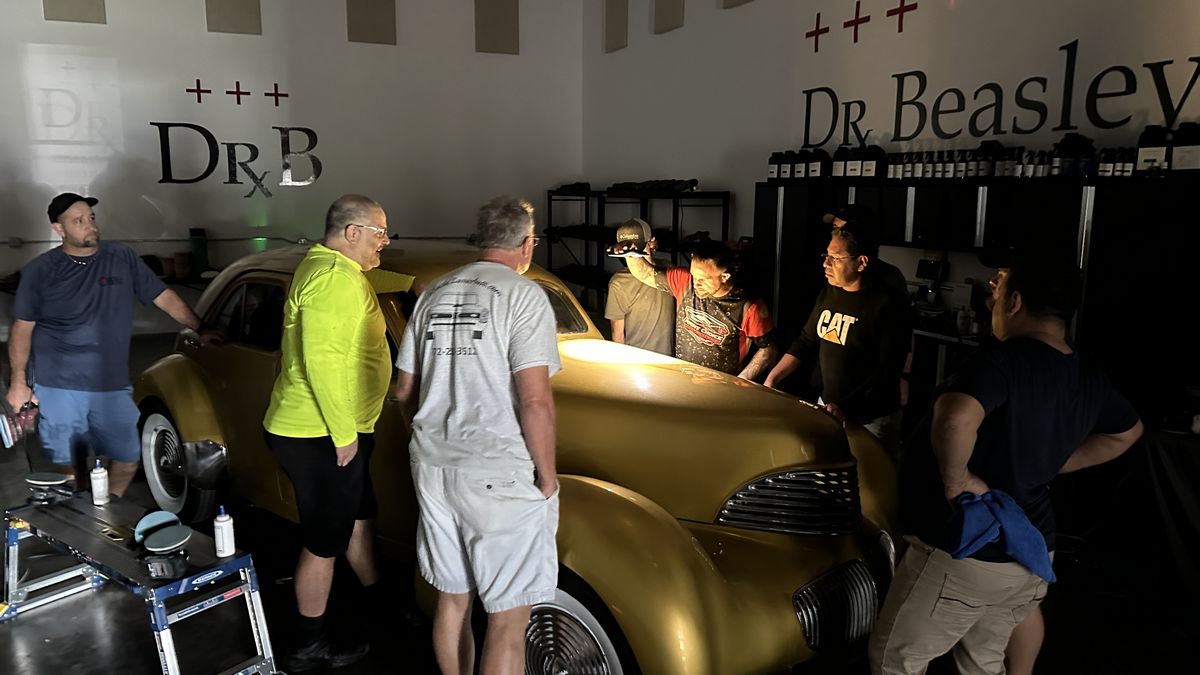
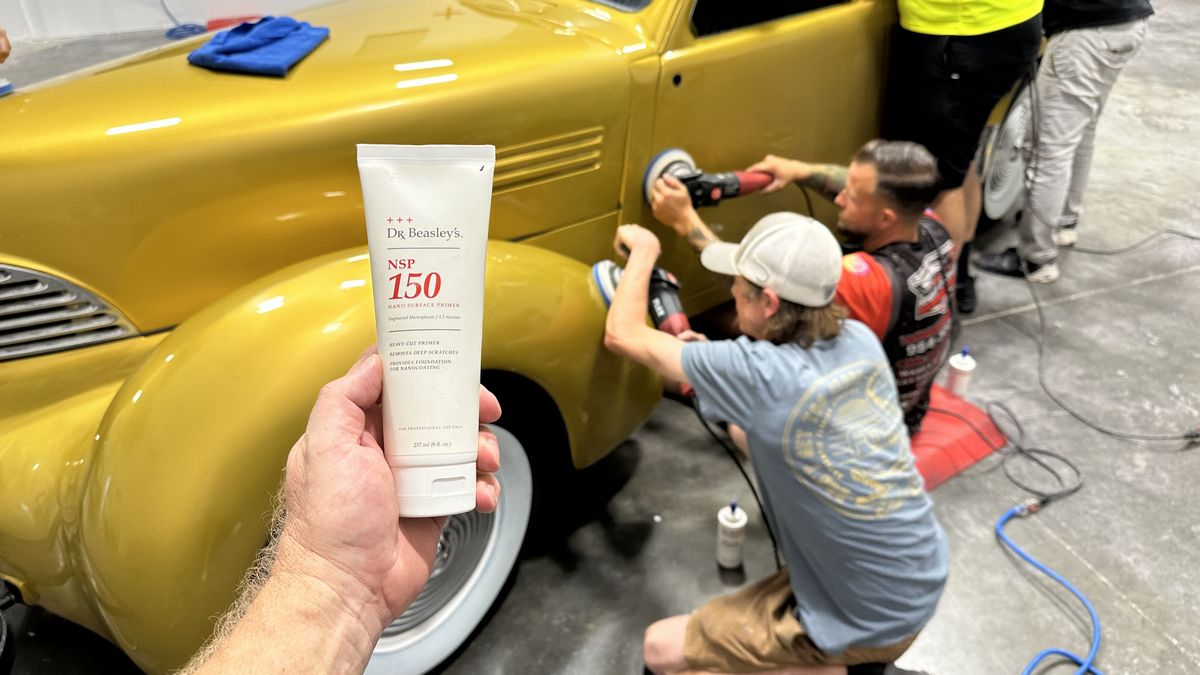
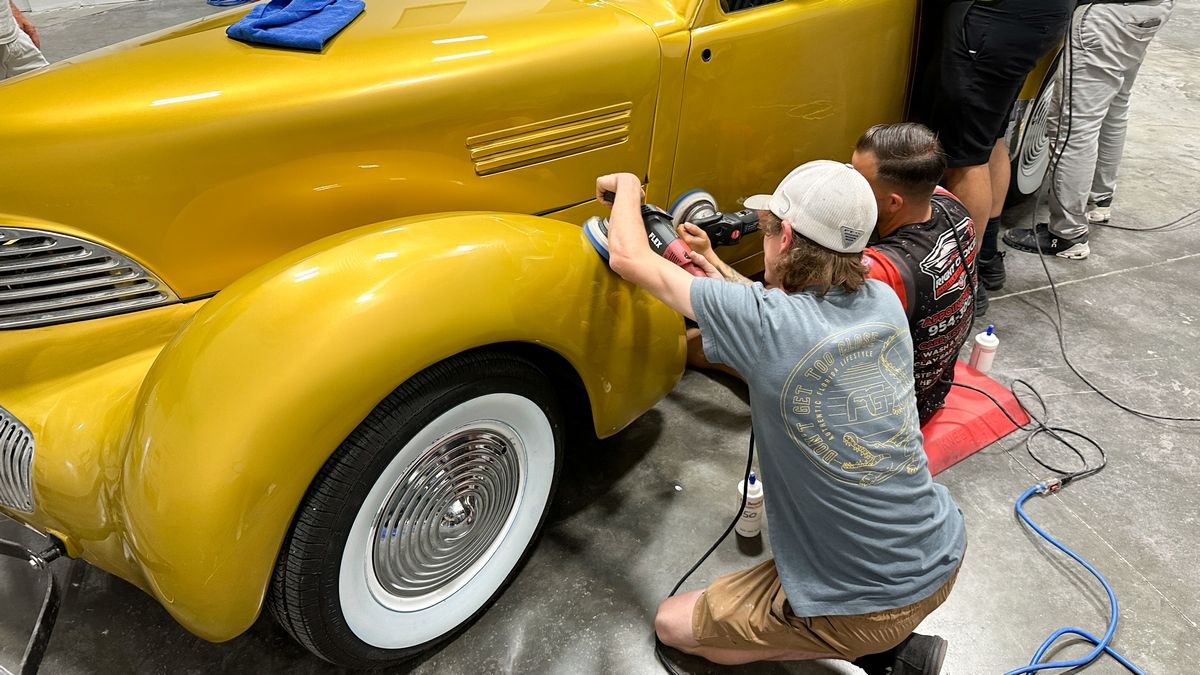
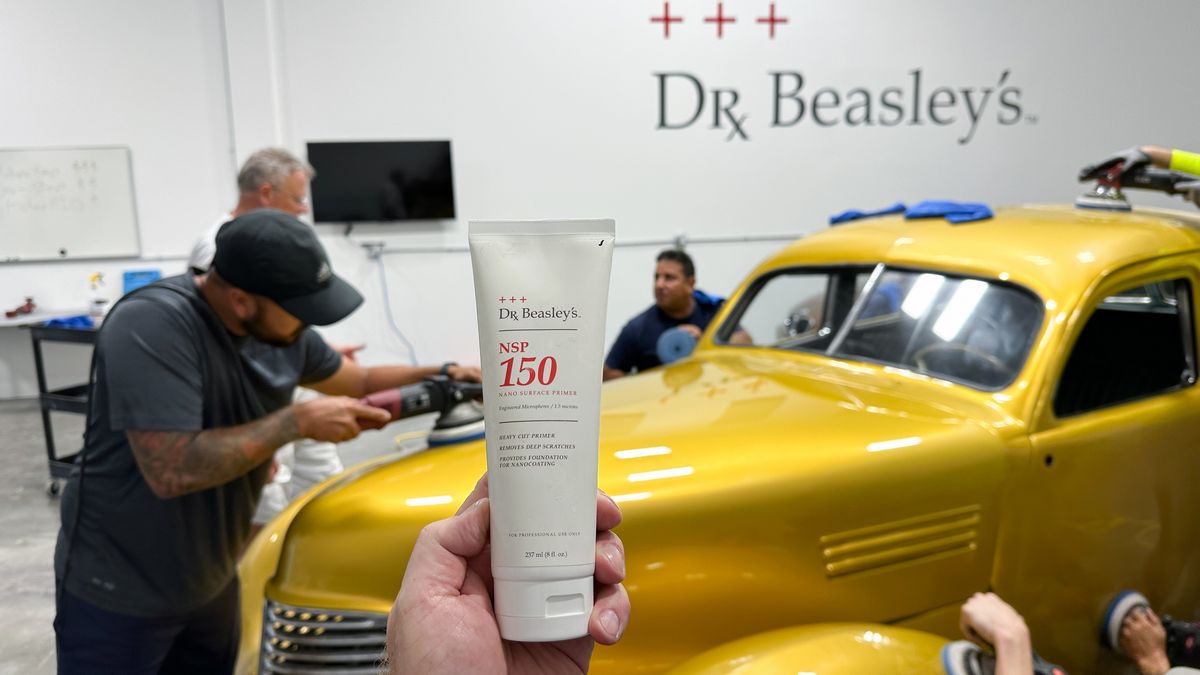
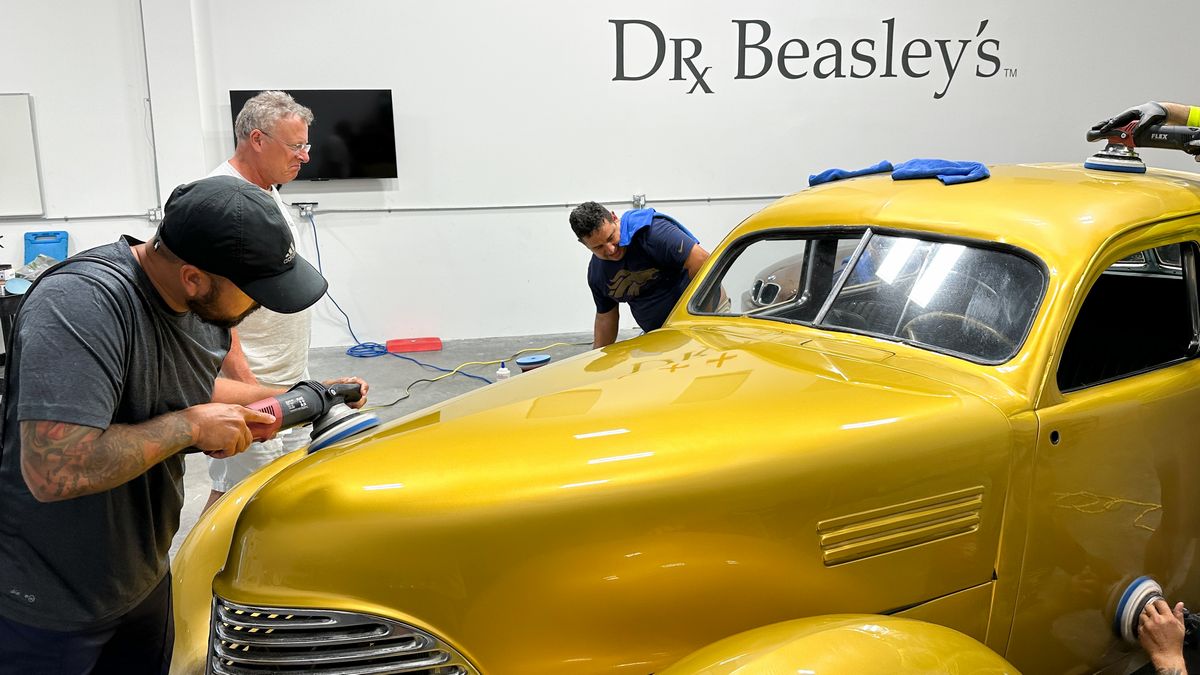
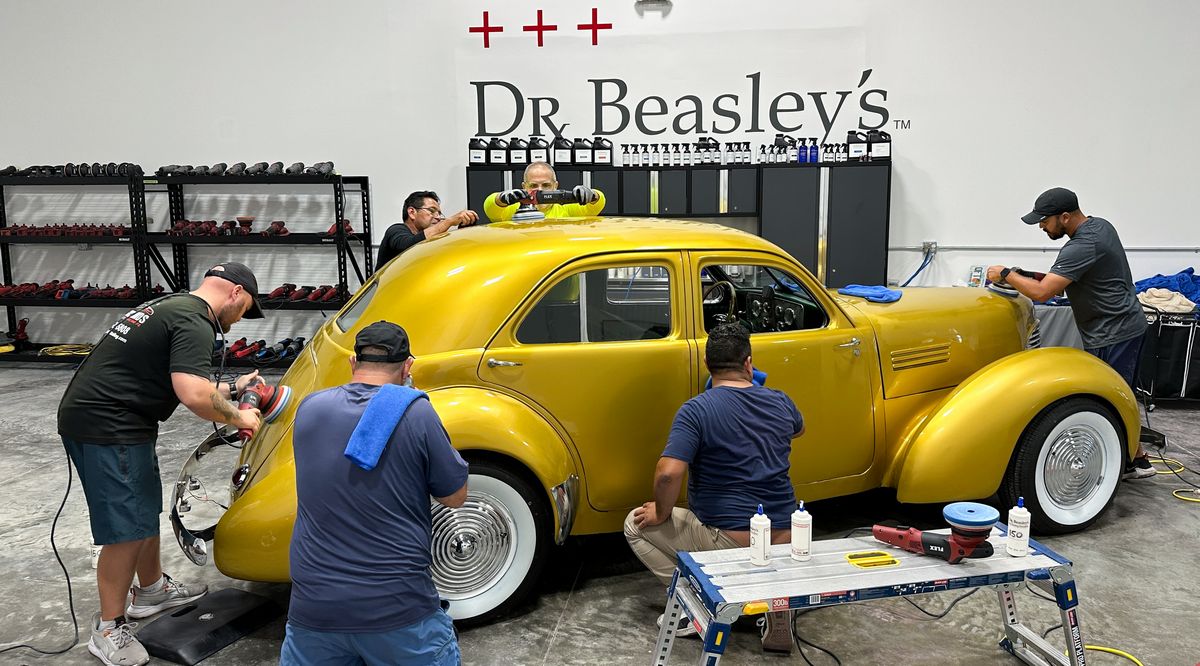
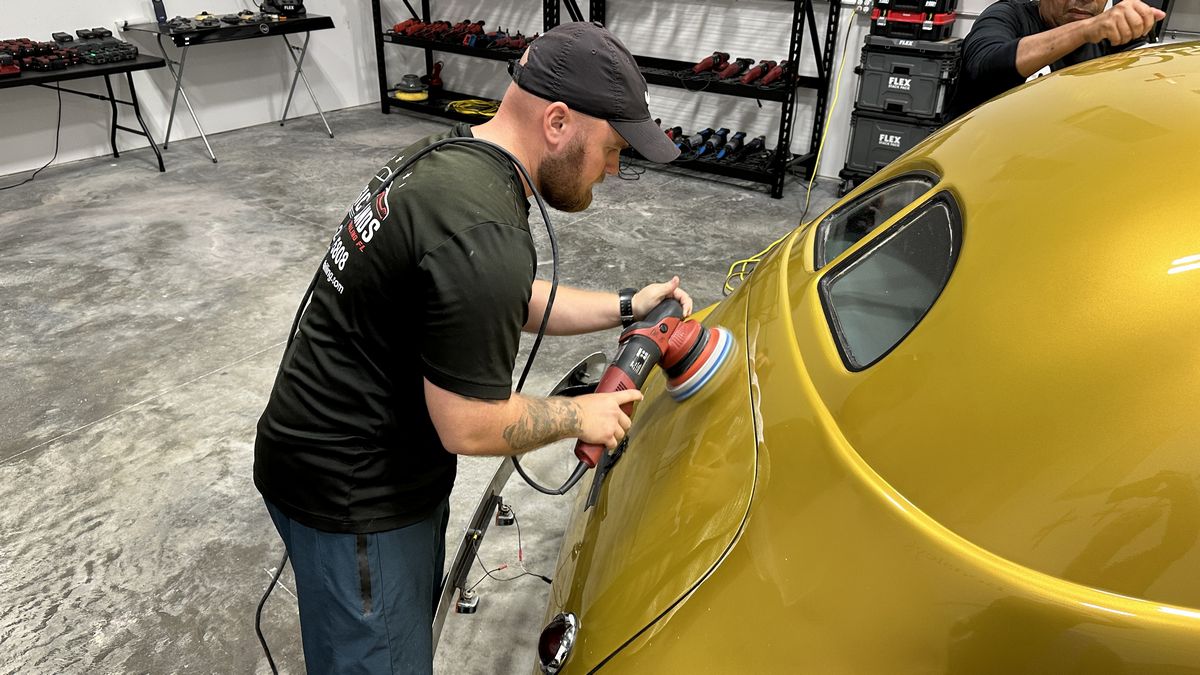
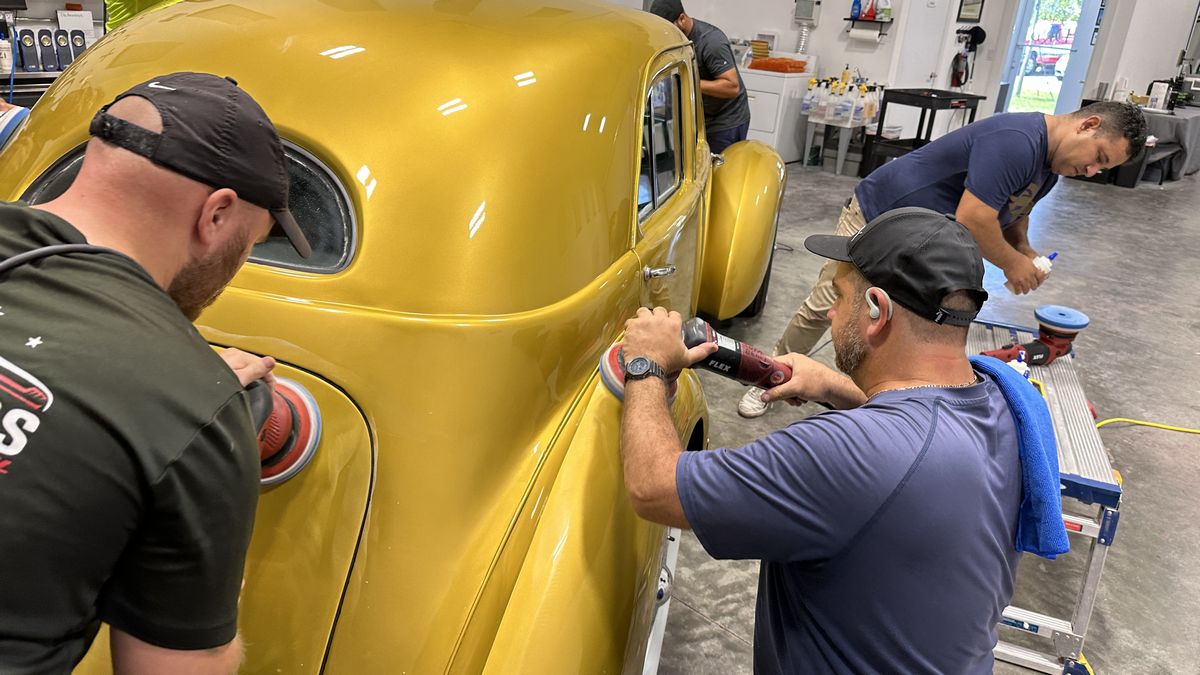
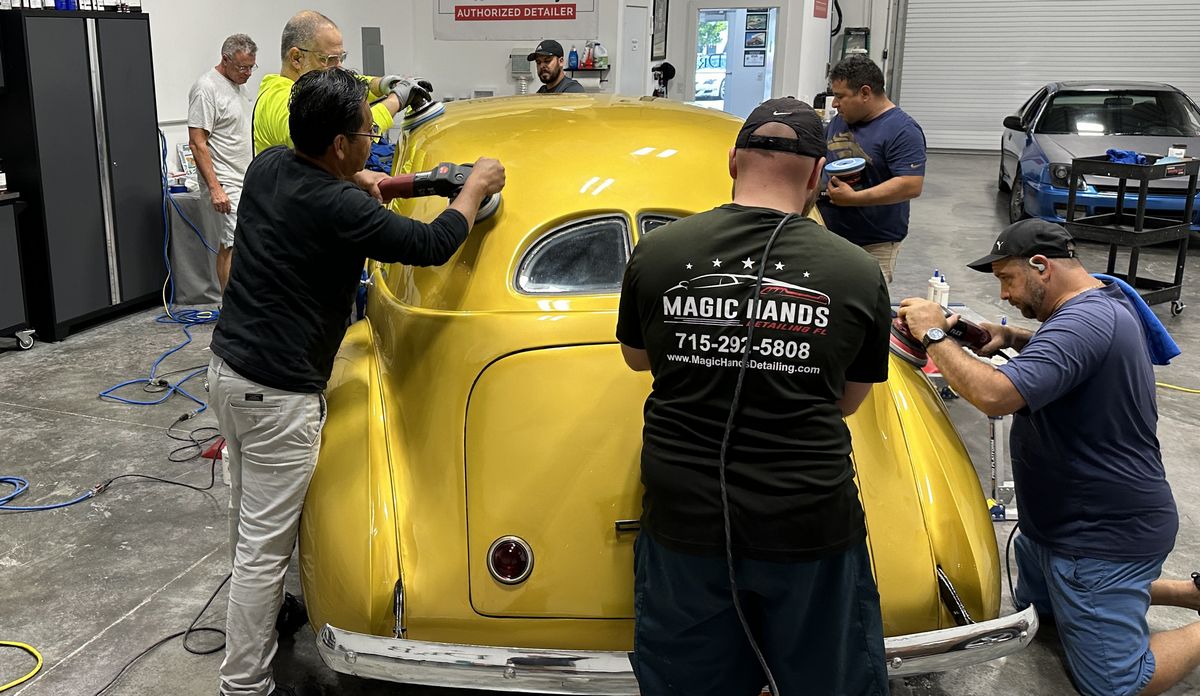
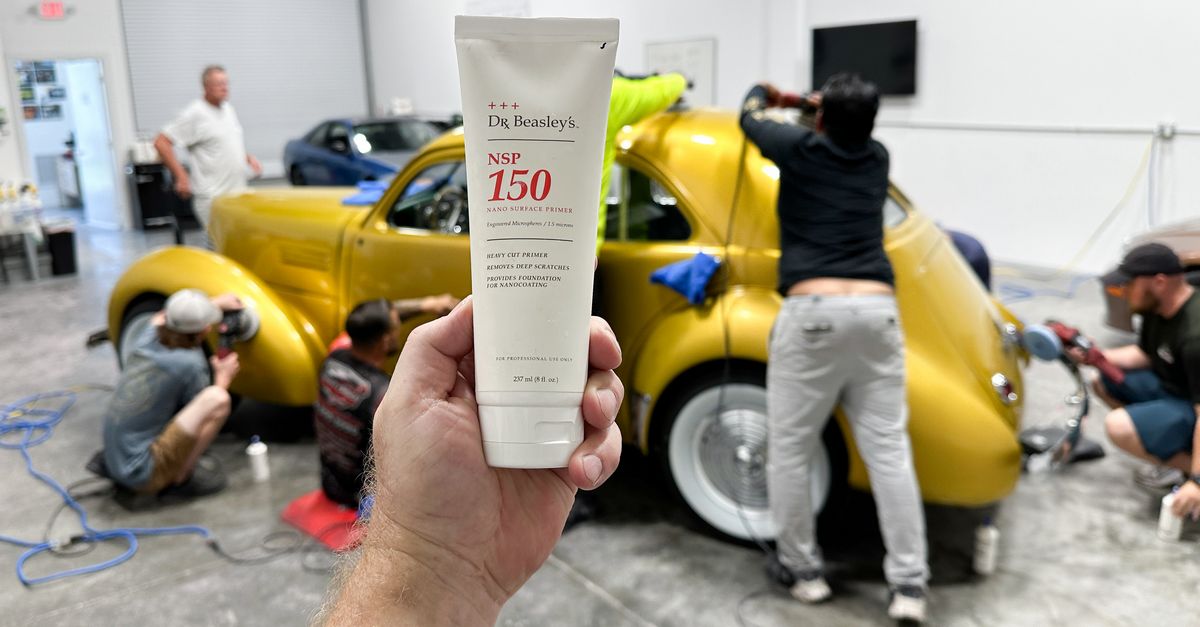
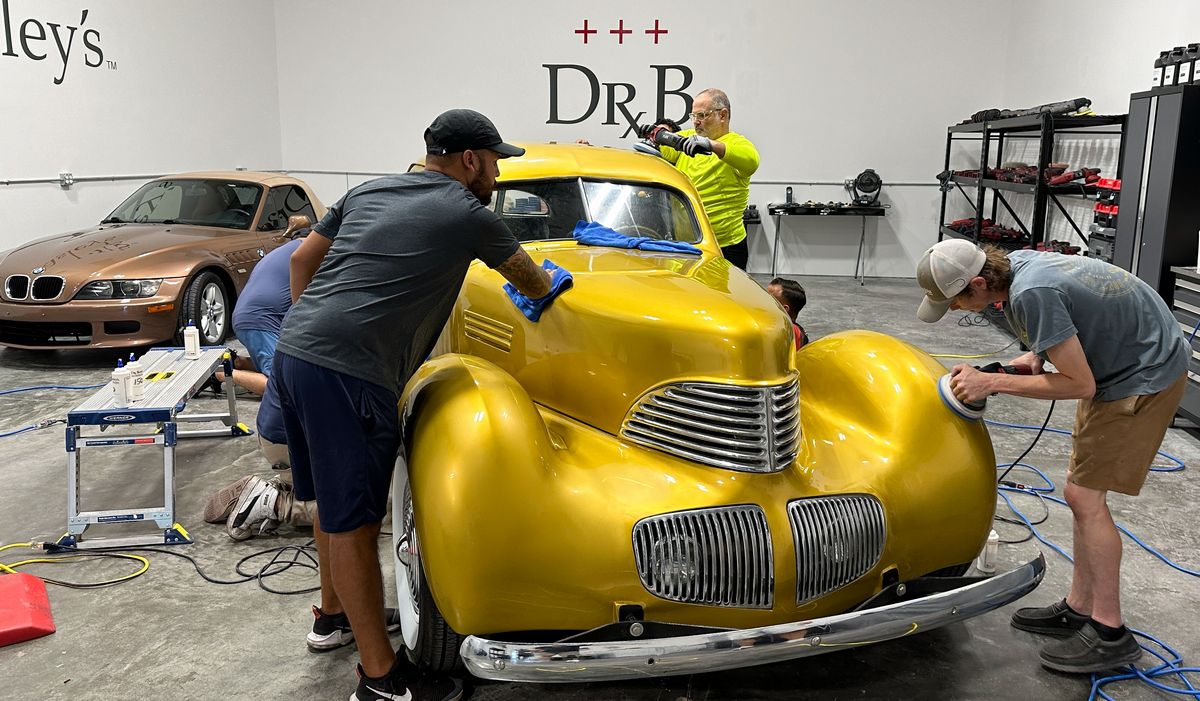
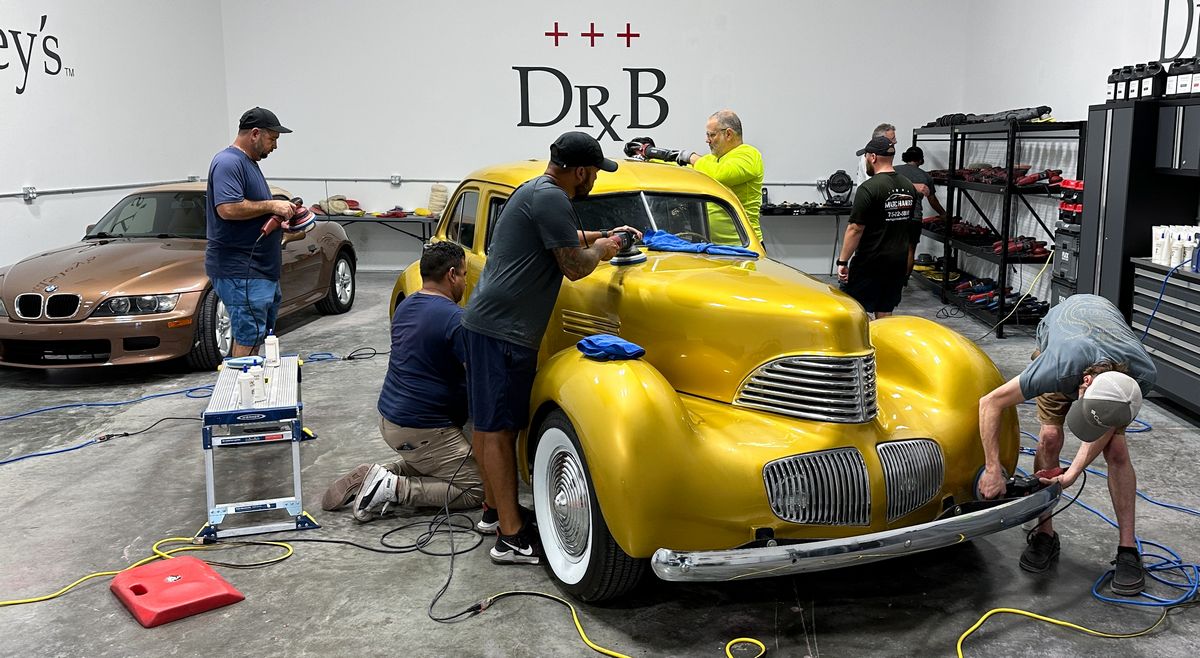
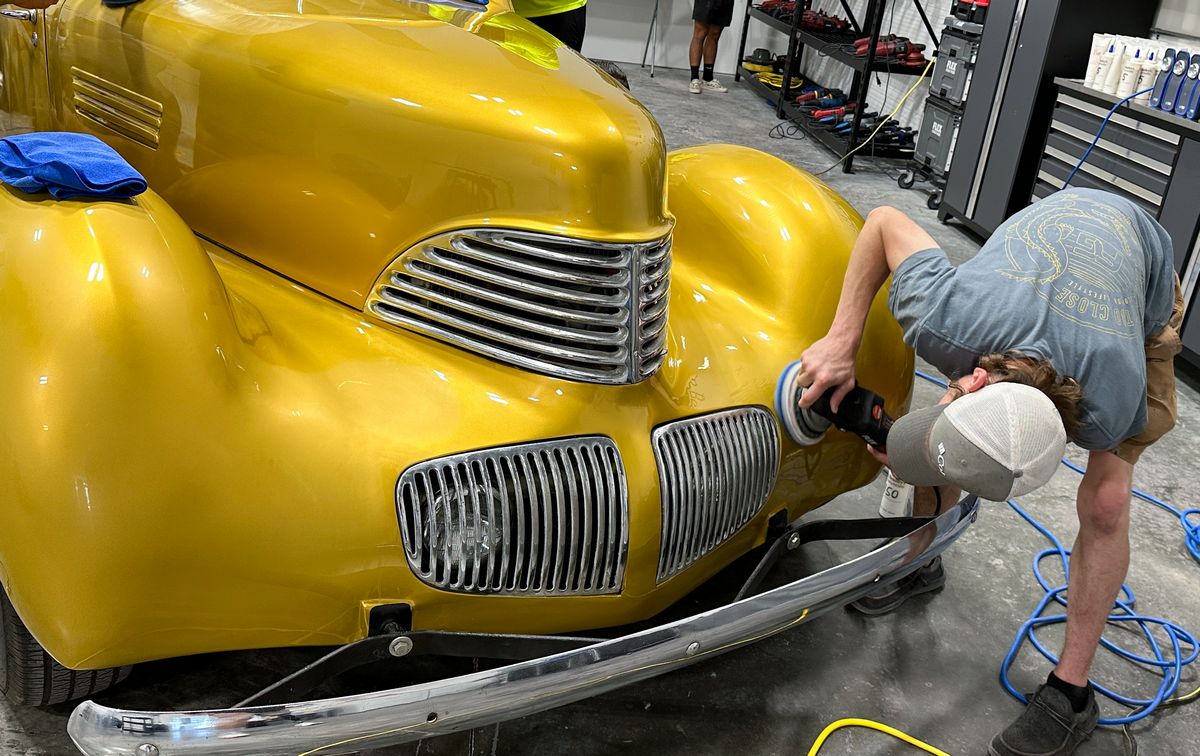
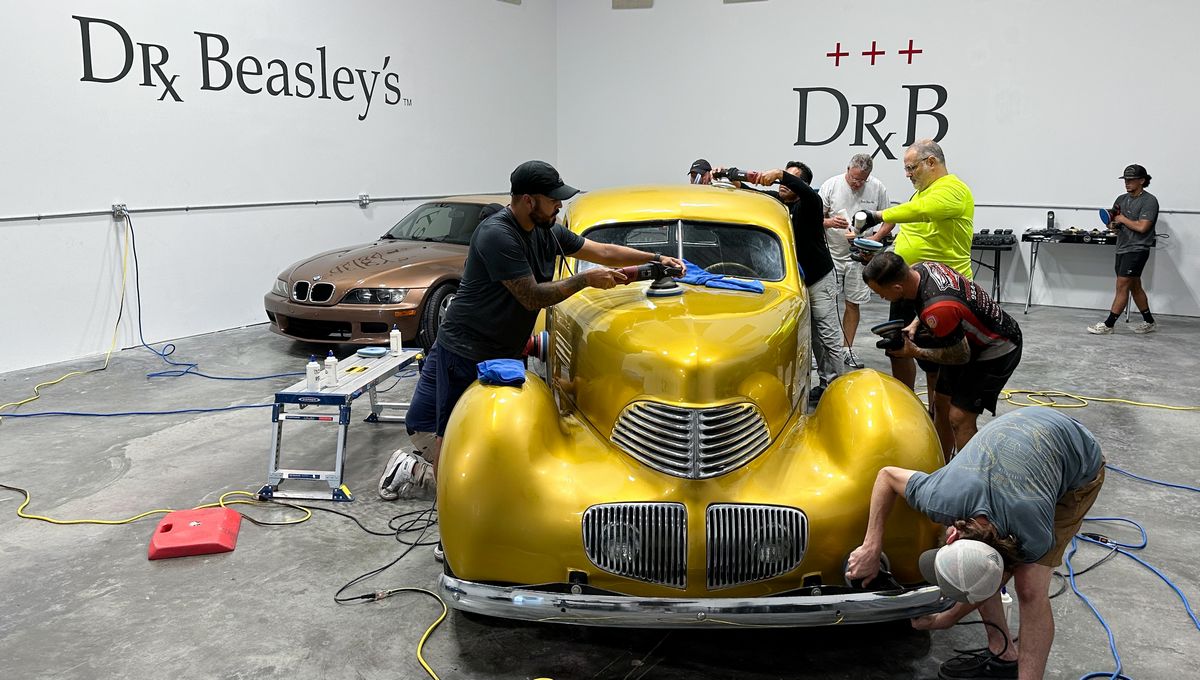
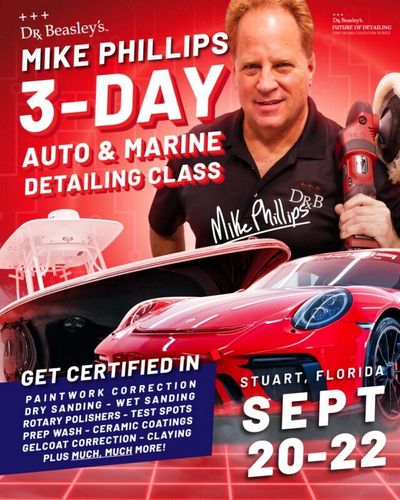
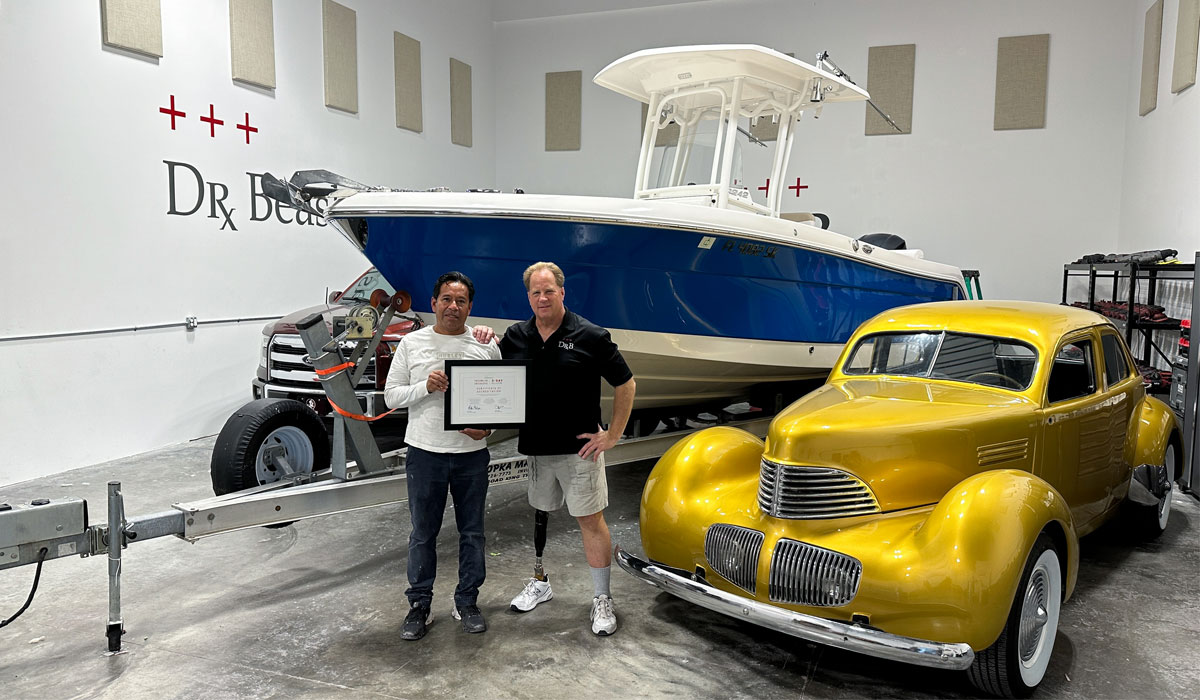
564 Pictures - May 3-day class at Dr. Beasley's O.R. in Stuart Florida with Mike Phillips
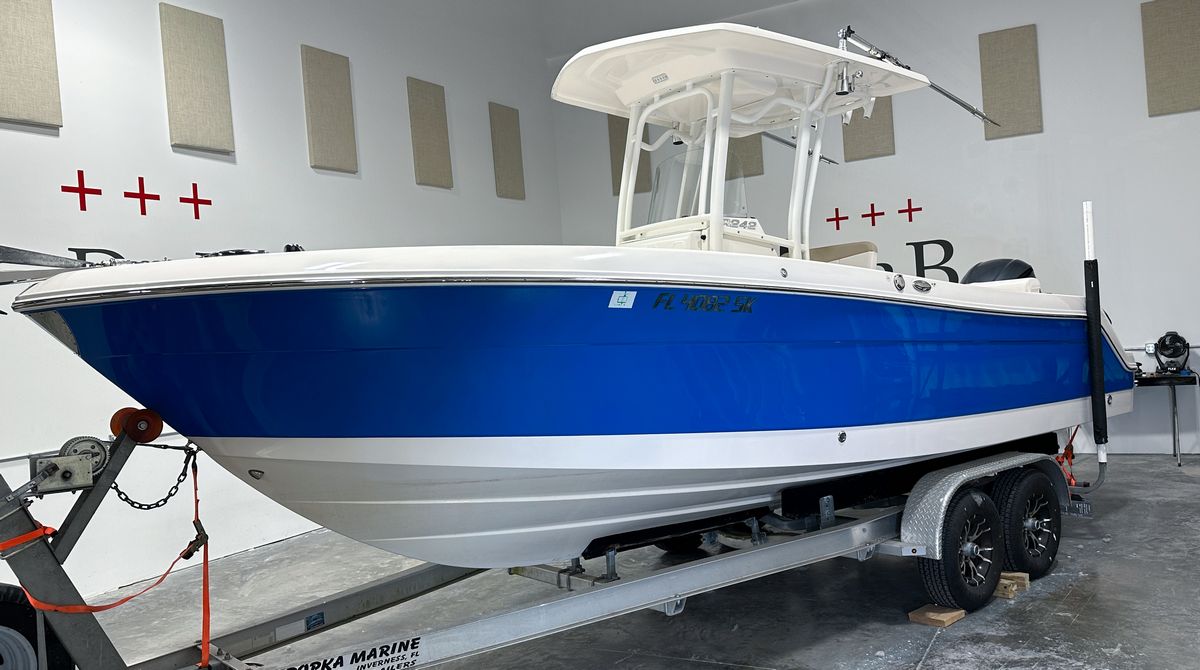
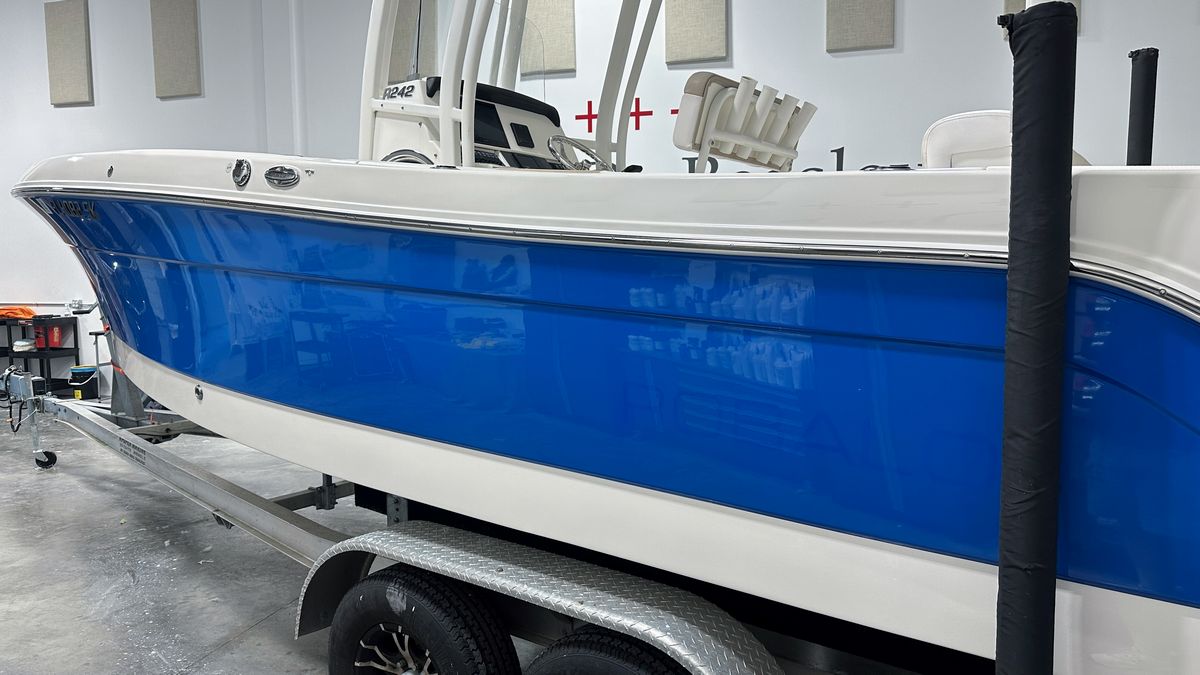
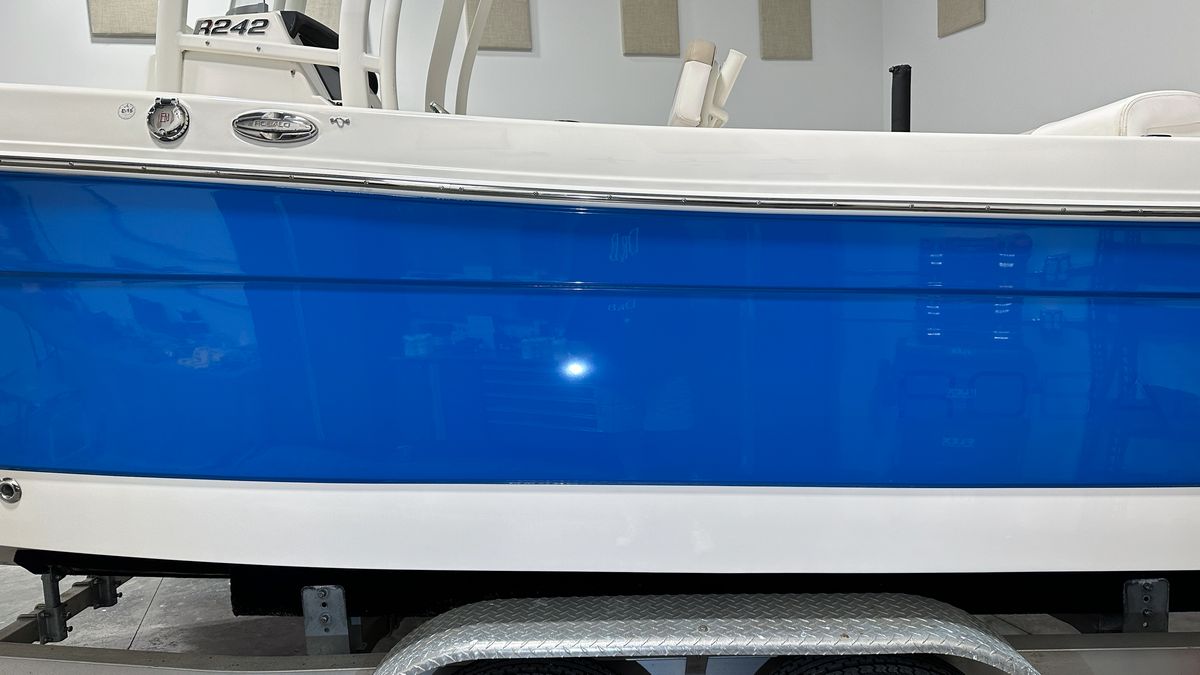
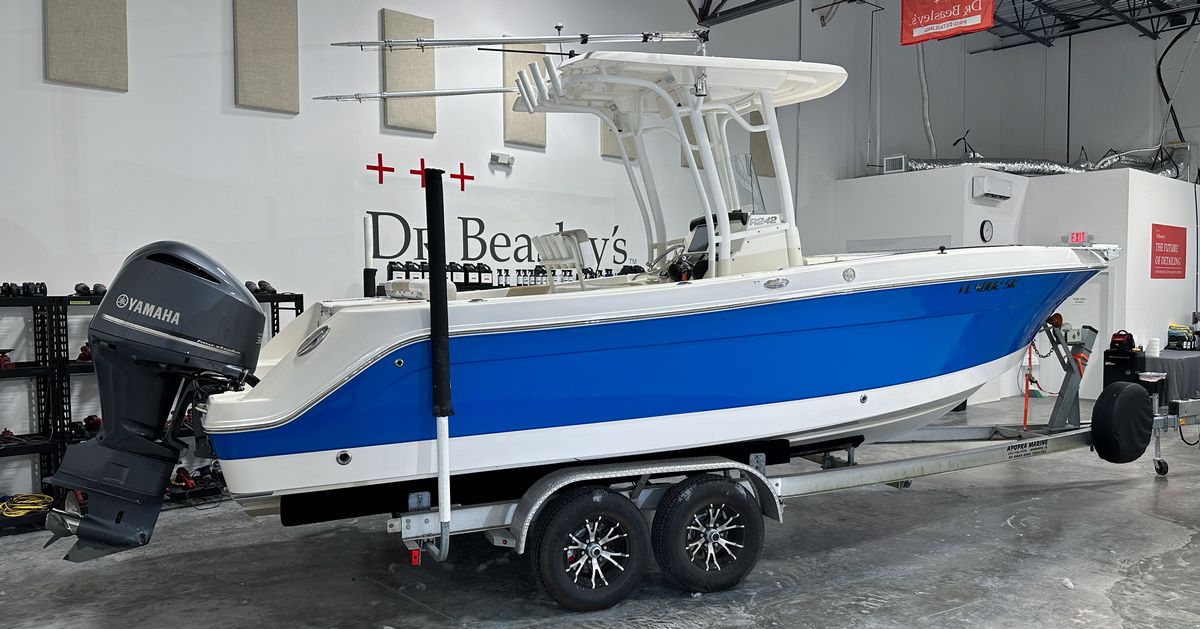
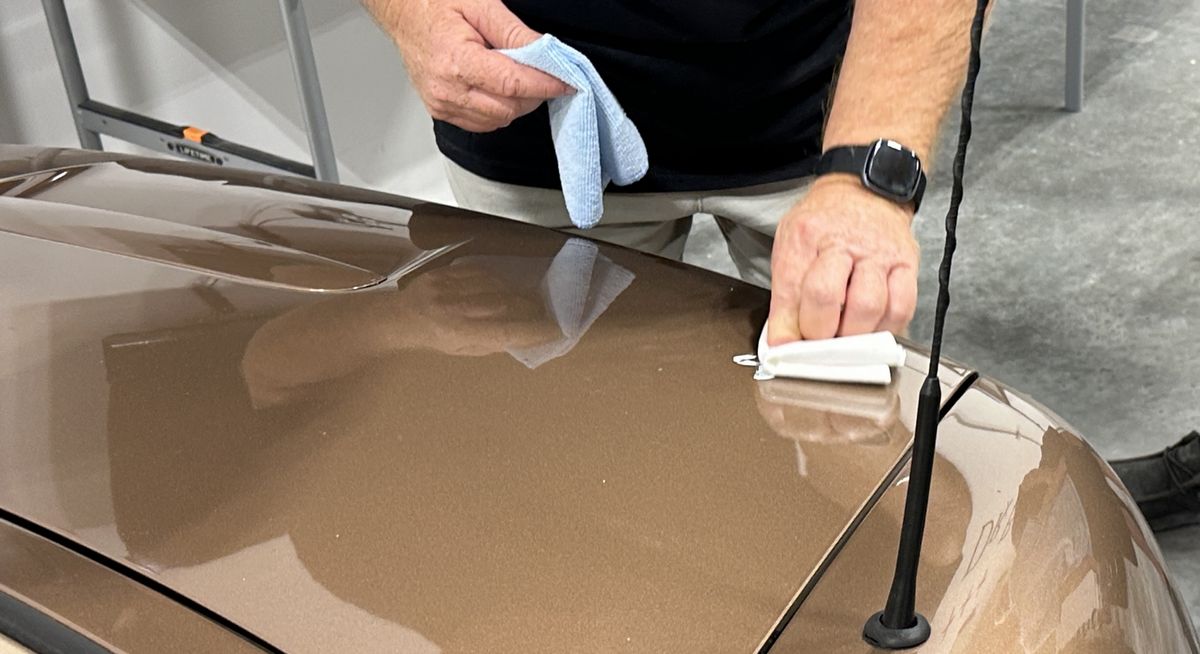
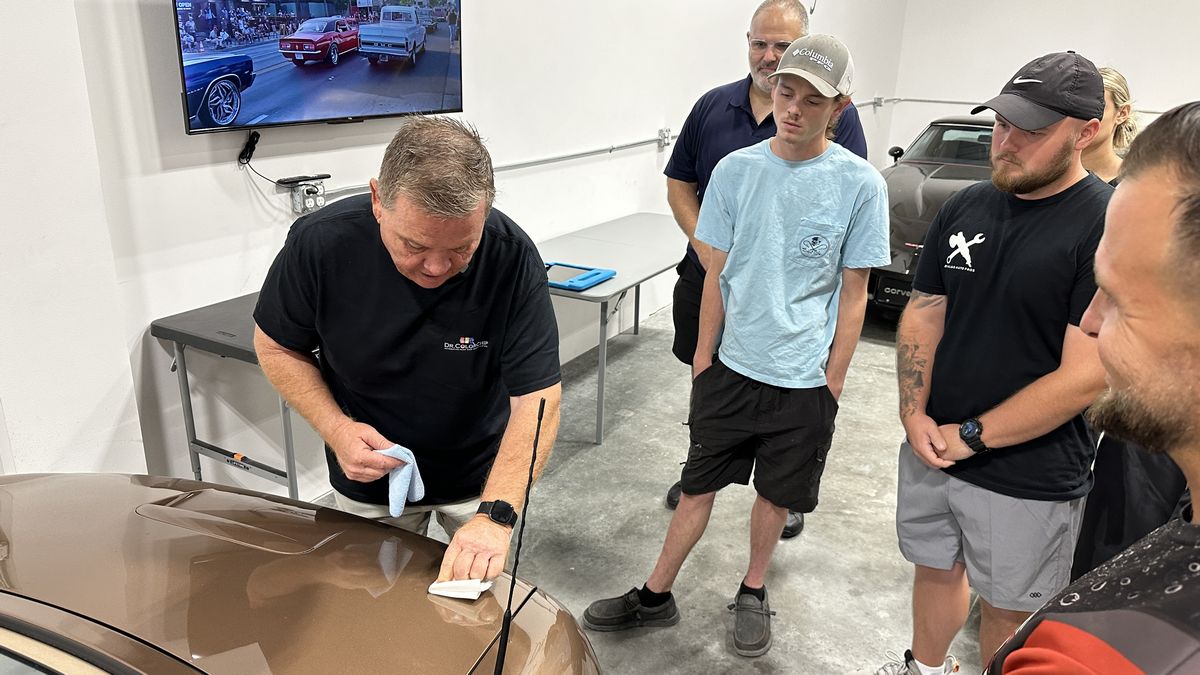
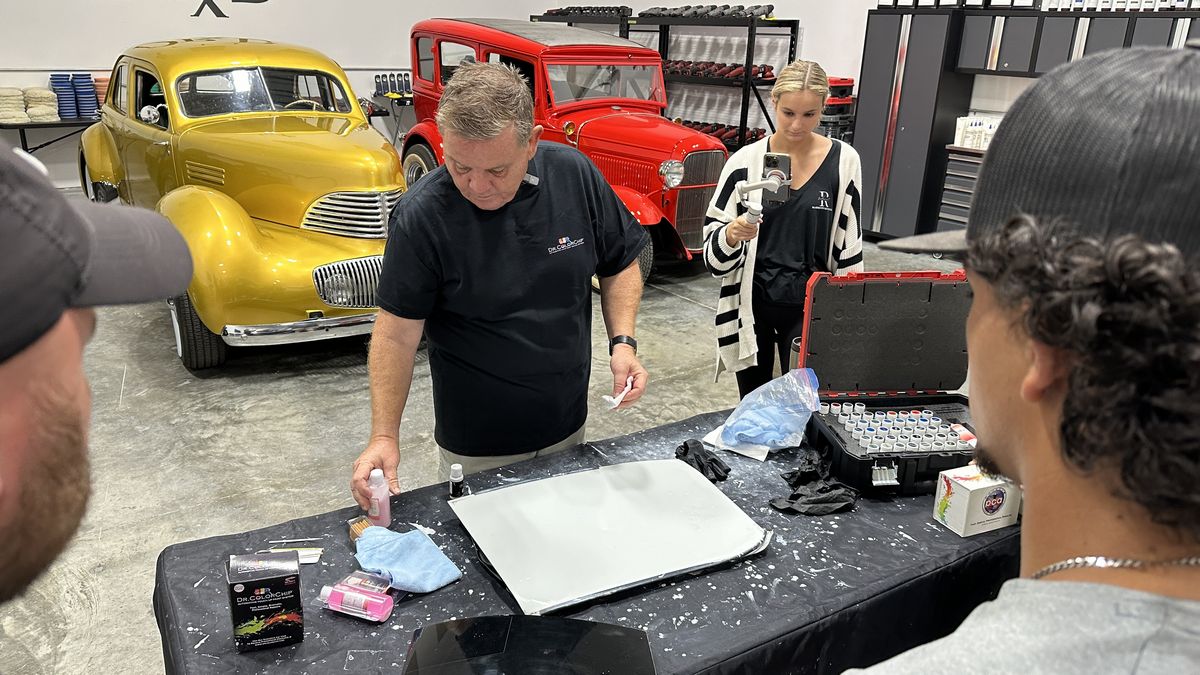
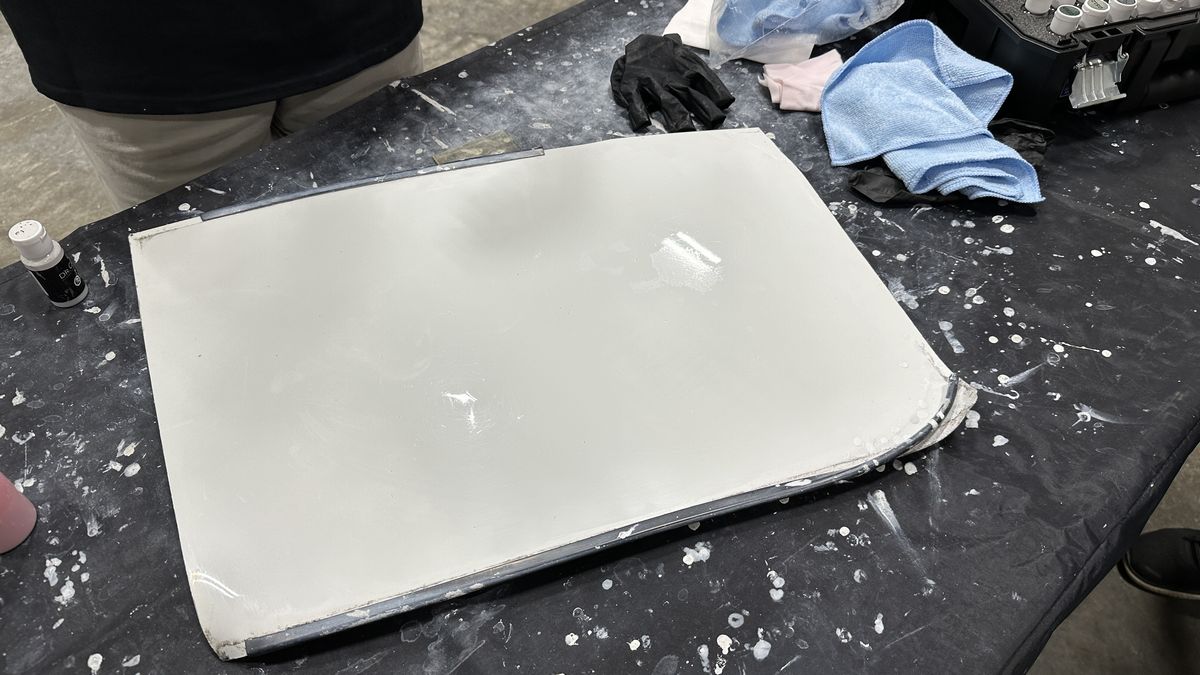
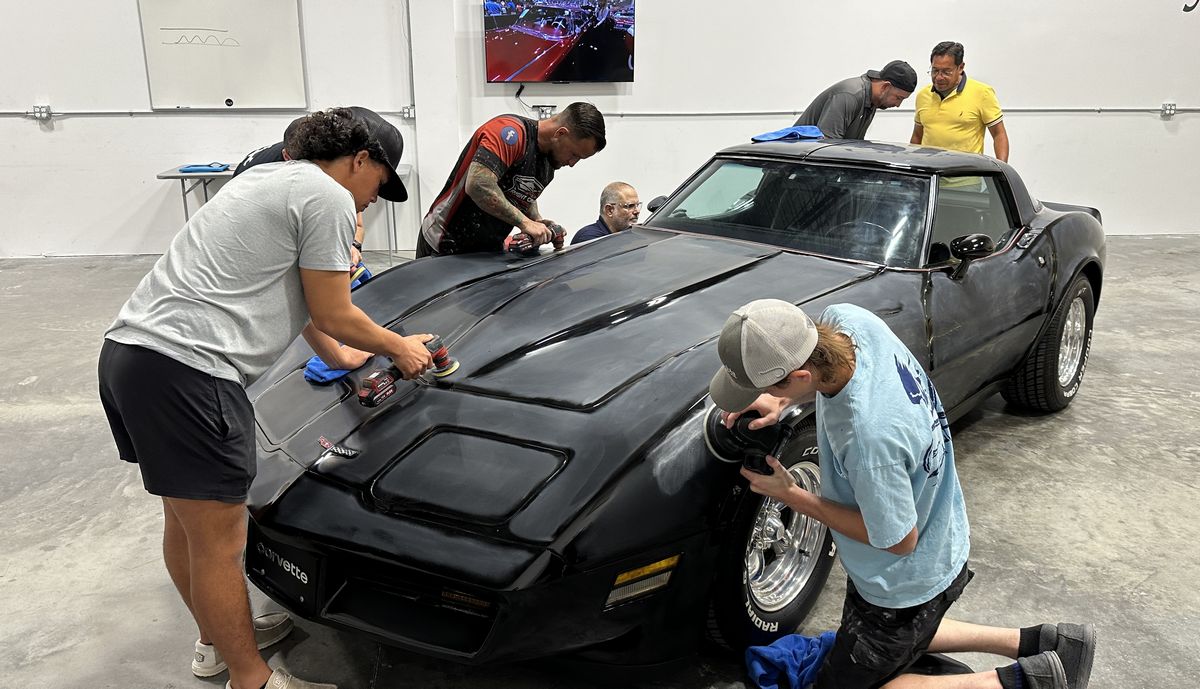
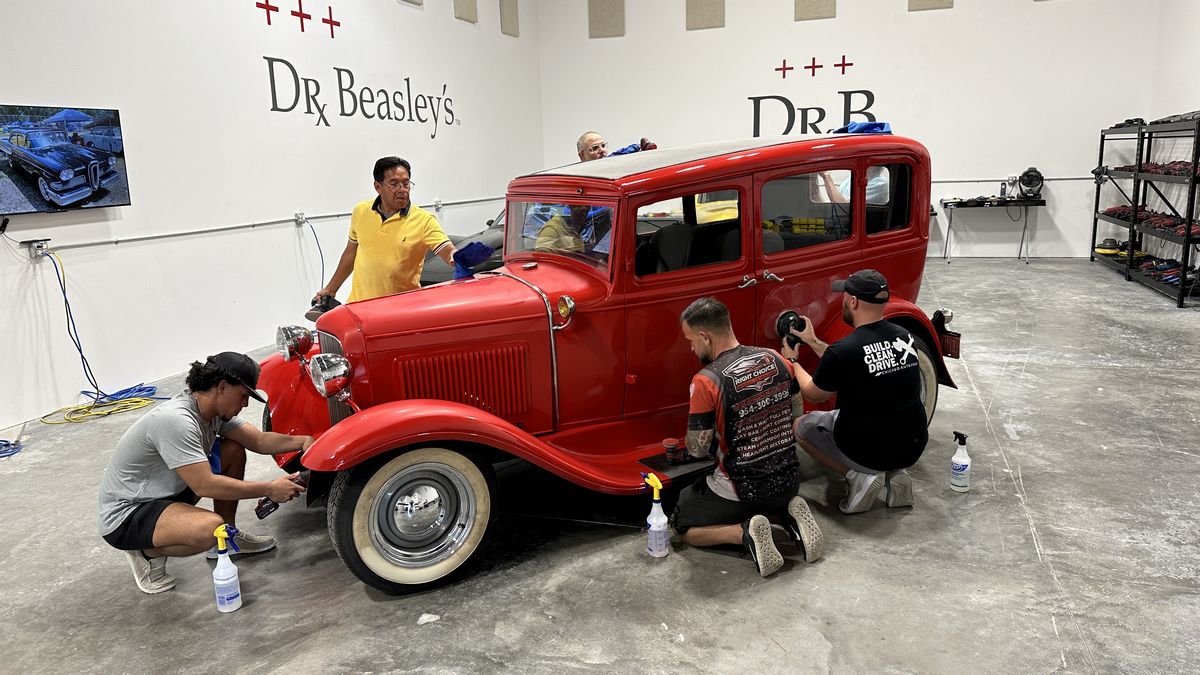
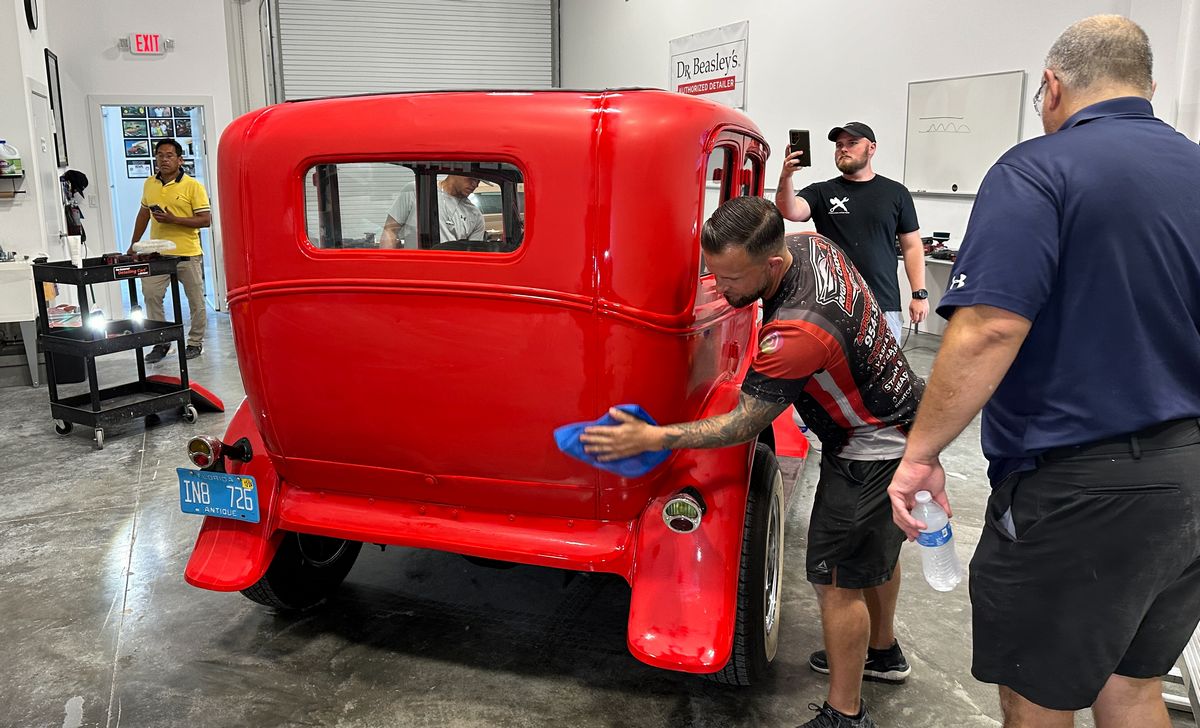
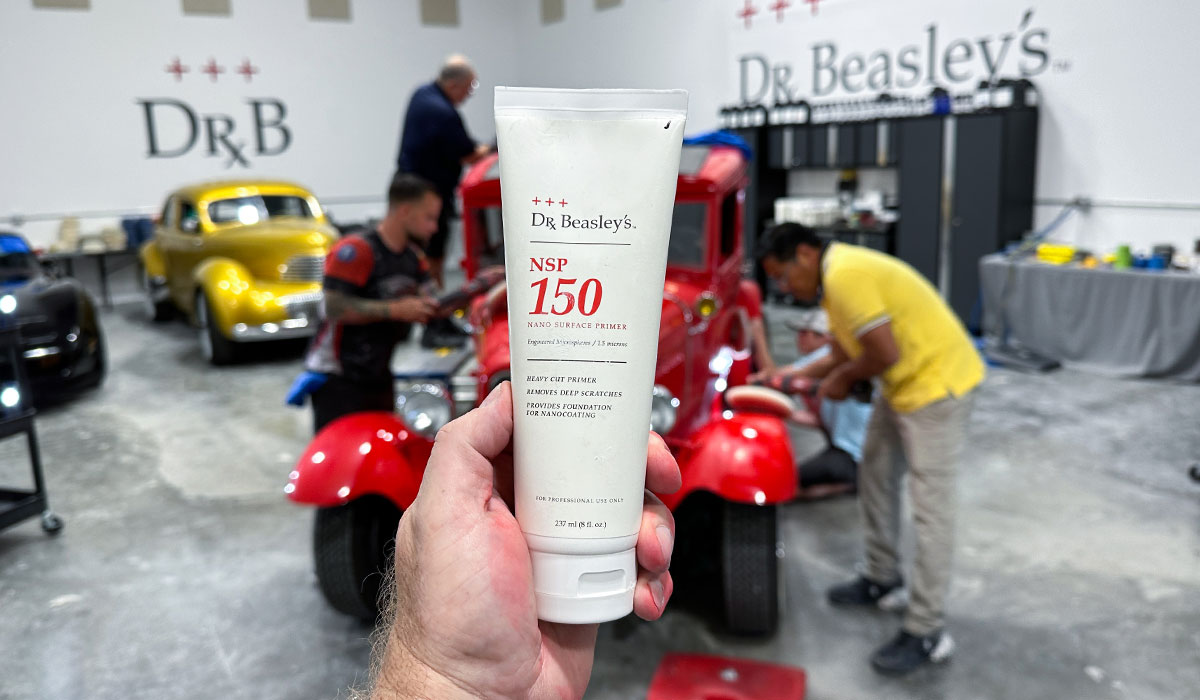
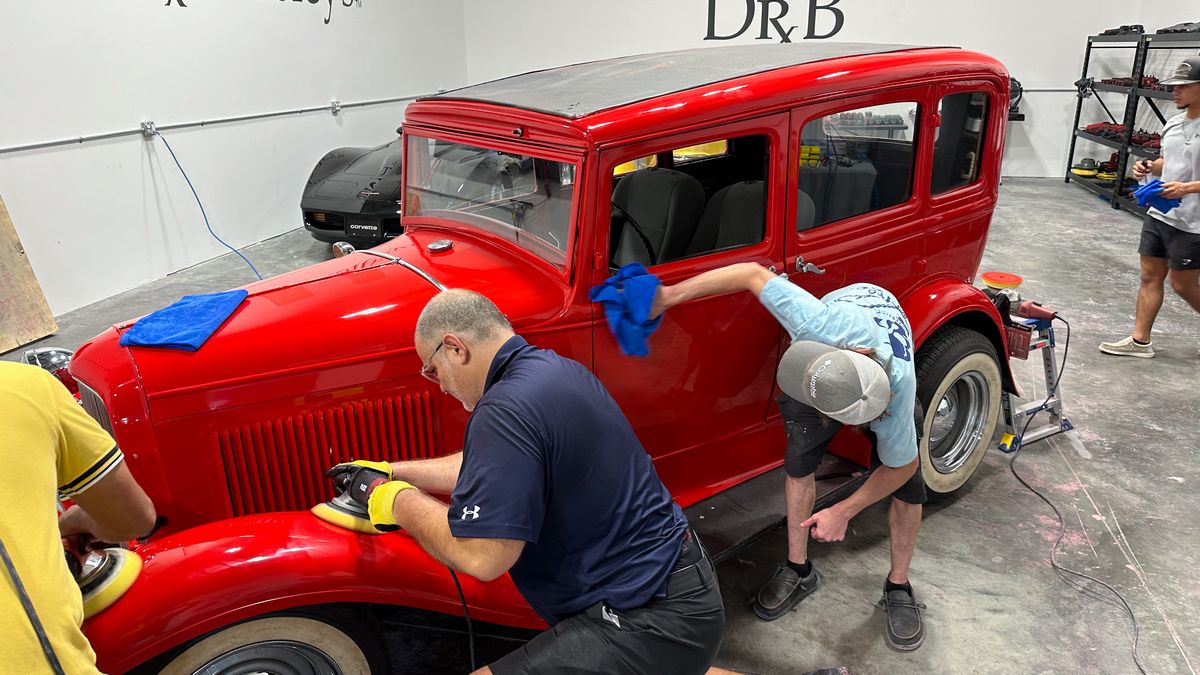
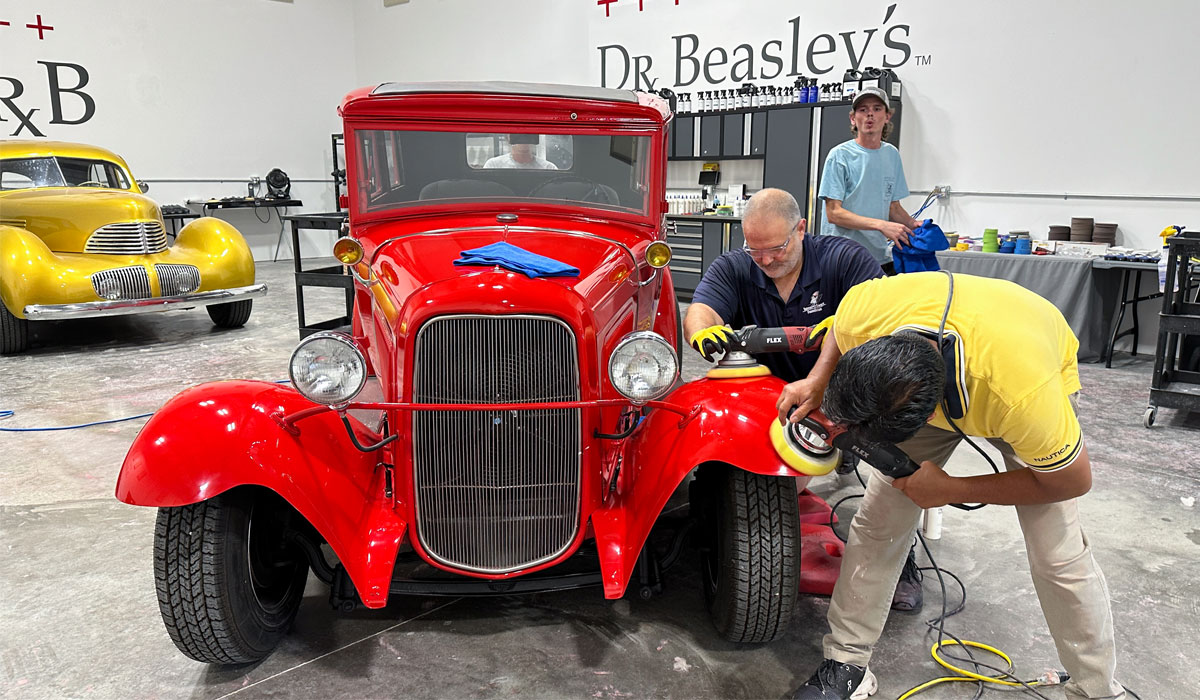
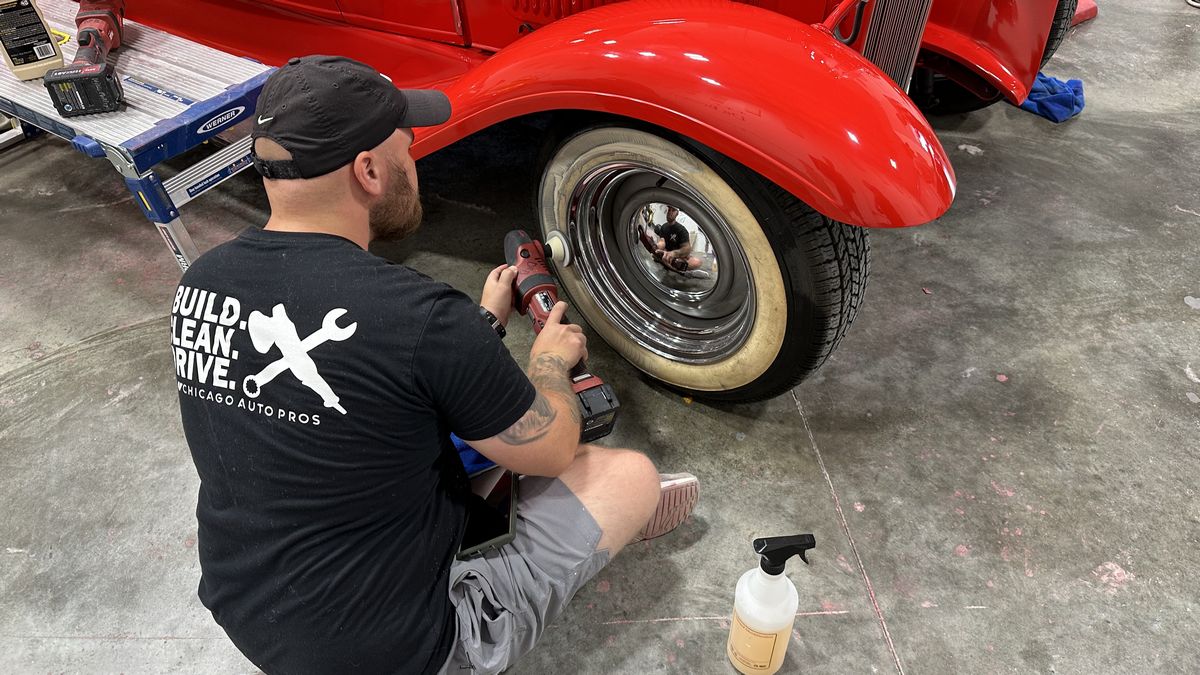
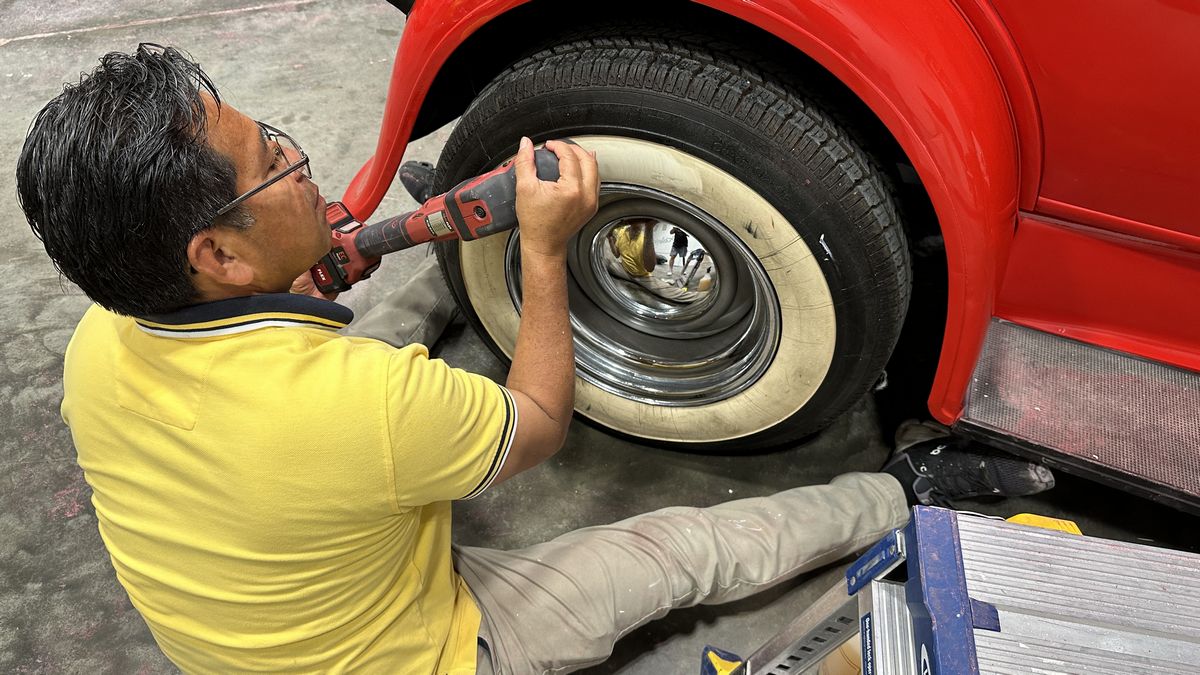
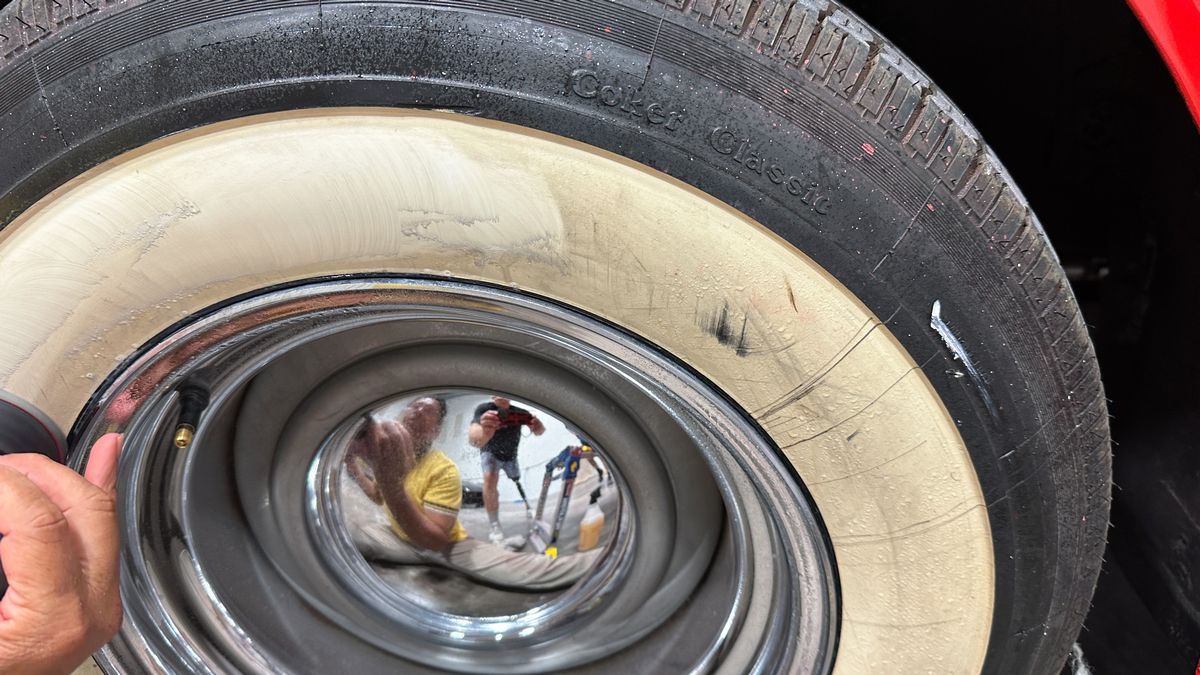
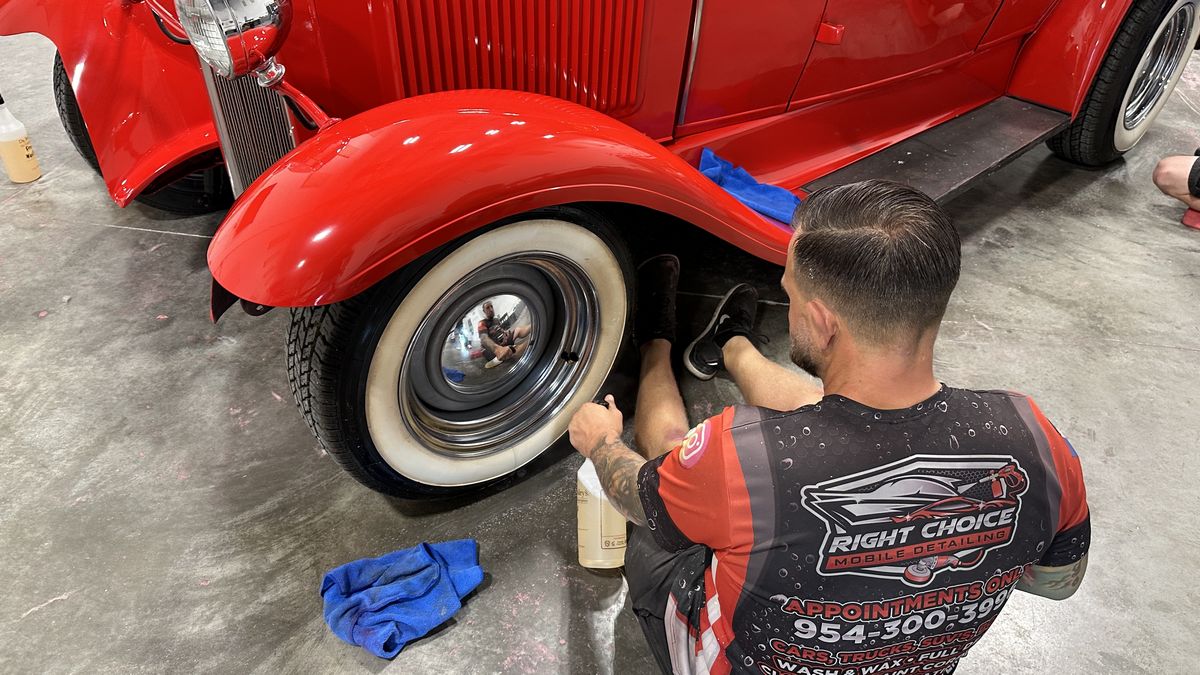
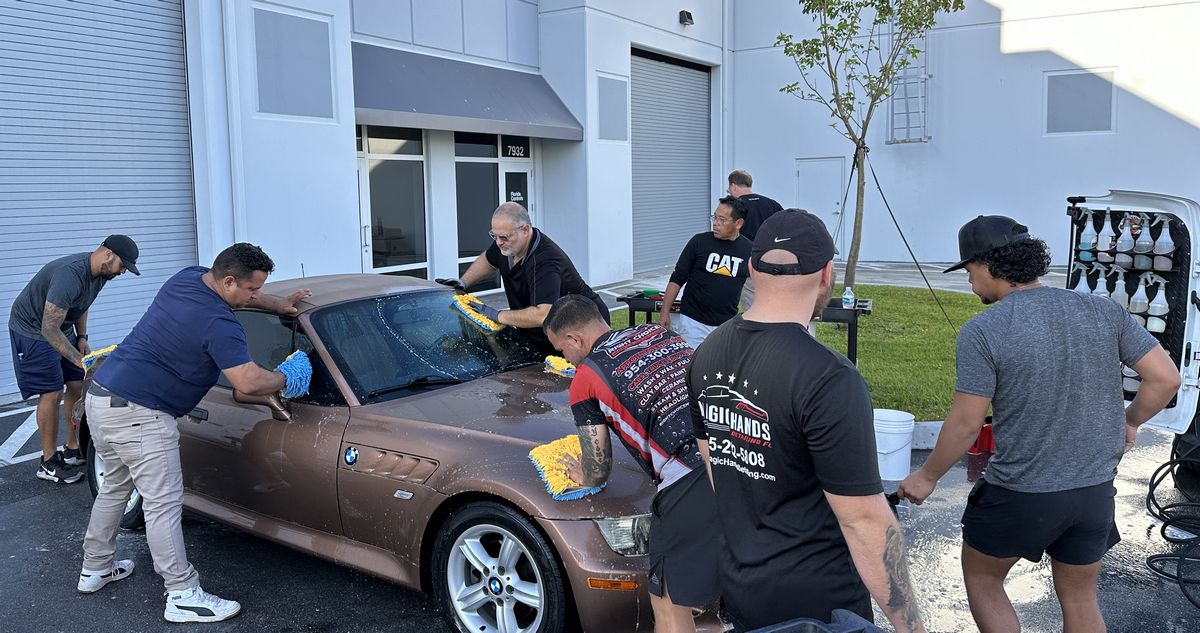
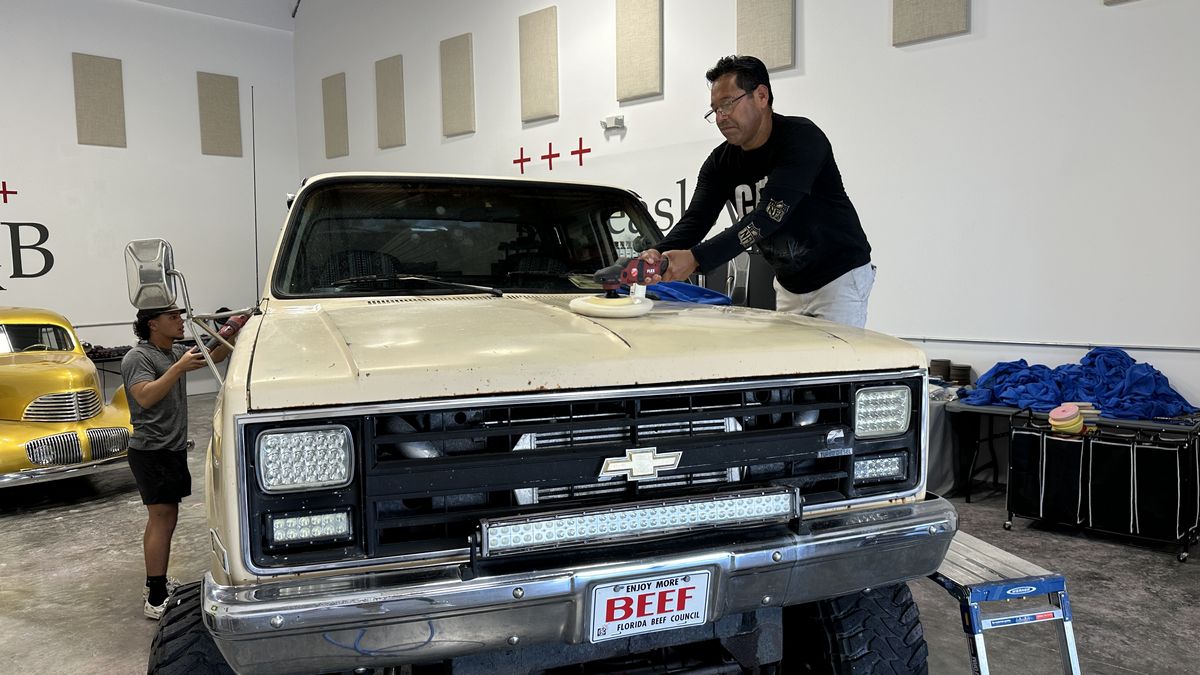
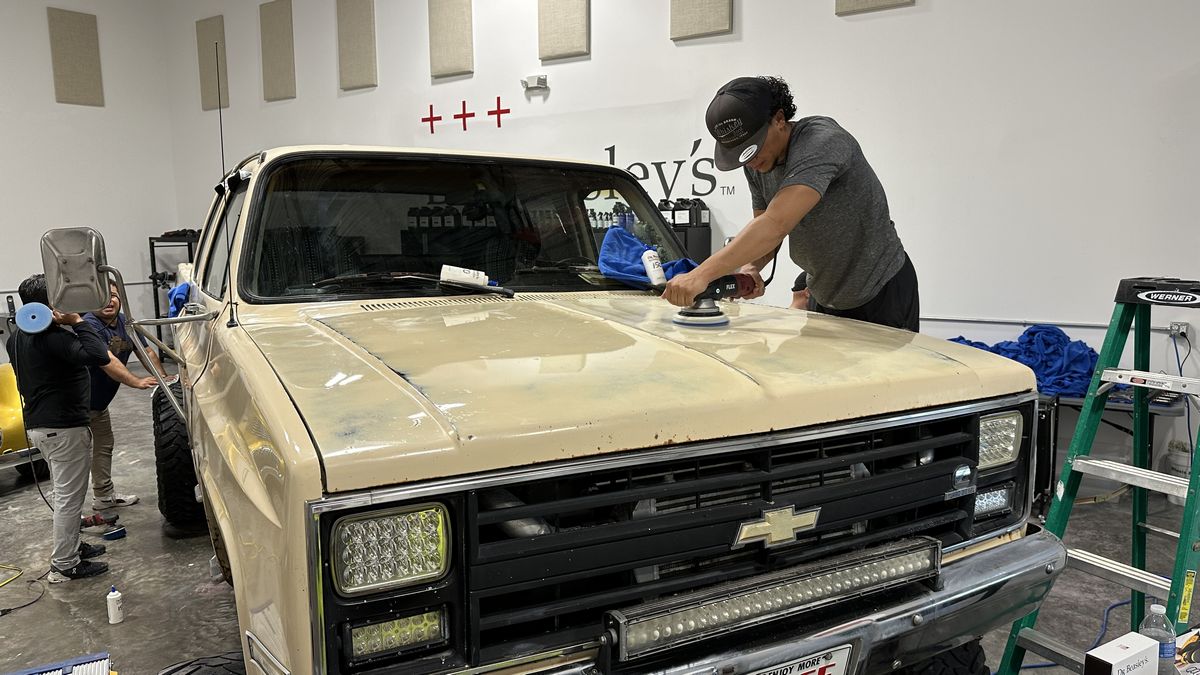
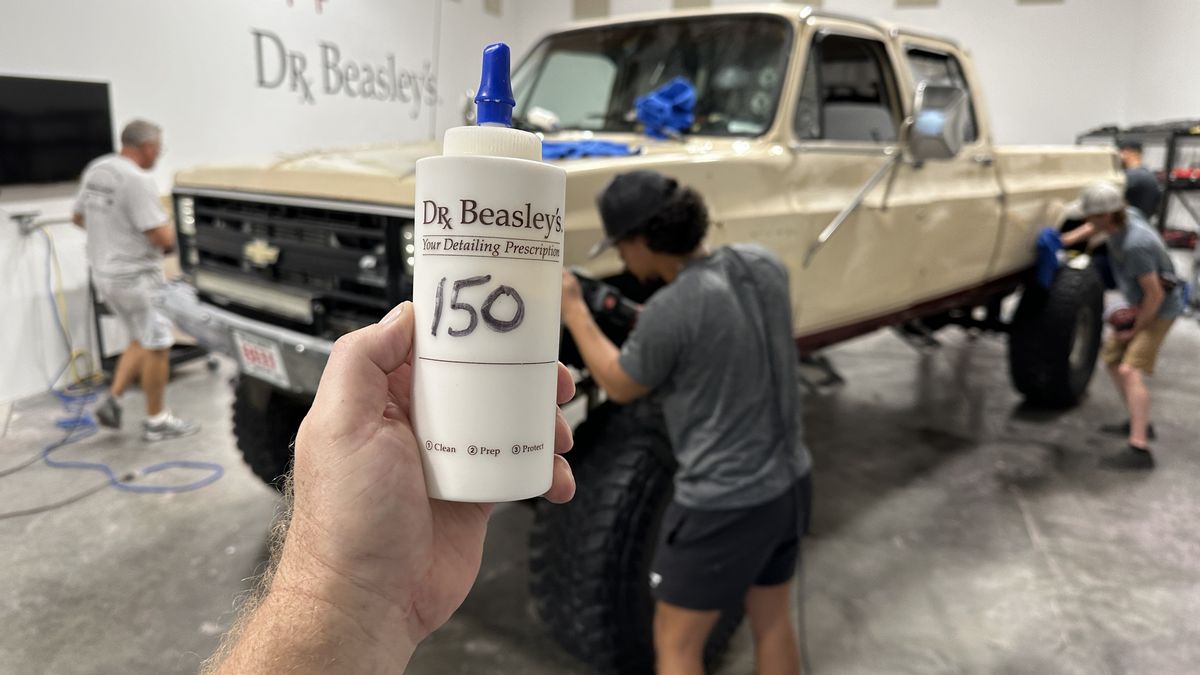
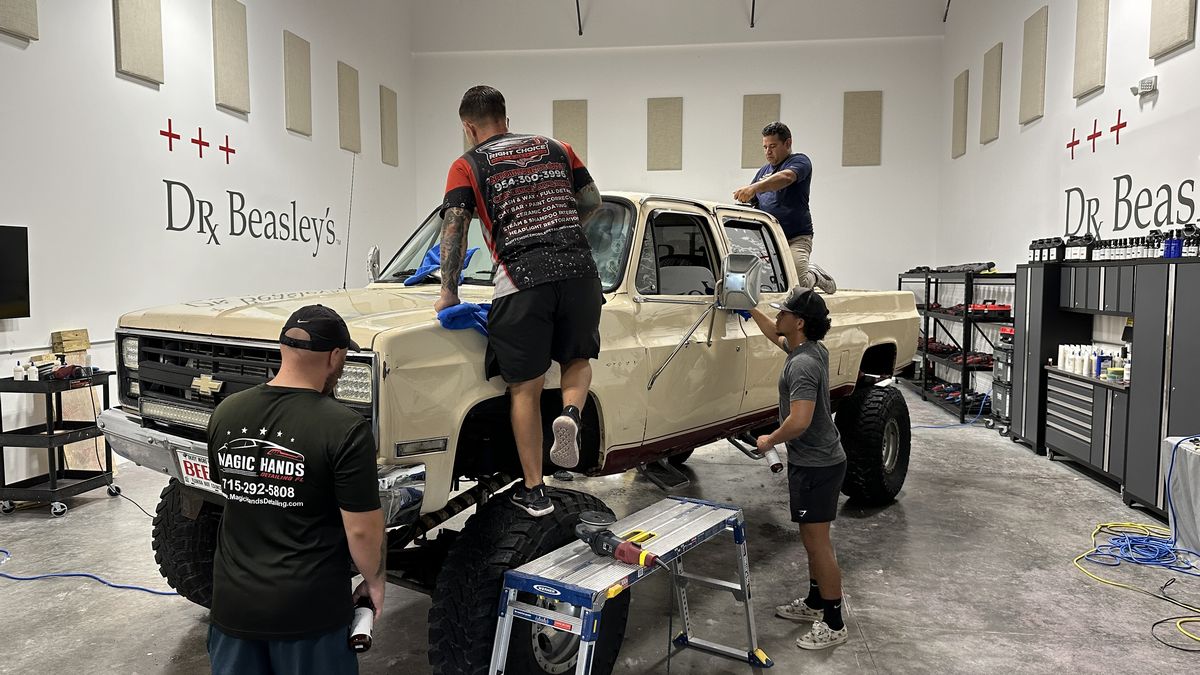
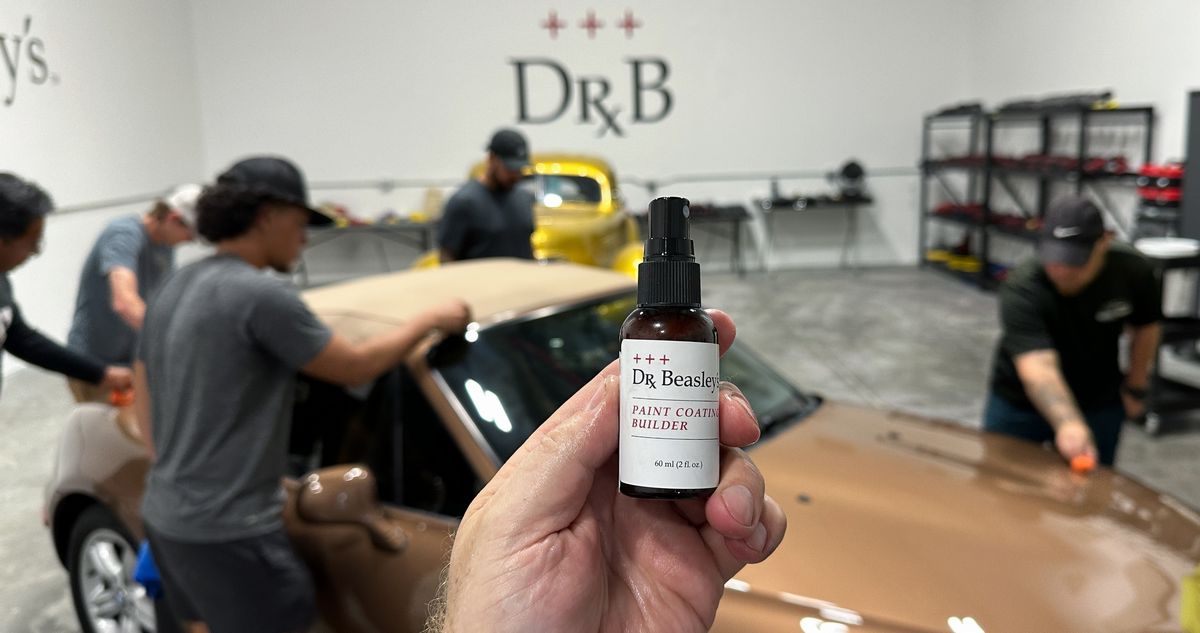
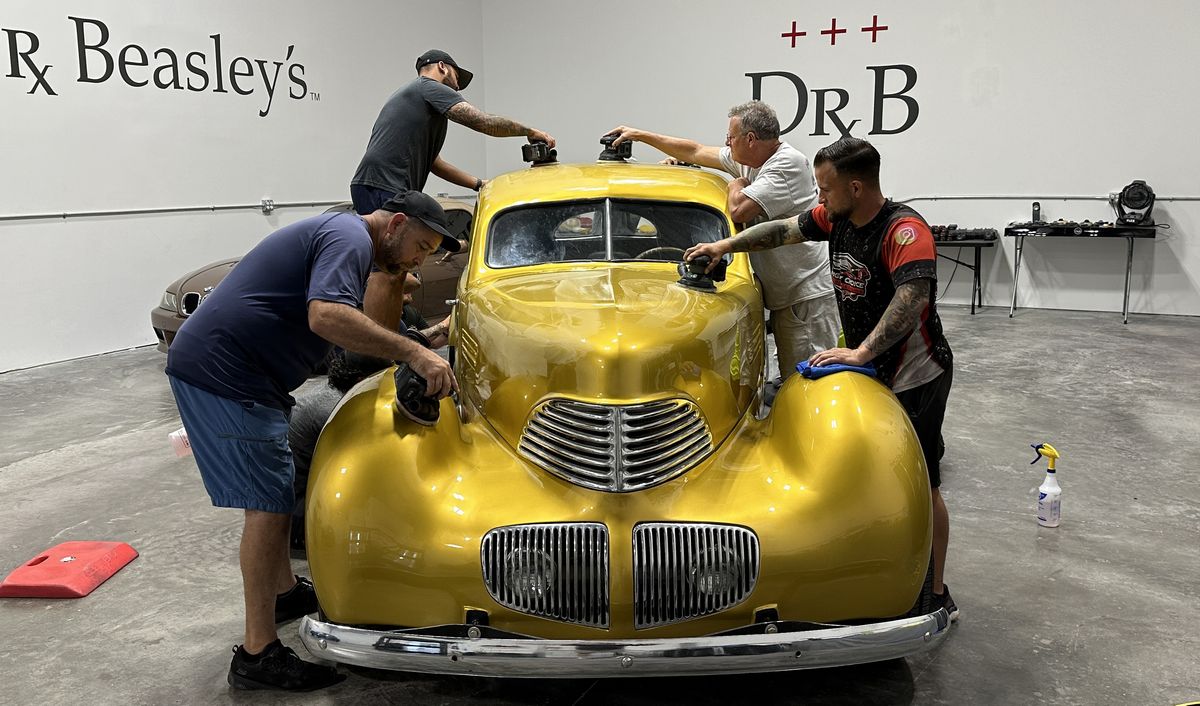
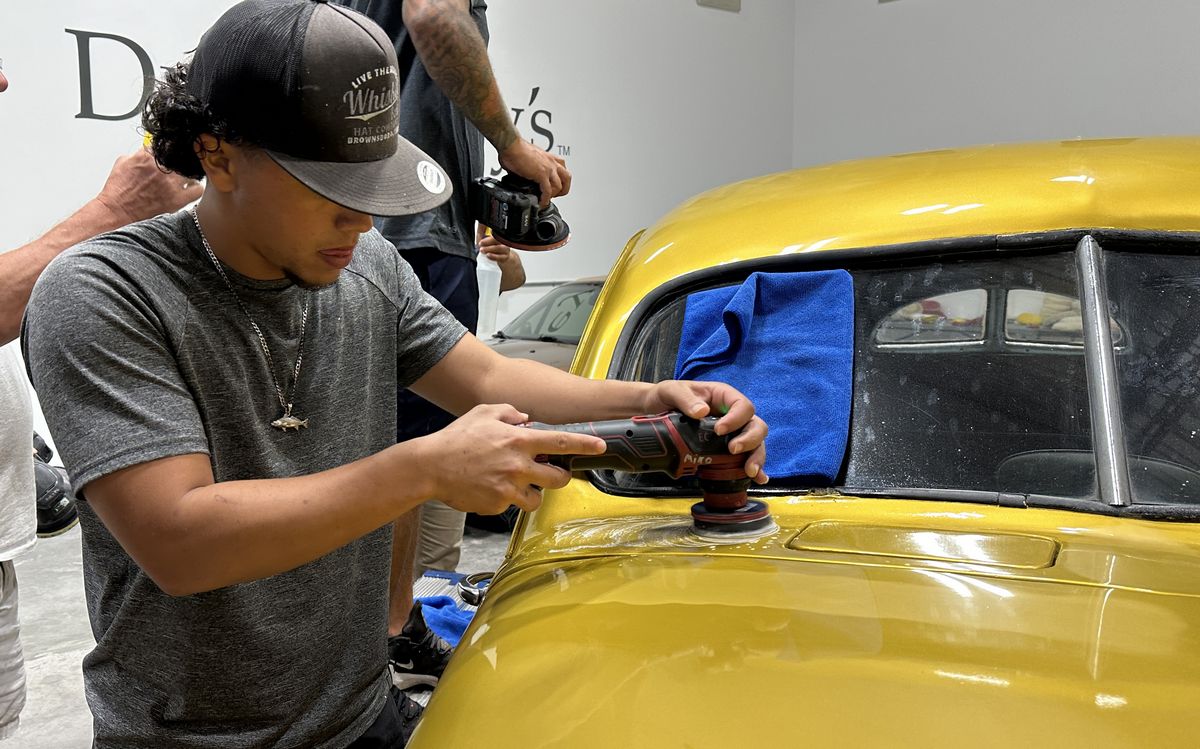
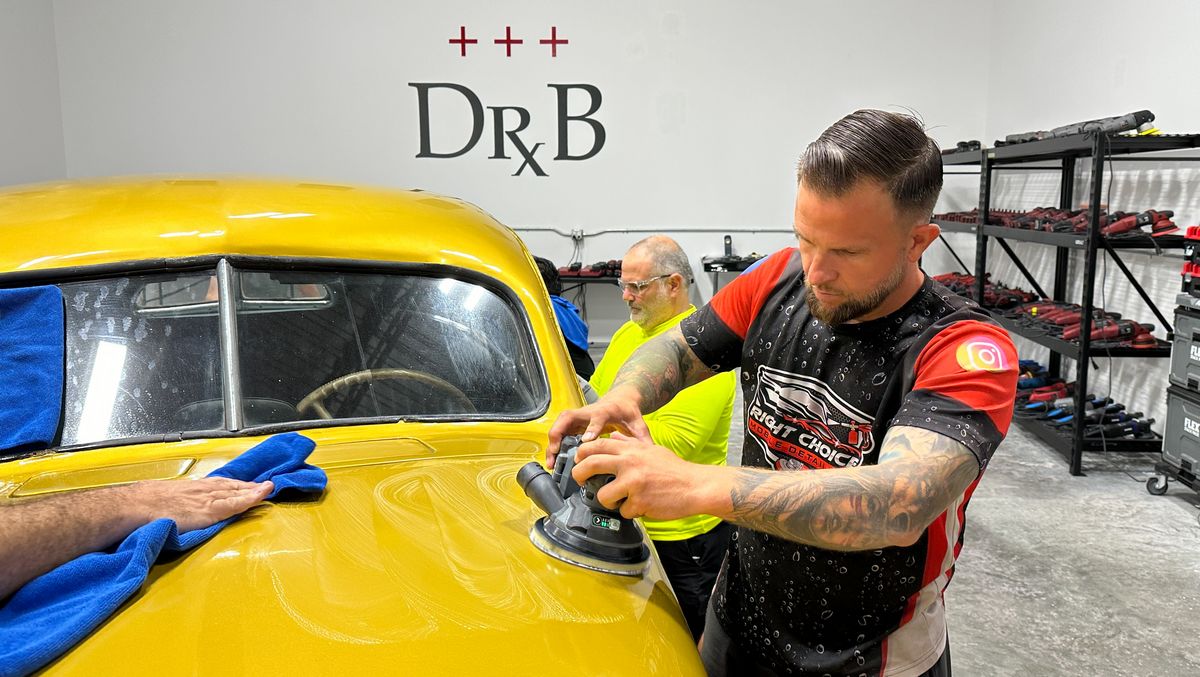
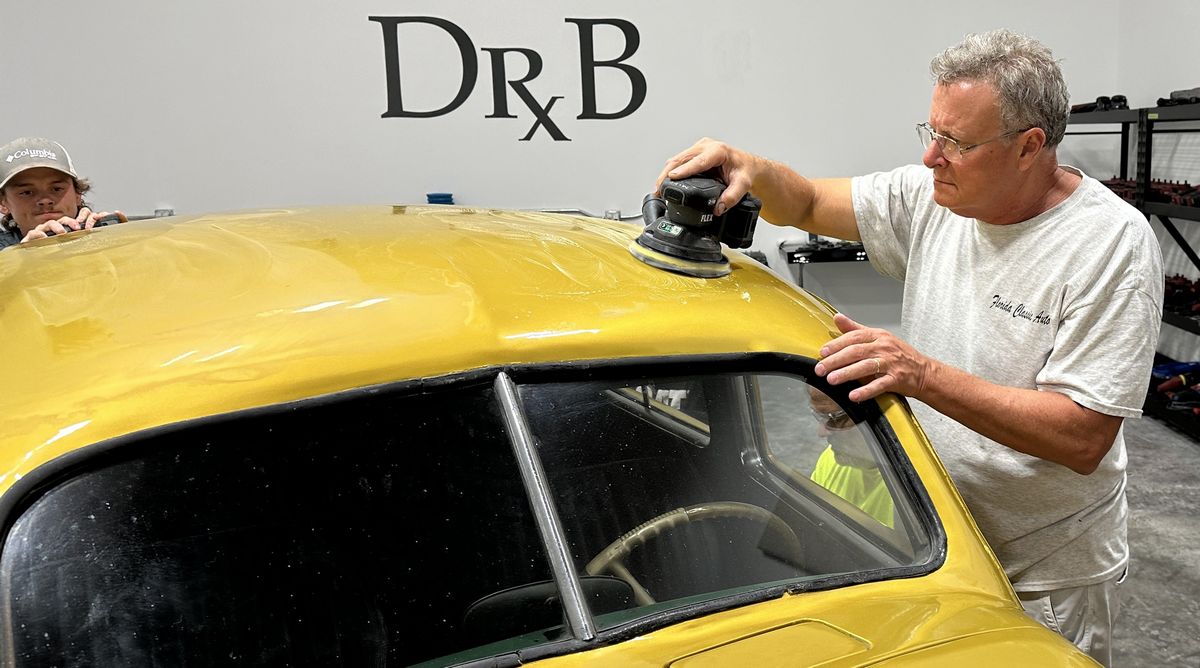
Congratulations to the May 3-day class! This class detailed 5 unique cars, including sanding 3 of these cars and also sanding, buffing and ceramic coating the 24' Robalo Center Console boat. To get signed up for the next big 3-day class that includes paint correction, ceramic coatings, sanding to remove orange peel and extreme boat detailing!
Click here to sign-up for the September 20th, 21st and 22nd NO chairs 100% hands-on detailing class!
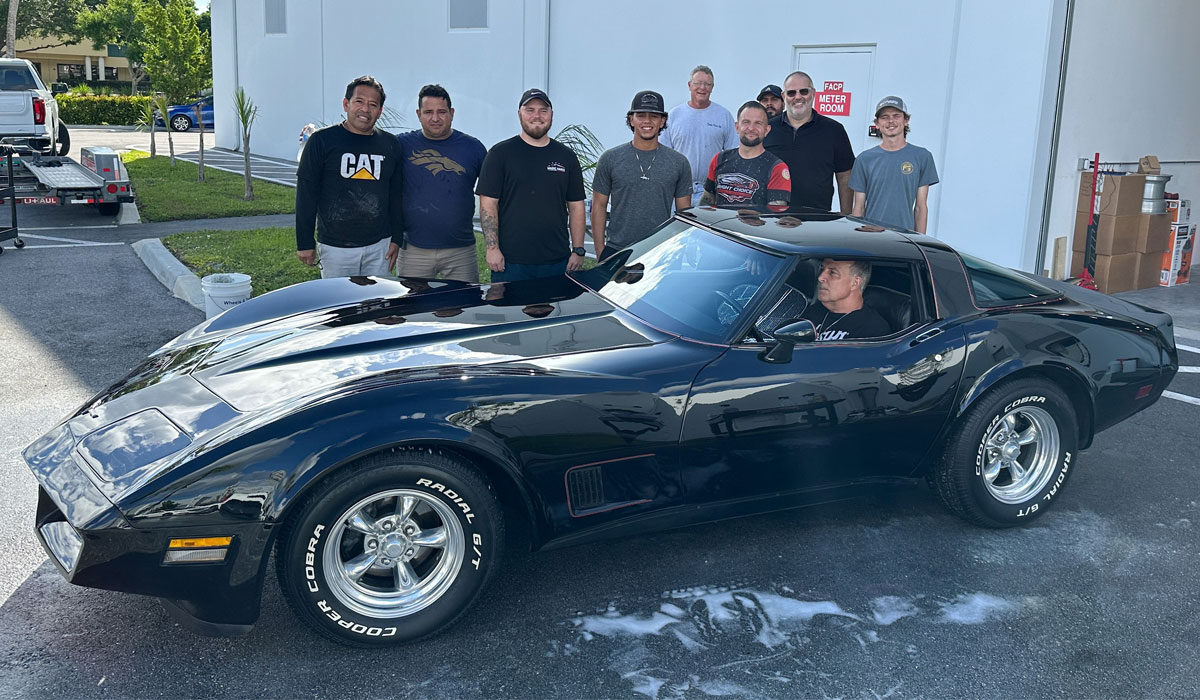
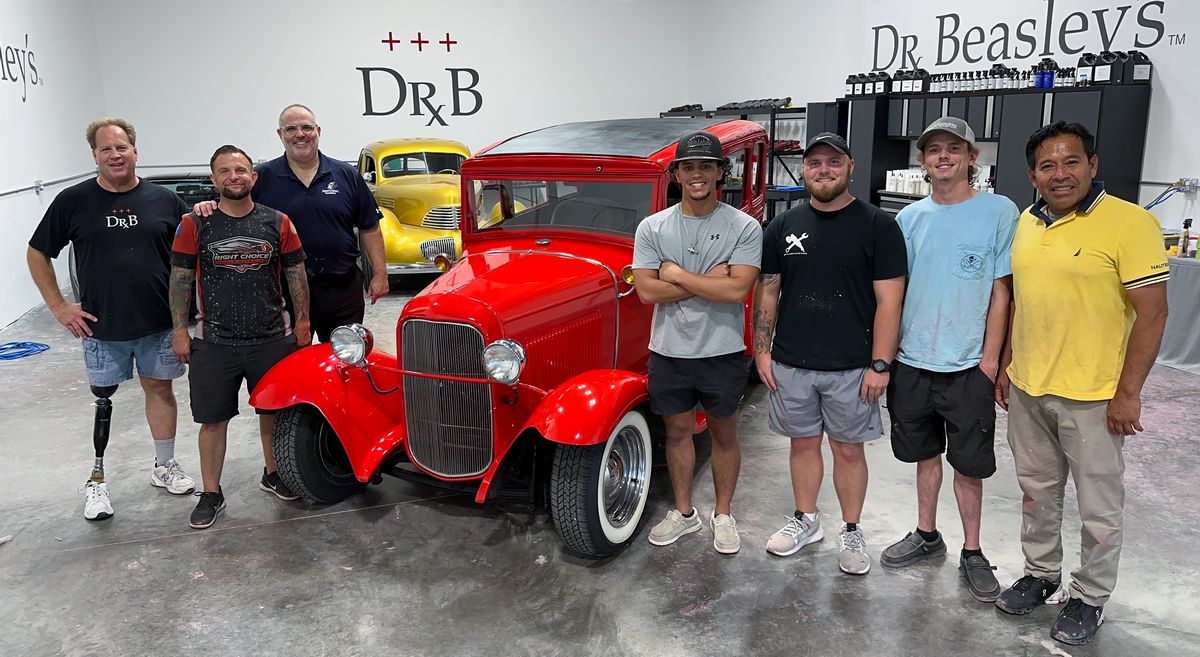
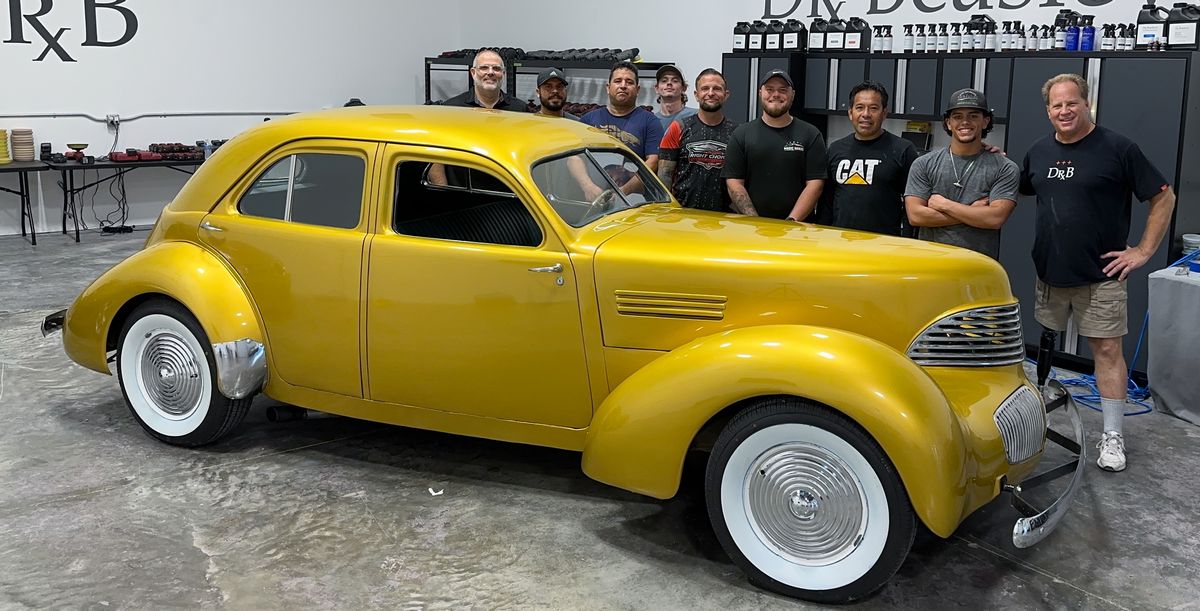
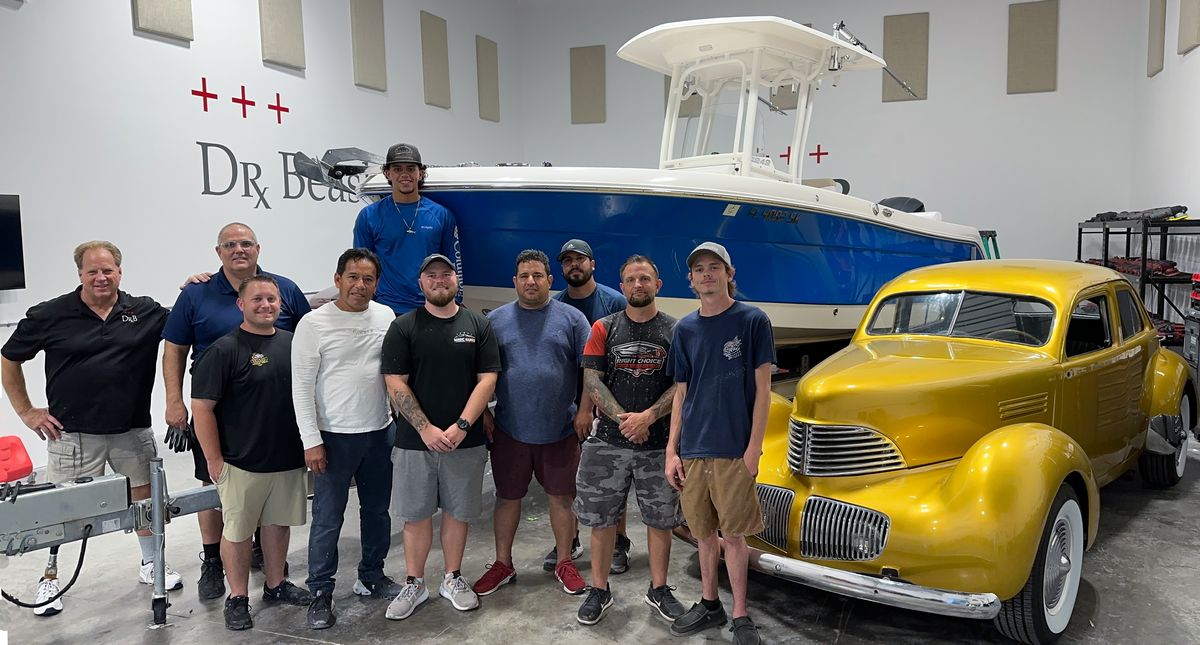
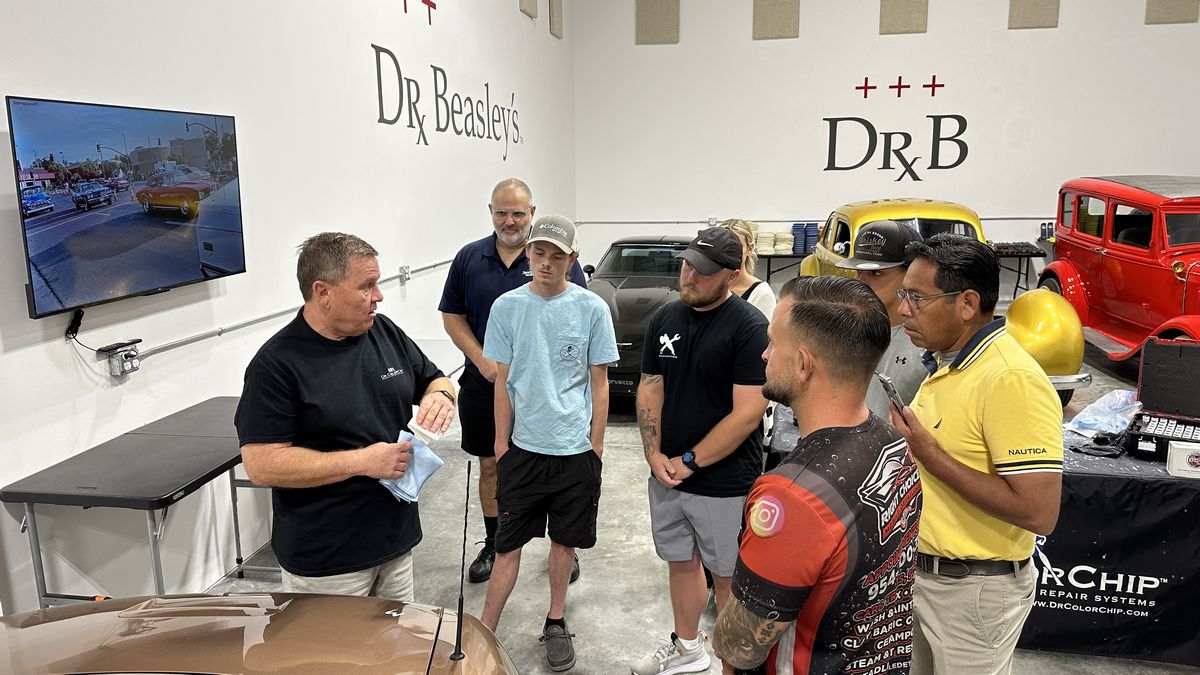
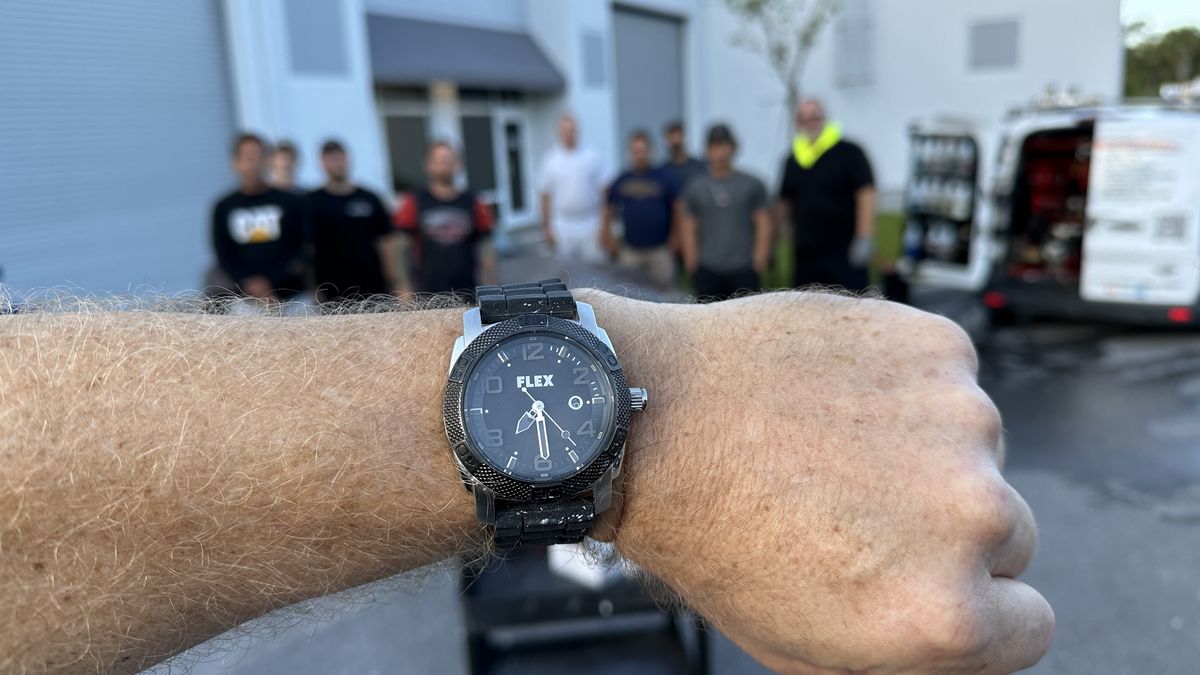
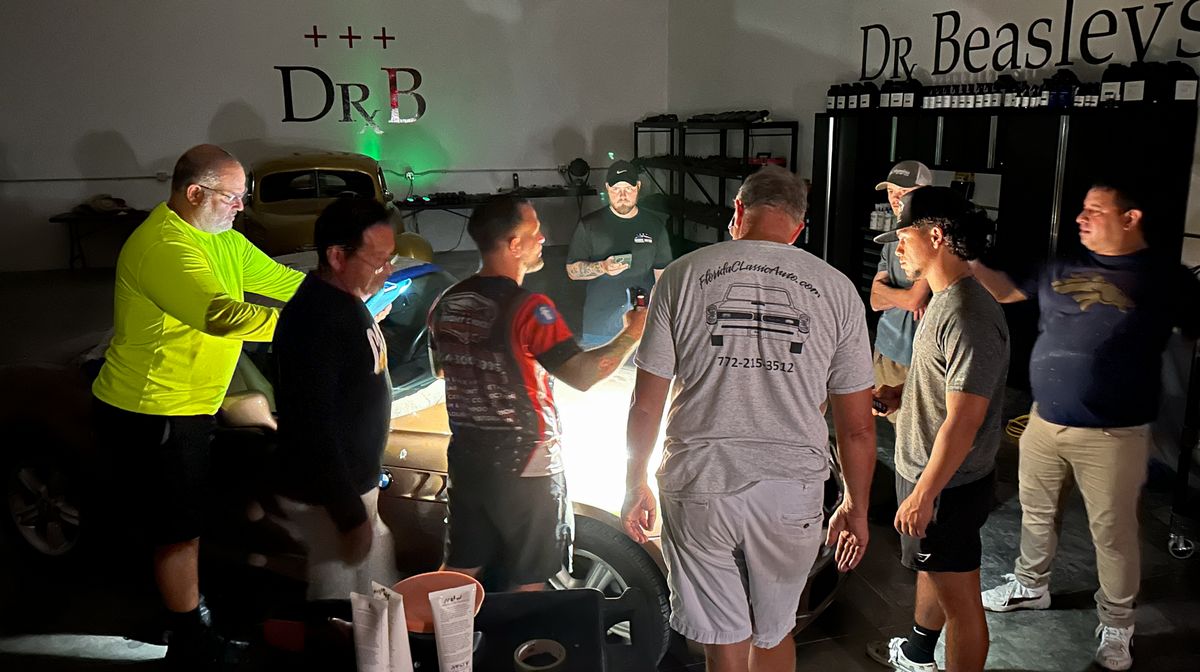
Here's the class that made all the magic happen!
Kaiden
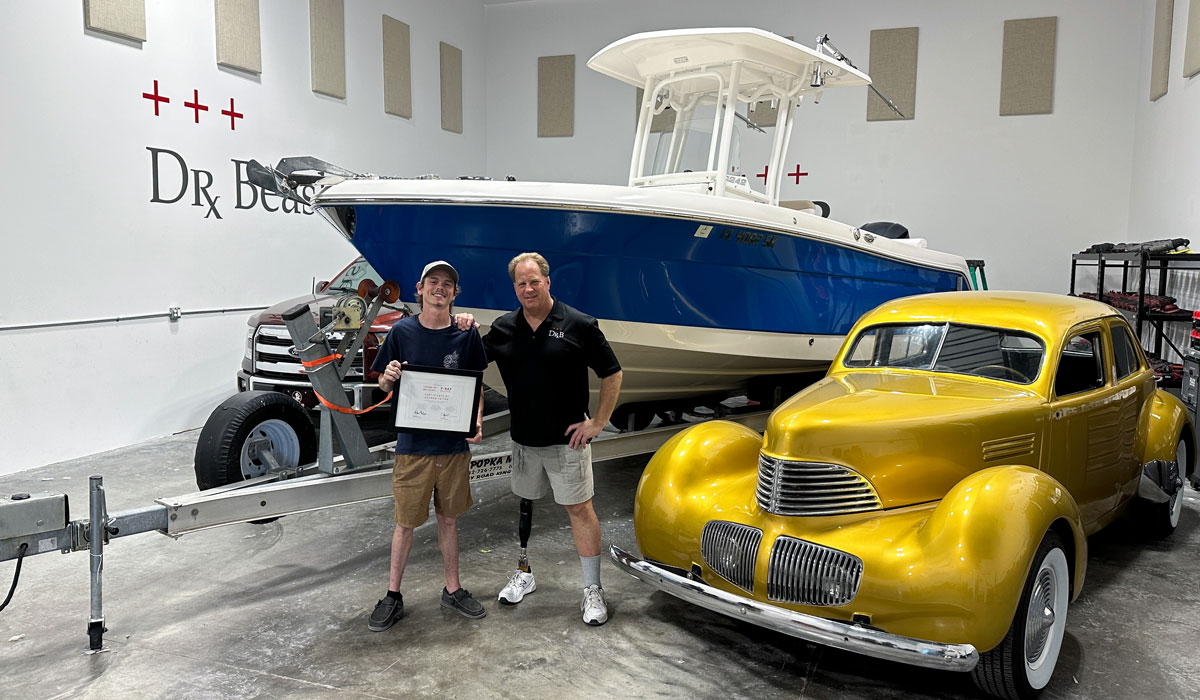
Michael
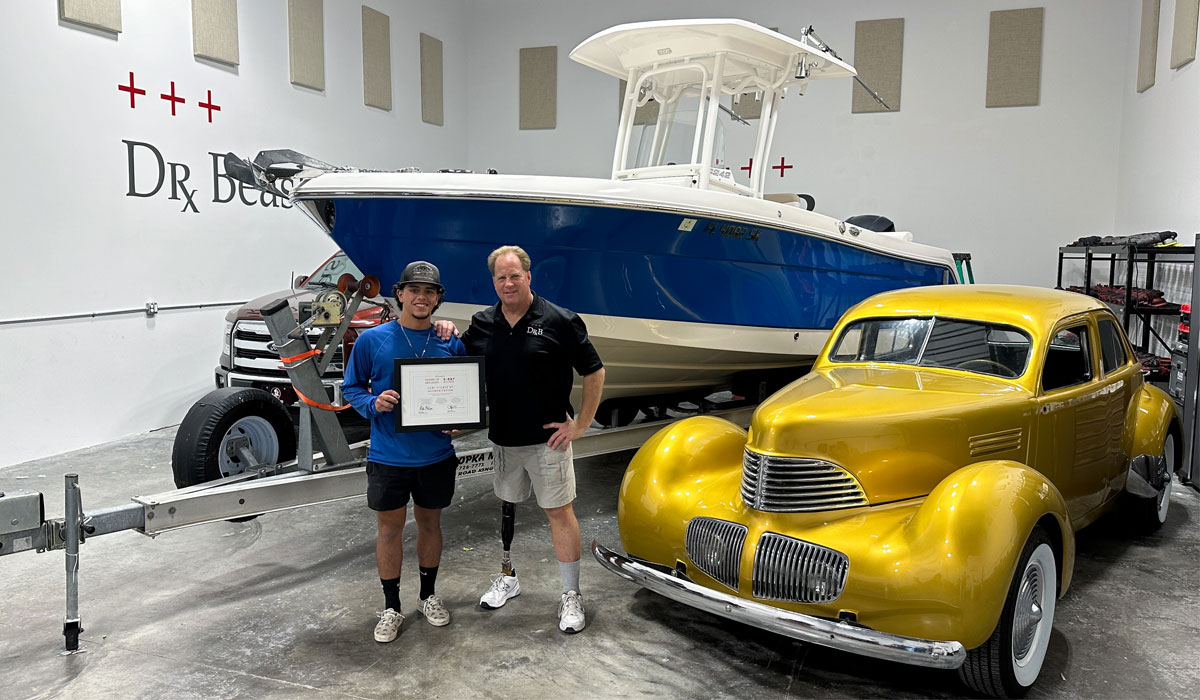
Tyler
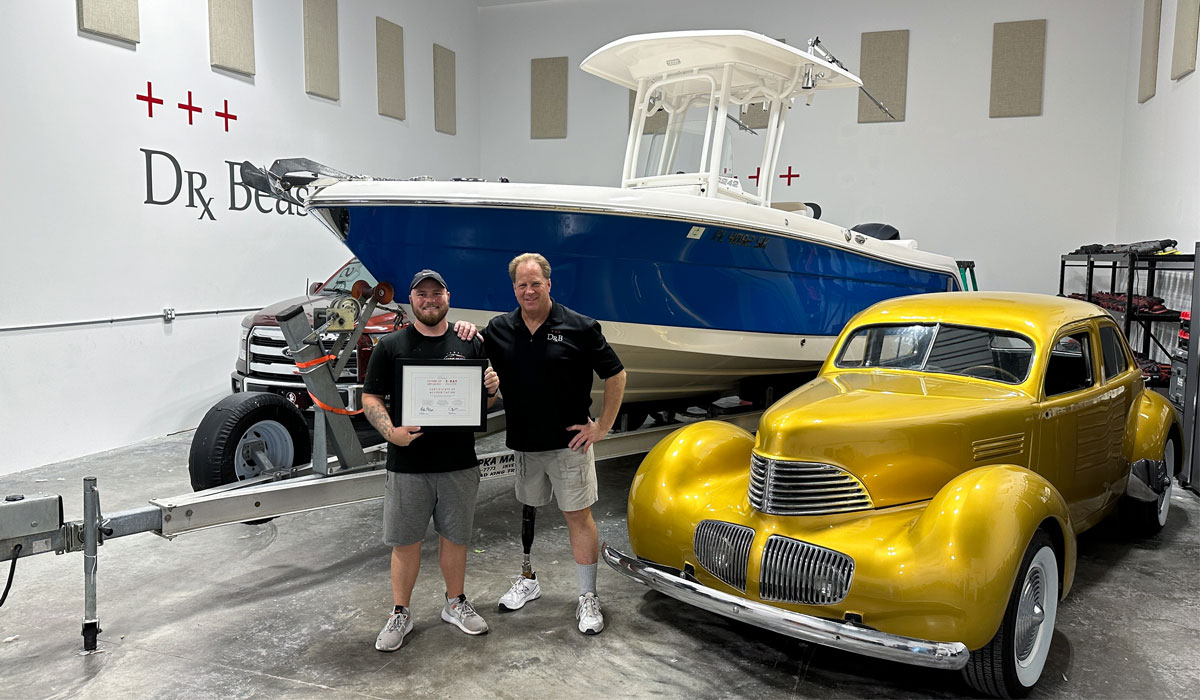
Juan
Edson

Jesus
Shawn
Billy
Cory
Here's the 5 cars this class detailed and the huge center console boat
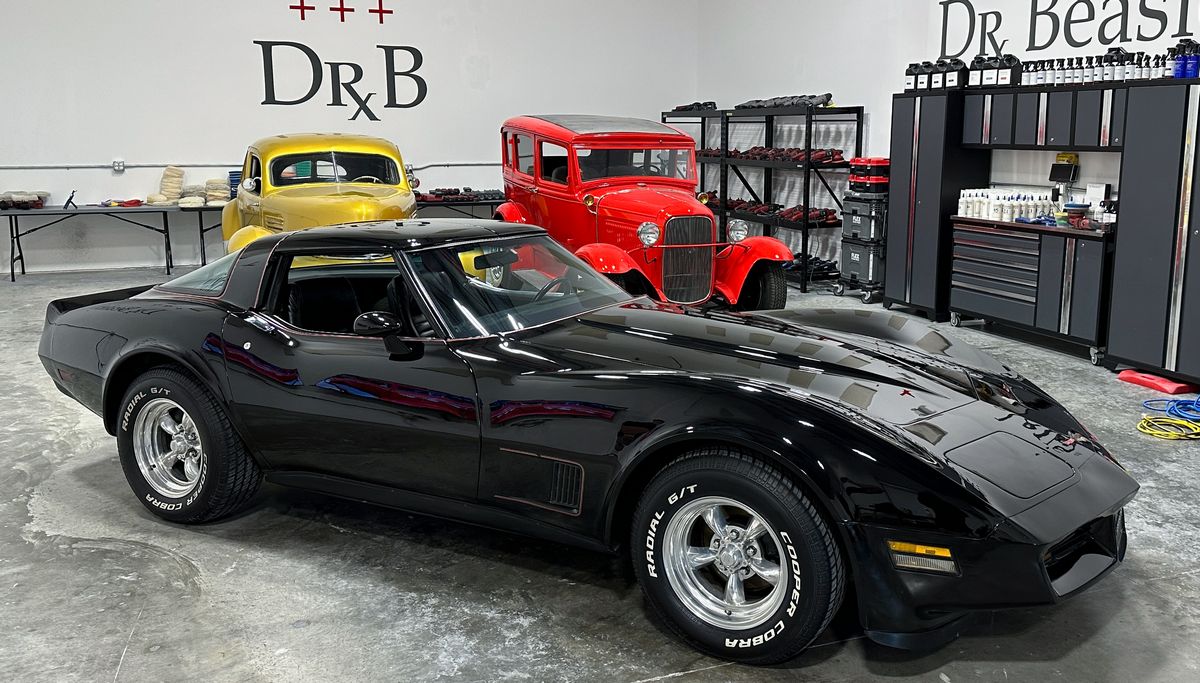
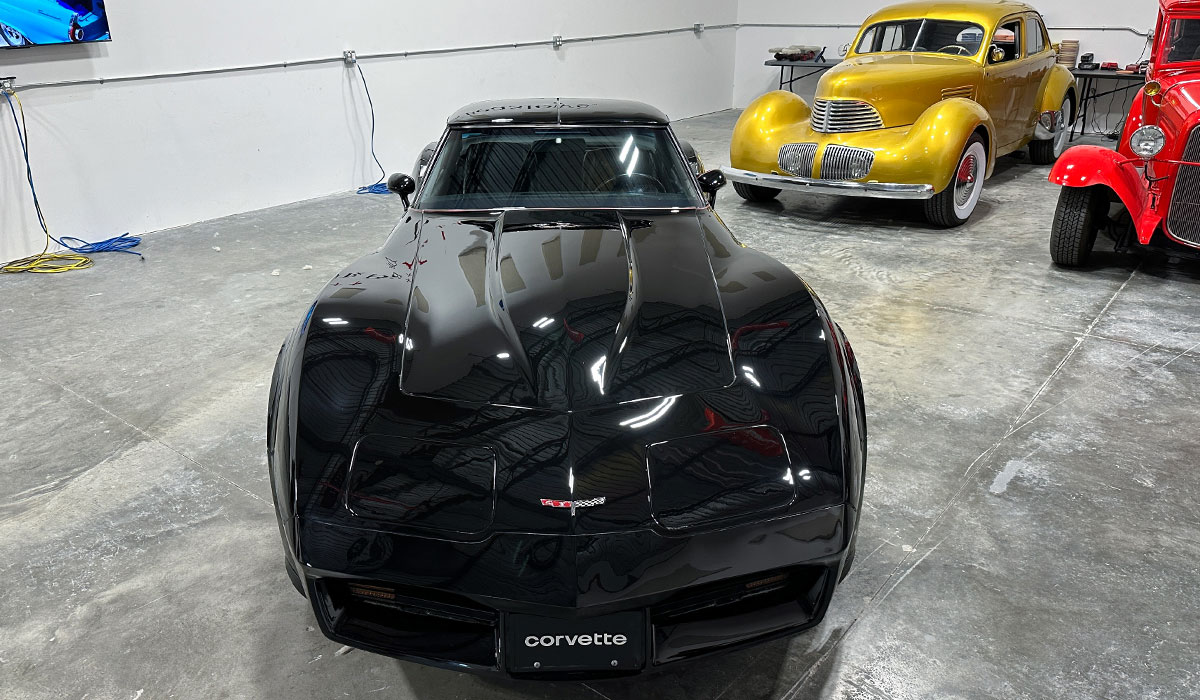
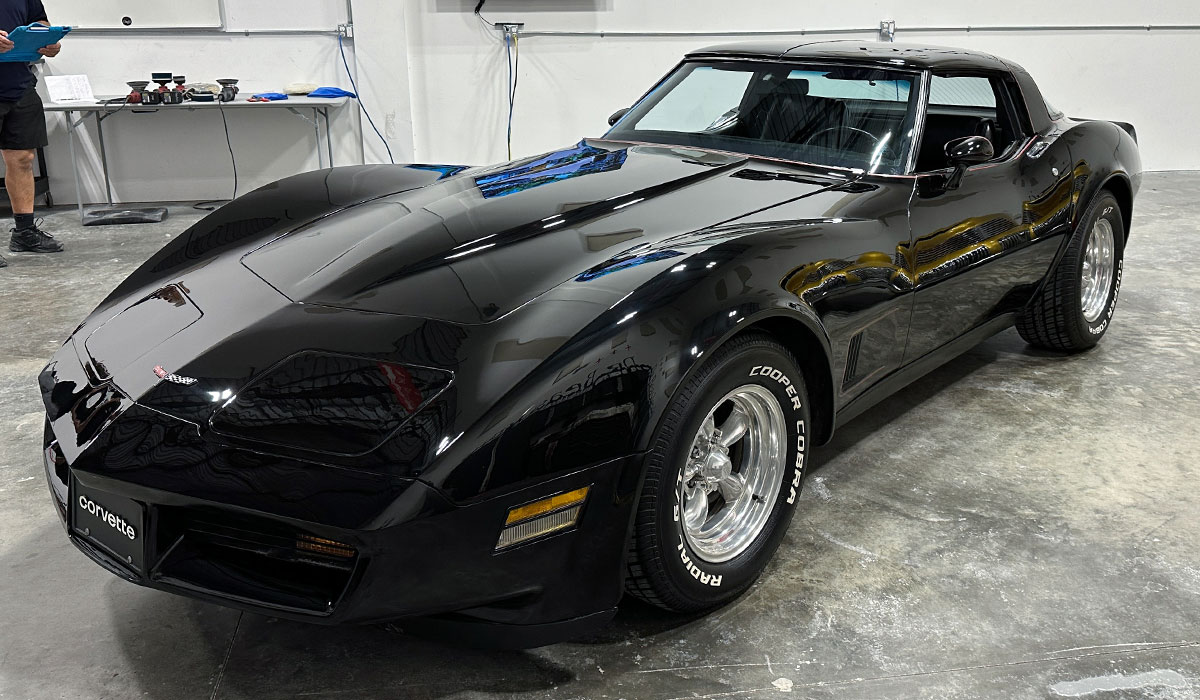
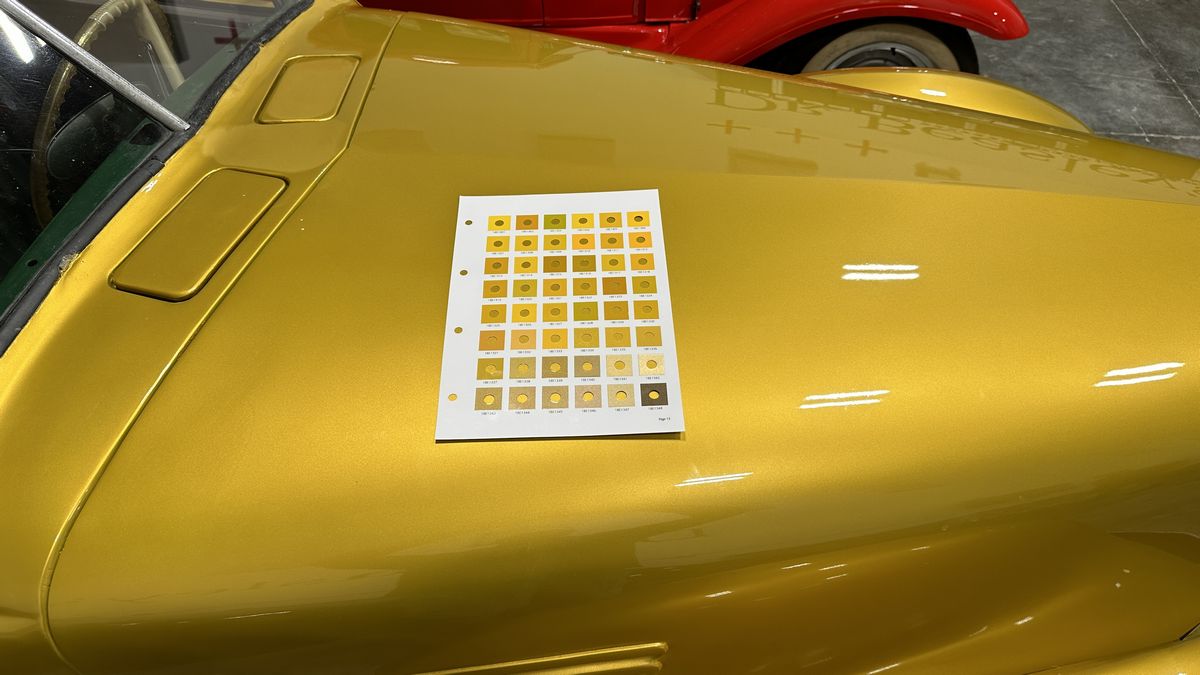
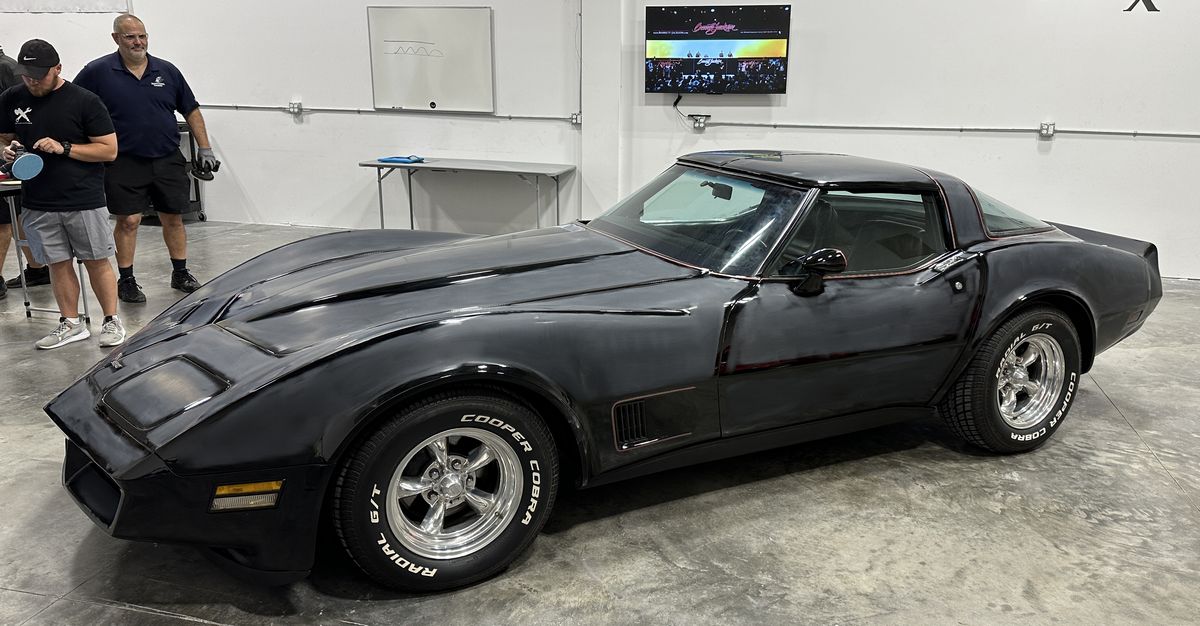
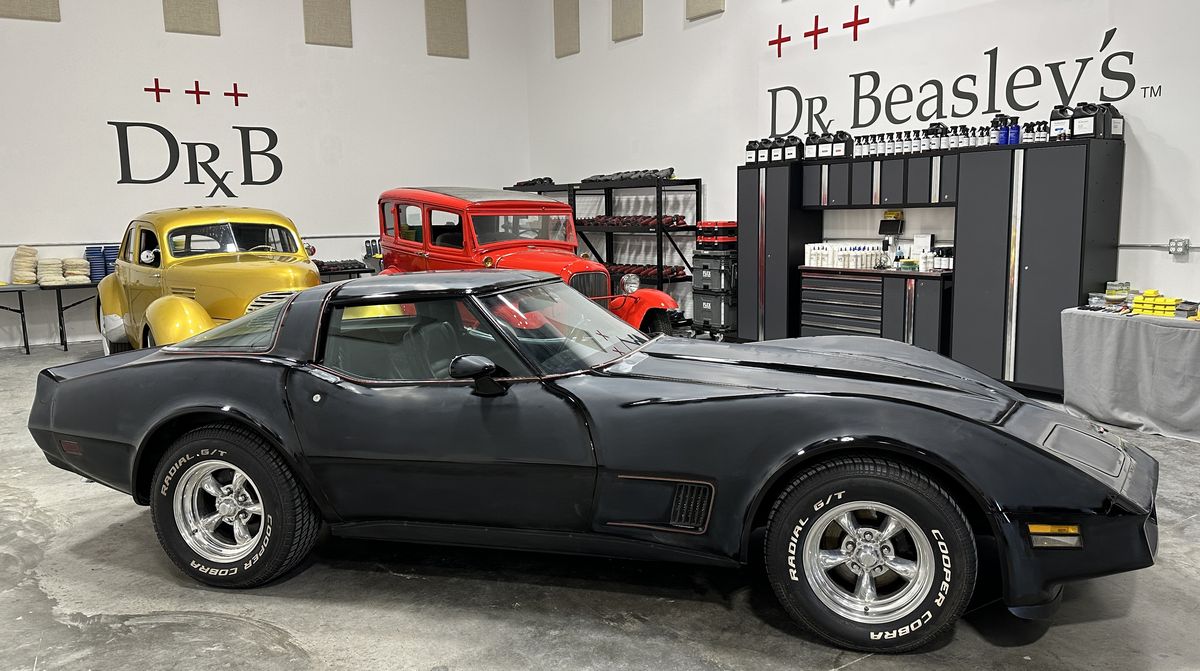
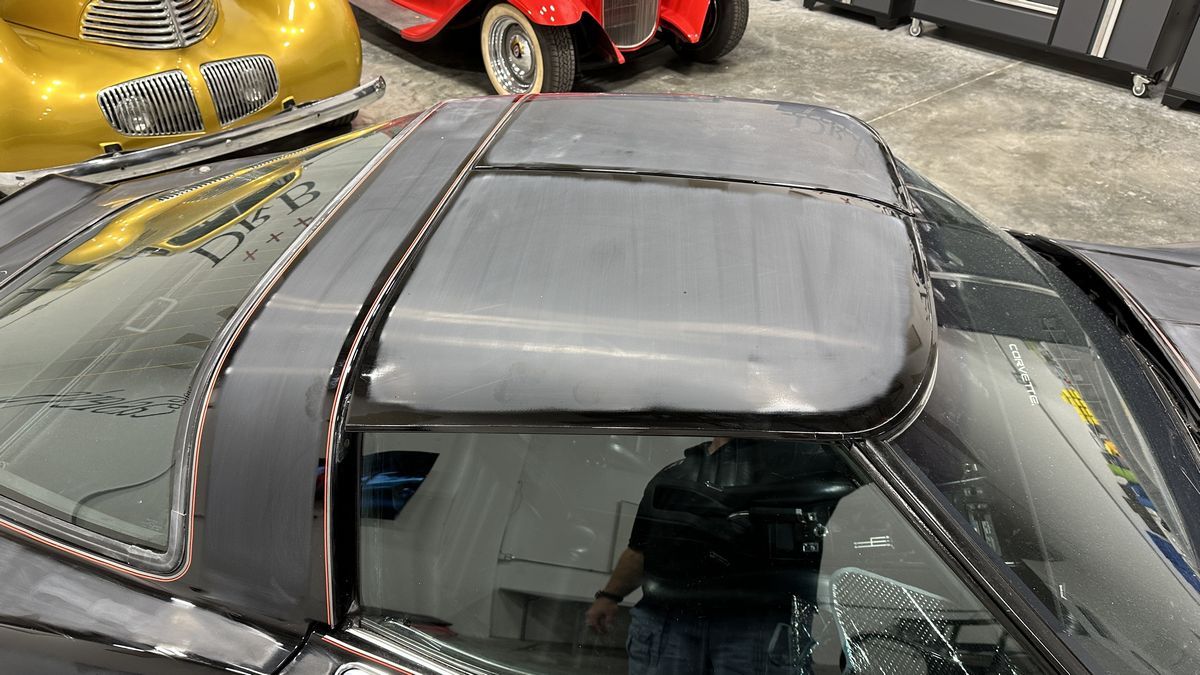
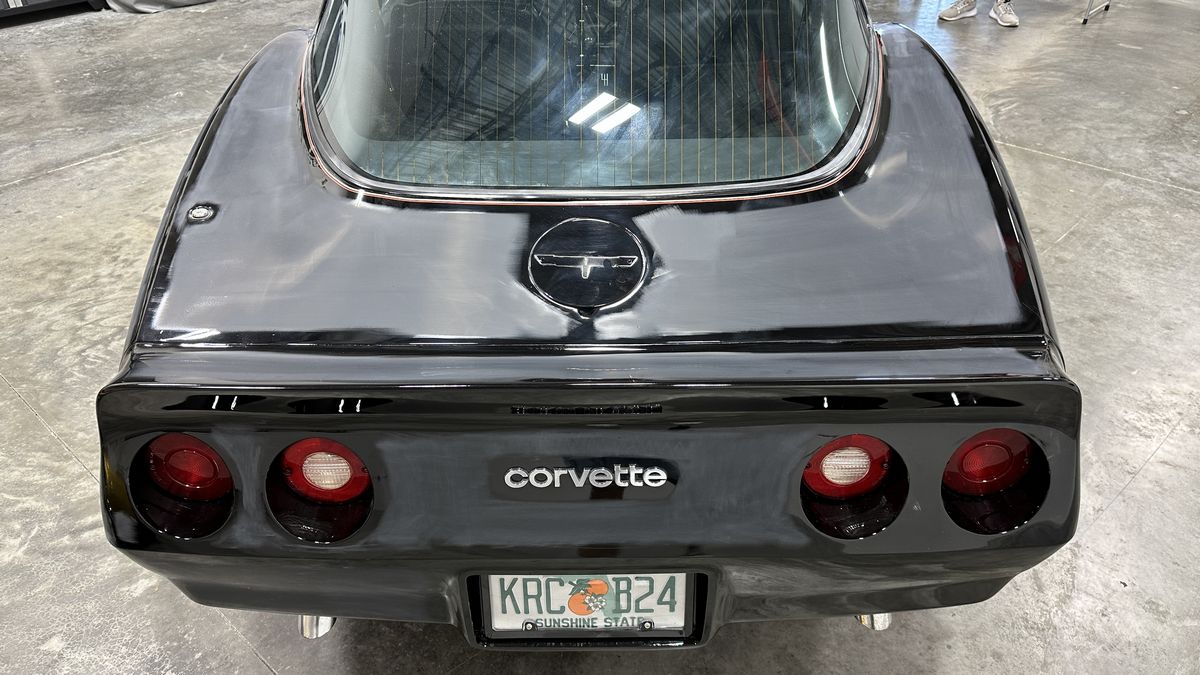
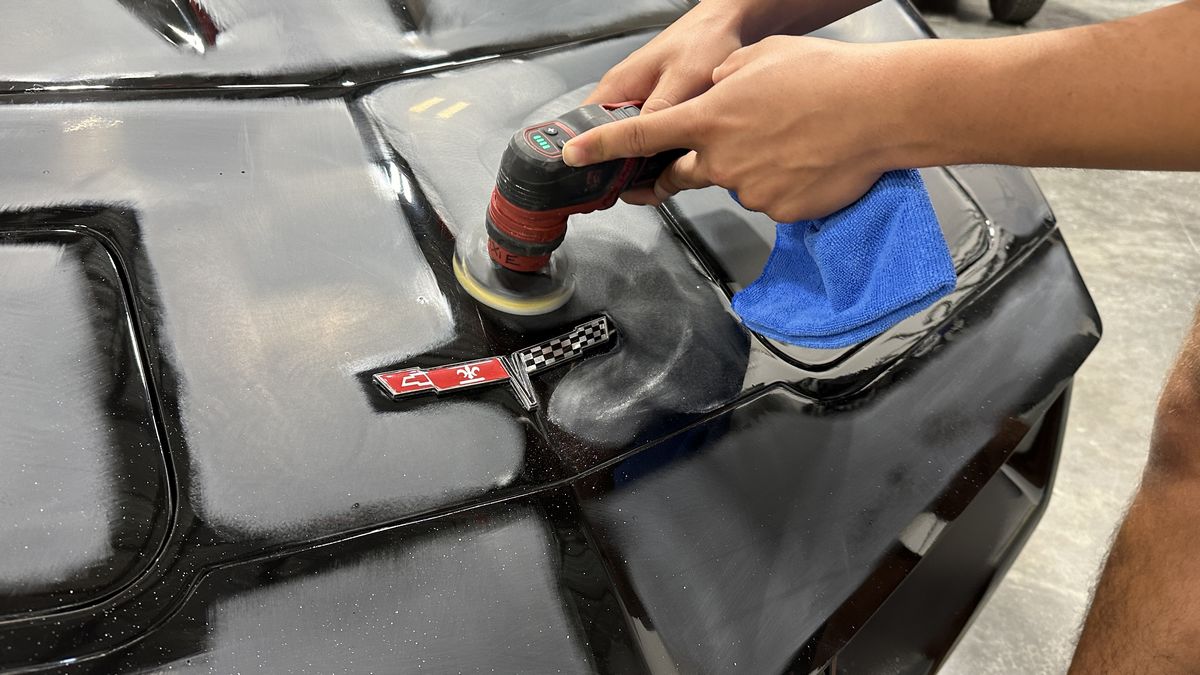
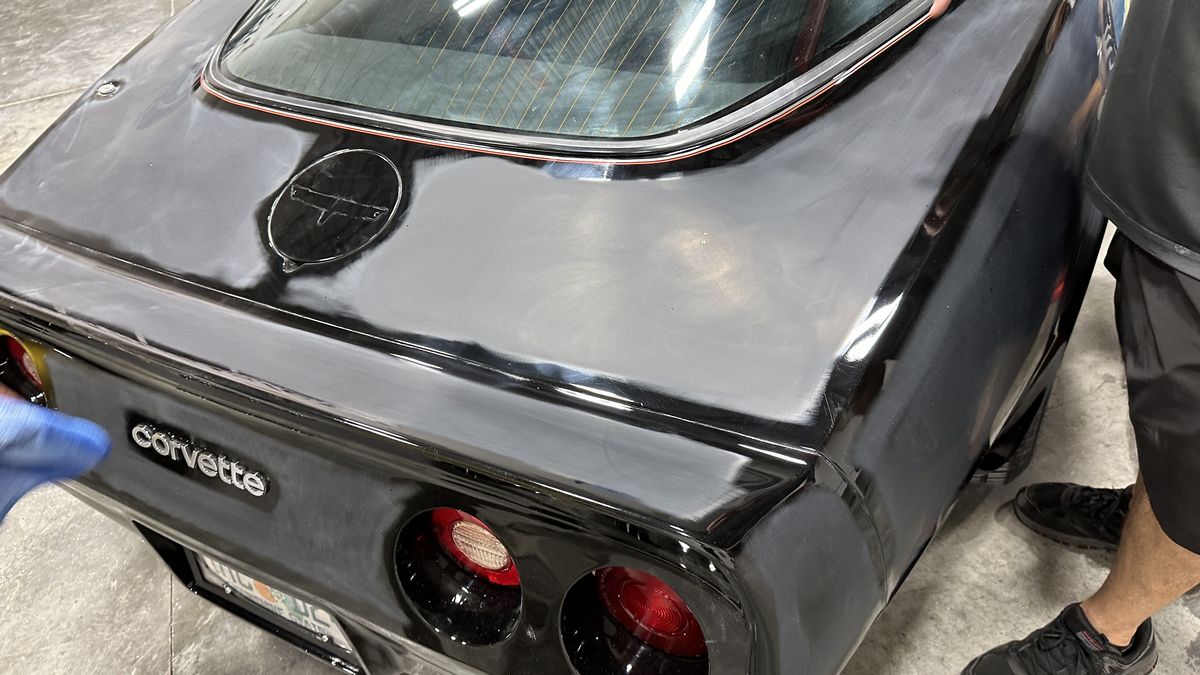
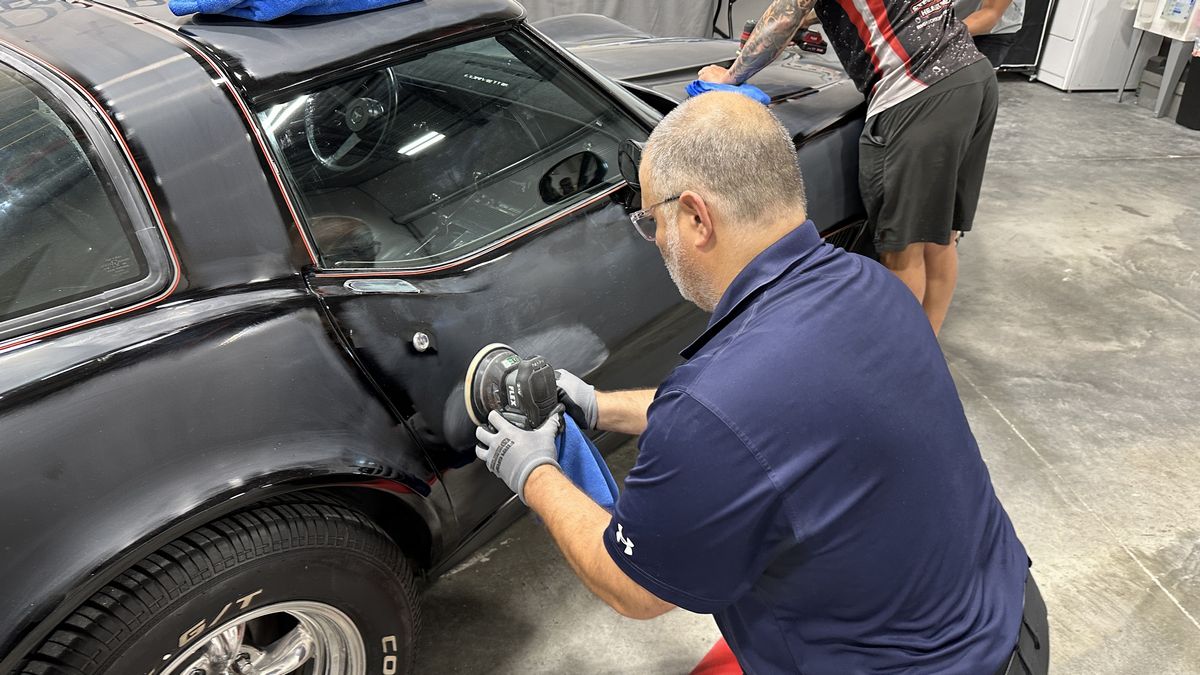
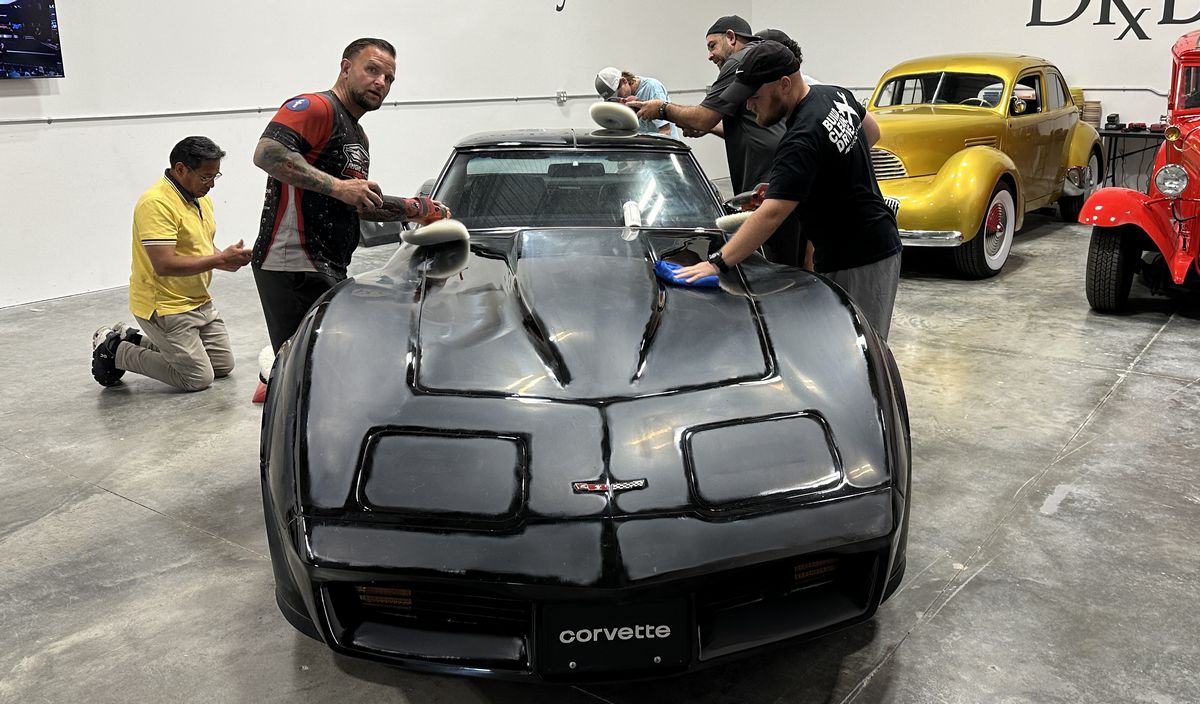
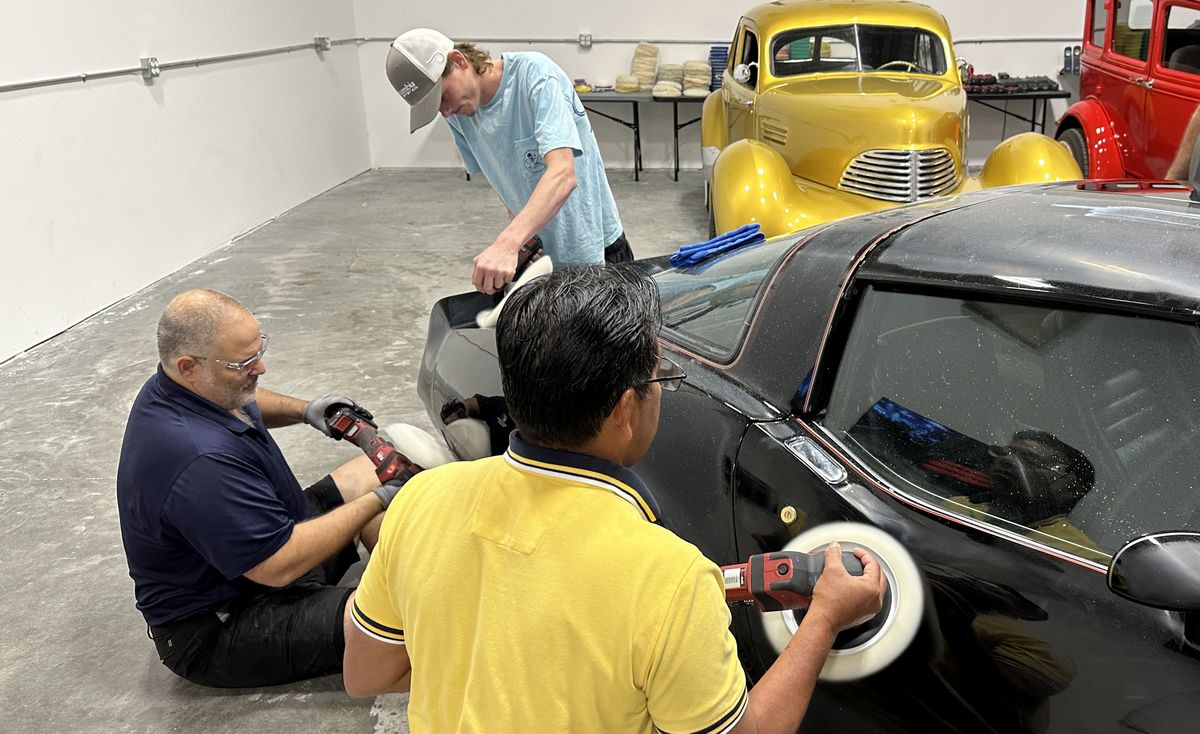
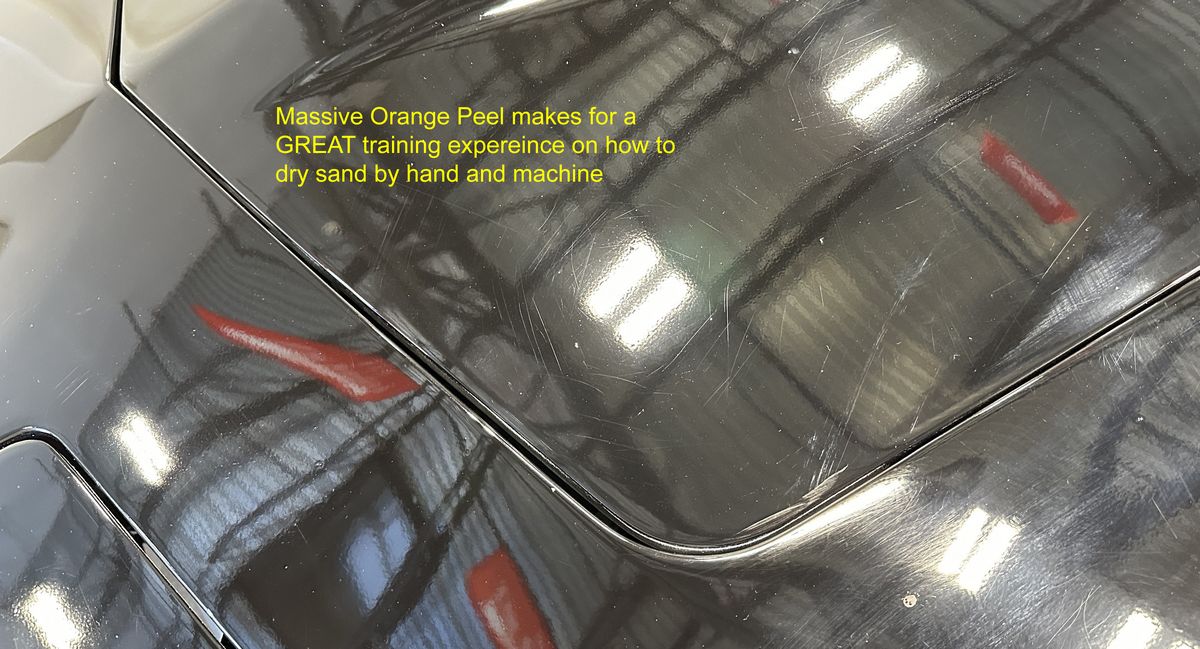
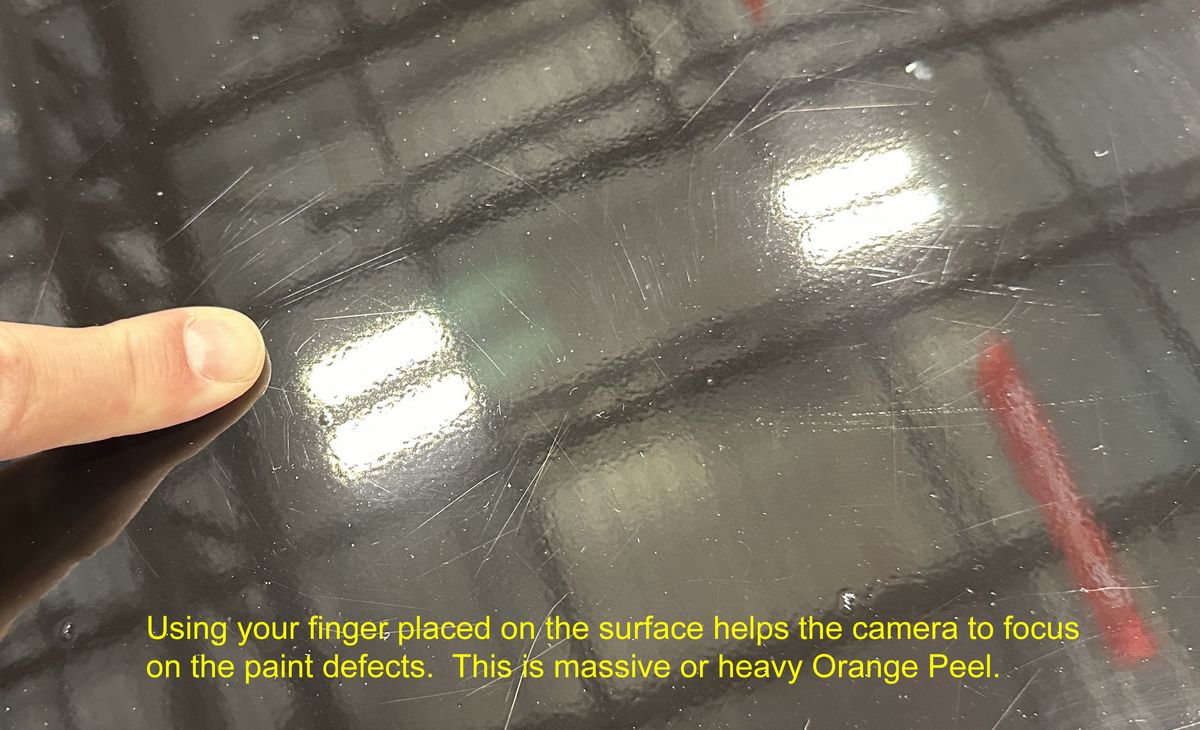
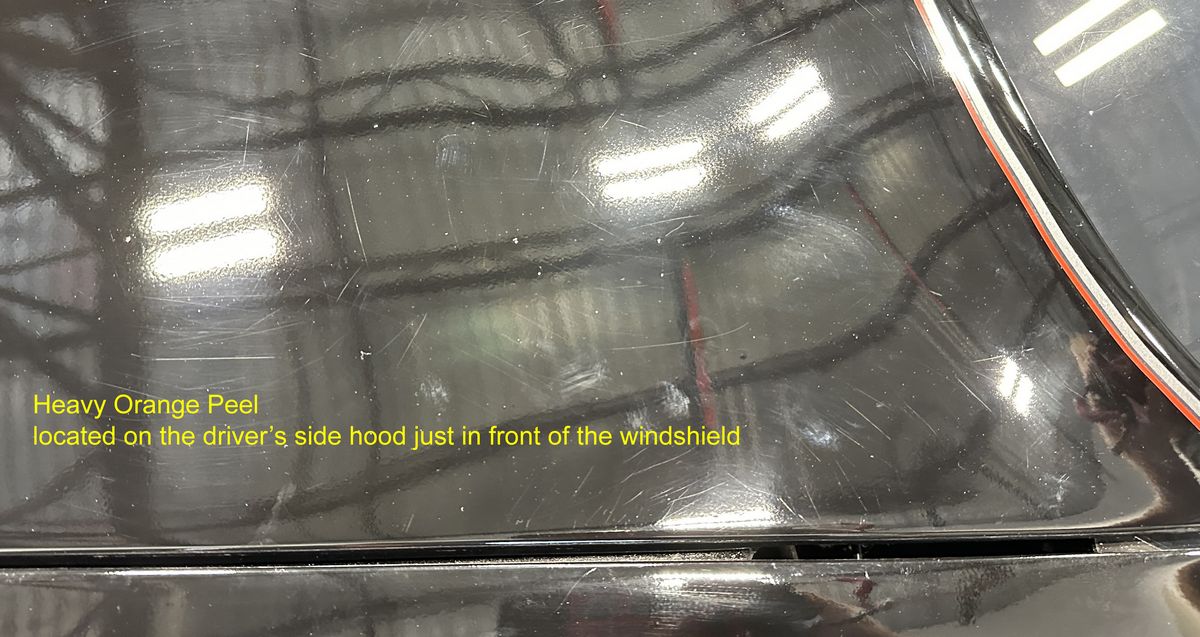
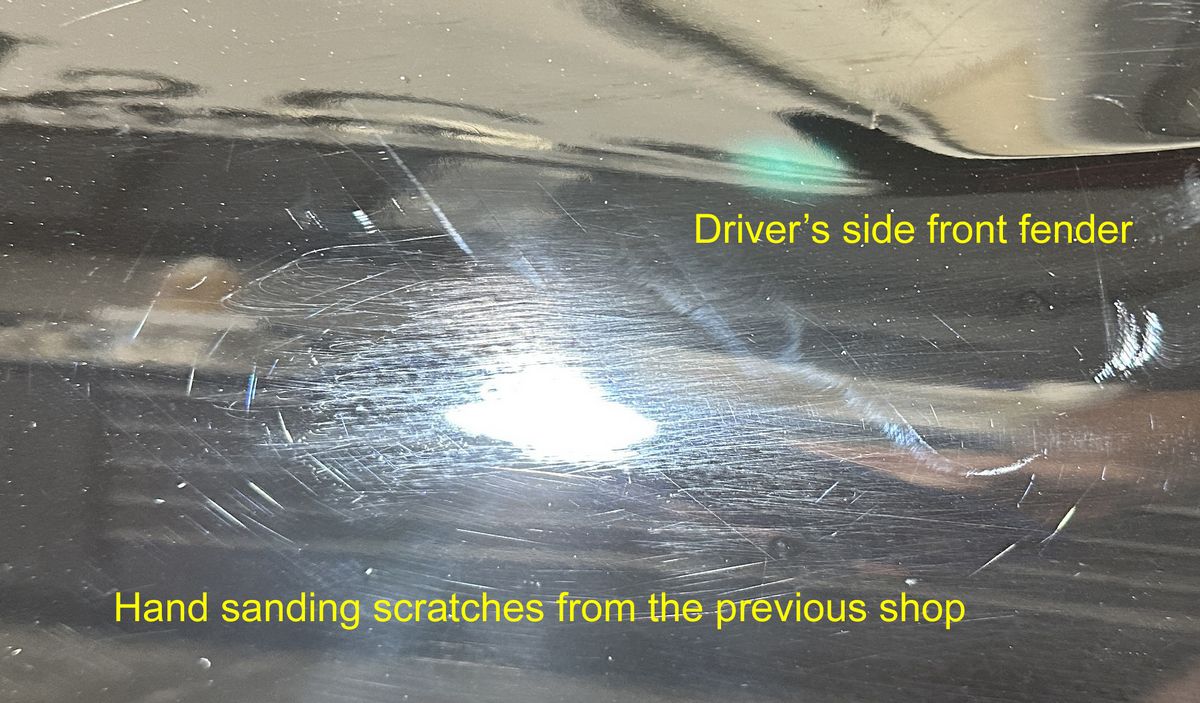
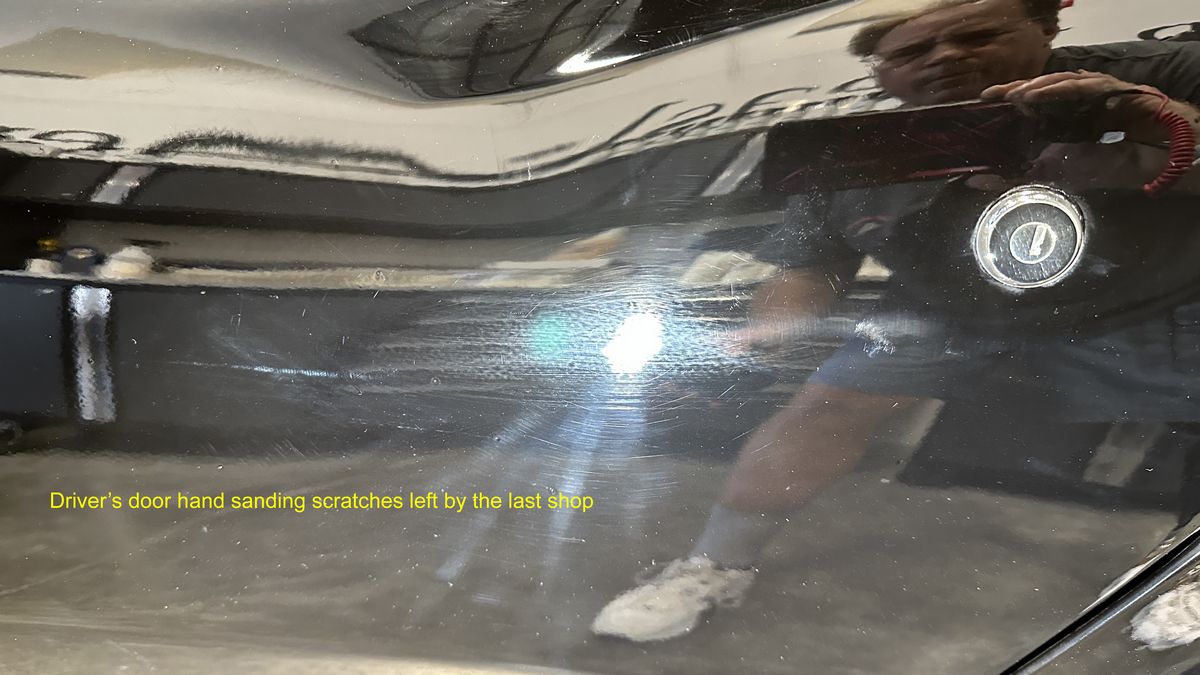
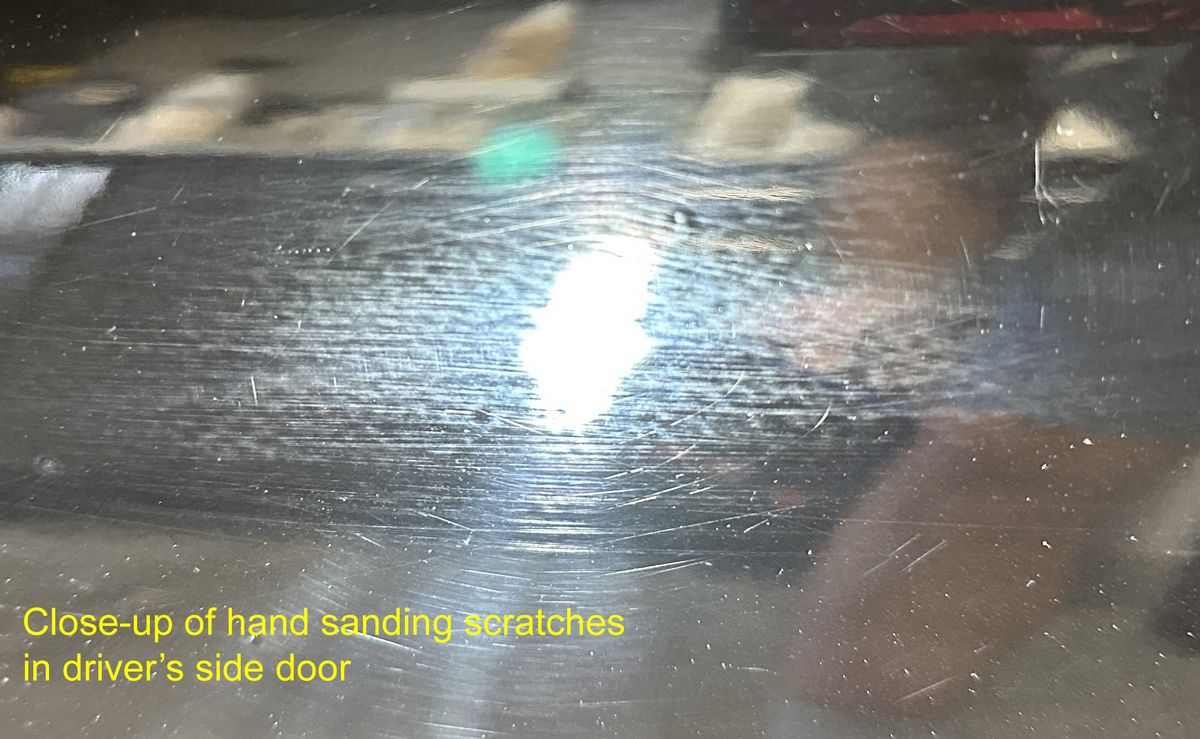
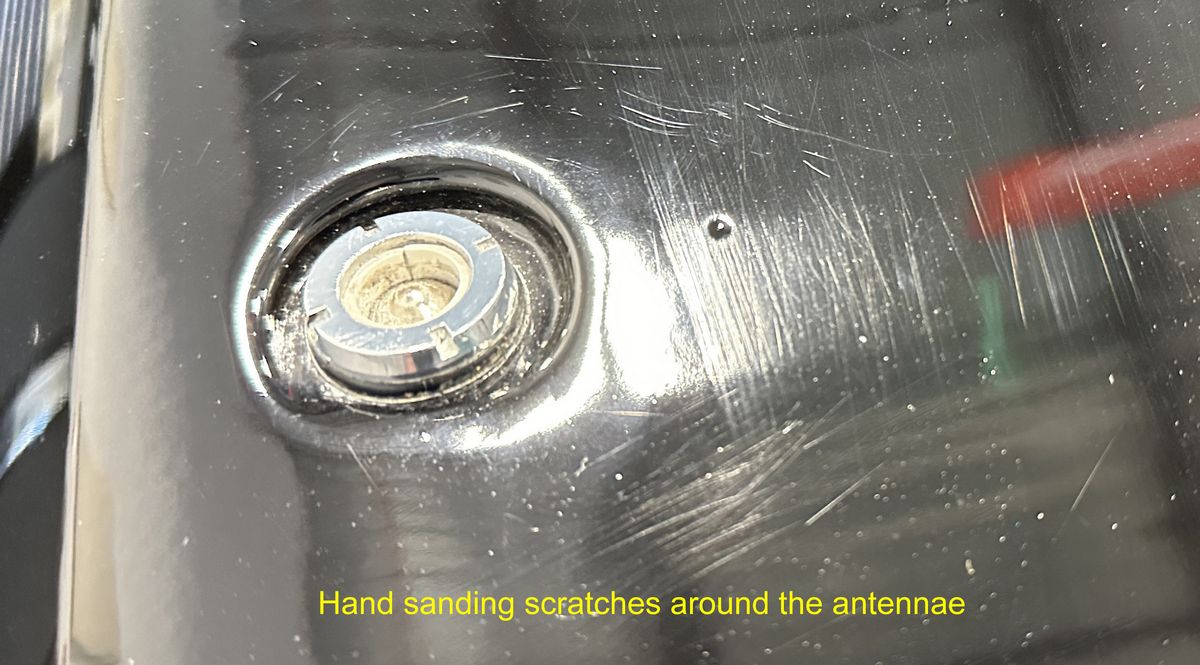
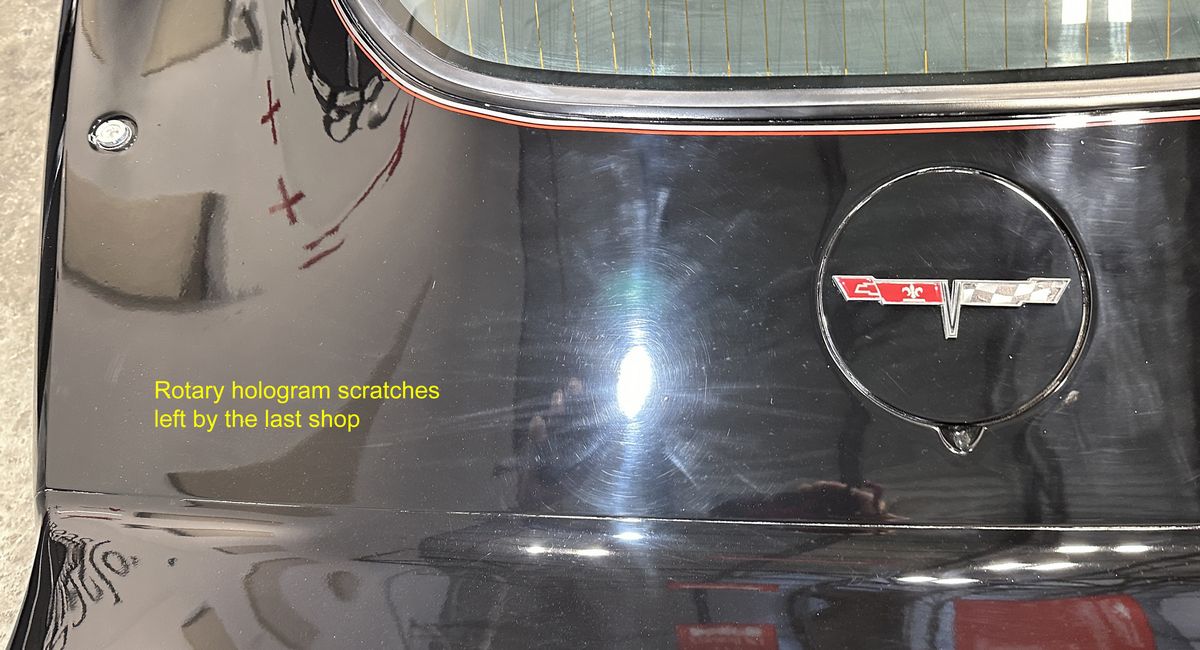
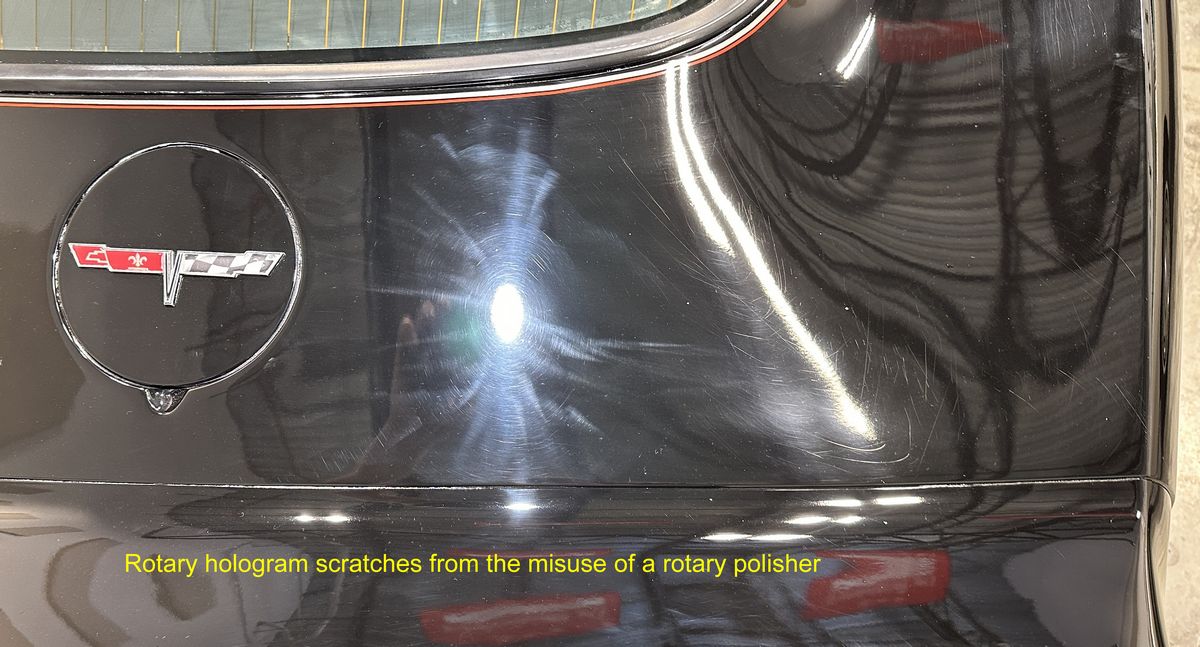
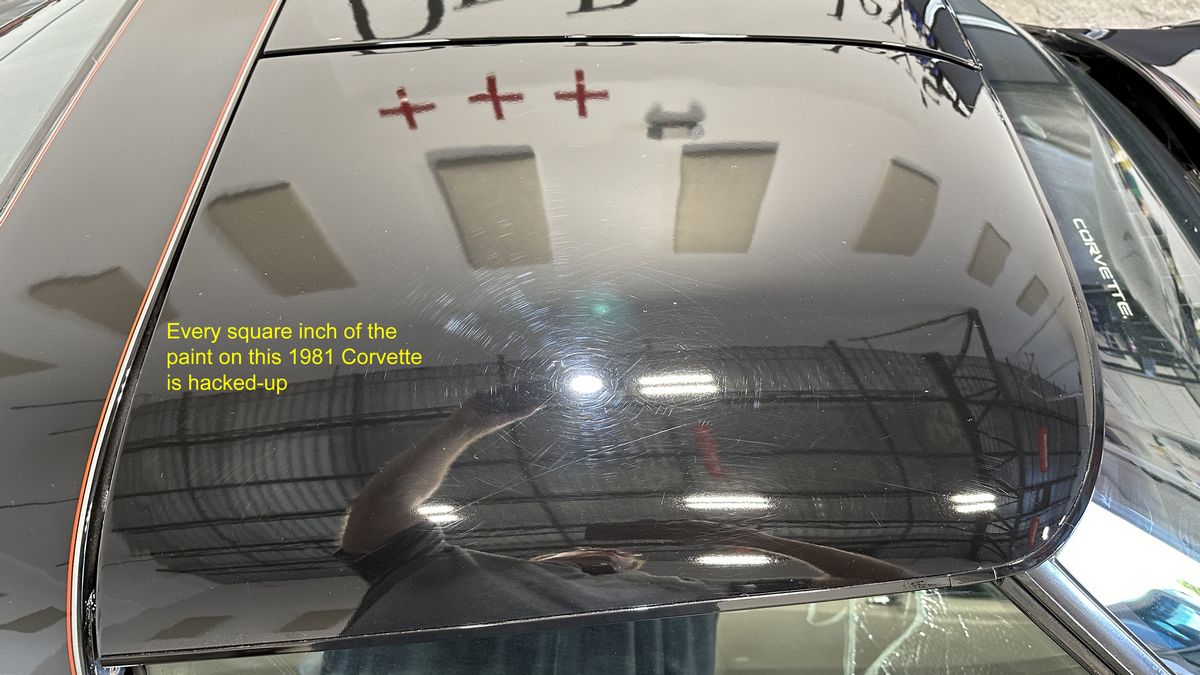
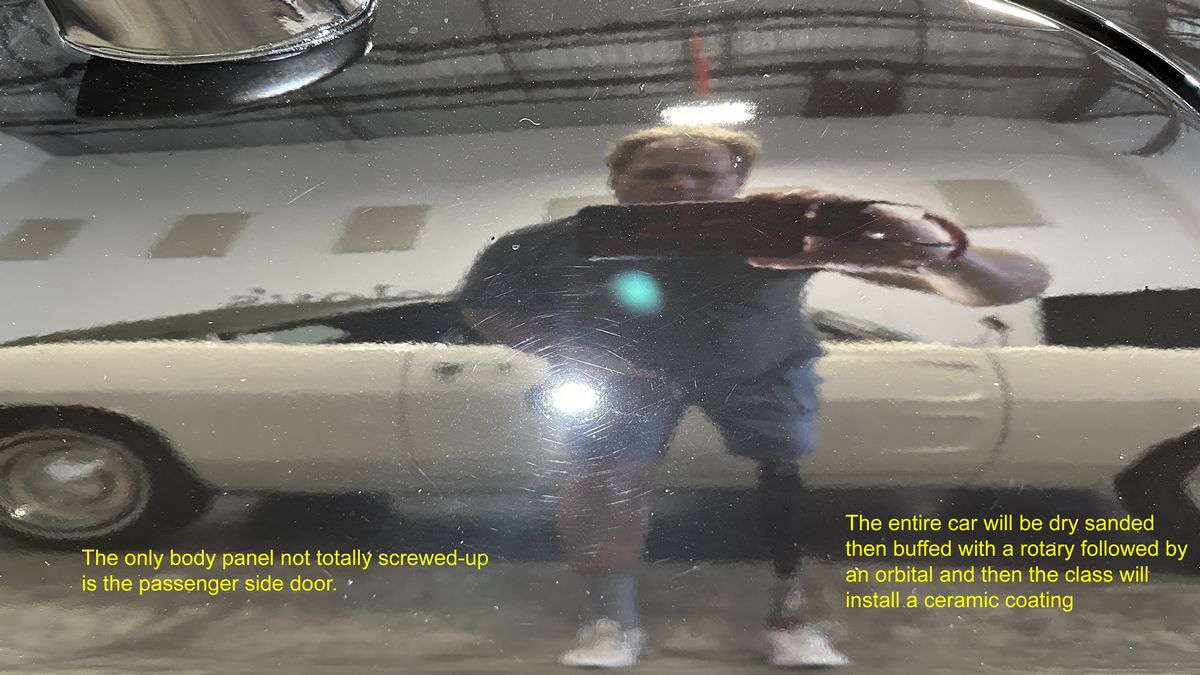
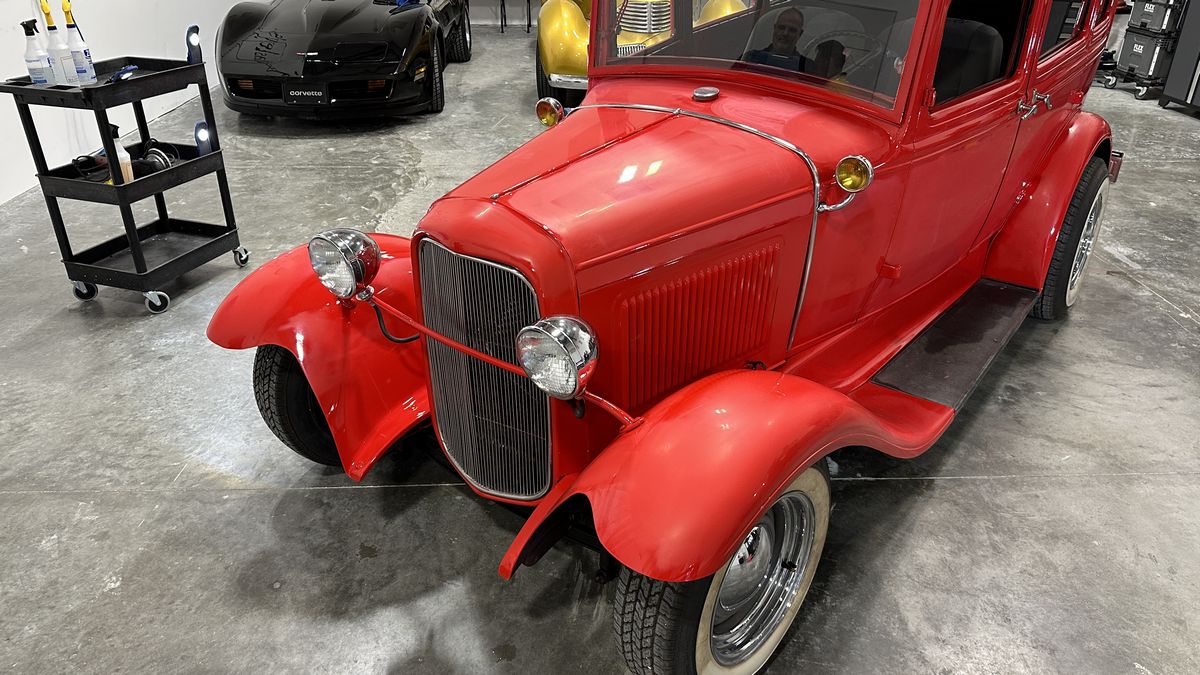
1981 Corvette - Dry sanded by hand and machine - ceramic coated.
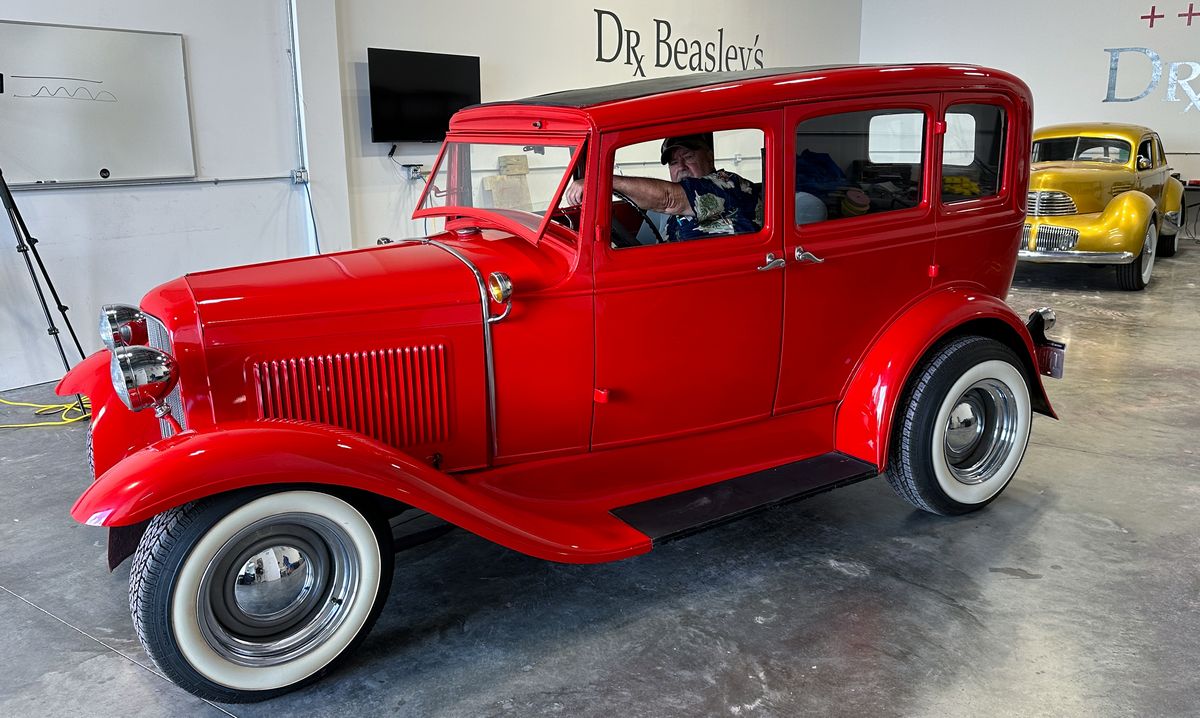
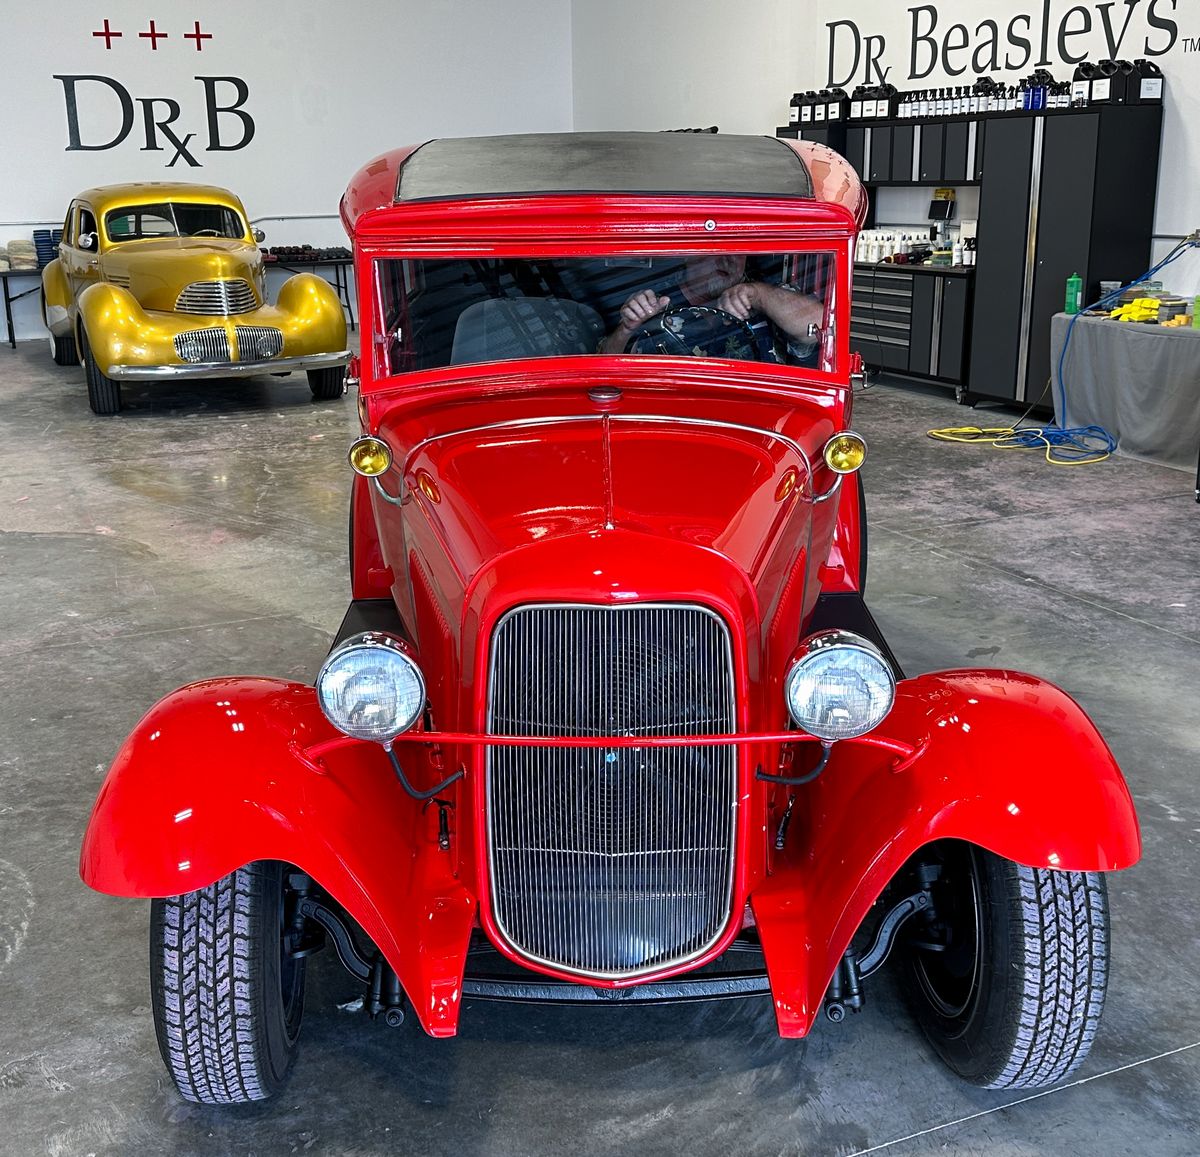
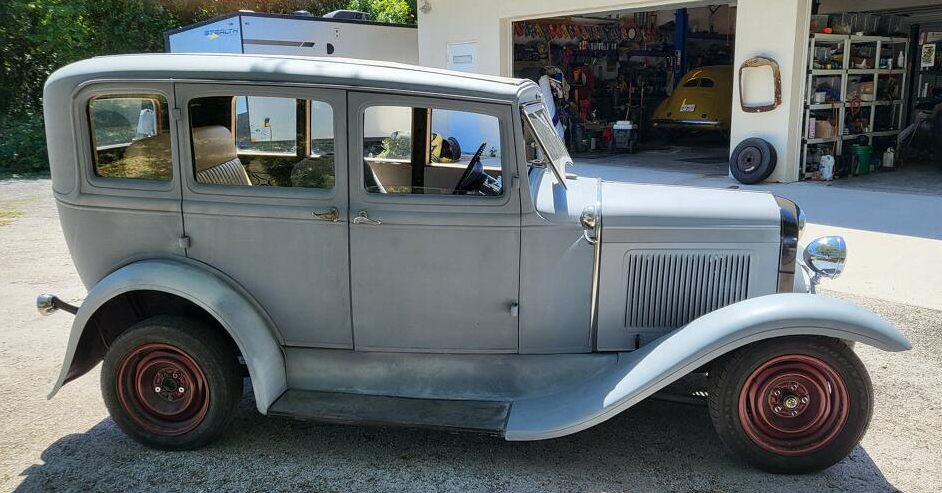
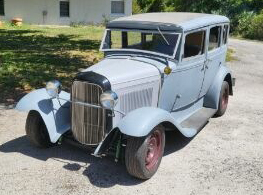
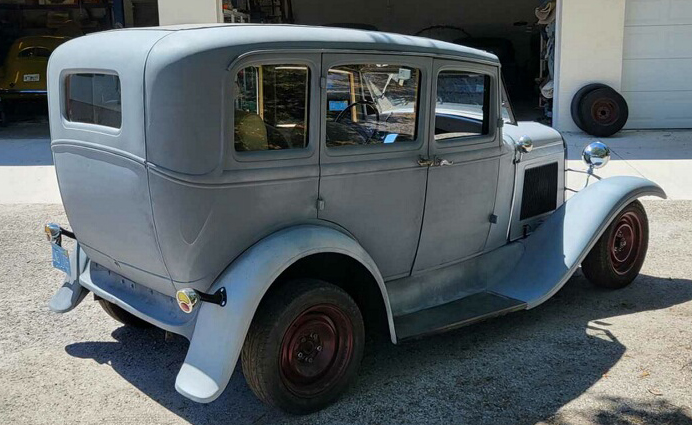
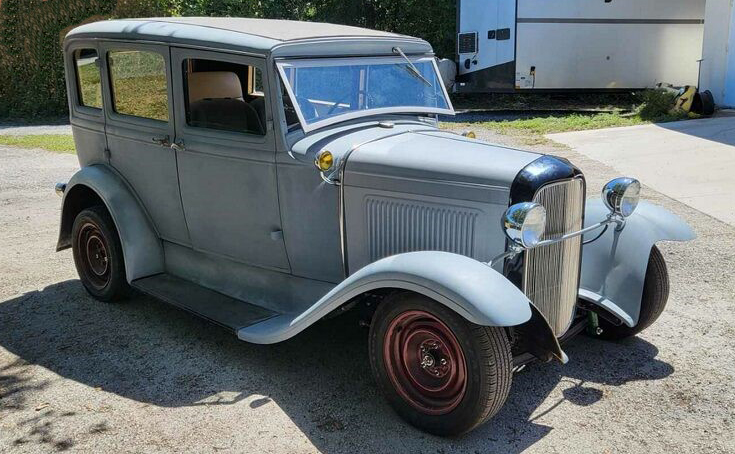
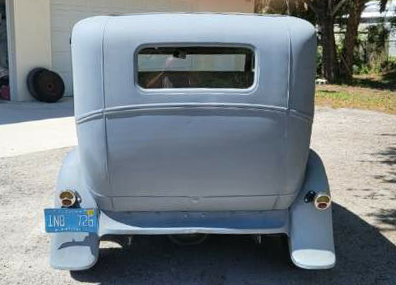
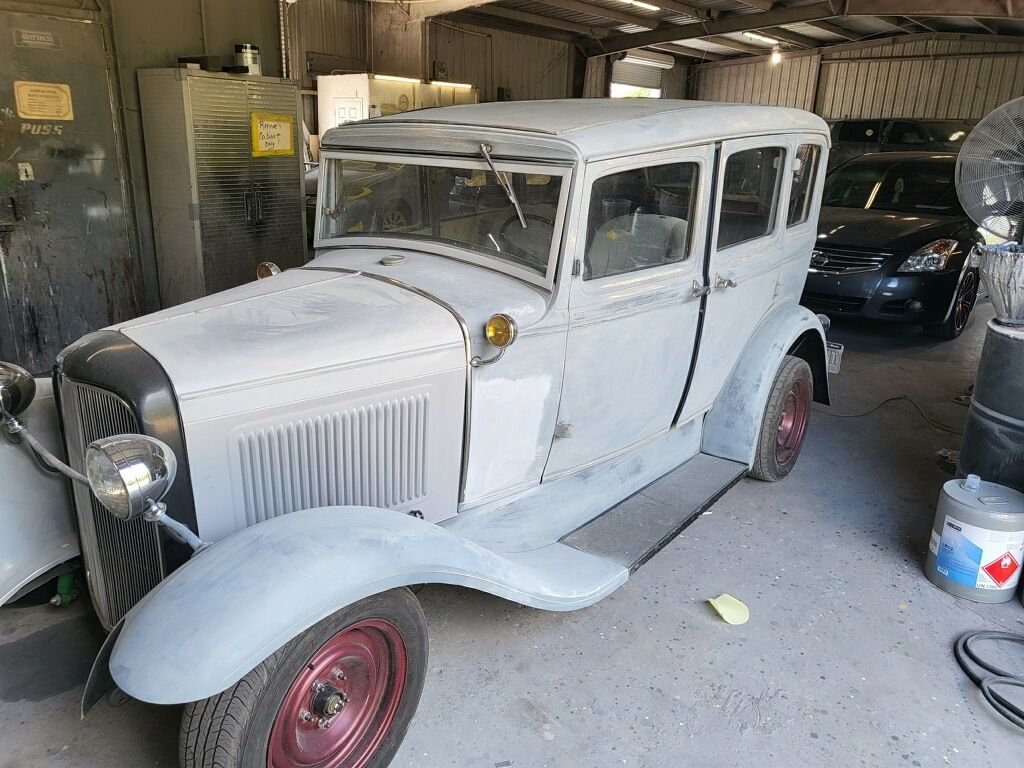
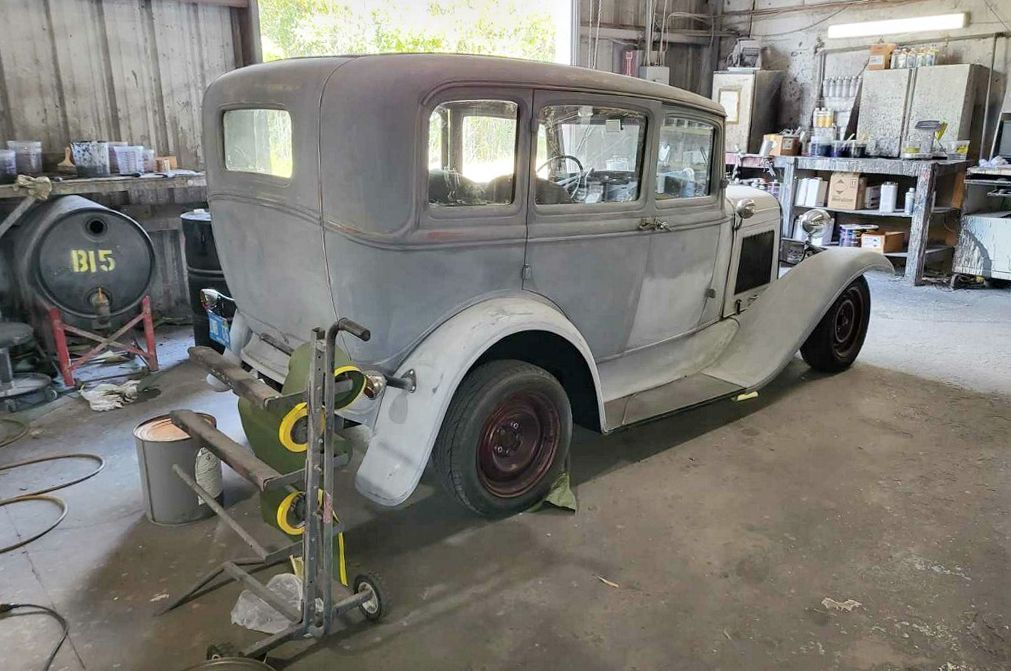
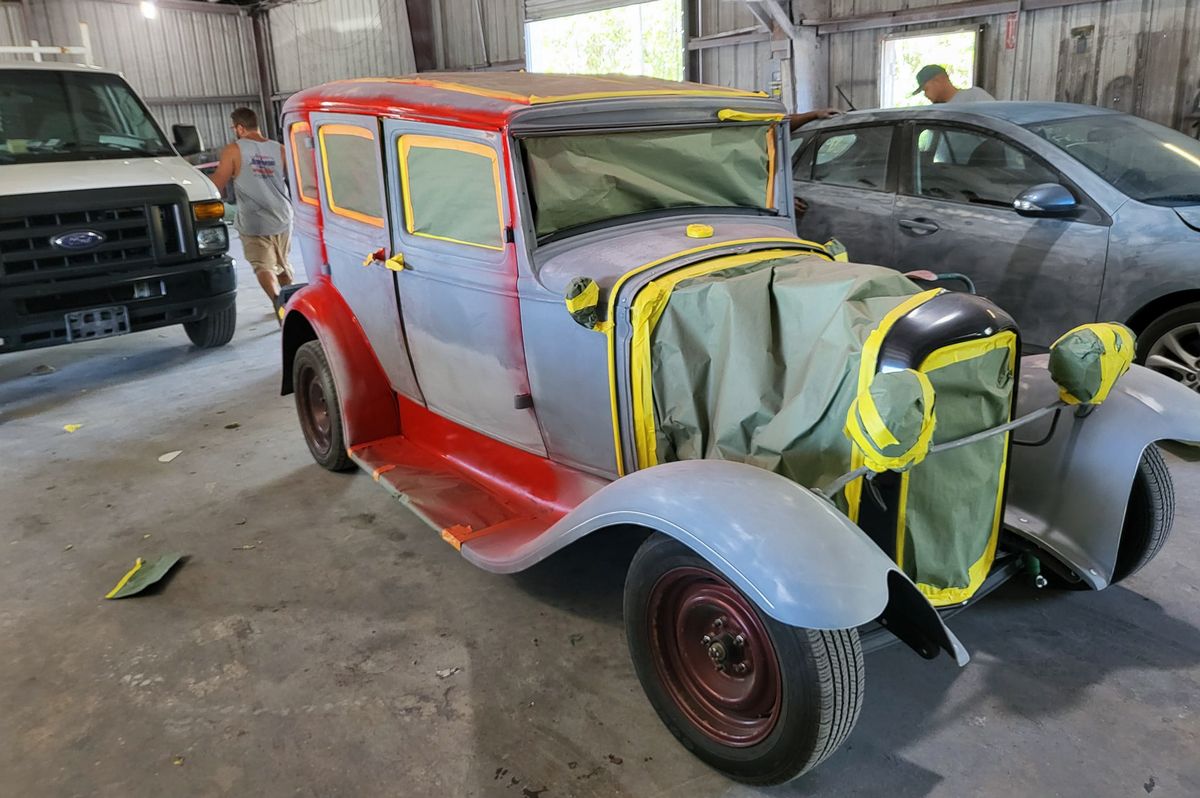
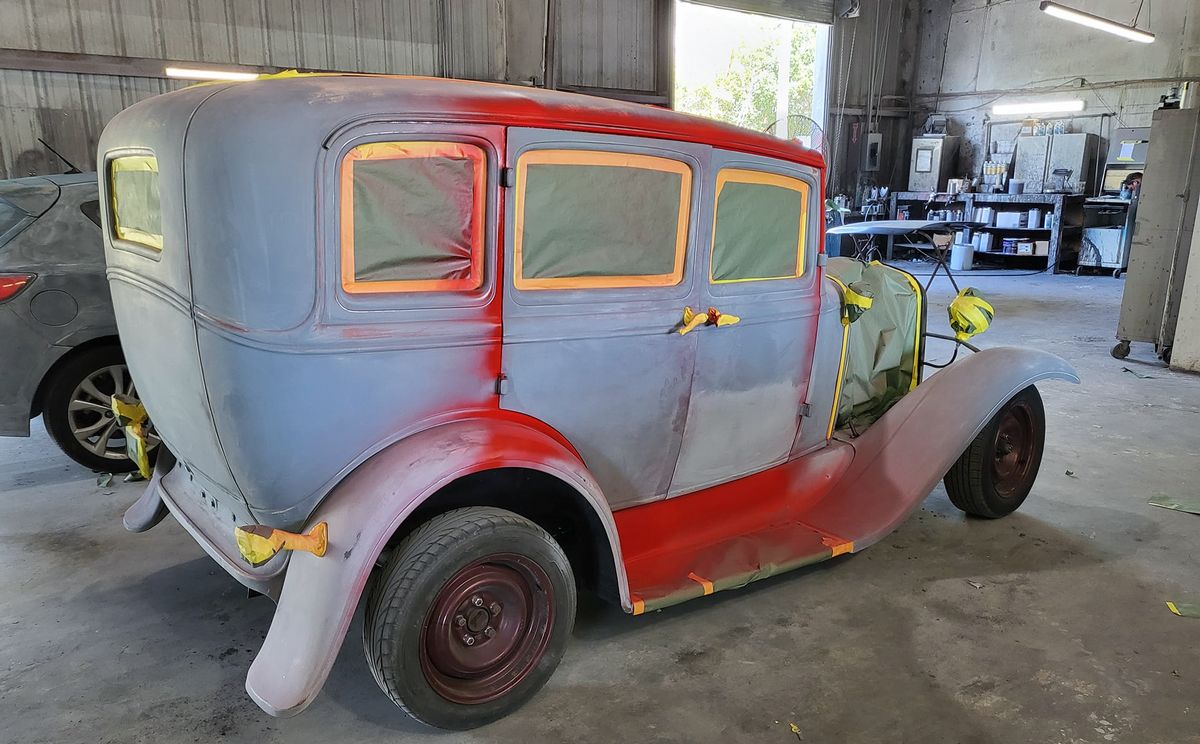
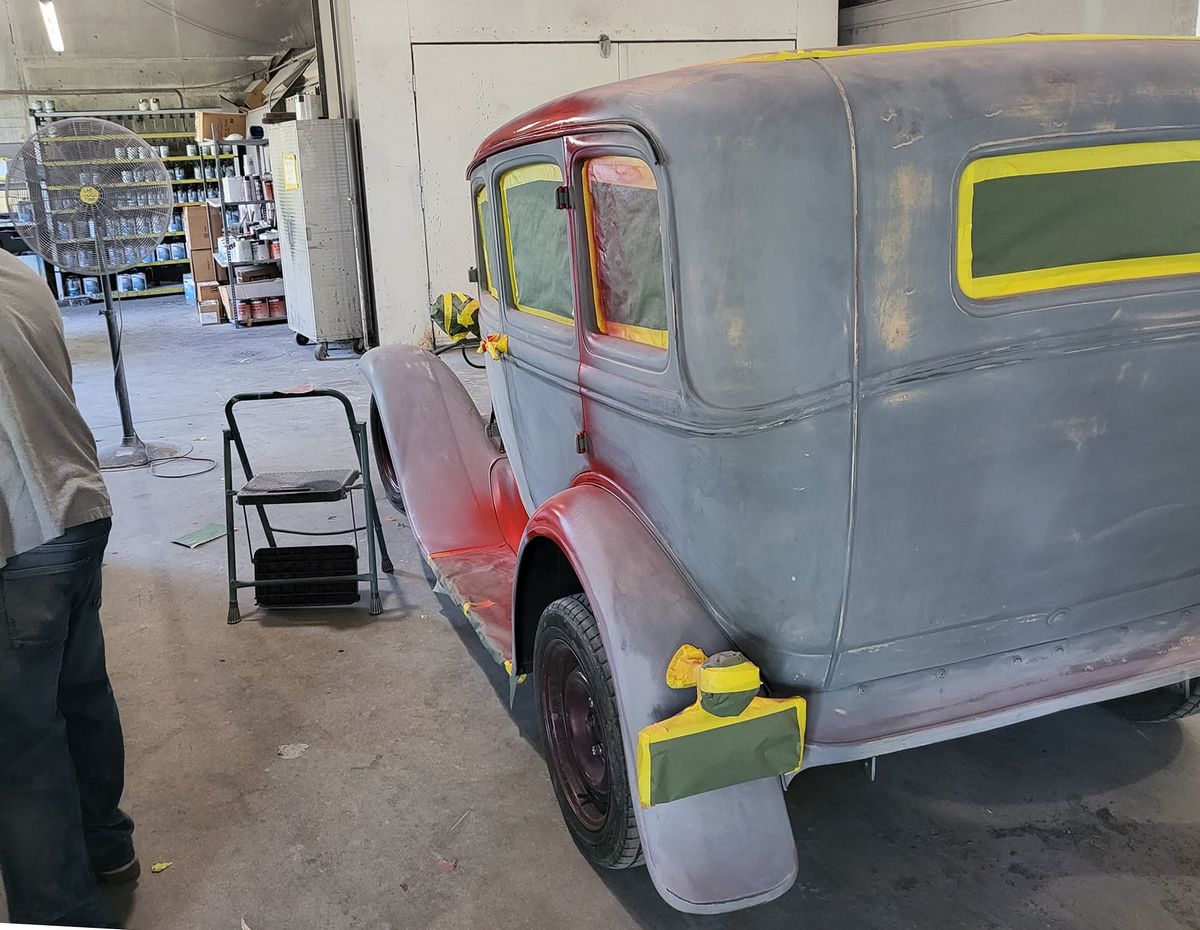
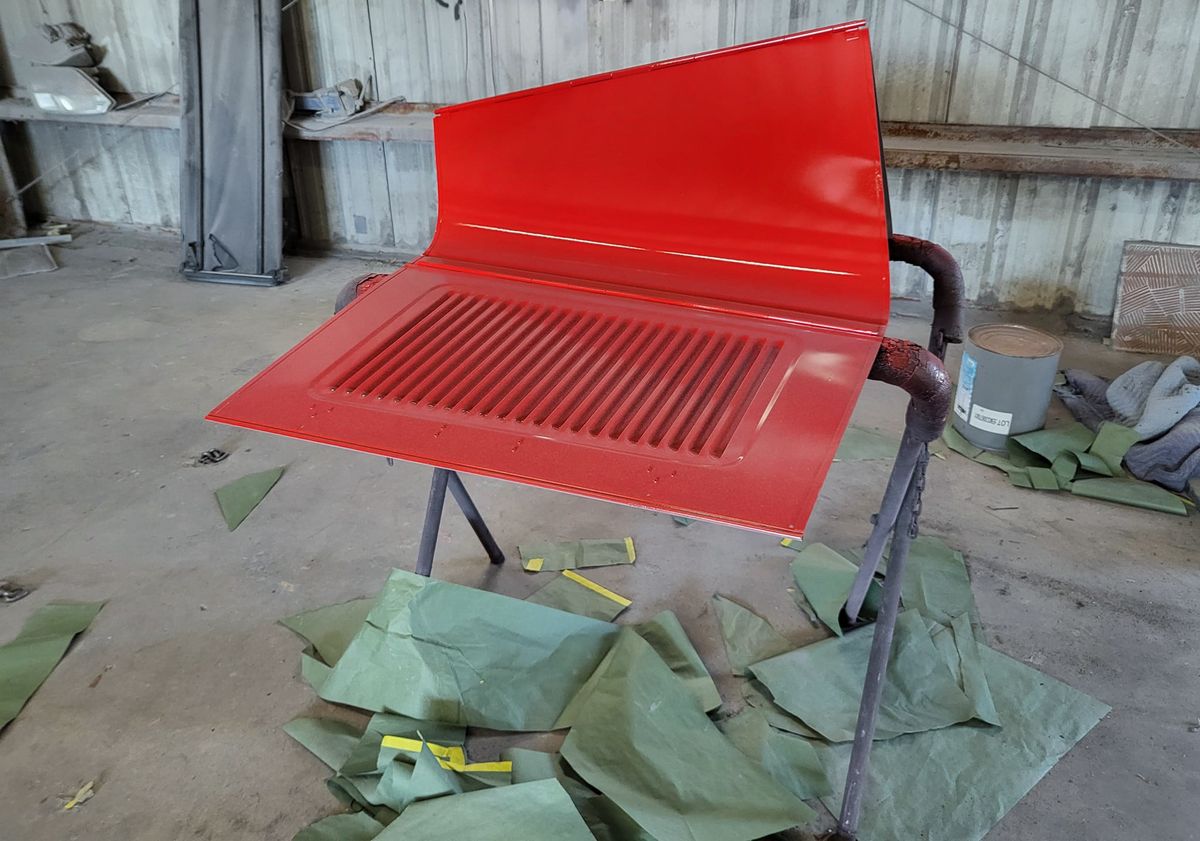
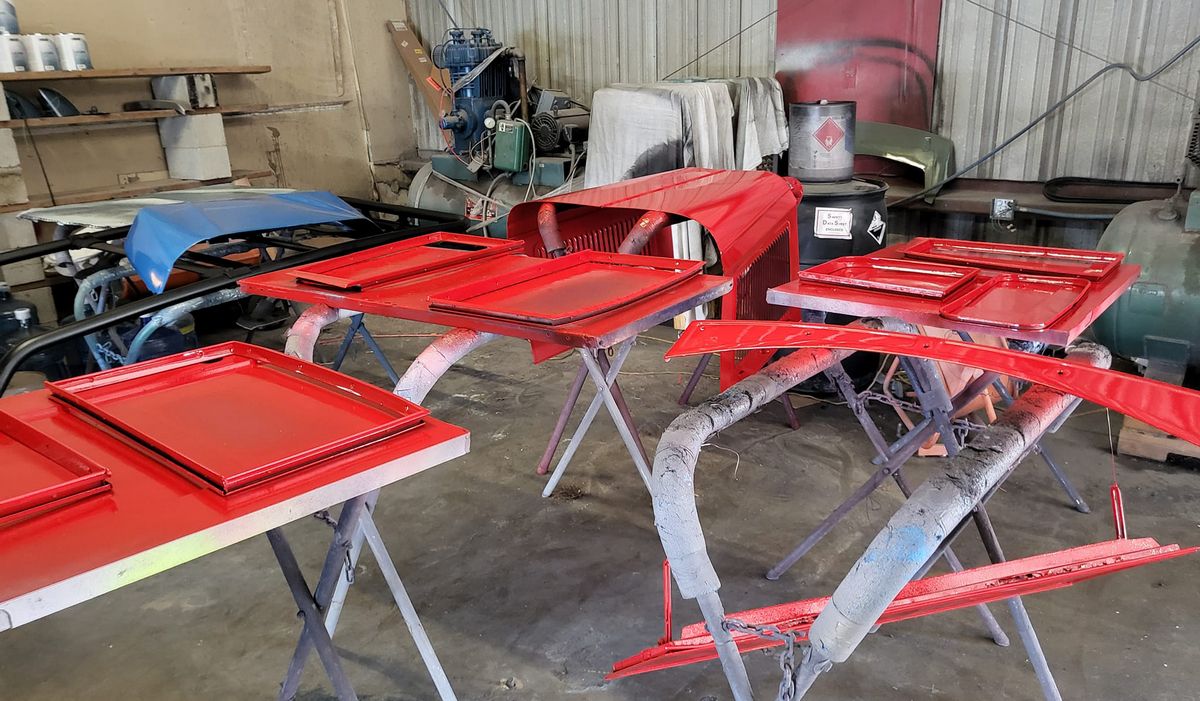
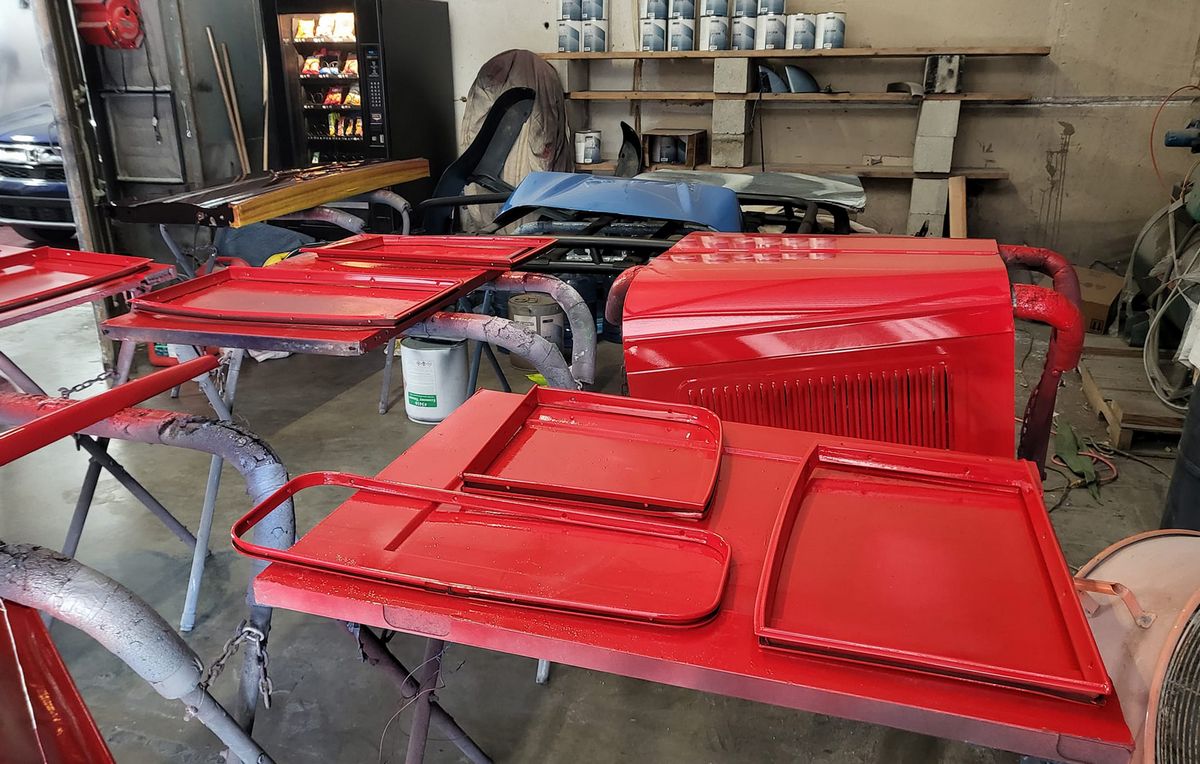
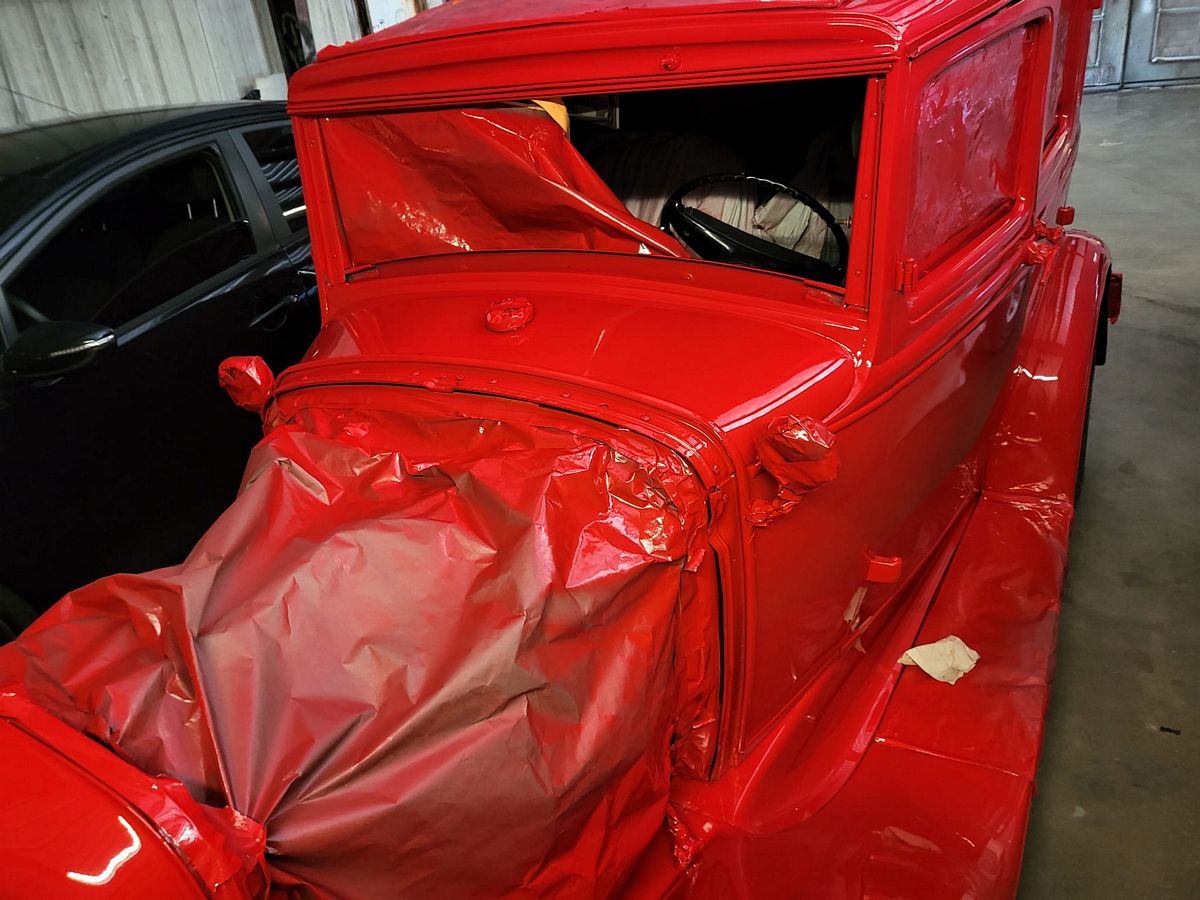
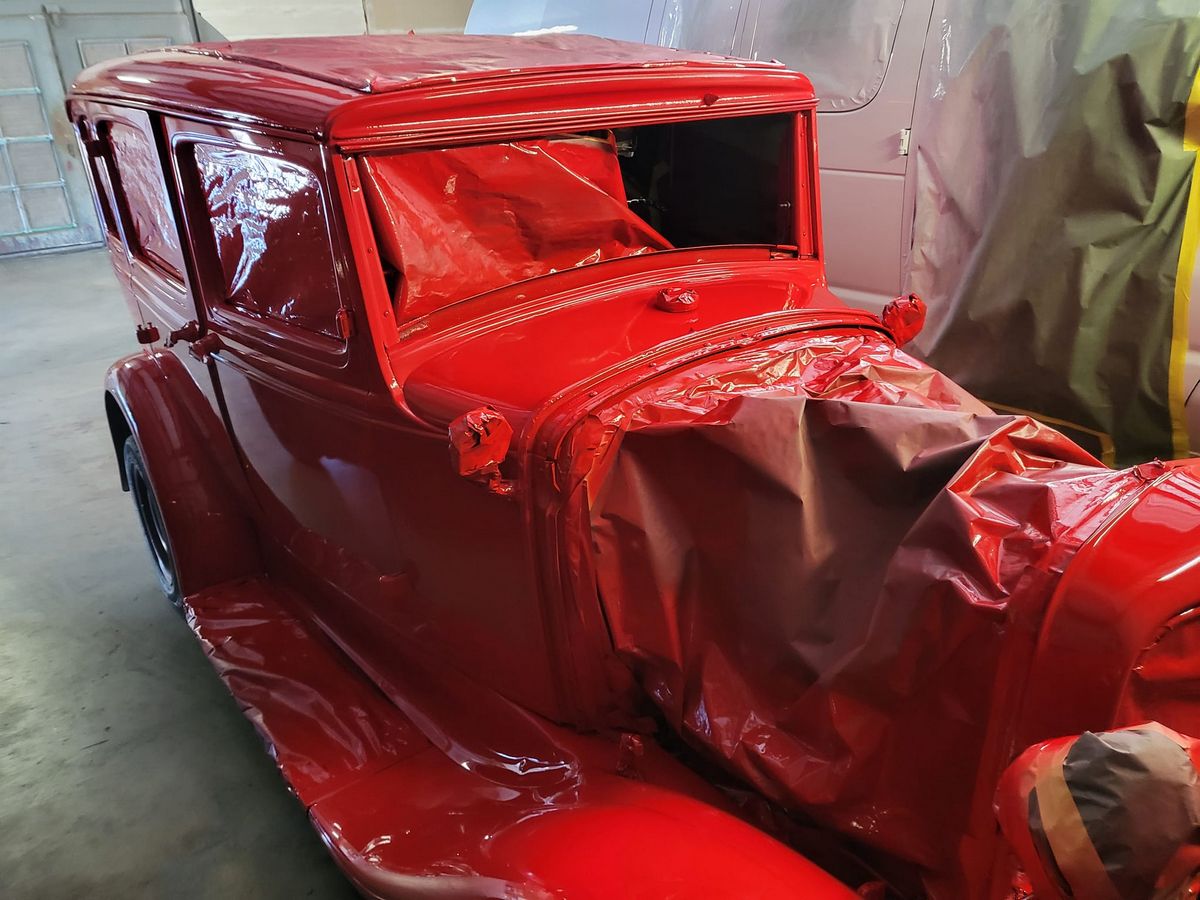
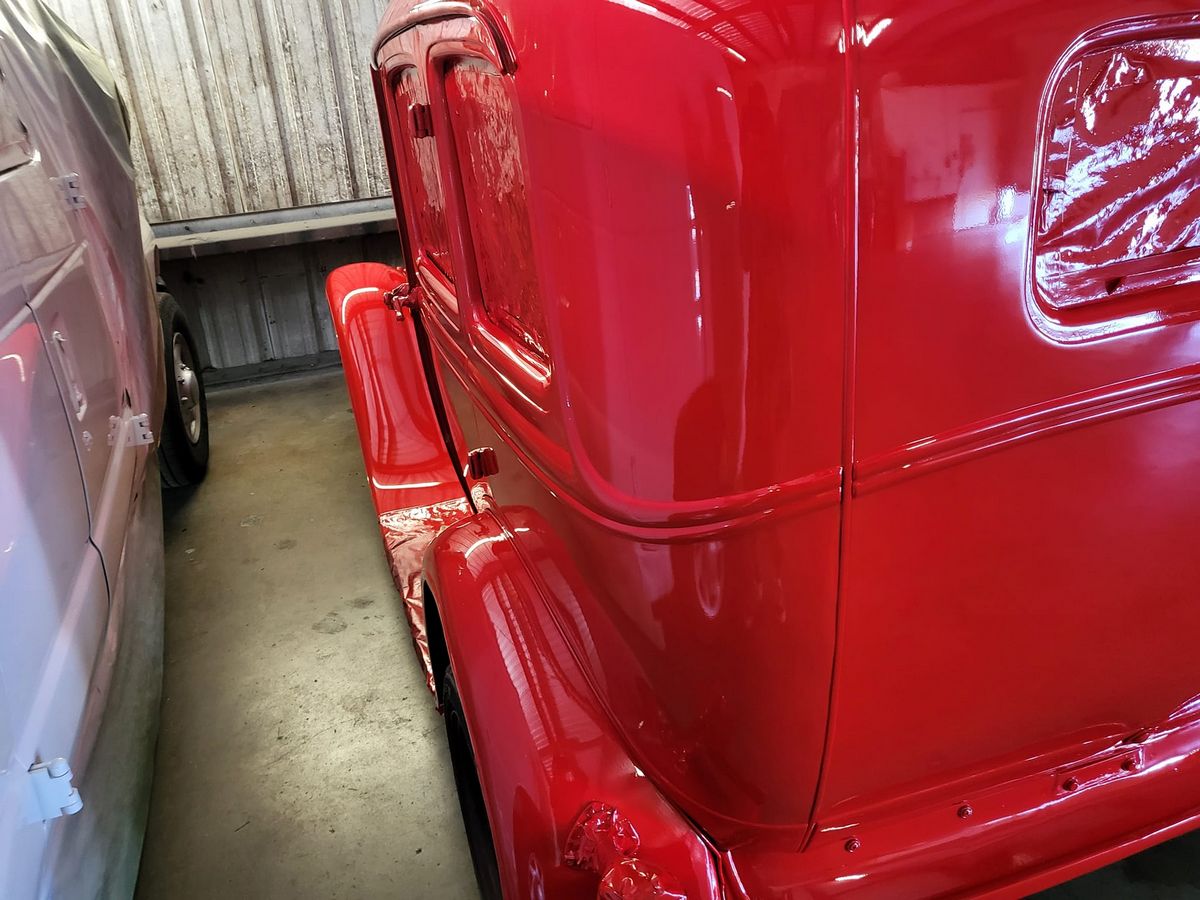
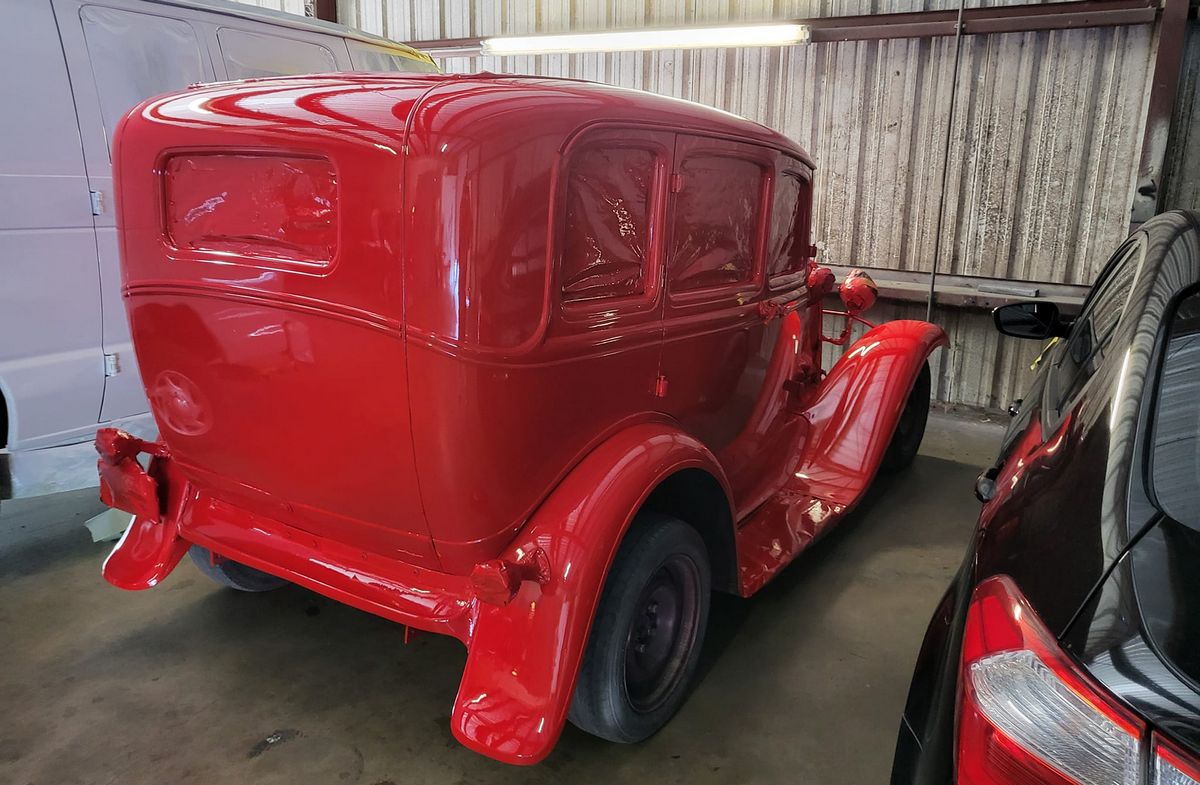
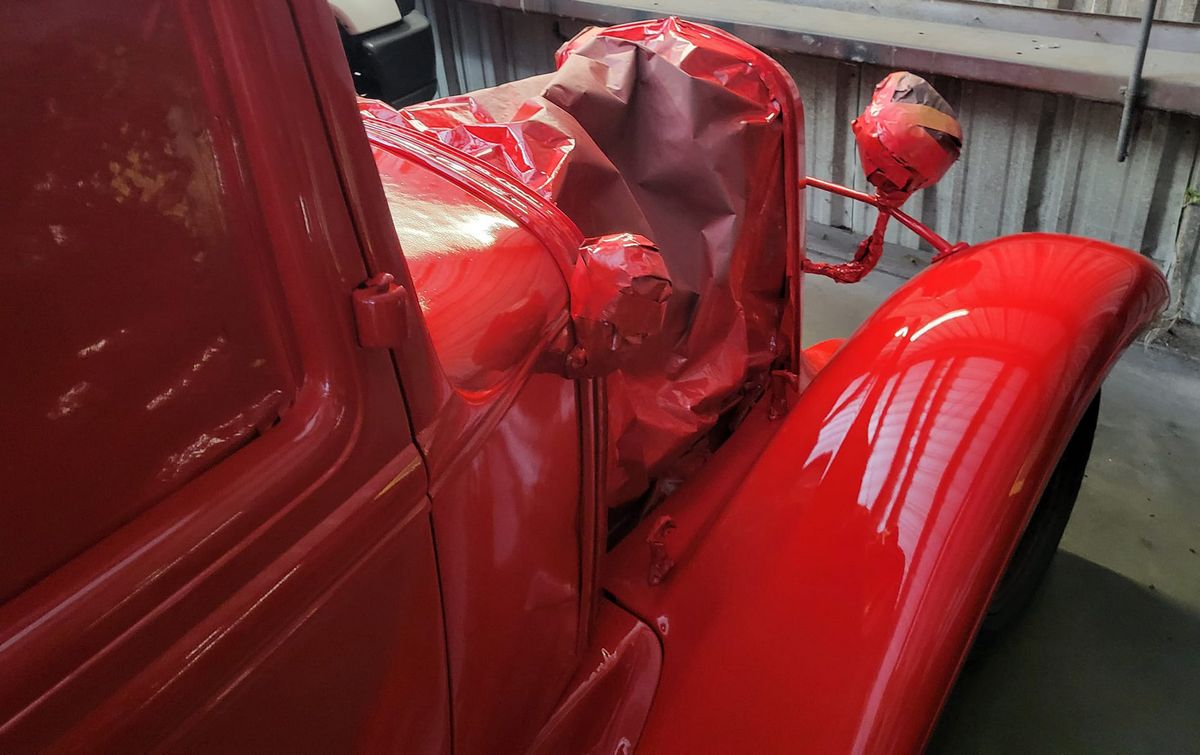
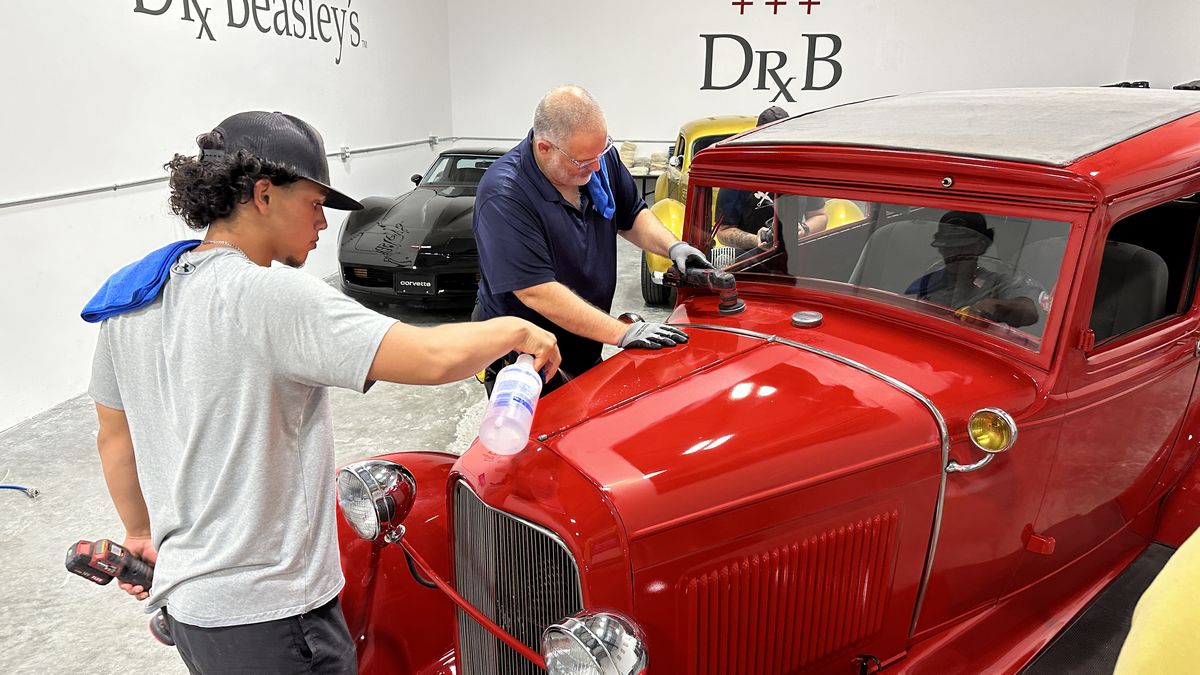
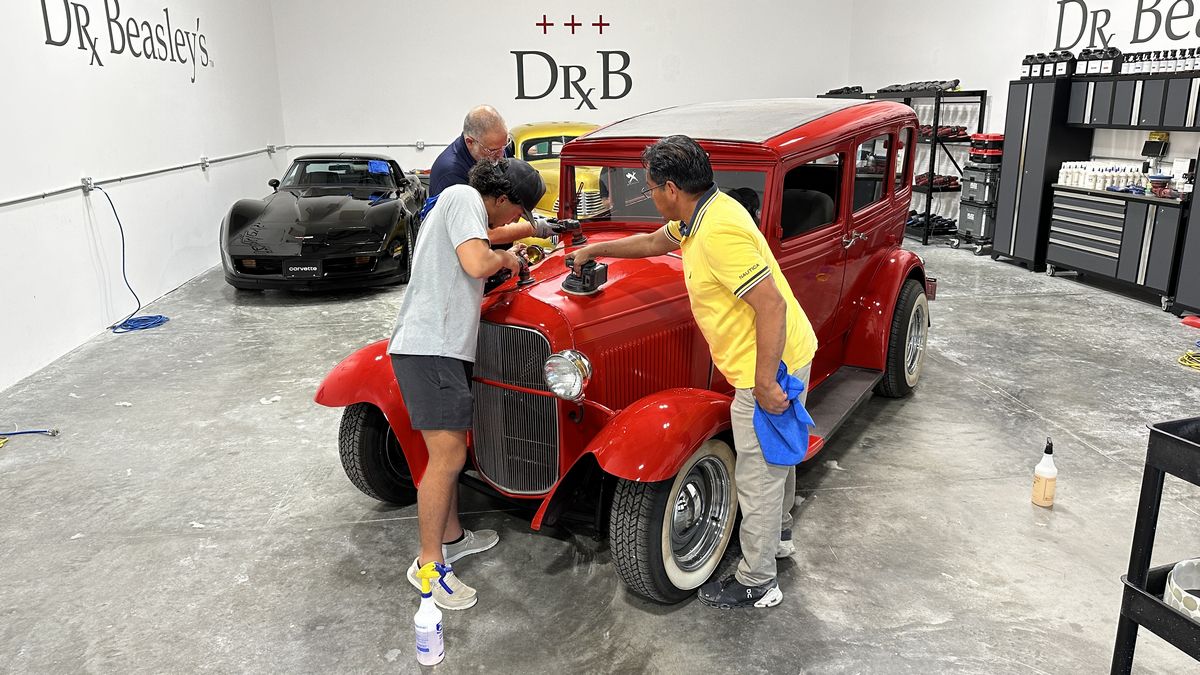
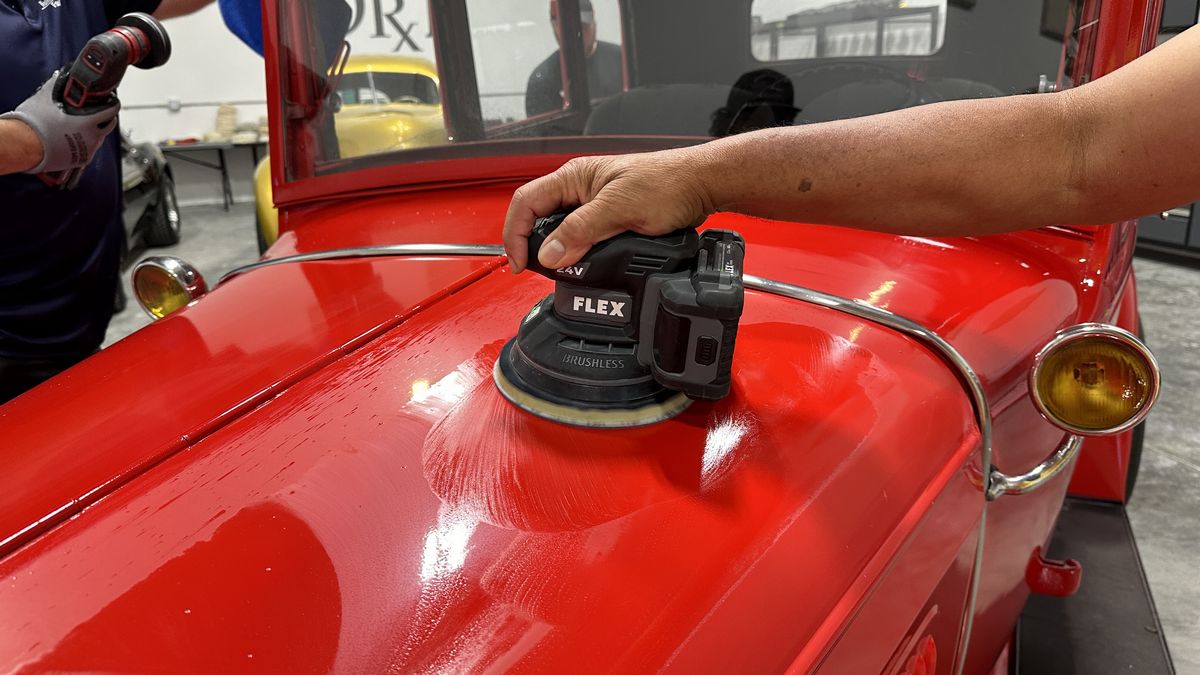
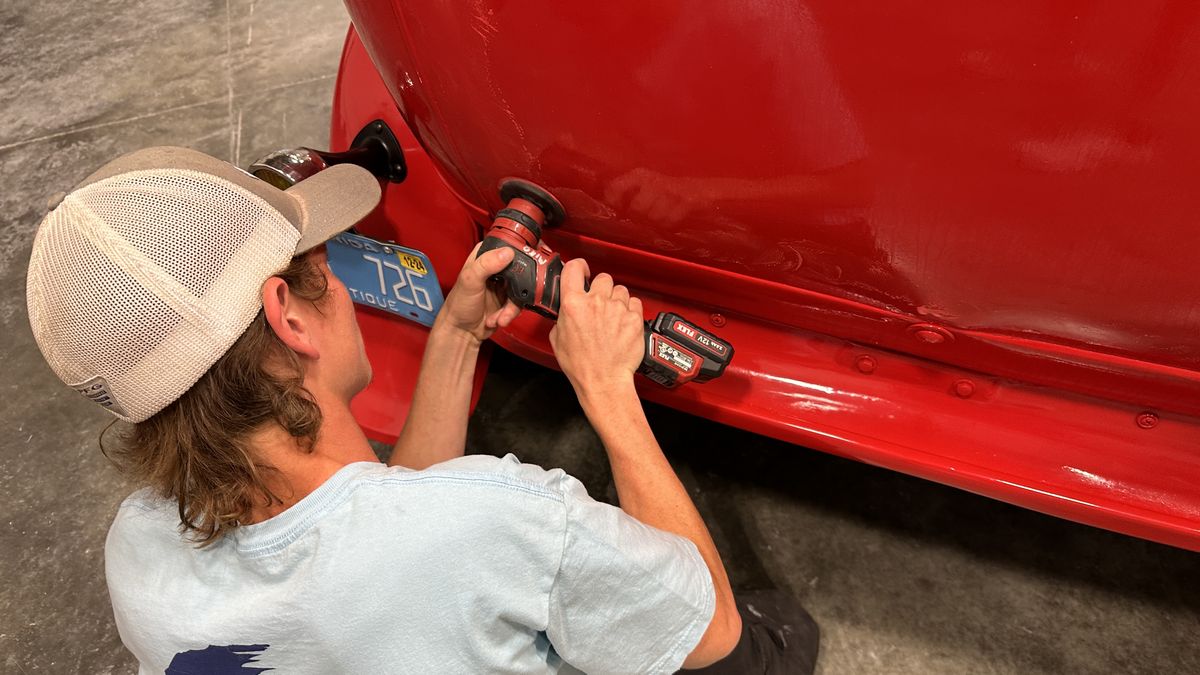
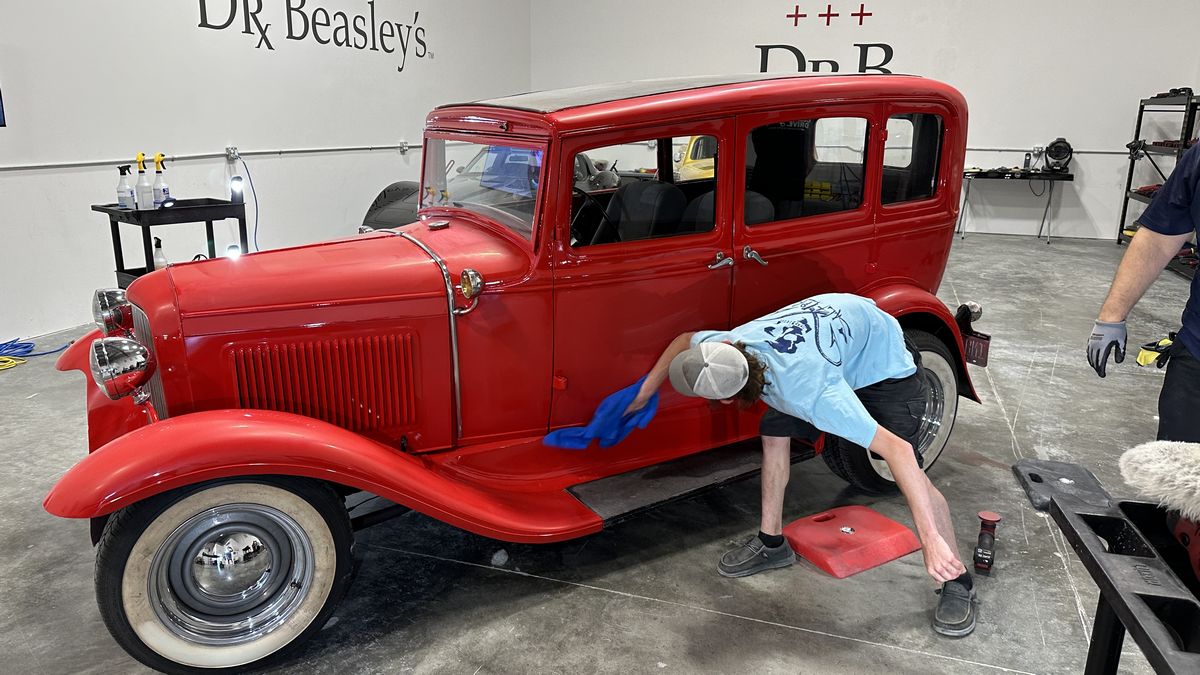
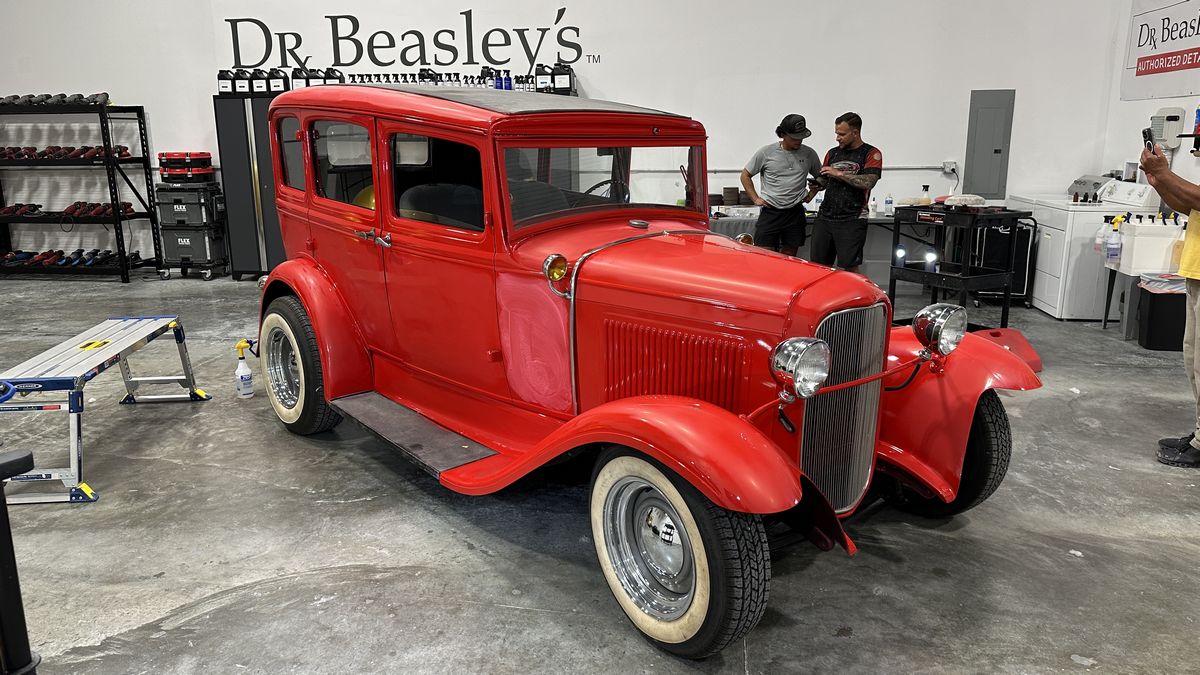
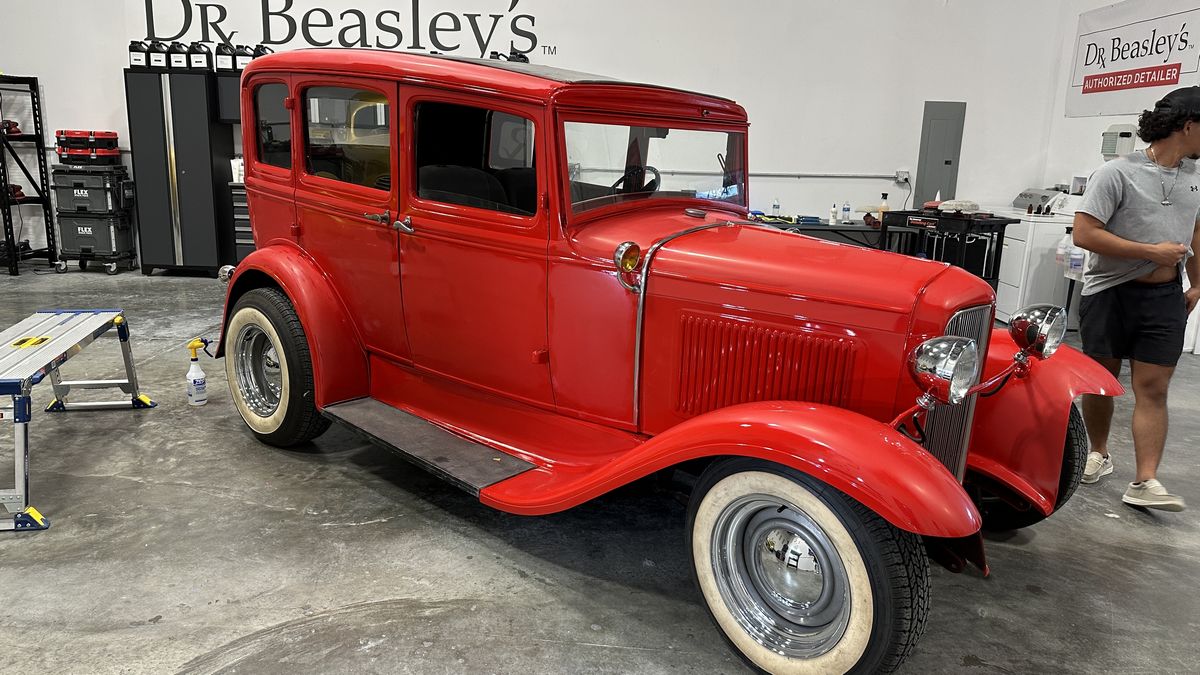
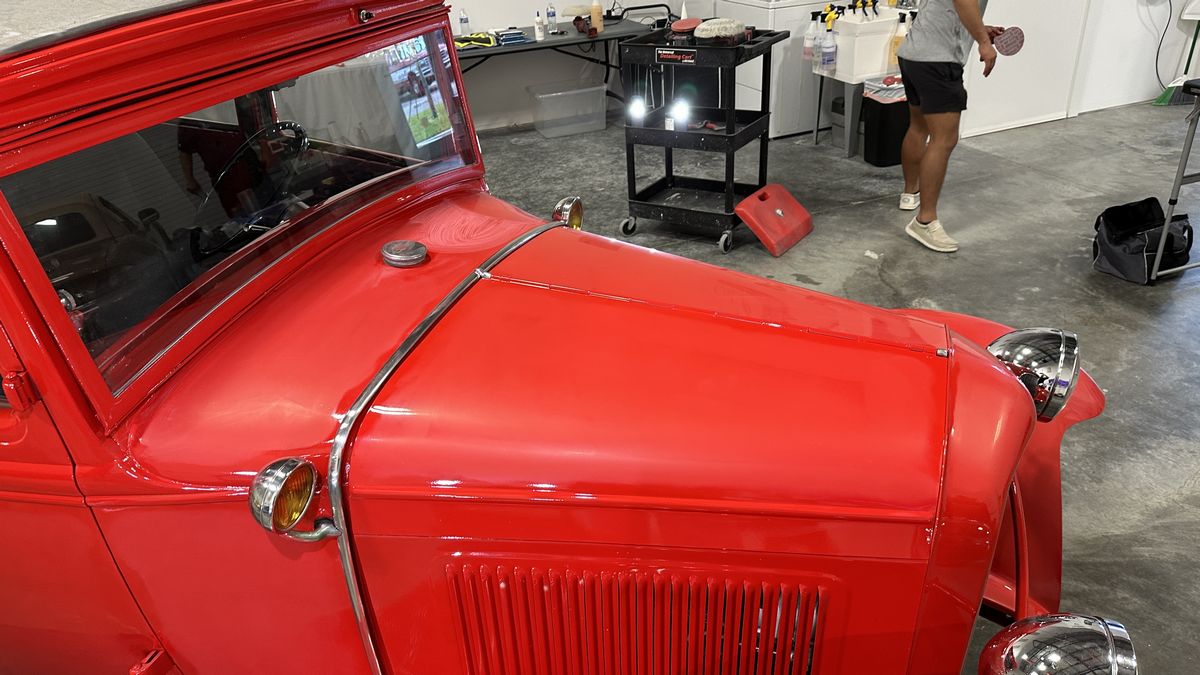
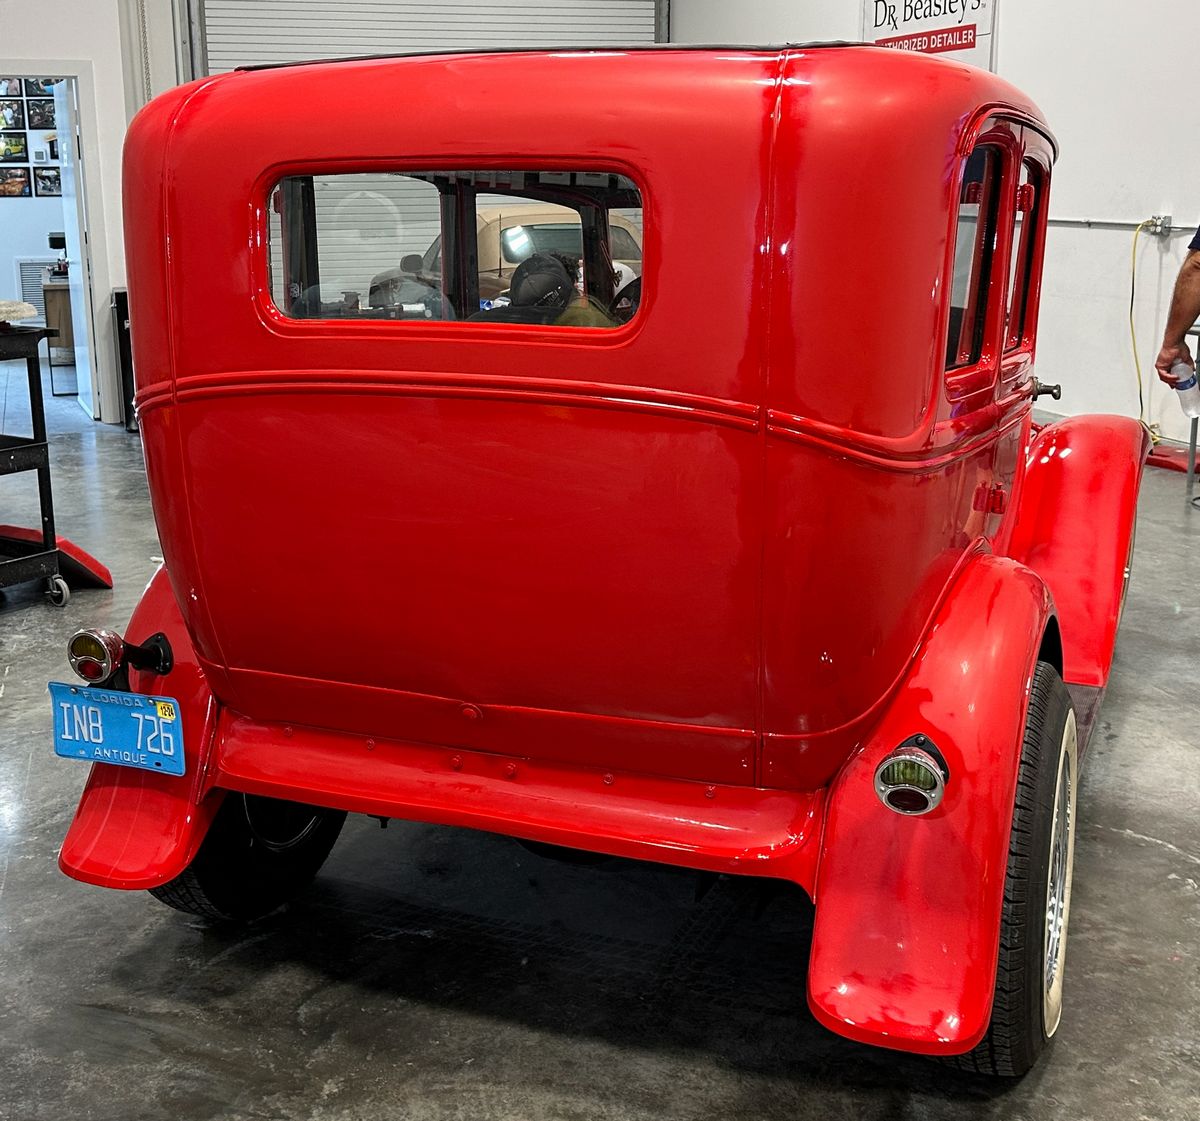
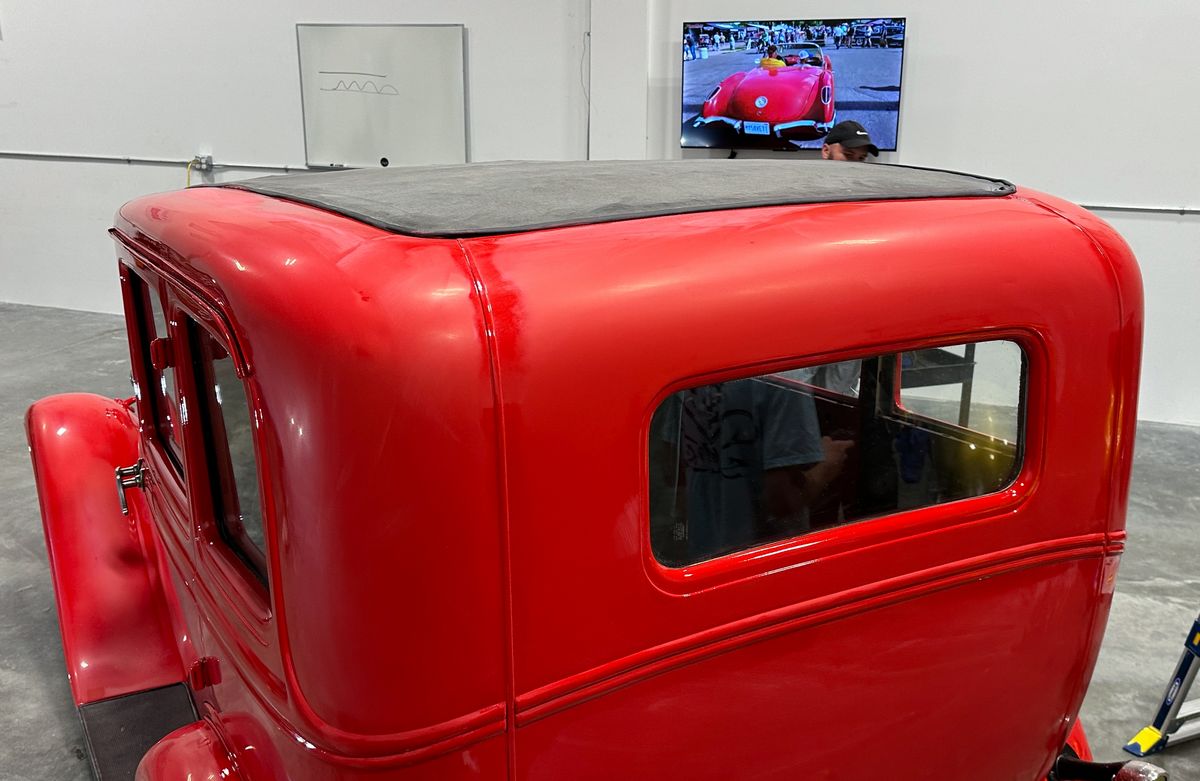
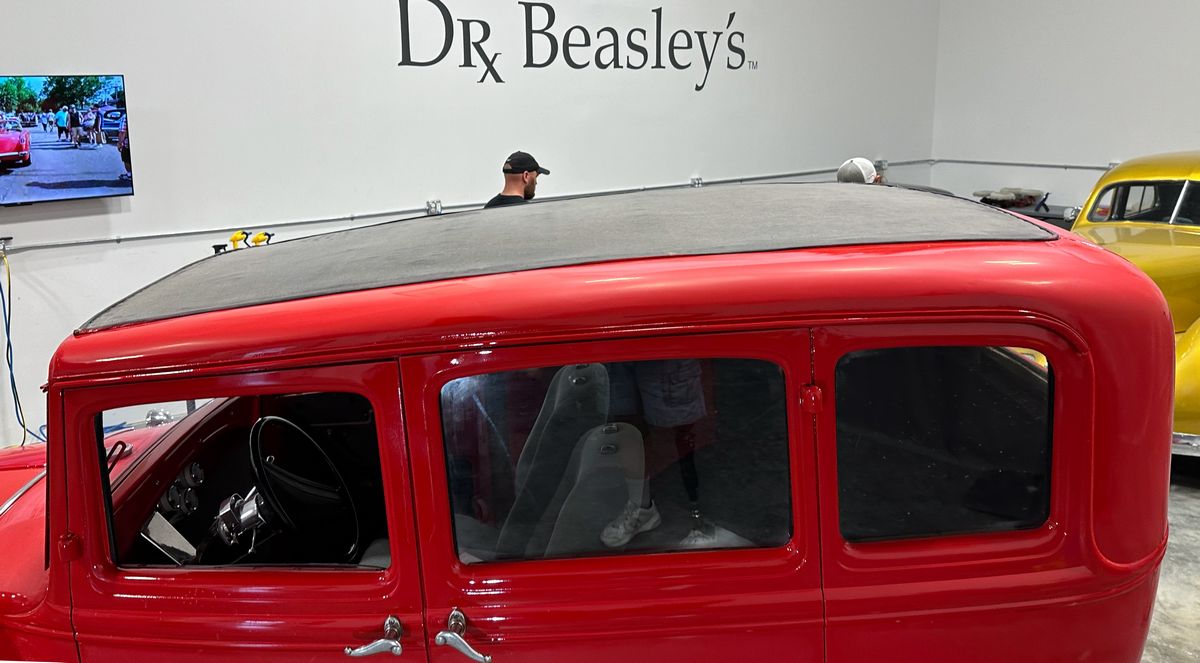
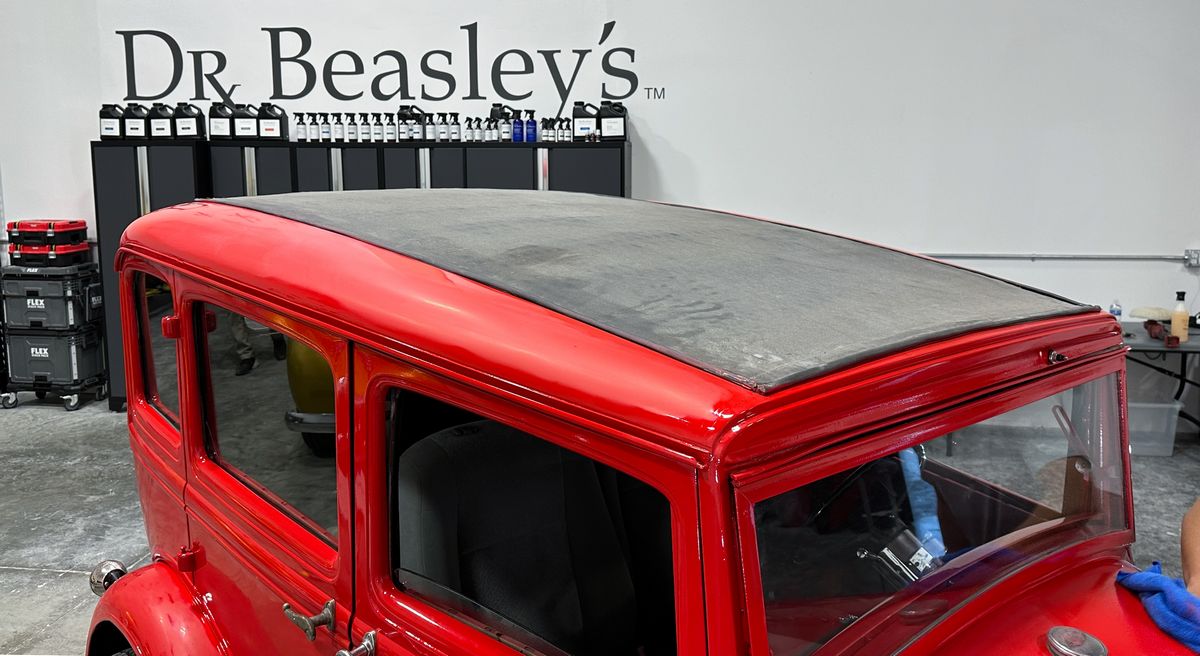
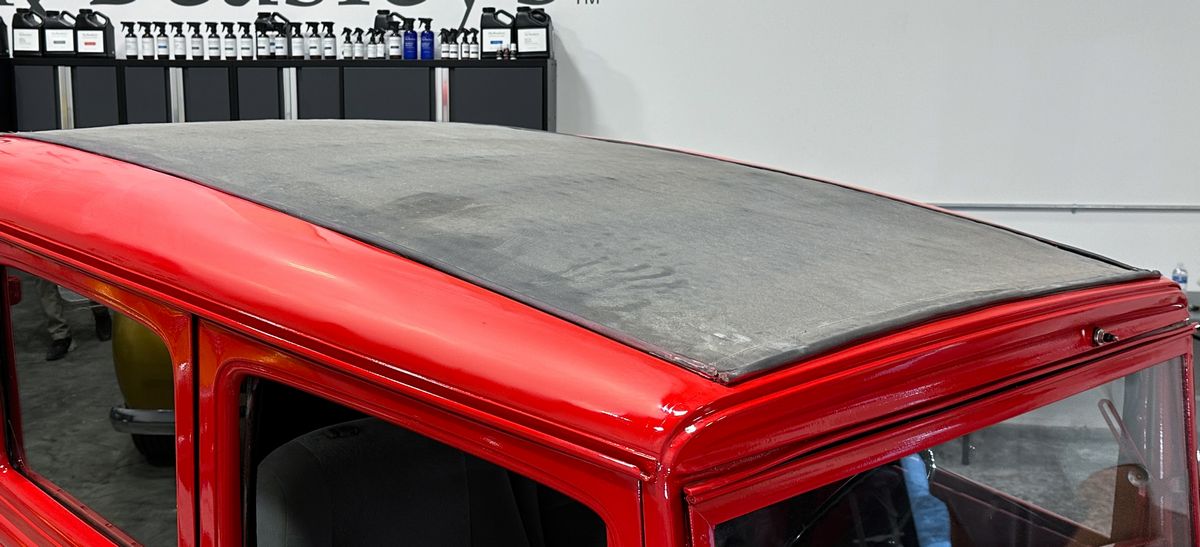
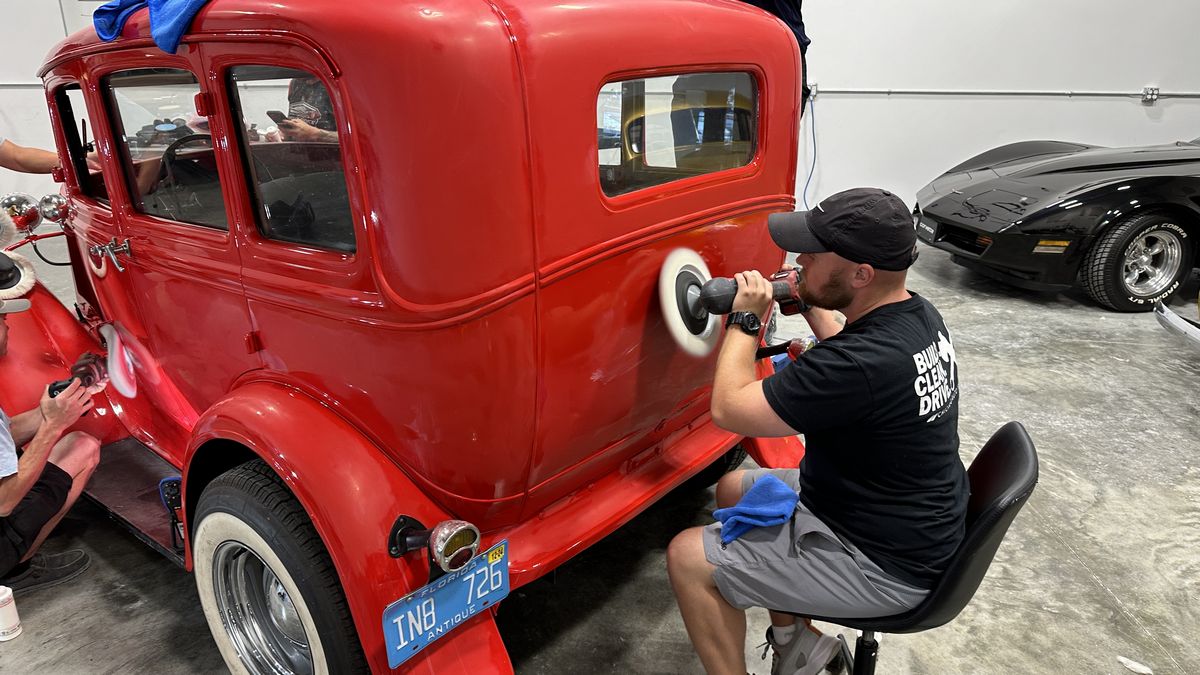
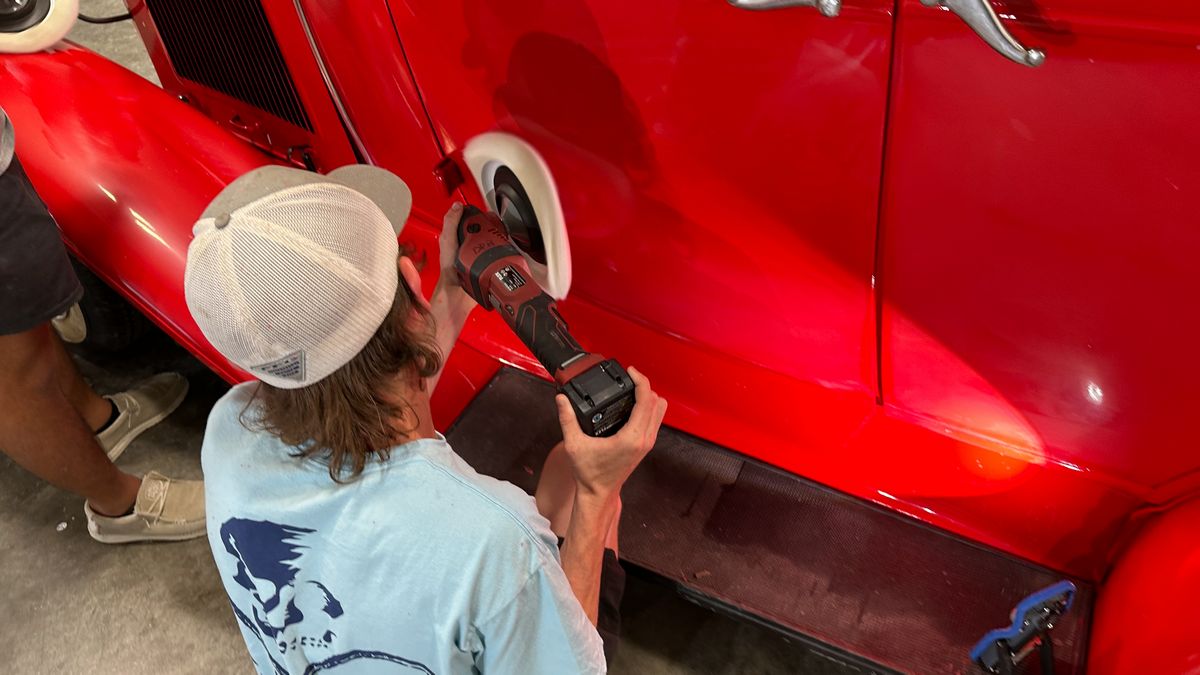
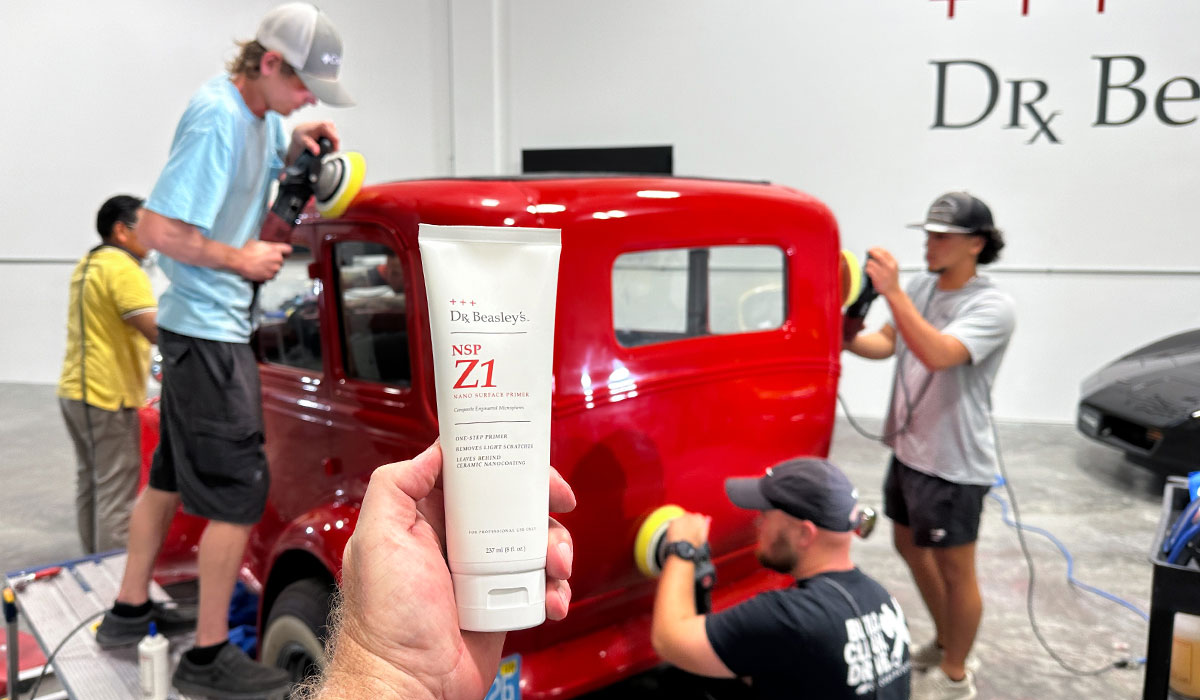
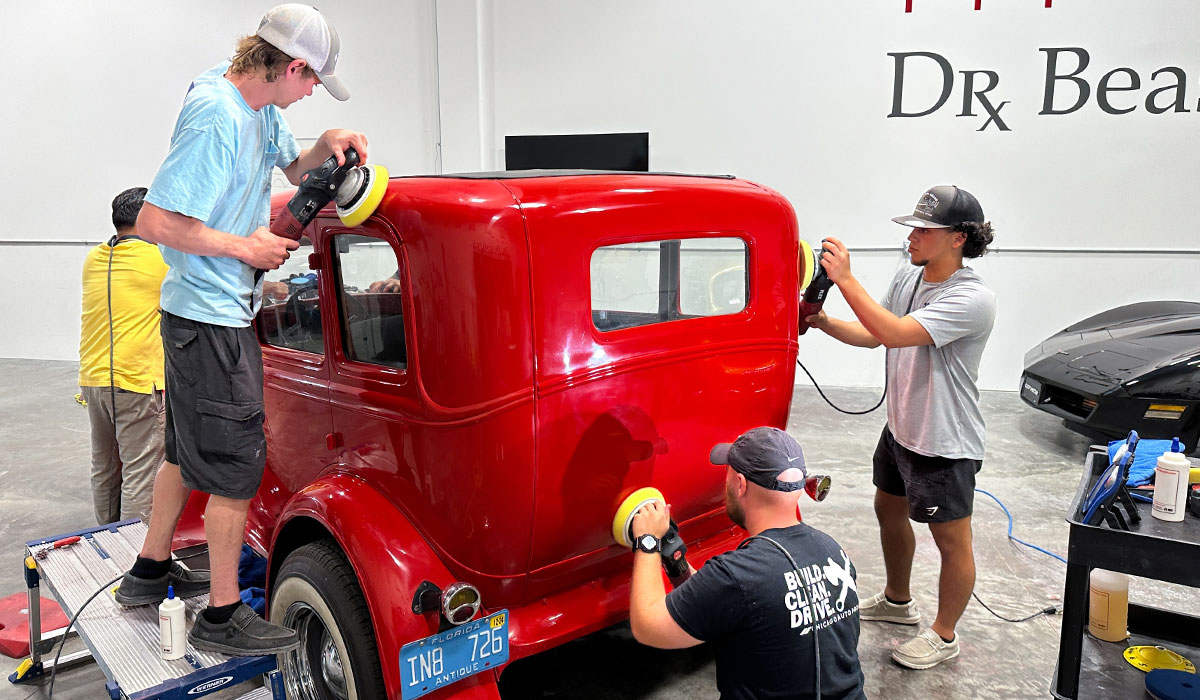
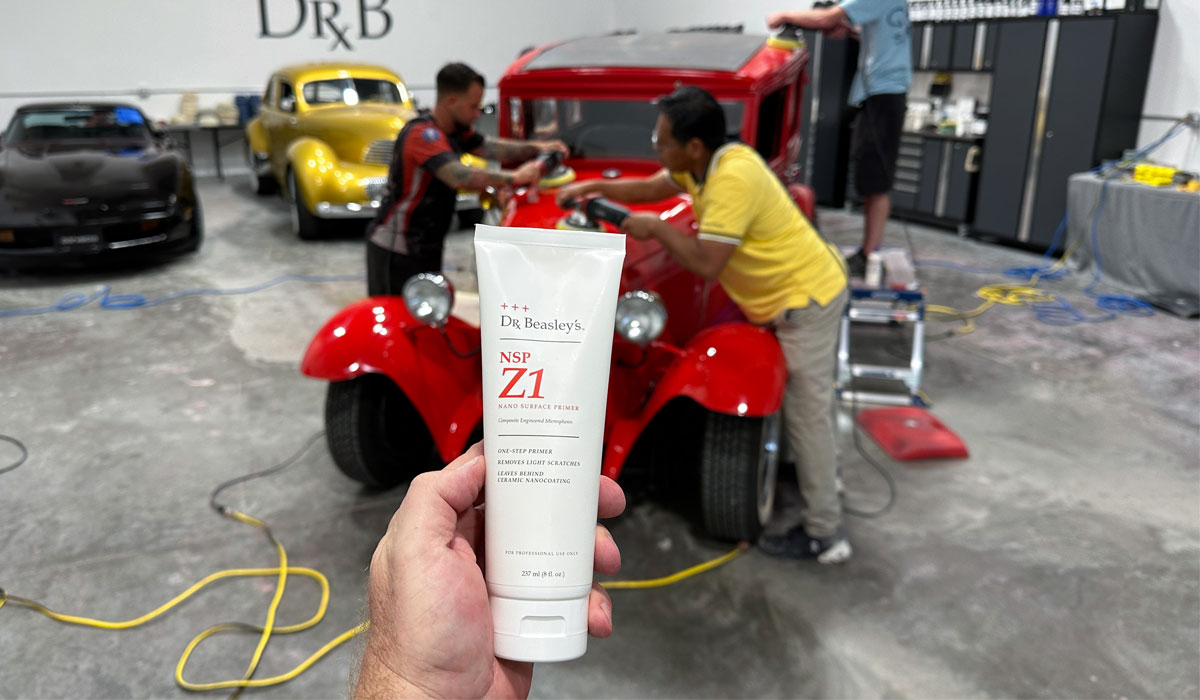
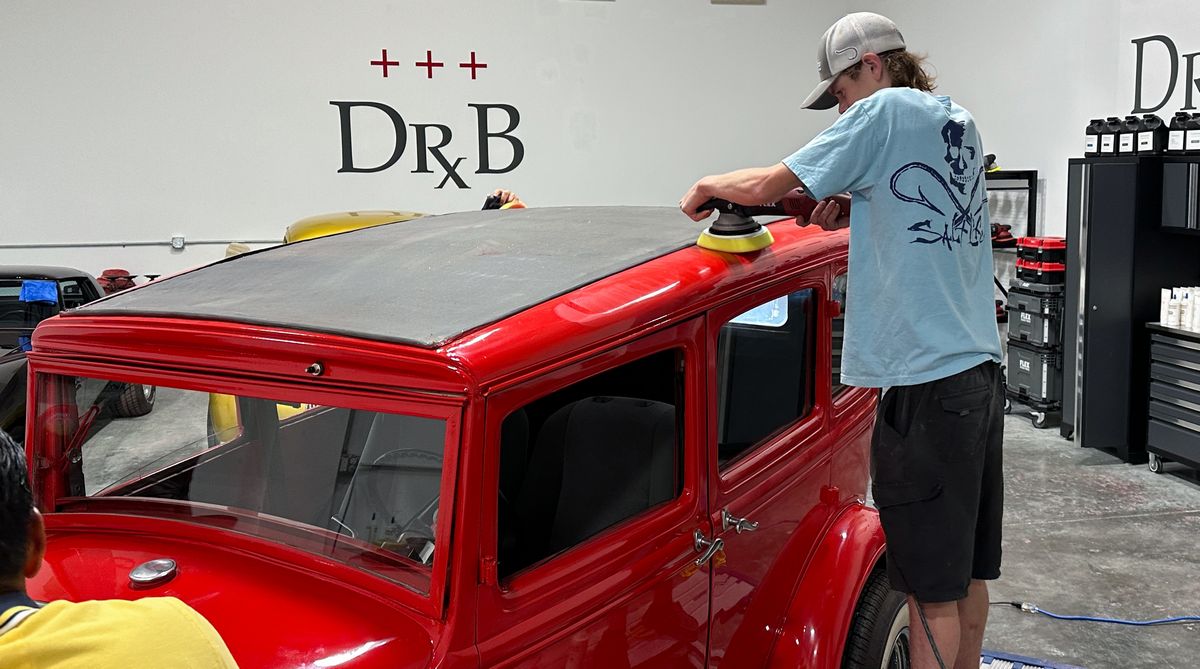
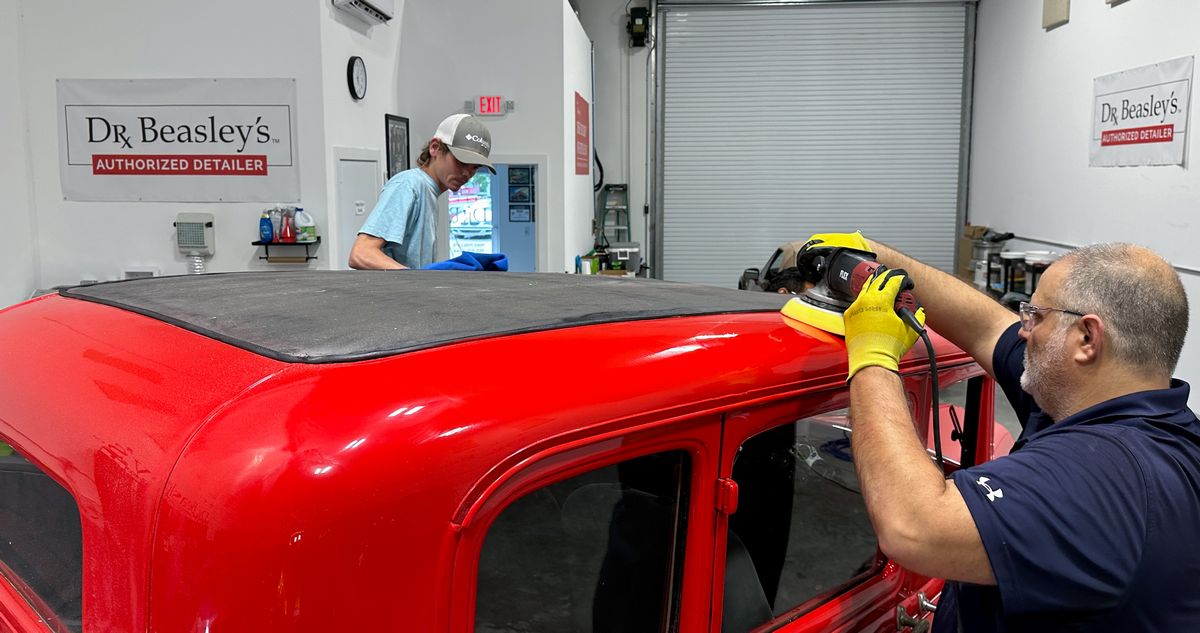
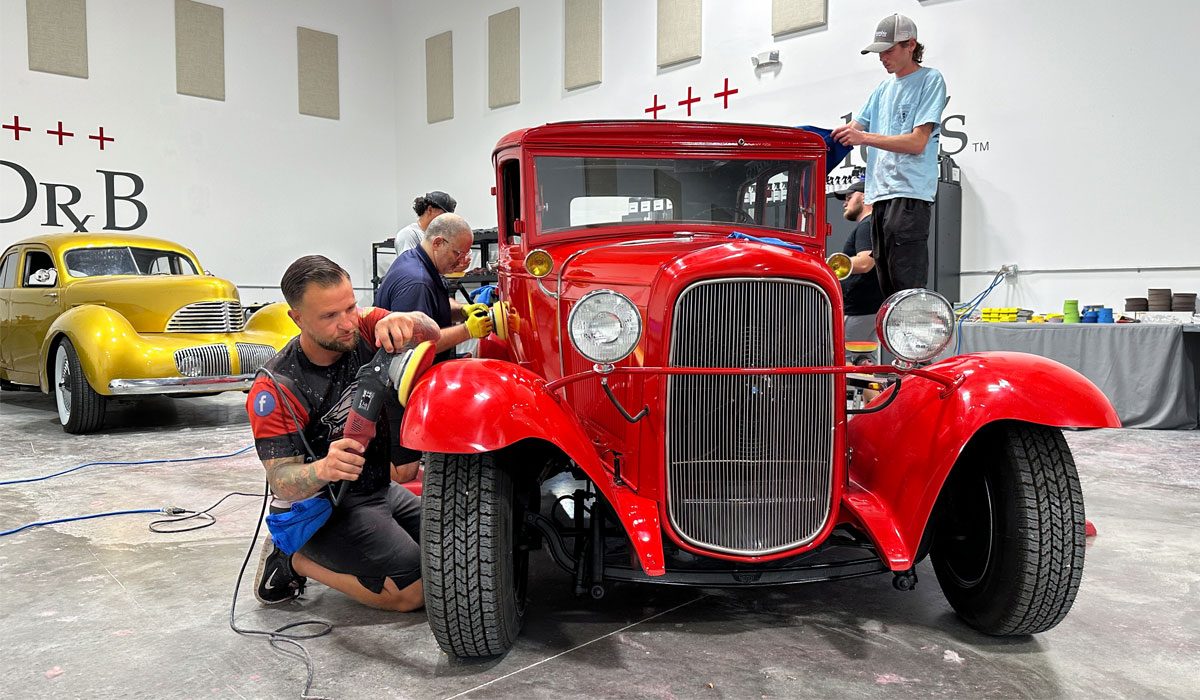
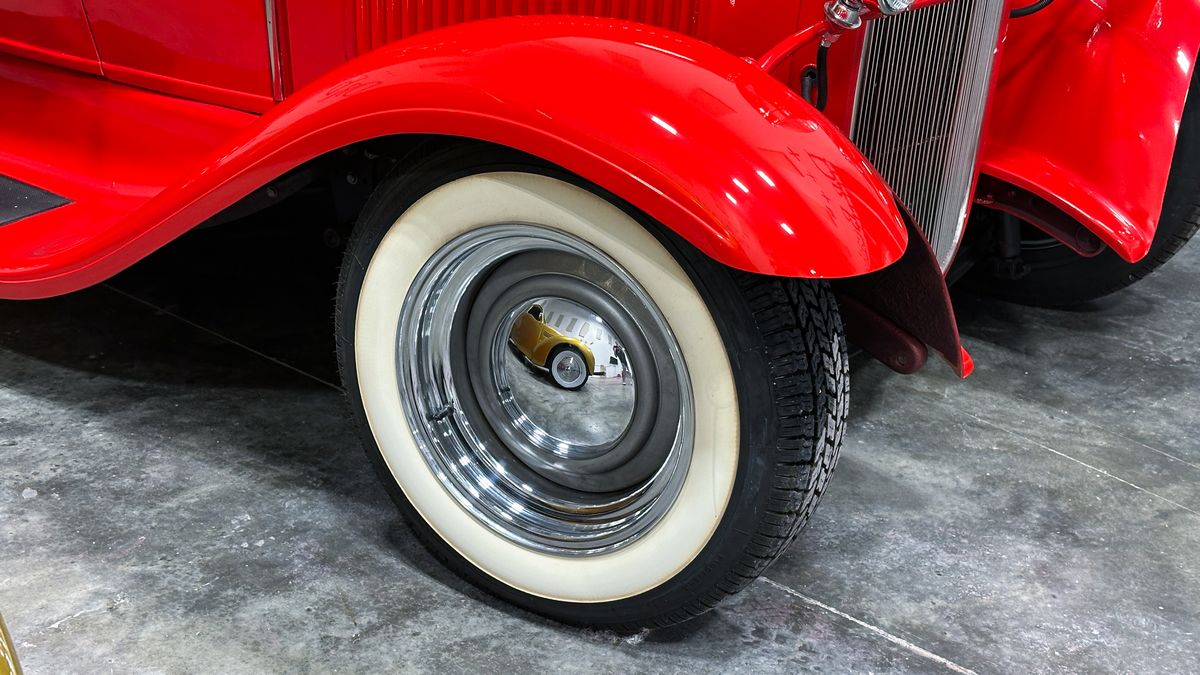
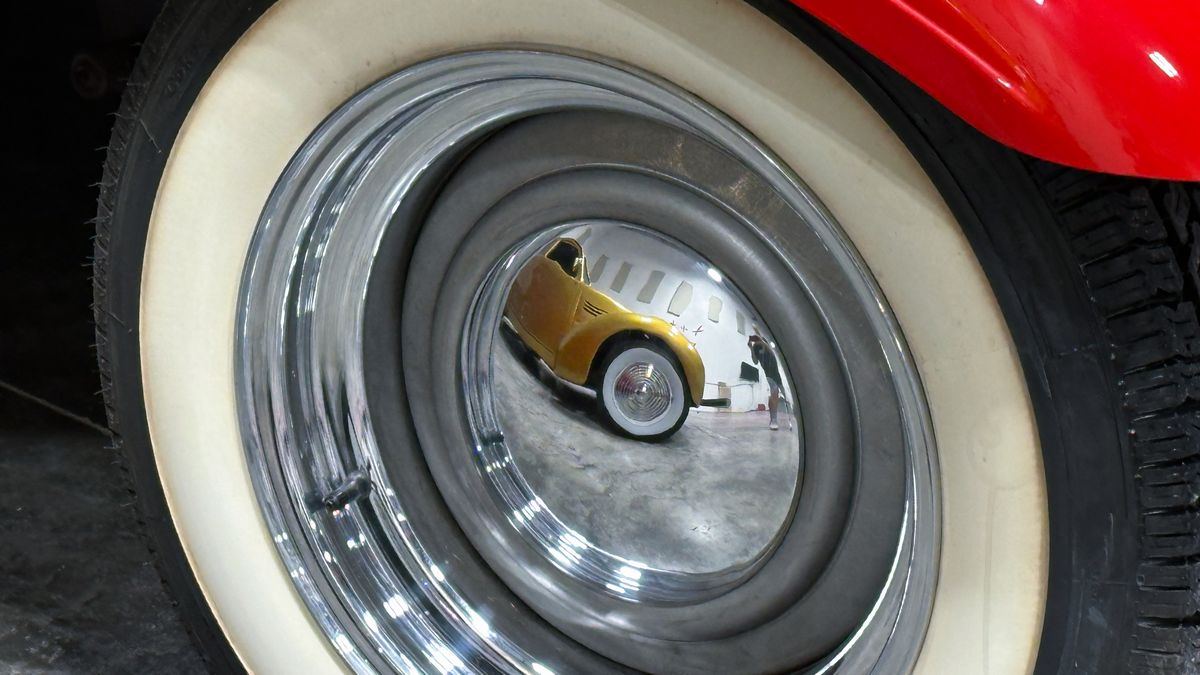
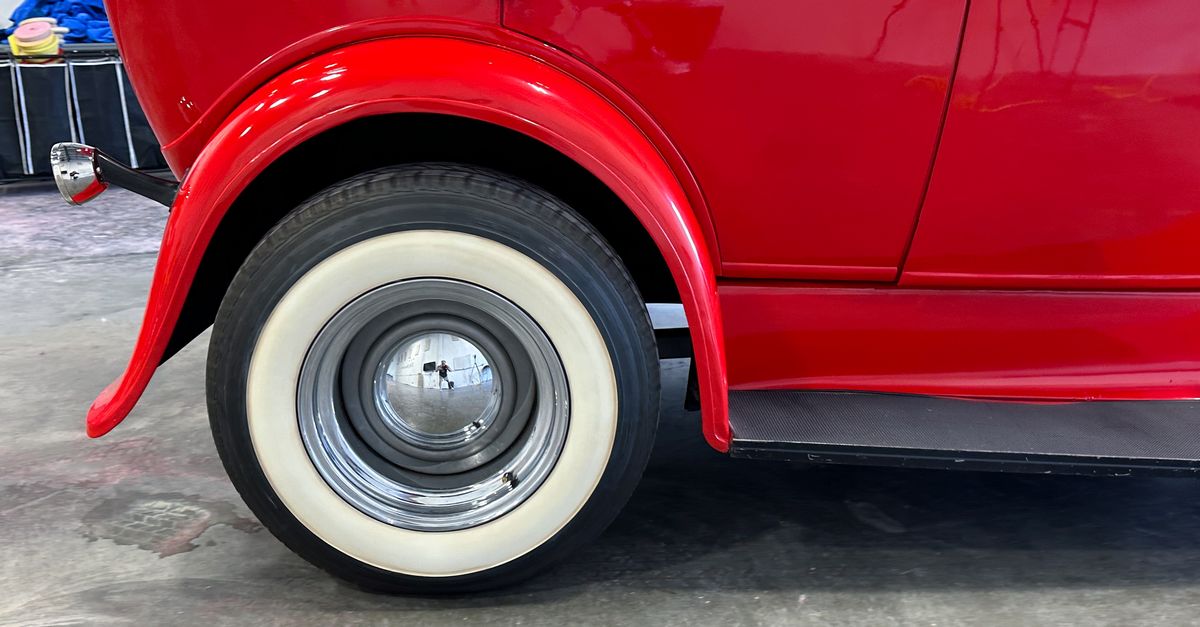
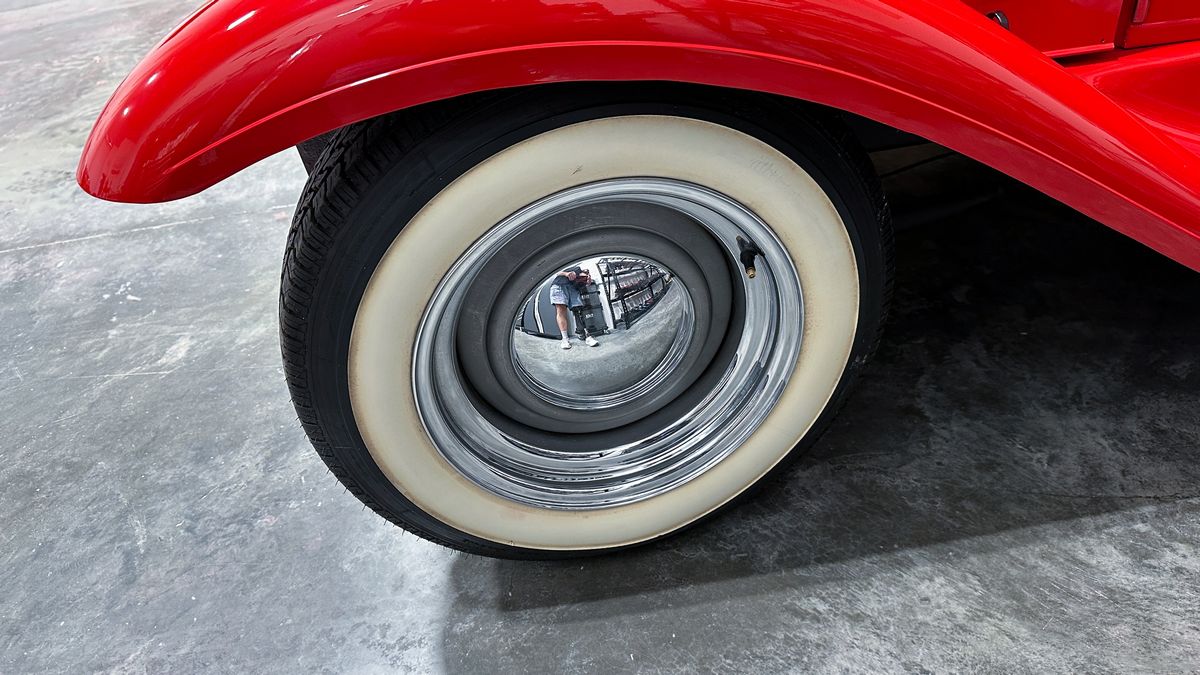
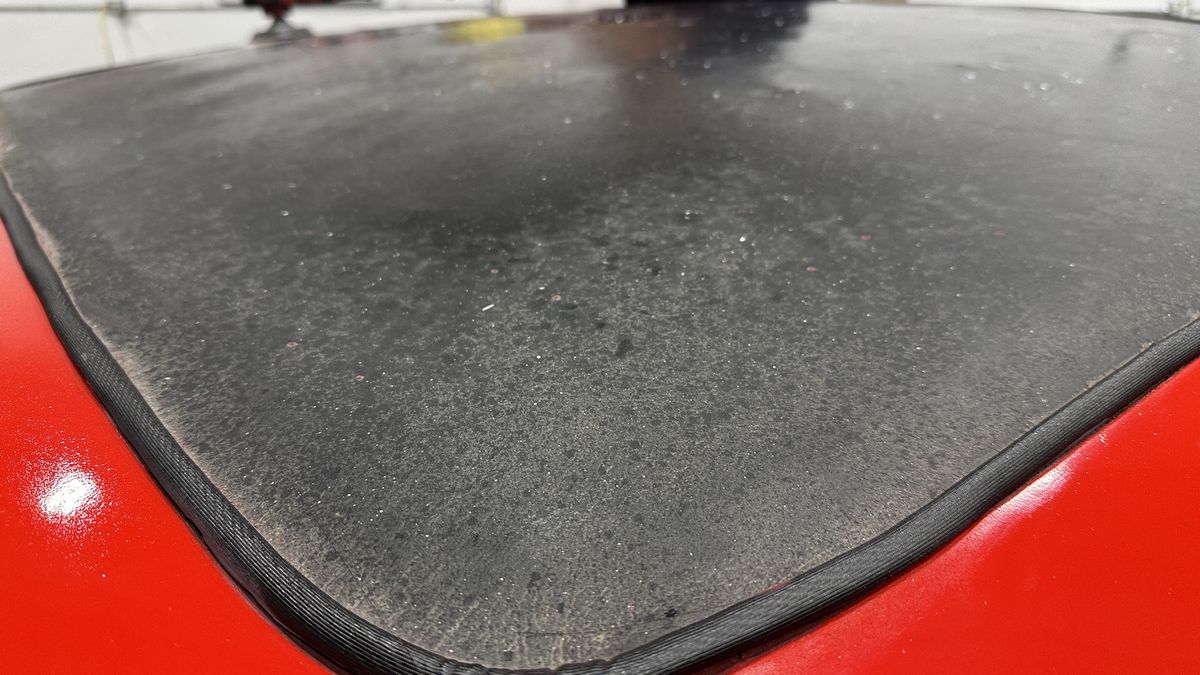
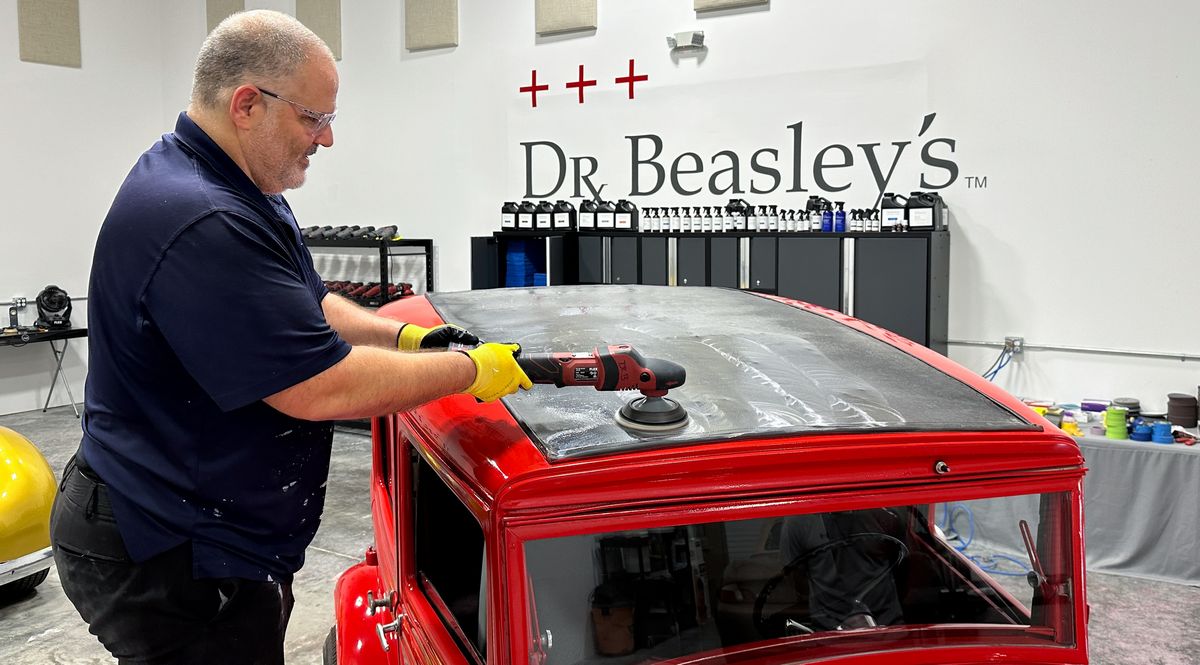
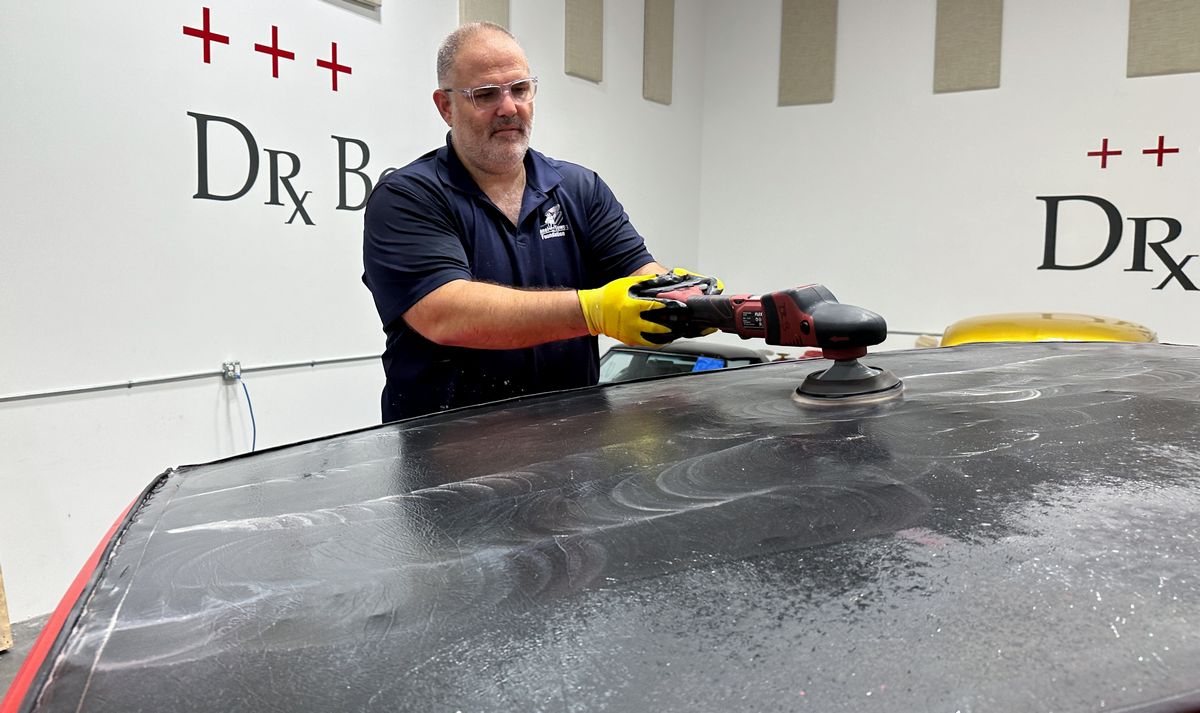
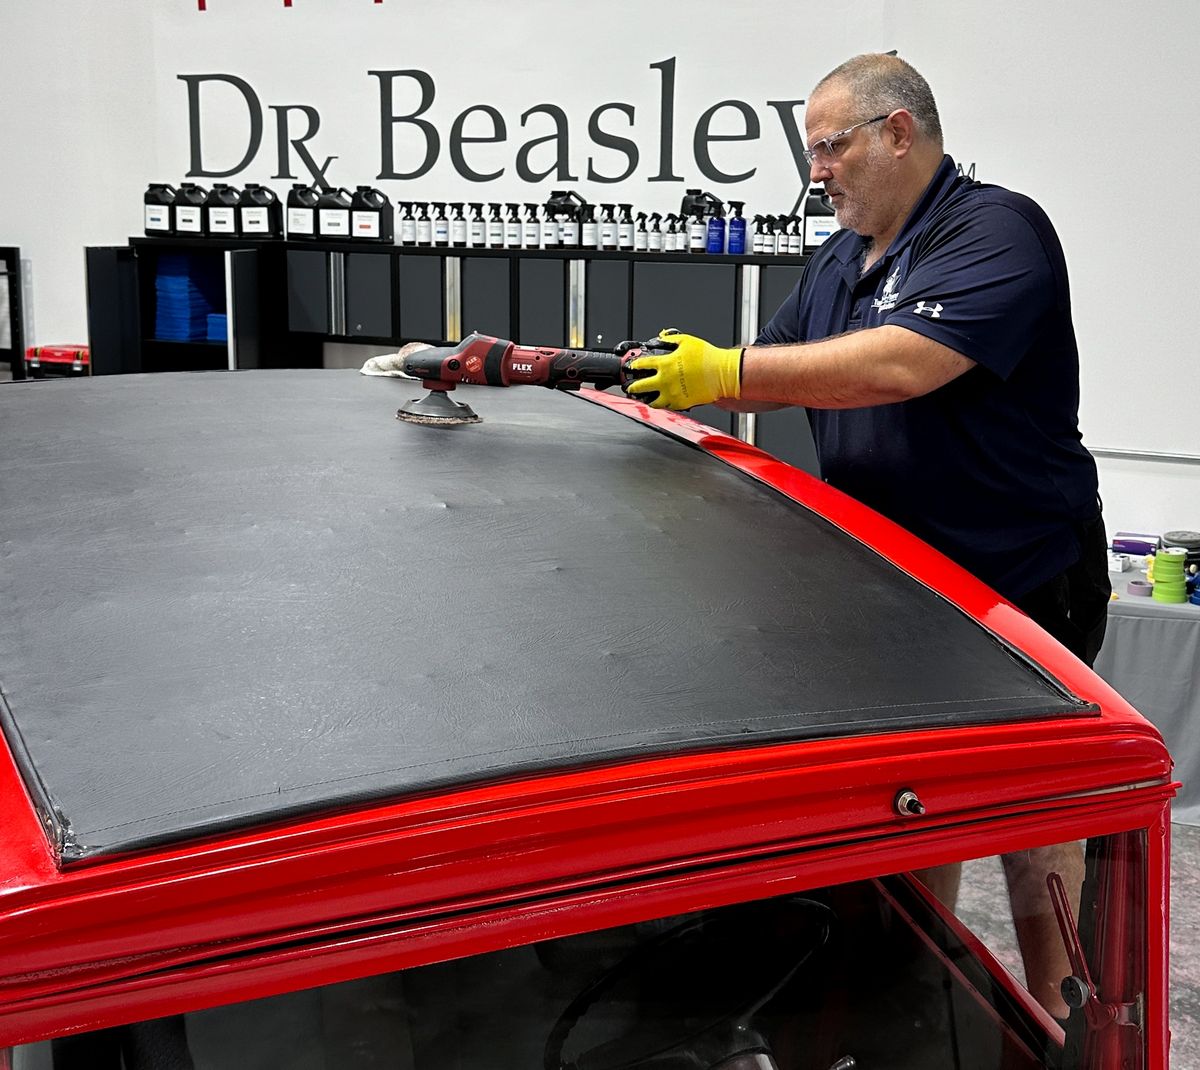
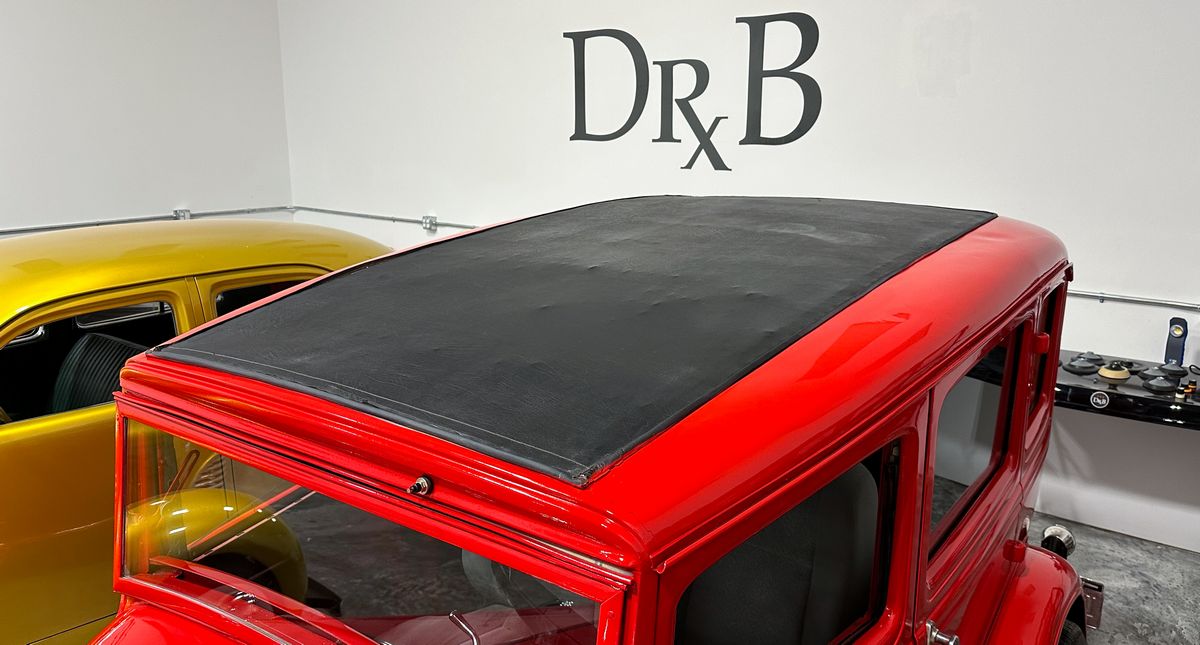
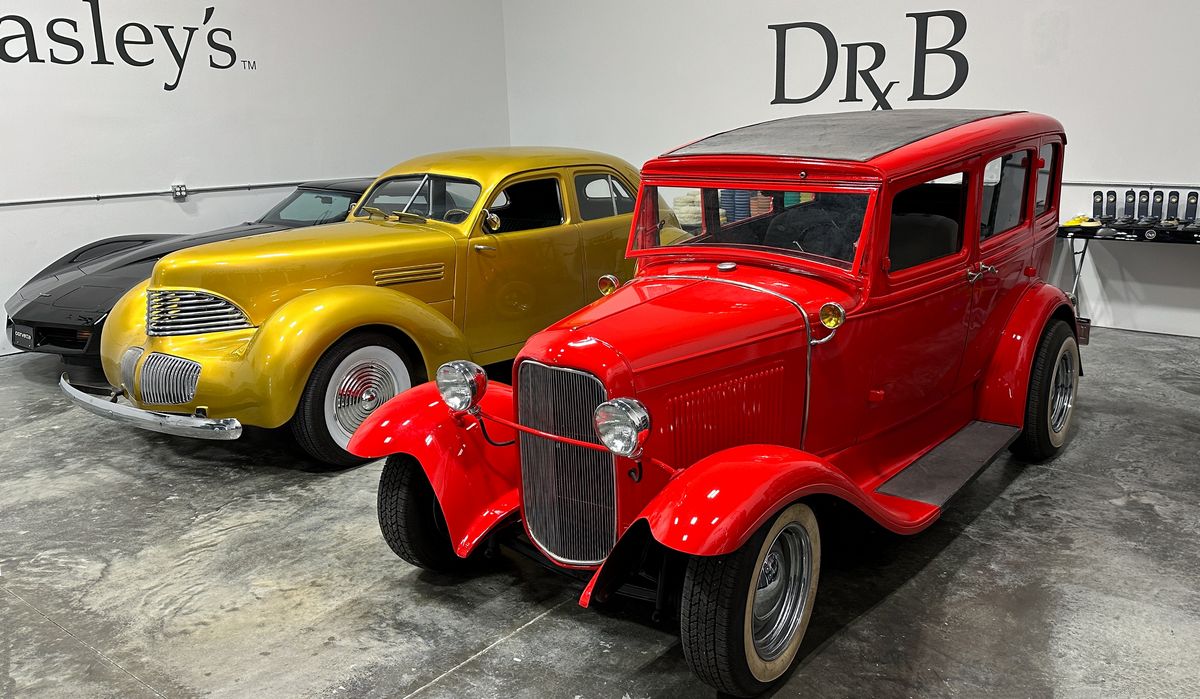
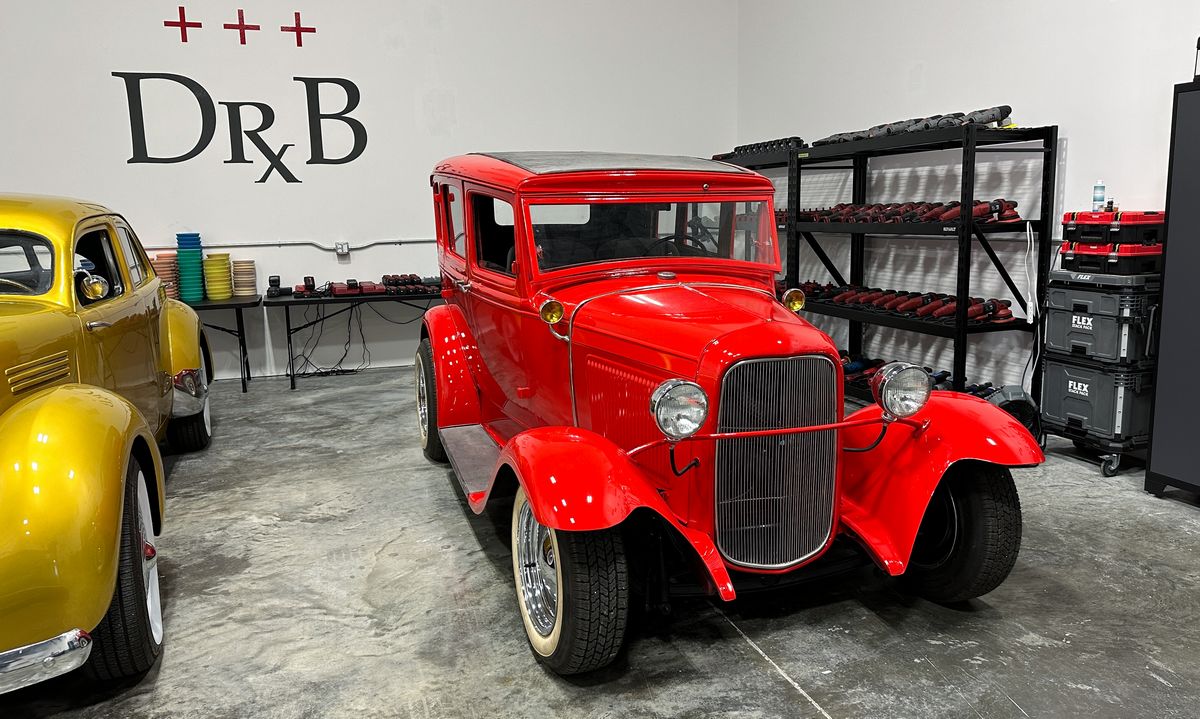
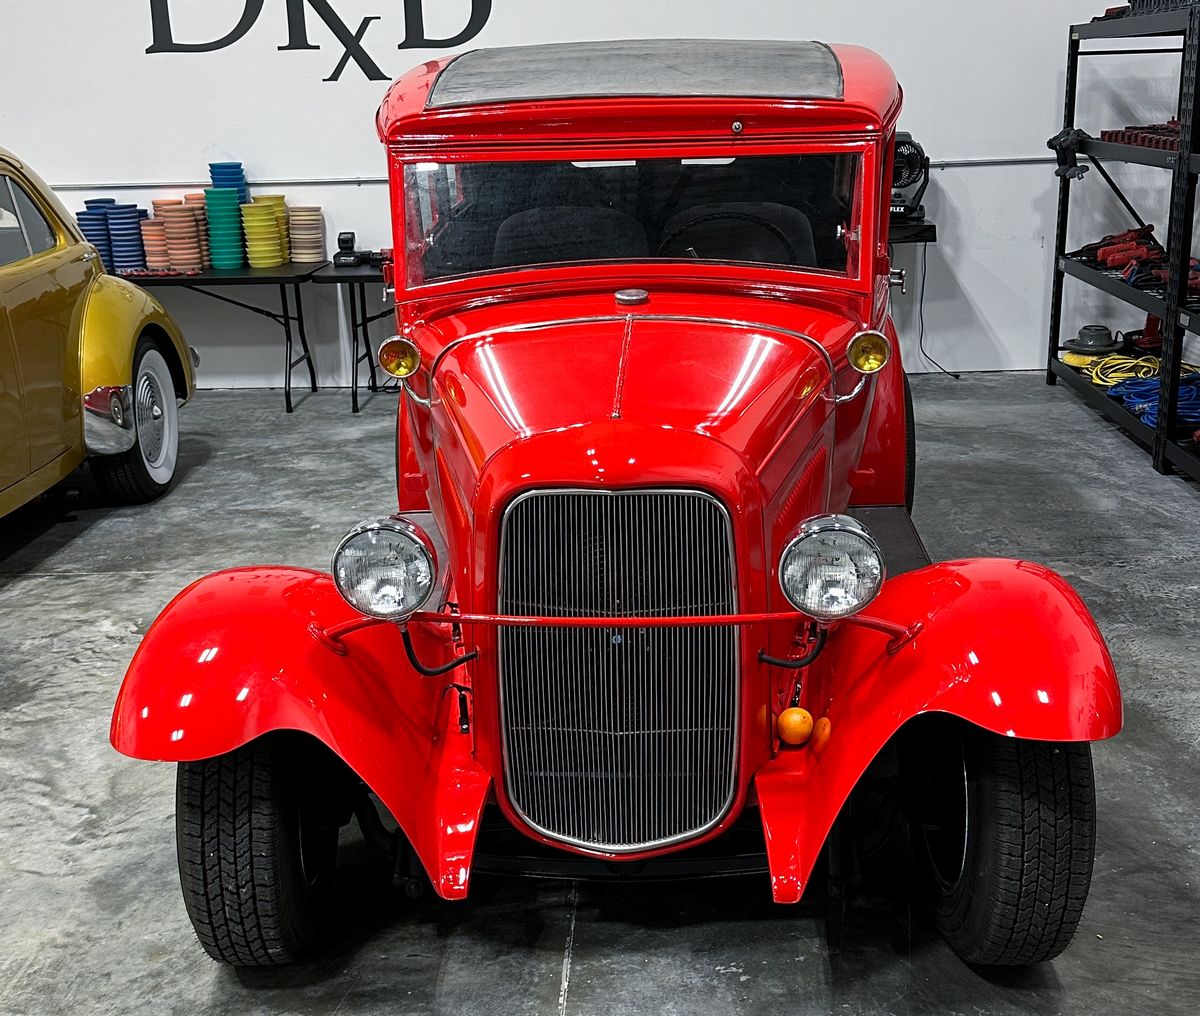
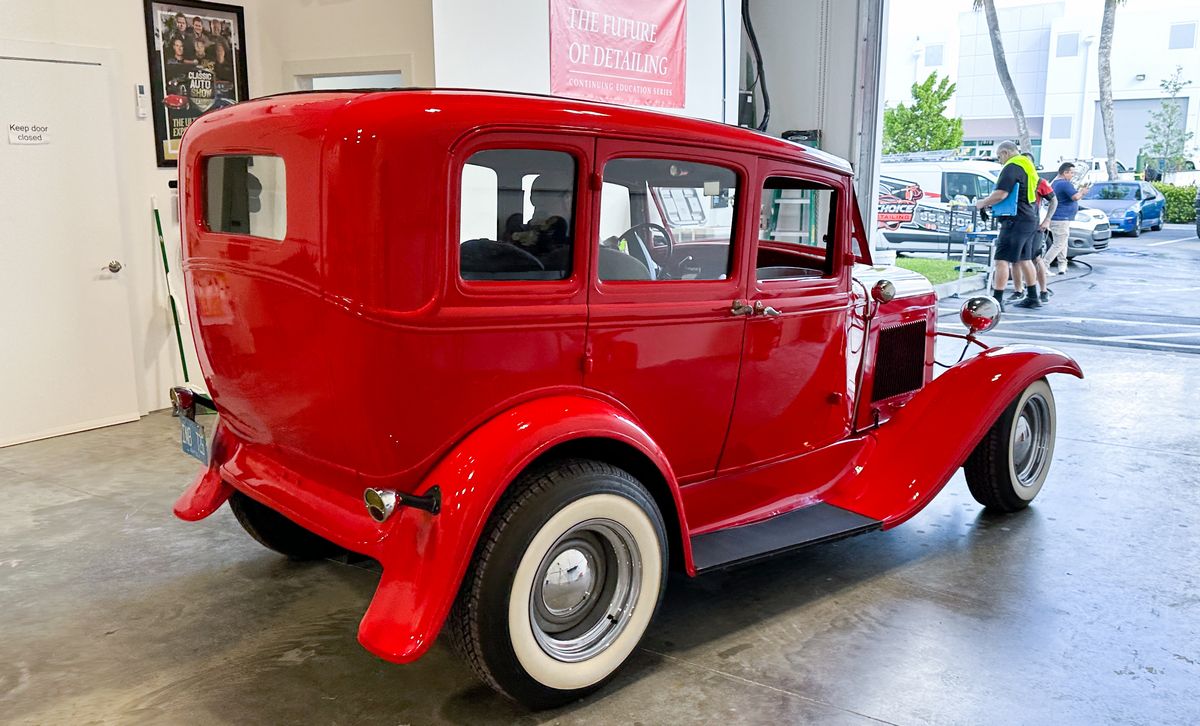
1931 Model A Streetrod - Machine dry sanded & ceramic coated.
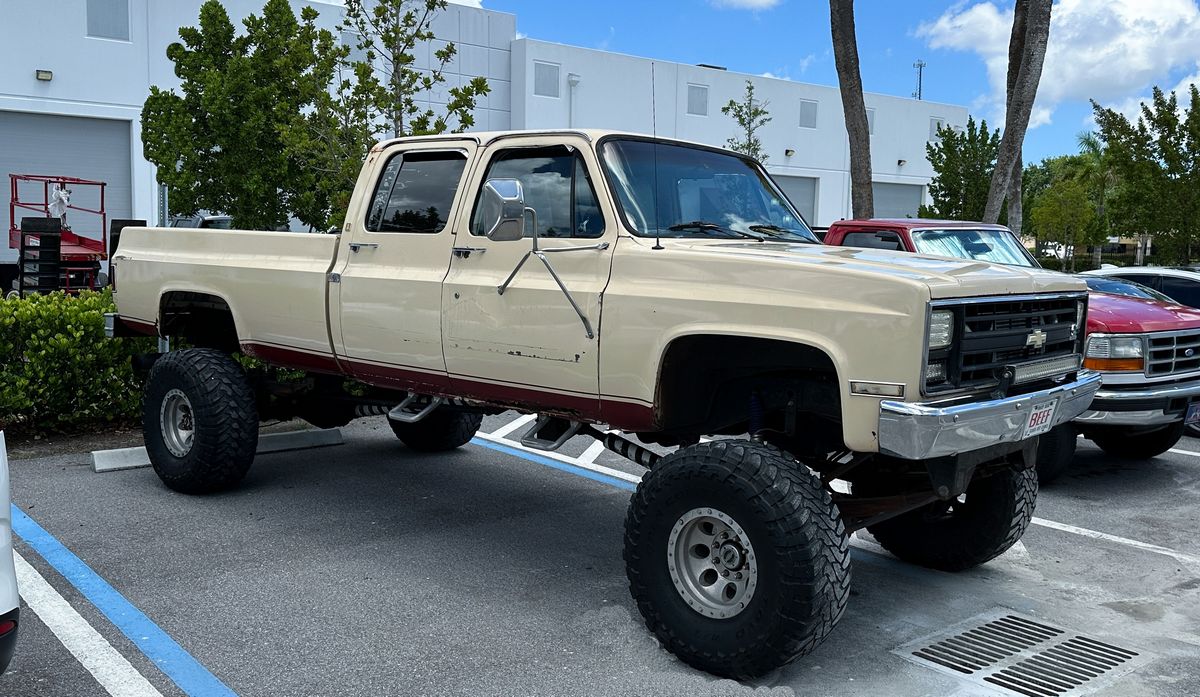
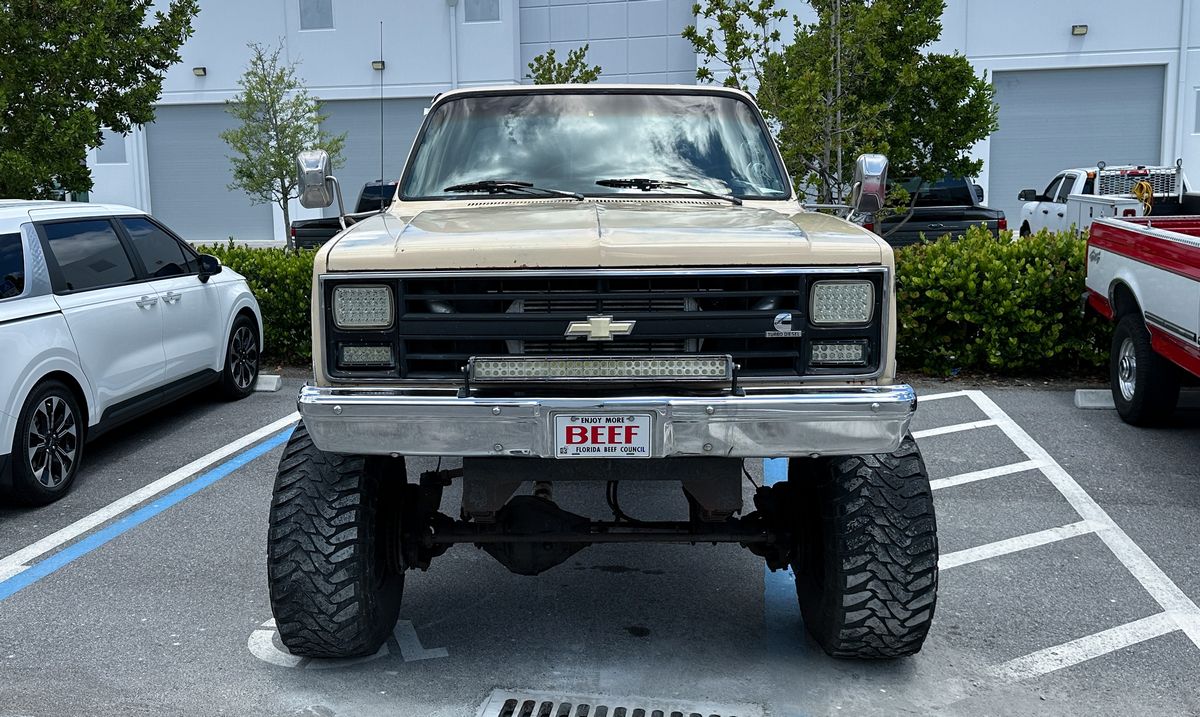
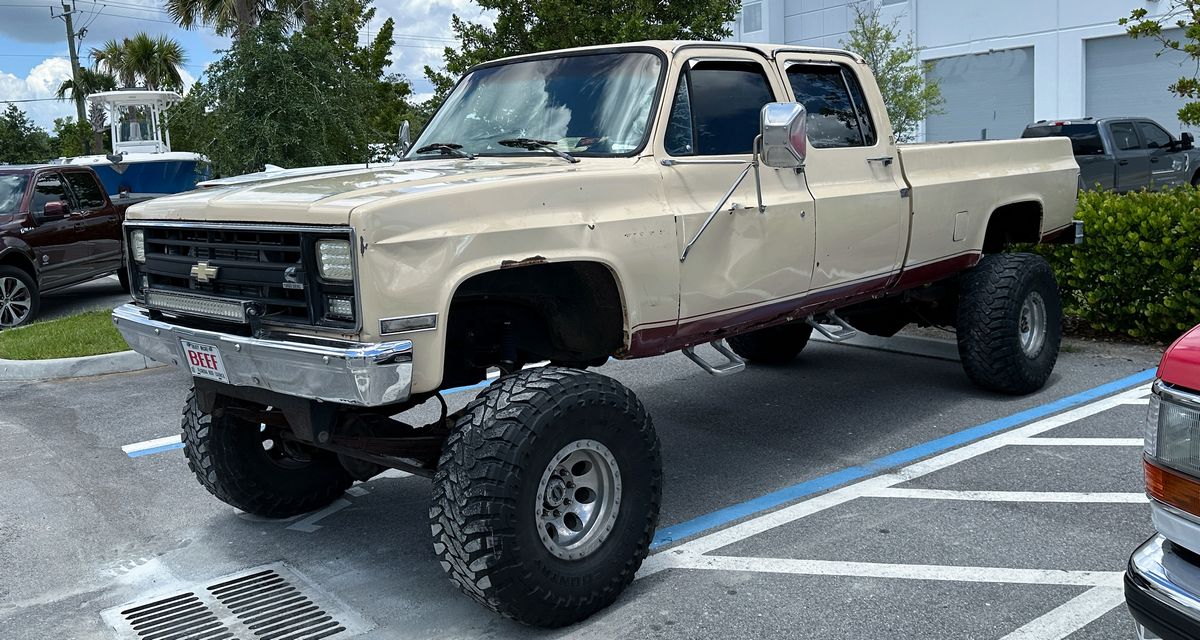
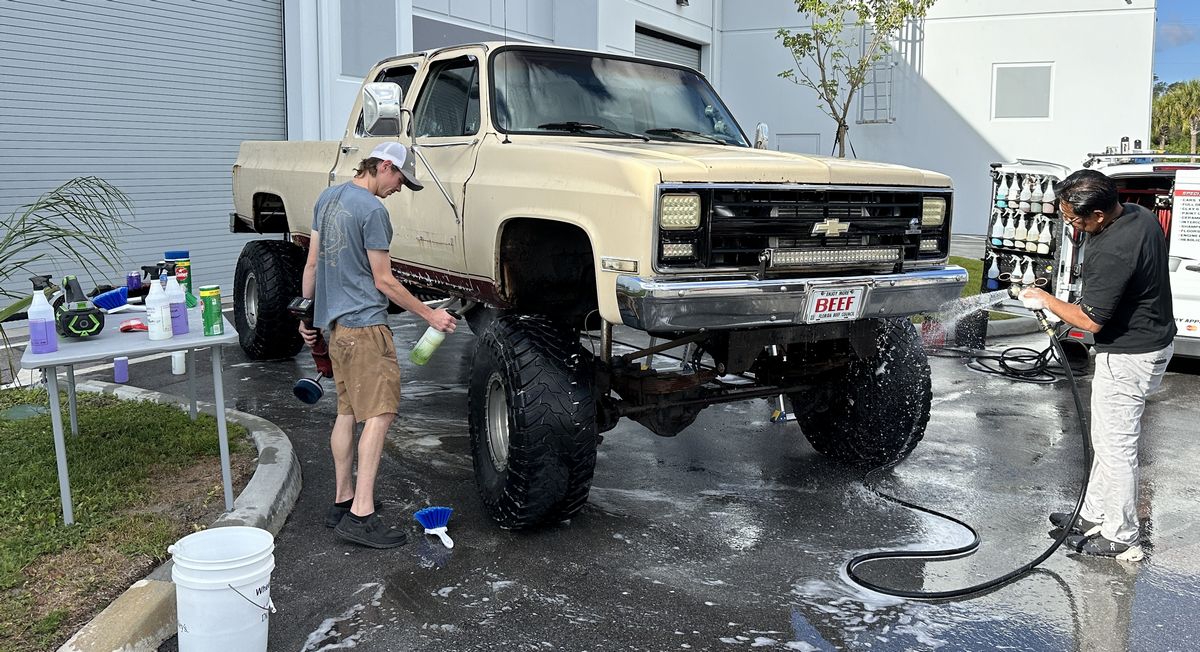
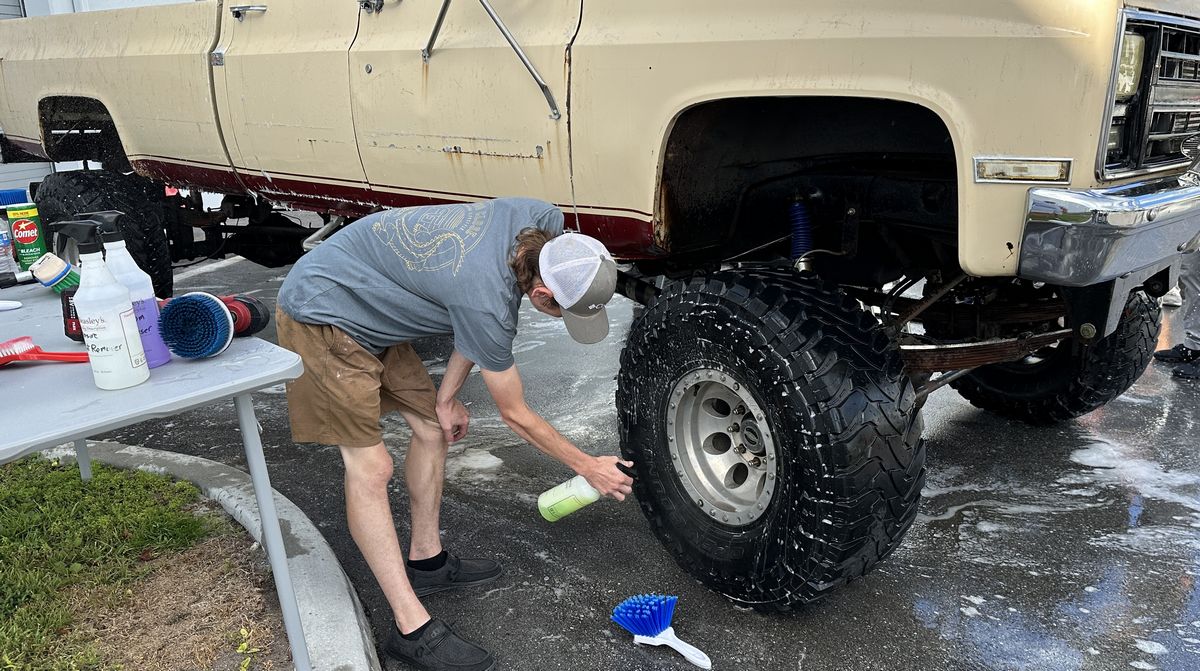
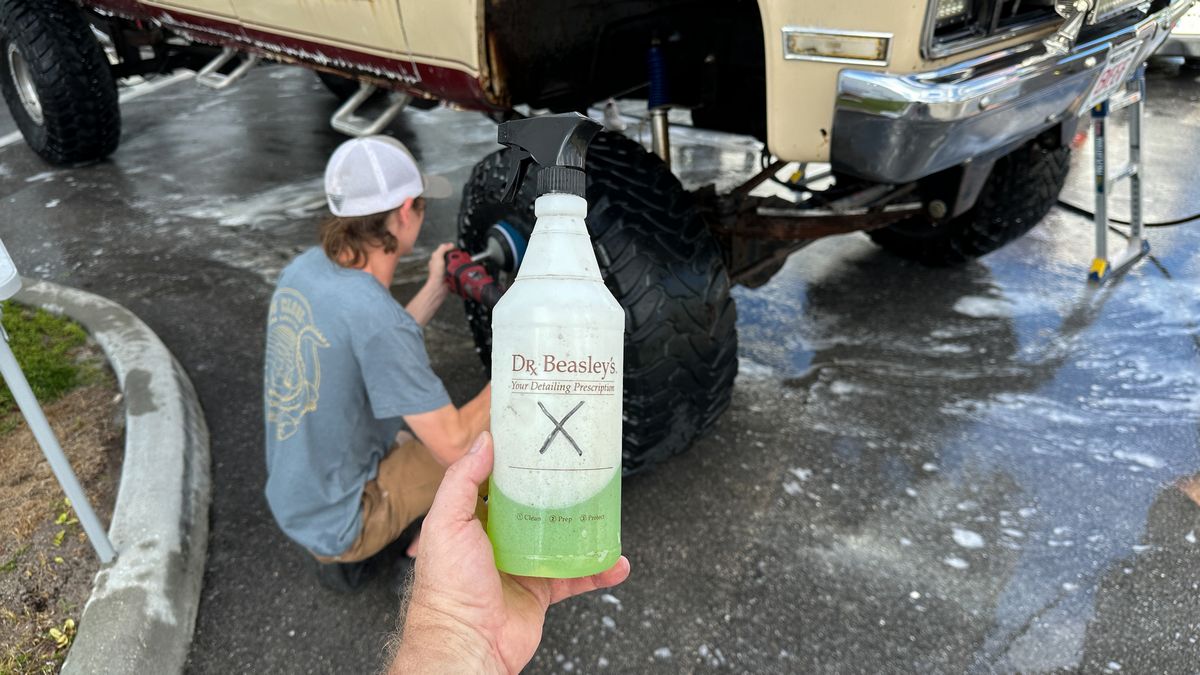
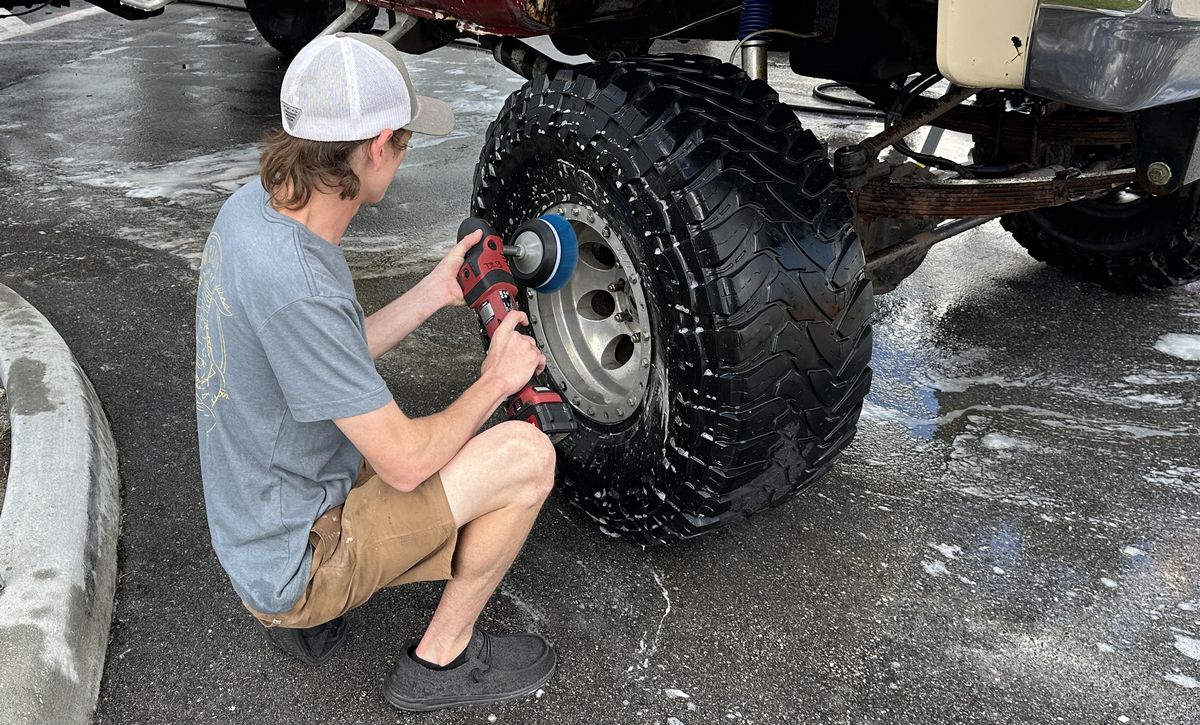
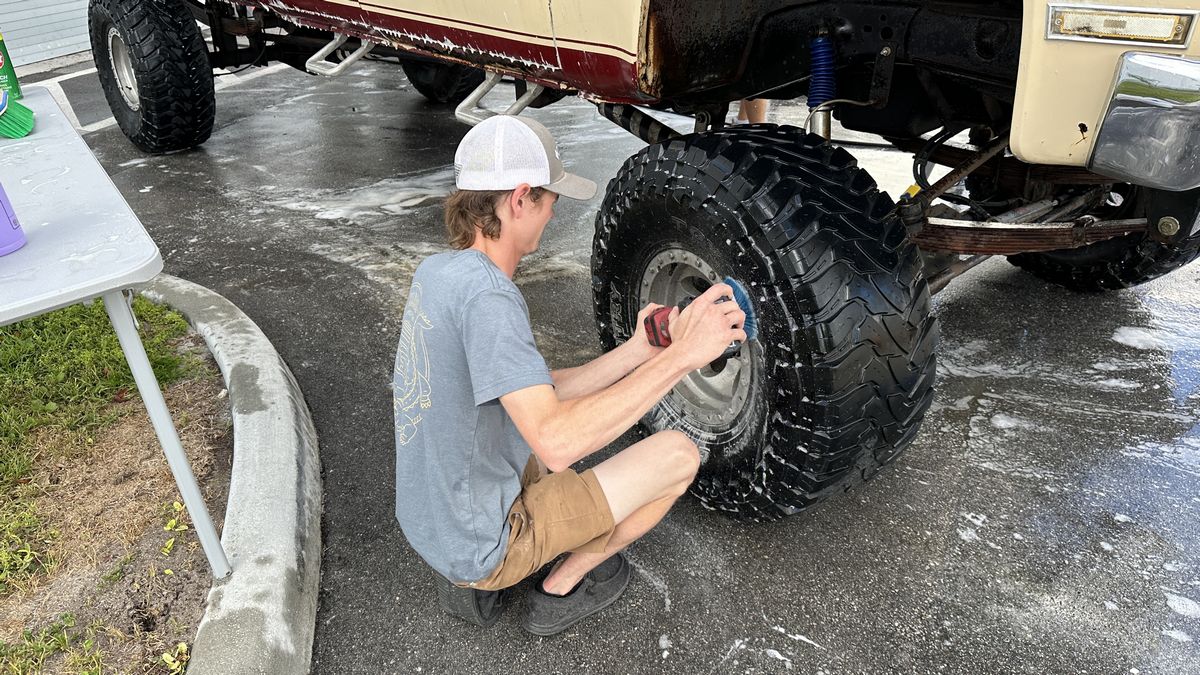
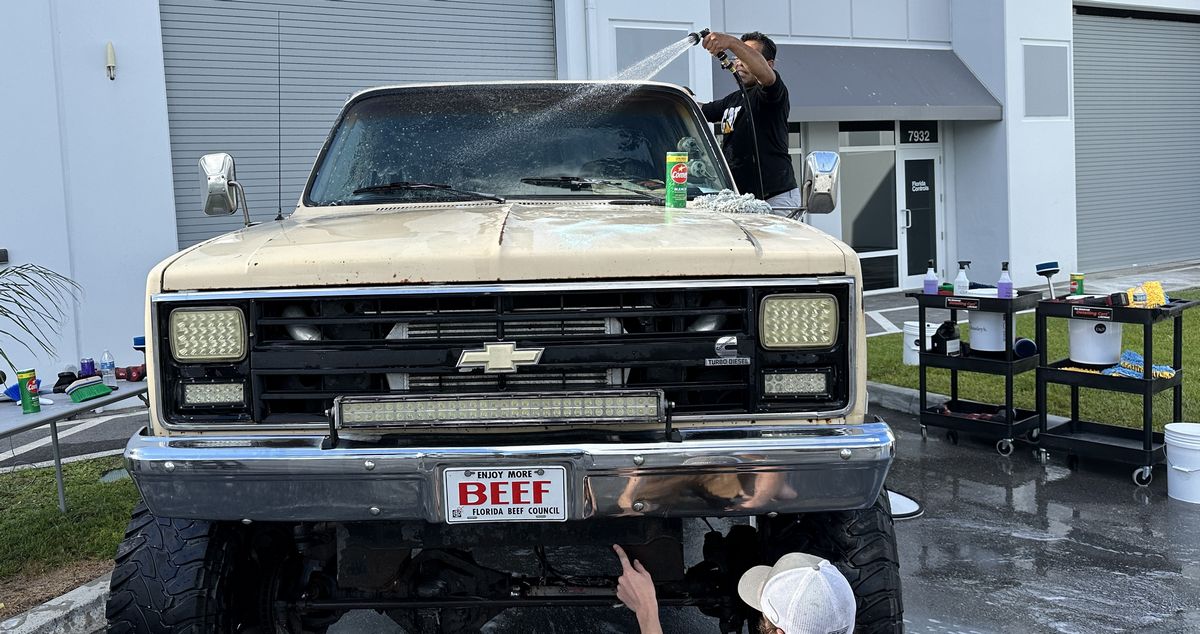
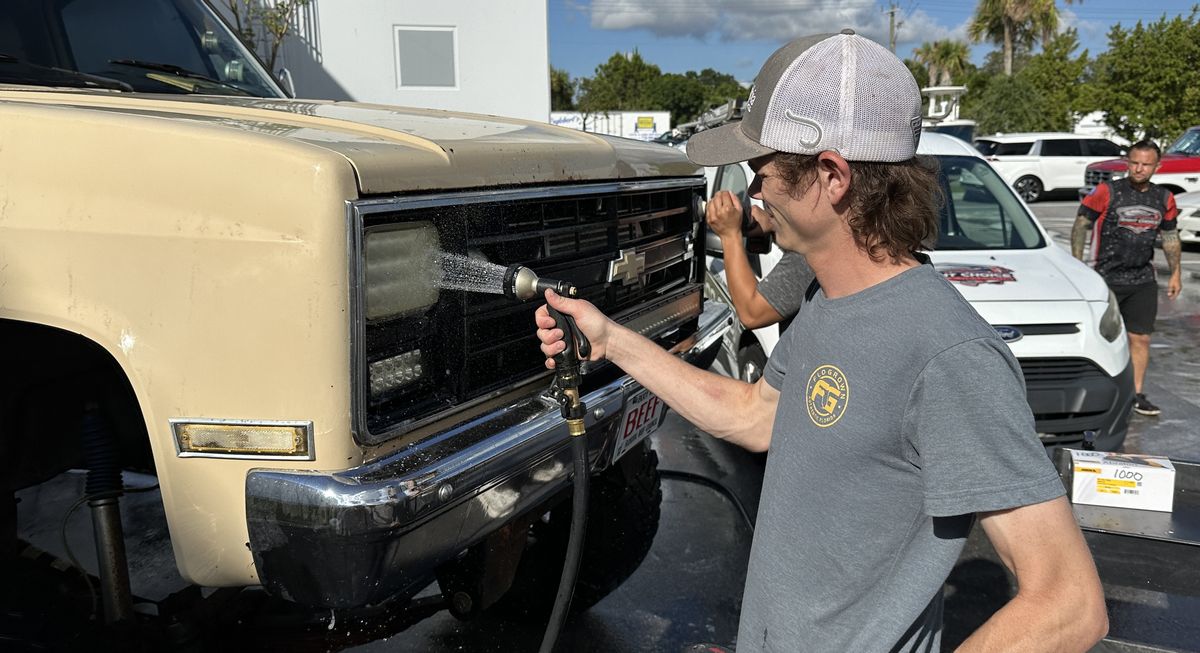
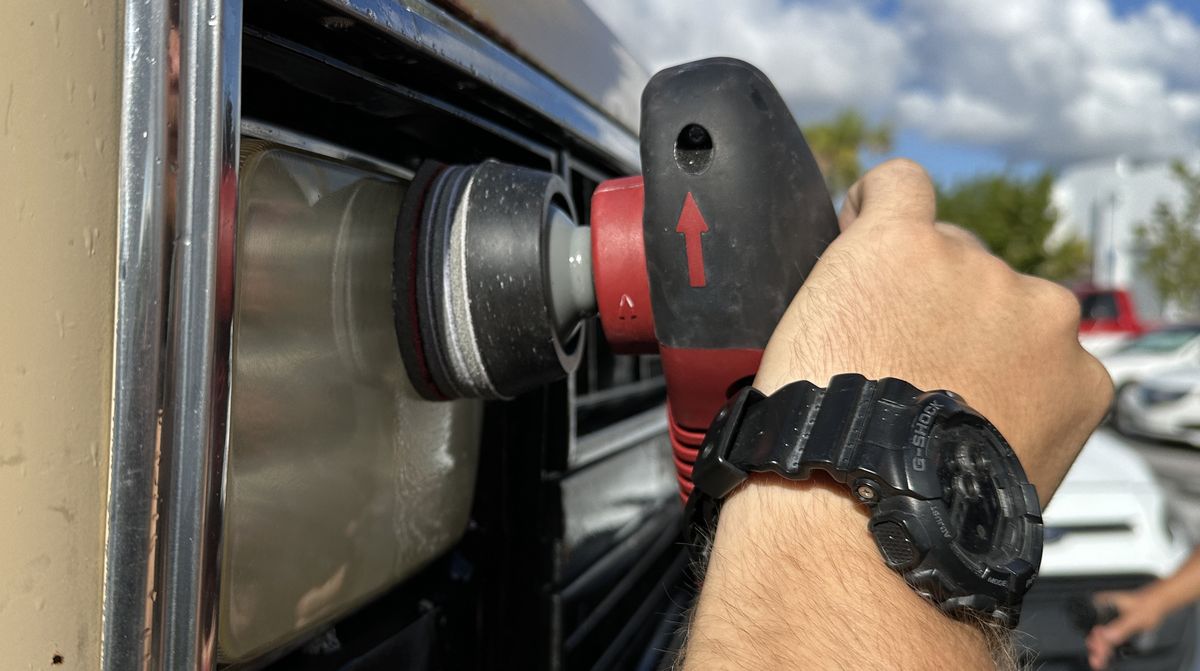
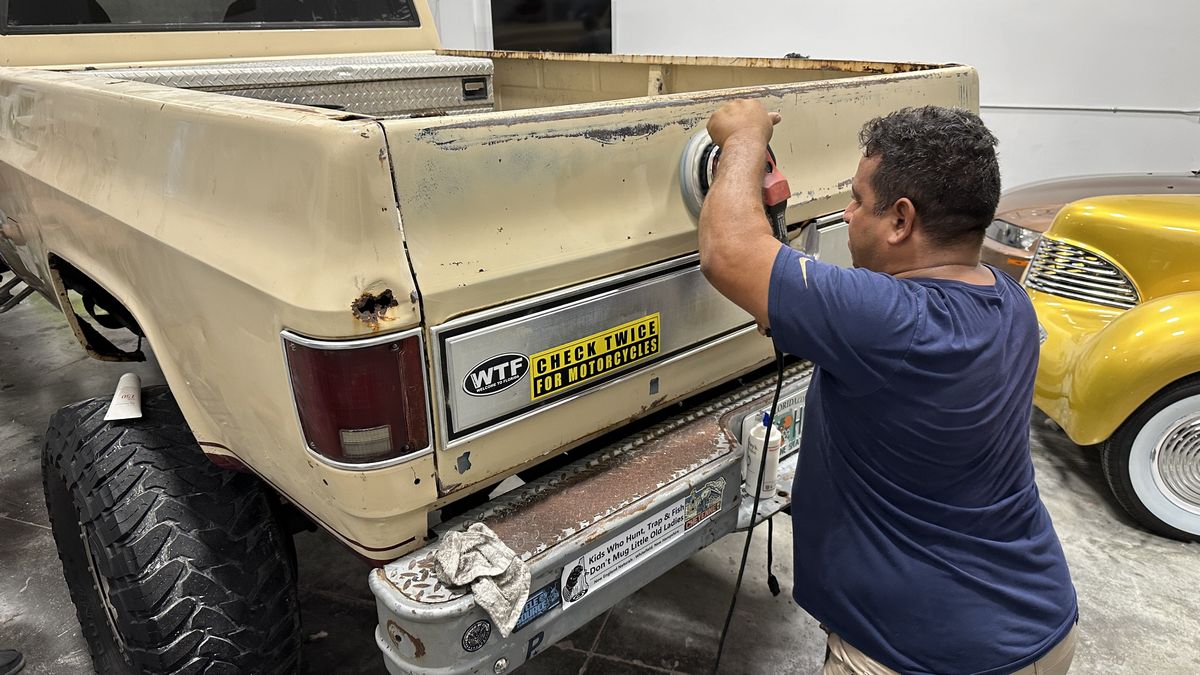
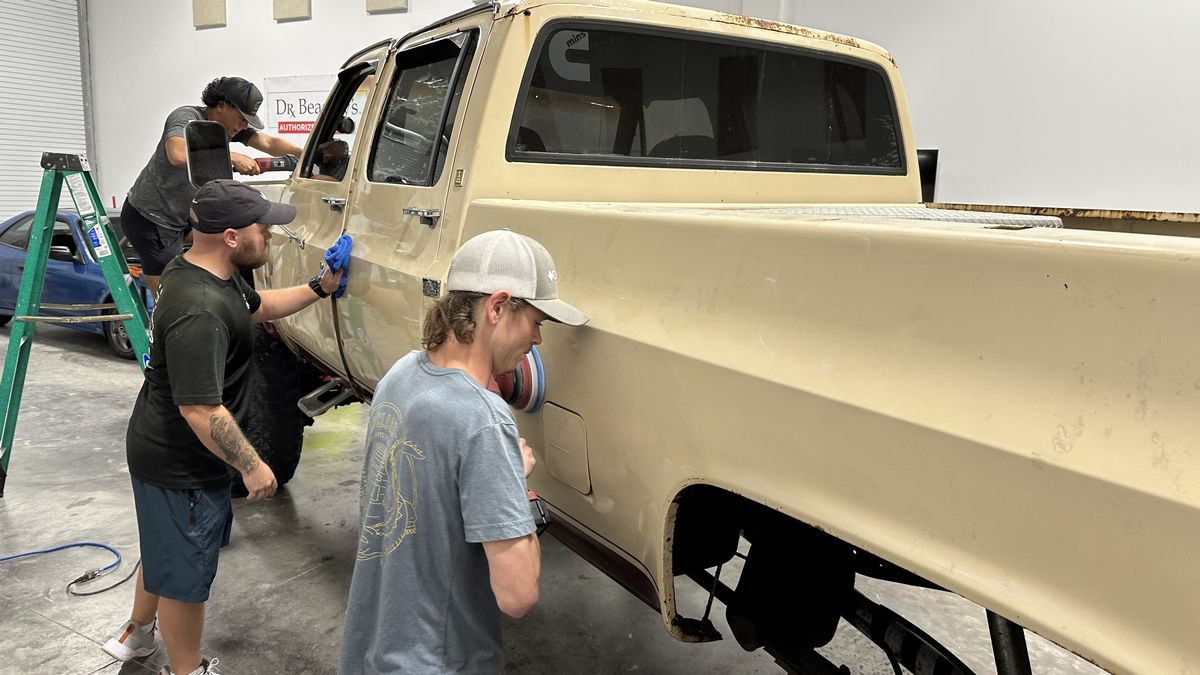
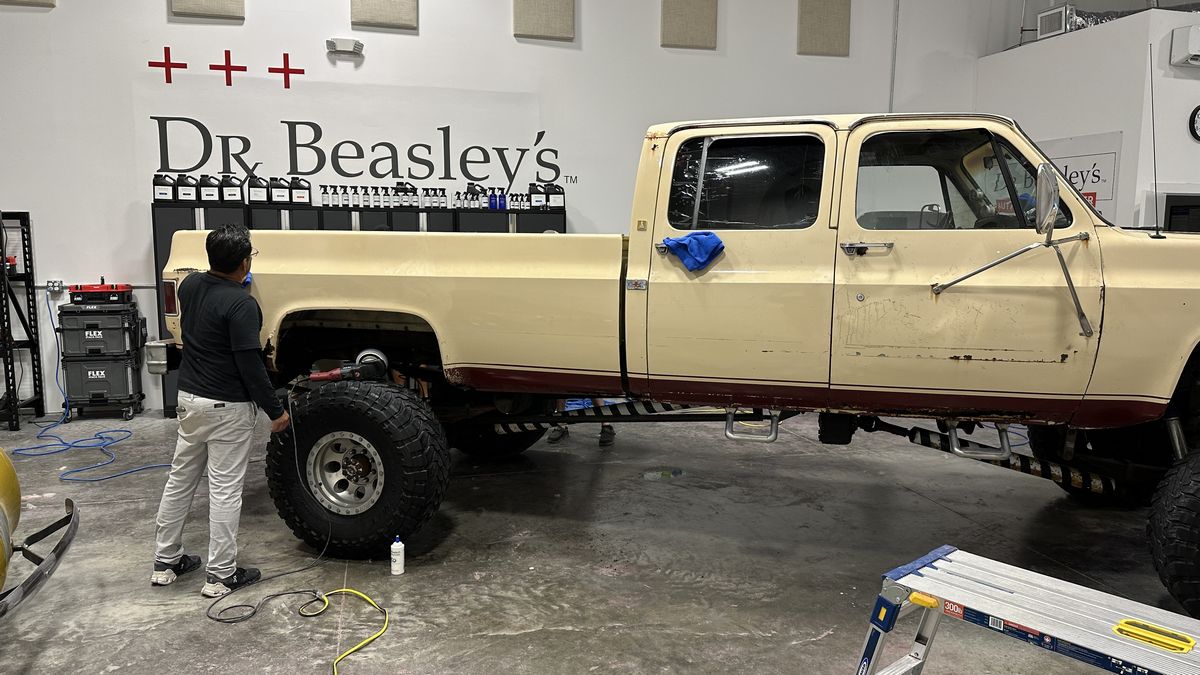
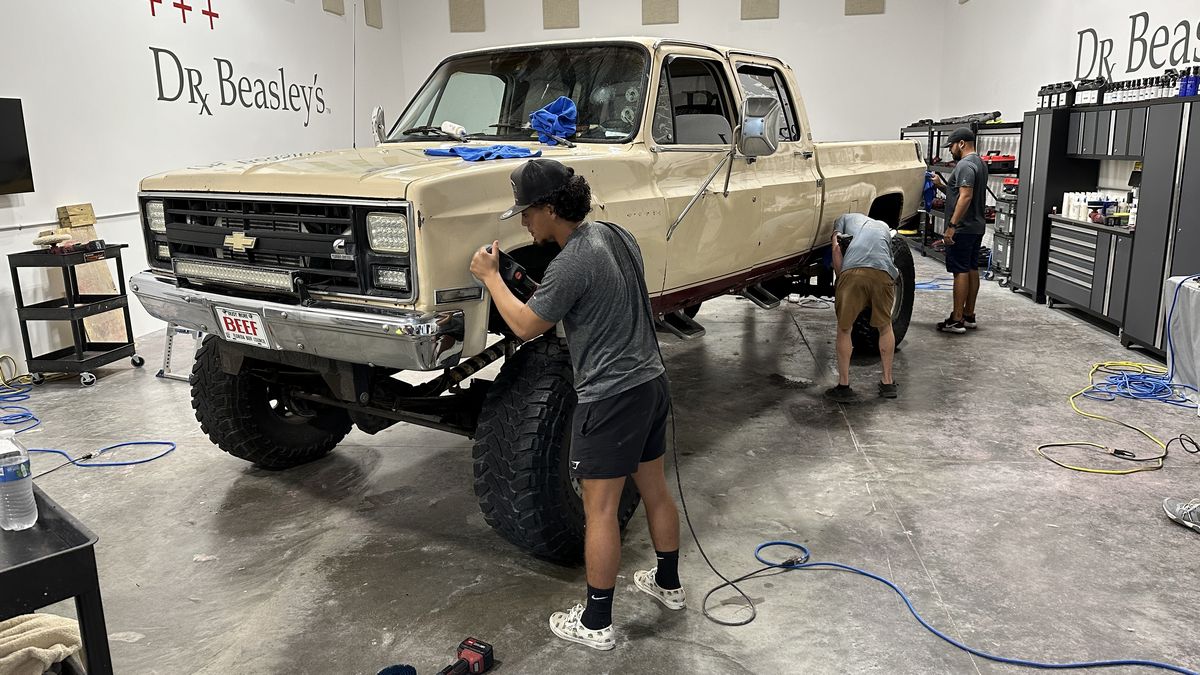
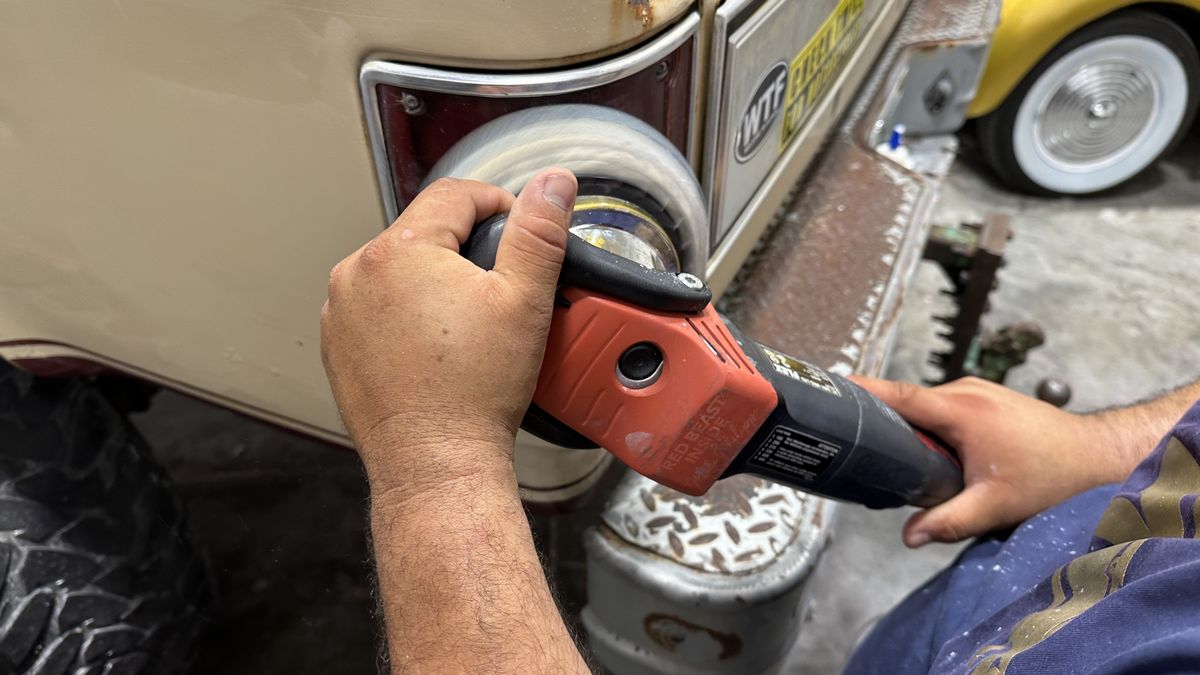
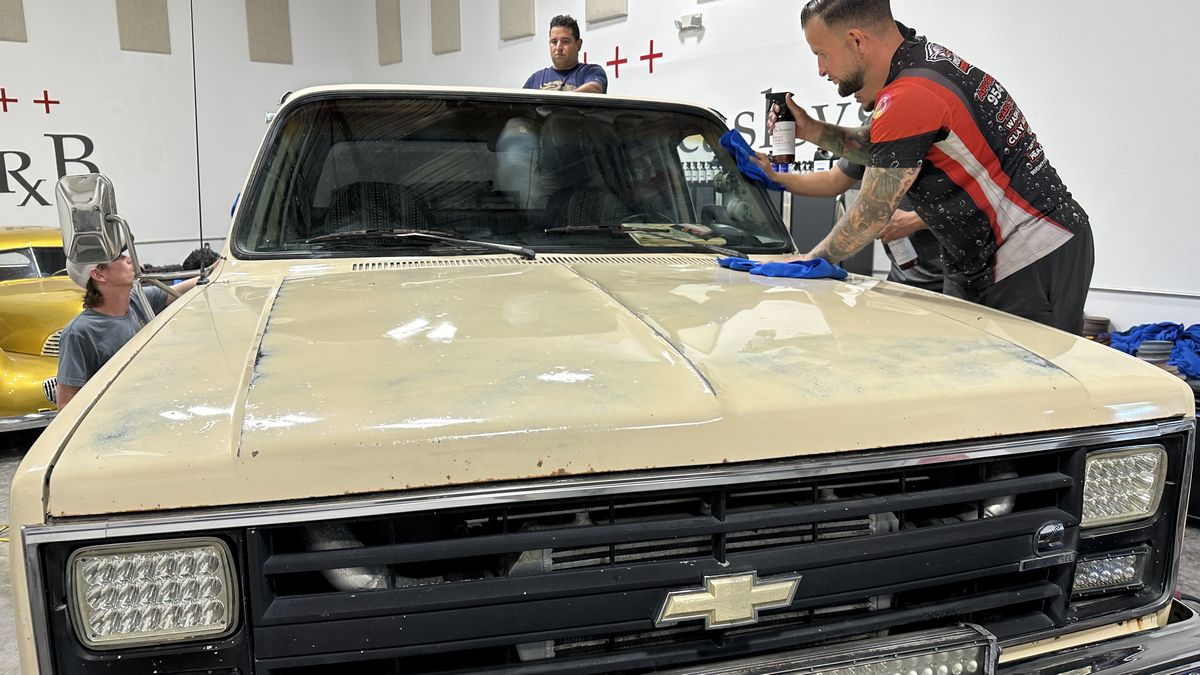
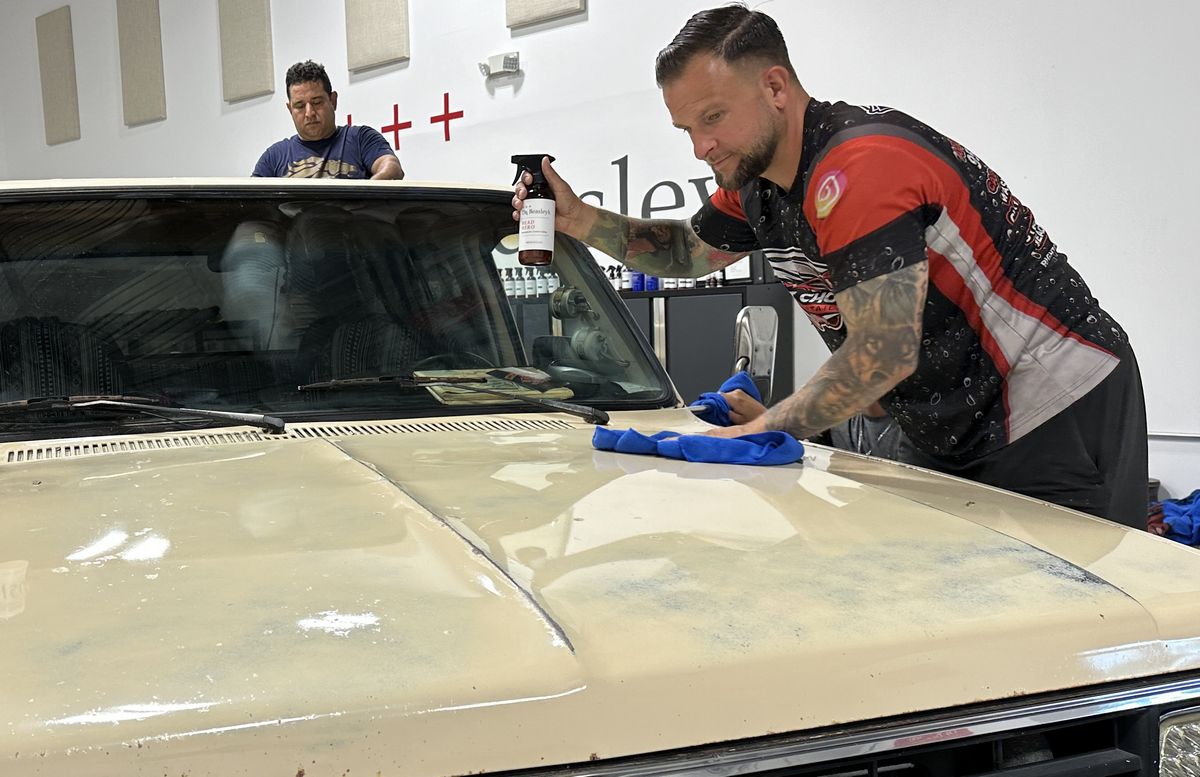
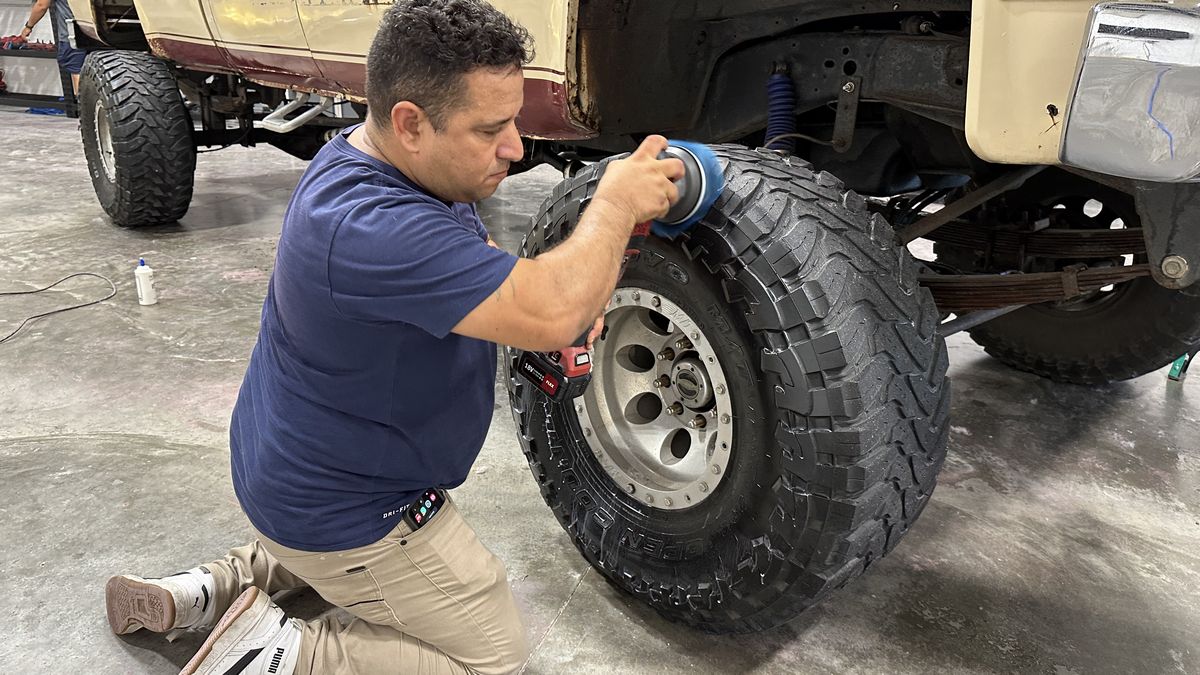
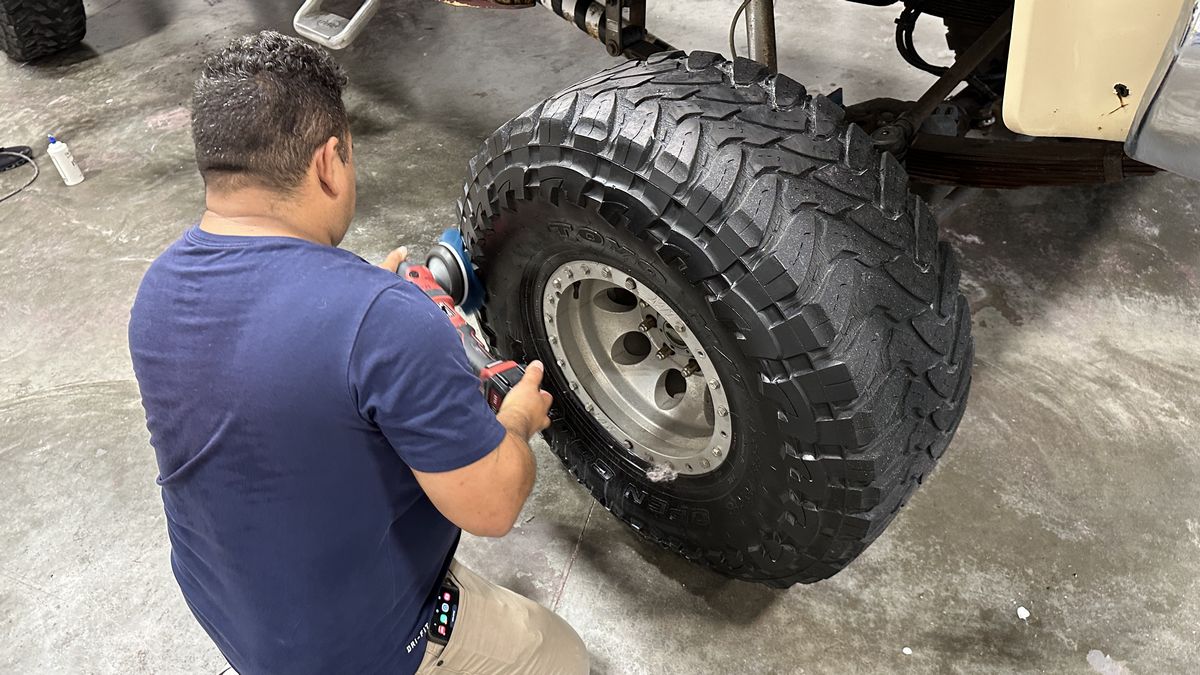
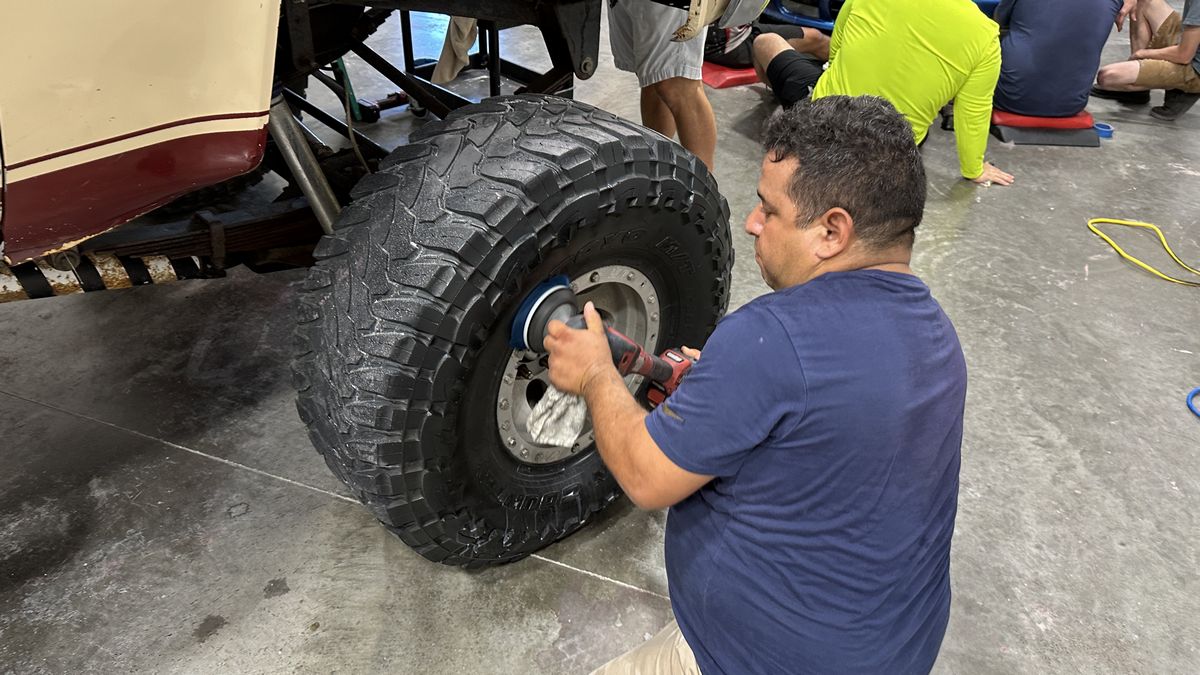
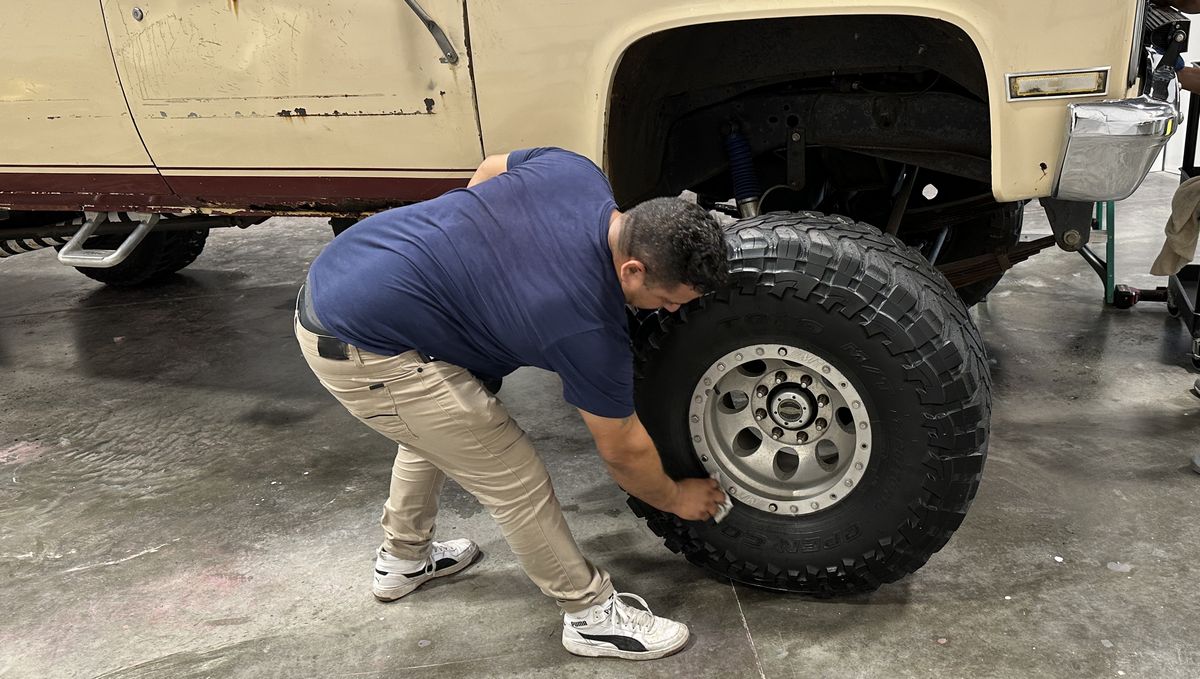
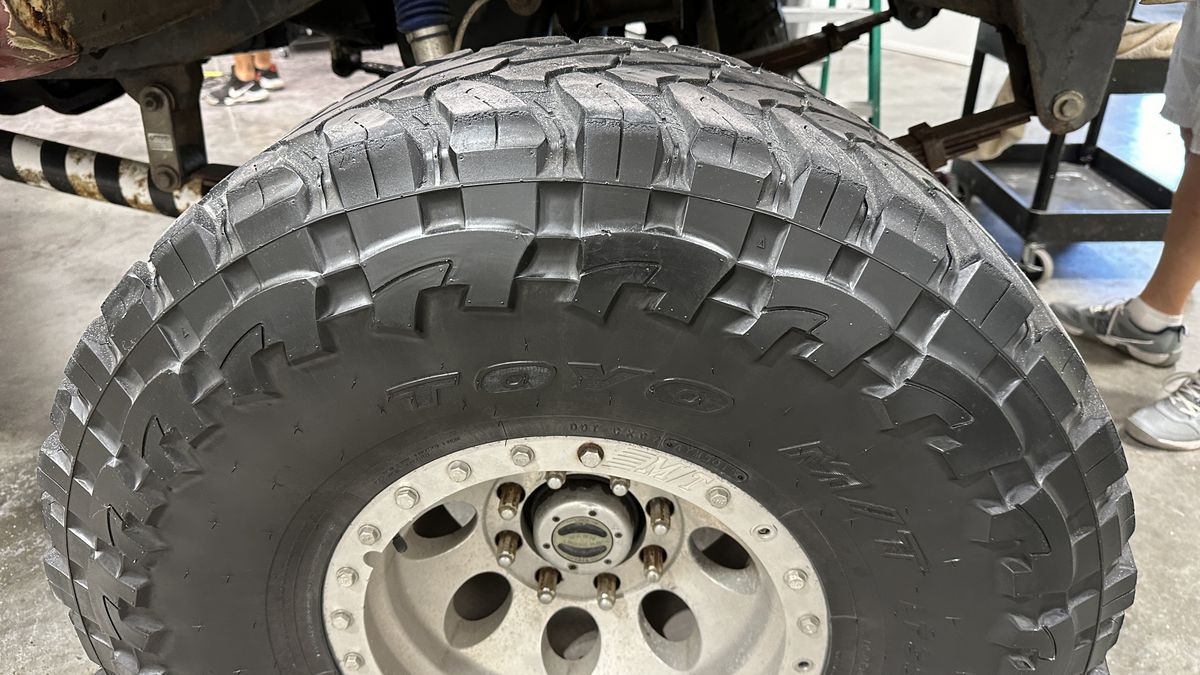
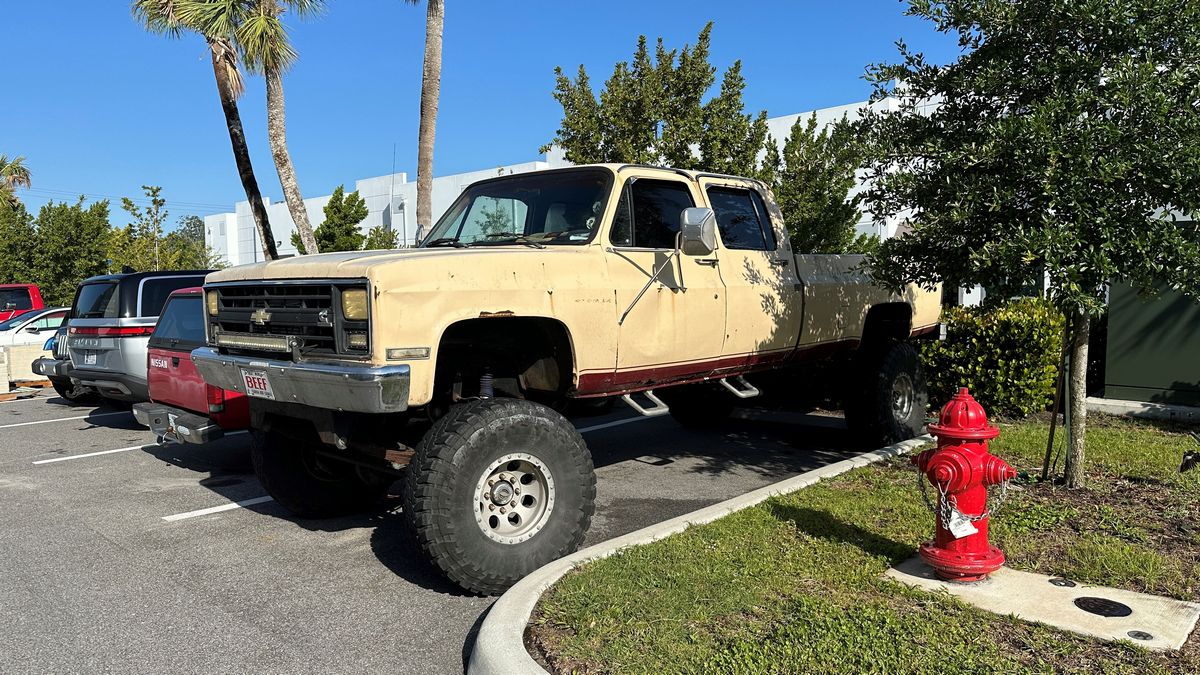
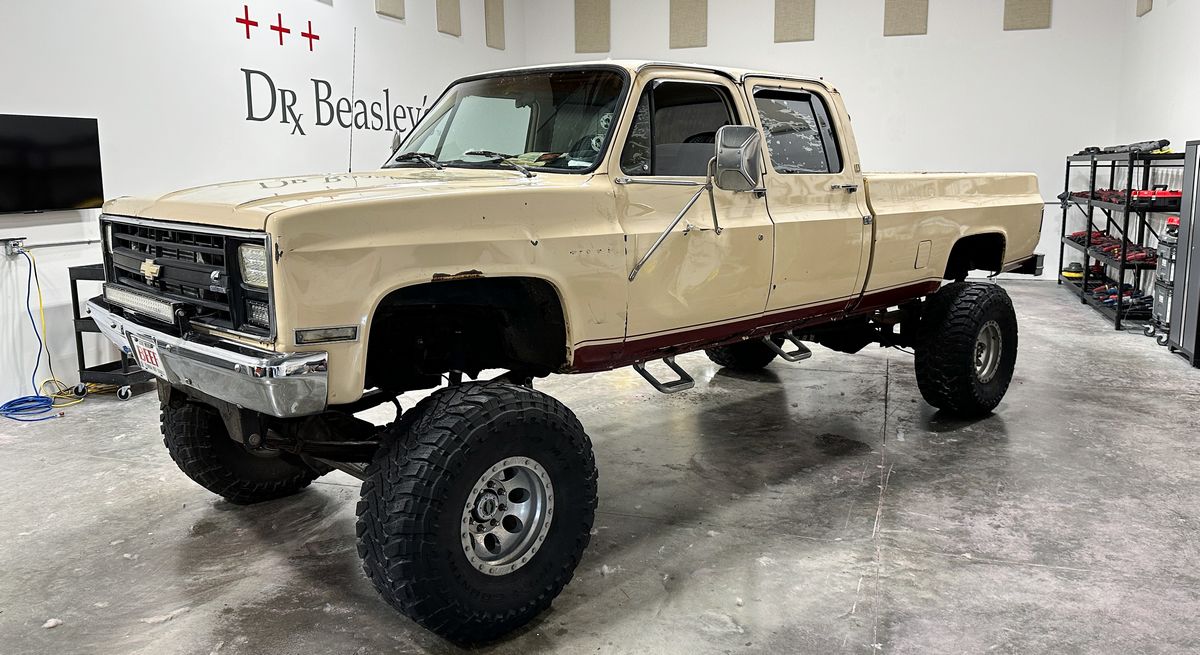
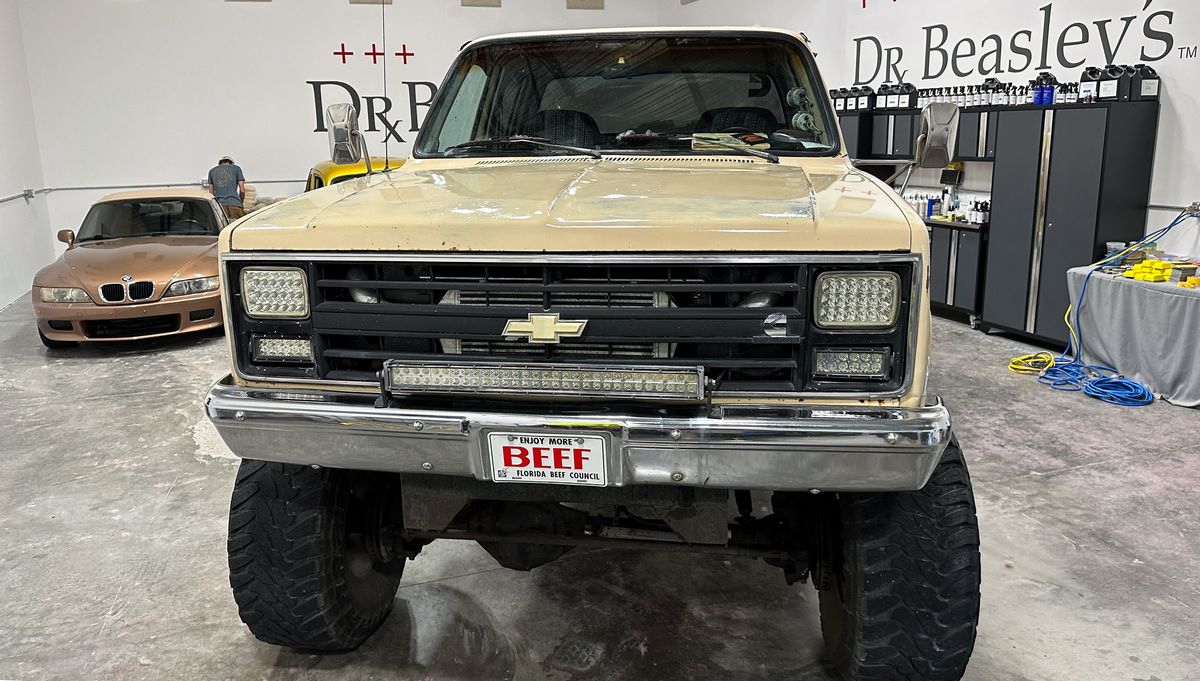
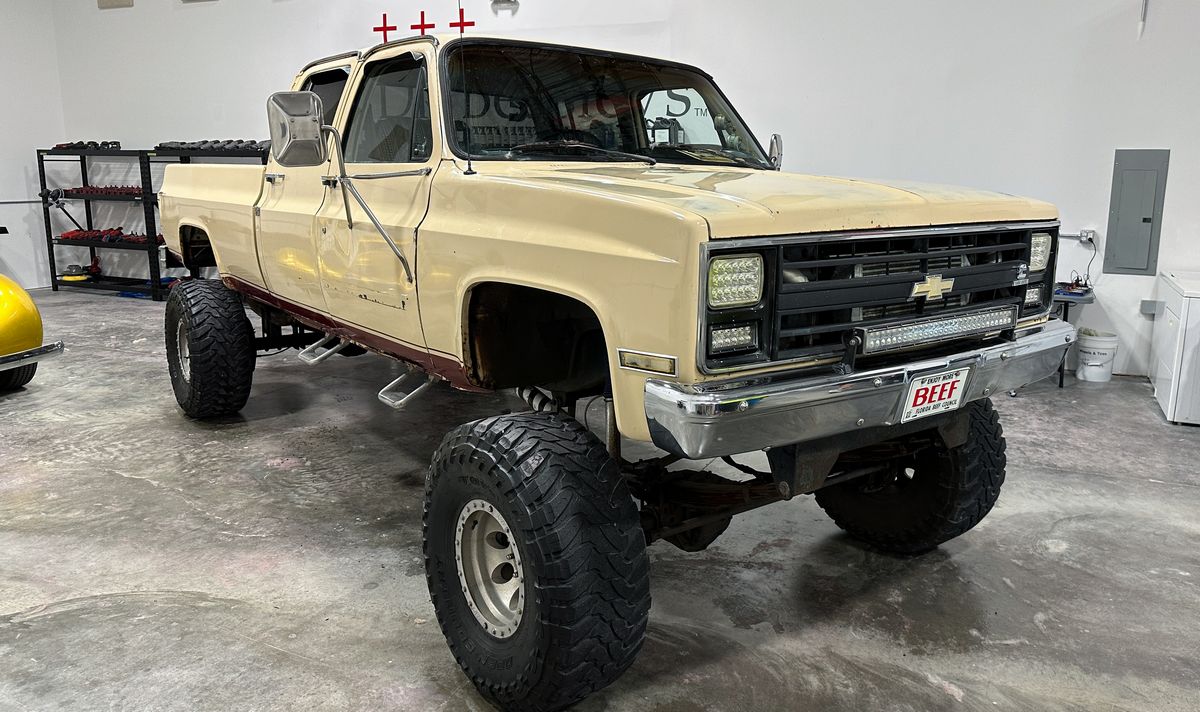
1988 Chevy Crew Cab Monster Truck - Two step paint correction and ceramic coated.
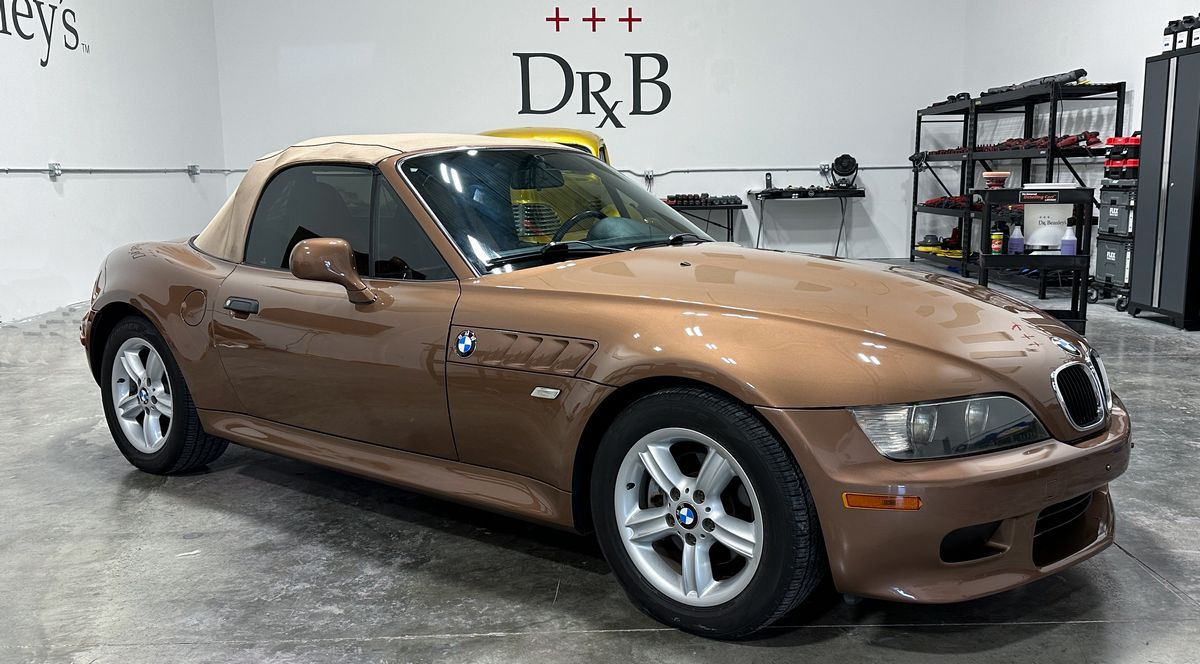
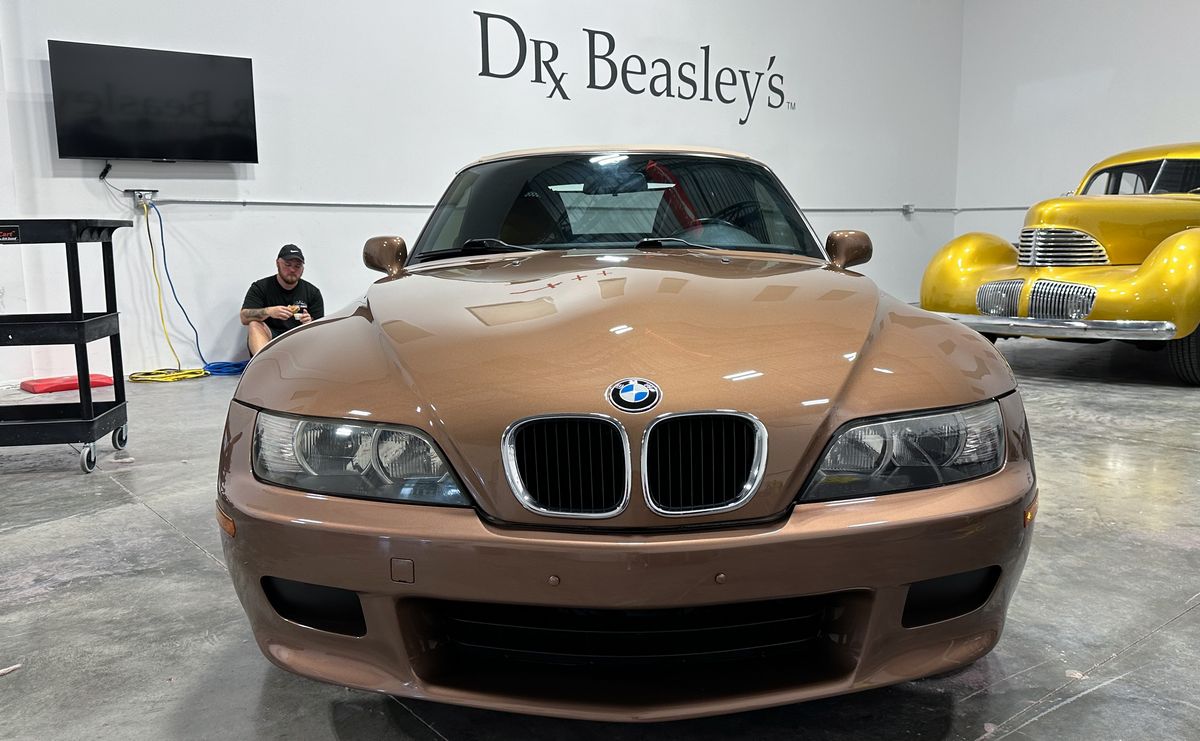
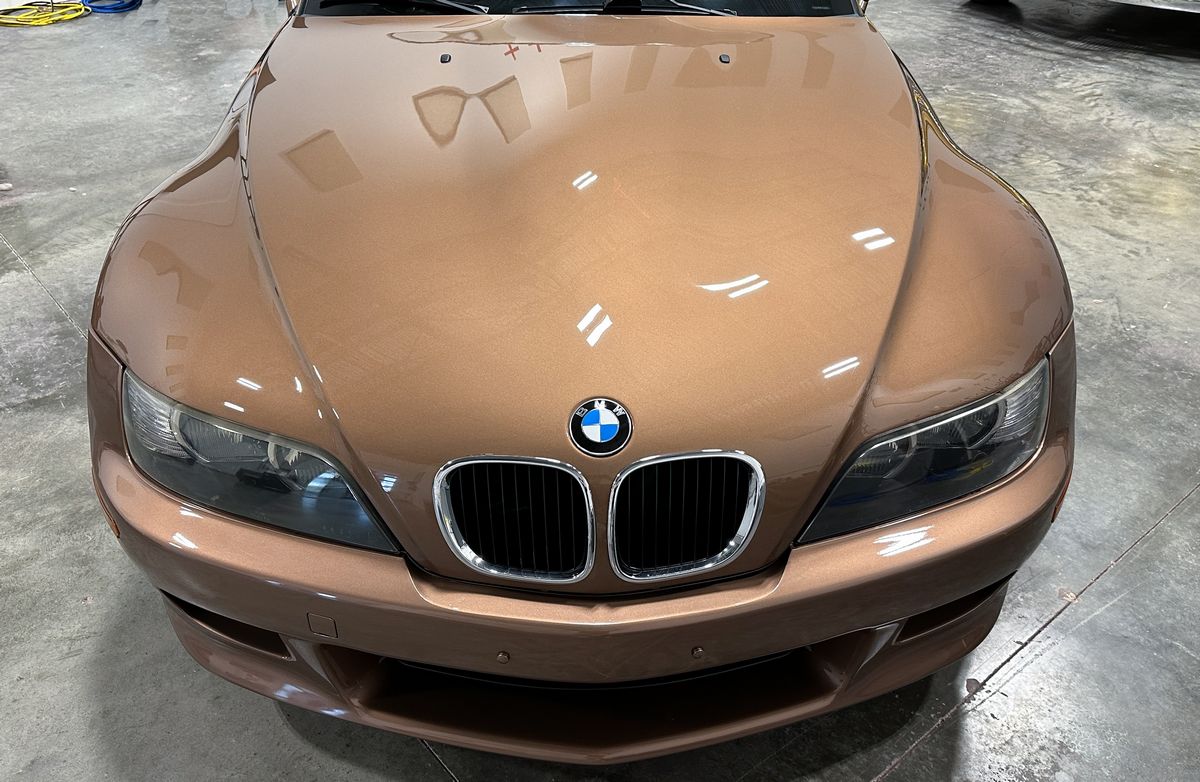
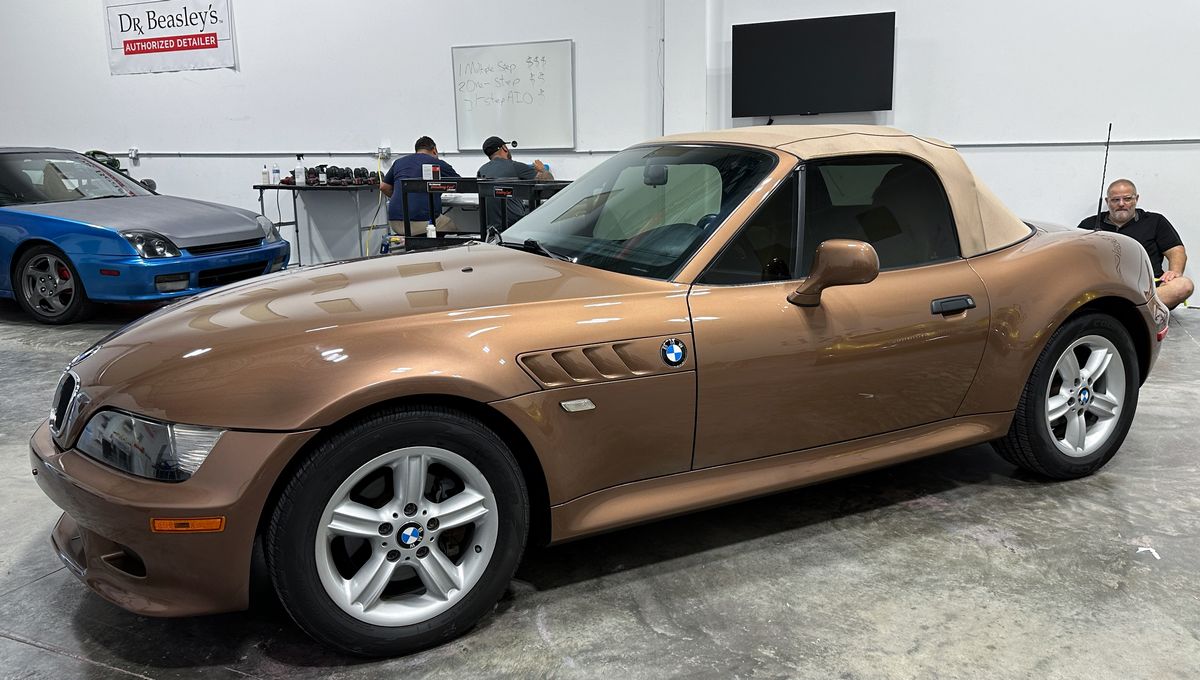
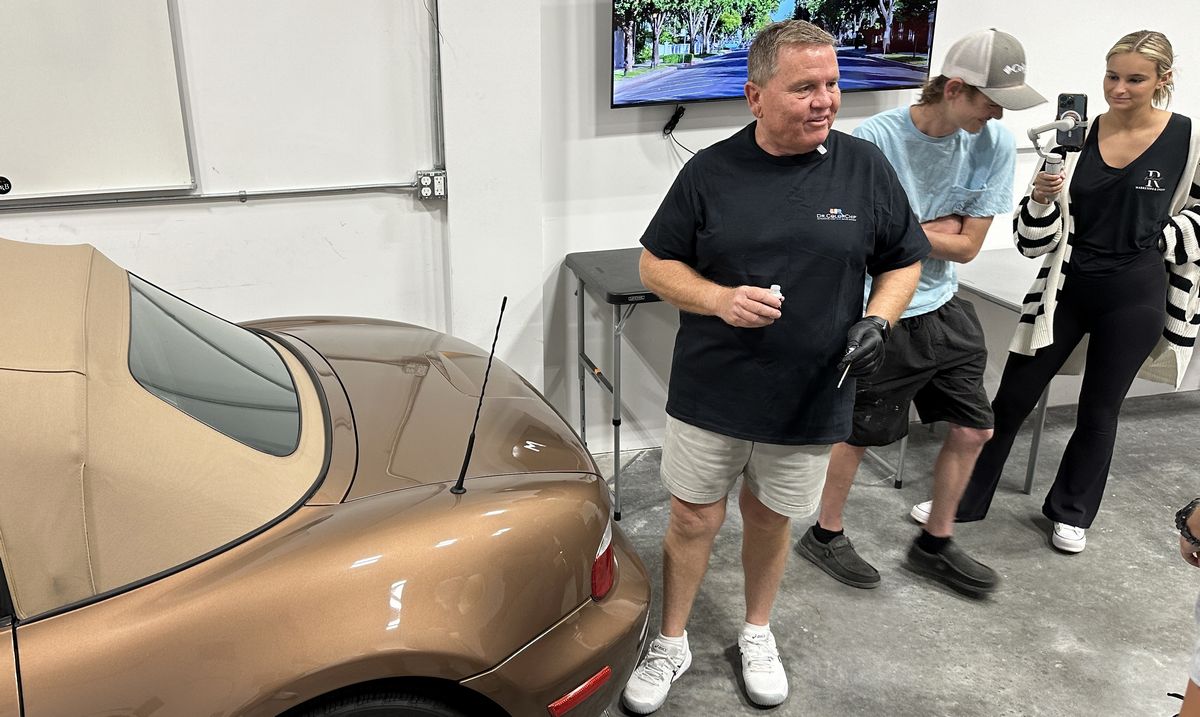
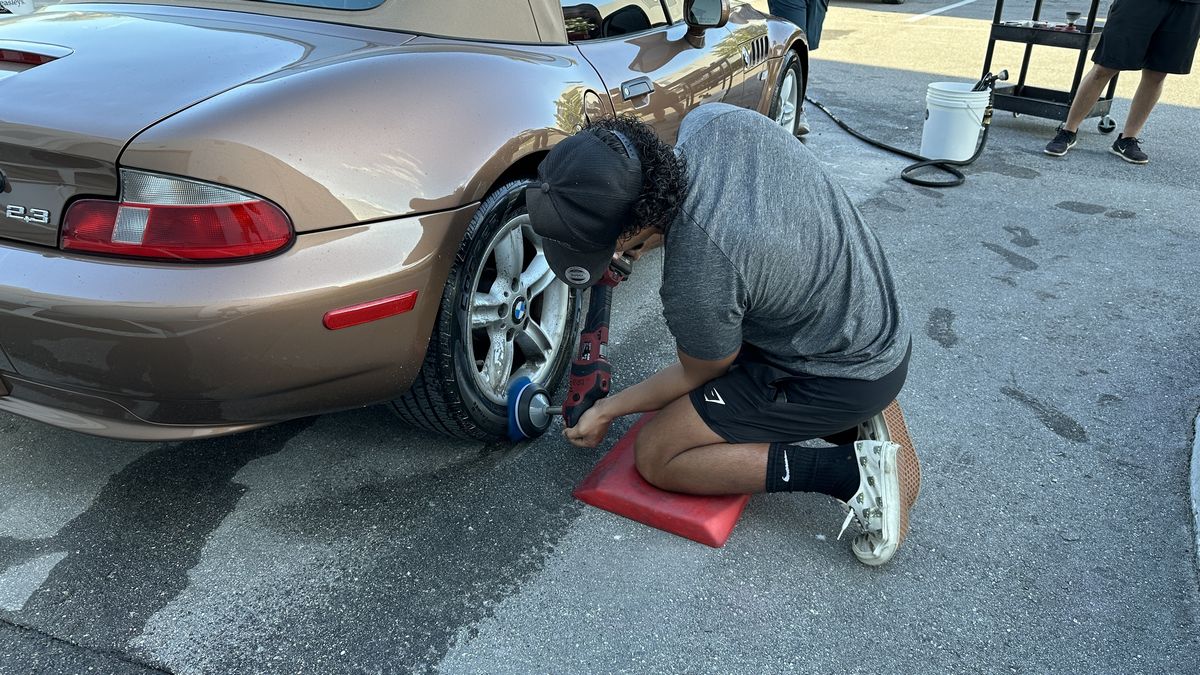
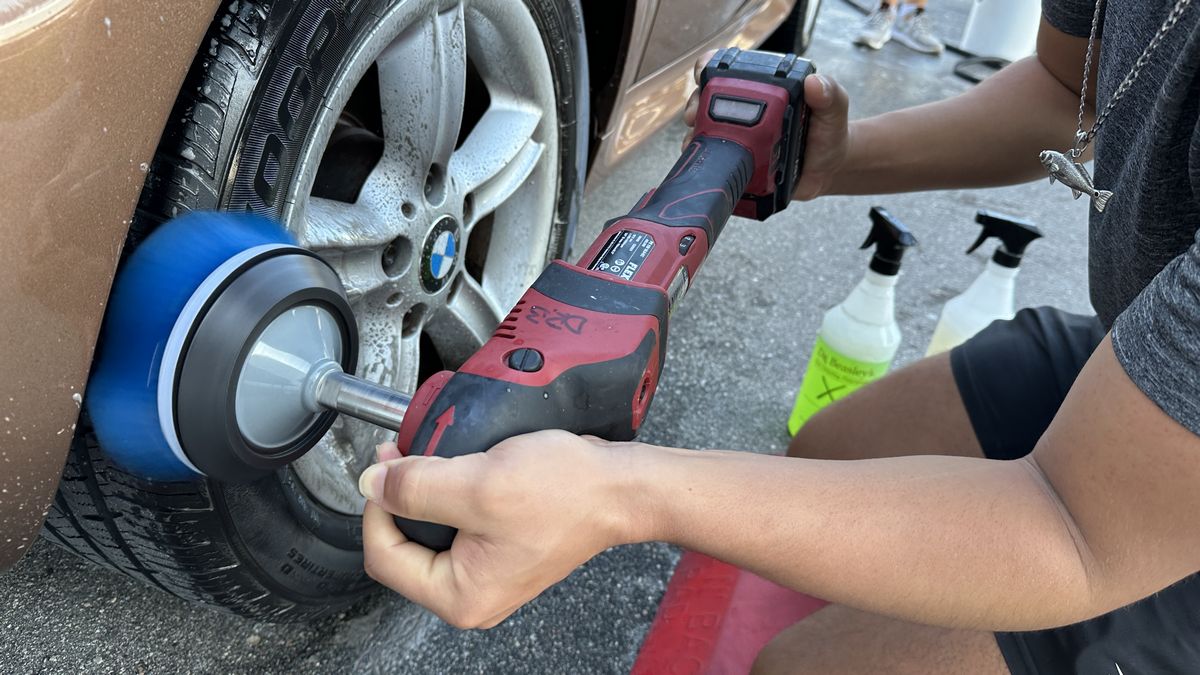
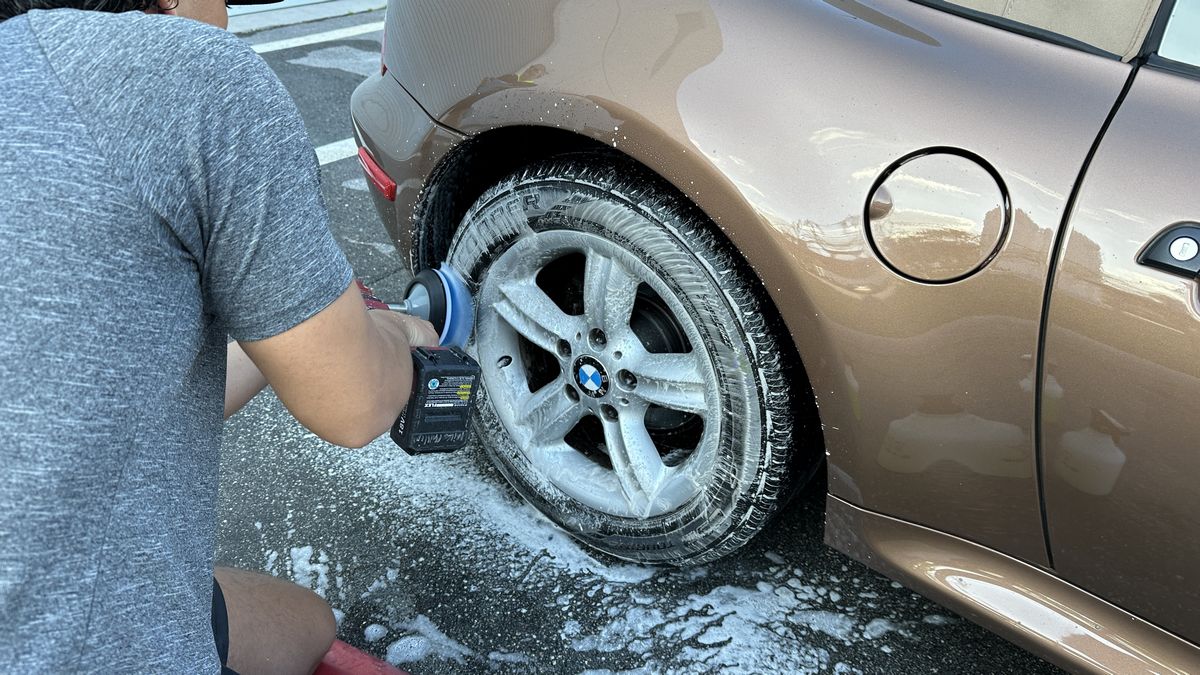
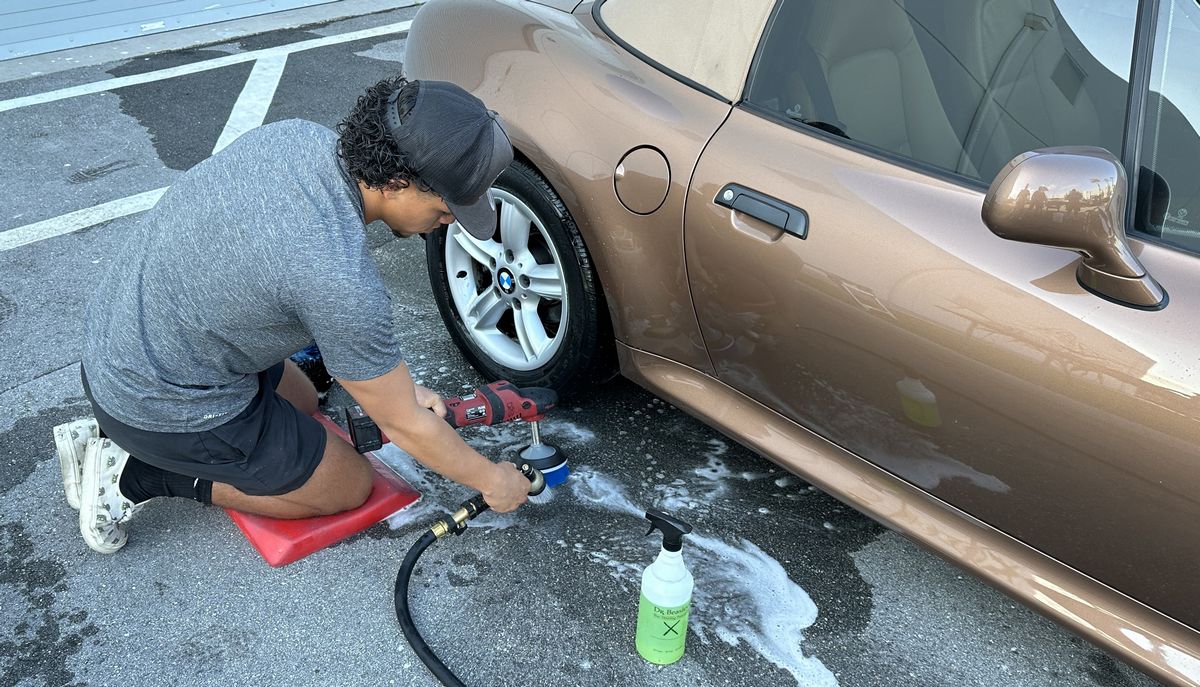
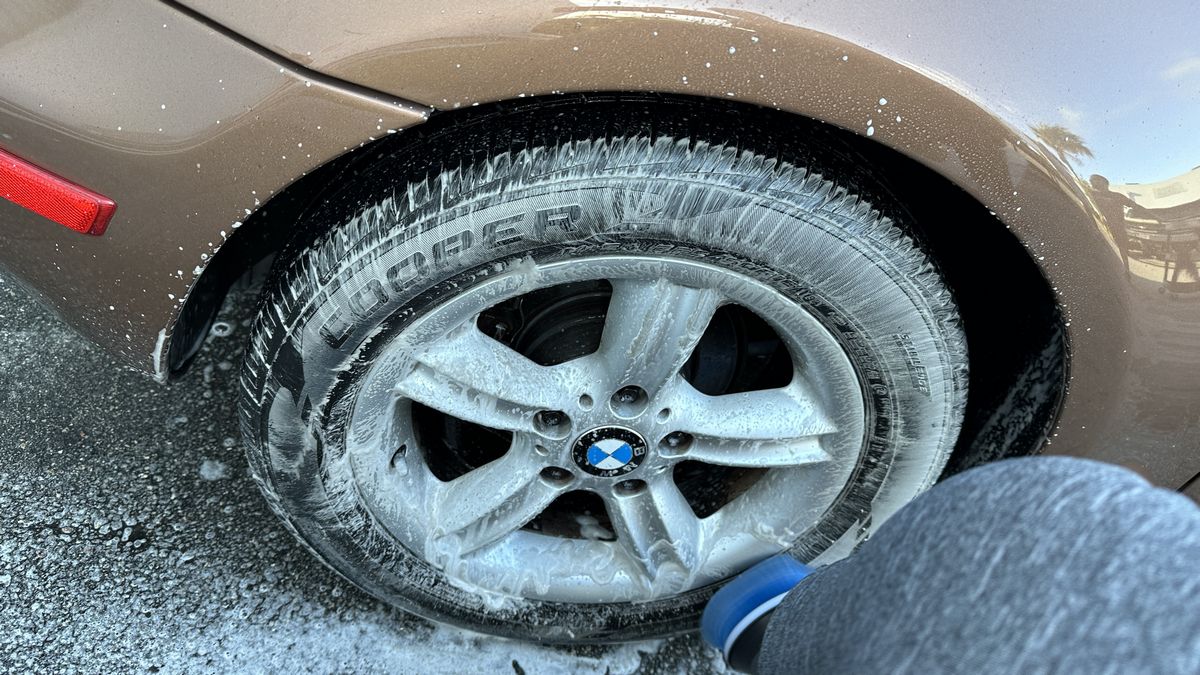
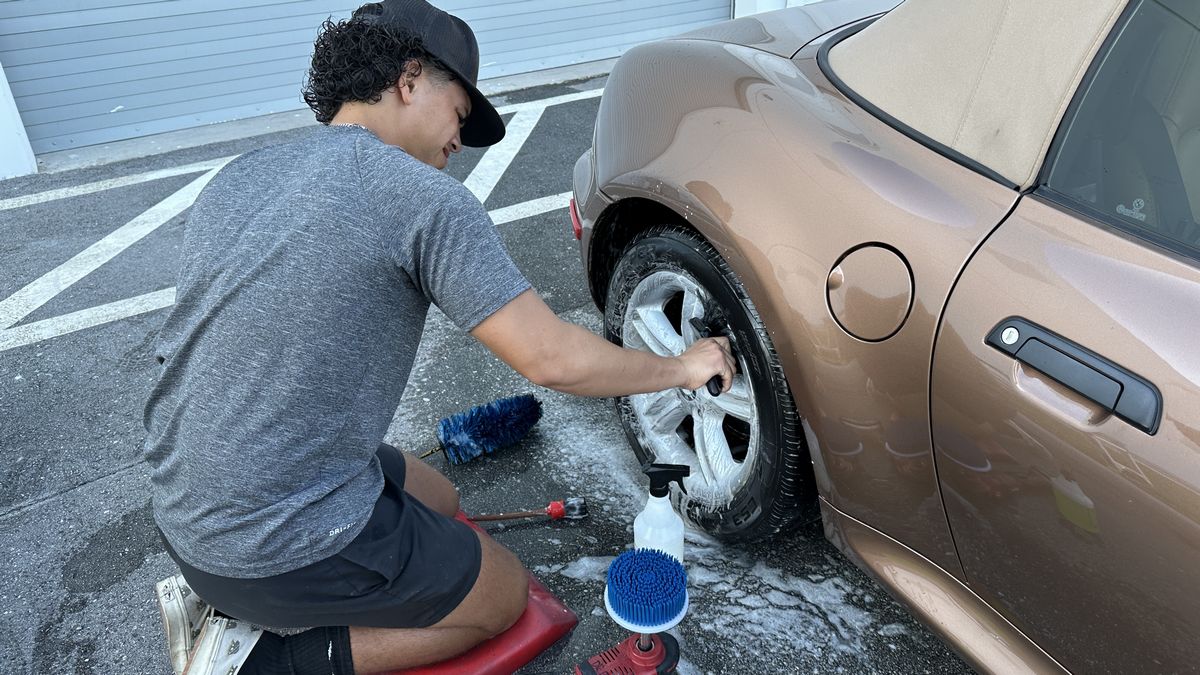
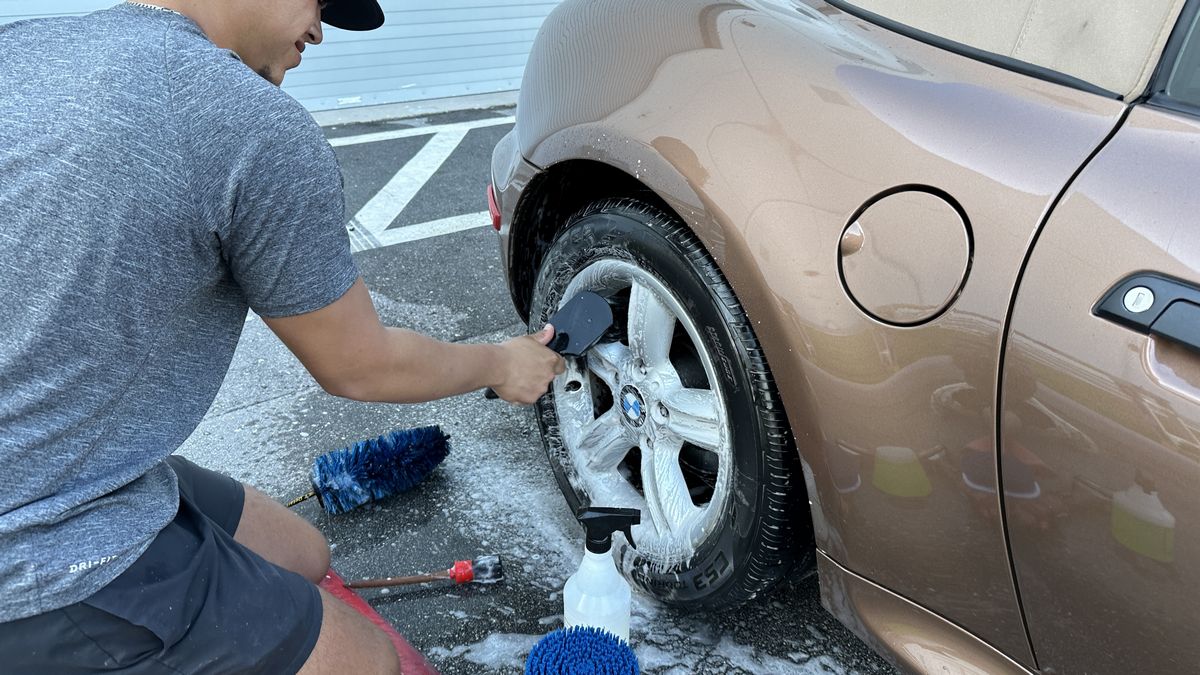
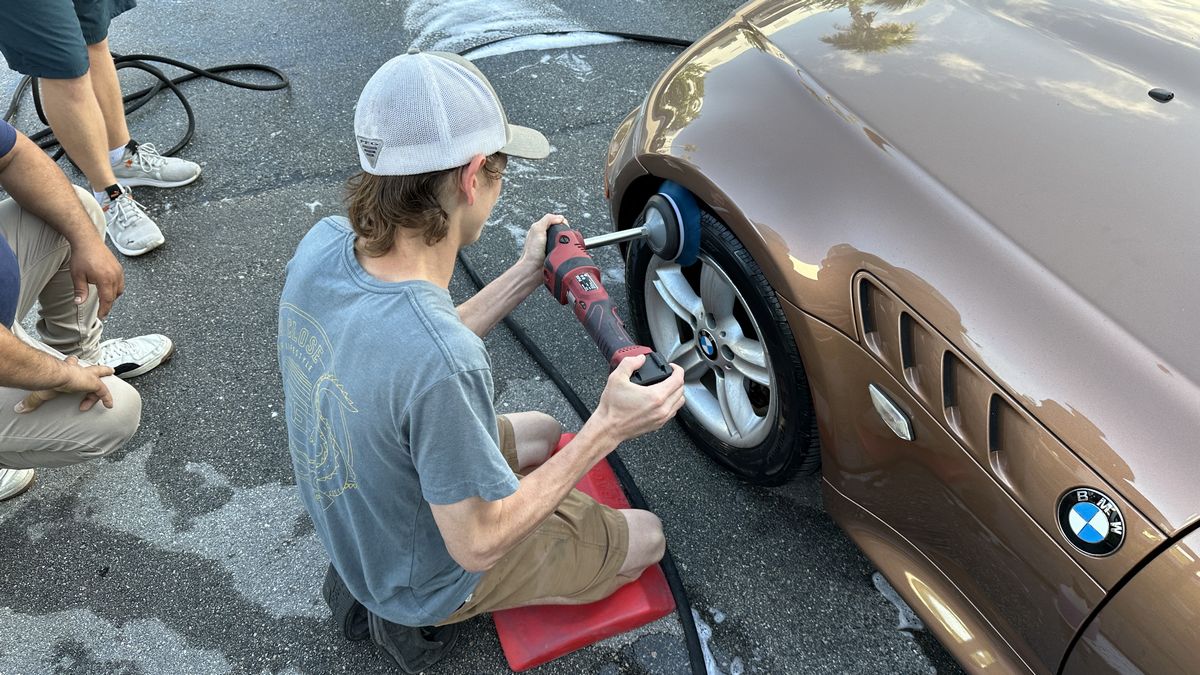
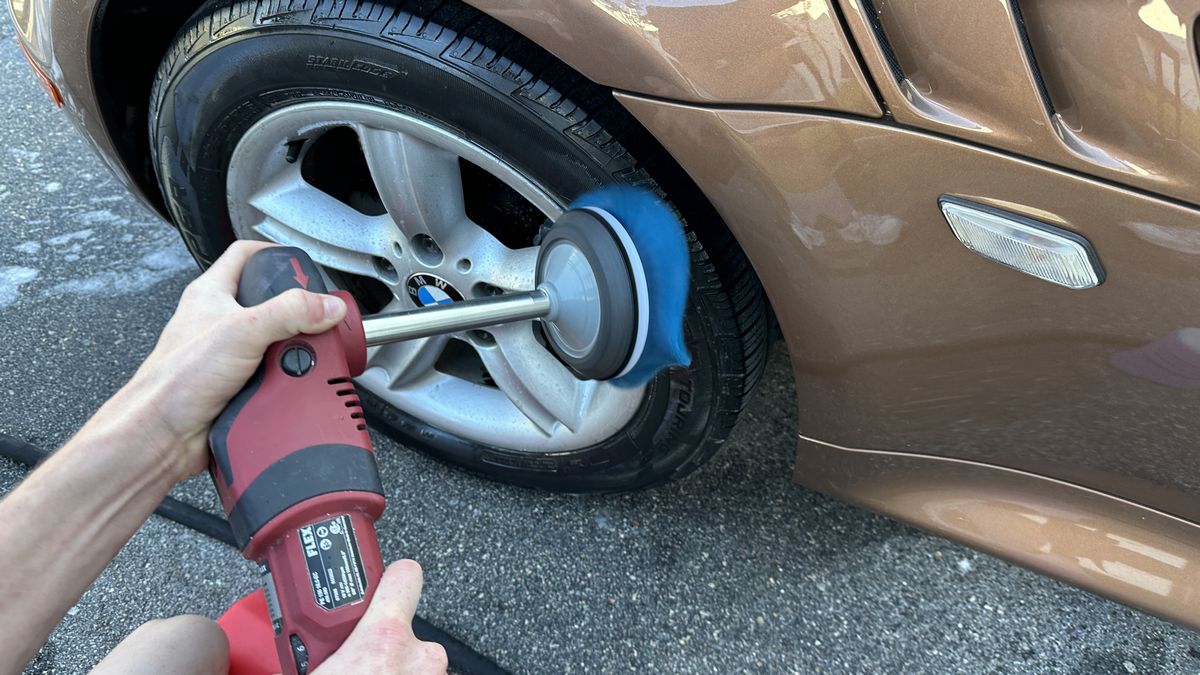
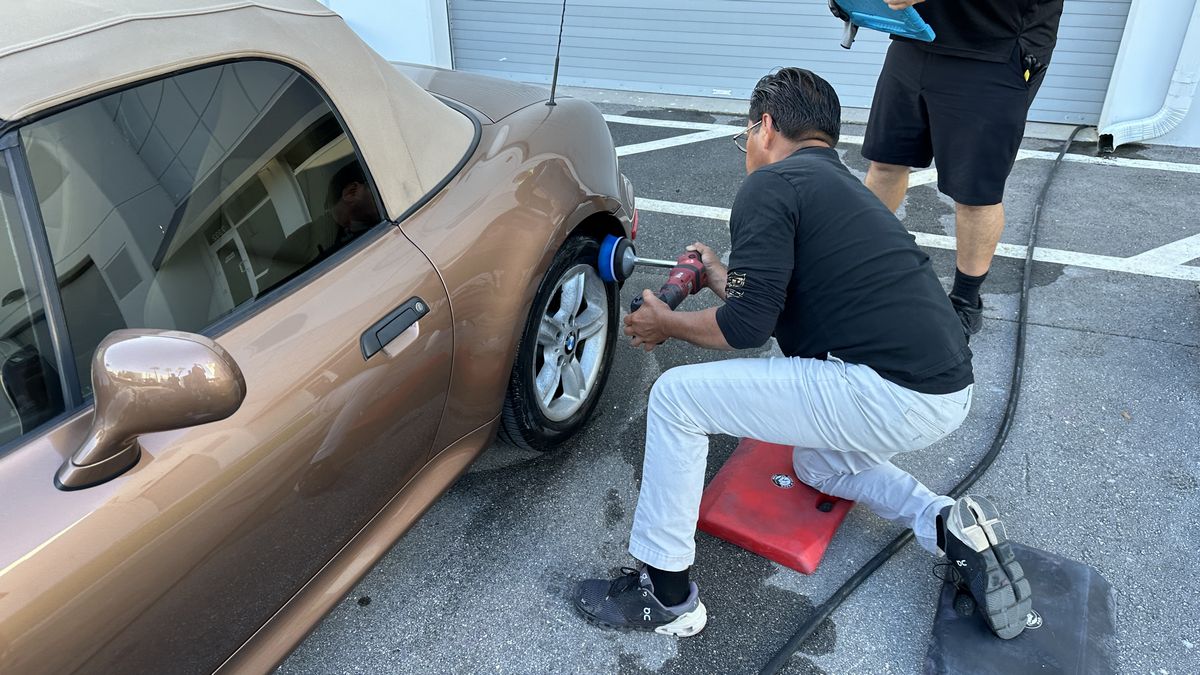
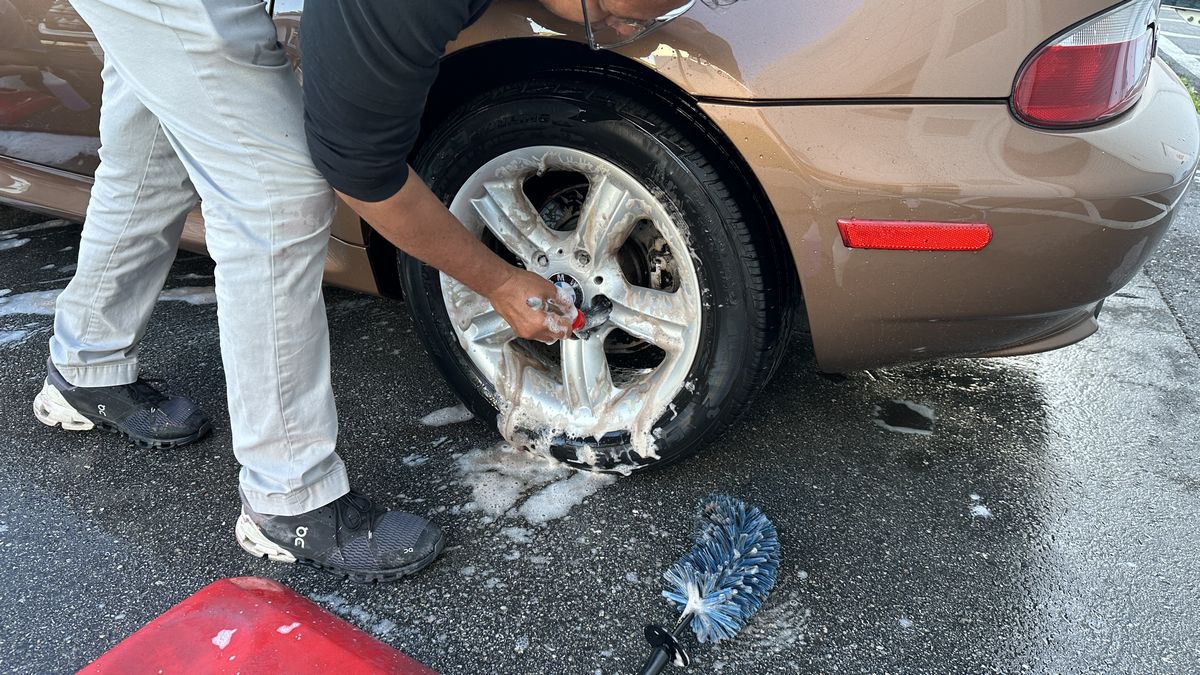
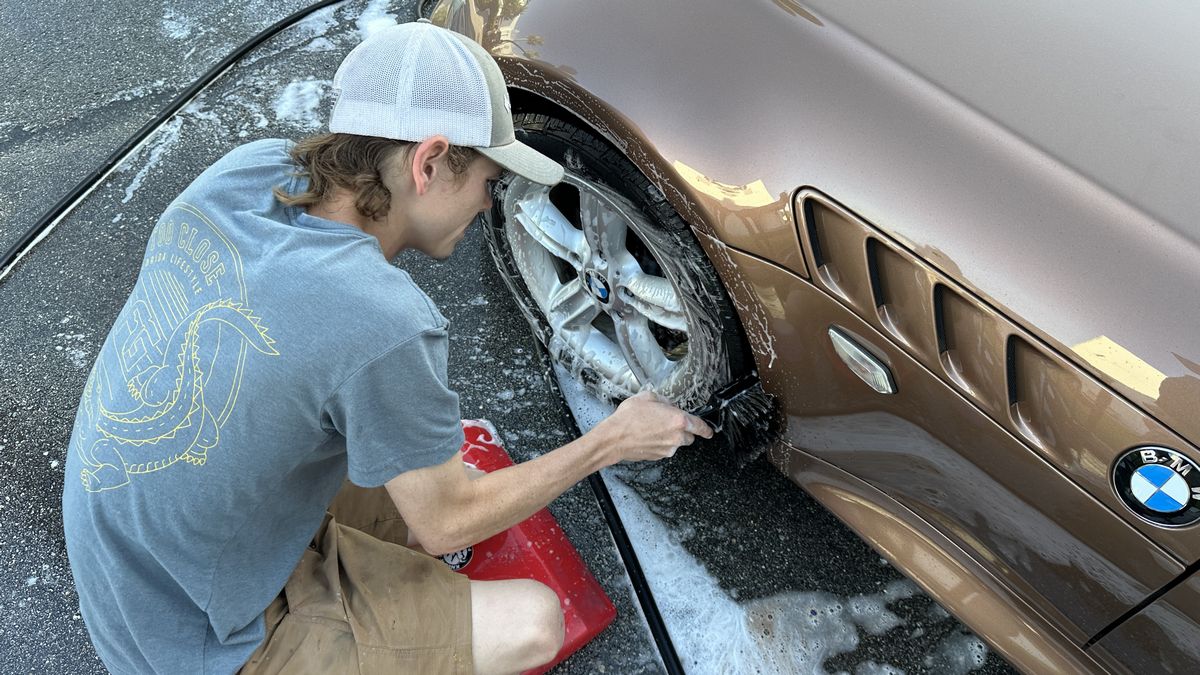
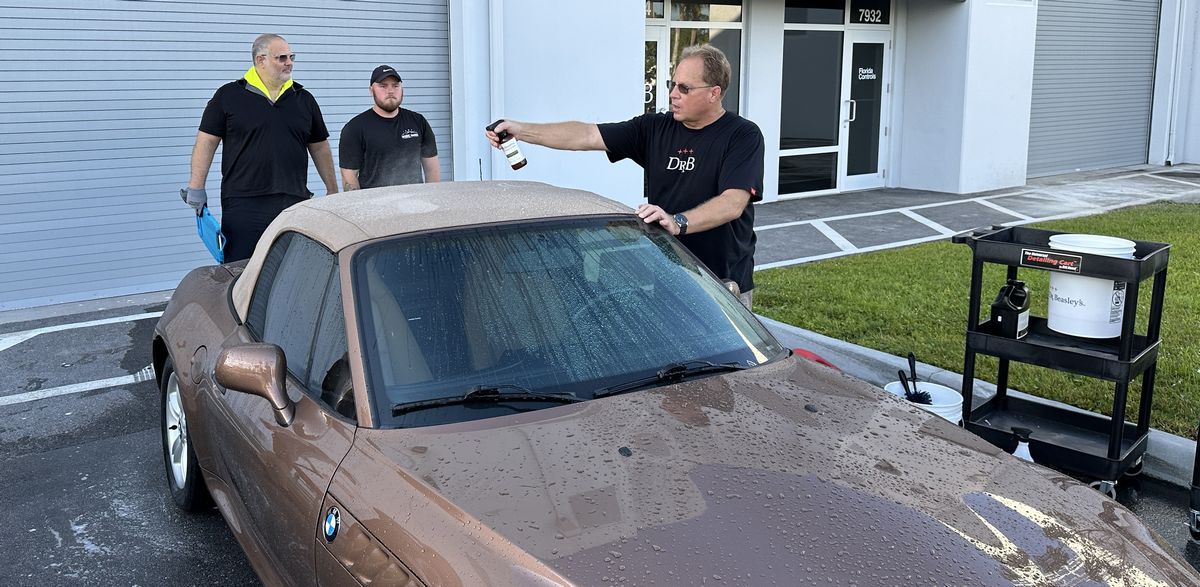
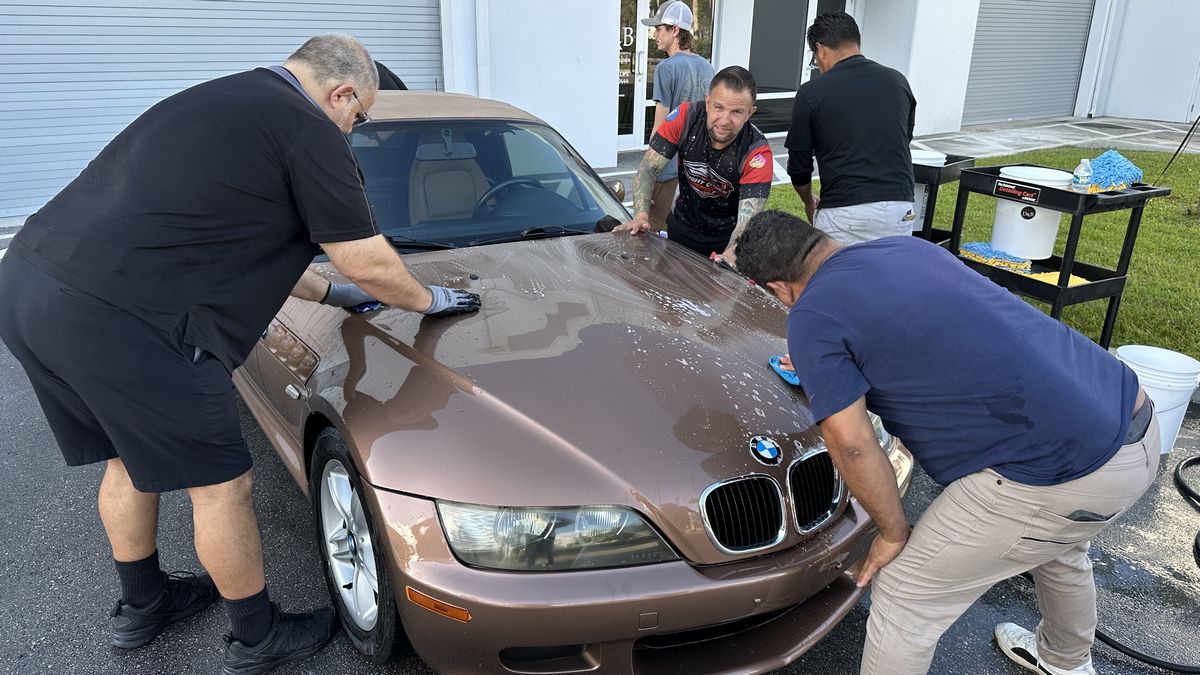
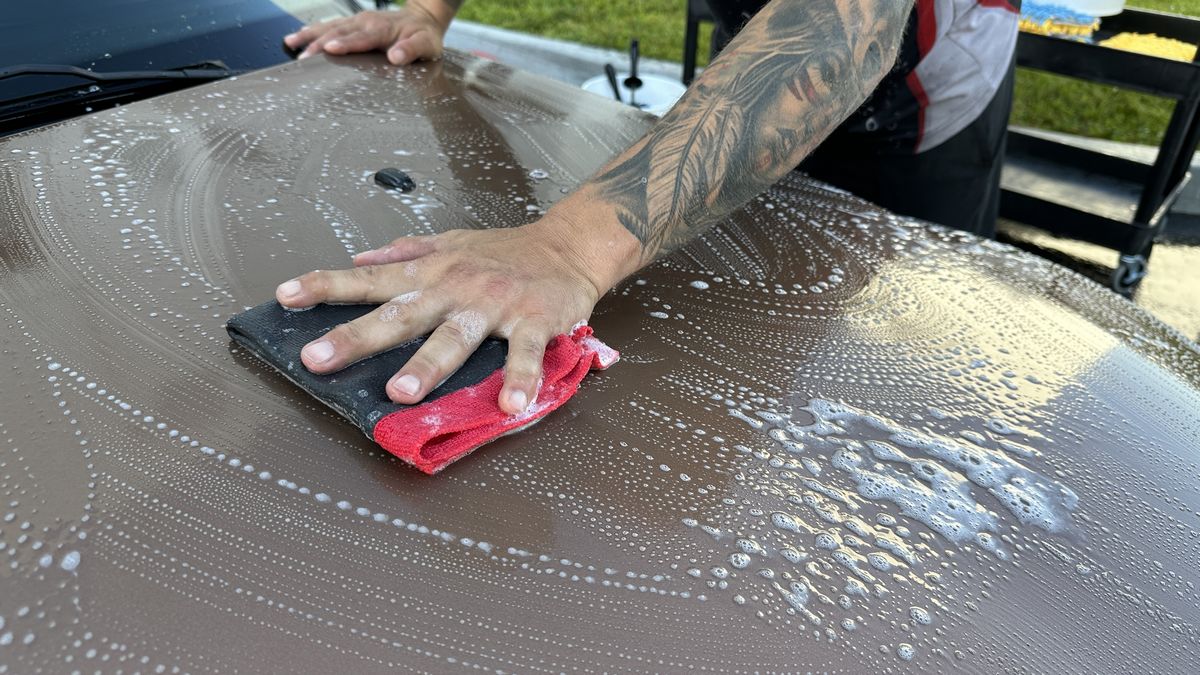
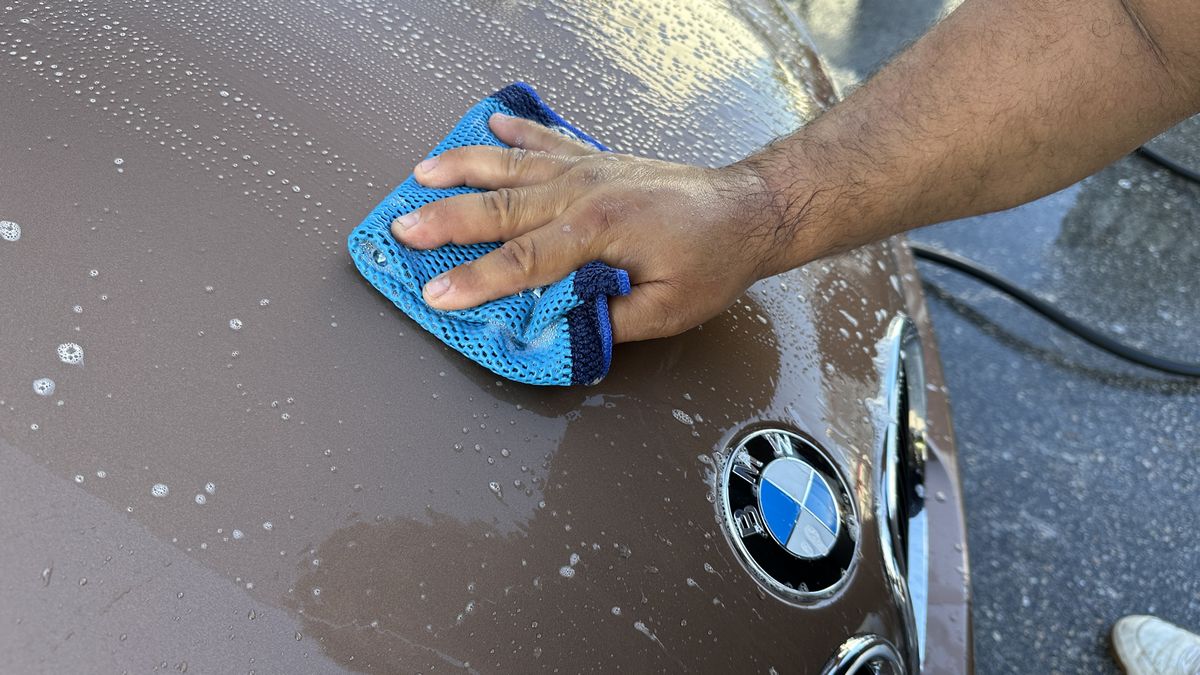
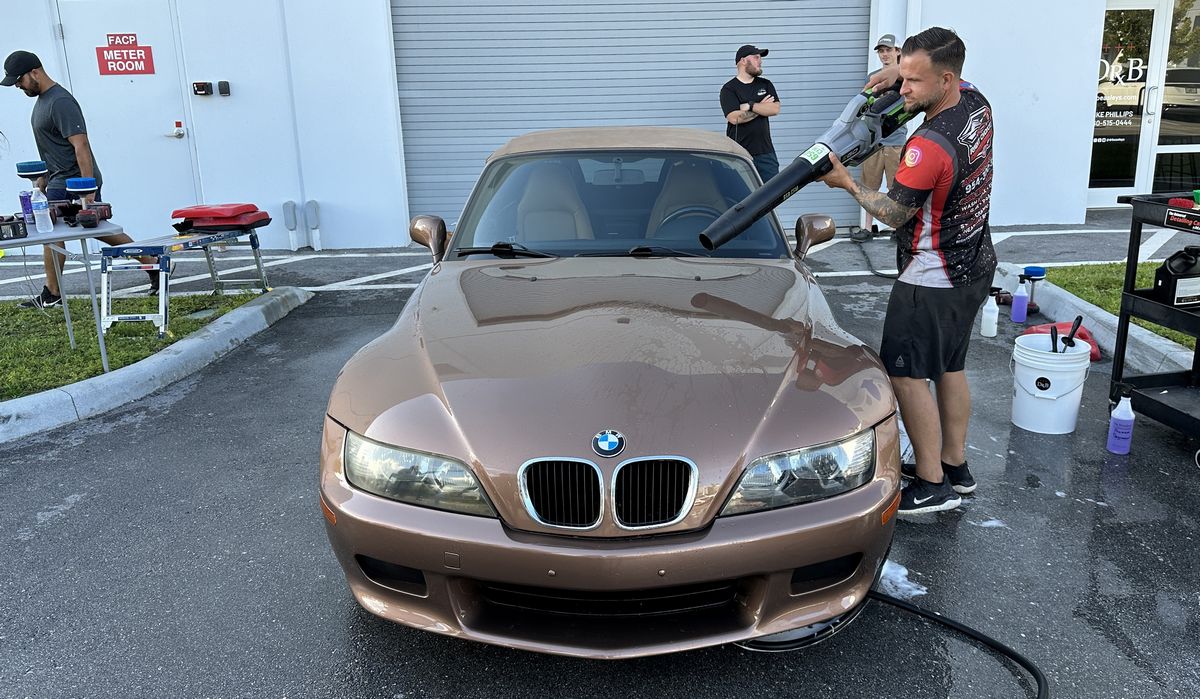
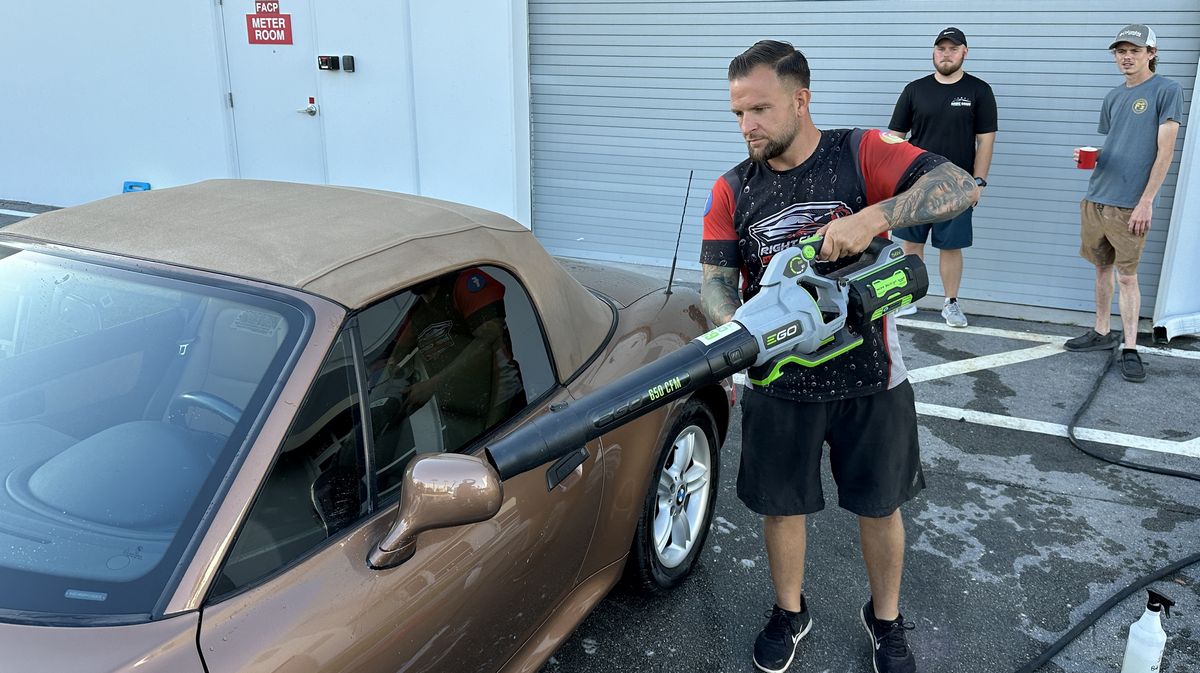
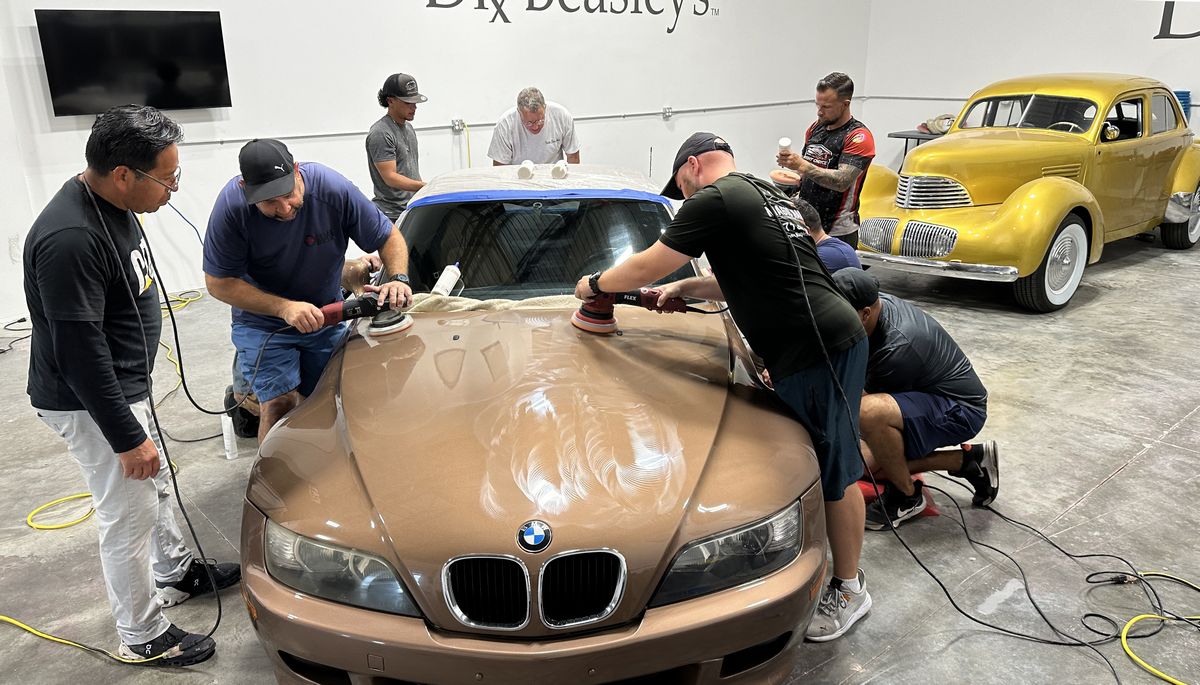
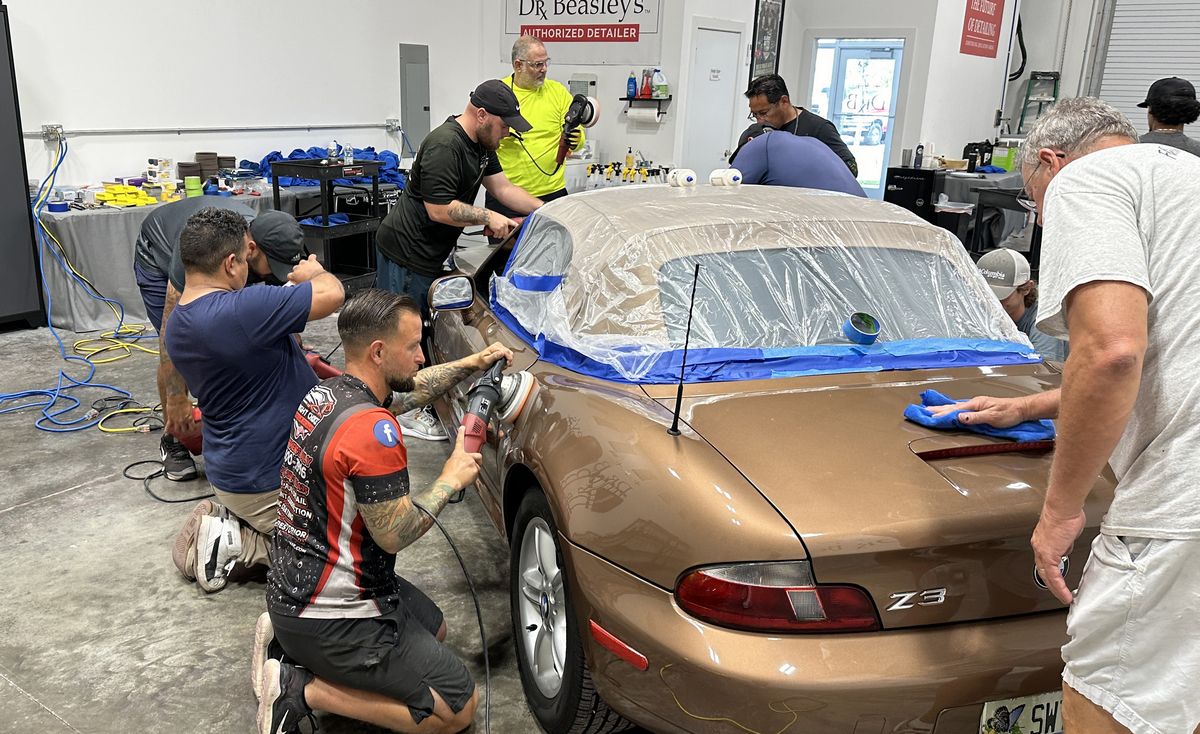
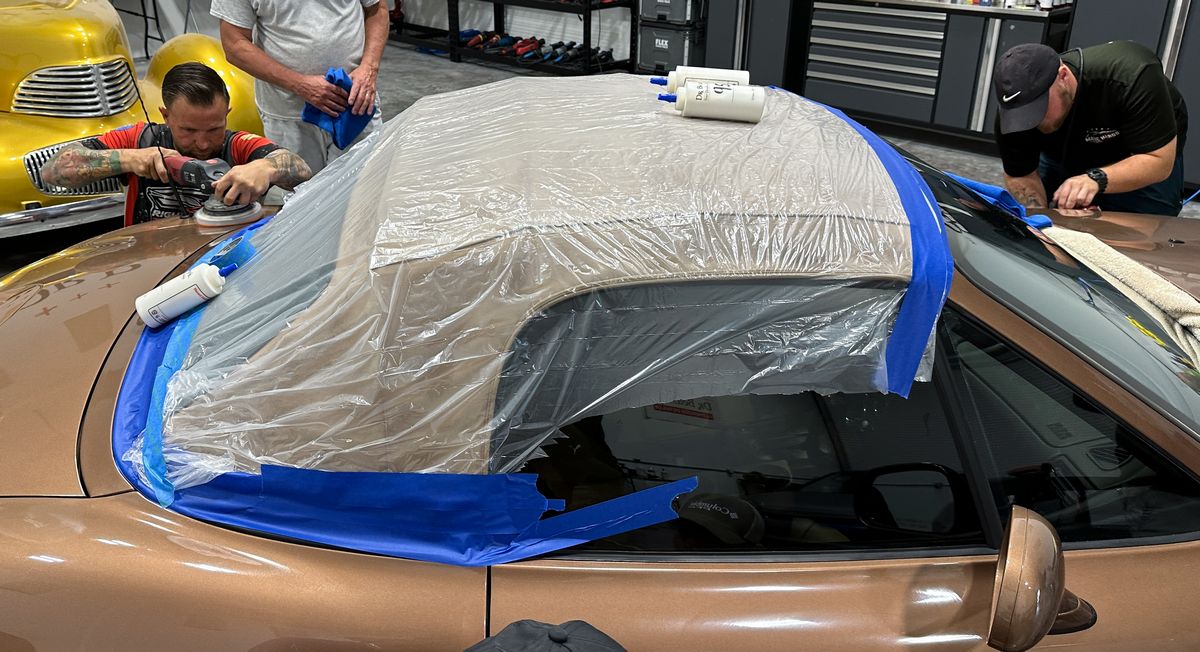
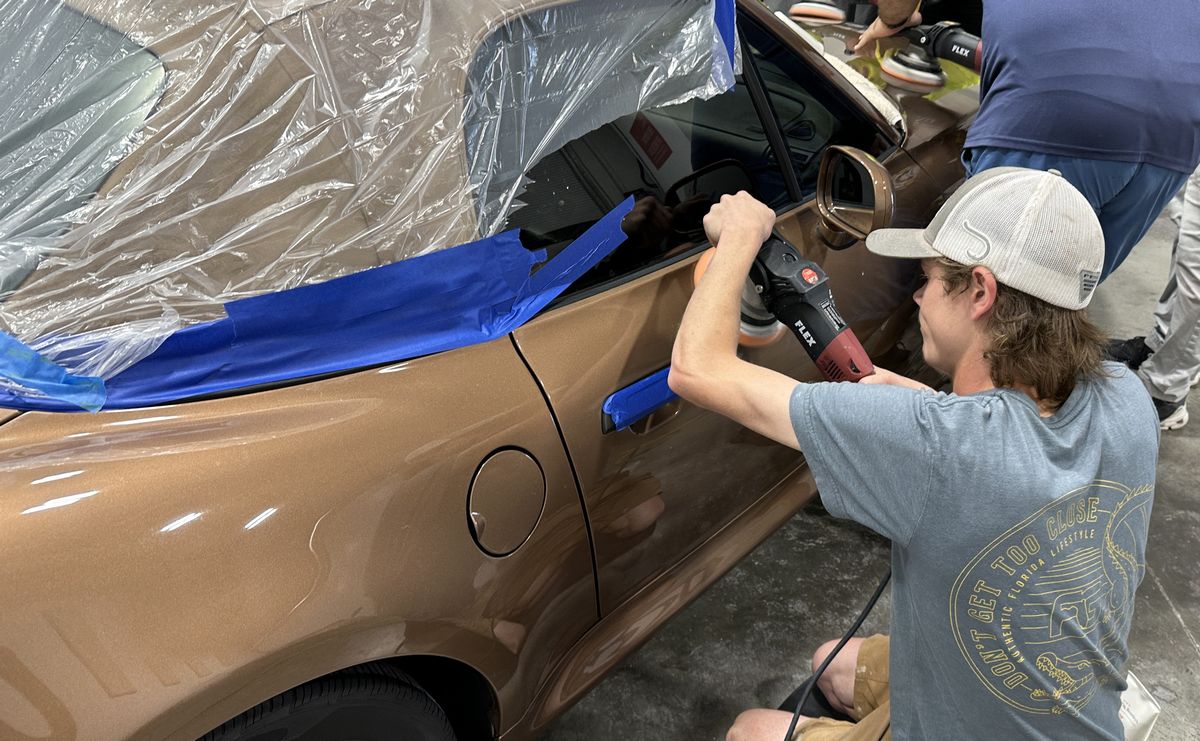
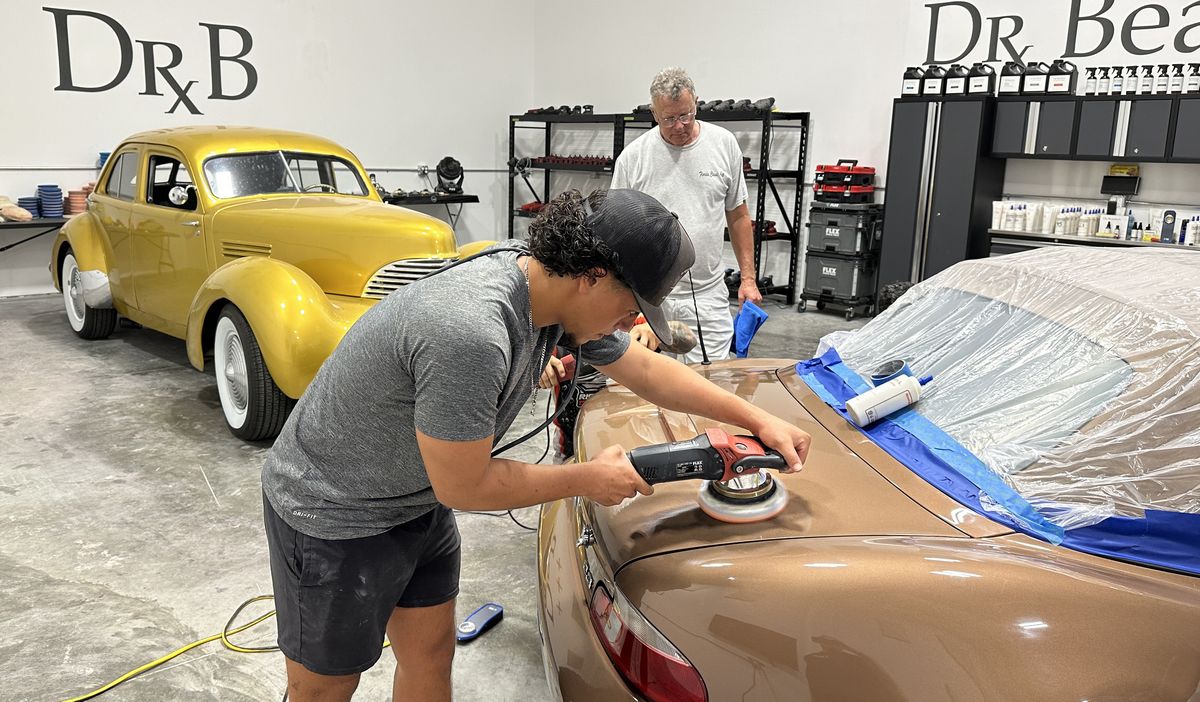
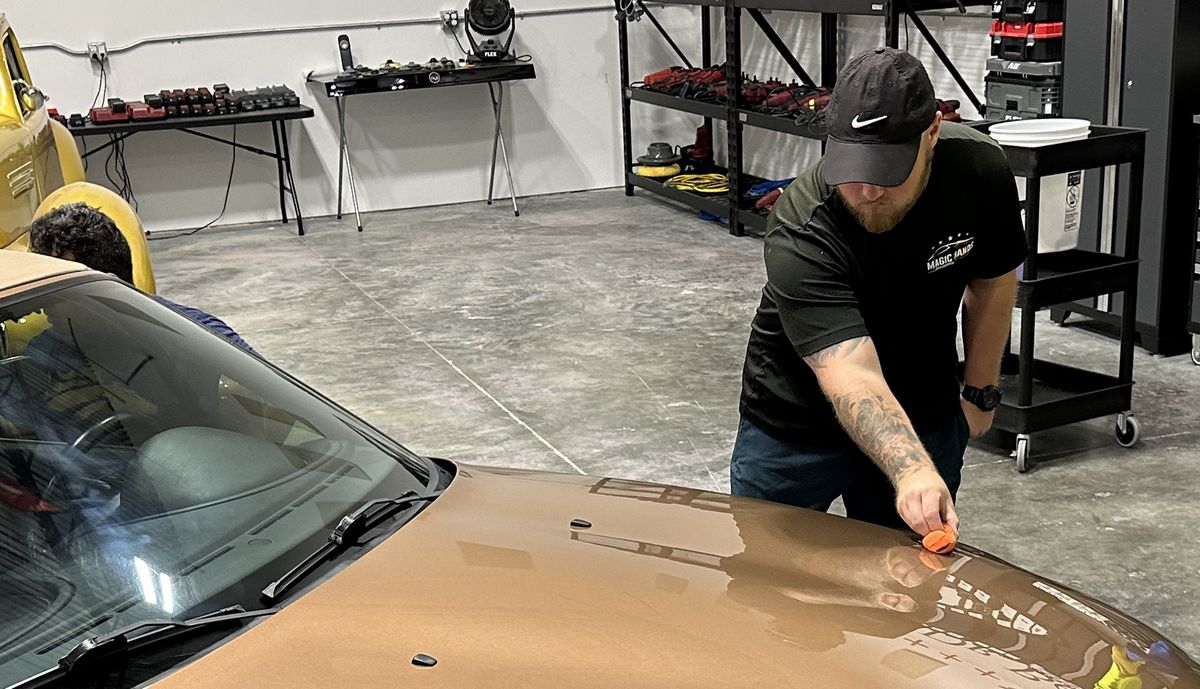
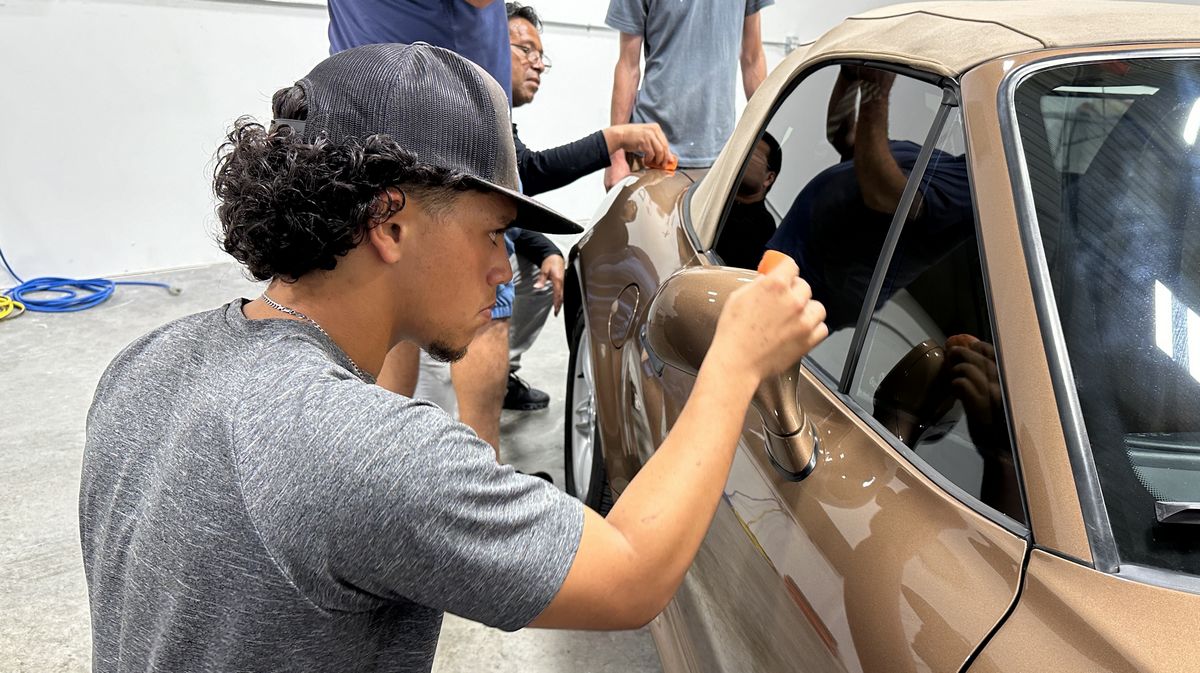
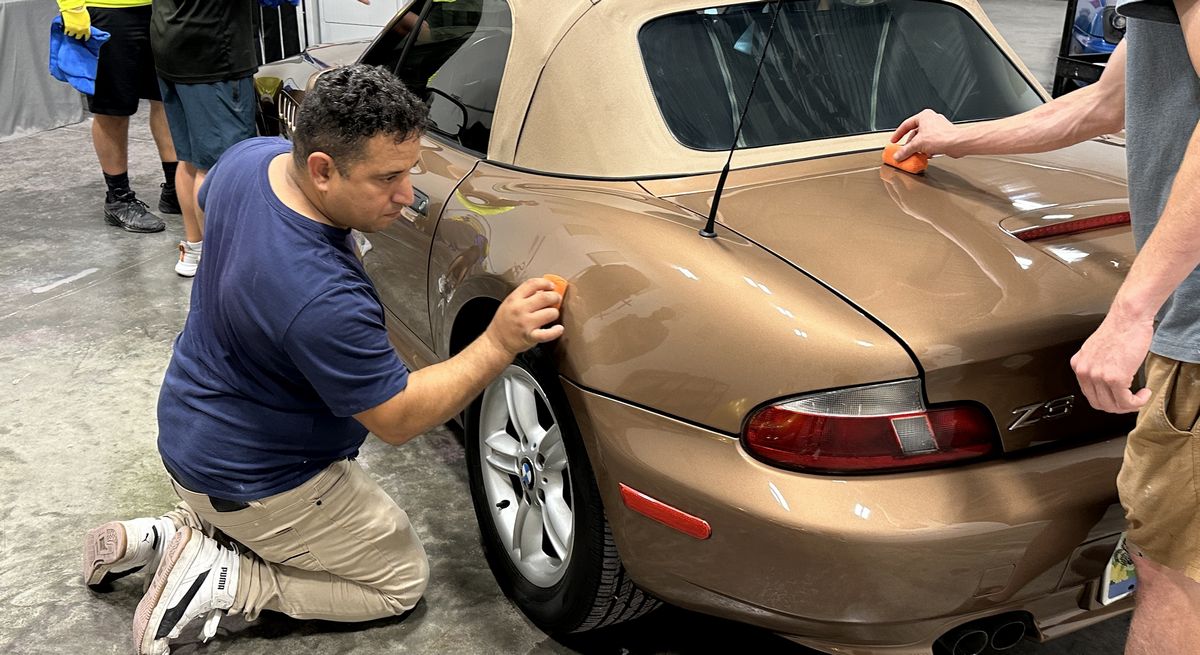
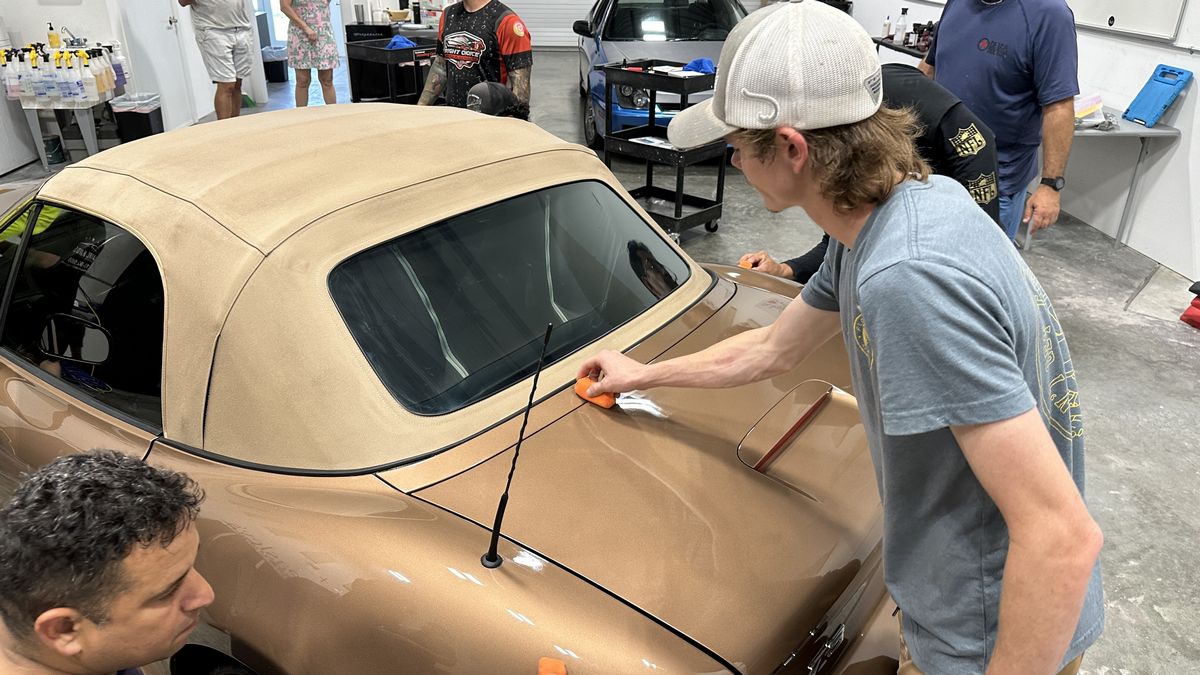
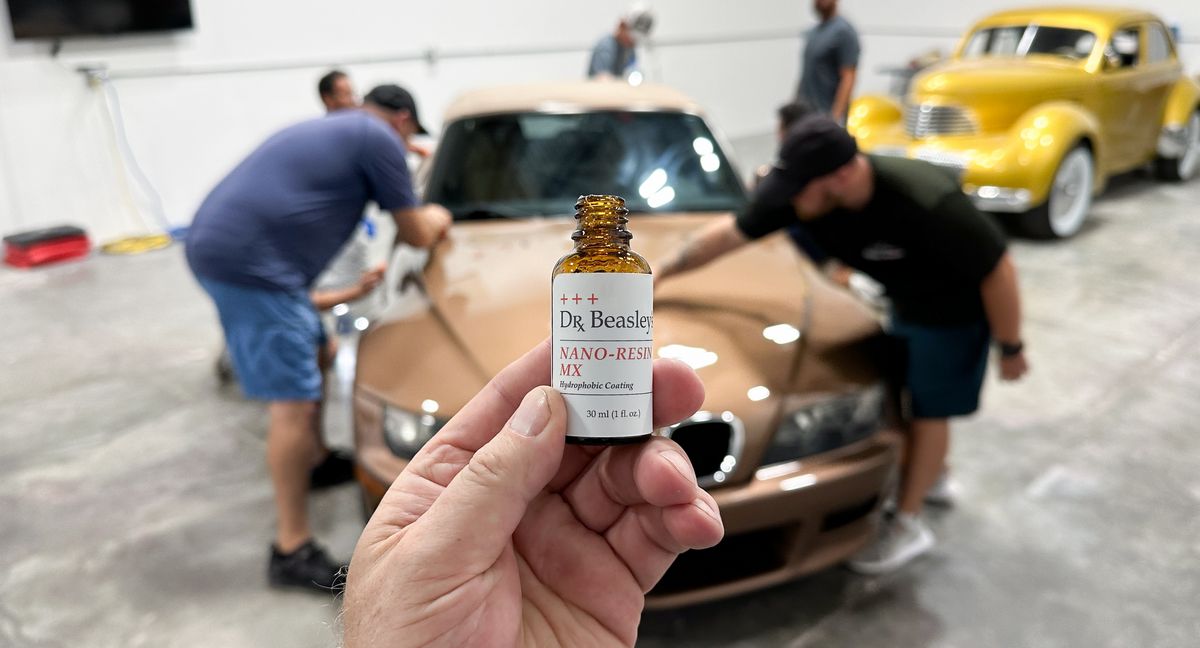
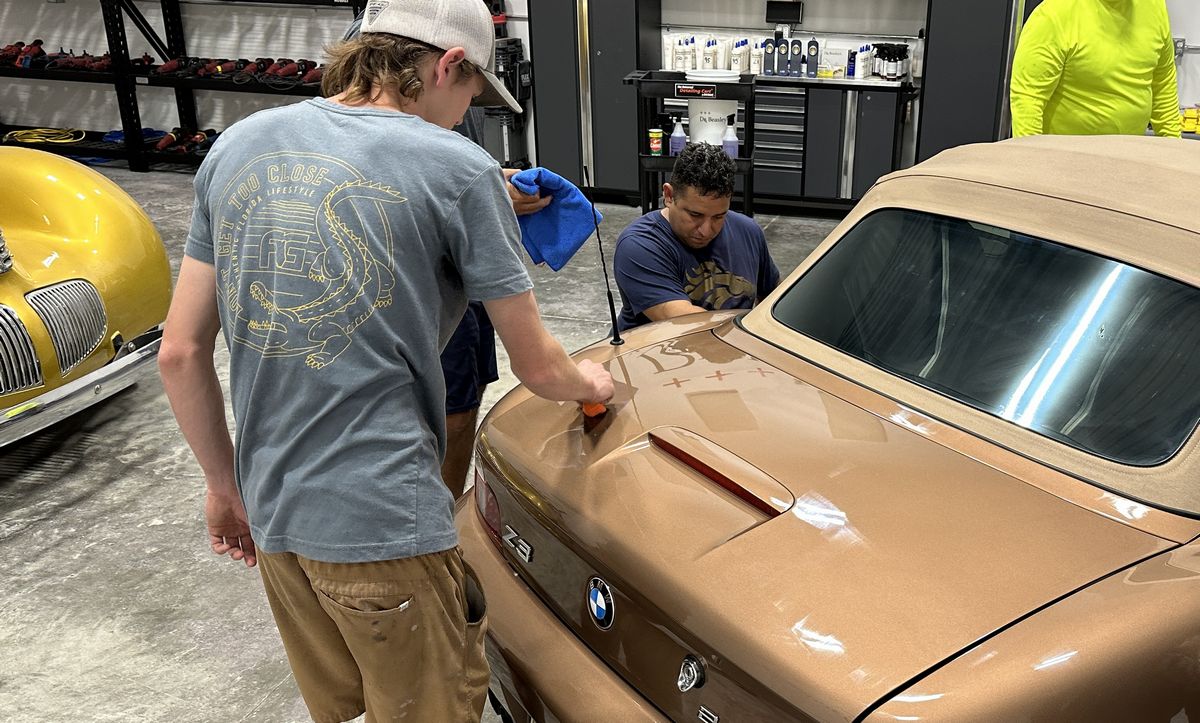
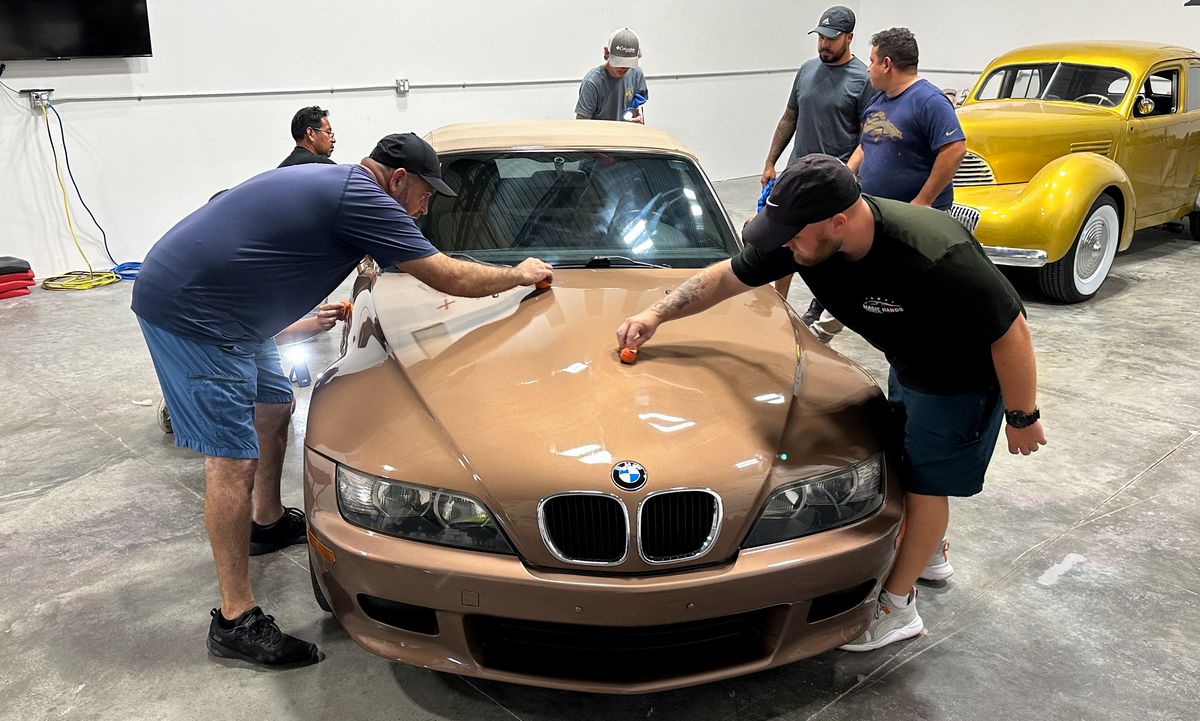
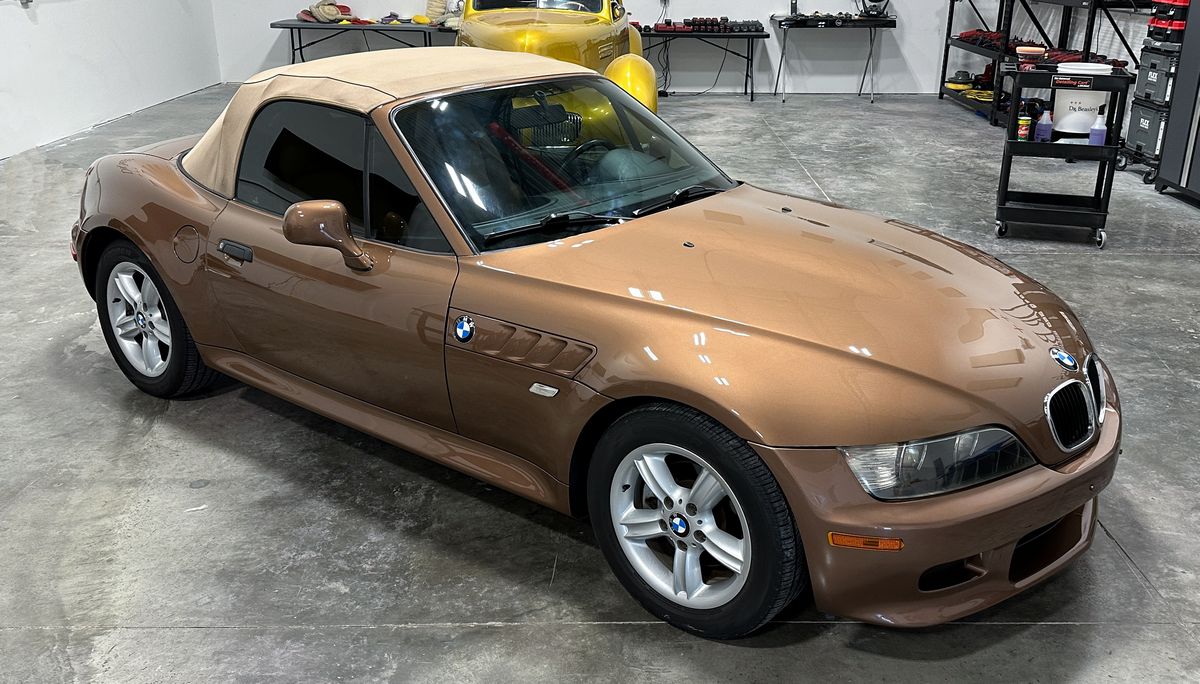
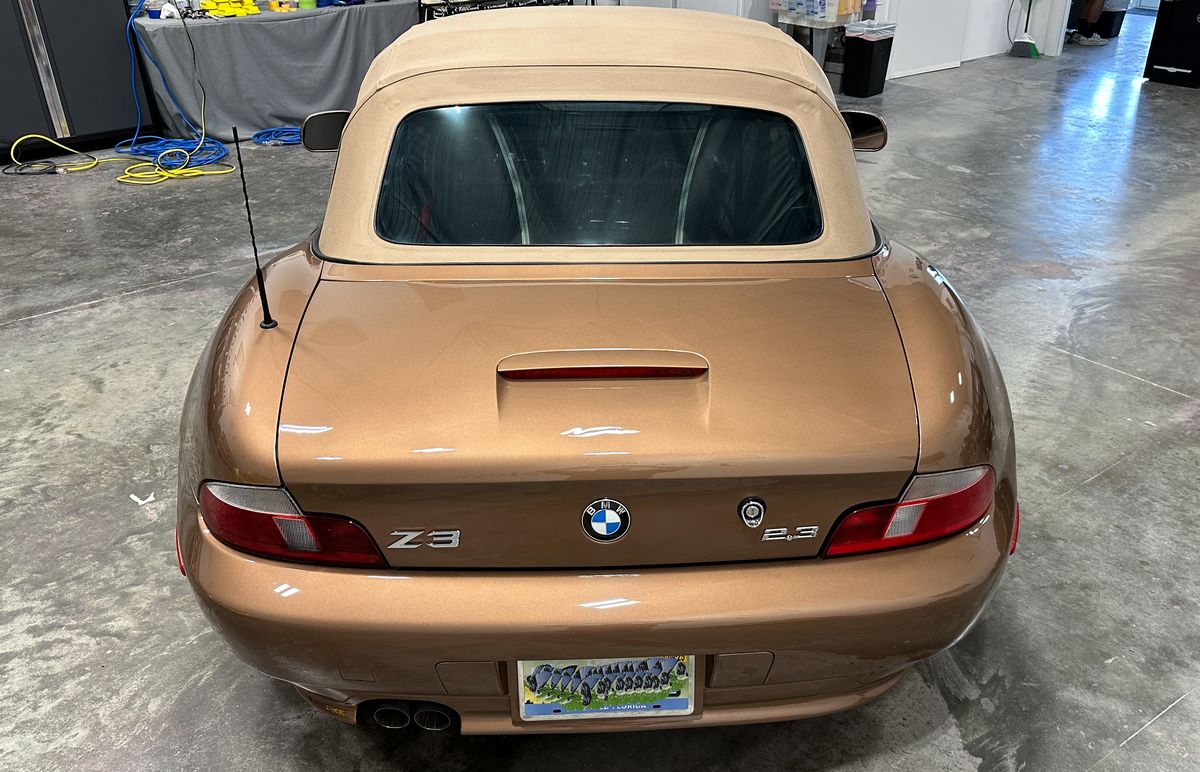
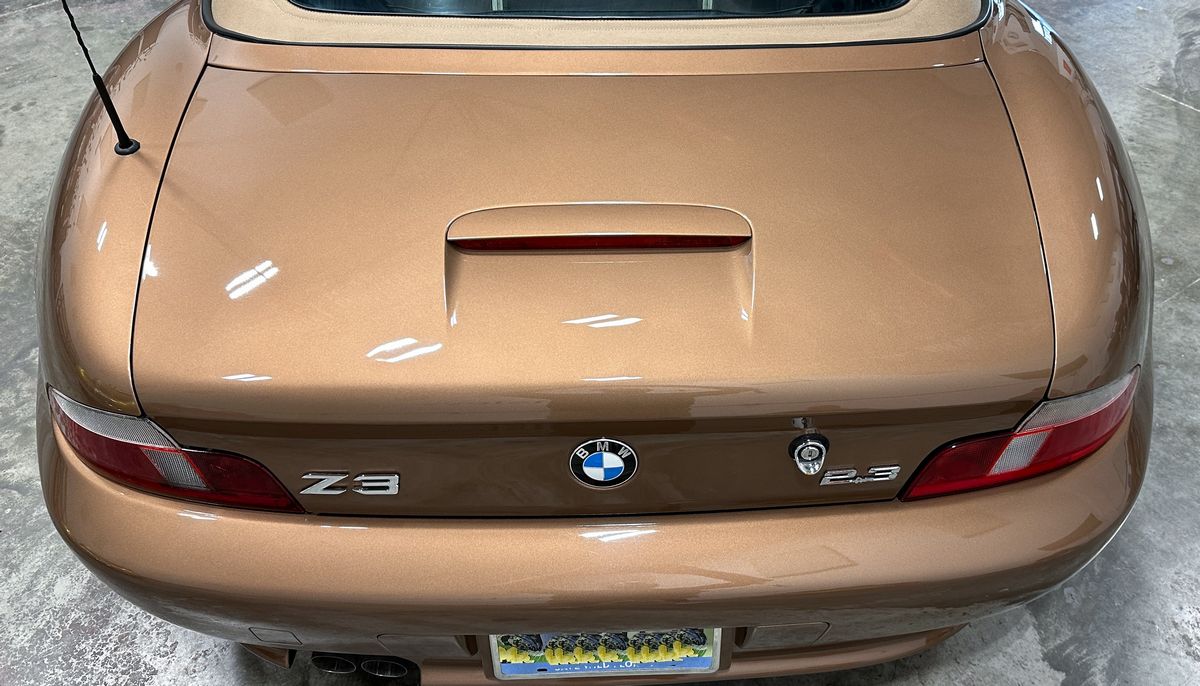
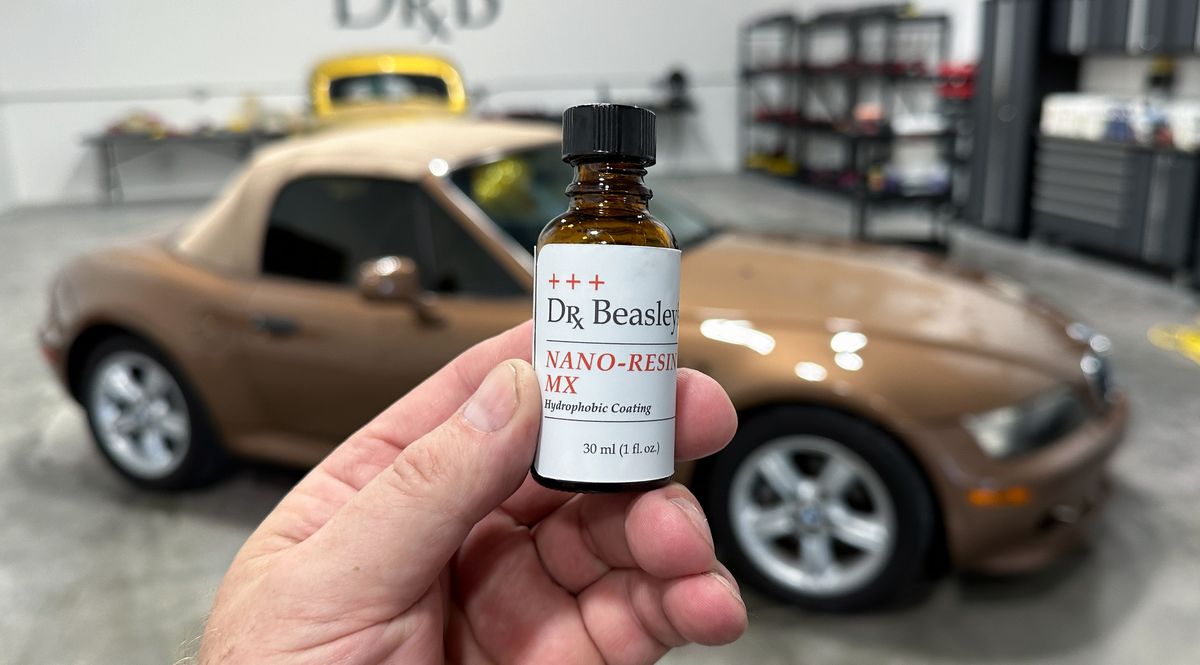
2000 BMW Z3 - One-step paint correction and ceramic coated.
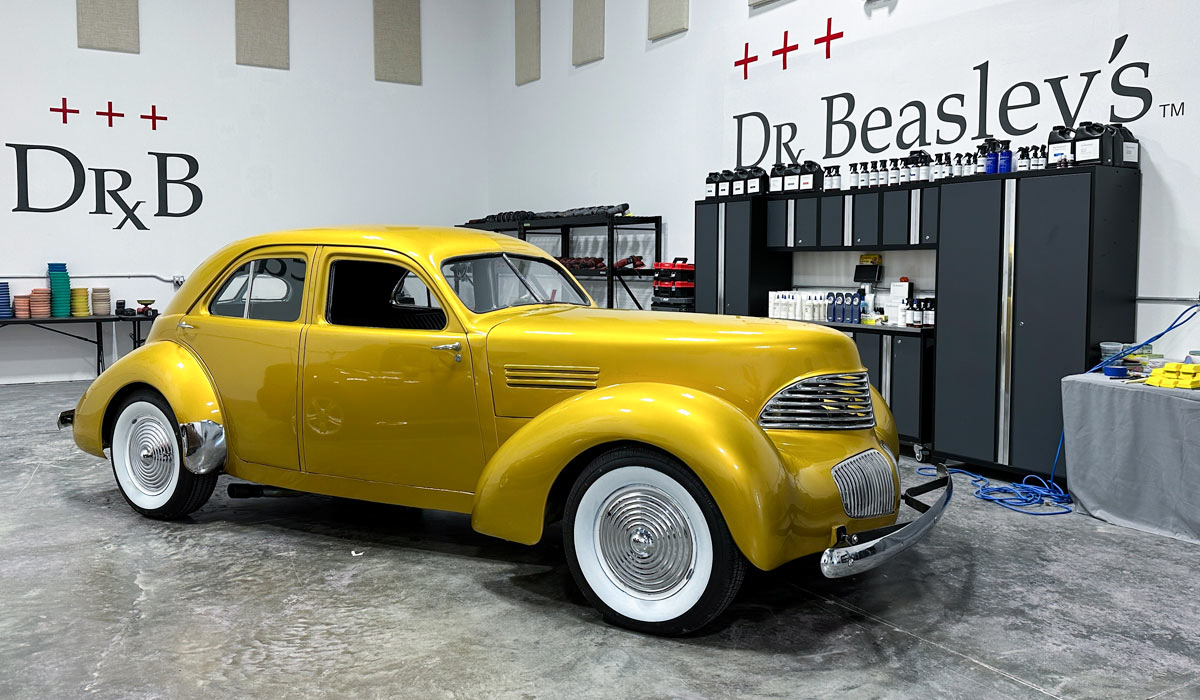
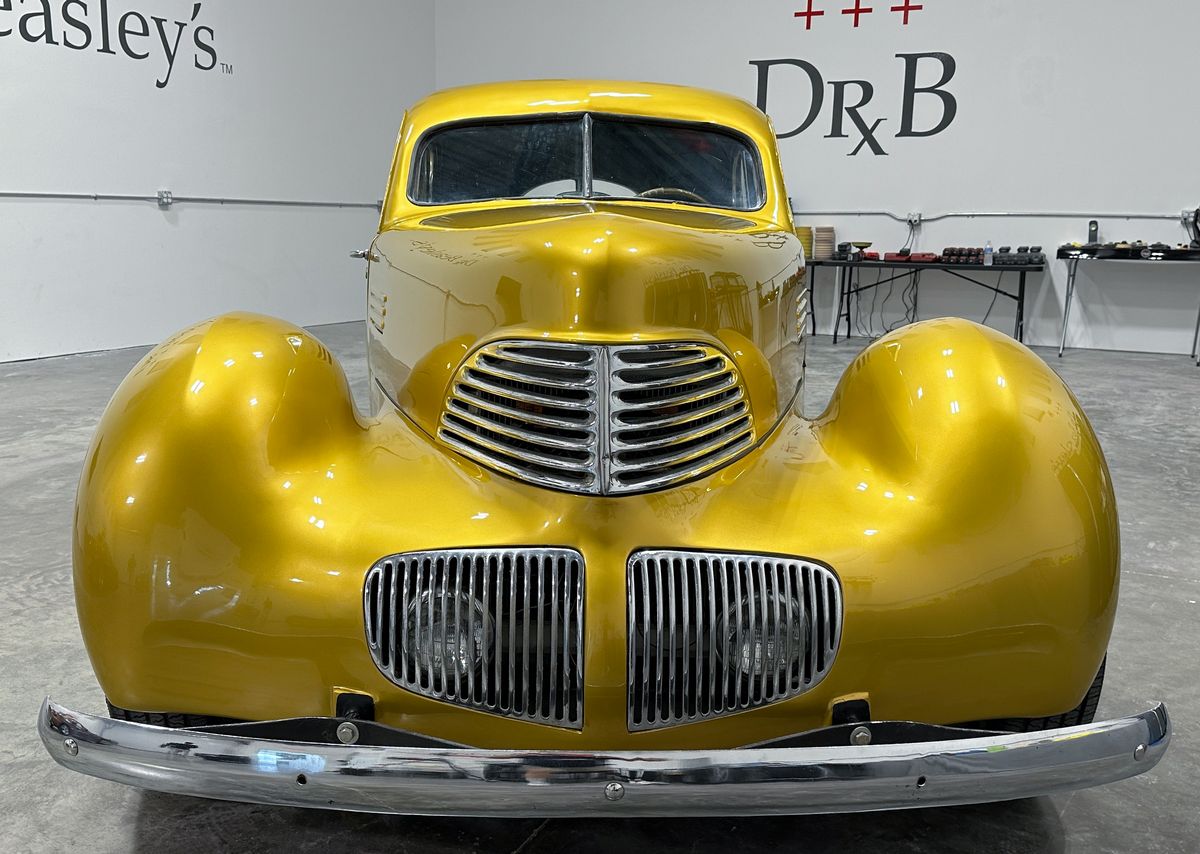
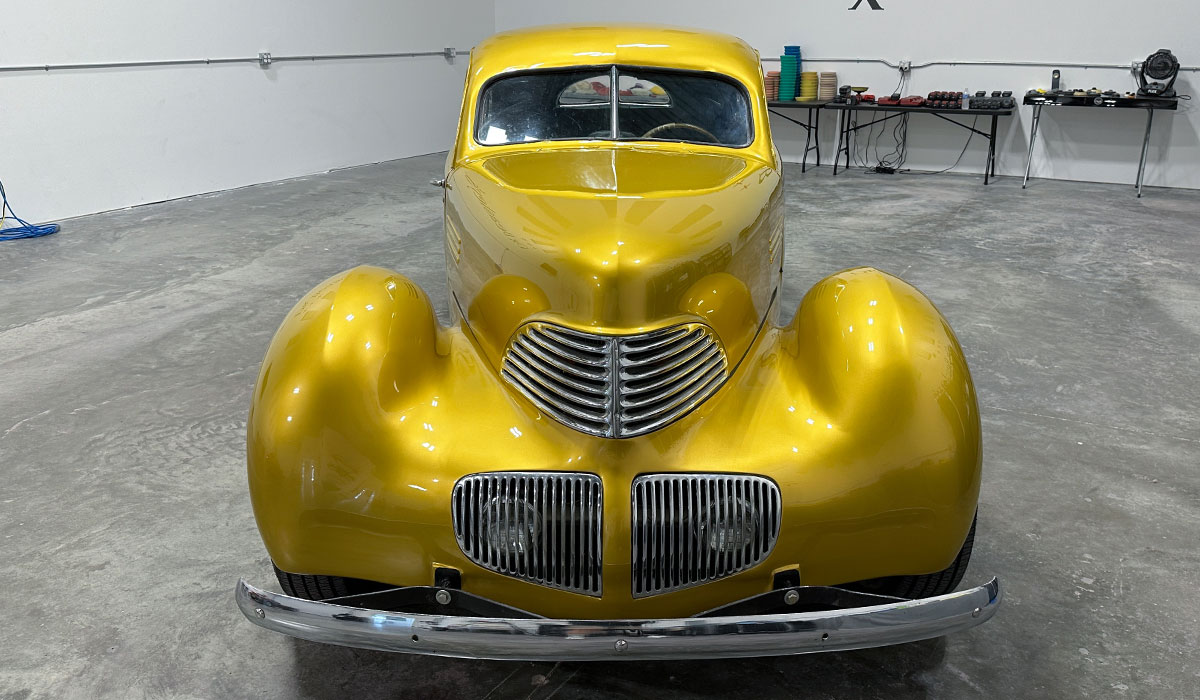
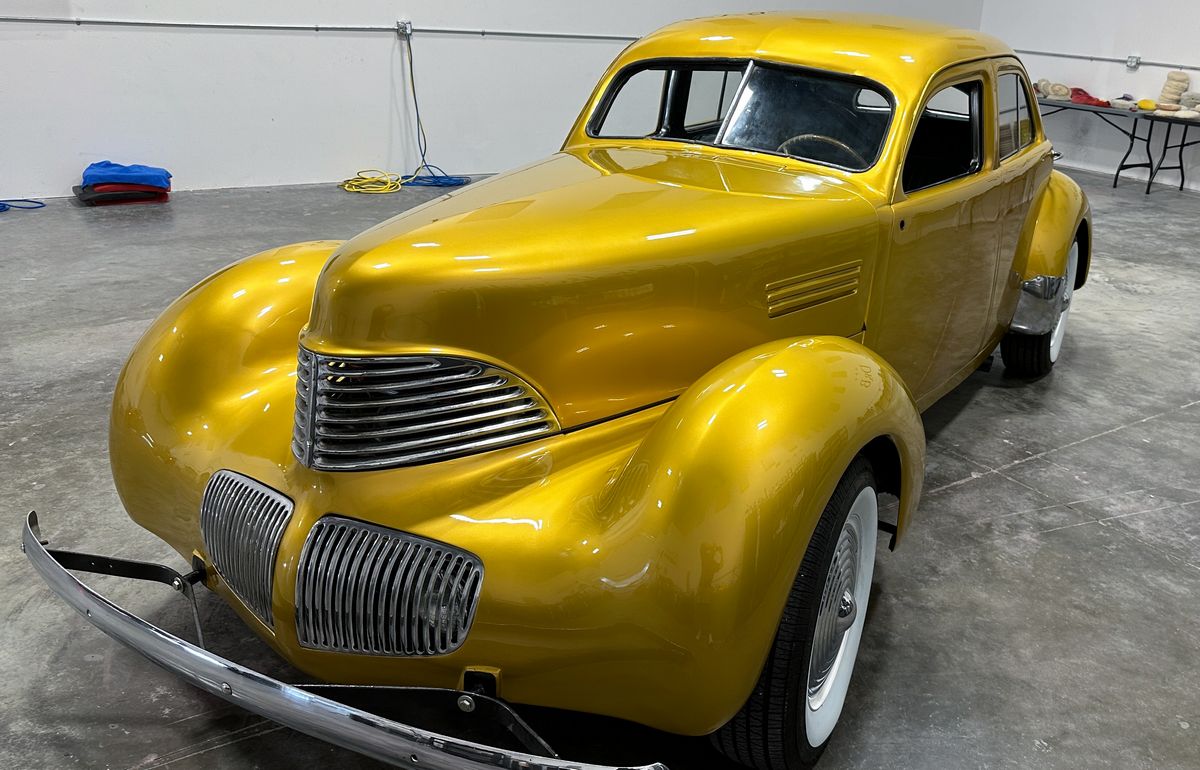
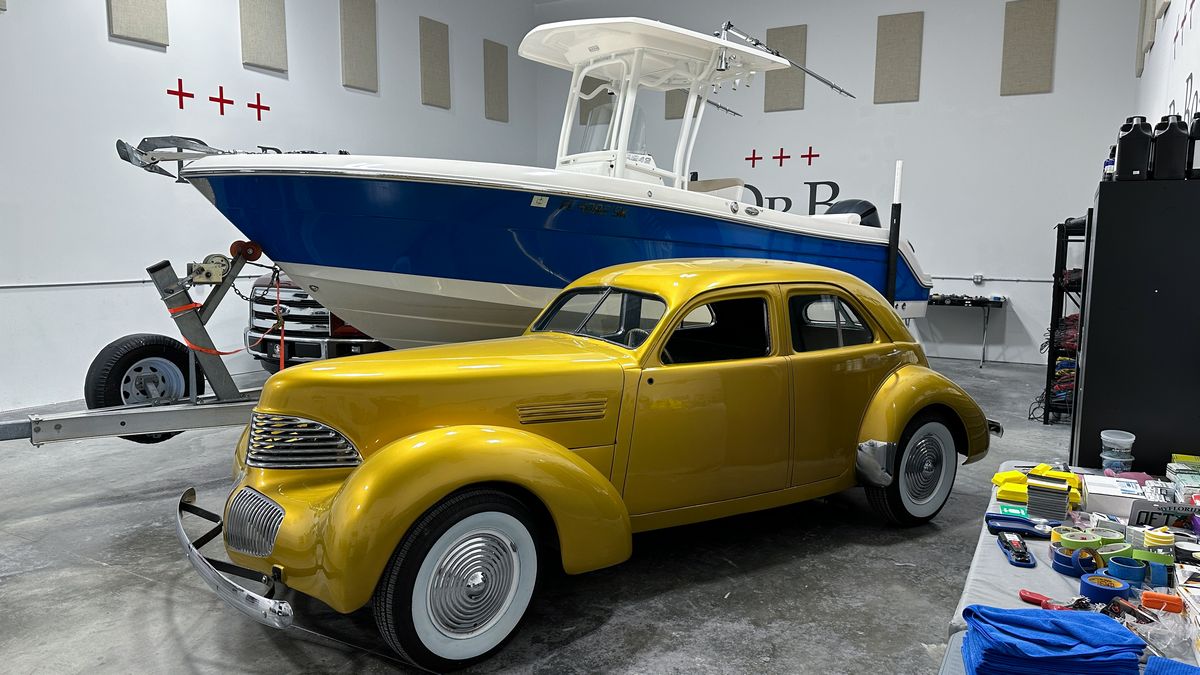
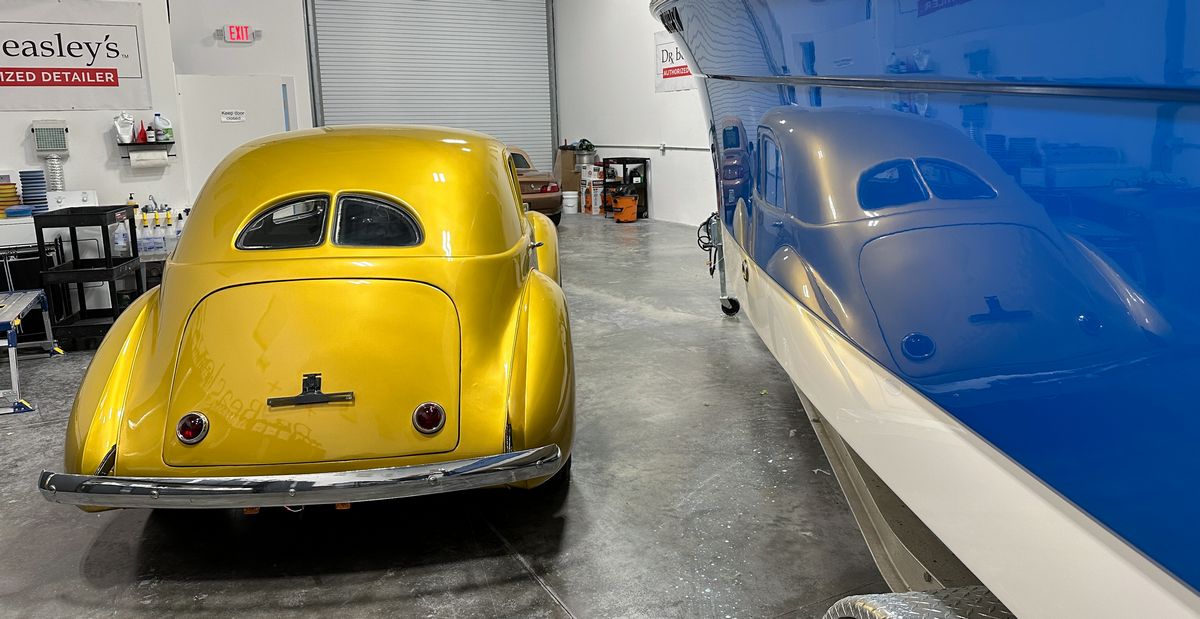
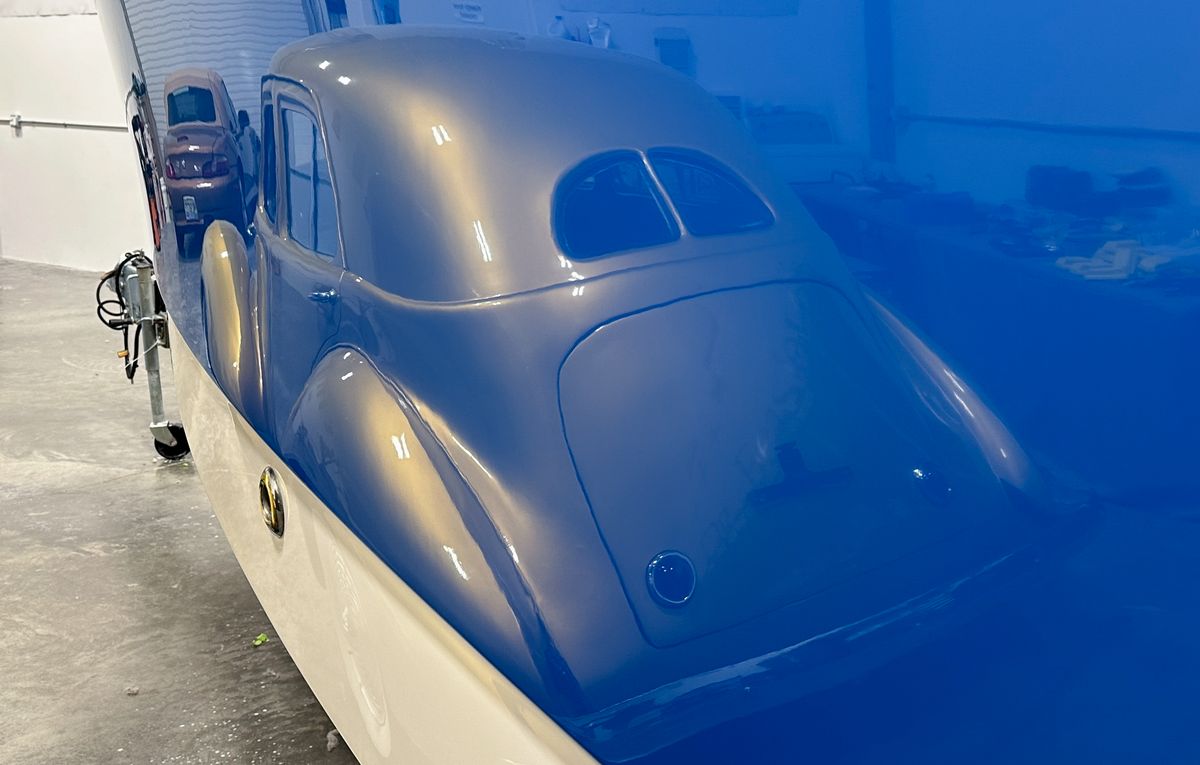
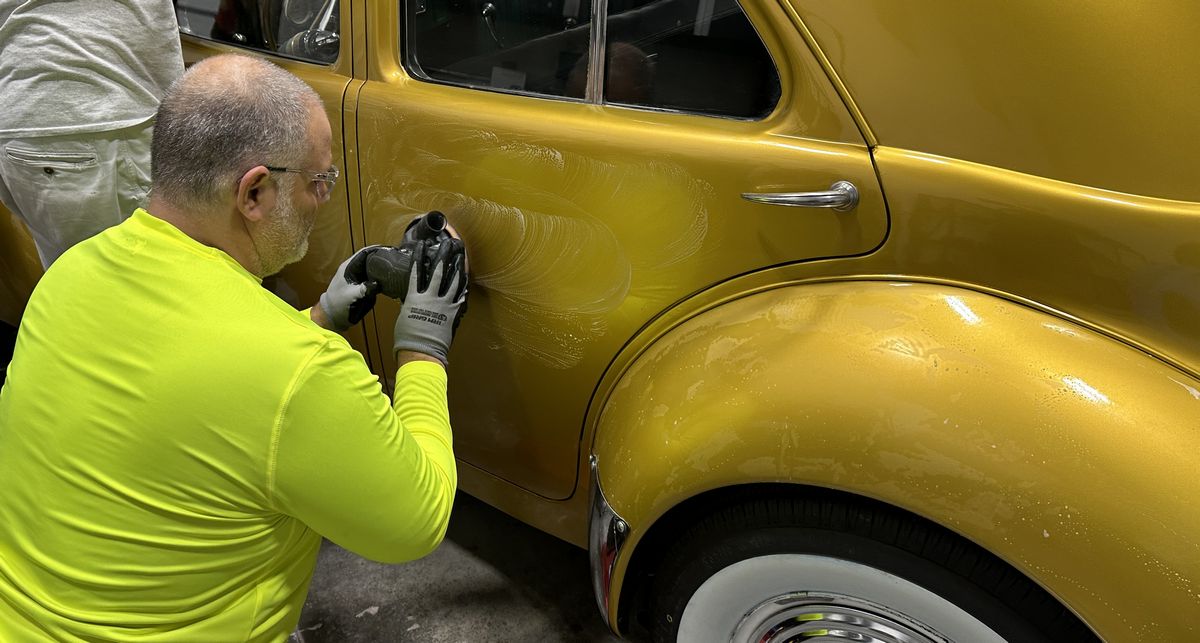
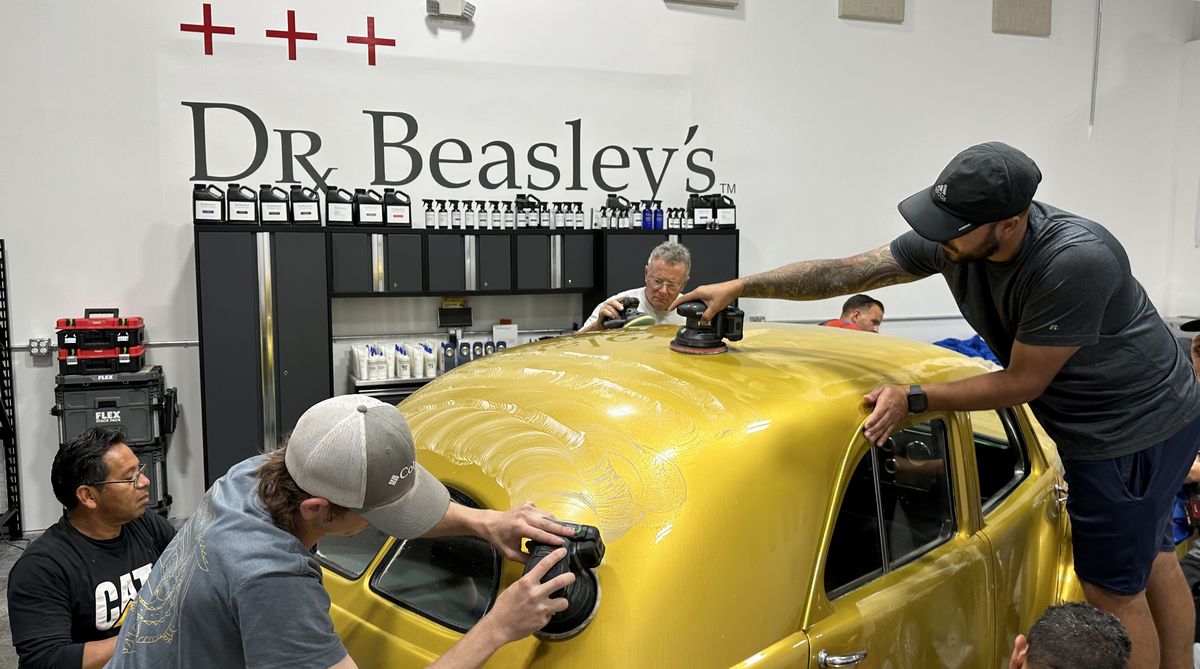
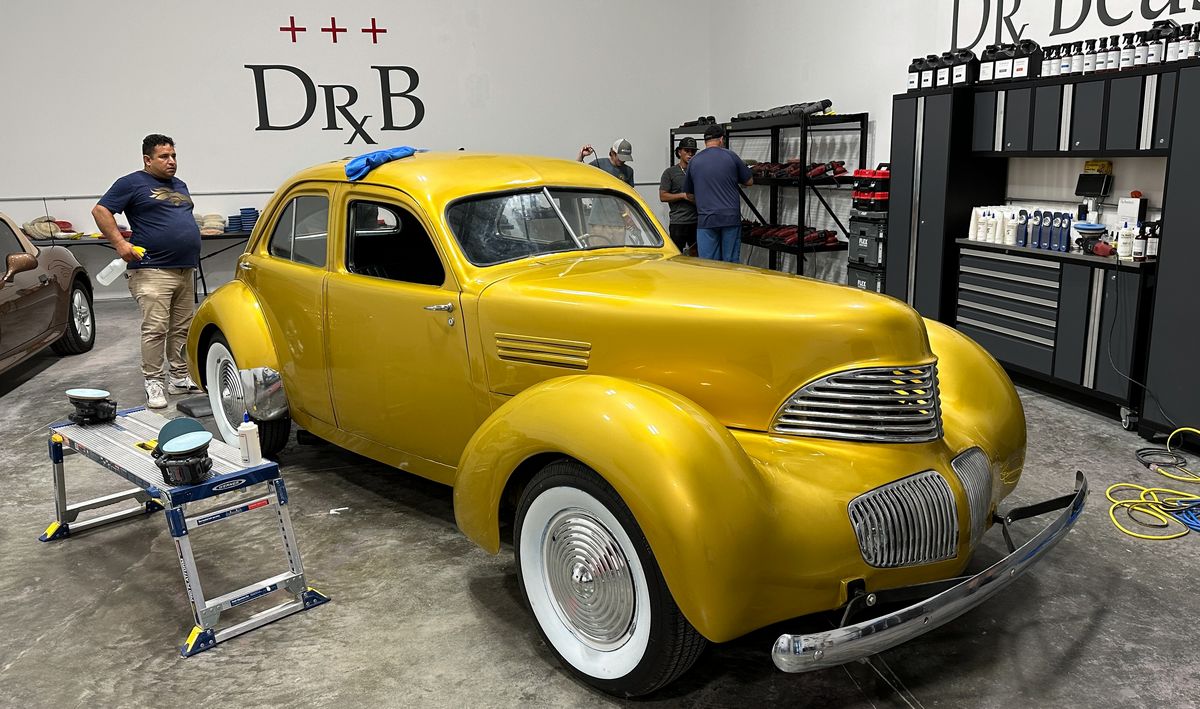
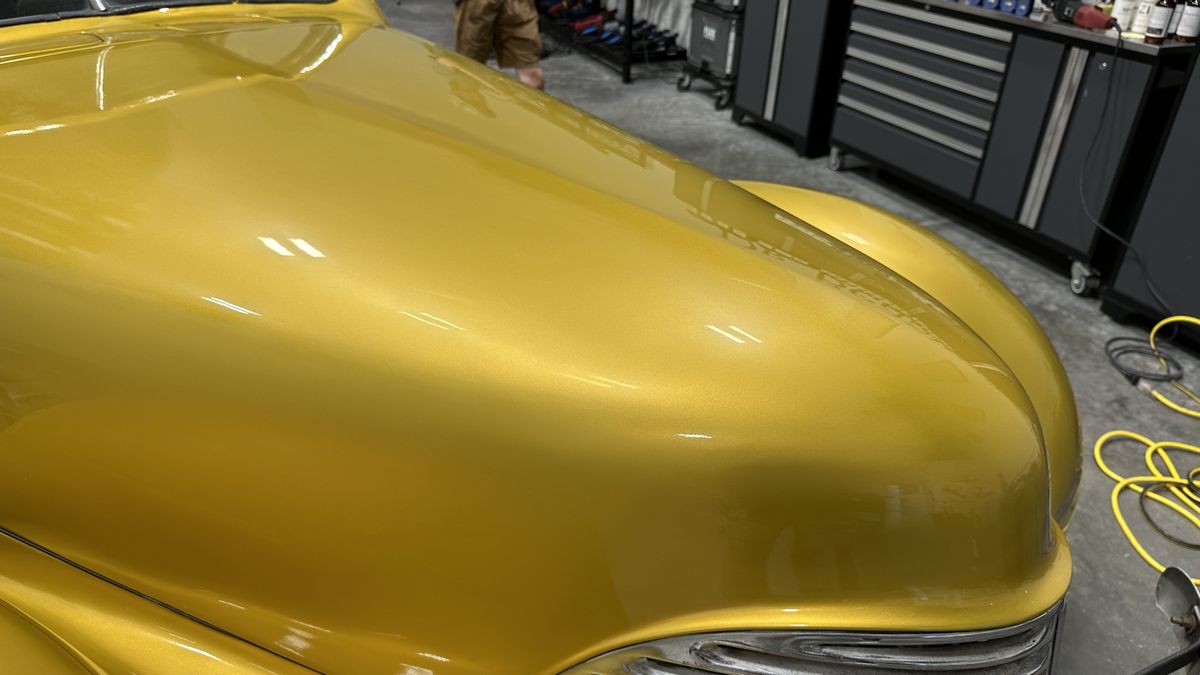
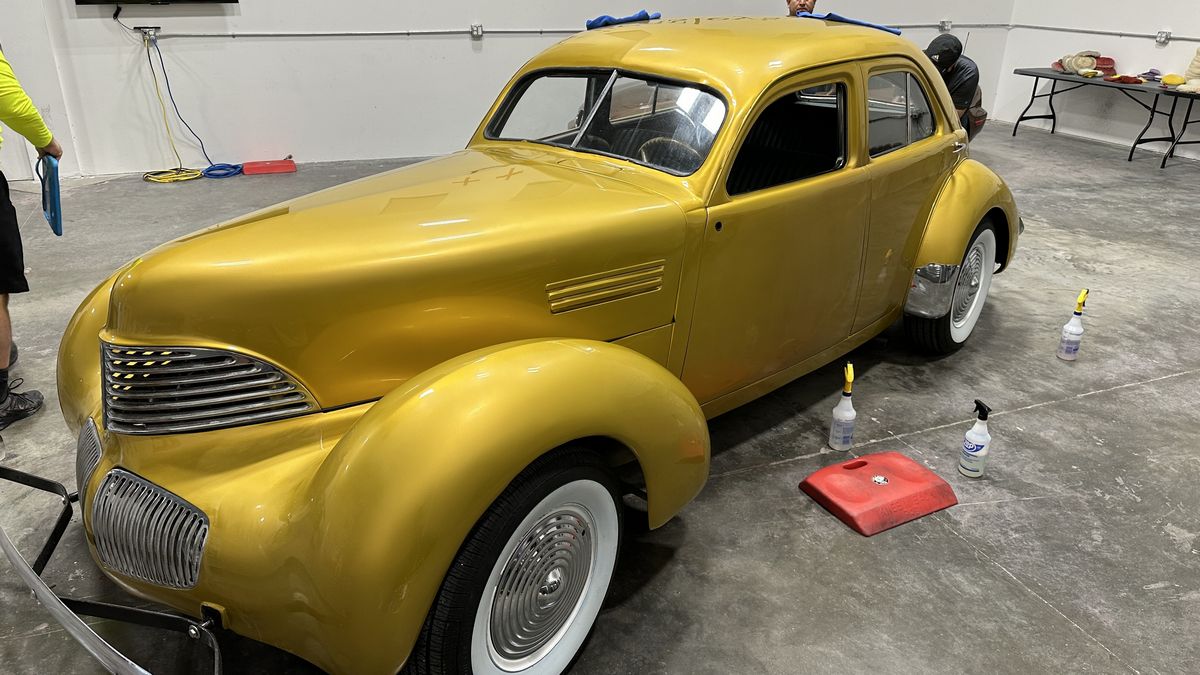
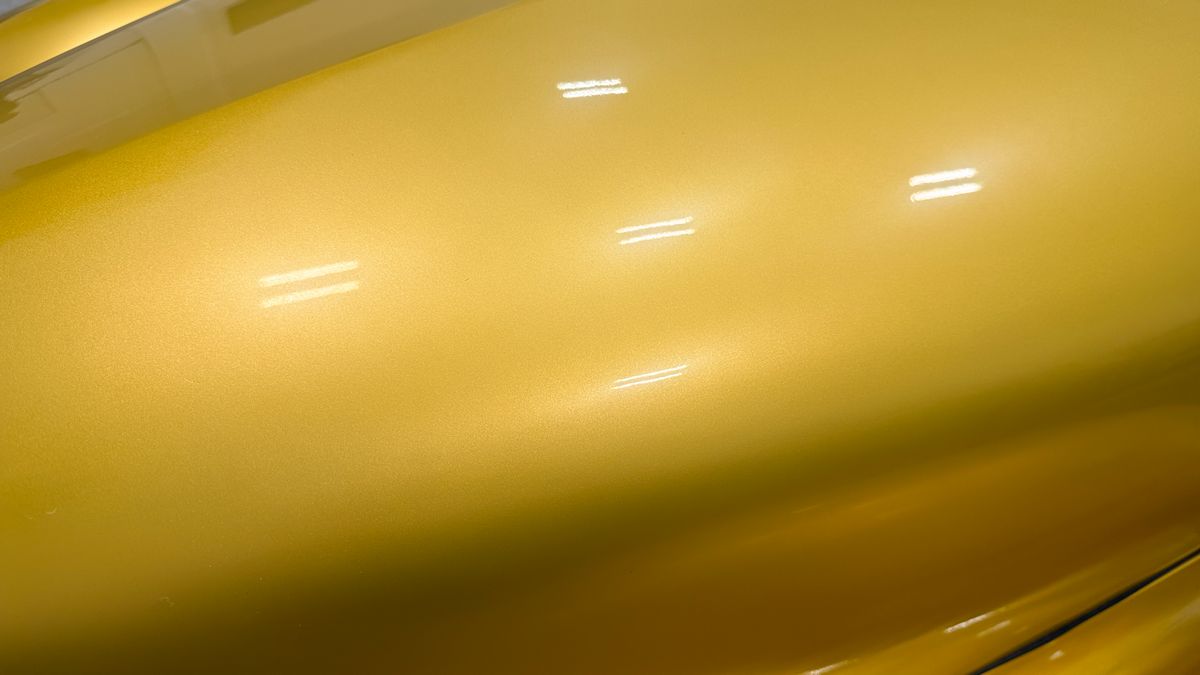
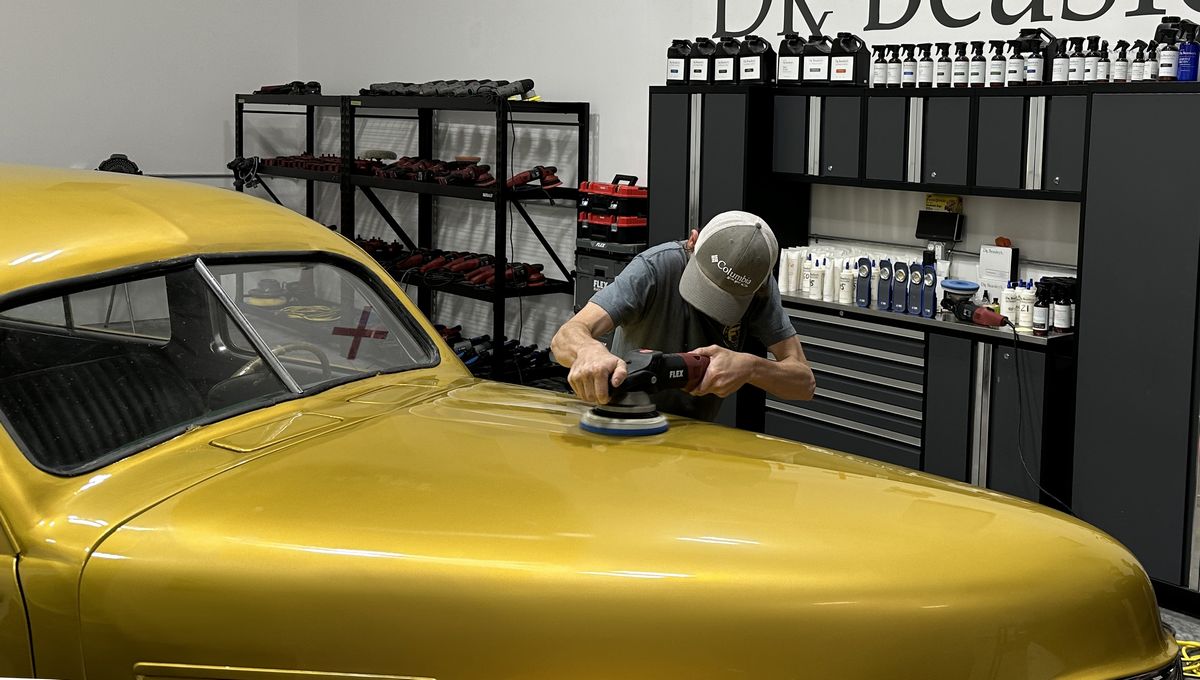
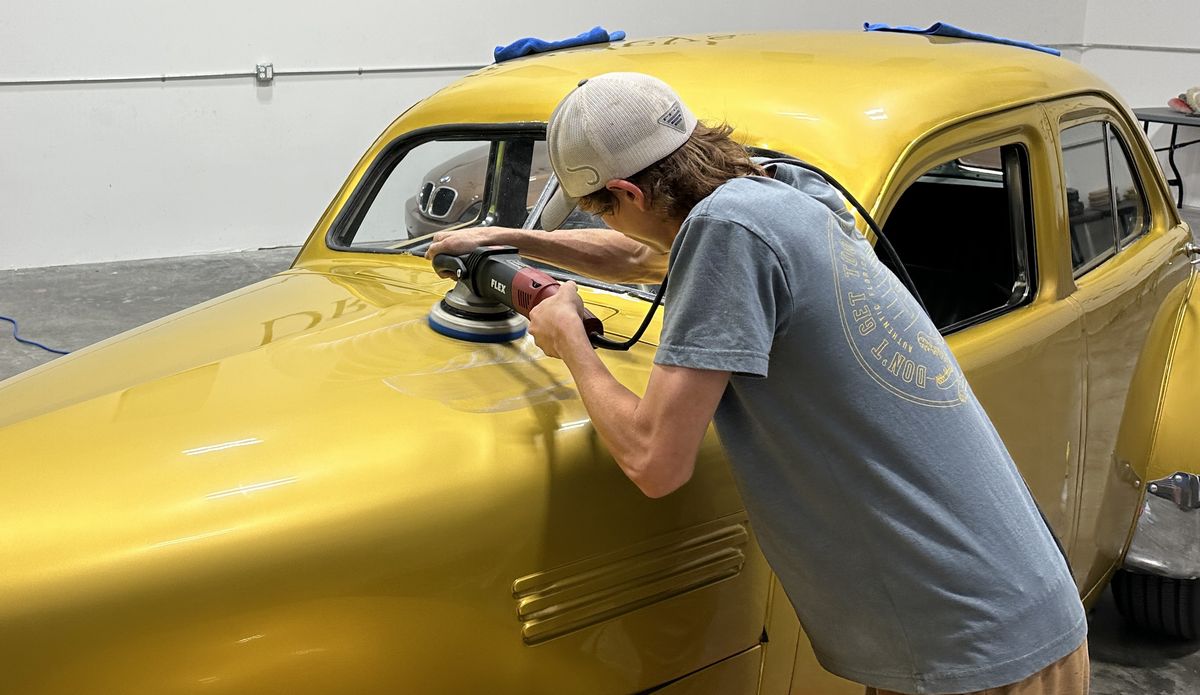
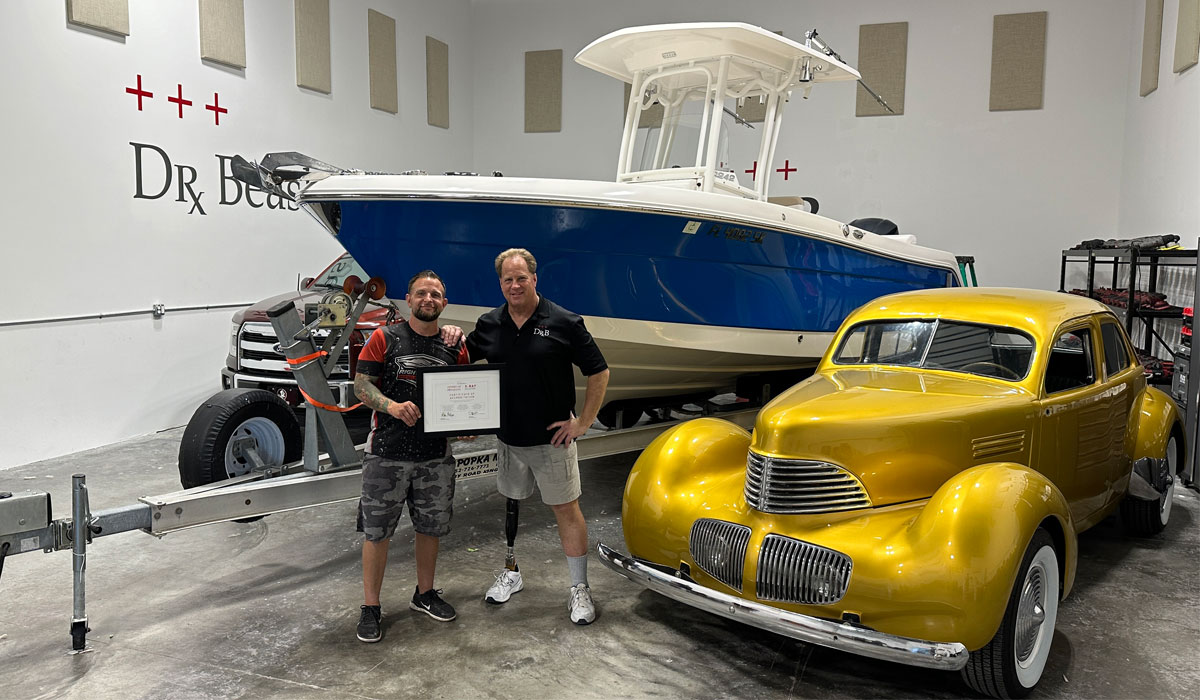
1941 Grahm Hollywood - Machine damp sanded and ceramic coated.
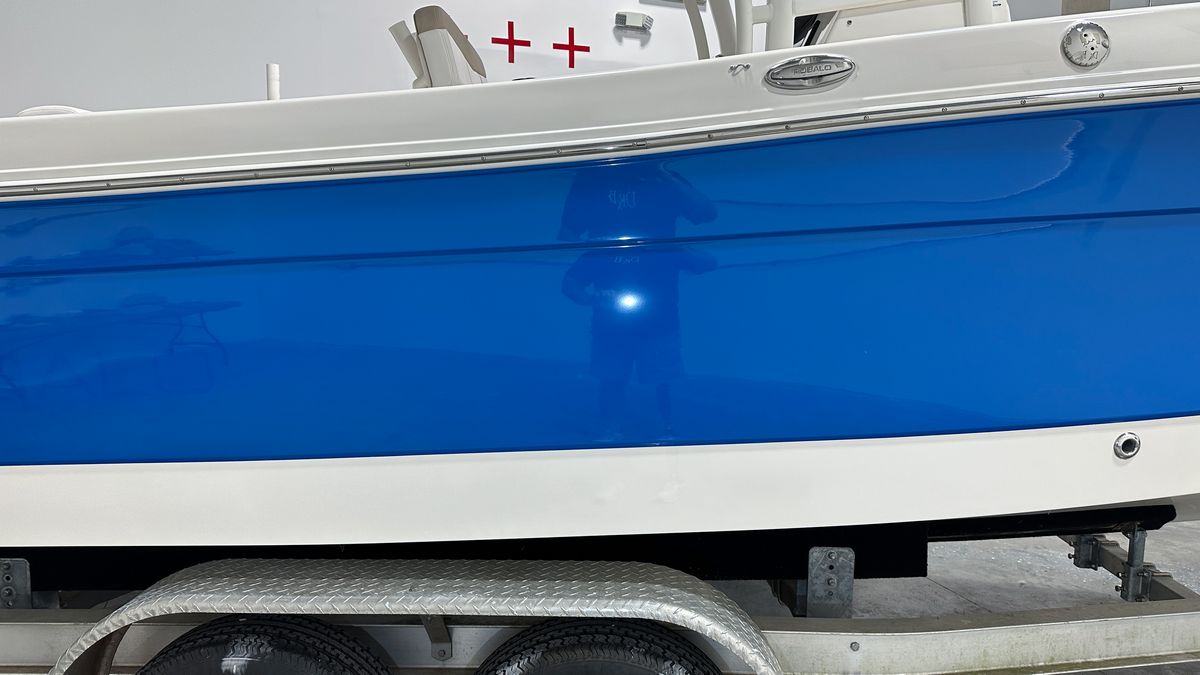
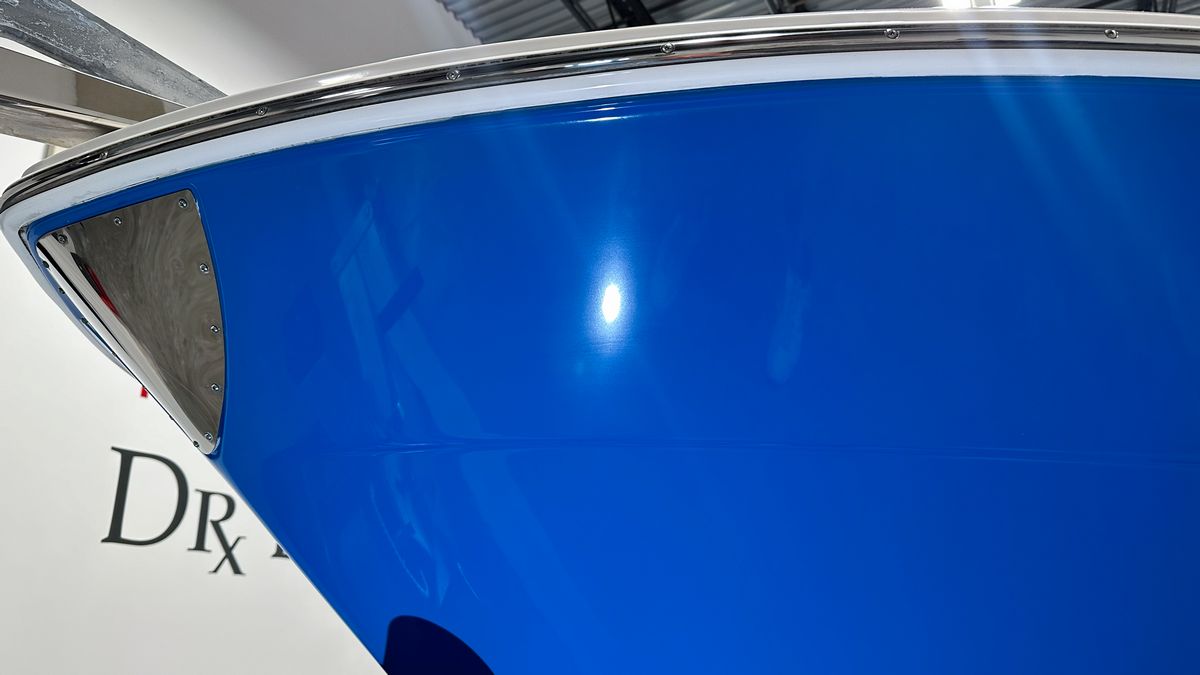
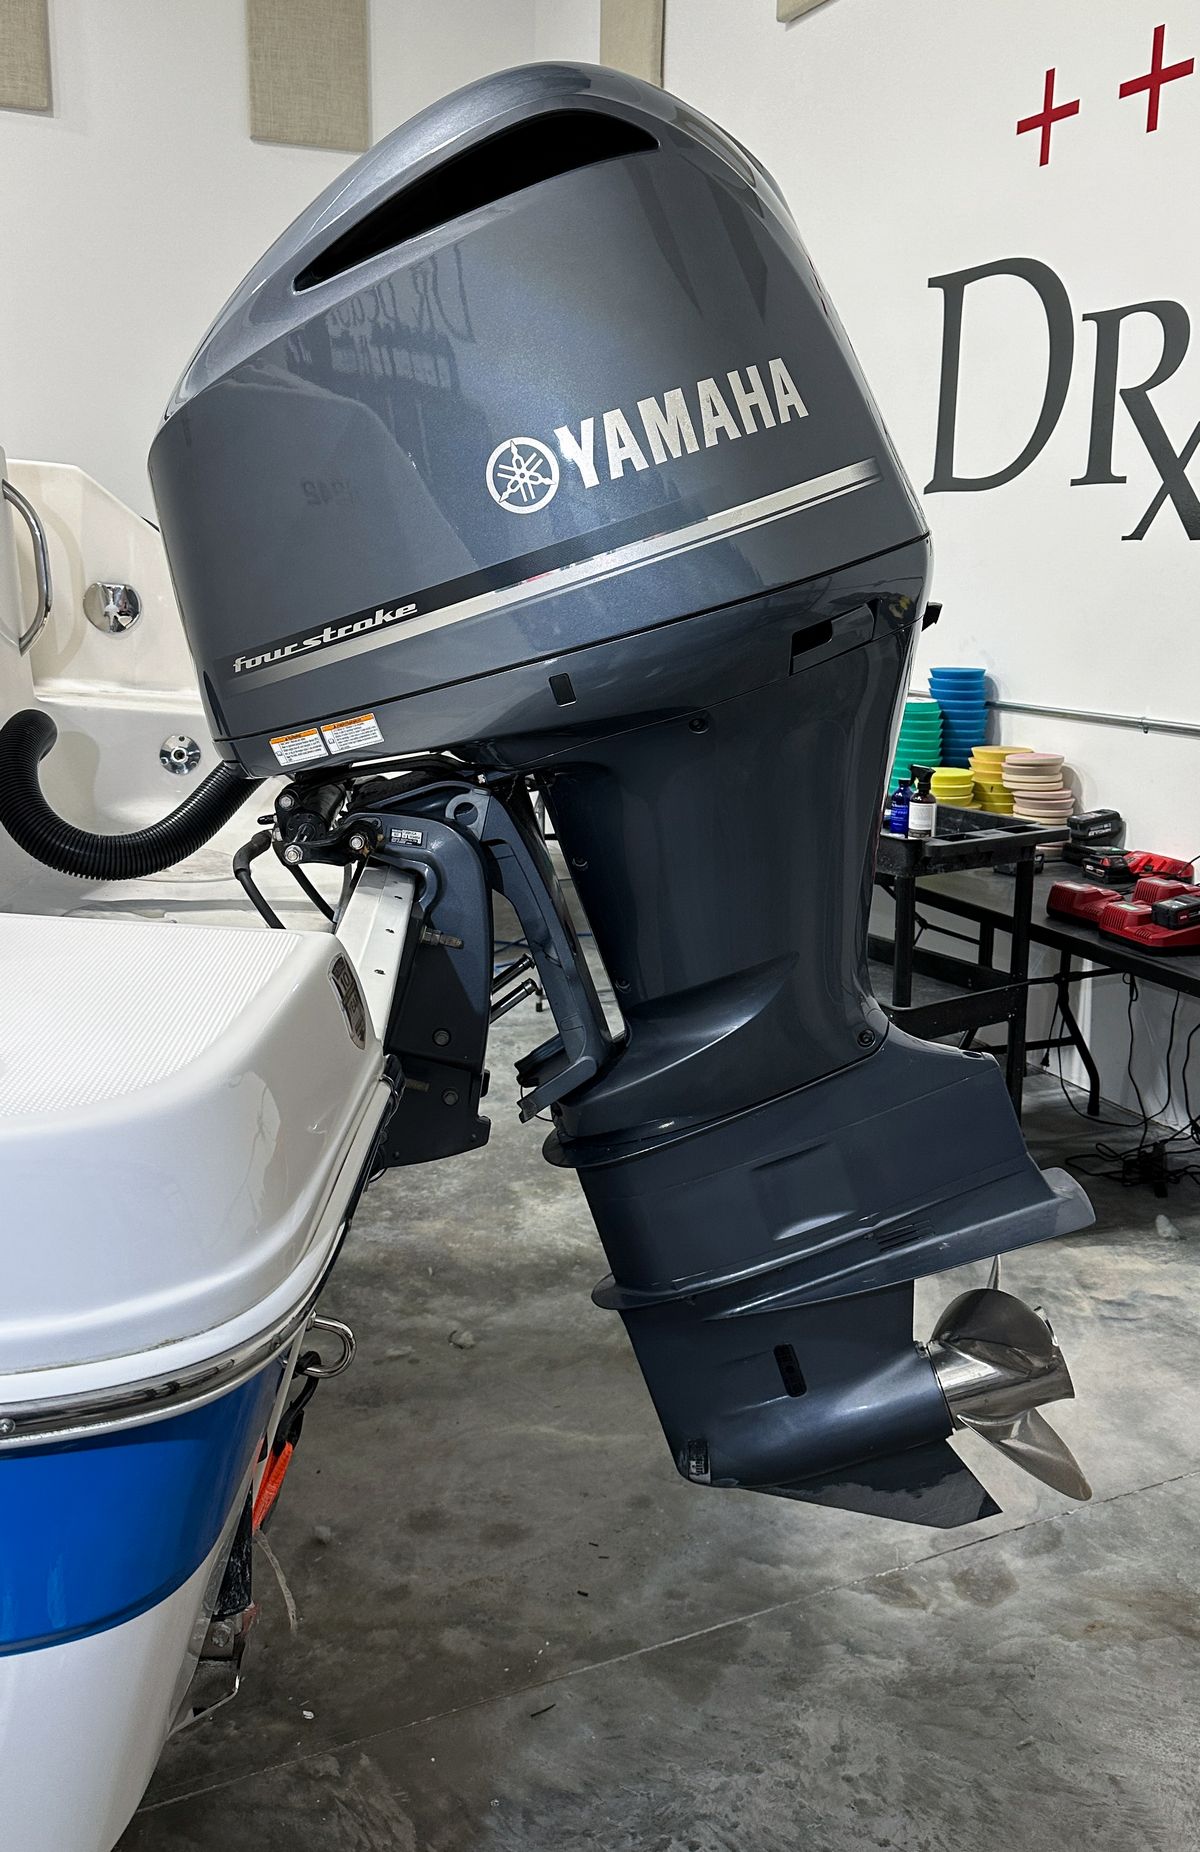
24' Robalo Center Console - Multiple step machine sanding, polishing and ceramic coated.
More pictures showing what our classes look like to be added...
Mike
Congratulations to the May 3-day class! This class detailed 5 unique cars, including sanding 3 of these cars and also sanding, buffing and ceramic coating the 24' Robalo Center Console boat. To get signed up for the next big 3-day class that includes paint correction, ceramic coatings, sanding to remove orange peel and extreme boat detailing!
Click here to sign-up for the September 20th, 21st and 22nd NO chairs 100% hands-on detailing class!
Here's the class that made all the magic happen!
Kaiden
Michael
Tyler
Juan
Edson
Jesus
Shawn
Billy
Cory
Here's the 5 cars this class detailed and the huge center console boat
1981 Corvette - Dry sanded by hand and machine - ceramic coated.
1931 Model A Streetrod - Machine dry sanded & ceramic coated.
1988 Chevy Crew Cab Monster Truck - Two step paint correction and ceramic coated.
2000 BMW Z3 - One-step paint correction and ceramic coated.
1941 Grahm Hollywood - Machine damp sanded and ceramic coated.
24' Robalo Center Console - Multiple step machine sanding, polishing and ceramic coated.
More pictures showing what our classes look like to be added...
Mike
Last edited: