- Admin
- #21
- Joined
- May 21, 2021
- Messages
- 1,680
- Reaction score
- 929
- Points
- 113
- Location
- Stuart, Florida
- Website
- themikephillipsforum.com
More...
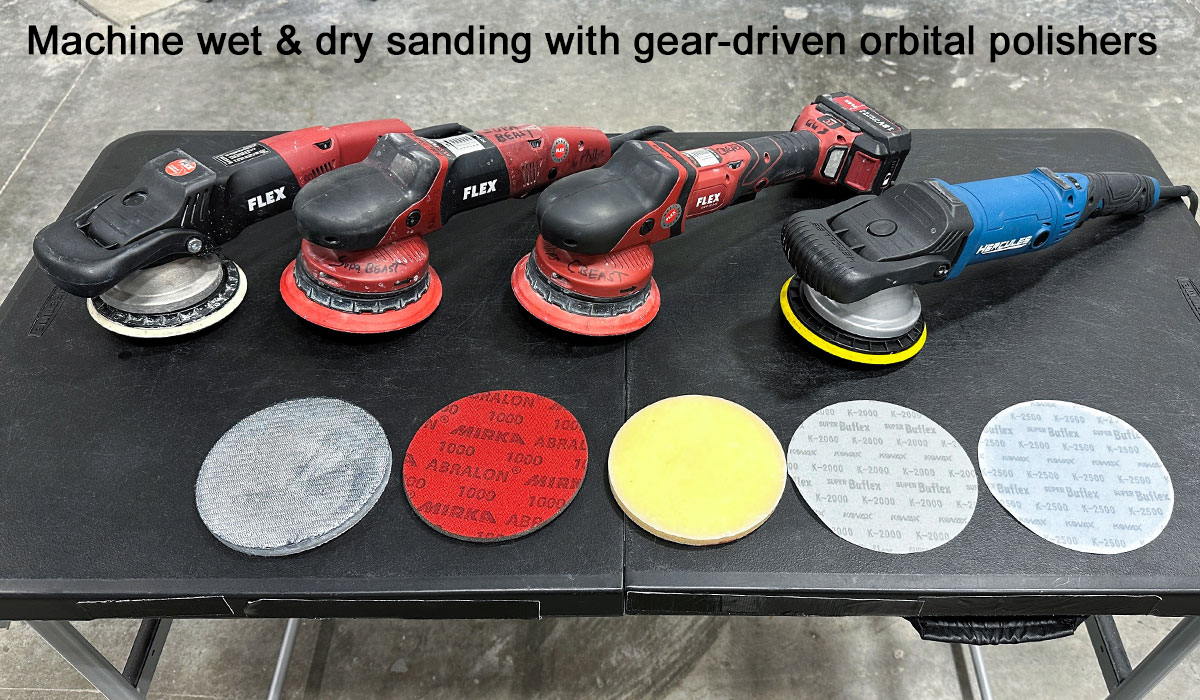
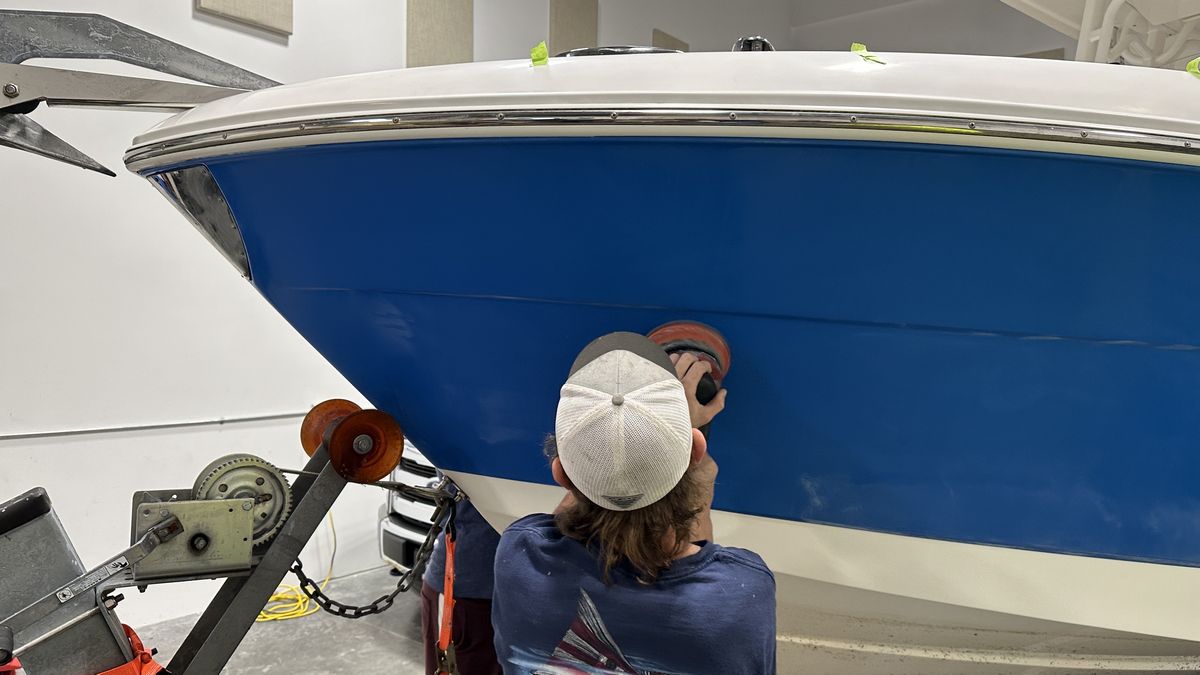
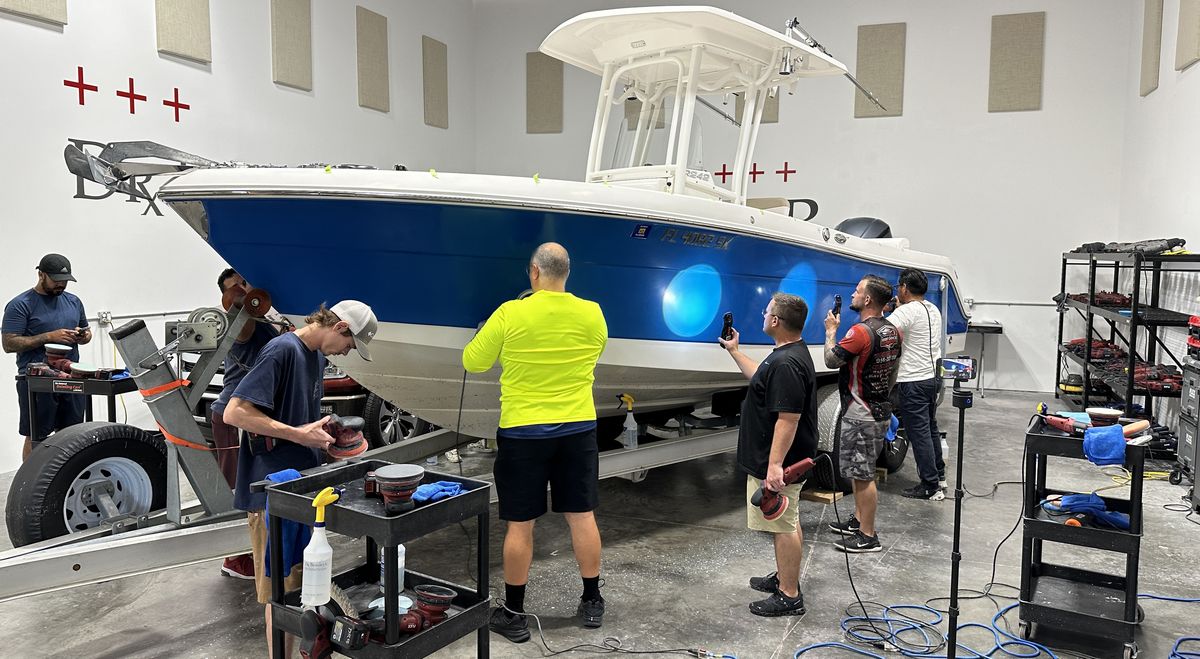
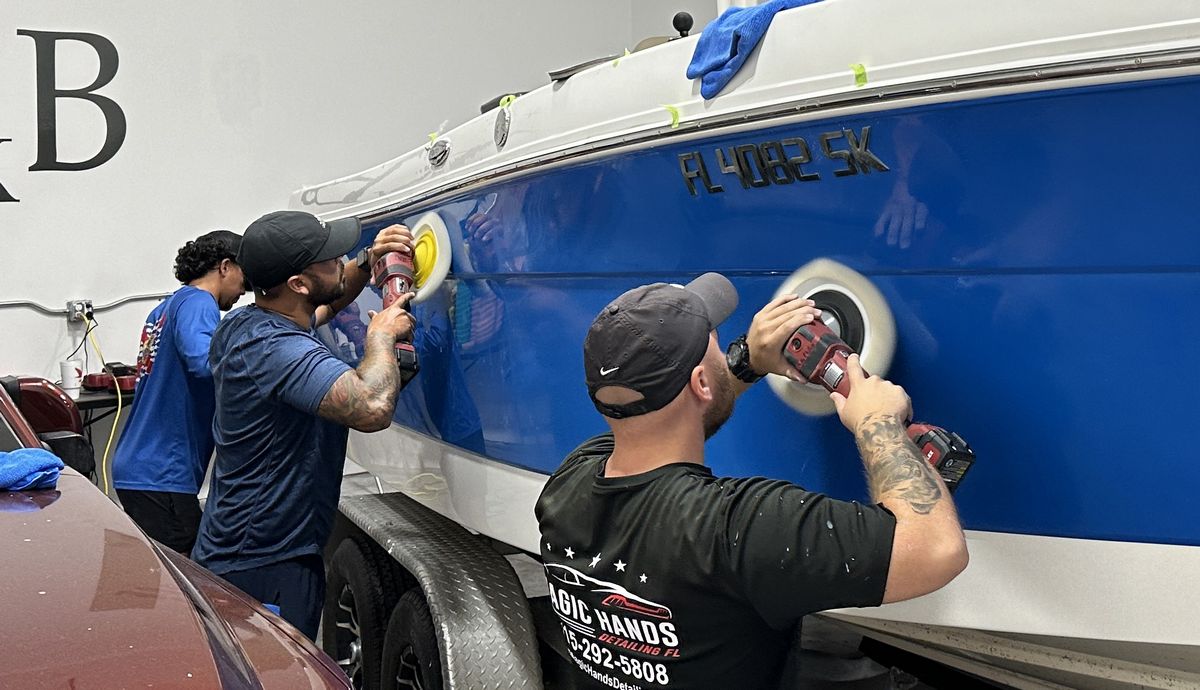
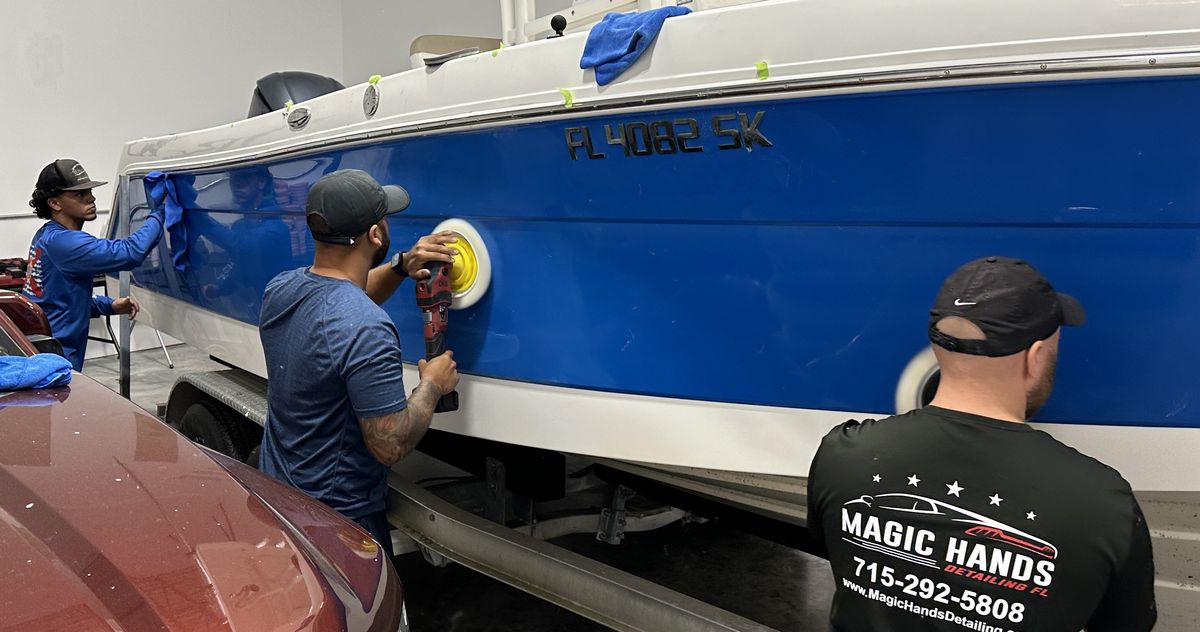
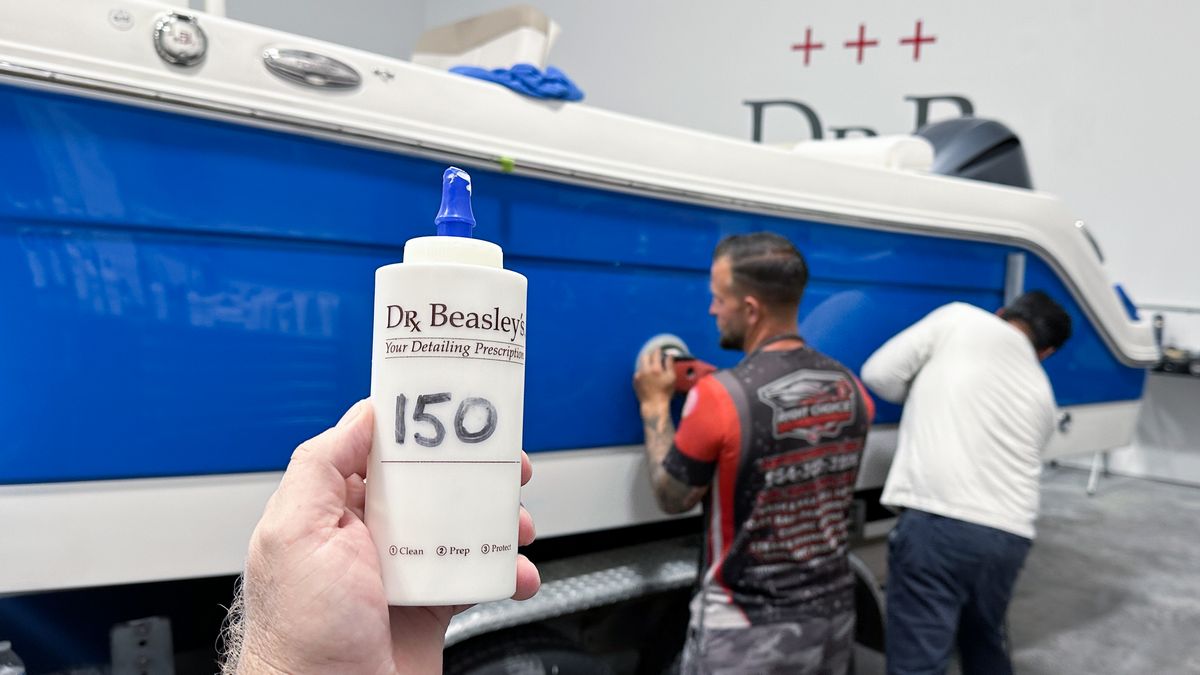
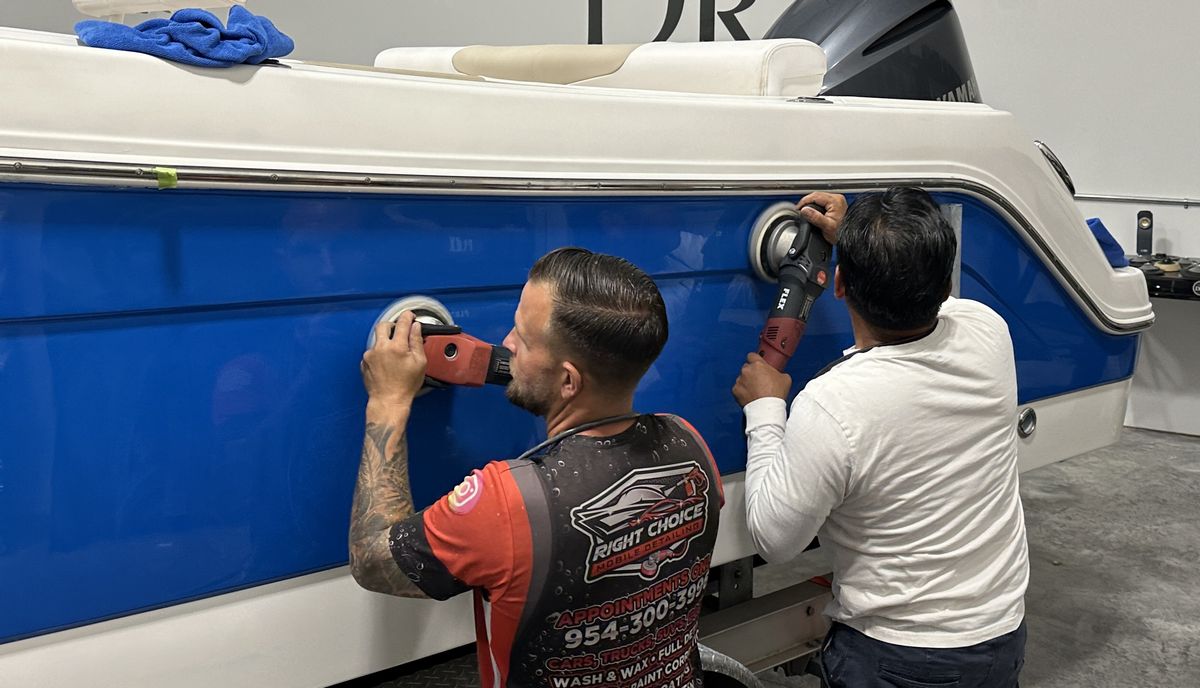
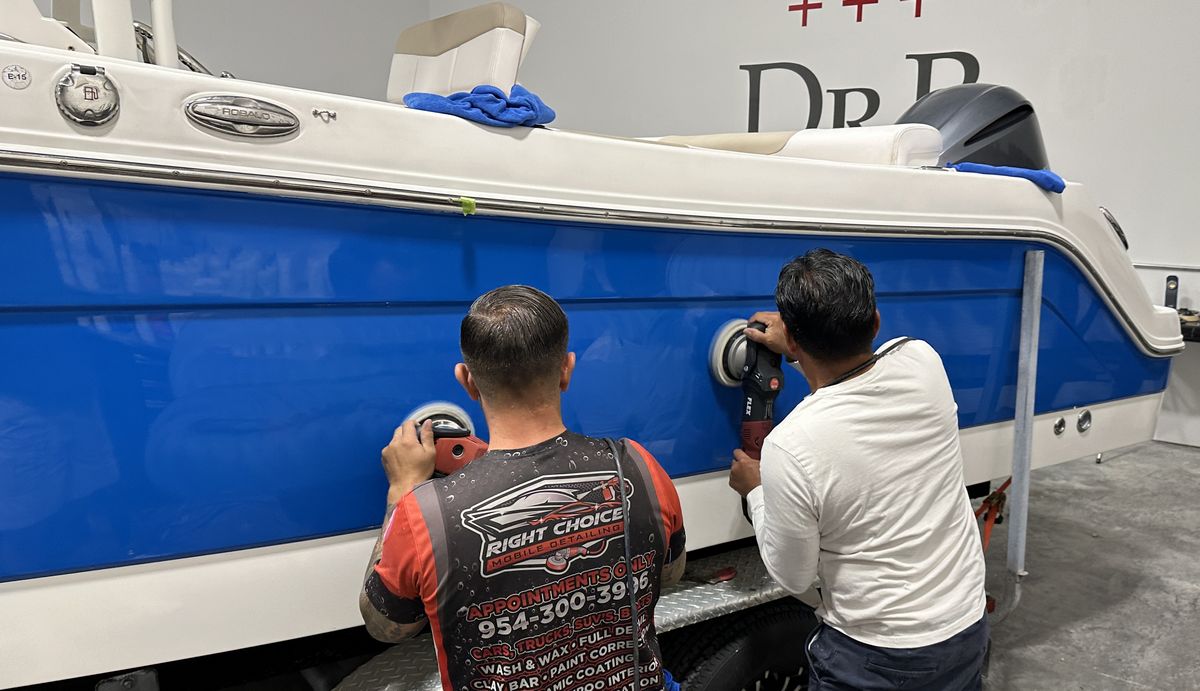
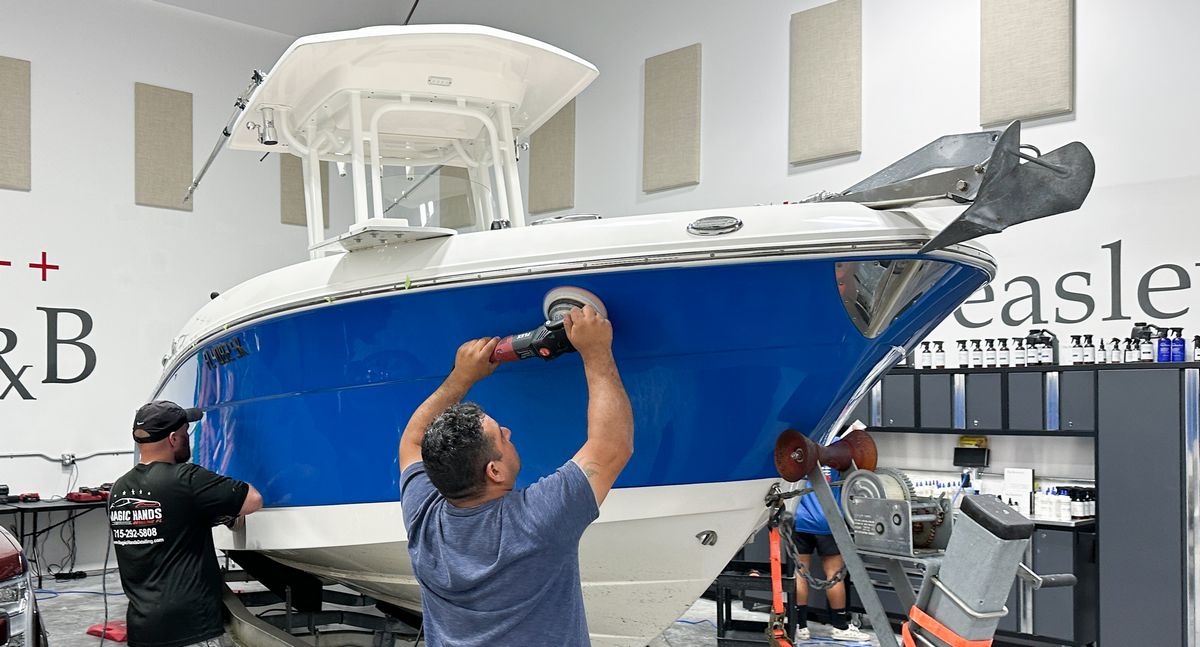
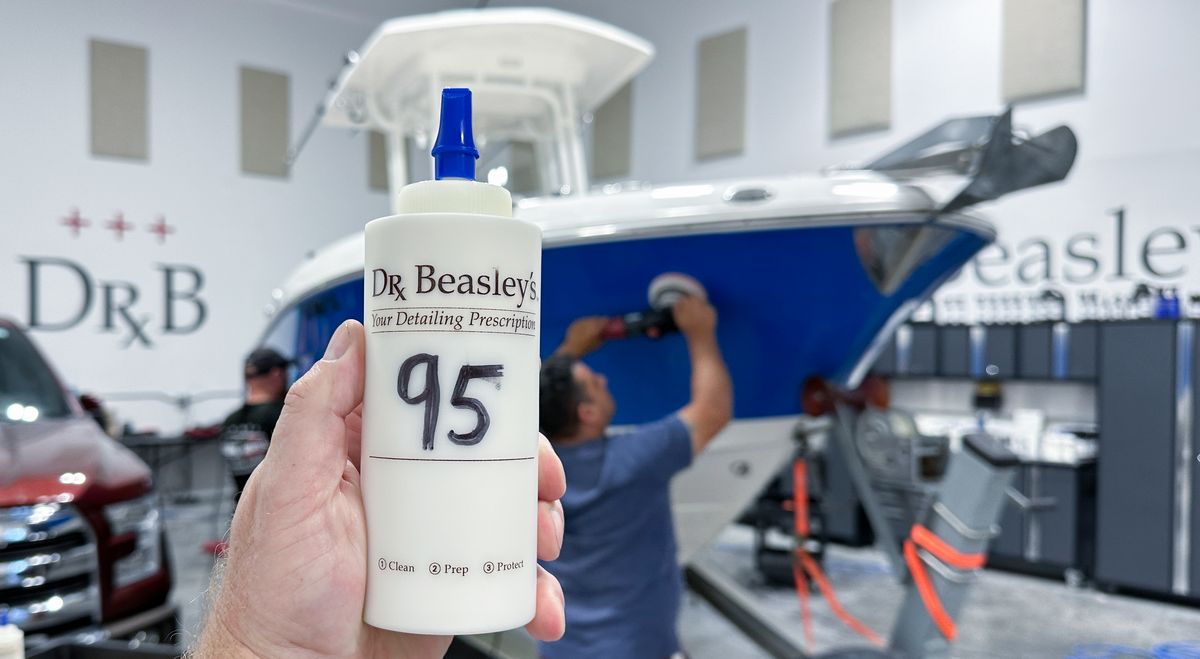
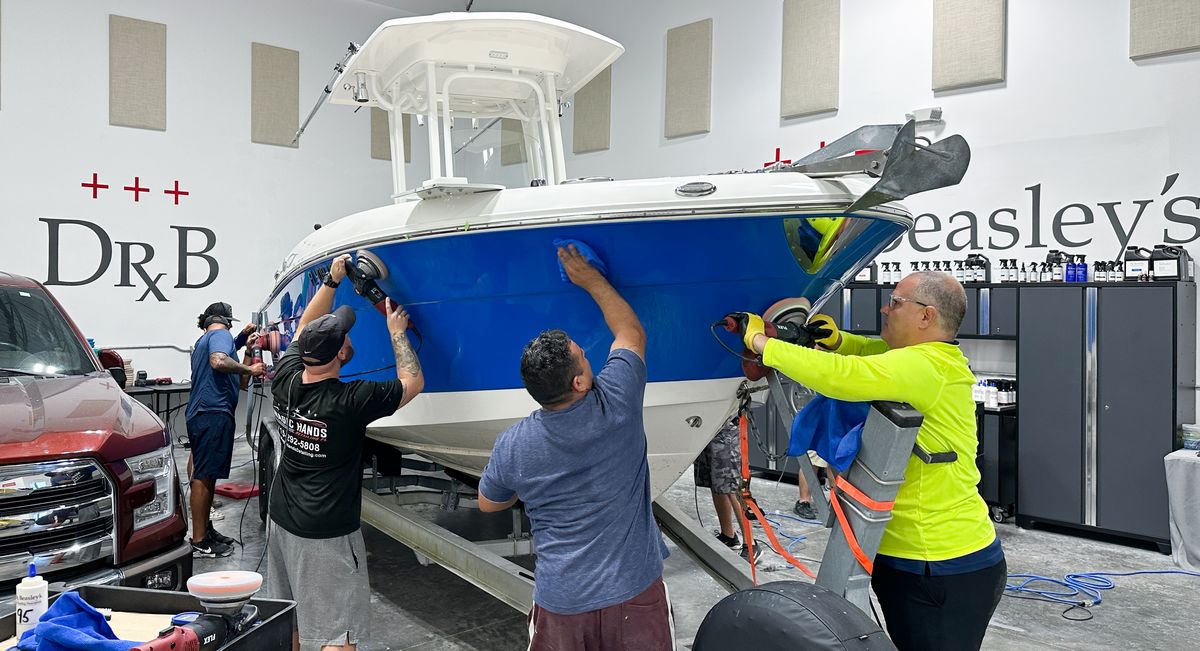
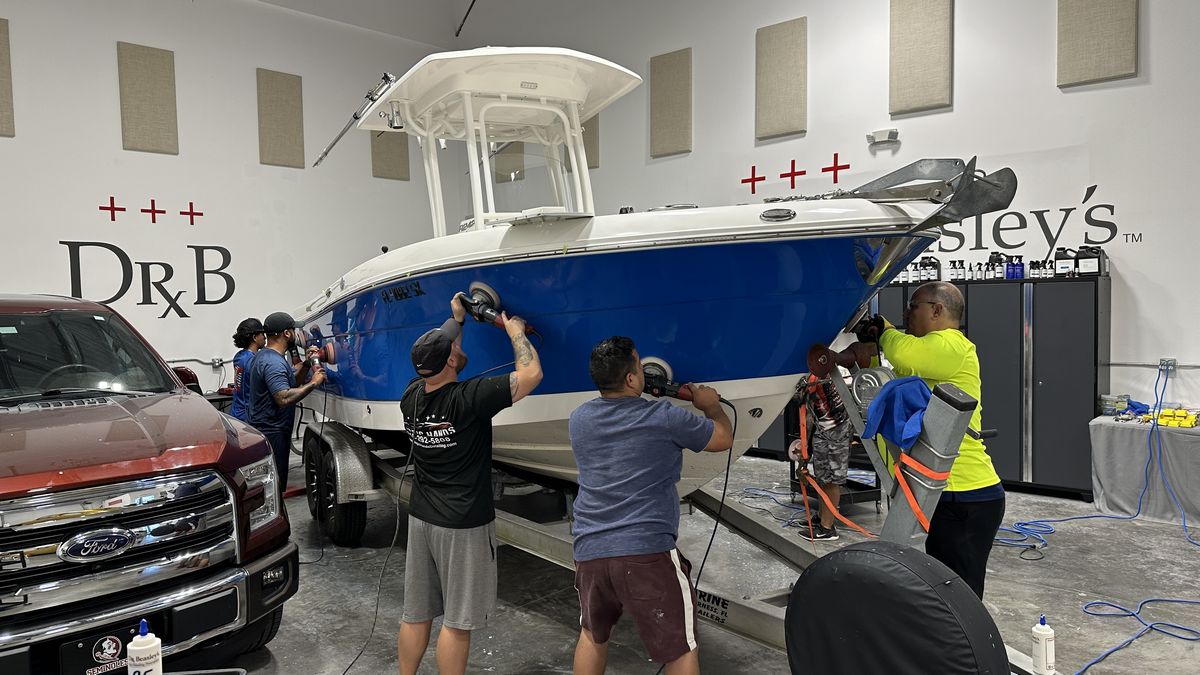
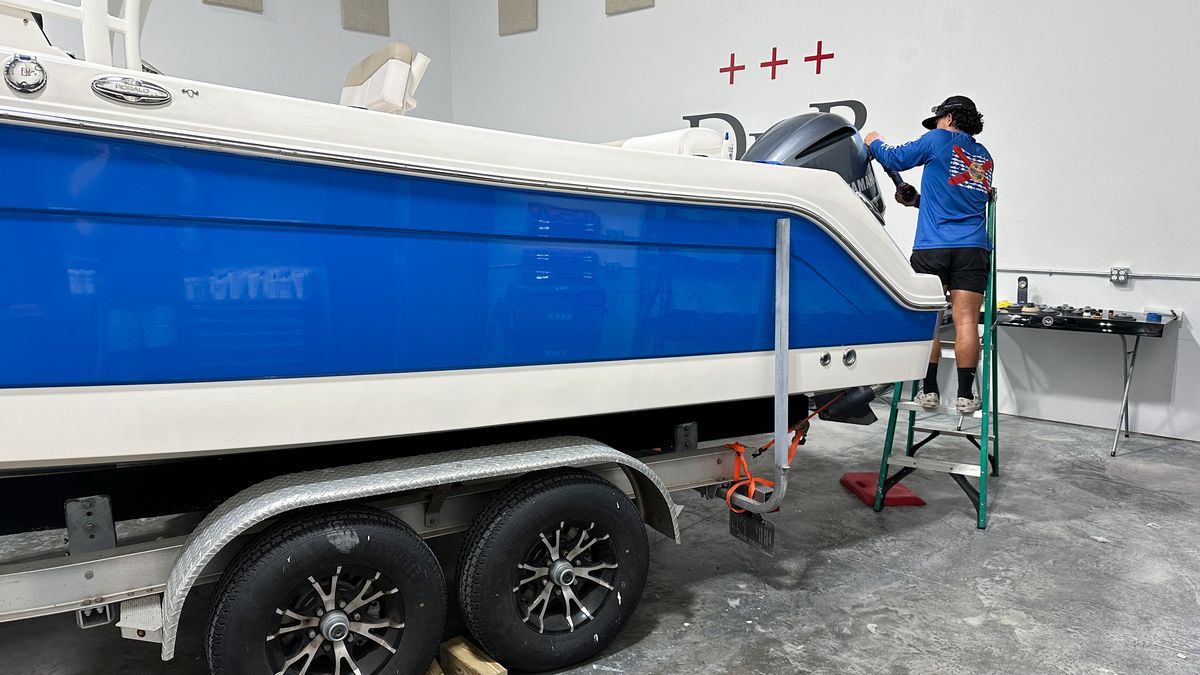
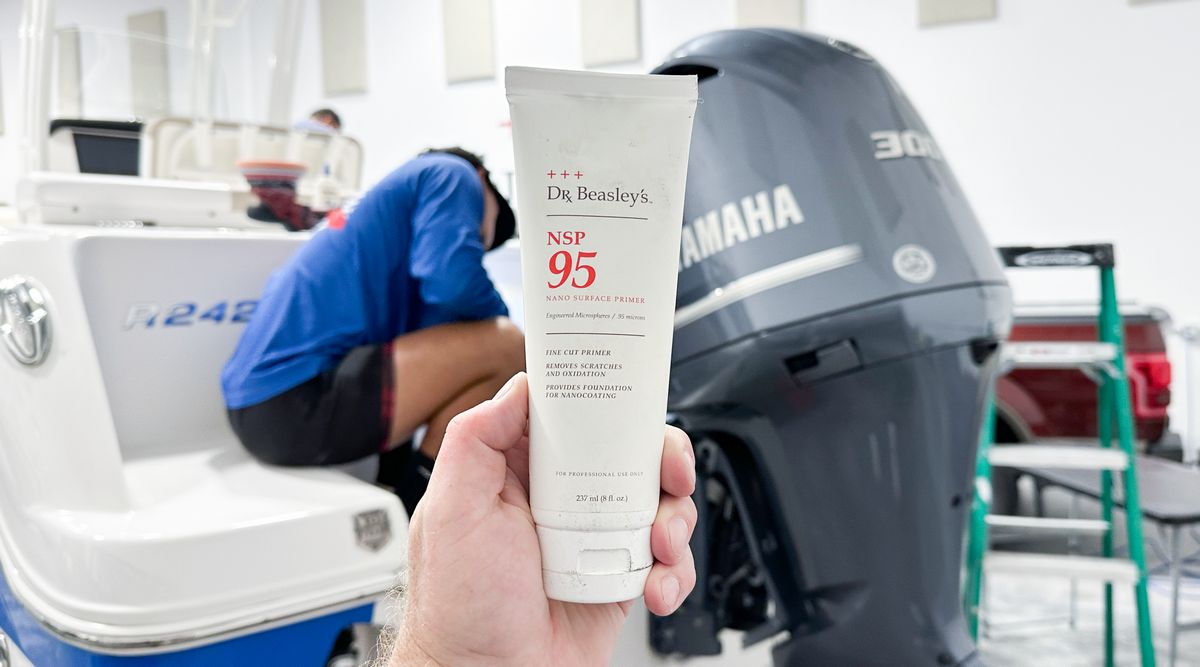
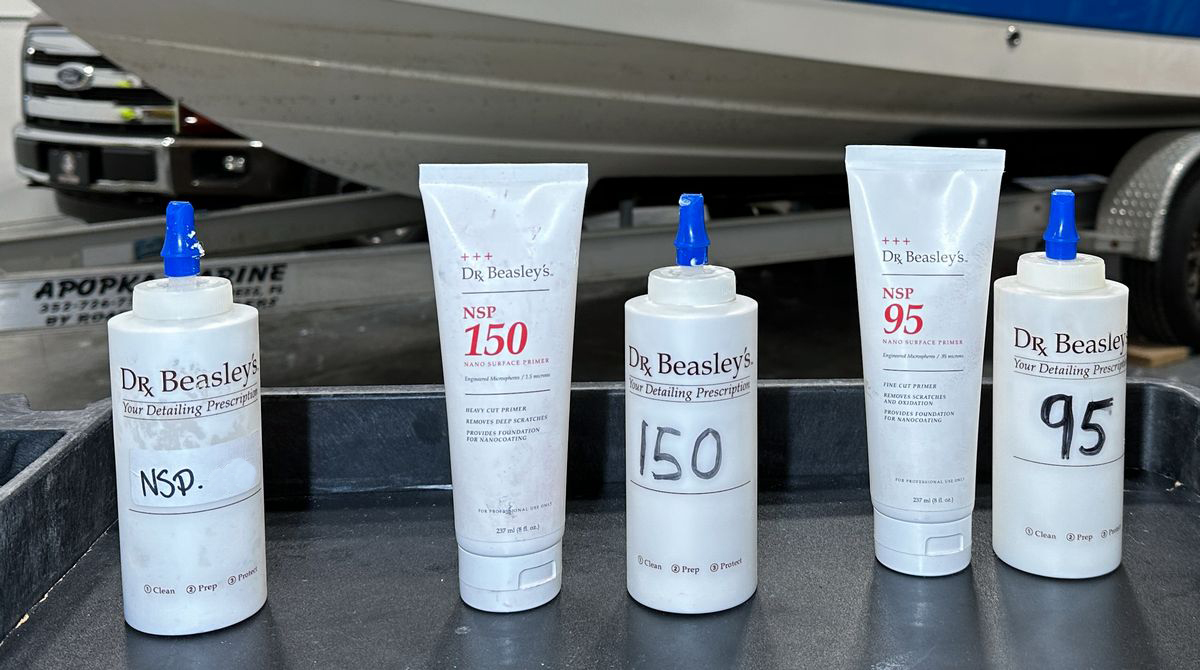
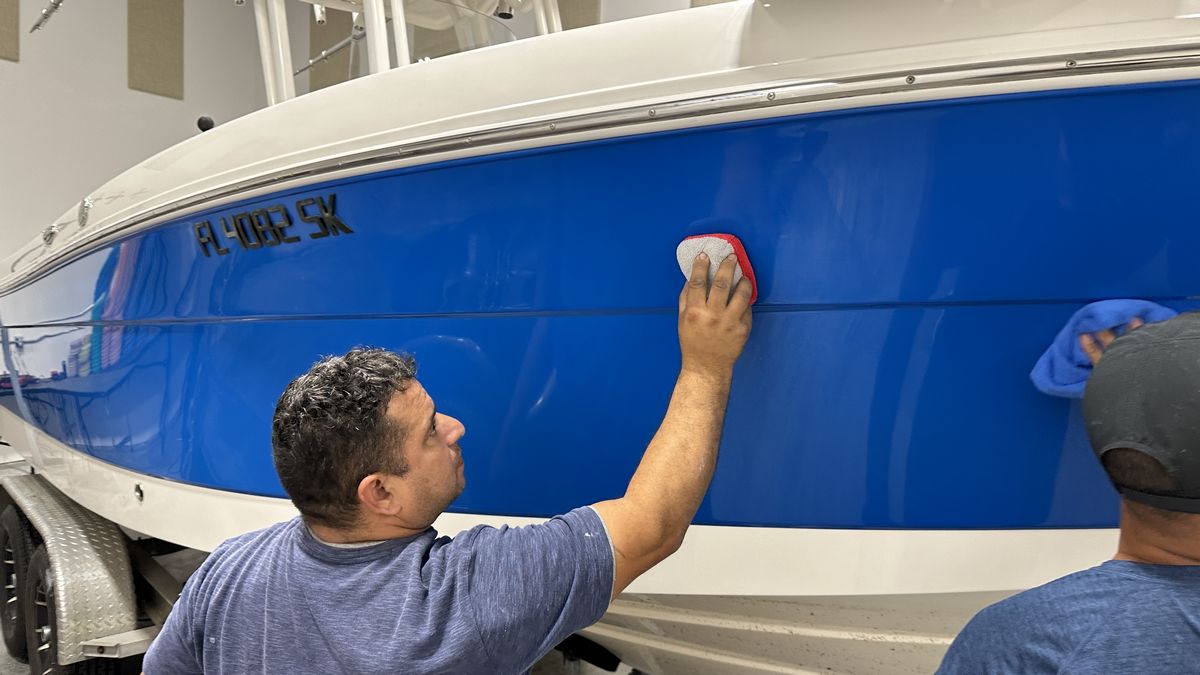
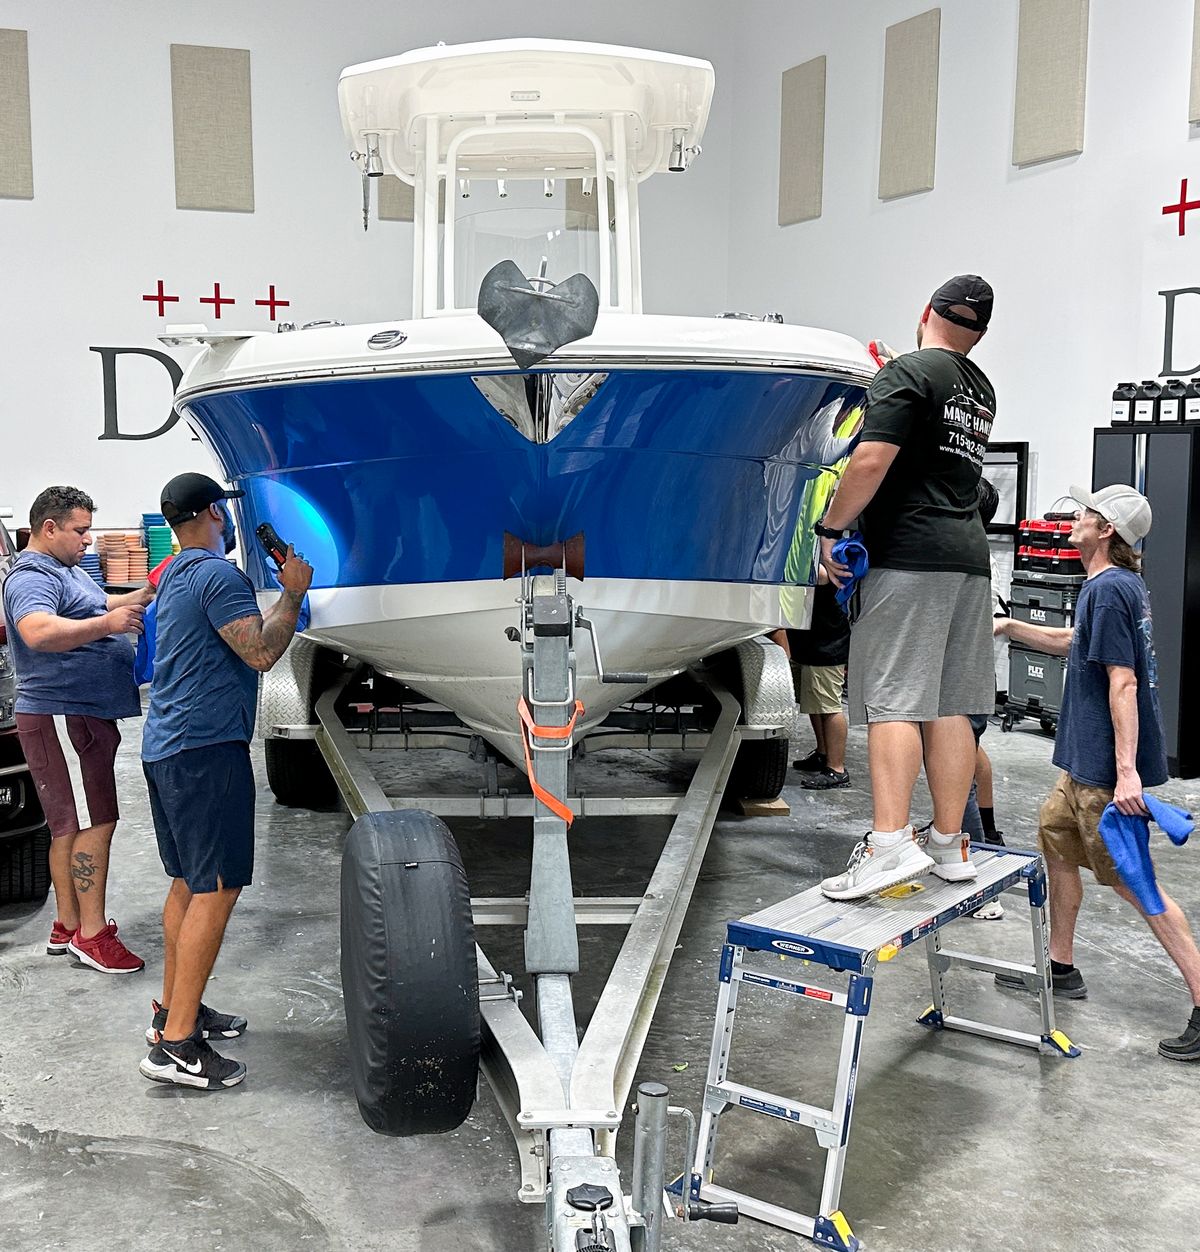
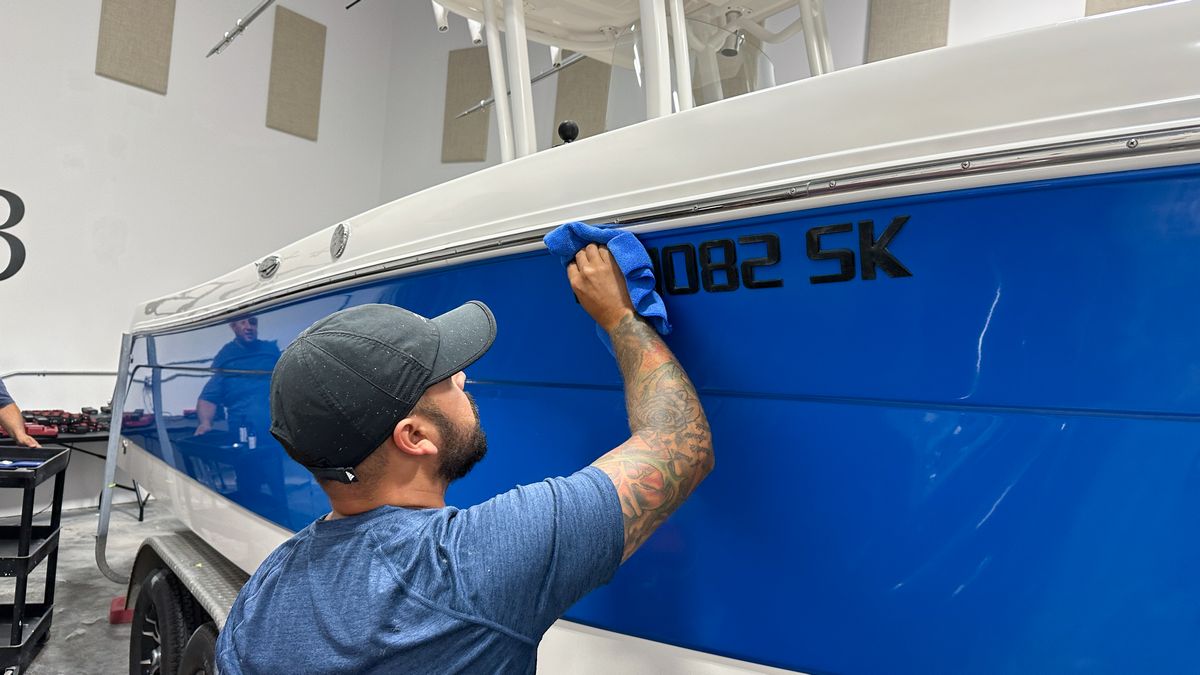
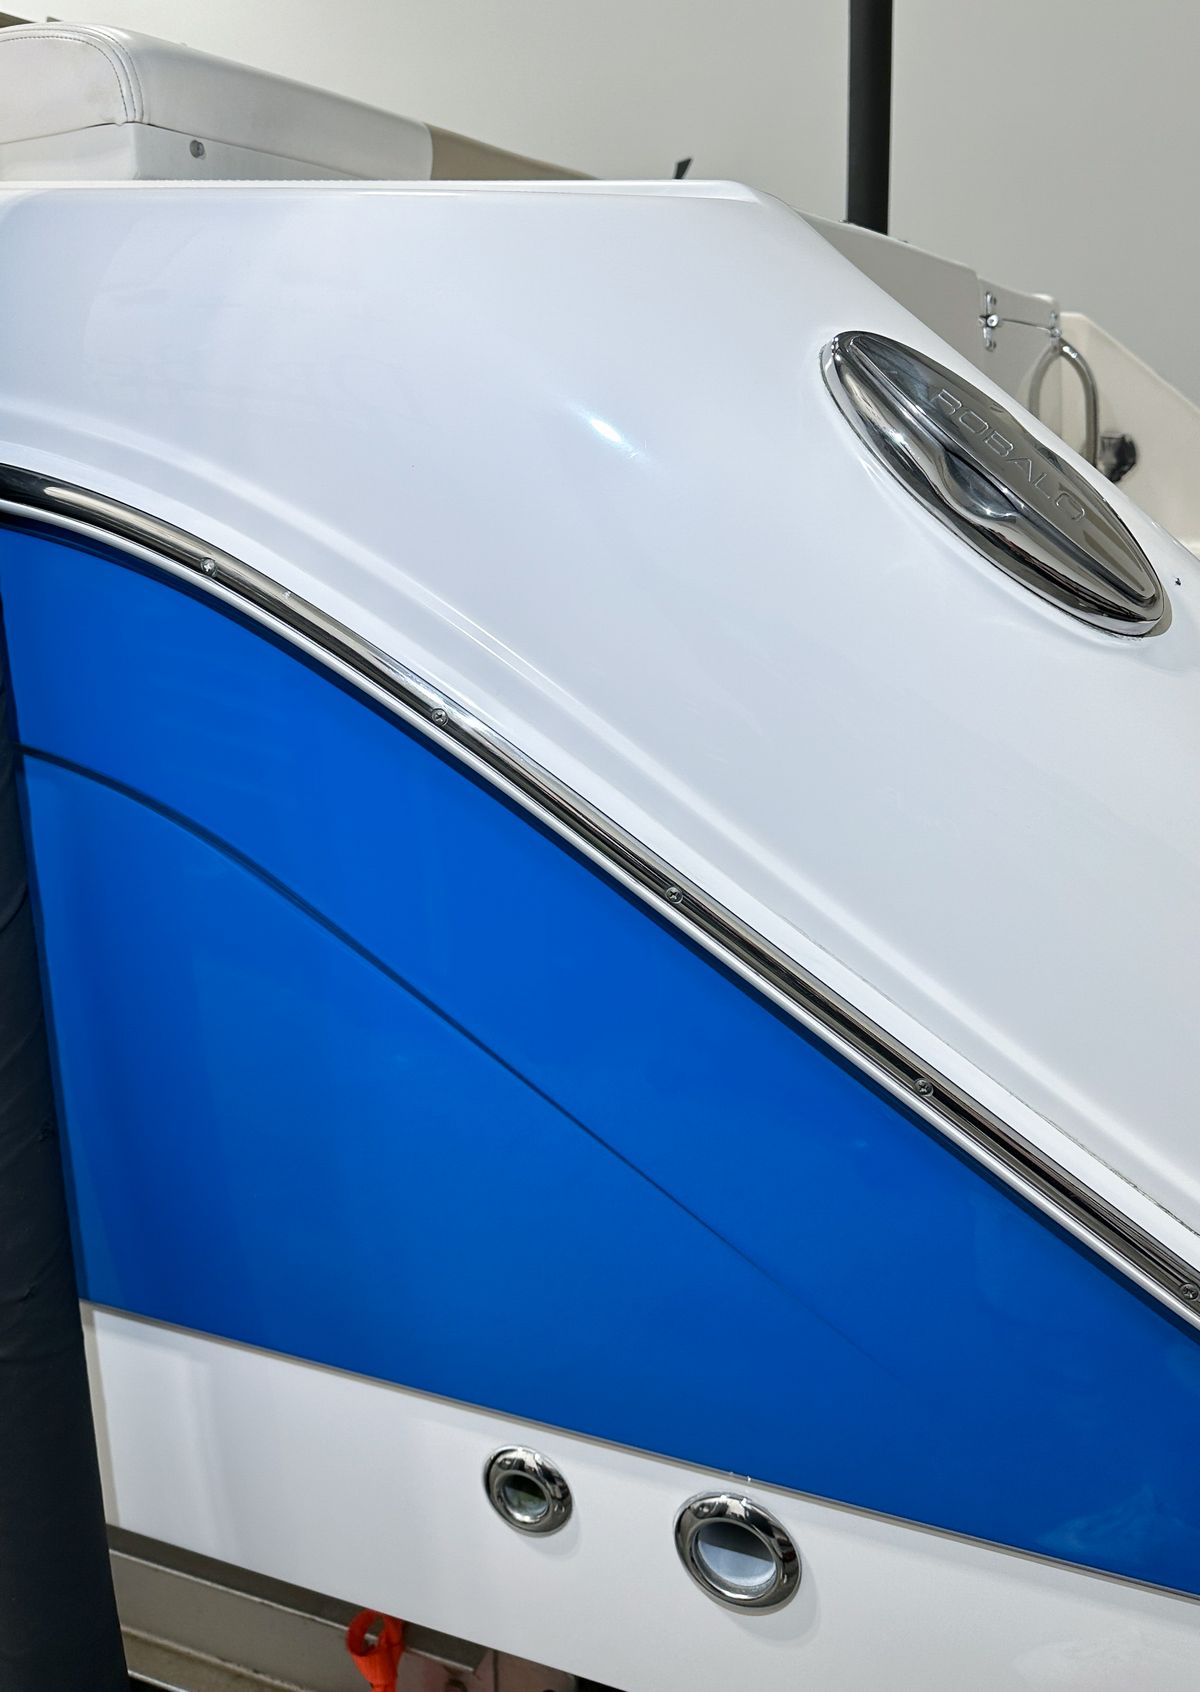
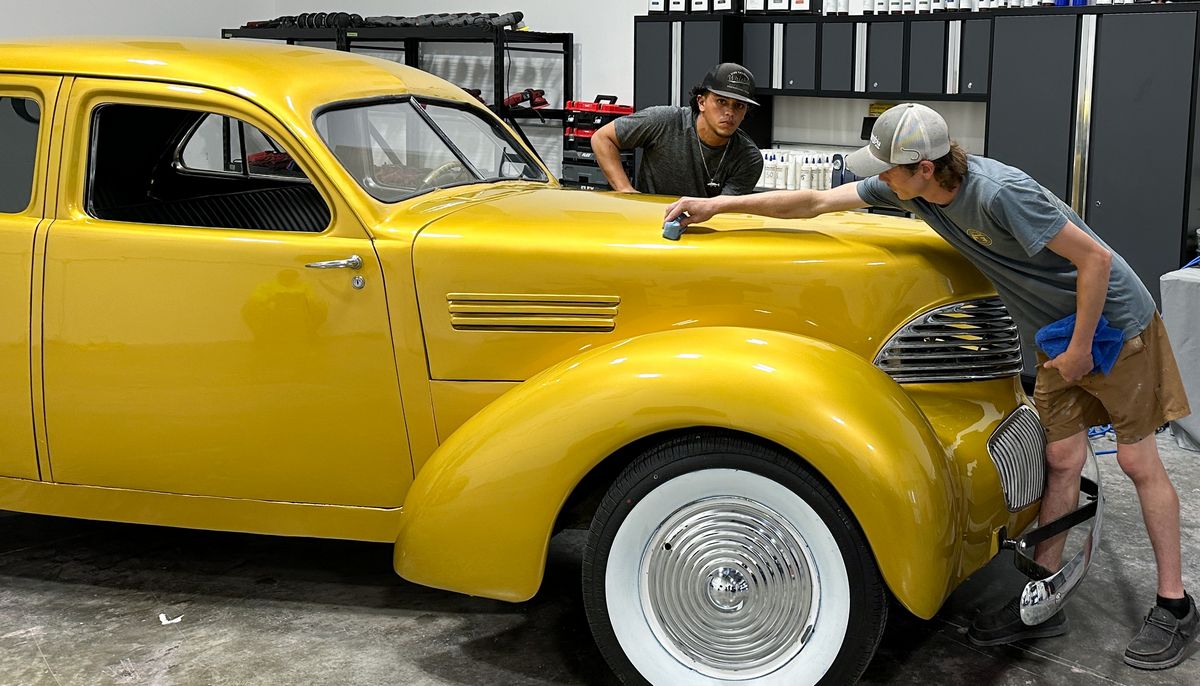
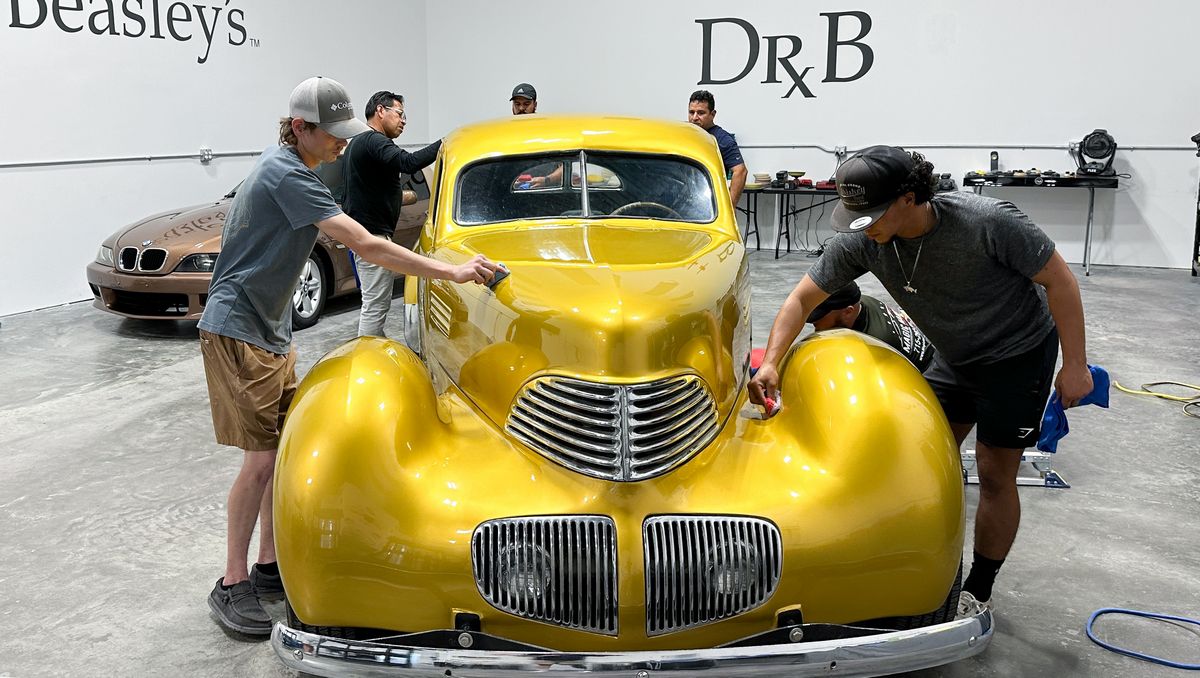
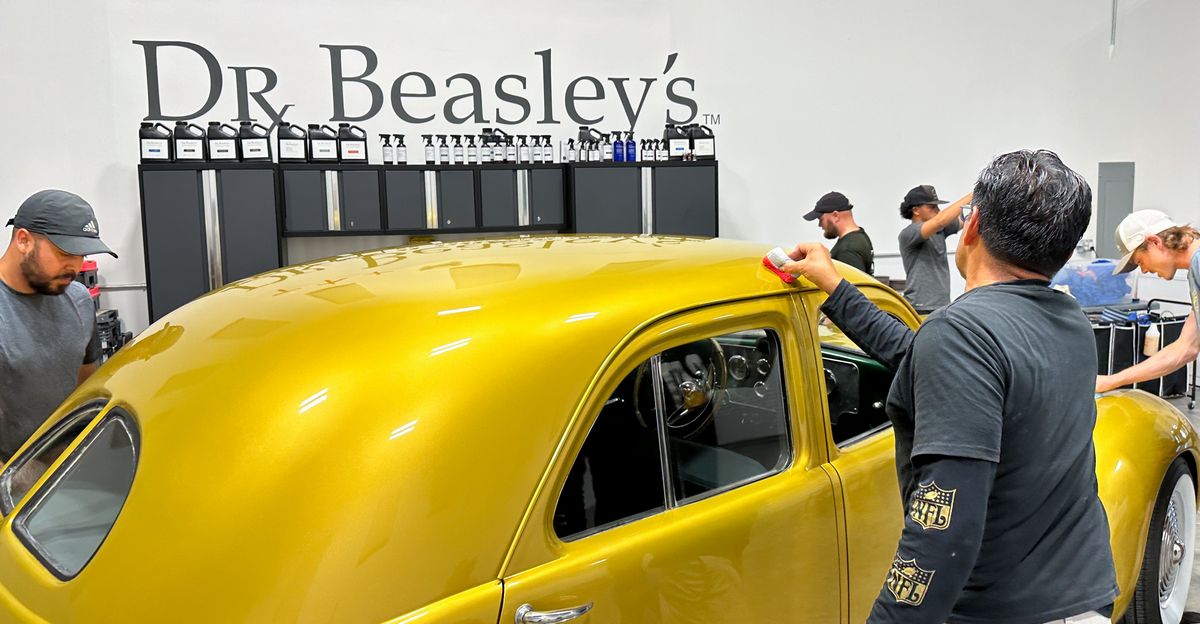
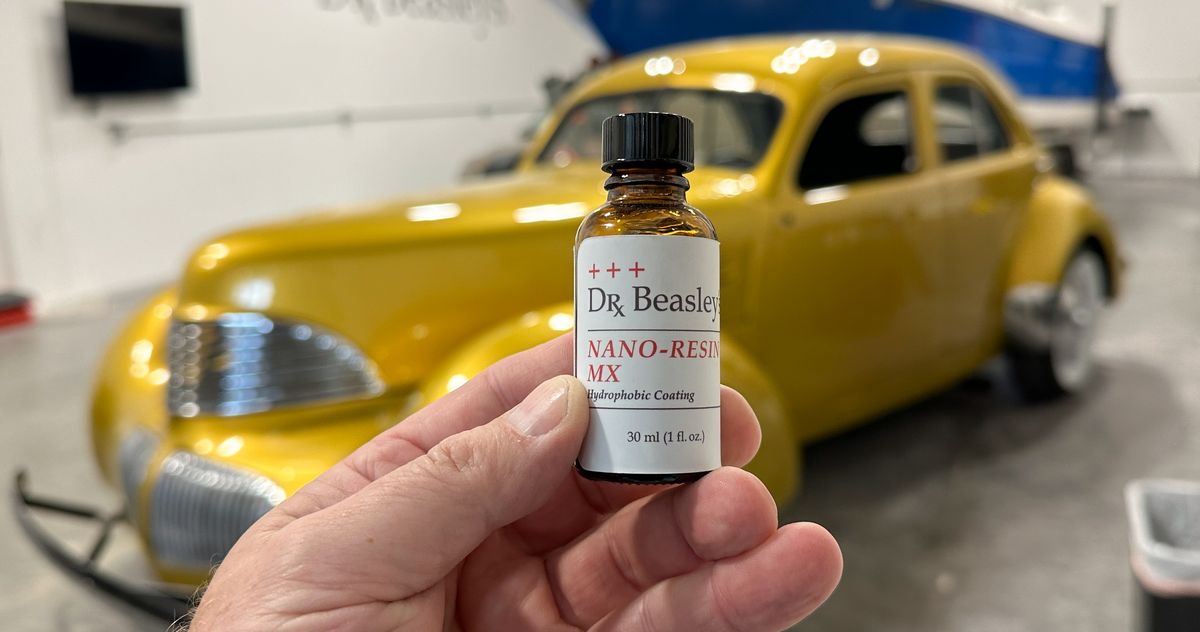
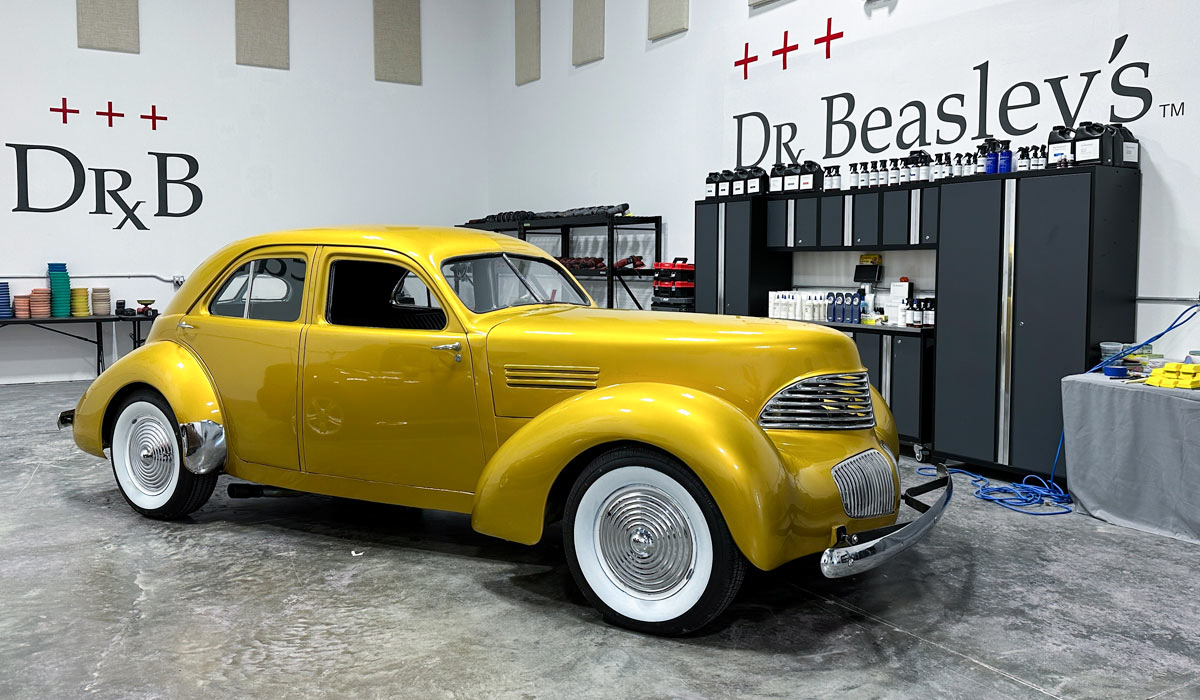
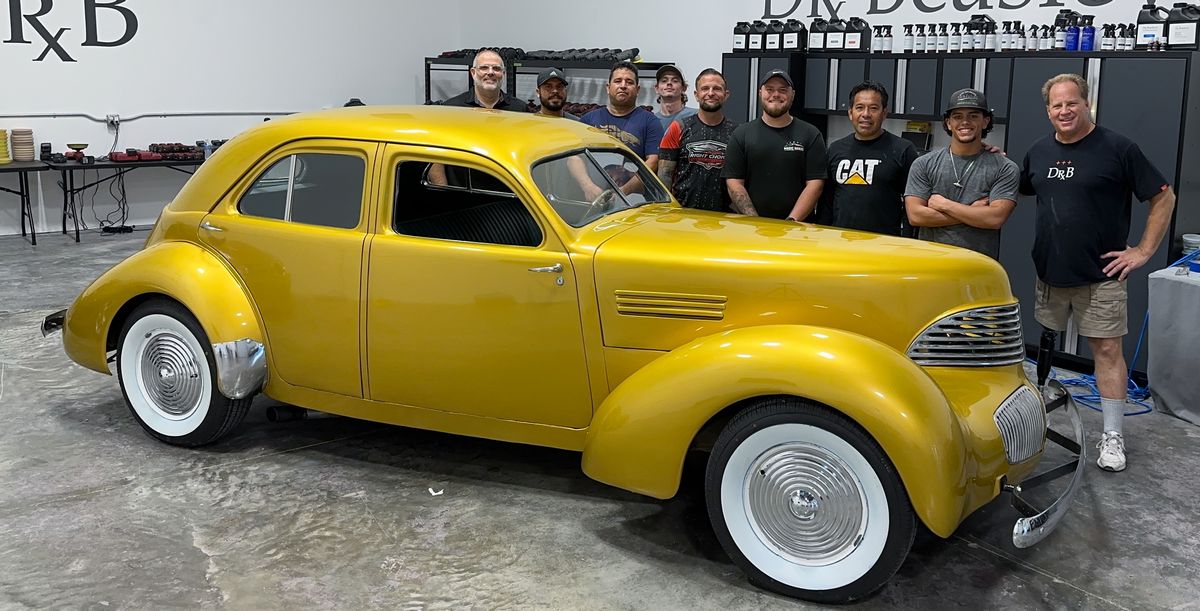
Metal Polishing with NSP Primers
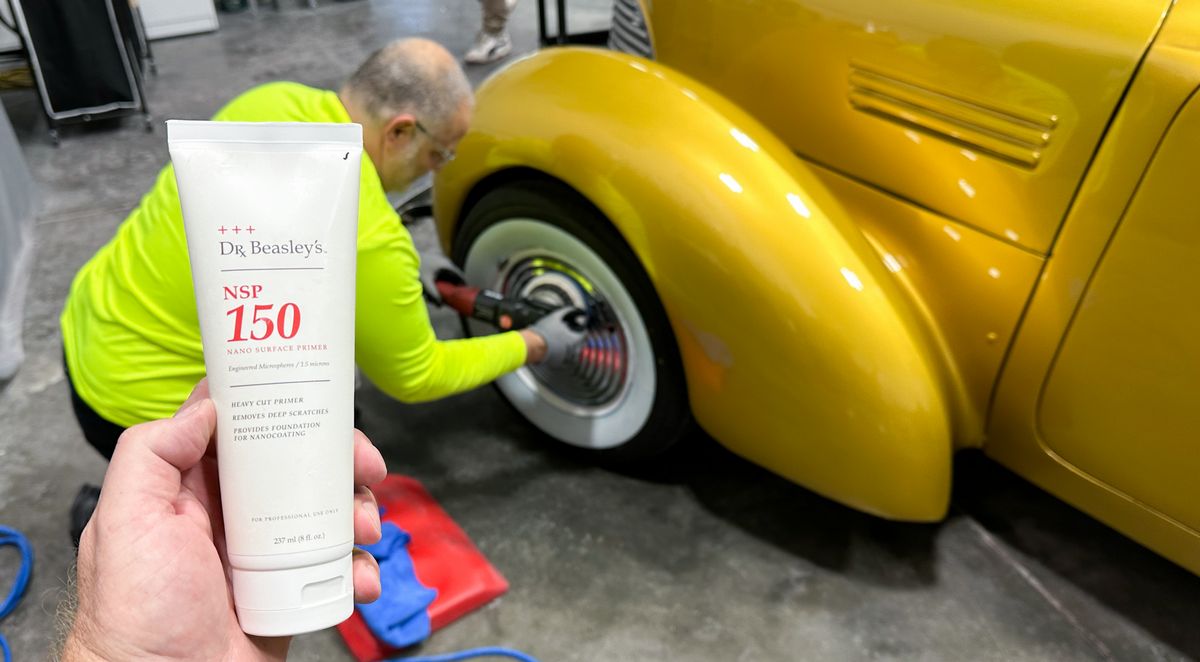
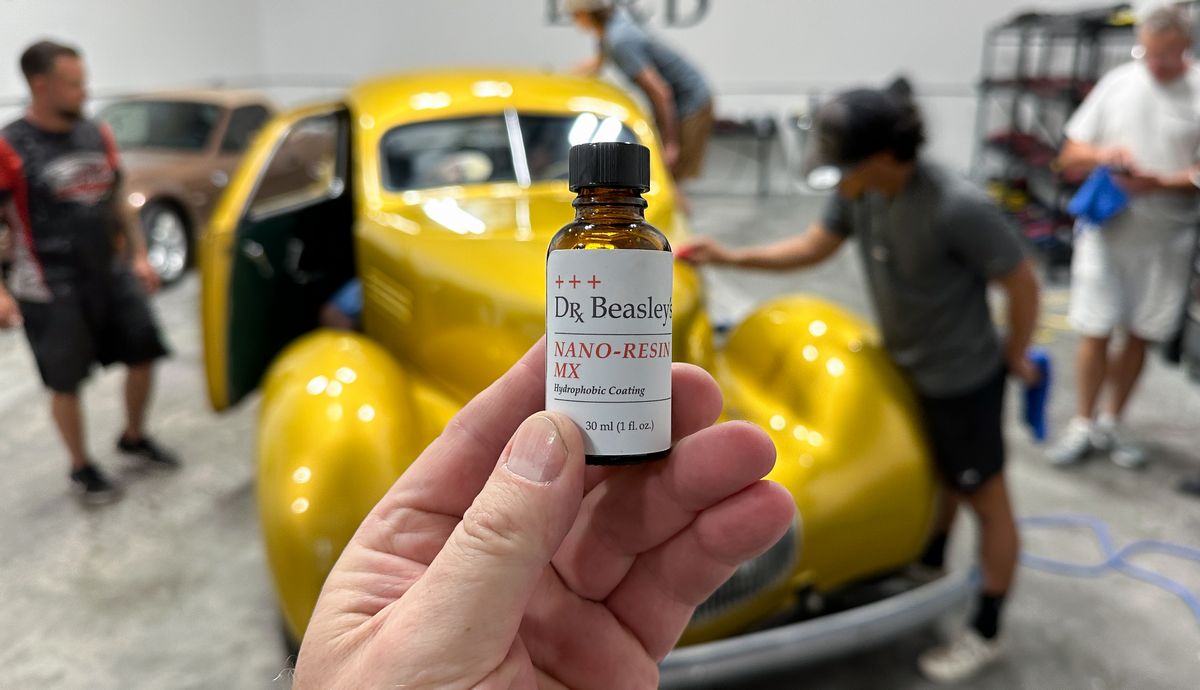
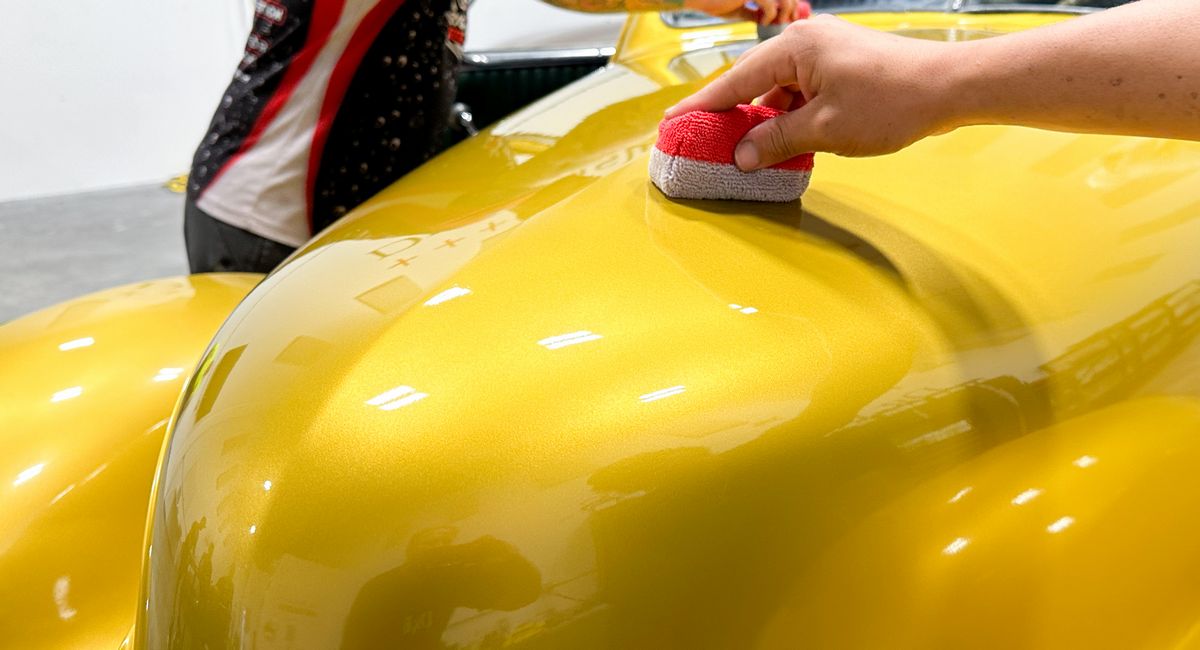
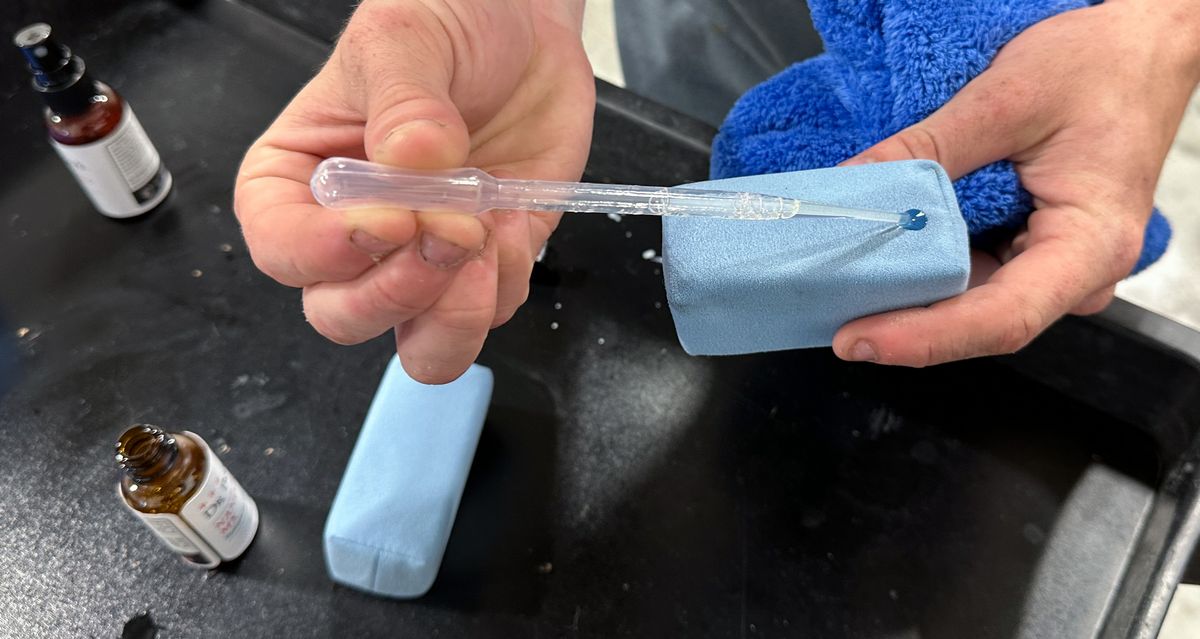
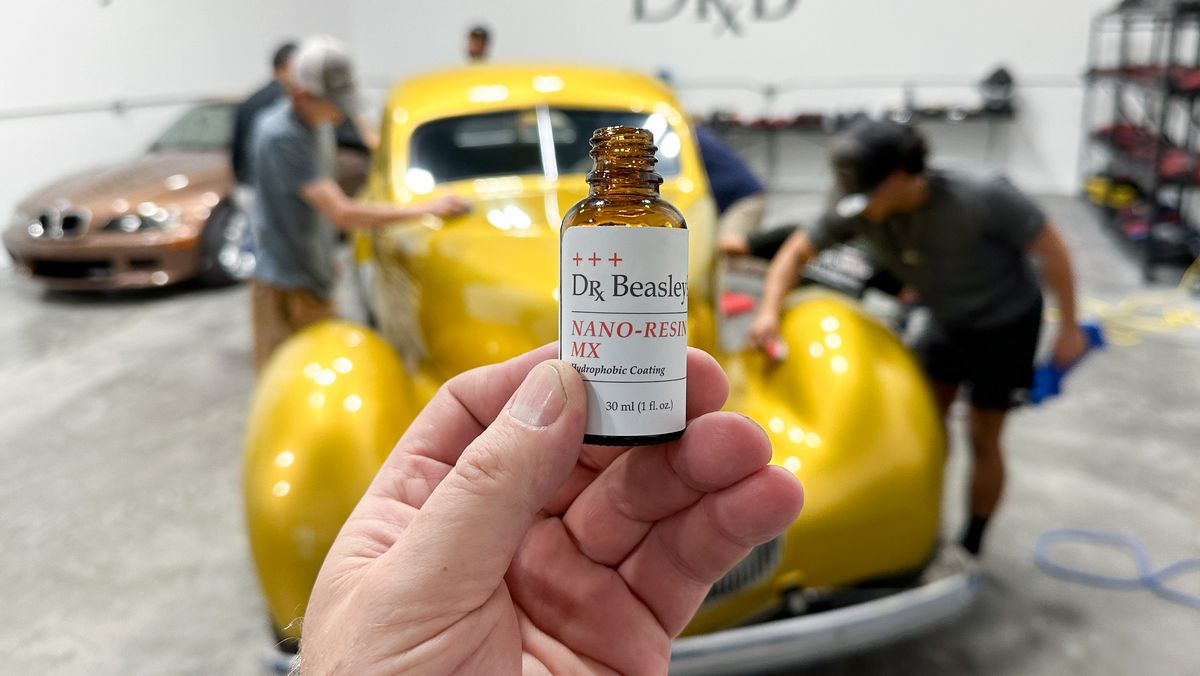
A few months ago while detailing a 1979 AMC Pacer with slotted aluminum mag wheels and also a 1978 Ford Bronco, also with uncoated aluminum wheels, I did some experimenting and found out that not only does the abrasive technology in the Dr. Beasley's NSP Primers excel at paint correction they also excel at removing oxidation and restoring brilliance to uncoated metals.
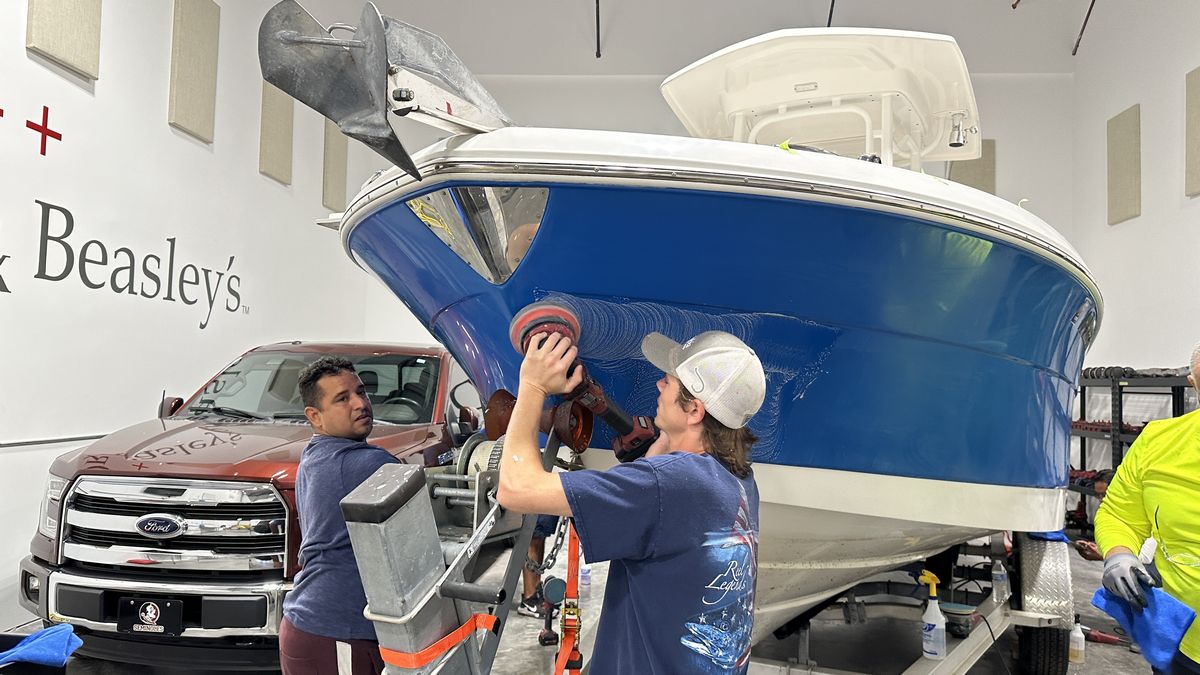
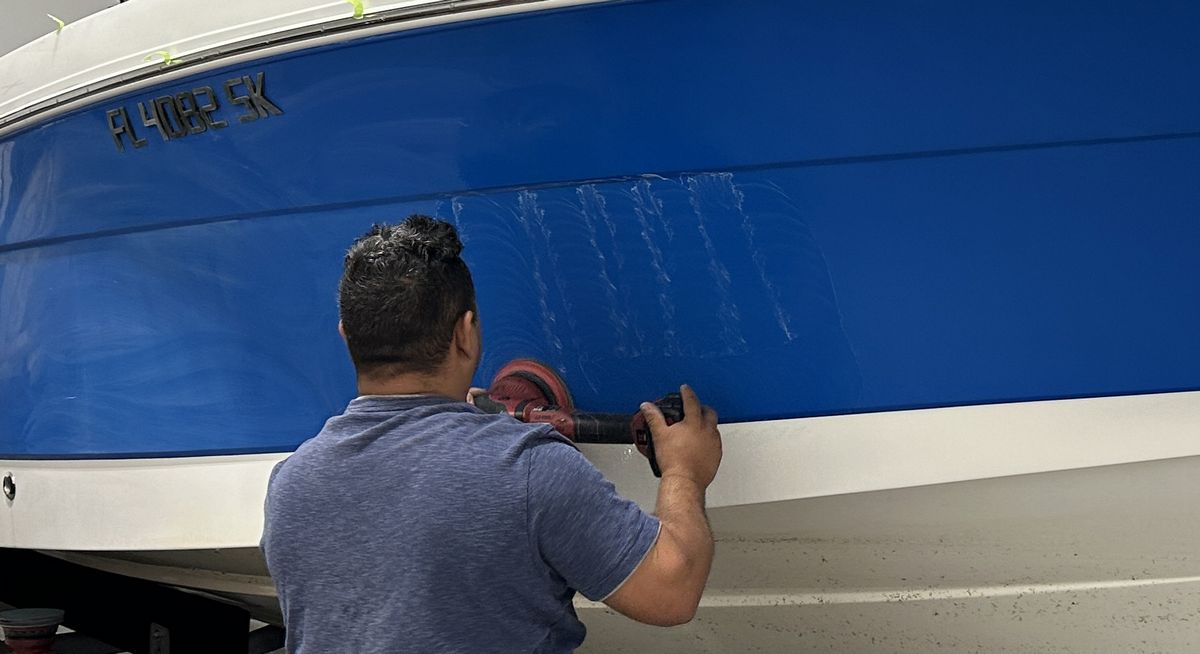
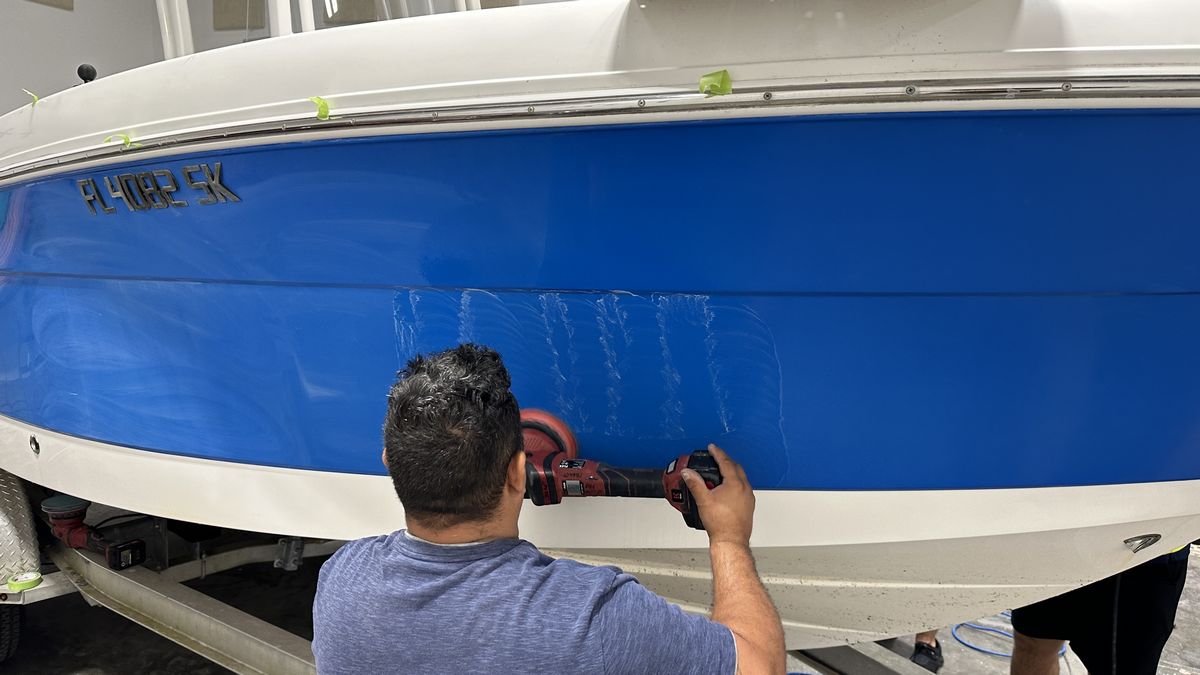
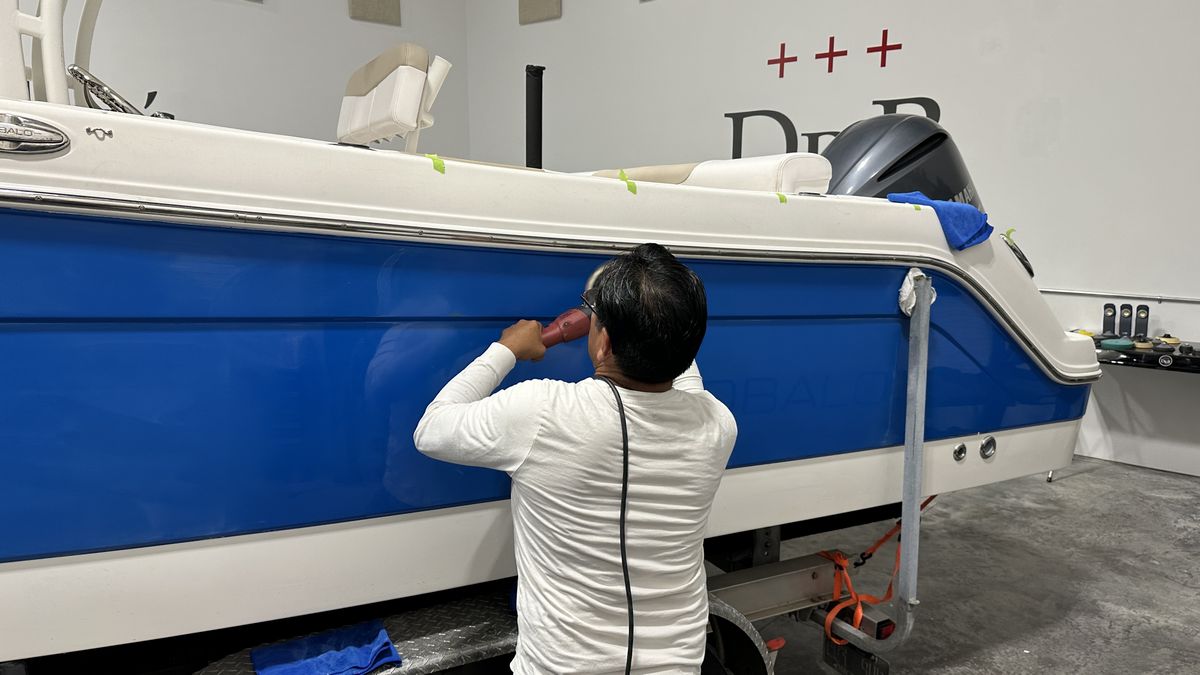
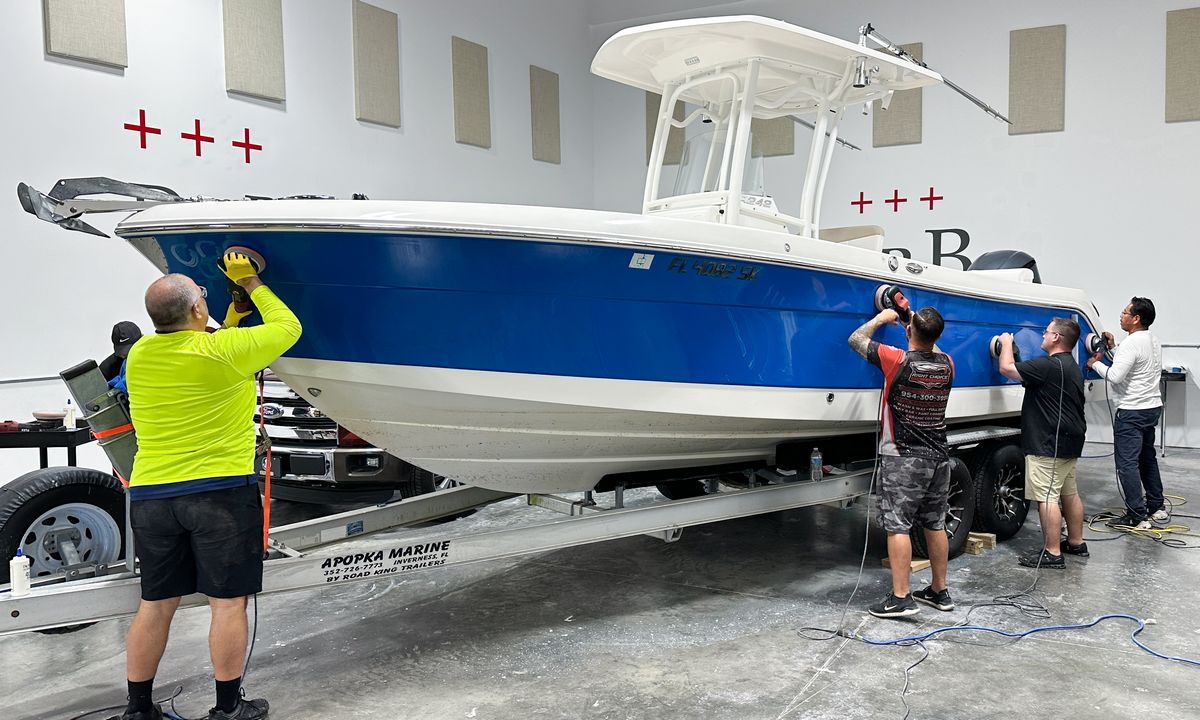
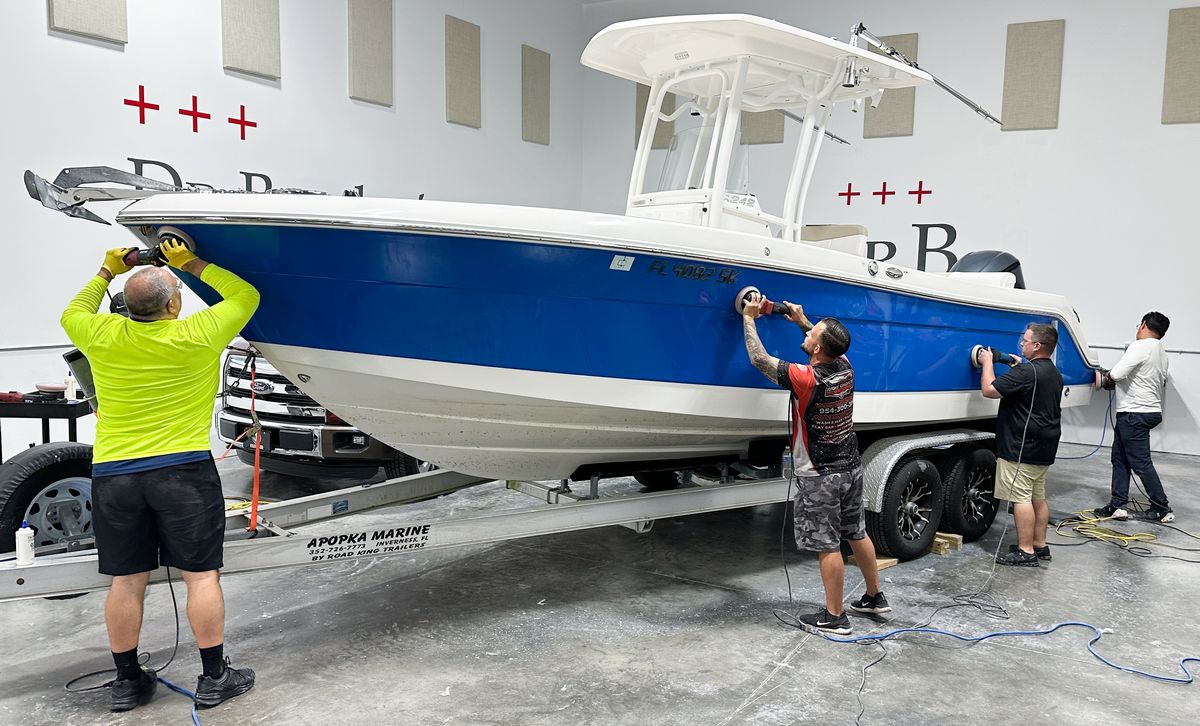
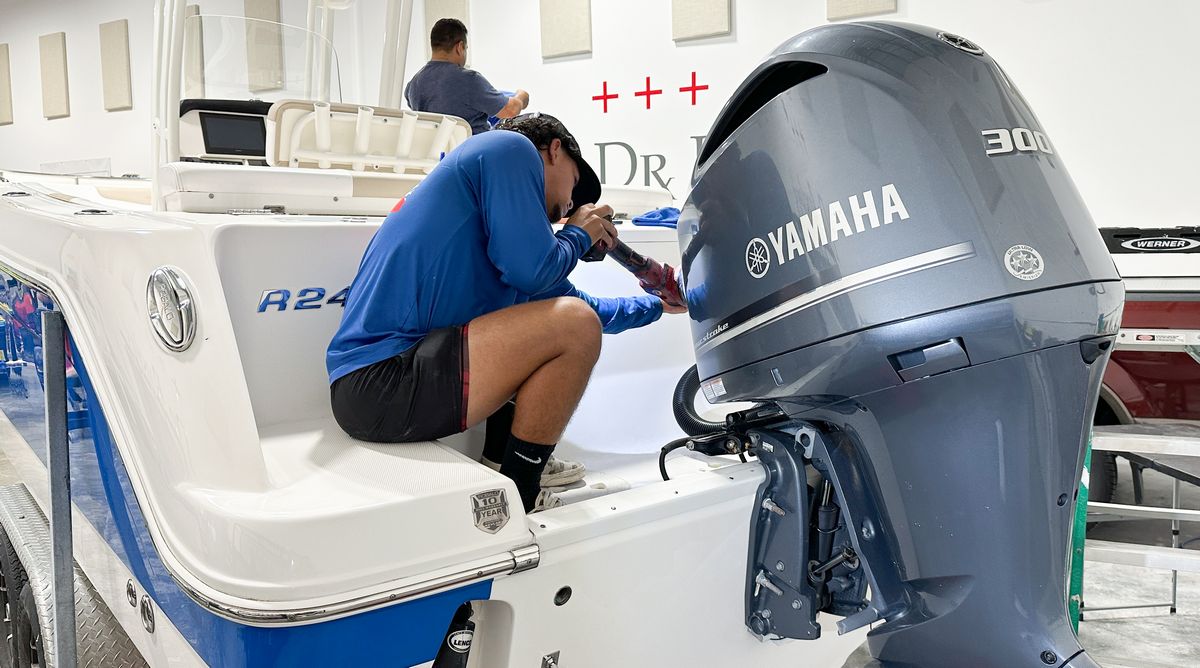
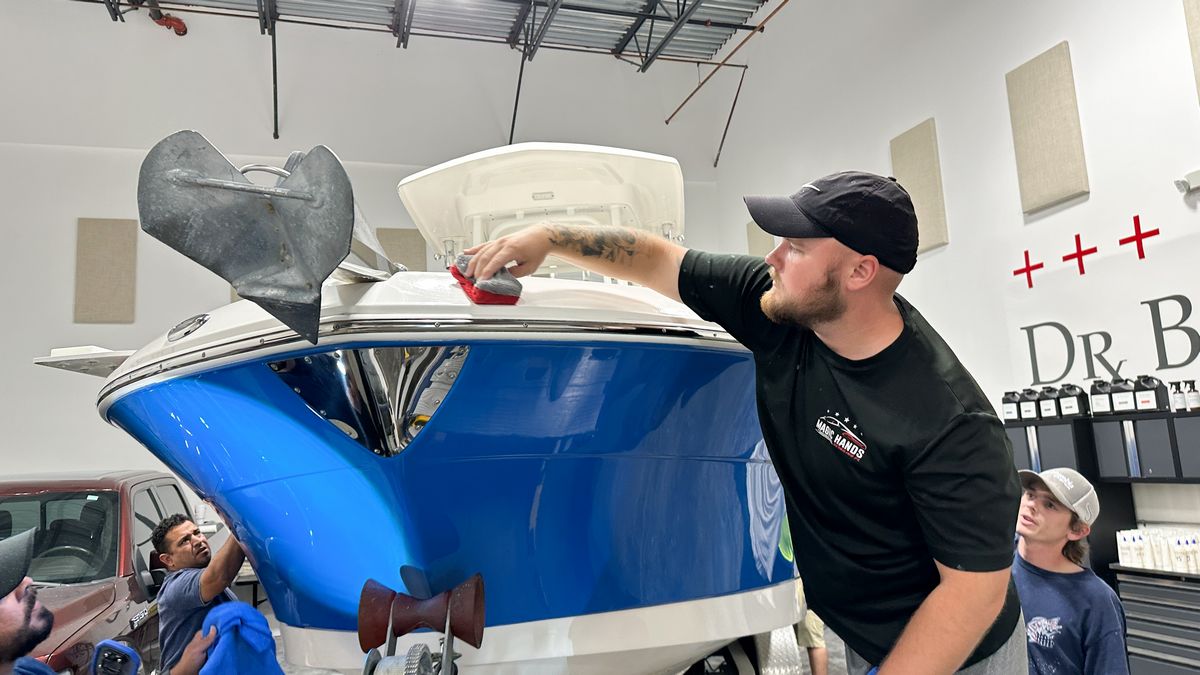
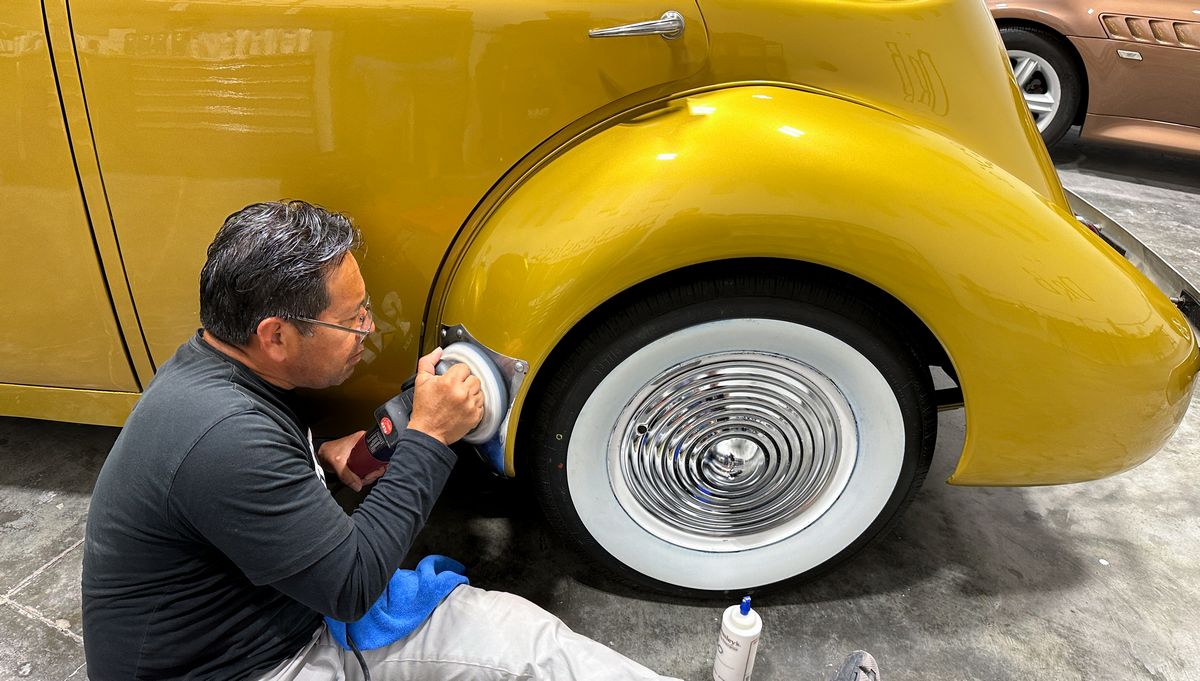
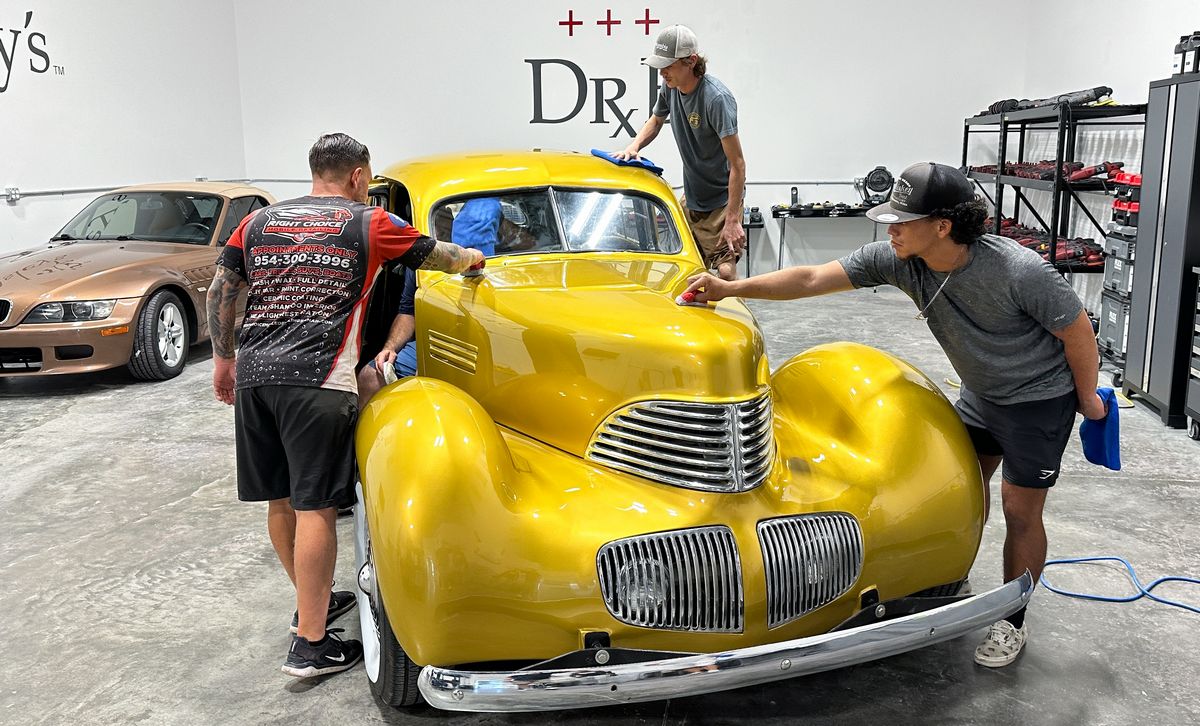
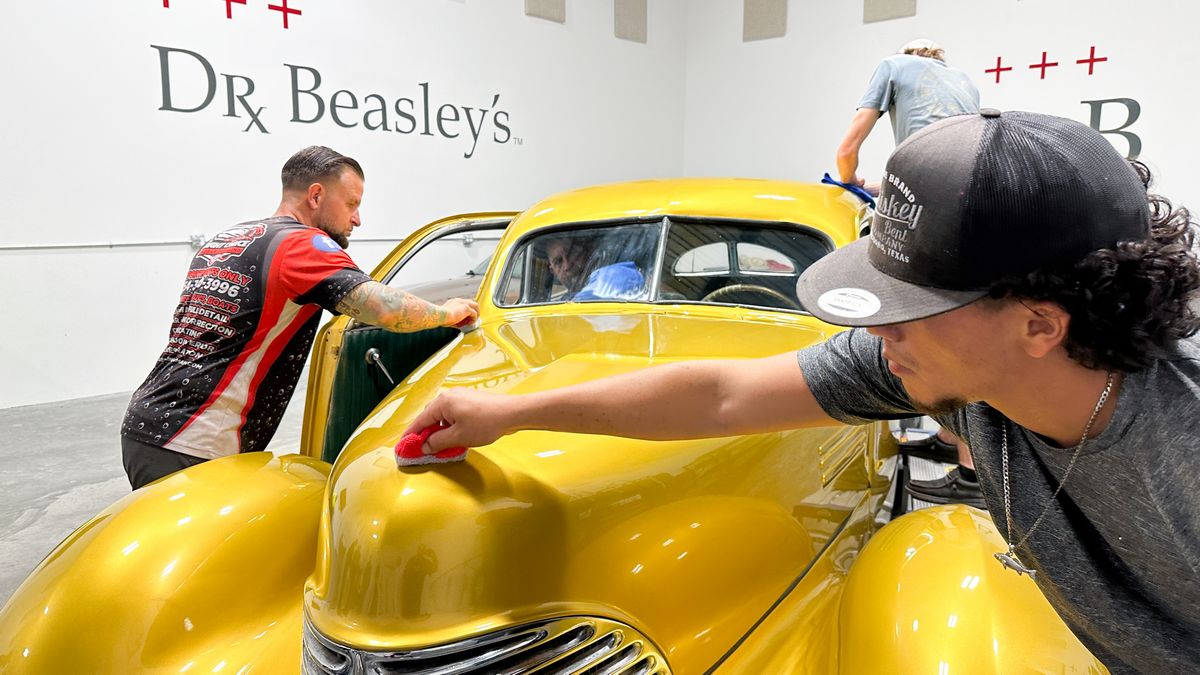
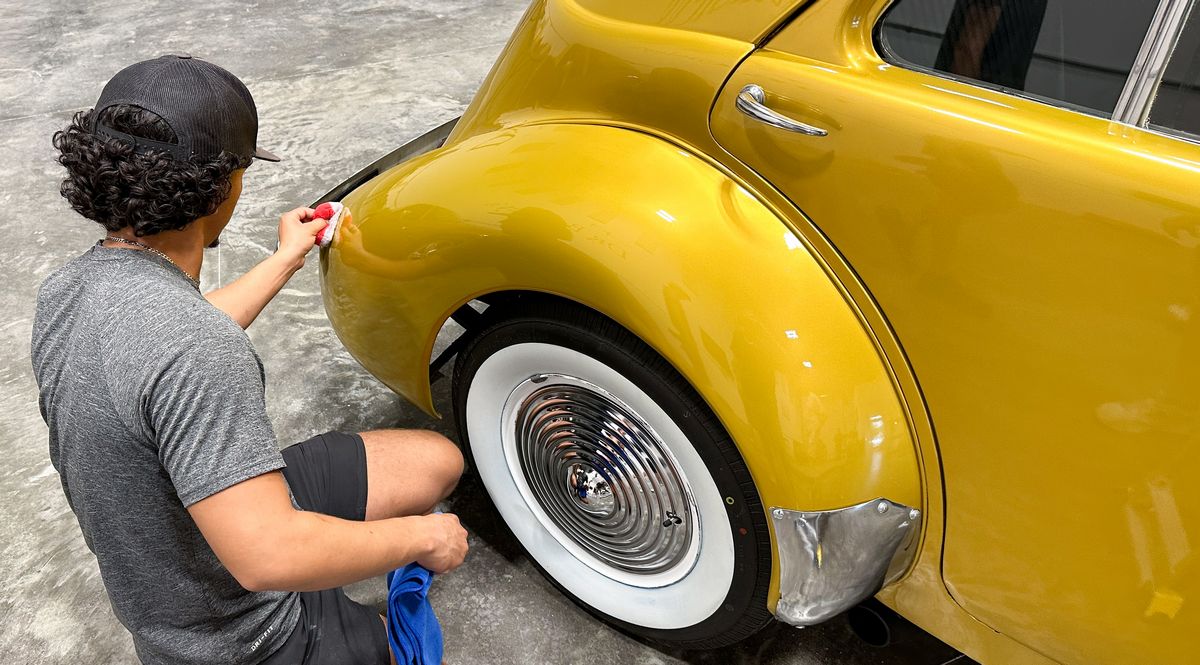
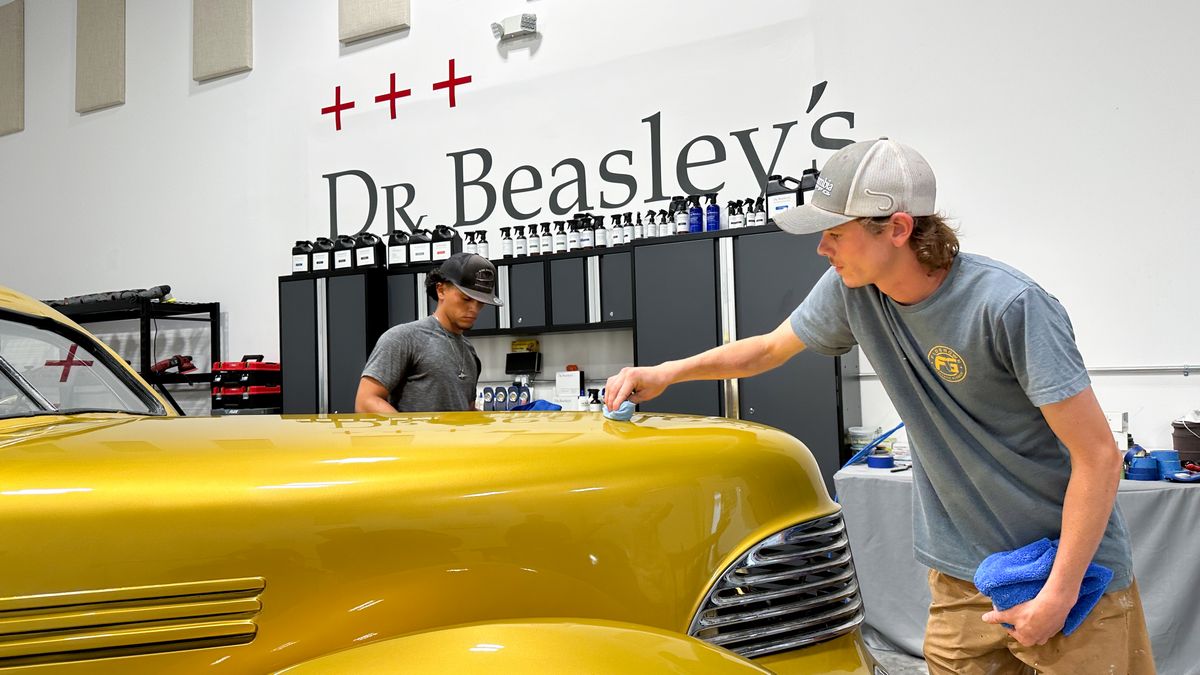
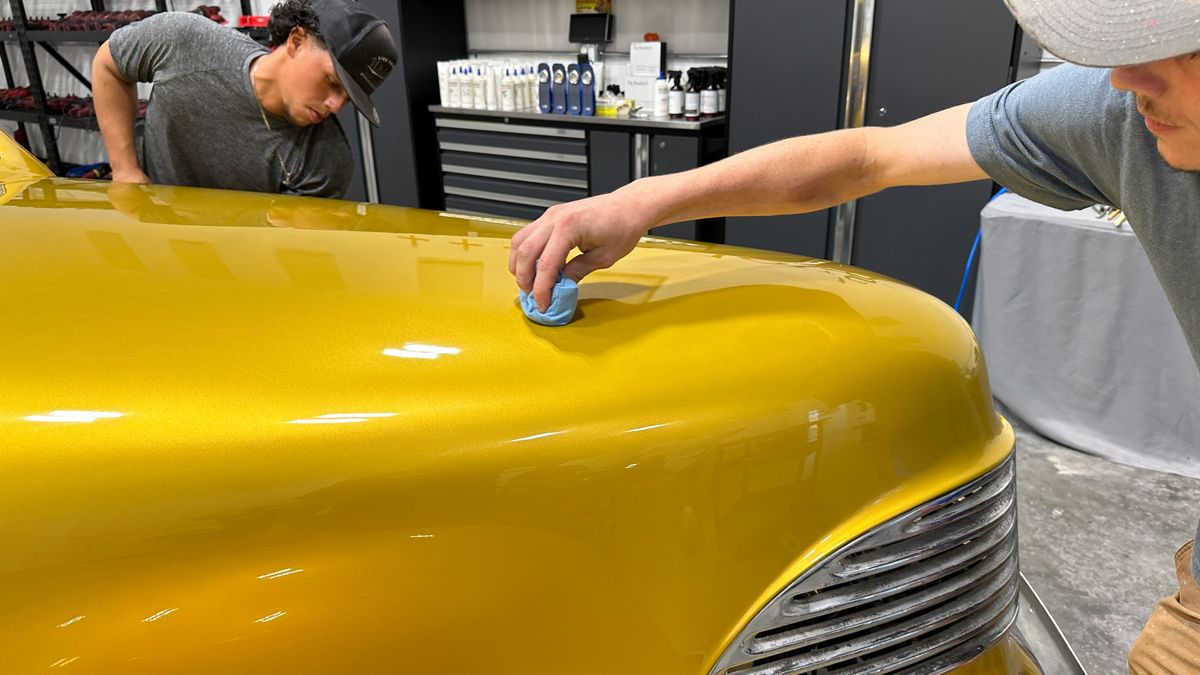
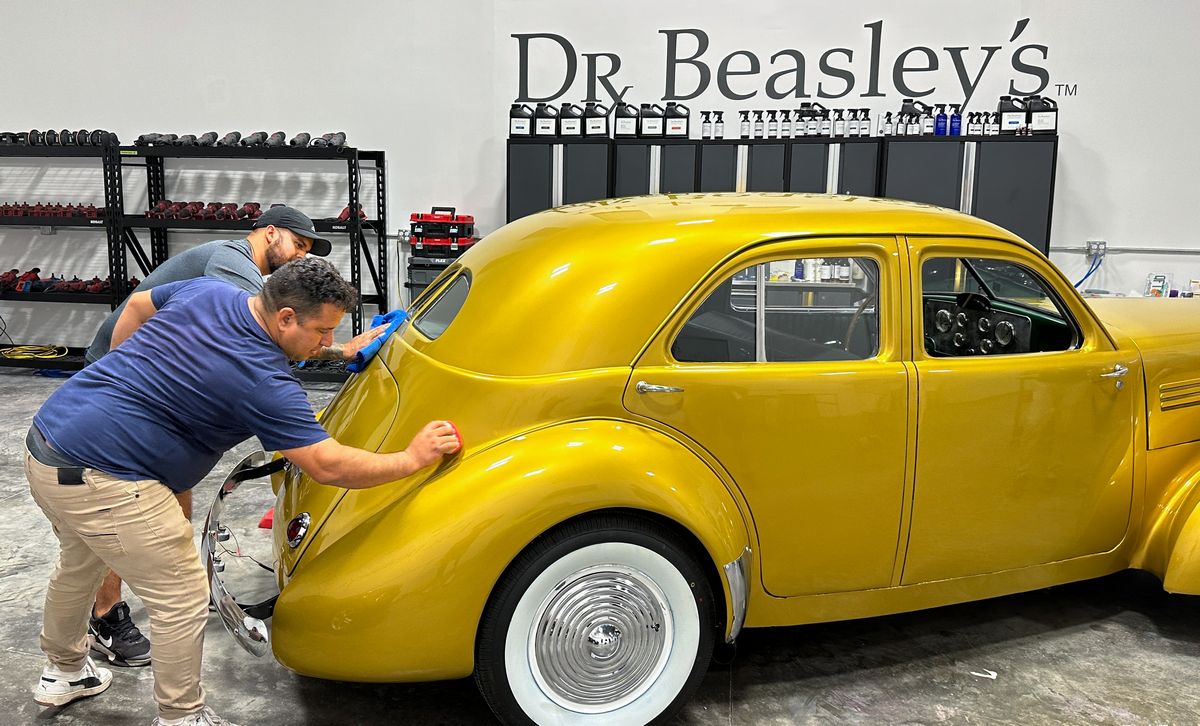
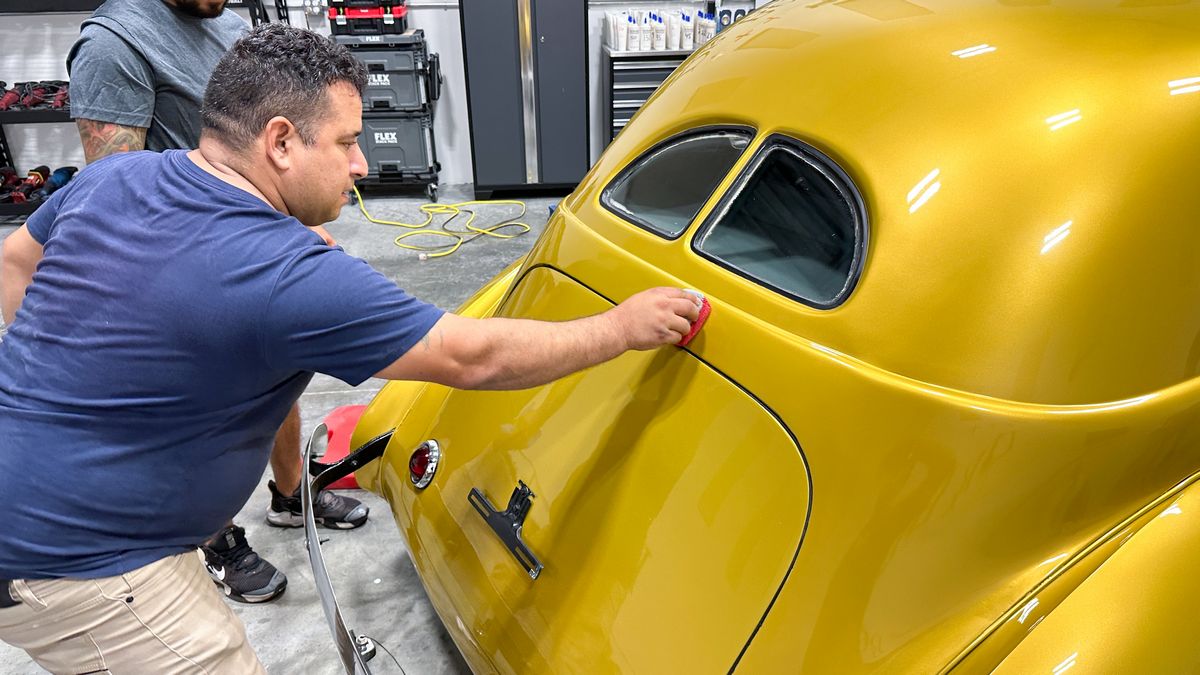
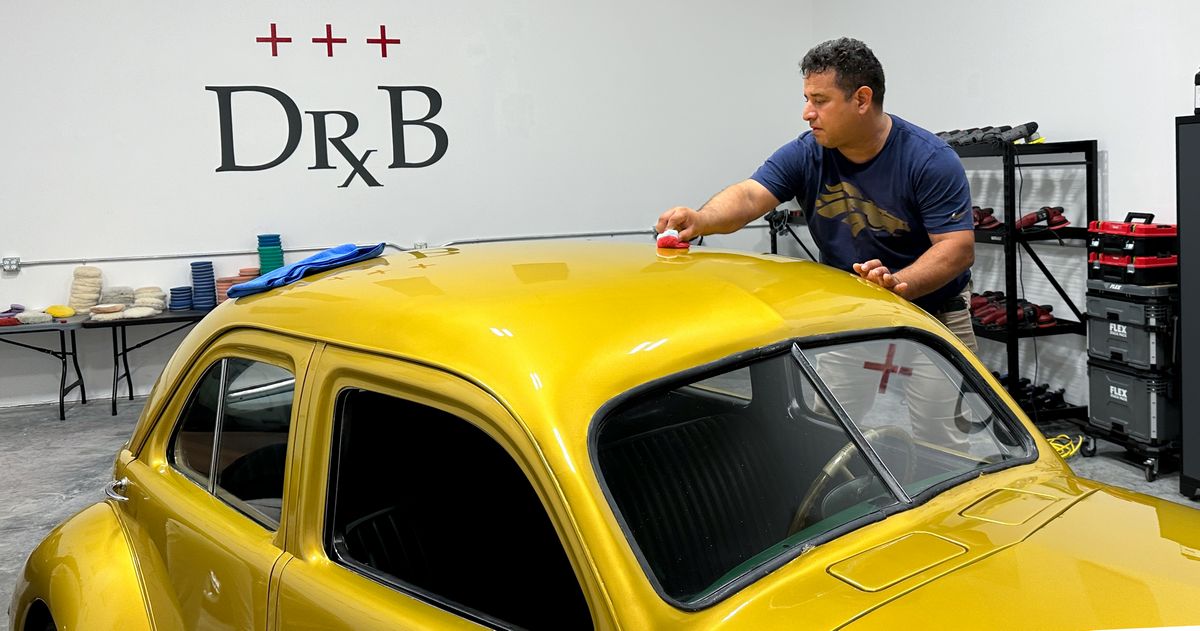
Here's Juan machine polishing the stainless-steel rock guards on the front of the rear fenders.
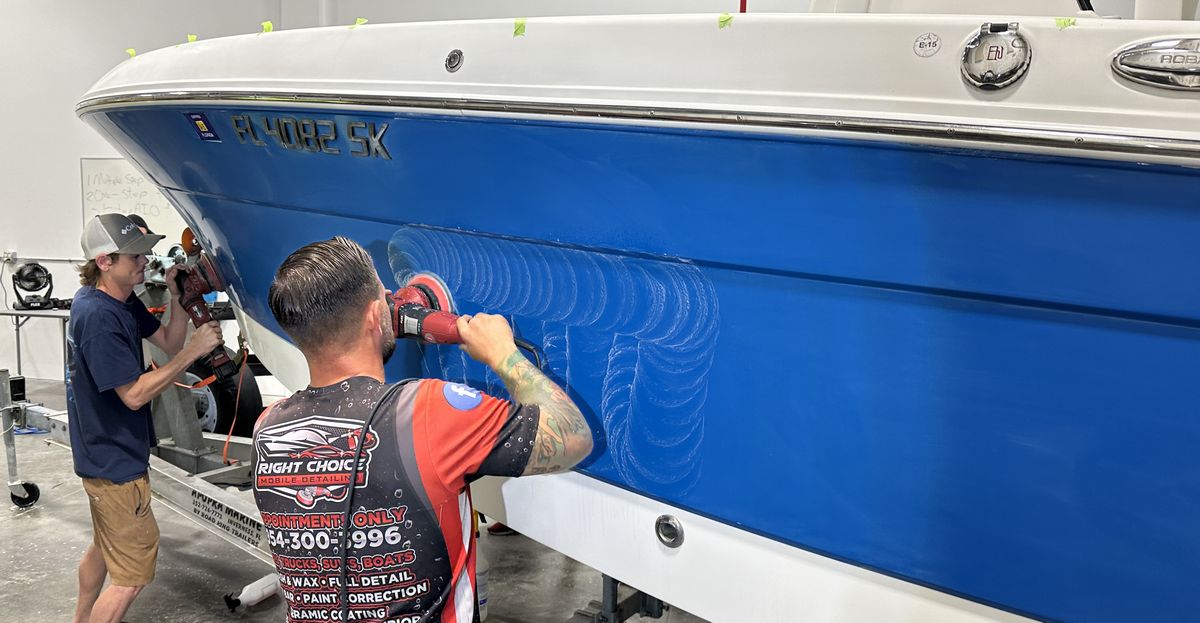
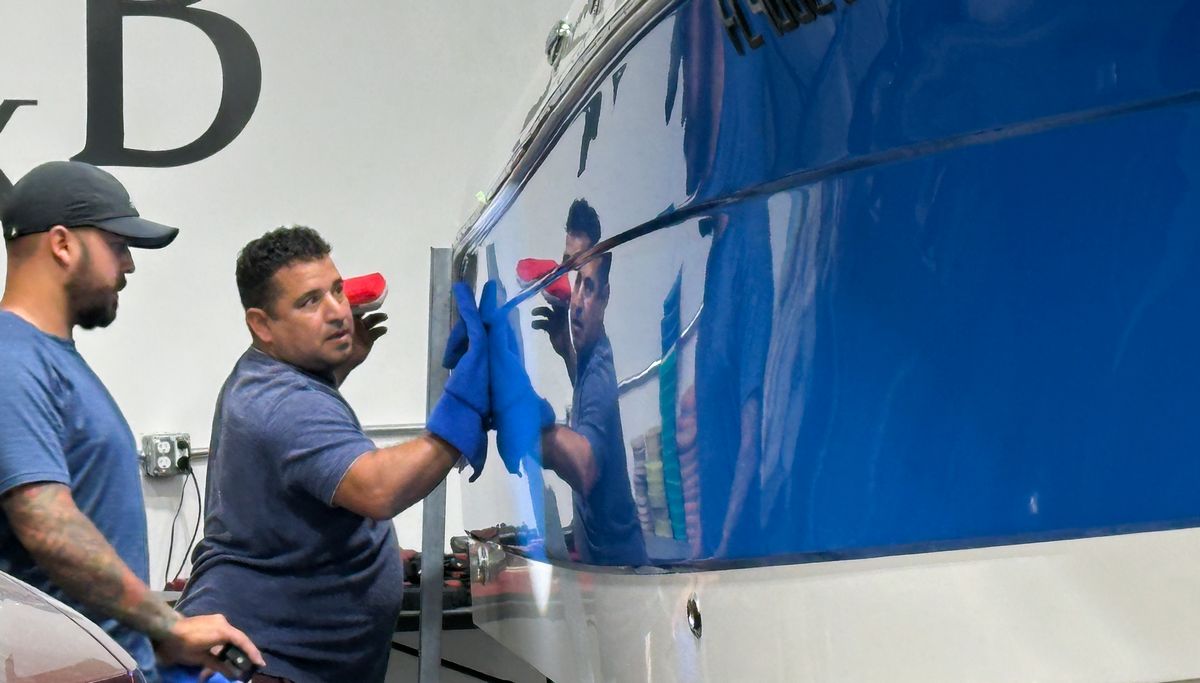
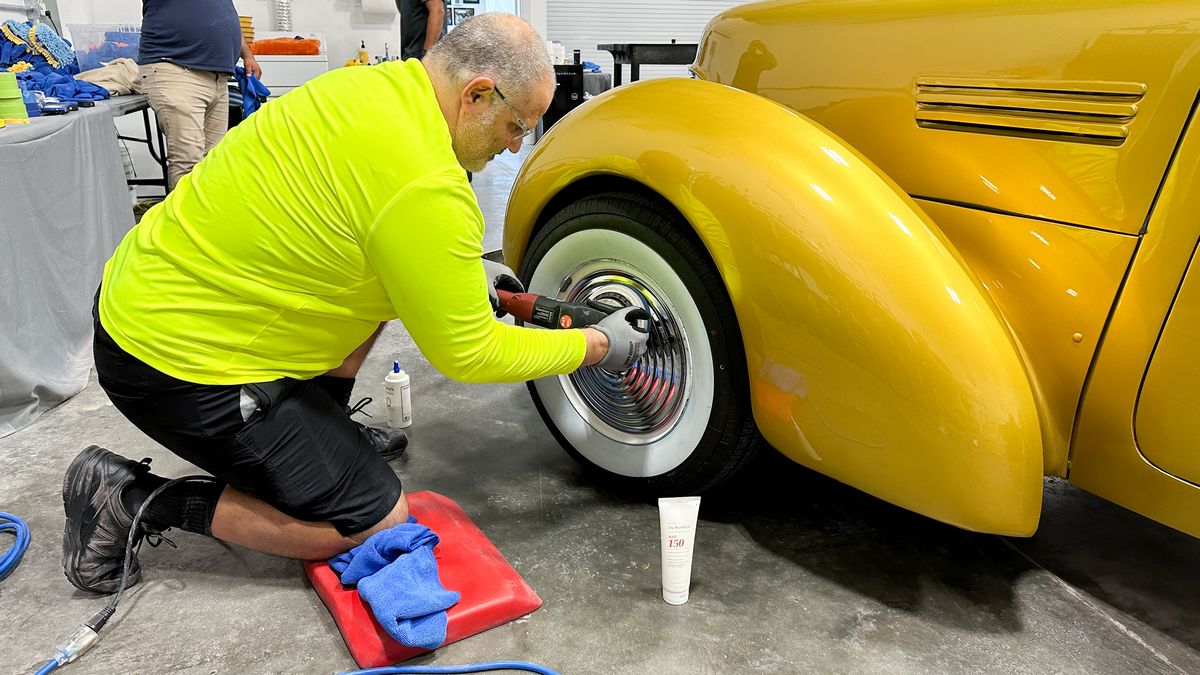
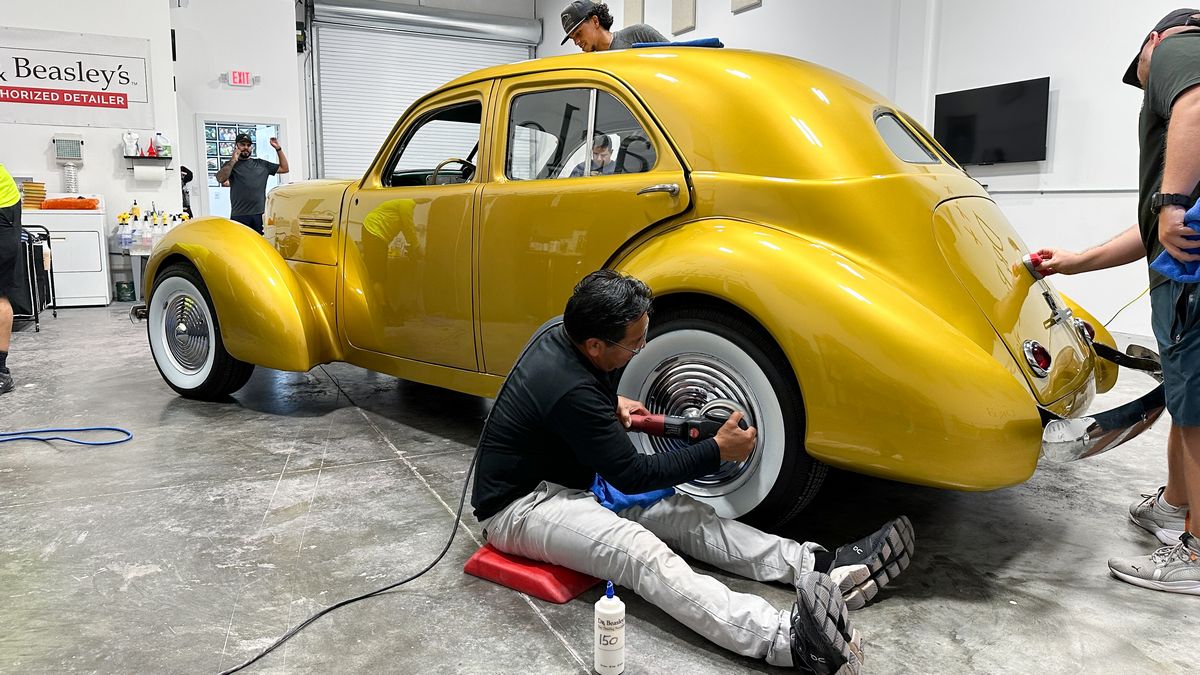
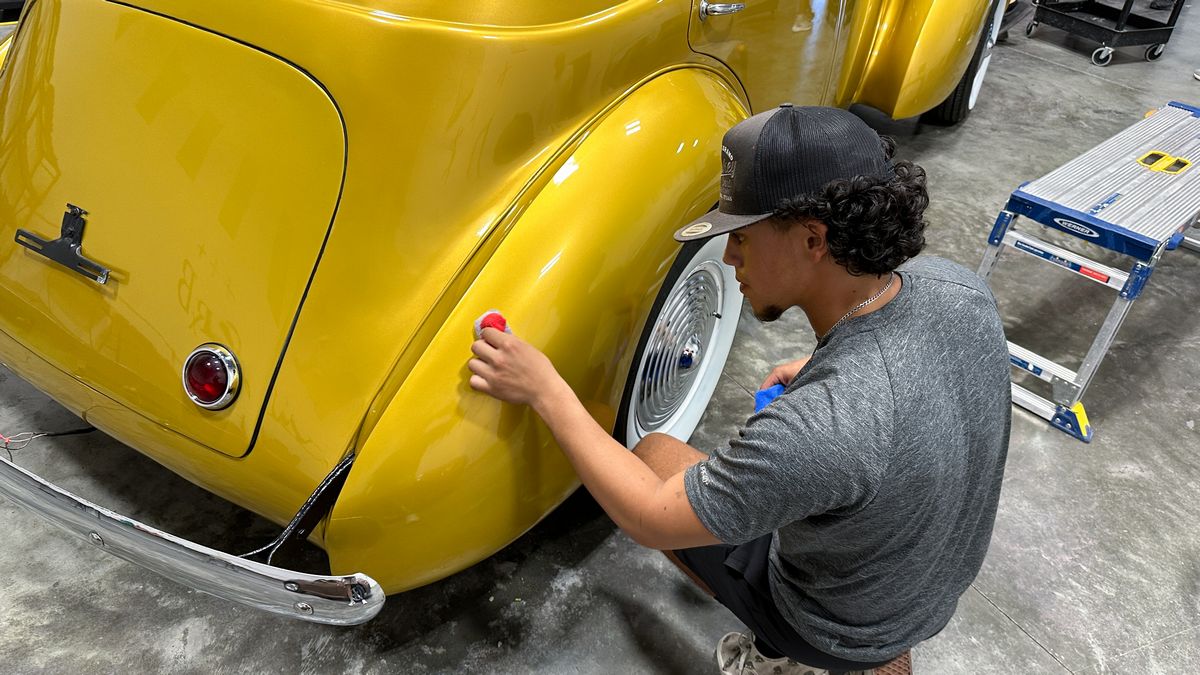
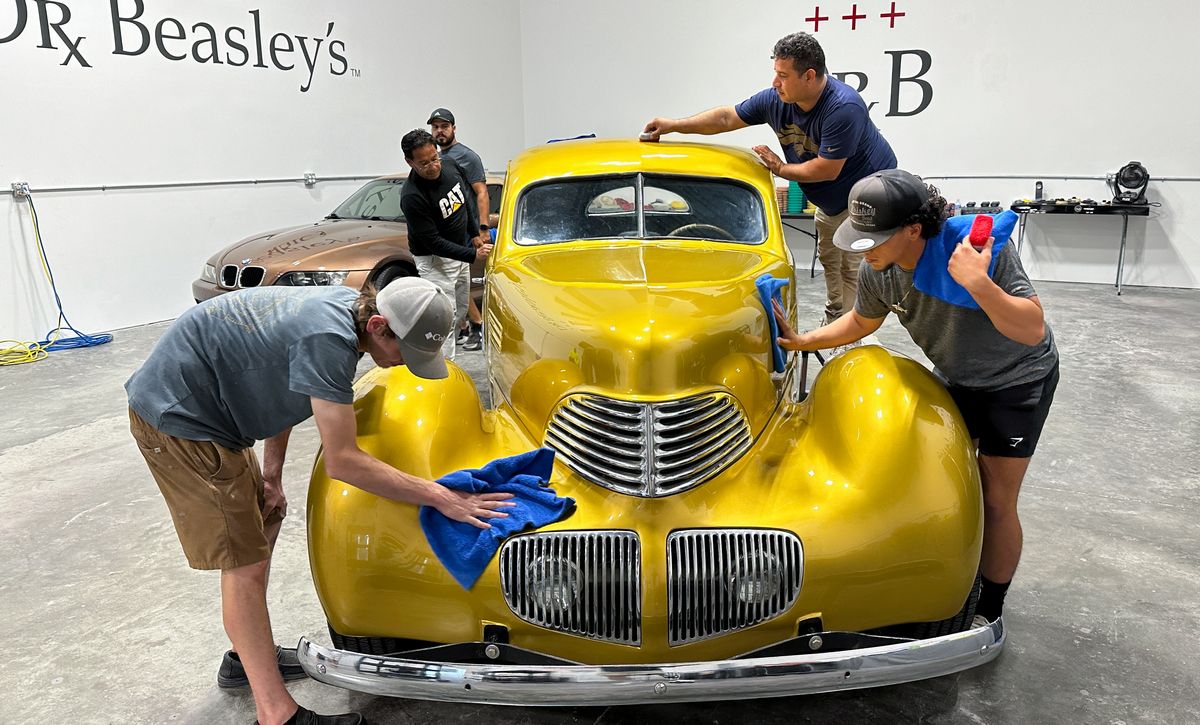
Here's Shawn removing oxidation and machine polishing the full-wheel Hubcaps.
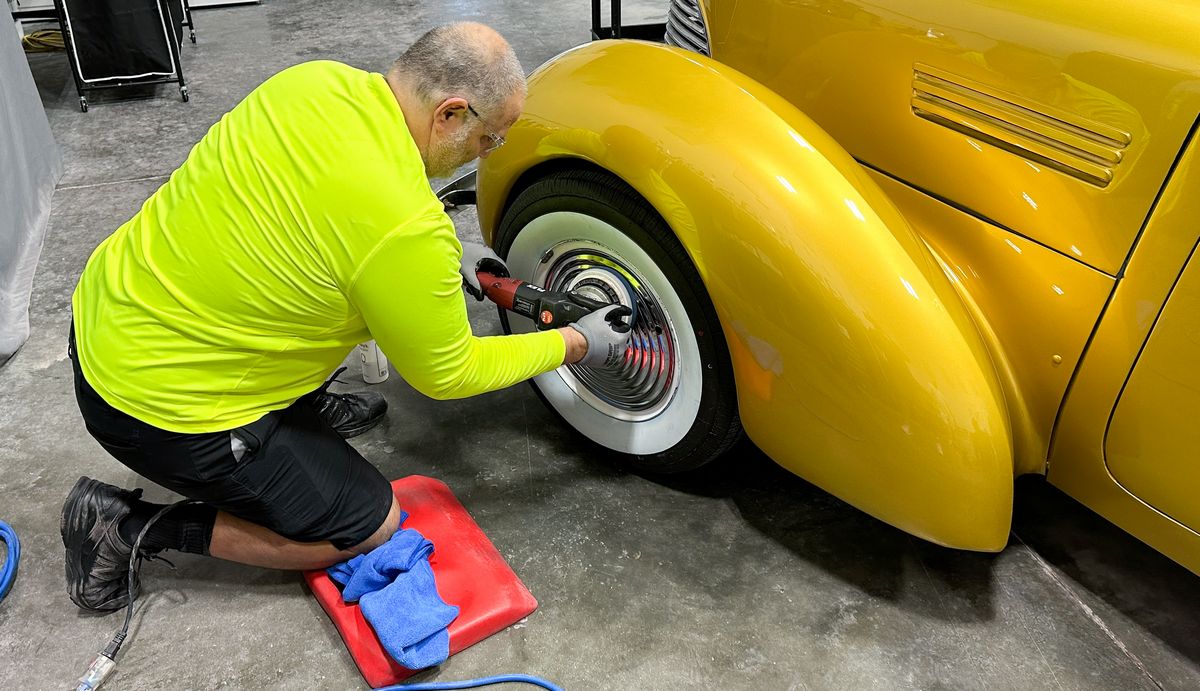
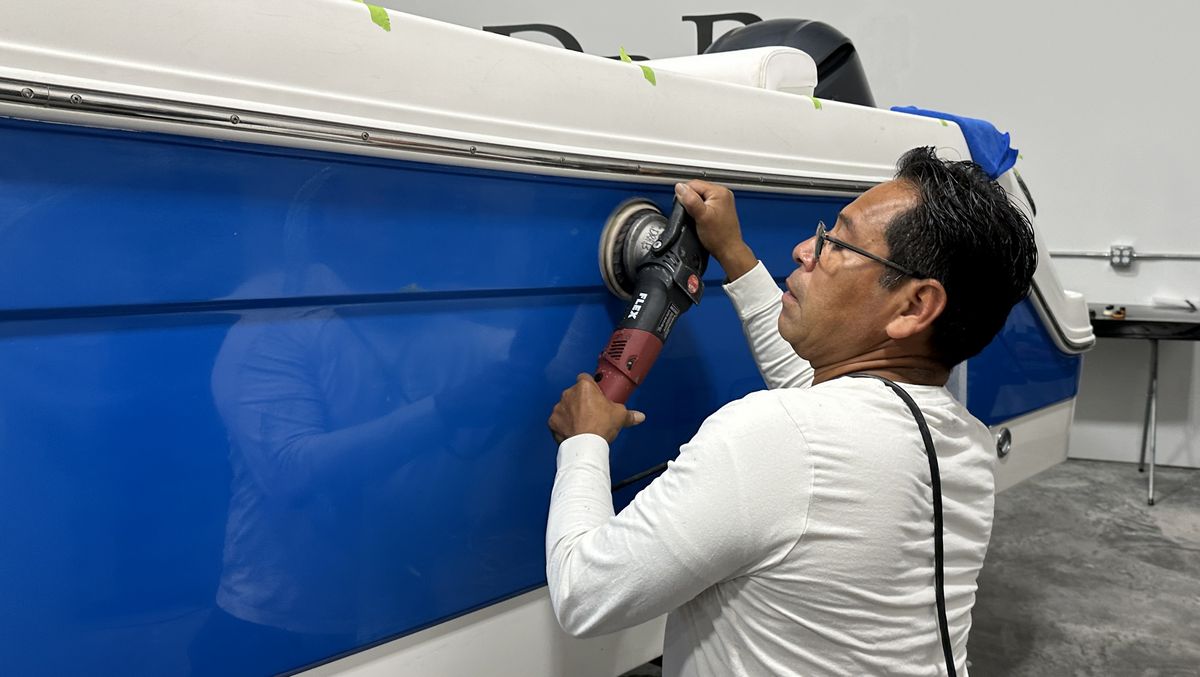
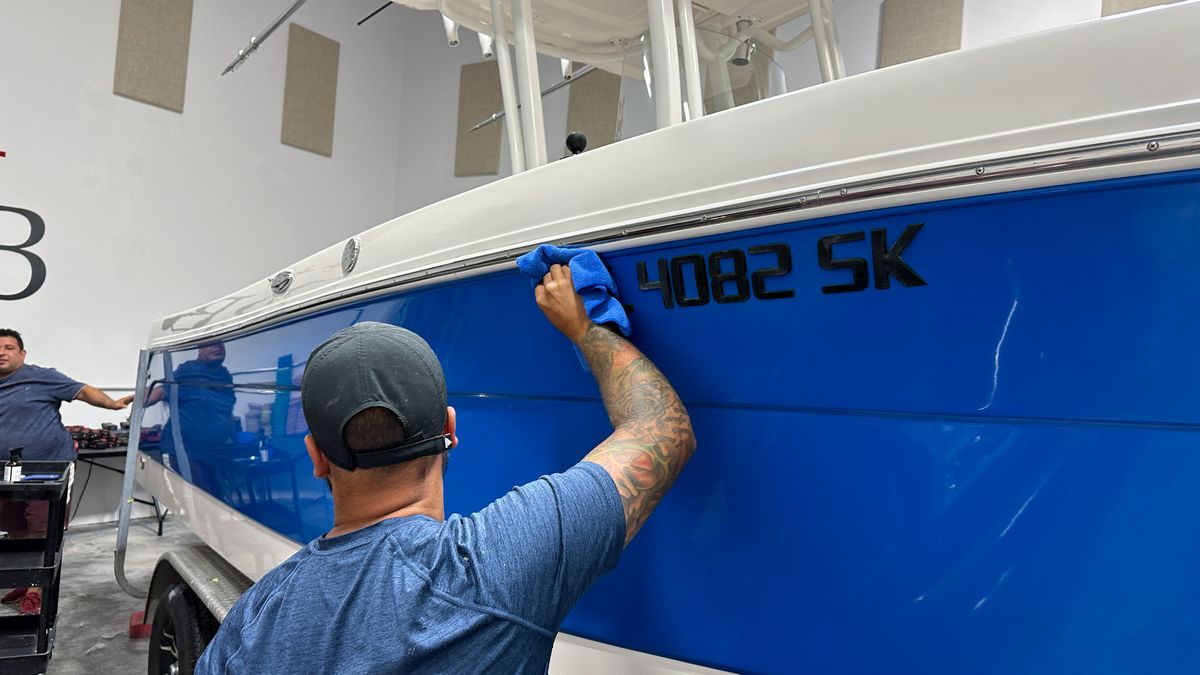
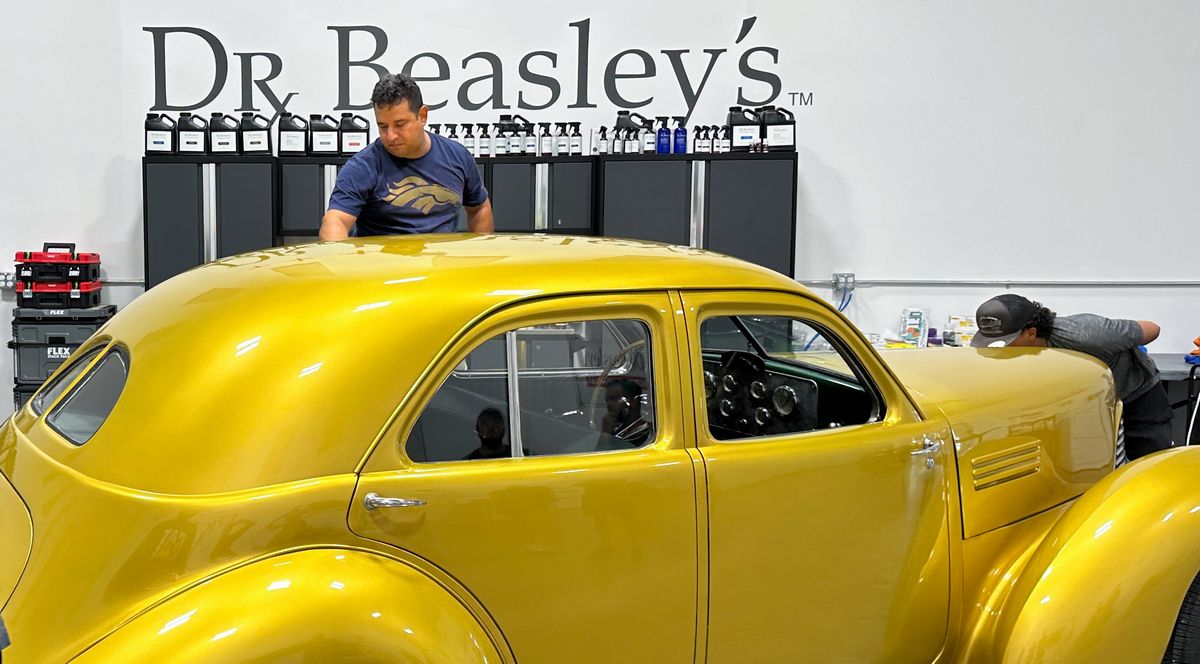
After polishing the rock guards, Juan next tackles the wheel covers.

Mike
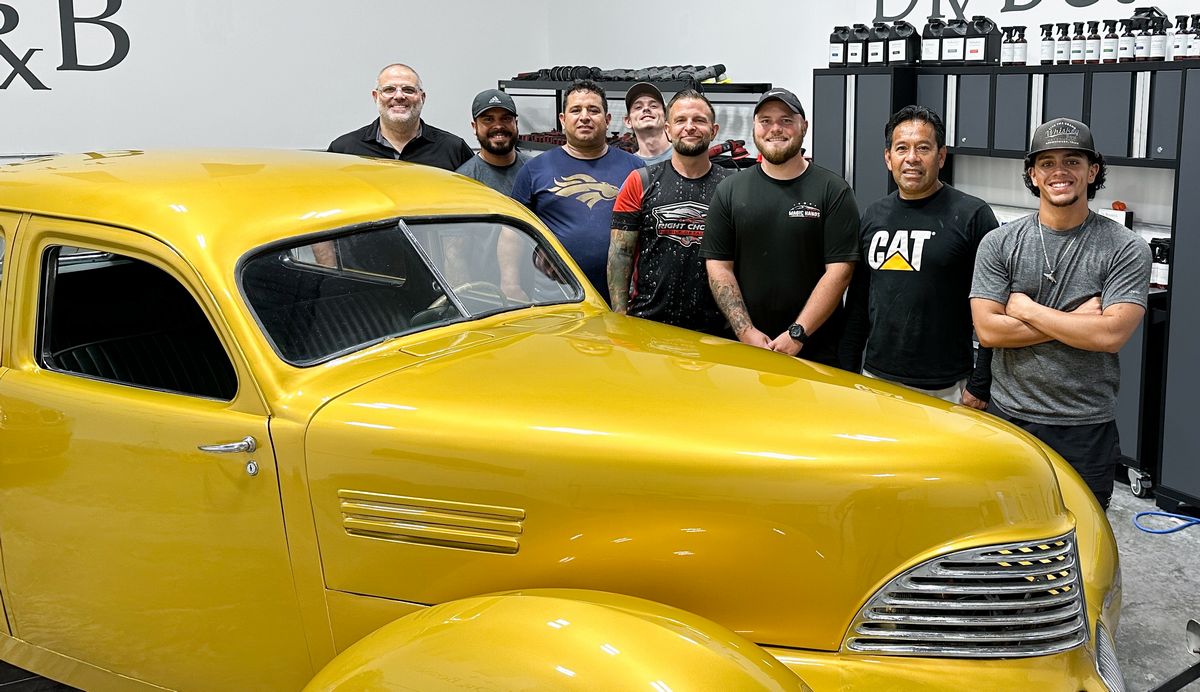
Metal Polishing with NSP Primers
A few months ago while detailing a 1979 AMC Pacer with slotted aluminum mag wheels and also a 1978 Ford Bronco, also with uncoated aluminum wheels, I did some experimenting and found out that not only does the abrasive technology in the Dr. Beasley's NSP Primers excel at paint correction they also excel at removing oxidation and restoring brilliance to uncoated metals.
Here's Juan machine polishing the stainless-steel rock guards on the front of the rear fenders.
Here's Shawn removing oxidation and machine polishing the full-wheel Hubcaps.
After polishing the rock guards, Juan next tackles the wheel covers.
Mike
Last edited:


") I know from experience, by the 3rd day, the thousands of people that have taken my big 3-day classes over the decades are tired! So... I start the class an hour later at 8:30am sharp so everyone can sleep in for an extra hour. Pretty nice huh?
I know from experience, by the 3rd day, the thousands of people that have taken my big 3-day classes over the decades are tired! So... I start the class an hour later at 8:30am sharp so everyone can sleep in for an extra hour. Pretty nice huh?