- Admin
- #1
- Joined
- May 21, 2021
- Messages
- 1,467
- Reaction score
- 798
- Points
- 113
- Location
- Stuart, Florida
- Website
- themikephillipsforum.com
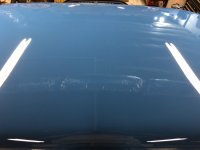
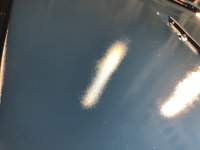
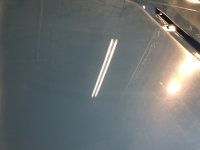
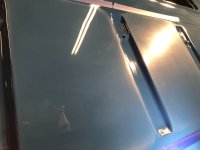
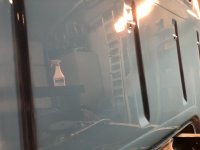
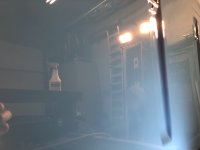
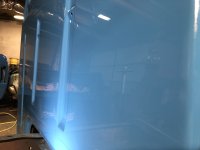
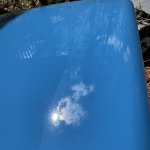
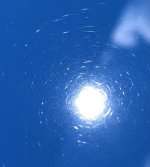
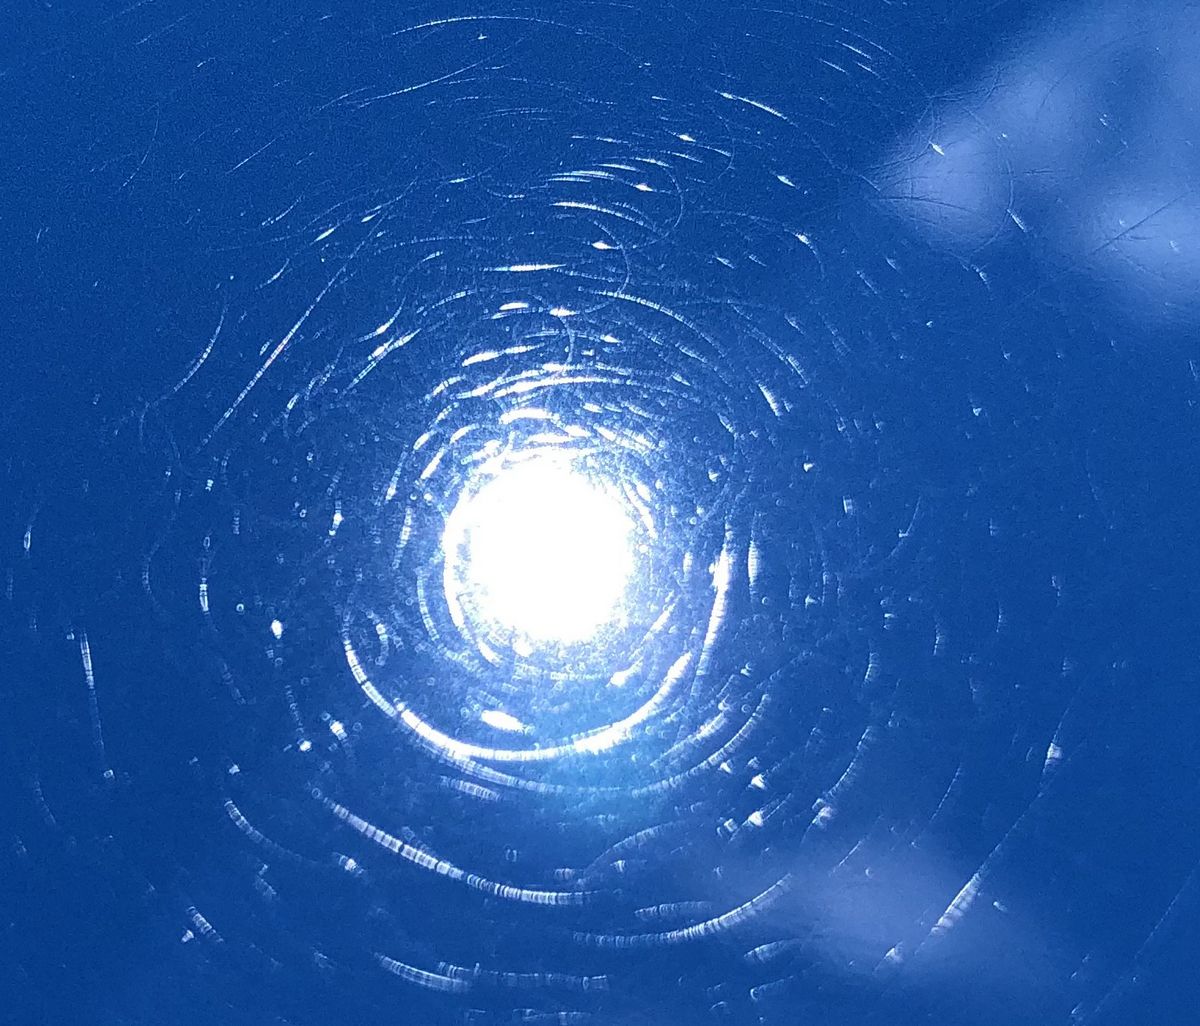
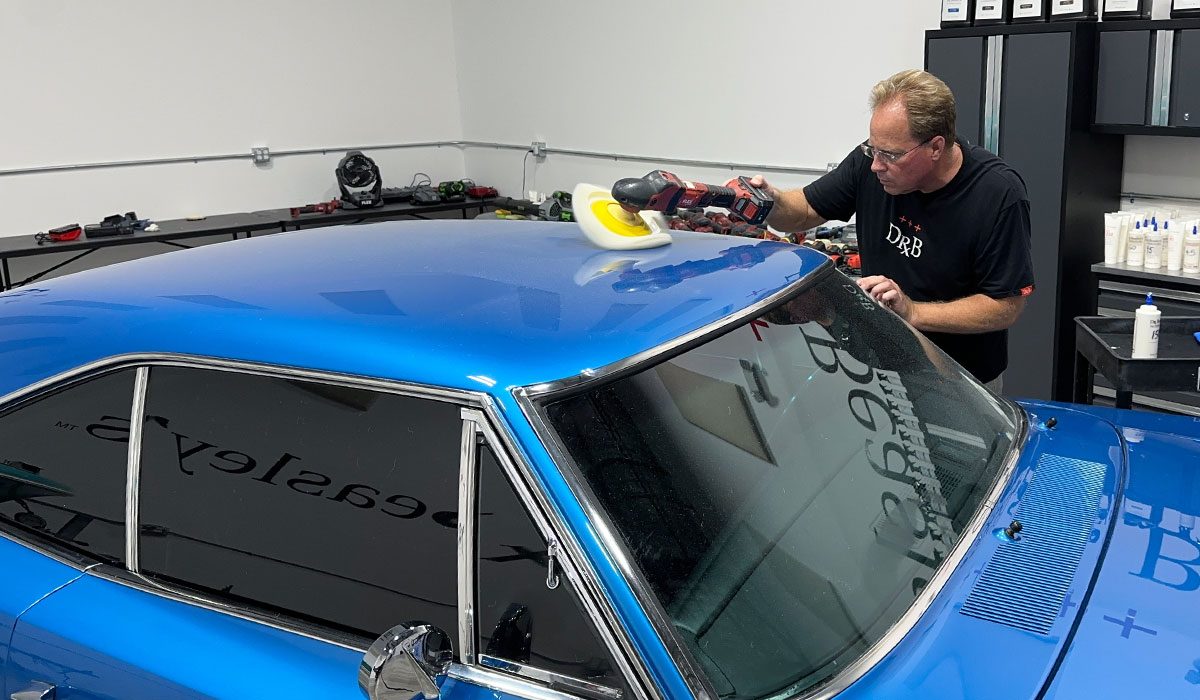
Learn to Remove Orange Peel for a Show Car Finish via Machine Dry Sanding!
Next class is Friday September 29th, (paint correction day), Saturday September 30th (dry sanding day), and Sunday October 1st (extreme boat detailing day).
Call or text me to sign-up for this class. See the cars and boats you’ll be training on by clicking the link below
 themikephillipsforum.com
Call or text me with questions
769-515-0444
Mike
Next class is Friday September 29th, (paint correction day), Saturday September 30th (dry sanding day), and Sunday October 1st (extreme boat detailing day).
Call or text me to sign-up for this class. See the cars and boats you’ll be training on by clicking the link below
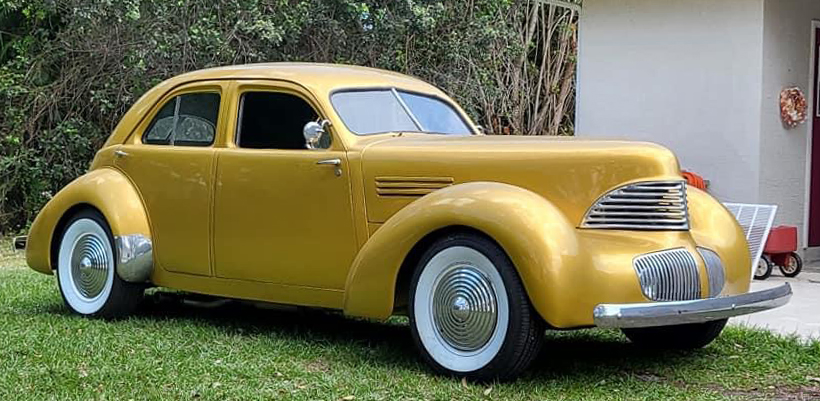
Training Cars and Boats for the September 3-Day Class
Training Cars and Boats for the September 3-Day Class Friday Class Topics Morning Session - Multiple Step Paint Corrections learning how to use rotary polishers, orbital polishers, plus Dr. Beasley's NSP Primers & Ceramic Coatings. 1937 Ford 2-door Sedan Delivery Streetrod -...
Call or text me with questions
769-515-0444
Mike

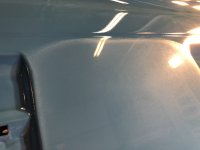
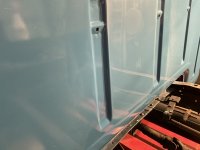


 the panels with body lines and sharp edges. Expect to go through several roles of tape….