- Admin
- #1
- Joined
- May 21, 2021
- Messages
- 1,467
- Reaction score
- 799
- Points
- 113
- Location
- Stuart, Florida
- Website
- themikephillipsforum.com
LIVE Online Detailing Class - How Dry Sand Car Paint by Hand
Here's the LIVE video on YouTube
Starting Wednesday, December 20th, watch LIVE and interact during the live feed 1:00pm Pacific, 3:00pm Central or 4:00pm Eastern on either of these social media platforms.
Dr. Beasley's Facebook Page
Dr. Beasley's YouTube Channel
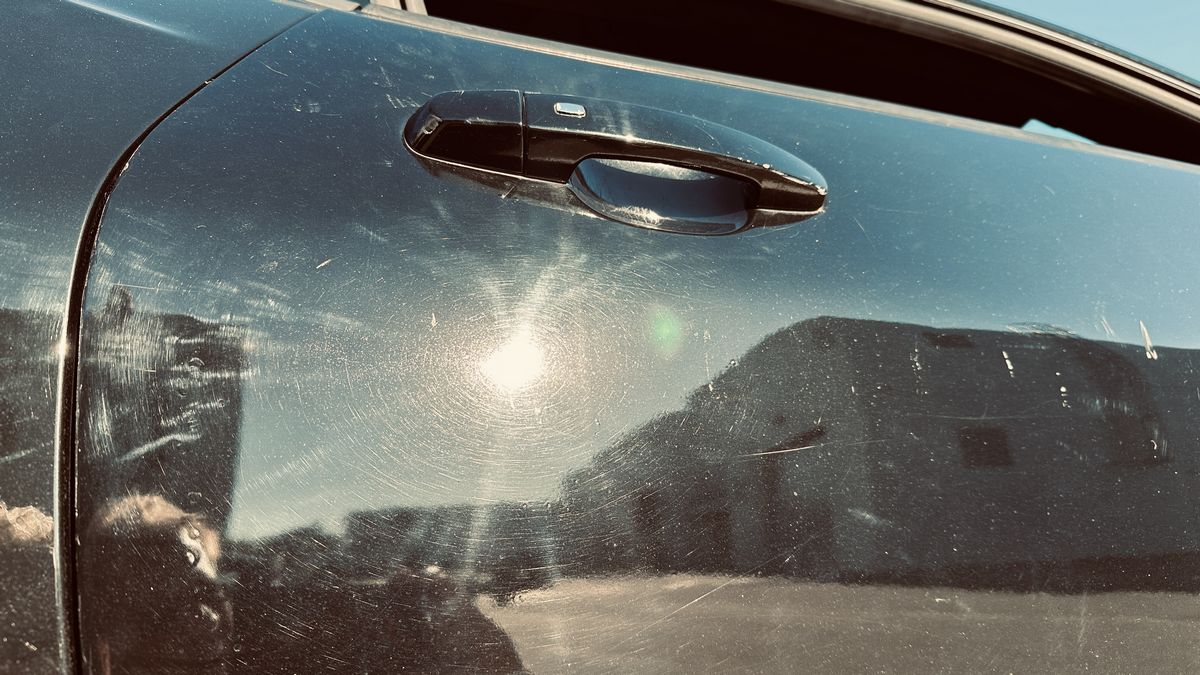
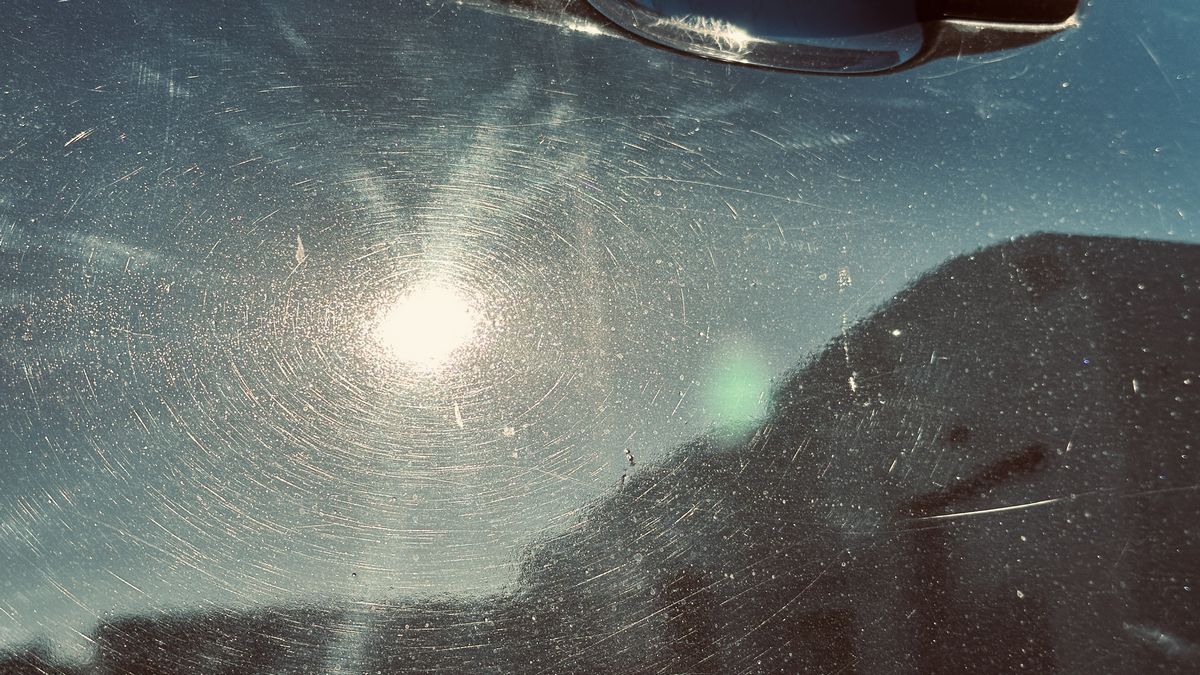
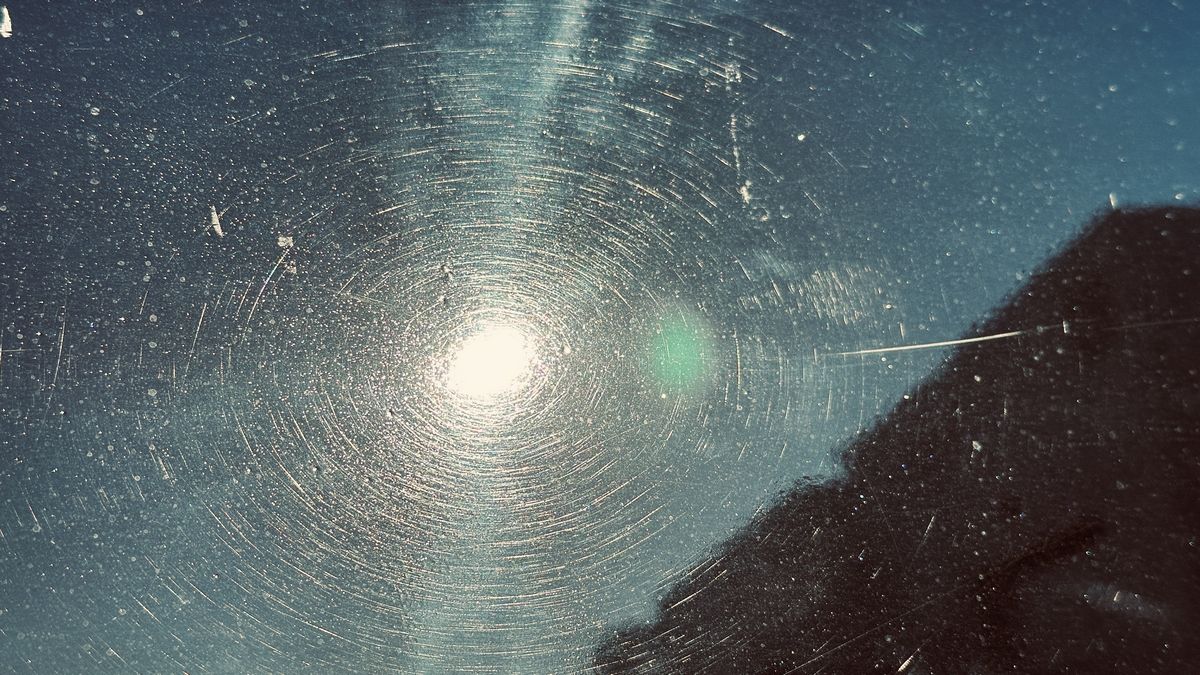
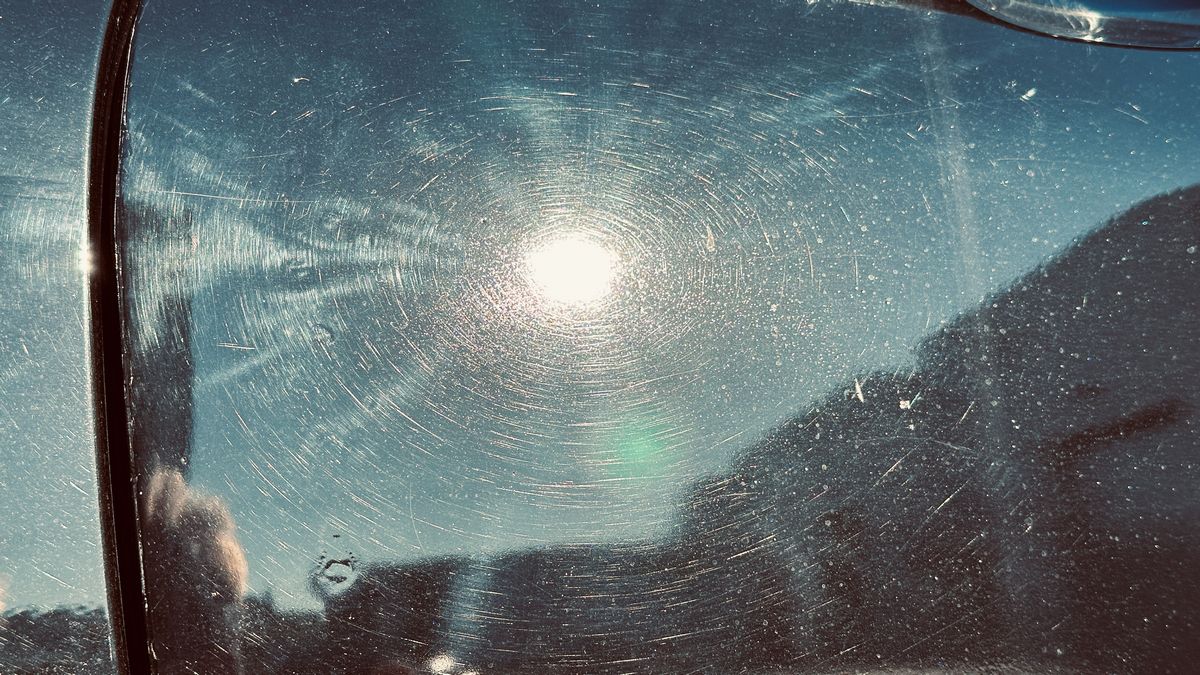
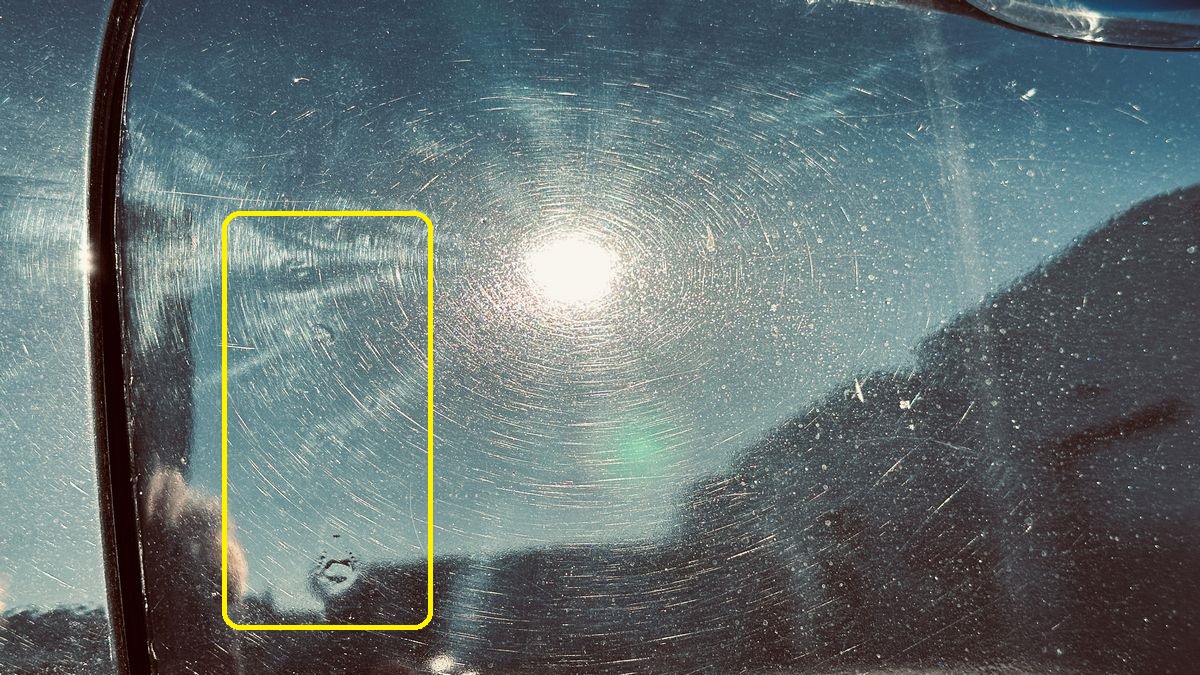
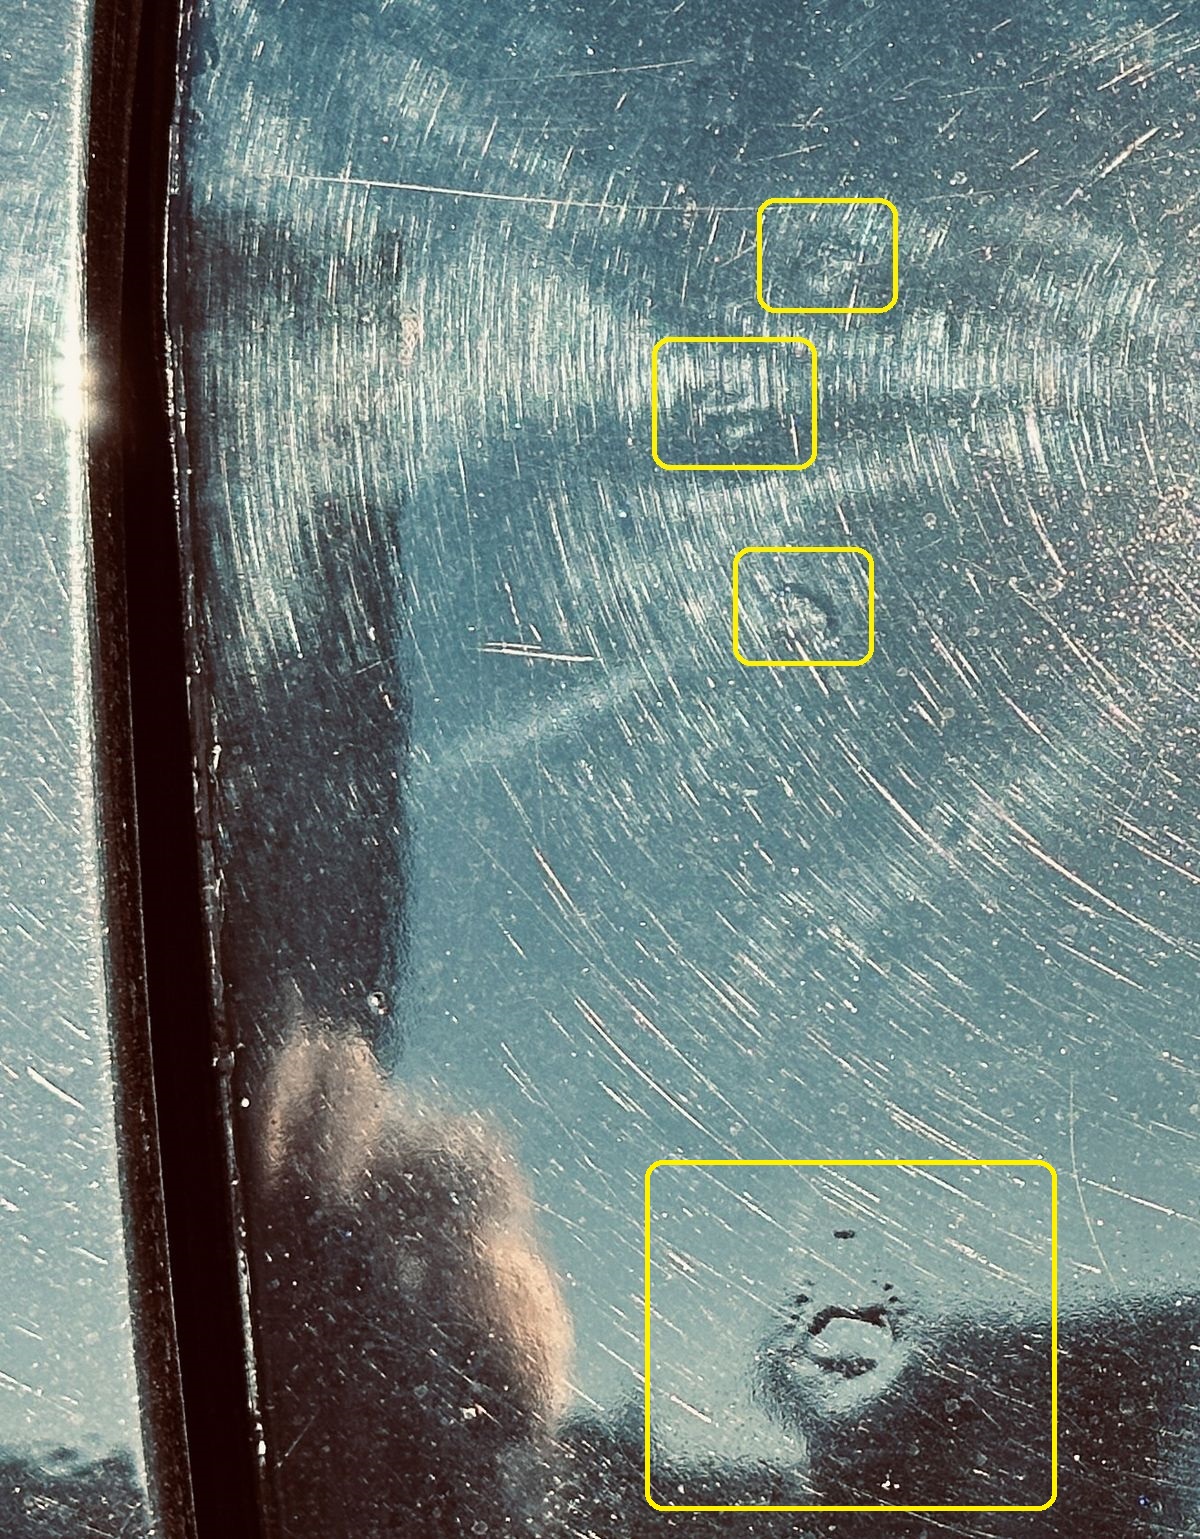
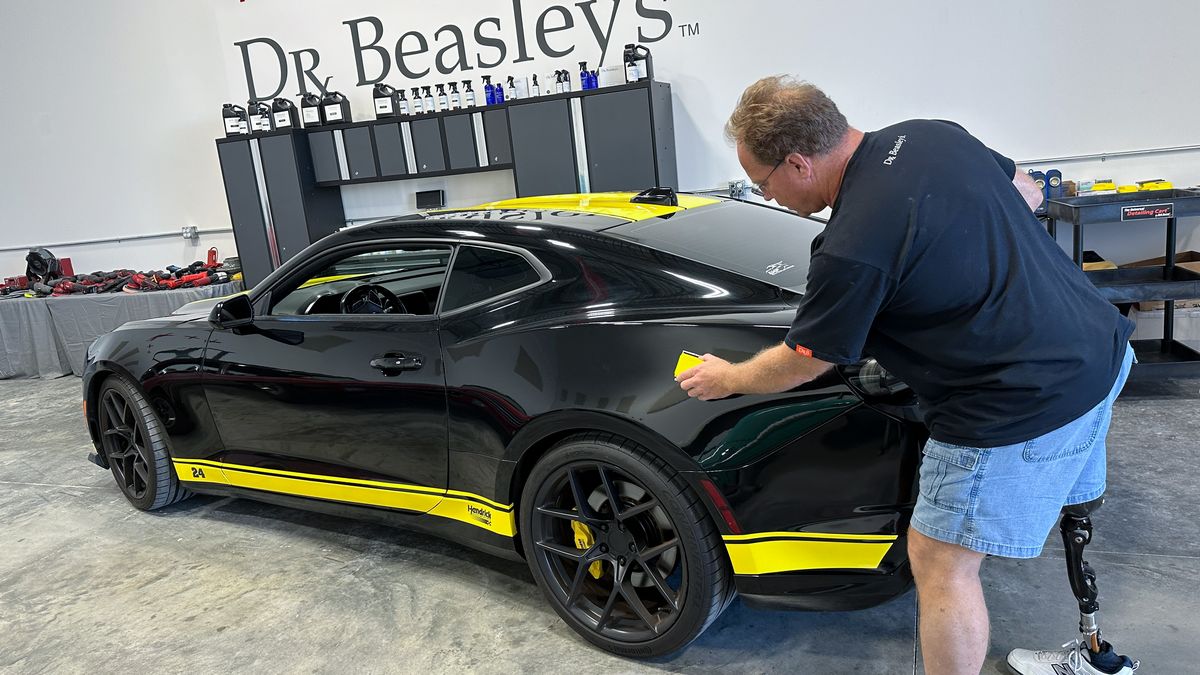
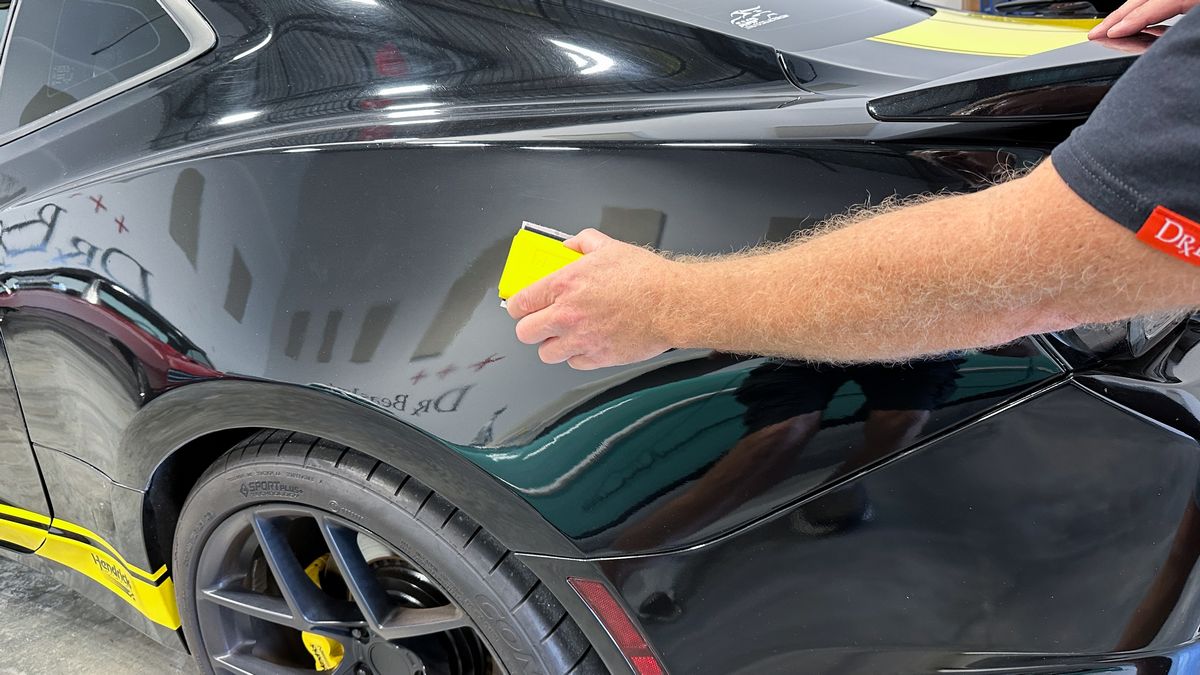
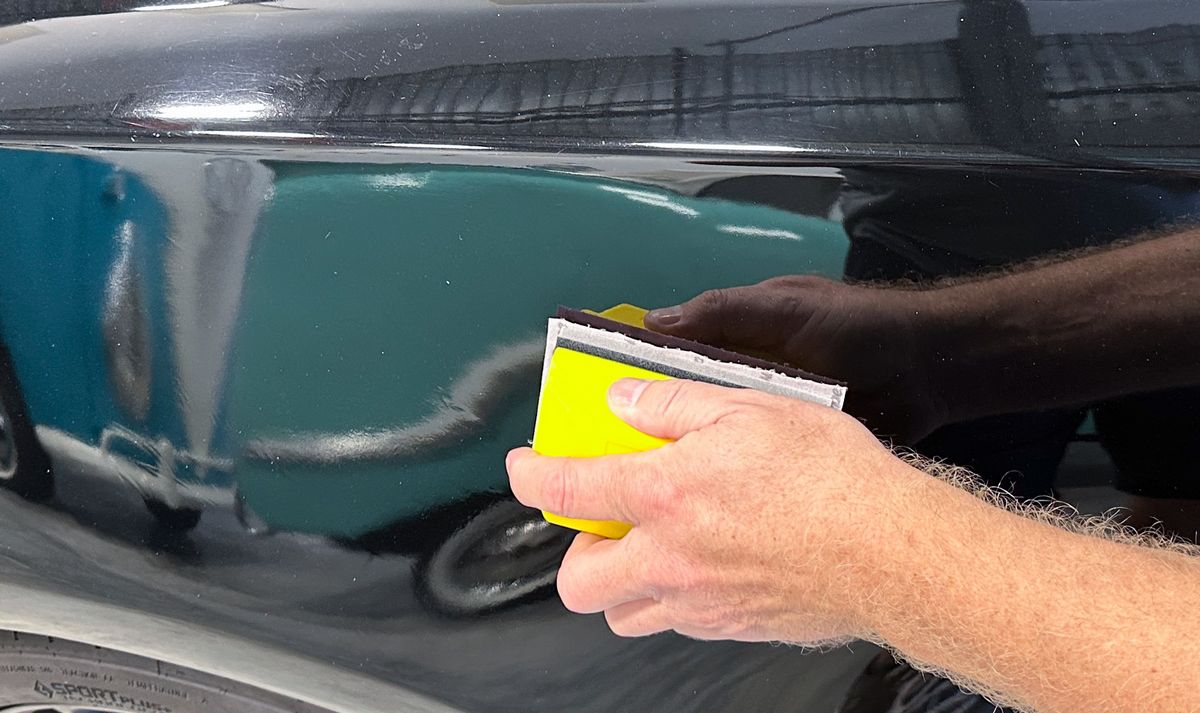
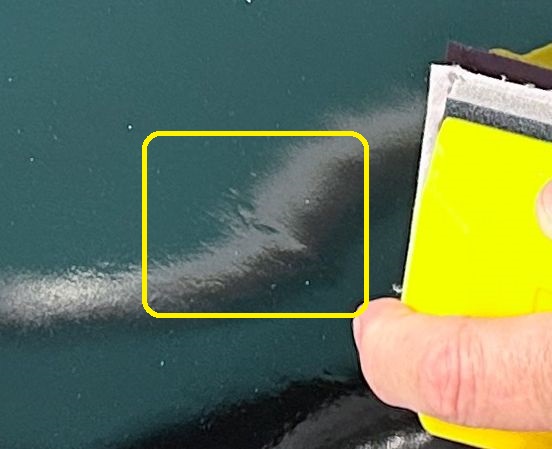
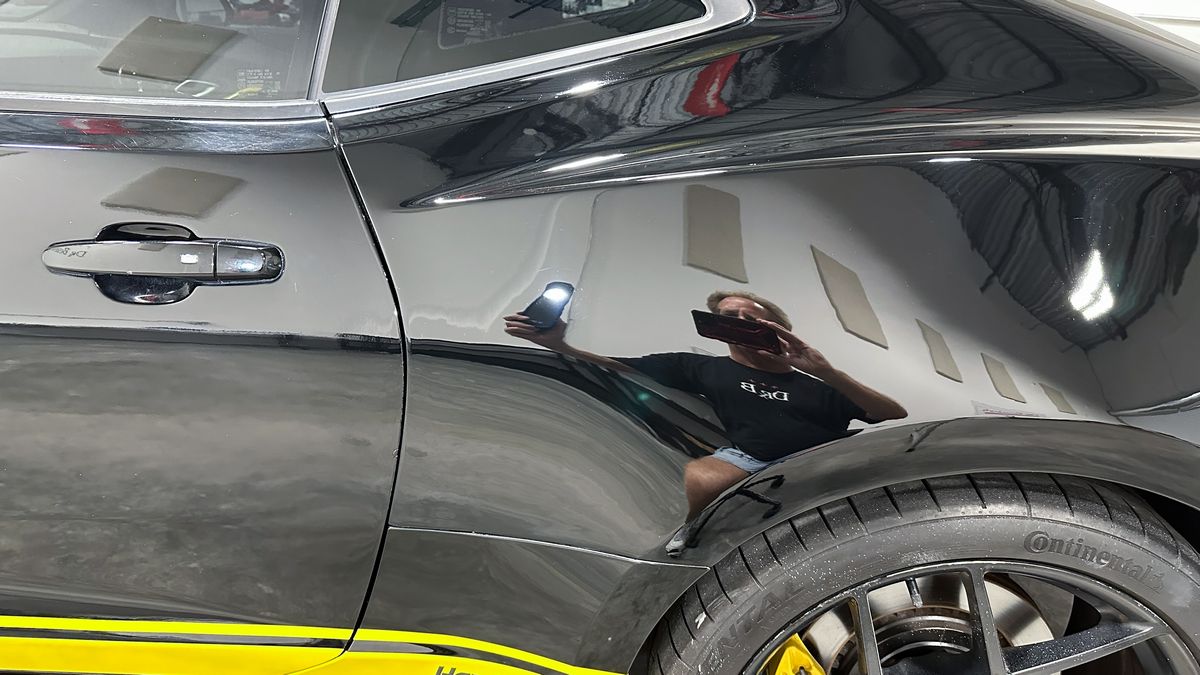
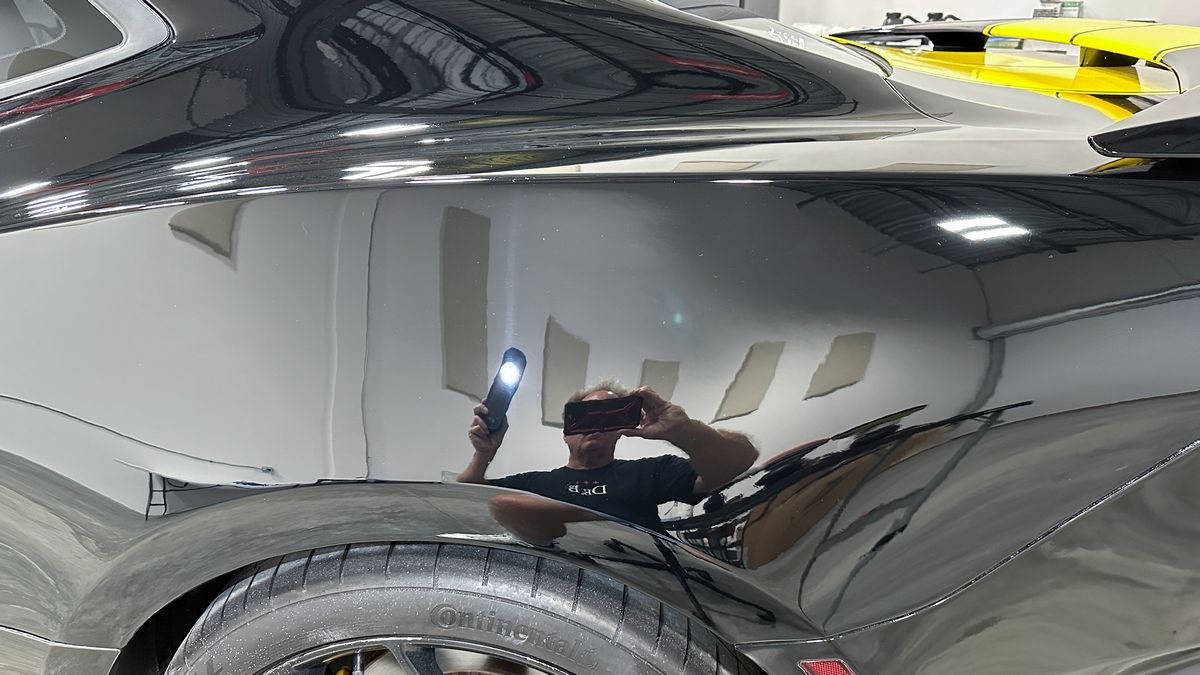
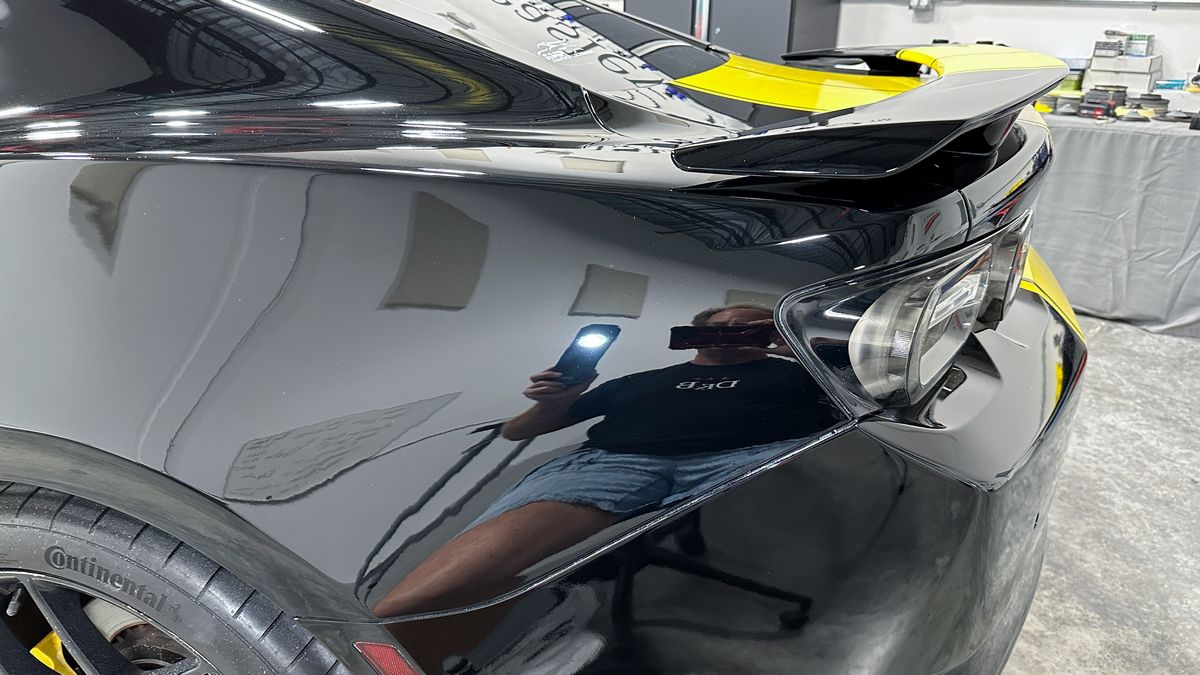
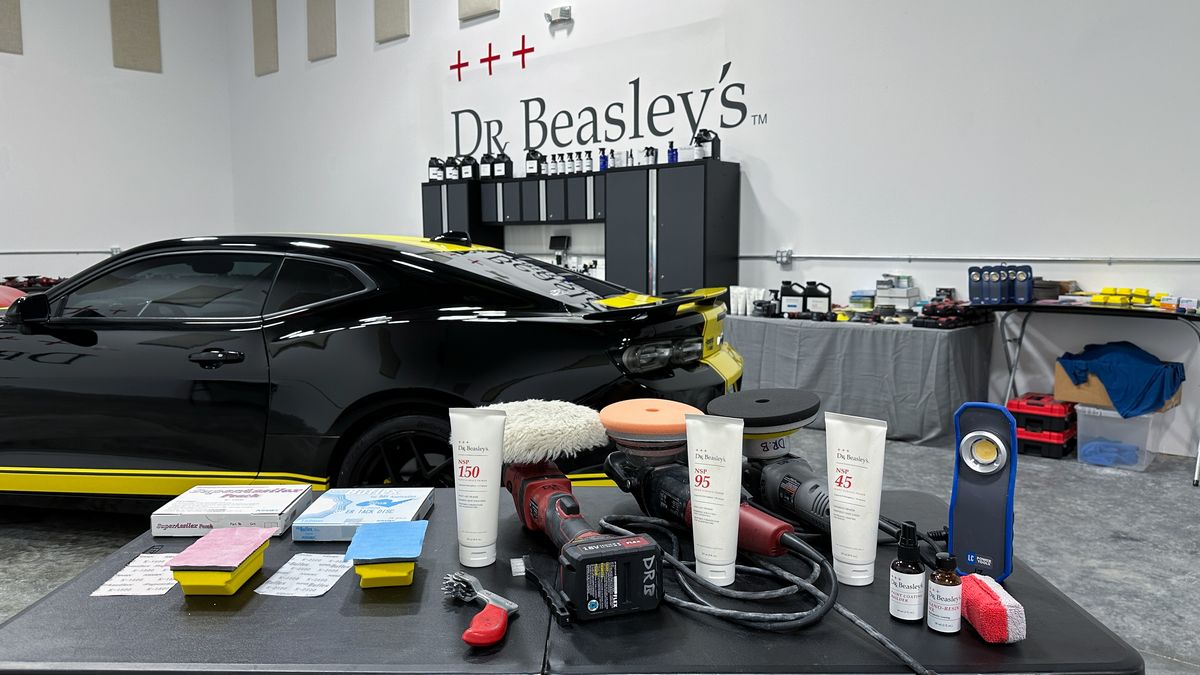
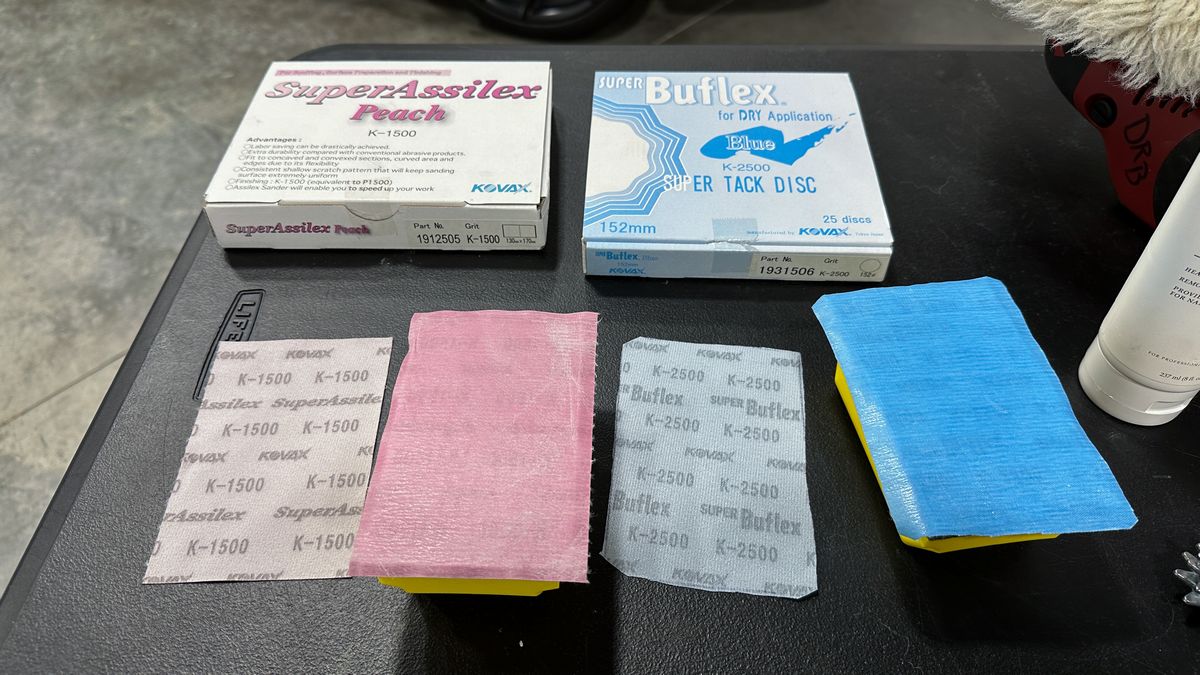
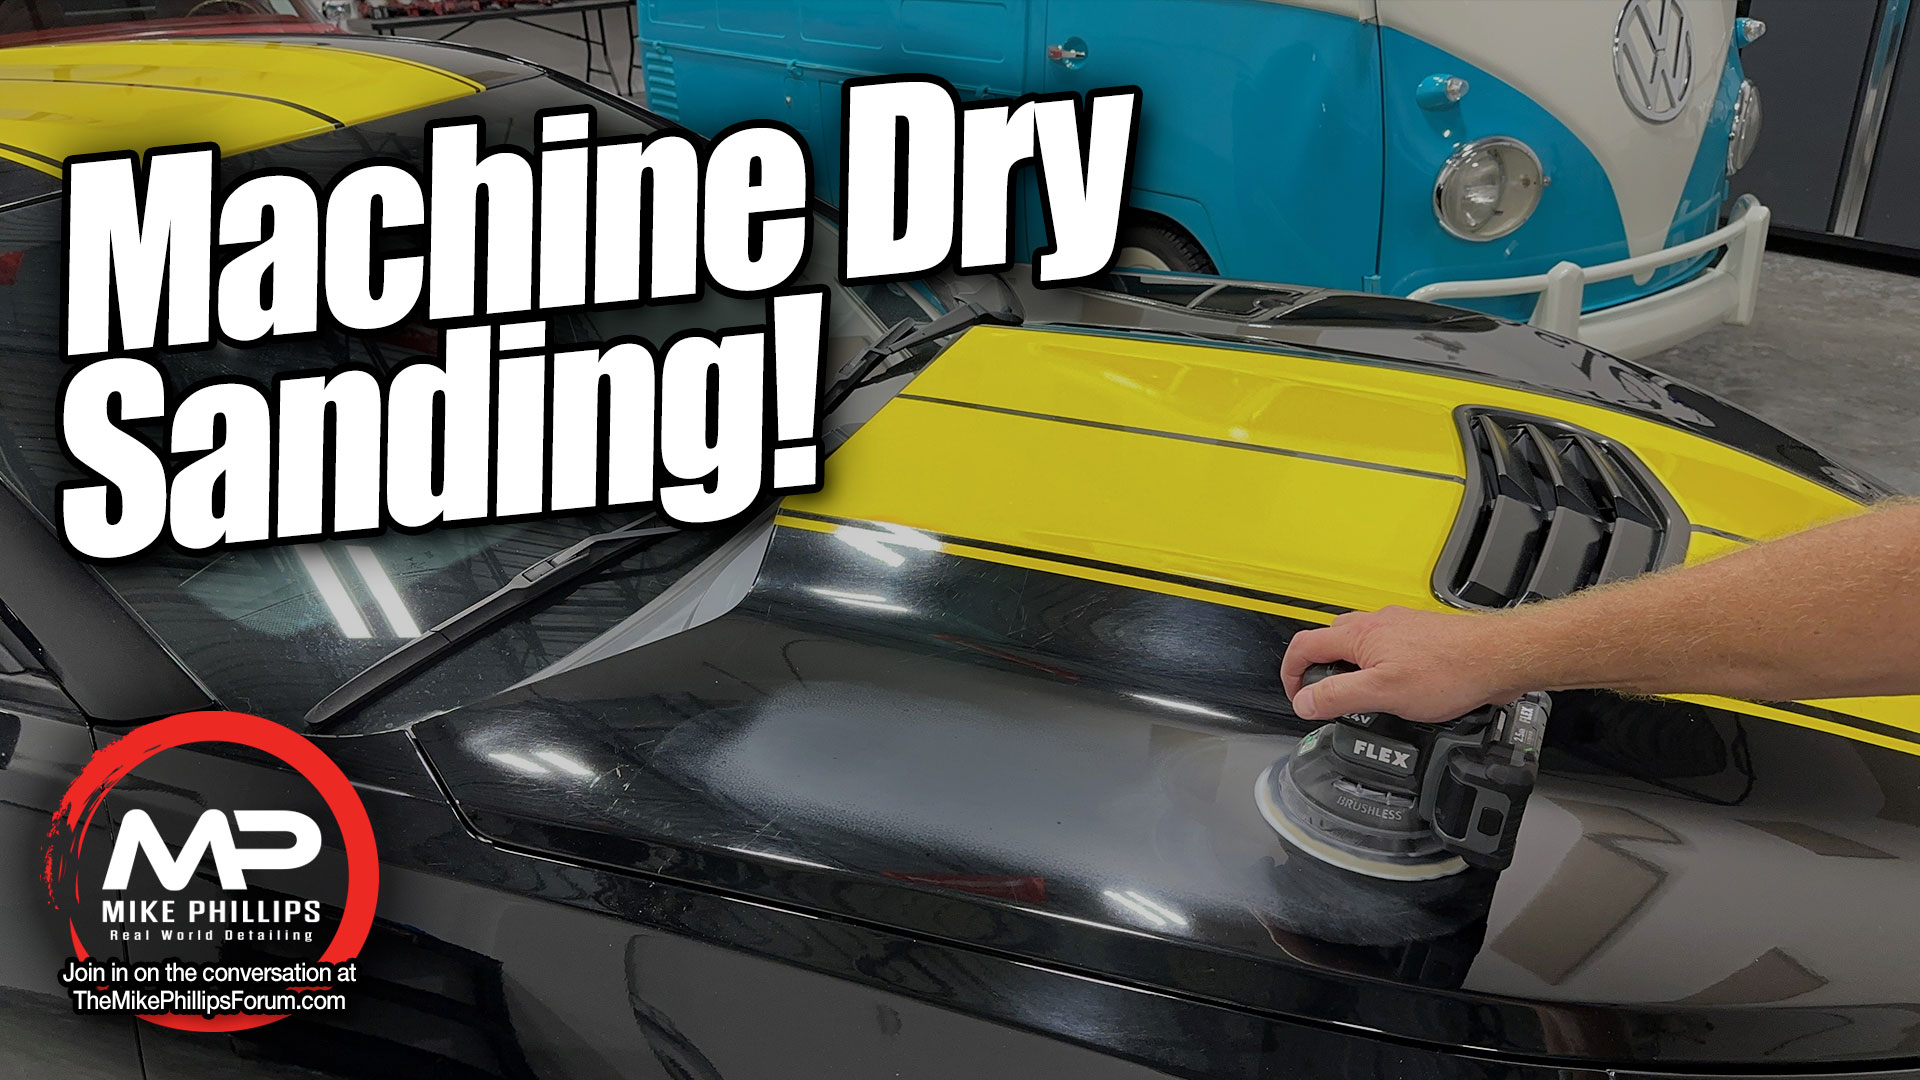
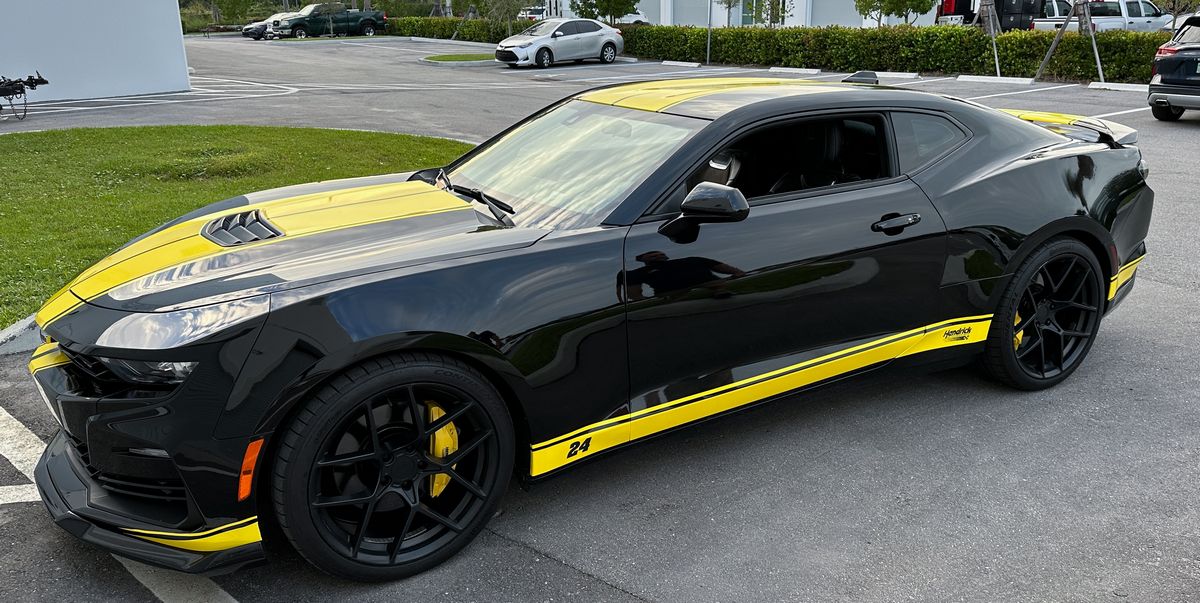
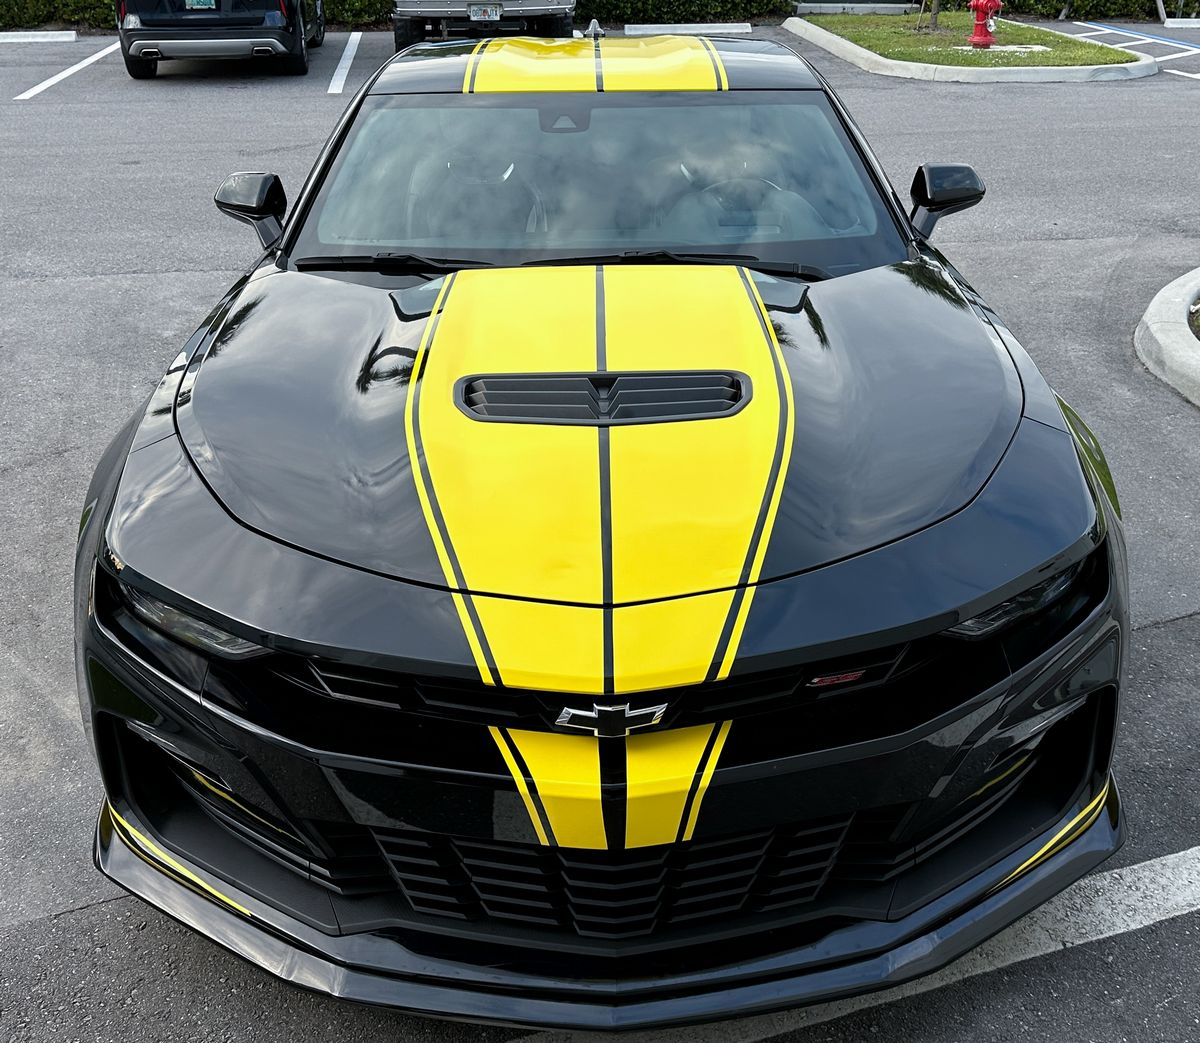
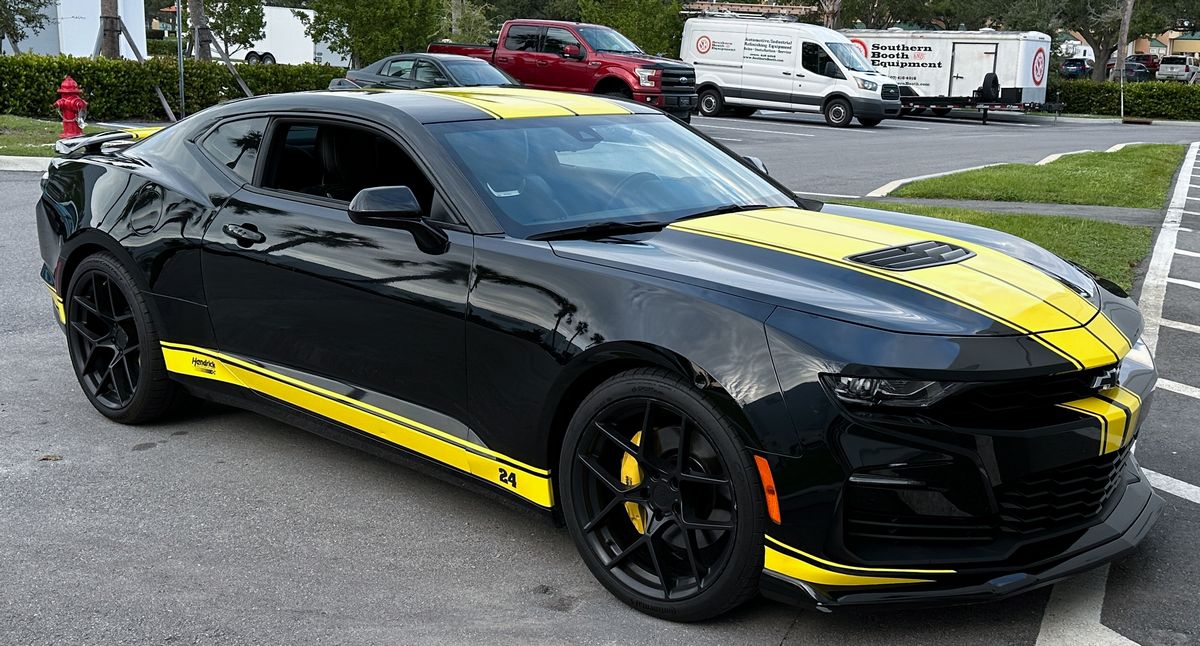
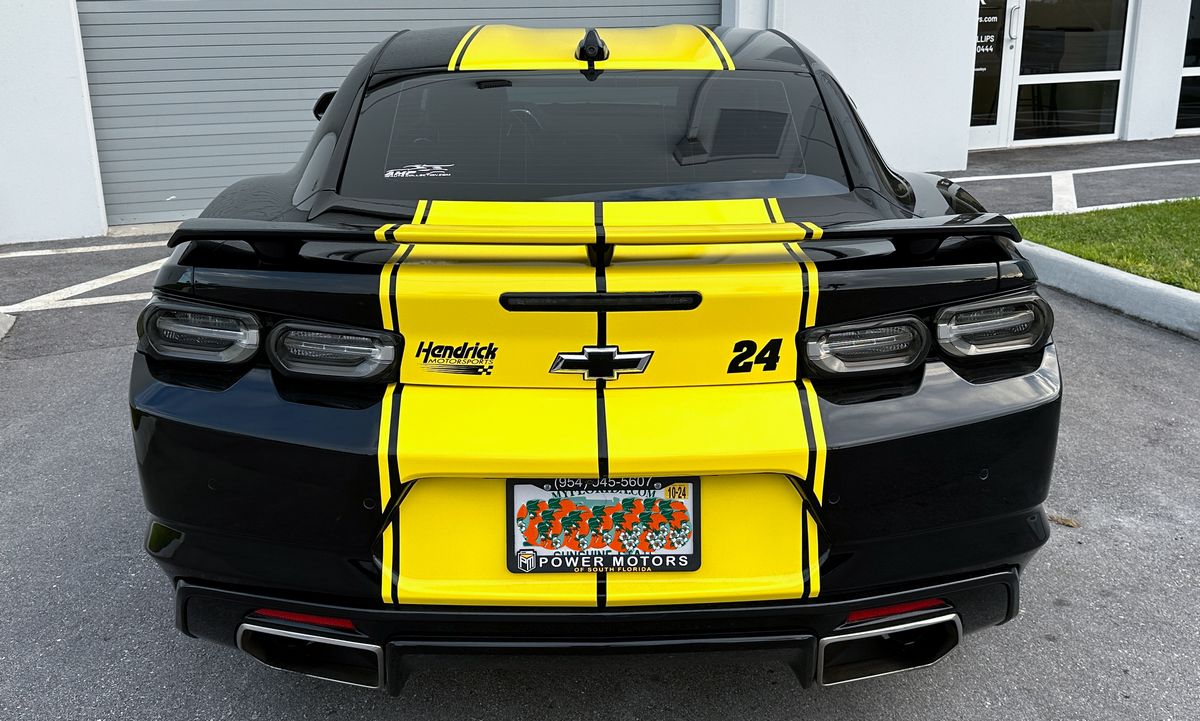
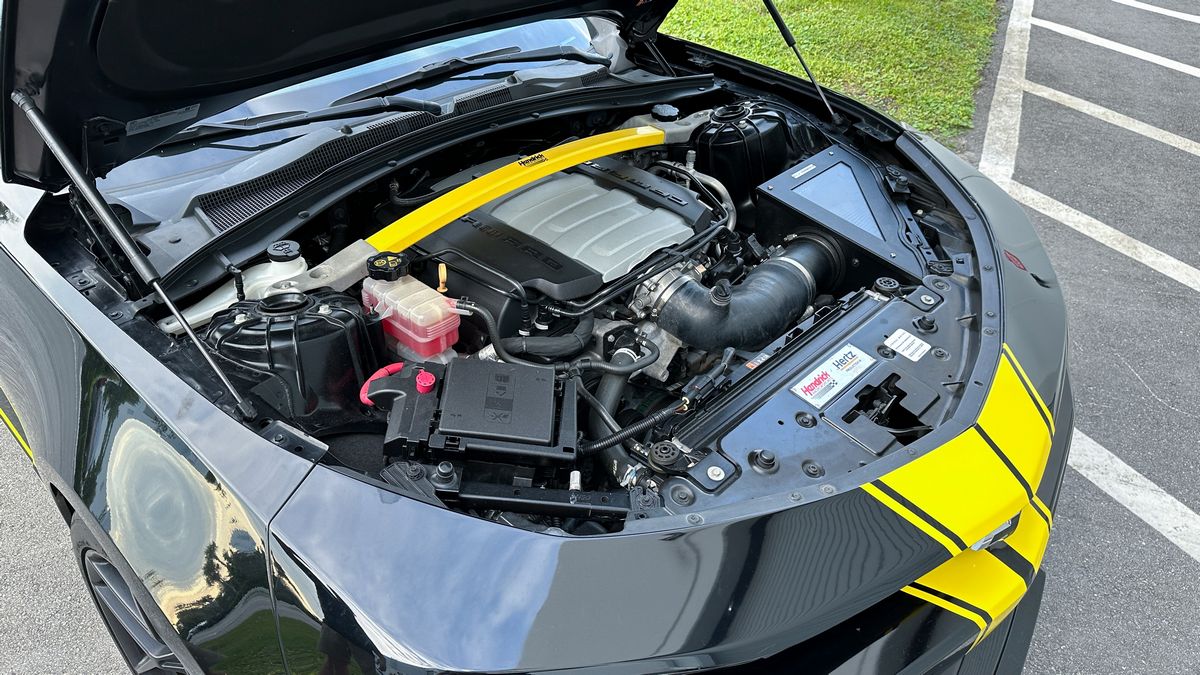
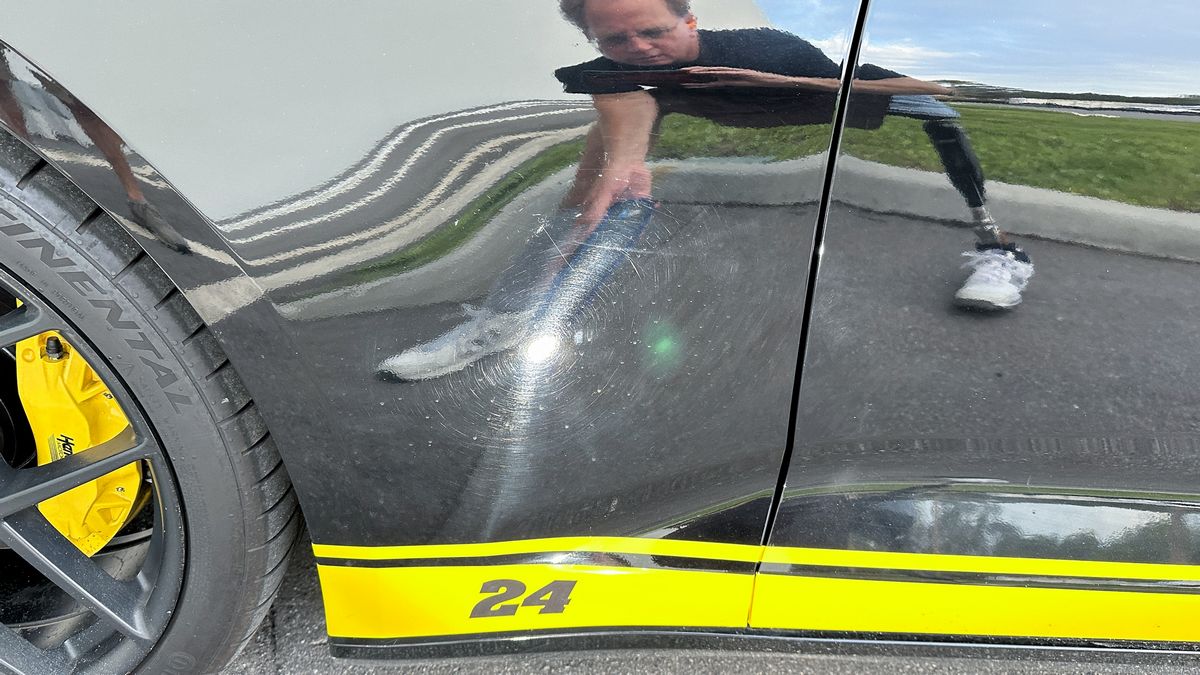
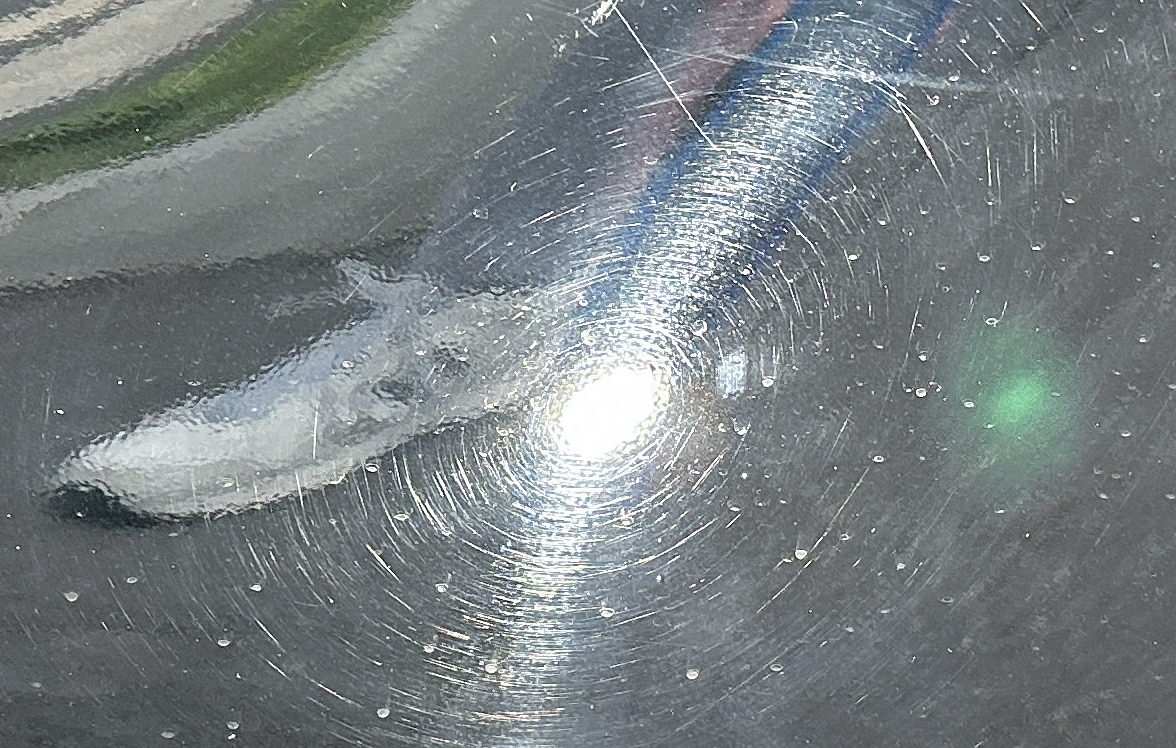
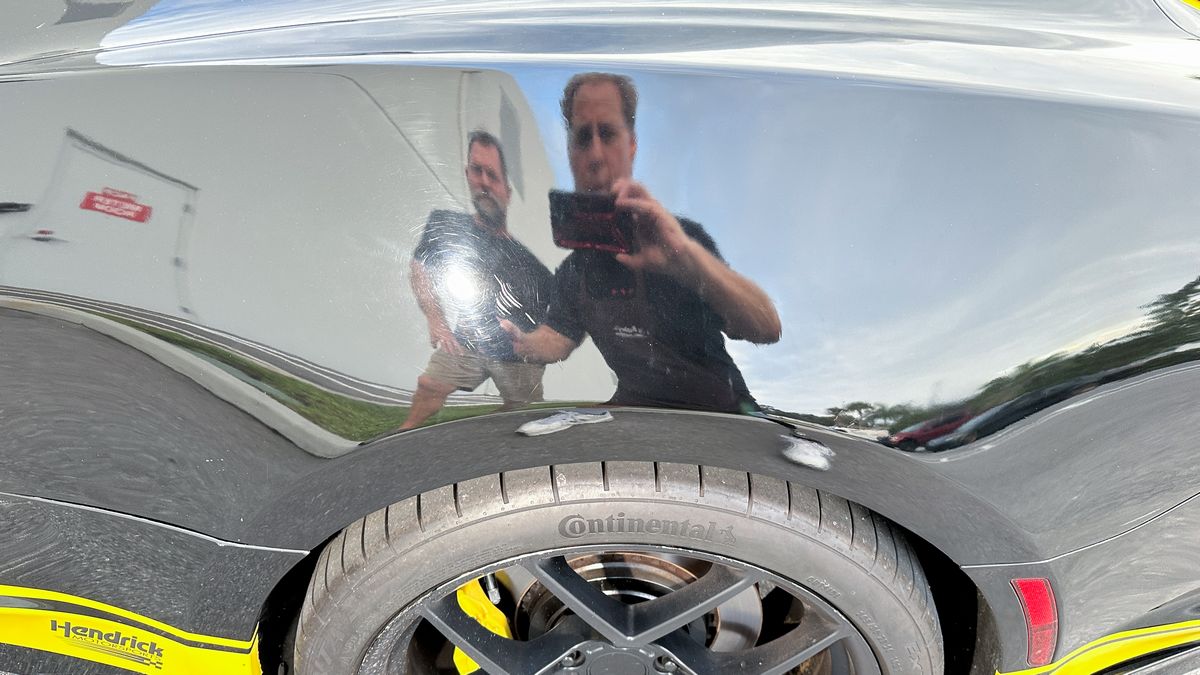
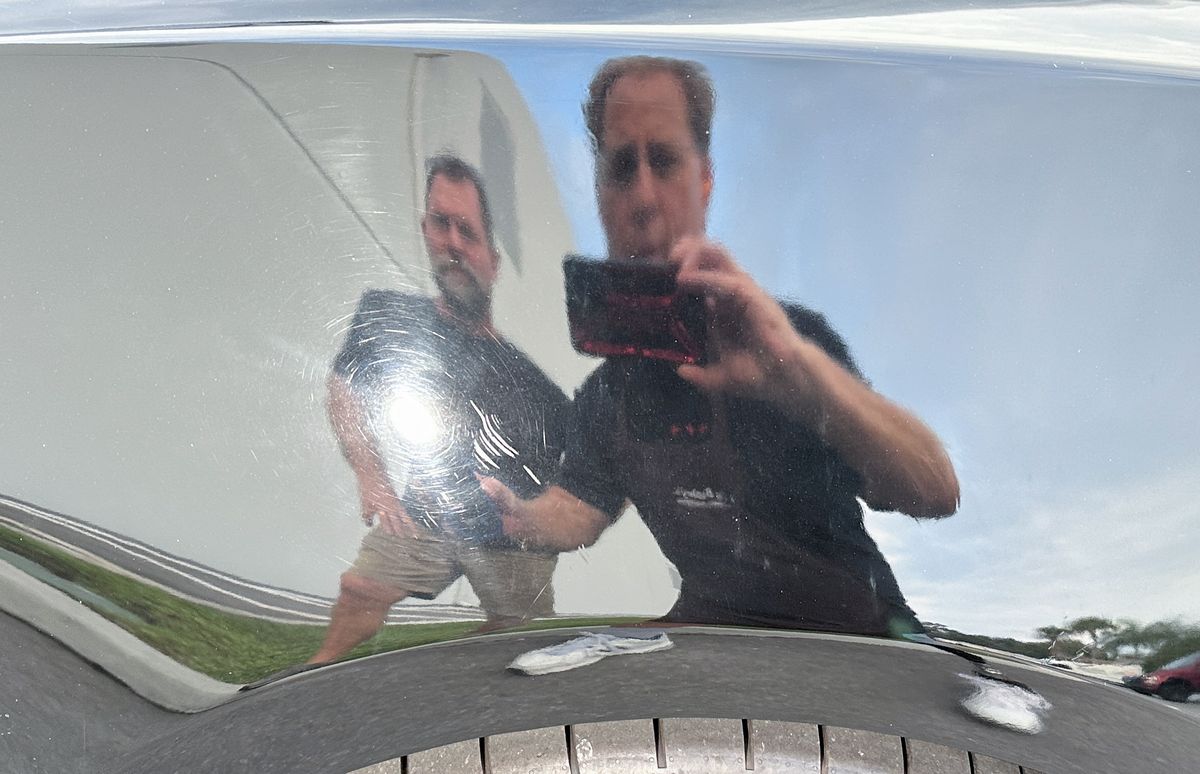
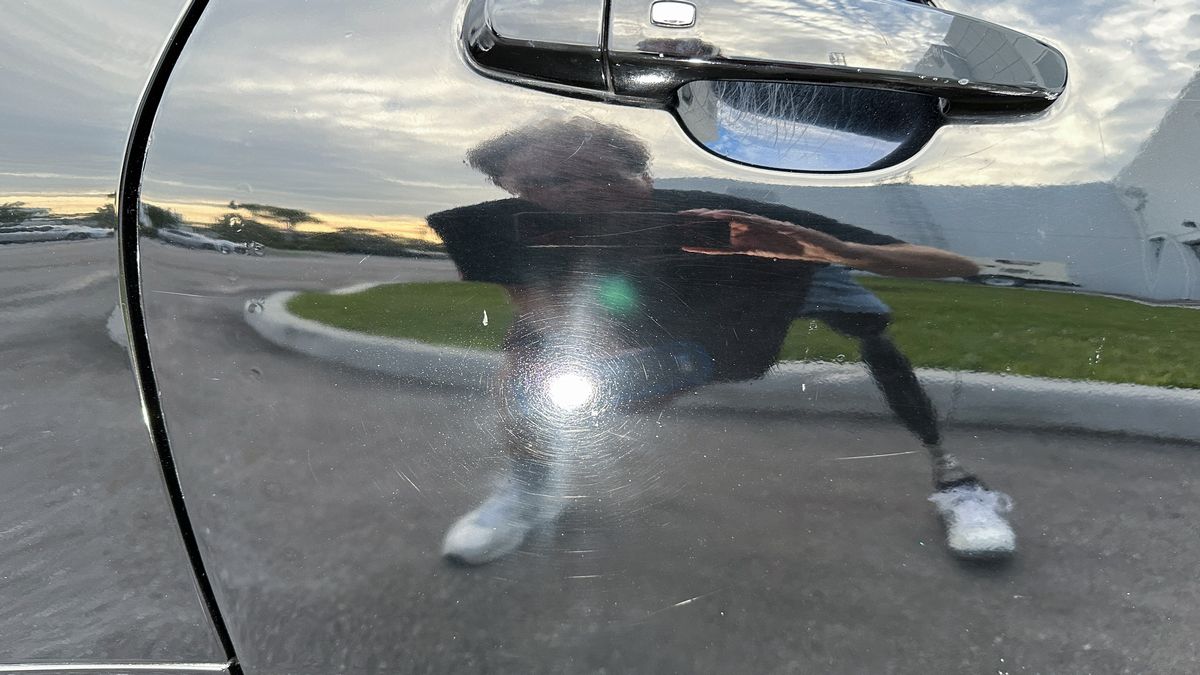
This is a 2020 Hertz Special Edition Camaro SS - Number #14 of 224 built. Sad to say but because this was a Hertz Rental Car, the paint is totally trashed with swirl and scratches. At least 2 of the body panels appear to have been repainted. It is these repainted body panels that we are going to share tips and techniques for HAND dry sanding in this first episode of our LIVE detailing class. Then we'll have the car back for a second episode where we'll cover MACHINE dry sanding.
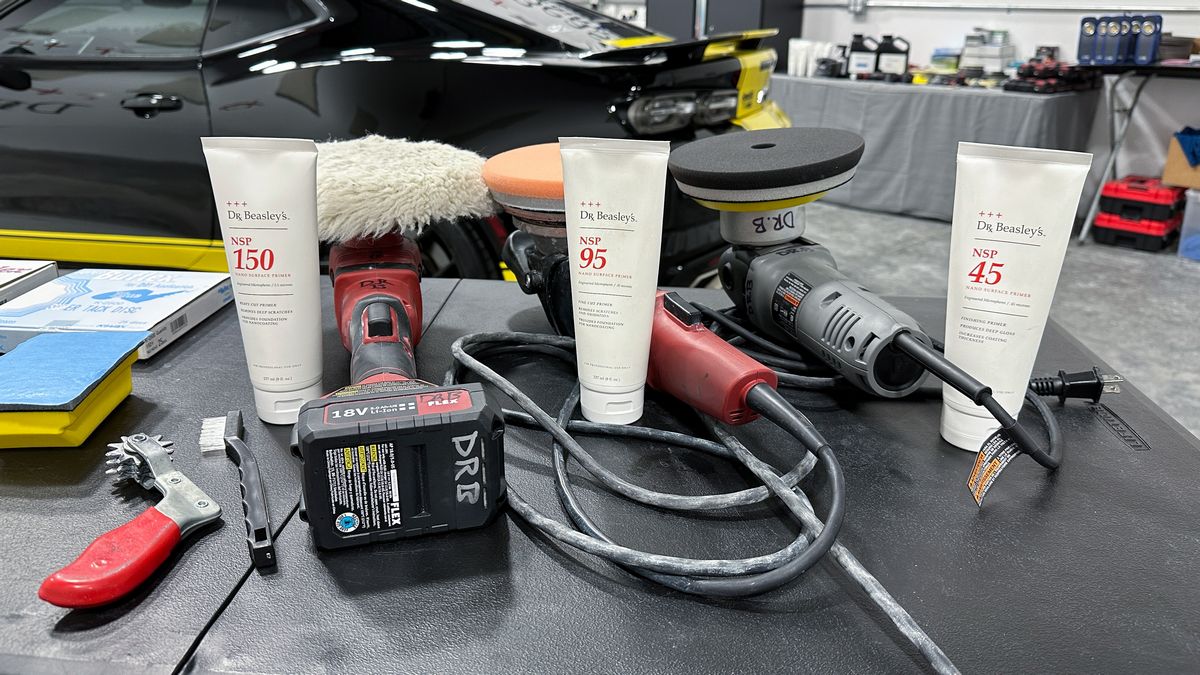
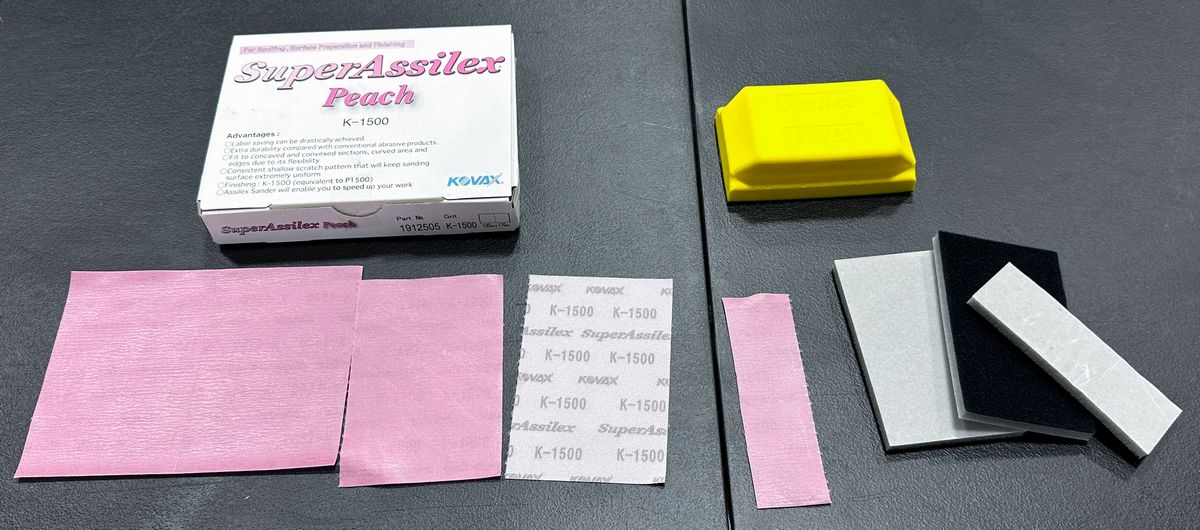
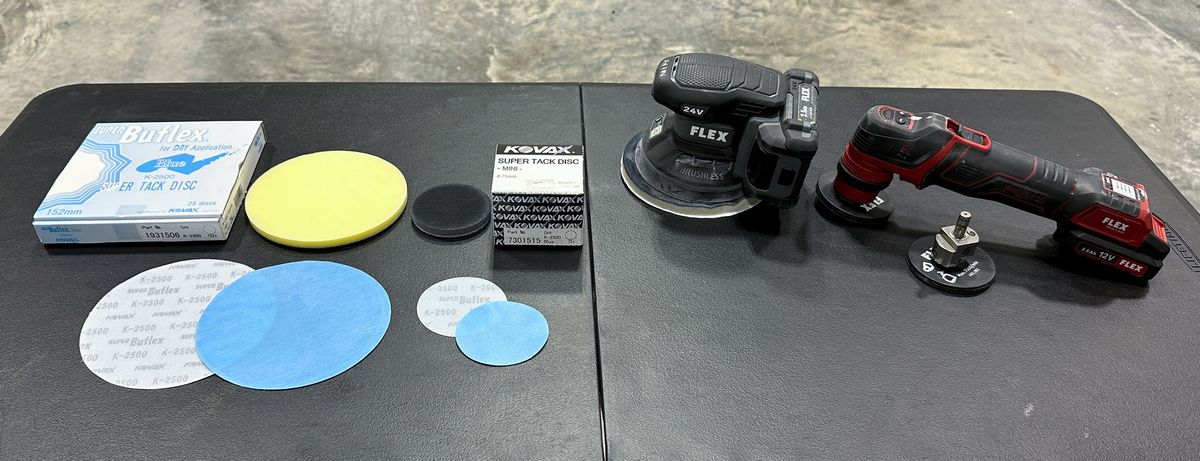
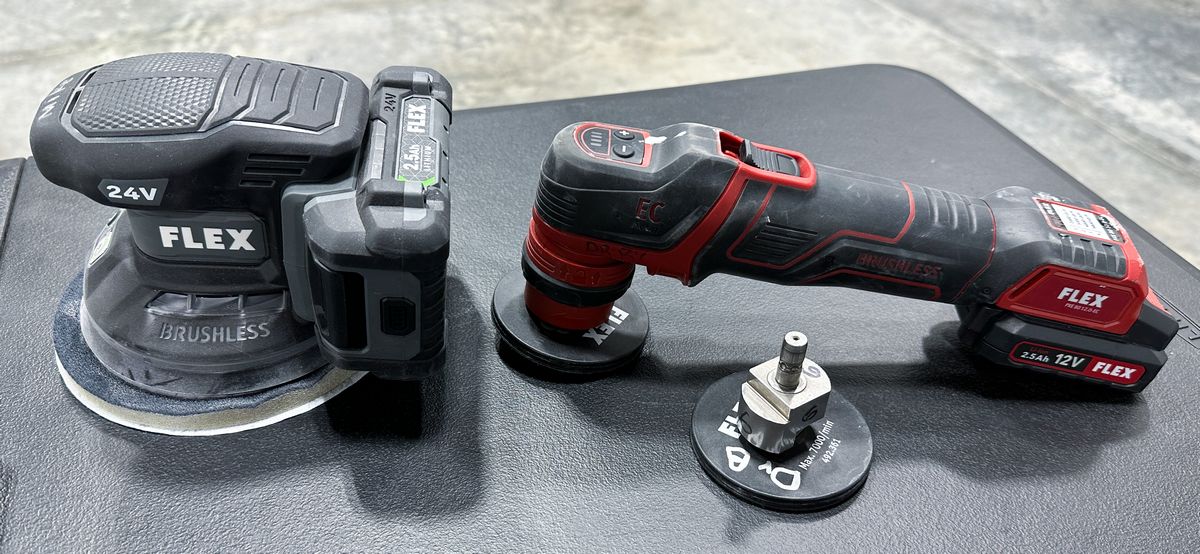
Besides showing how to use the Eagle Abrasives by KOVAX Dry Sanding System, we will also cover,
Join us via either Facebook or YouTube and interact LIVE with your questions and comments.
See you there!
Mike
Here's the LIVE video on YouTube
Starting Wednesday, December 20th, watch LIVE and interact during the live feed 1:00pm Pacific, 3:00pm Central or 4:00pm Eastern on either of these social media platforms.
Dr. Beasley's Facebook Page
Dr. Beasley's YouTube Channel
This is a 2020 Hertz Special Edition Camaro SS - Number #14 of 224 built. Sad to say but because this was a Hertz Rental Car, the paint is totally trashed with swirl and scratches. At least 2 of the body panels appear to have been repainted. It is these repainted body panels that we are going to share tips and techniques for HAND dry sanding in this first episode of our LIVE detailing class. Then we'll have the car back for a second episode where we'll cover MACHINE dry sanding.
Besides showing how to use the Eagle Abrasives by KOVAX Dry Sanding System, we will also cover,
- Paint inspection with swirl finder lights and Paint Thickness Gauge.
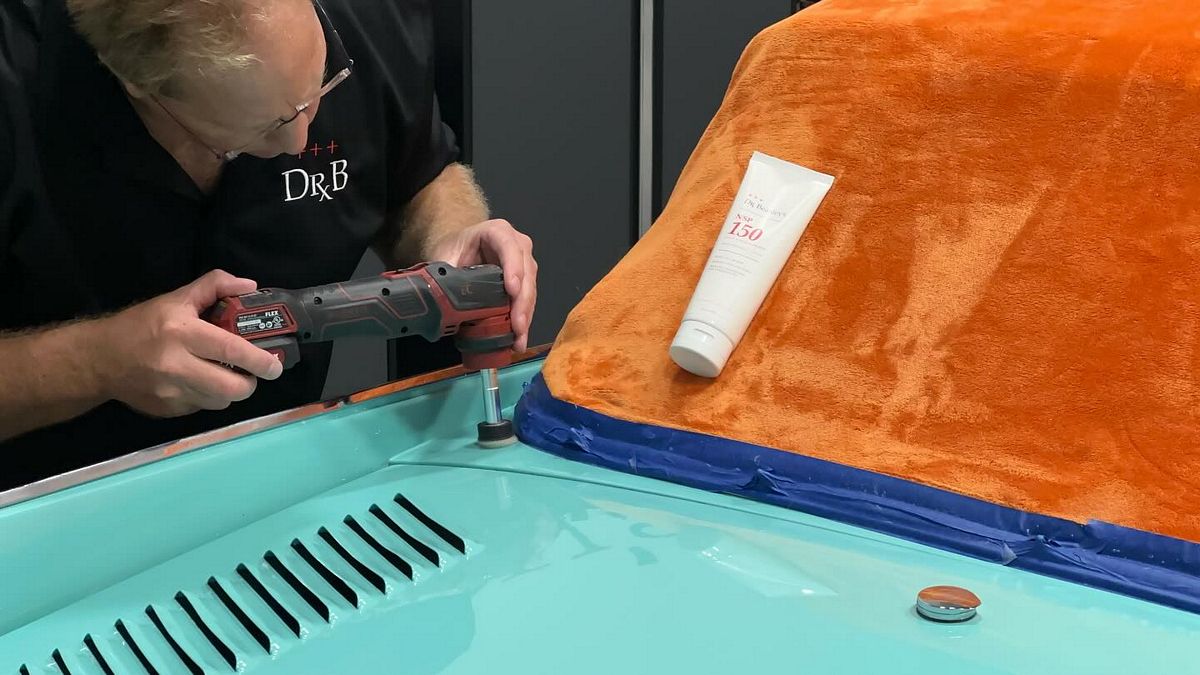
- Rotary polisher techniques.
- Wool pad techniques.
- Orbital polisher techniques.
- Using a Ceramic AIO as a Finishing Polish.
- Using Bead Hero as a Ceramic Topper.
Join us via either Facebook or YouTube and interact LIVE with your questions and comments.
See you there!
Mike
Last edited:


")