
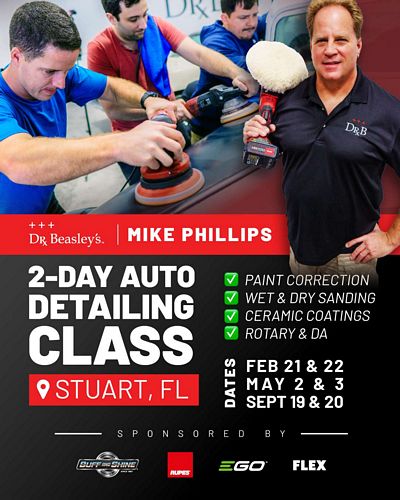
Pictures - September 18th 19th 20th 2026 Class in Stuart Florida - Dr. Beasley's & Mike Phillips

More...

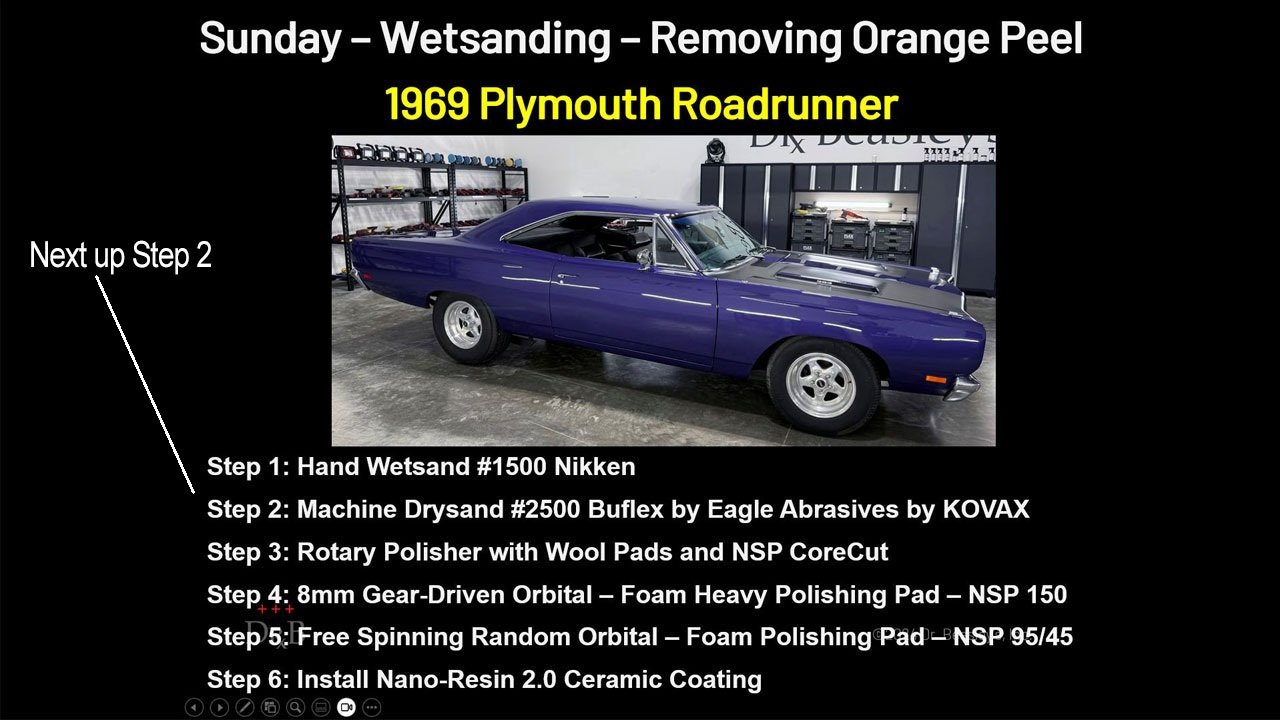
🛠️ Step 2: Machine Dry Sanding—Refining the Sanding Marks!

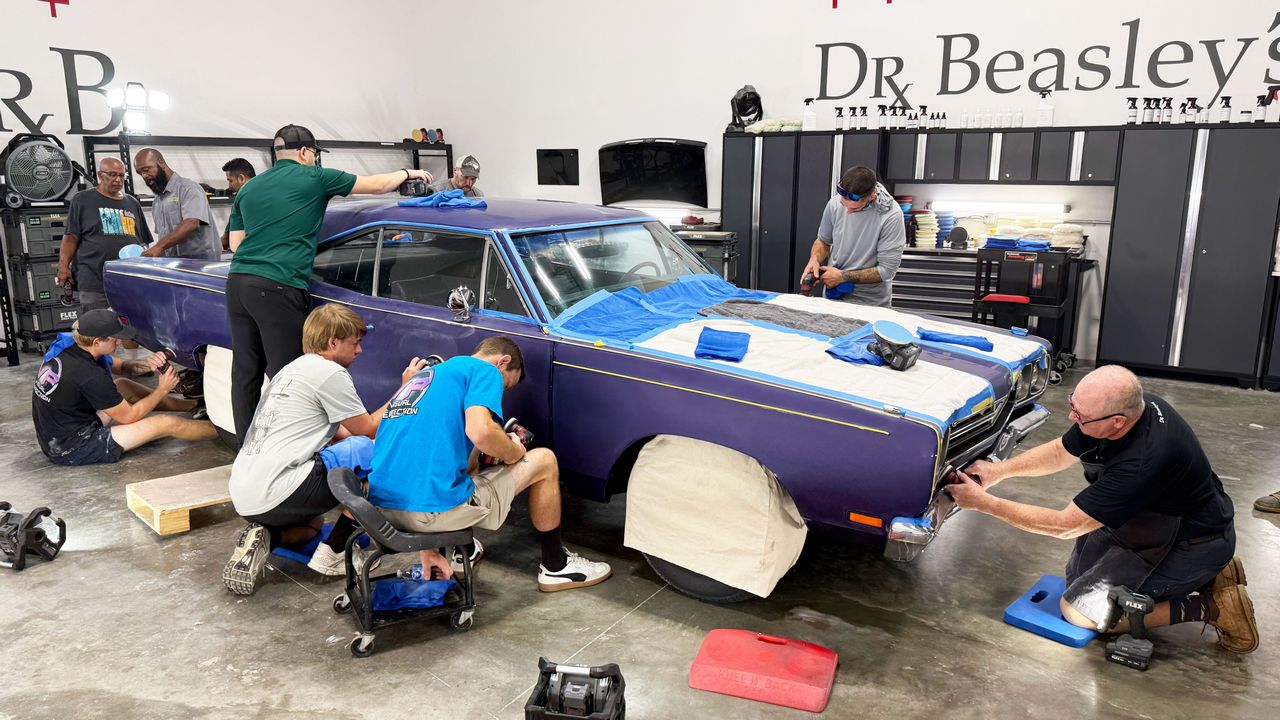
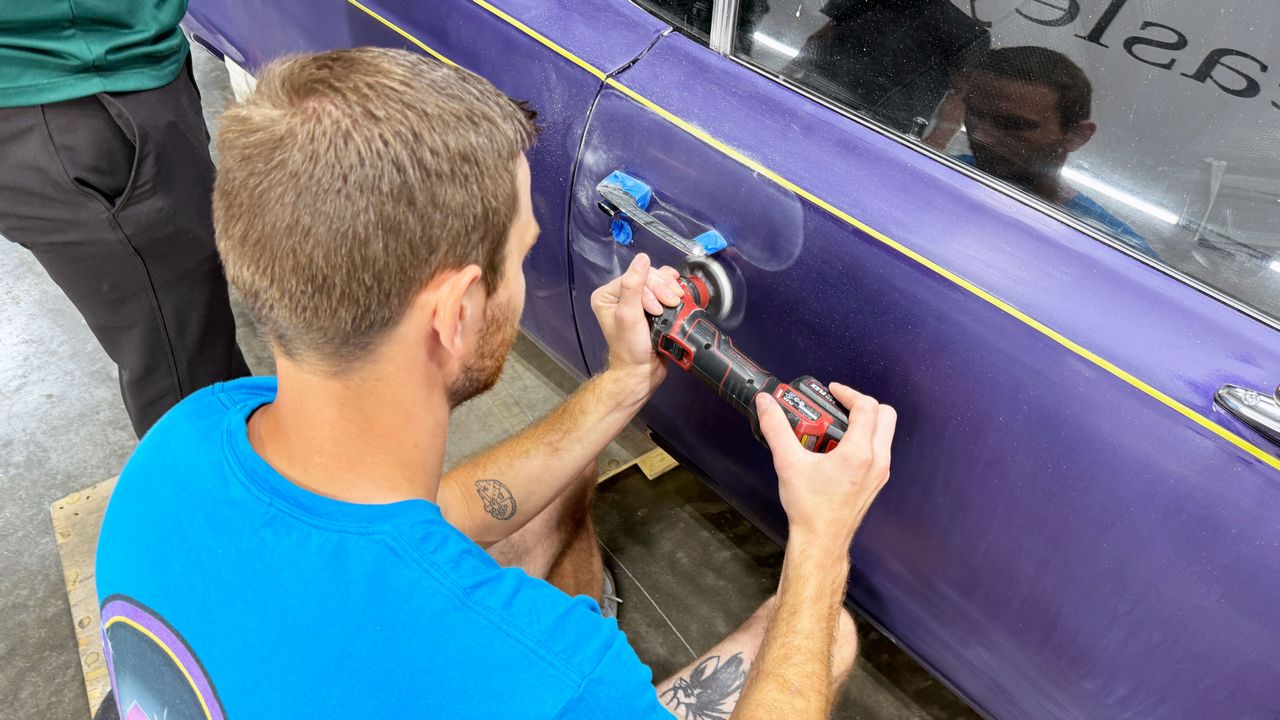
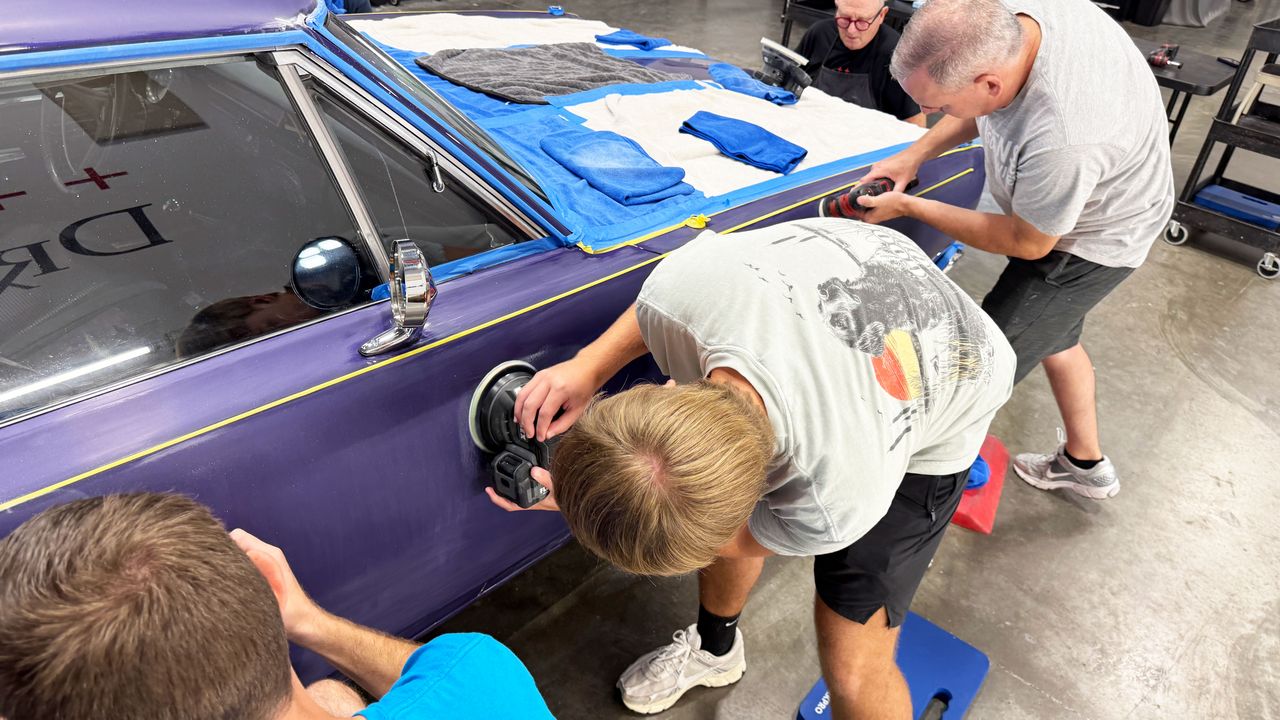
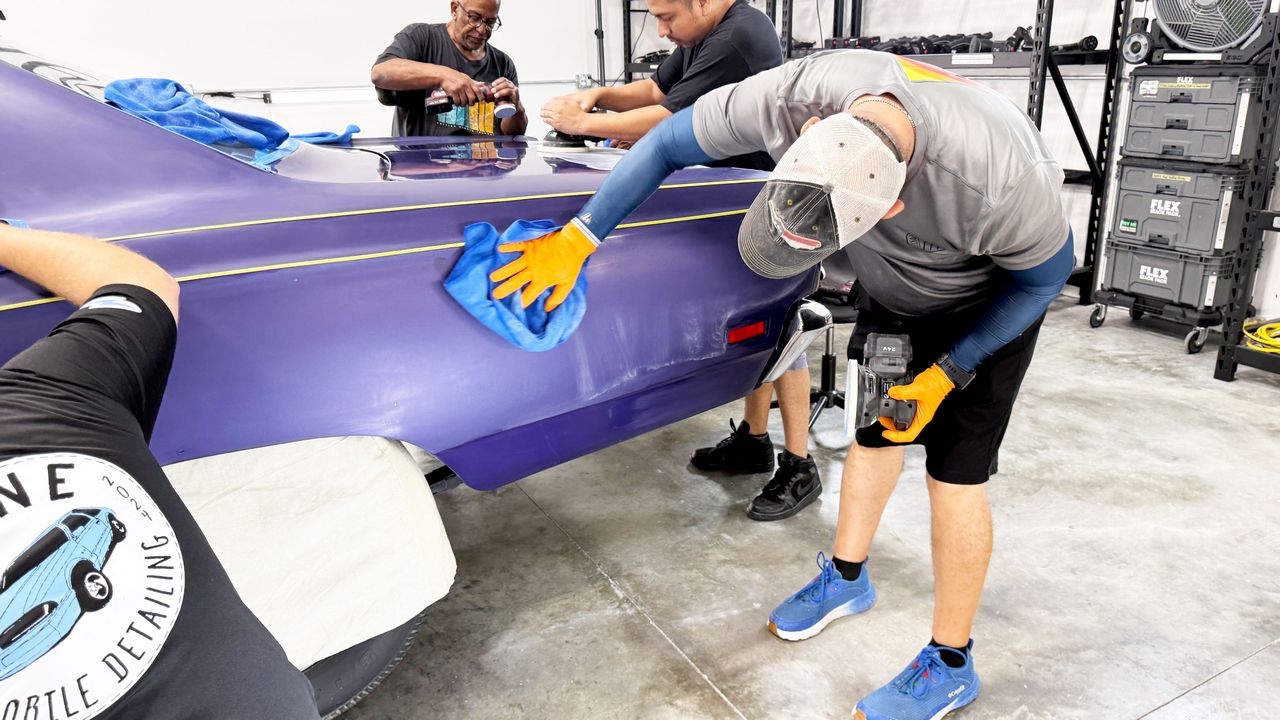
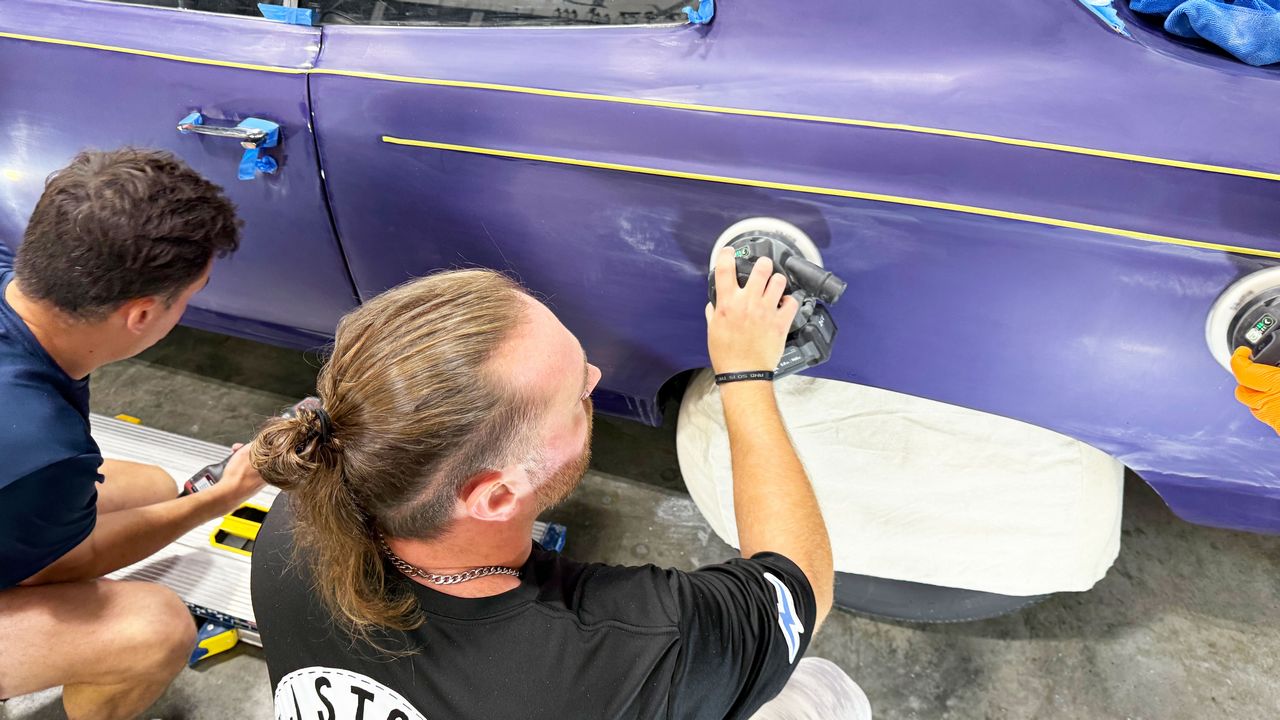
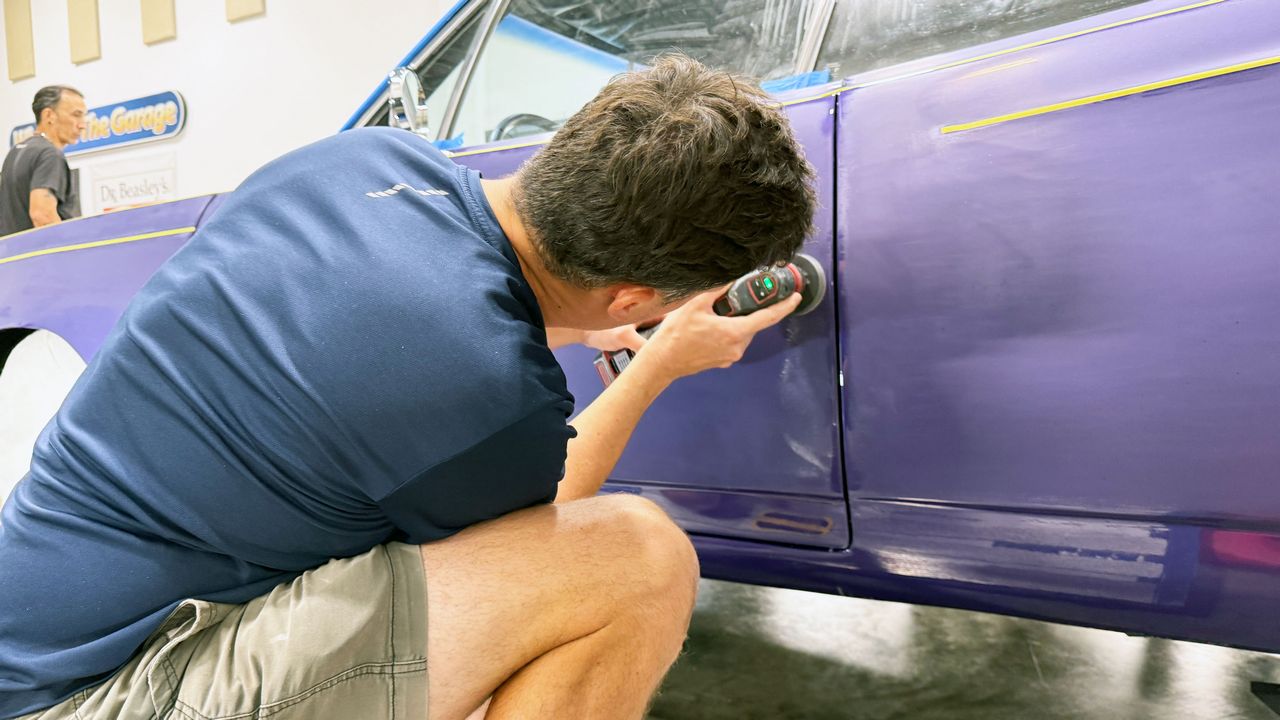
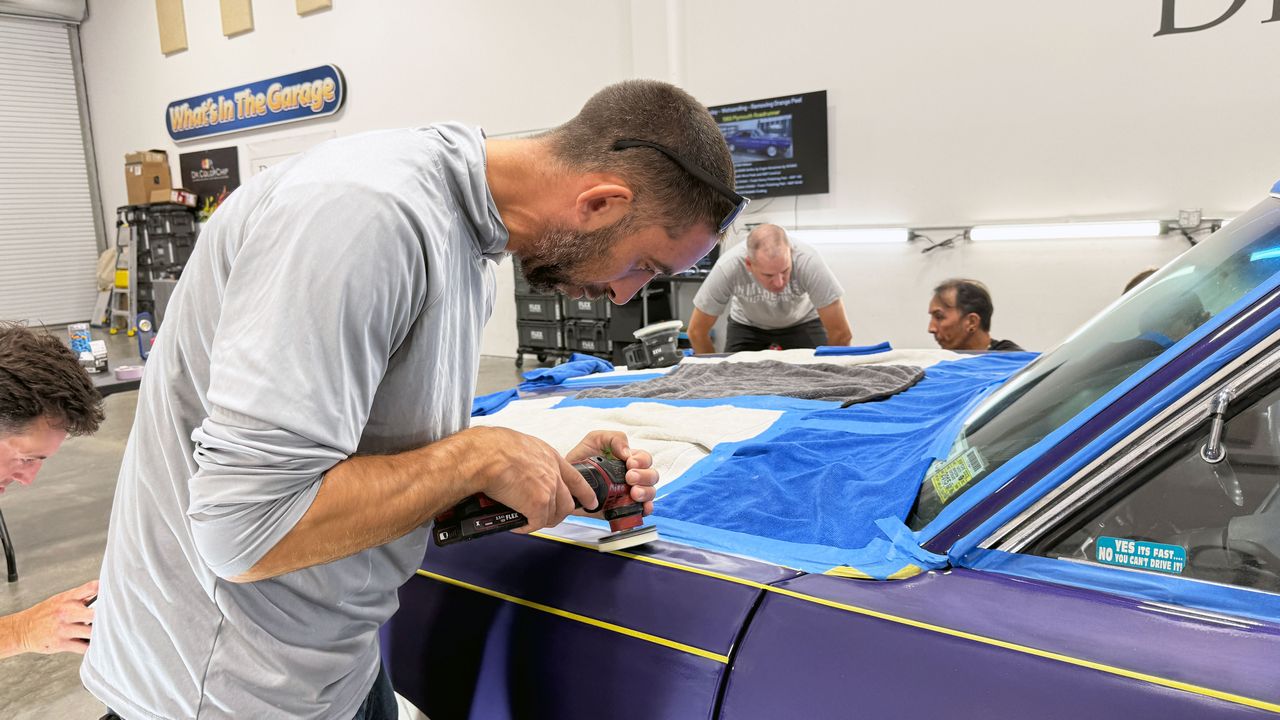
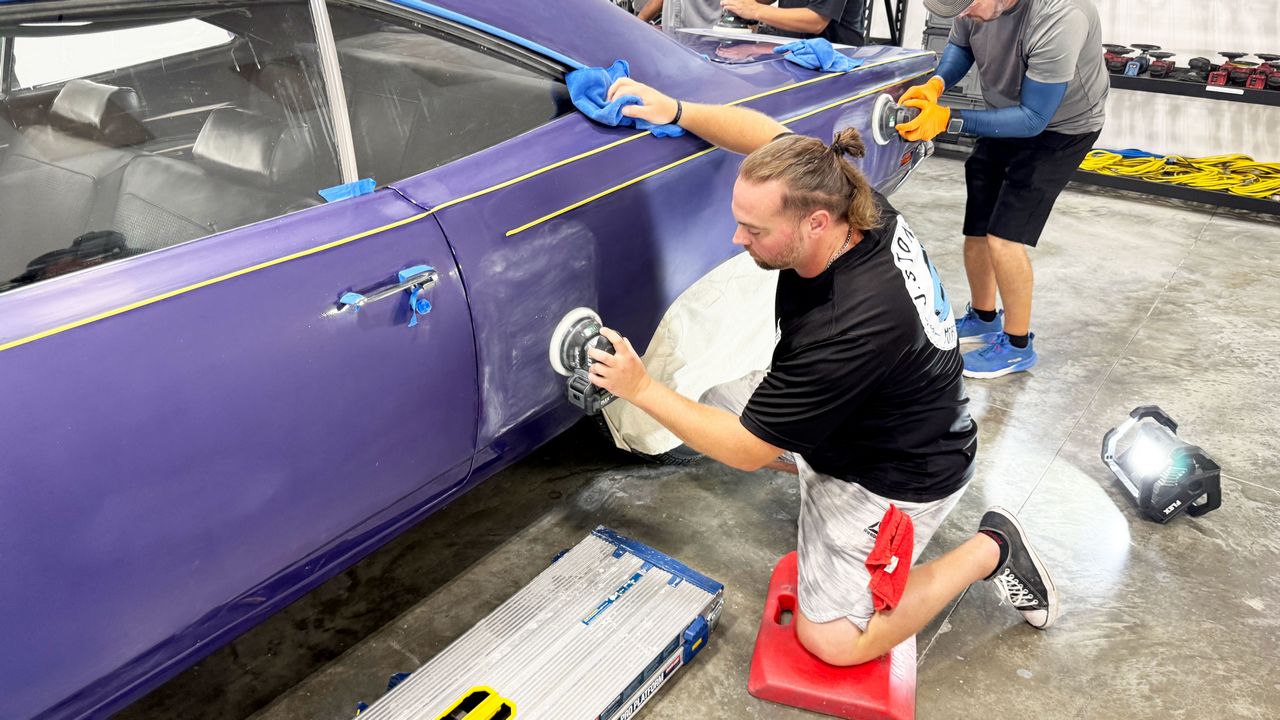
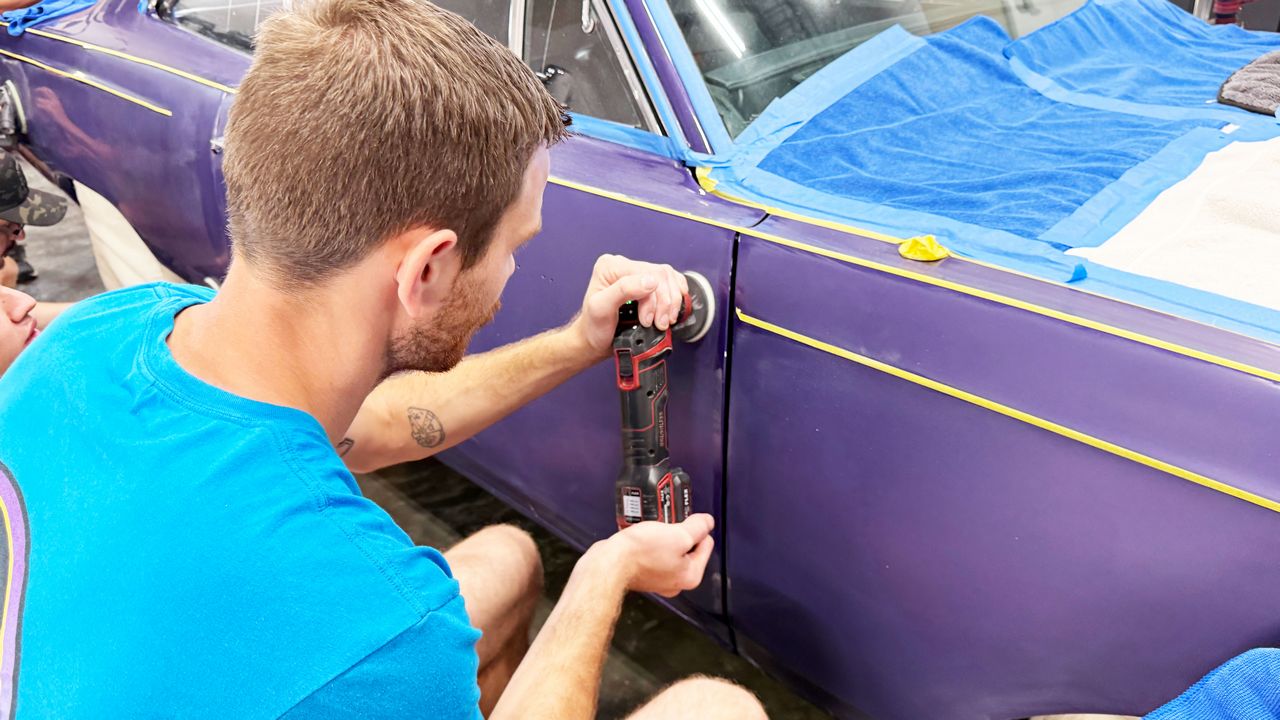
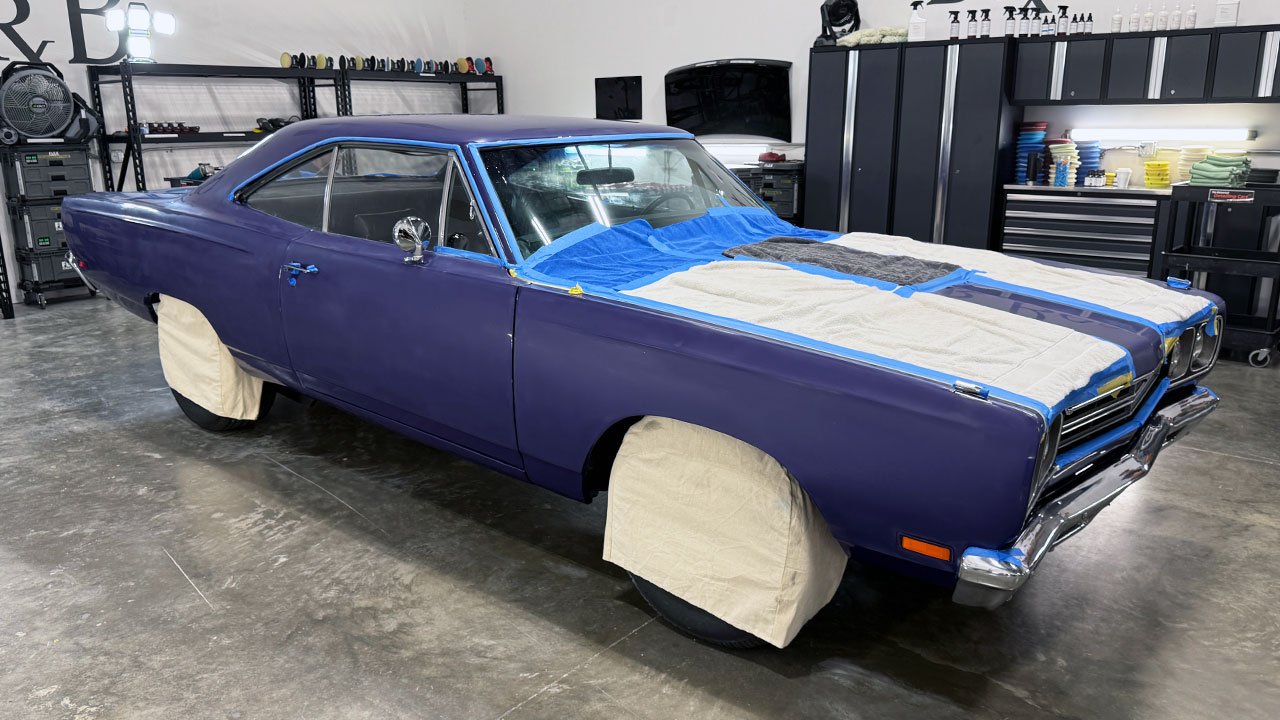
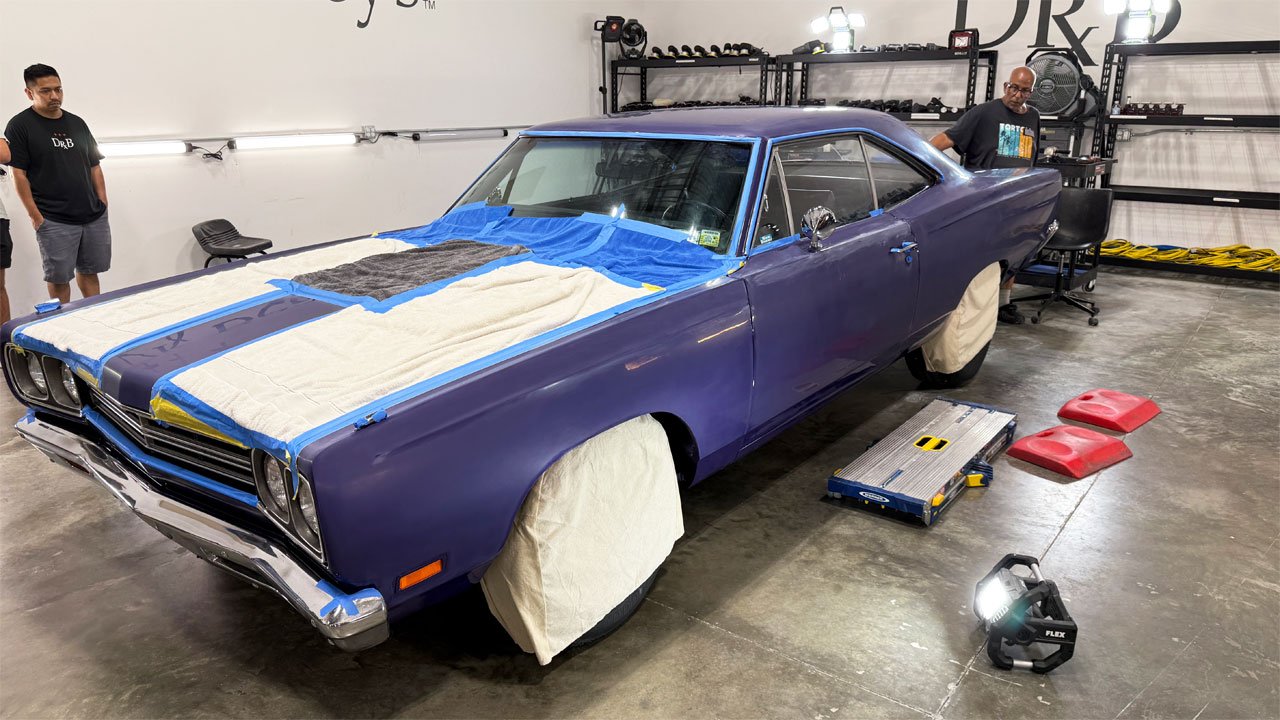
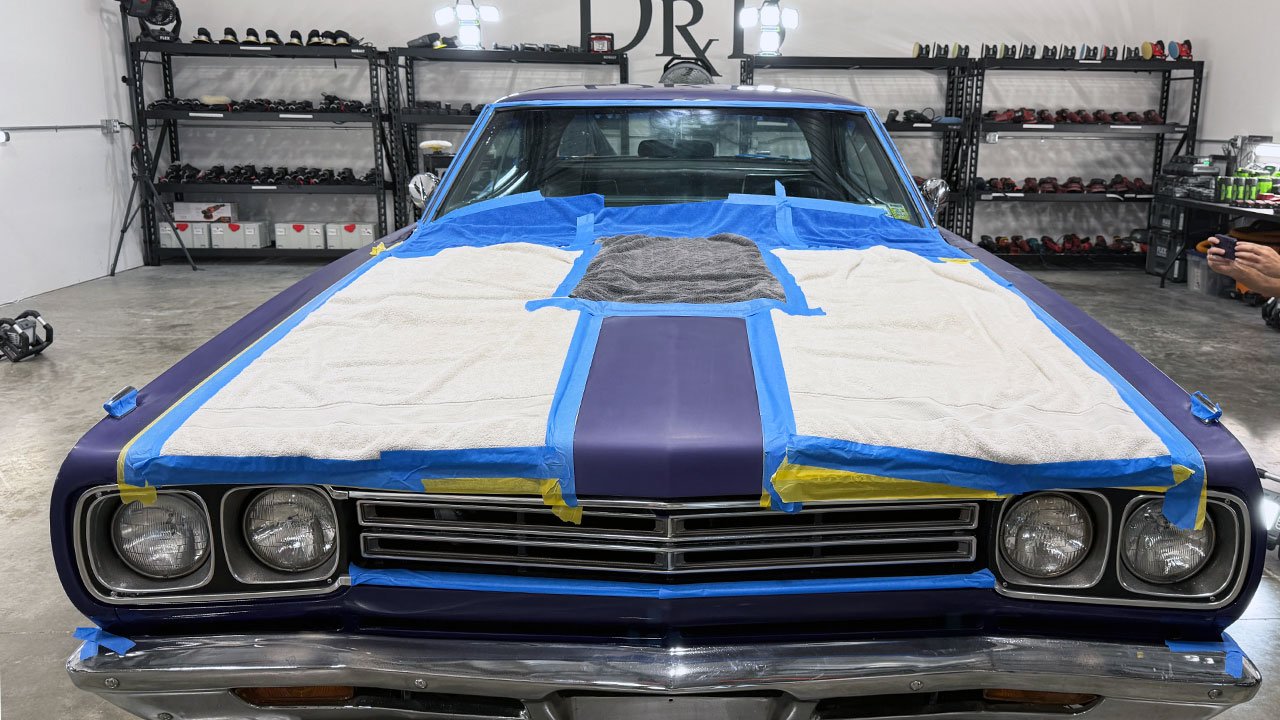
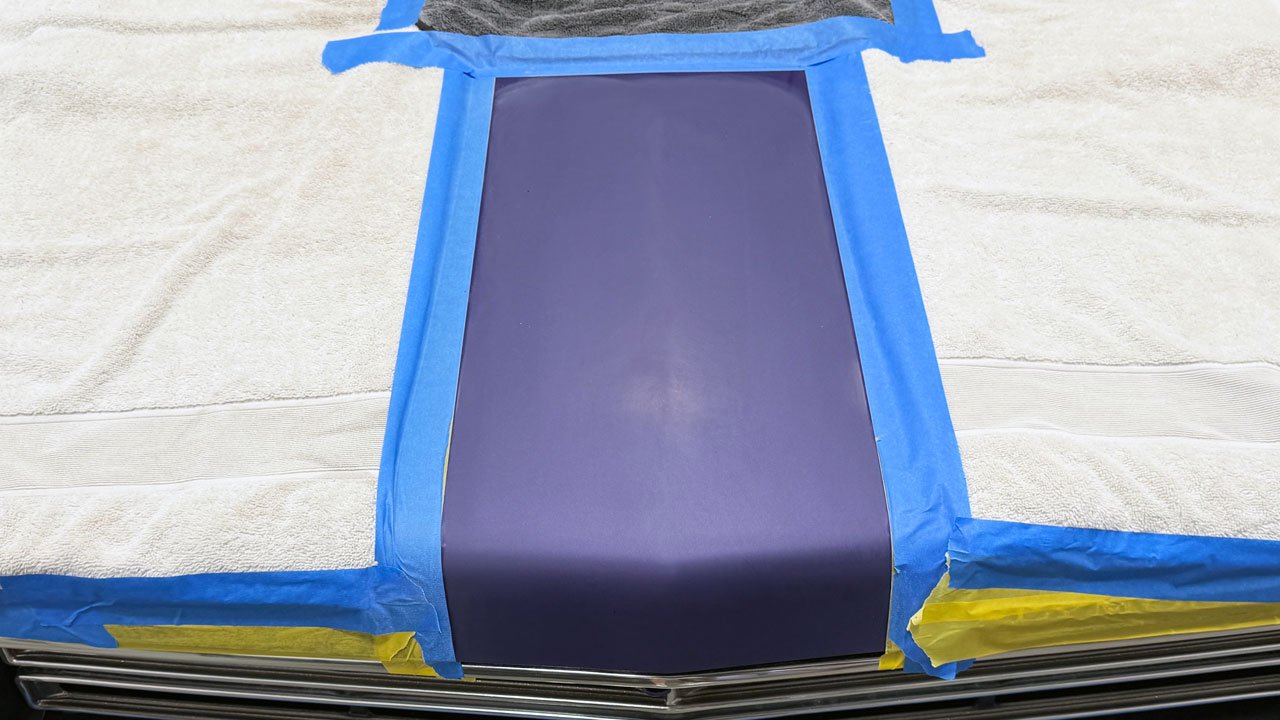
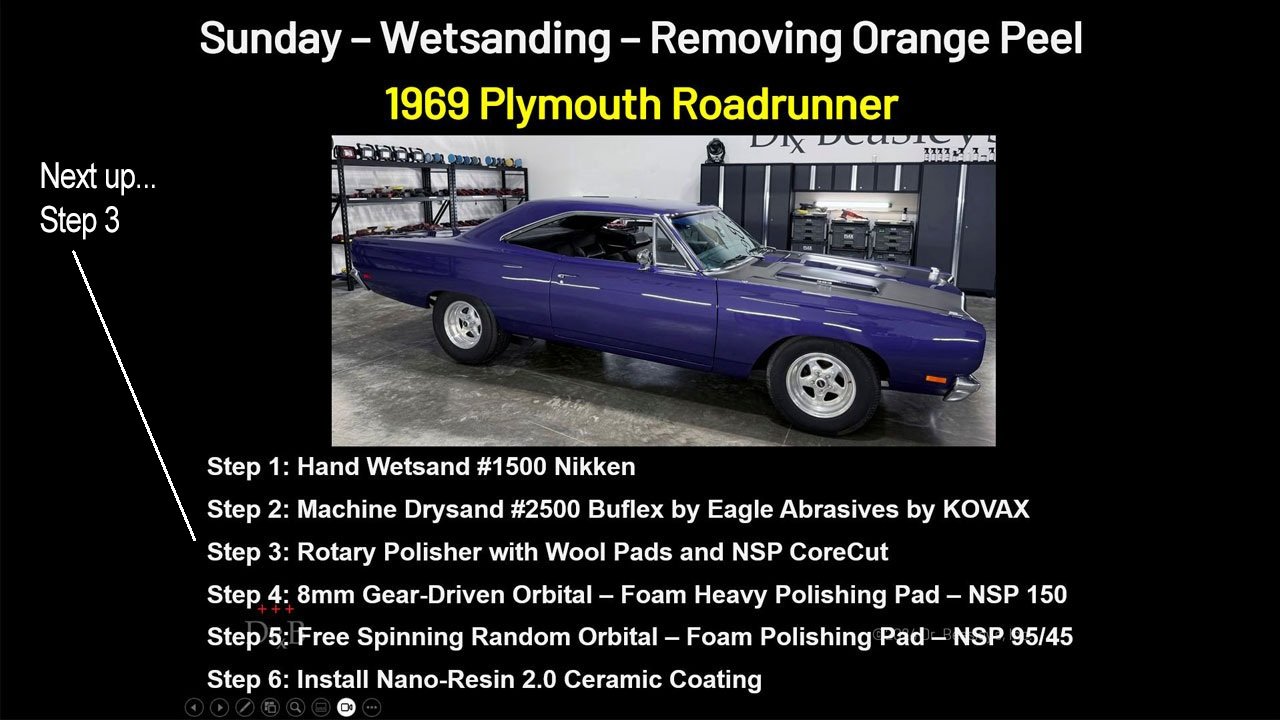
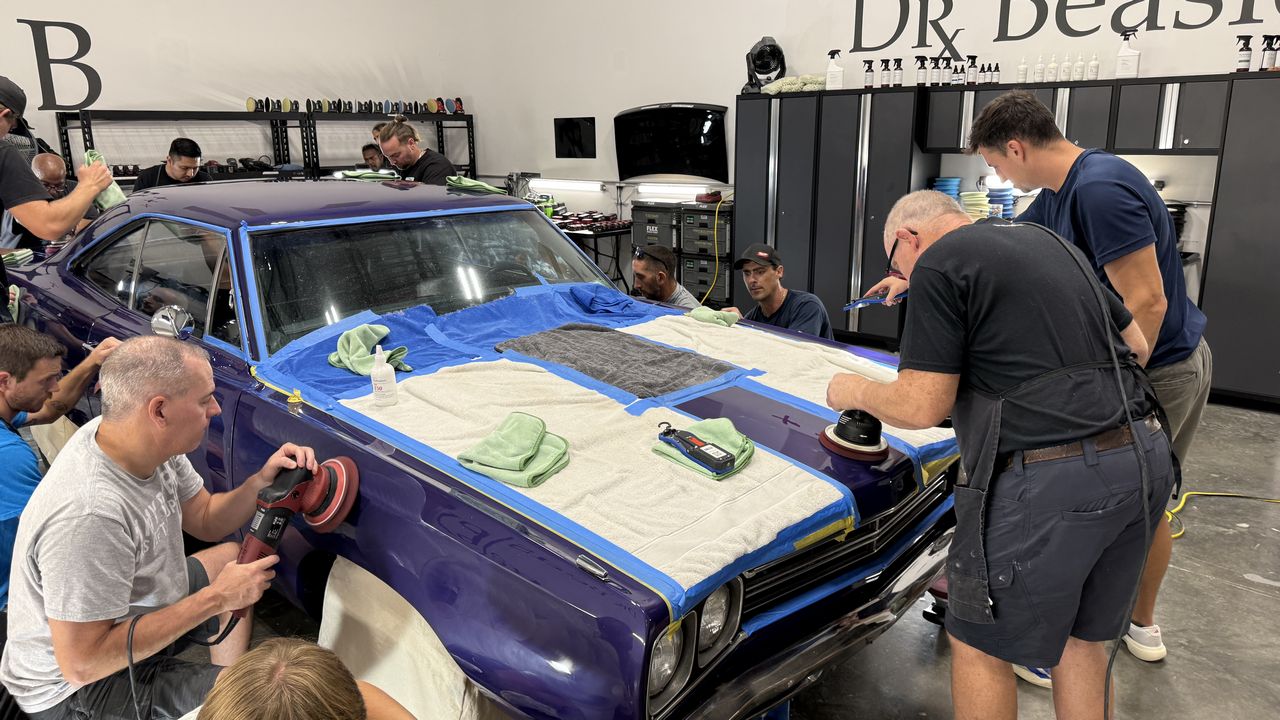
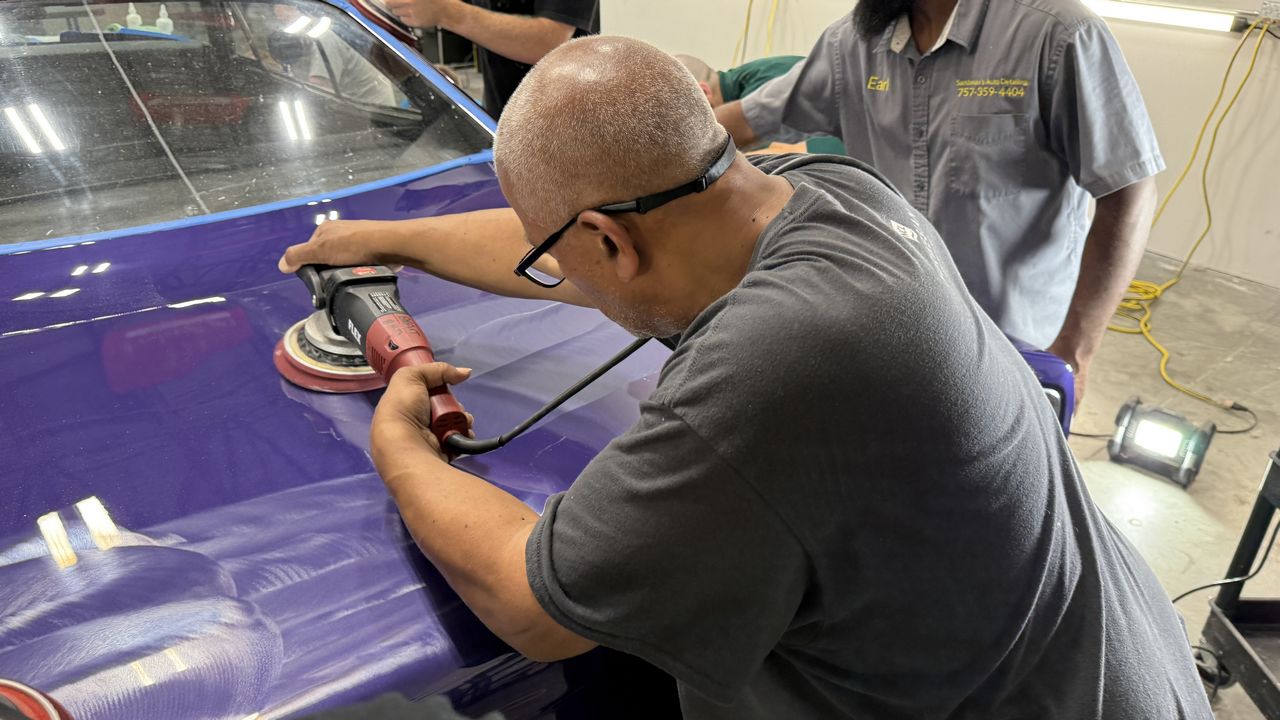
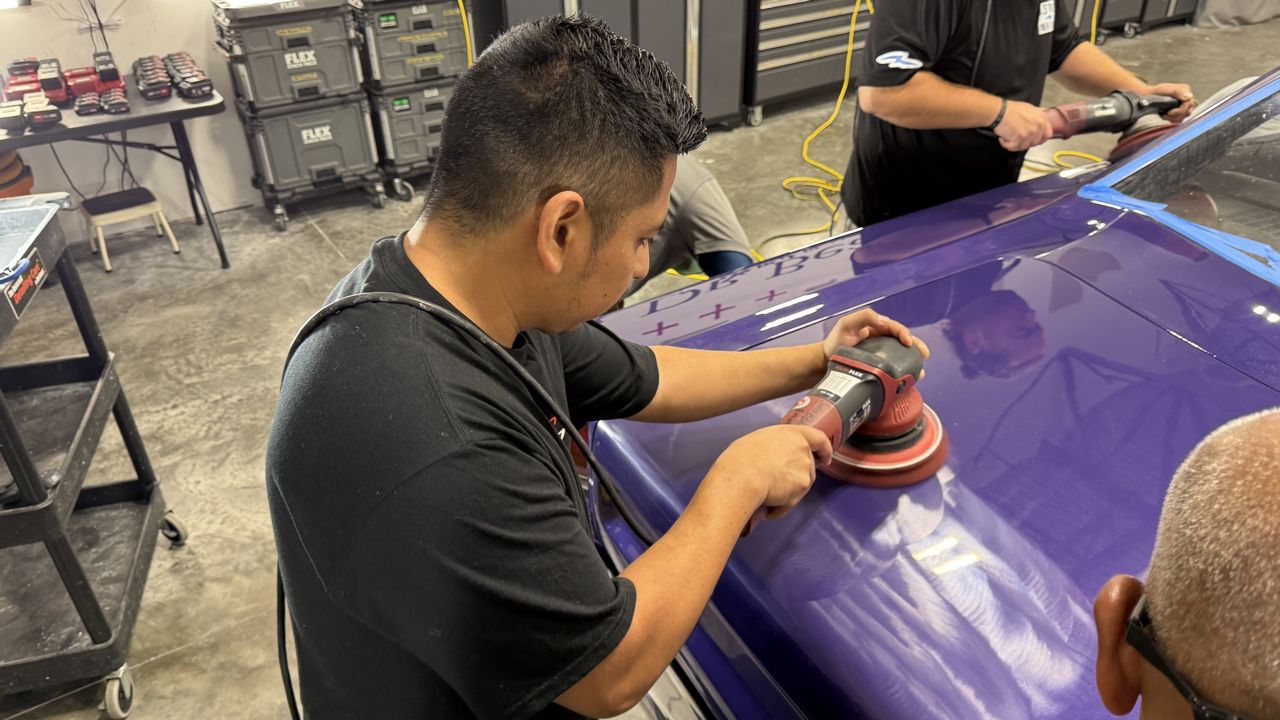
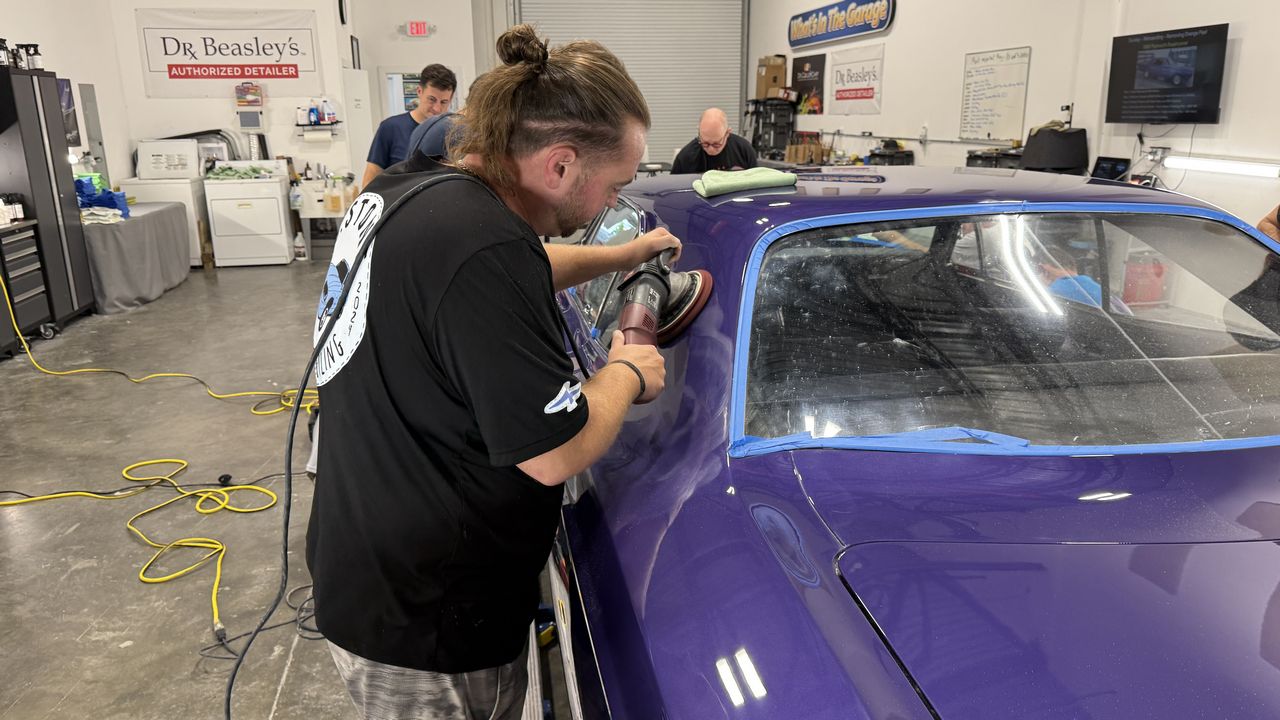
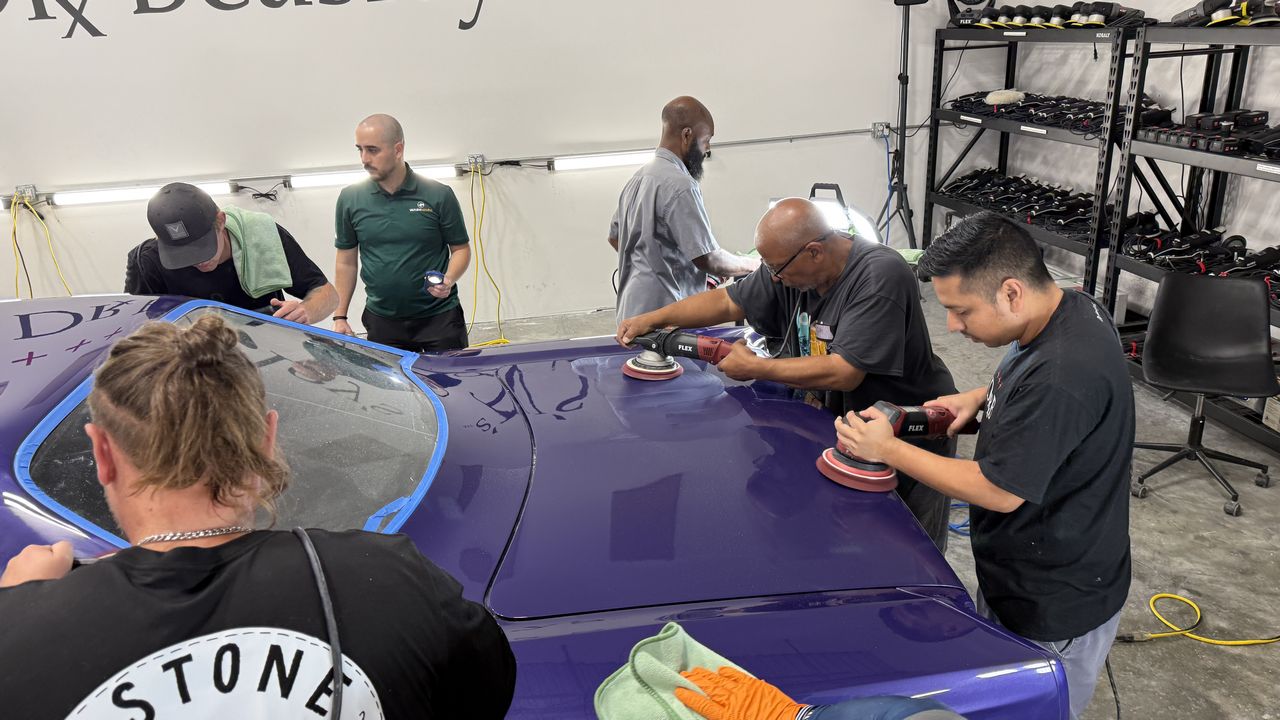
With the initial hand sanding completed, the class moves on to machine dry sanding our 1969 Plymouth Roadrunner using Eagle Abrasives by KOVAX Buflex 2500 sanding discs.

For this step, we’re using:

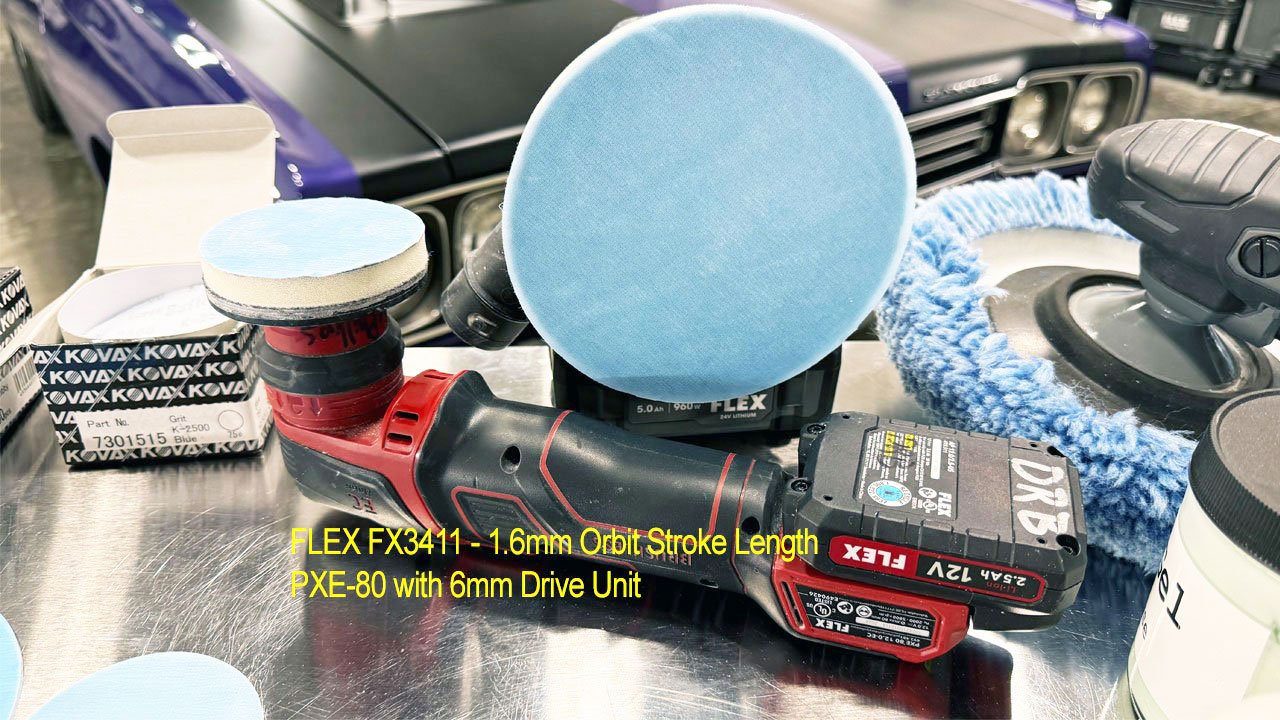
🔹 FLEX FX3411 Finishing Sander: A 1.6mm orbit with 6-inch Buflex 2500 sanding discs.

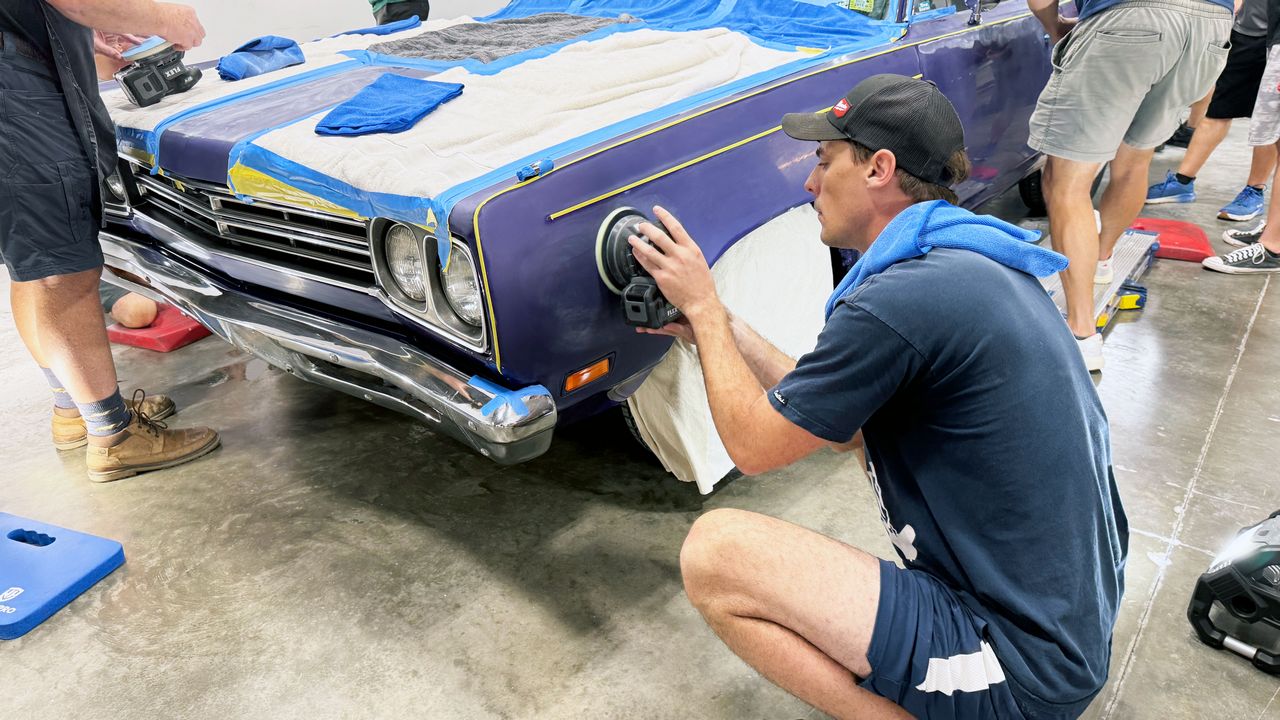
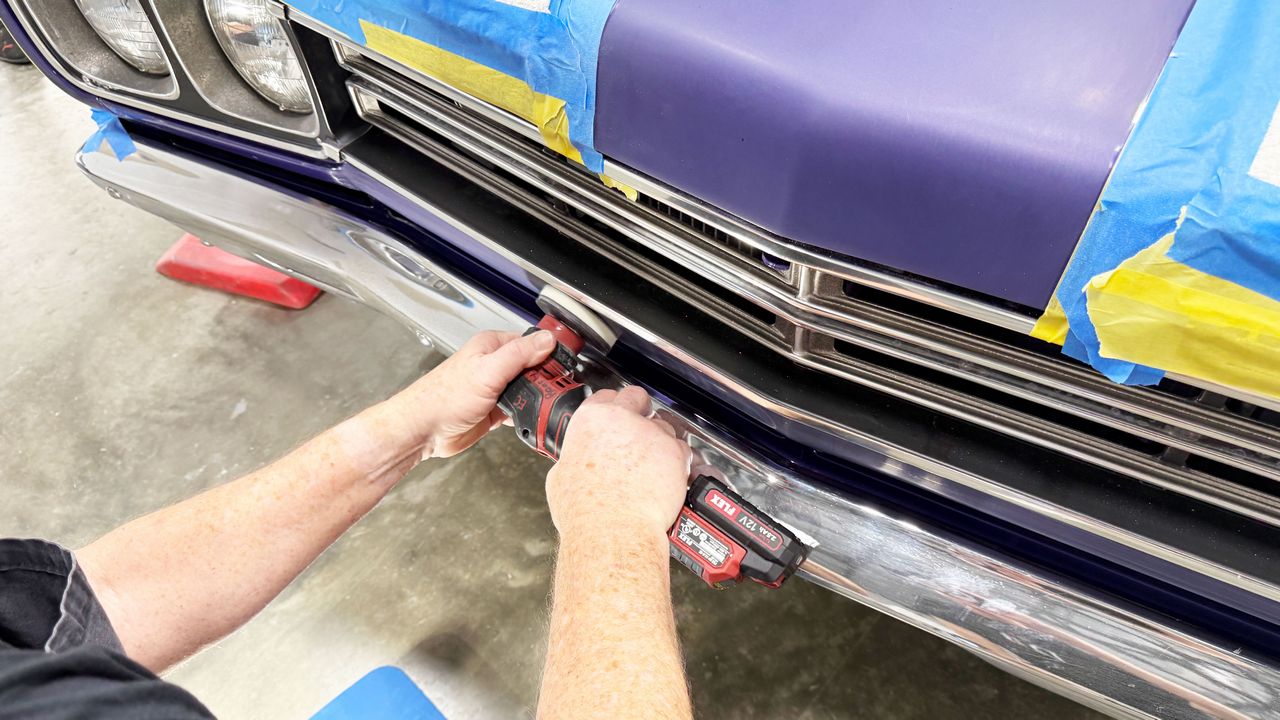
🔹 FLEX PiXiE: The 6mm drive unit with 3-inch Buflex 2500 sanding discs for smaller areas.

Both tools are equipped with appropriately sized RUPES foam interface pads between the backing plate and sanding disc.

🎯 The goal? Replace the 1500-grit hand sanding marks with finer, more uniform 2500-grit machine sanding marks.

These shallower marks are faster and easier to buff out, reducing the amount of heavy compounding needed and helping limit heat buildup during the buffing step. 🌡️

A little more time refining now makes the next step easier! 💪😎


full


full


full


full


full


full


full


full


full


full


full


full


full


full


full


full


full


full


Looking good guys!


Mike
 
More...

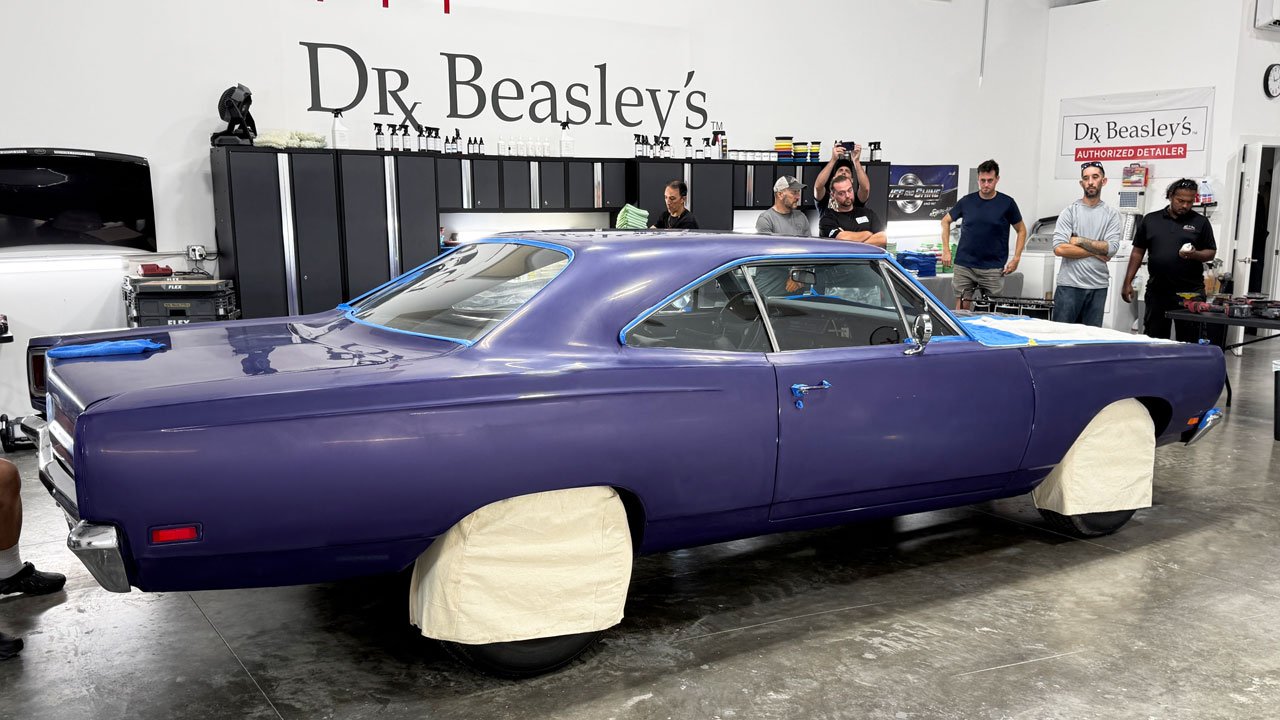
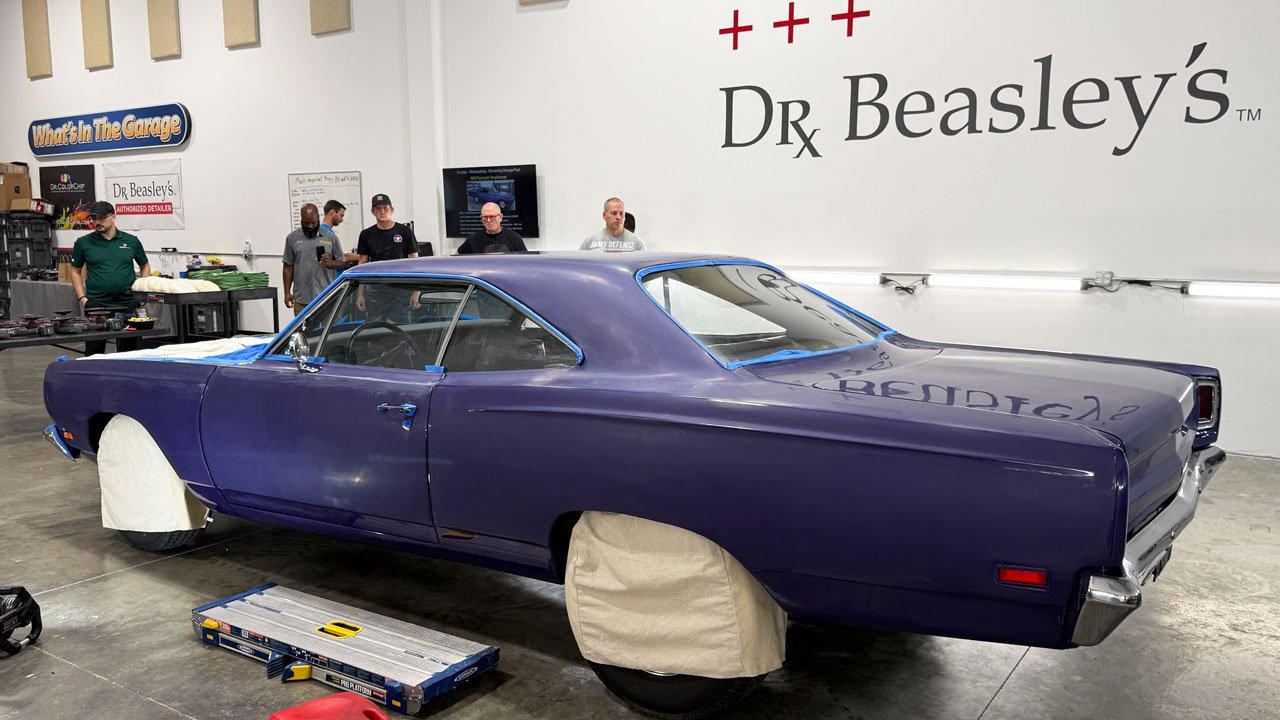
Here's the results after a 2-step sanding process to the 11969 Plymouth Roadrunner.

If you look closely, the thin, yellow painter's tape has been removed from all the raised body lines and then the class used some 2500 grit sand paper to SCUFF the raised body lines and remove the glaze. This is a ery light sanding and if you don't do this - the final results won't look right.

So far, so good, keep up the good FOCUSED work as next we're switching over to wool cutting pads on rotary polisher using Dr. Beasley's CoreCut compound to cut the paint and remove the sanding marks.

full


full


full


full


full


full


Mike
 
More...


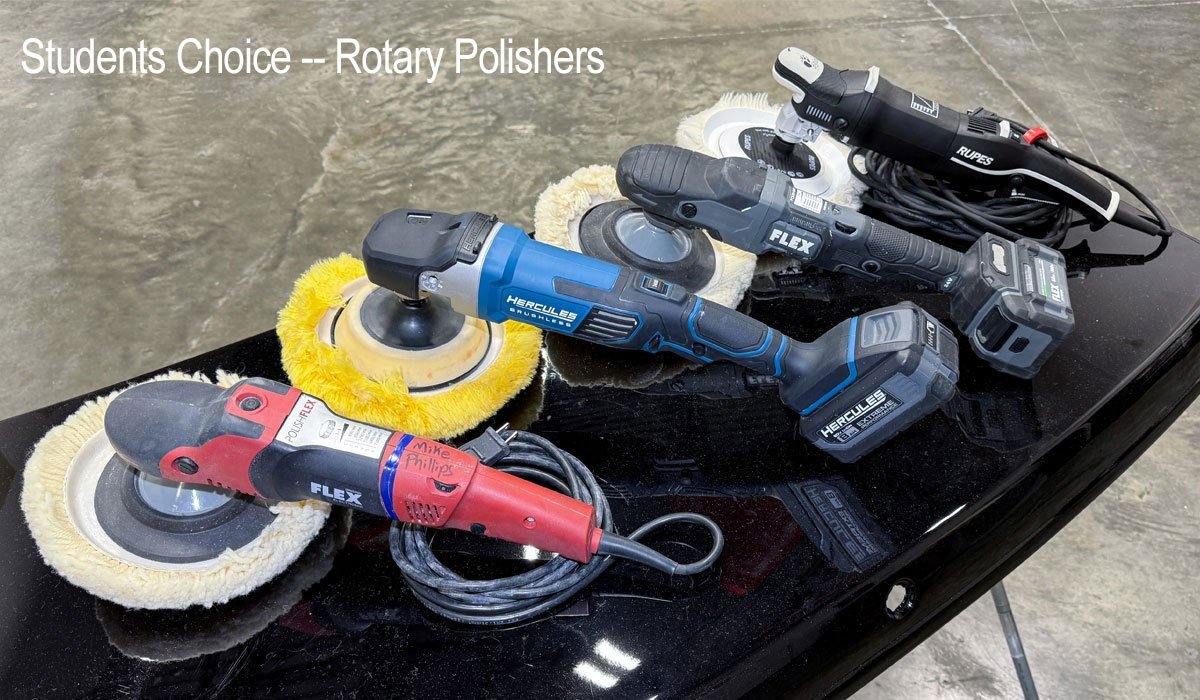
“Mike, why do you teach rotary polishers FIRST THING on Saturday morning?” 🤔

Because by Sunday, I need EVERYONE up to speed with this type of polisher!

Many of these students have never used a rotary polisher. Others have used one, but have never tackled removing sanding marks after sanding an entire car.

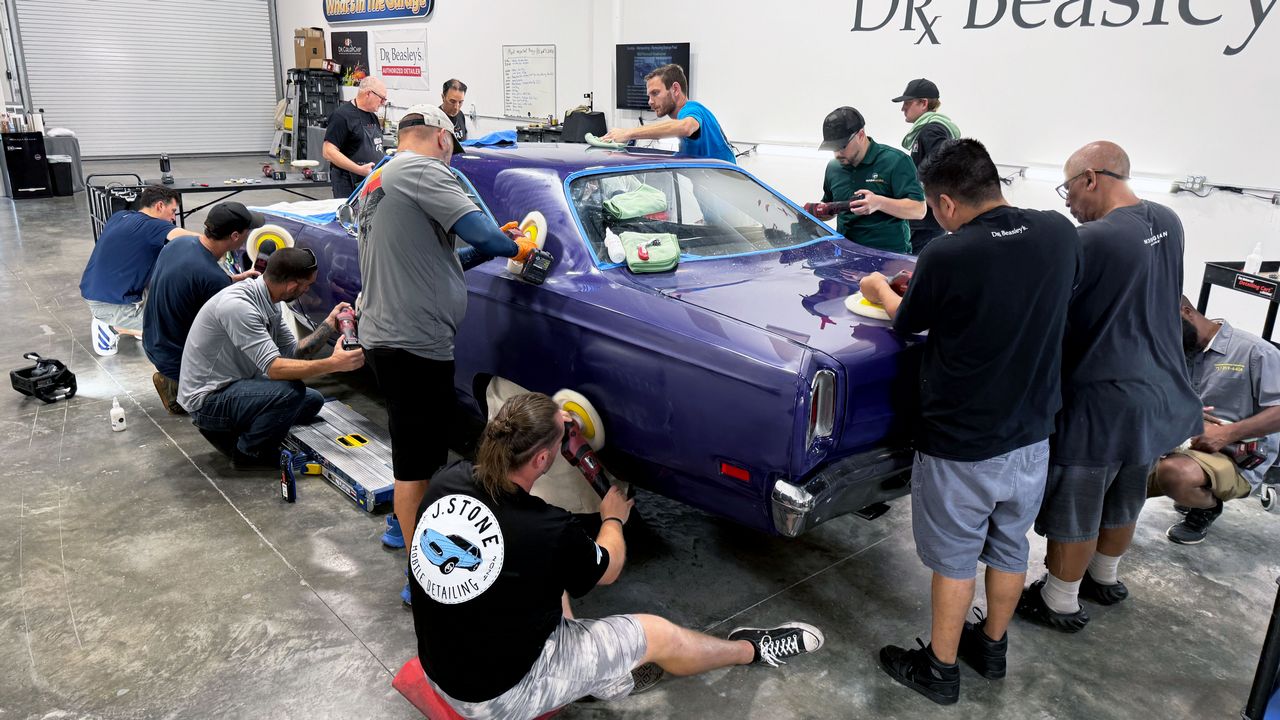
Saturday morning’s training builds the skills they’ll put to work on Sunday—on somebody else’s 1969 Plymouth Roadrunner! 💪

🛠️ Step 3: Remove the Sanding Marks!

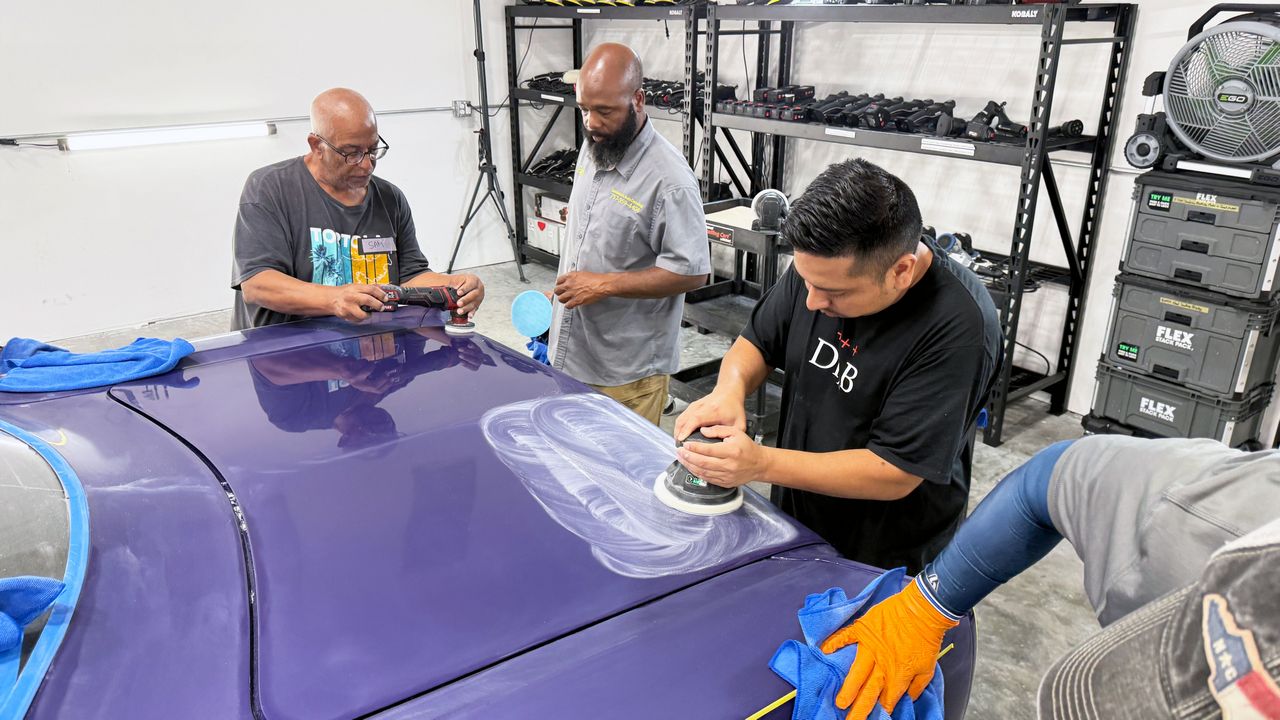
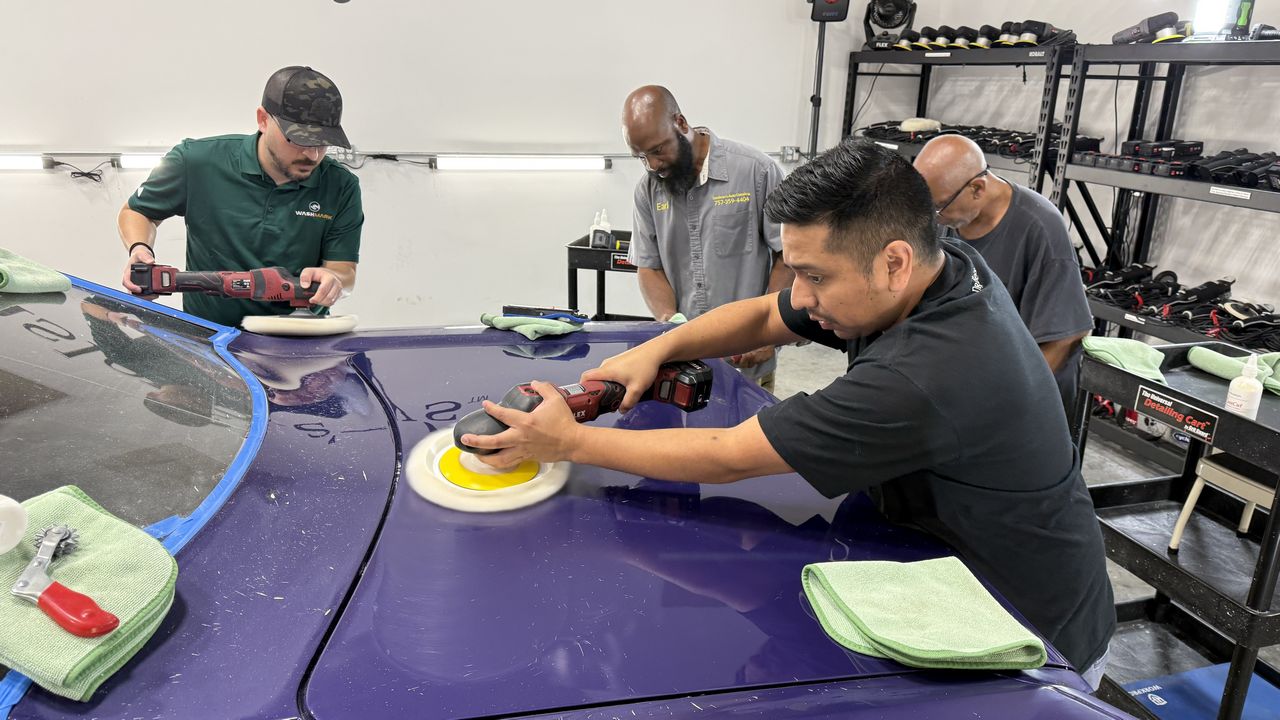
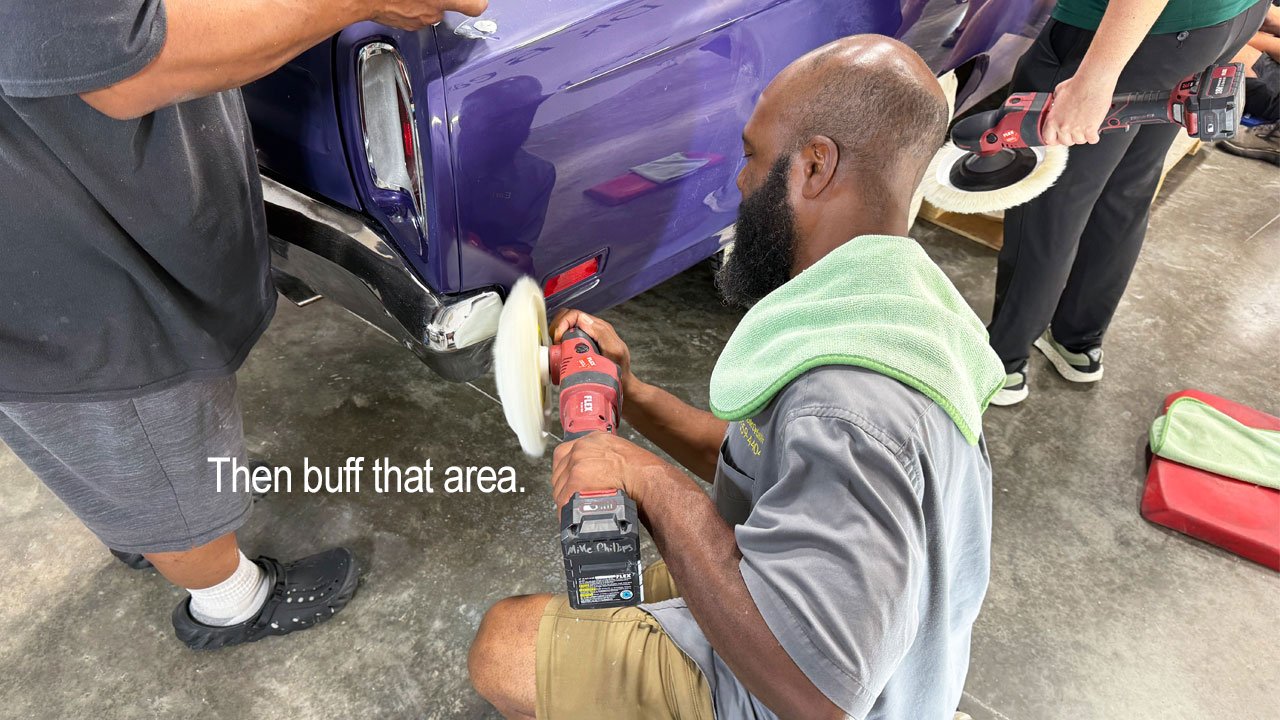
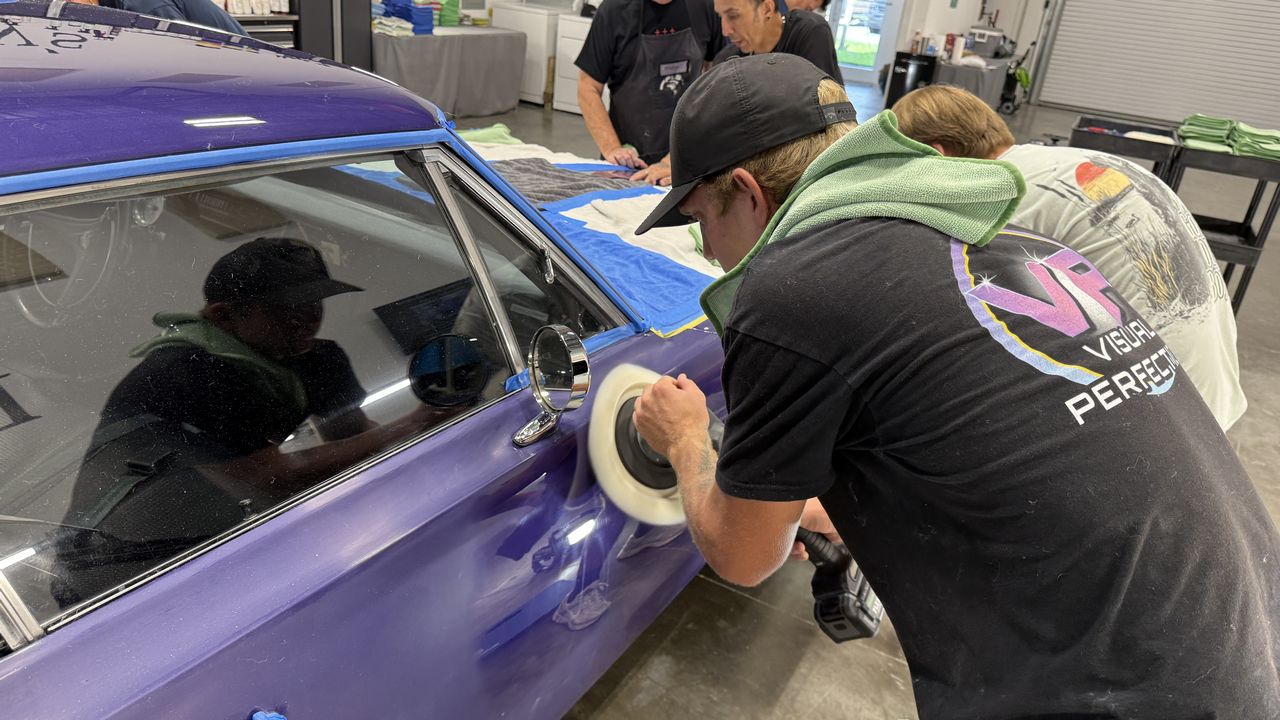
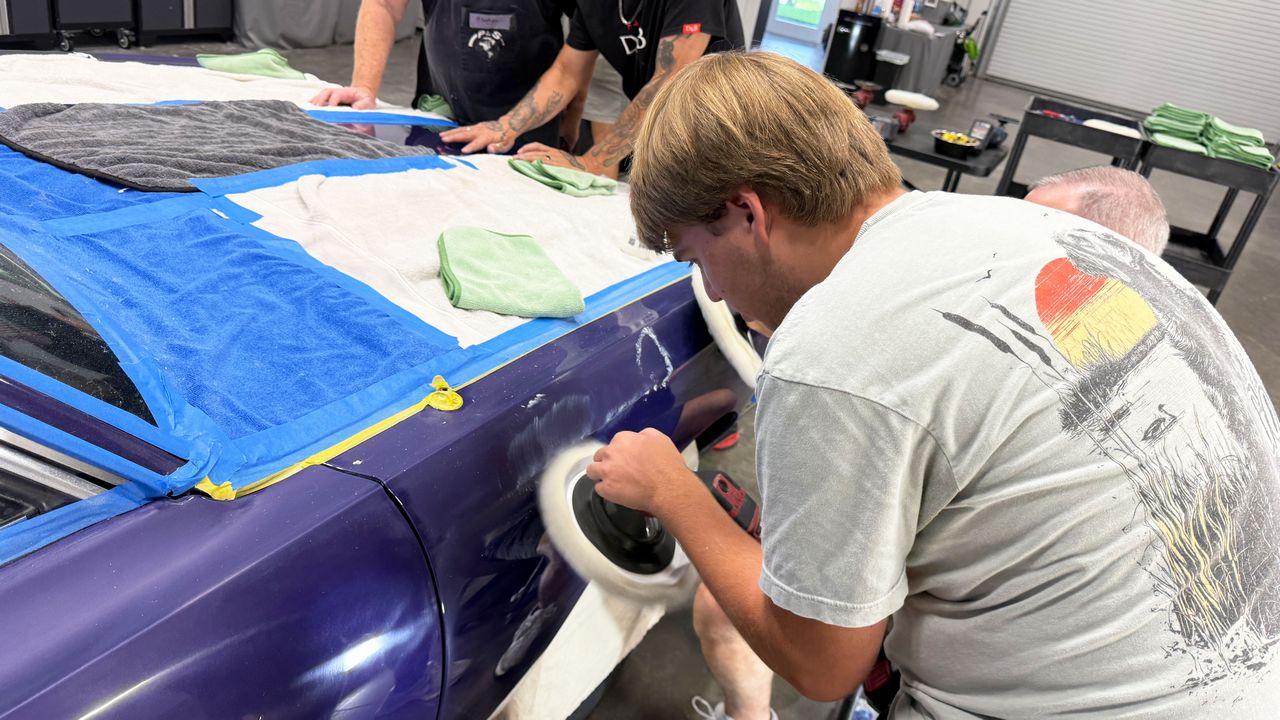
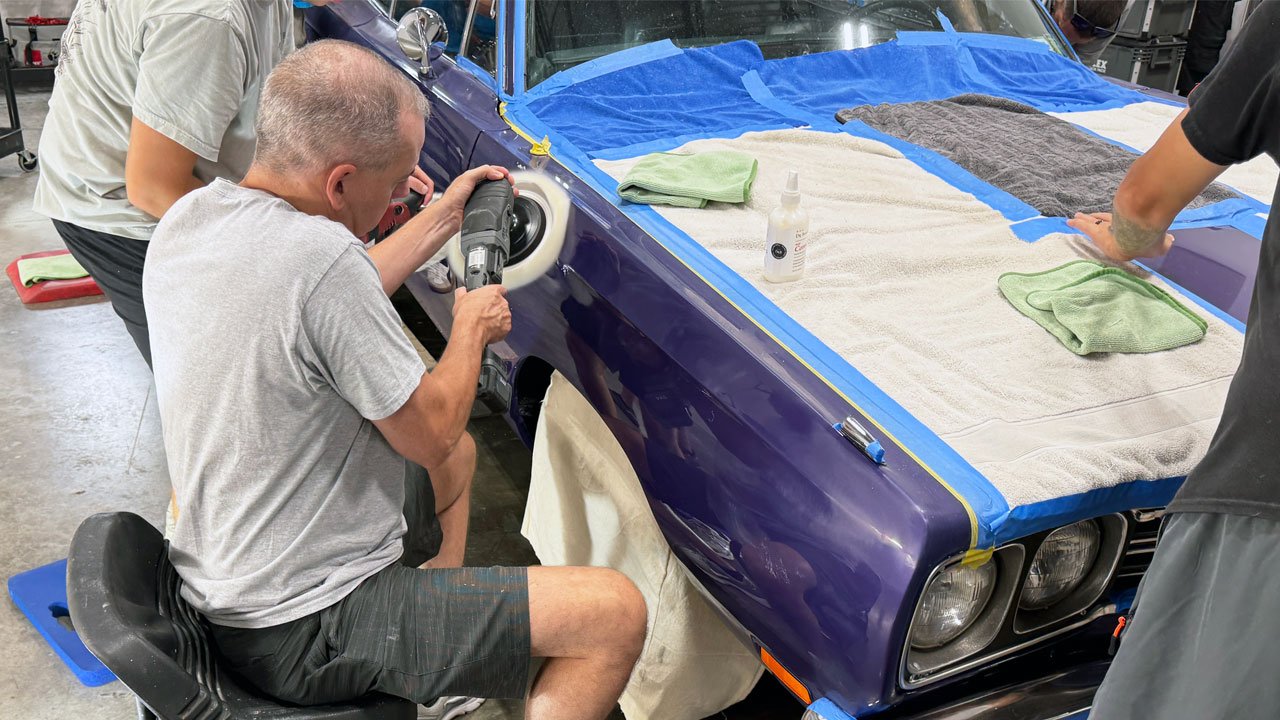
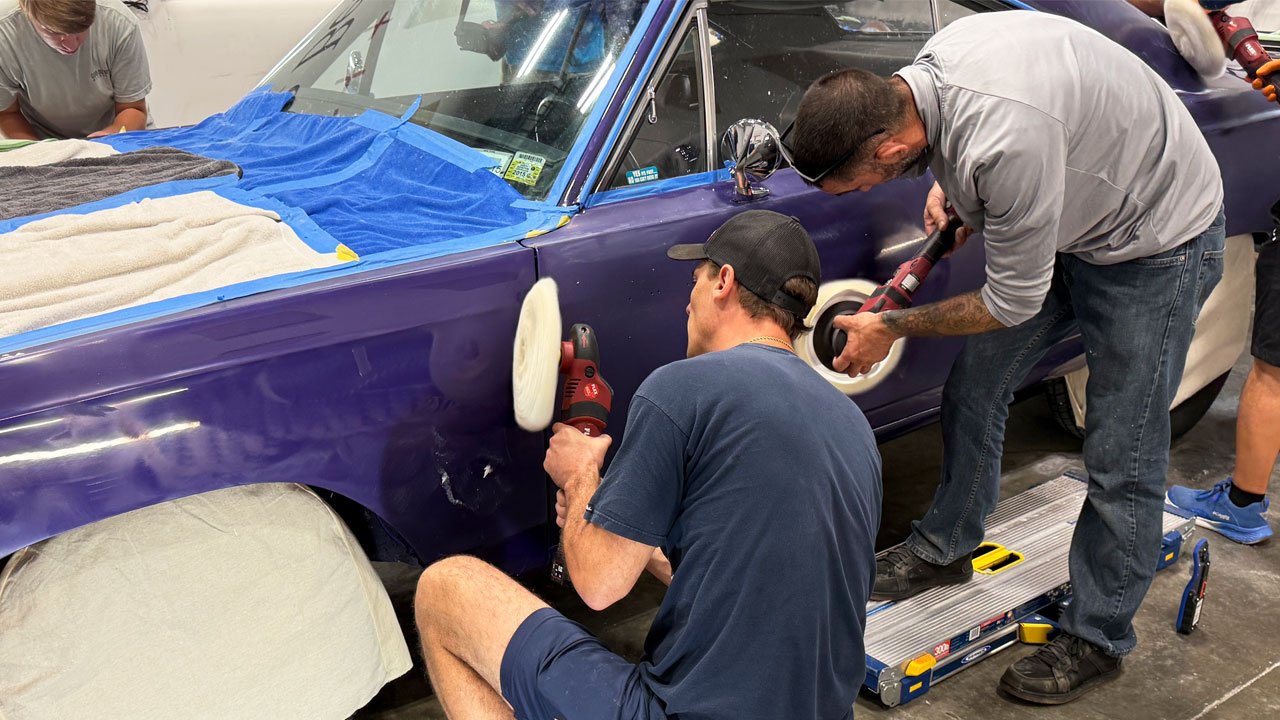
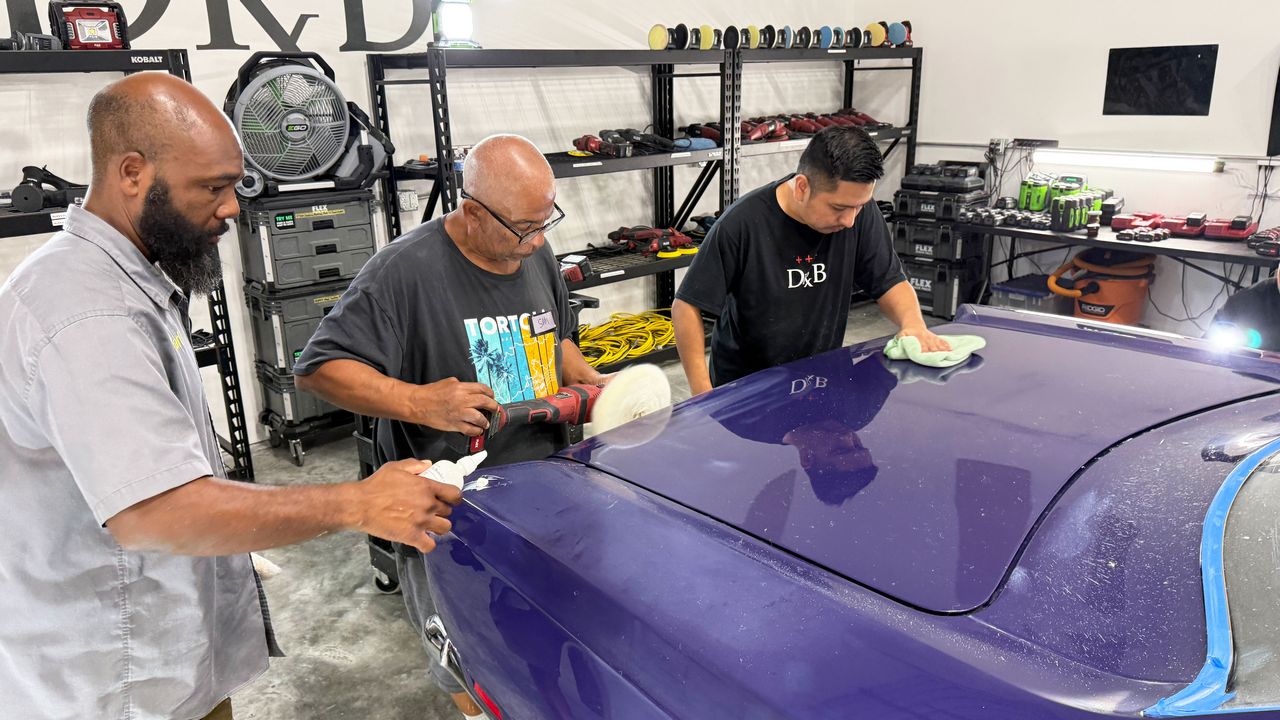
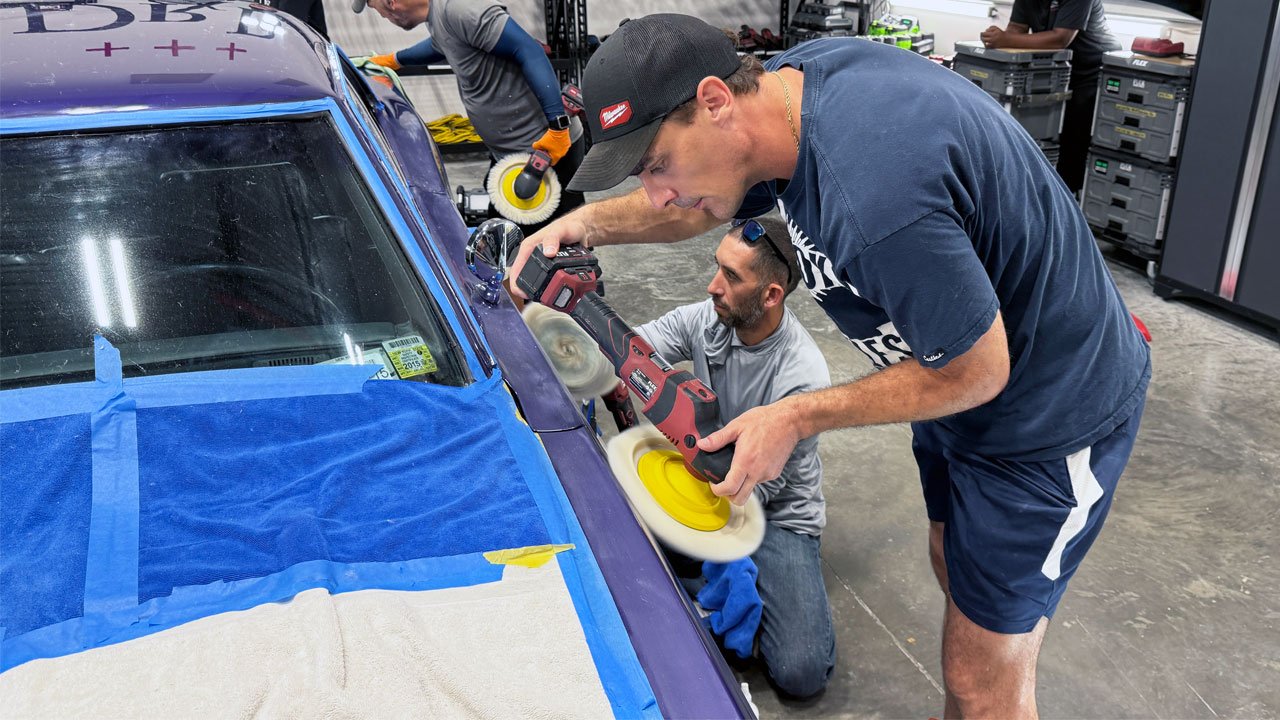
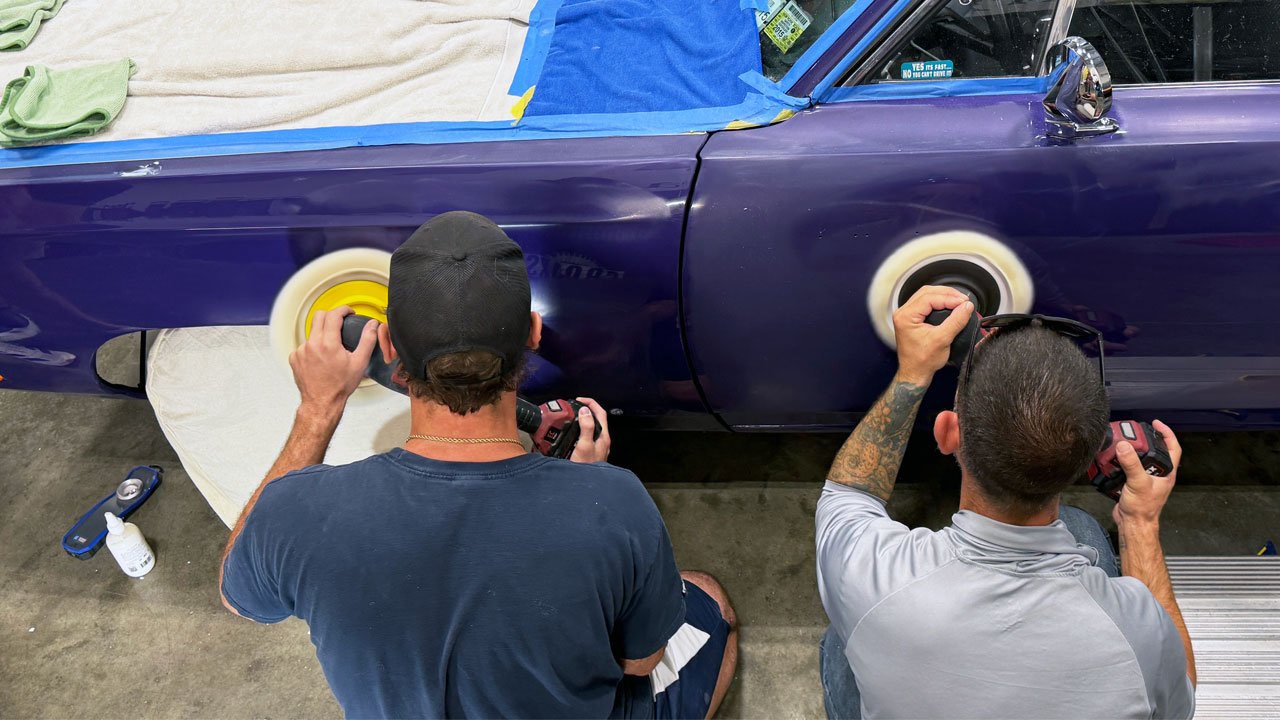
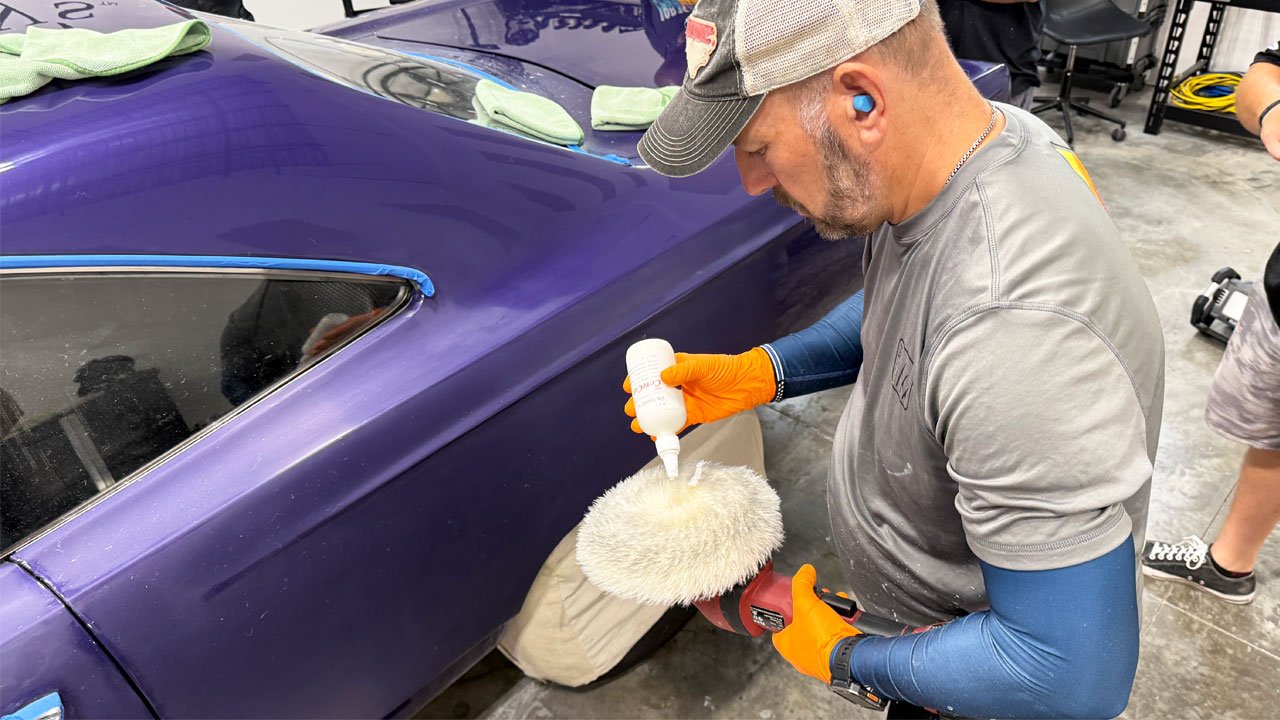
The class is now using rotary polishers with 8-inch wool cutting pads and Dr. Beasley’s CoreCut compound to remove 100% of the sanding marks before moving on to polishing.

🔎 This step is VITAL!

The foam pads and finer polishes we’ll use next usually don’t have enough cut to reliably remove leftover sanding marks—especially around edges, narrow sections, and intricate areas.

Those marks need attention NOW. Otherwise, you can get through the polishing steps only to discover sanding scratches that require going back and repeating work.

⚠️ This is also one of the riskier parts of the process.

Spend too much time buffing one small area, and you can build excessive heat or remove too much clearcoat. Edges and raised body lines require particular care because it’s easy to cut through the finish.

I need everyone FOCUSED on the task at hand. 👀

That means controlling the polisher, watching where the pad is cutting, and stopping to wipe off the residue and inspect the results. Shiny paint doesn’t automatically mean all the sanding marks are gone!

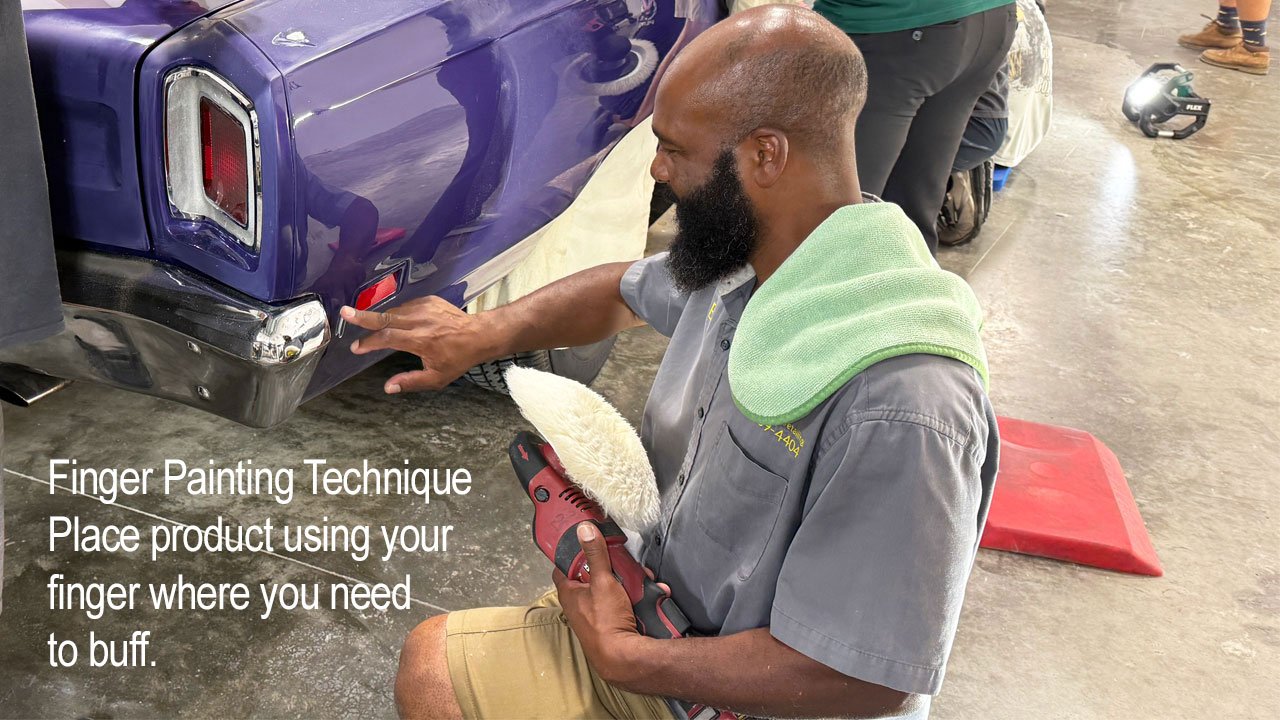
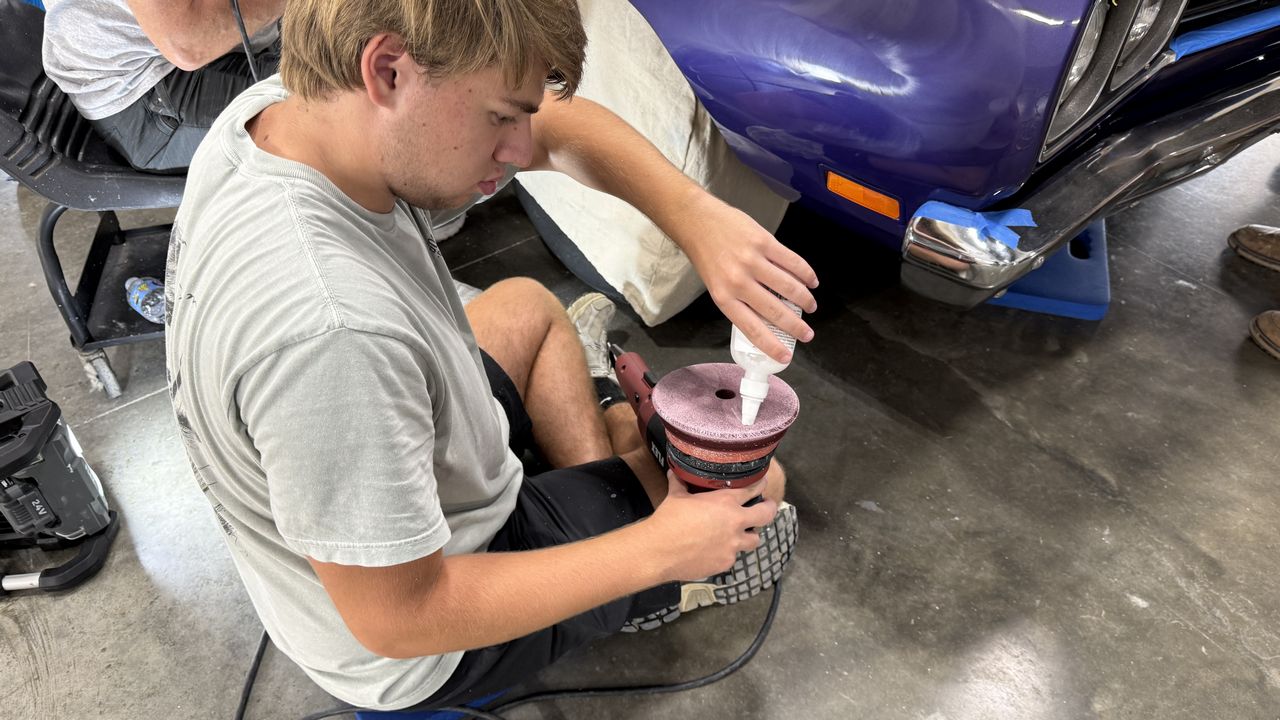
🎯 The pictures also show my “Finger Painting Technique”—placing compound with your finger exactly where you need to buff. It helps position the product when working on small or intricate areas.

The better the class performs this cutting step, the faster and easier every polishing step that follows becomes.

Saturday’s practice is paying off—and the shine is coming BACK! 😎✨


full


full


full


full


full


full


full


full


full


full


full


full


full


full


full


full


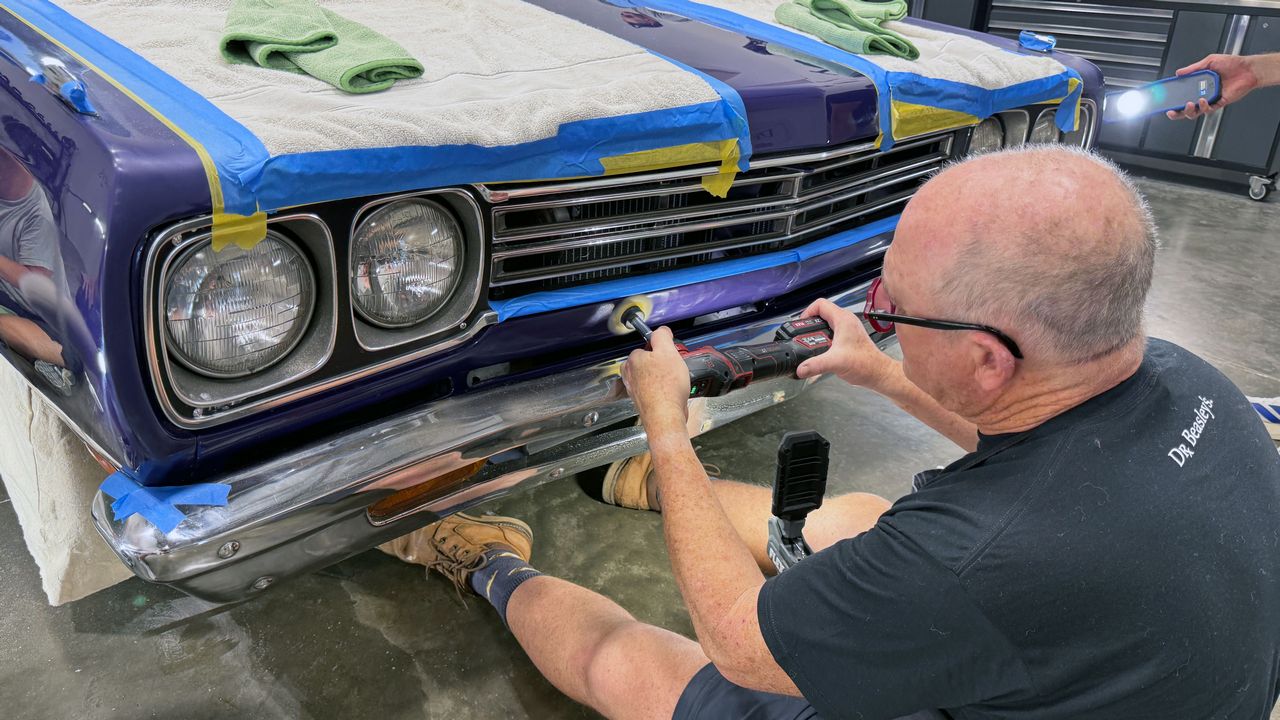
And here's Stephen buffing out probably one of the most difficult areas to sand and buff and not screw-up and he's showing the FLEX PiXiE who's the BOSS!

full


full


Awesome work guys and ZERO MISTAKES!


Mike
 
Last edited:
More...

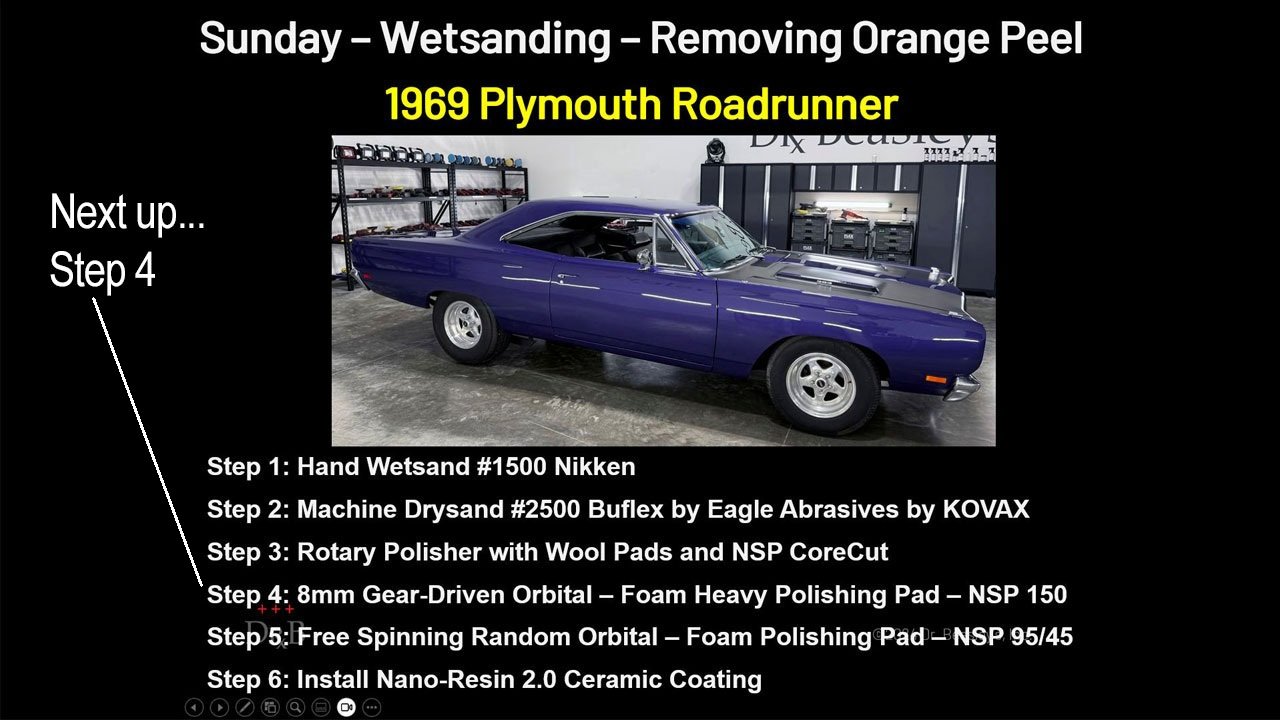
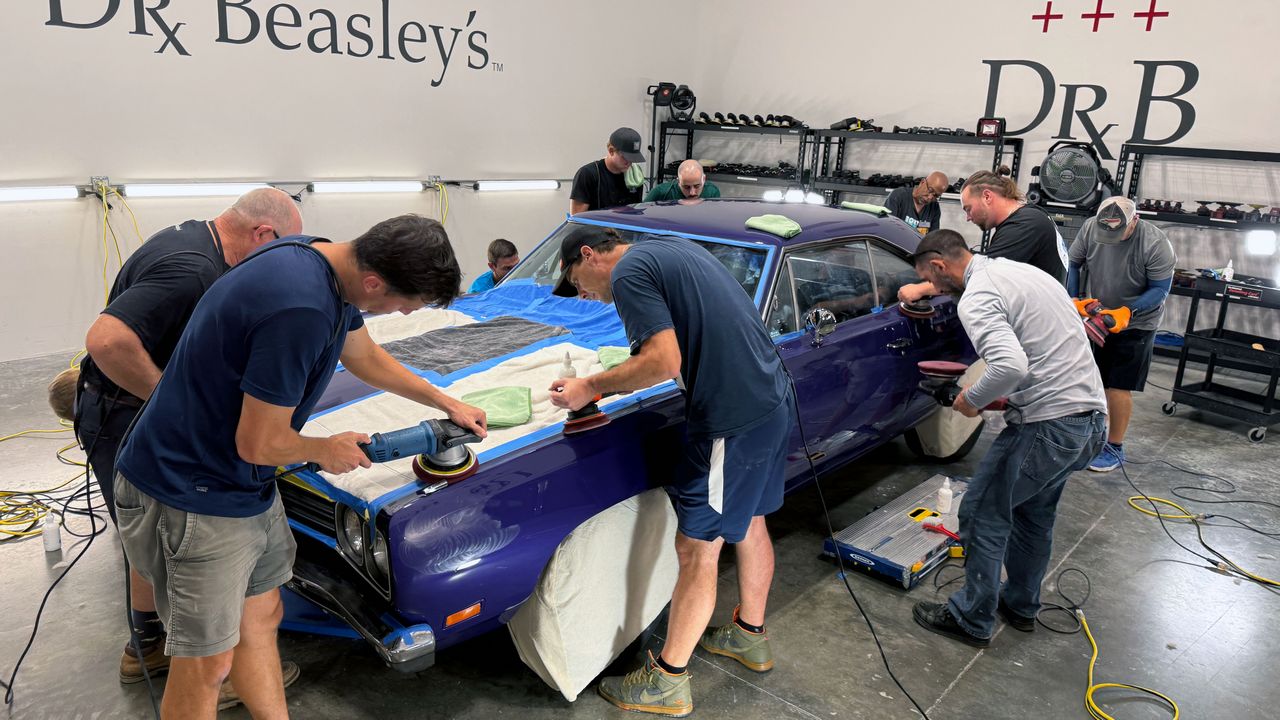
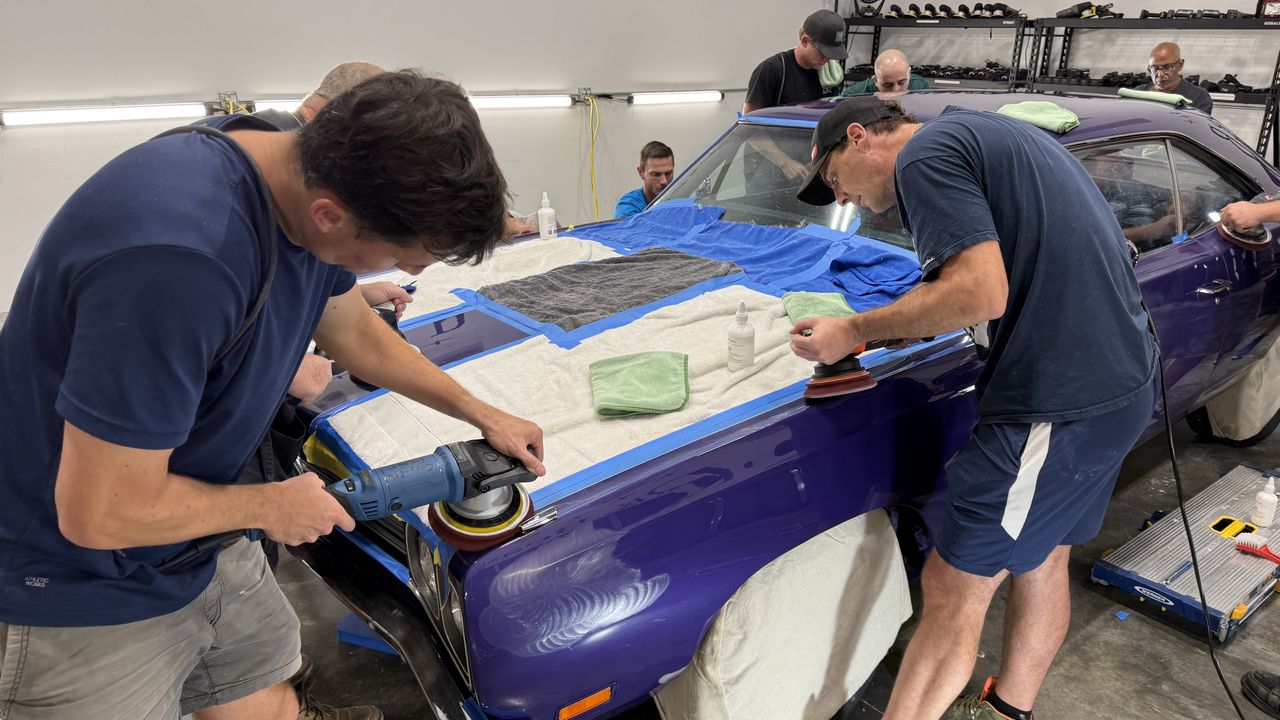
✨ Step 4: First Machine Polishing—Removing Holograms and Refining the Finish!

After the rotary and wool pad compounding step, the purple paint already looks super glossy! That’s a credit to the class correctly working the compound to remove the sanding marks and restore a smoother, shinier surface.

🔎 But glossy doesn’t automatically mean hologram-free!

The rotary and wool cutting pads left fine scratch patterns called holograms throughout the buffed areas. You need good inspection lighting—and you must actively LOOK for them!

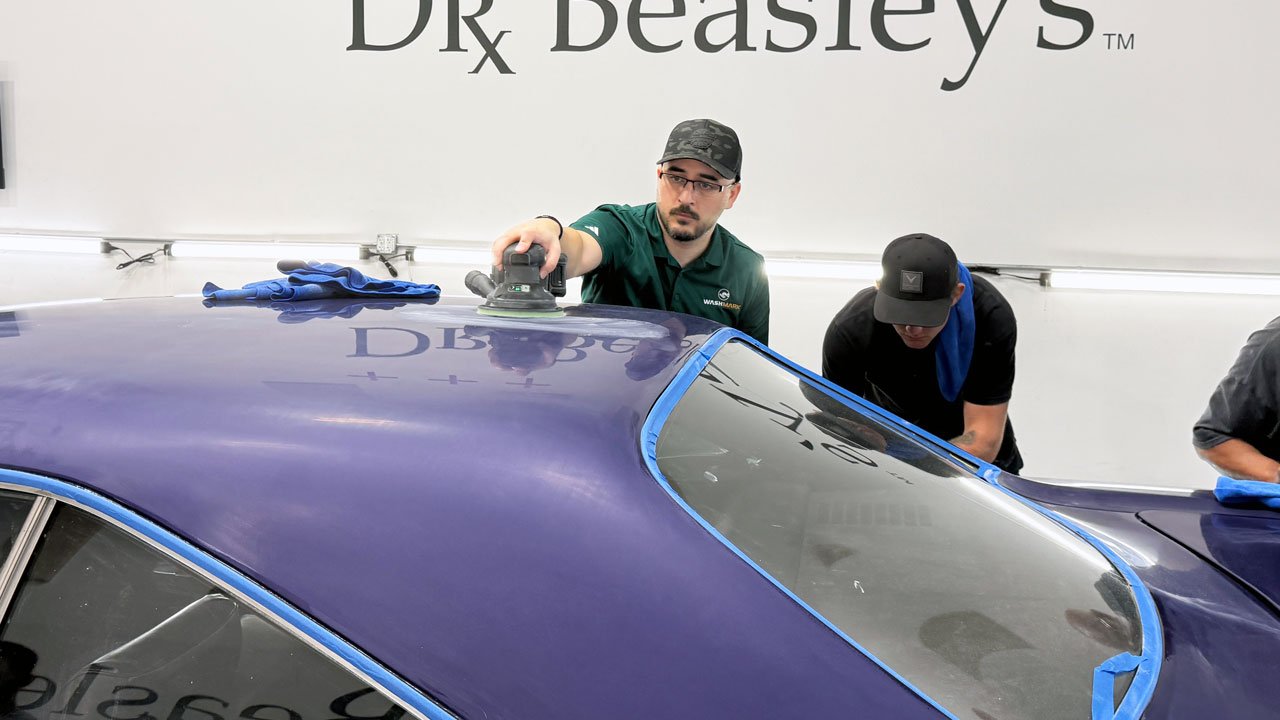
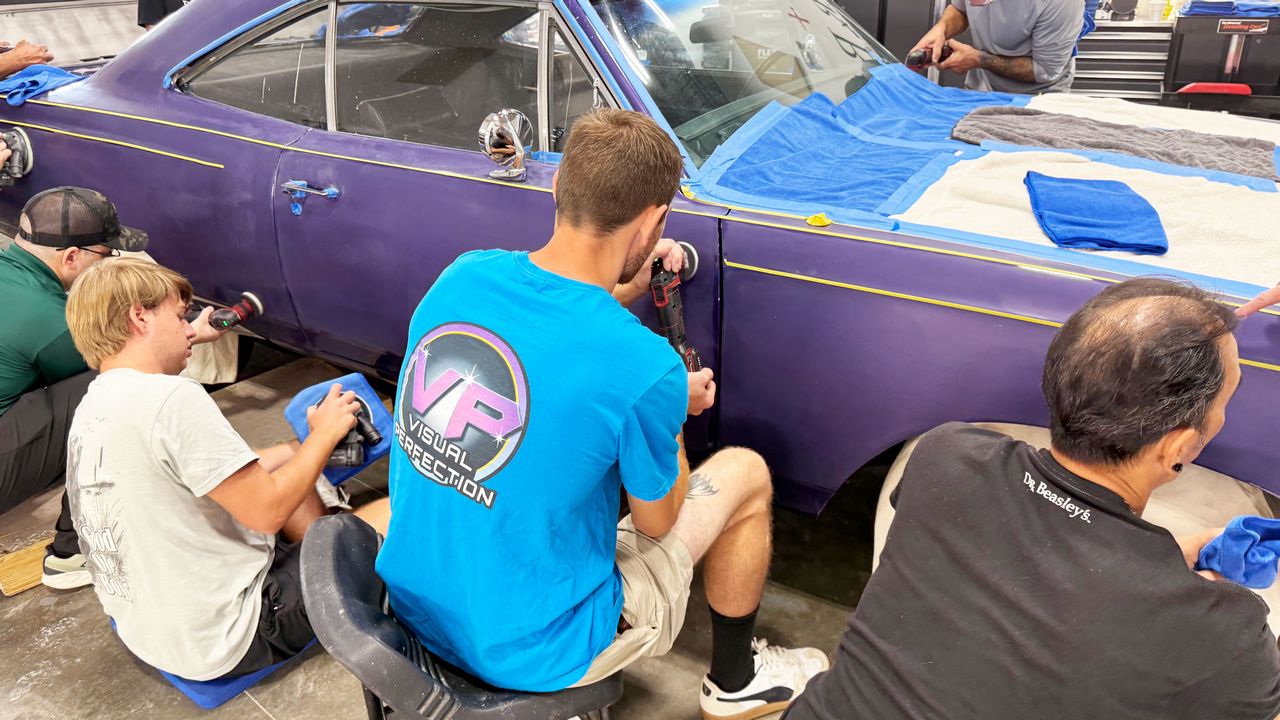
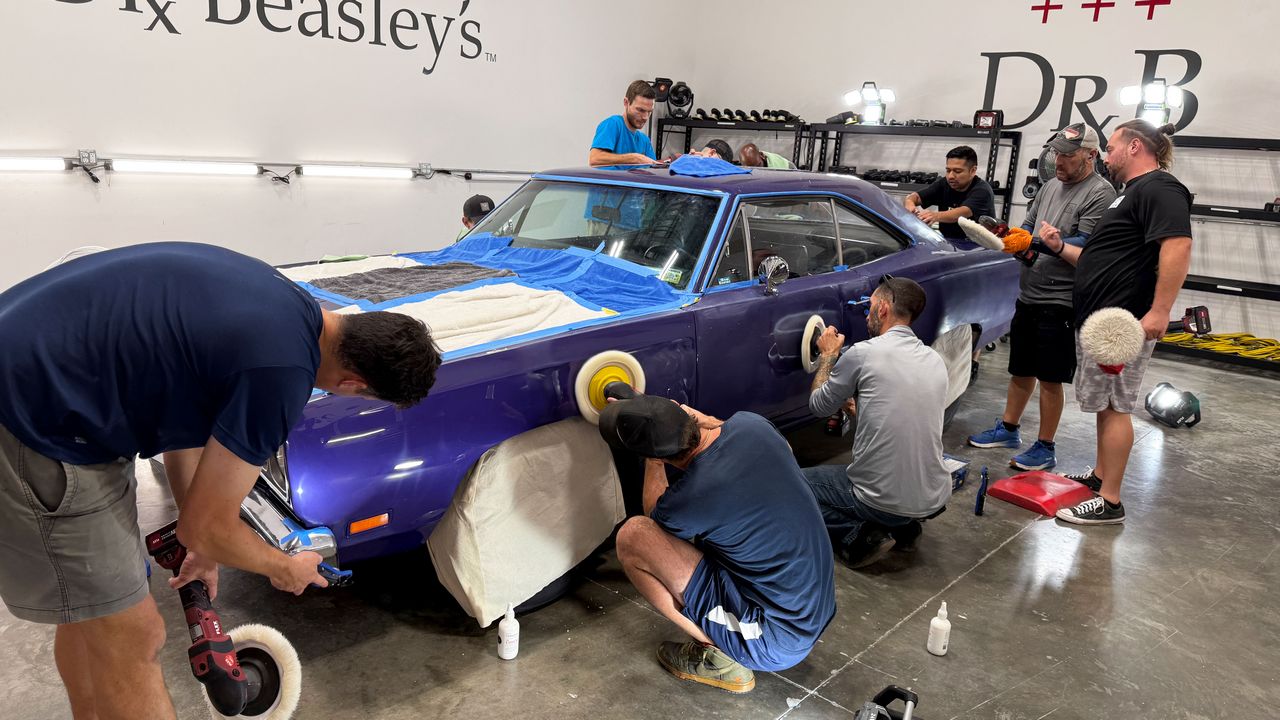
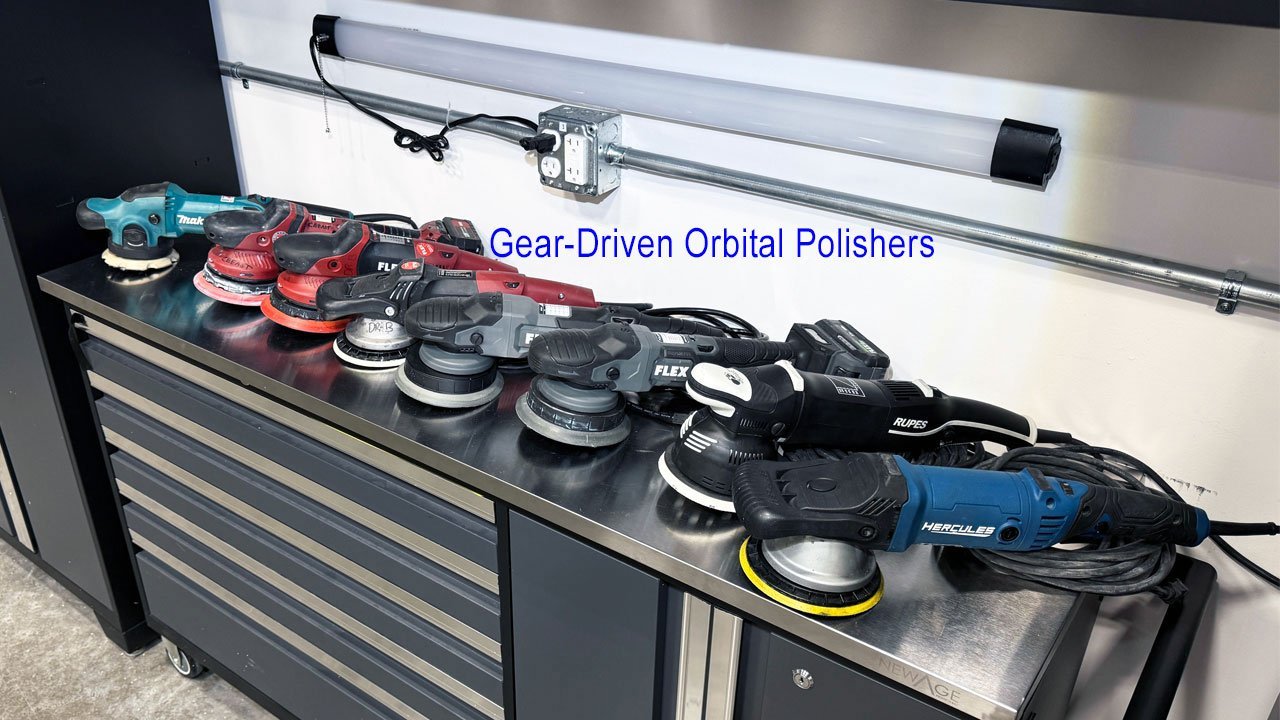
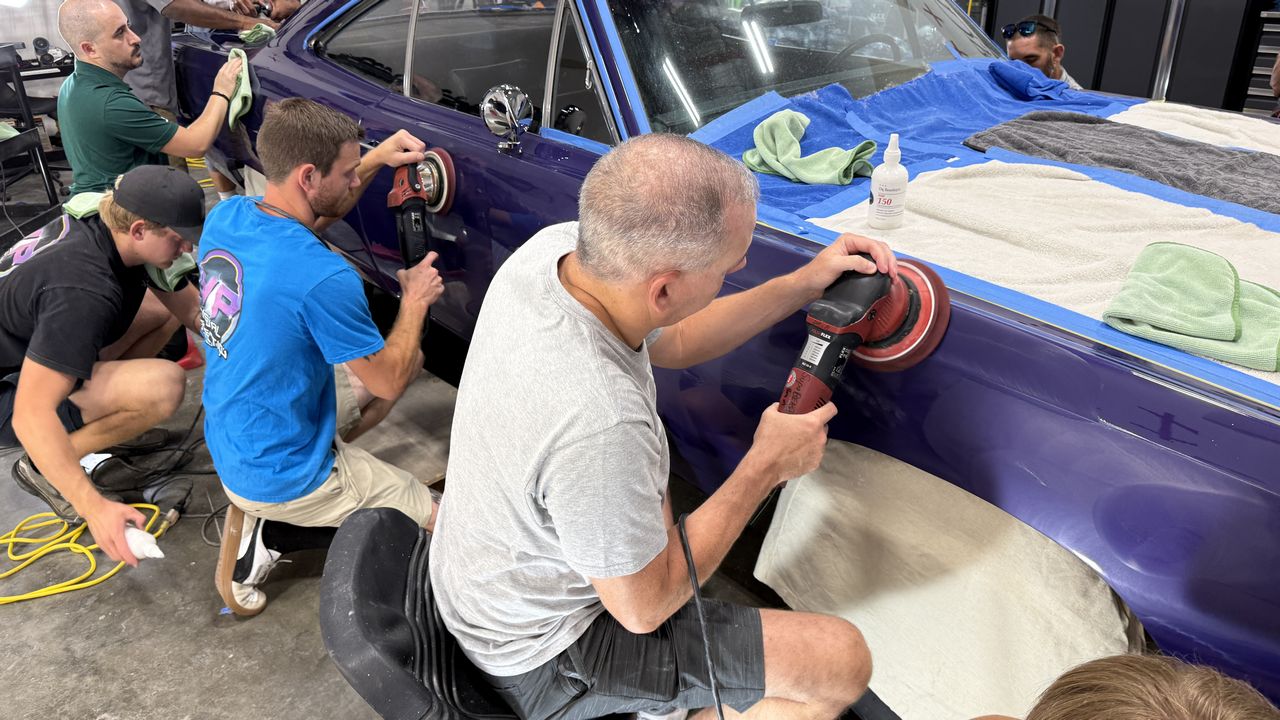
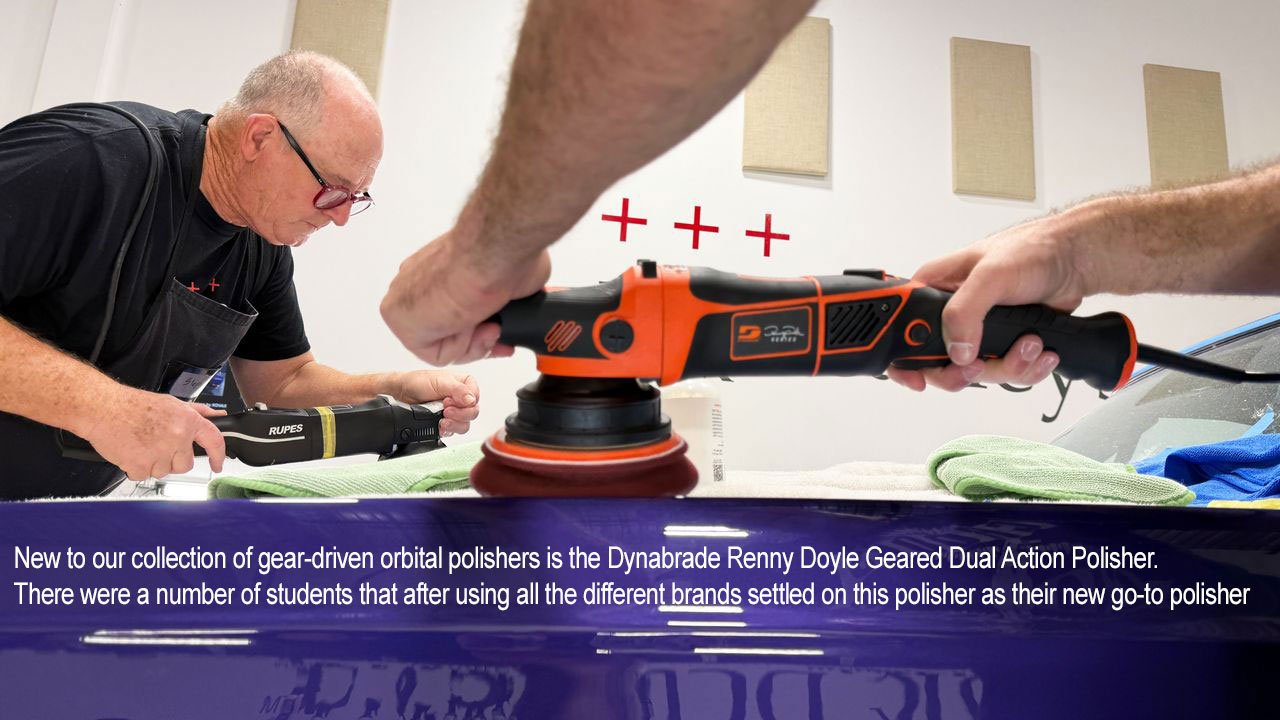
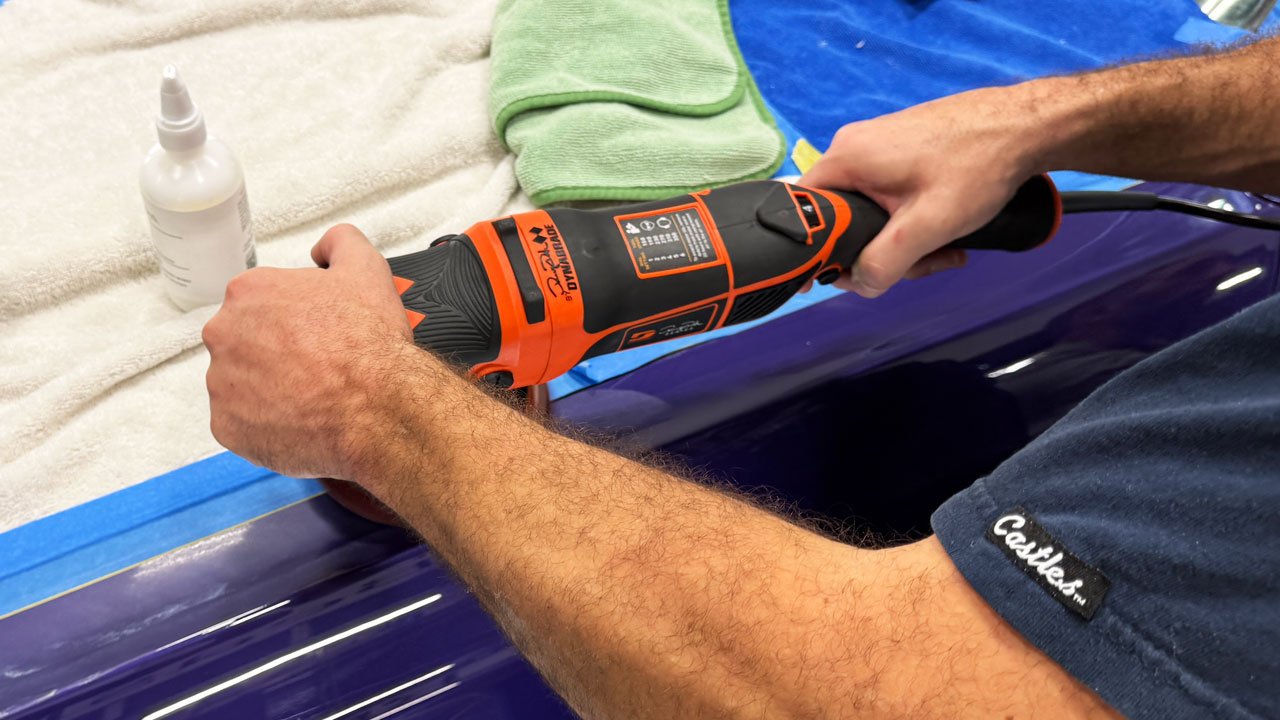
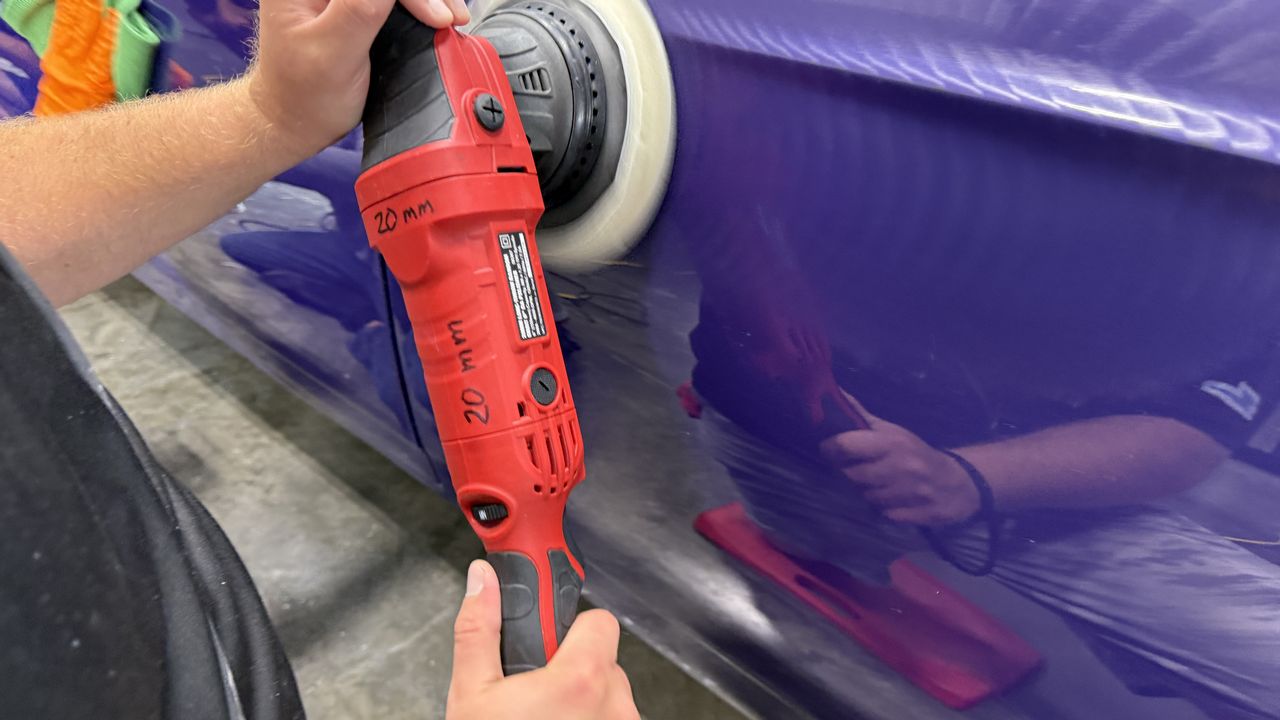
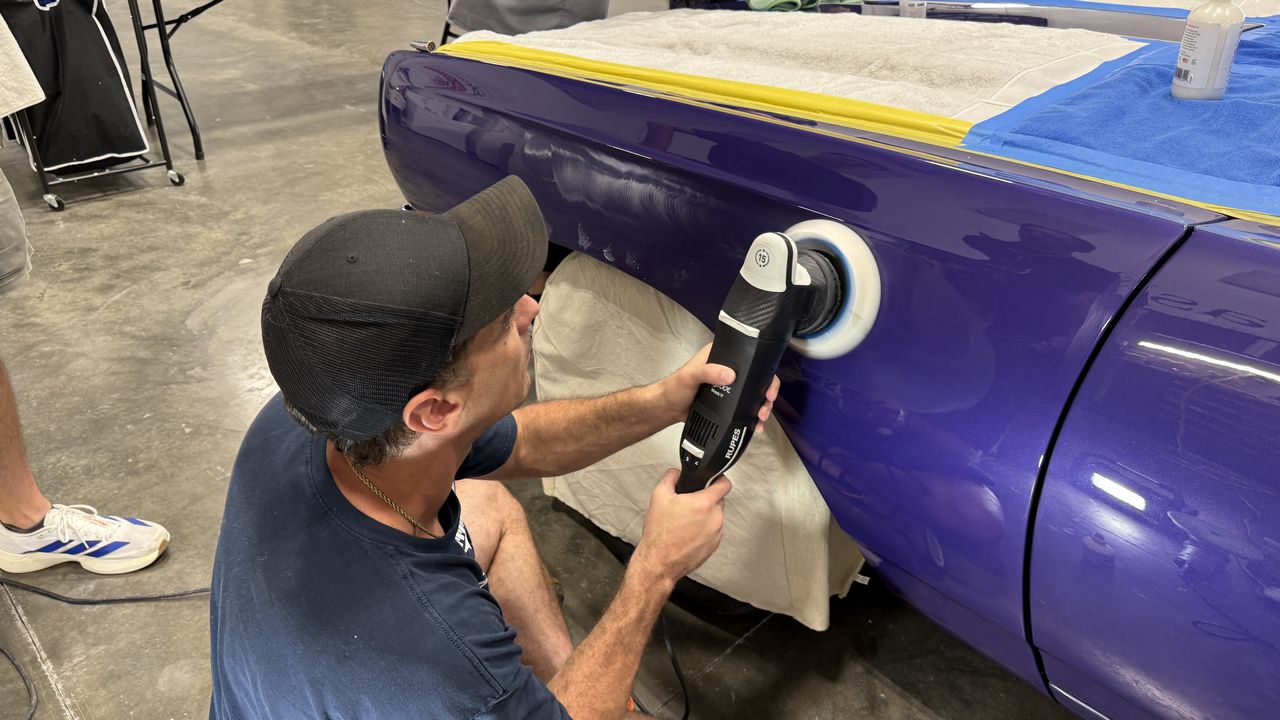
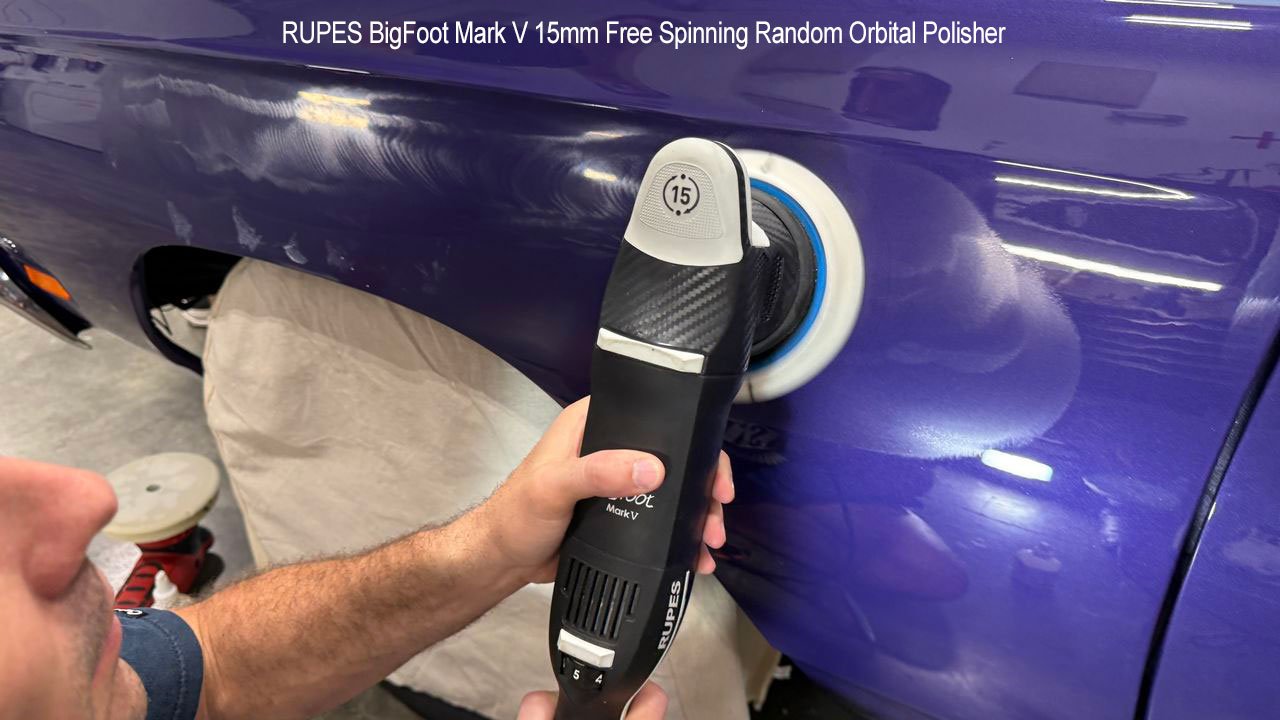
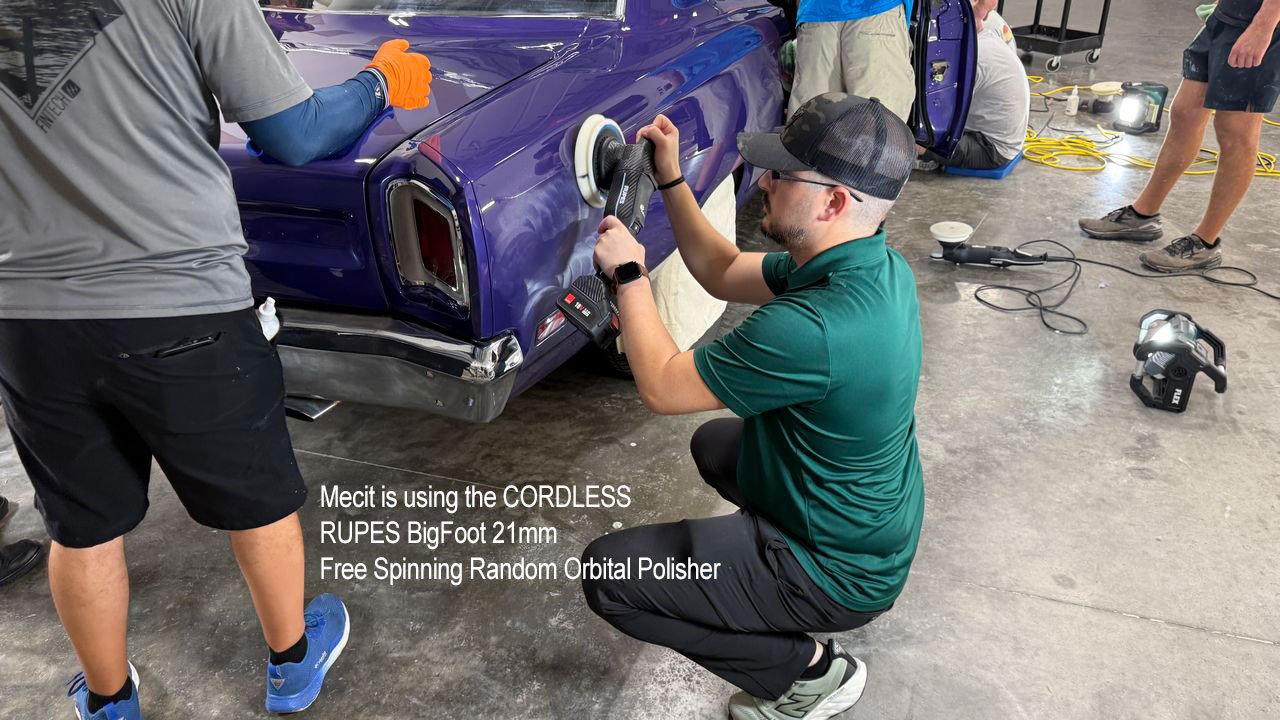
For this first polishing step, students choose their preferred brand and orbit stroke length of gear-driven orbital polisher, with tools from FLEX, Dynabrade, RUPES, Harbor Freight, and Makita.

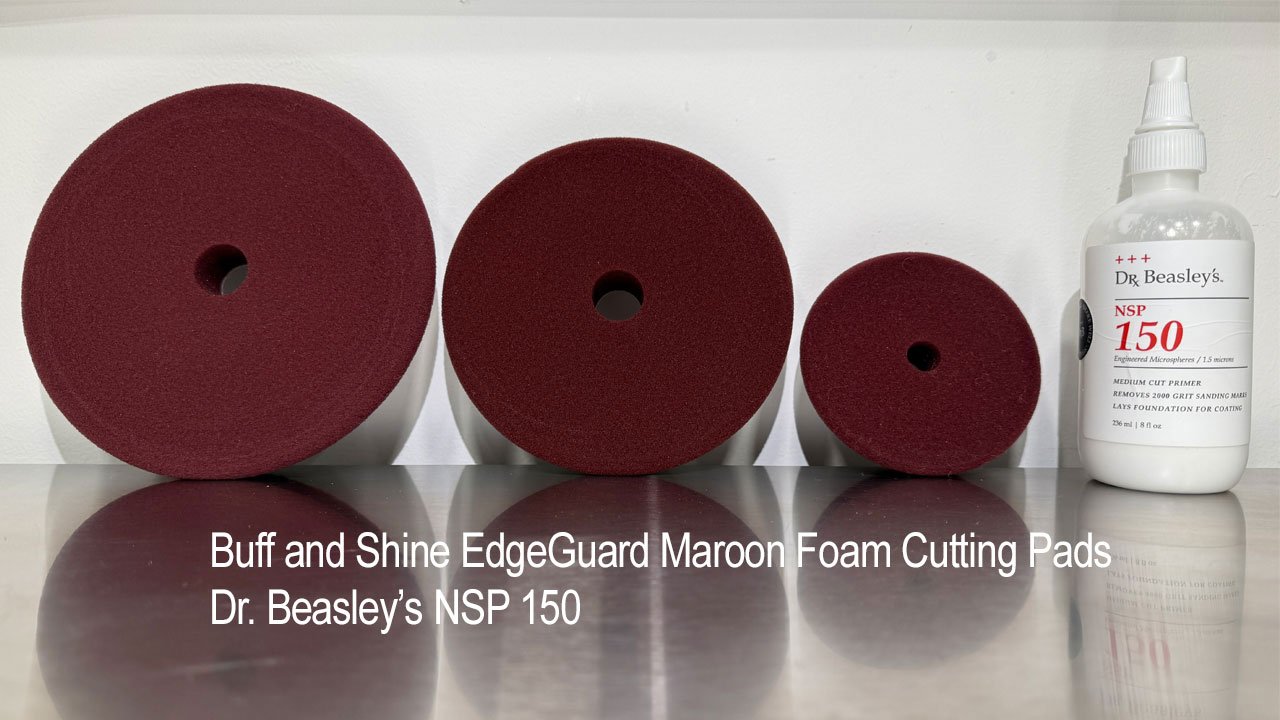
🛠️ The class switches to Buff and Shine EdgeGuard Maroon Foam Cutting Pads paired with Dr. Beasley’s NSP 150 Primer.

In familiar compound-and-polish terminology, I’d describe NSP 150 as a medium-cut polish. It sits in that sweet spot between a compound and a fine-cut polish, giving us the correction needed to remove the holograms while further refining the finish.

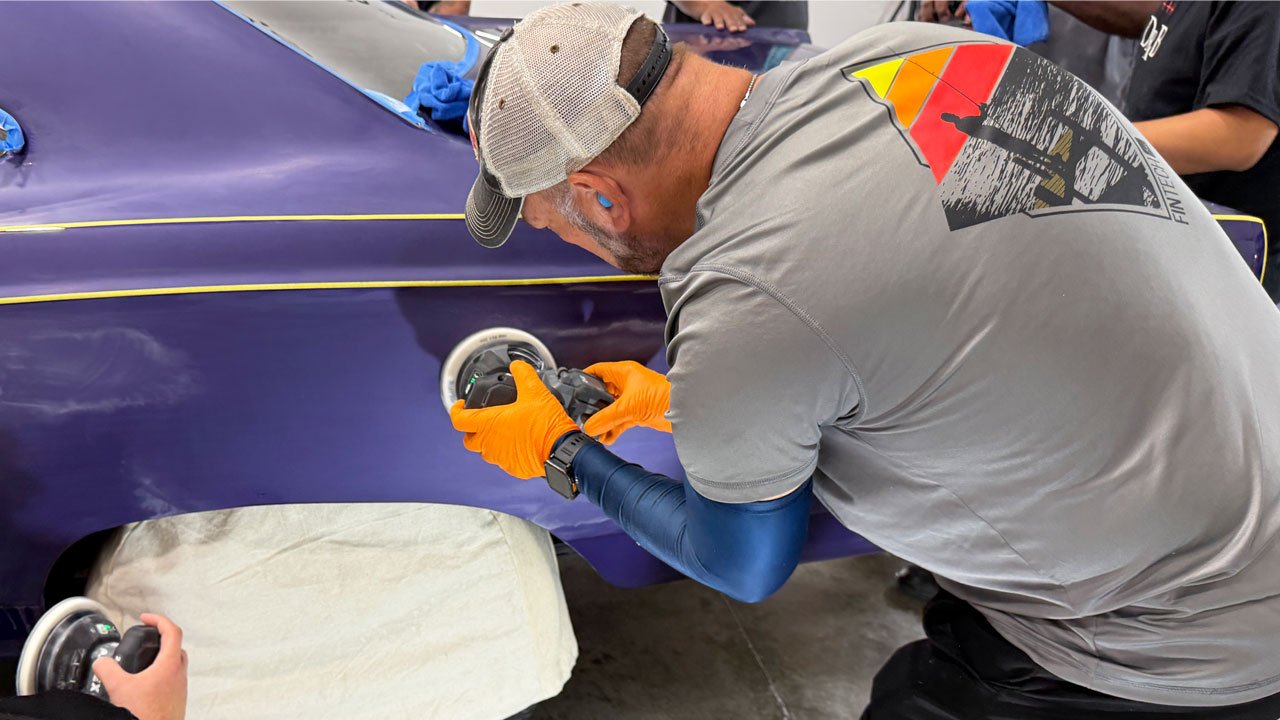
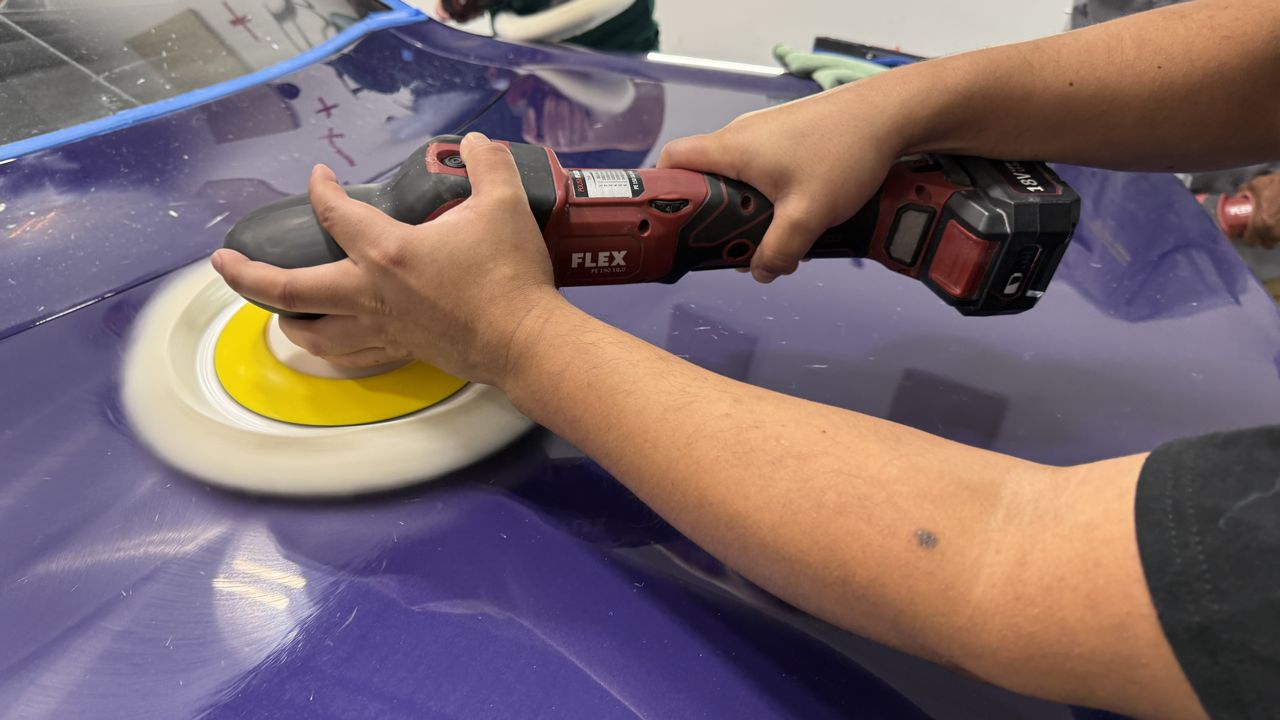
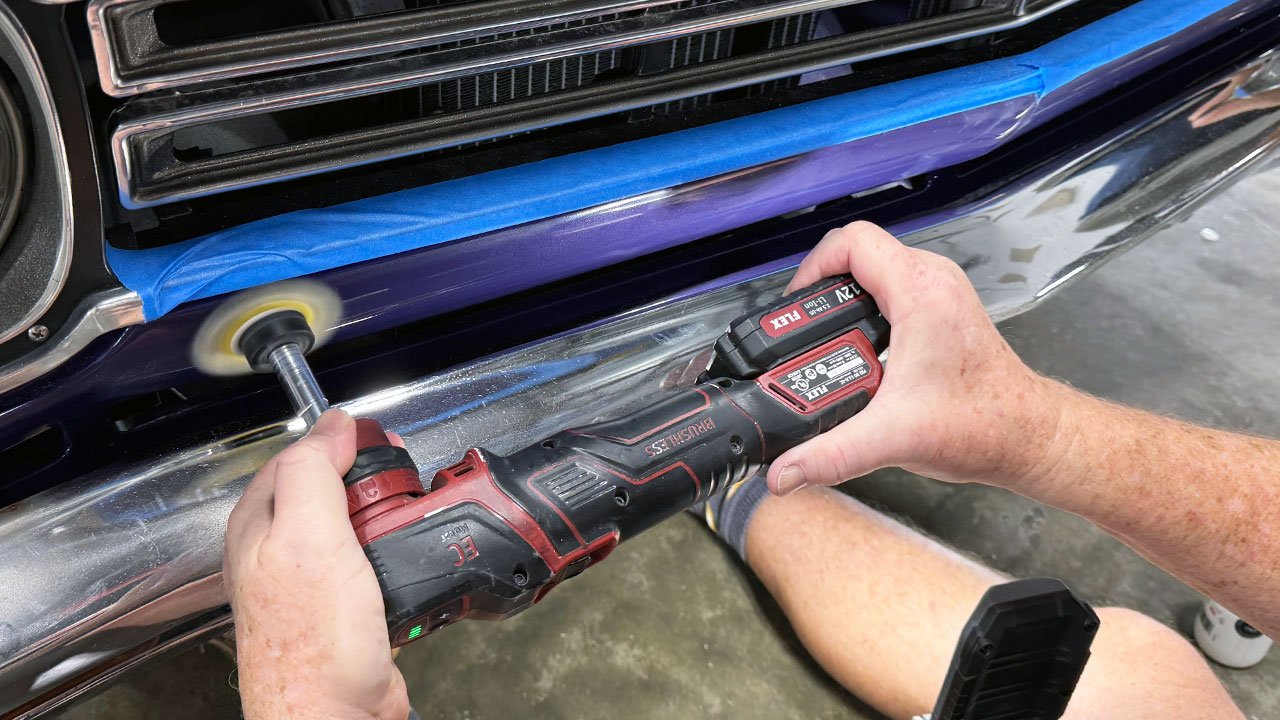
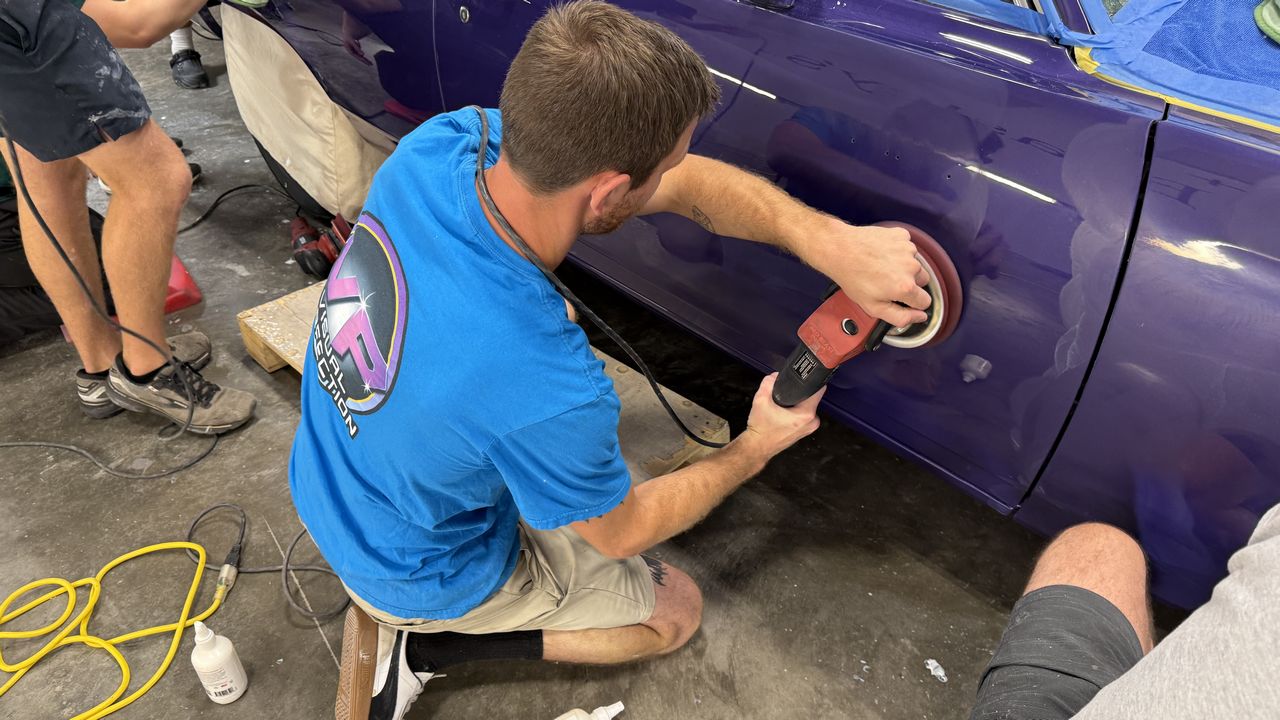
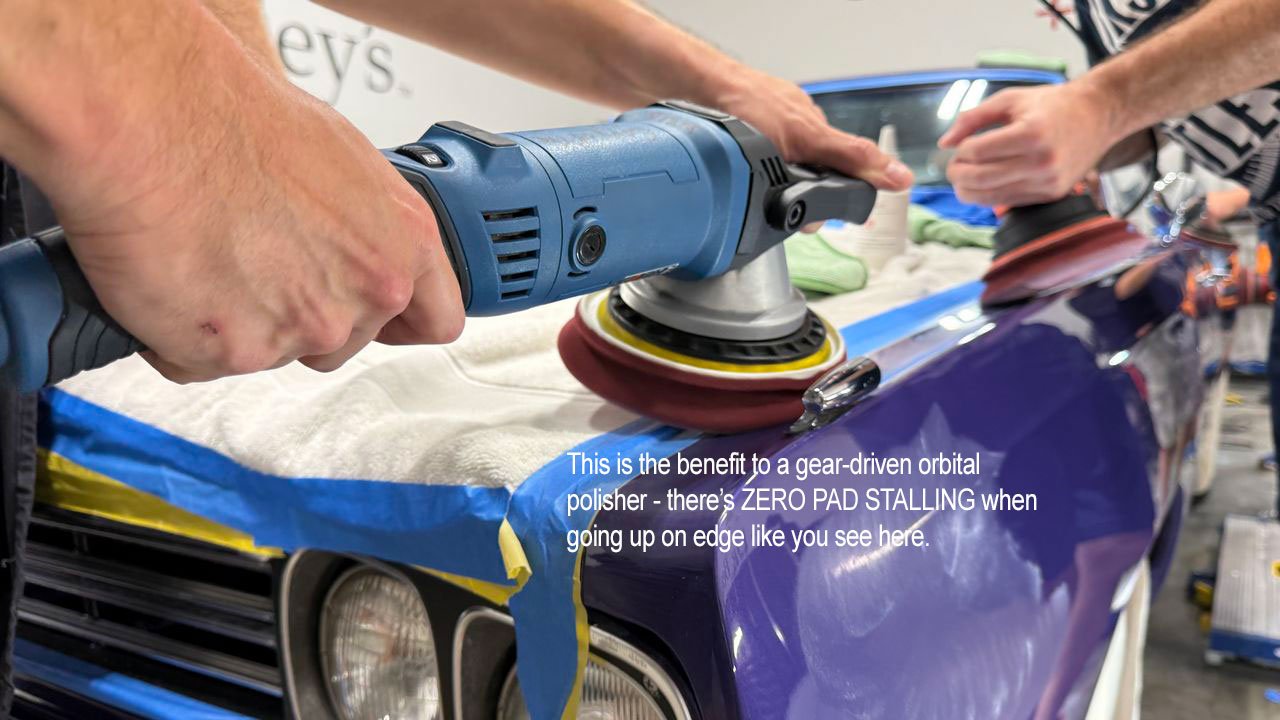
💪 The close-up pictures also show a benefit of gear-driven orbital motion: the pad maintains rotation when tilted to reach a tight area. That control still requires careful technique around edges and raised body lines.

Different tools. Hands-on comparisons. Students discovering what works best for them!

And this 1969 Plymouth Roadrunner keeps getting closer to its final shine! 😎✨

full


full


full


full


full


full


full


full


full


full


full


full


full


full


full


full


Mike
 
More...

✨ The shine is BACK—and check out those reflections!

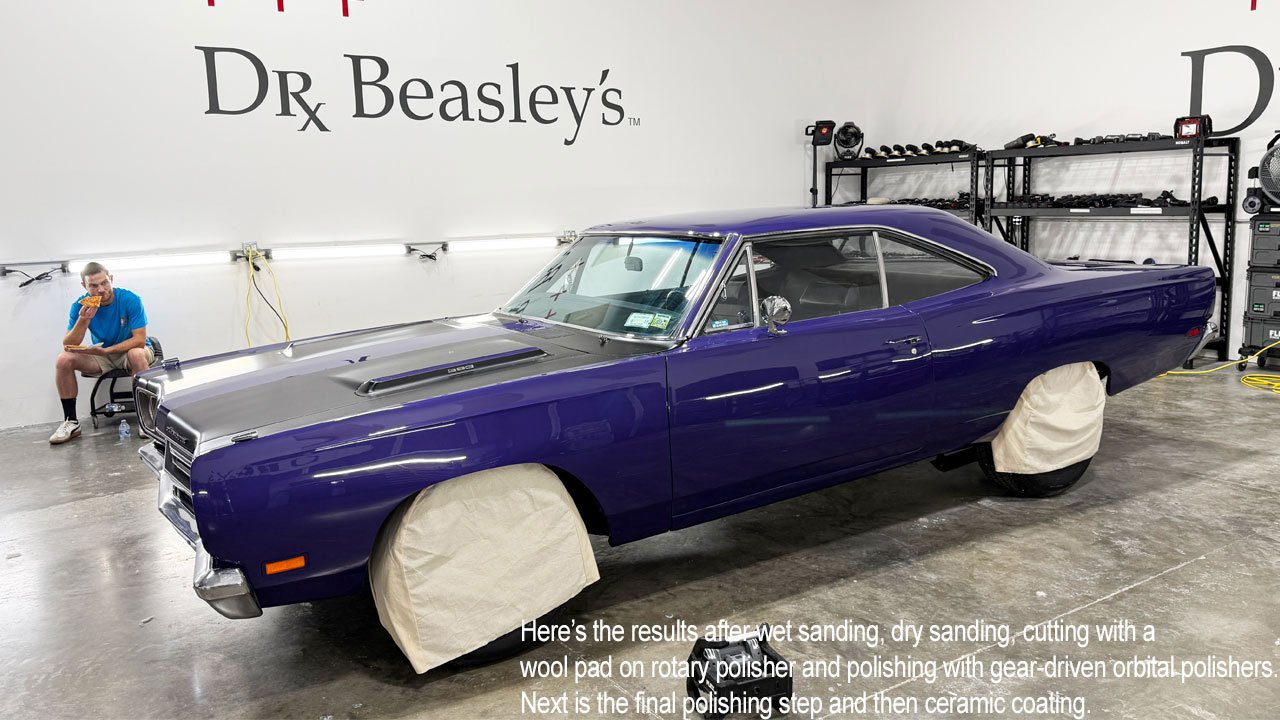
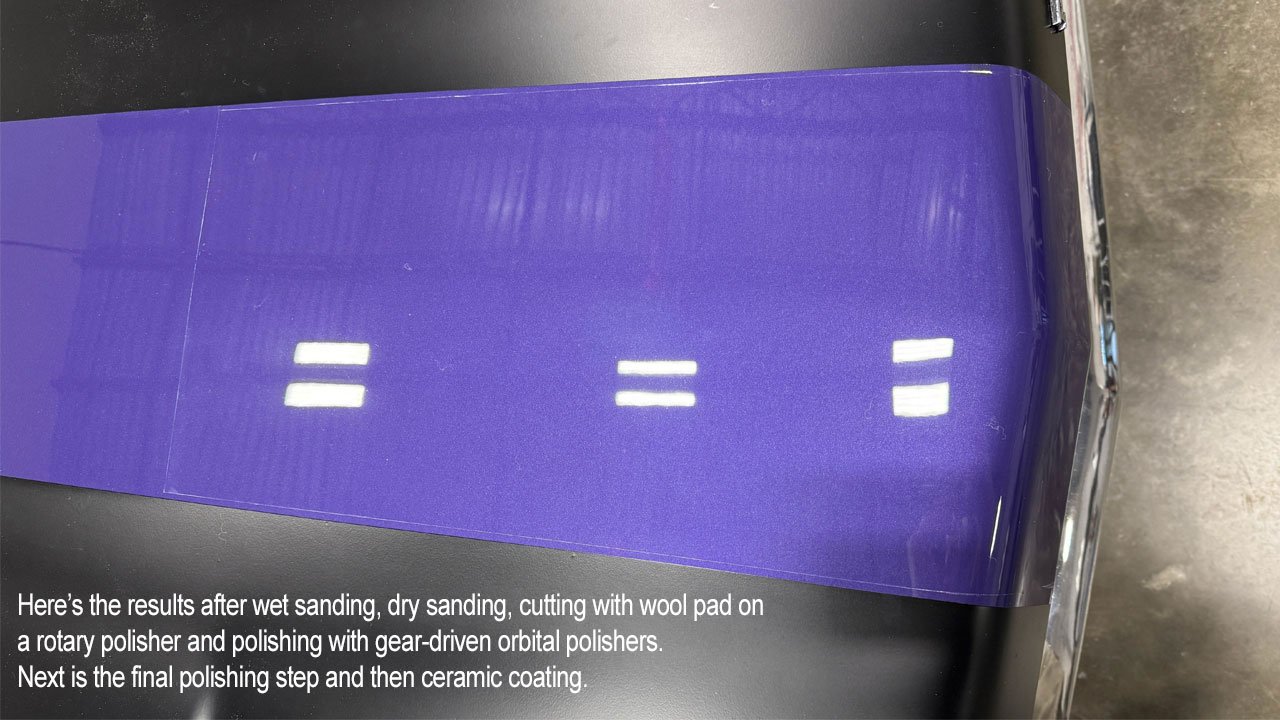
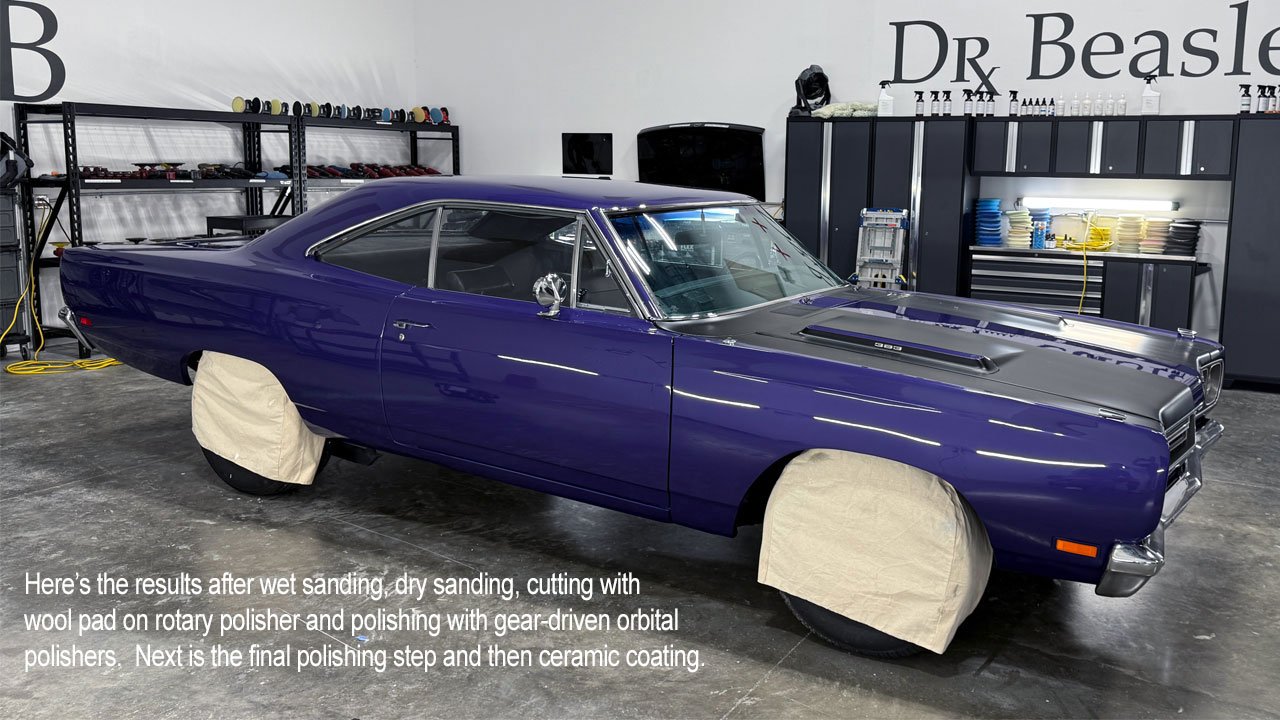
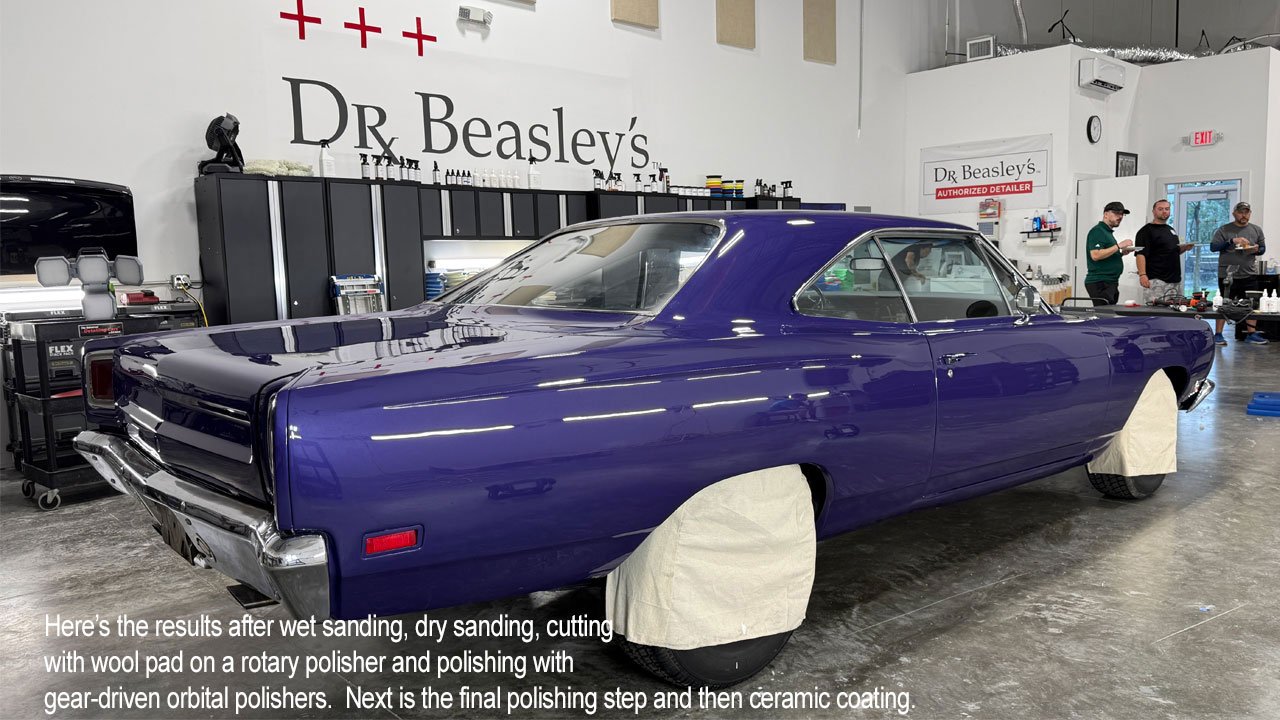
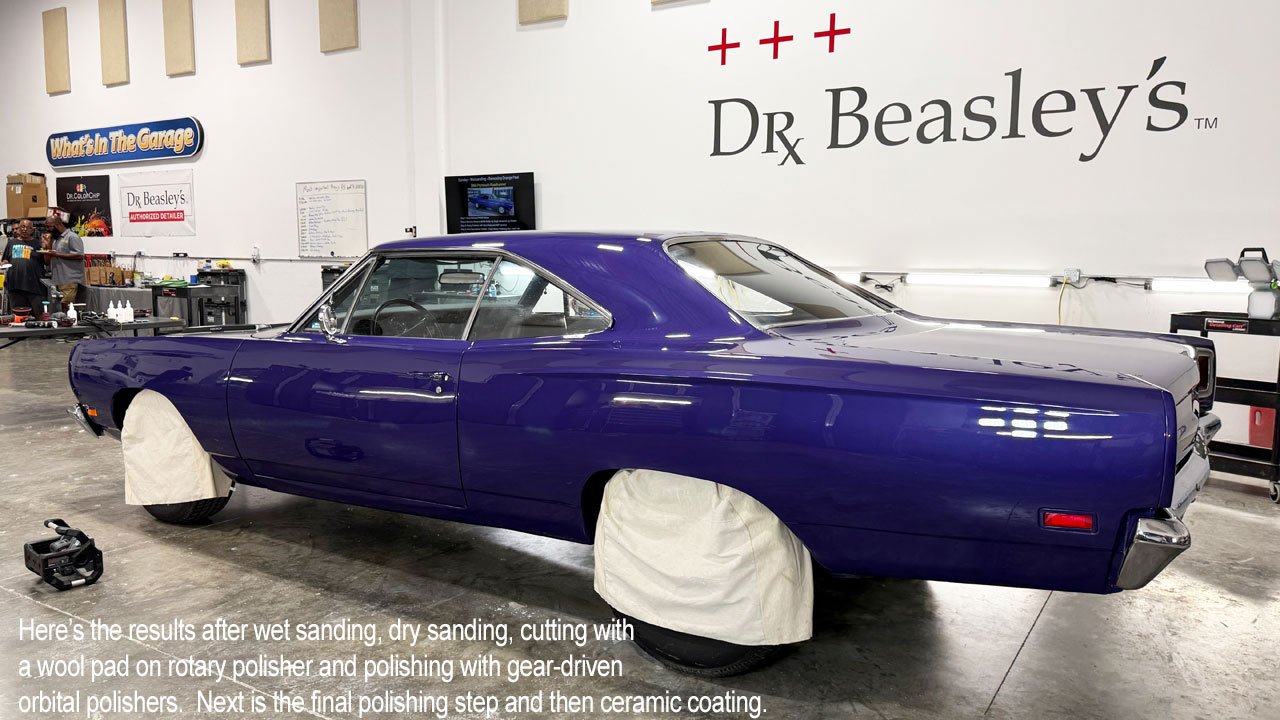
Here are the results on our 1969 Plymouth Roadrunner after wet sanding, dry sanding, compounding with wool cutting pads on rotary polishers, and polishing with gear-driven orbital polishers.

🔎 The holograms are removed, and the paint is now super glossy, with dramatically improved clarity and crispness in the reflections!

Look at the overhead lights reflected in the purple hood section—that’s the difference a carefully sanded and polished finish makes! 💪

Next up: final polishing, followed by ceramic coating! 😎🛡️


full


full


full


full


full


Nicely done everyone!


Mike
 
More...

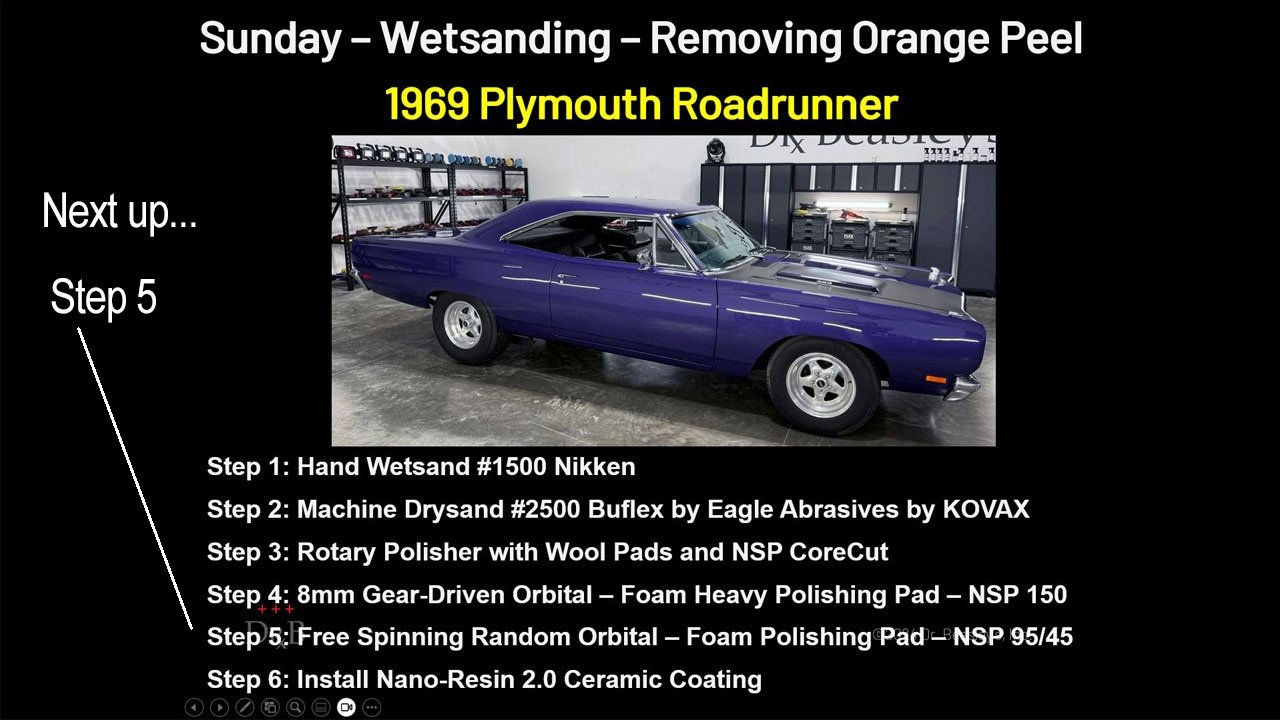
✨ Step 5: Show Car Polishing!

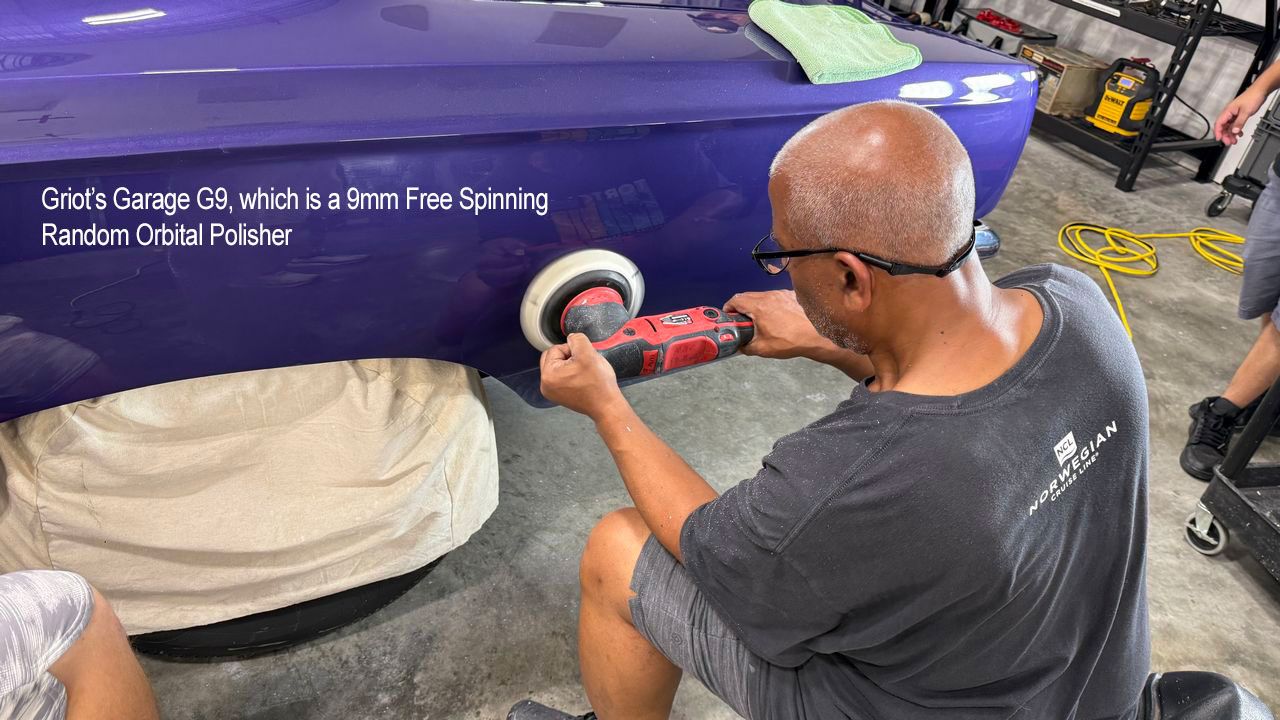
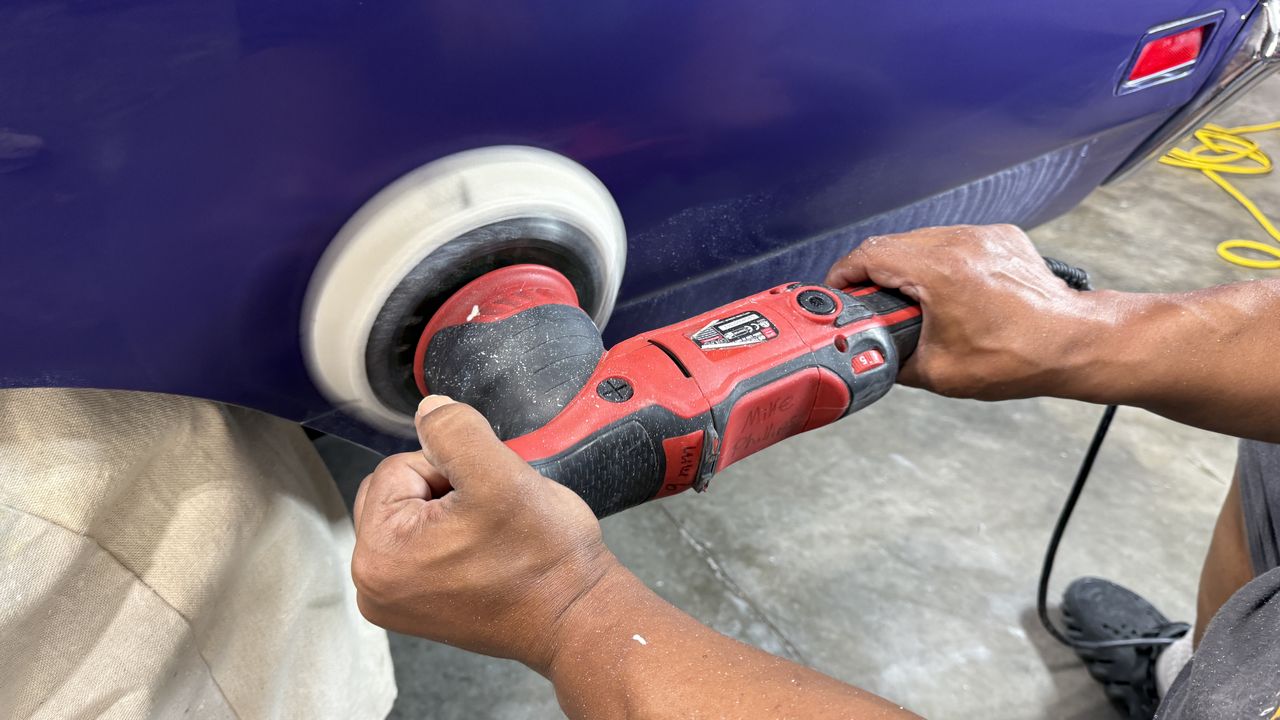
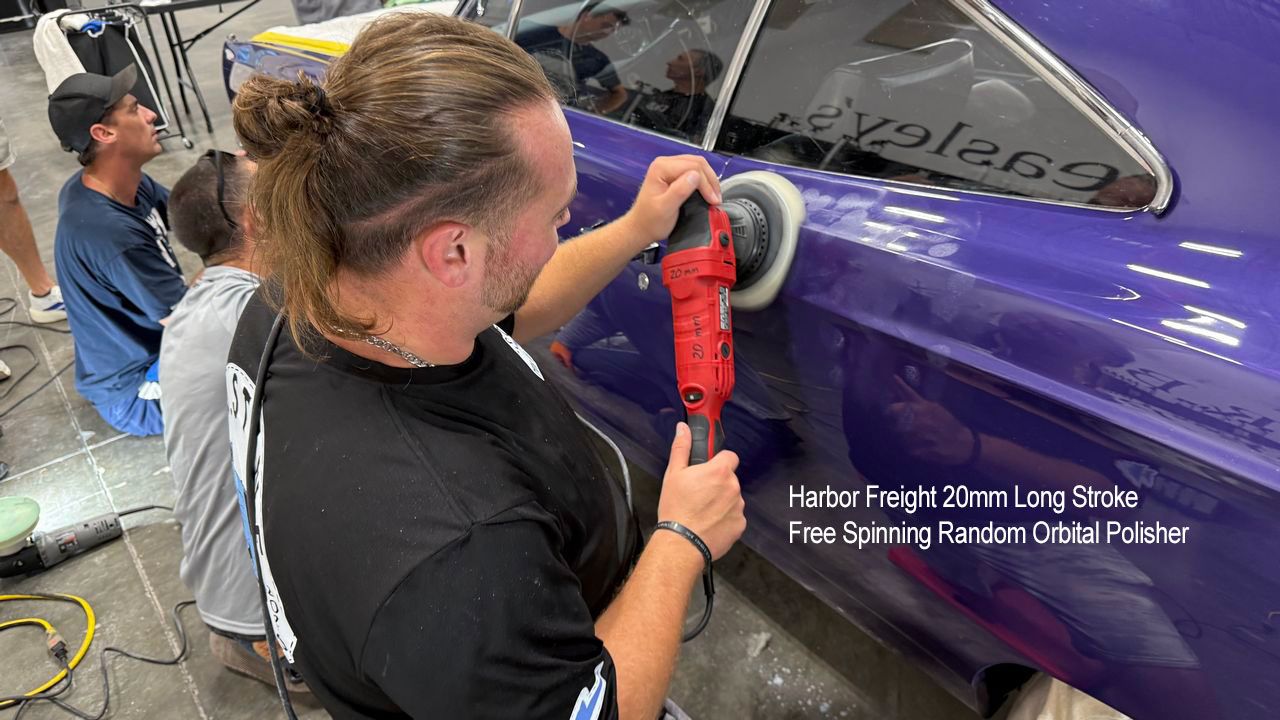
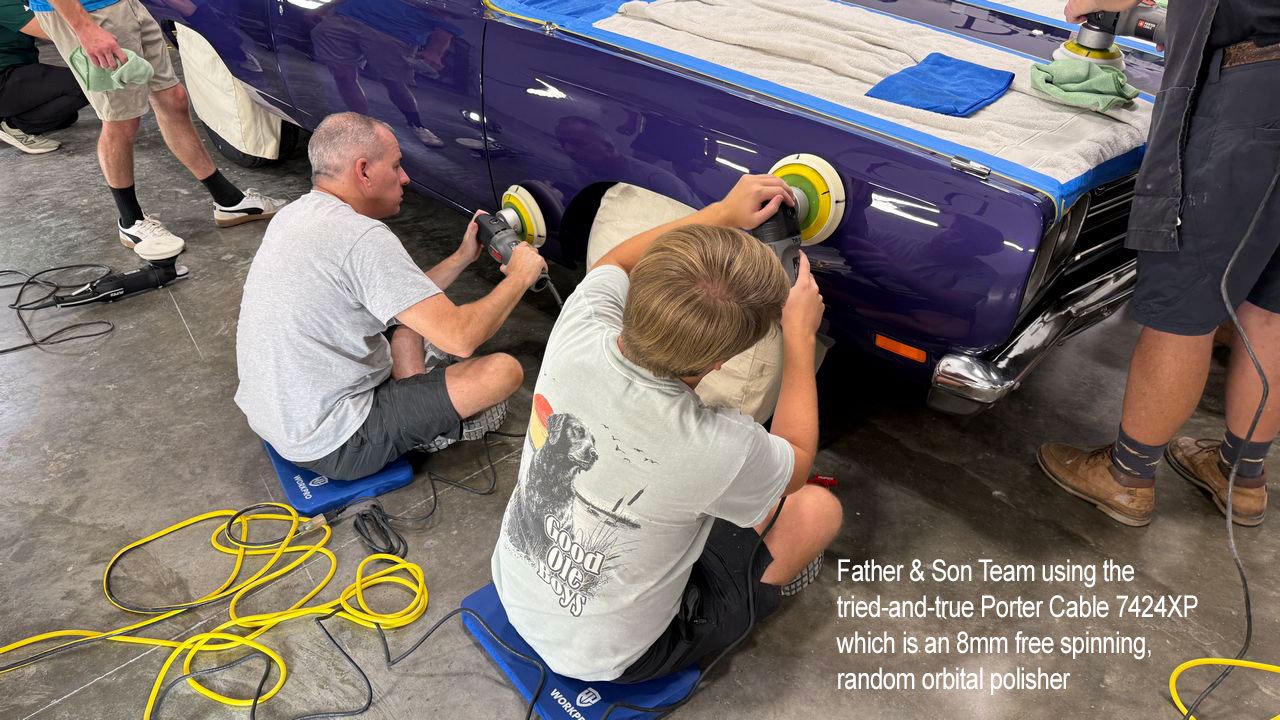
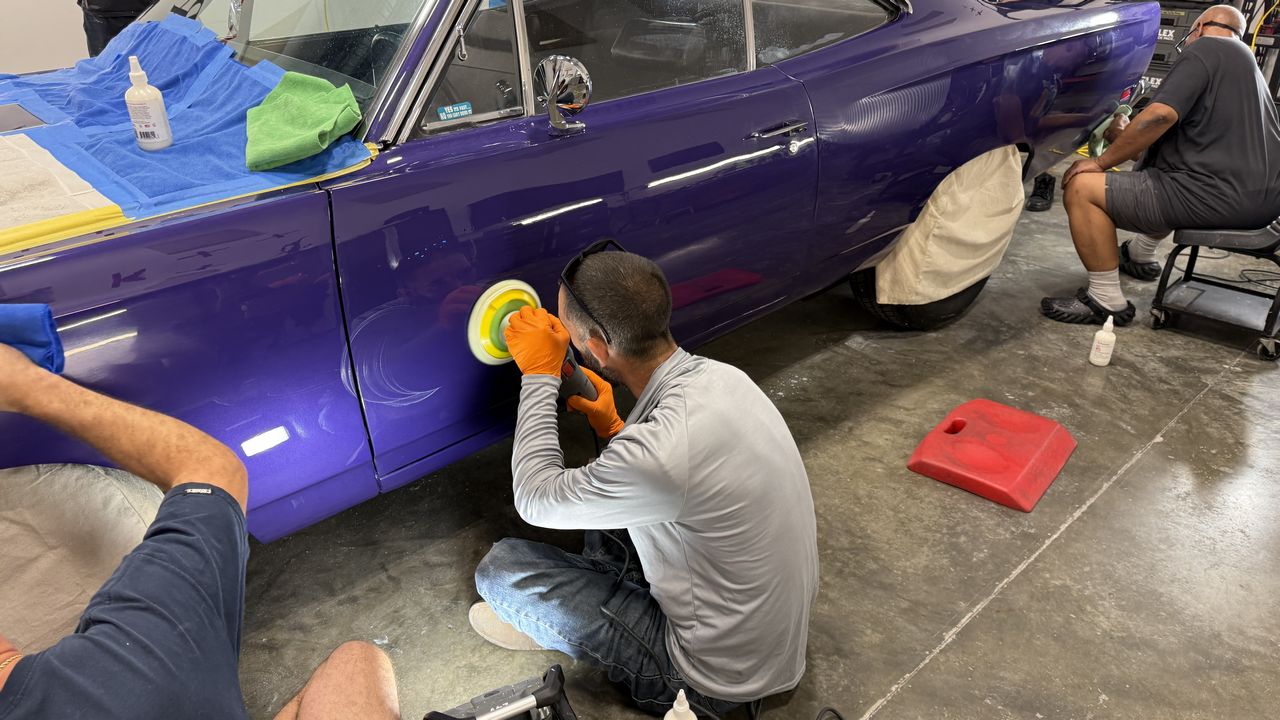
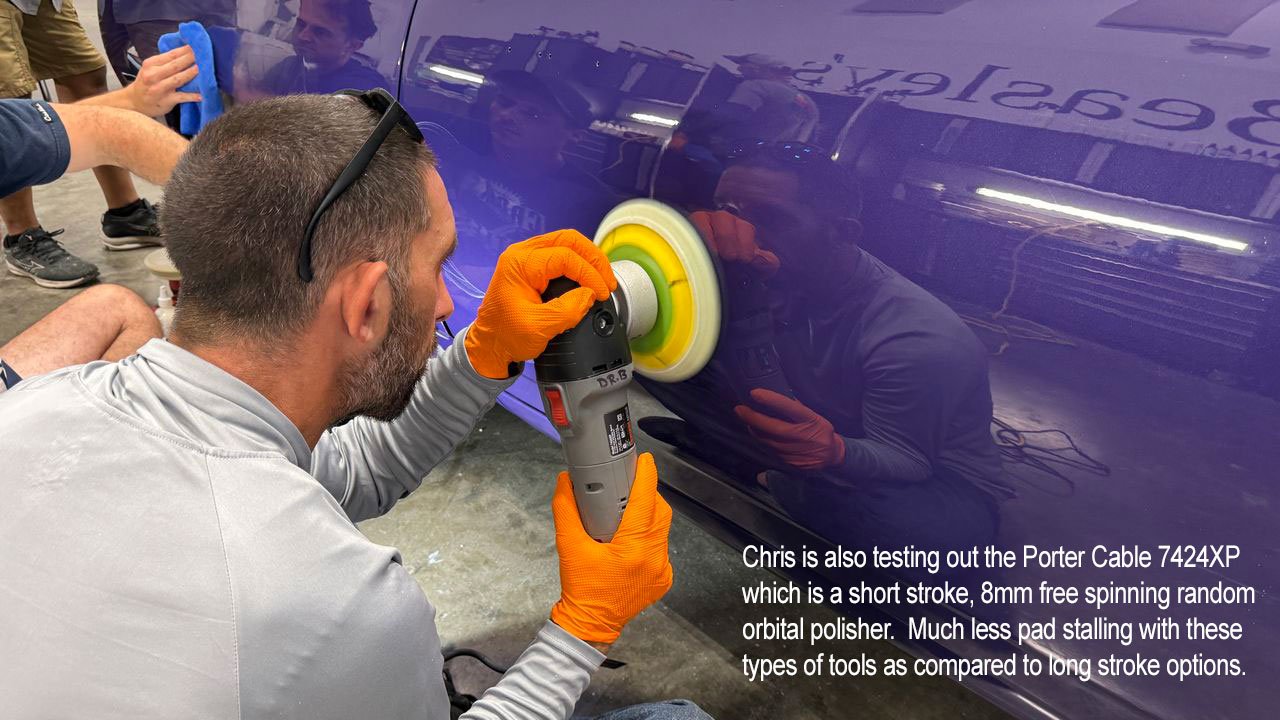
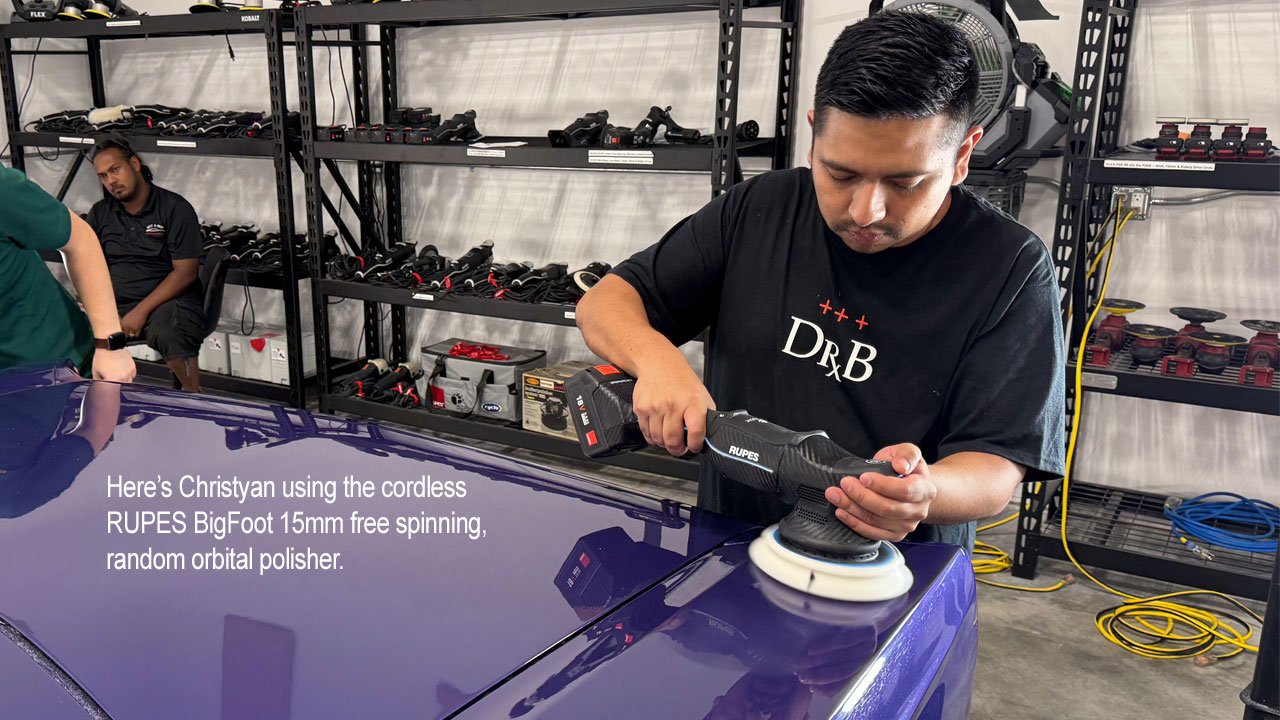
For the final machine polishing step on our 1969 Plymouth Roadrunner, students can choose ANY orbital polisher they want to test drive—or revisit a tool they used during an earlier topic in this 2-day class.
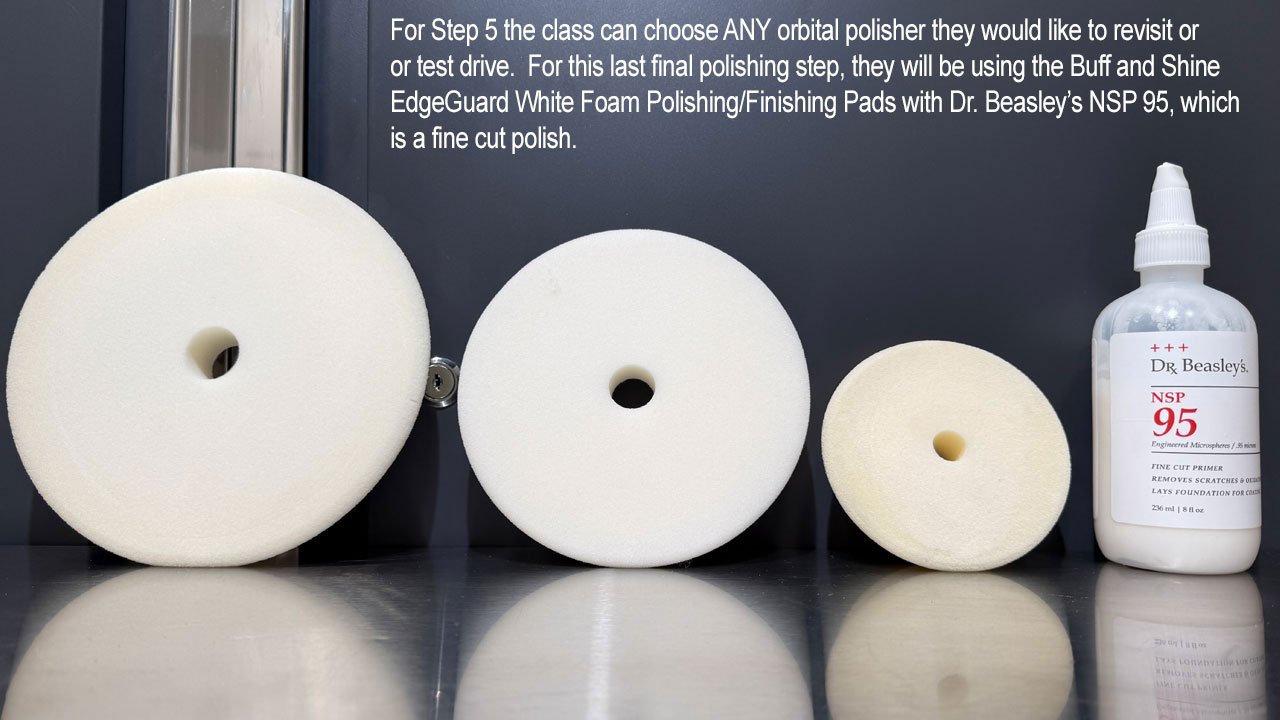
🛠️ They’re using Buff and Shine EdgeGuard White Foam Polishing/Finishing Pads with Dr. Beasley’s NSP 95, which I’d describe in familiar polishing terminology as a fine-cut polish.

The goal is to further refine the finish and bring out that show car gloss and clarity! 😎✨

By introducing gear-driven orbital polishers early in the class, then giving everyone opportunities to use free-spinning random orbital polishers, students experience the differences firsthand—including the strengths and limitations of each type.

💡 That hands-on comparison is incredibly valuable!

Without the opportunity to use both types on real cars, there can be a lot of confusion. Here, students can feel how the tools behave, compare their performance, and decide what works best for them.

By the end of the class, they know which polishers they LOVE—and which ones they’ll let somebody else enjoy! 😂

Real tools. Real cars. Choices based on hands-on experience. 💪
🛡️ Next up: ceramic coating!

full


full


full


full


full


full


full


full


full


full


full


full


full
 
Back
Top