
- Admin
- #37
- Joined
- May 21, 2021
- Messages
- 2,815
- Reaction score
- 1,689
- Points
- 113
- Location
- Stuart, Florida
- Website
- themikephillipsforum.com
More...
 Step 6: Ceramic Protection—for BOTH Paint Finishes!
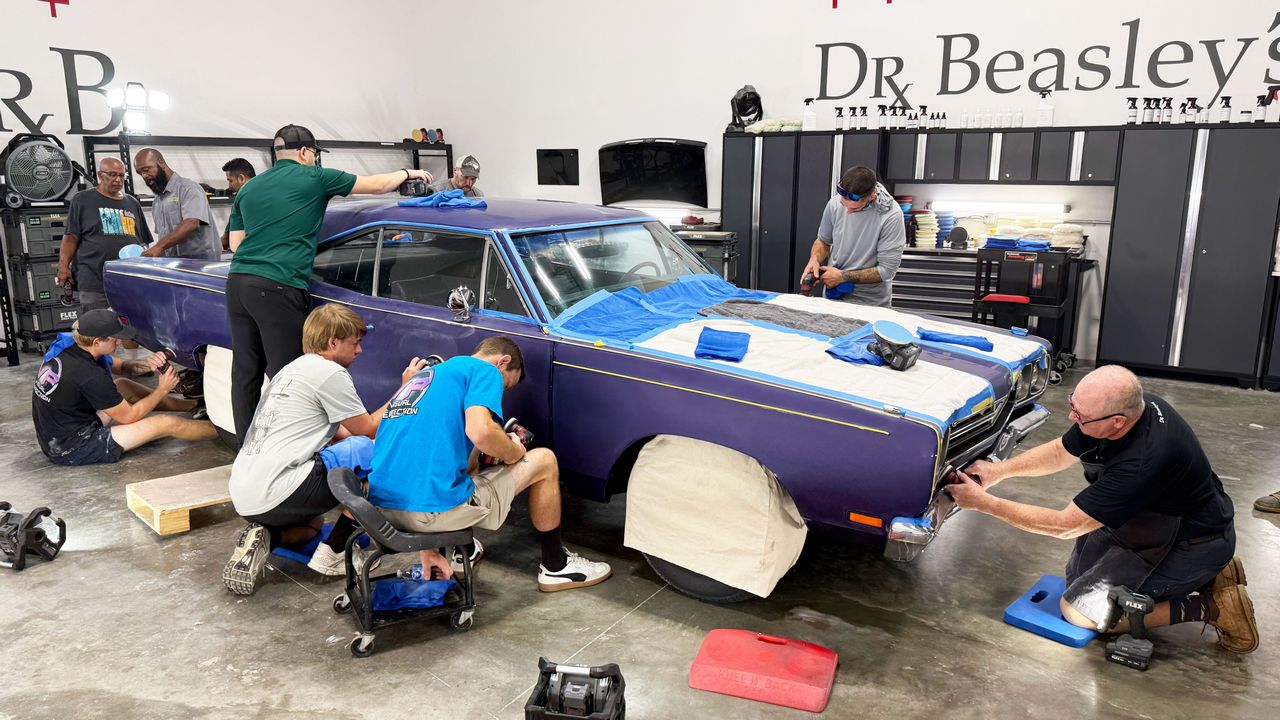
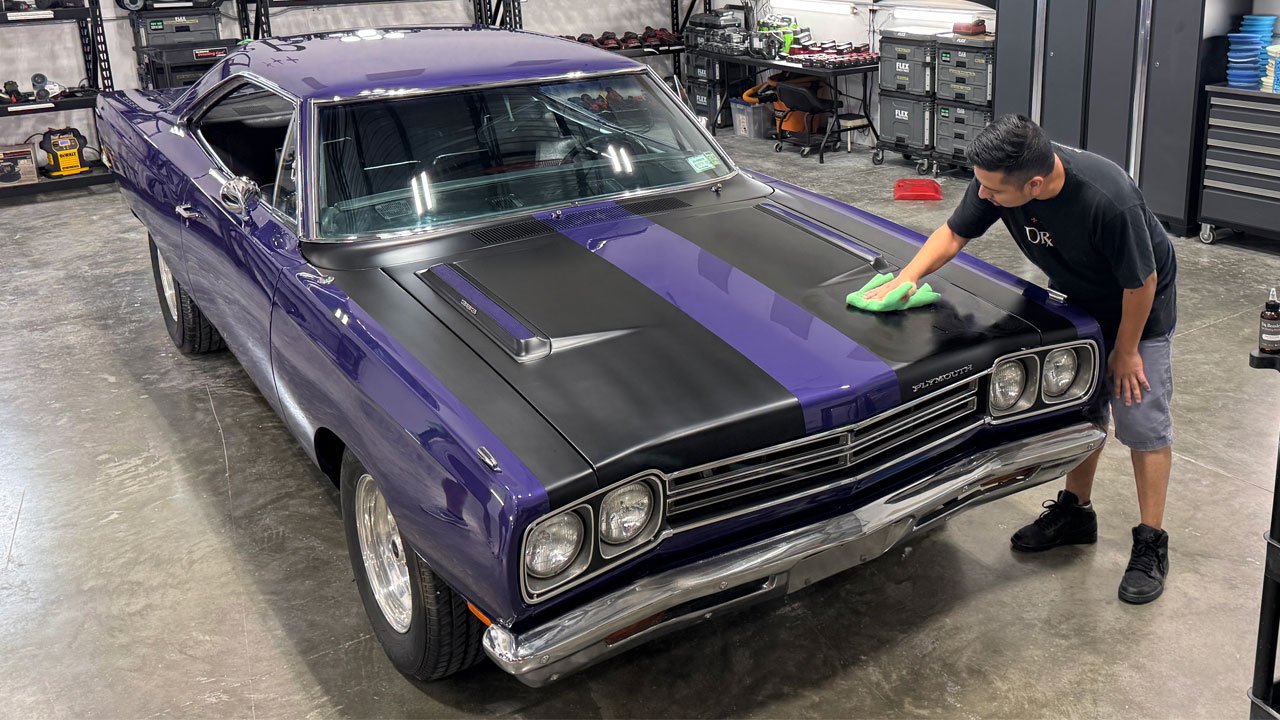
With the sanding and polishing completed, the class installed Dr. Beasley’s Nano-Resin 2.0 on the glossy purple paint of our 1969 Plymouth Roadrunner.
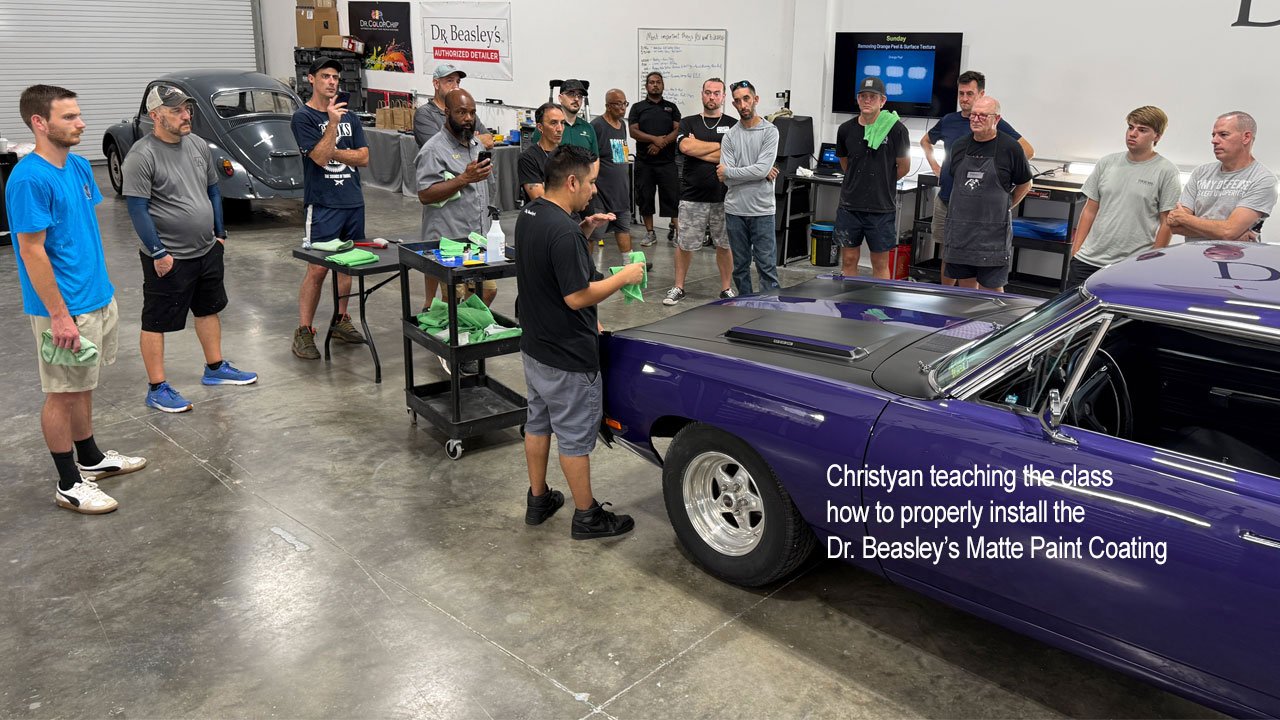
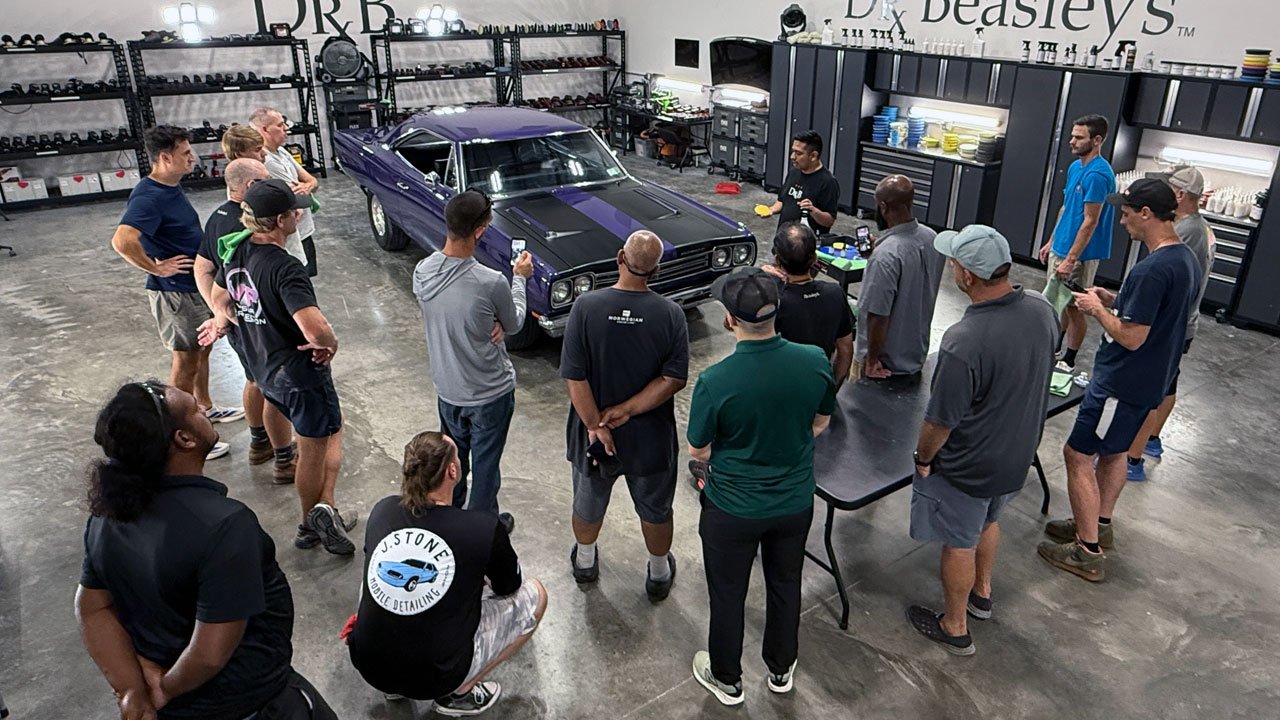
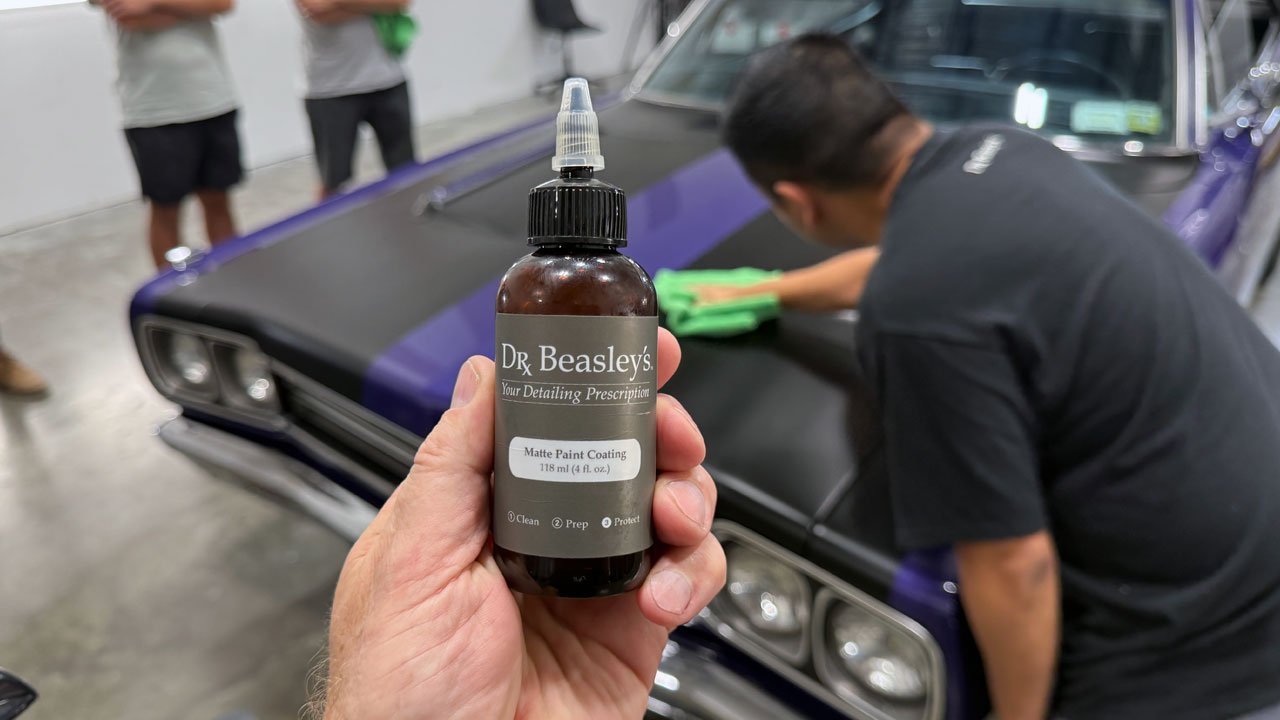
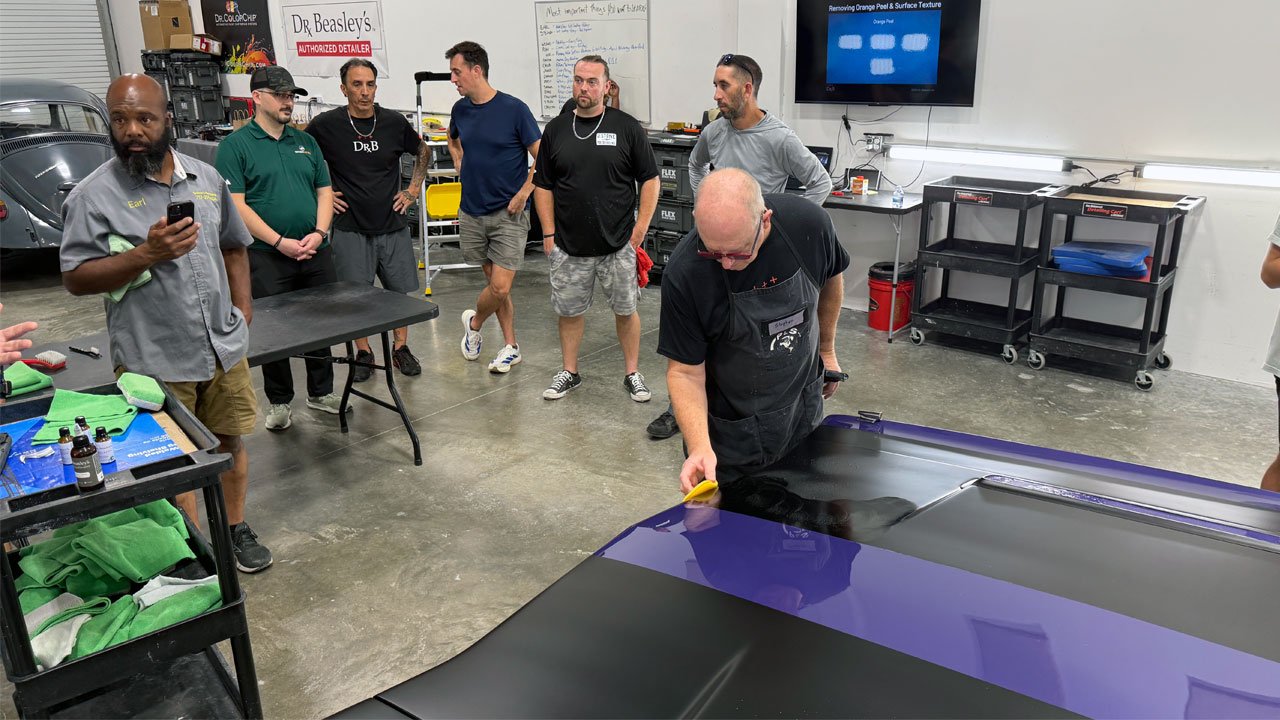
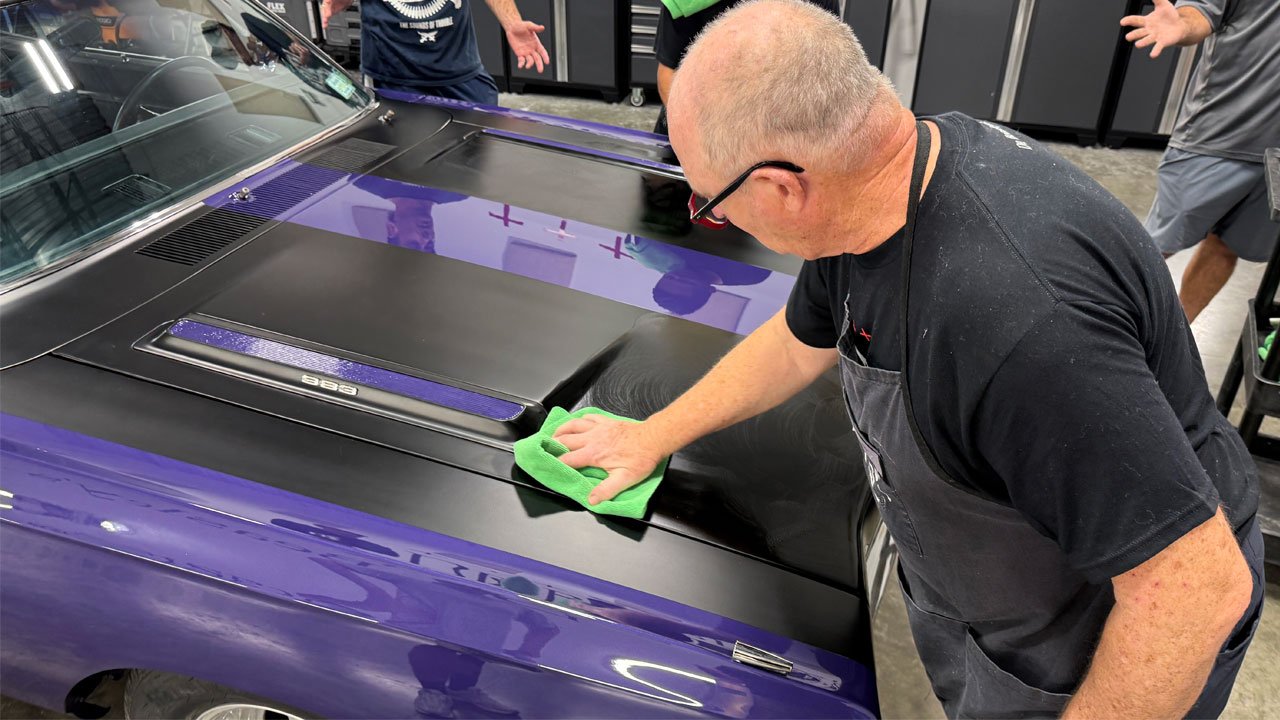
I didn’t capture pictures of that application, but I did photograph Christyan, lead instructor at Dr. Beasley’s corporate office in Chicago, Illinois, teaching the class how to install Dr. Beasley’s Matte Paint Coating.
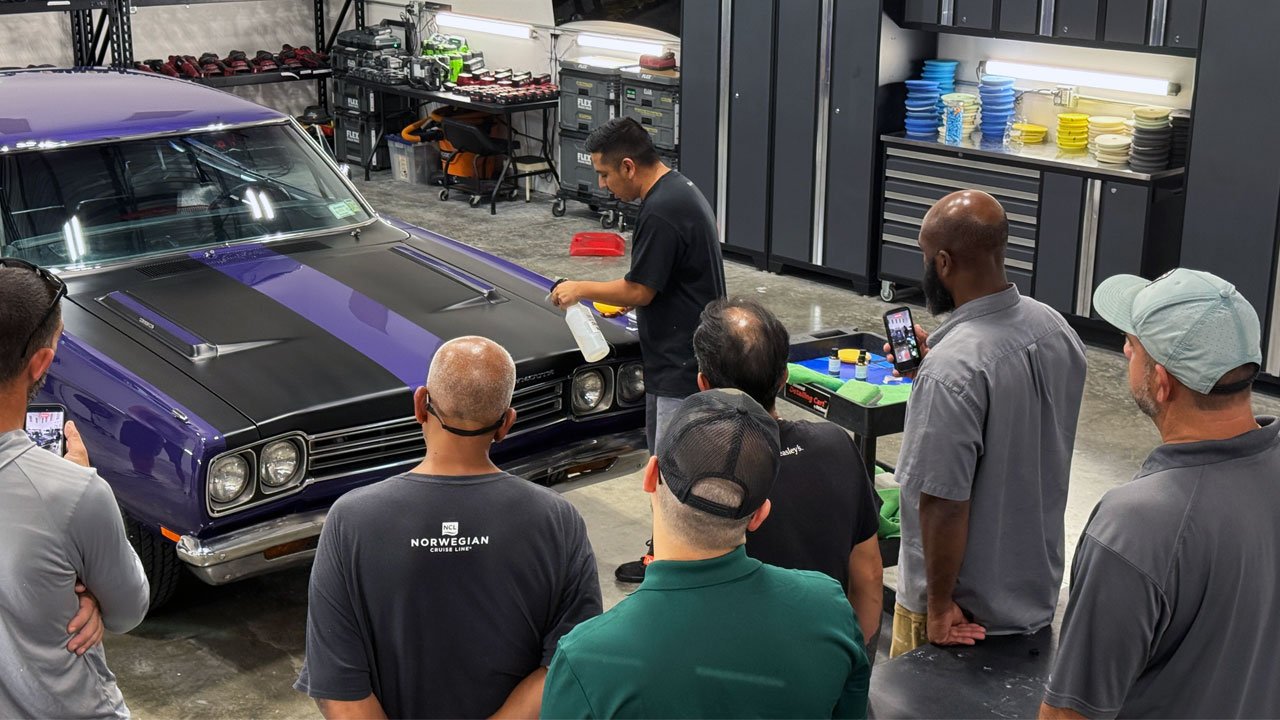
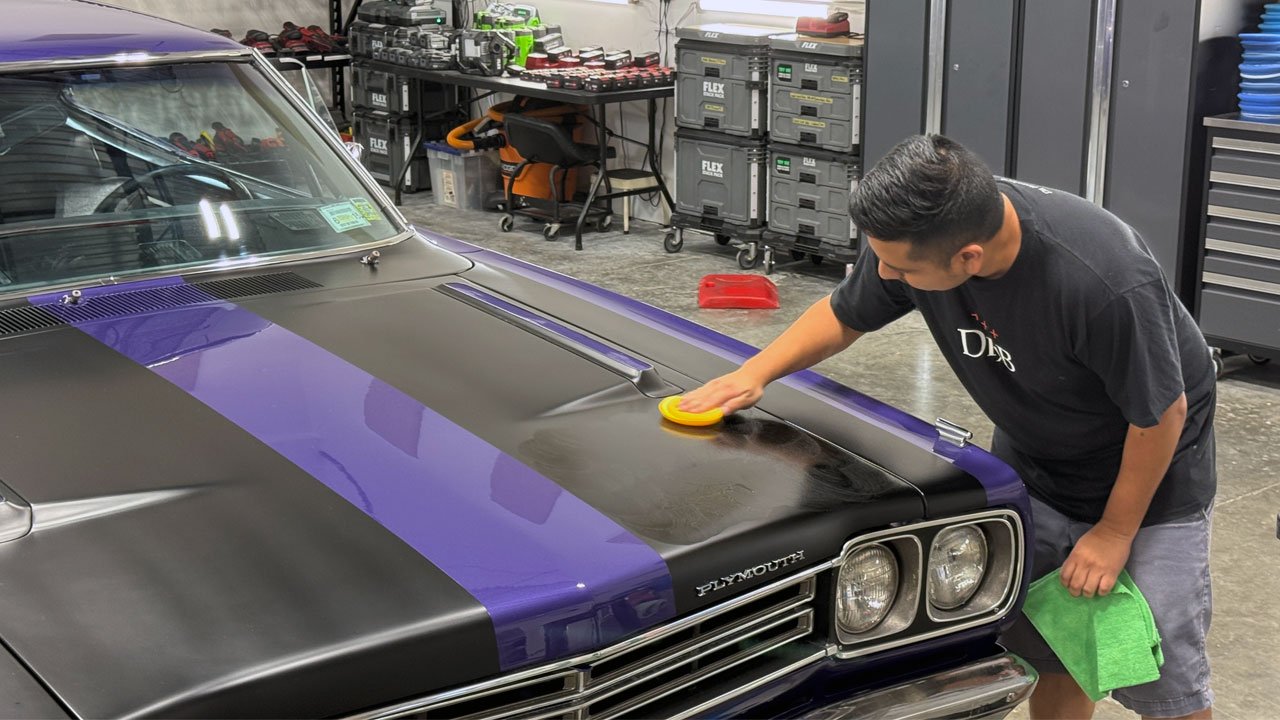
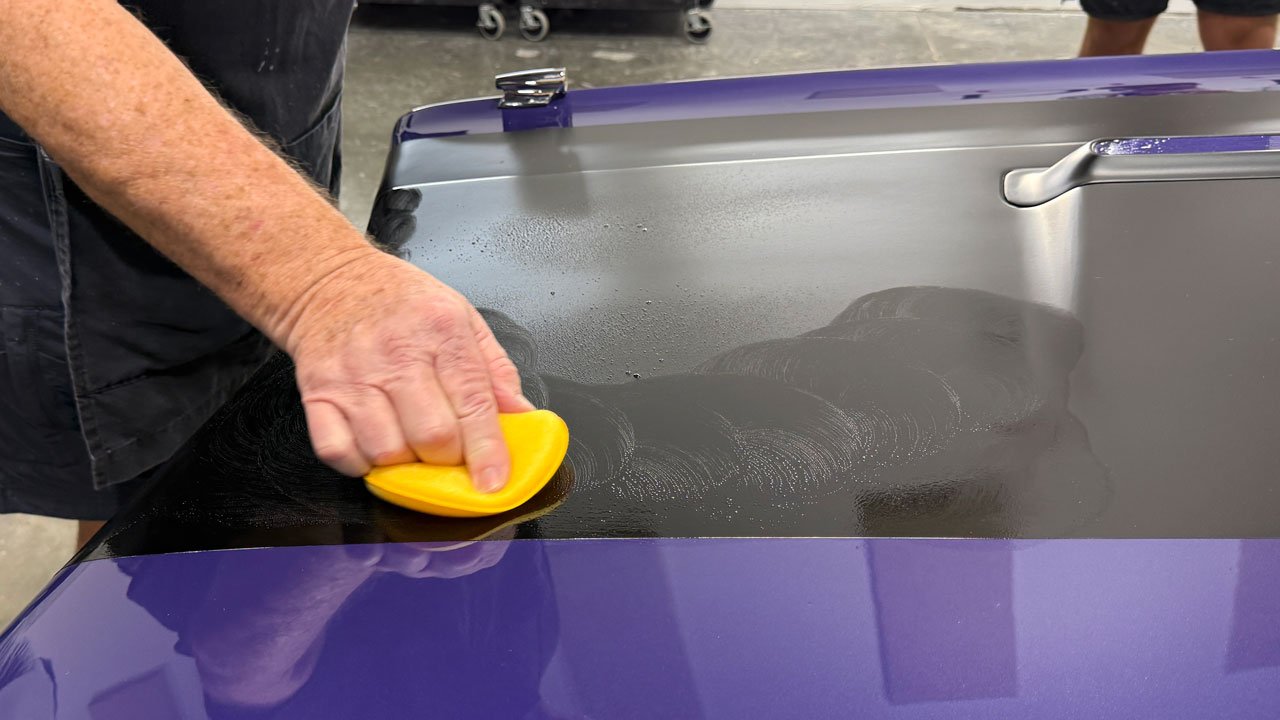
 First, Christyan lightly mists distilled water onto the matte paint. He then applies the coating with a foam applicator and gently removes the excess with a clean microfiber towel.
The matte black sections on the hood and tops of the front fenders receive their own dedicated coating to protect the finish while preserving its matte appearance.
Glossy purple. Matte black. Each finish gets the care and protection it needs!
 Next up: the FINAL RESULTS!
Mike
Step 6: Ceramic Protection—for BOTH Paint Finishes!With the sanding and polishing completed, the class installed Dr. Beasley’s Nano-Resin 2.0 on the glossy purple paint of our 1969 Plymouth Roadrunner.
I didn’t capture pictures of that application, but I did photograph Christyan, lead instructor at Dr. Beasley’s corporate office in Chicago, Illinois, teaching the class how to install Dr. Beasley’s Matte Paint Coating.
First, Christyan lightly mists distilled water onto the matte paint. He then applies the coating with a foam applicator and gently removes the excess with a clean microfiber towel.The matte black sections on the hood and tops of the front fenders receive their own dedicated coating to protect the finish while preserving its matte appearance.
Glossy purple. Matte black. Each finish gets the care and protection it needs!
Next up: the FINAL RESULTS!
Mike
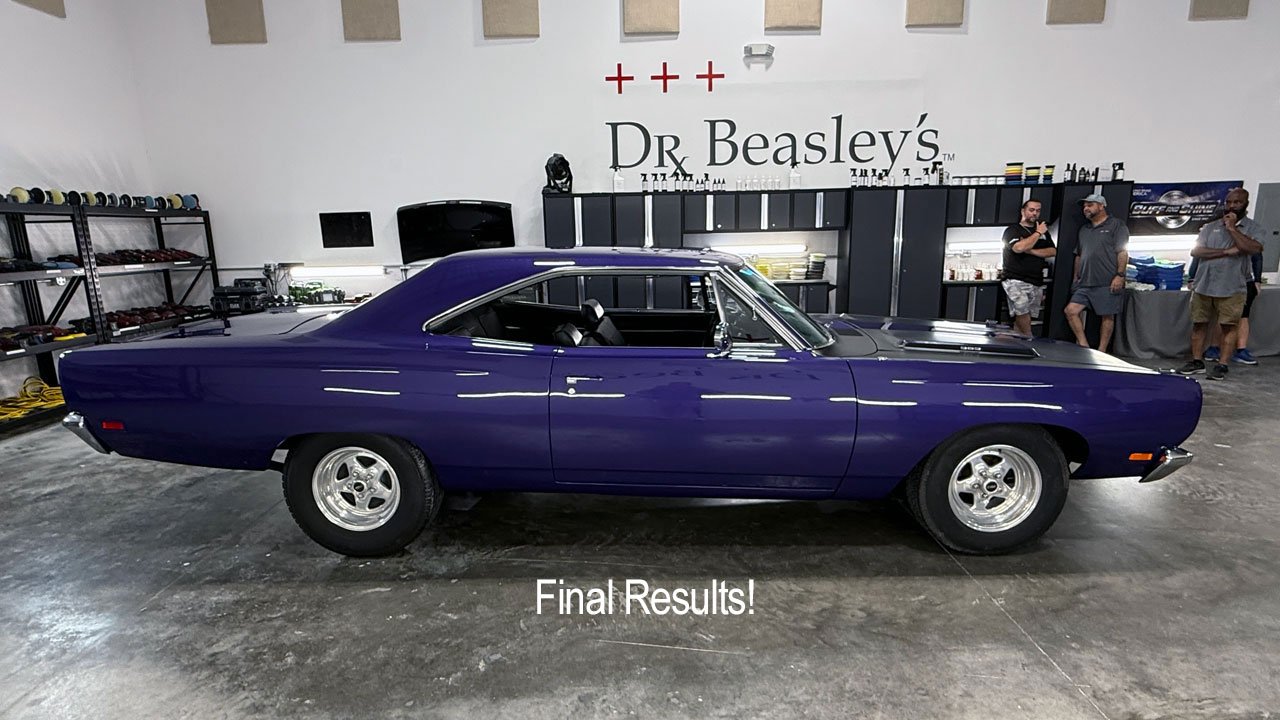
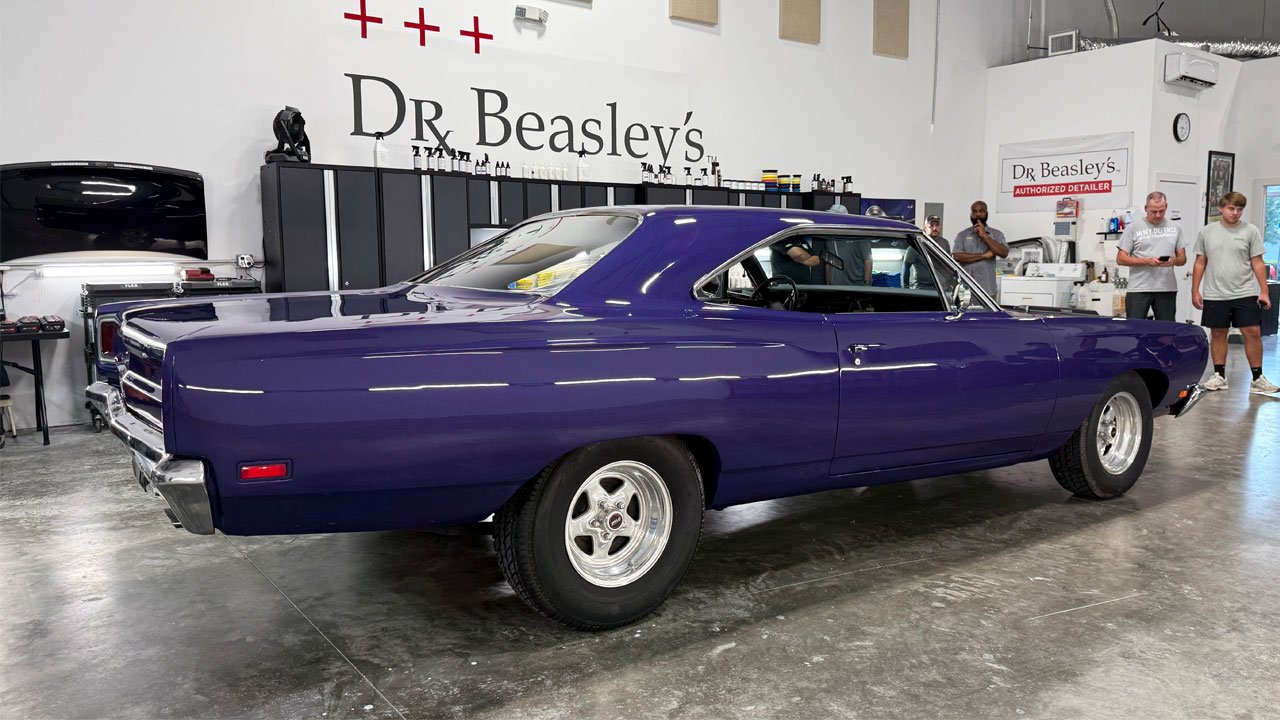
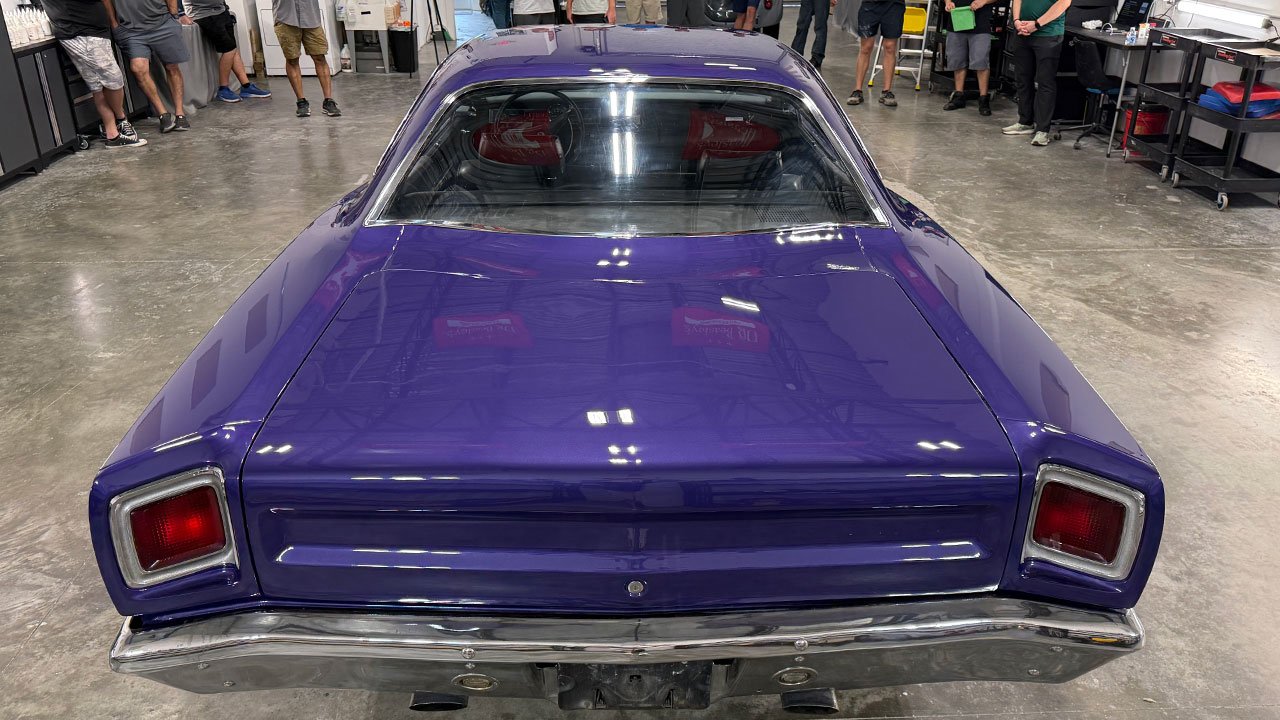
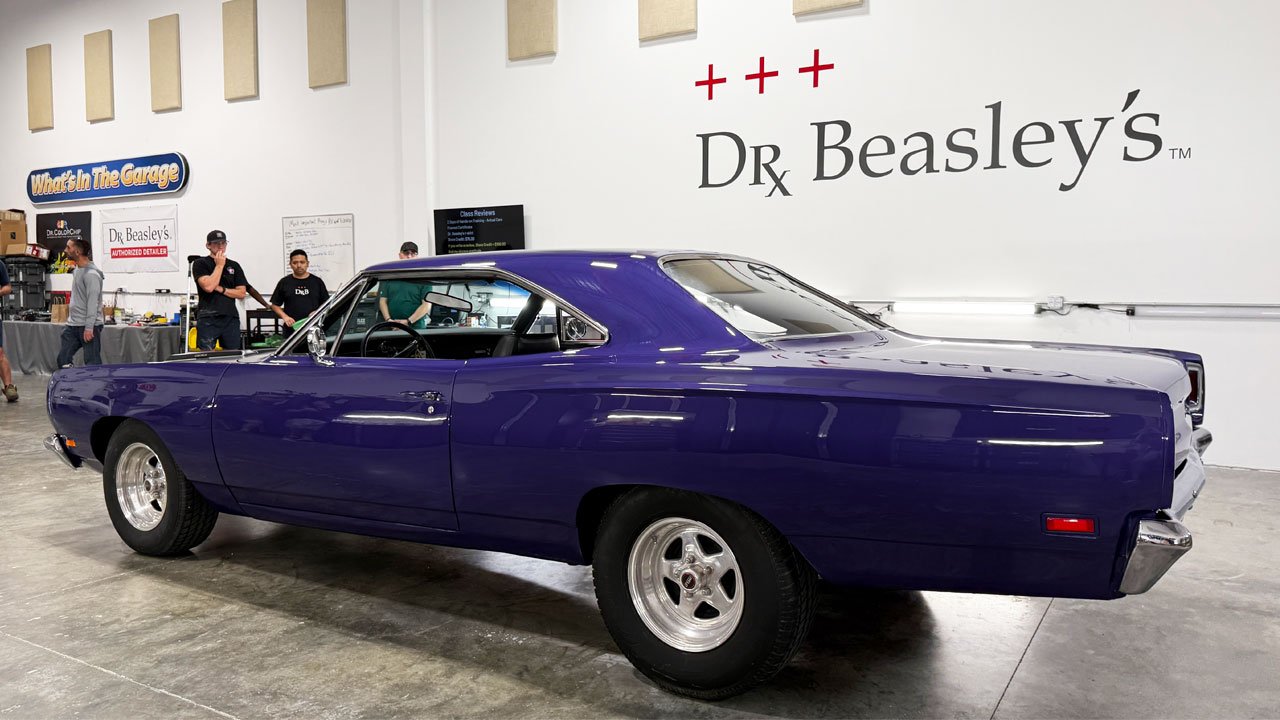
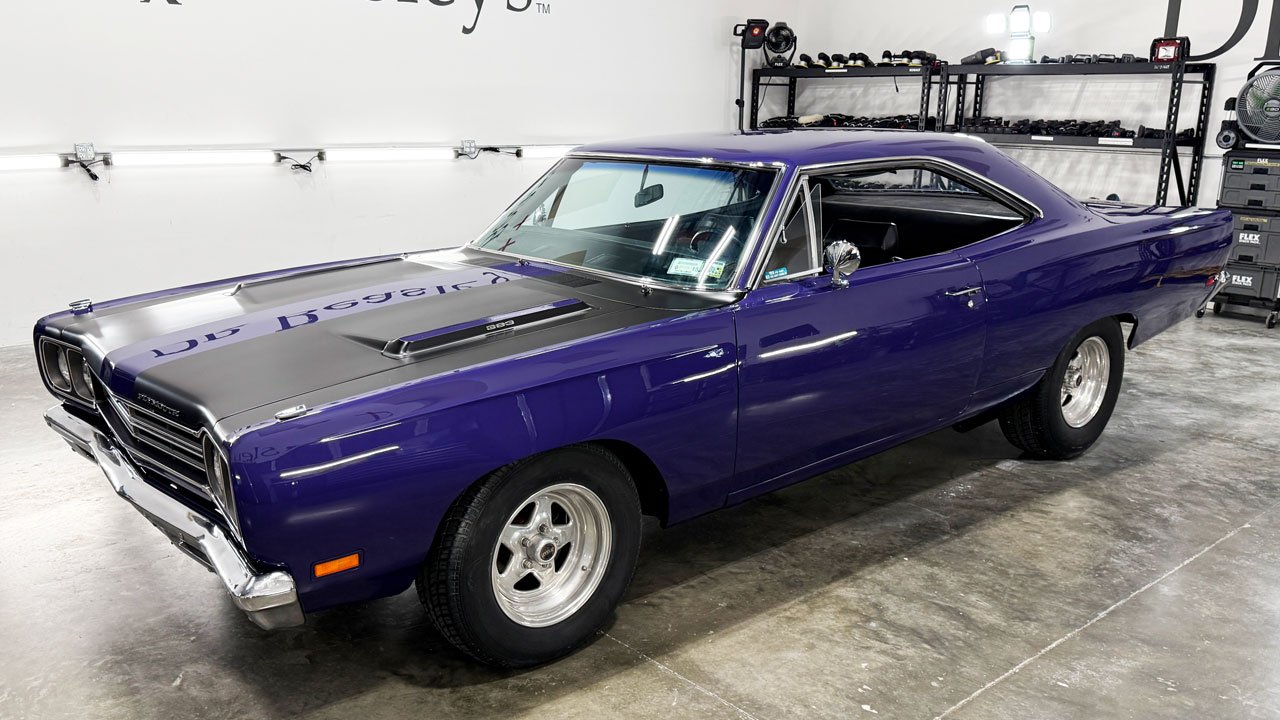
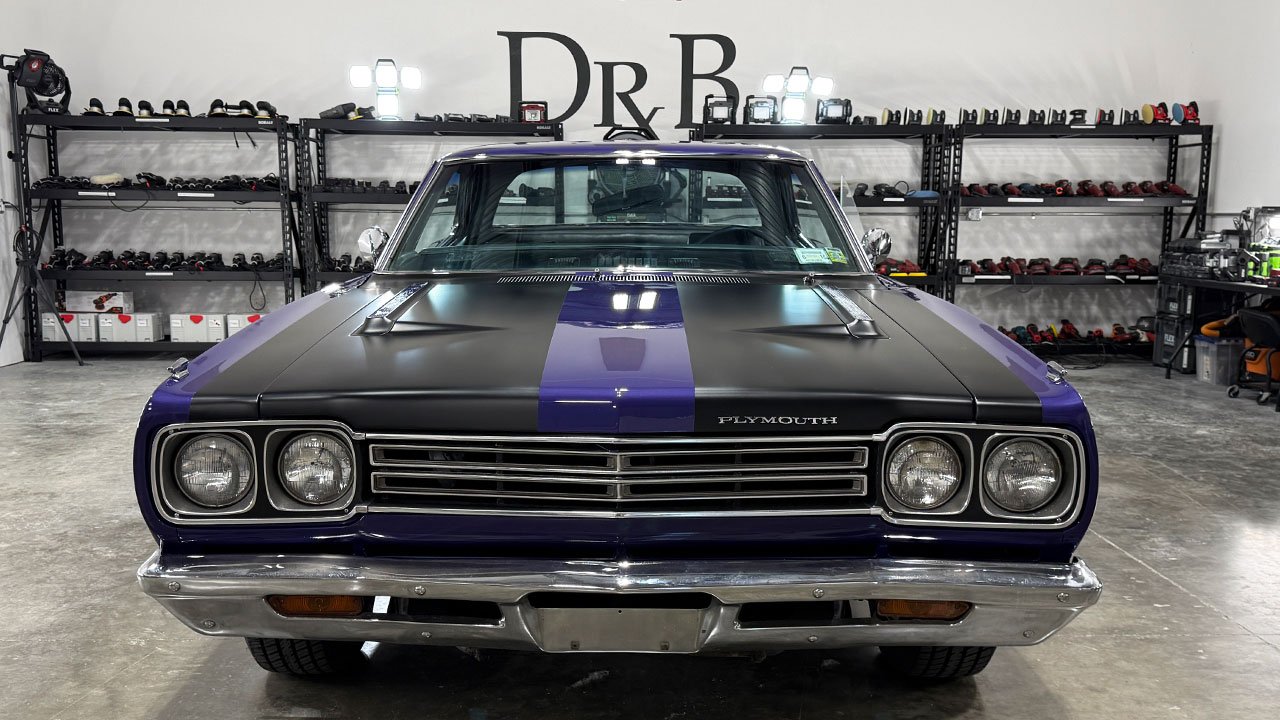
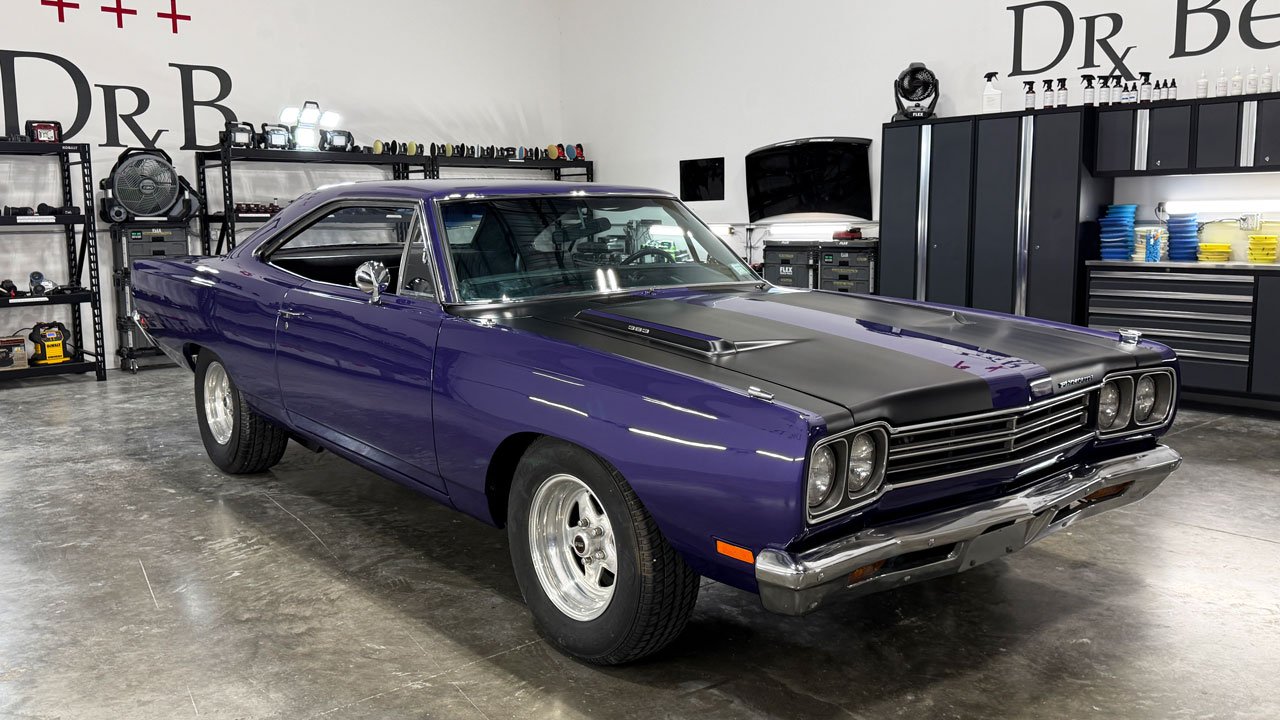
 FINAL RESULTS—1969 Plymouth Roadrunner!
  The class completed the entire process:
 Hand sanding
 Machine dry sanding
 Rotary compounding with wool cutting pads
 Gear-driven orbital polishing
 Final show car polishing
 Ceramic coating for both the glossy and matte finishes
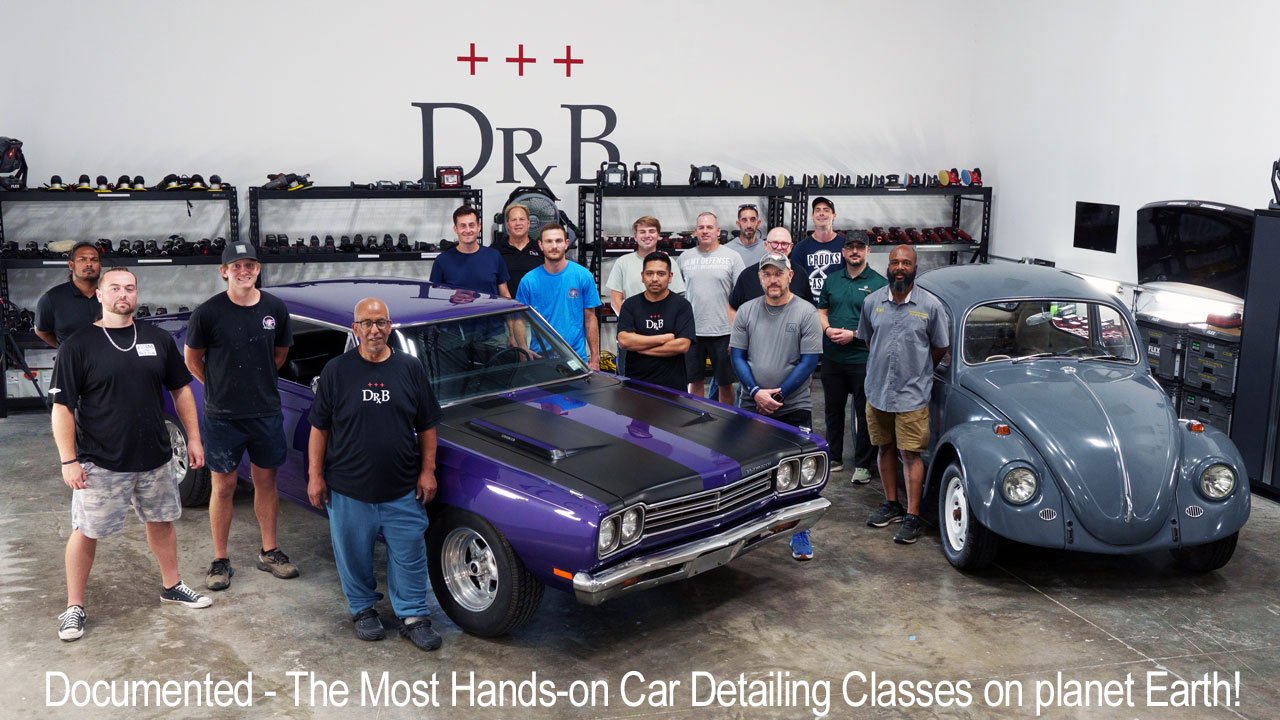
 Real cars. Real paint defects. Real responsibility. No demo hoods!
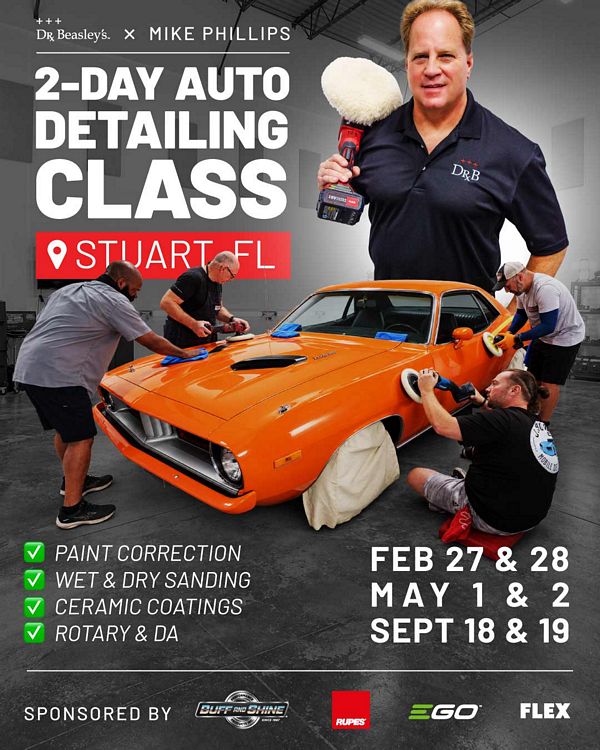
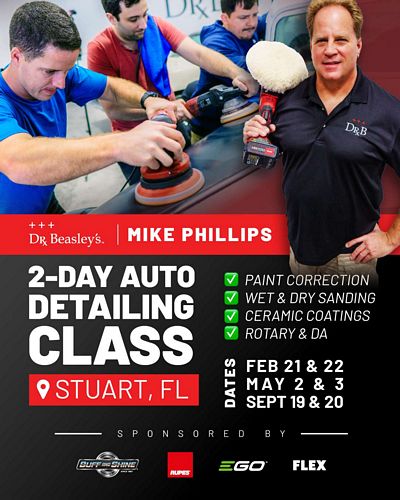
 We teach these intense, 2-day hands-on classes in sunny Stuart, Florida, three times a year:
 February • May • September
 Get signed up at