Continued....
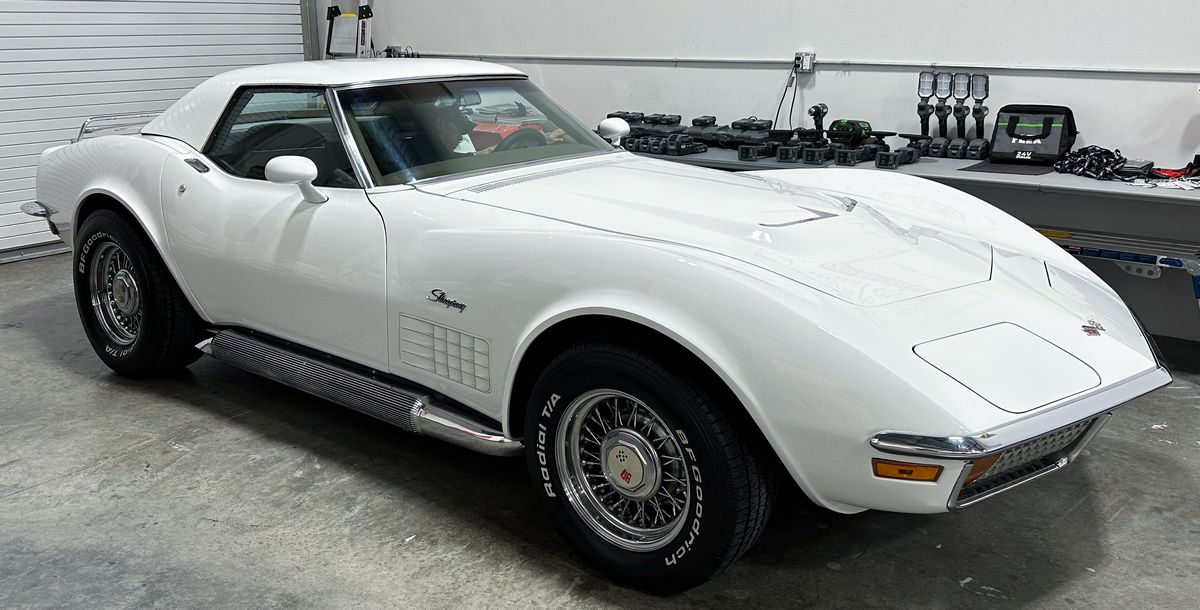
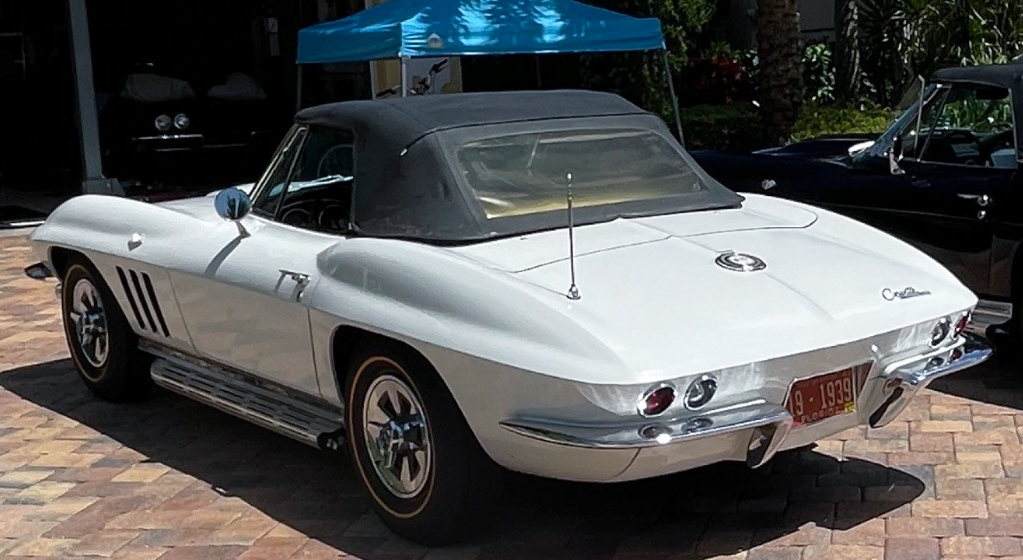
Preserving the Originality of a 1965 Corvette Stingray Roadster
My long-time friend and Corvette aficionado, Pad, purchased this low-mileage survivor car and had her shipped out to Florida. After purchasing the car, Pat brought it to me and I sanded and buffed out the plastic, Plexiglas back window in the original hardtop as it was so filled with swirls and scratches it was difficult to see out of safely.
You can read about that project here,
How to Polish Plexiglass
Don't want to replace - want to preserve
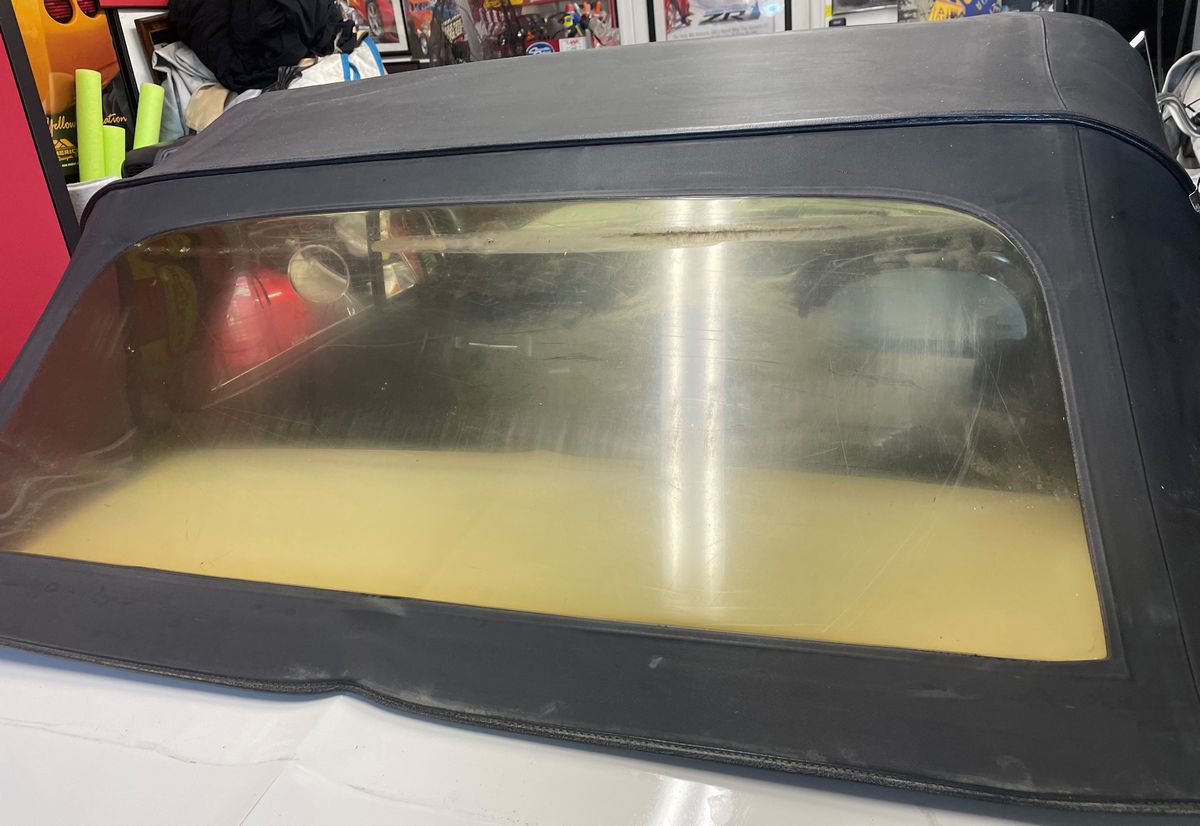
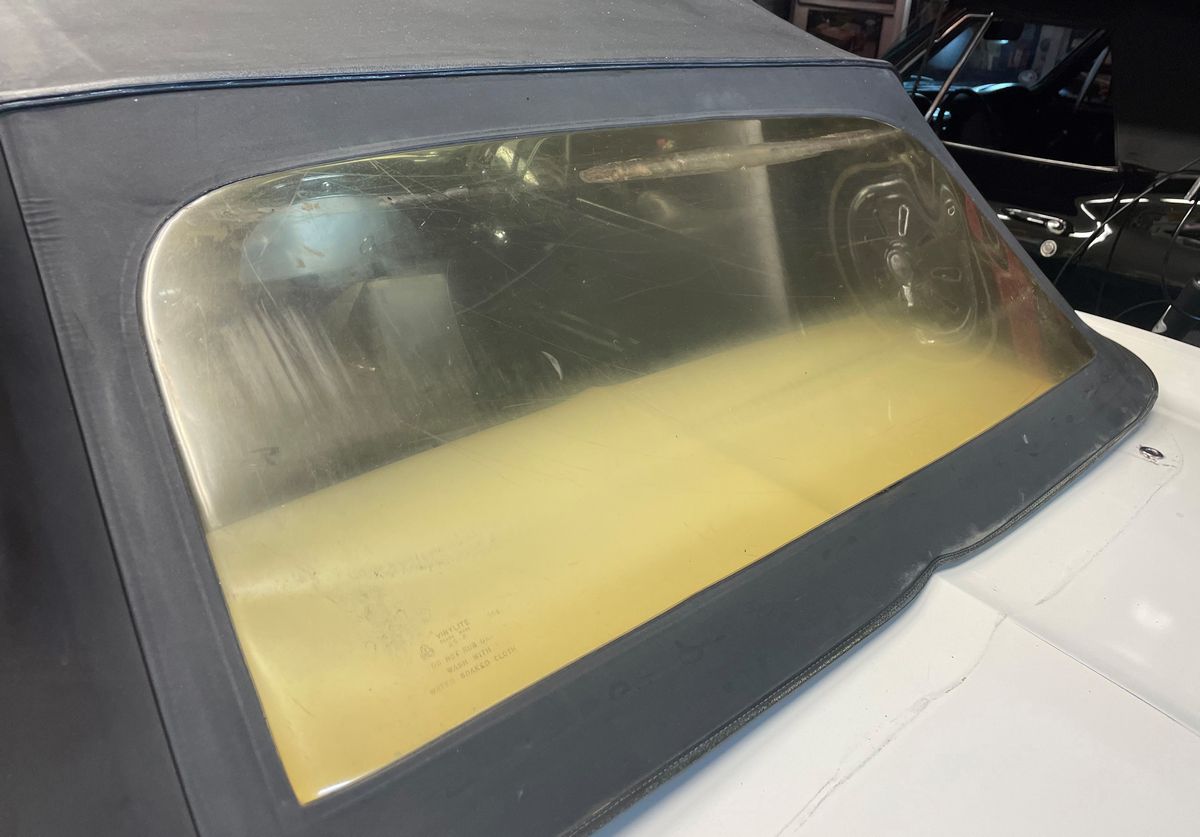
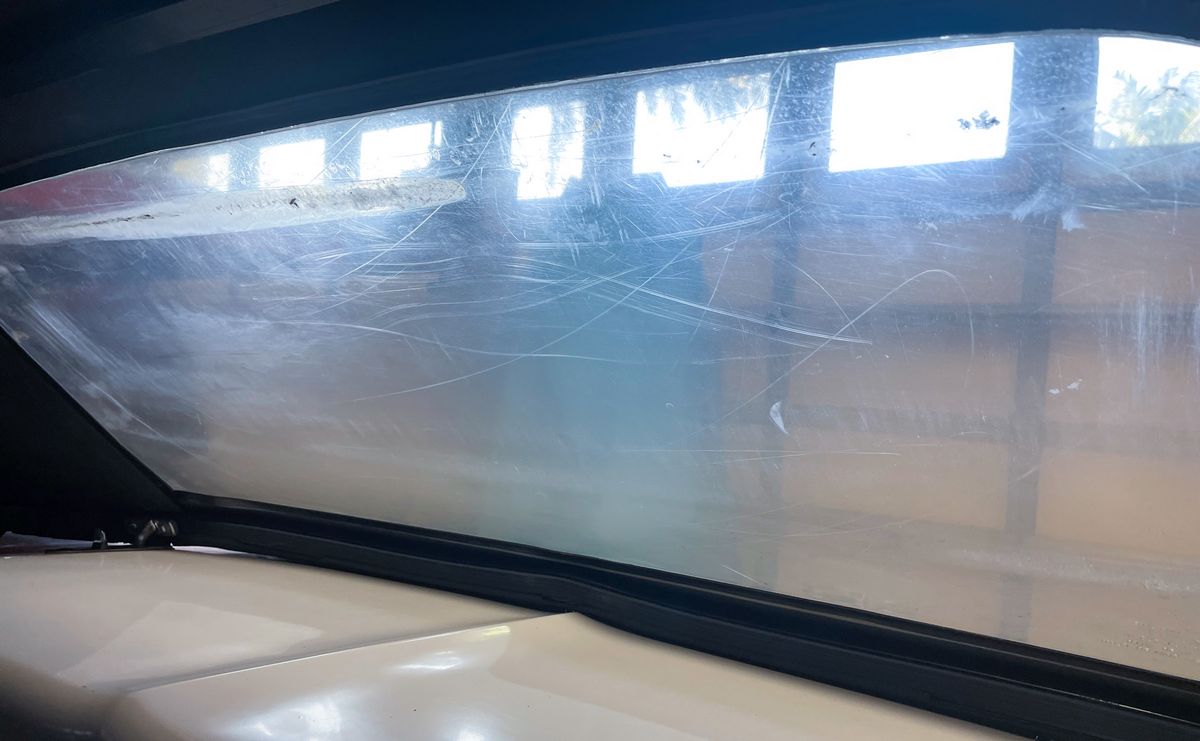
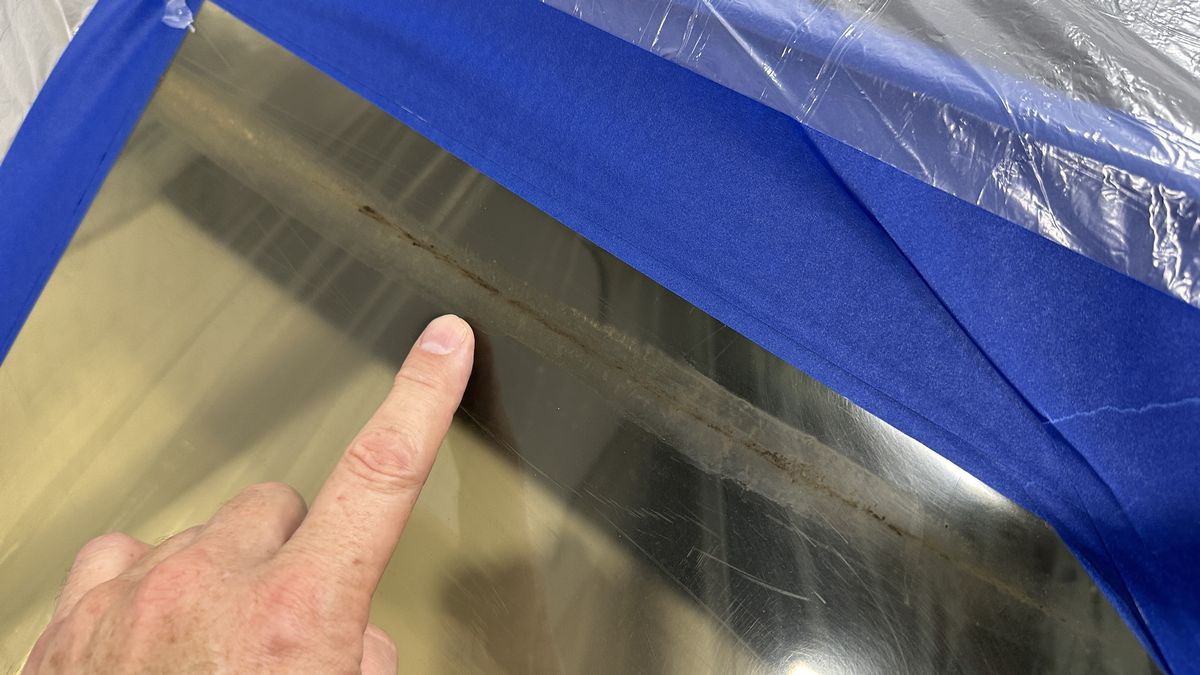
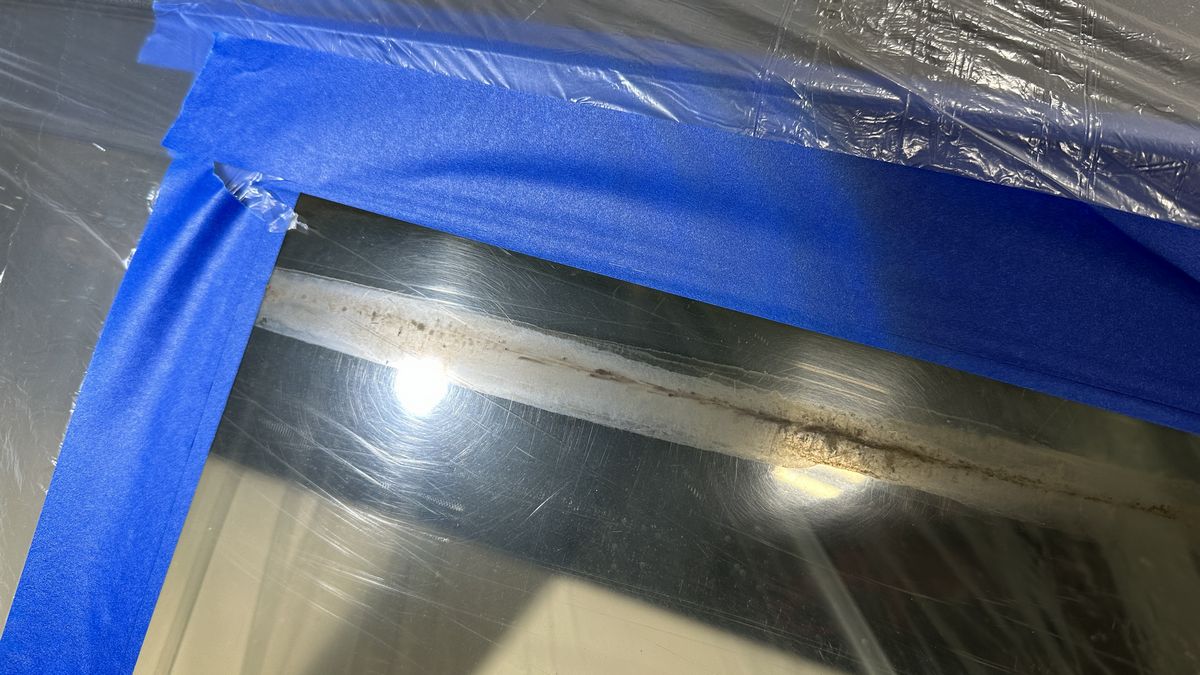
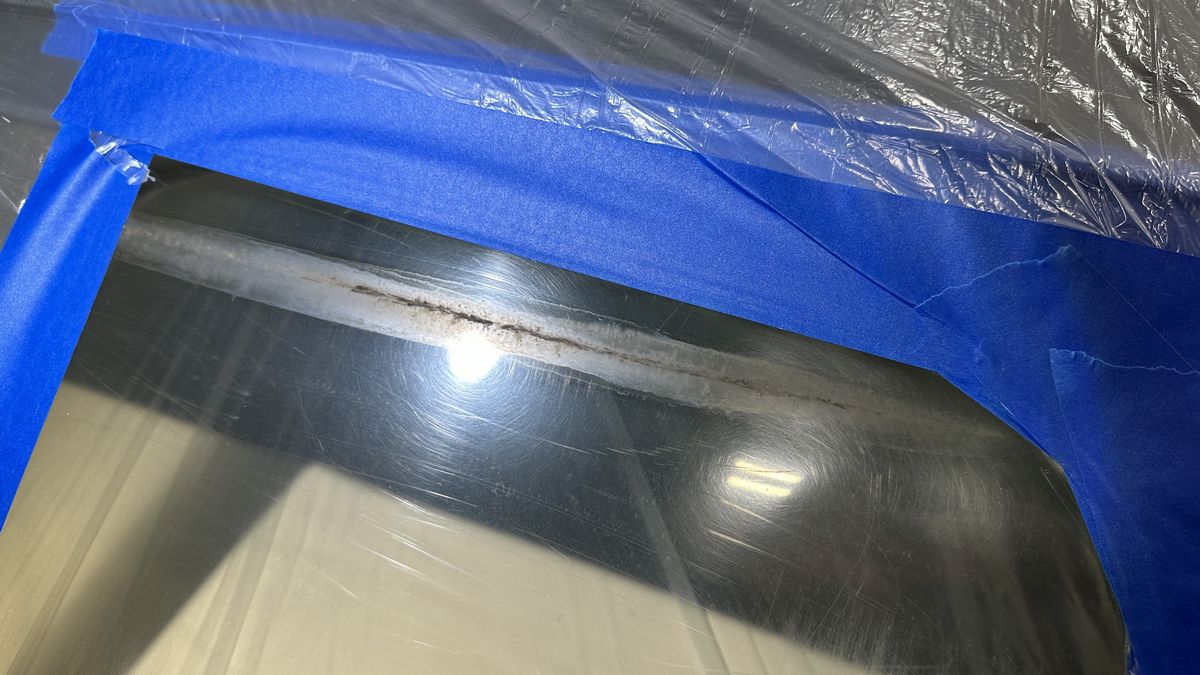
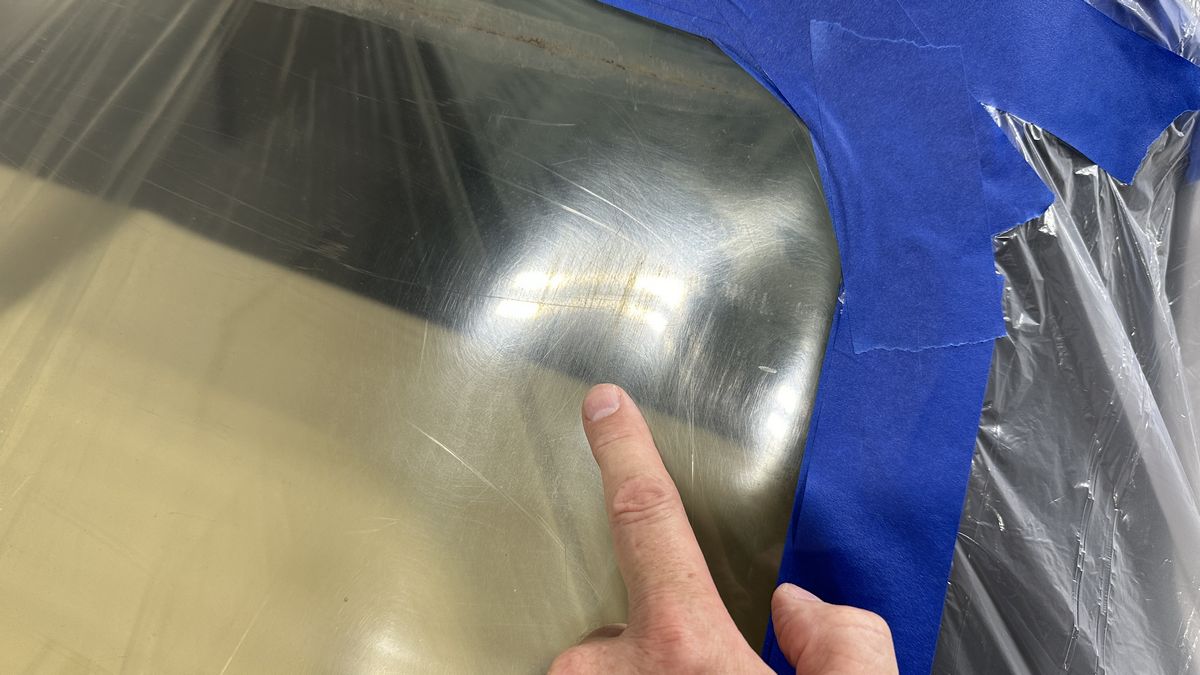
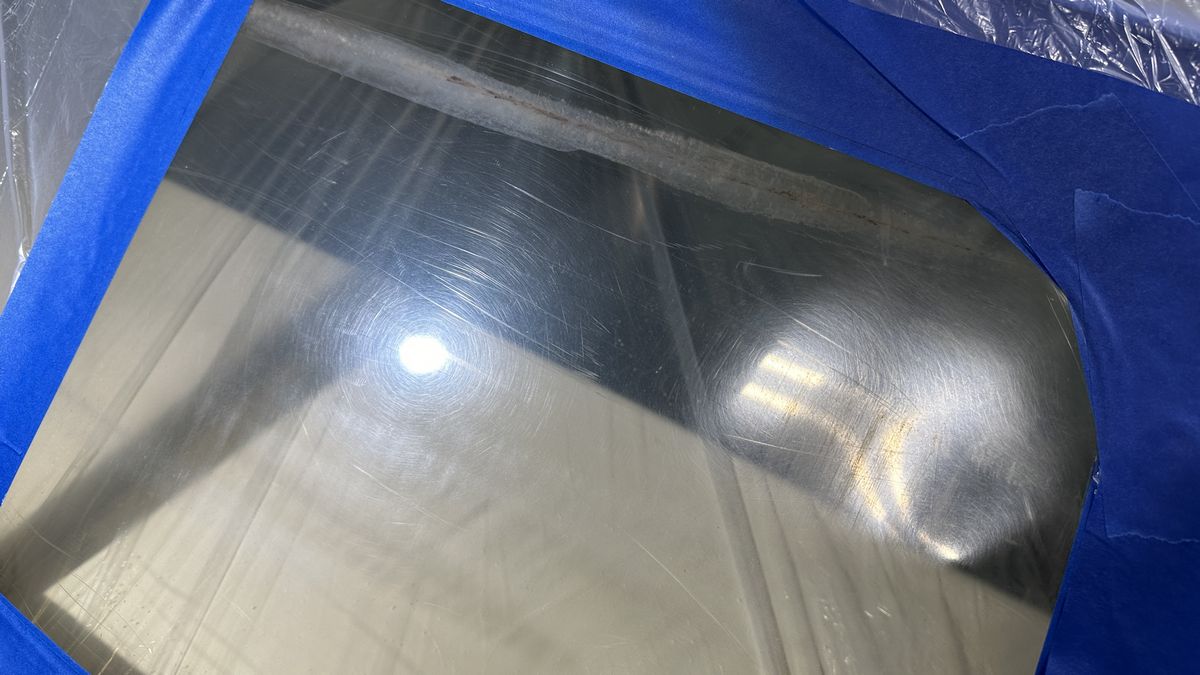
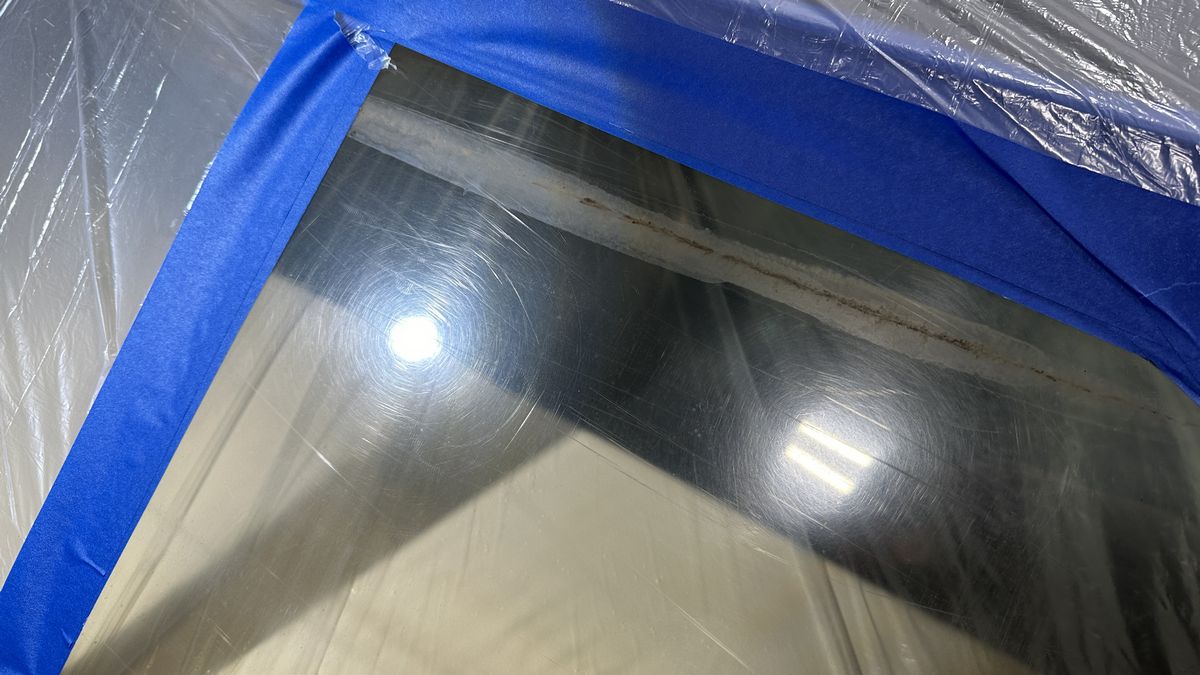
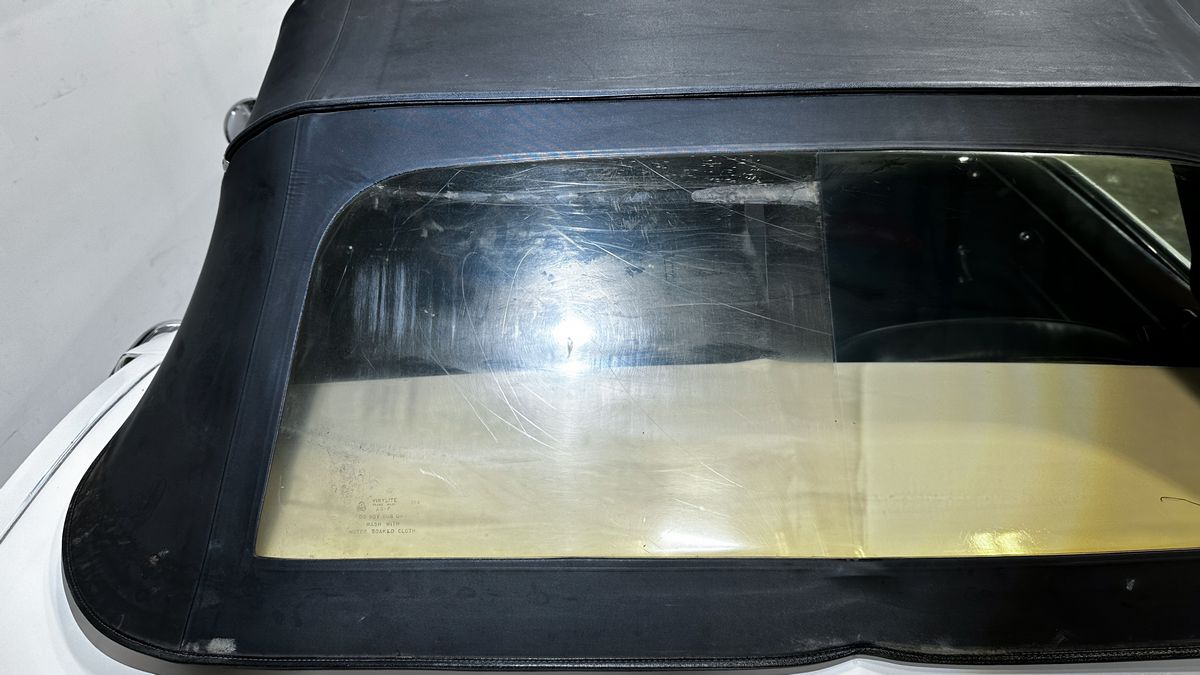
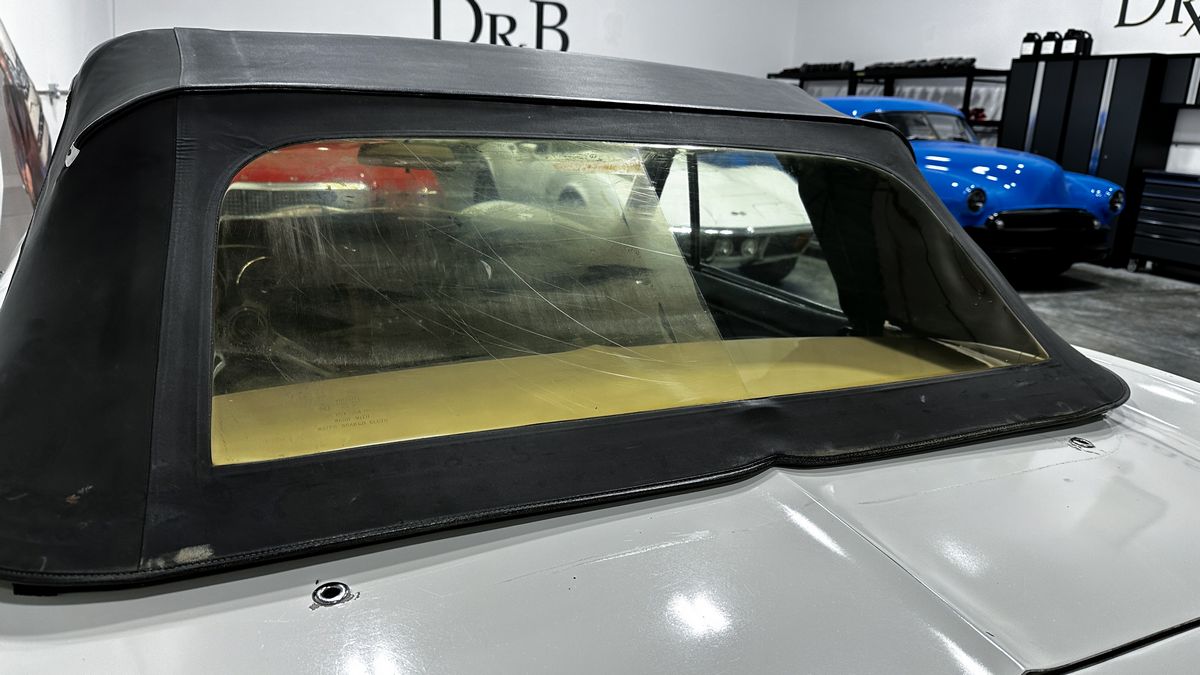
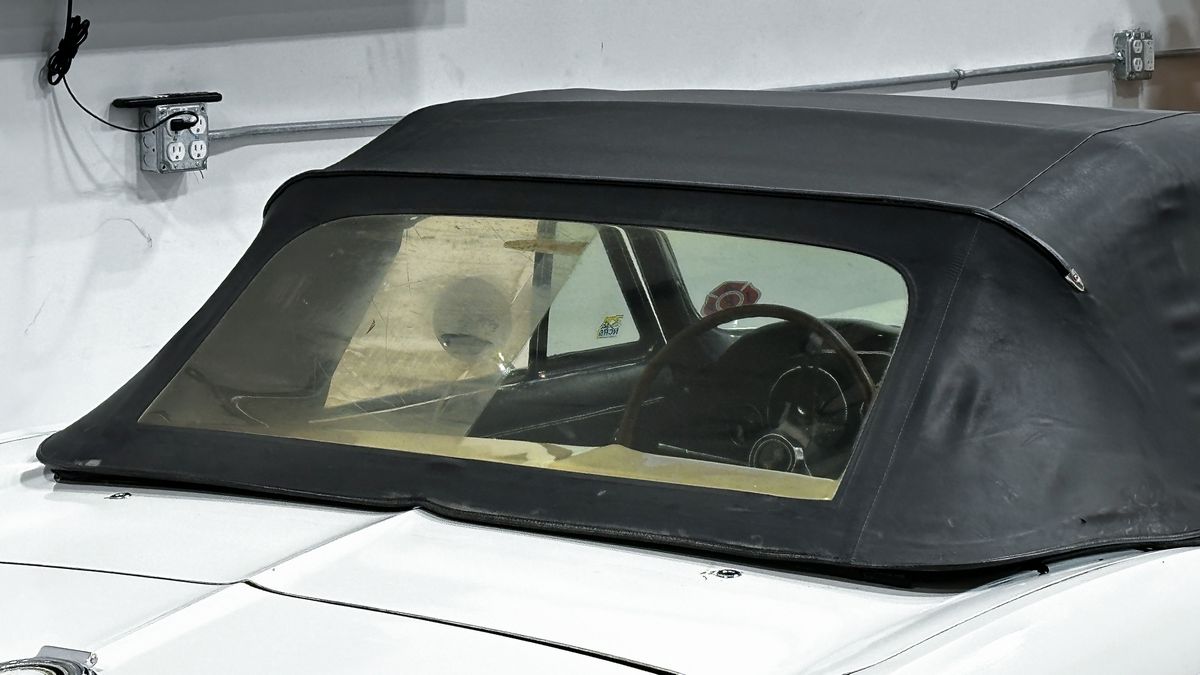
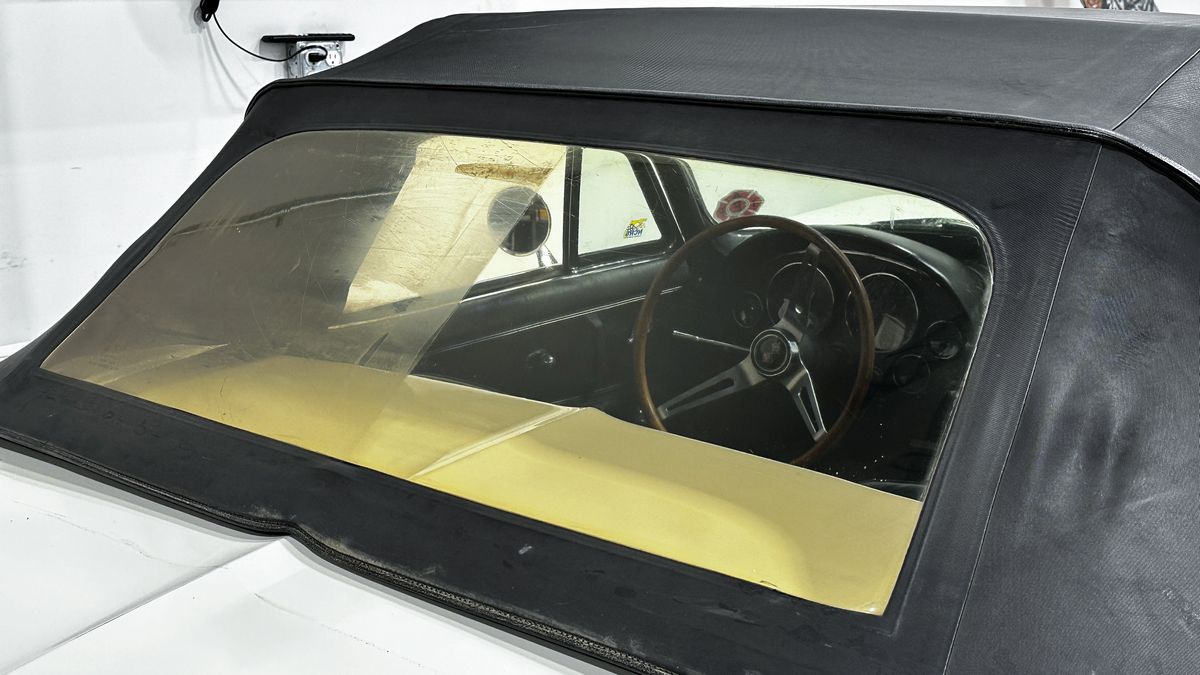
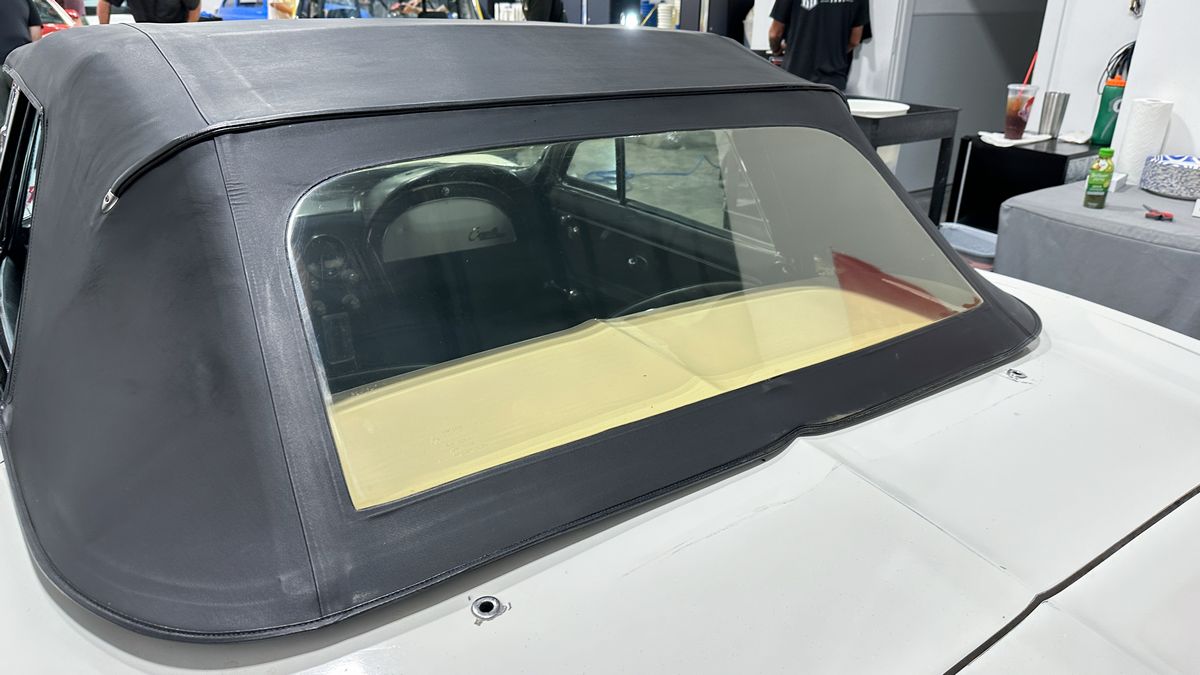
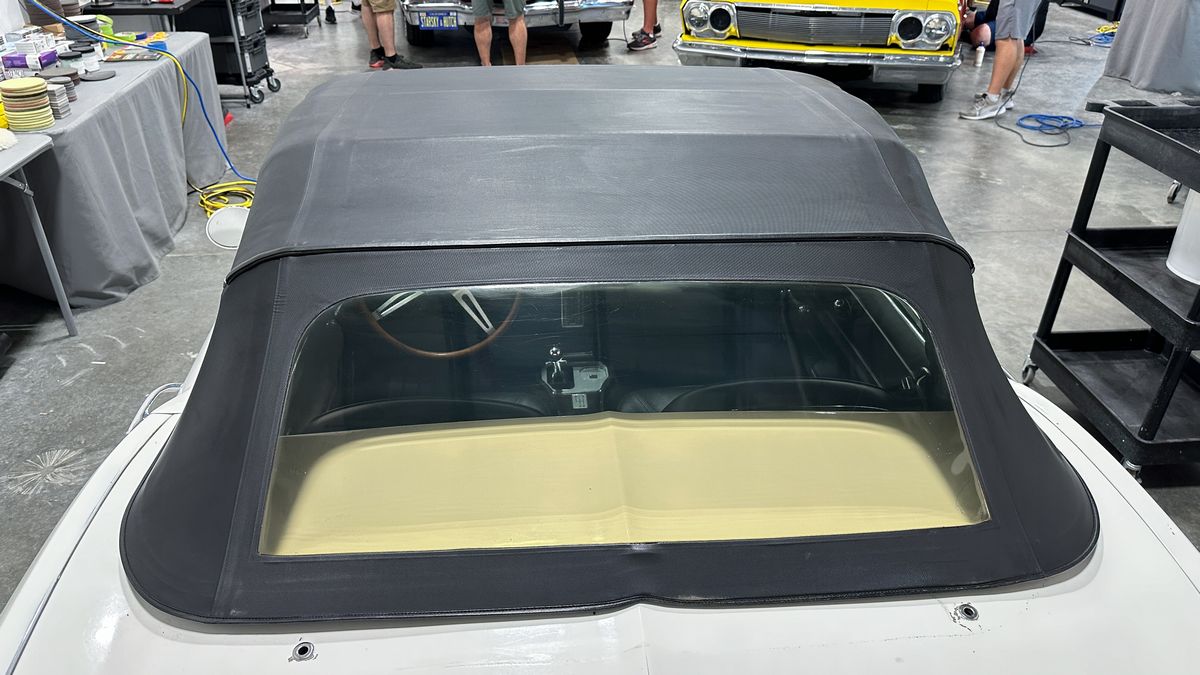
Pat much prefers to keep his classic Corvettes as close to original as possible. The first time he went to use the vinyl convertible top, that's when he noticed the flexible, plastic back window was horribly filled with swirls, scratches, stains and rub marks. Pat asked me if I could fix this? I said I can try, but no promises. Before the class started, I did some testing and dialed-in a process that would remove the majority of the TOPICAL defects. This means the swirls, scratches, stains and rub marks AND of course, some of the plastic material itself, which has turned a brownish cover over the last 60 years.
I'm happy to say, while we couldn't restore perfect clarity to the plastic window because the color change has affect the INNER portion of the plastic, which of course, no one can fix. But Pat was super happy with the results because not only would the window be safer to look through, especially at night, but it also added more beauty to the overall look of this classic Plastic Fantastic.
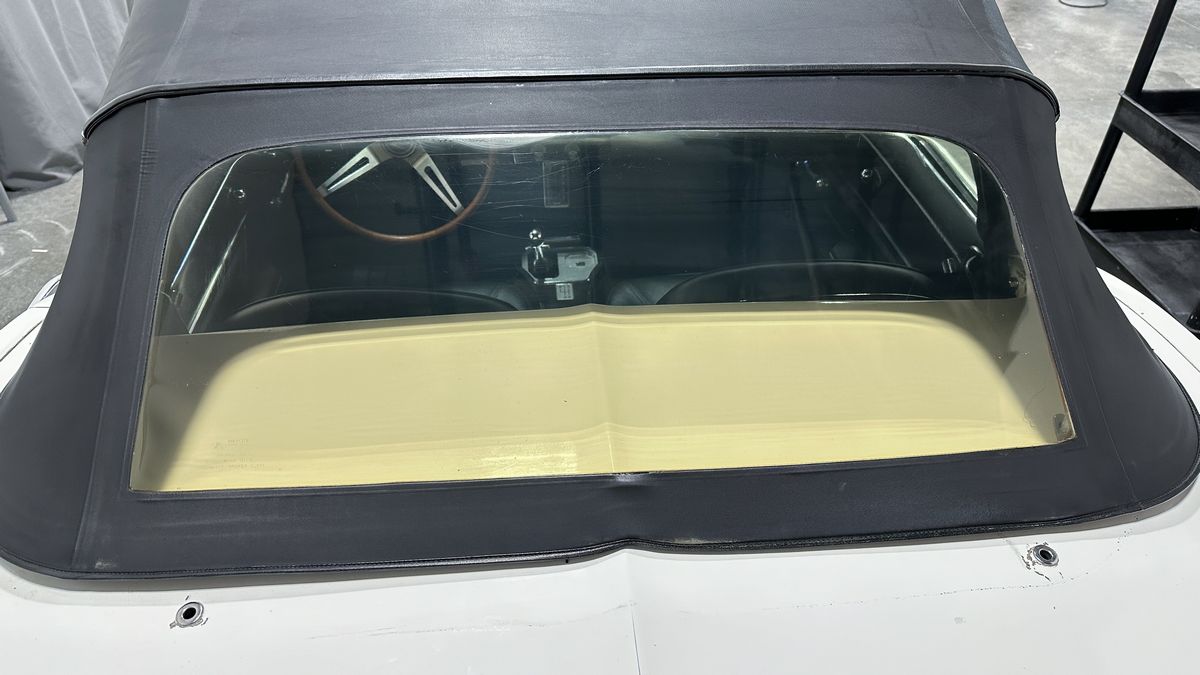
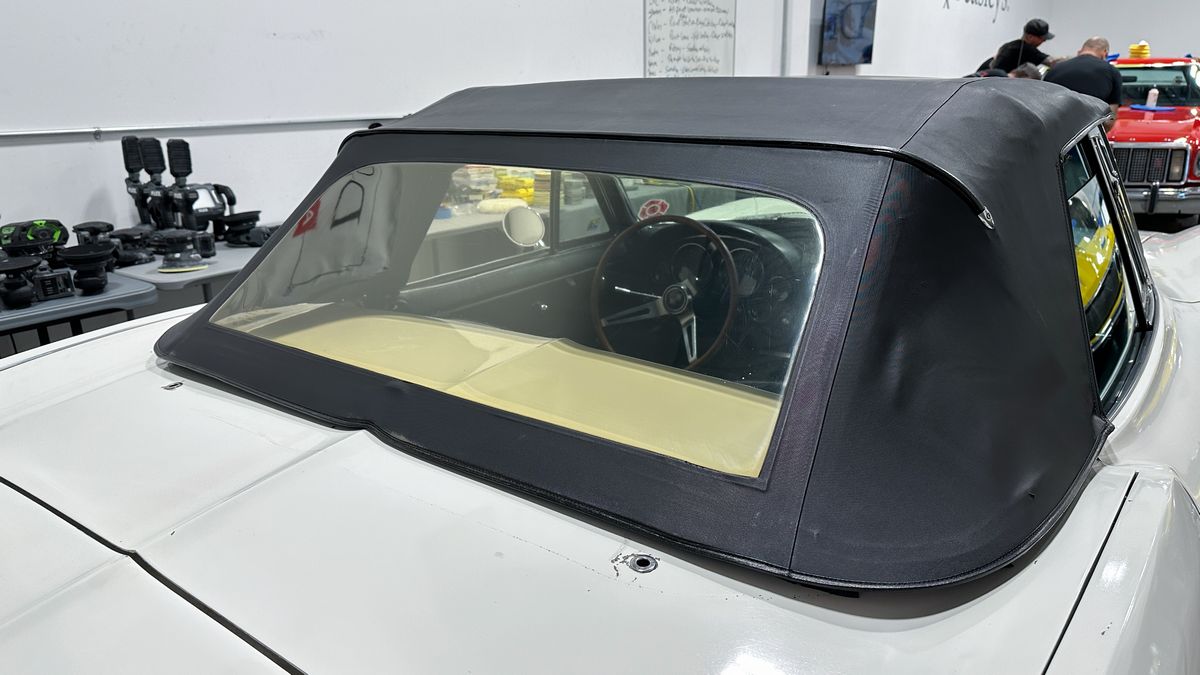
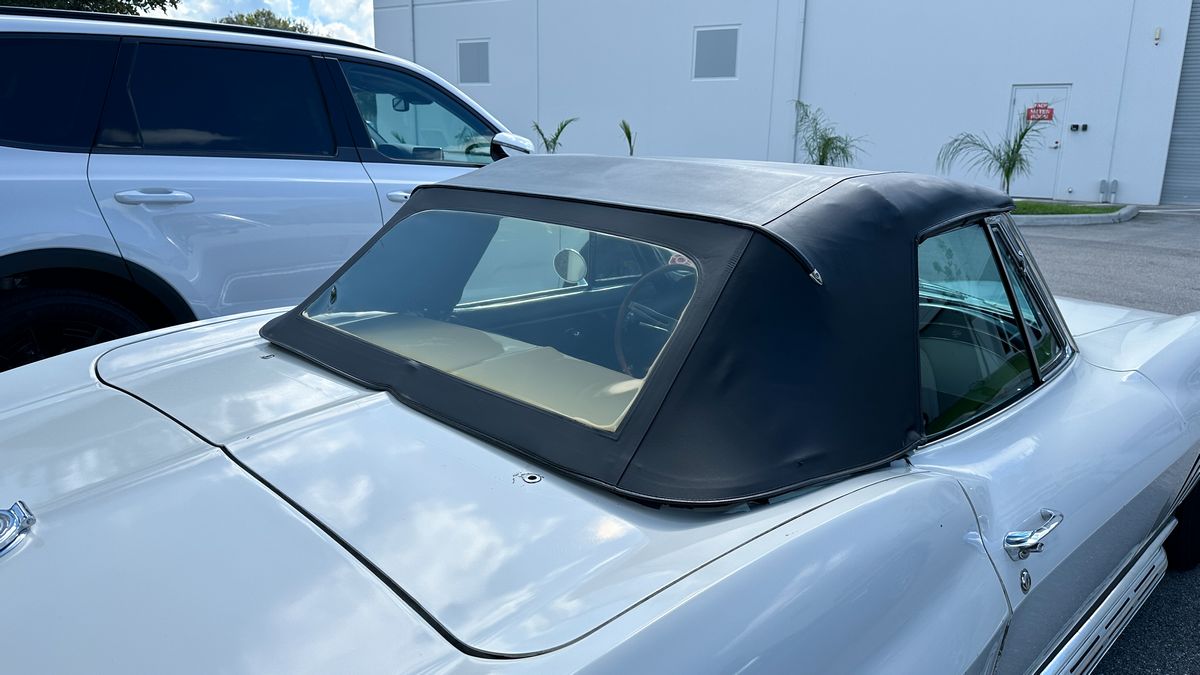
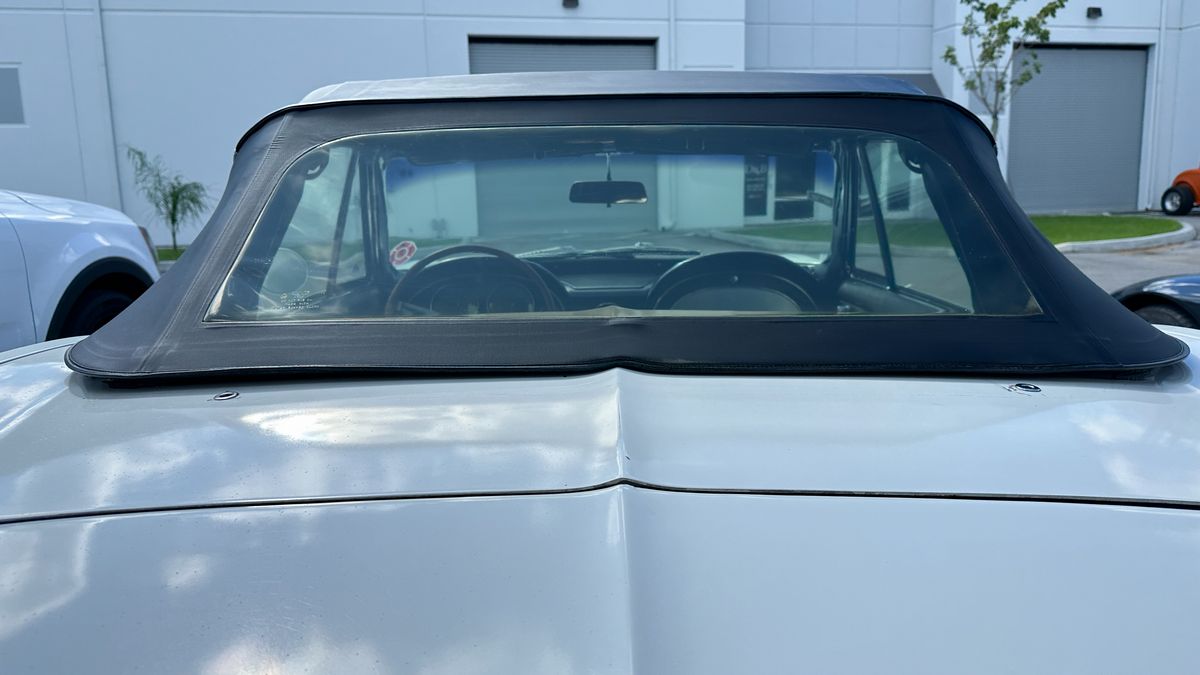
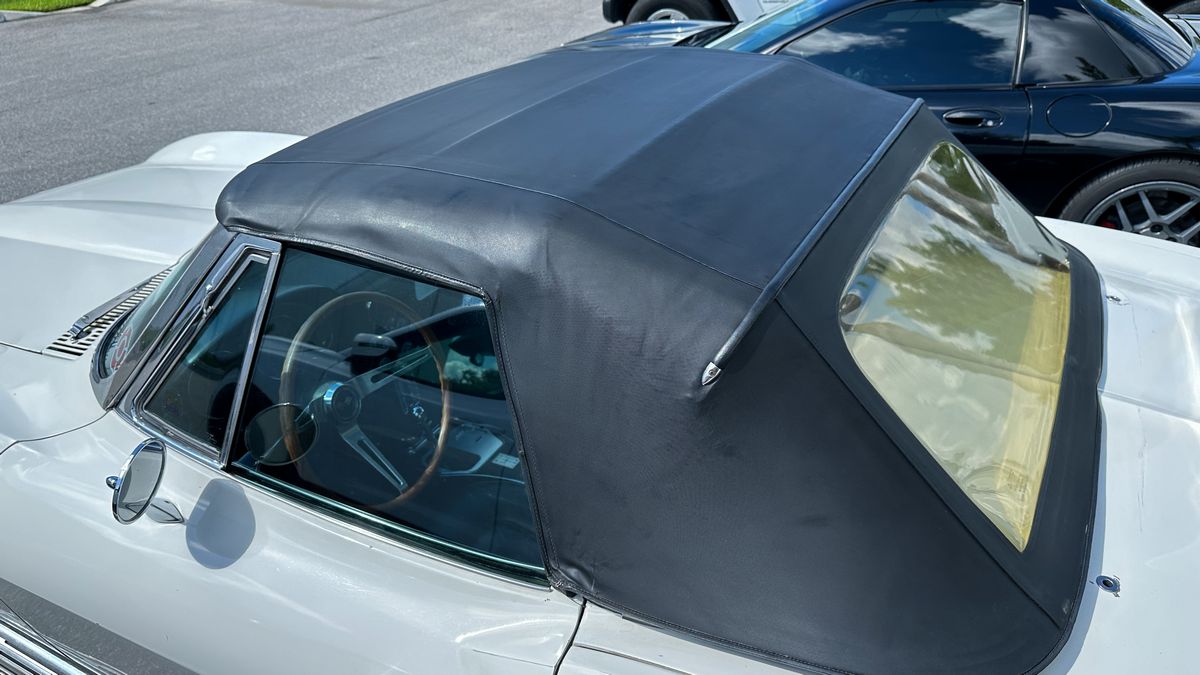
Here's the original pictures Pat sent me after putting the soft top up for the first time since he purchased this Corvette.
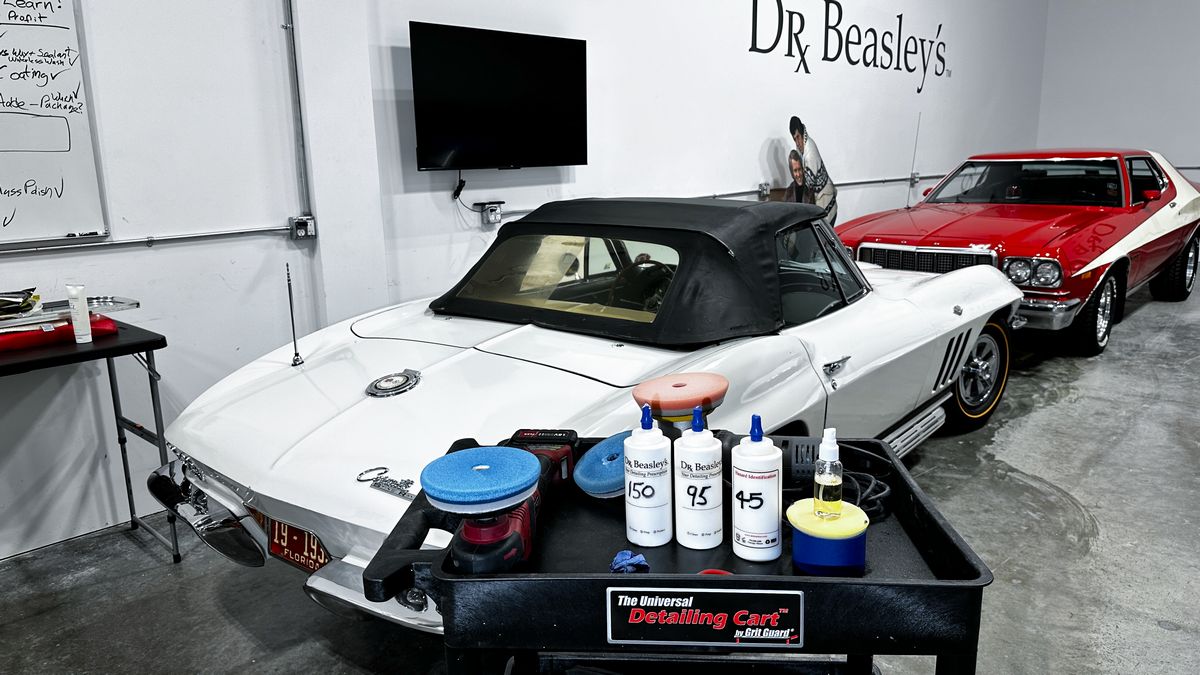
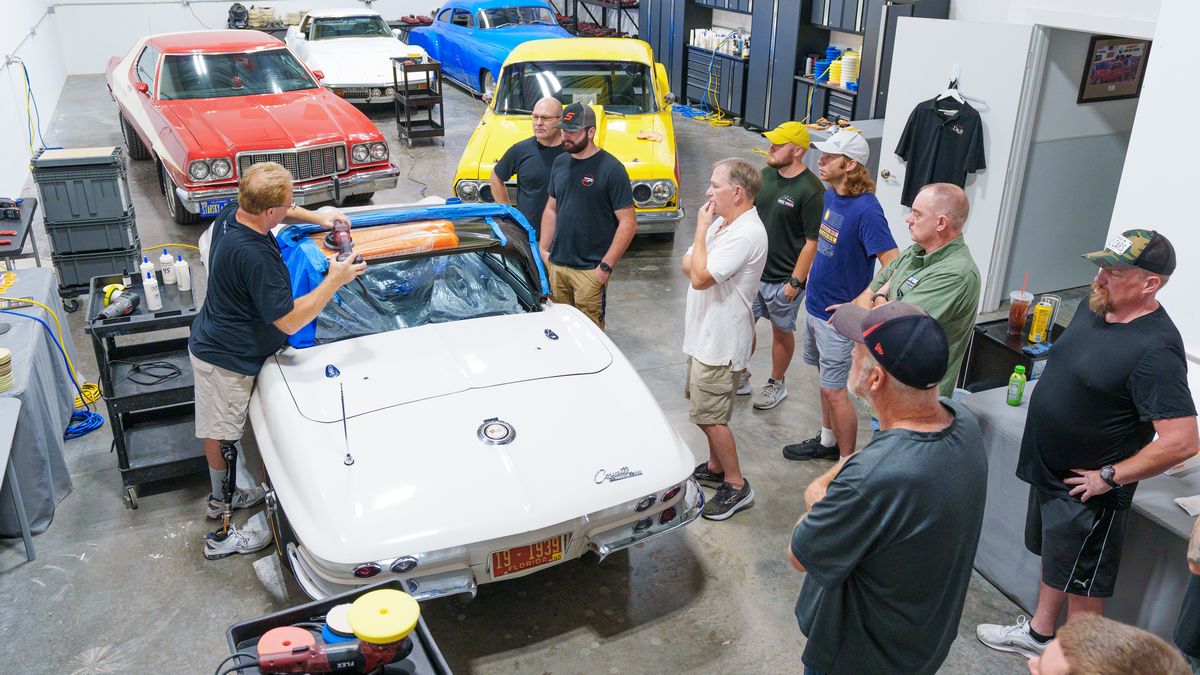
Fast Forward to the Day Before Class Starts
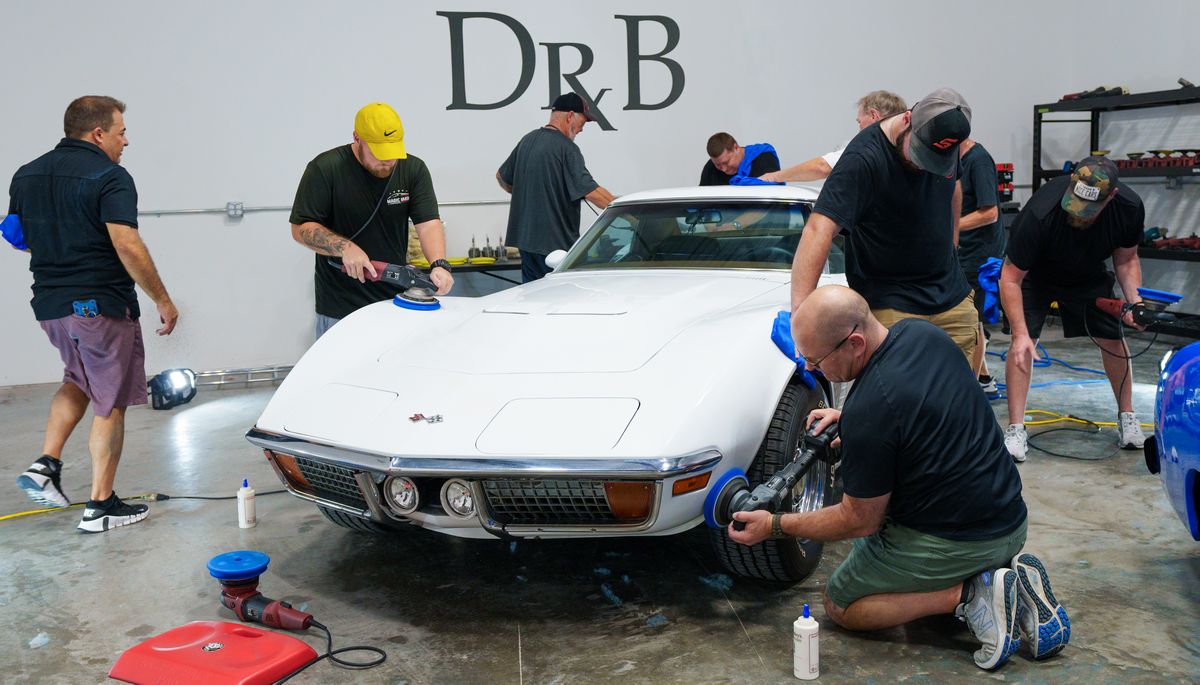
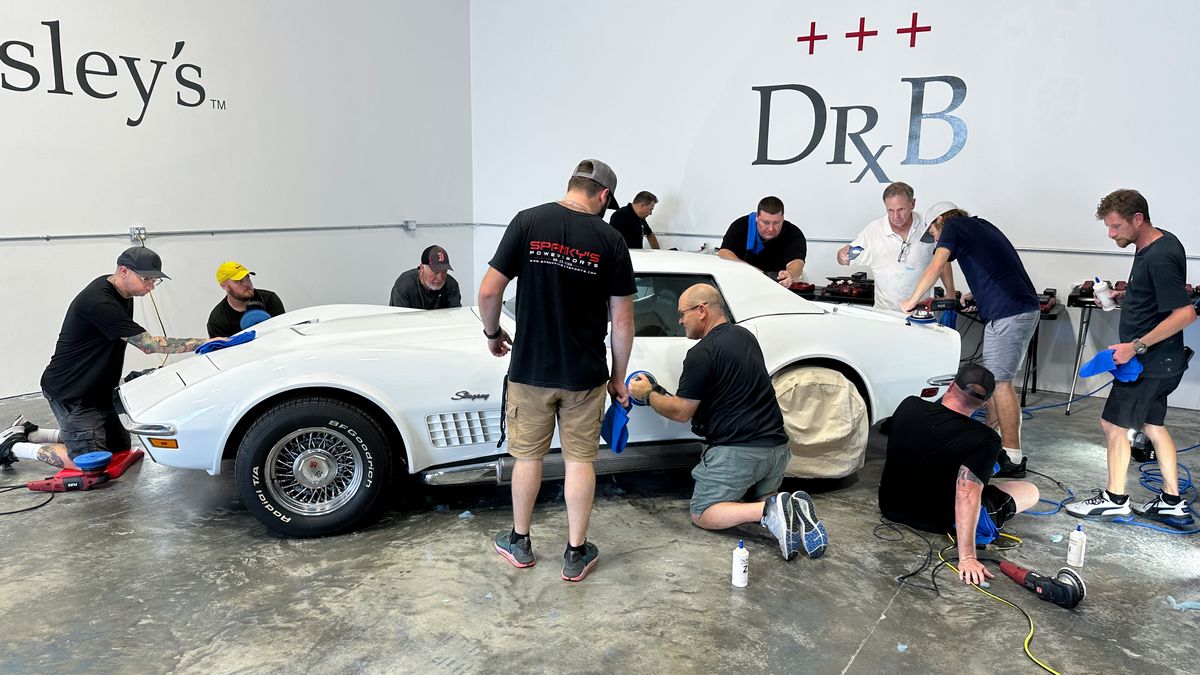
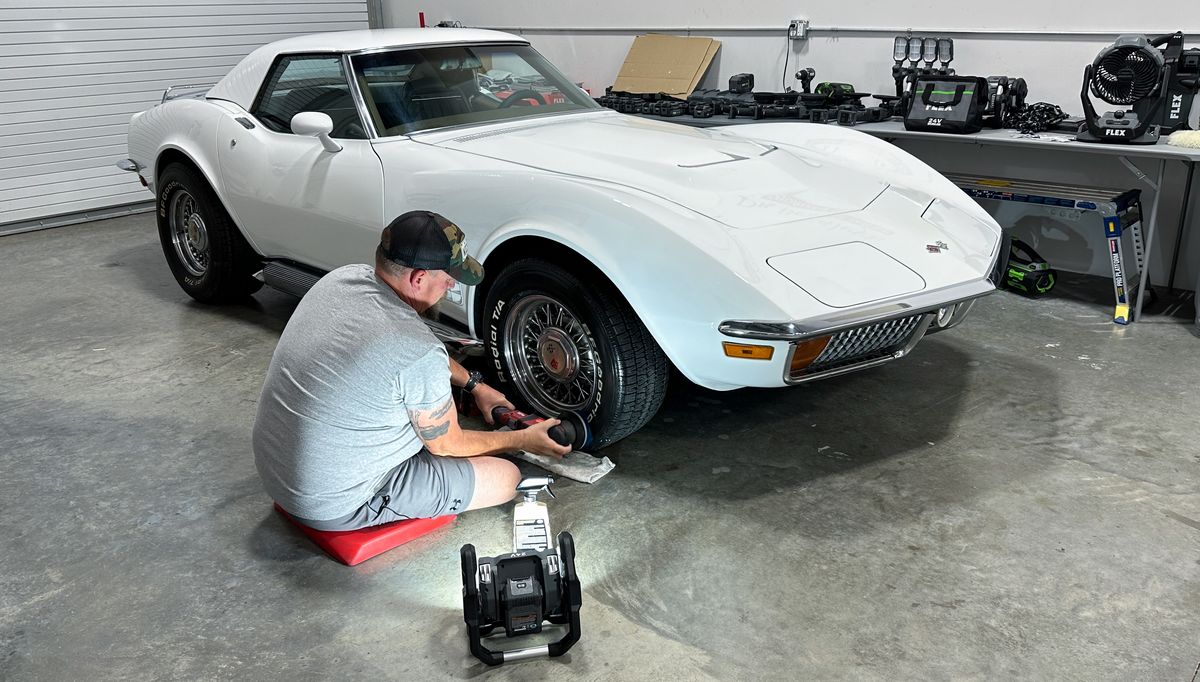
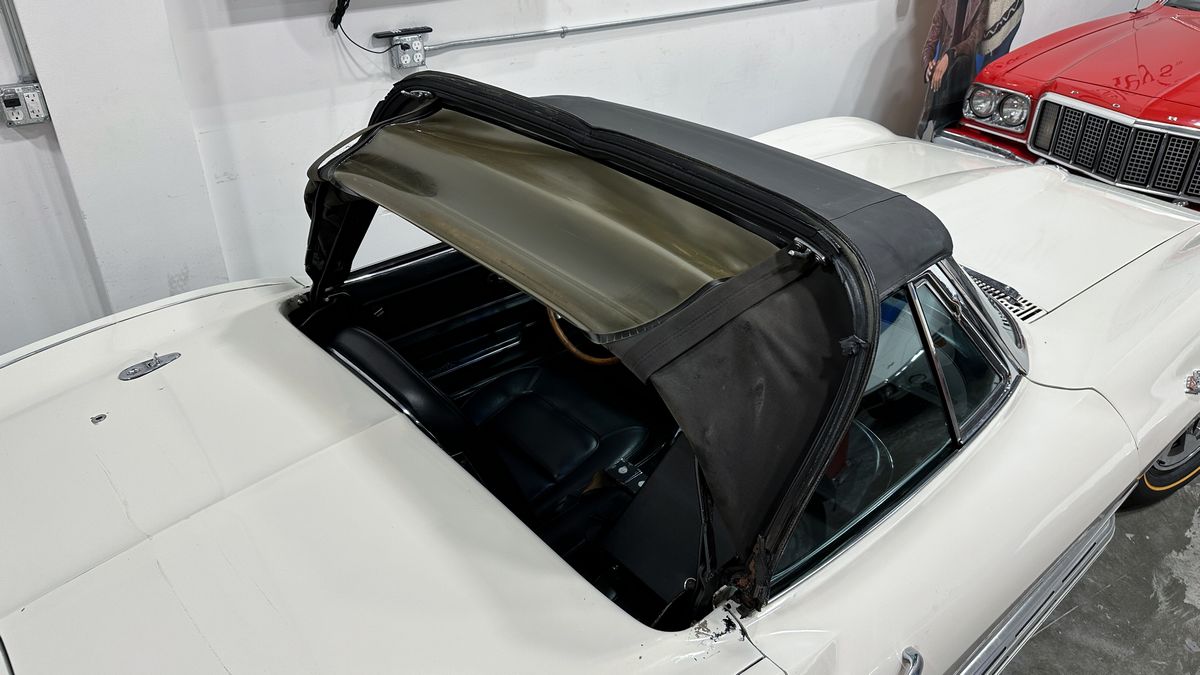
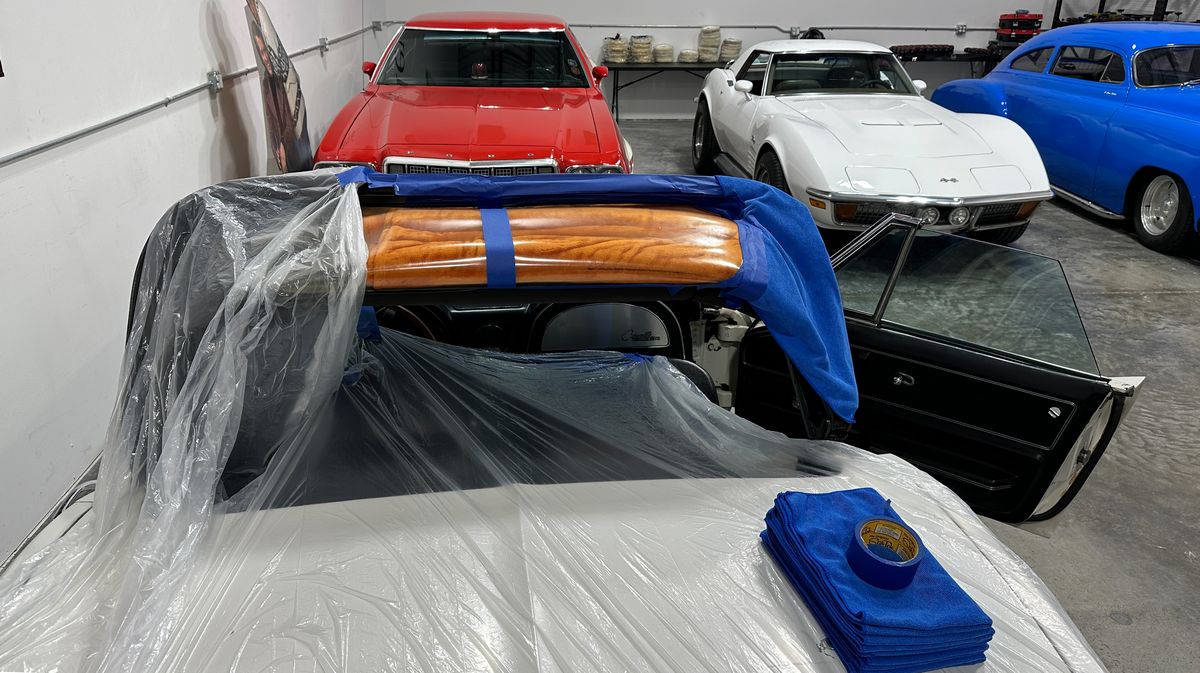
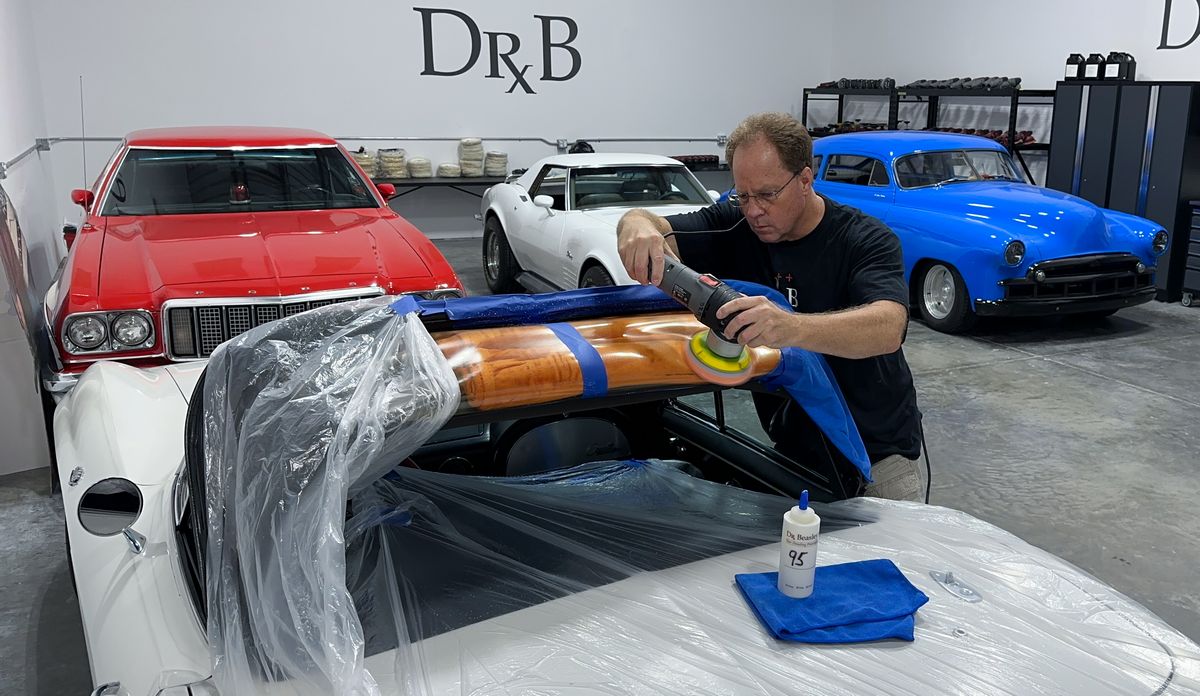
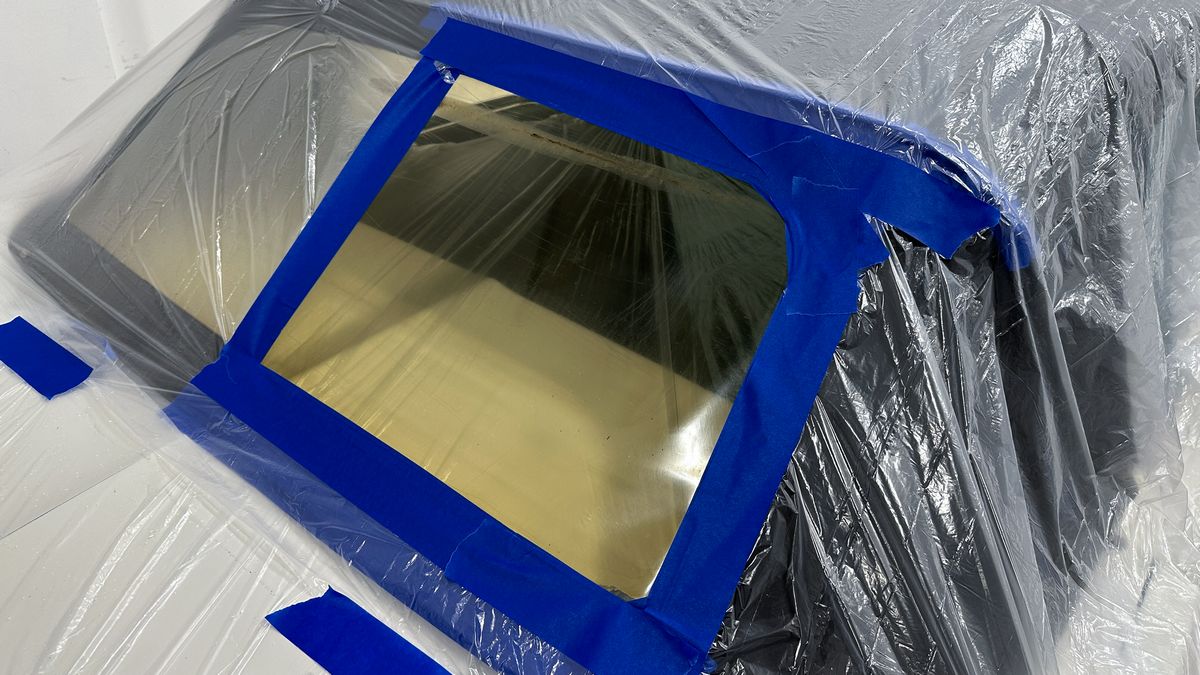
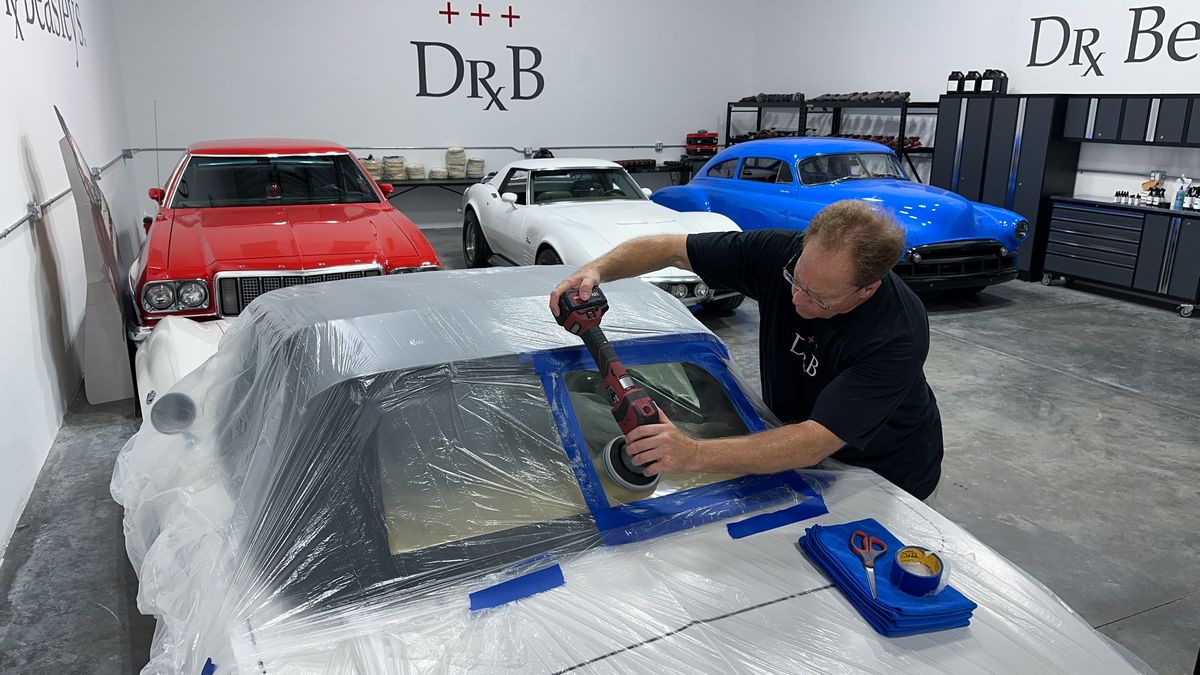
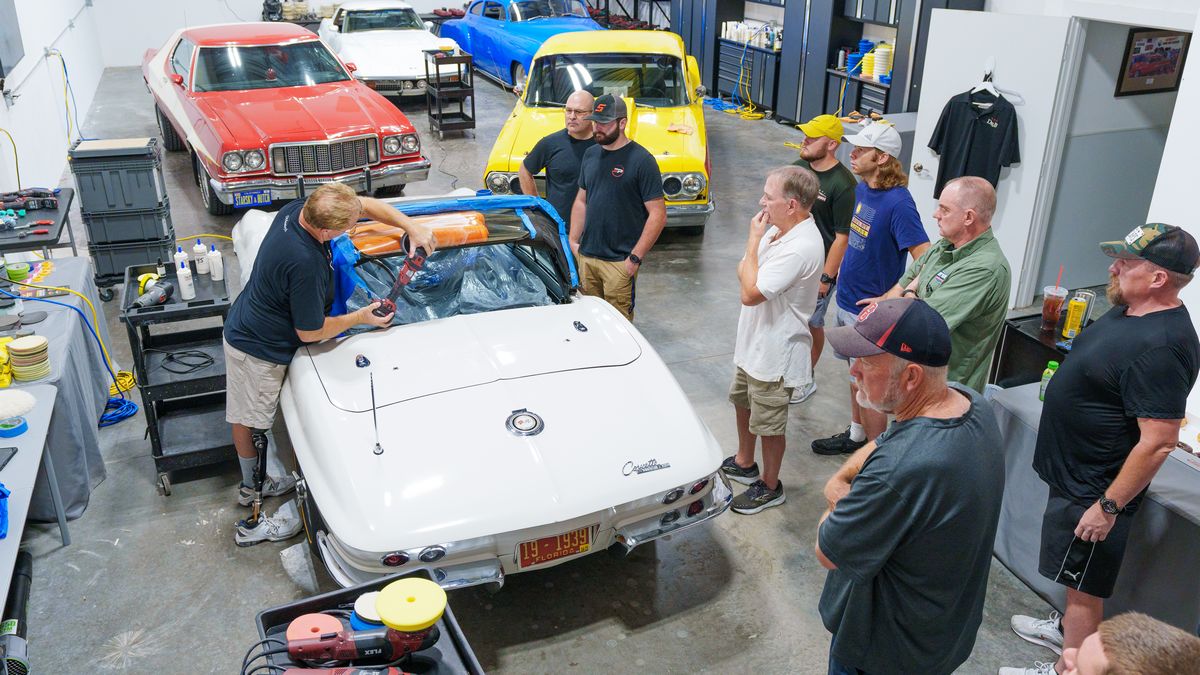
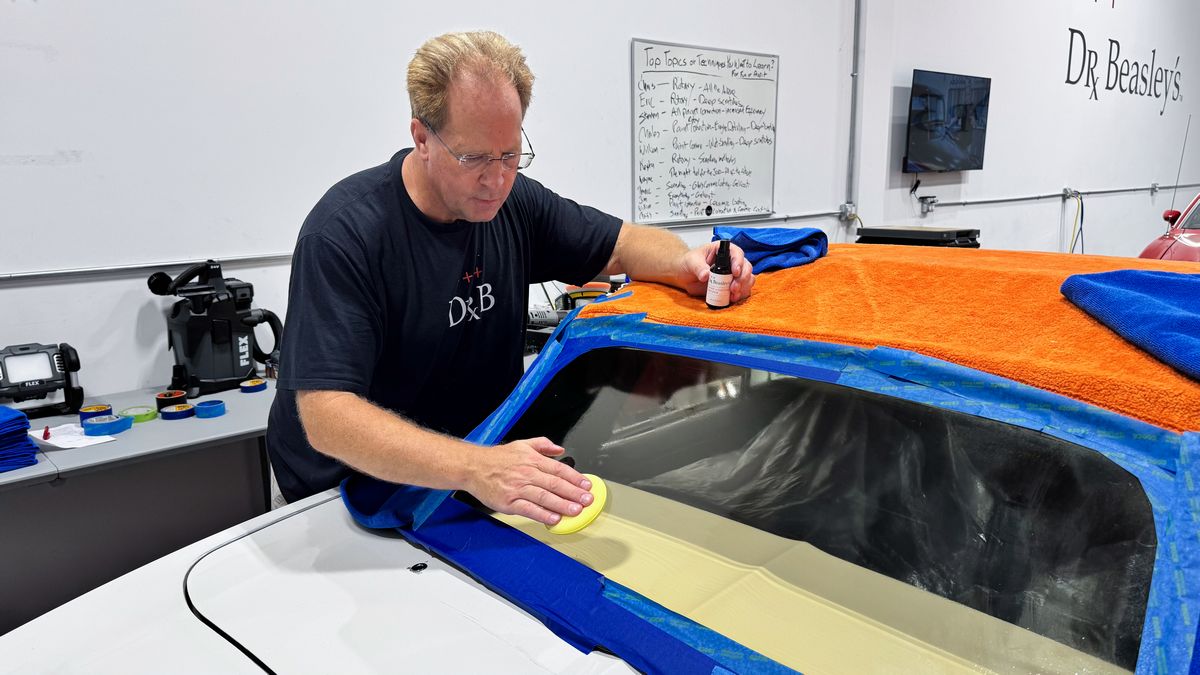
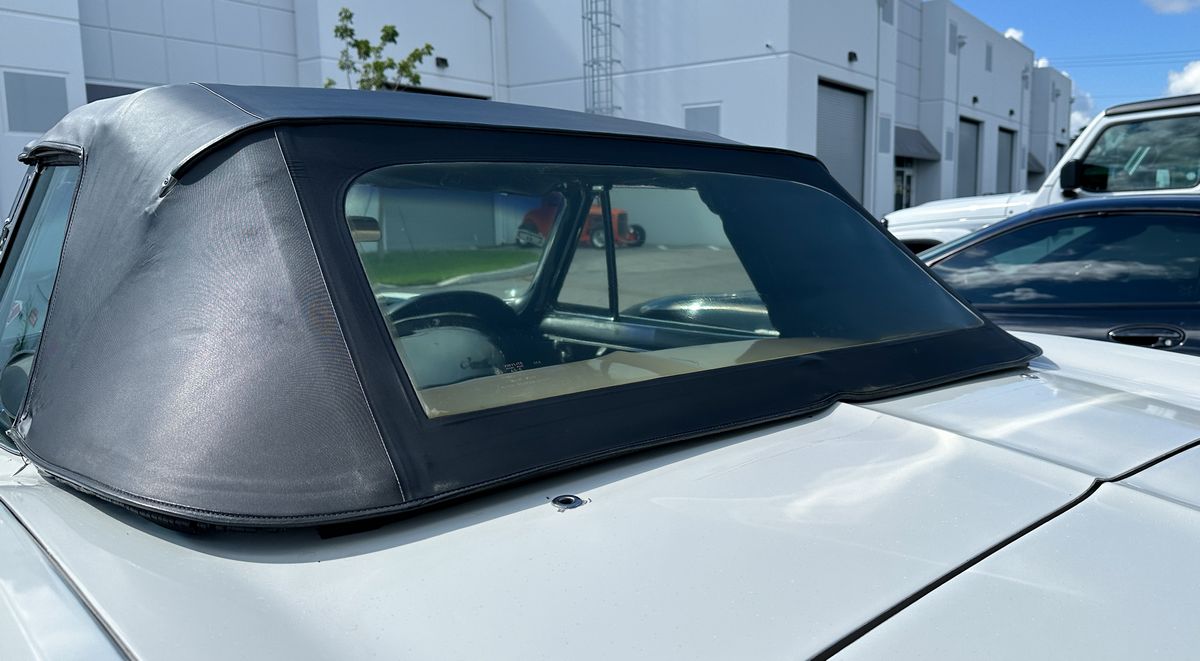
Here's the Corvette in the Stuart, Florida detail training garage. In order to do this job the right way, I'll need to buff both sides of the plastic window and experience has taught me to start with the inside portion of the window. I found I could pull the top over itself so I can get to the plastic via machine polishing.
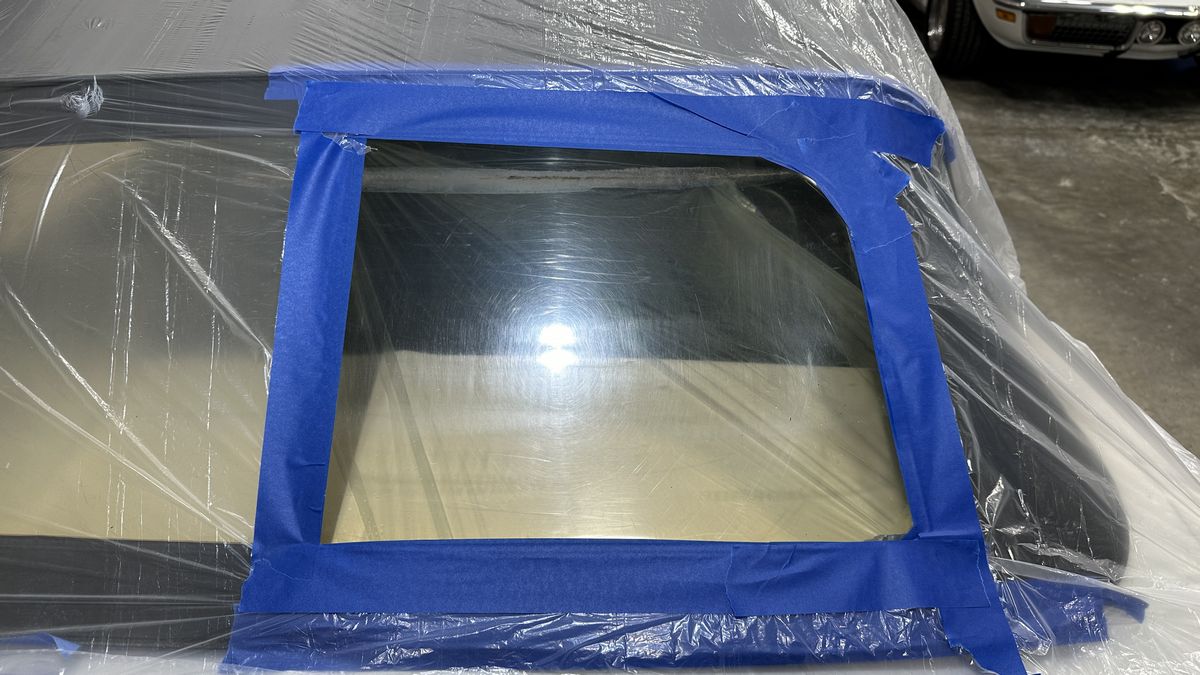
I need this flexible plastic window to be supported in some way that it's as flat as possible in order to safely and also efficiently machine buff.
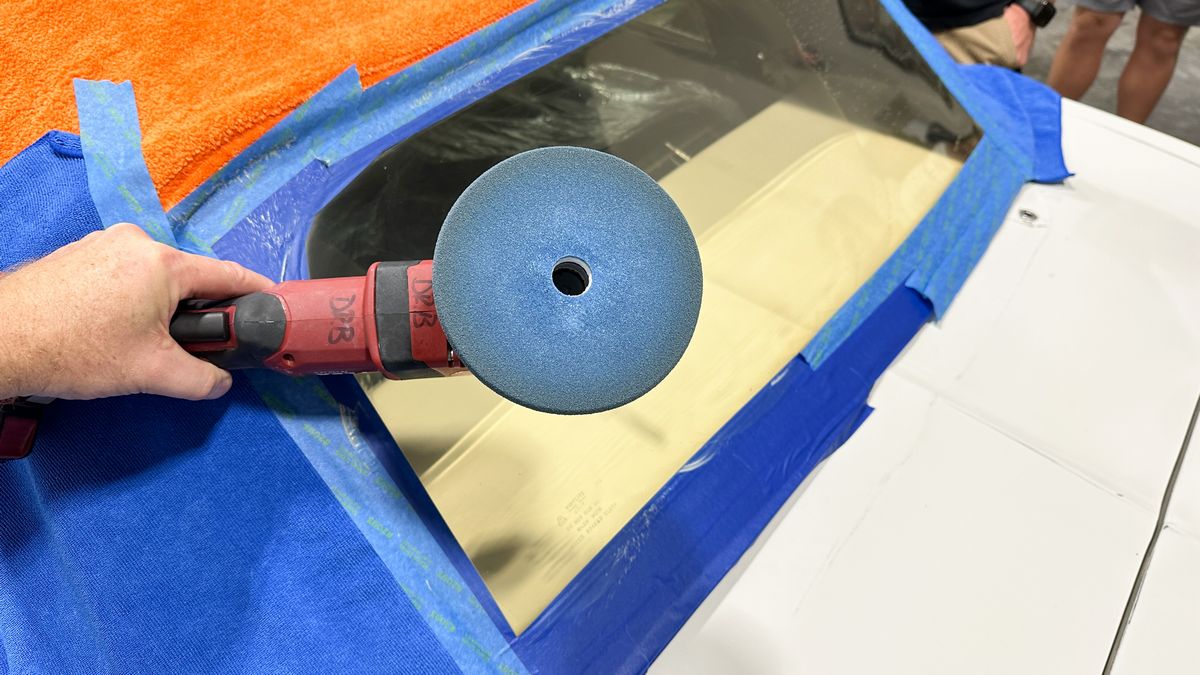
Soft, Fuzzy Orange Blanket
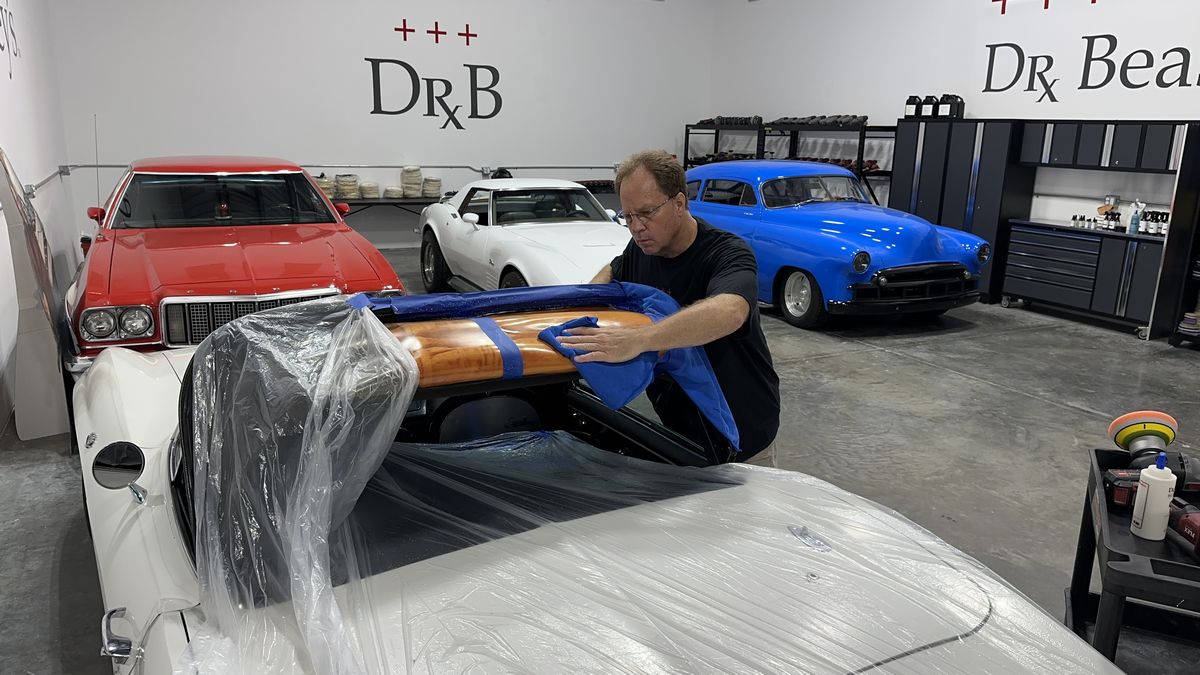
Over the years, many of you have seen me use this soft, fuzzy orange blanket for all types of detailing projects. Because it's soft, it won't scratch and becuase it's a large, thin blanket, after folding it a few times, I was able to get it under the plastic window and get the plastic window somewhat flat. At least flat enough to buff.
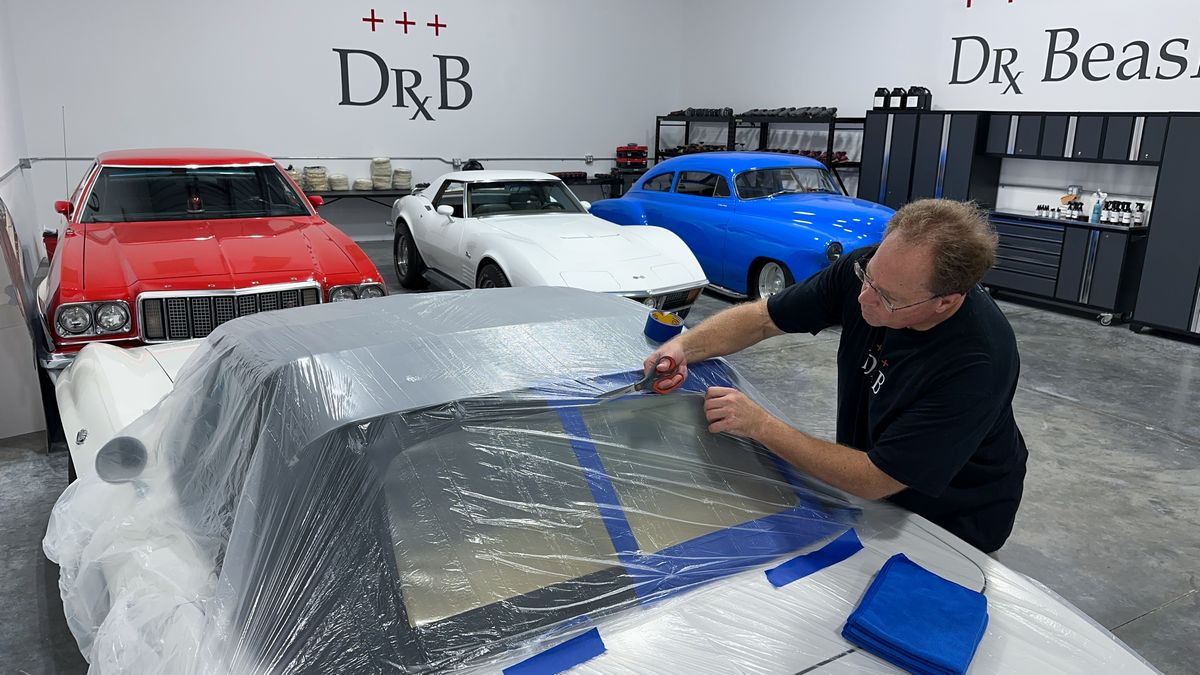
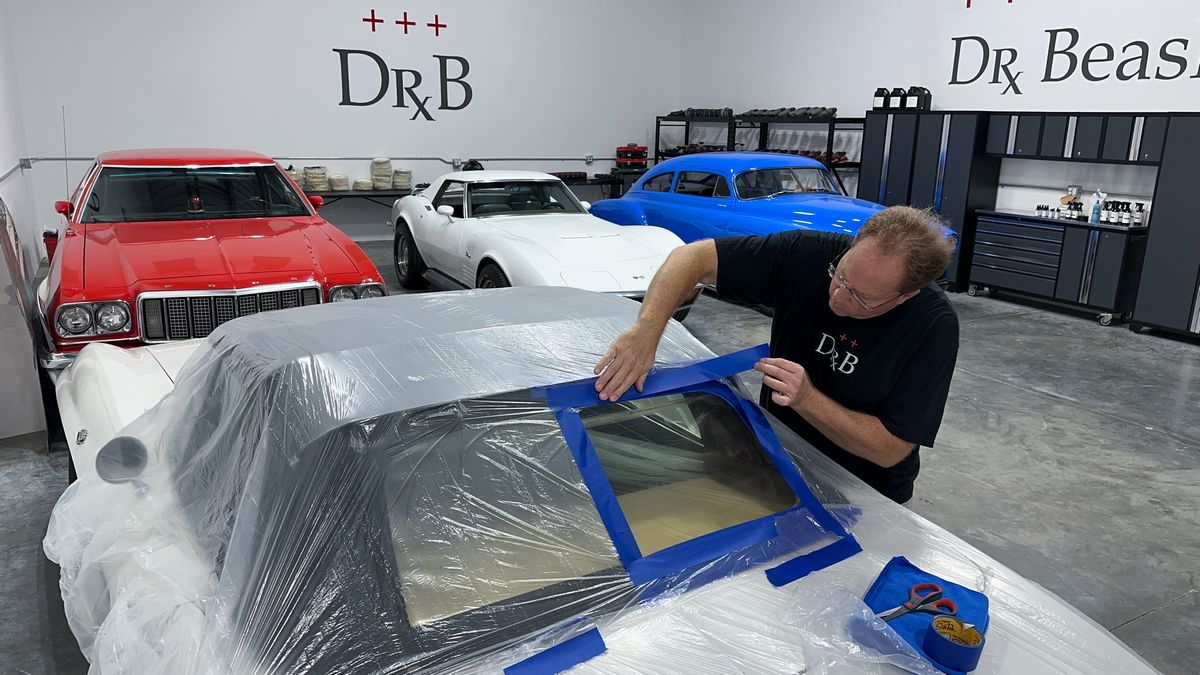
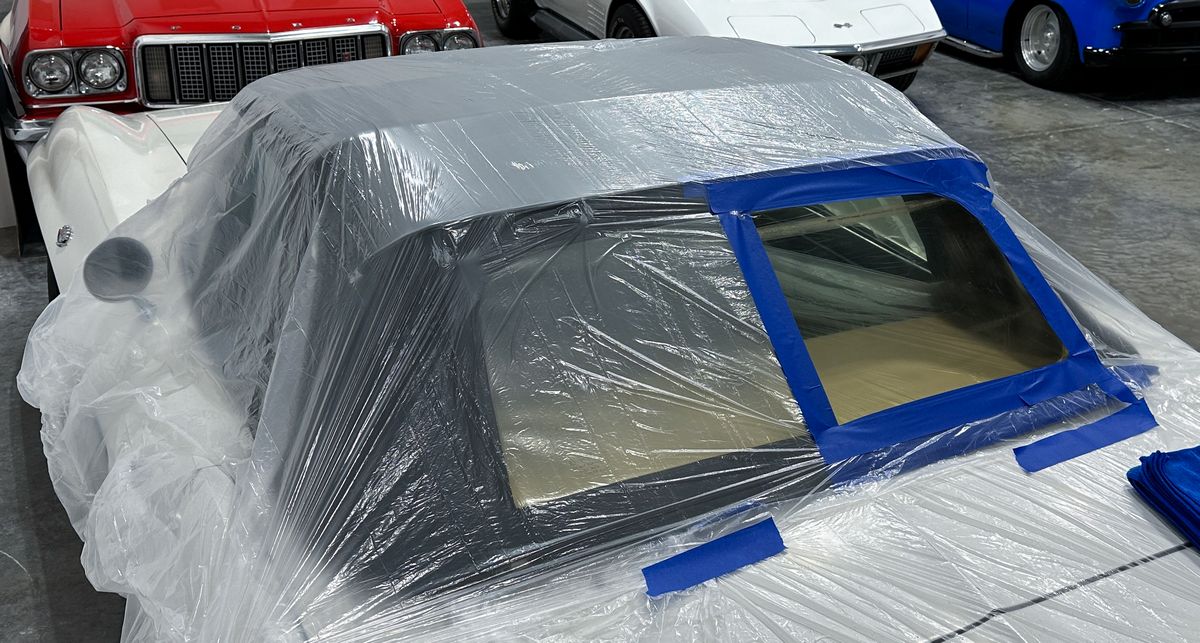
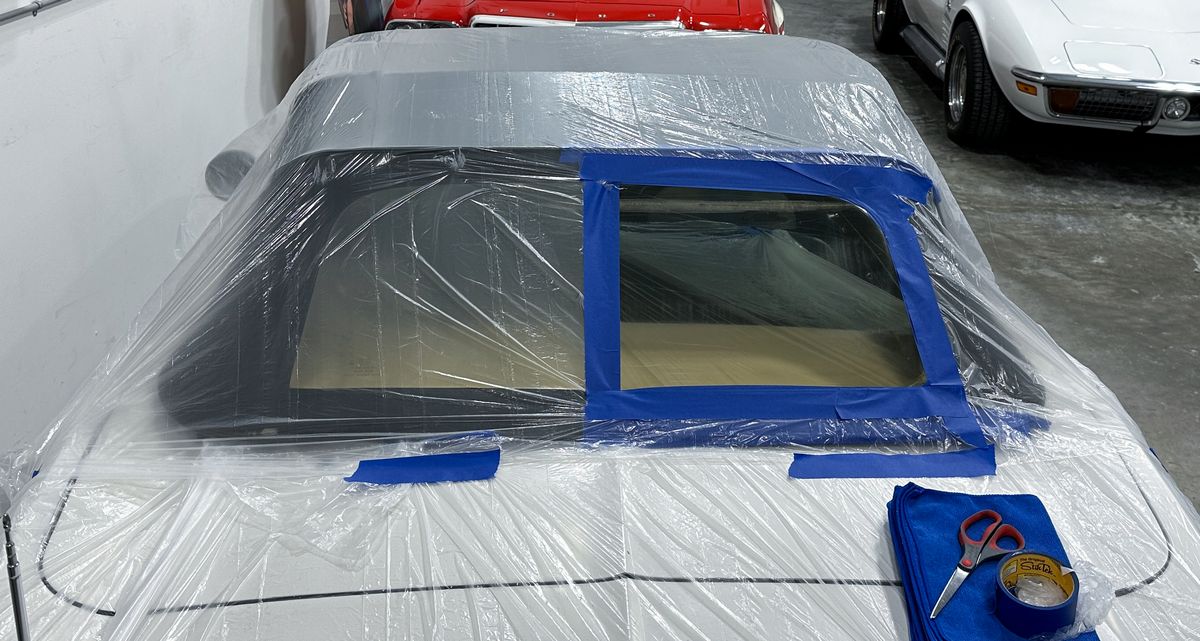
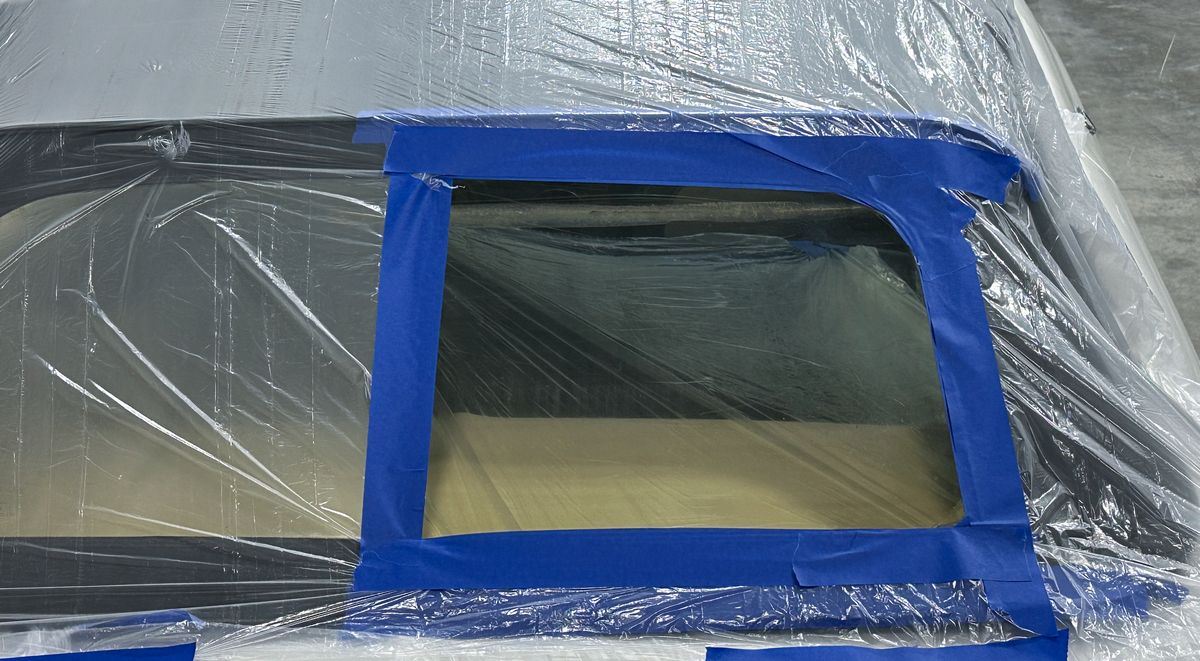
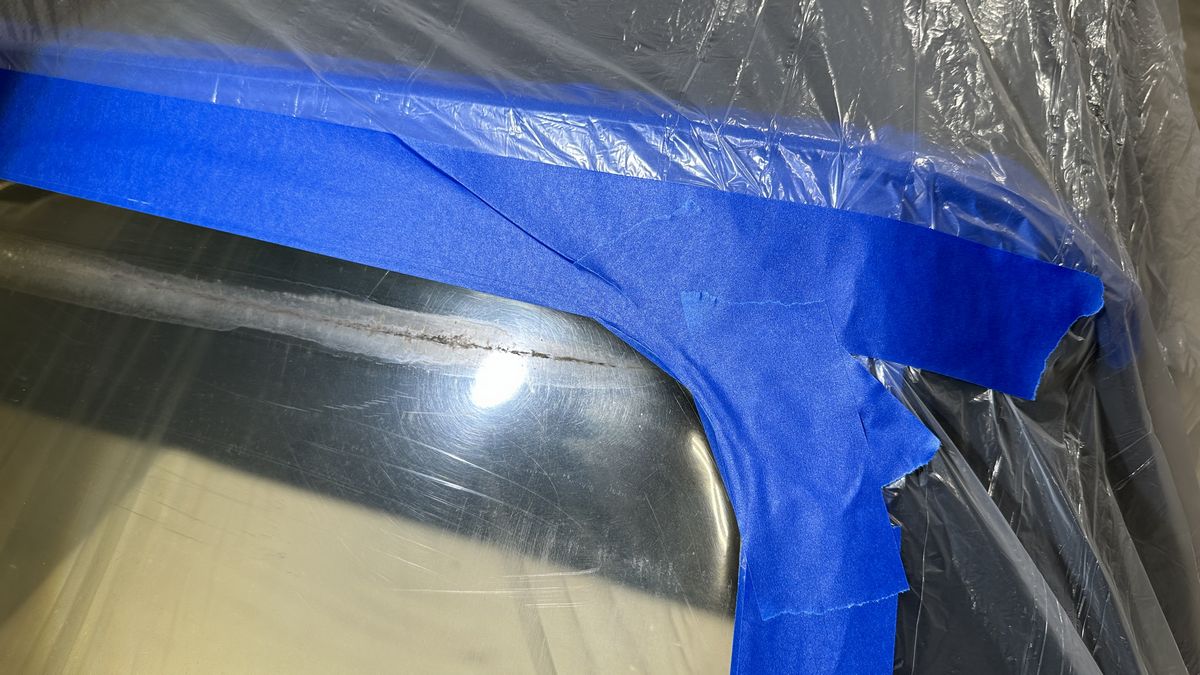
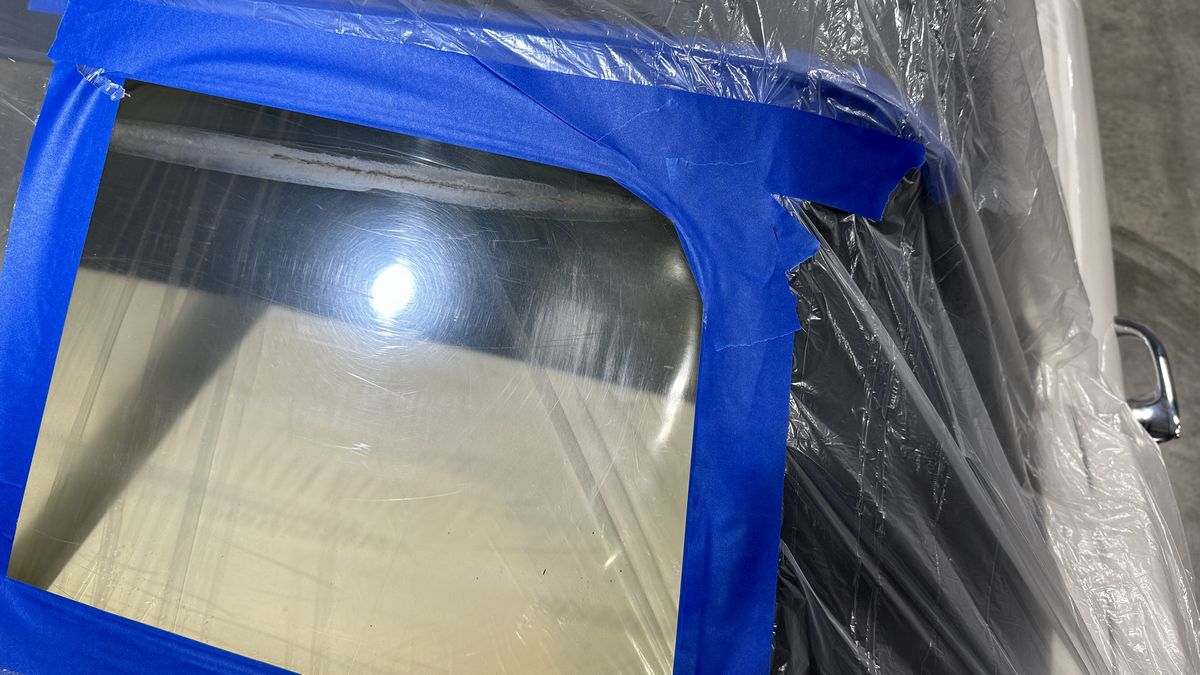
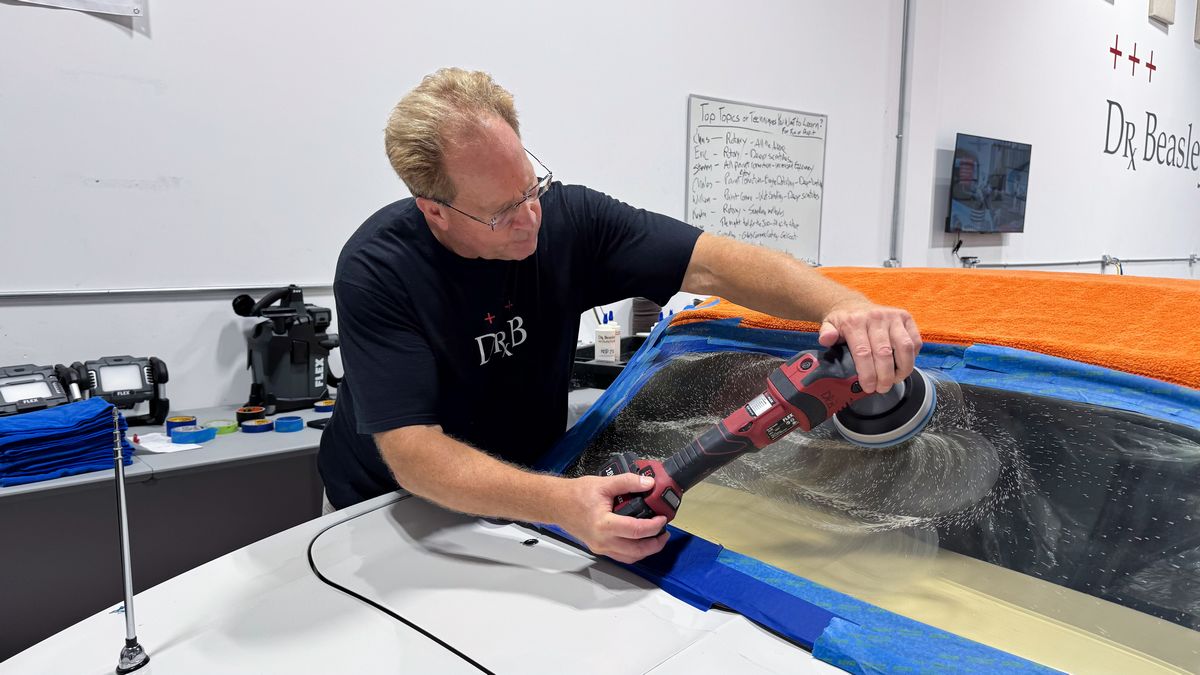
Because I'm going to start with a rotary polisher, which has a tendency to sling splatter dots all over the place, I needed to cover and protect both the outside and the interior using a plastic drop cloth.
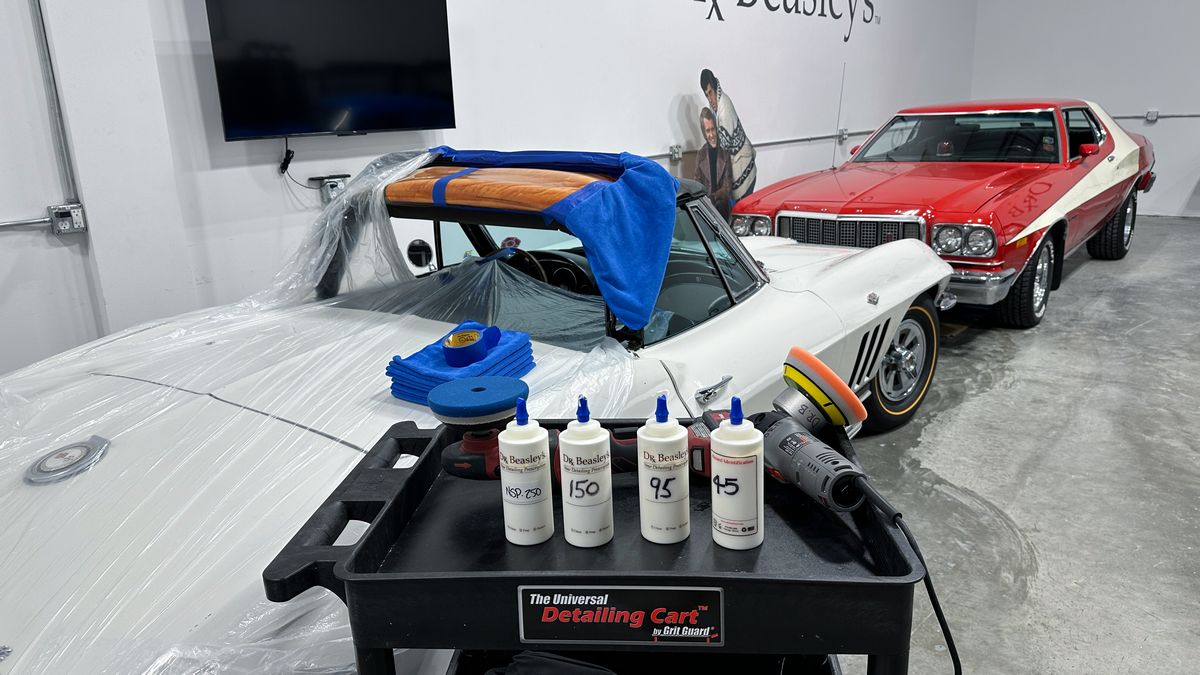
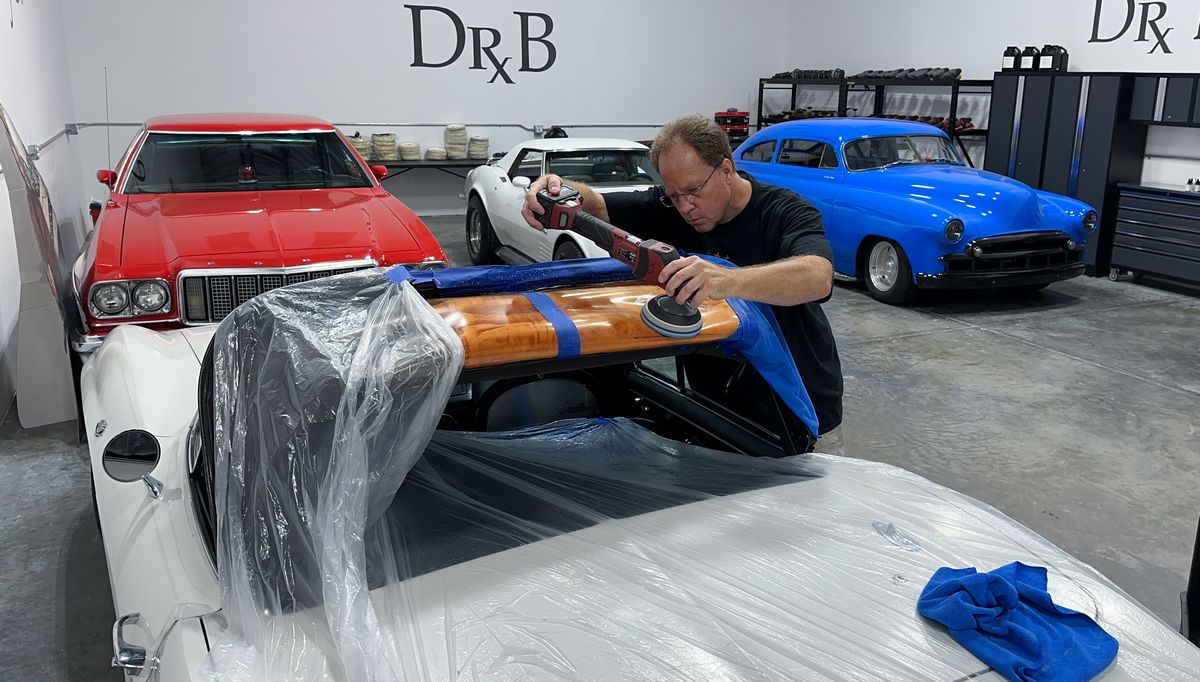
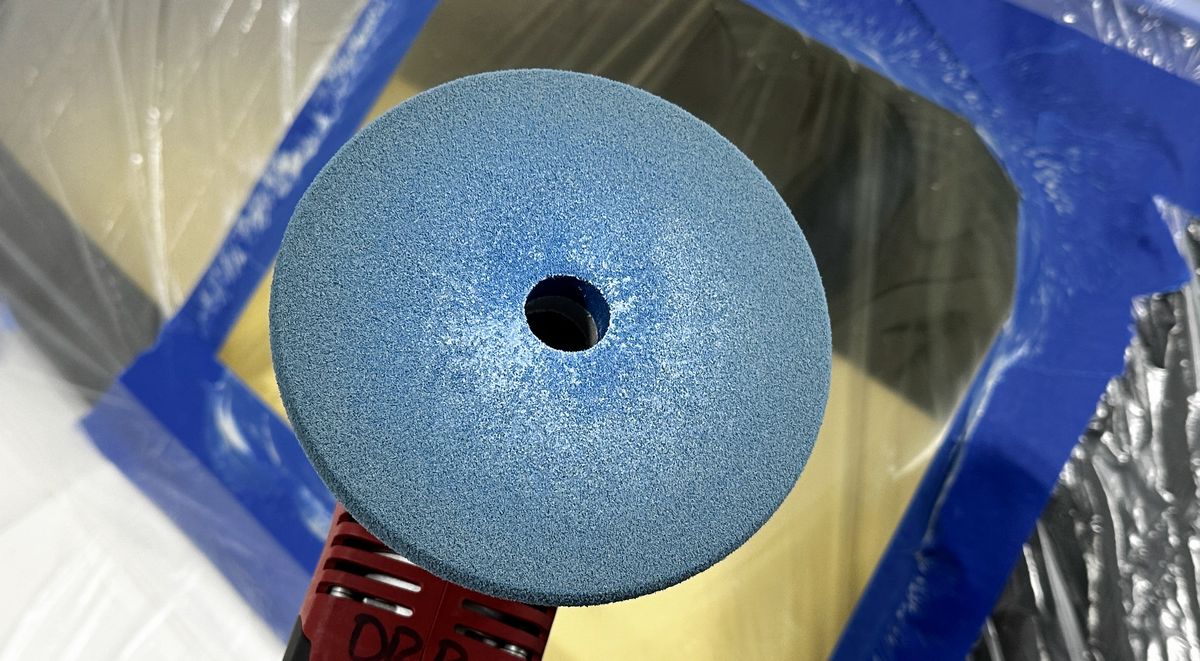
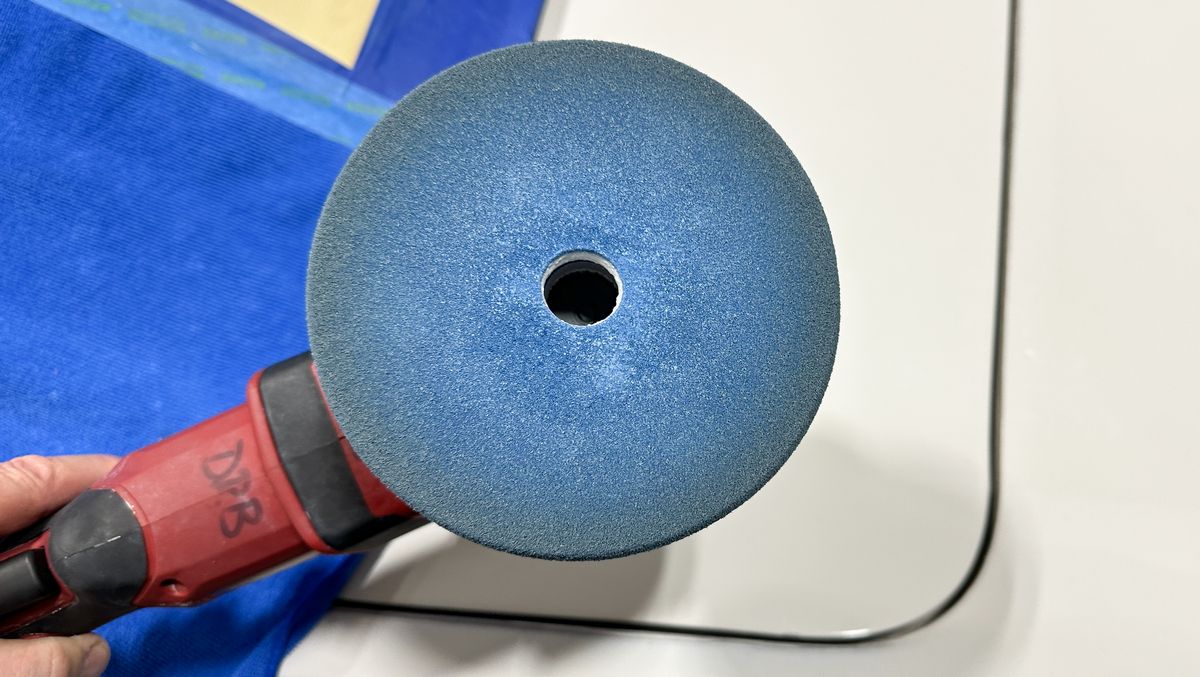
Step 1 - Machine polish with a rotary polisher and Dr. Beasley's NSP 250 Primer
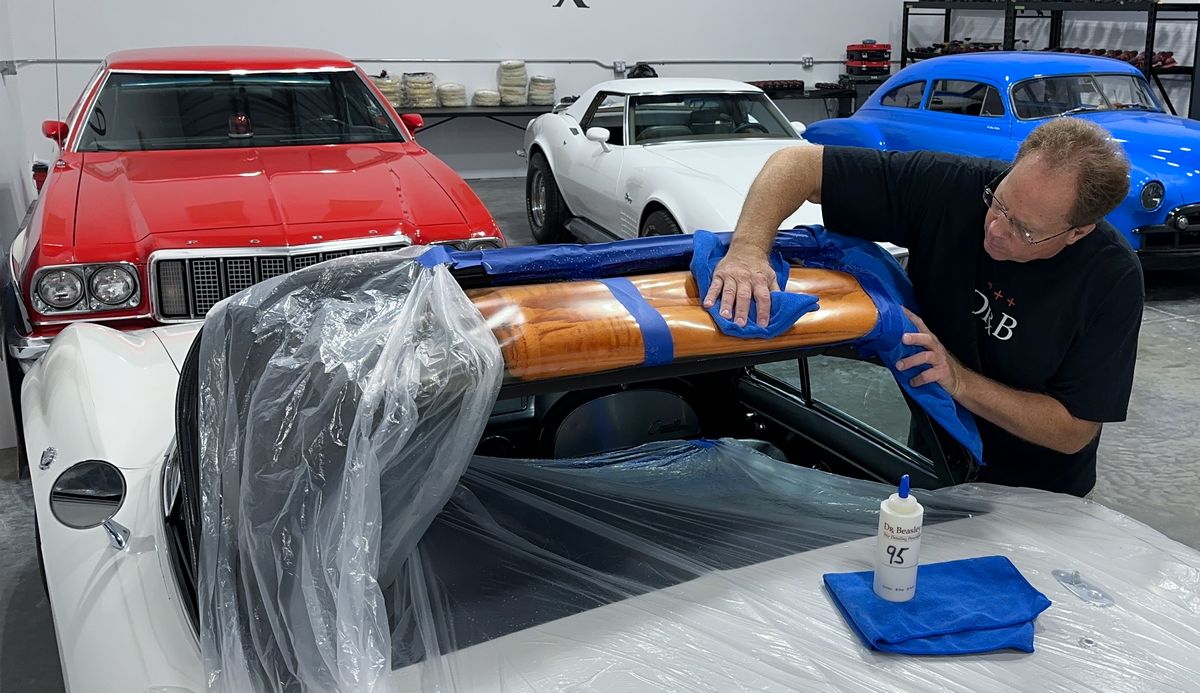
You have to be careful not to over buff and get the plastic hot or you're stretch or warp it. So slow and easy, with light pressure.
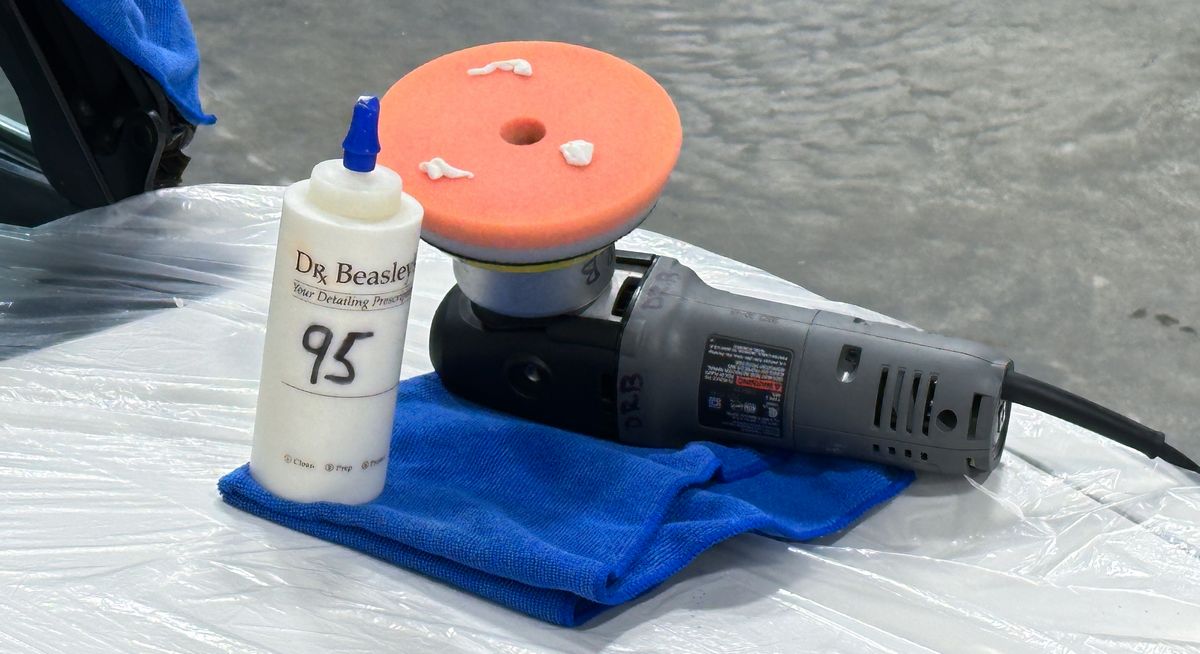
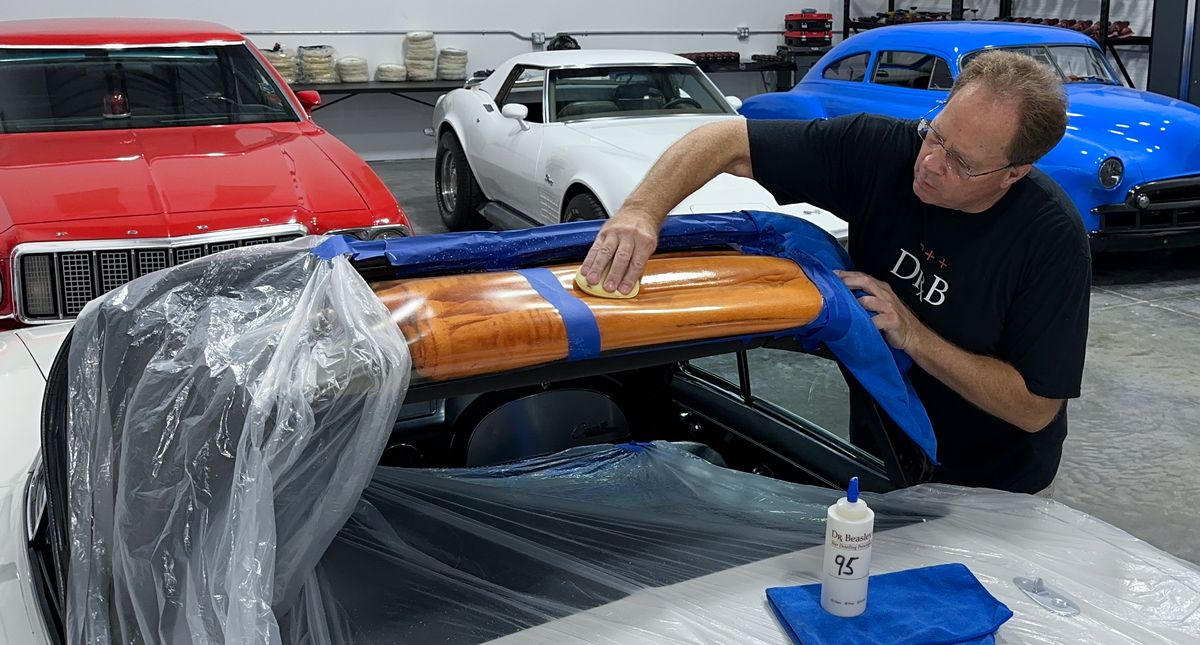
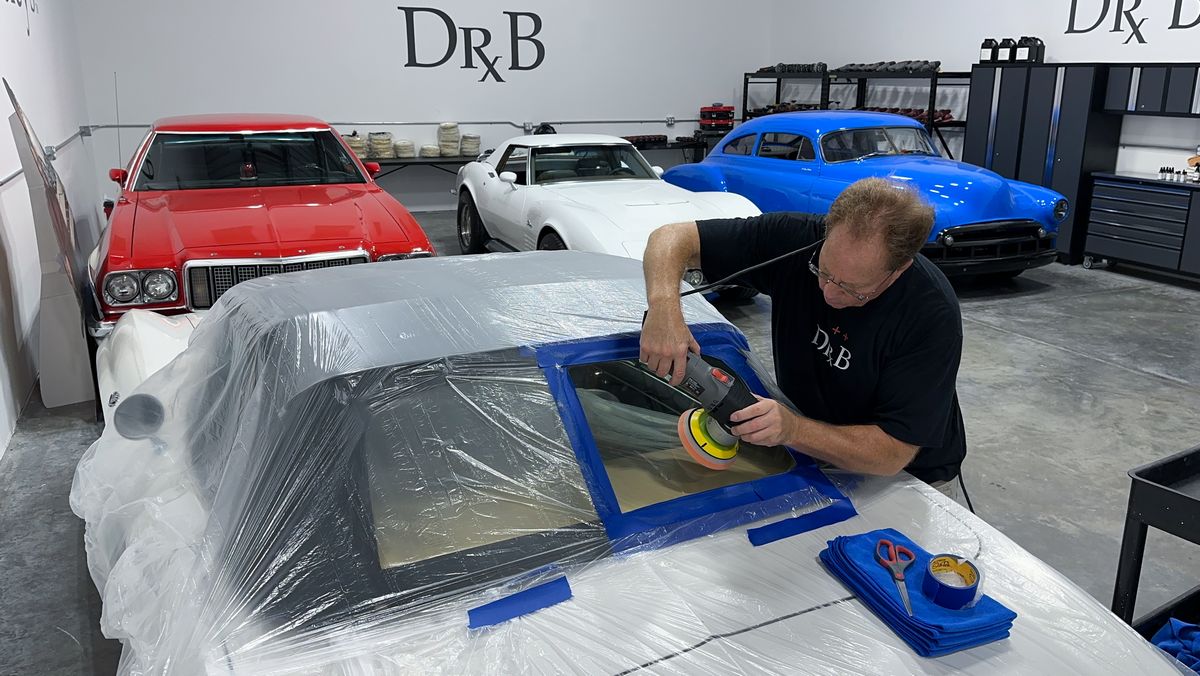
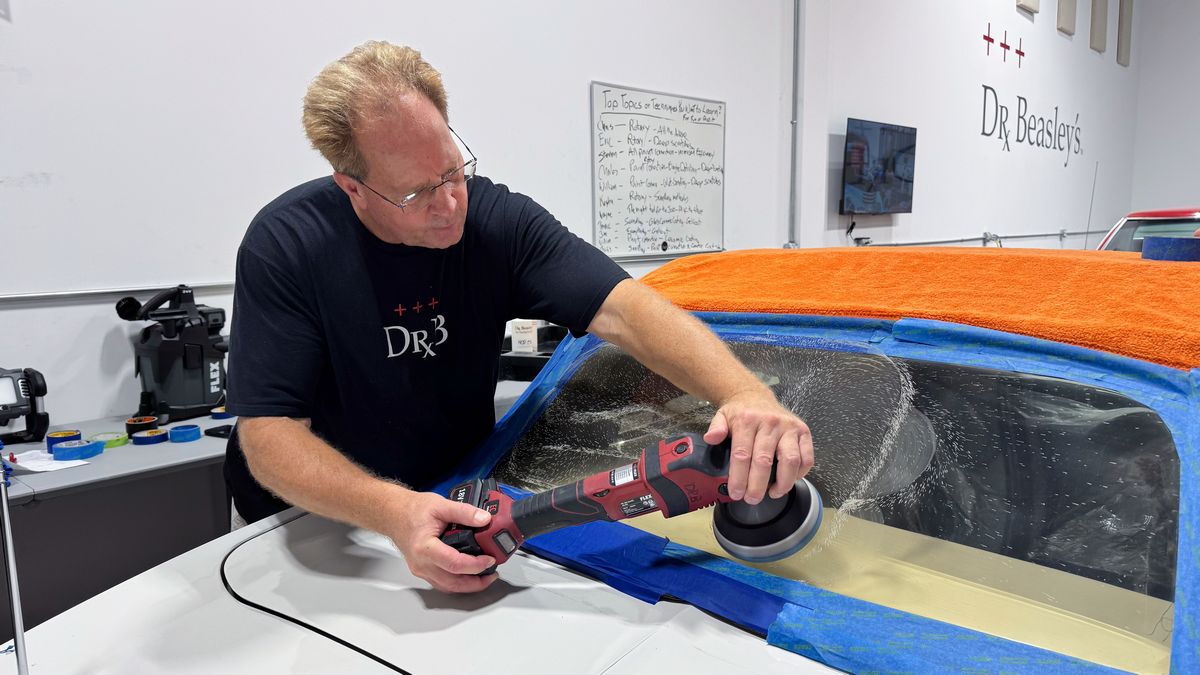
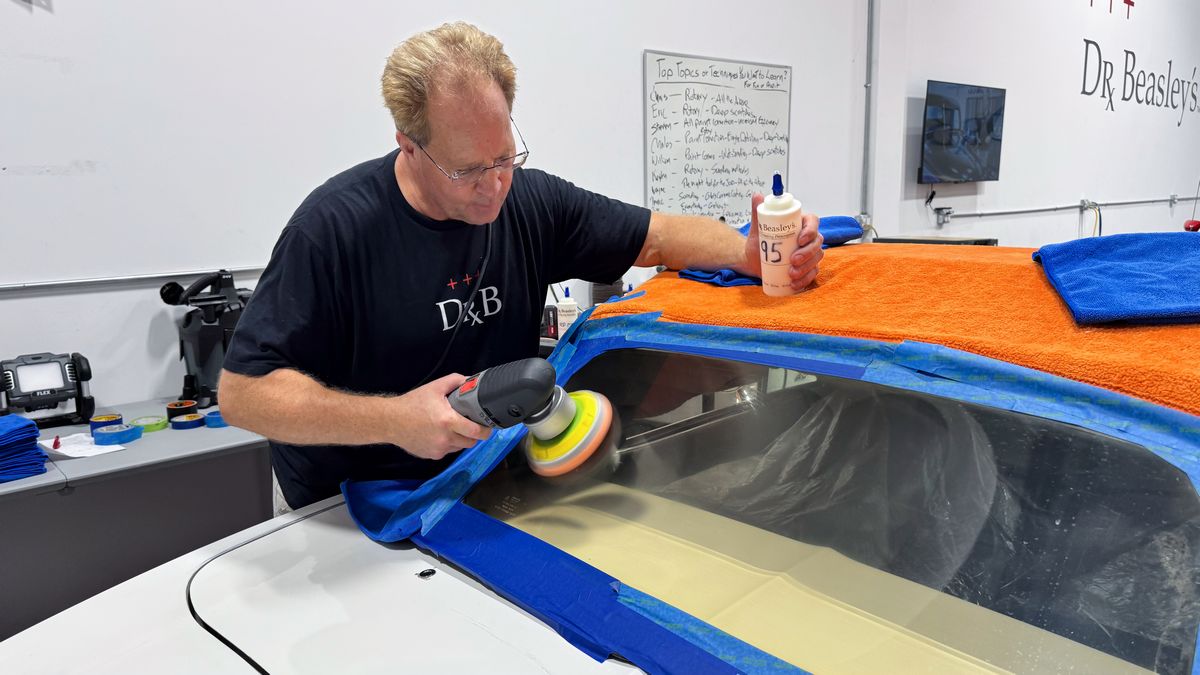
Step 2 - Re-polish to remove holograms using a Lake Country HDO Orange Foam Polishing Pad and Dr. Beasley's NSP 95 on an old-school Porter Cable 7424XP
Unlike long-stroke polishers, it's MUCH easier to maintain pad rotation and pad oscillation when using a SHORT STROKE free spinning random orbital polisher and I'm all about working fast and making work easy.
Missing Pictures
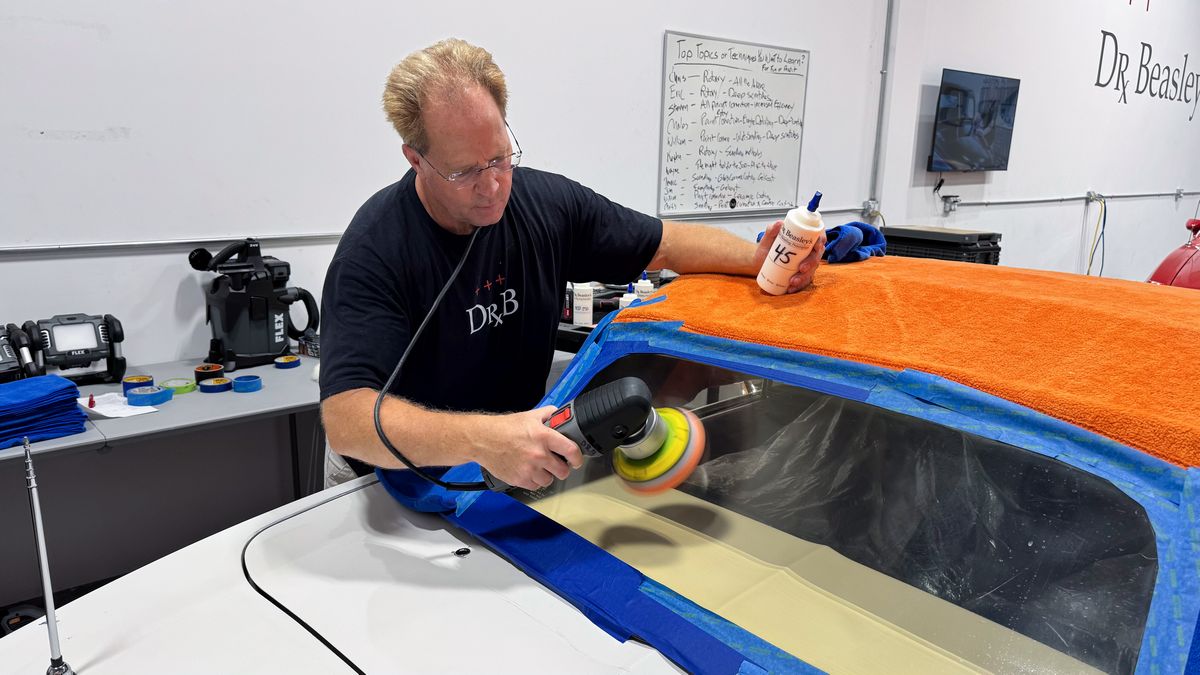
After the NSP 95, I did re-polish with the NSP 45 to maximize clarity. You can see that step in this other project, where I did the same process to the flexible clear plastic window on a 1964 Amphicar.
1964 Amphicar – Paintwork, Glass & Plastic Correction
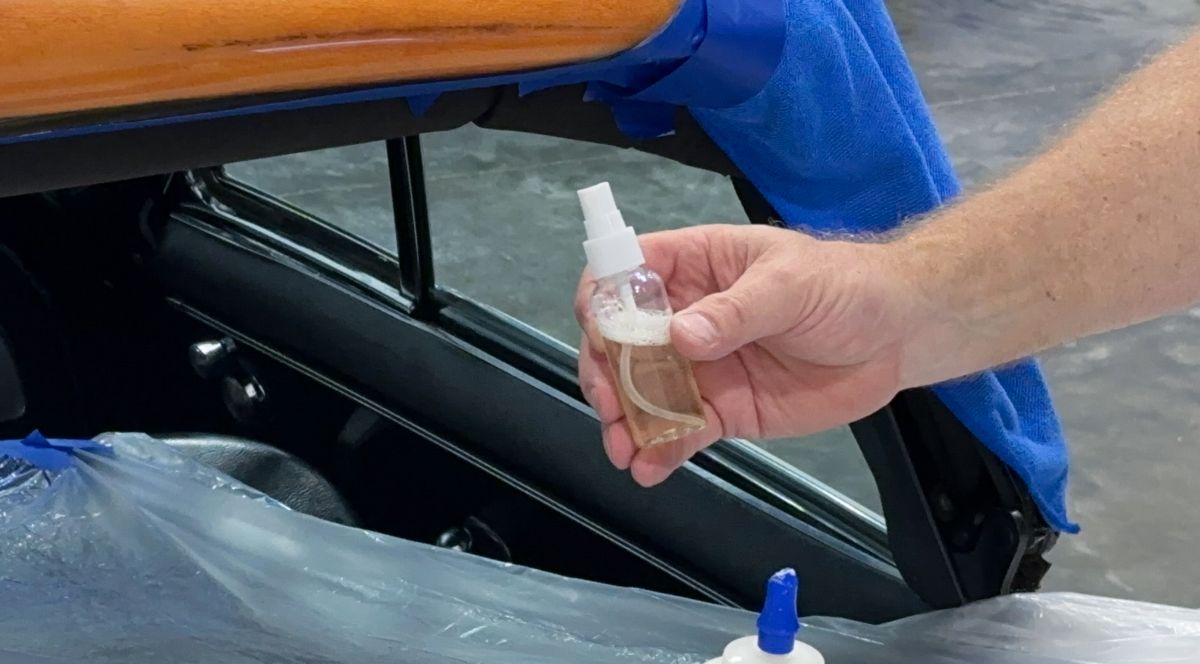
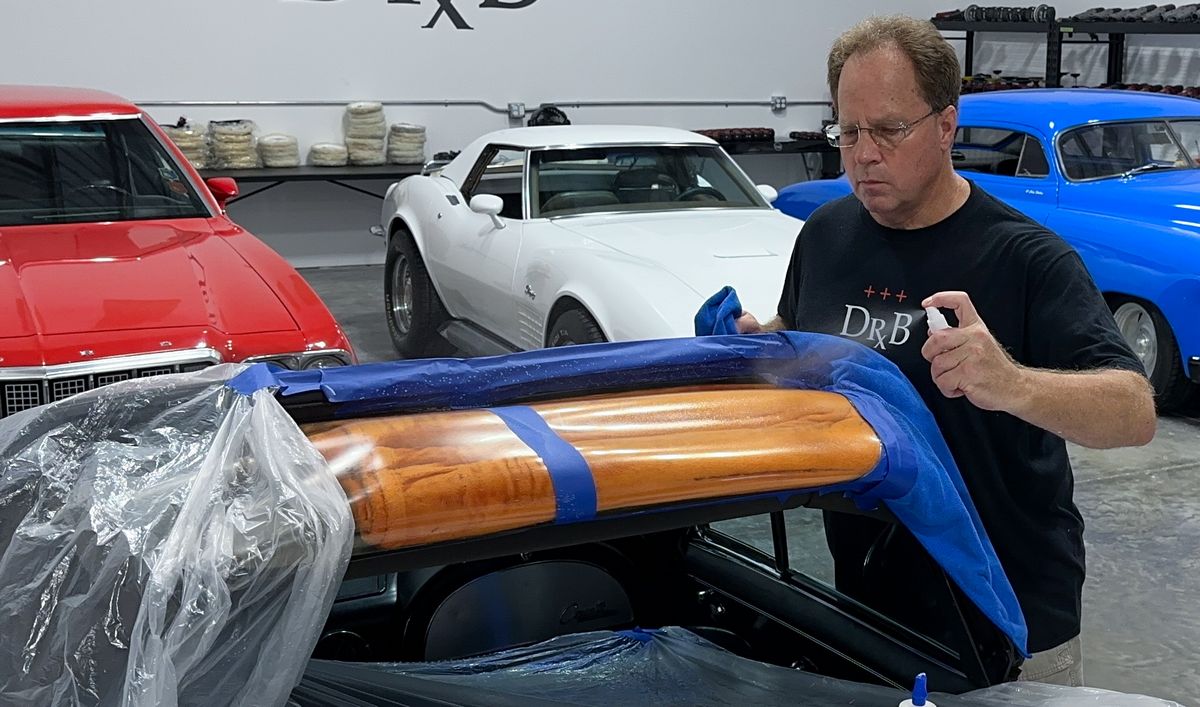
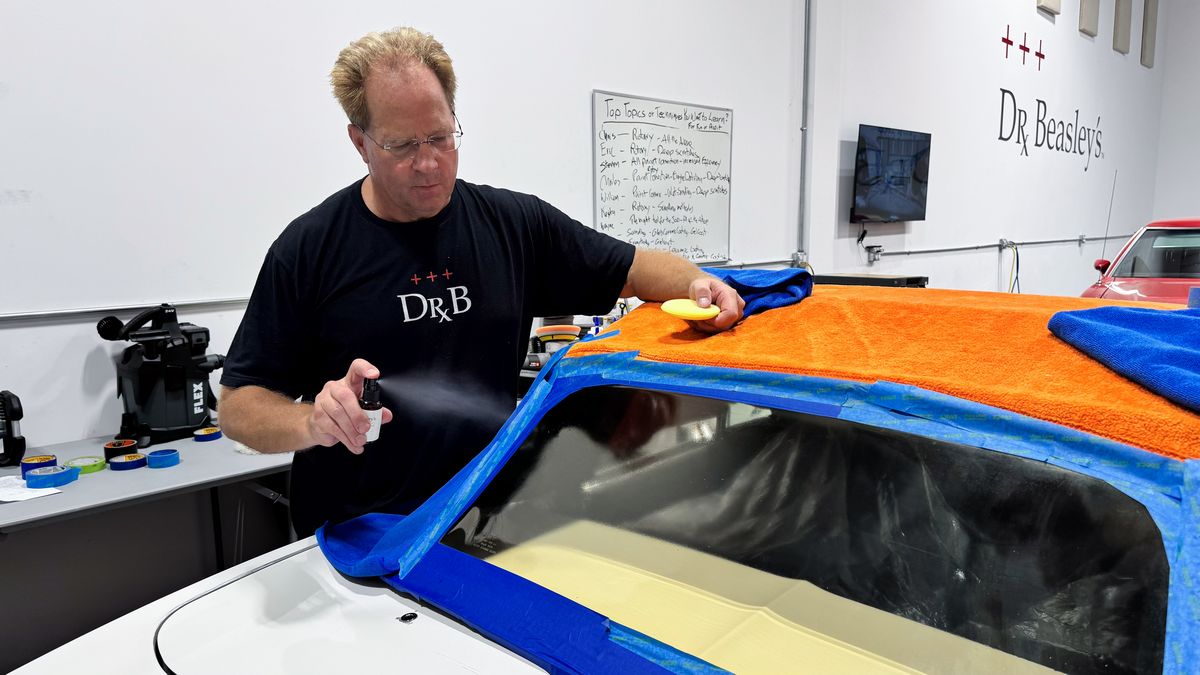
Gloss Builder
I've been using a new product called
Gloss Builder on clear plastics with great success. This is a ceramic product for use before applying a ceramic coating. It maximizes gloss and clarity before installing the coating. I've found it also maximizes clarity for clear plastics after a thorough machine polishing.
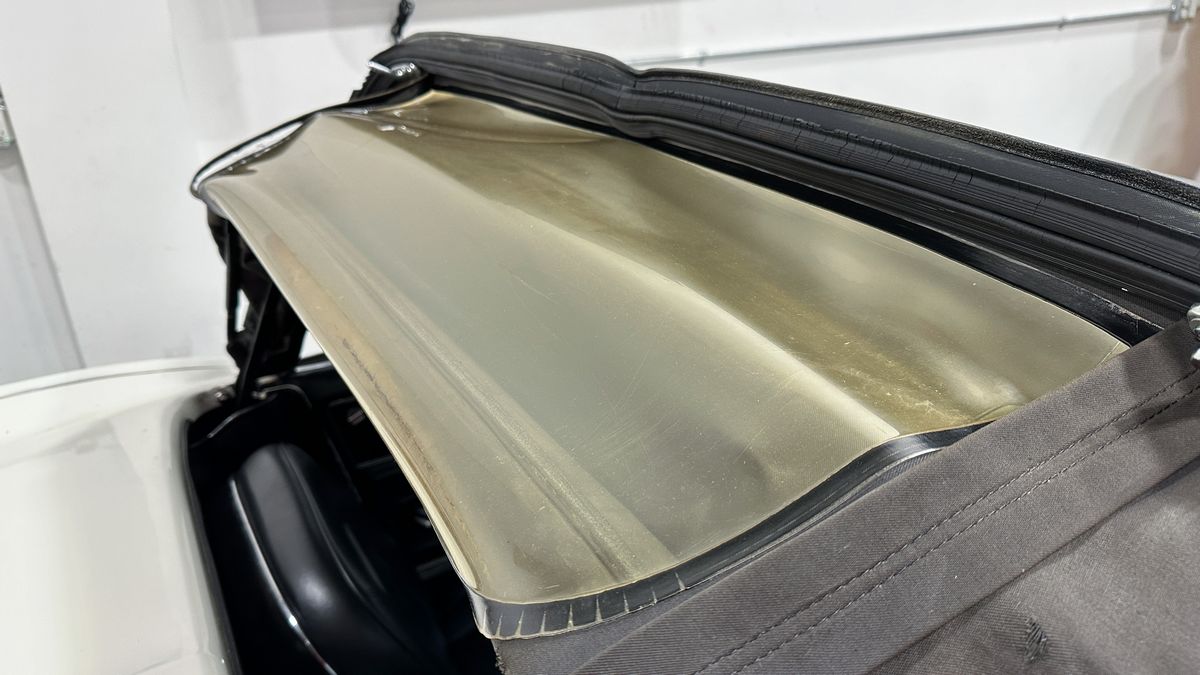
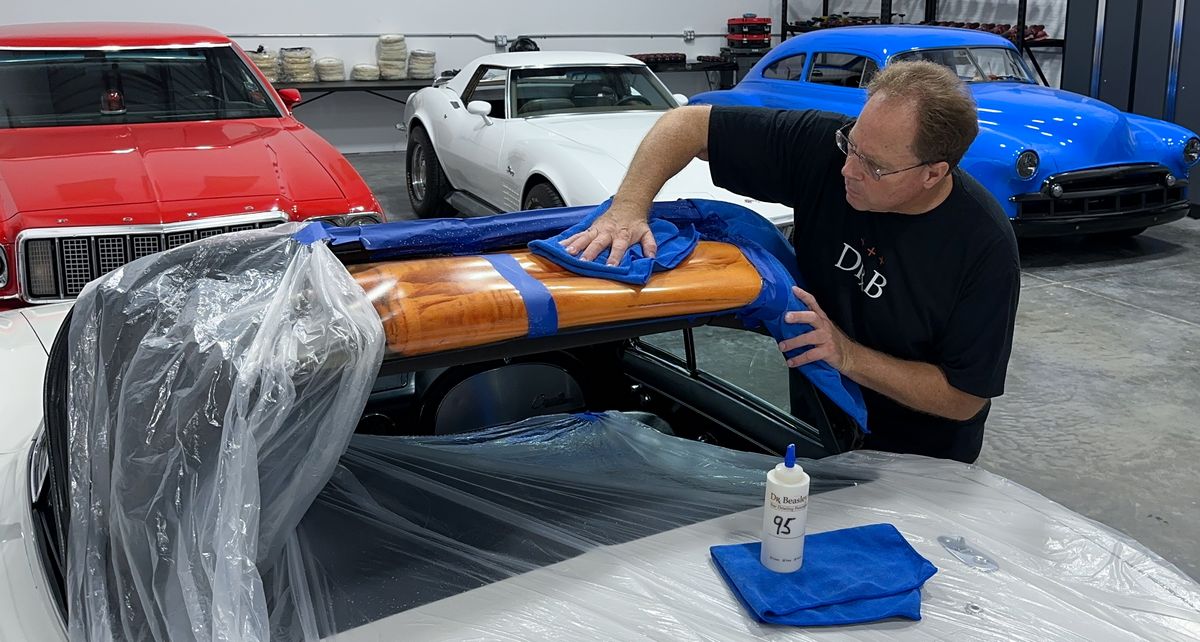
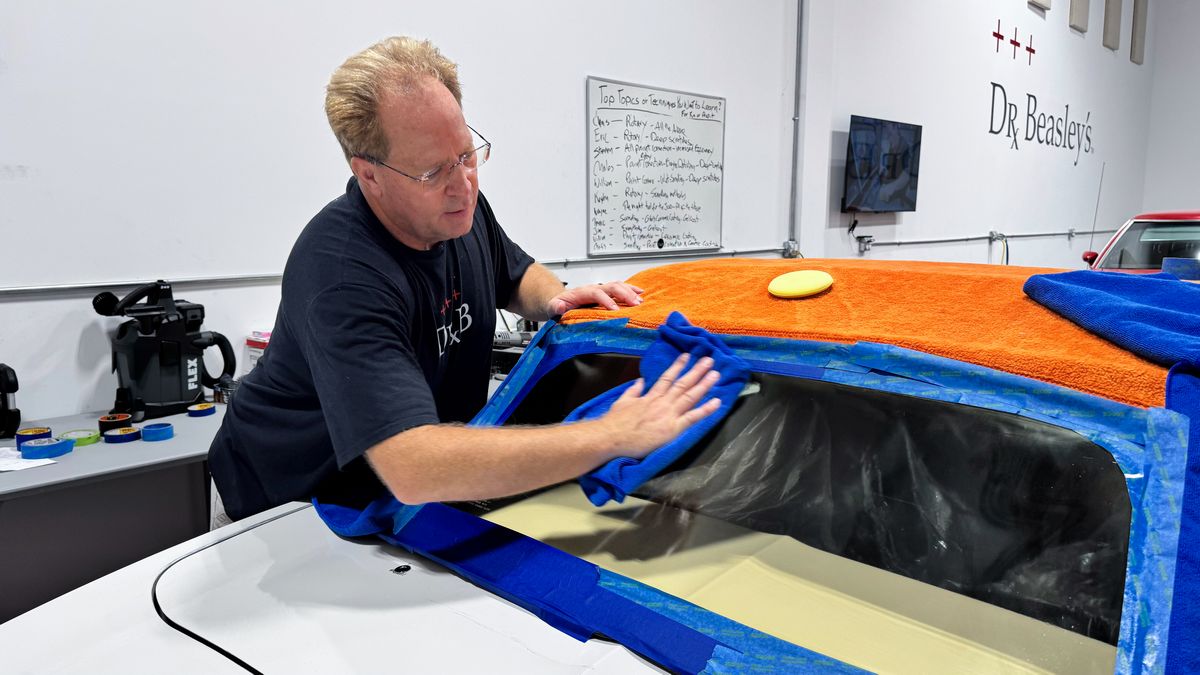
Inside Done
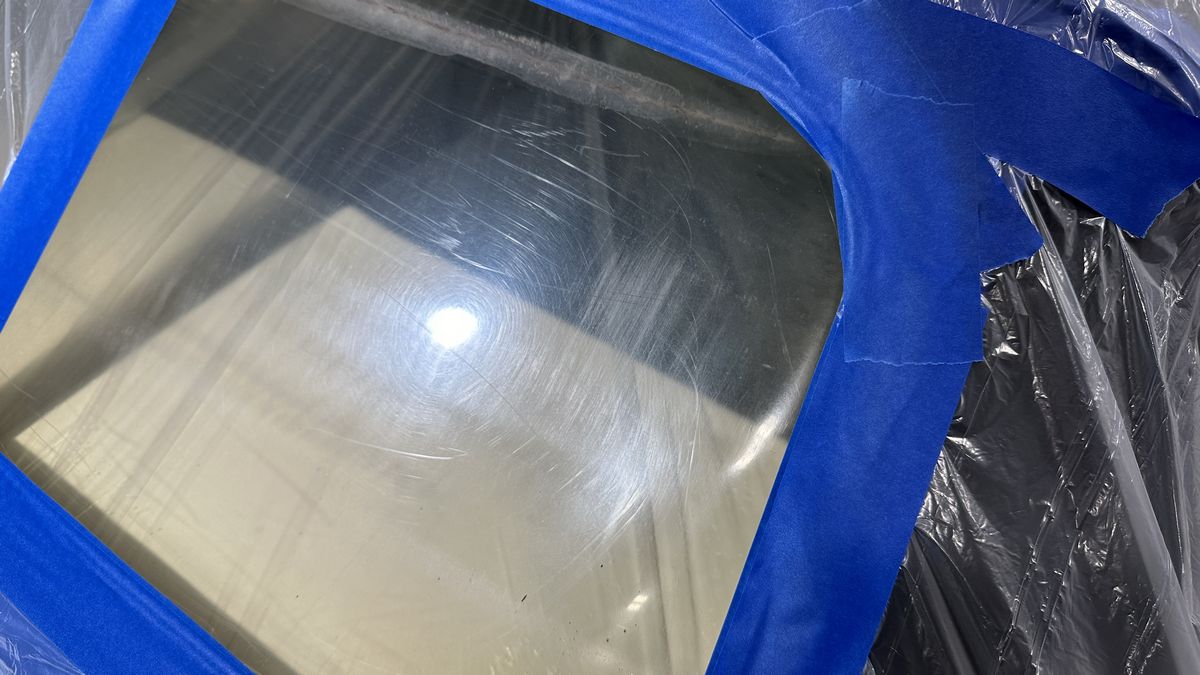
After doing a 3-step machine polishing process and applying Gloss Builder, the passenger side INSIDE portion of the window is completed.
Time to do the outside
I'm only doing one half of the window to both dial-in my process but to also show the class the before and after difference as they arrive for the first day of class. Later, I'll demonstrate the entire process on the driver's side of the window. Like before, I needed to cover over and protect the black vinyl top and the body panels from any accidental splatter dots.
Mike