
- Admin
- #1
- Joined
- May 21, 2021
- Messages
- 2,530
- Reaction score
- 1,496
- Points
- 113
- Location
- Stuart, Florida
- Website
- themikephillipsforum.com
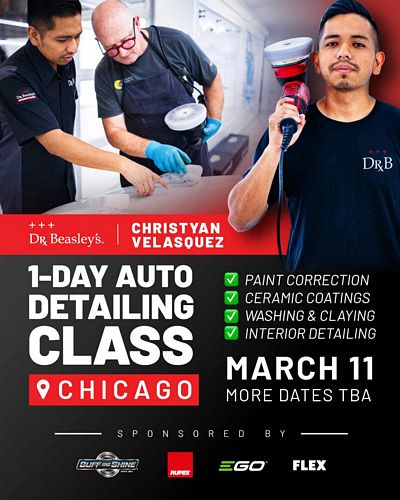
278 Pictures - 1-Day November 2025 Car Detailing Class - 3 Cars Detailed! - No Chairs! - ALL Hands-on!
Apologies for the delay, right after this Saturday class, I took Sunday off and then Mondy, flew out to Las Vegas to work in the FLEX booth at SEMA. Caught the #SEMACRUD and now playing catch-up.
Awesome People - Amazing Results!
All 3 cars came out phenomenal, and I'll be sharing the before, during and after shots below. But first, here are the 7 people that took this 1-day class.
Nelson - Bogota, Columbia

Nicolas - Buenos Aires, Argentina

Doug - South Carolina

Walter - Florida

Eugene - Florida

Juan - Kentucky

Mark - Florida

Thank You!
Thank you to everyone for putting your trust in the good name of Dr.. Beasley's as well as my own. I hope the class was everything you hoped for and expected.
I truly appreciate that each one of you were focused on the task at hand as we worked through the three primary topics and the matching car for each topic. I feel confident that are all SUPER COMFORTABLE using all the popular types of polishers including, Rotary Polisher, Gear-Driven Orbital Polisher and Free Spinning, Random Orbital Polisher.

")
Apologies for the delay, right after this Saturday class, I took Sunday off and then Mondy, flew out to Las Vegas to work in the FLEX booth at SEMA. Caught the #SEMACRUD and now playing catch-up.
Awesome People - Amazing Results!
All 3 cars came out phenomenal, and I'll be sharing the before, during and after shots below. But first, here are the 7 people that took this 1-day class.
Nelson - Bogota, Columbia
Nicolas - Buenos Aires, Argentina
Doug - South Carolina
Walter - Florida
Eugene - Florida
Juan - Kentucky
Mark - Florida
Thank You!
Thank you to everyone for putting your trust in the good name of Dr.. Beasley's as well as my own. I hope the class was everything you hoped for and expected.
I truly appreciate that each one of you were focused on the task at hand as we worked through the three primary topics and the matching car for each topic. I feel confident that are all SUPER COMFORTABLE using all the popular types of polishers including, Rotary Polisher, Gear-Driven Orbital Polisher and Free Spinning, Random Orbital Polisher.
Last edited:


