- Admin
- #1
- Joined
- May 21, 2021
- Messages
- 1,467
- Reaction score
- 799
- Points
- 113
- Location
- Stuart, Florida
- Website
- themikephillipsforum.com
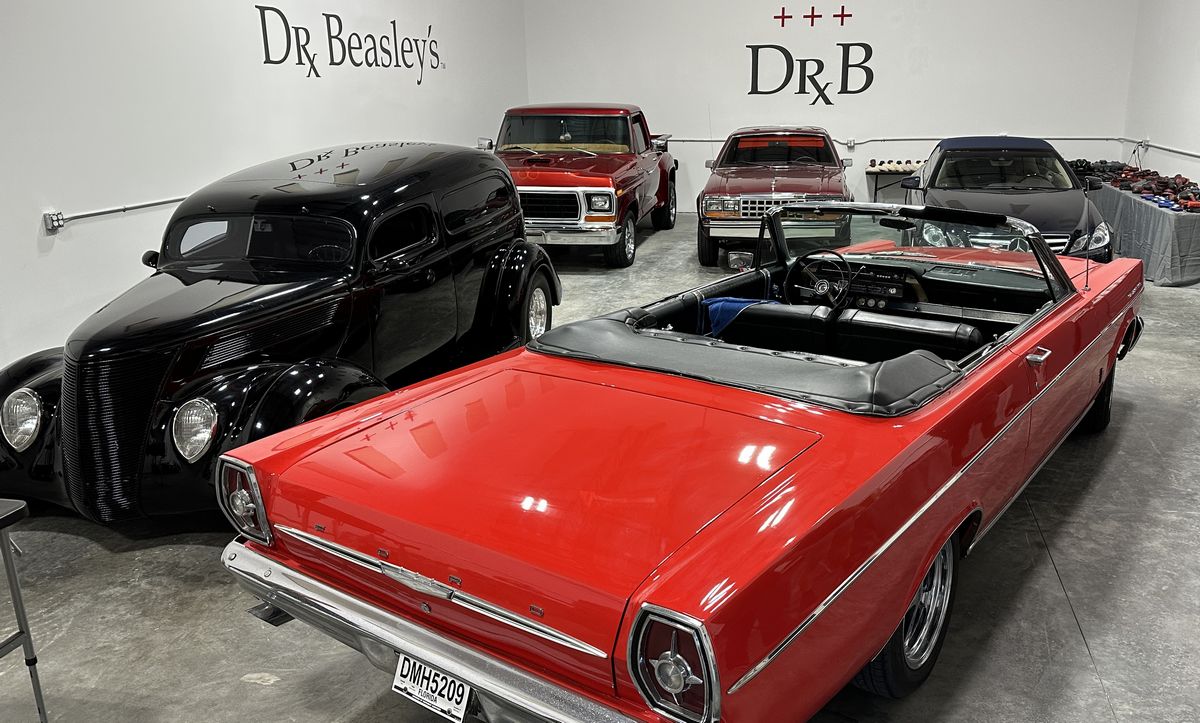
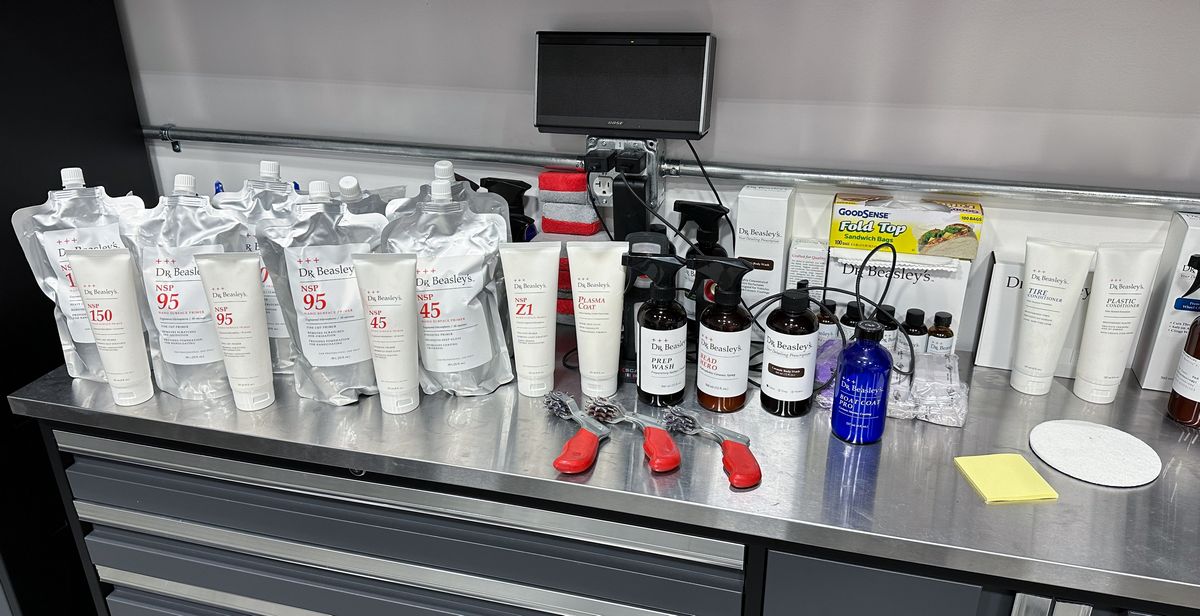
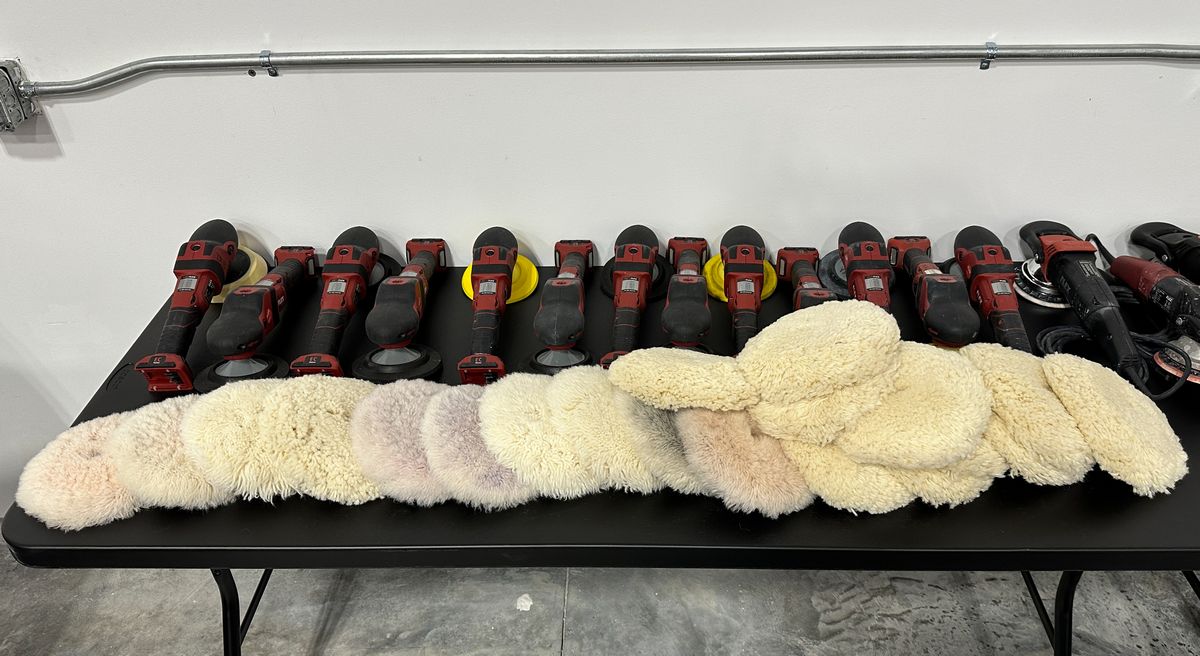
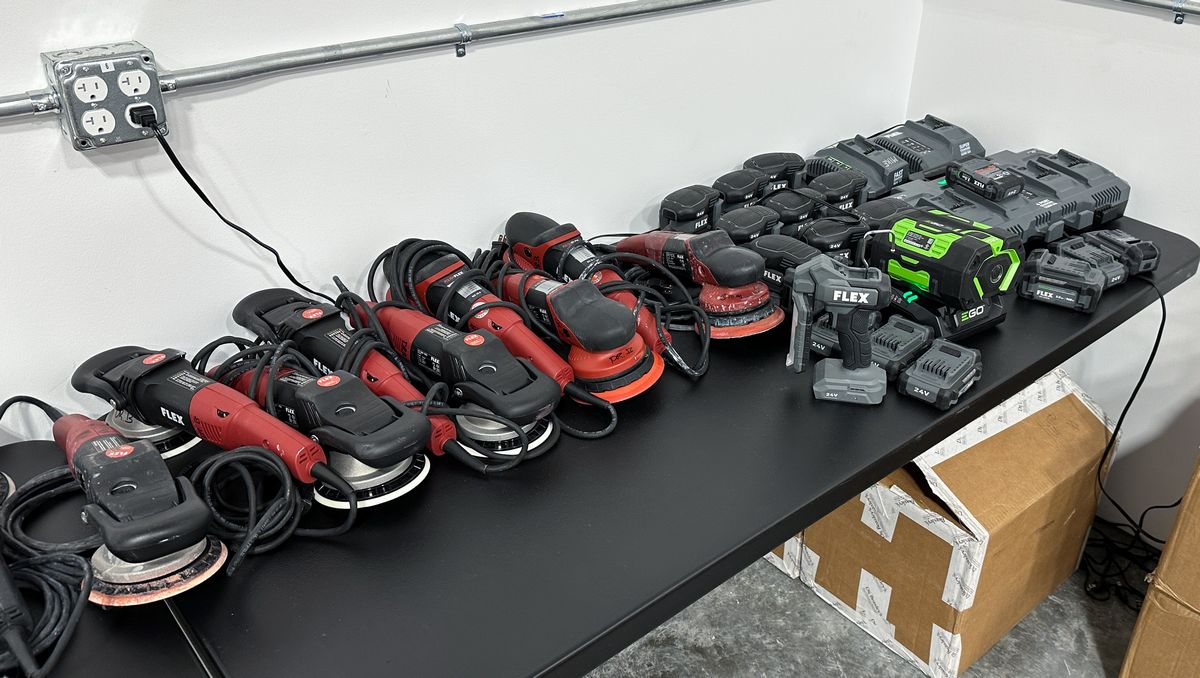
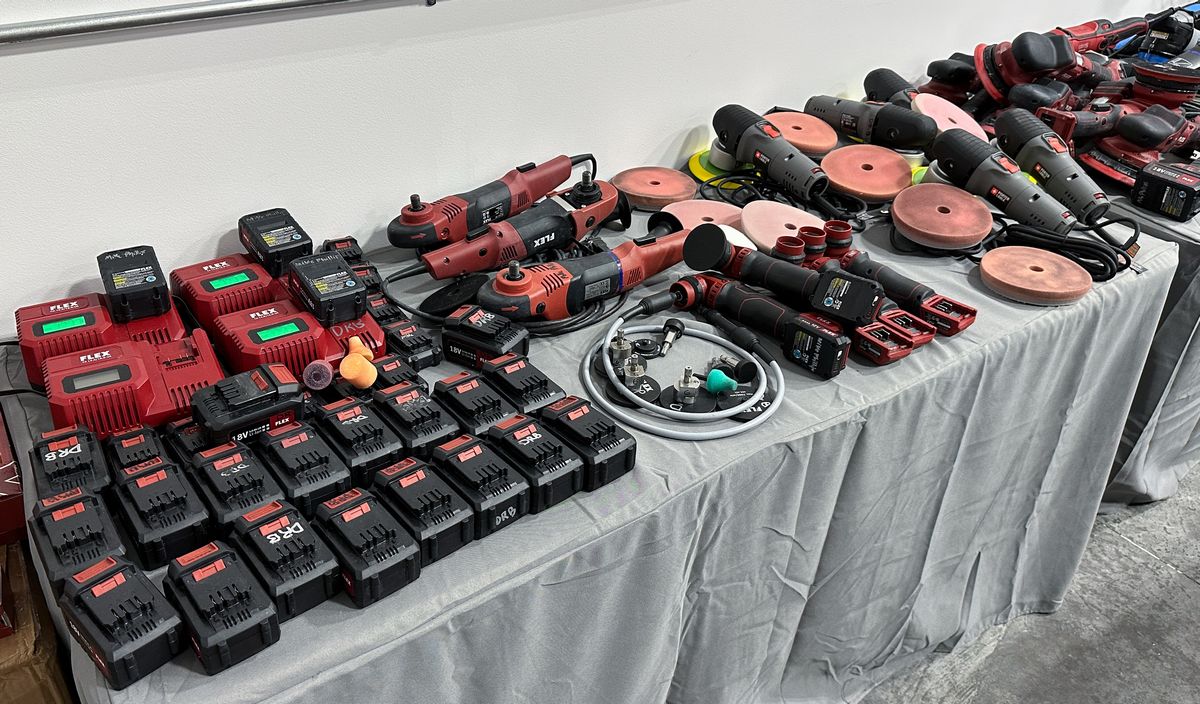
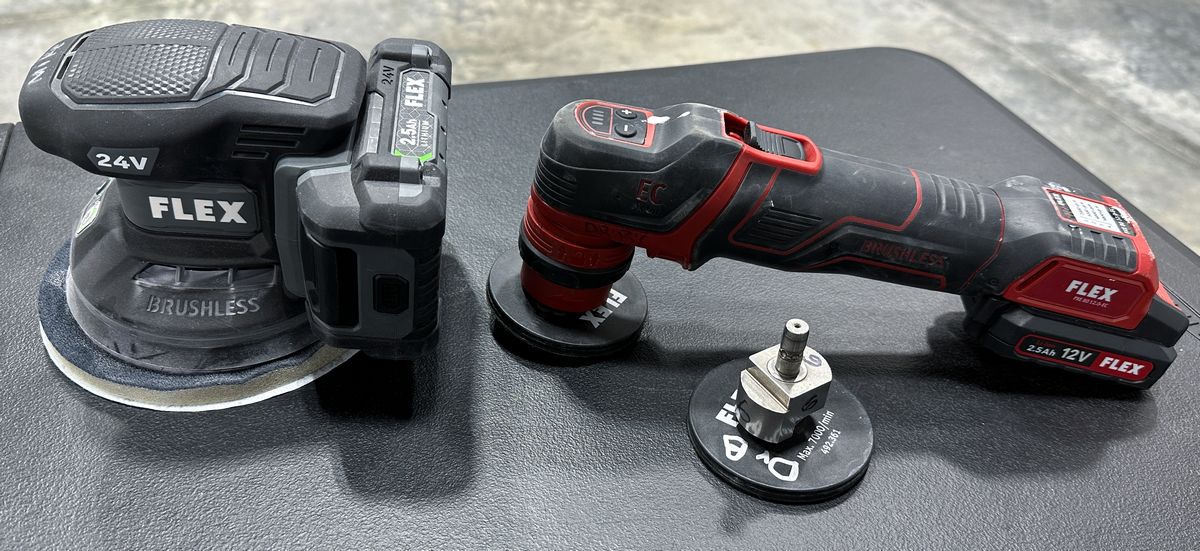
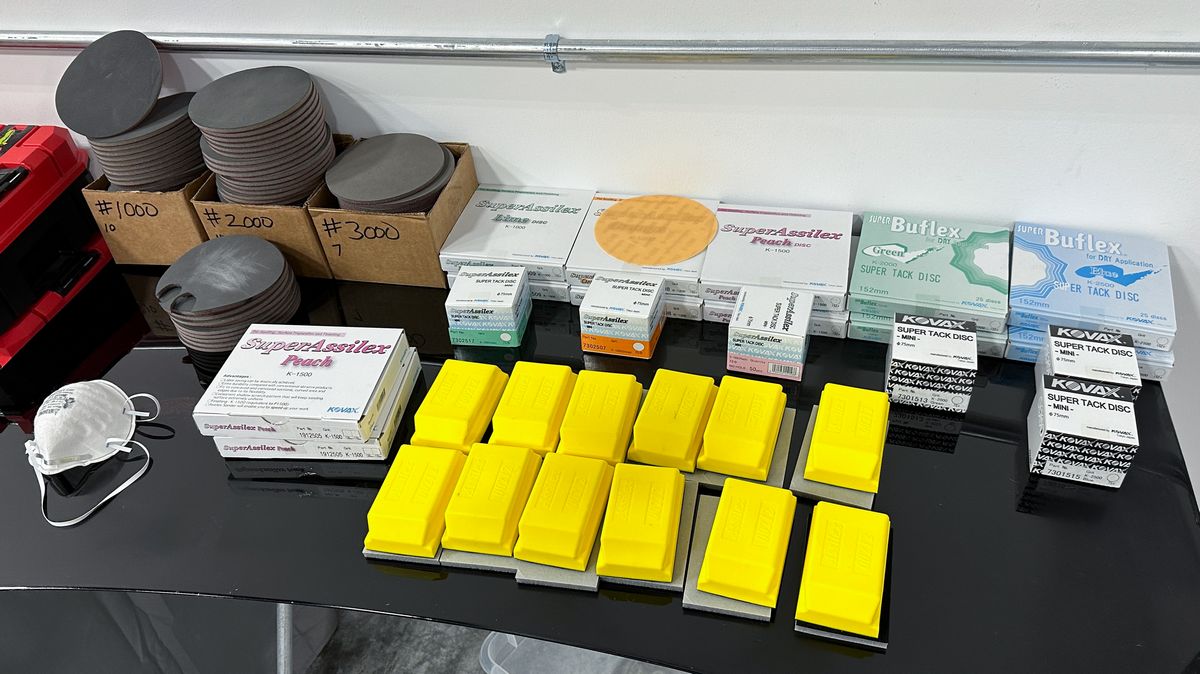
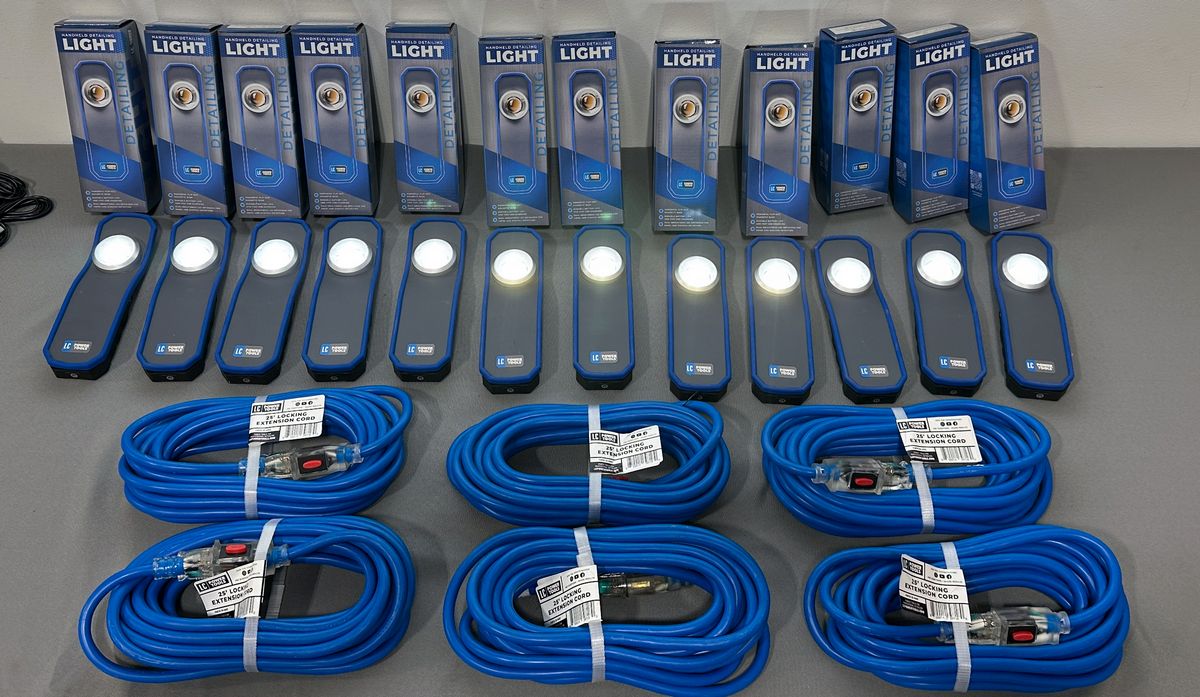
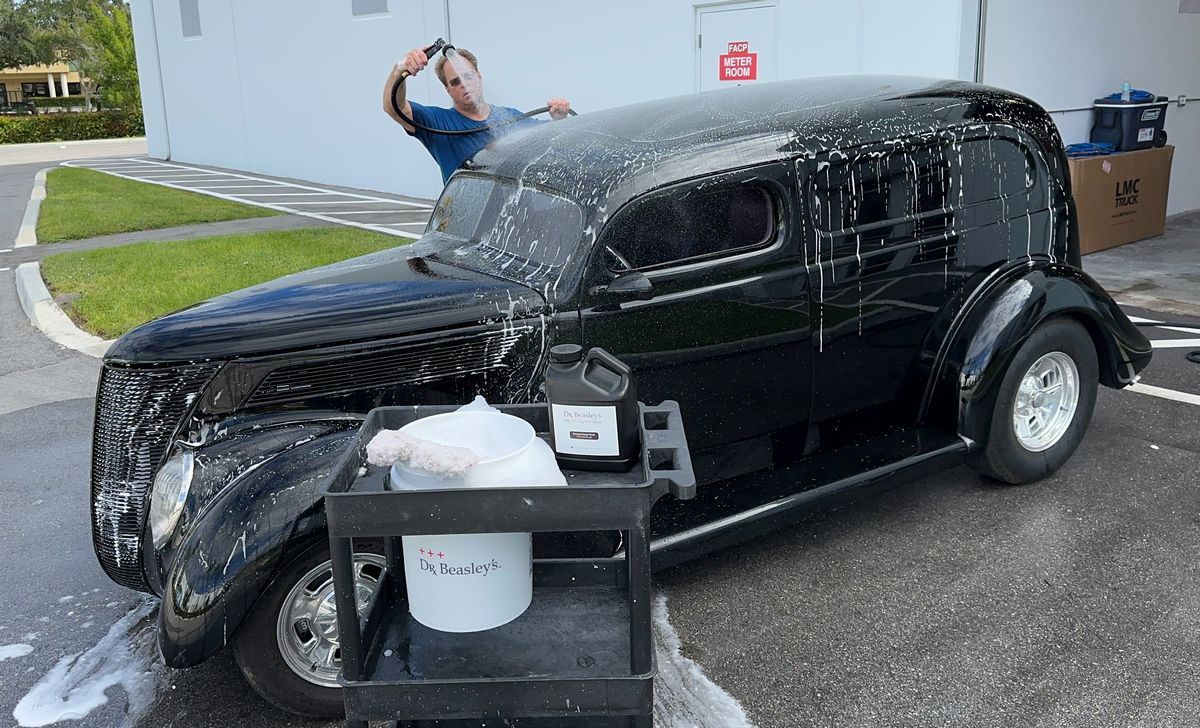
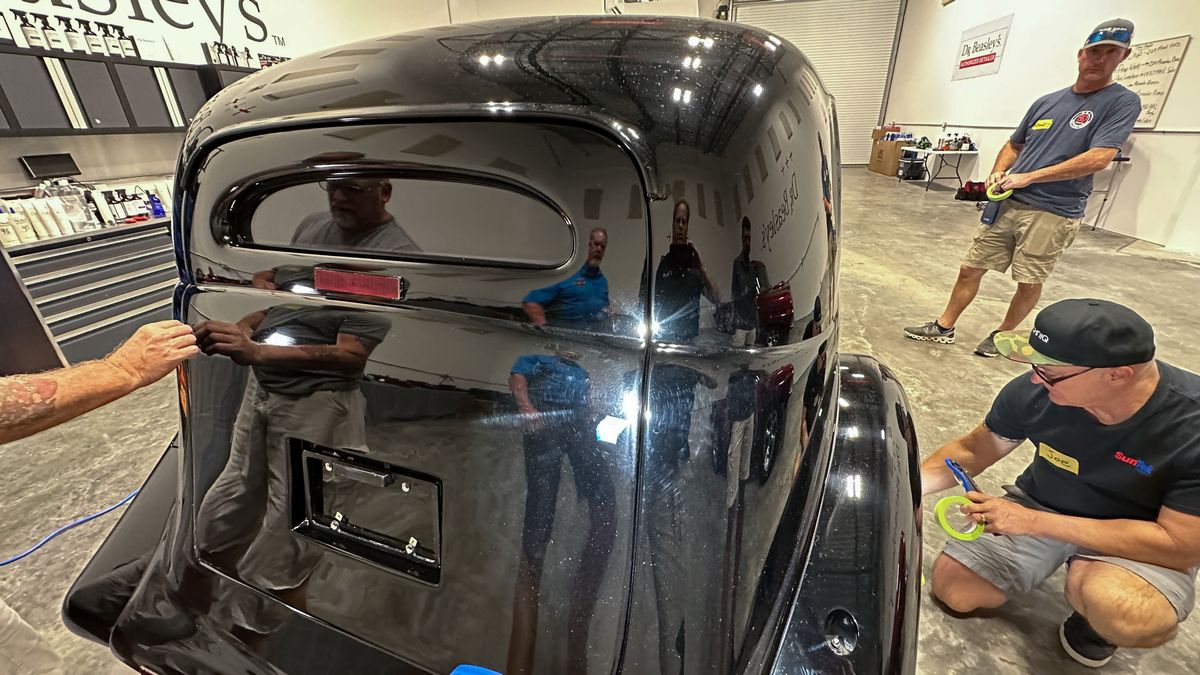
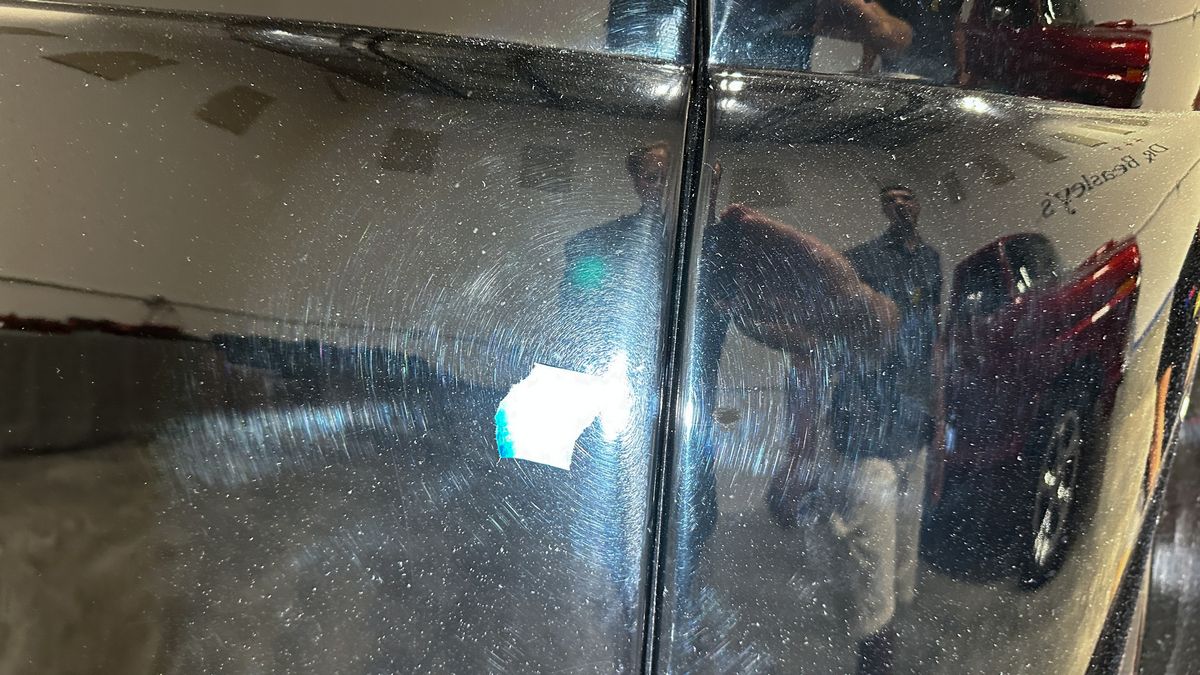
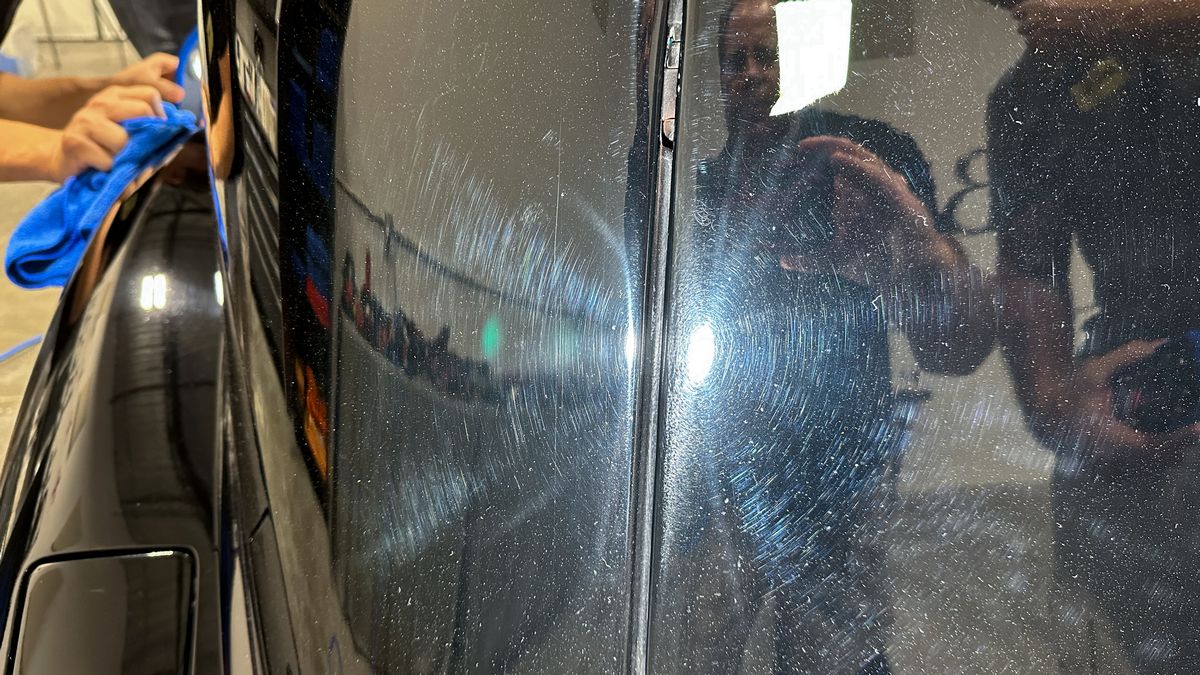
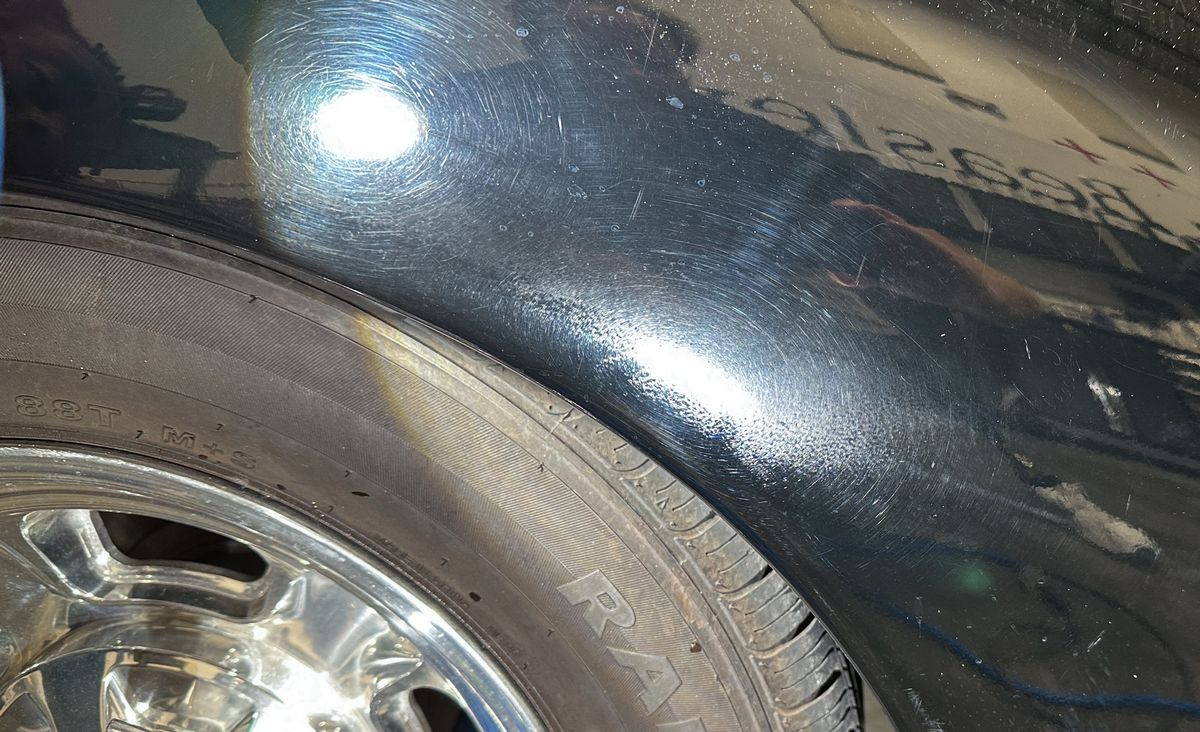
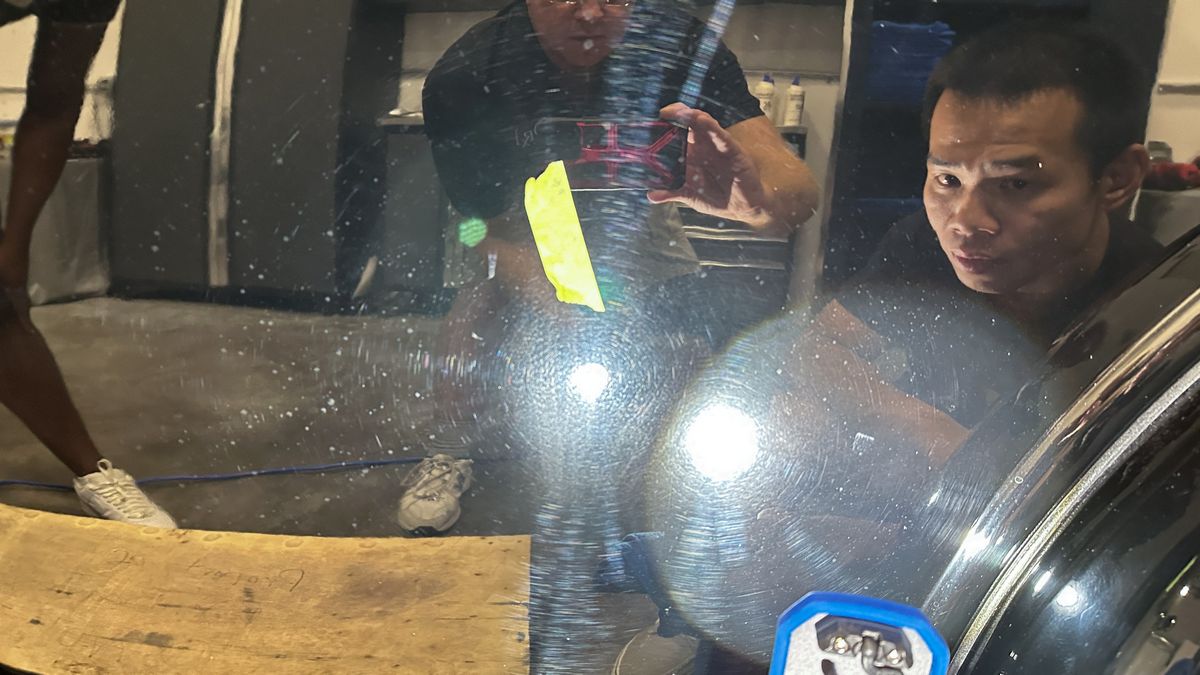
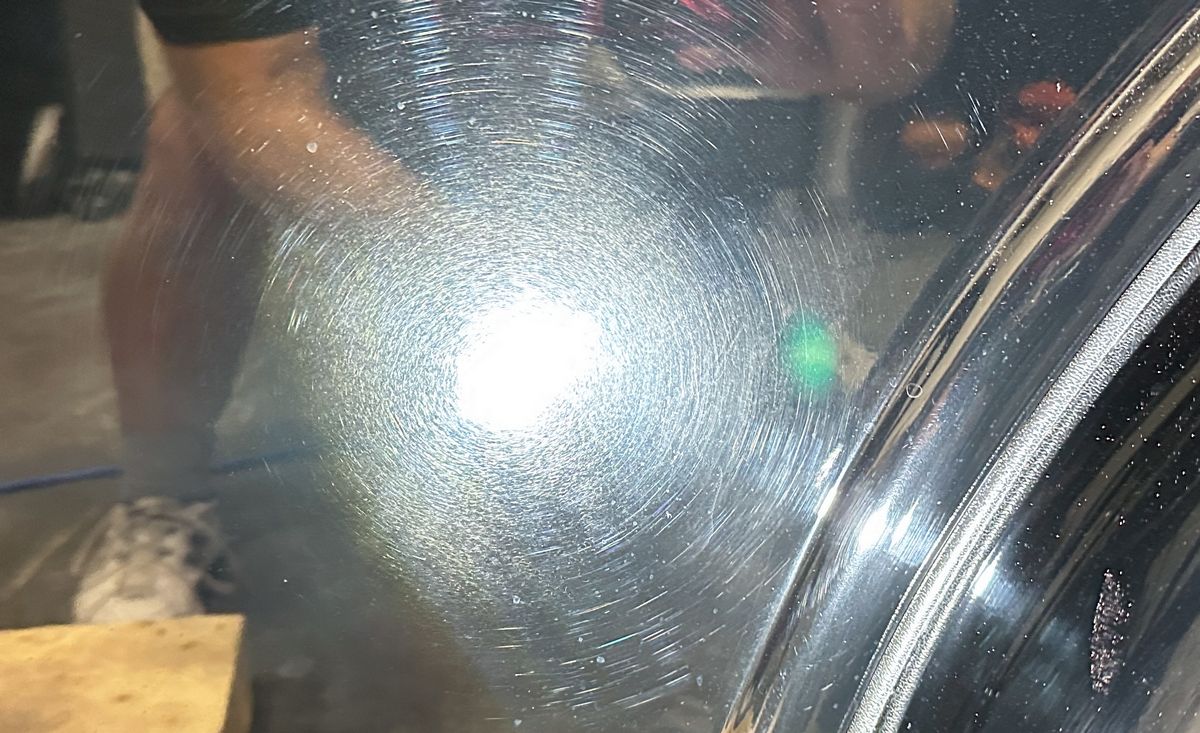
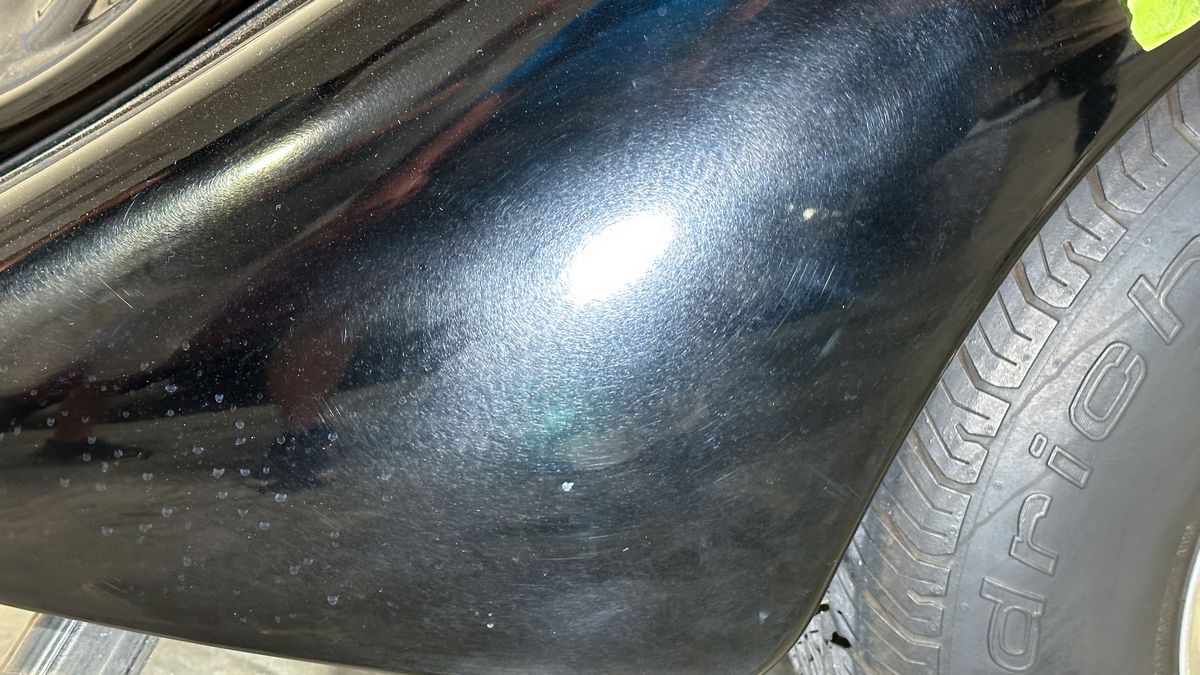
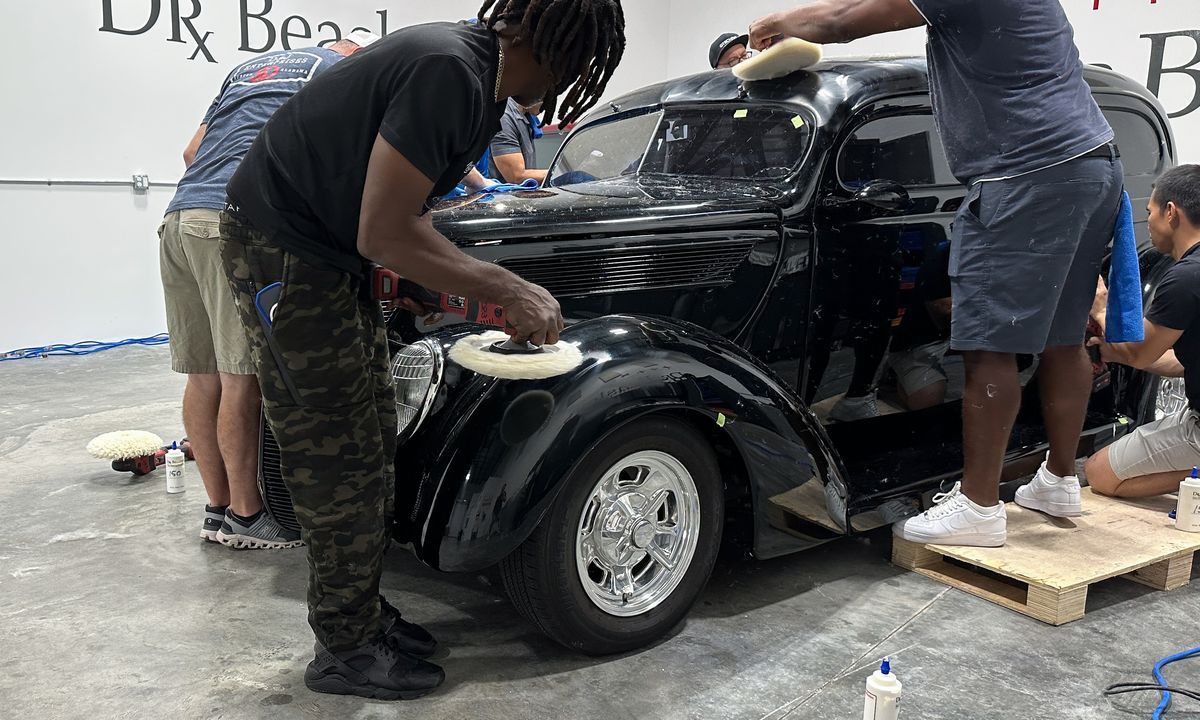
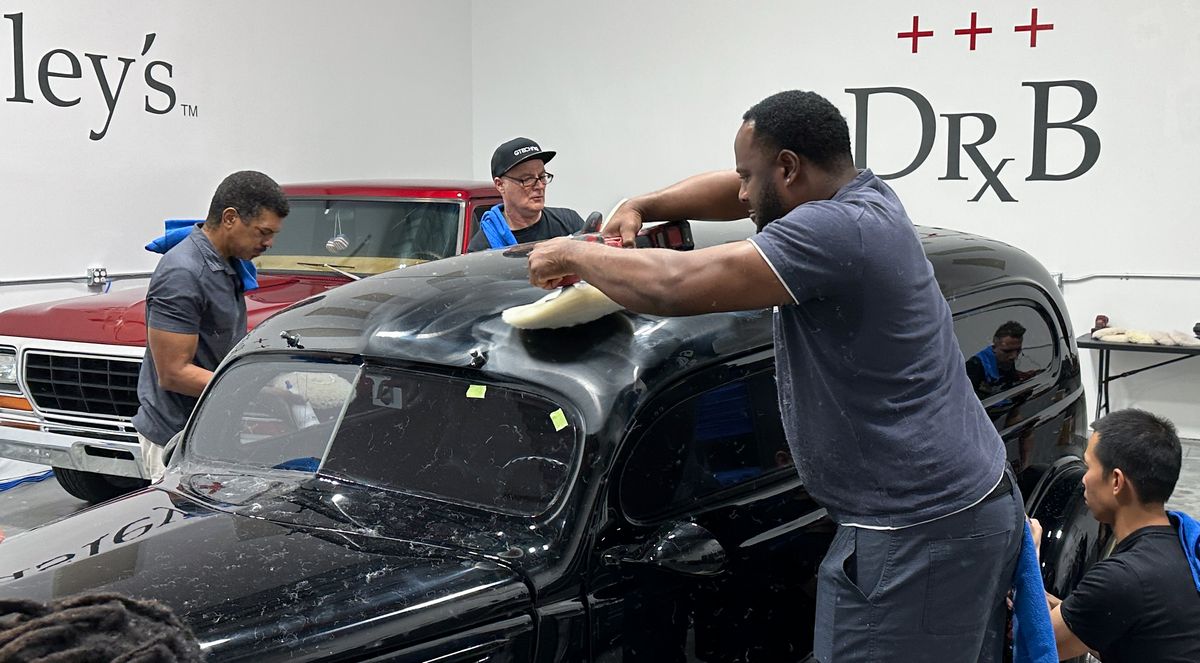
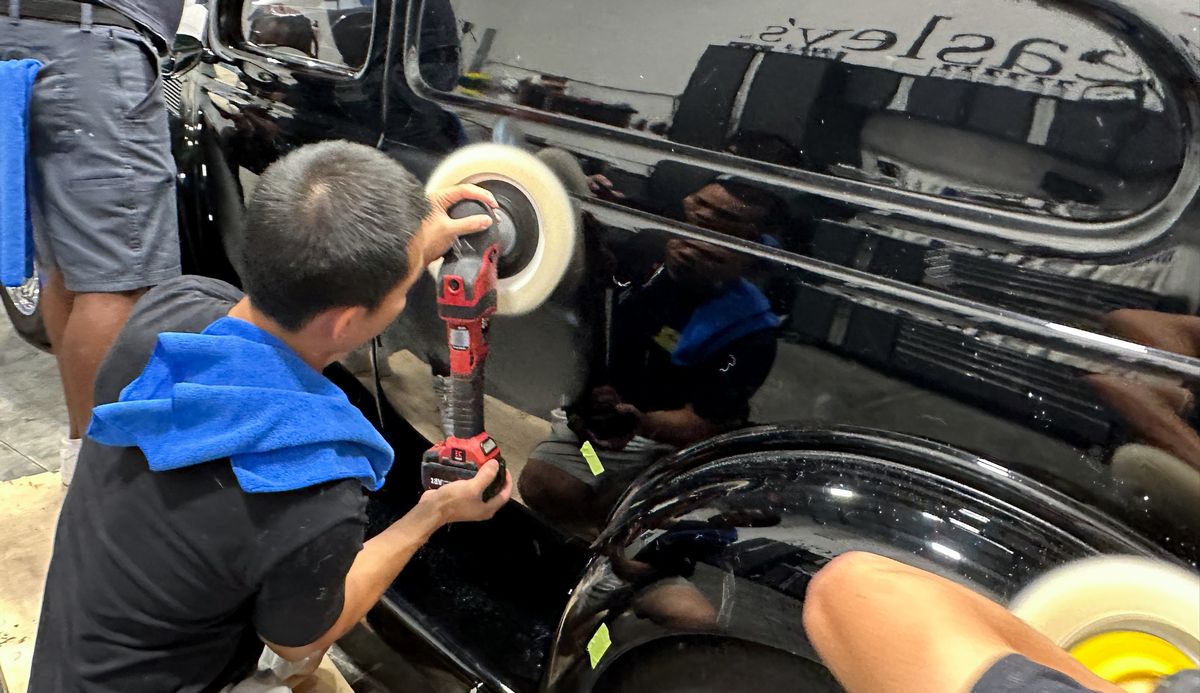
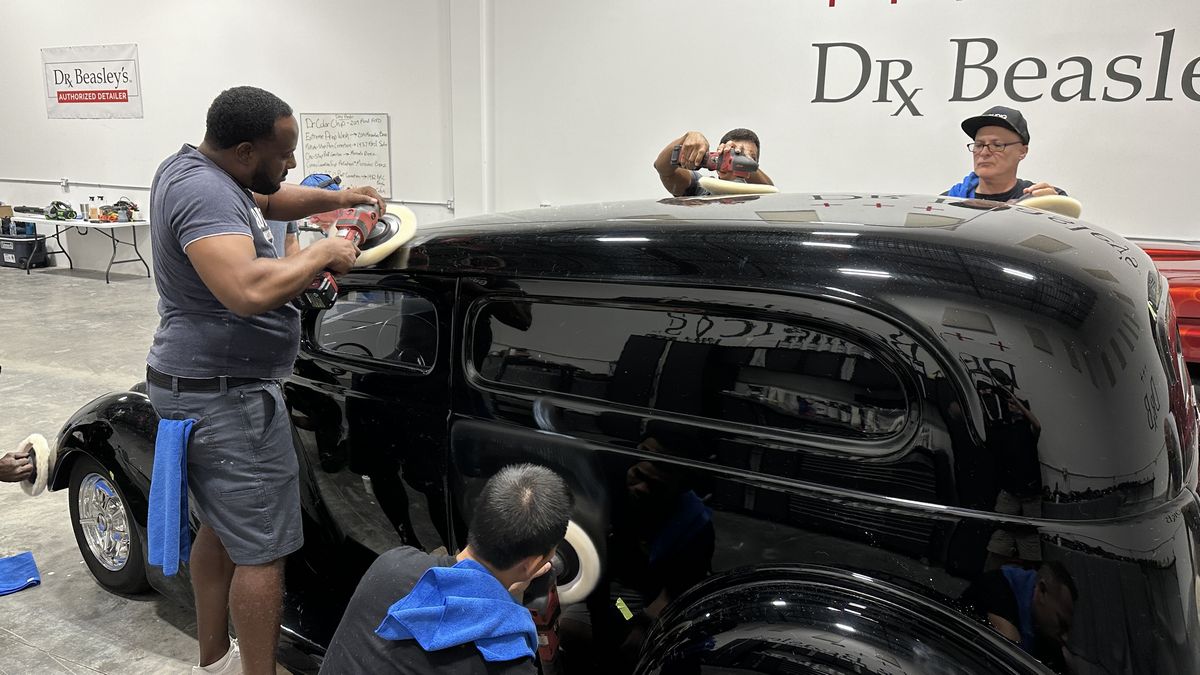
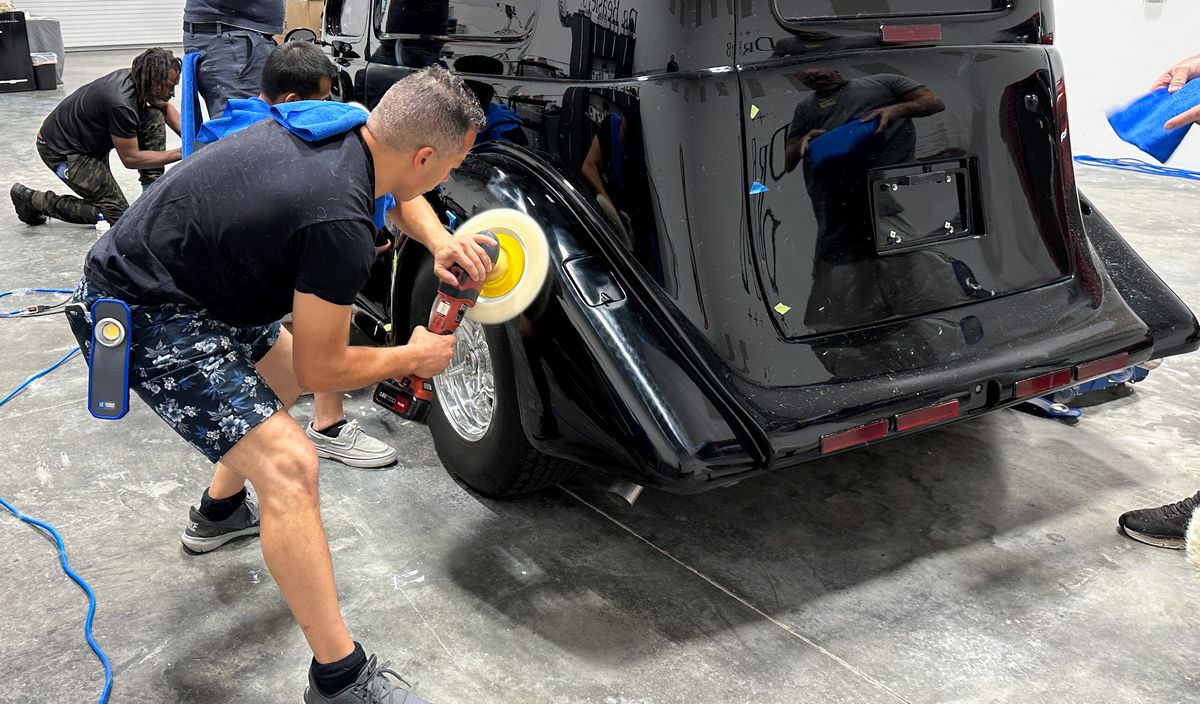
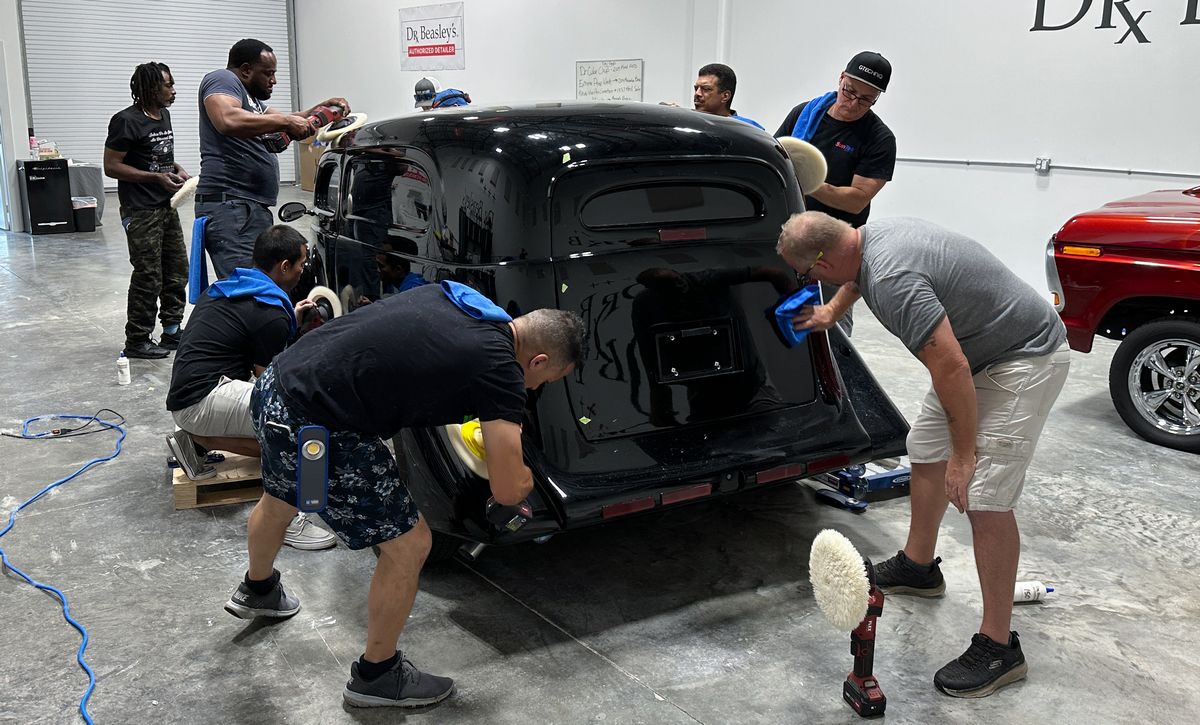
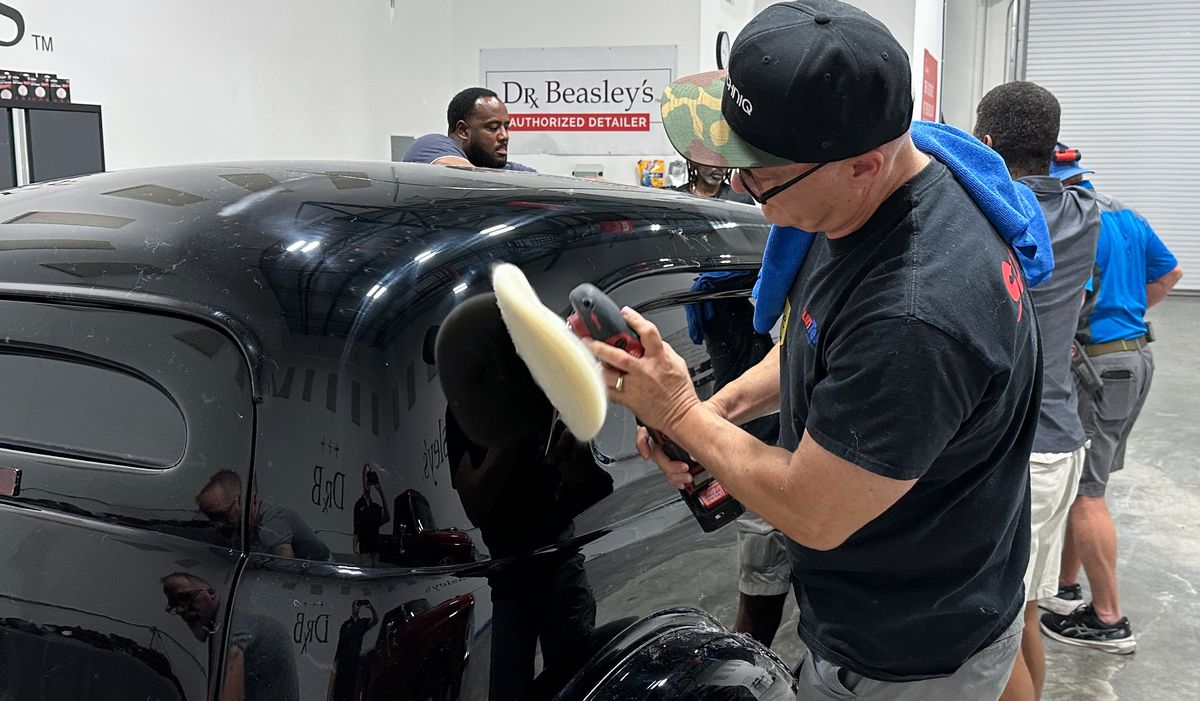
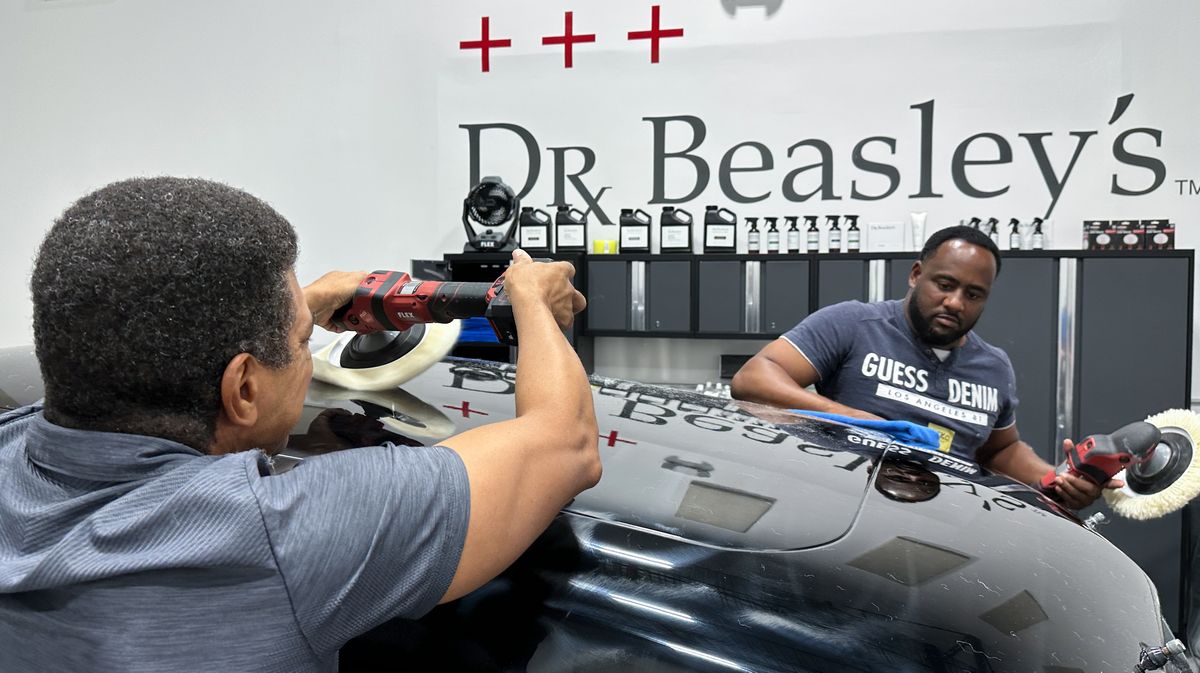
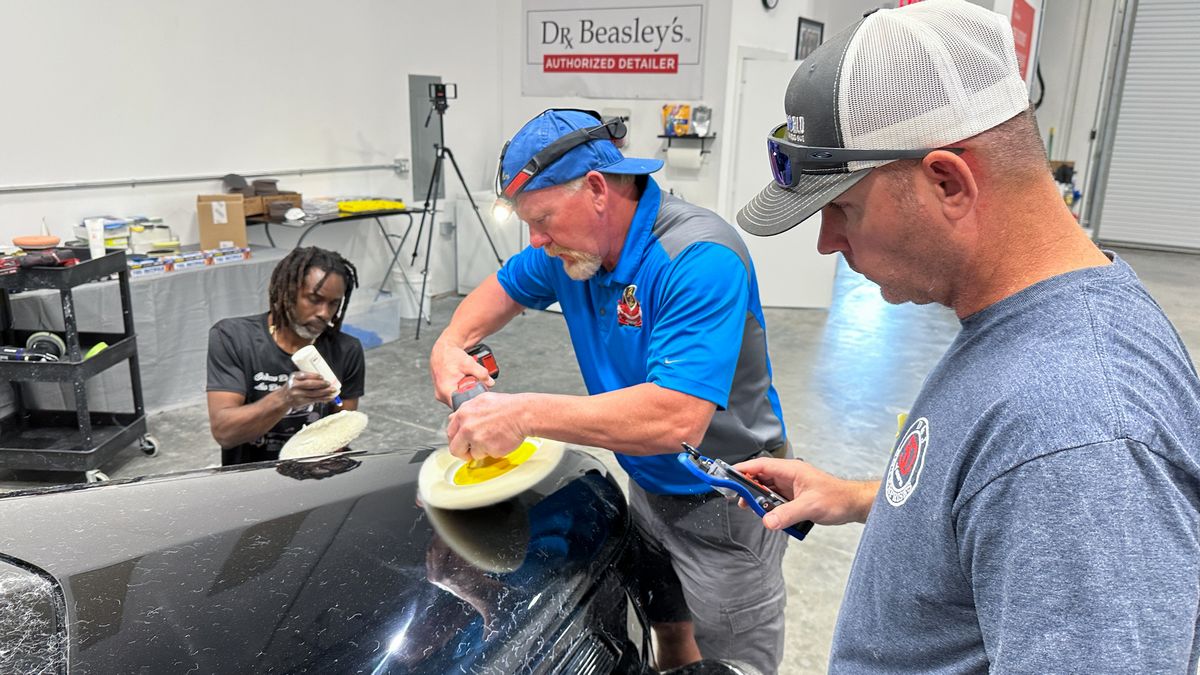
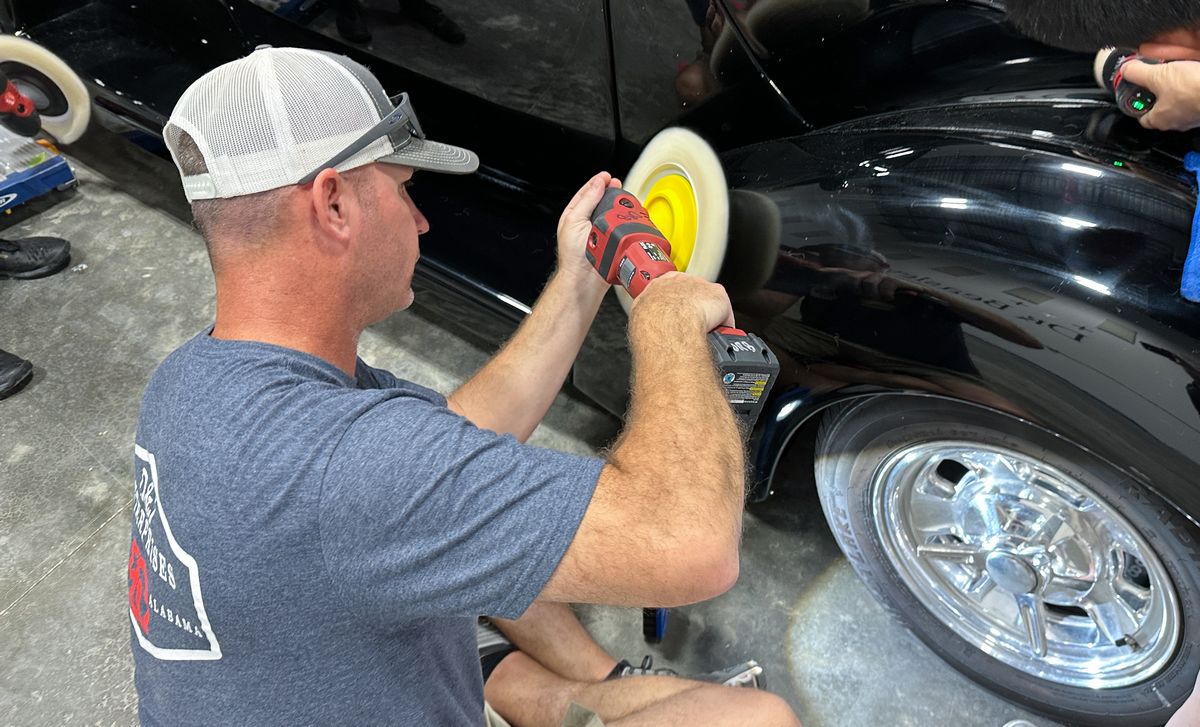
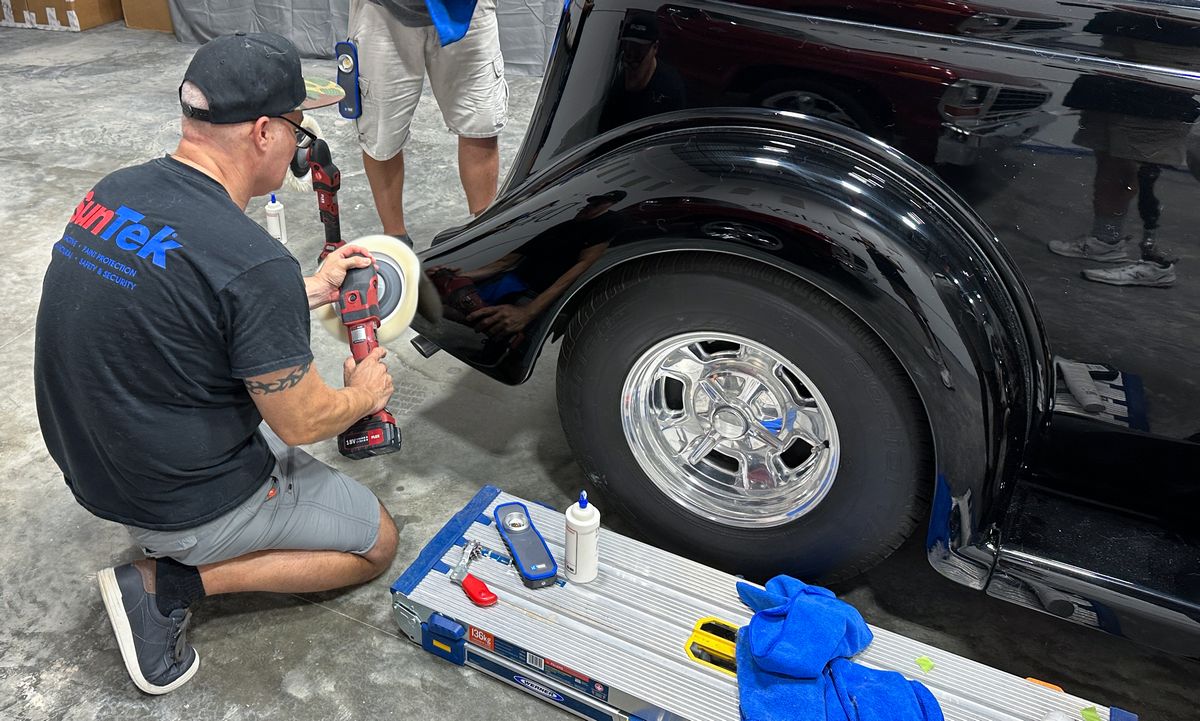
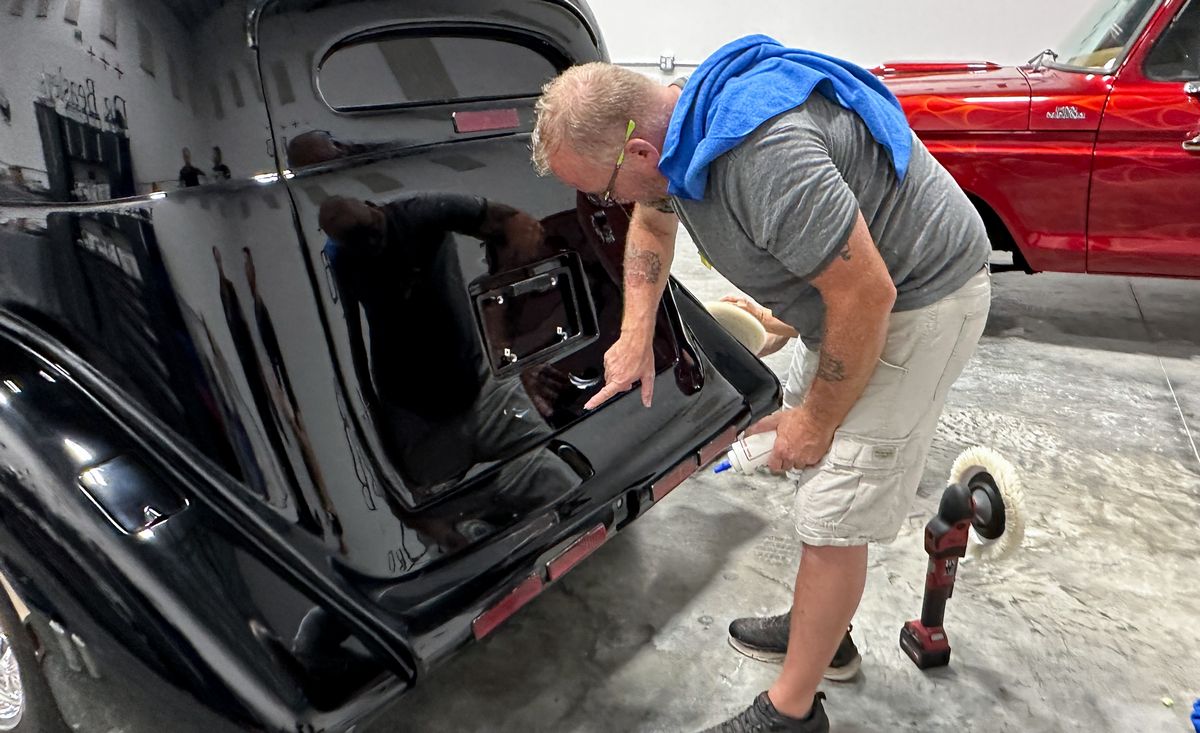
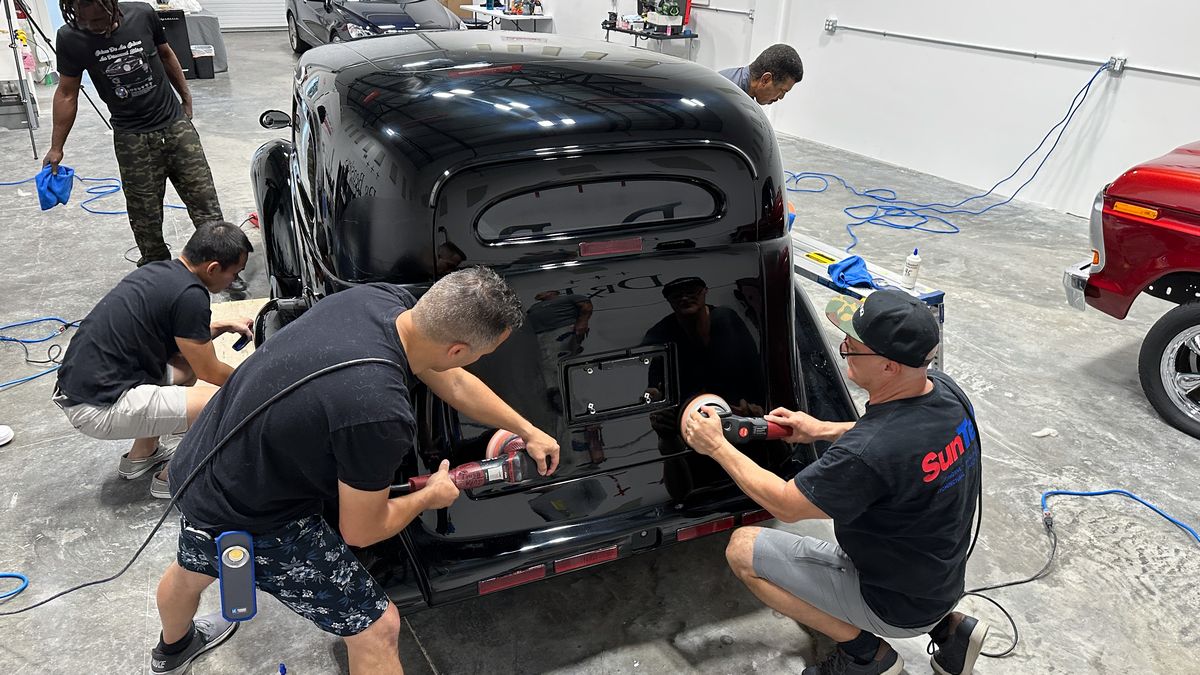
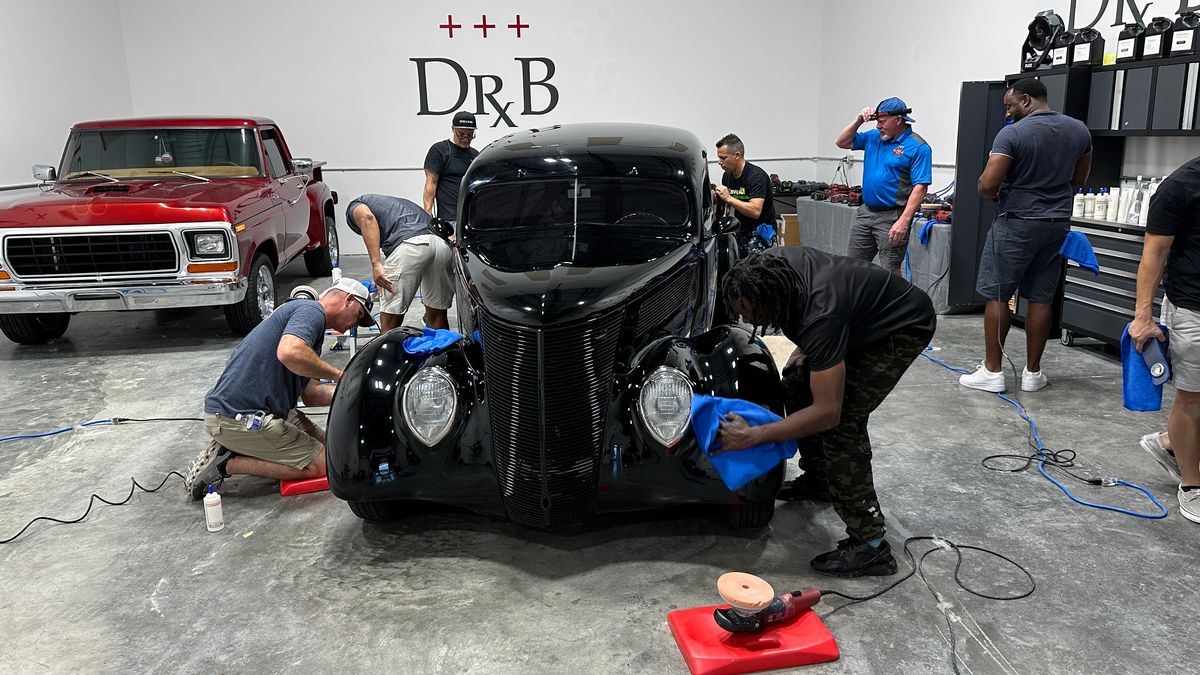
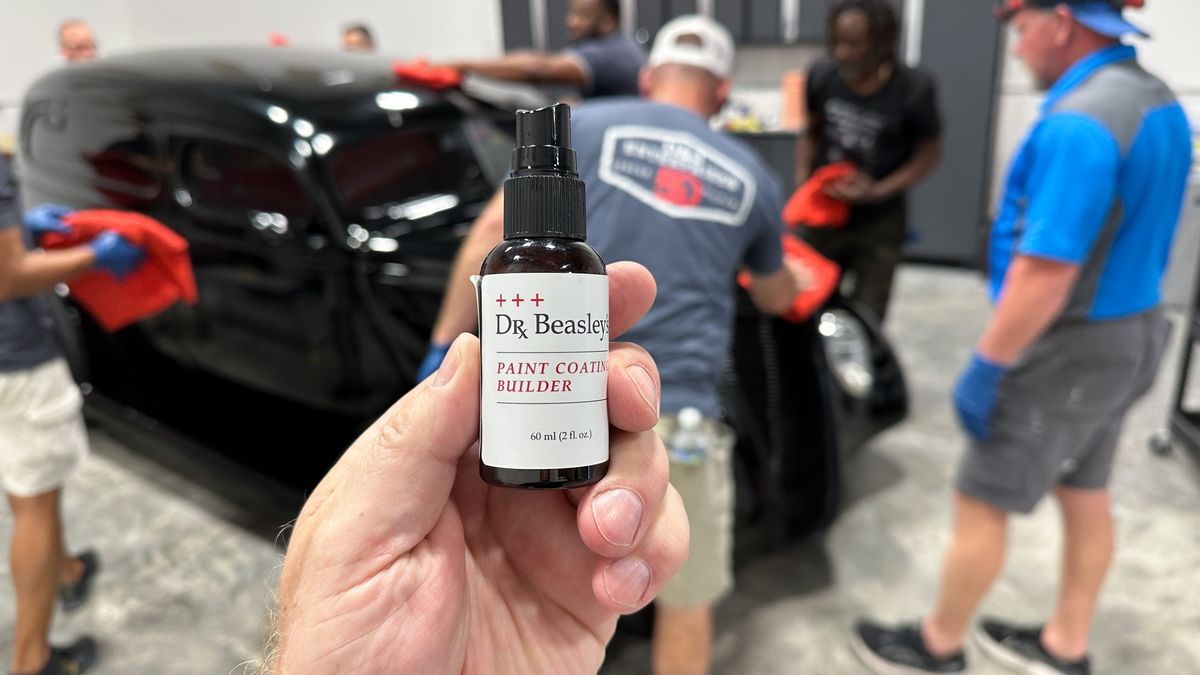
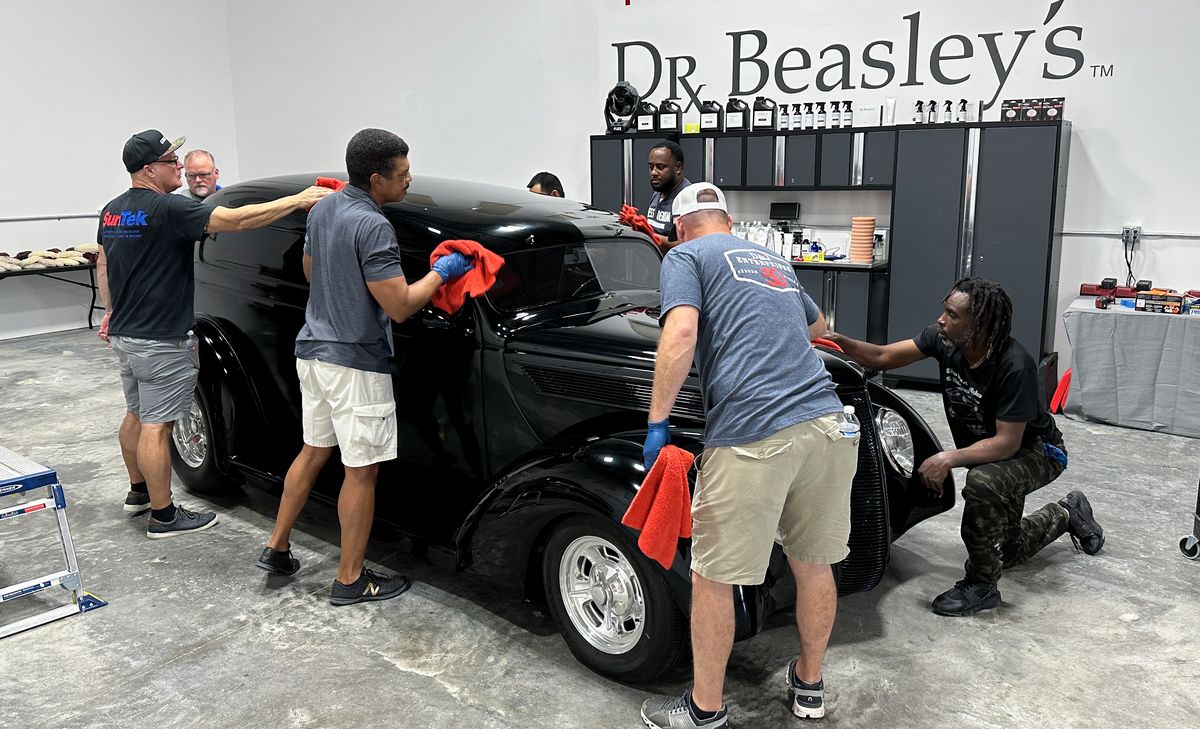
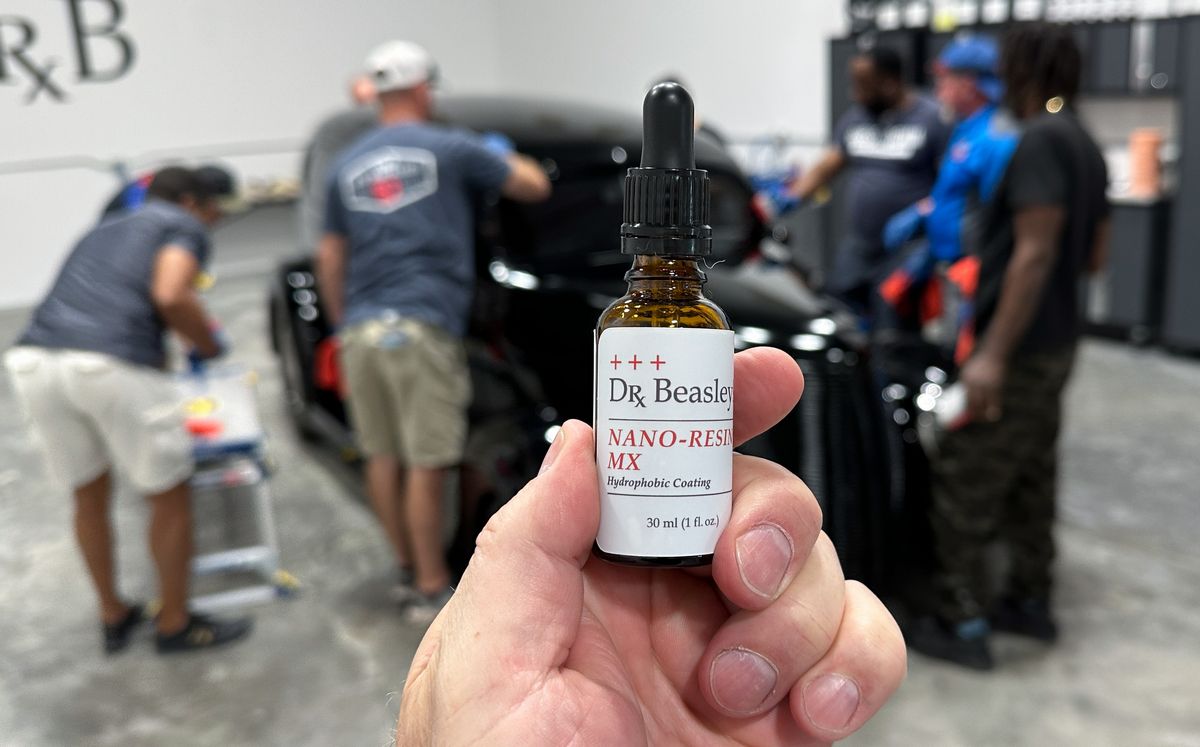
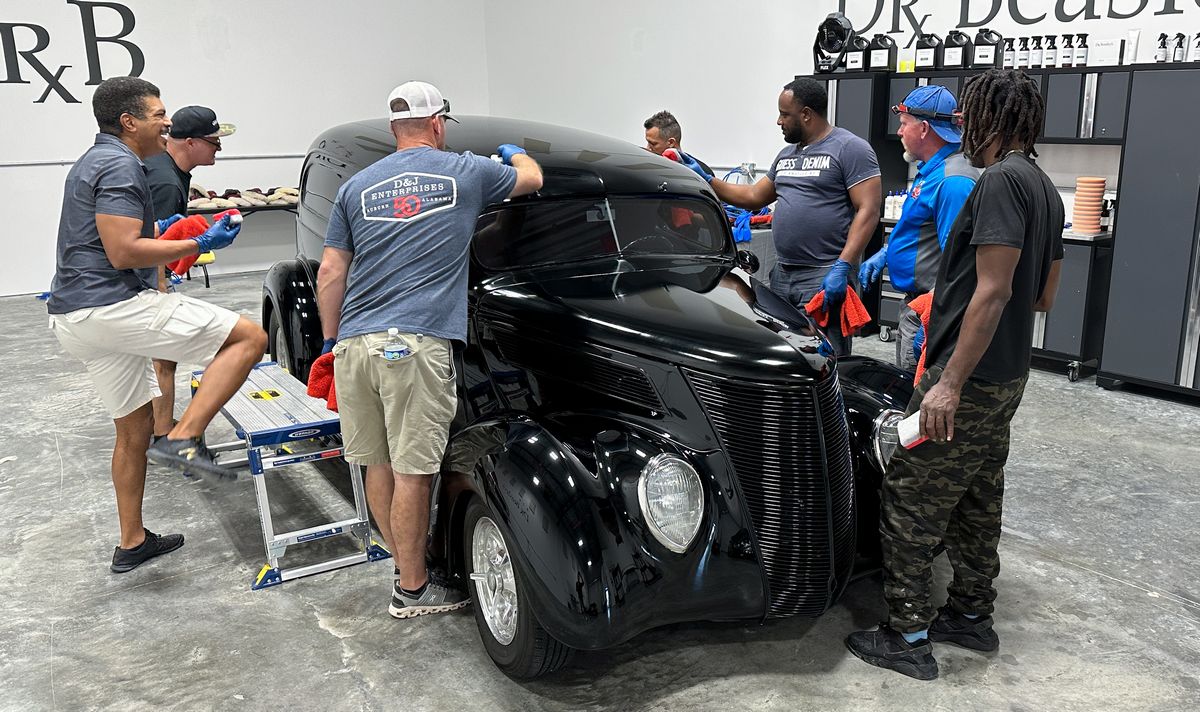
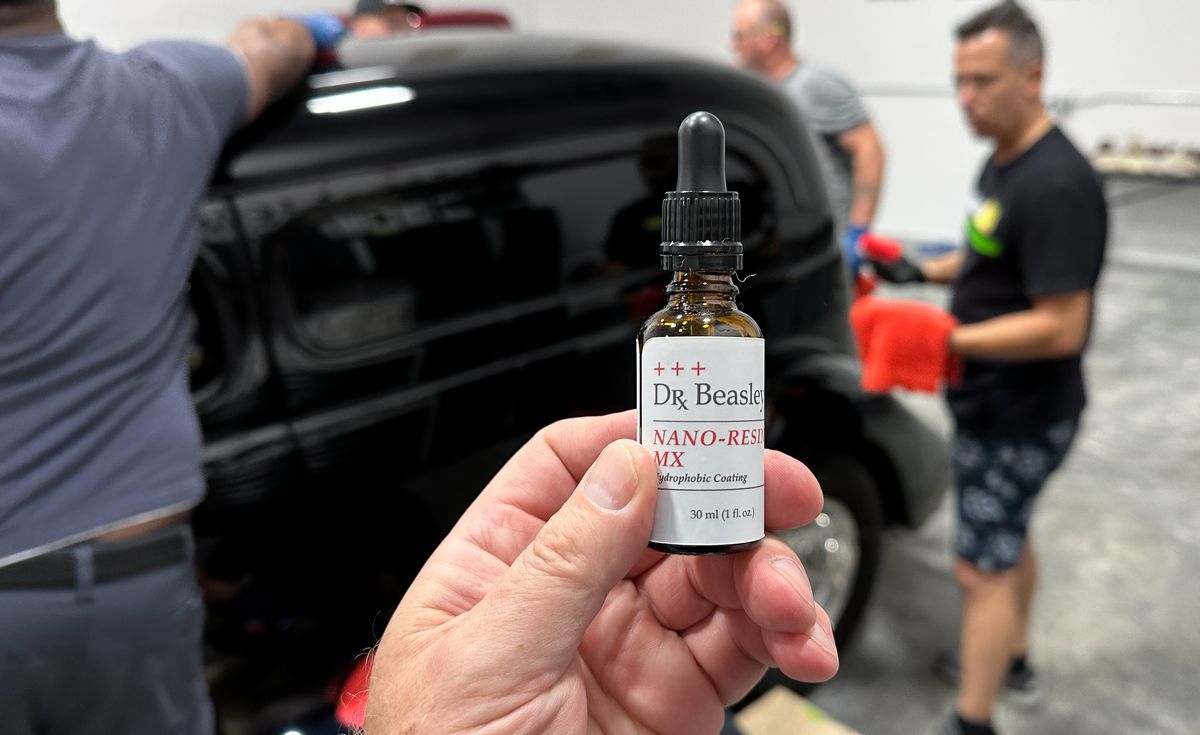
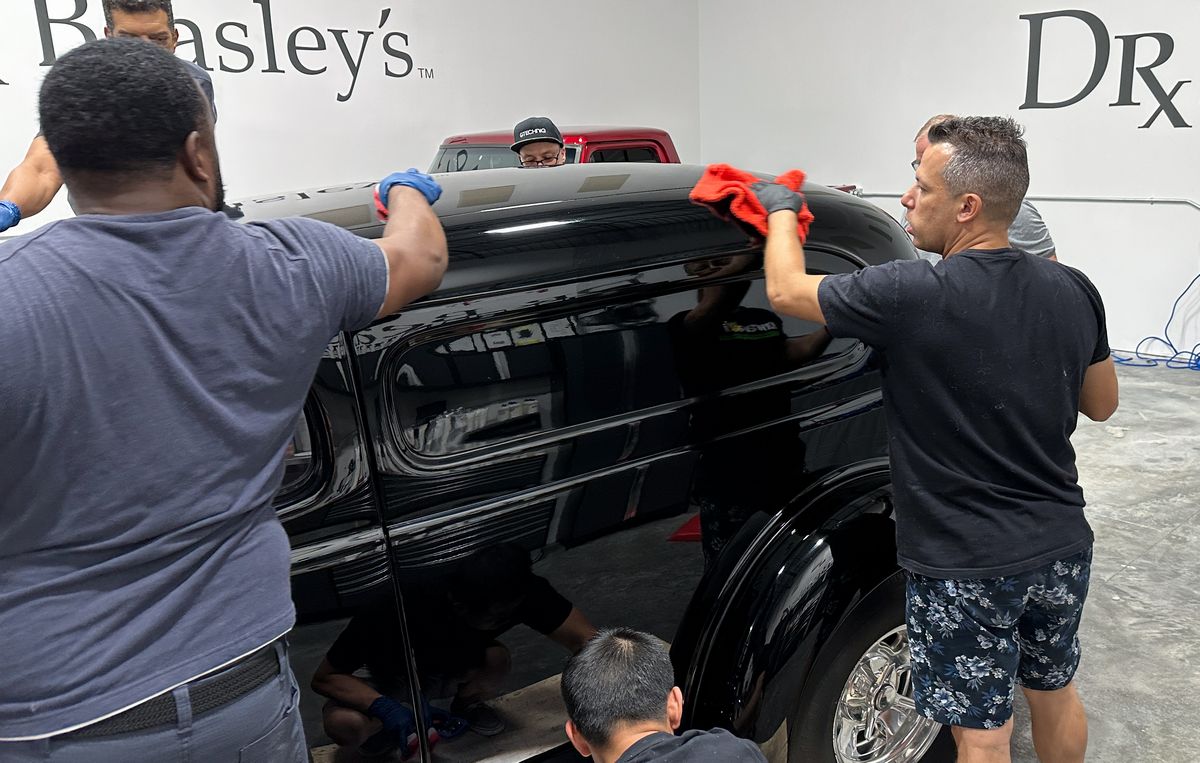
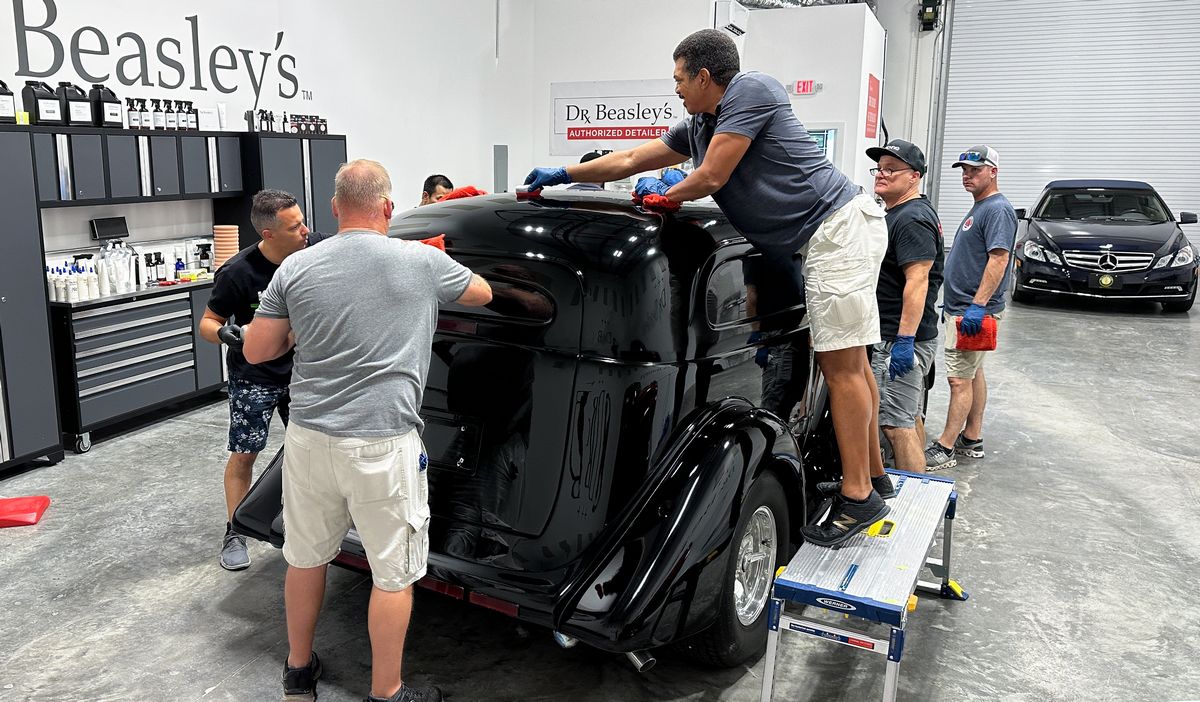
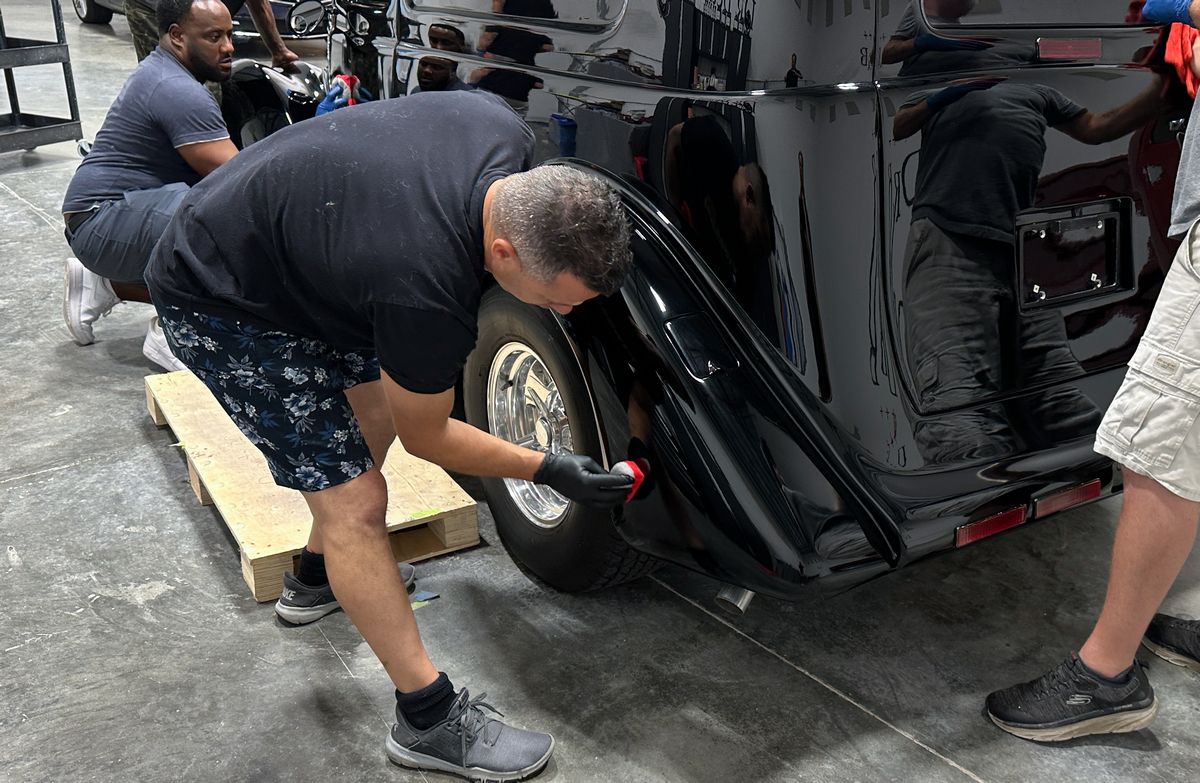
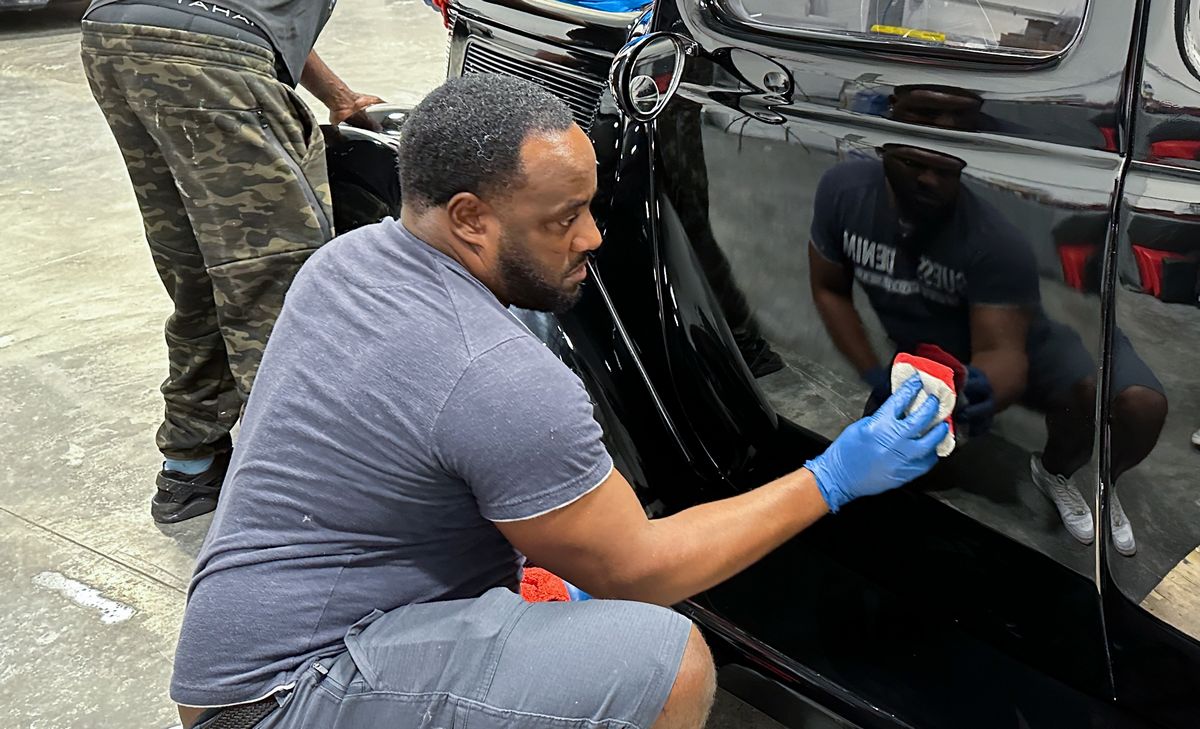
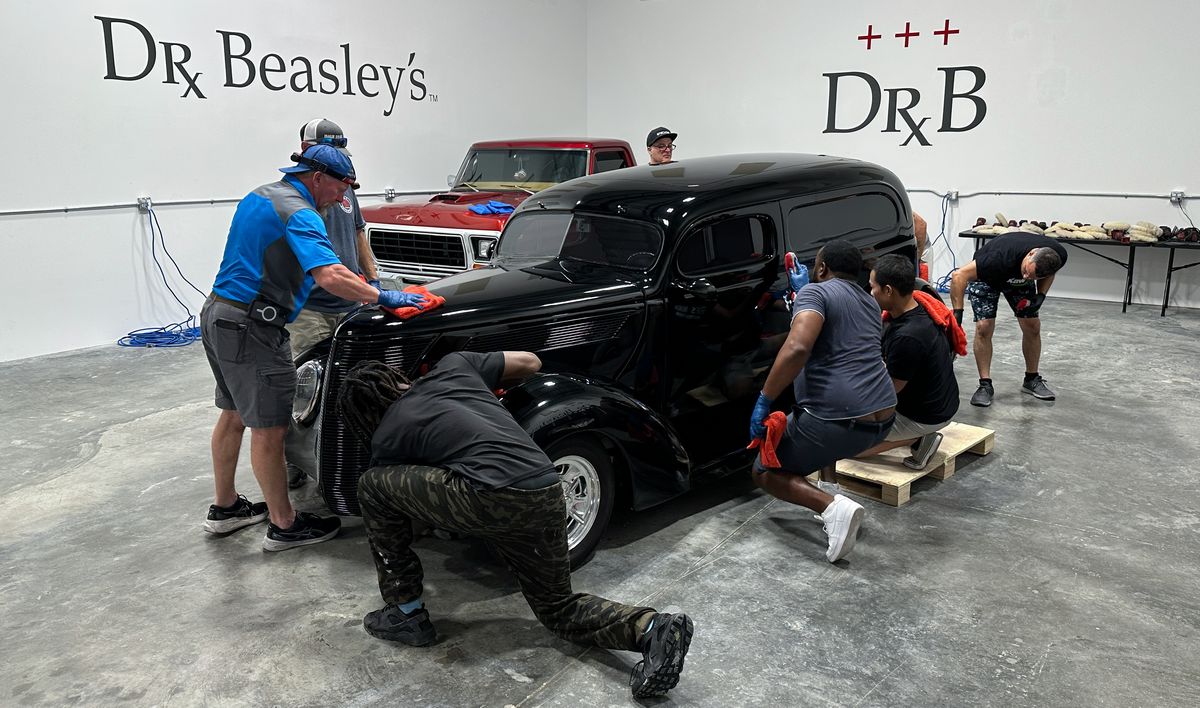
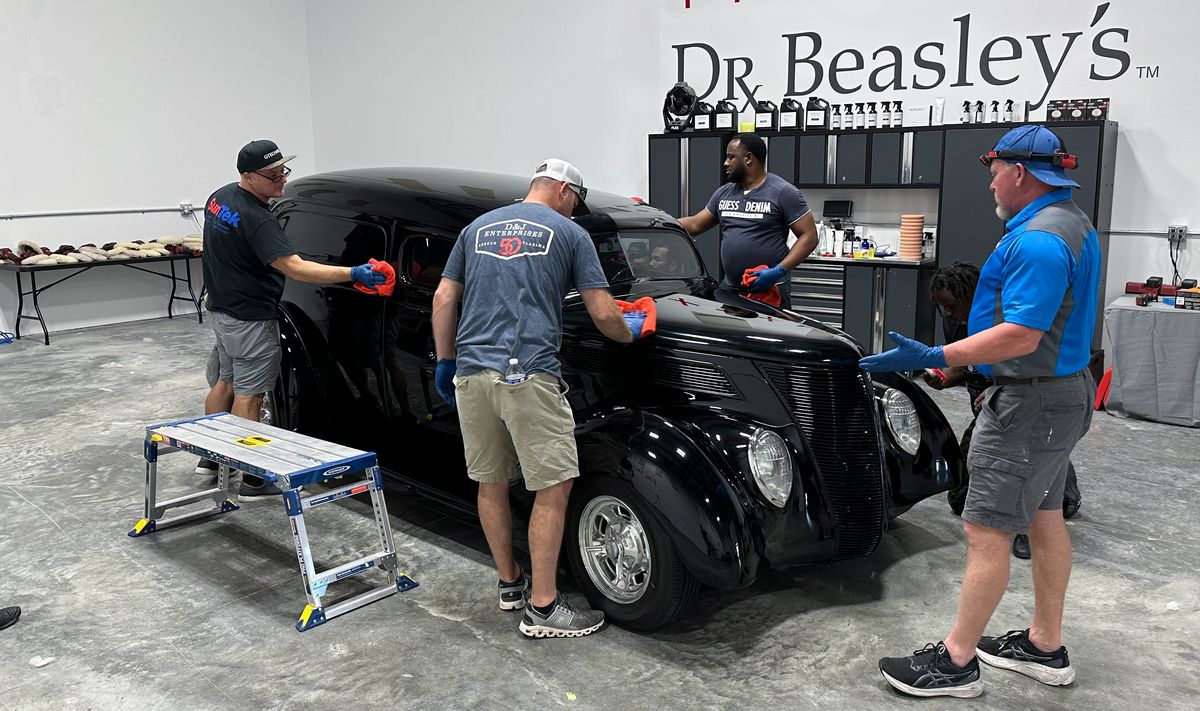
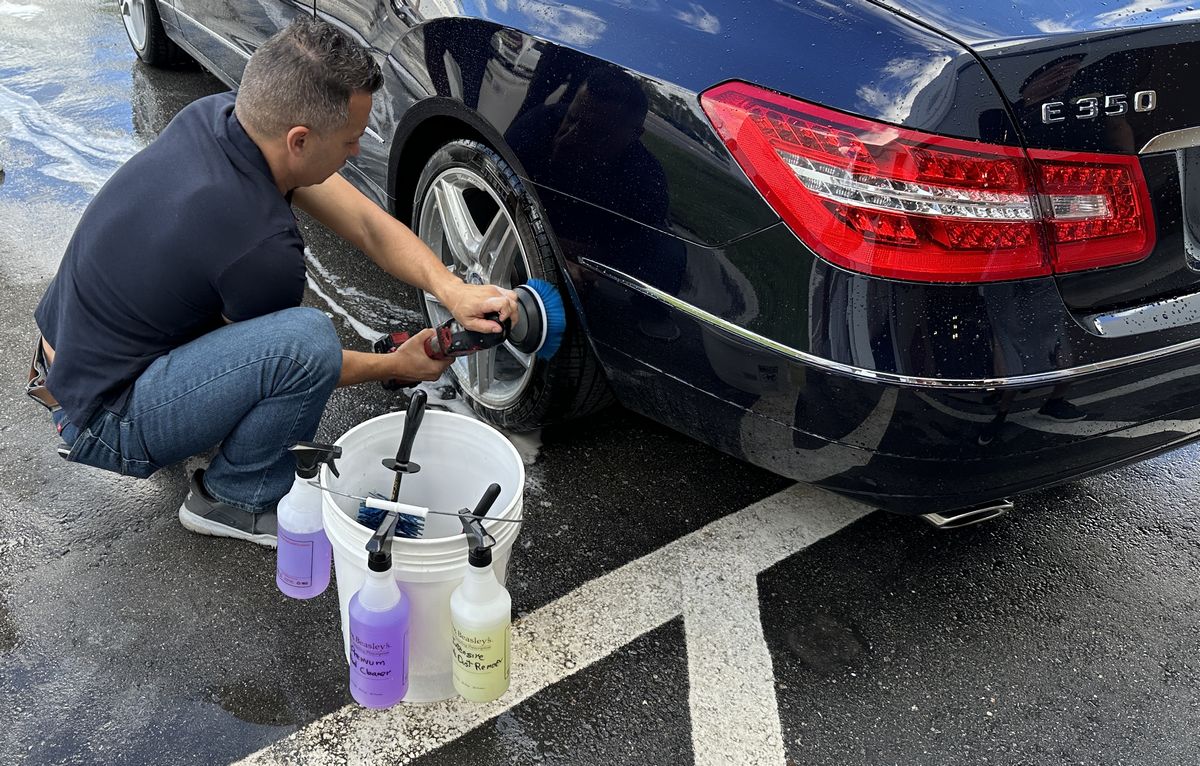
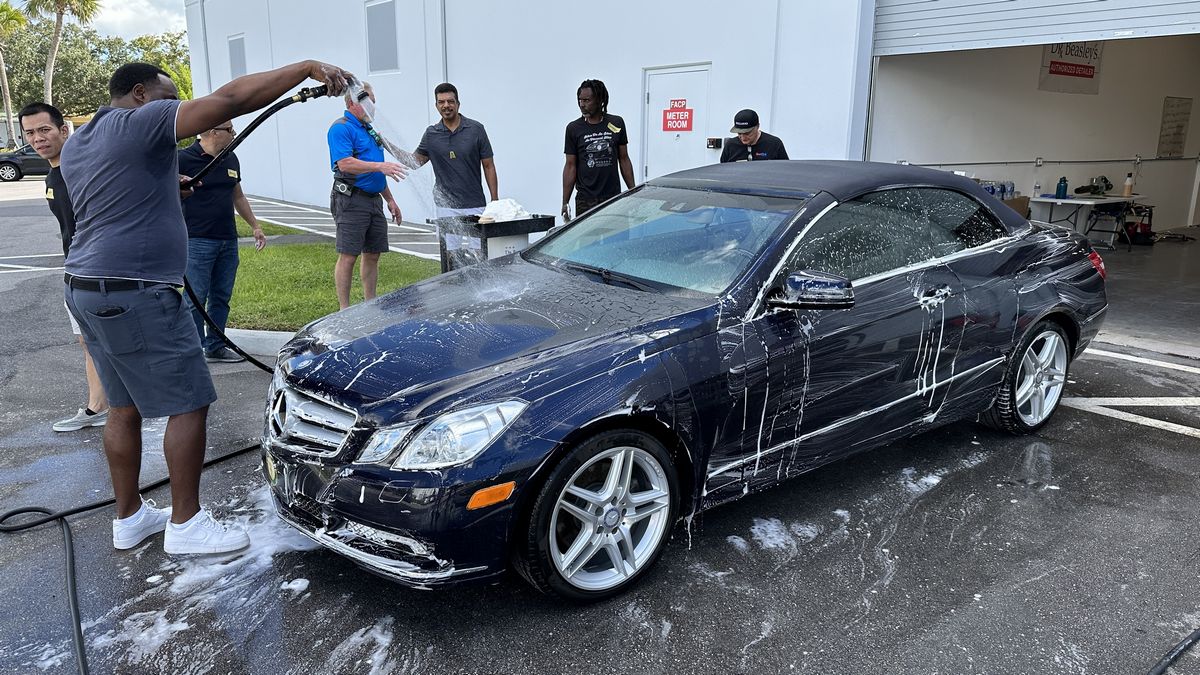
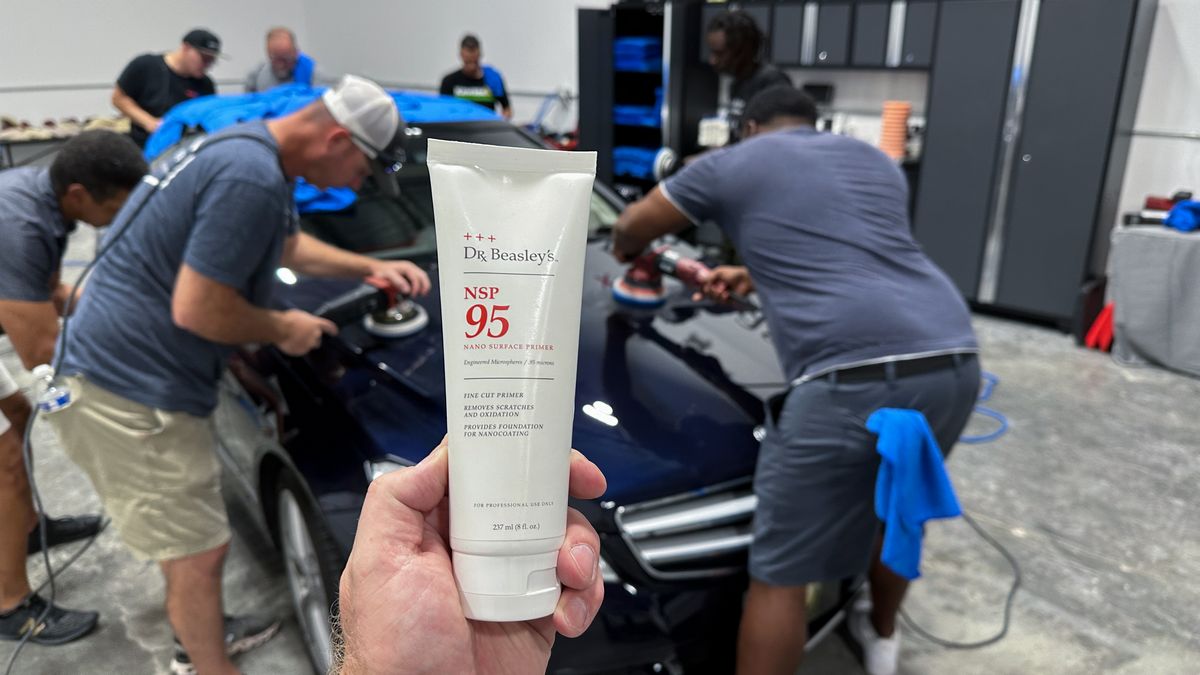
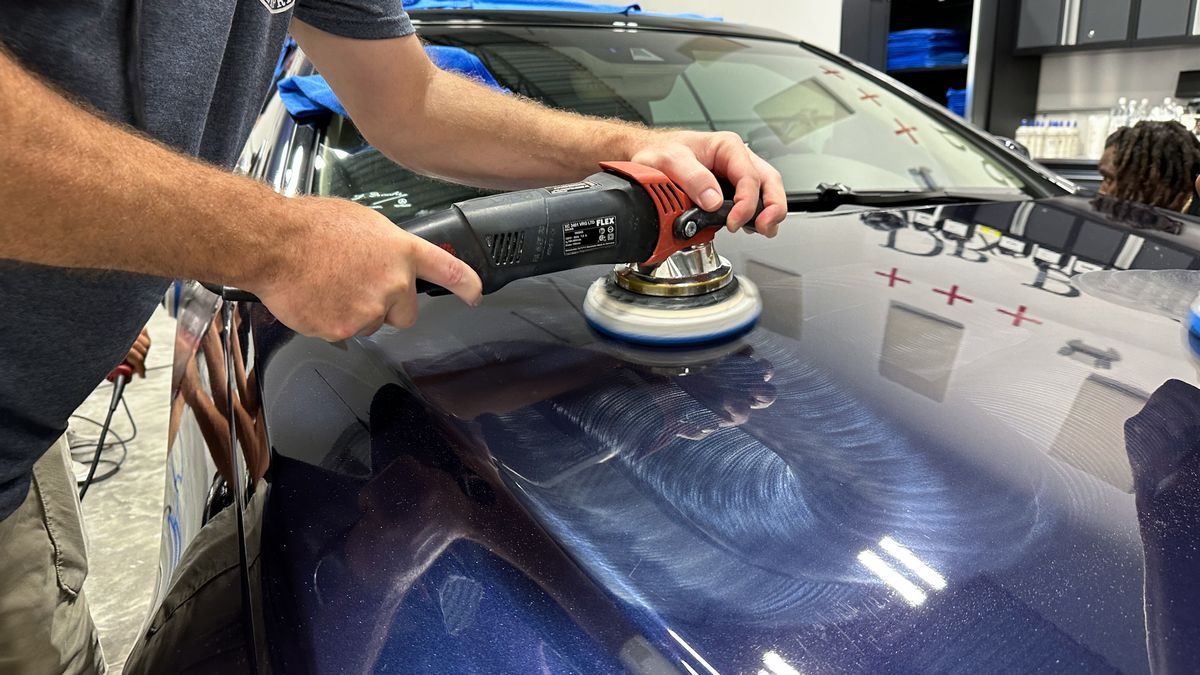
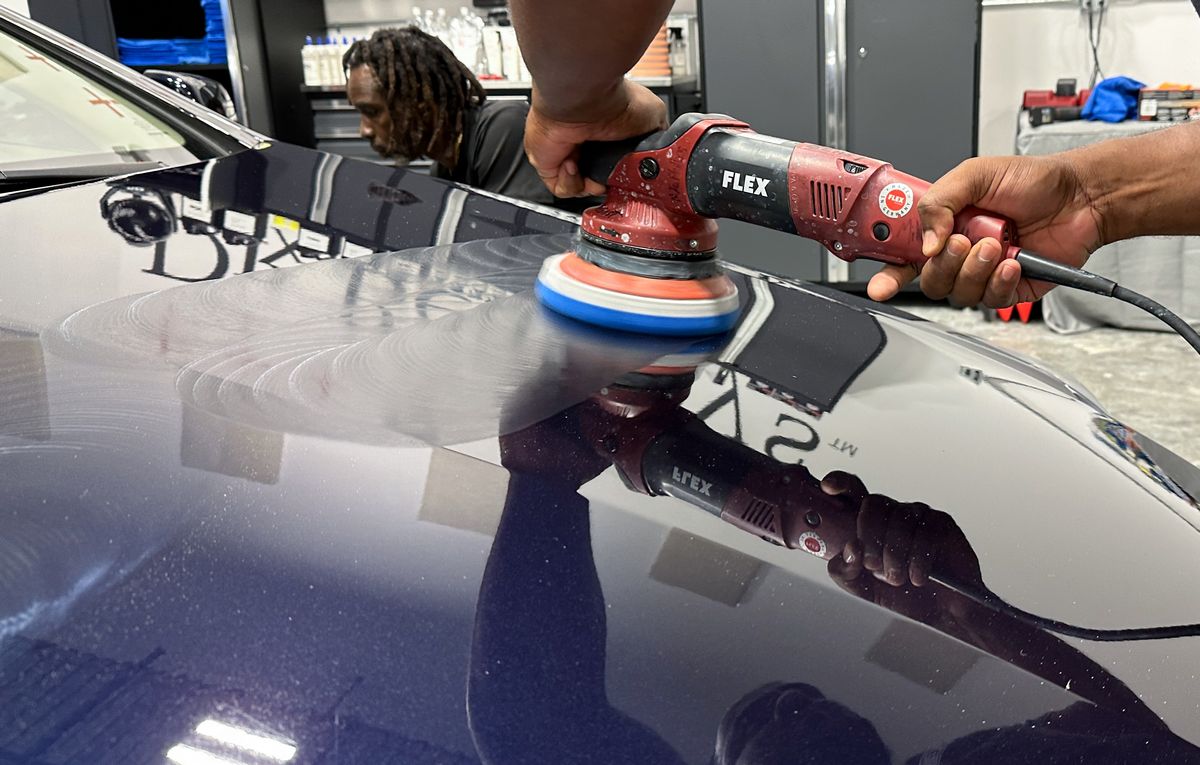
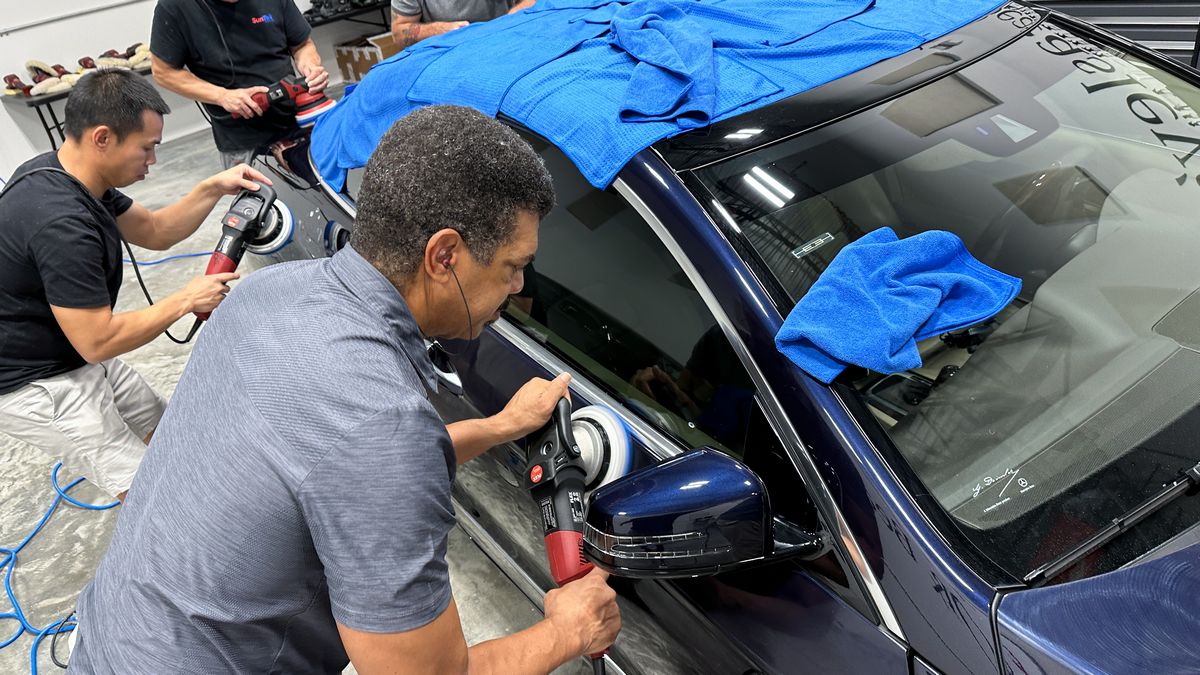
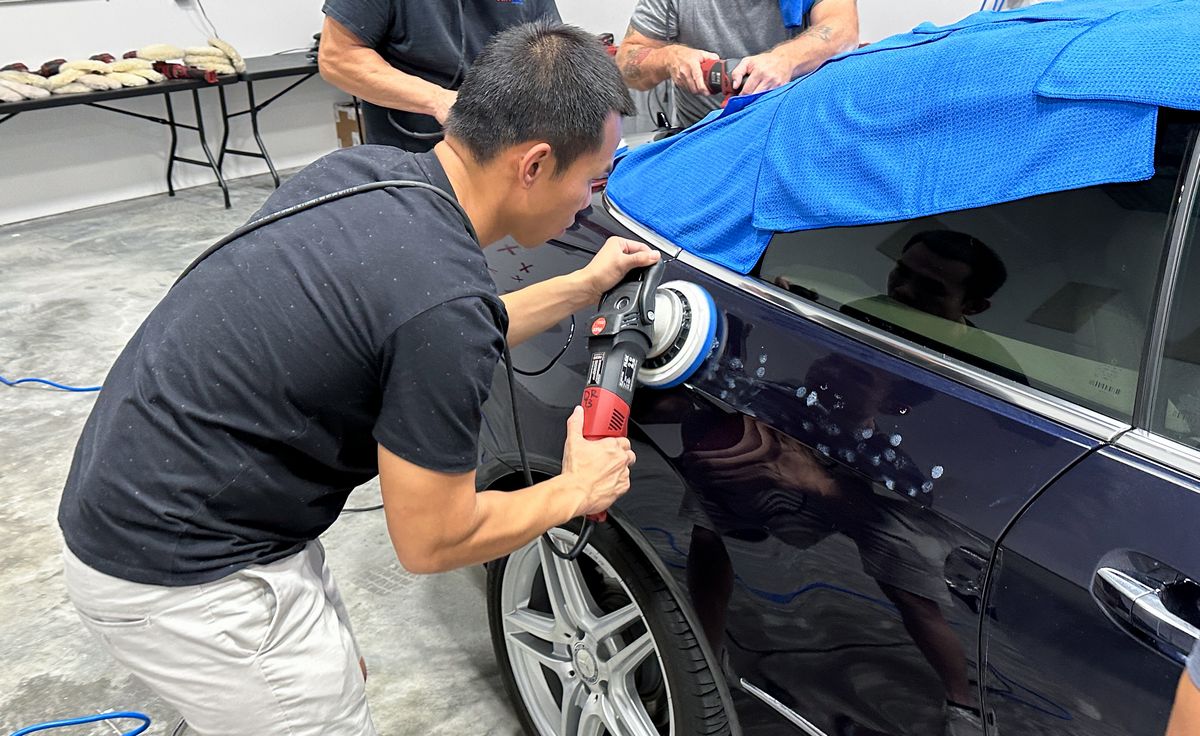
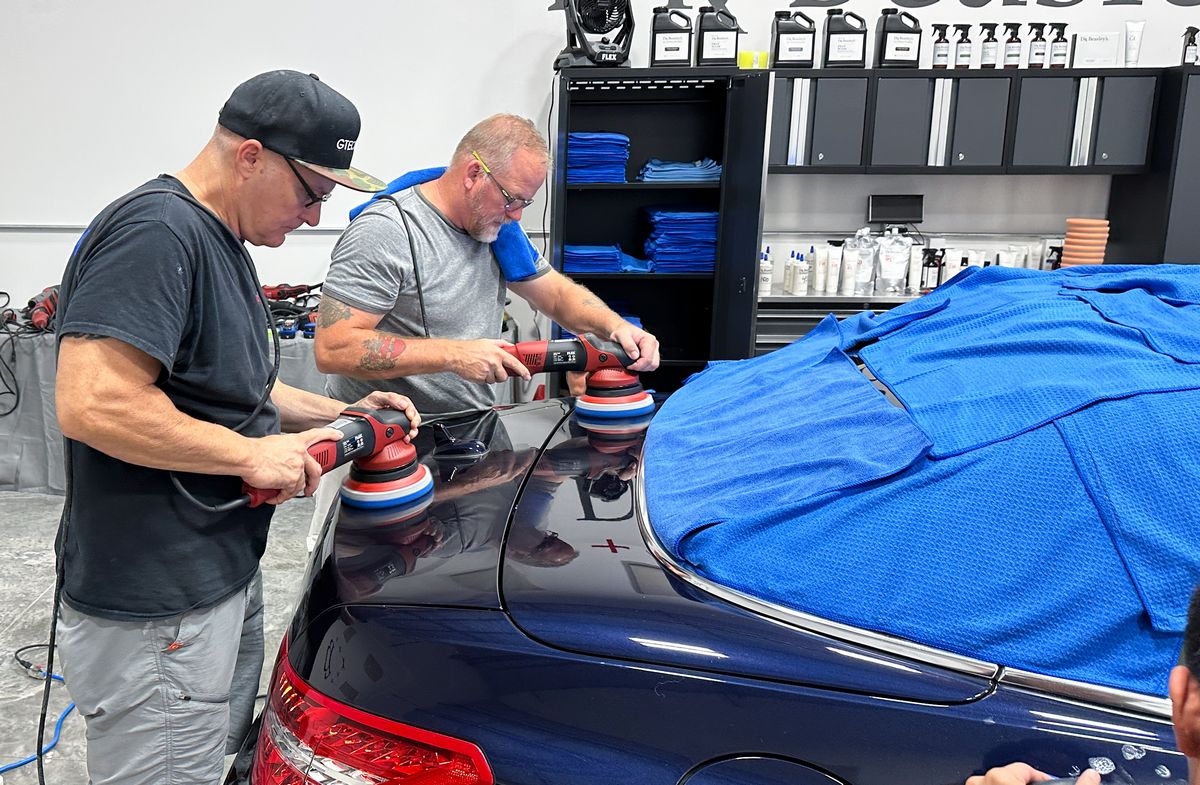
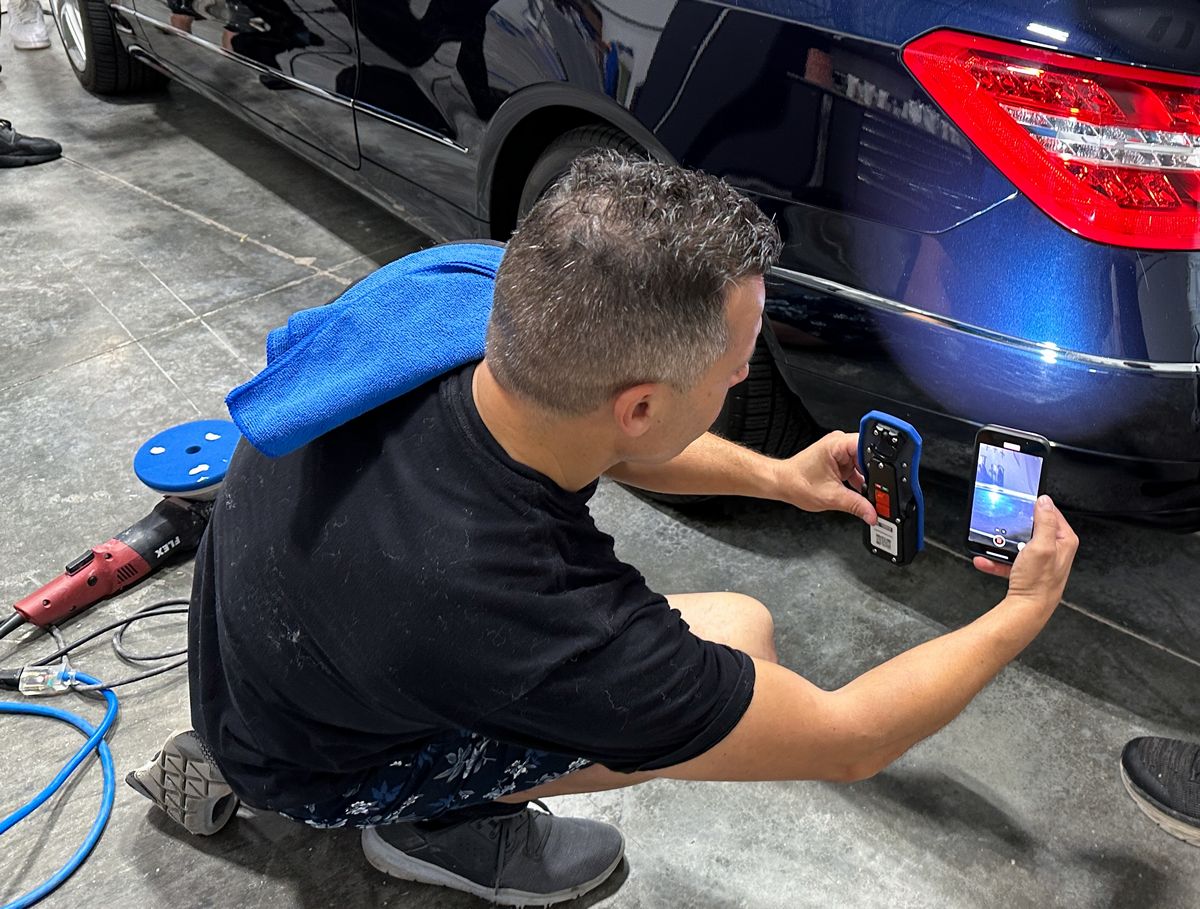
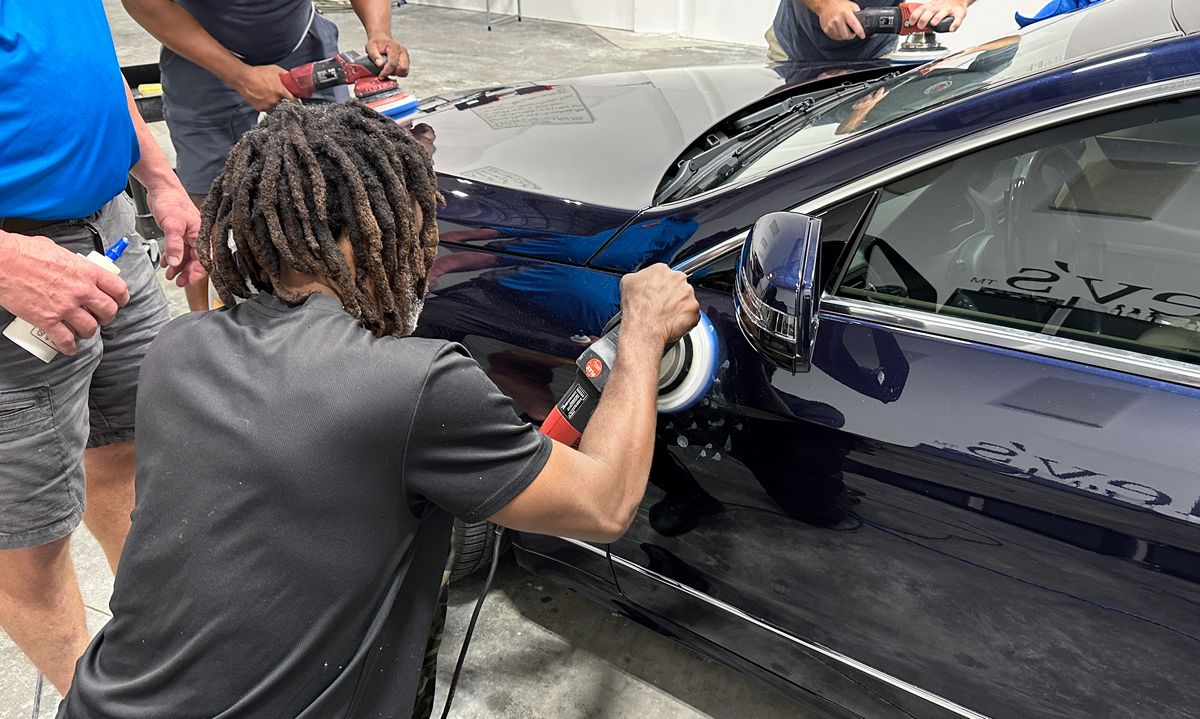
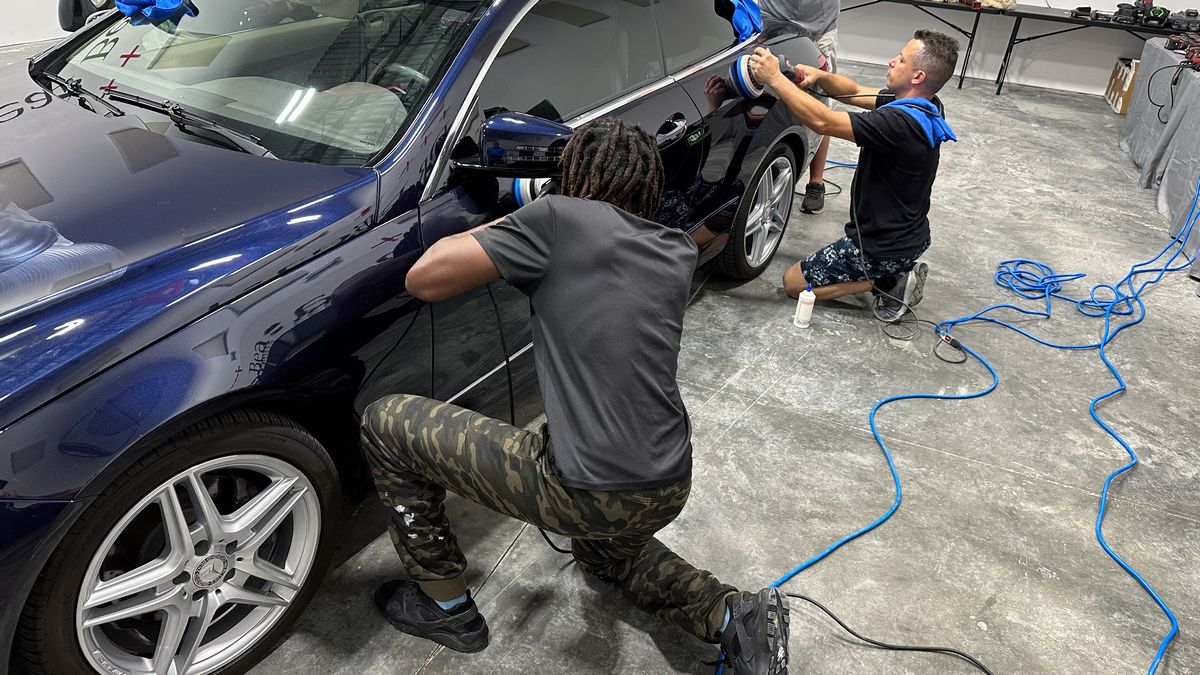
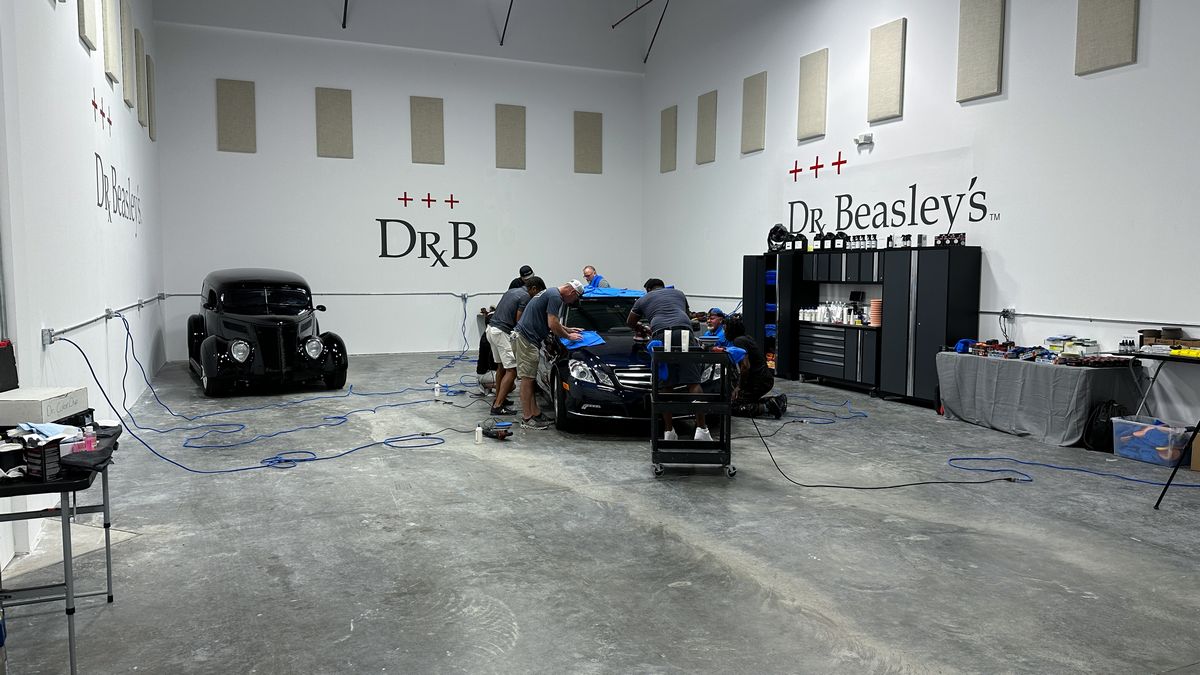
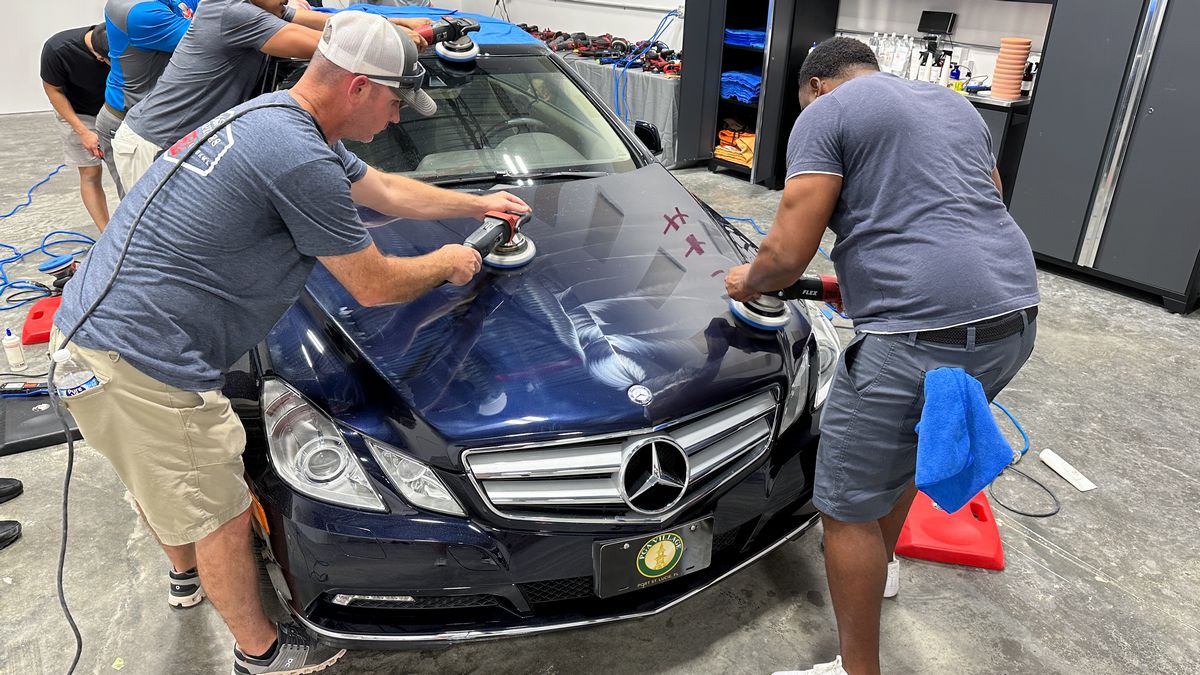
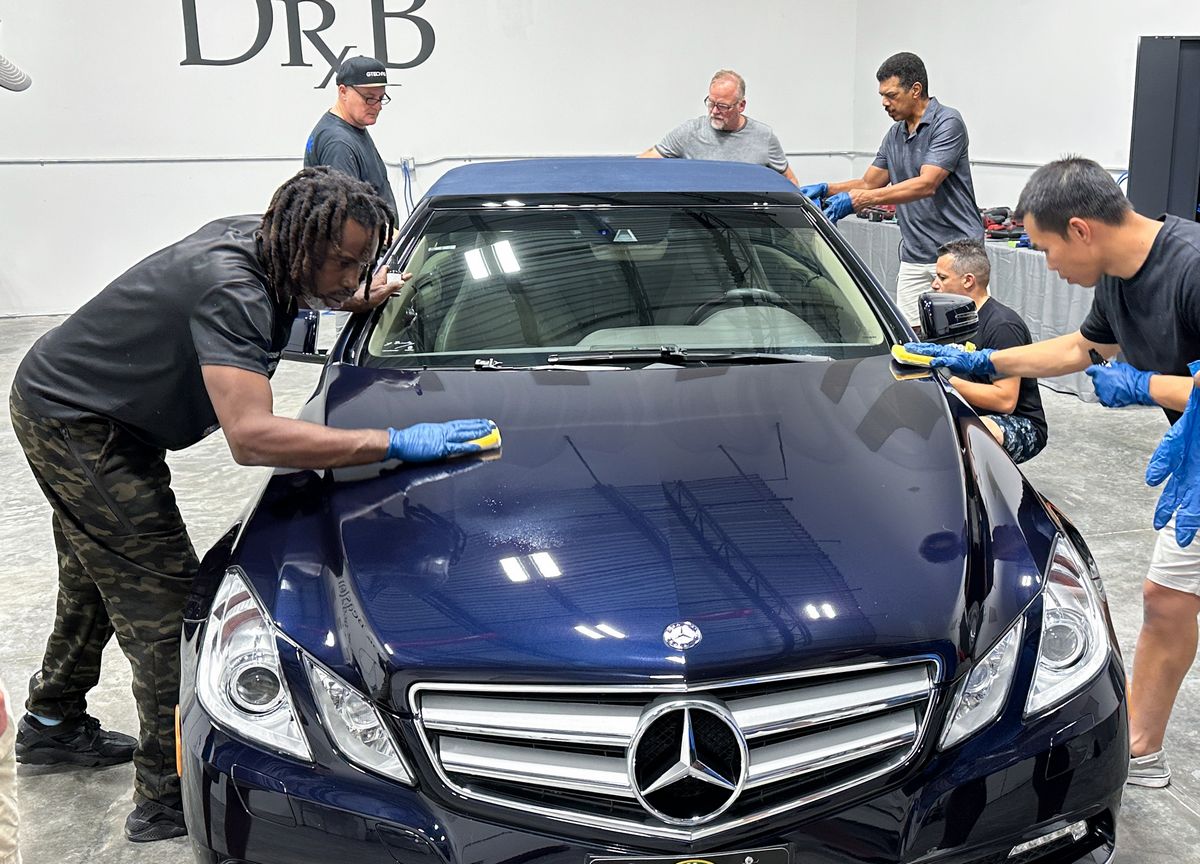
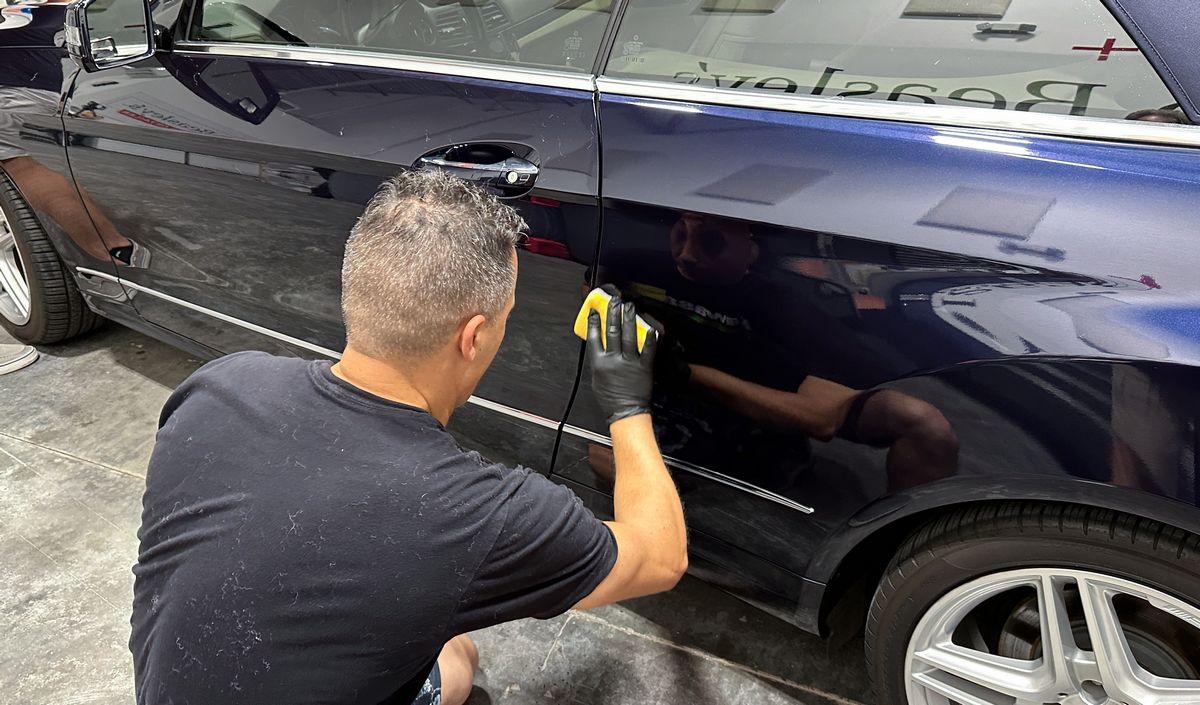
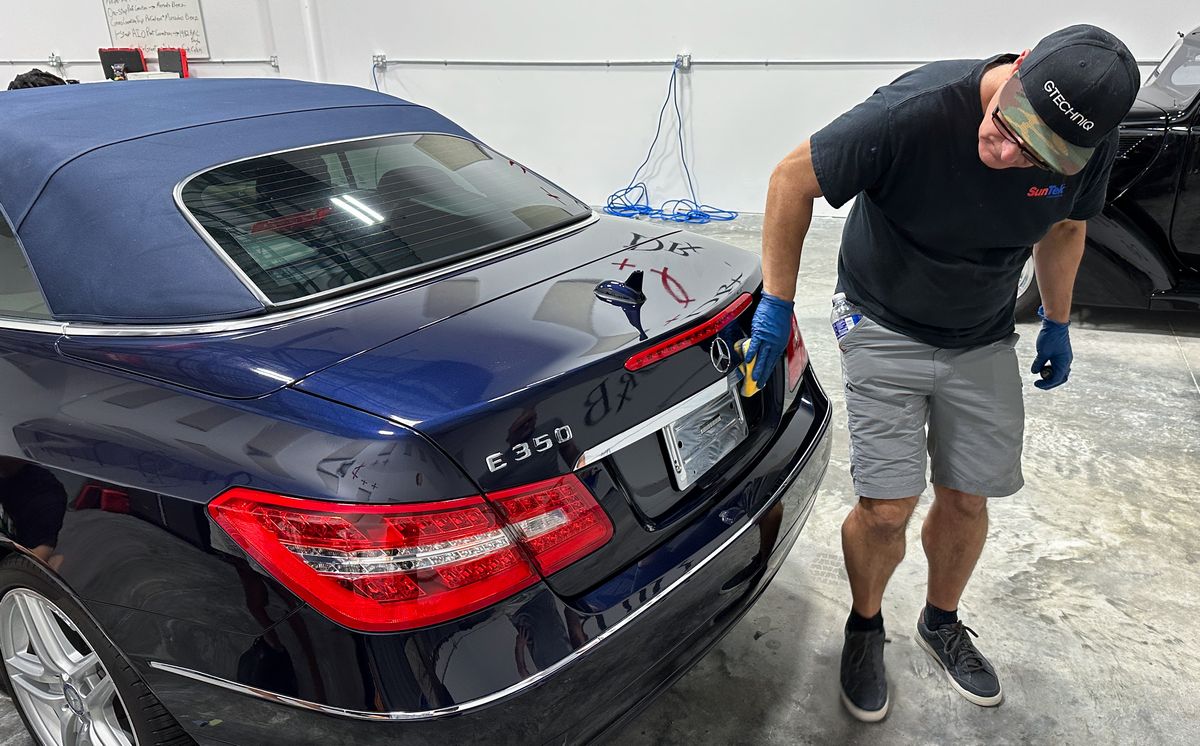
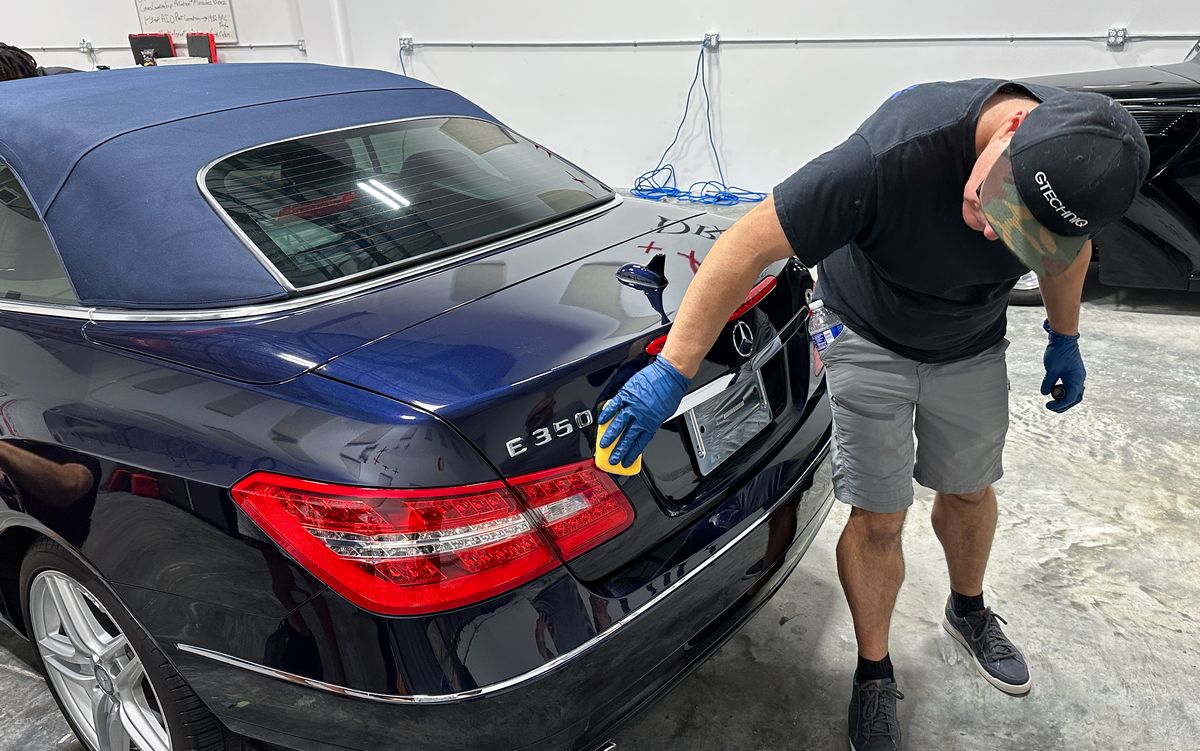
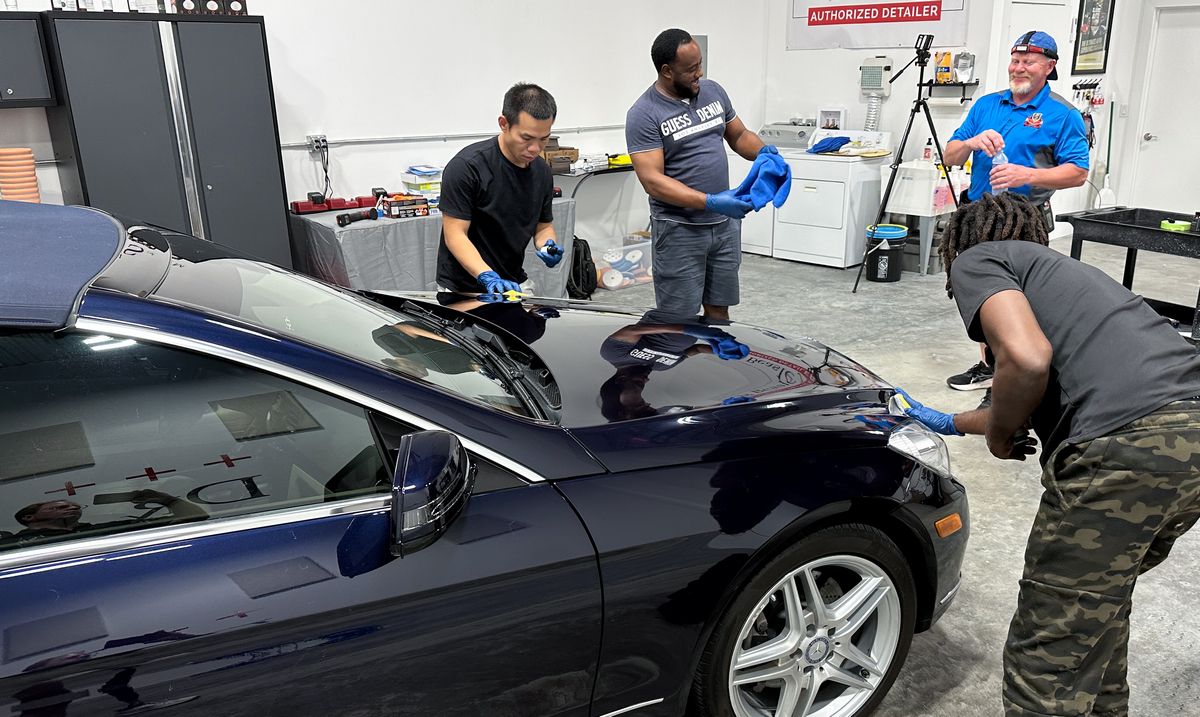
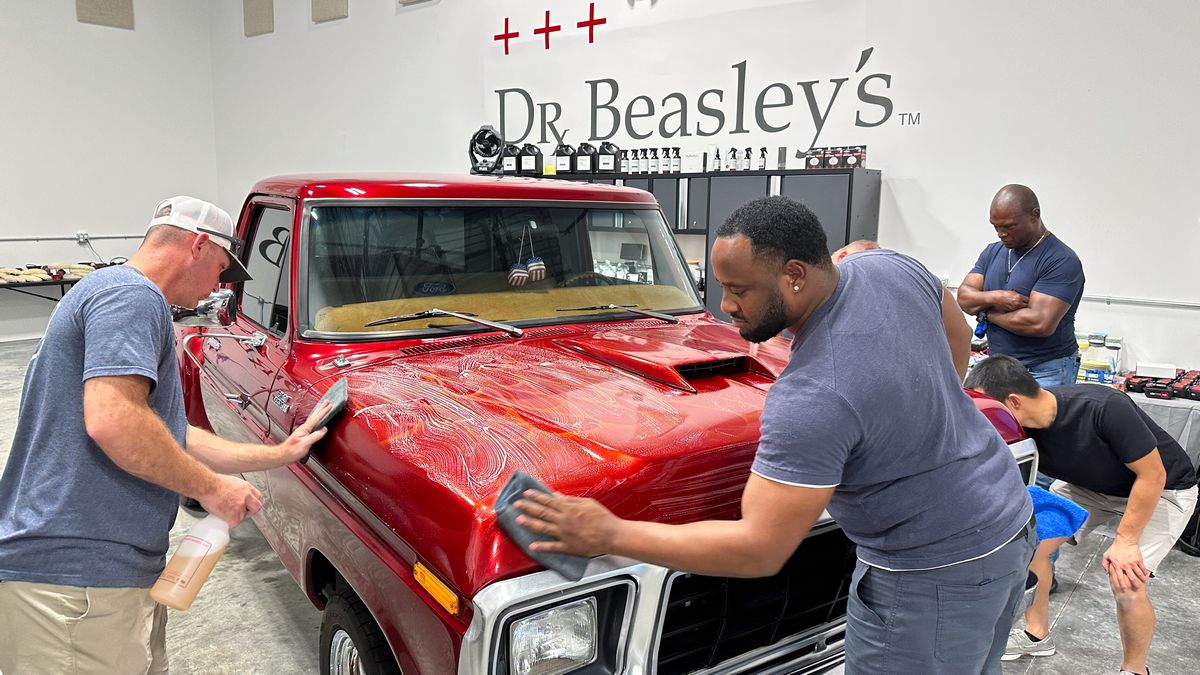
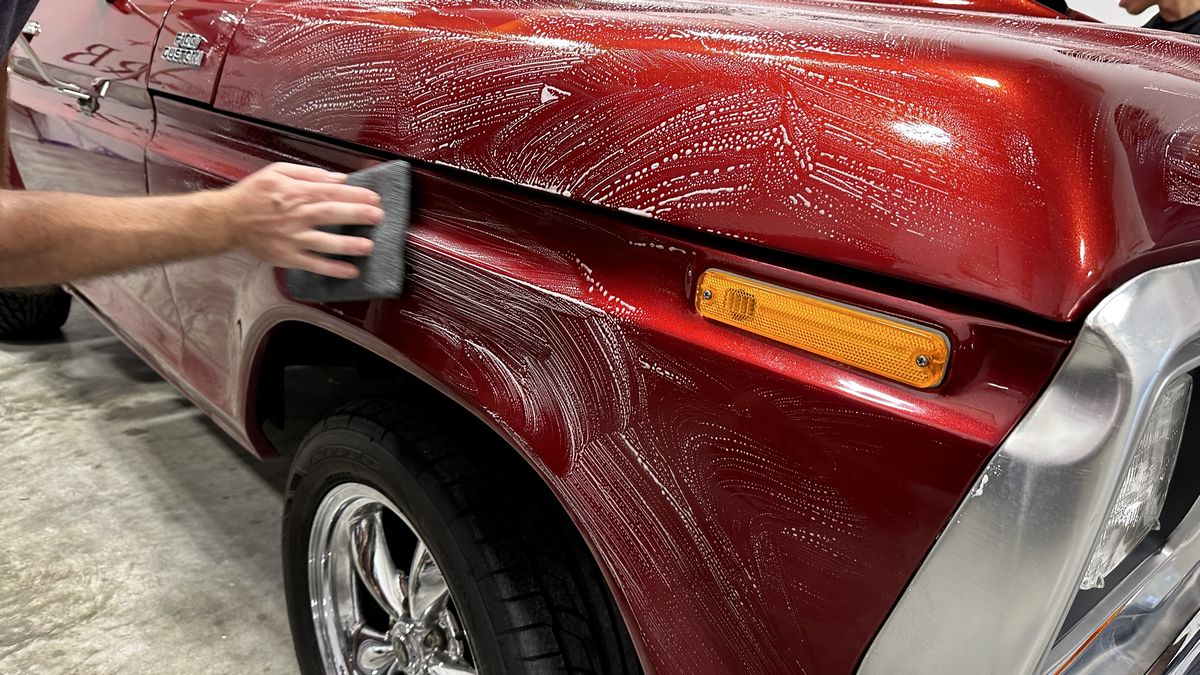
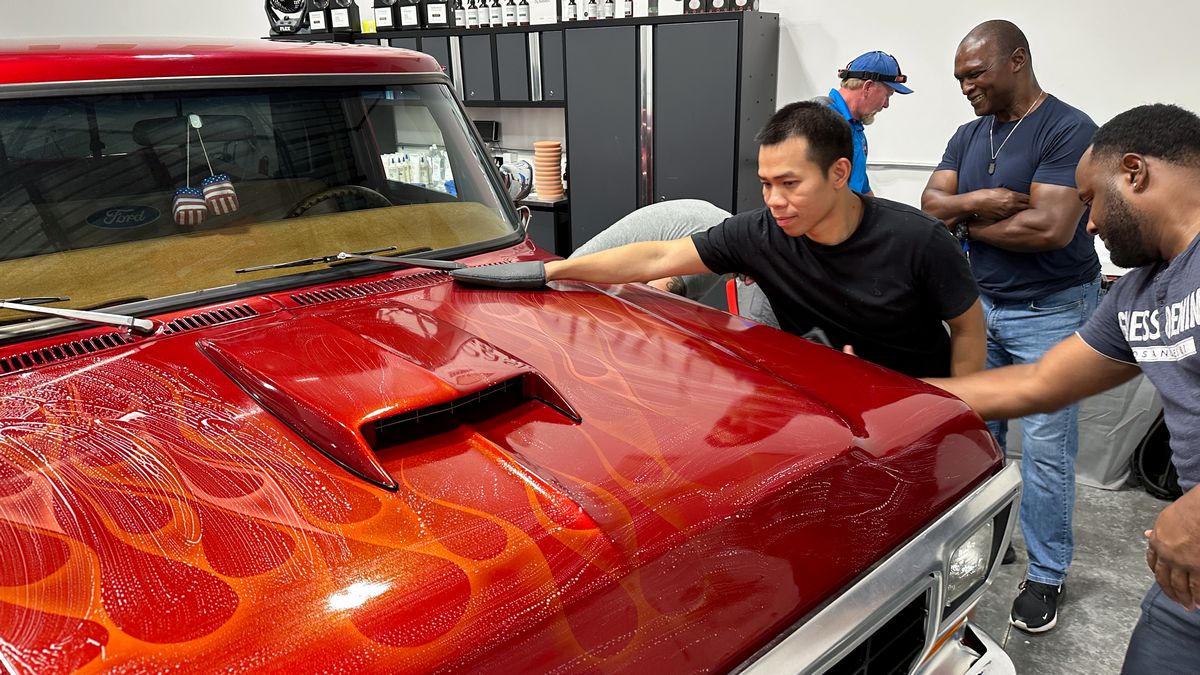
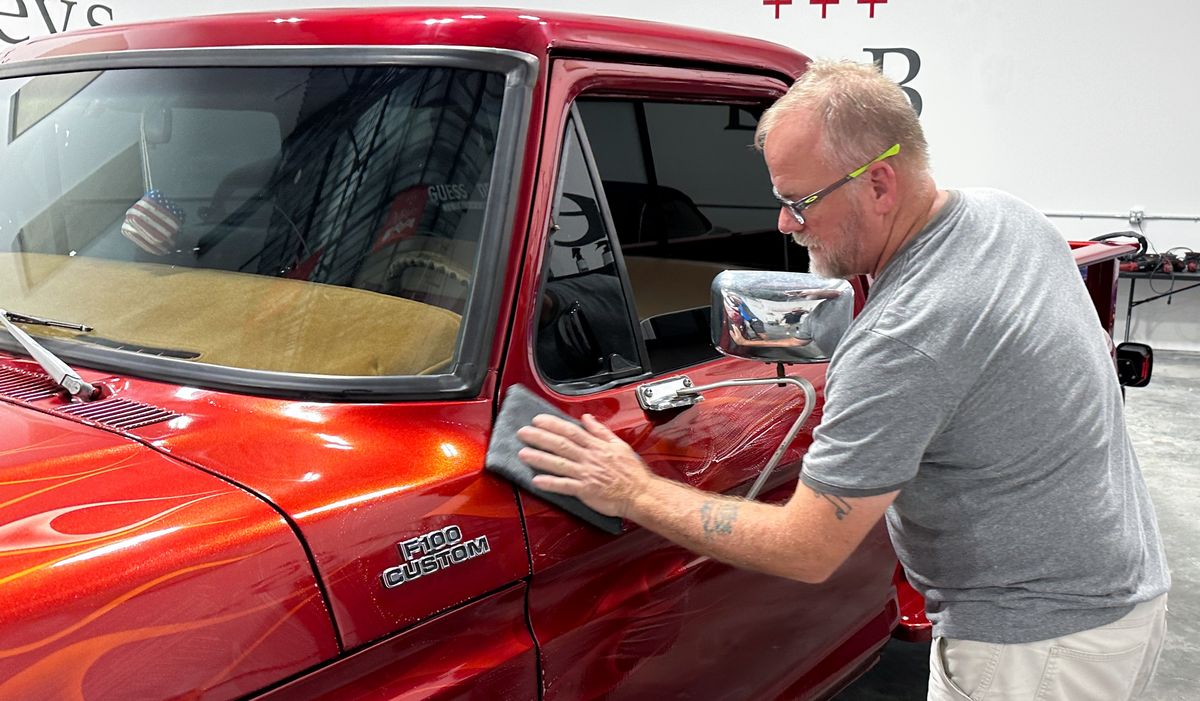
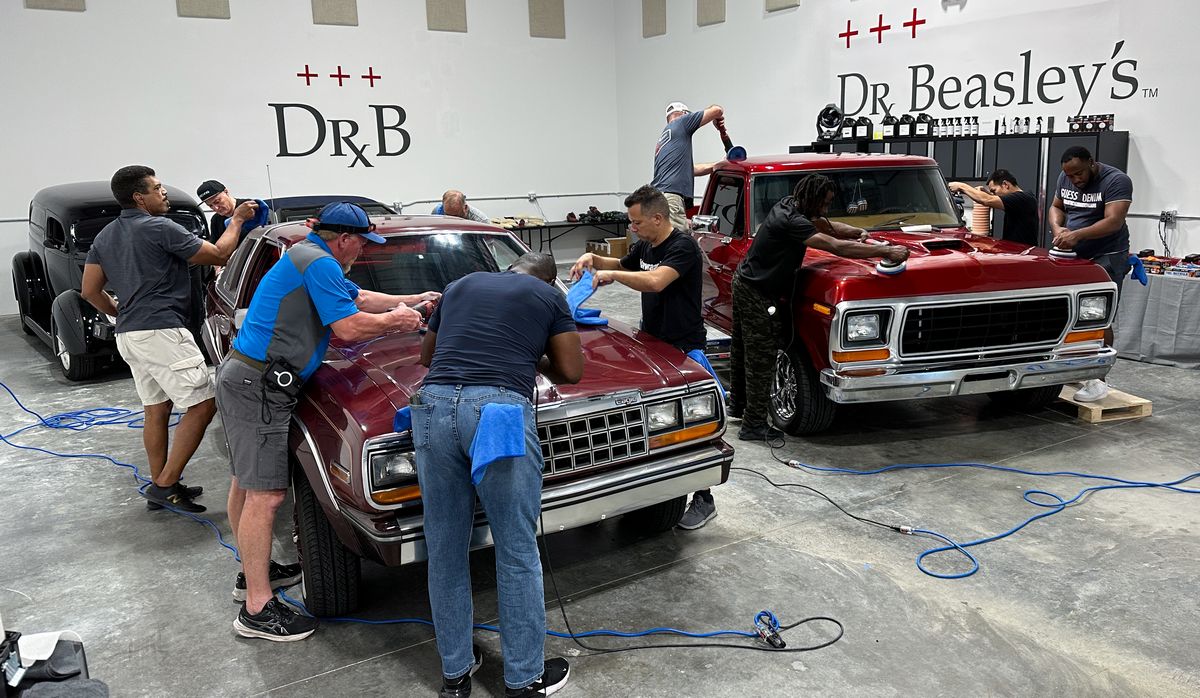
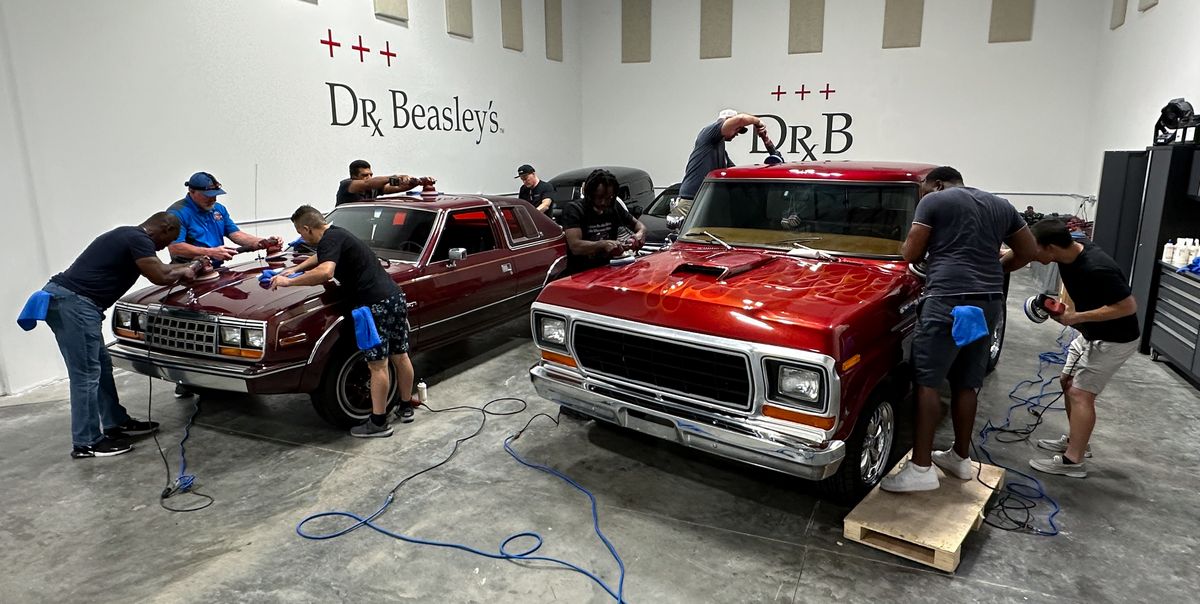
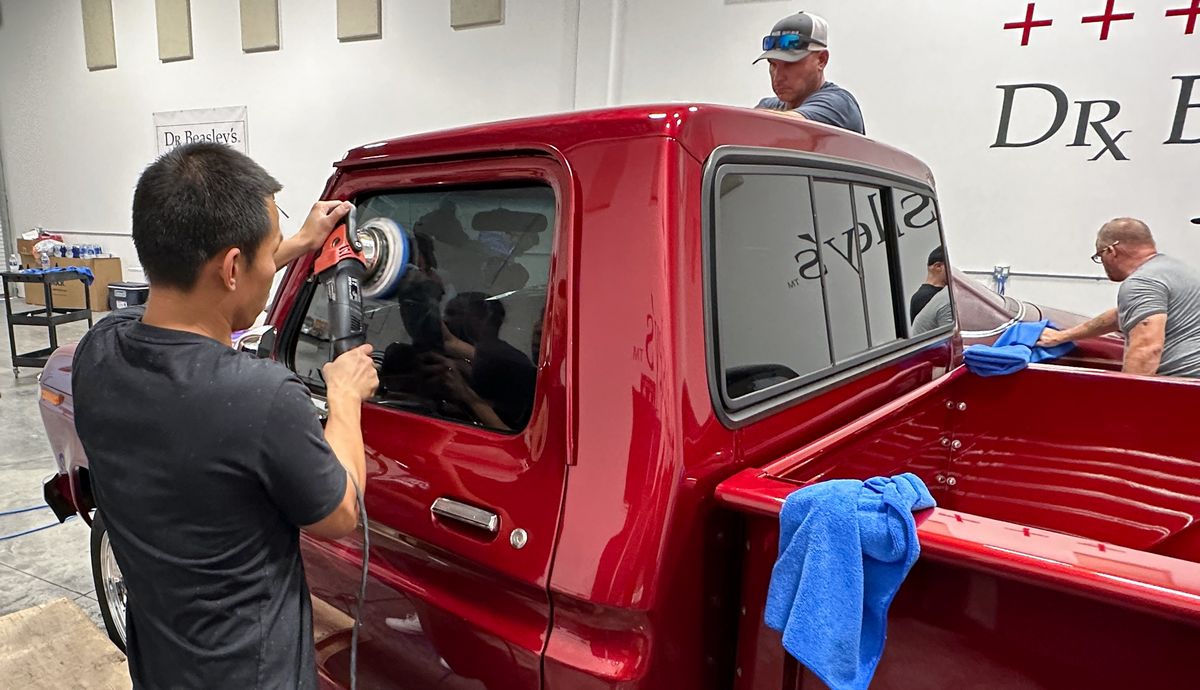
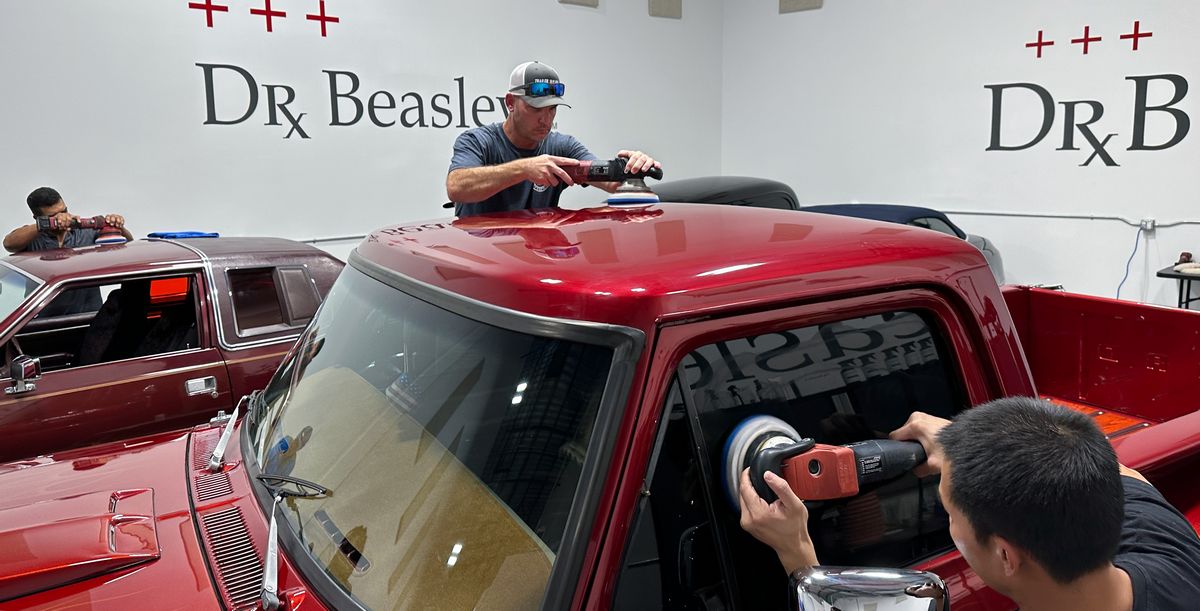
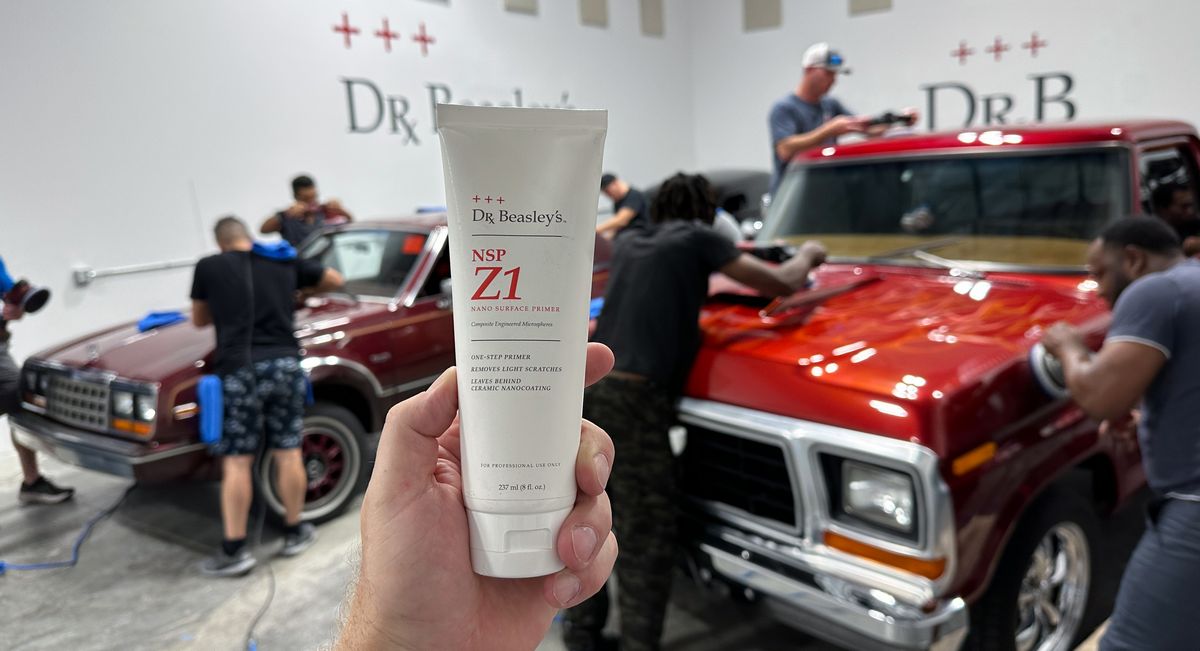
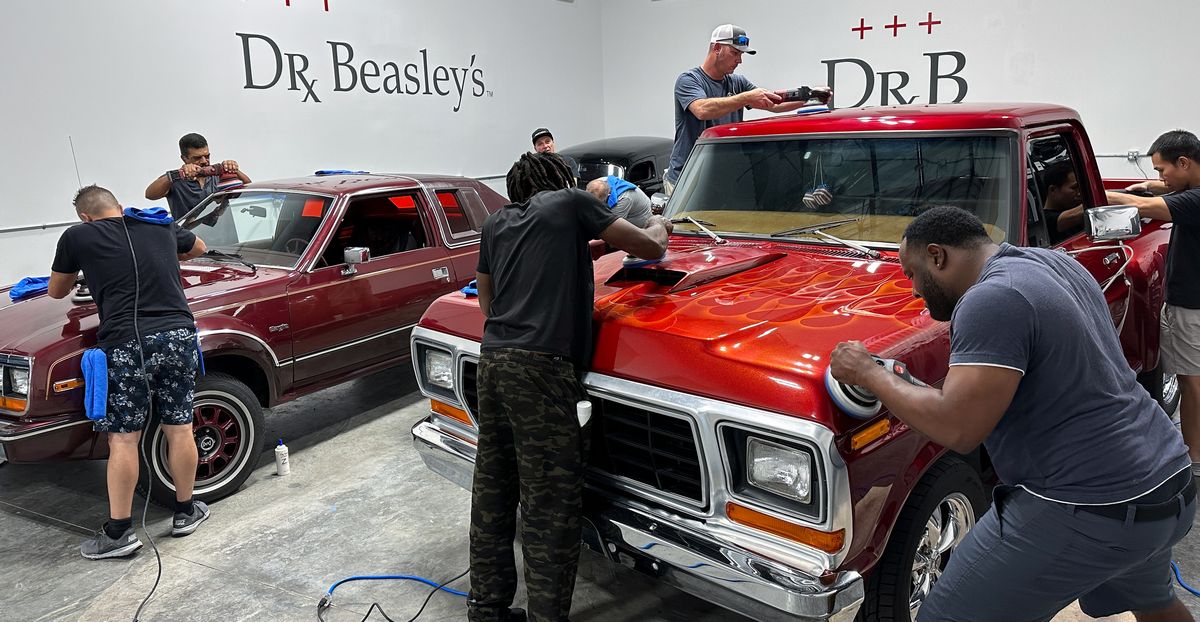
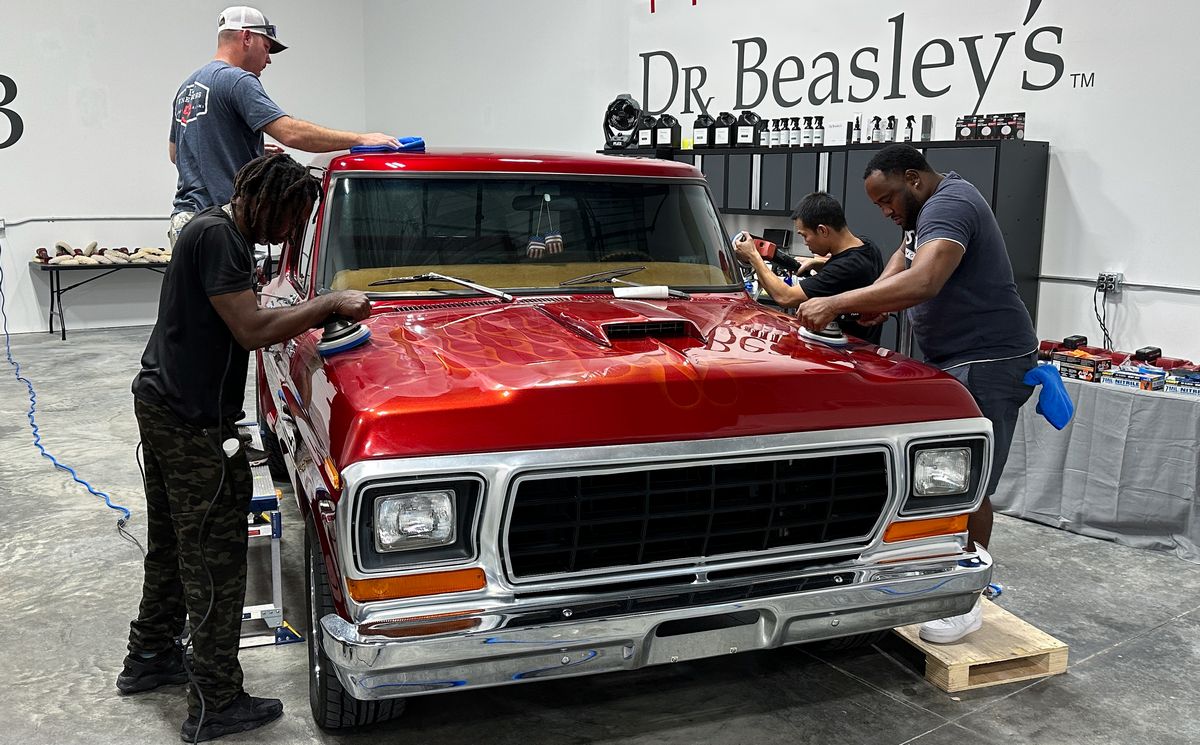
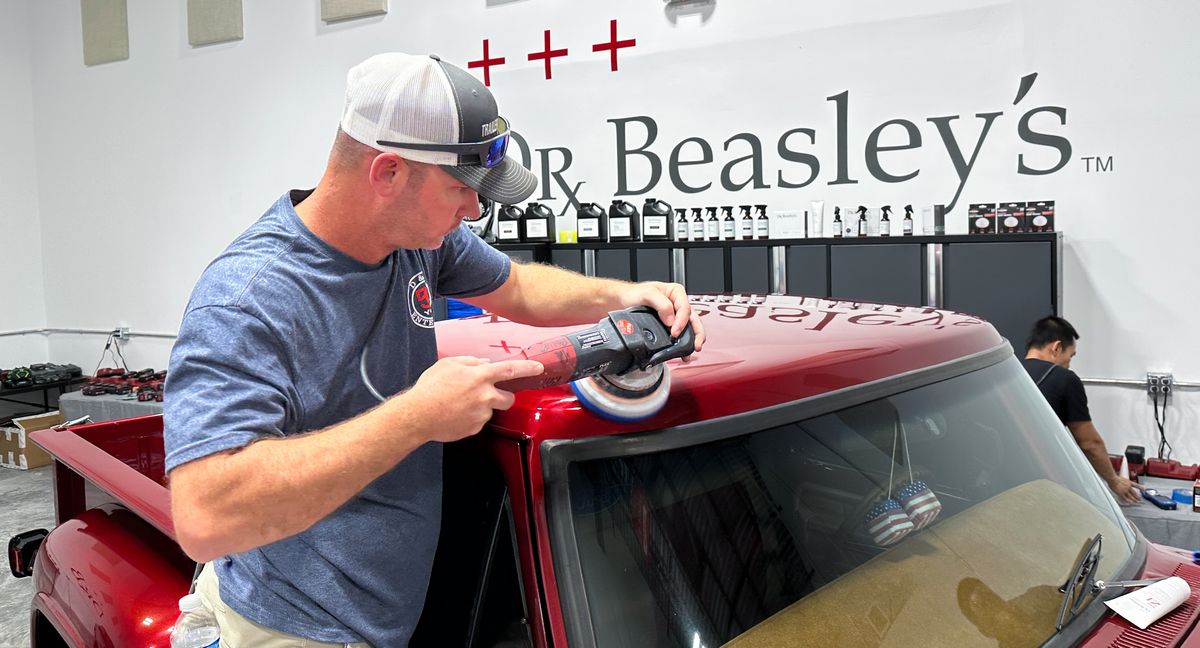
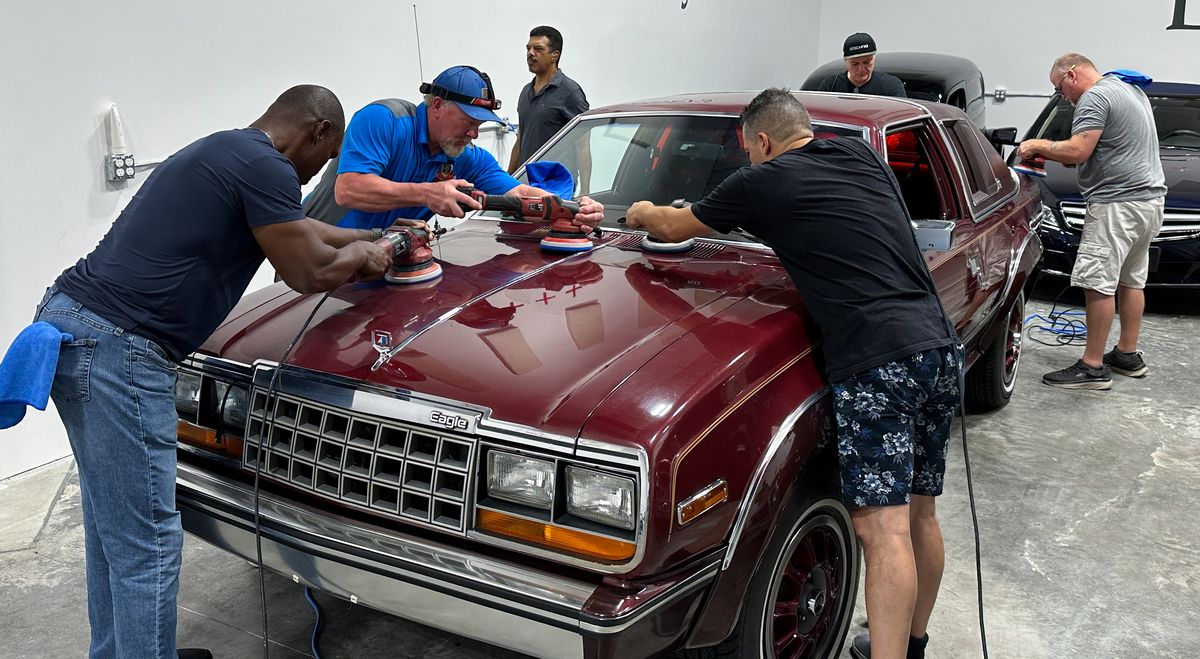
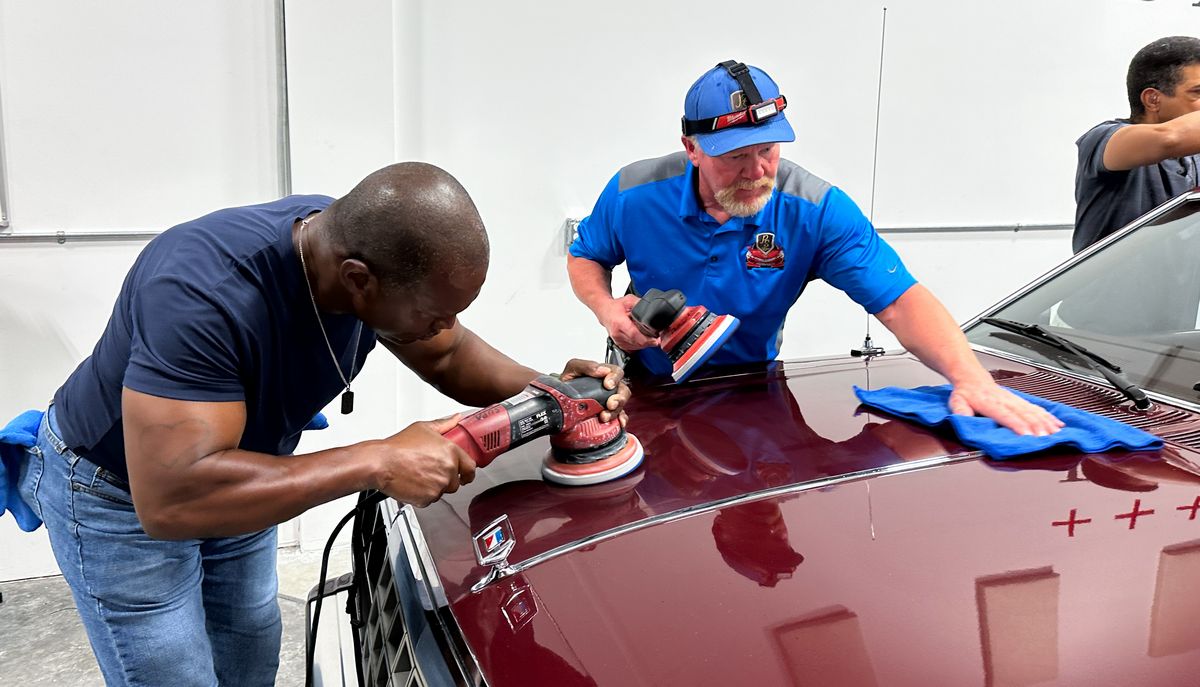
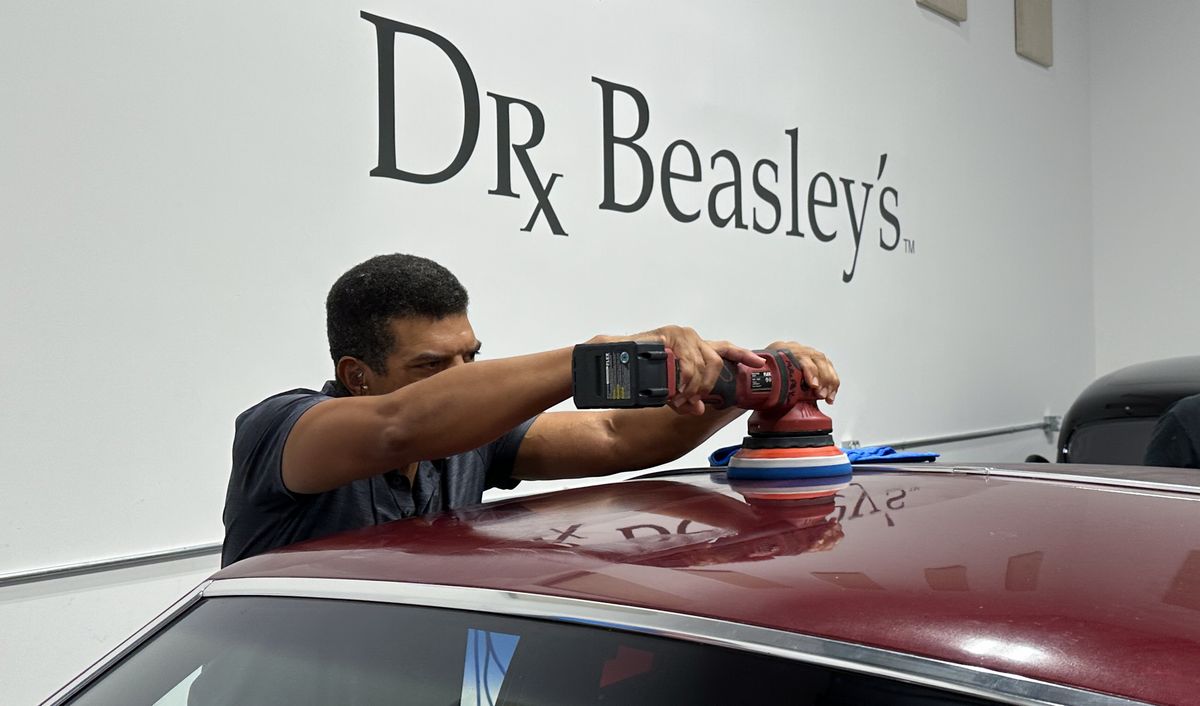
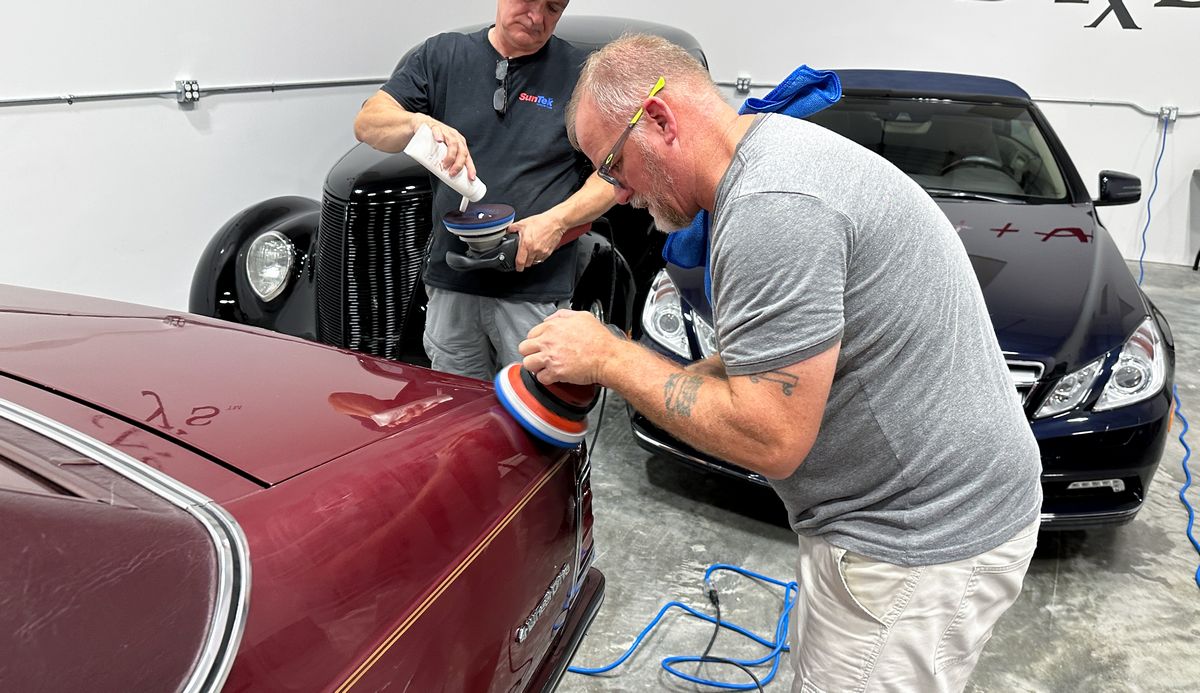
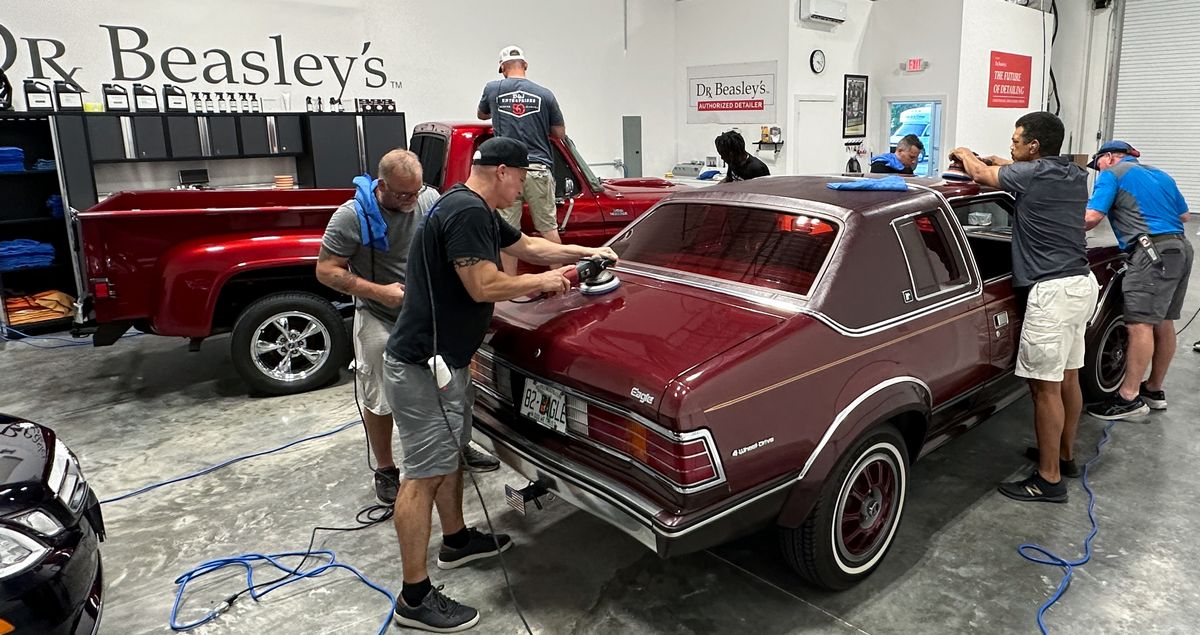
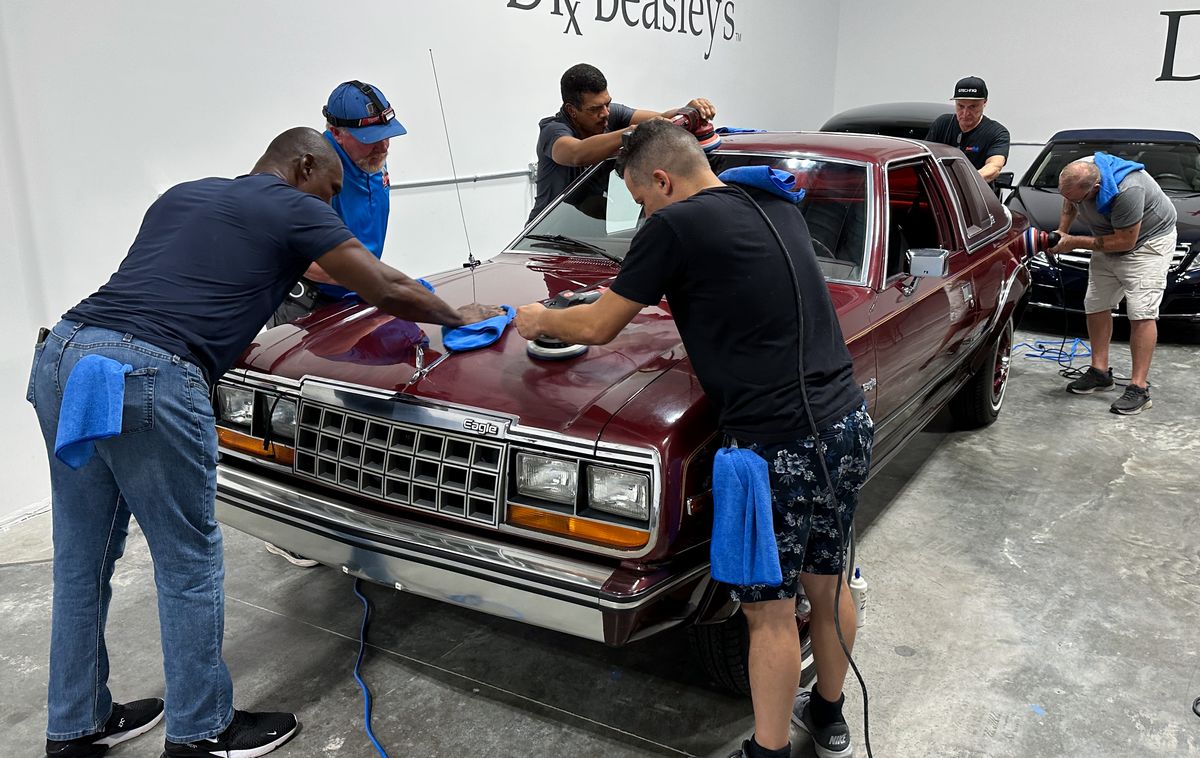
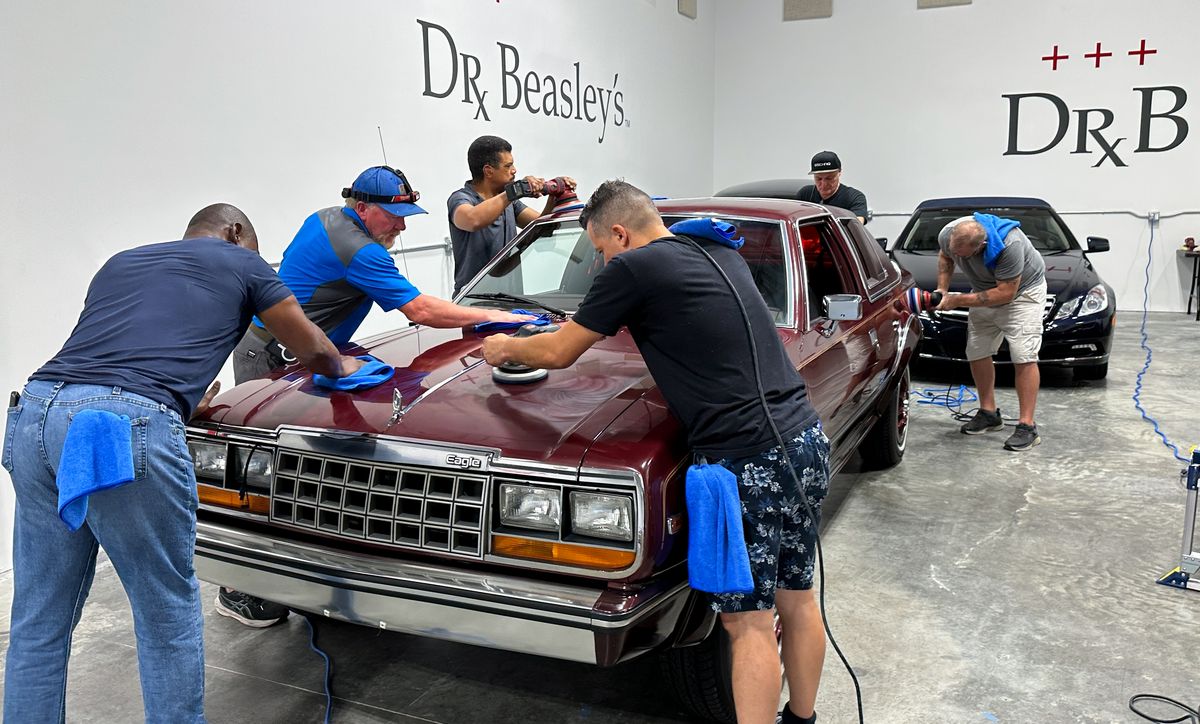
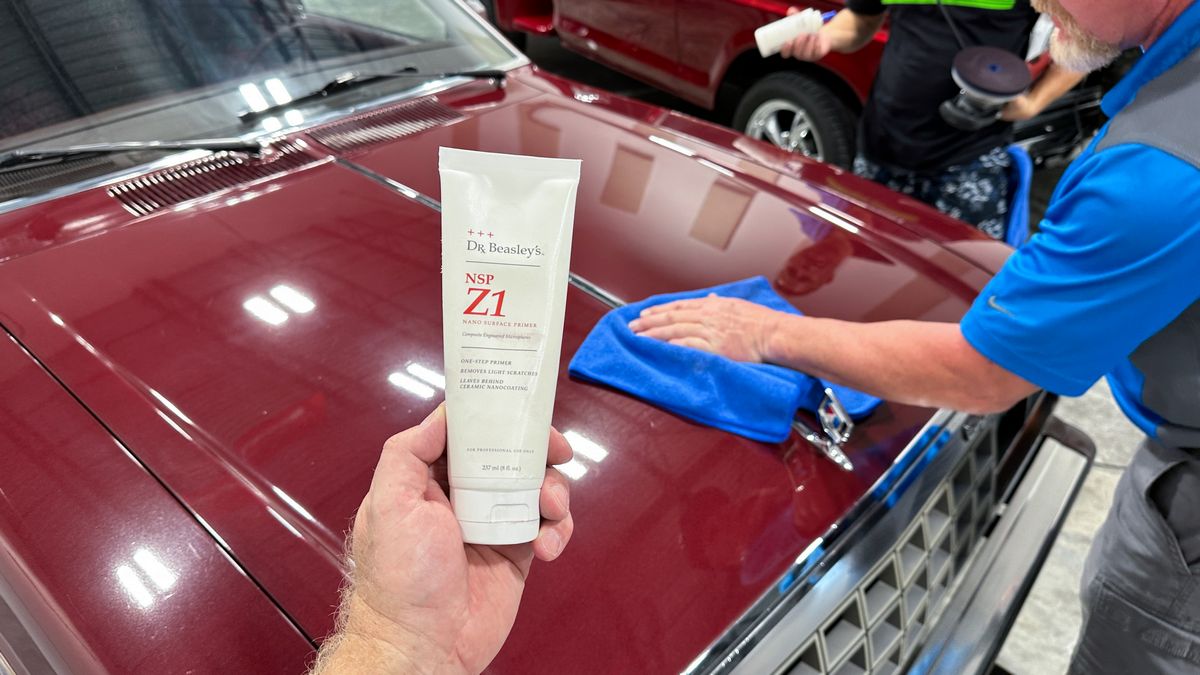
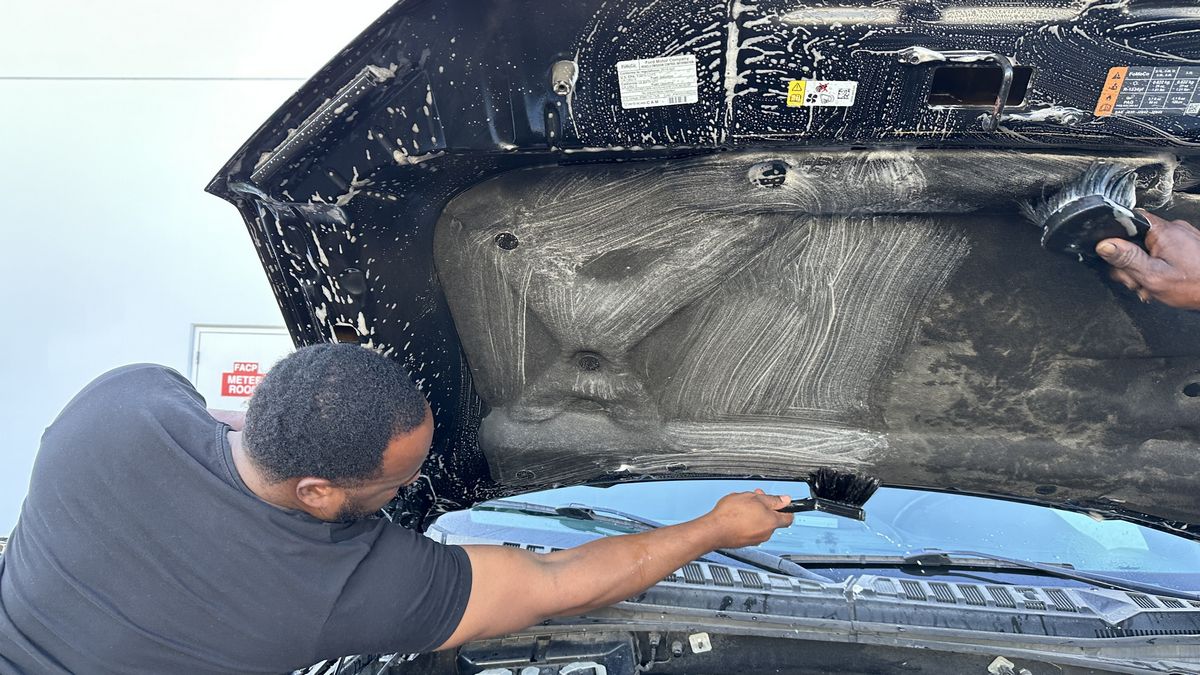
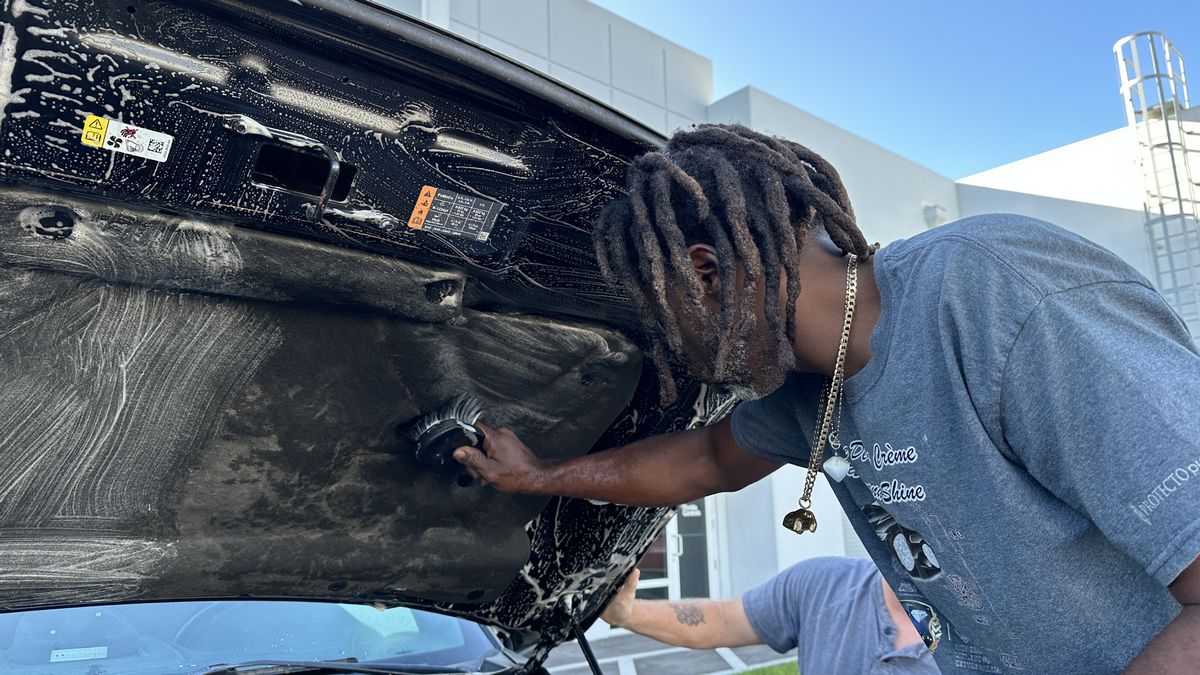
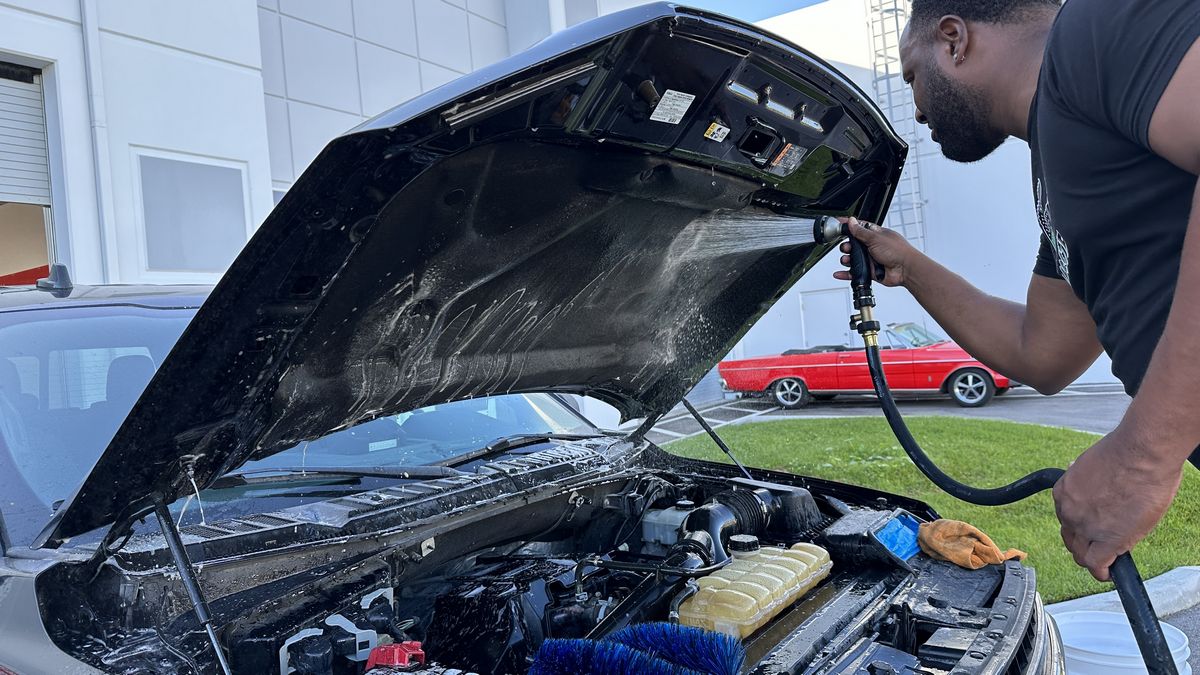
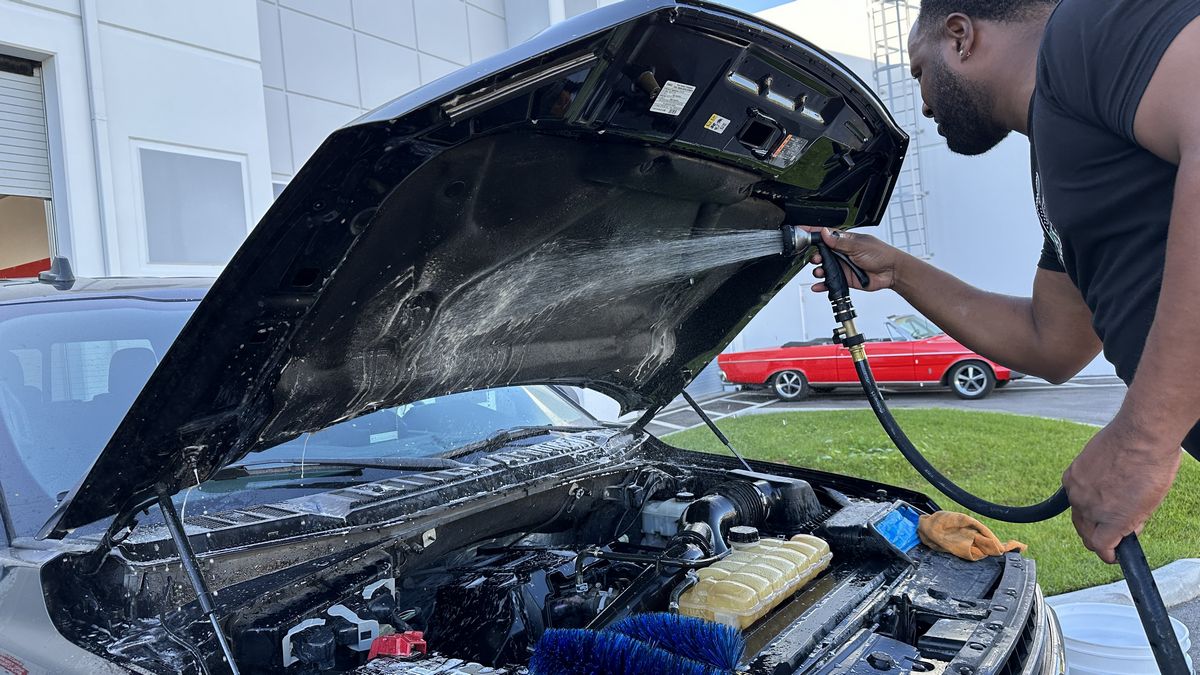
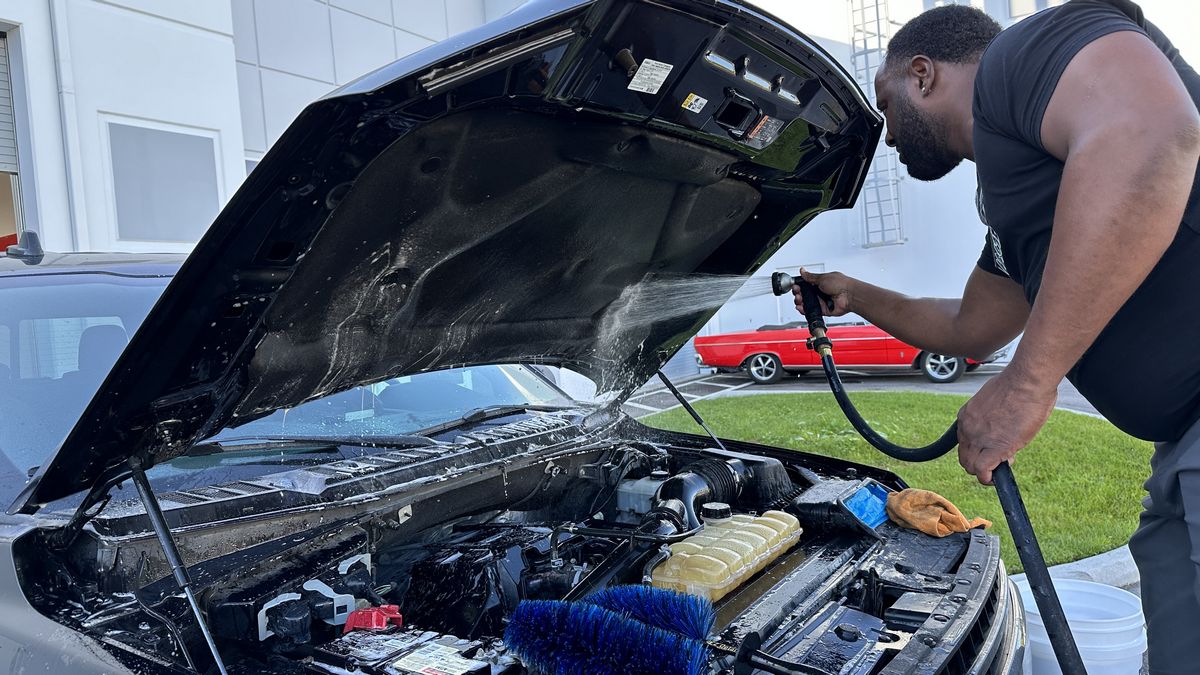
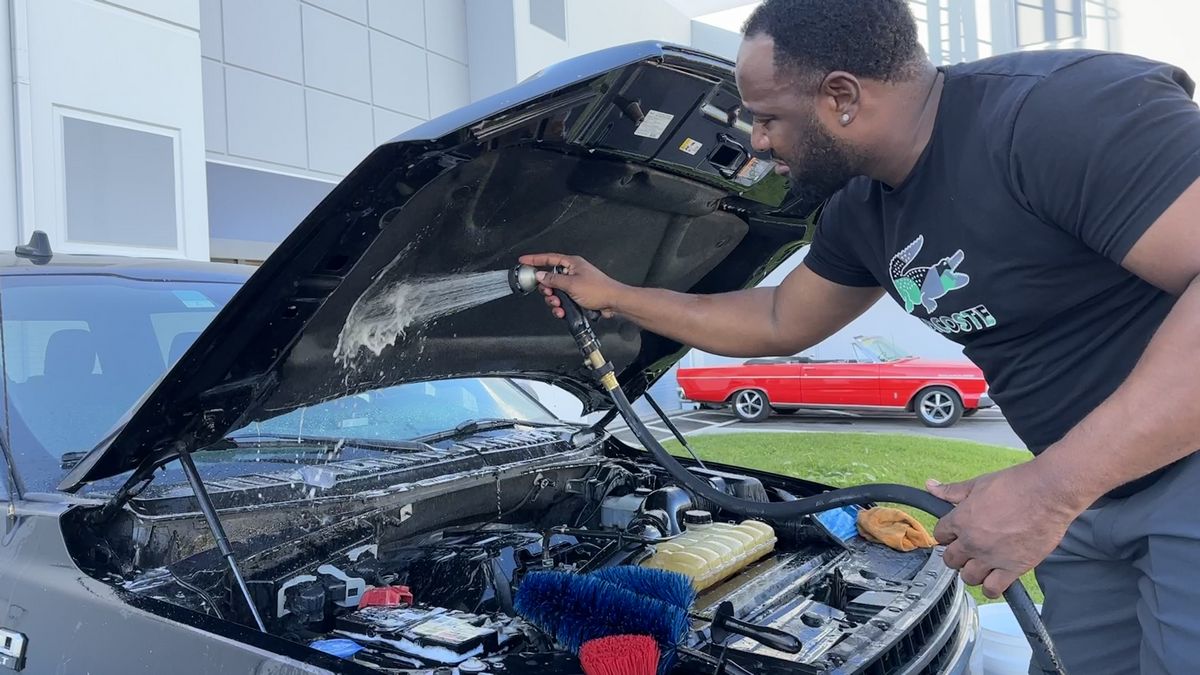
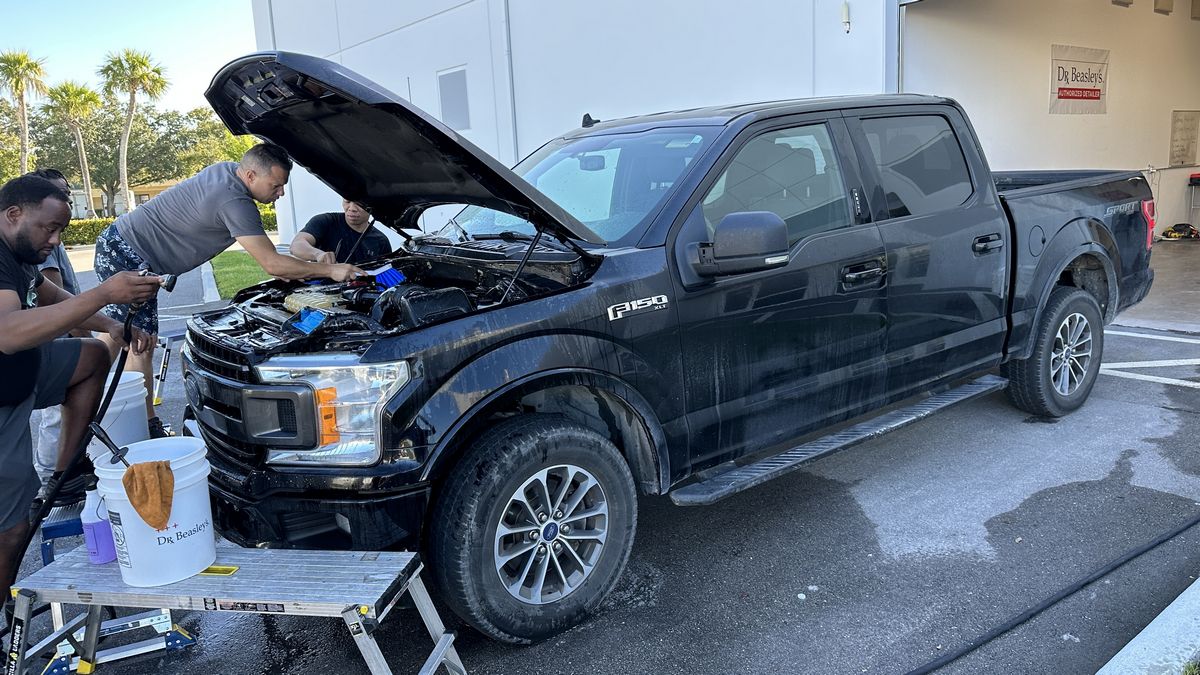
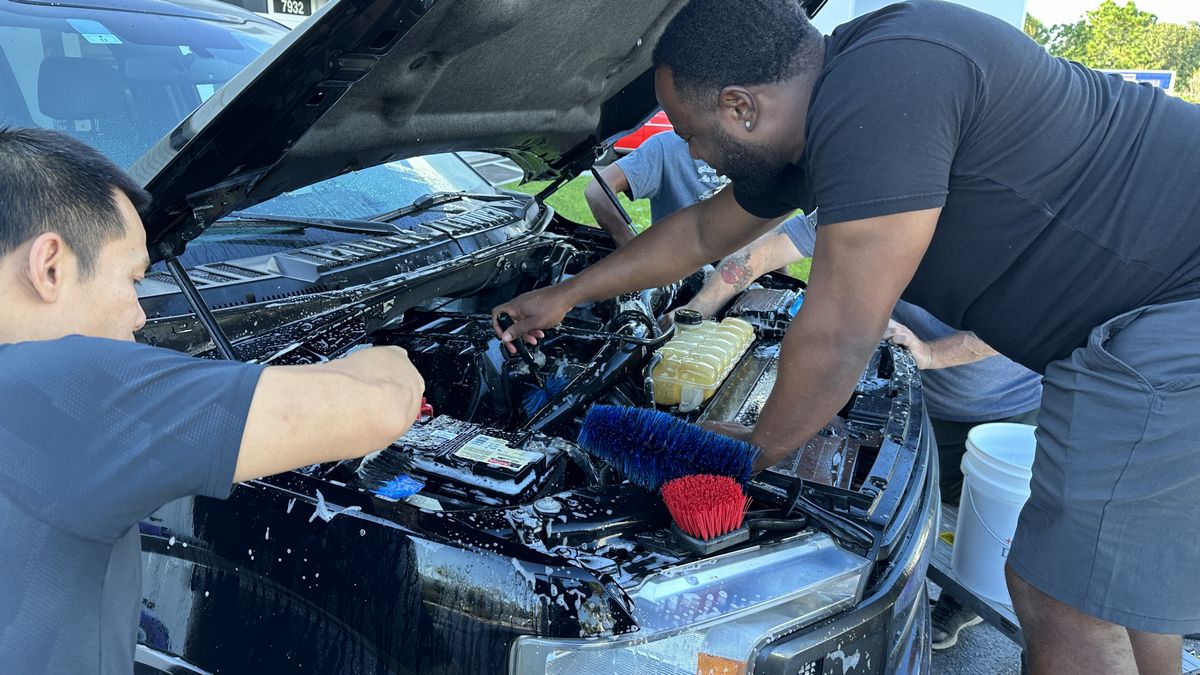
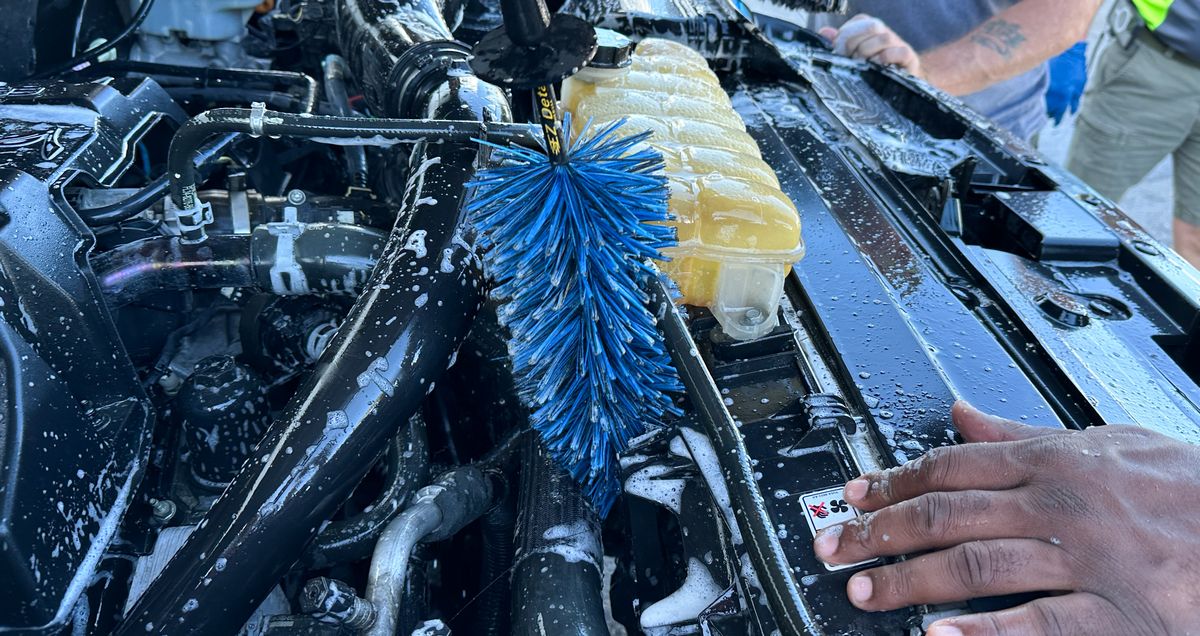
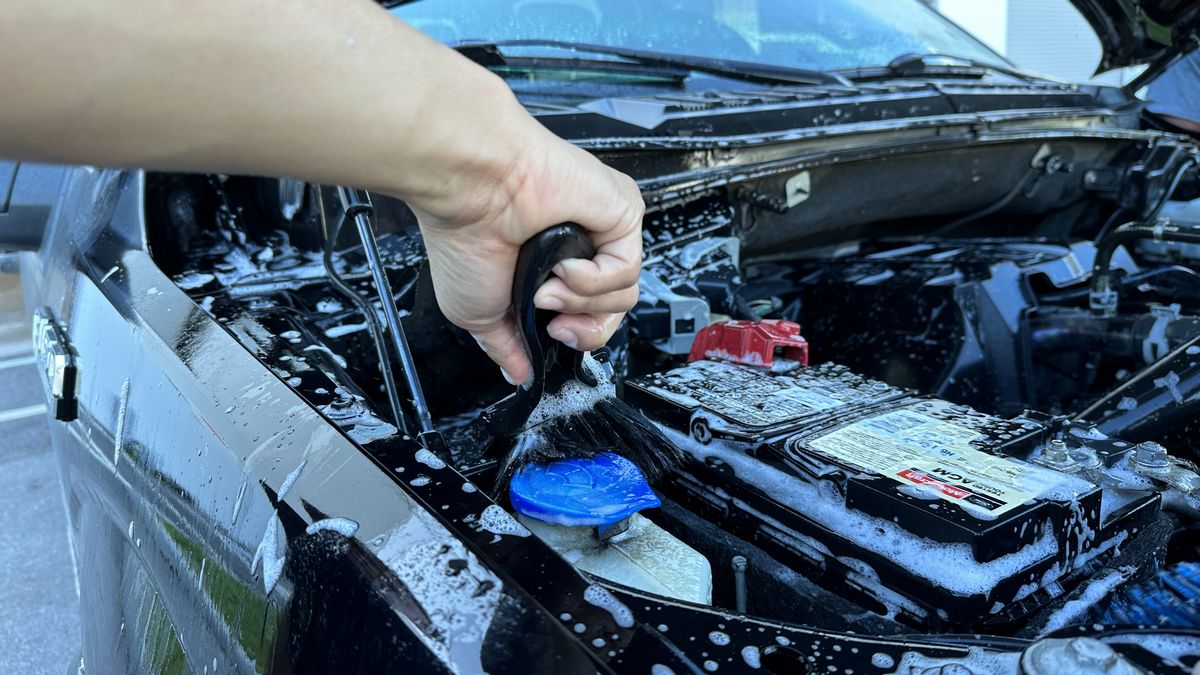
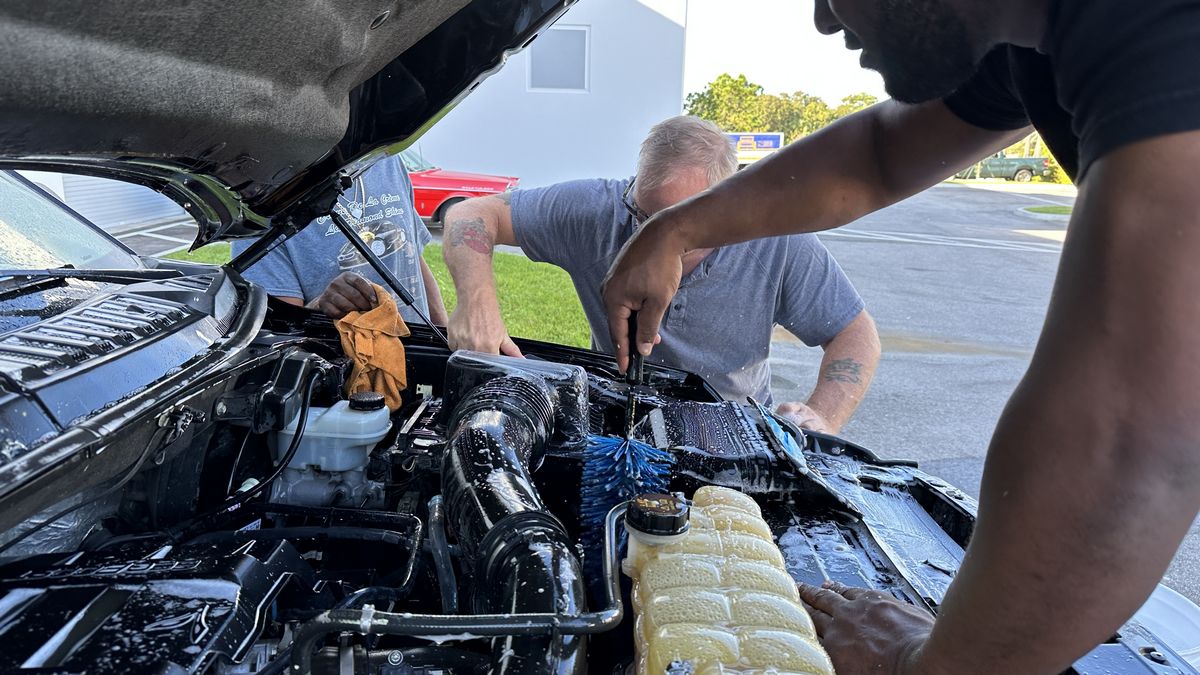
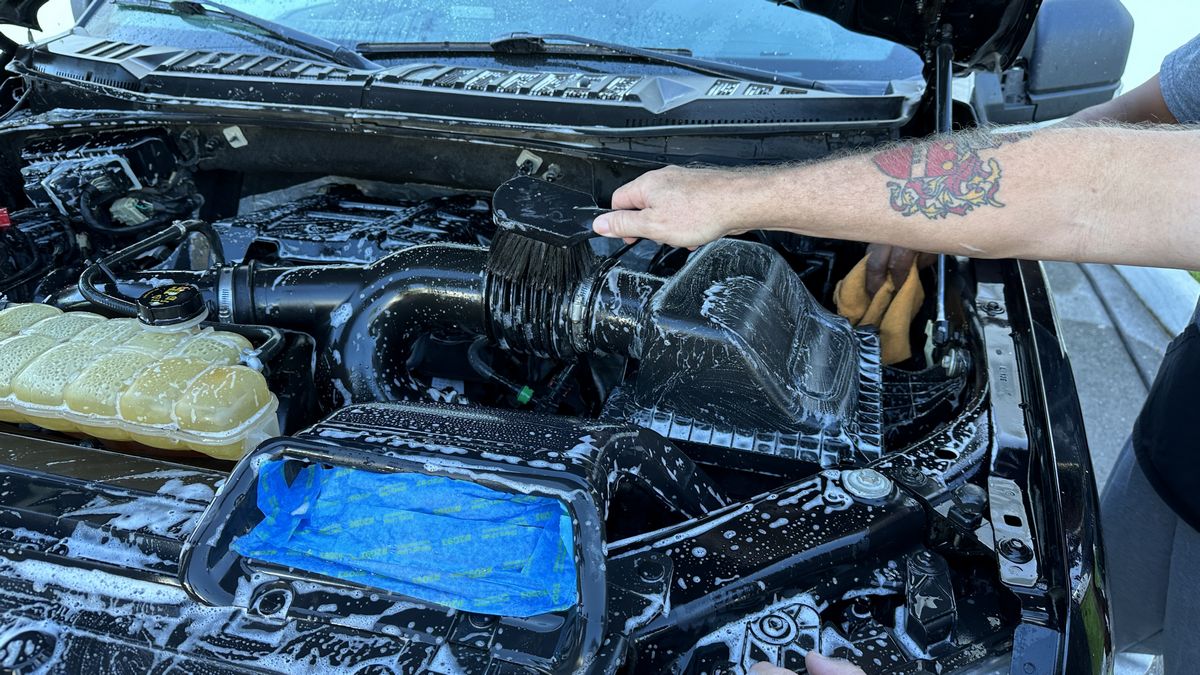
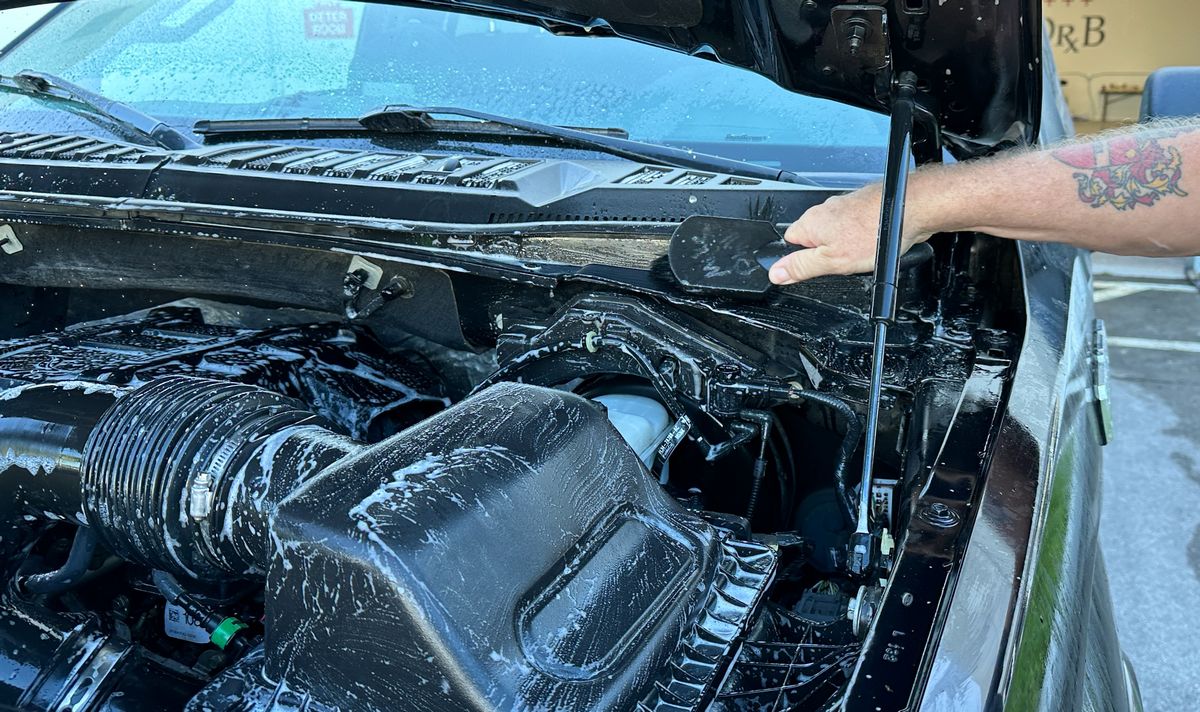
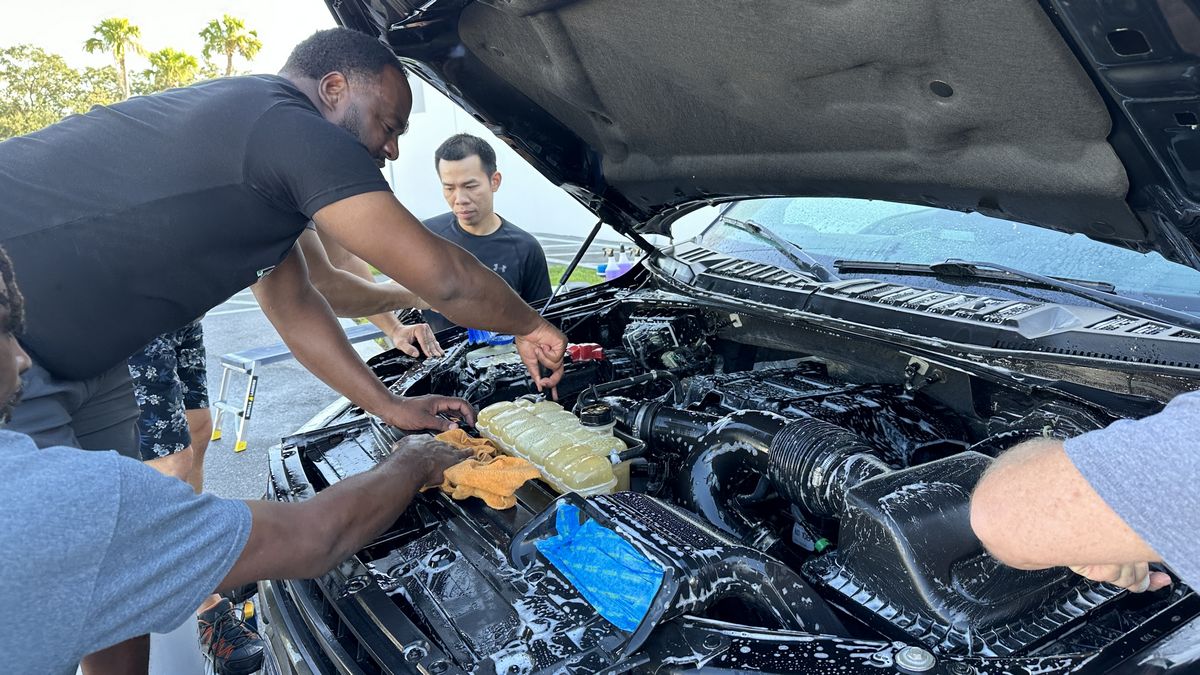
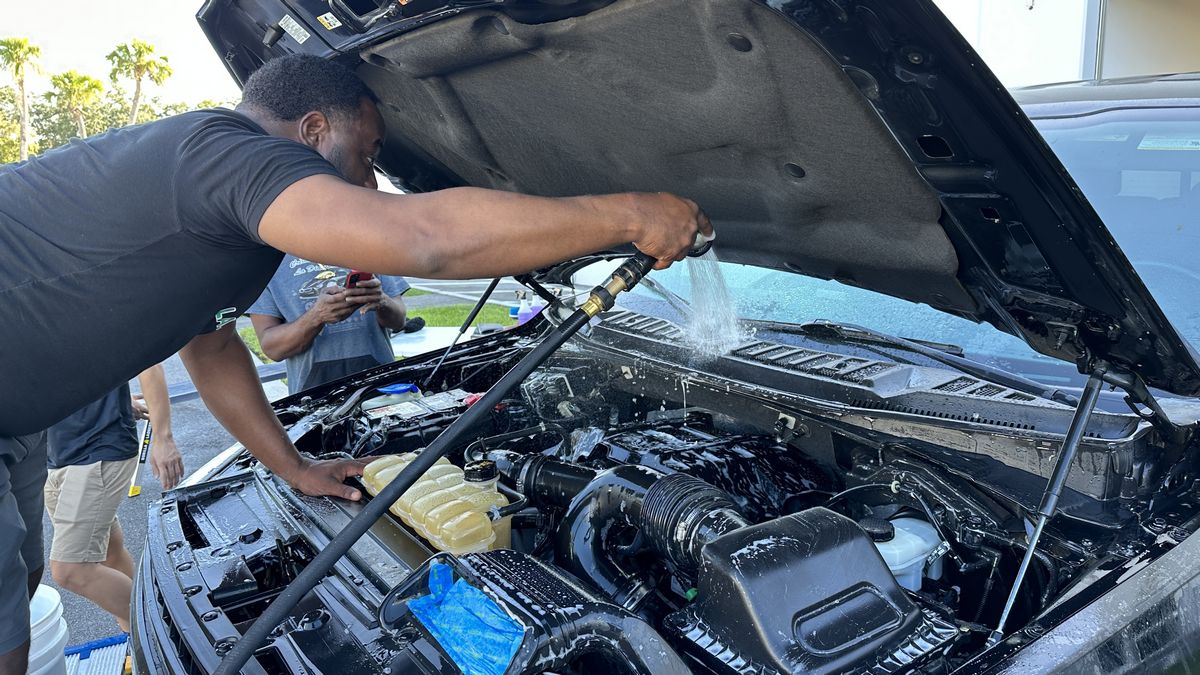
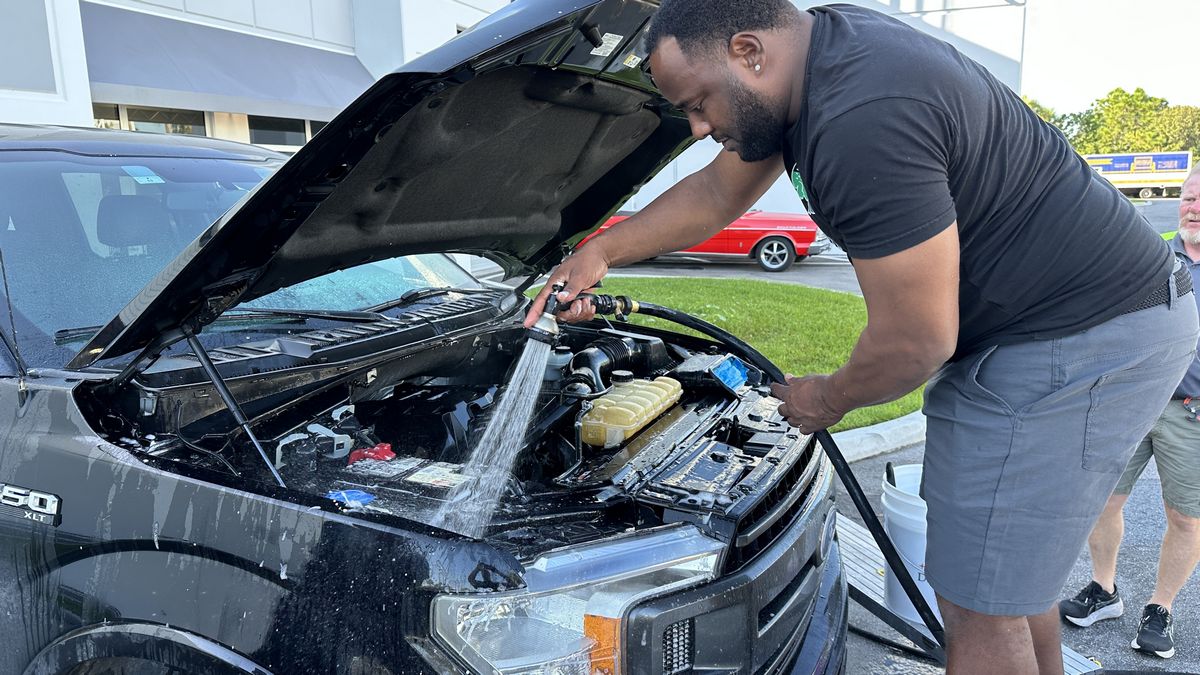
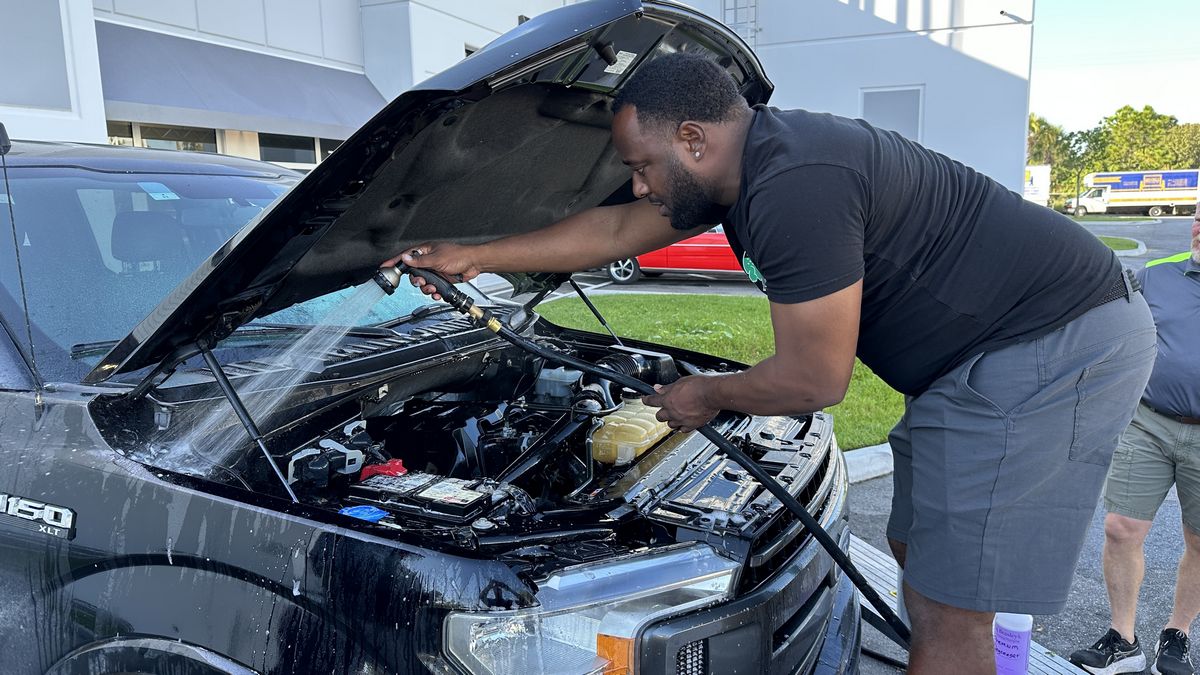
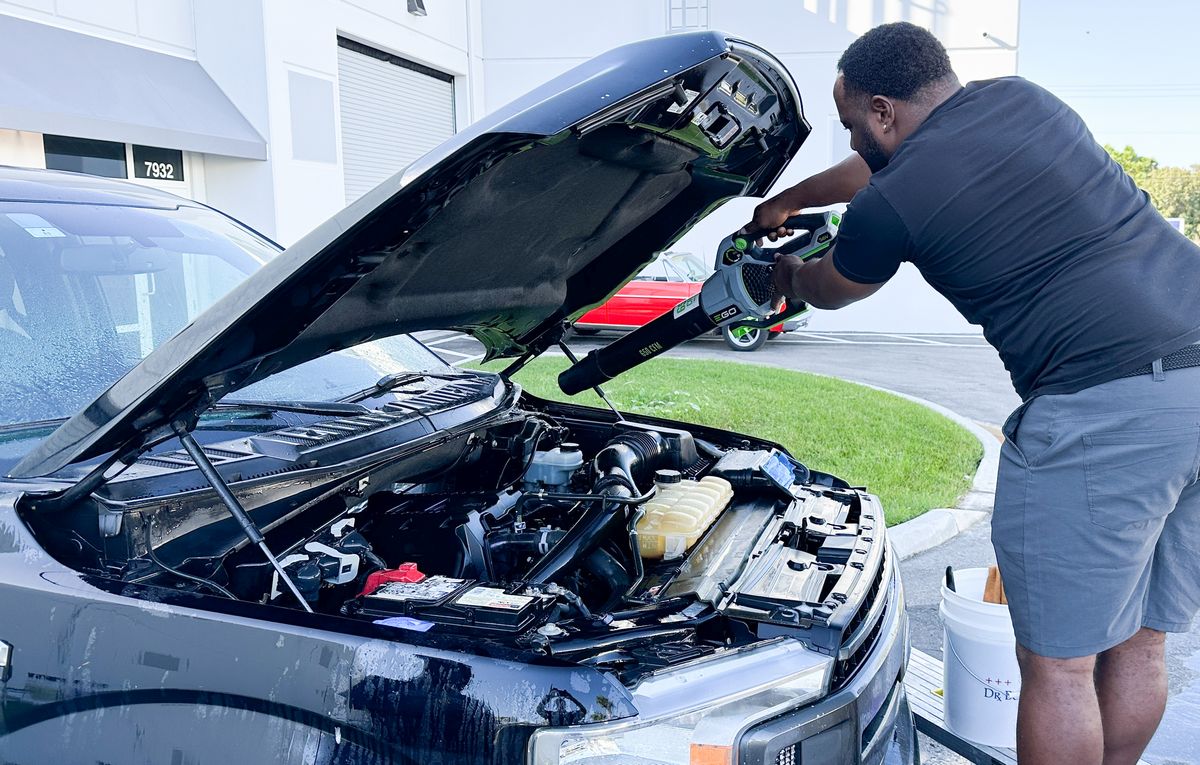
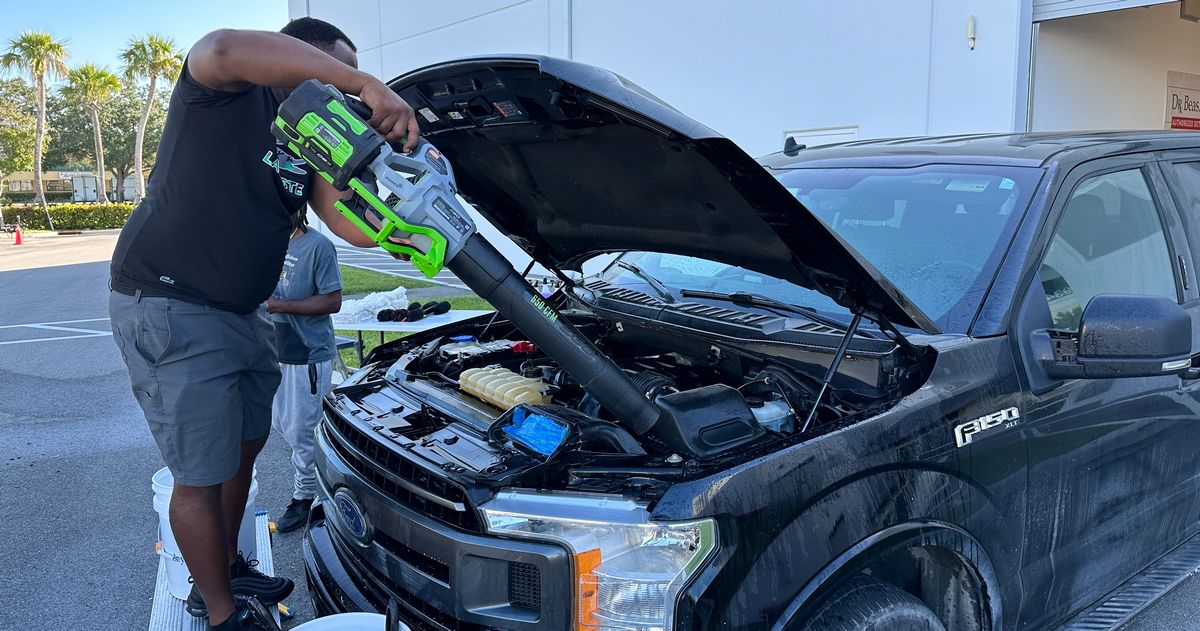
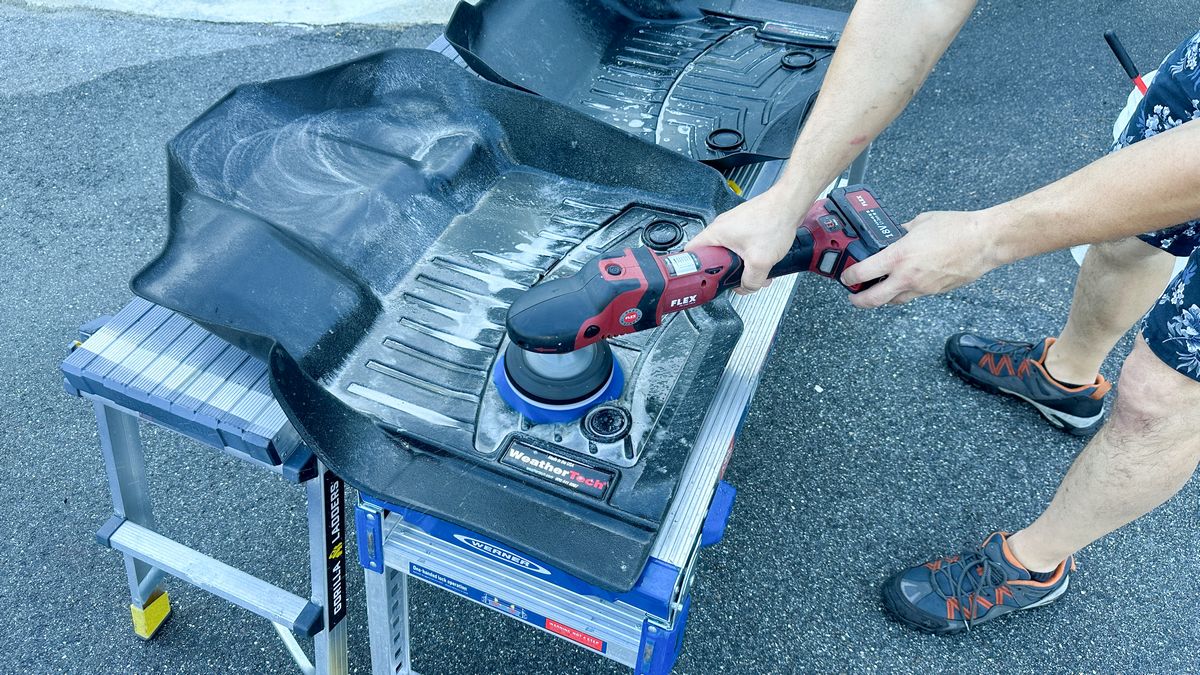
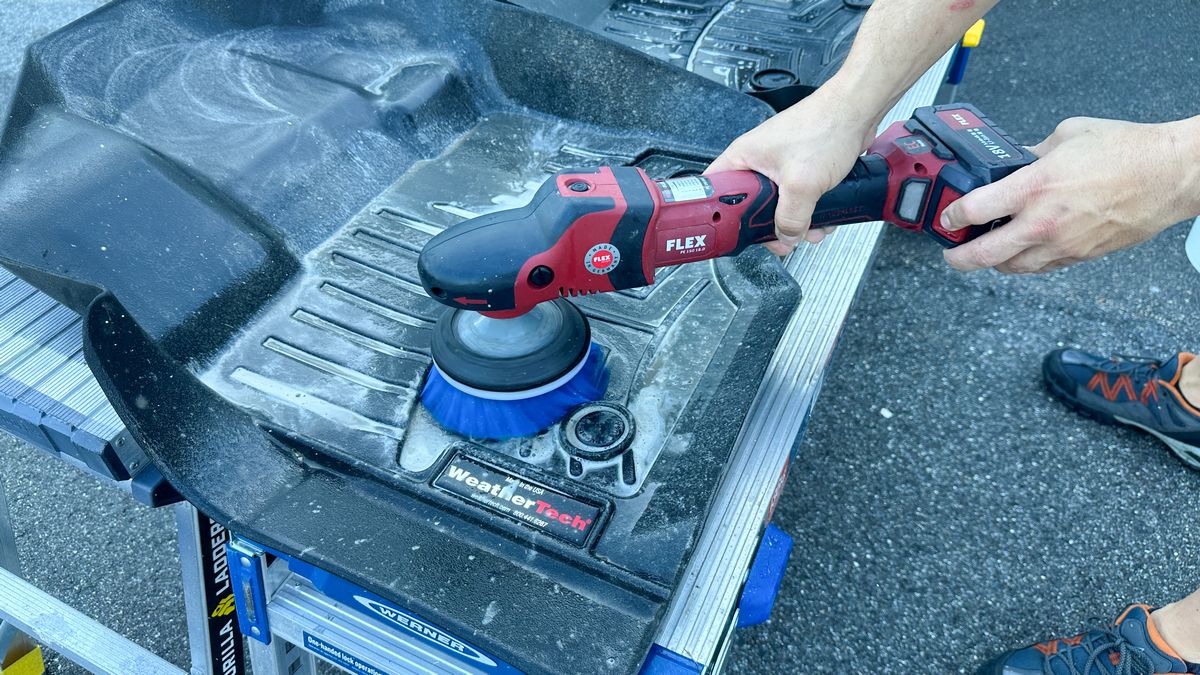
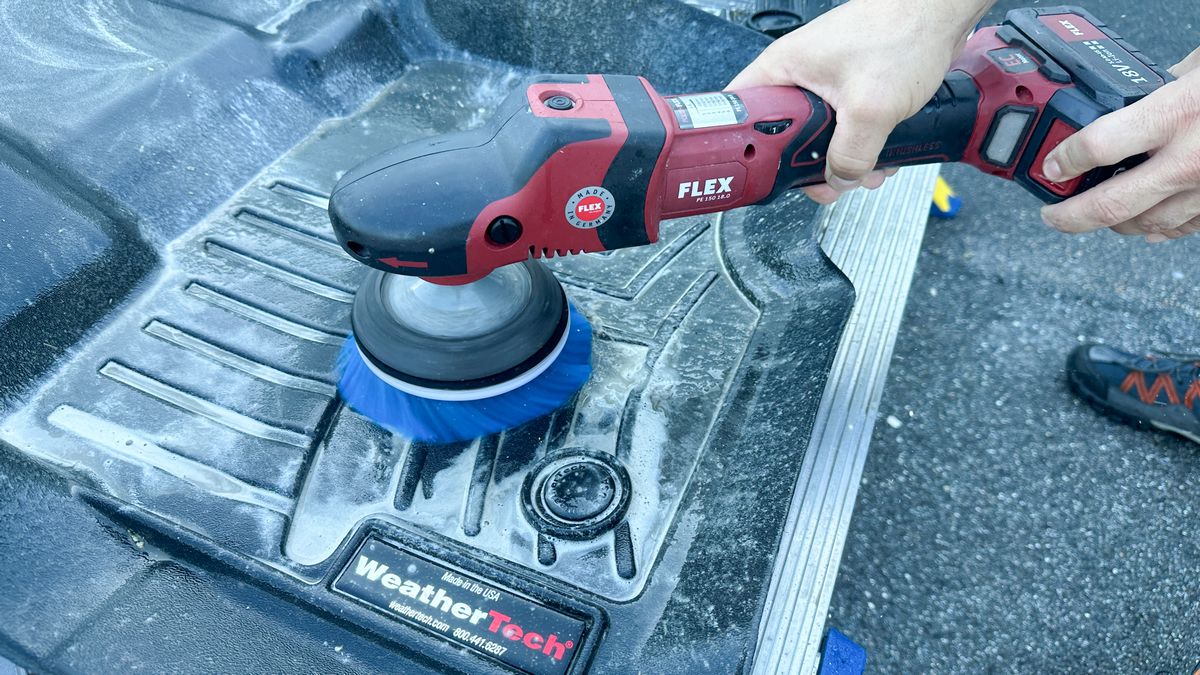
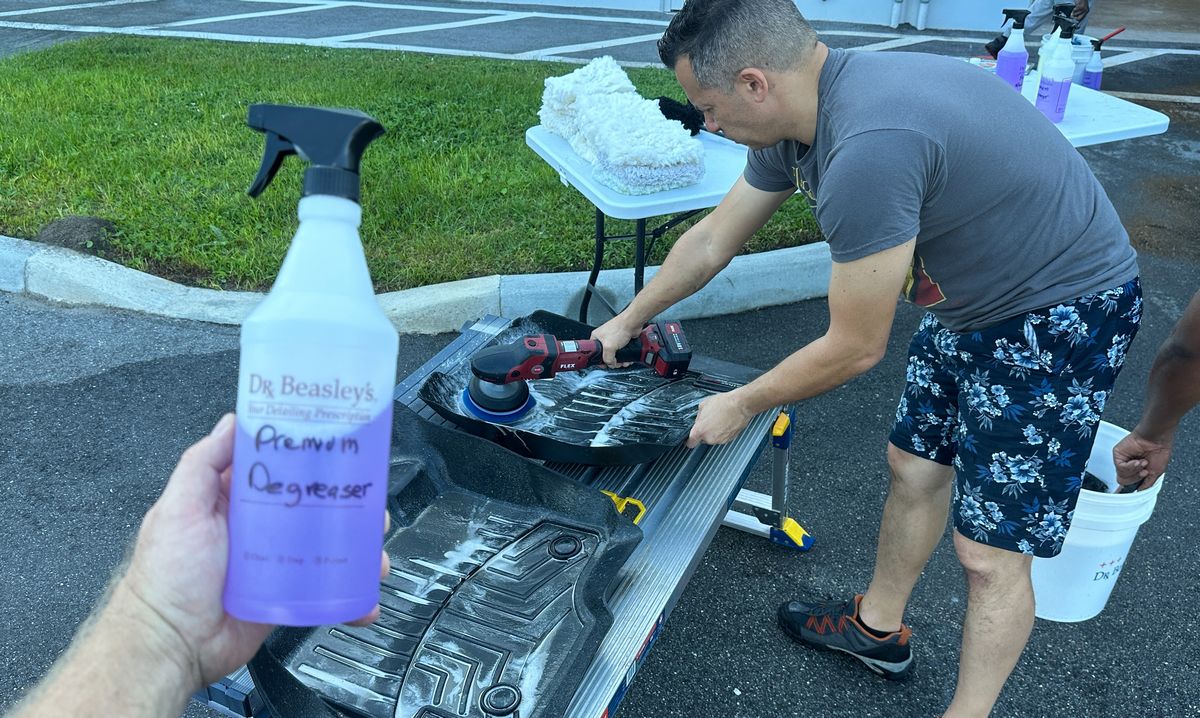
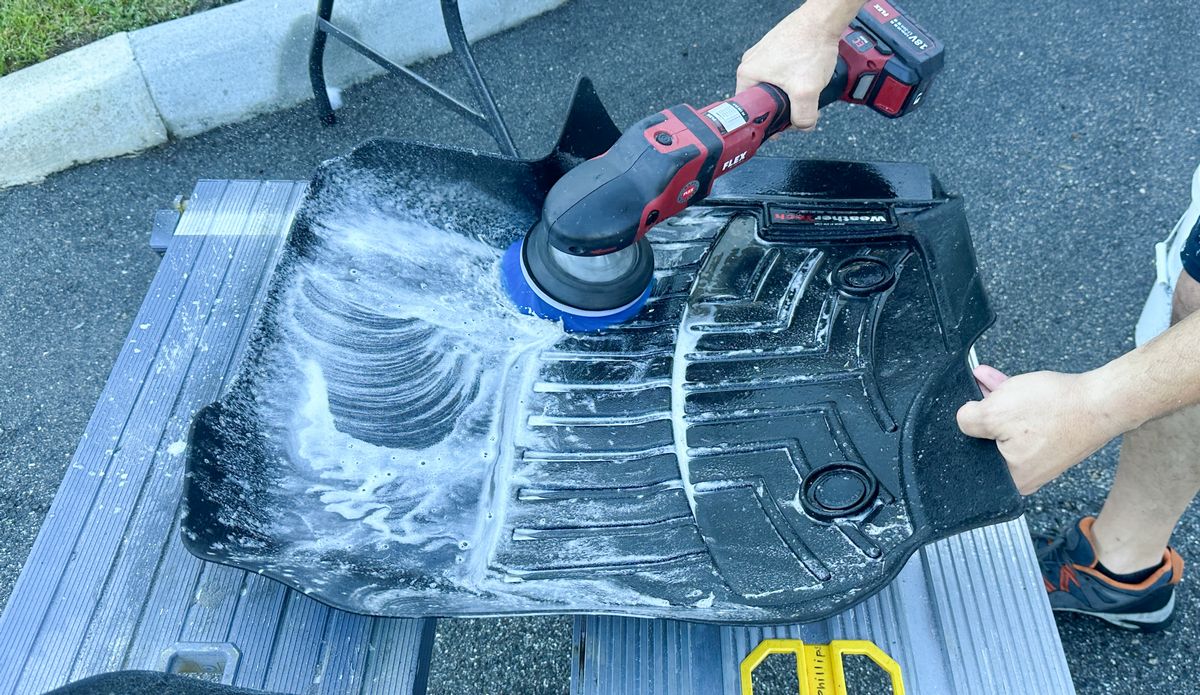
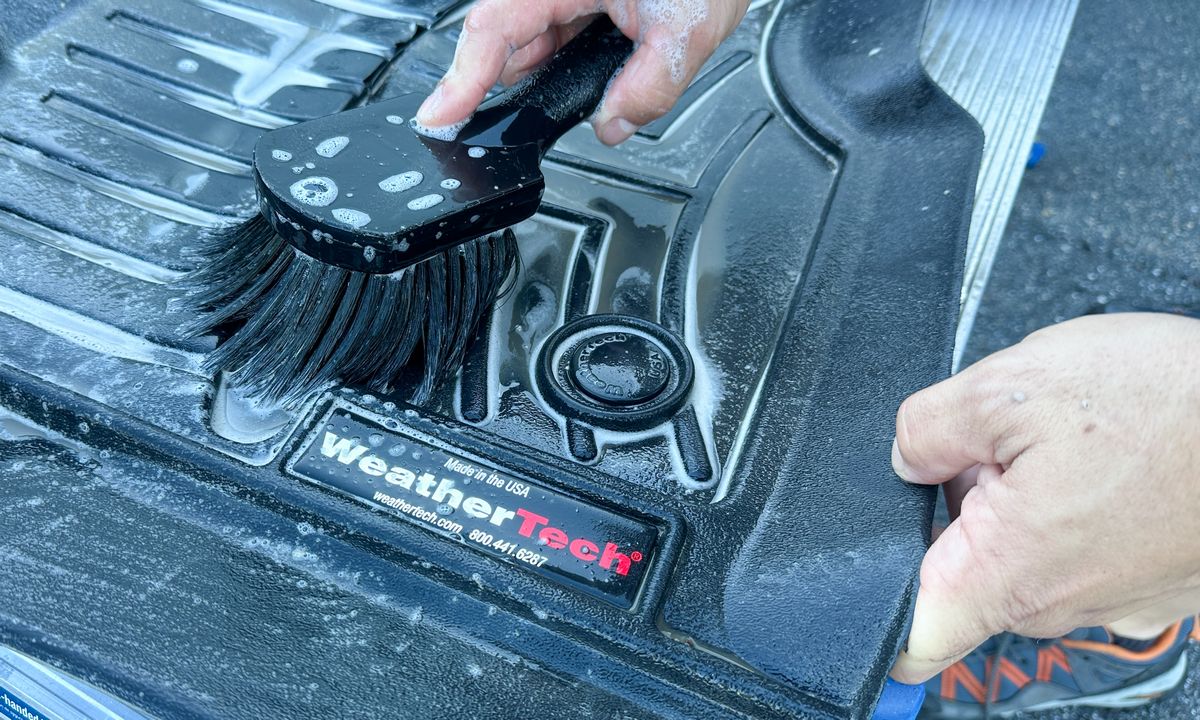
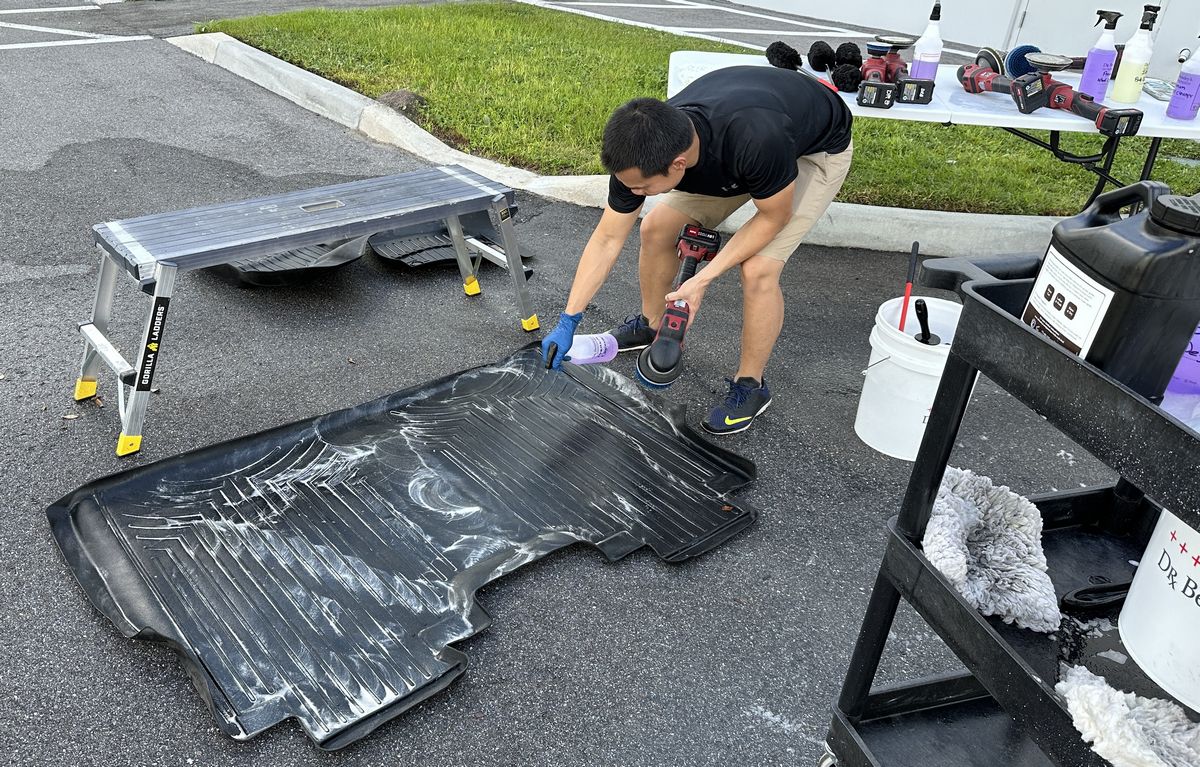
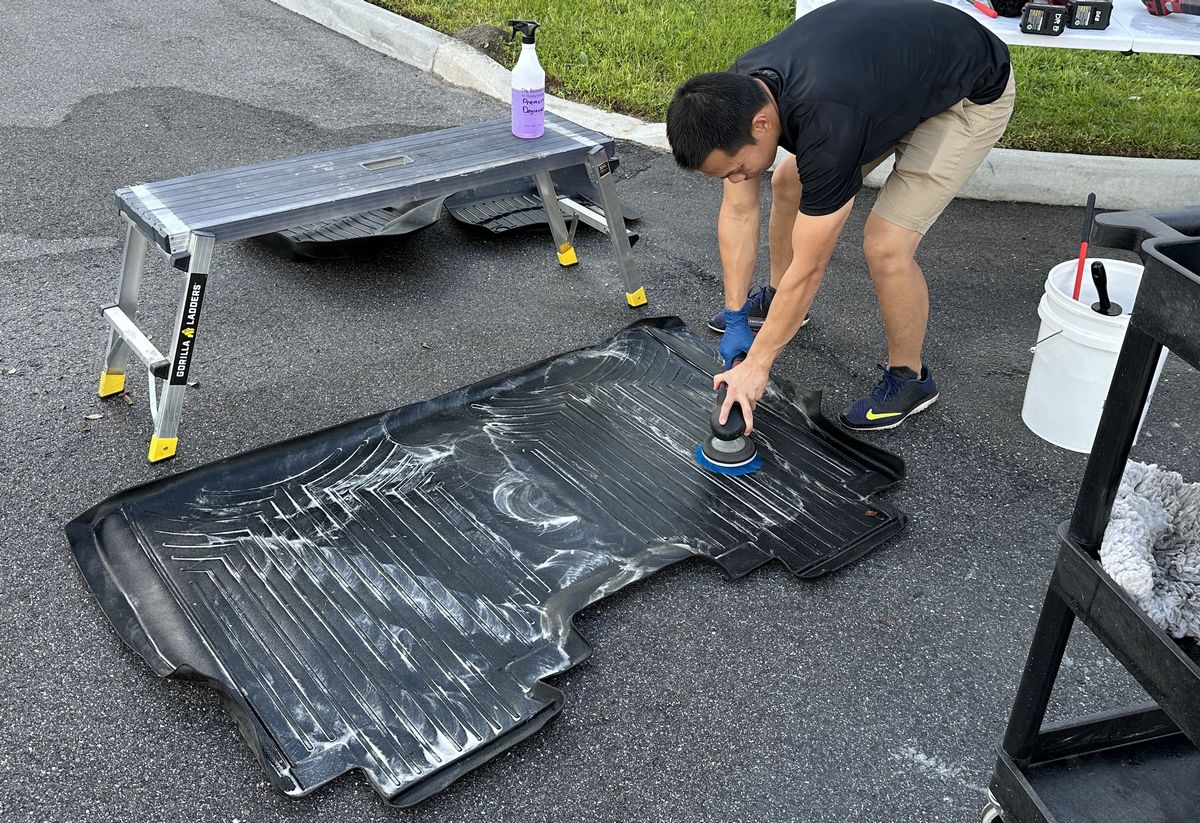
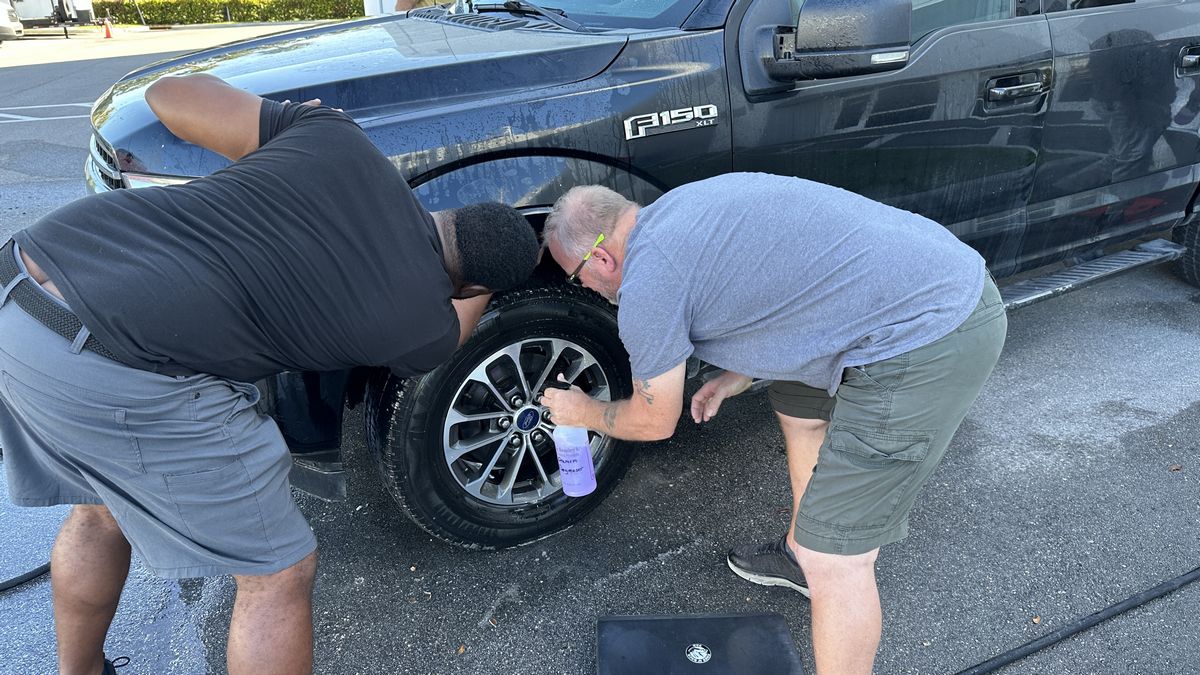
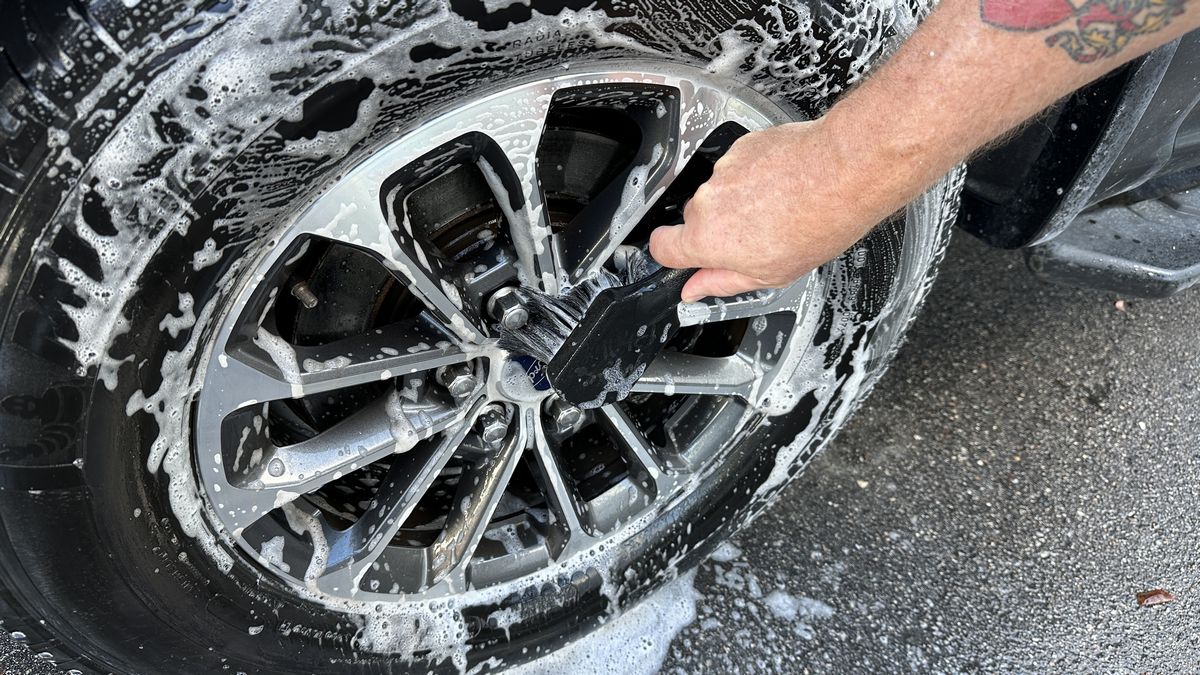
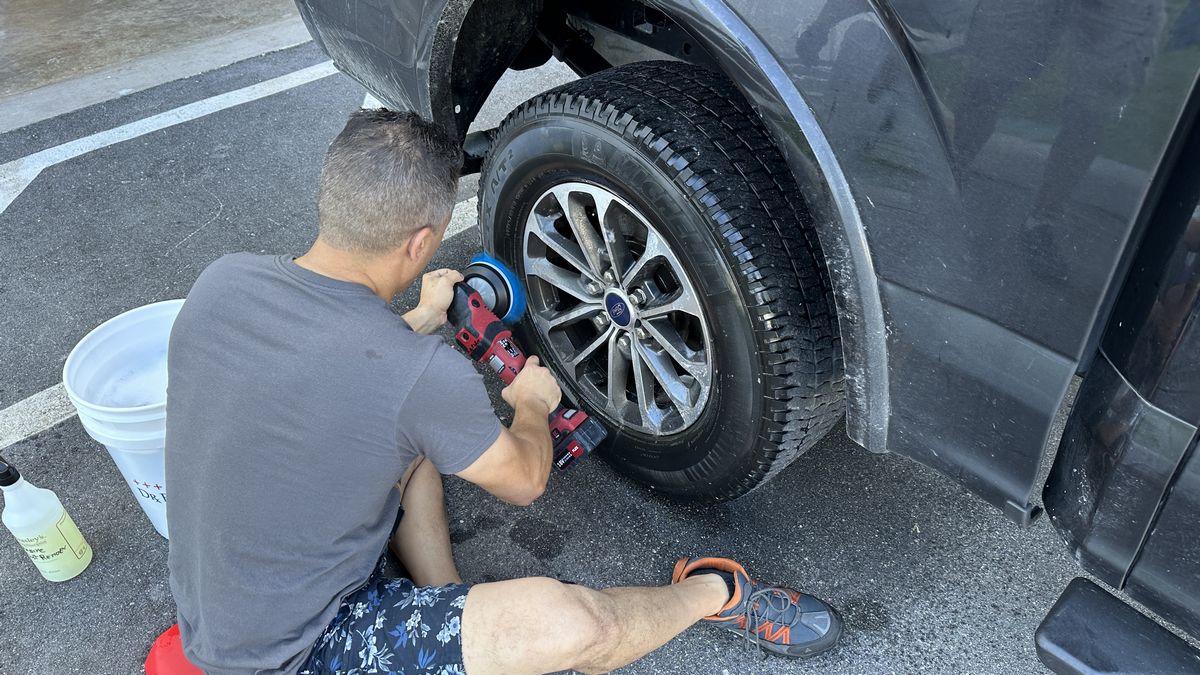
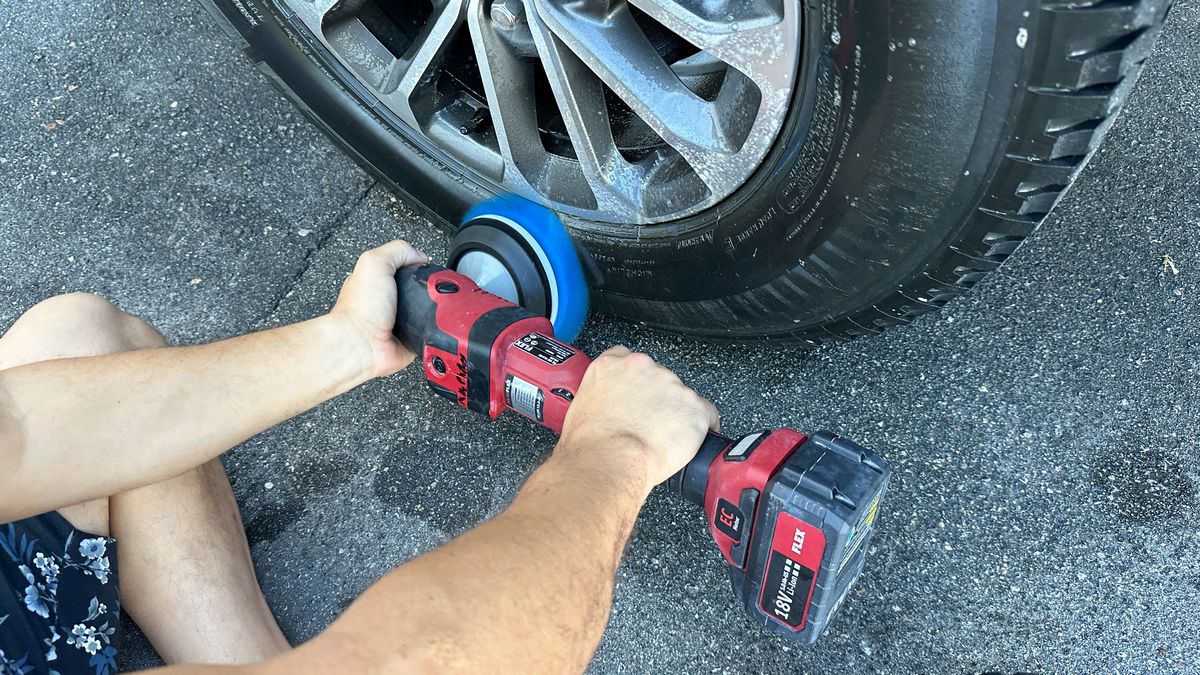
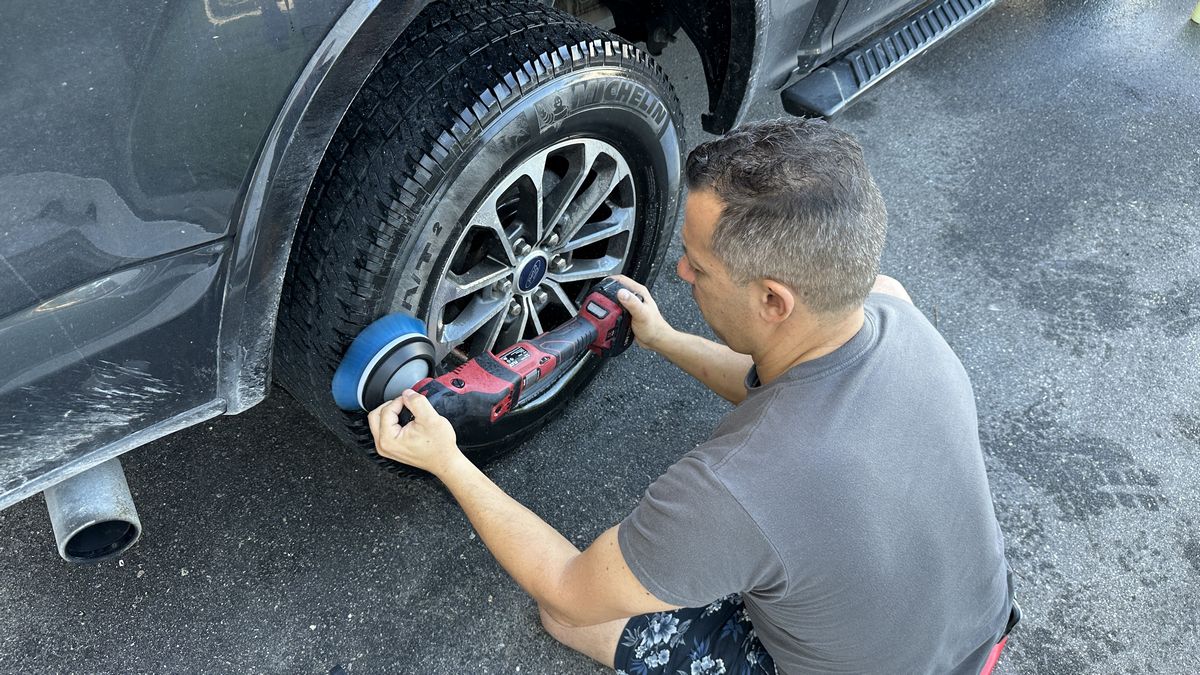
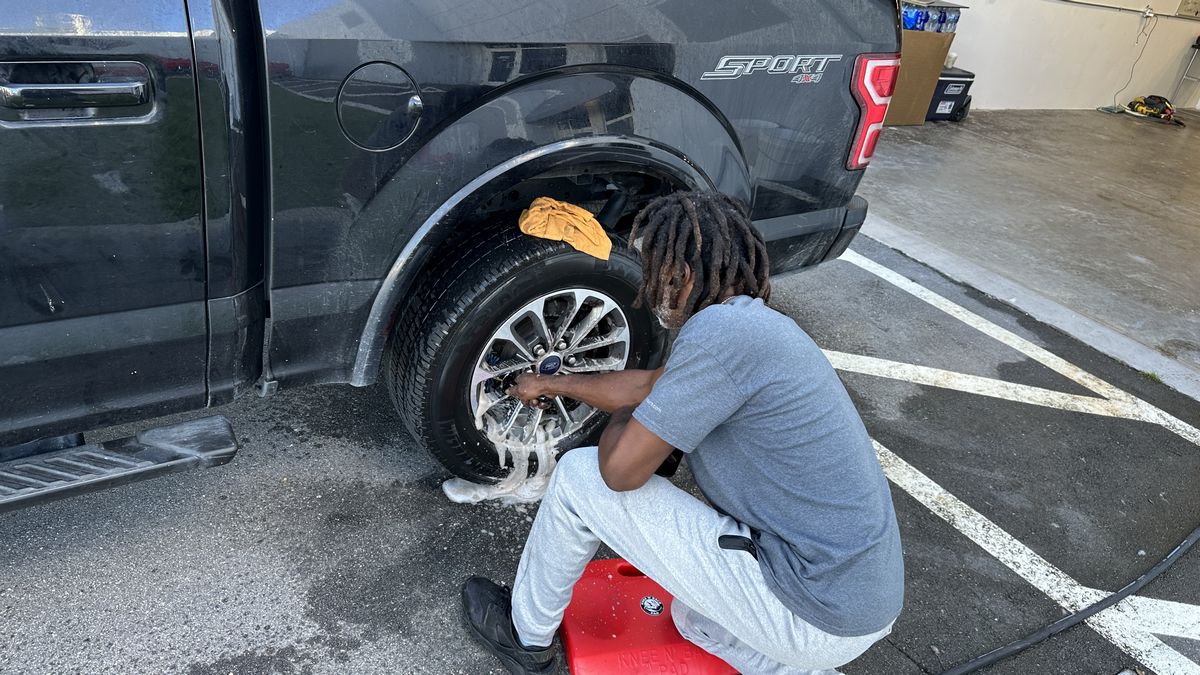
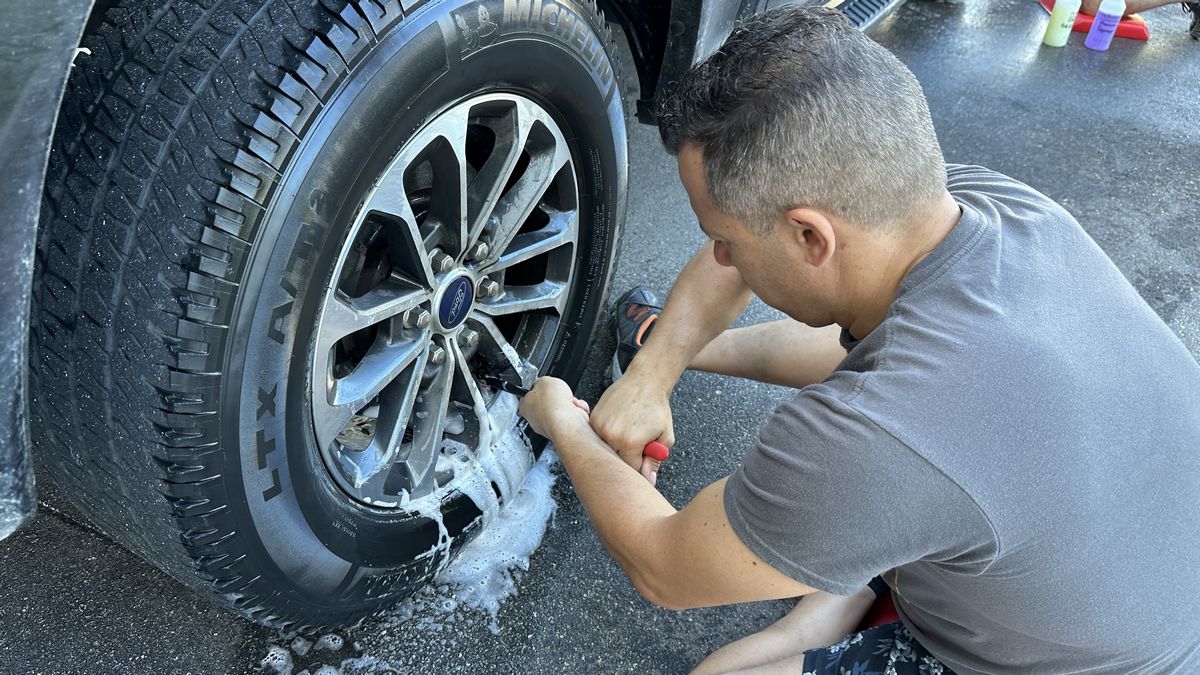
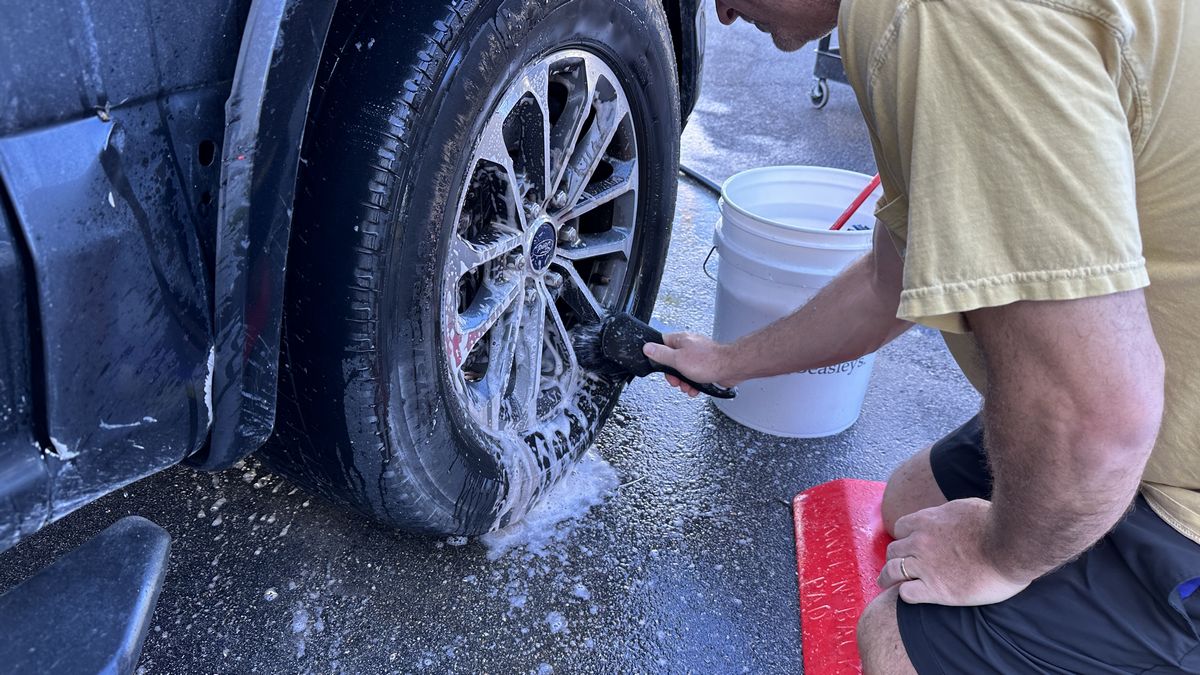
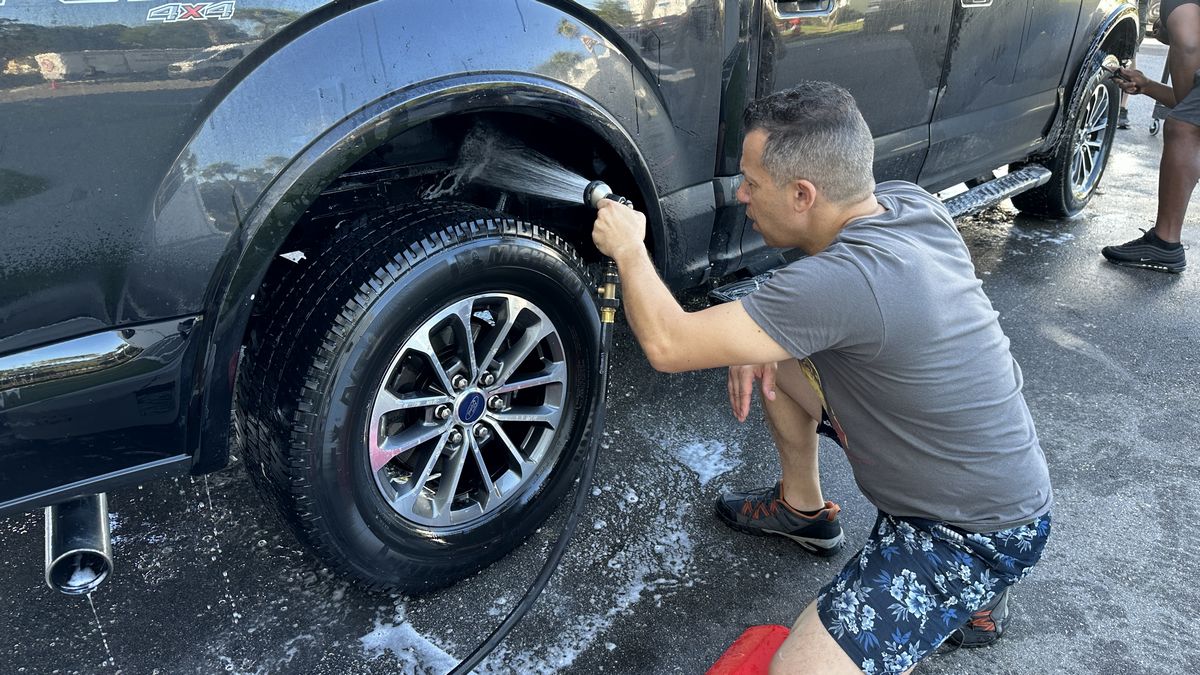
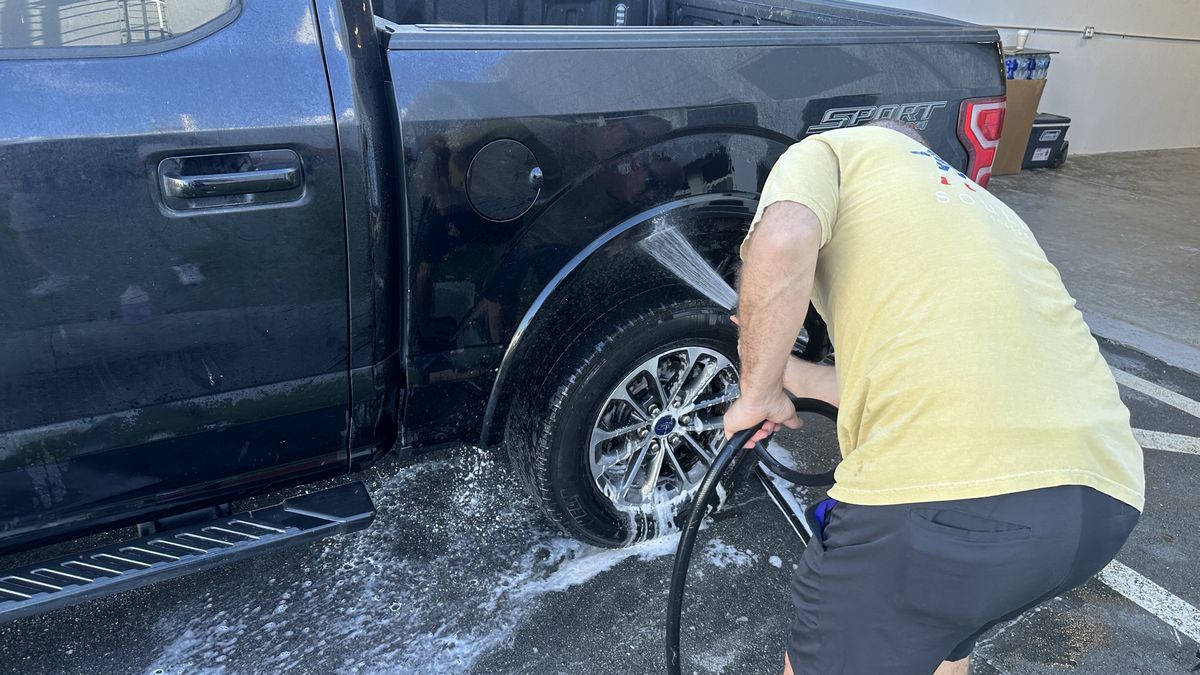
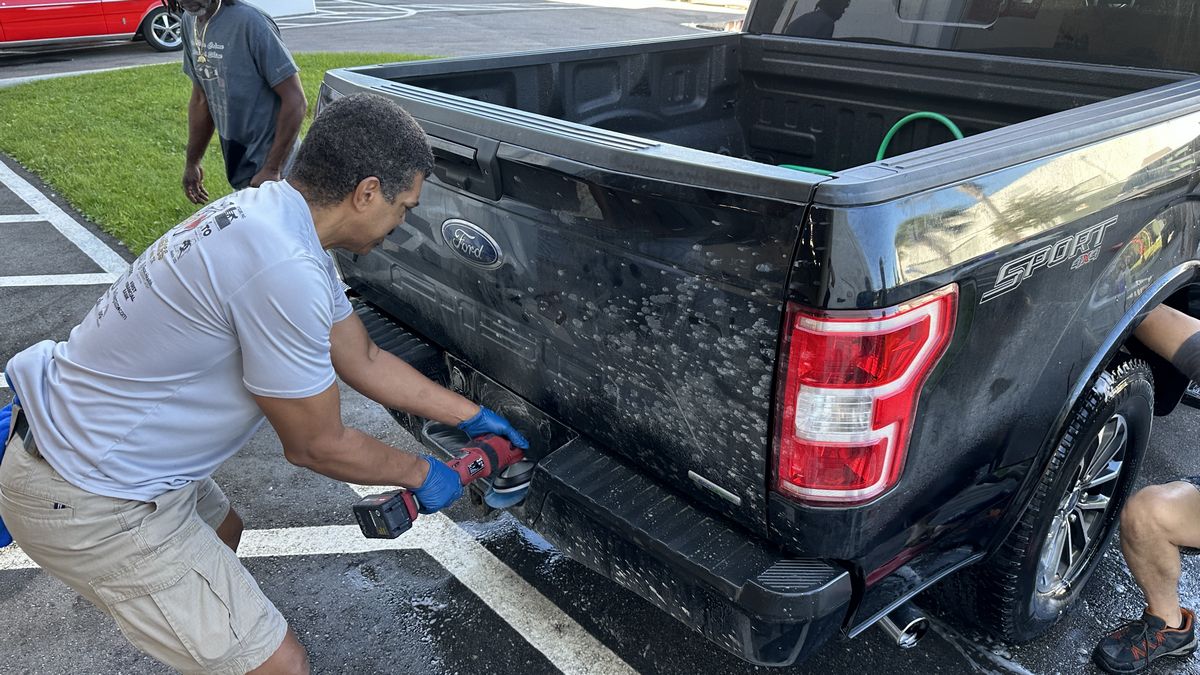
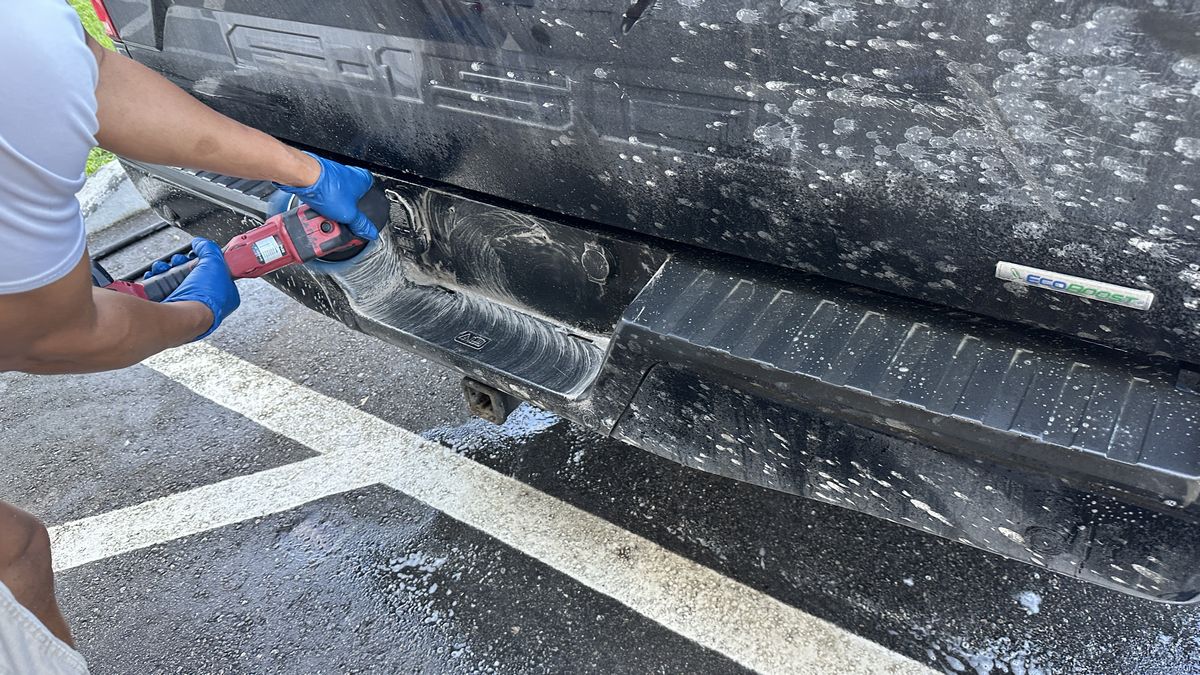
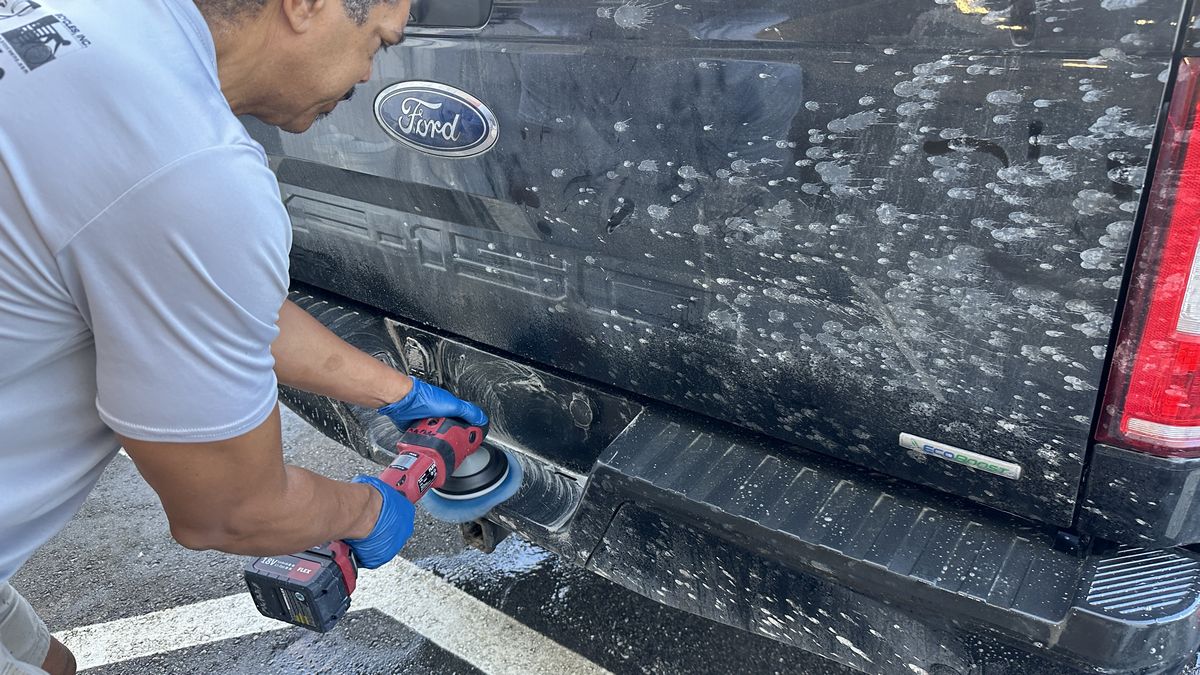
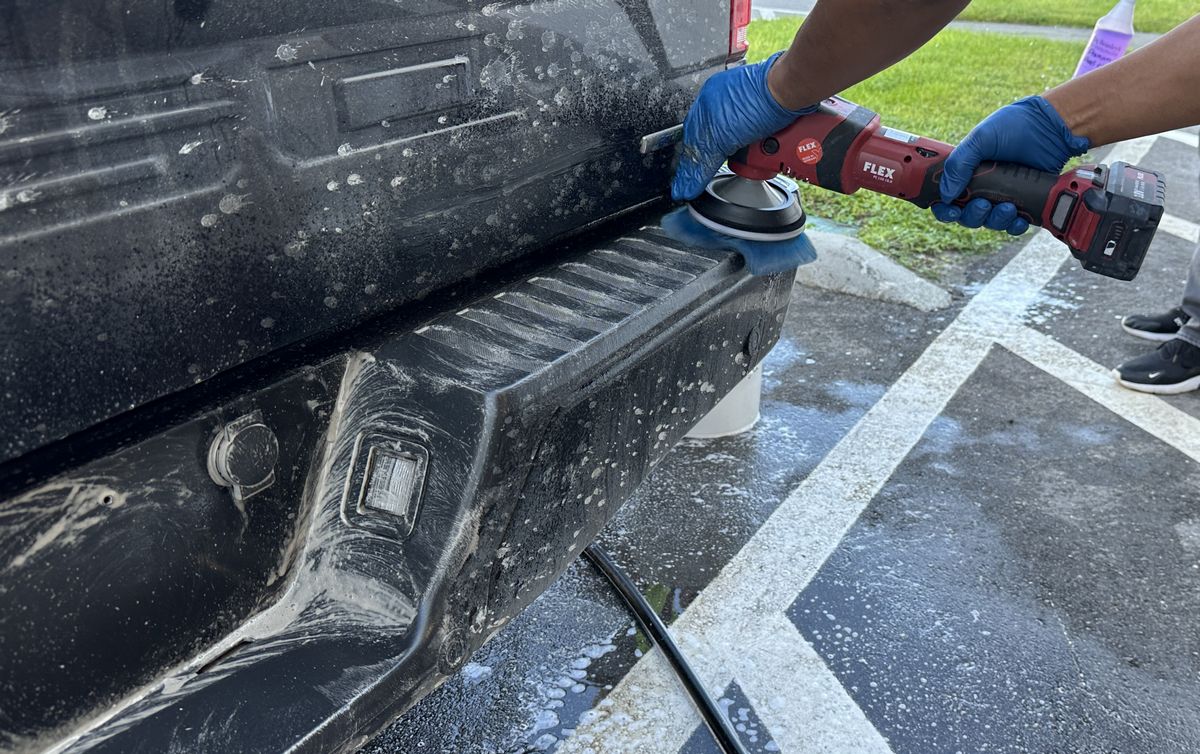
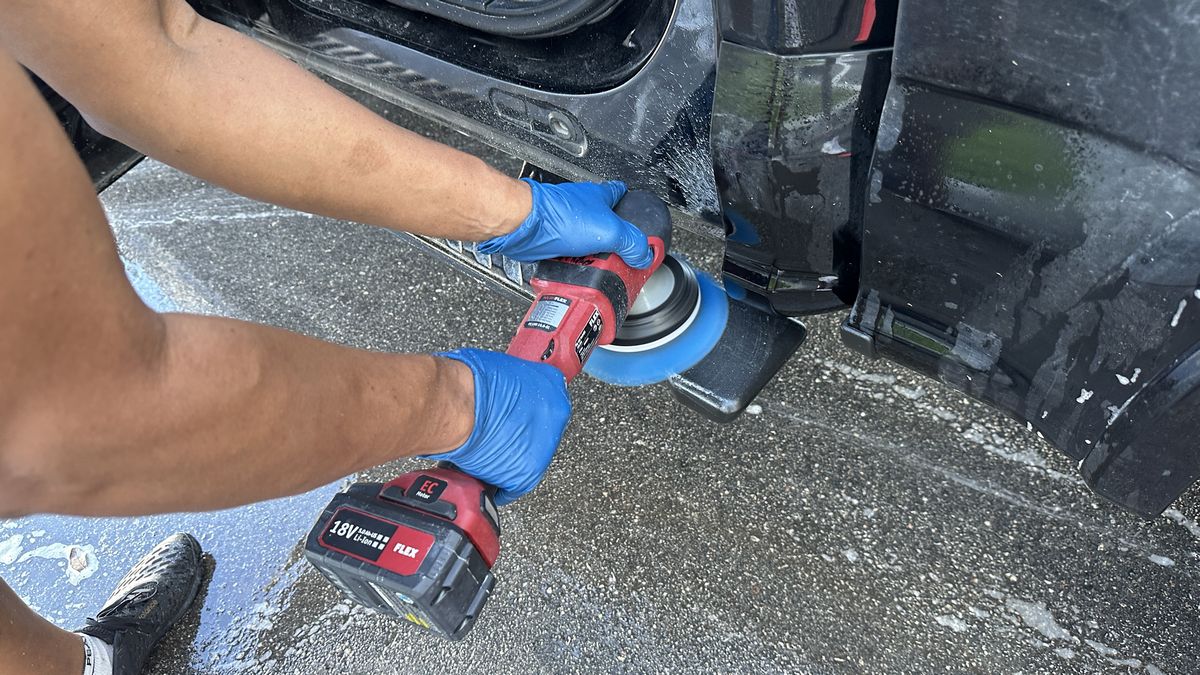
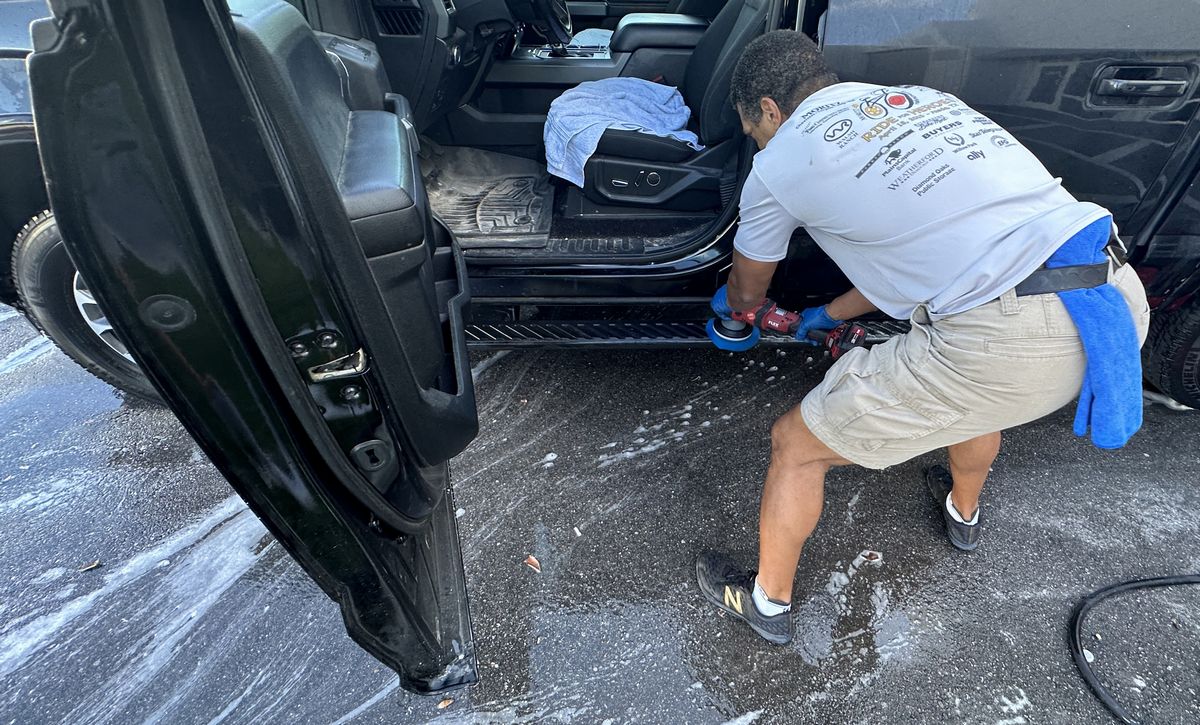
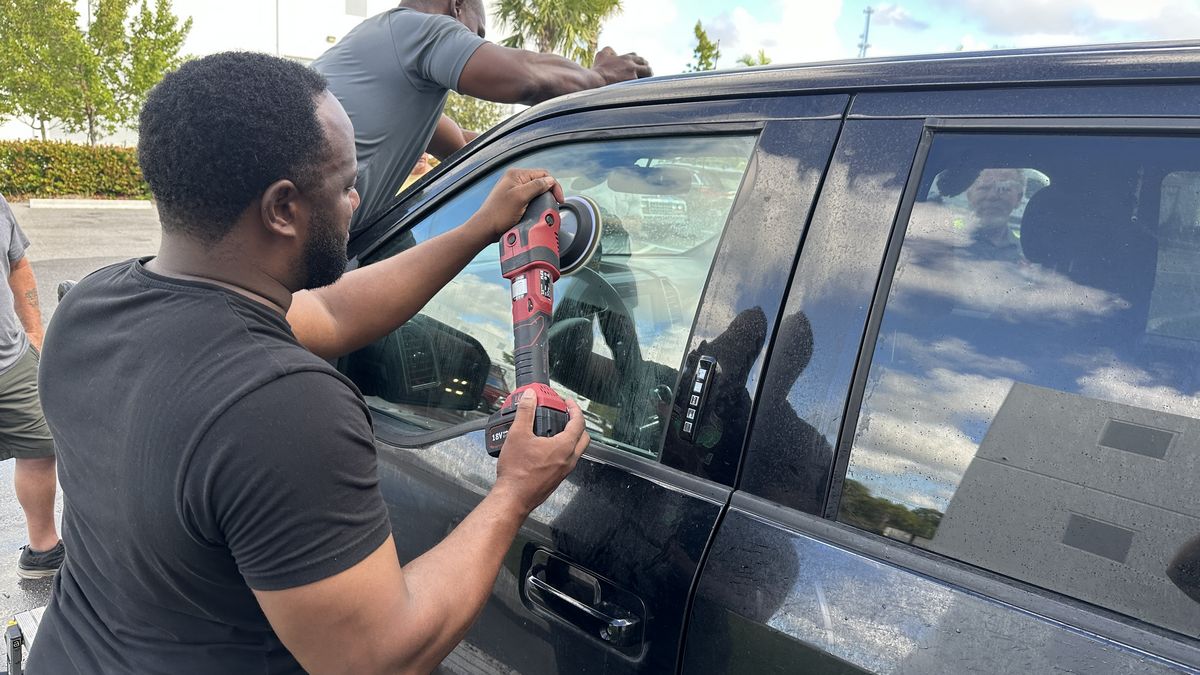
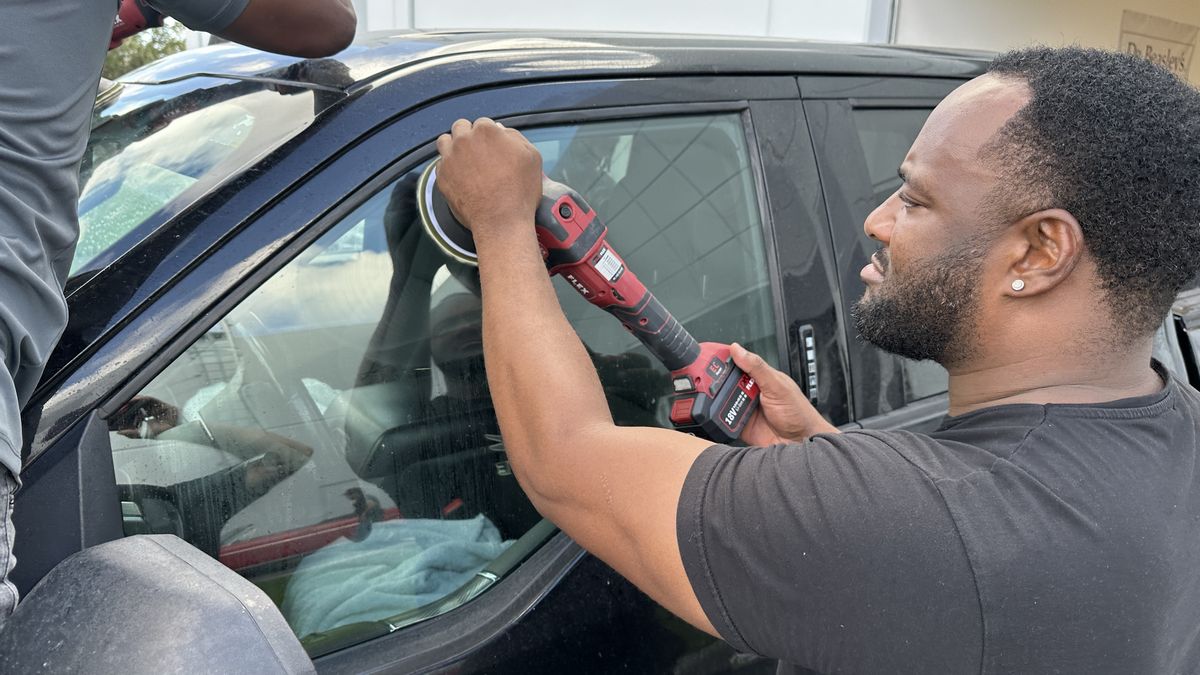
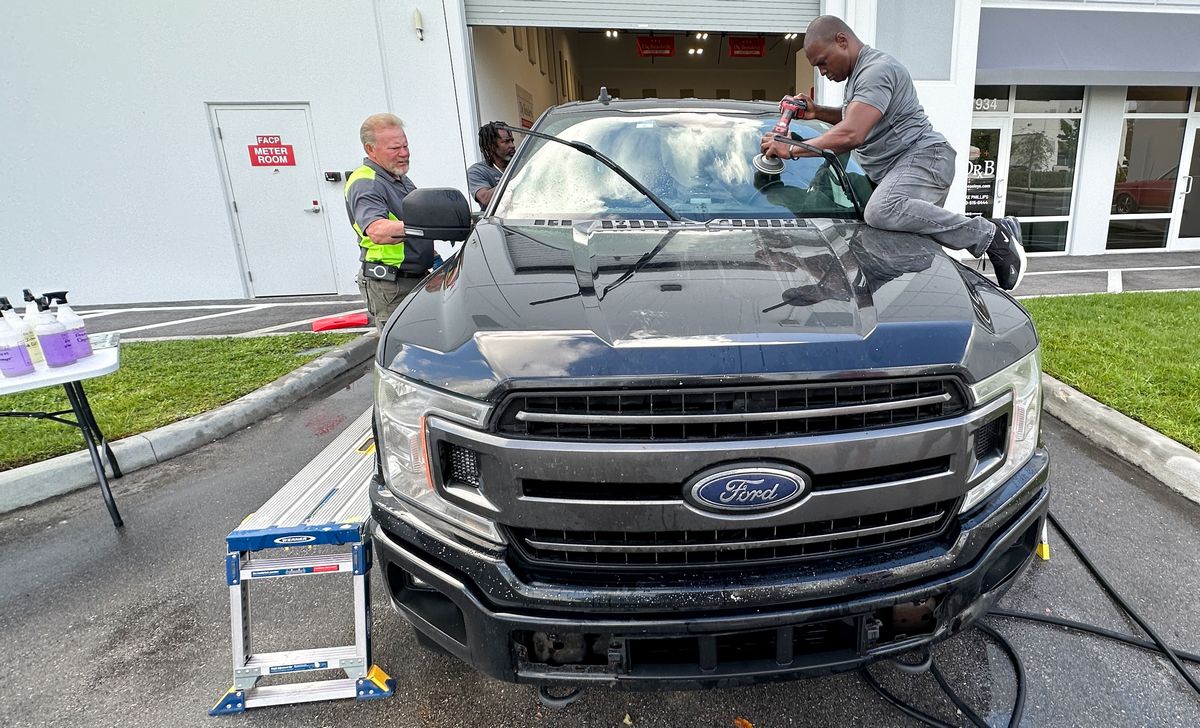
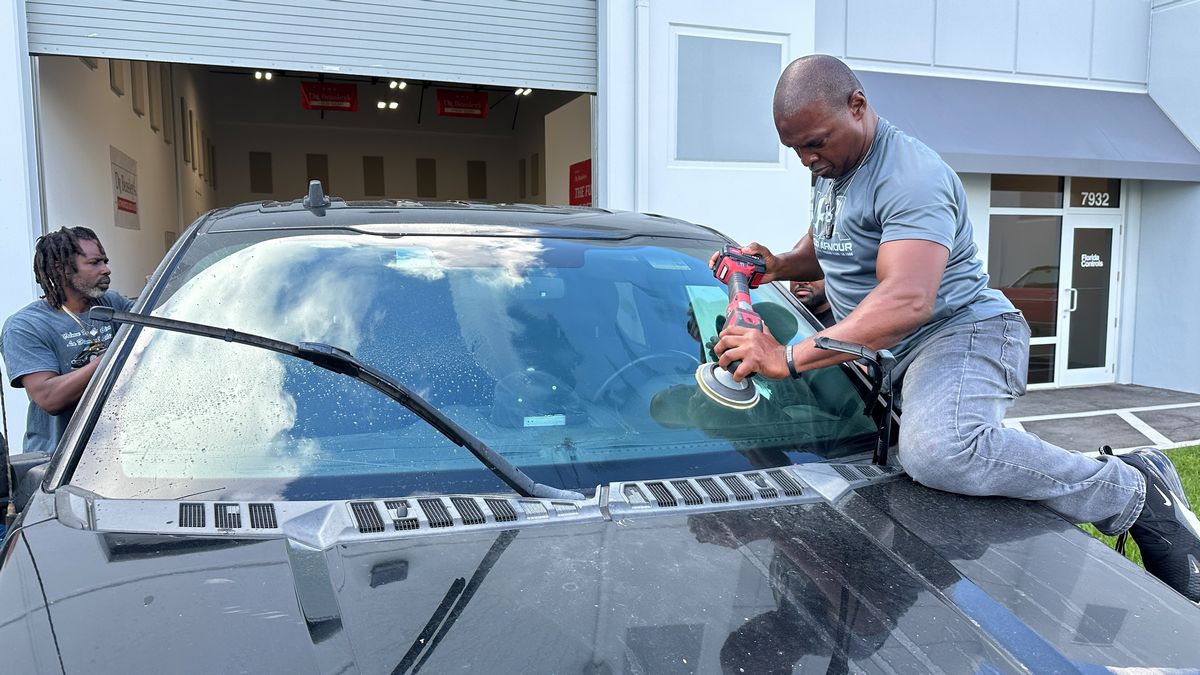
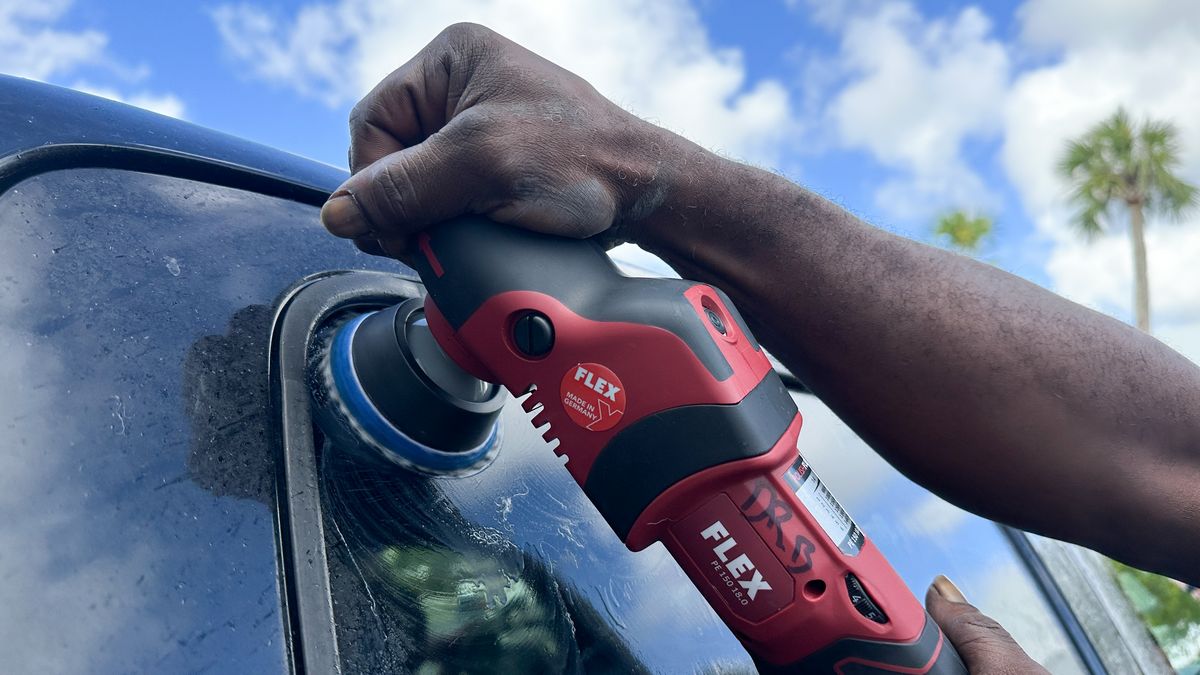
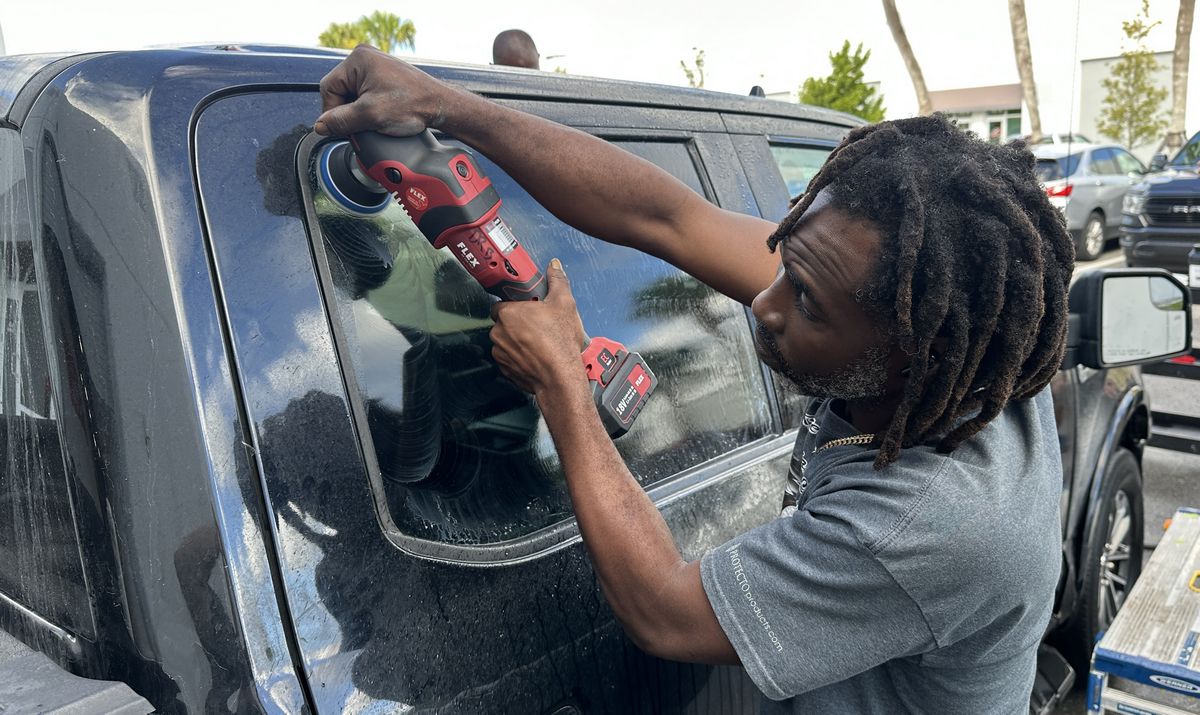
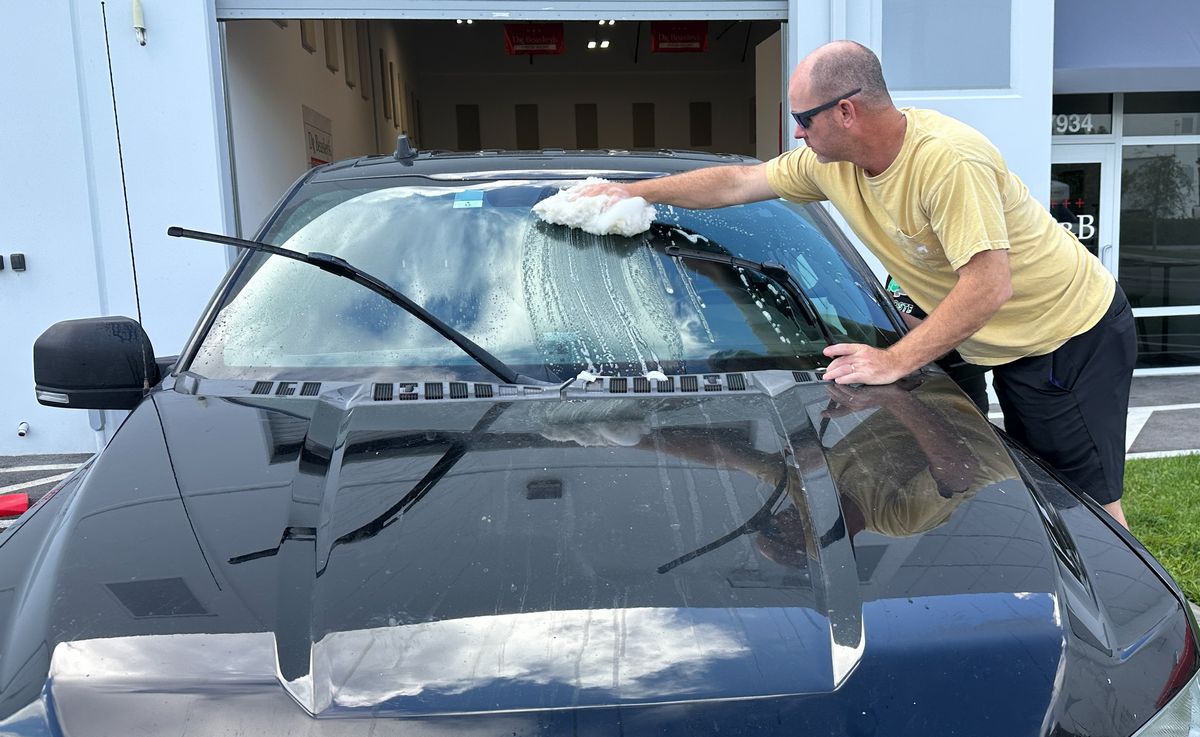
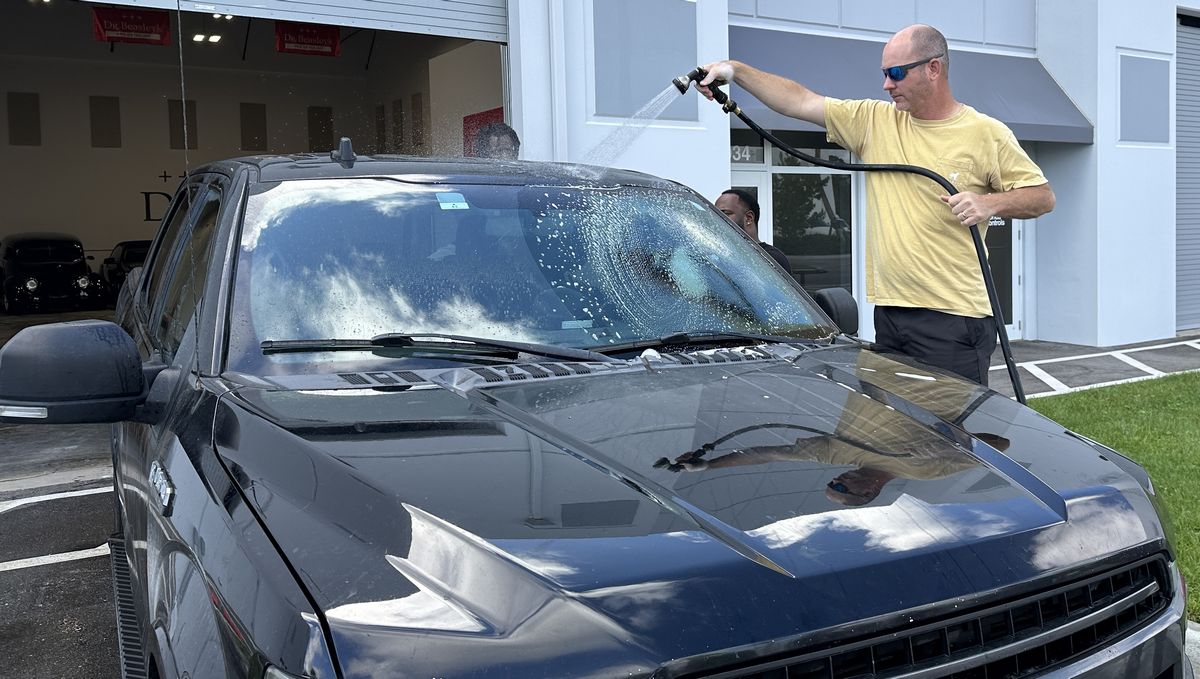
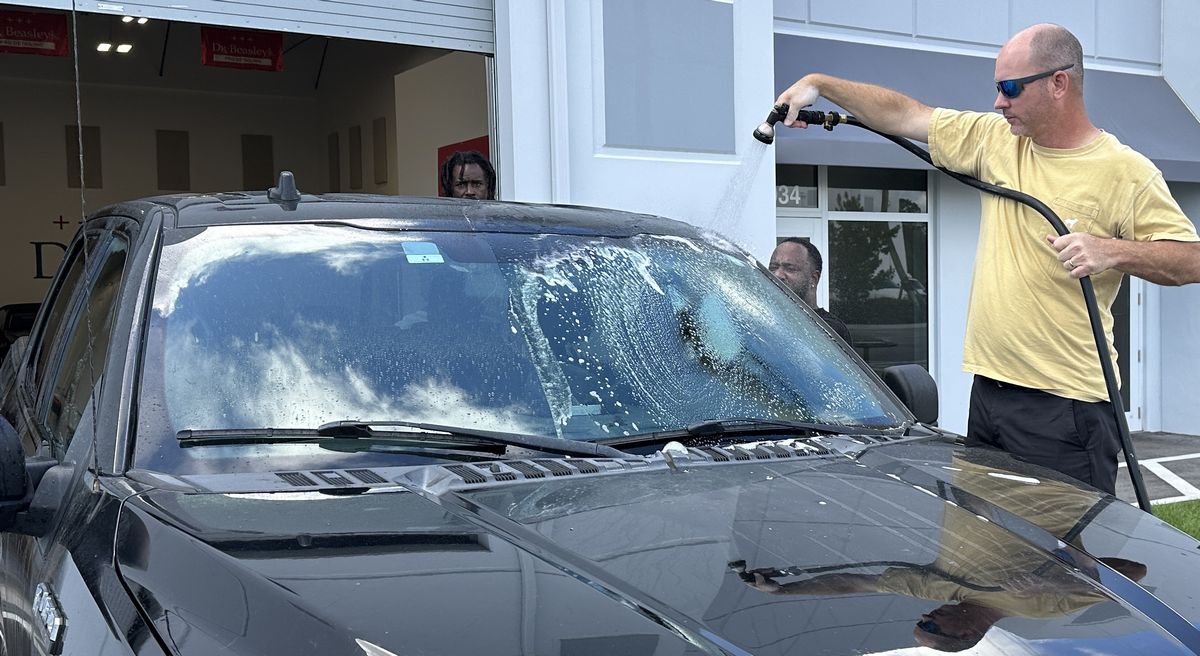
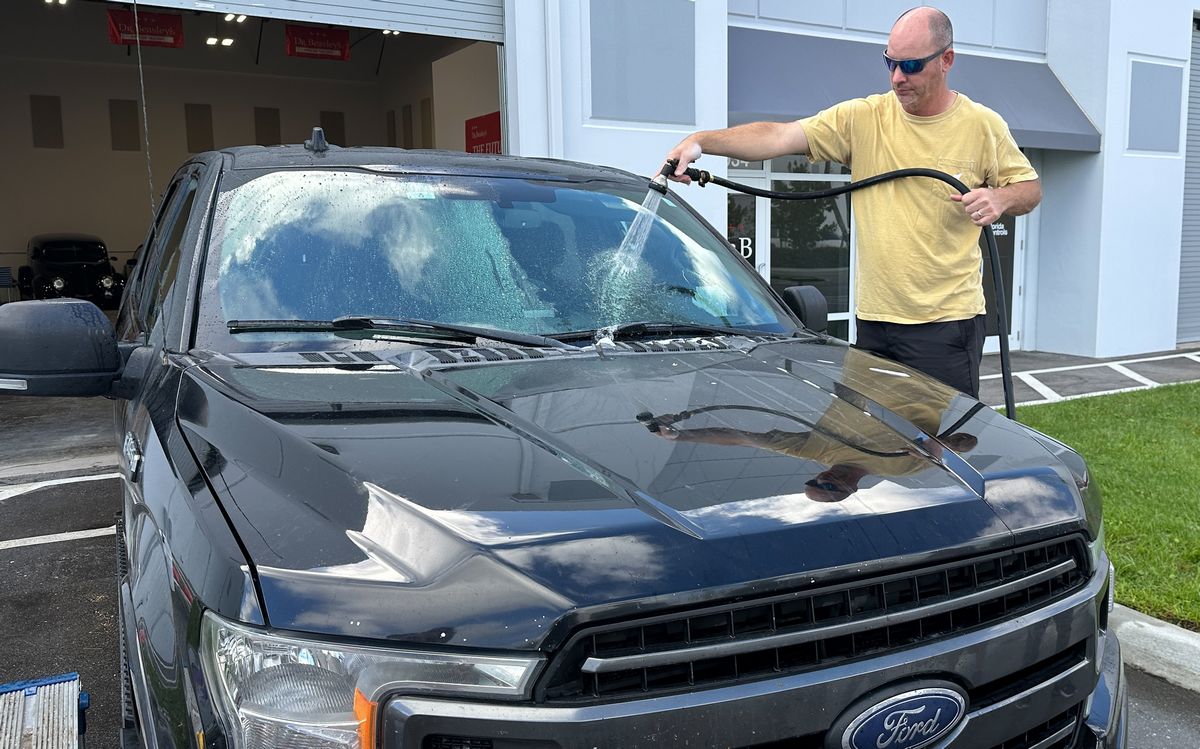
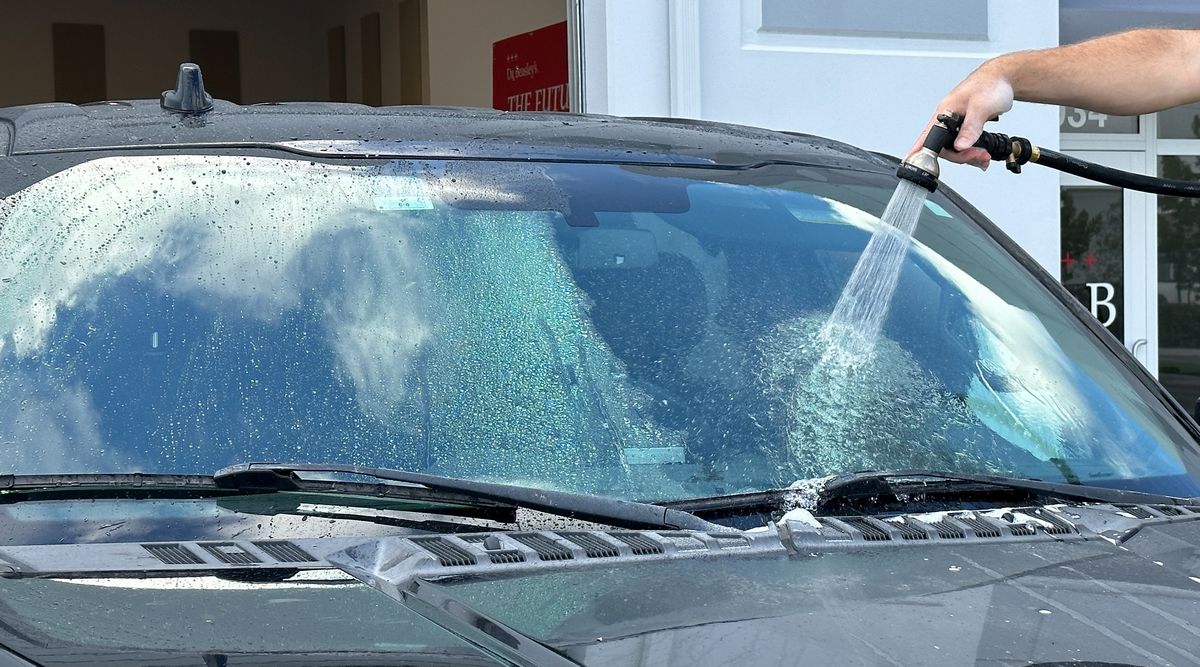
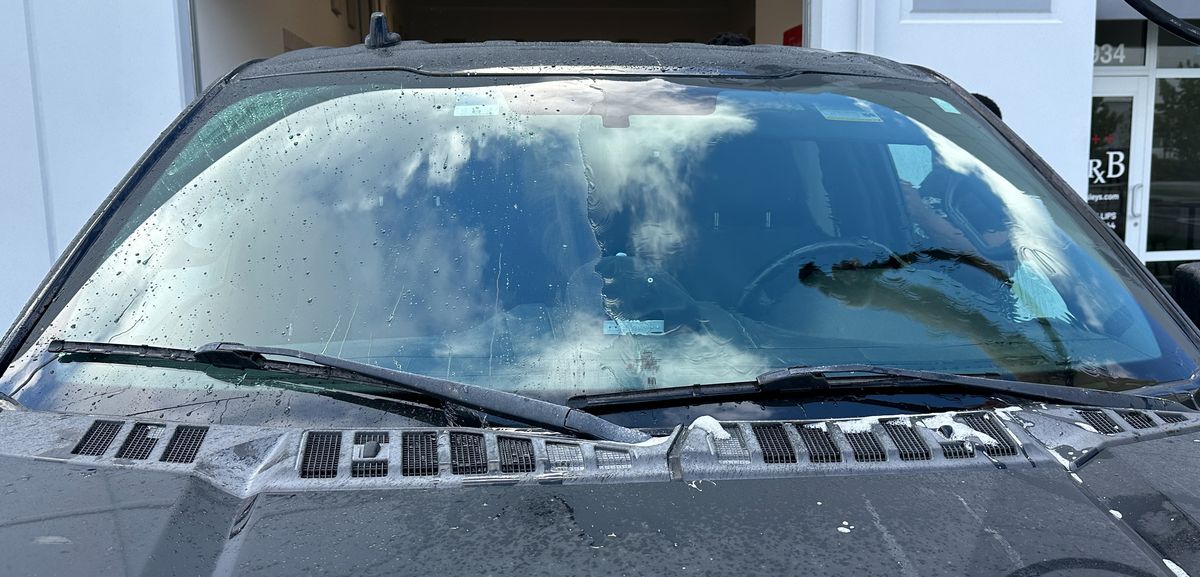
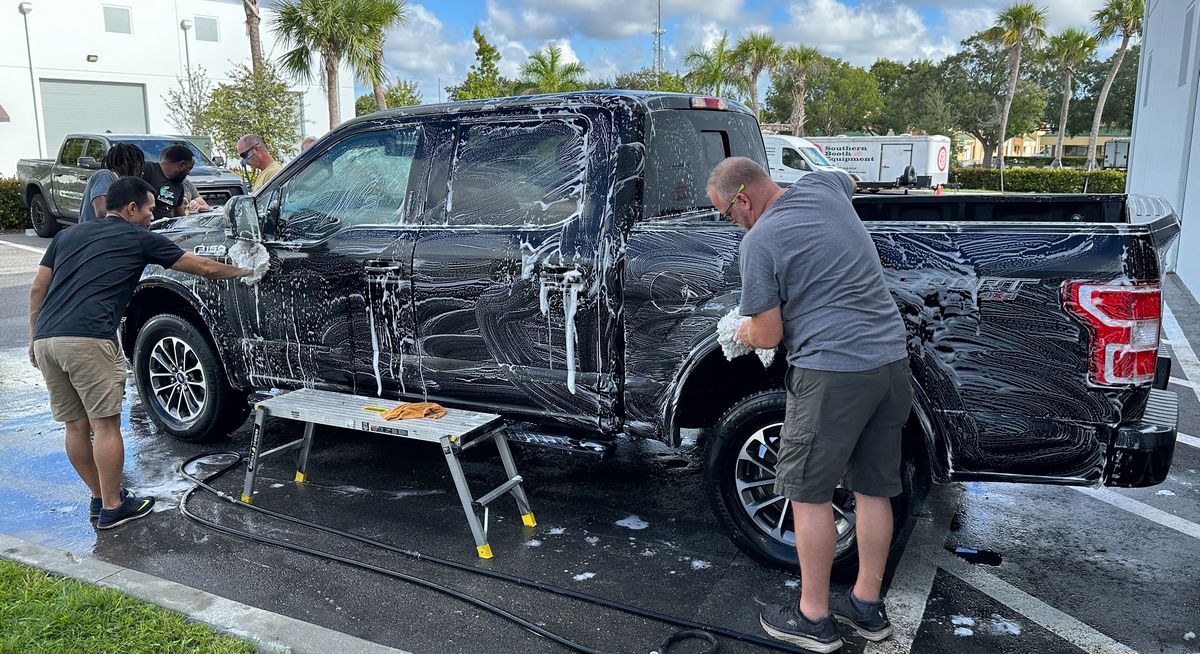
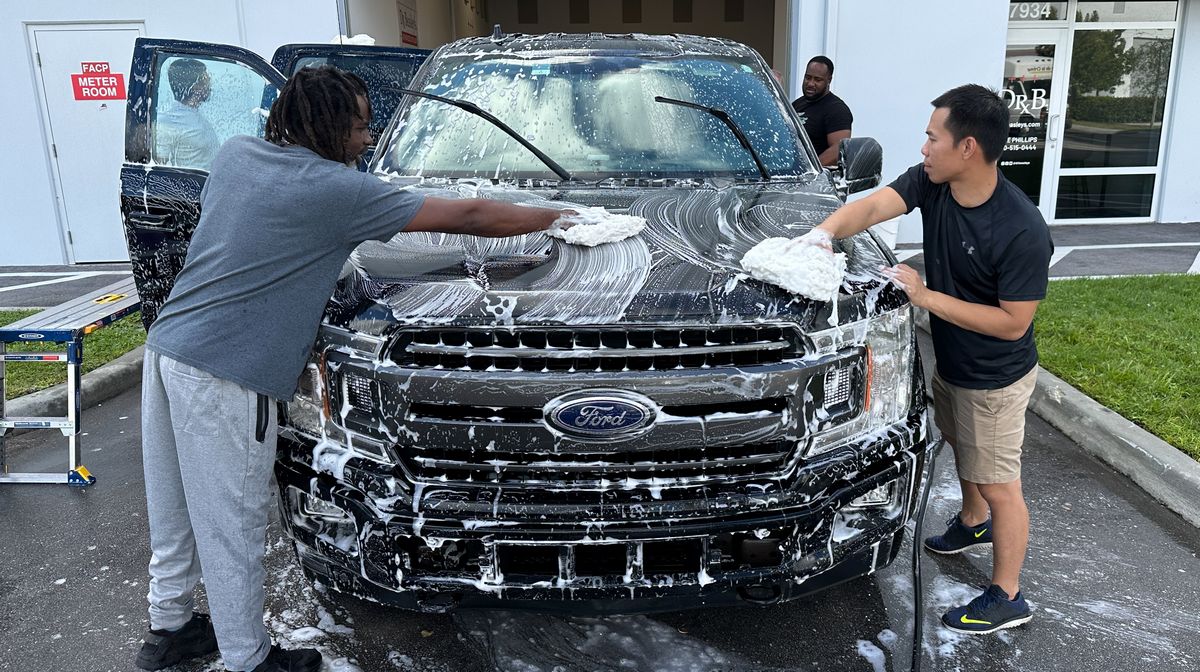
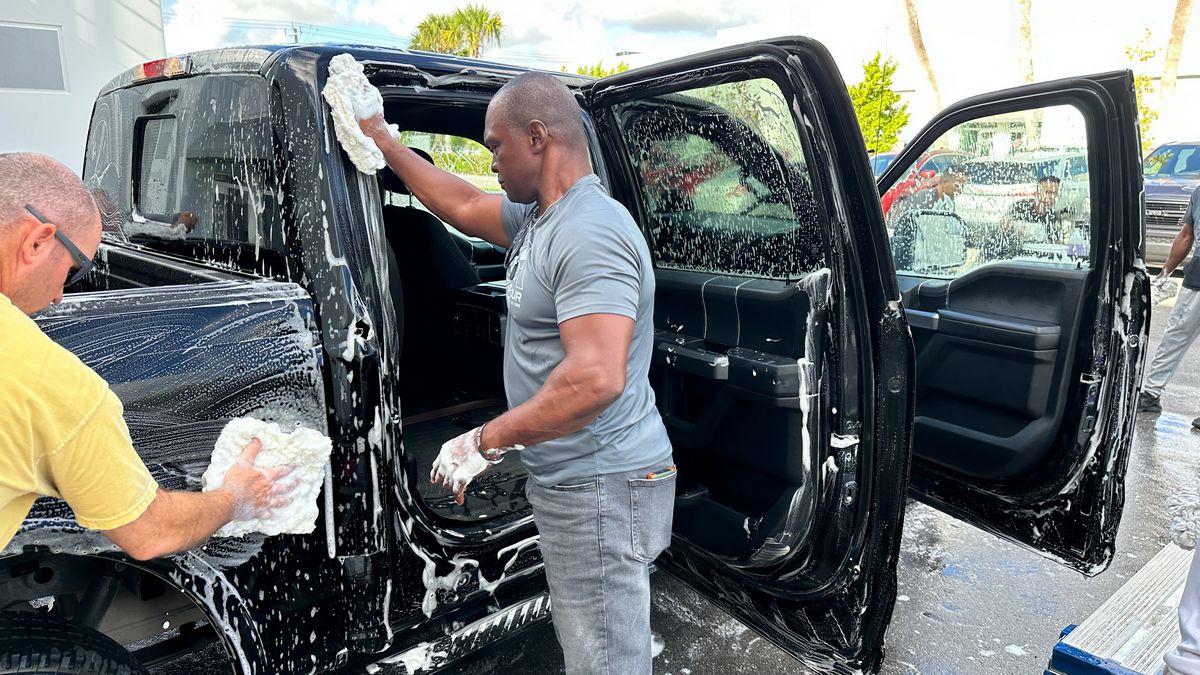
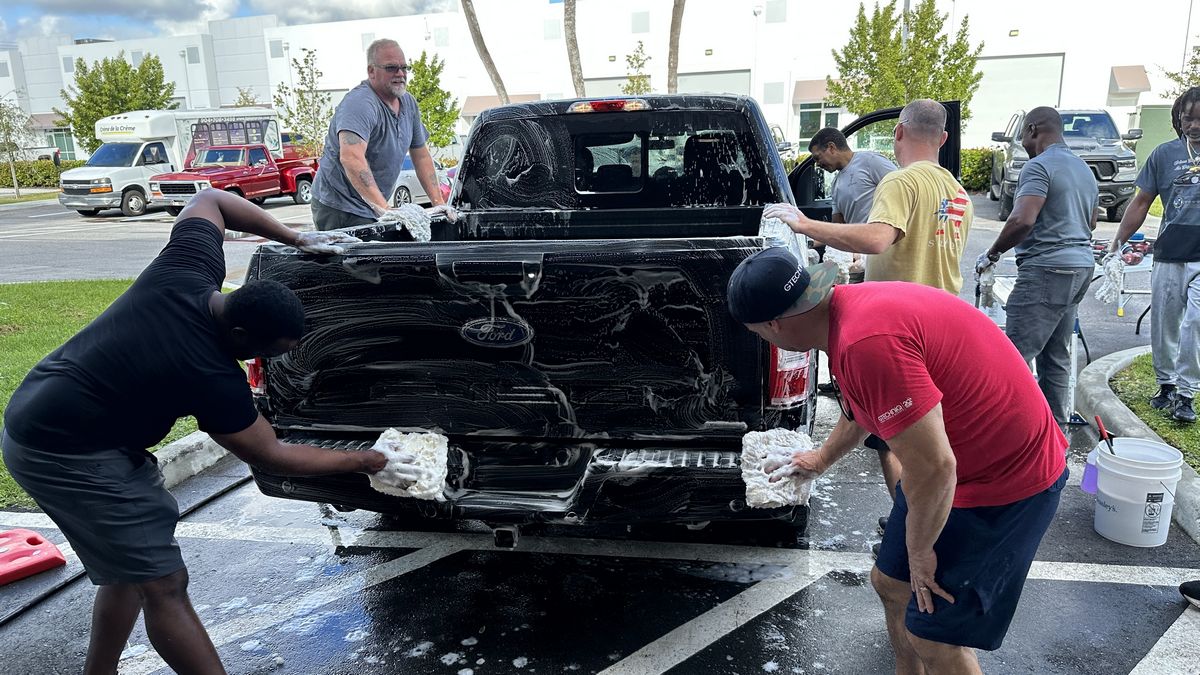
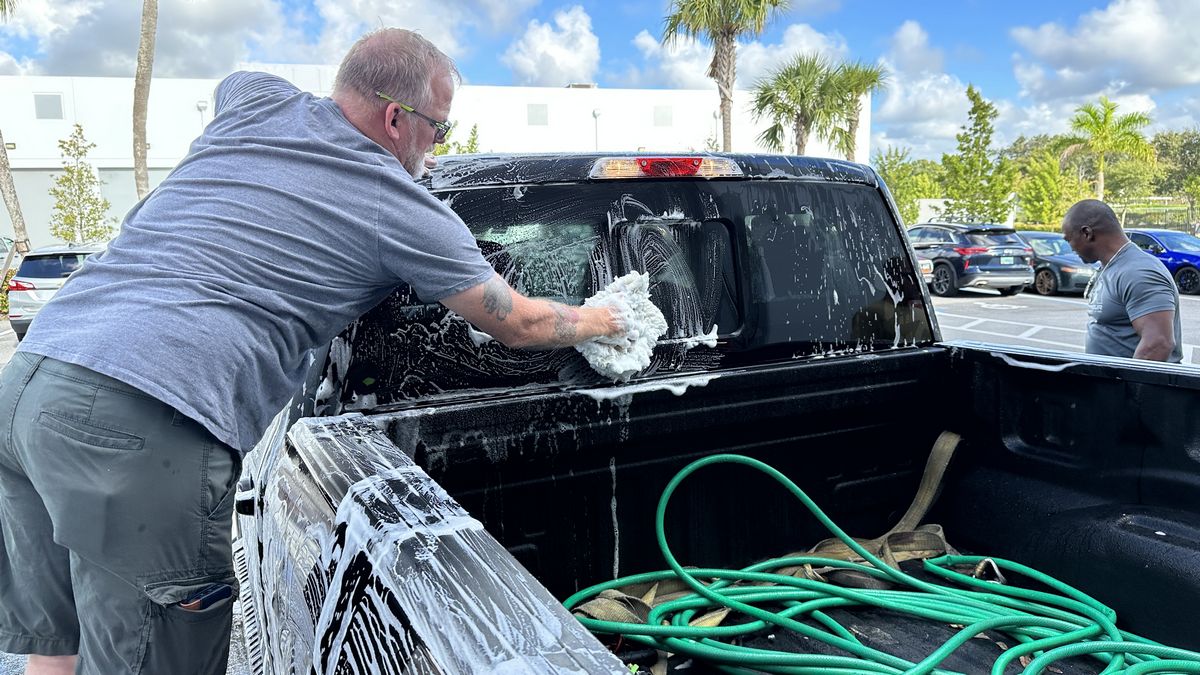
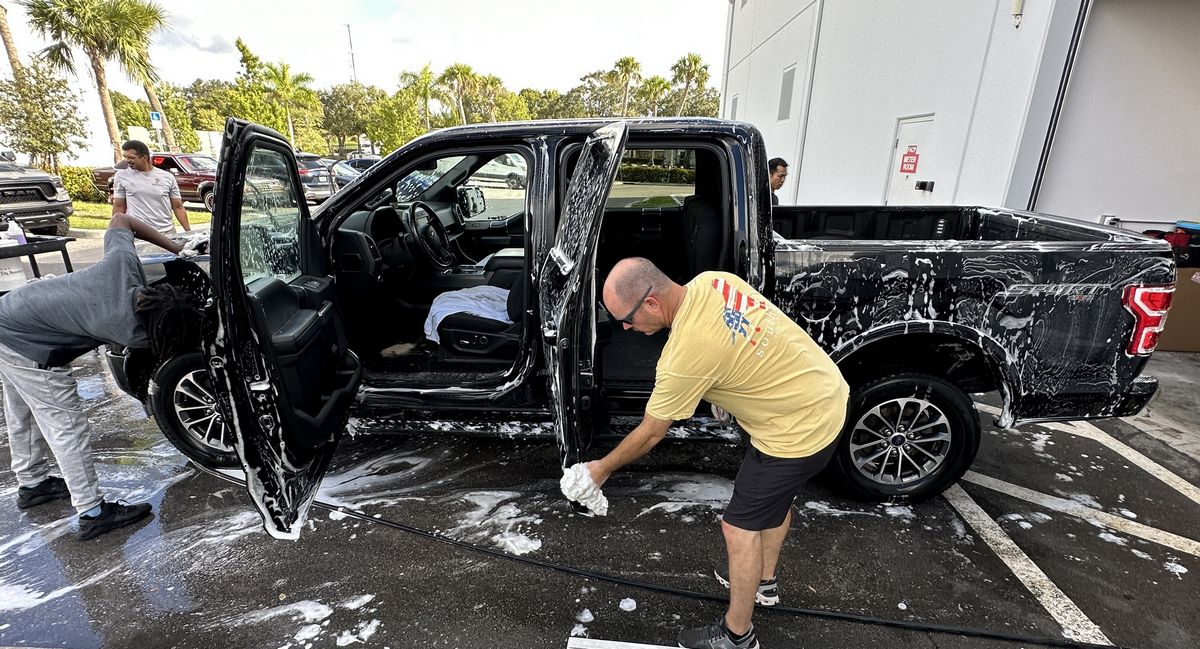
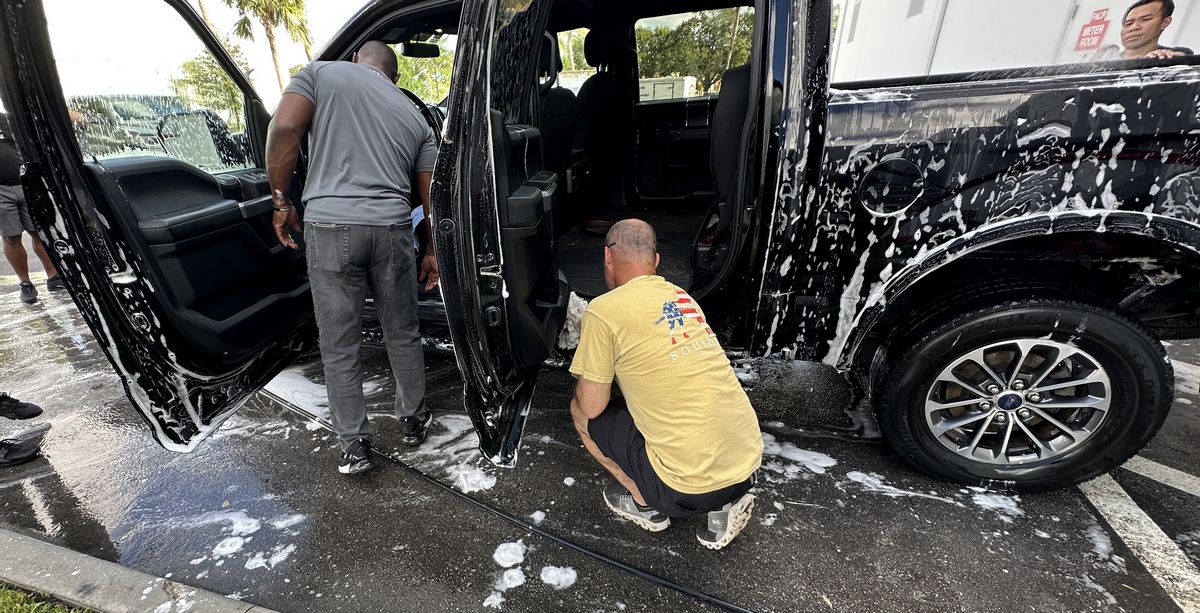
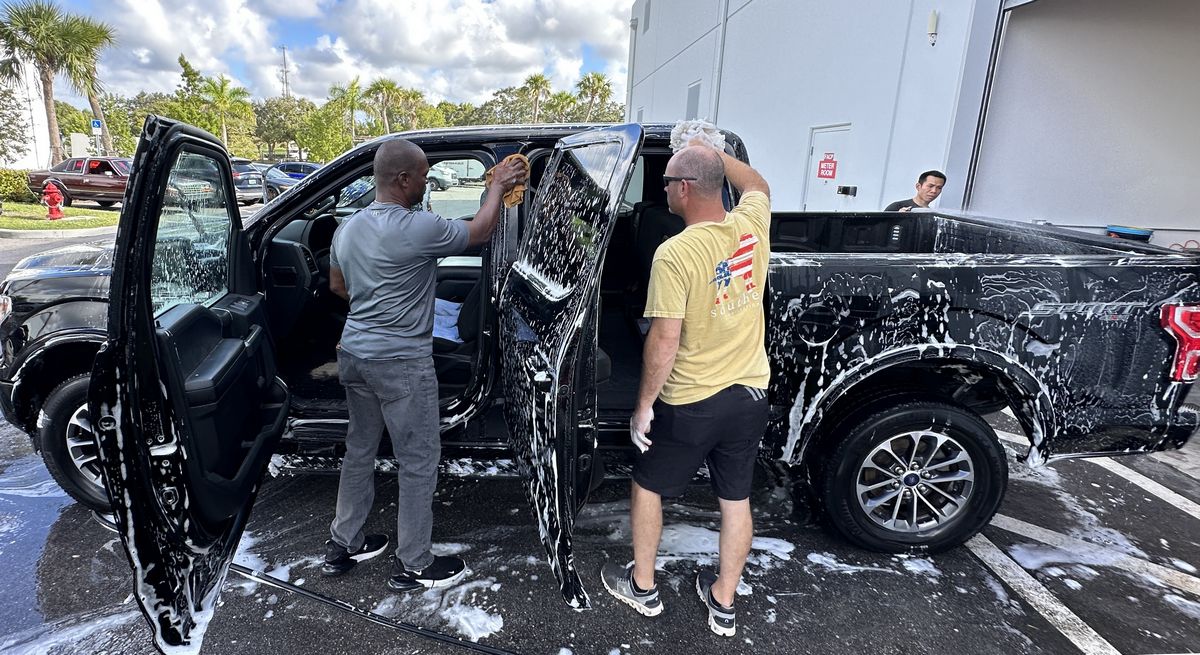
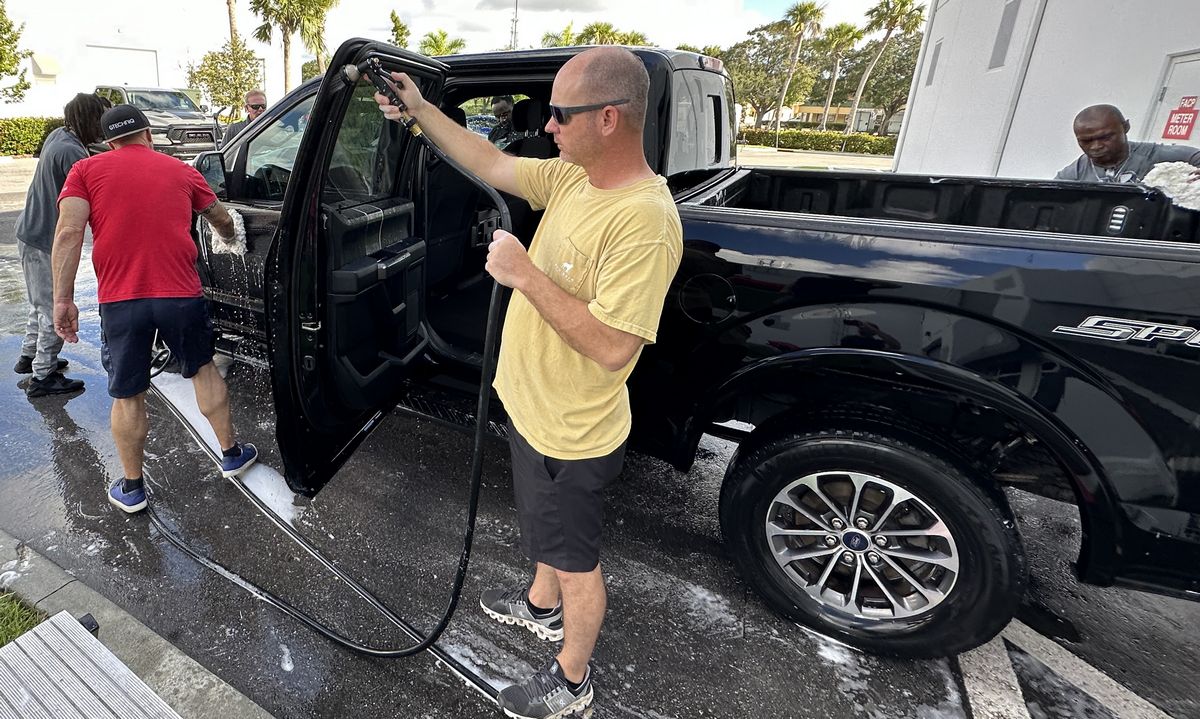
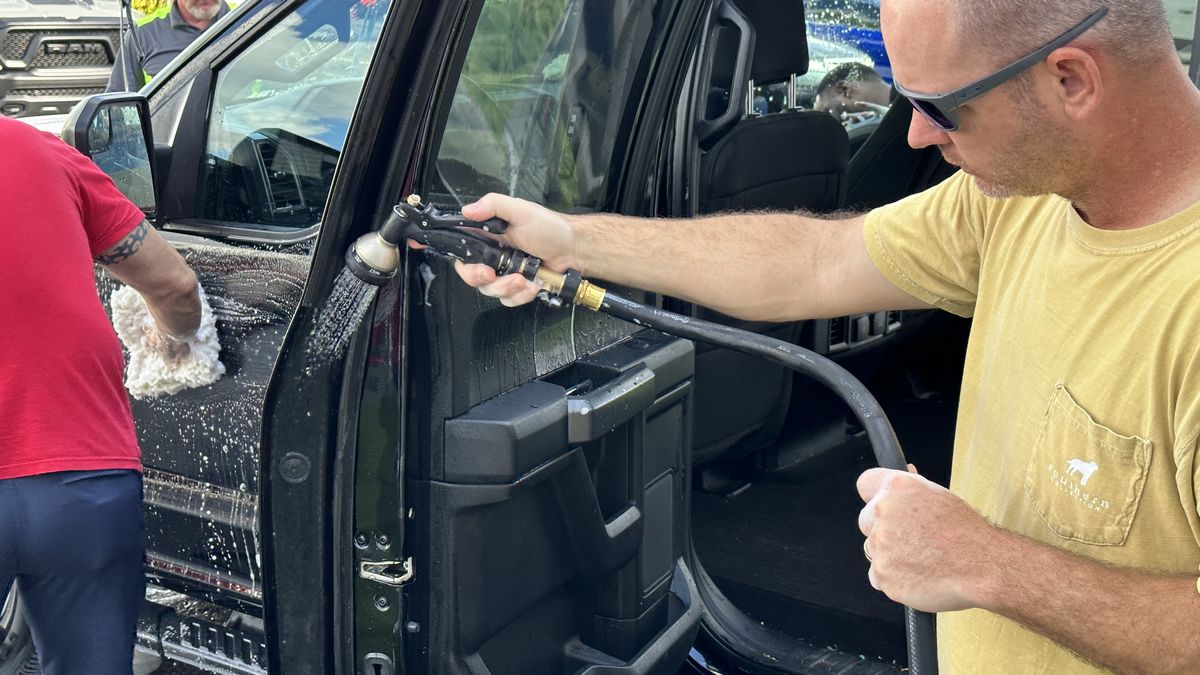
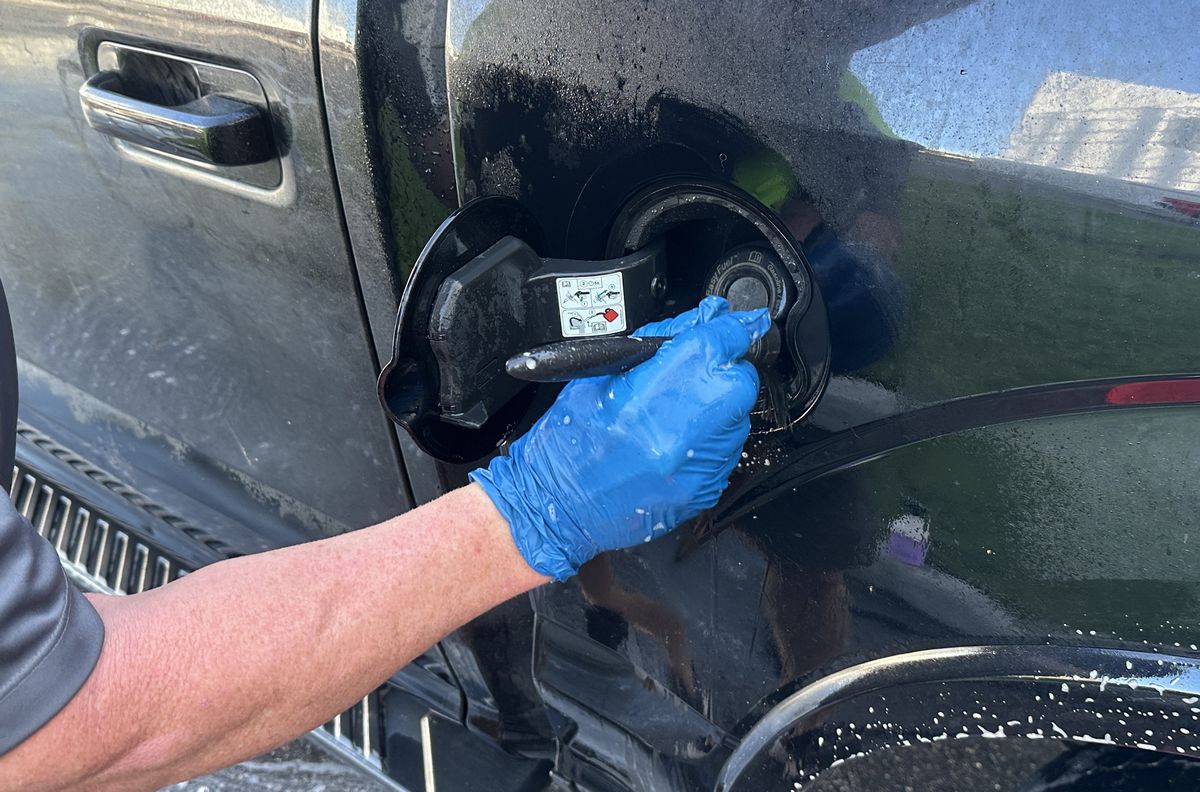
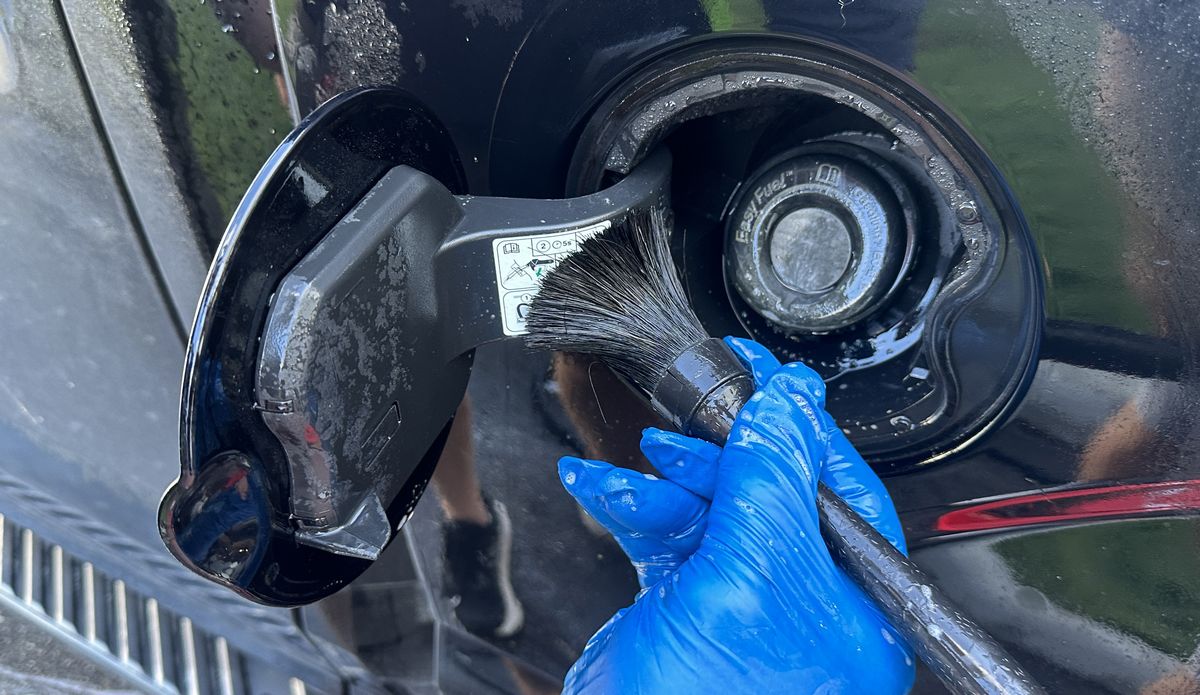
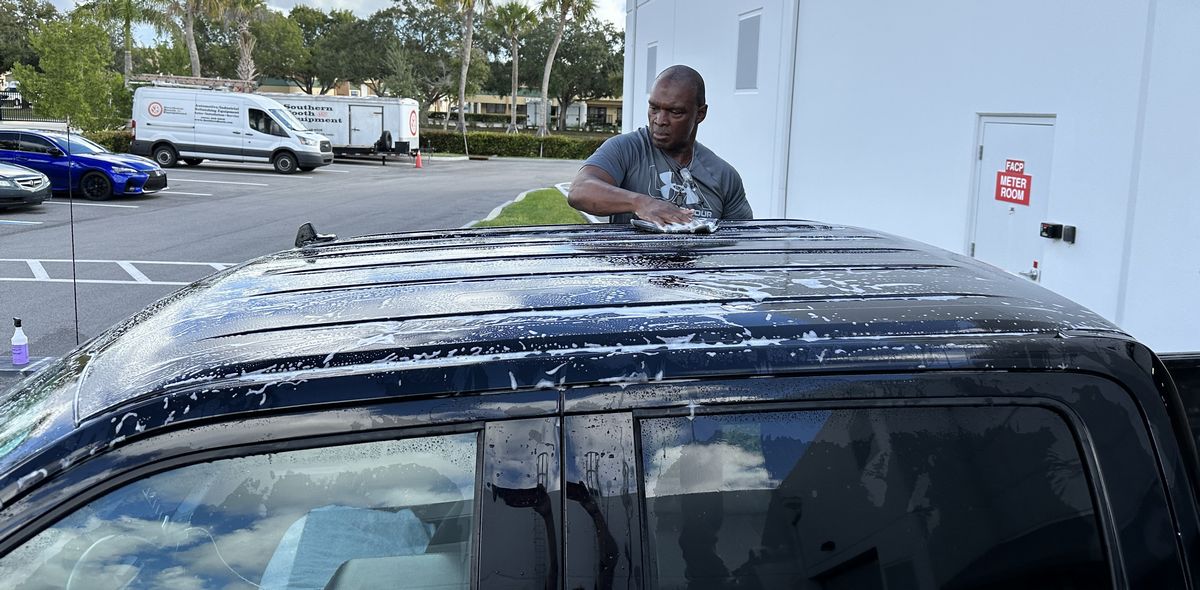
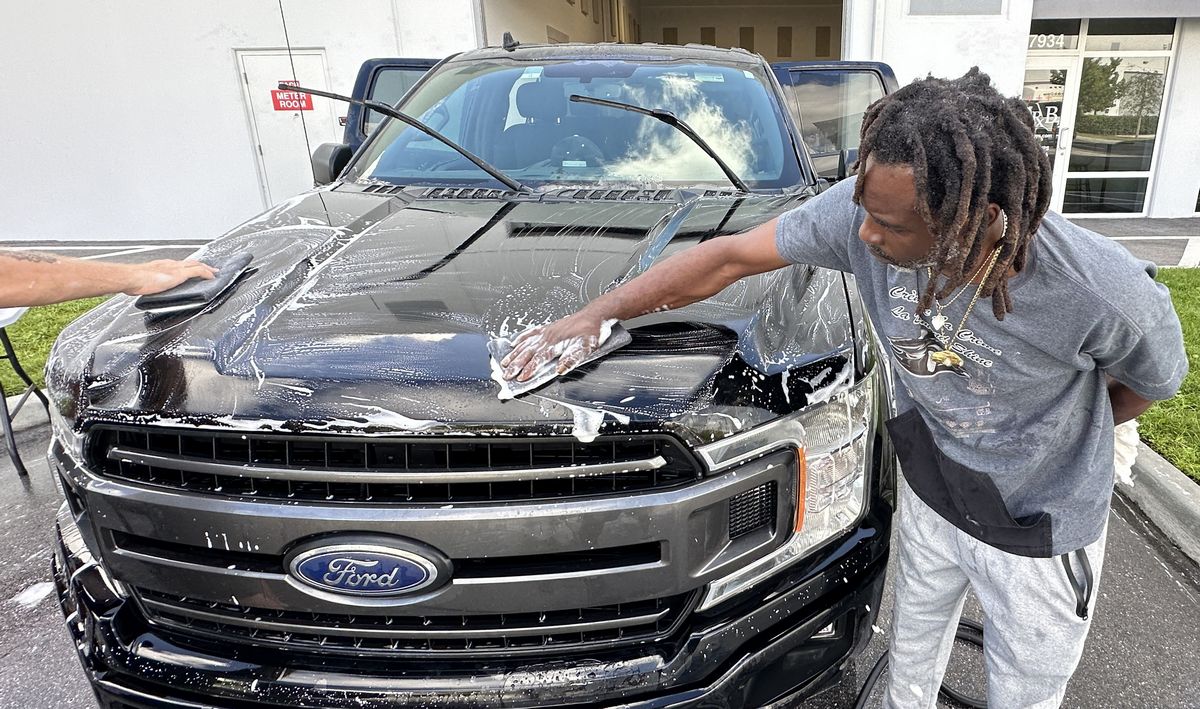
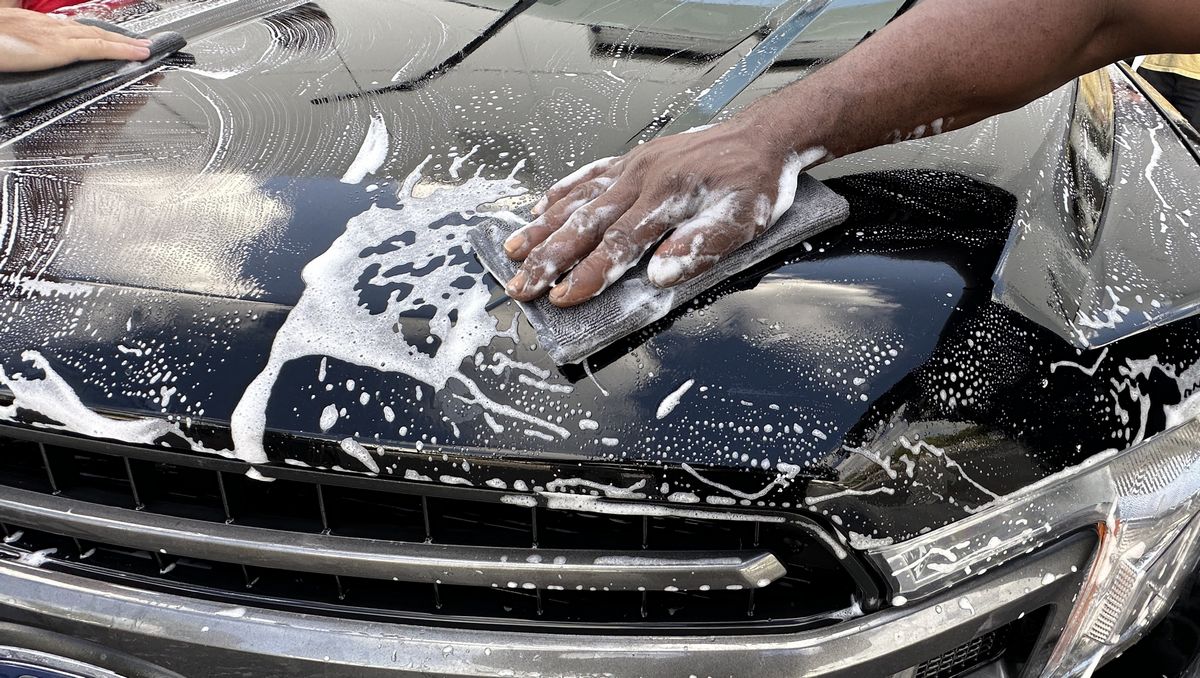
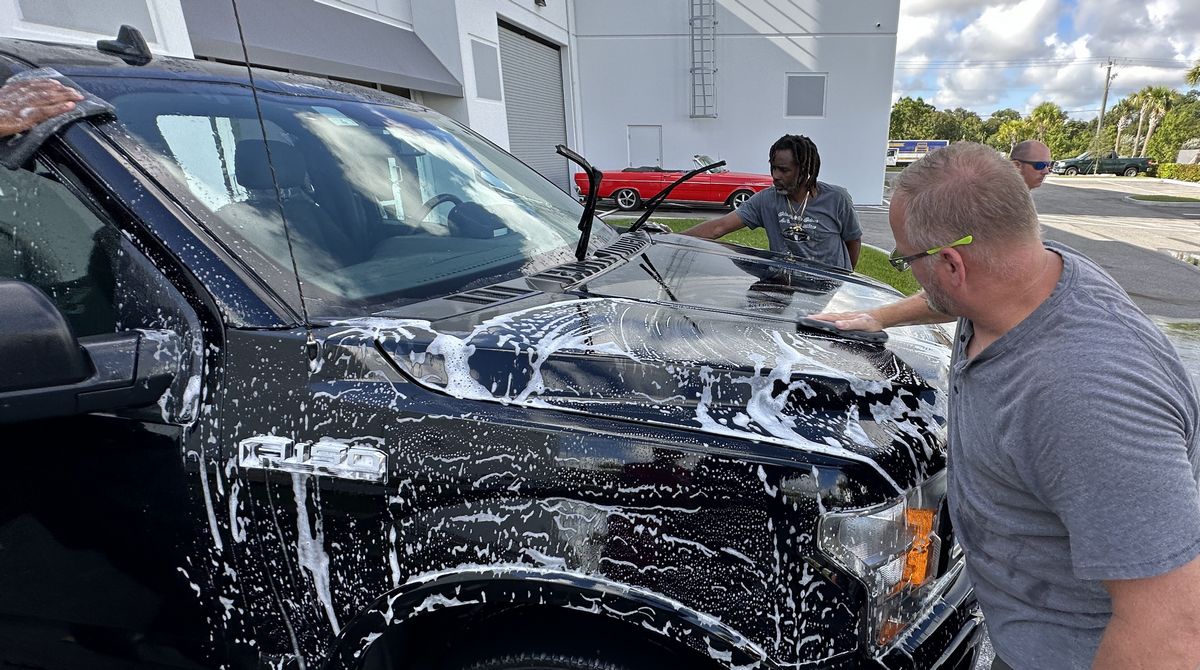
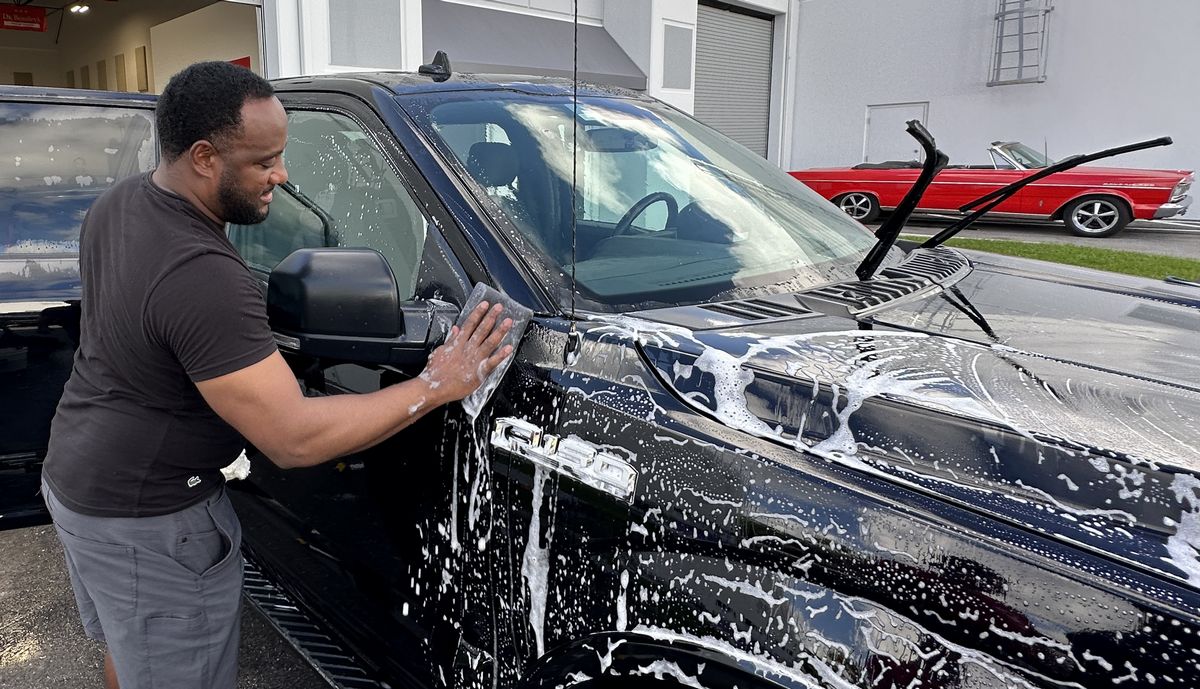
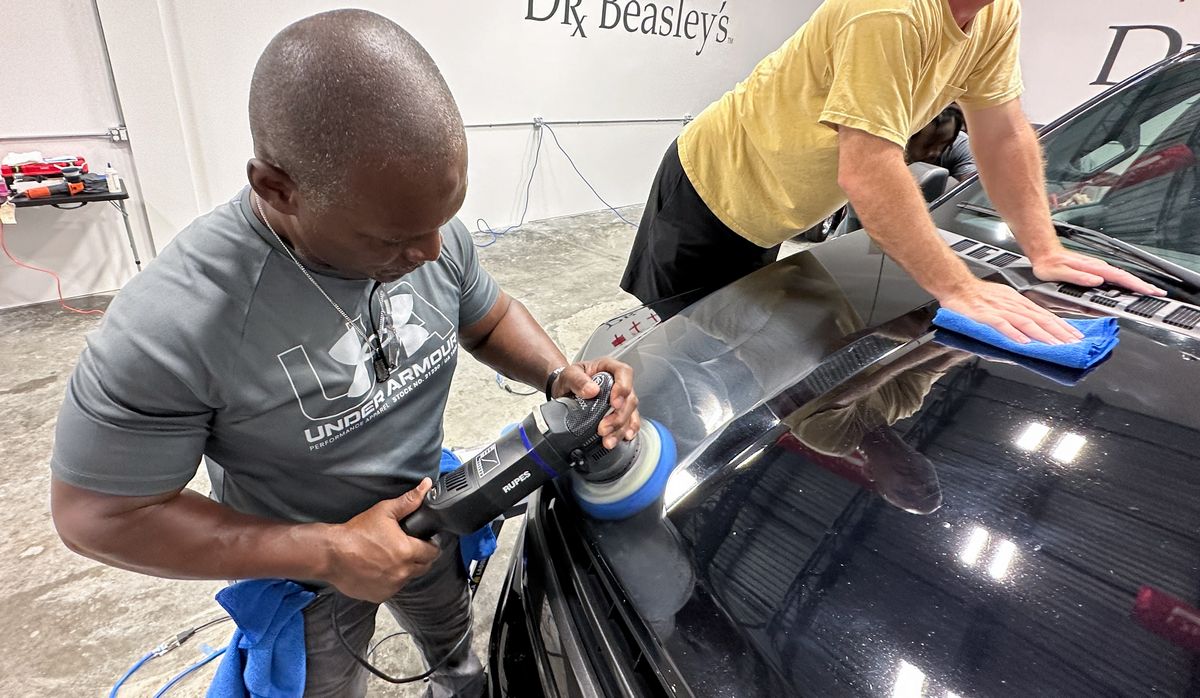
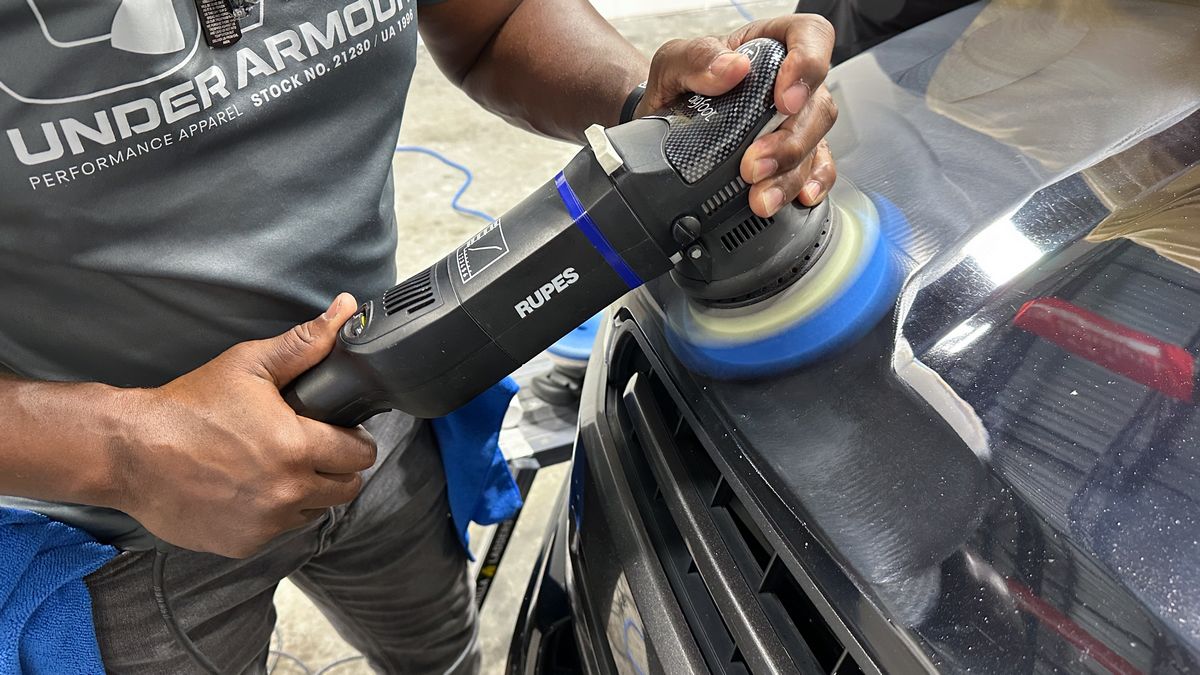
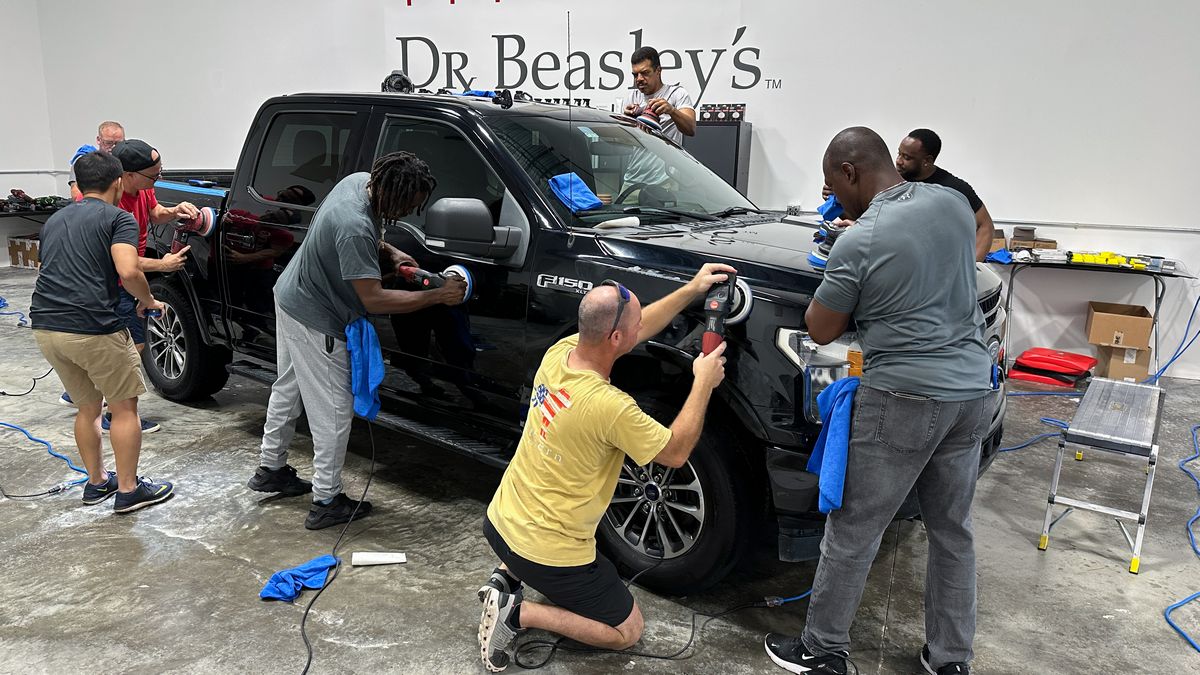
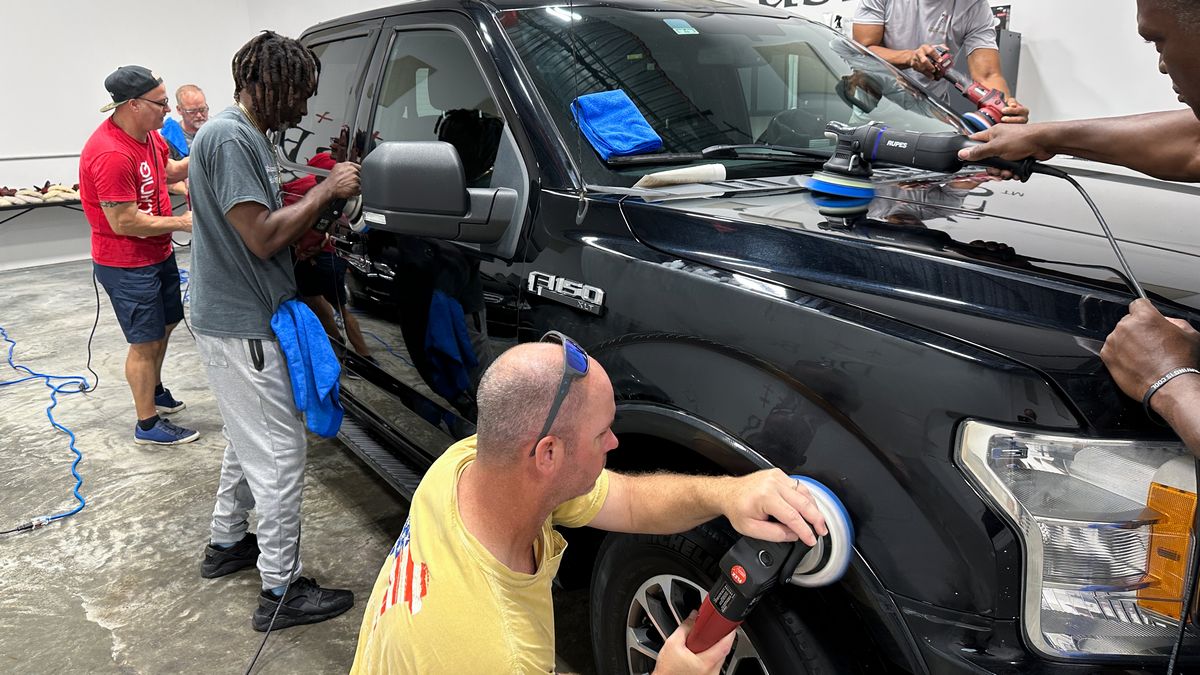
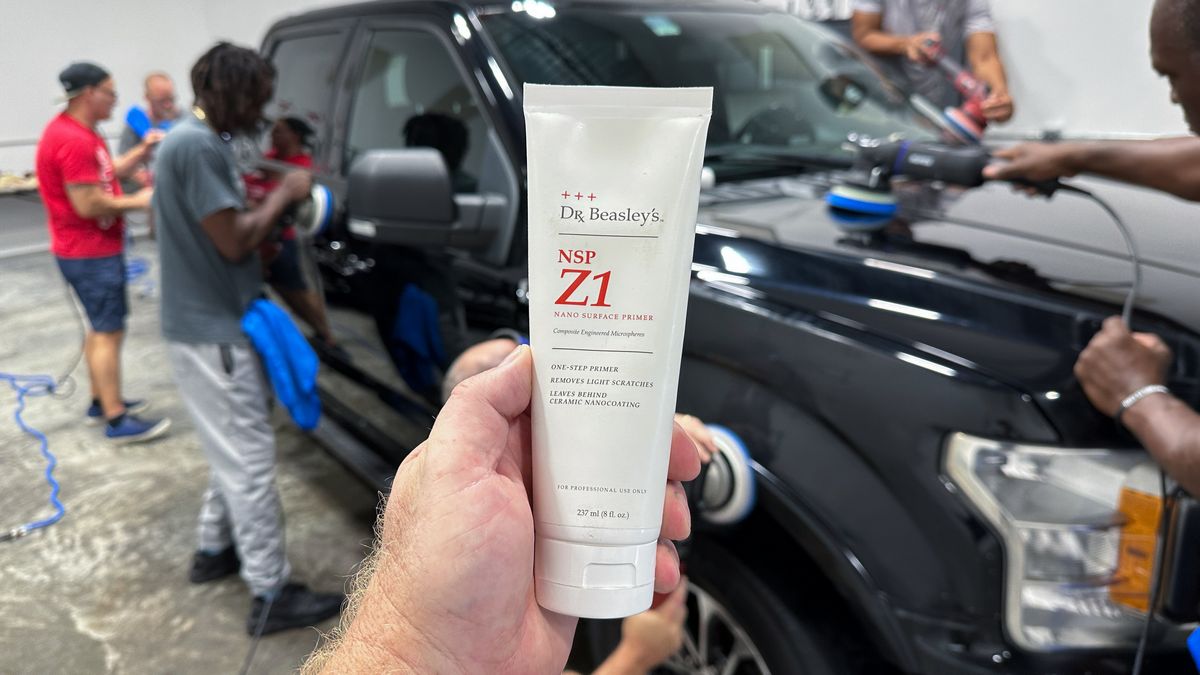
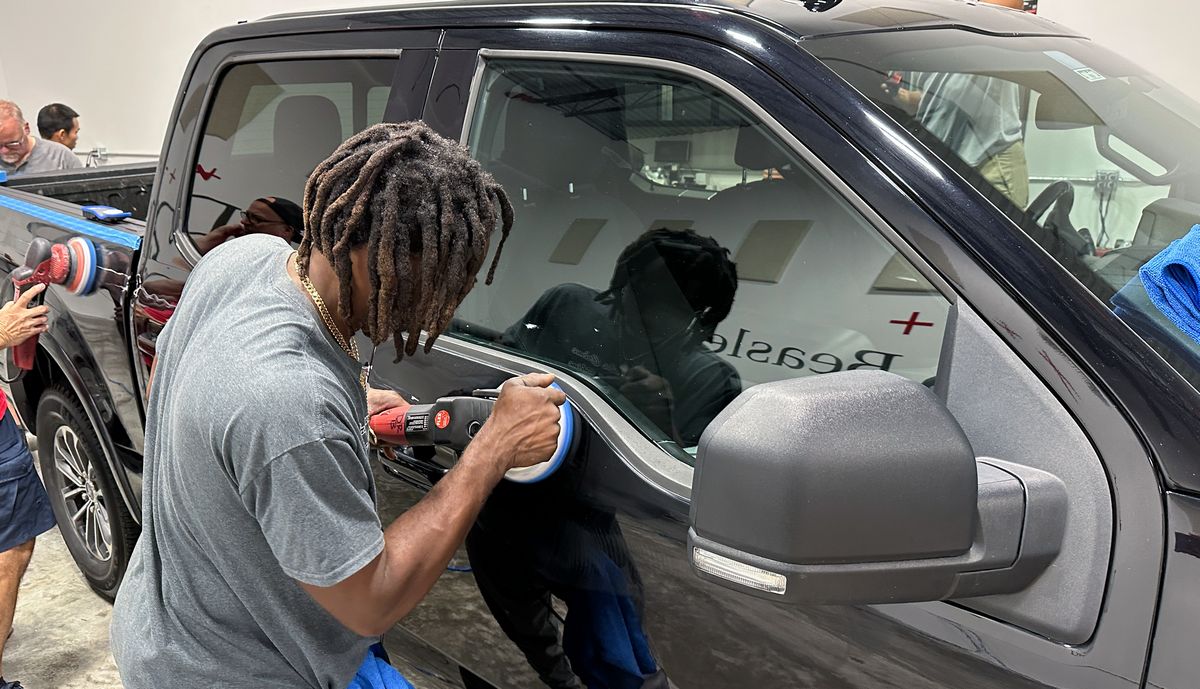
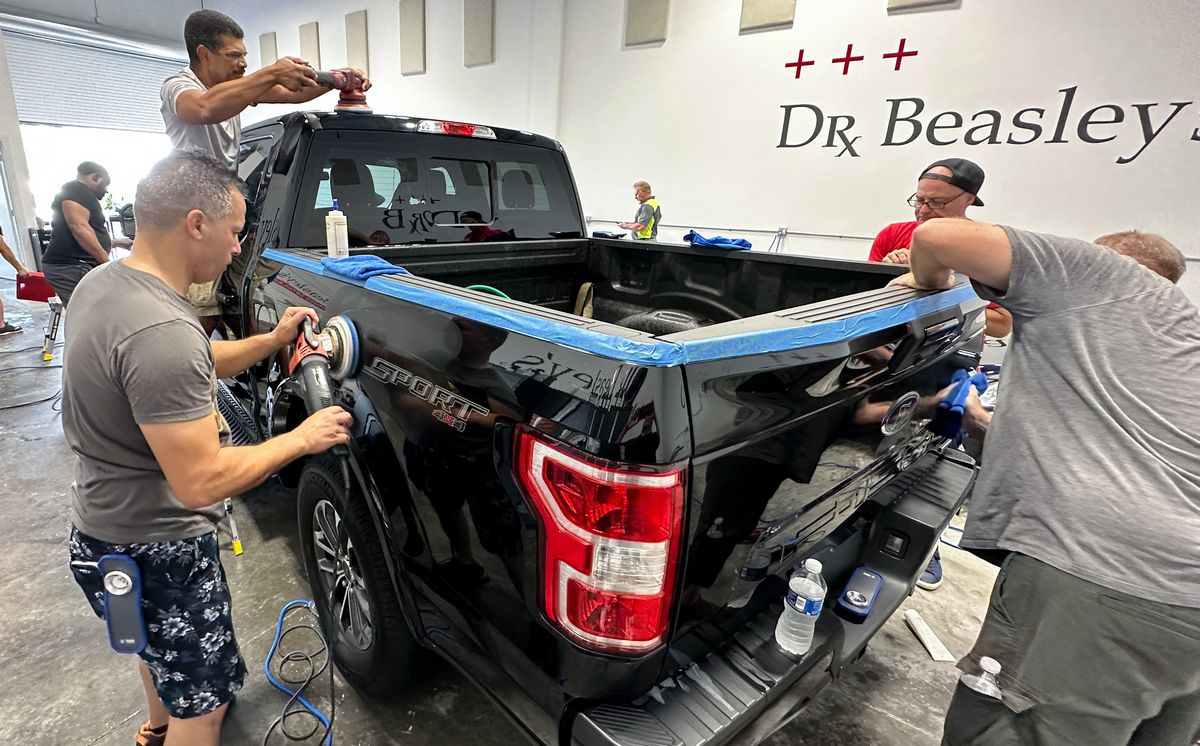
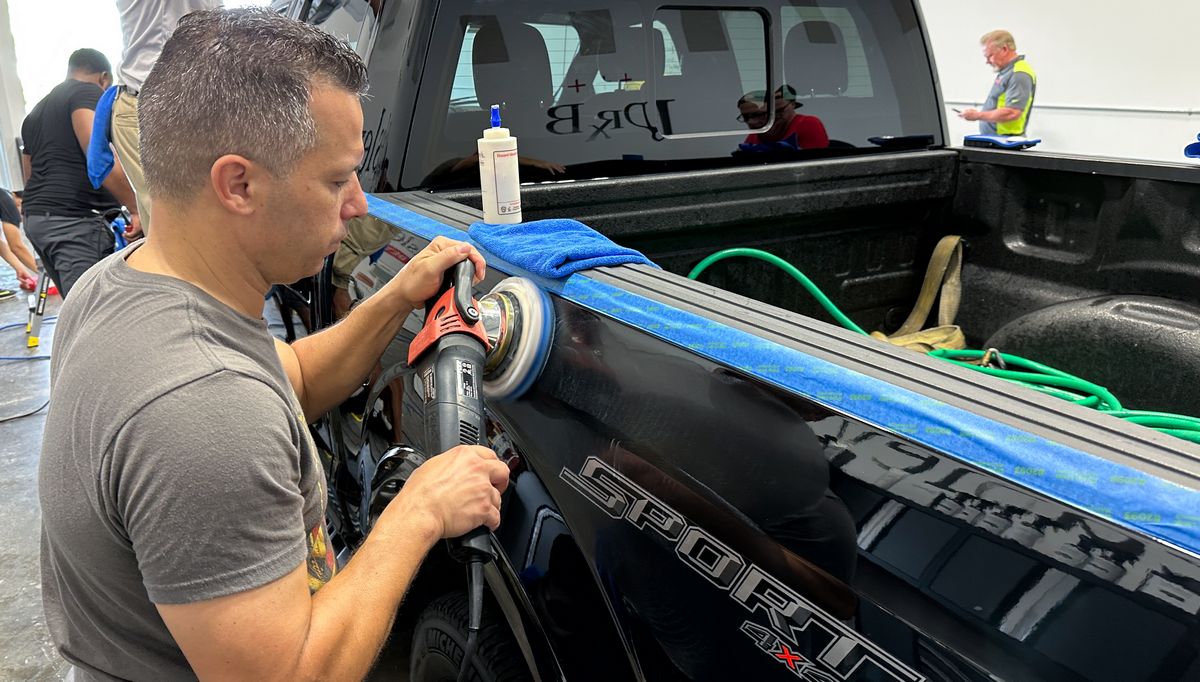
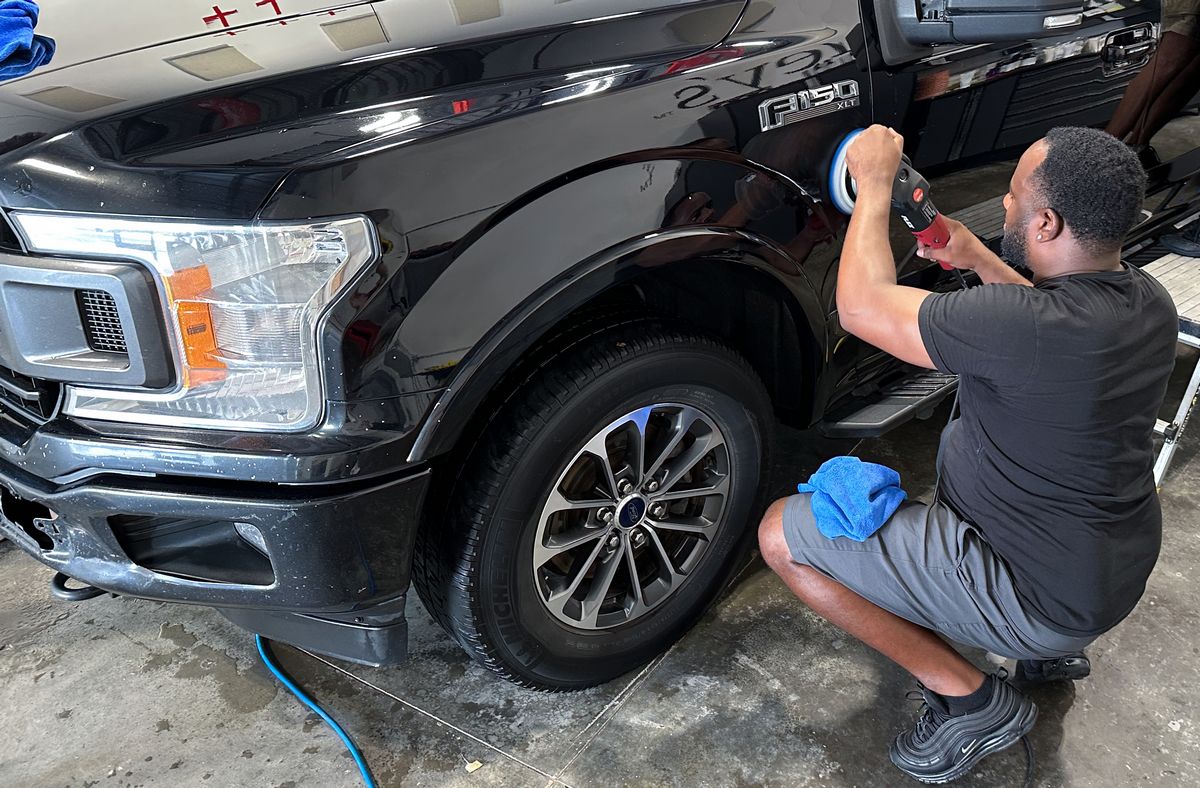
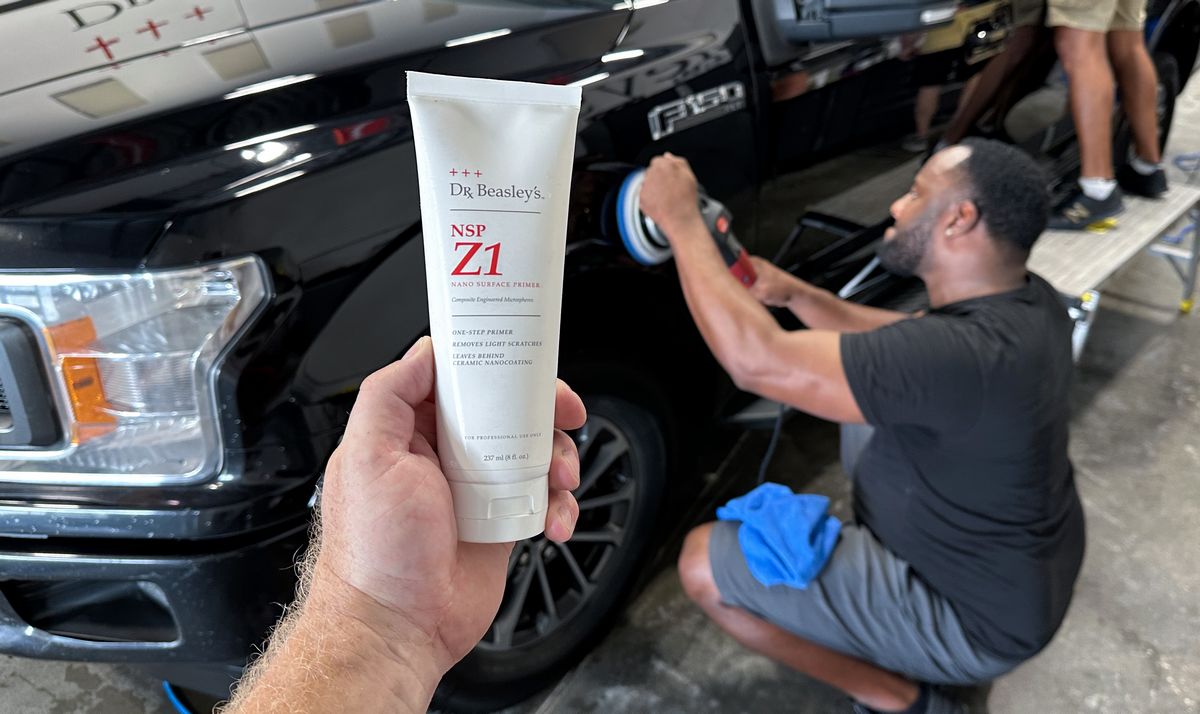
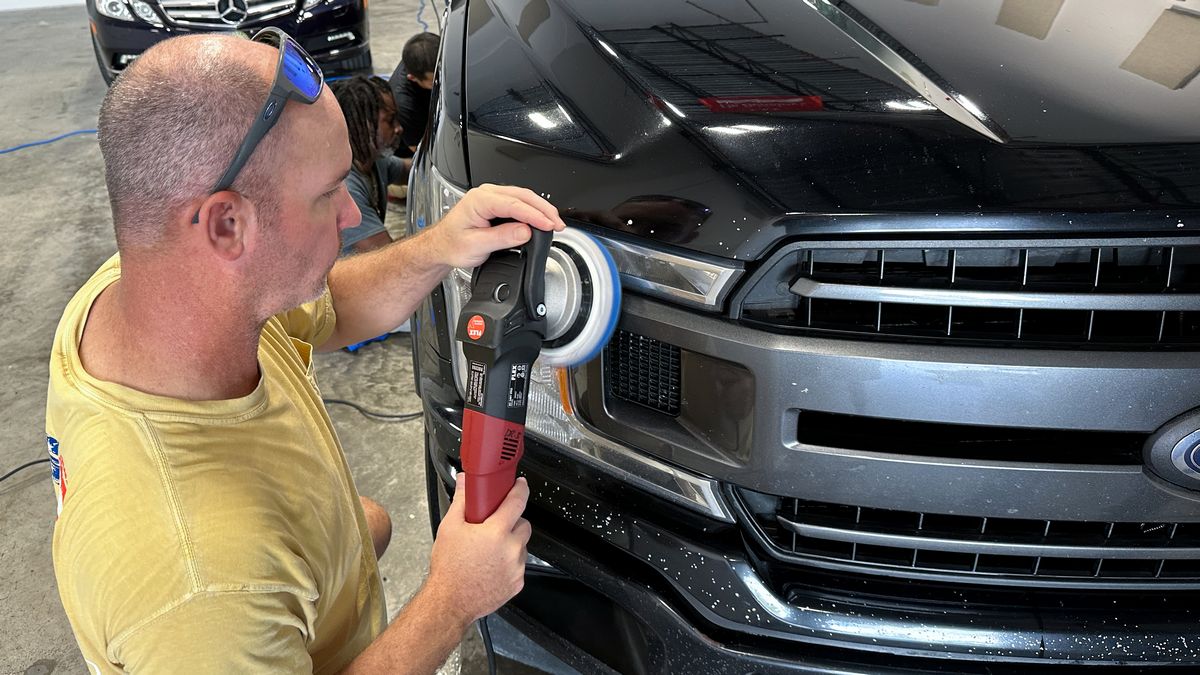
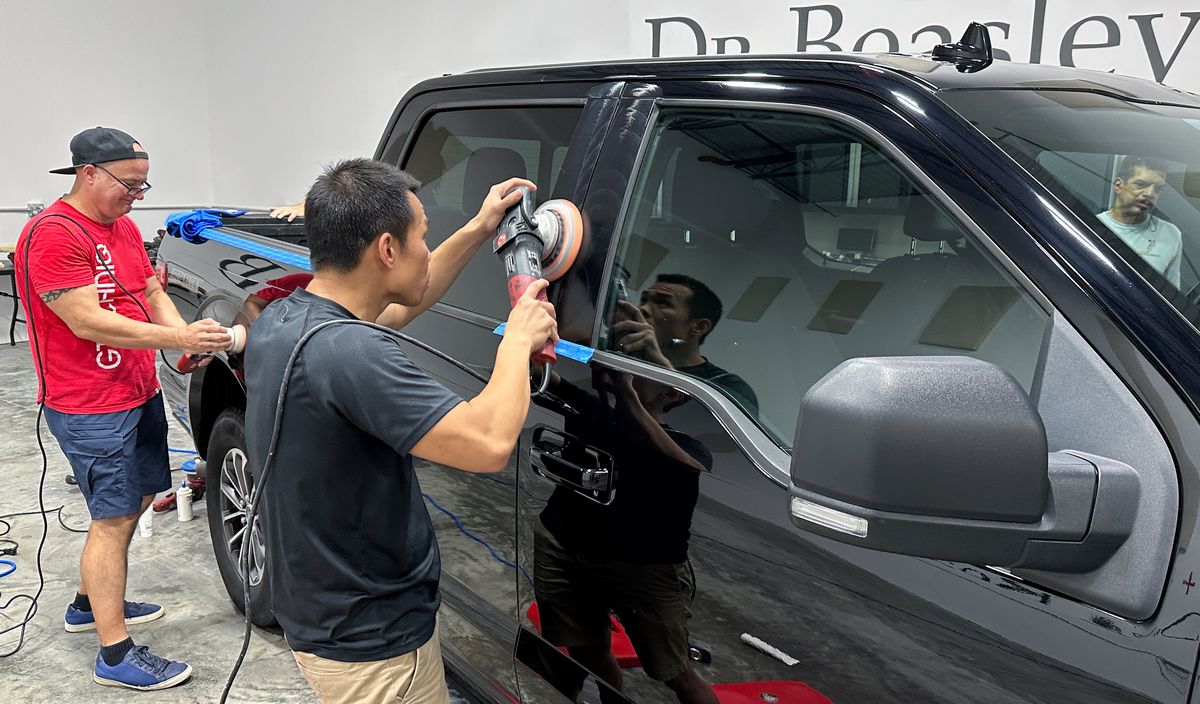
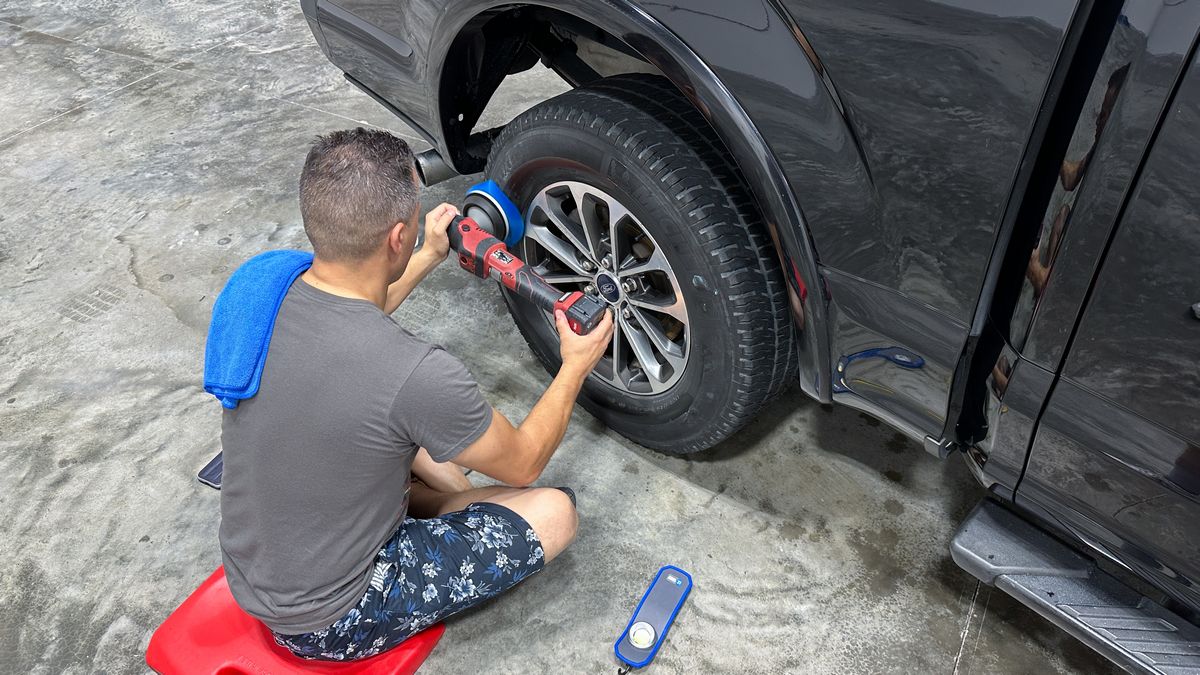
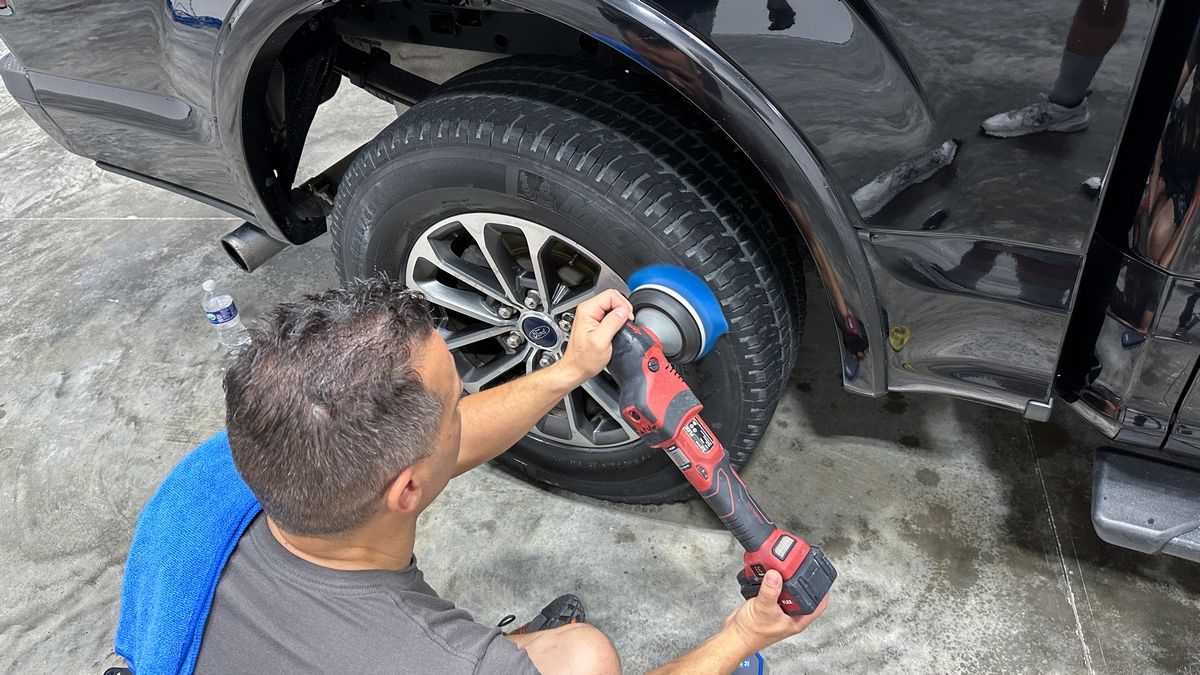
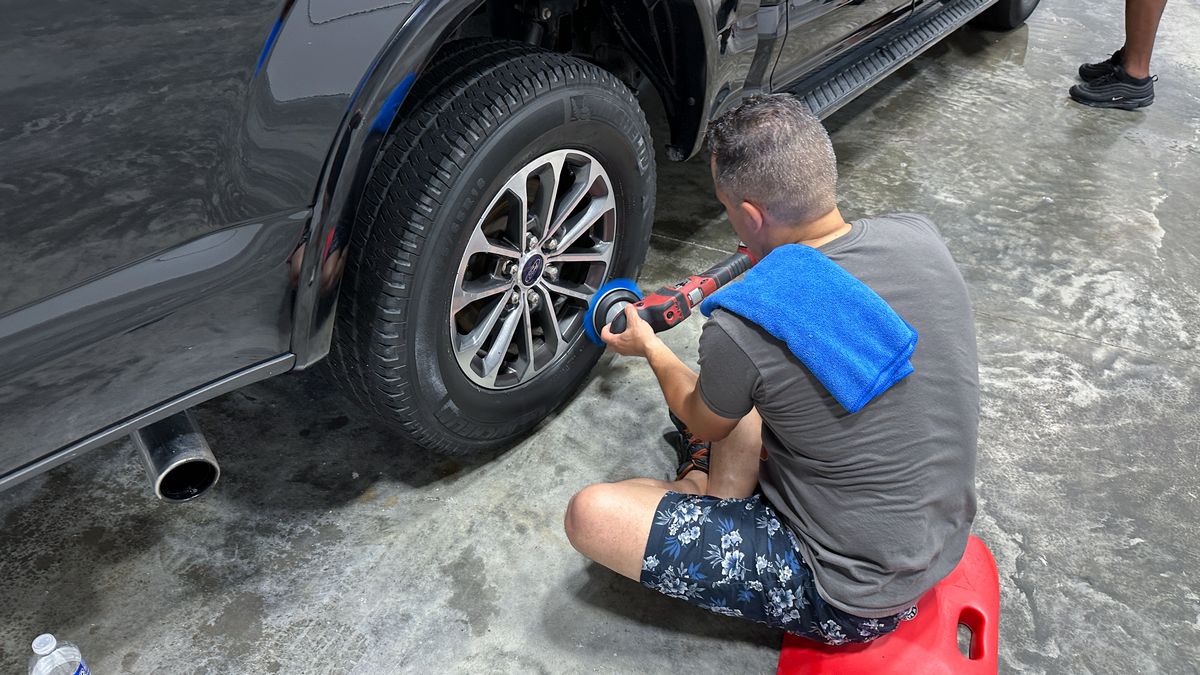
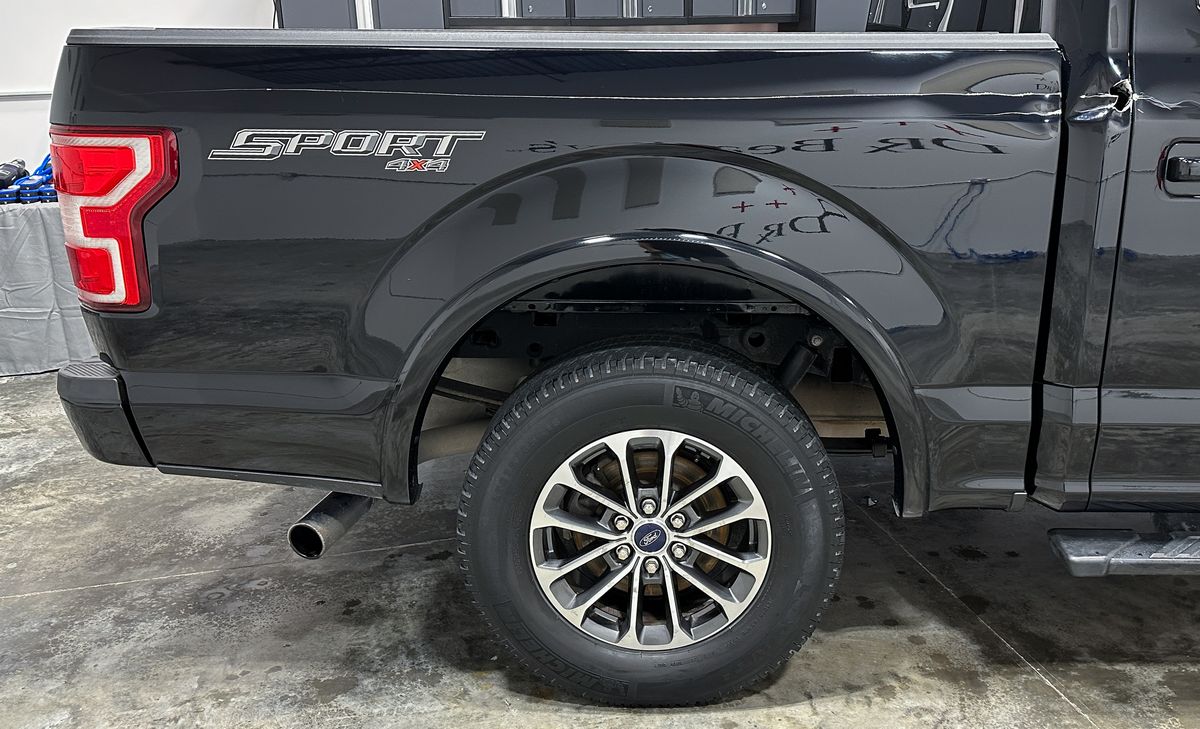
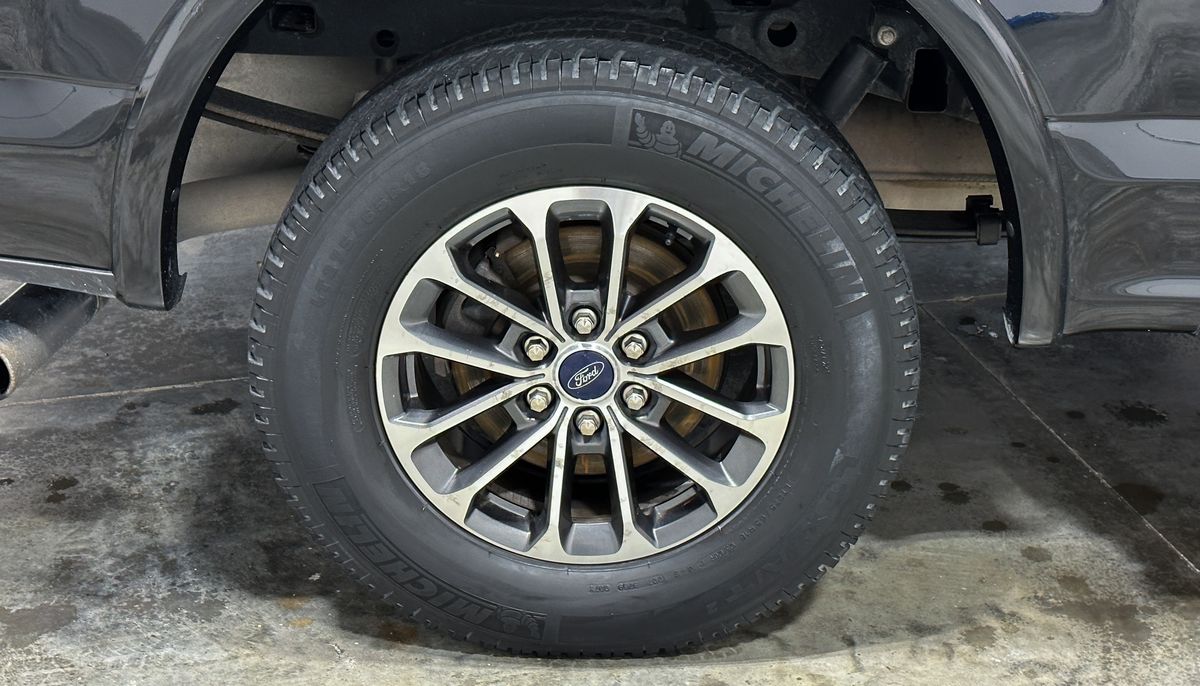
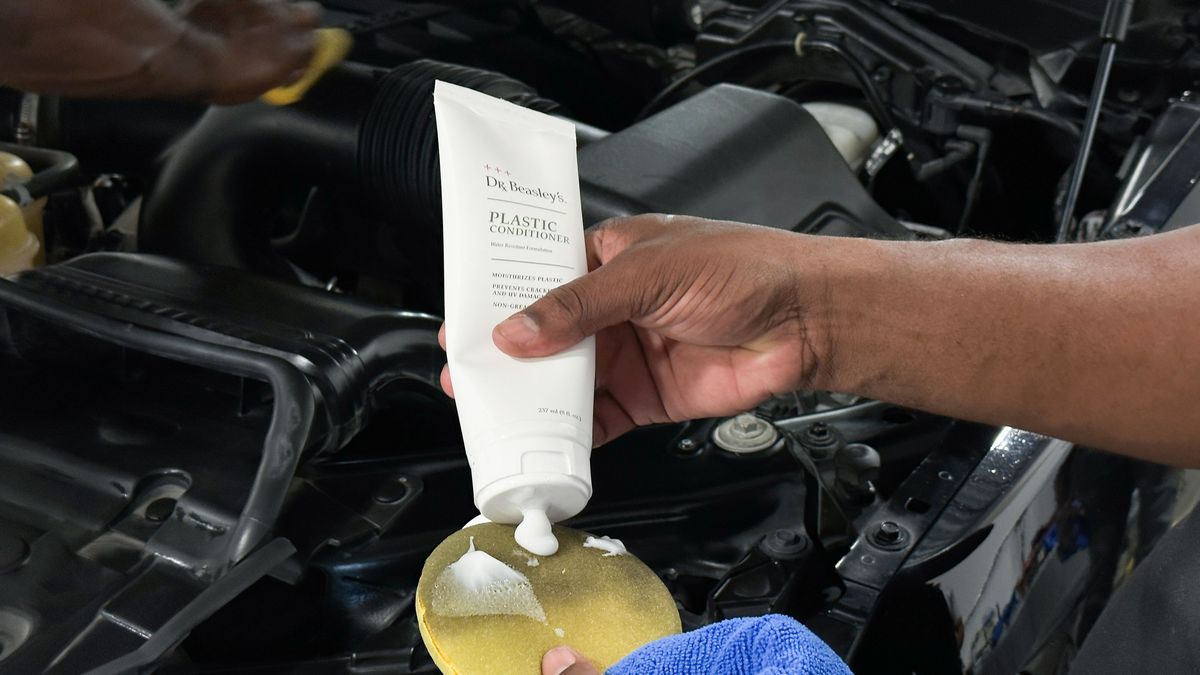
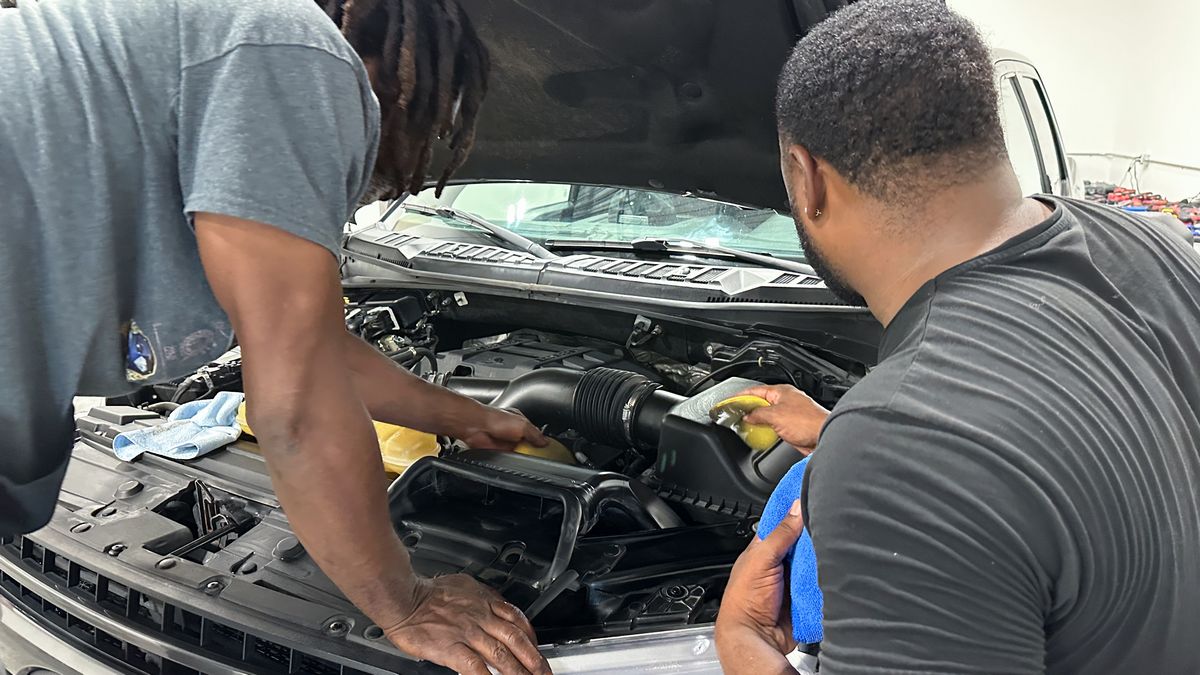
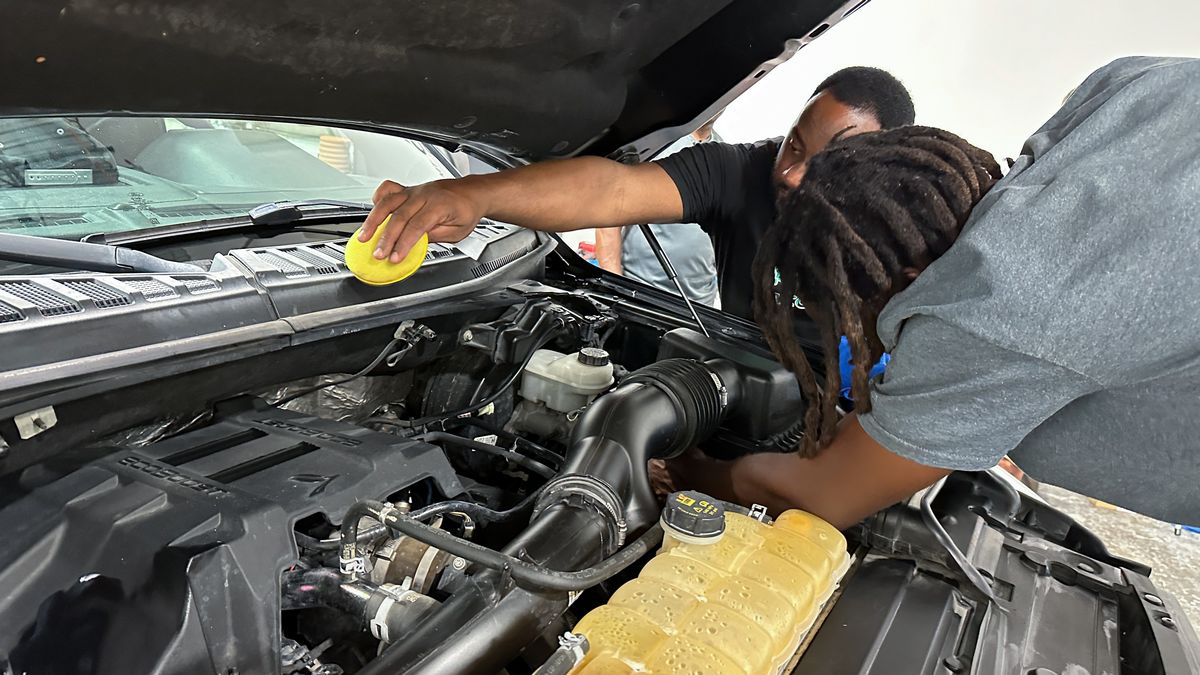
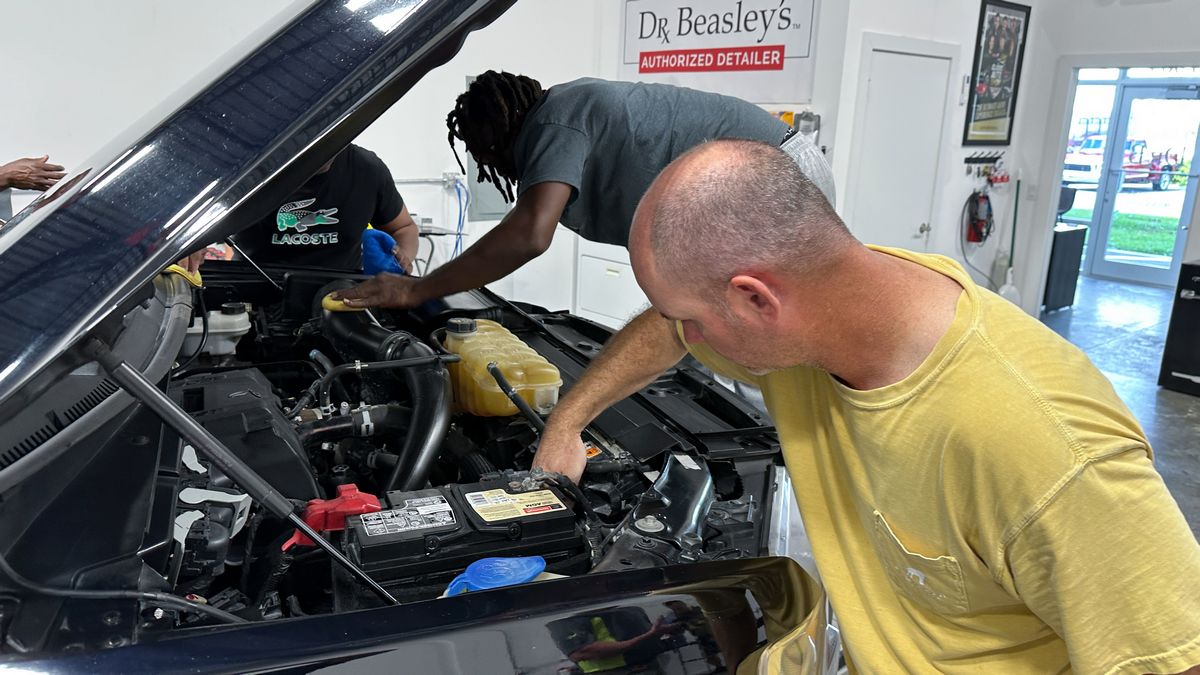
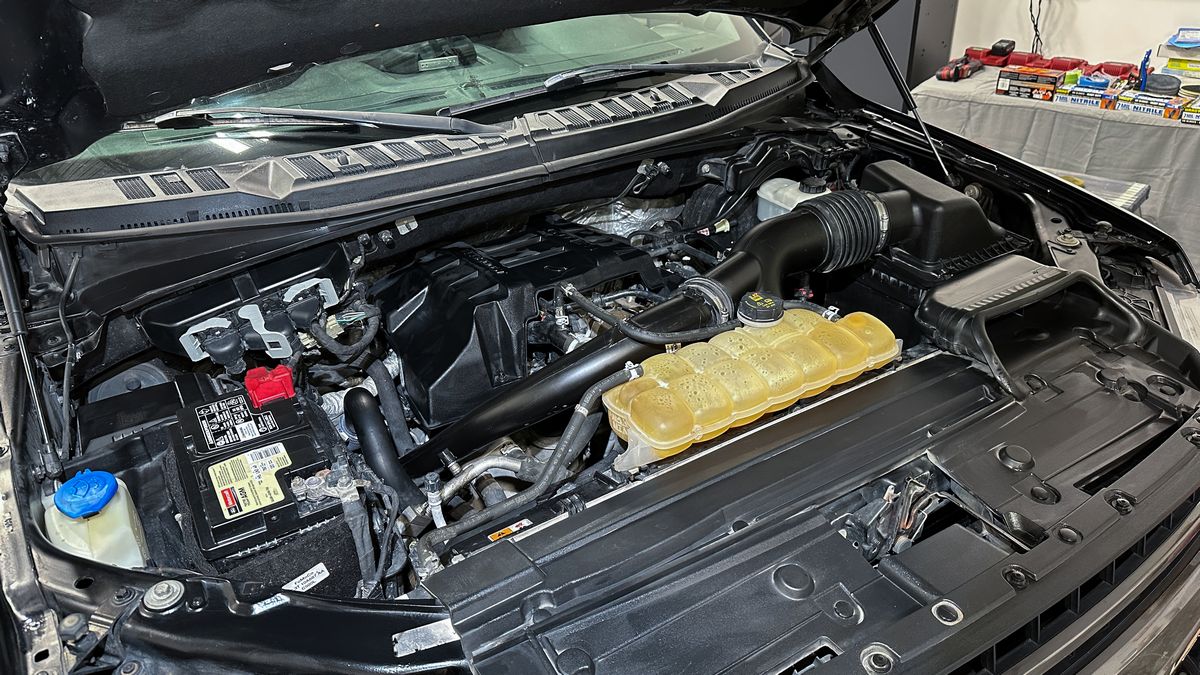
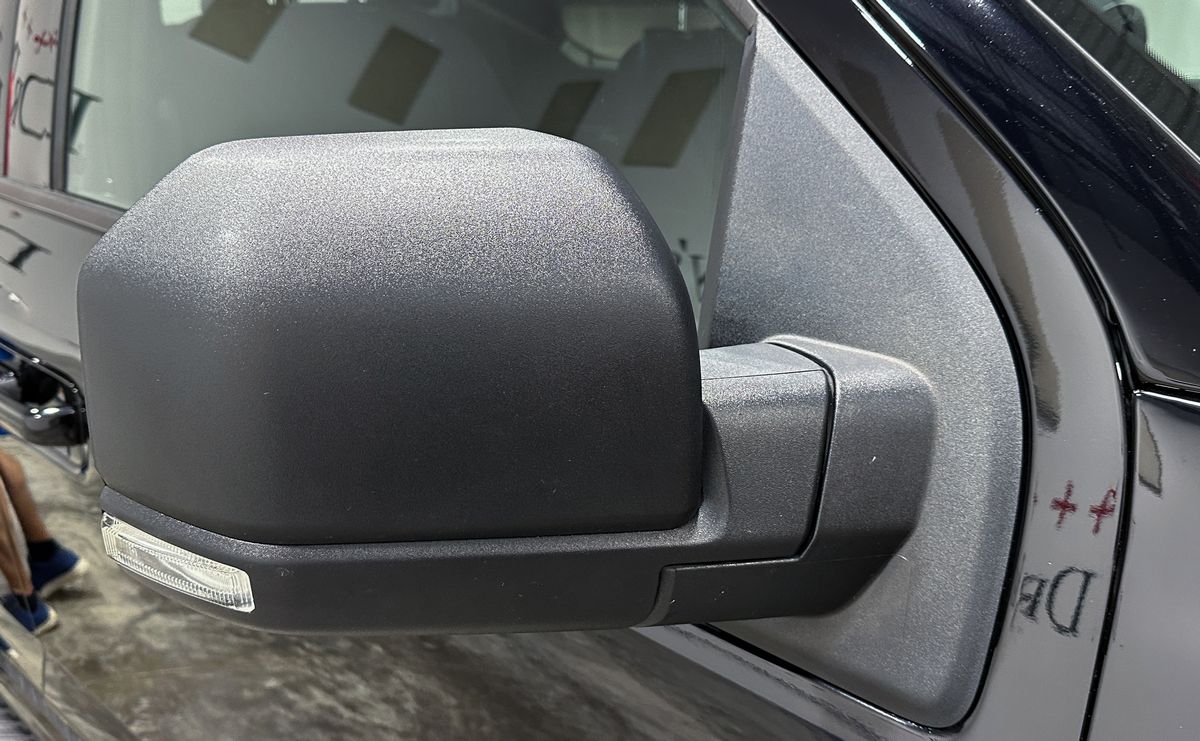
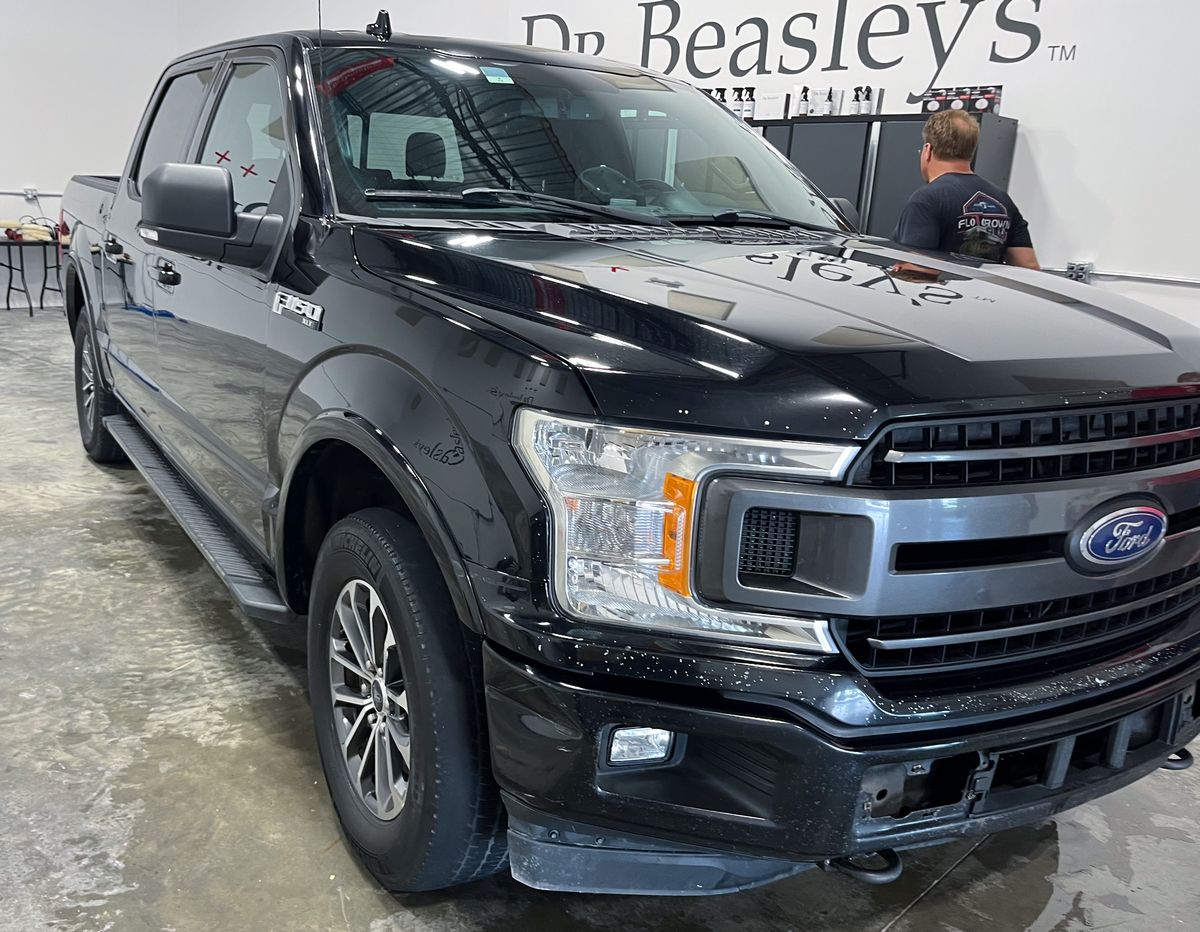
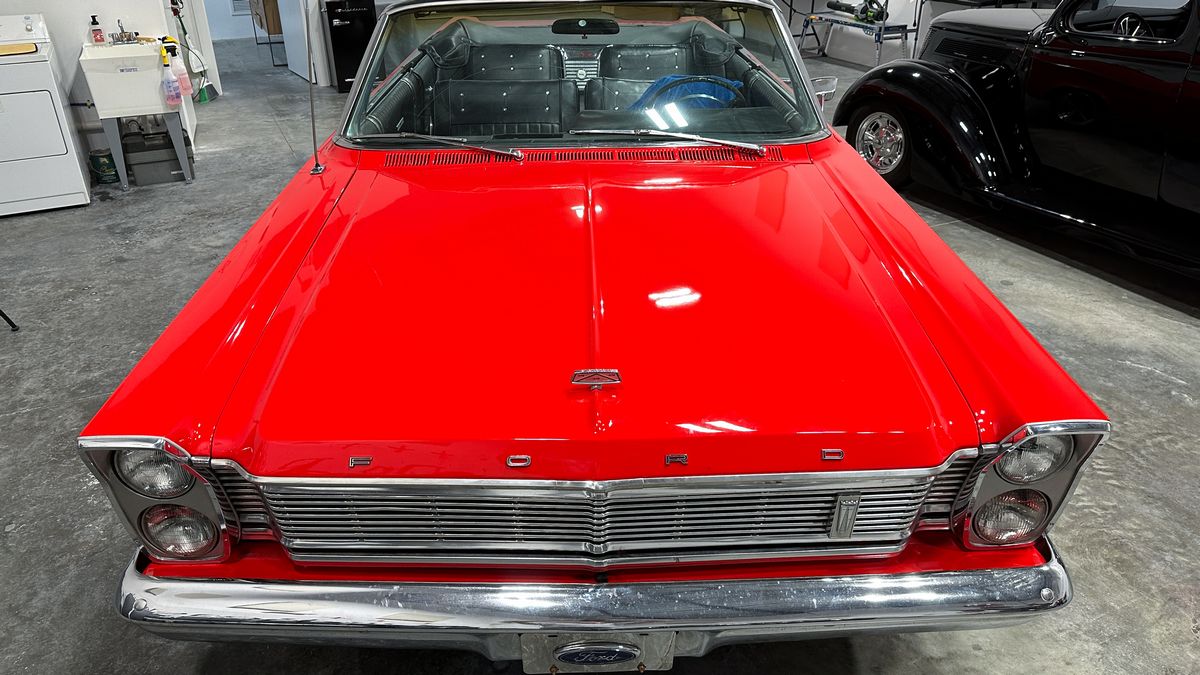
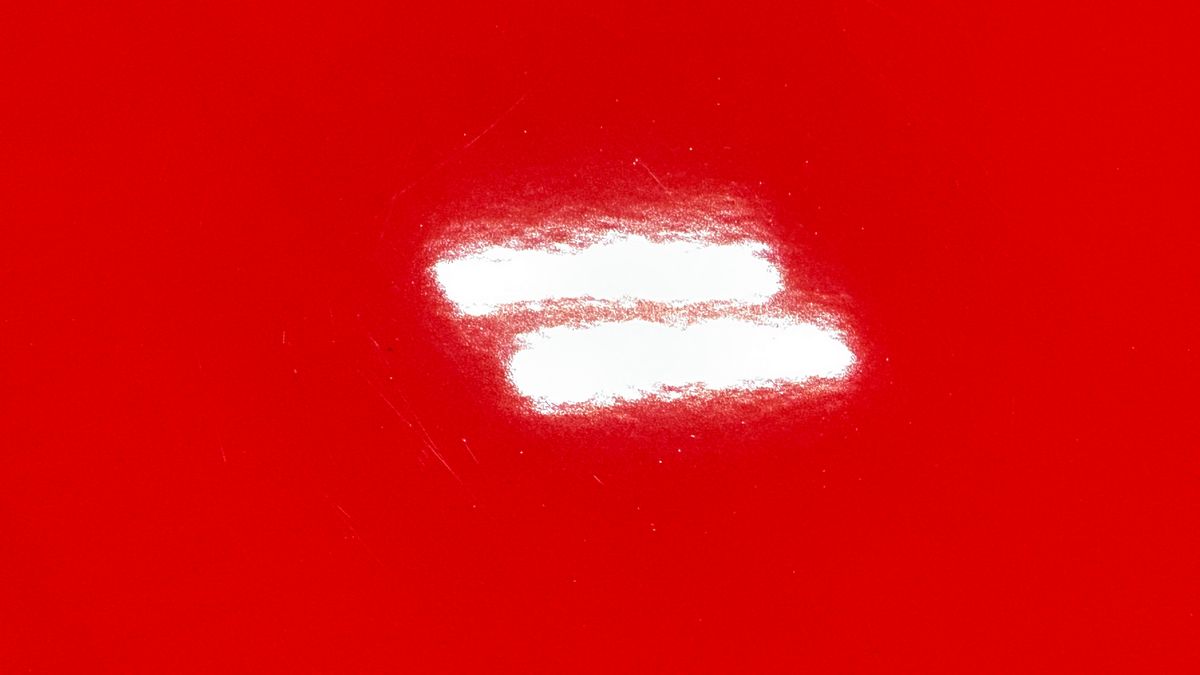
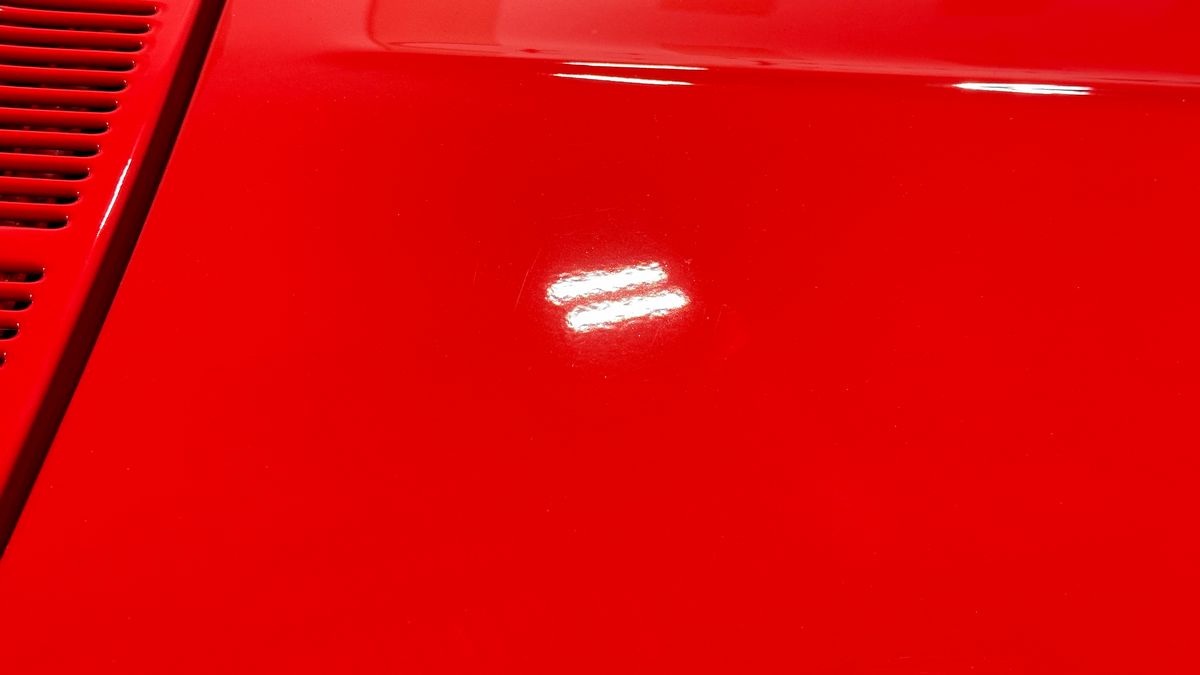
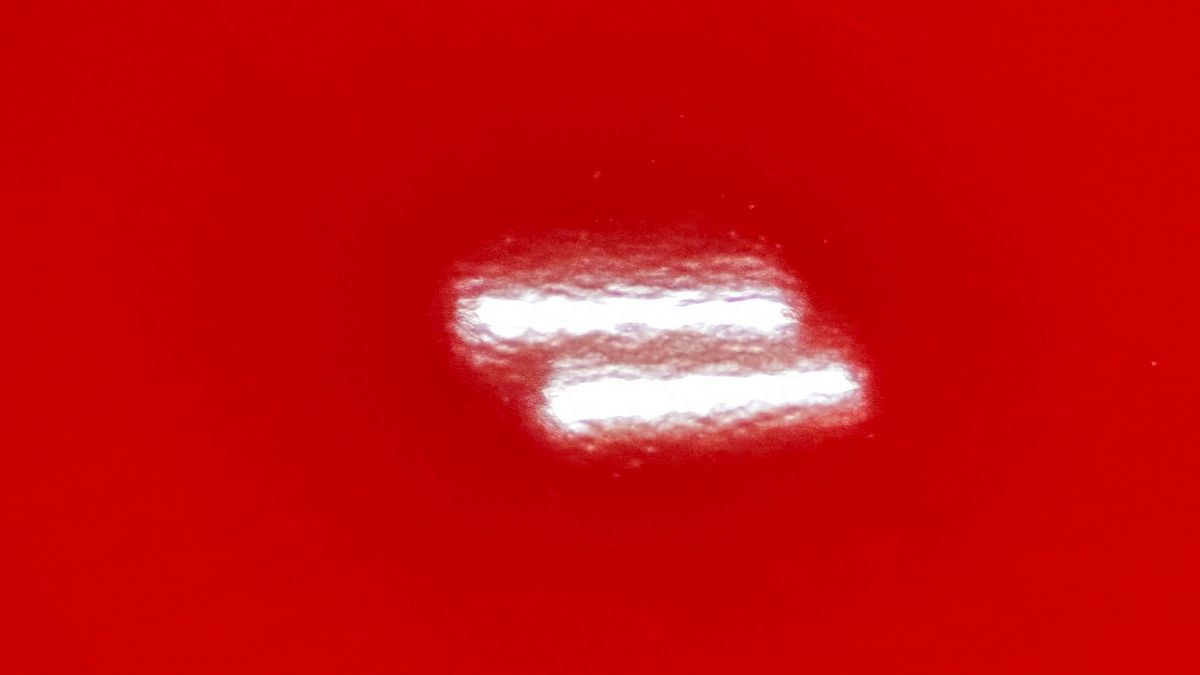
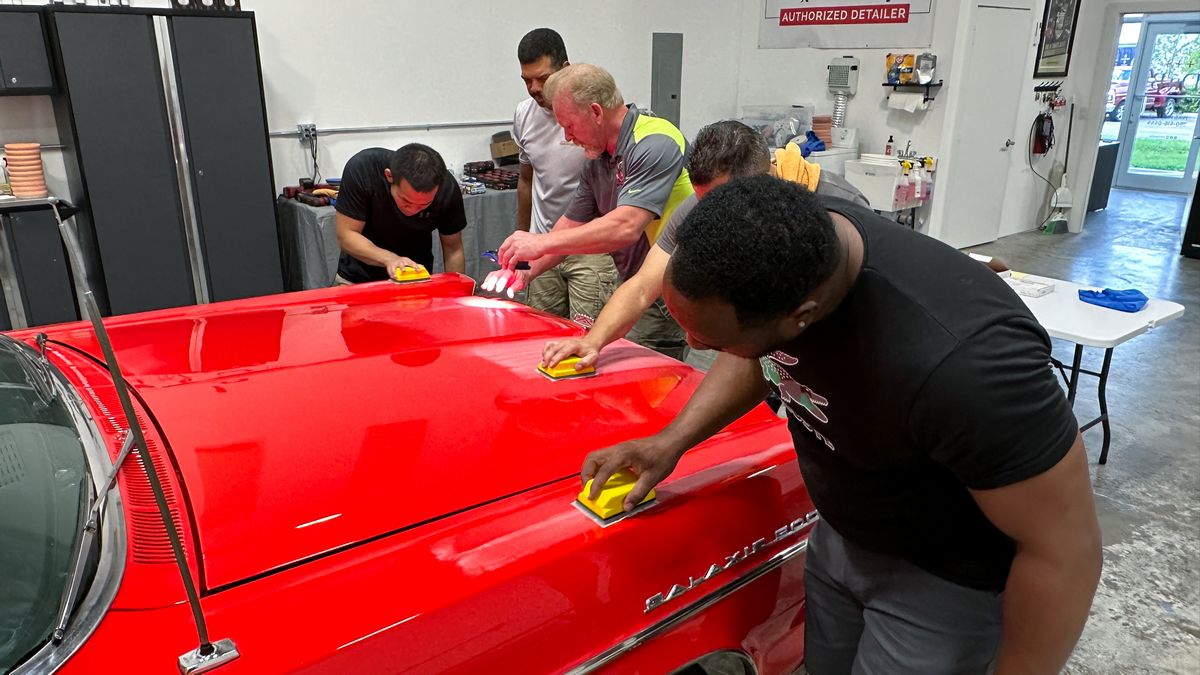
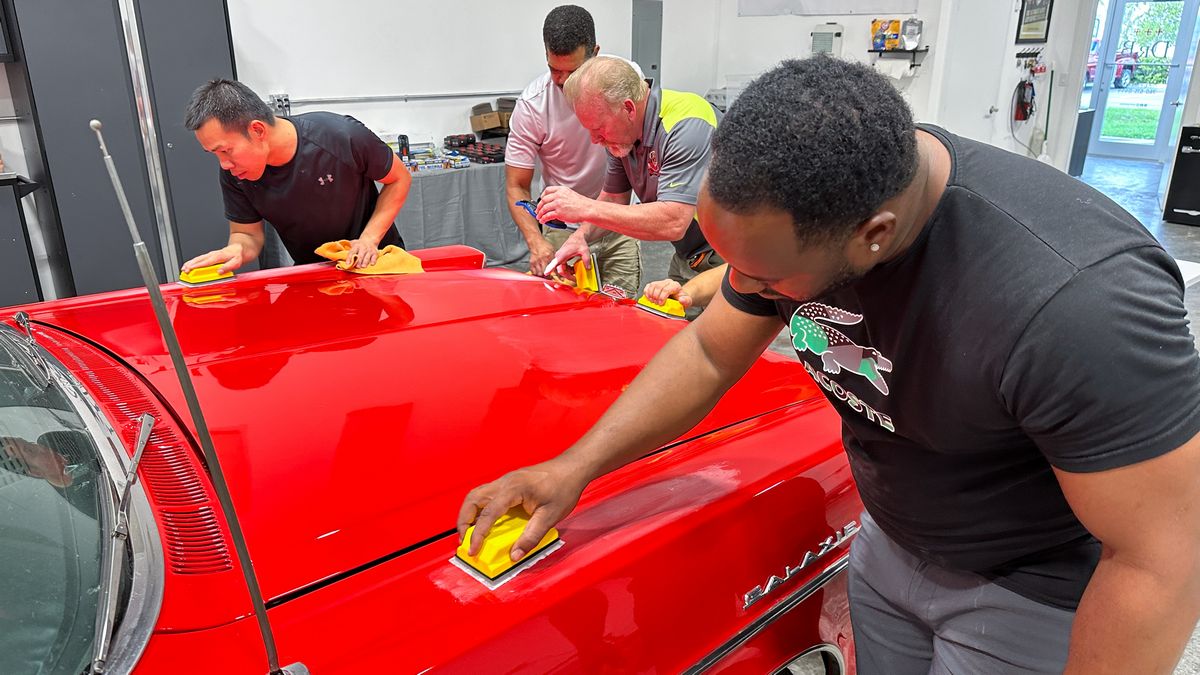
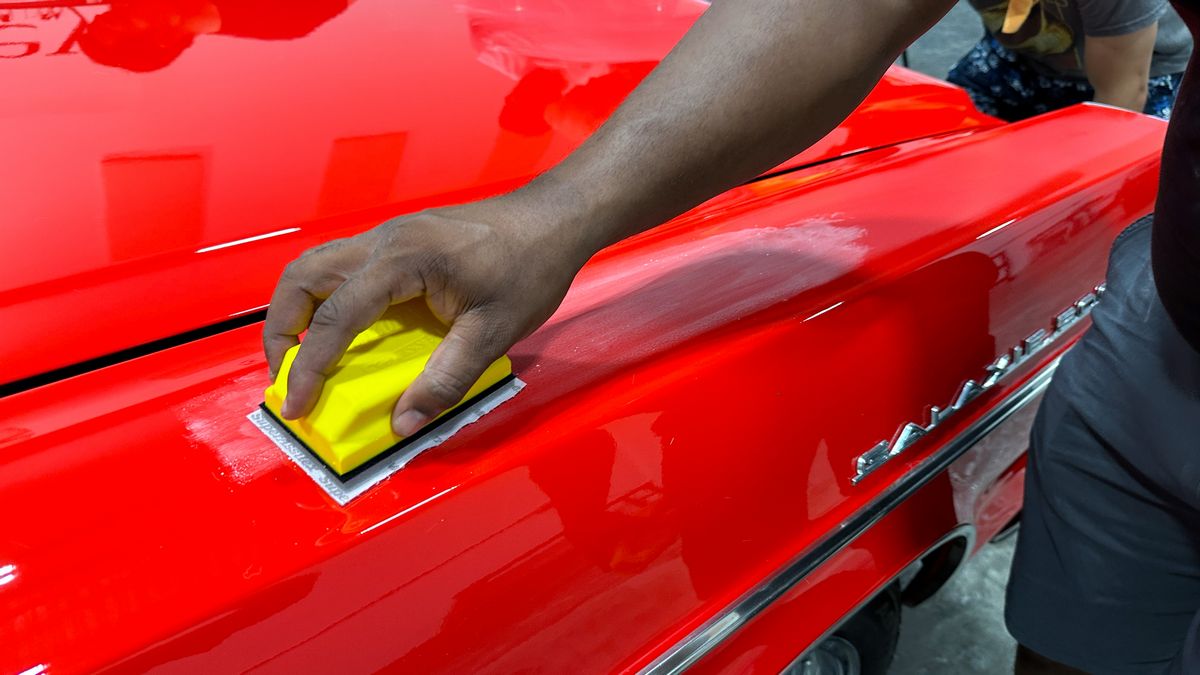
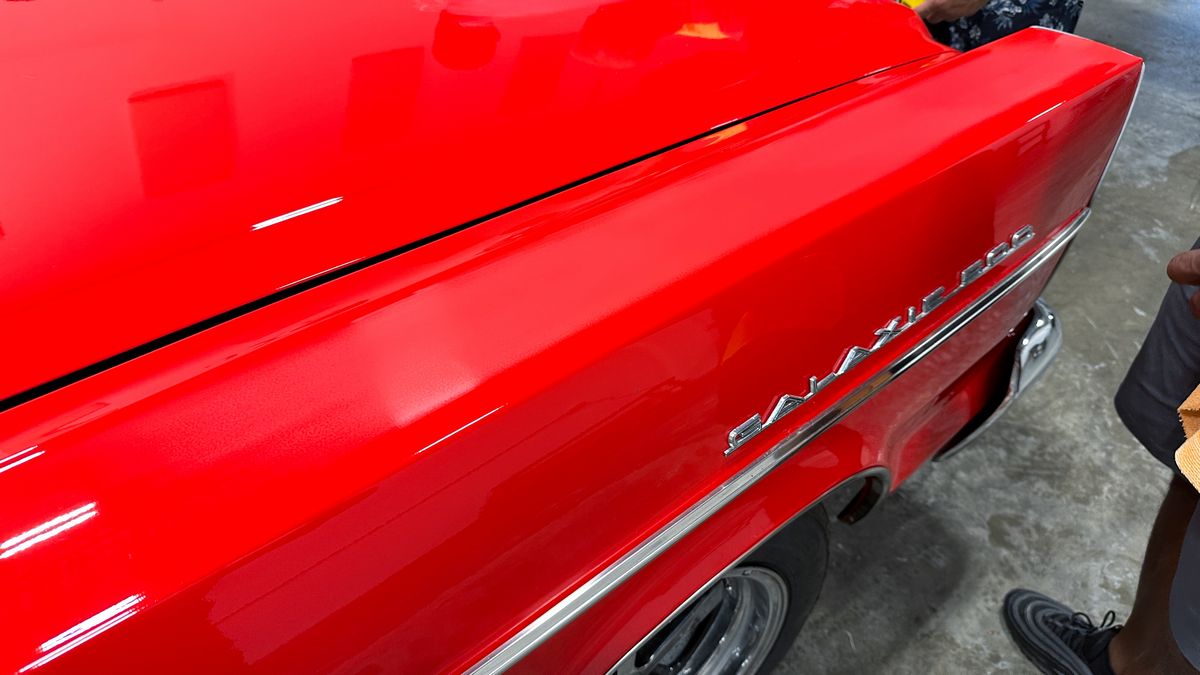
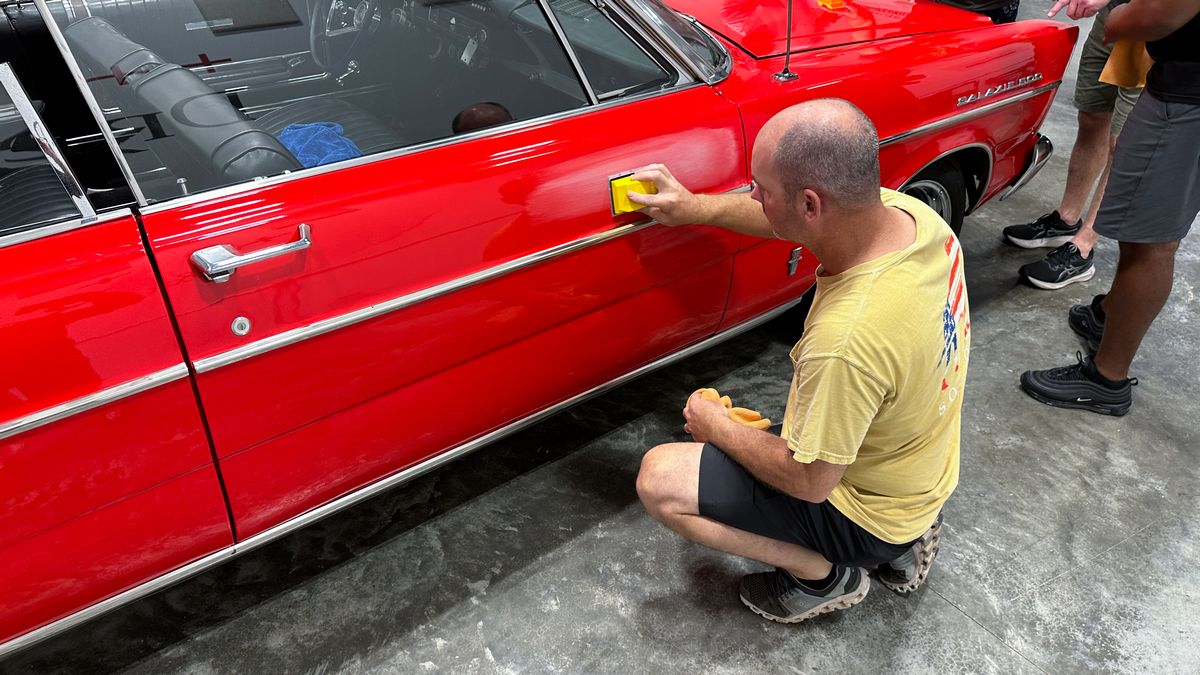
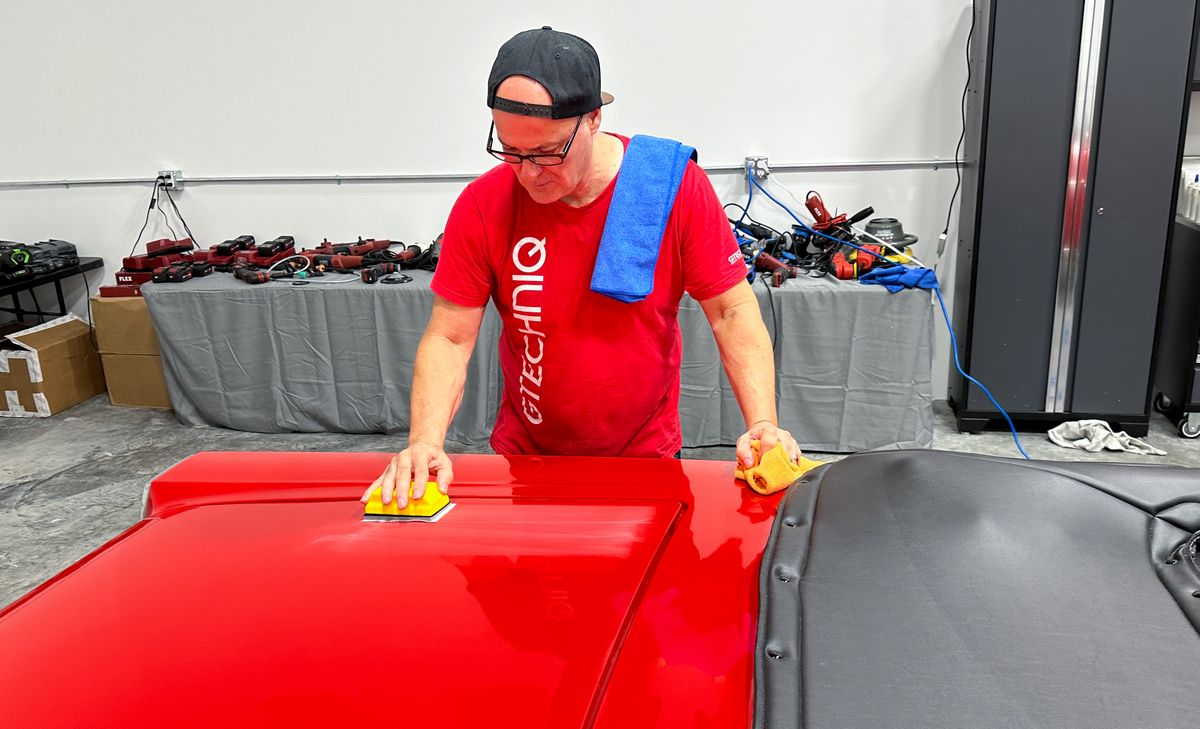
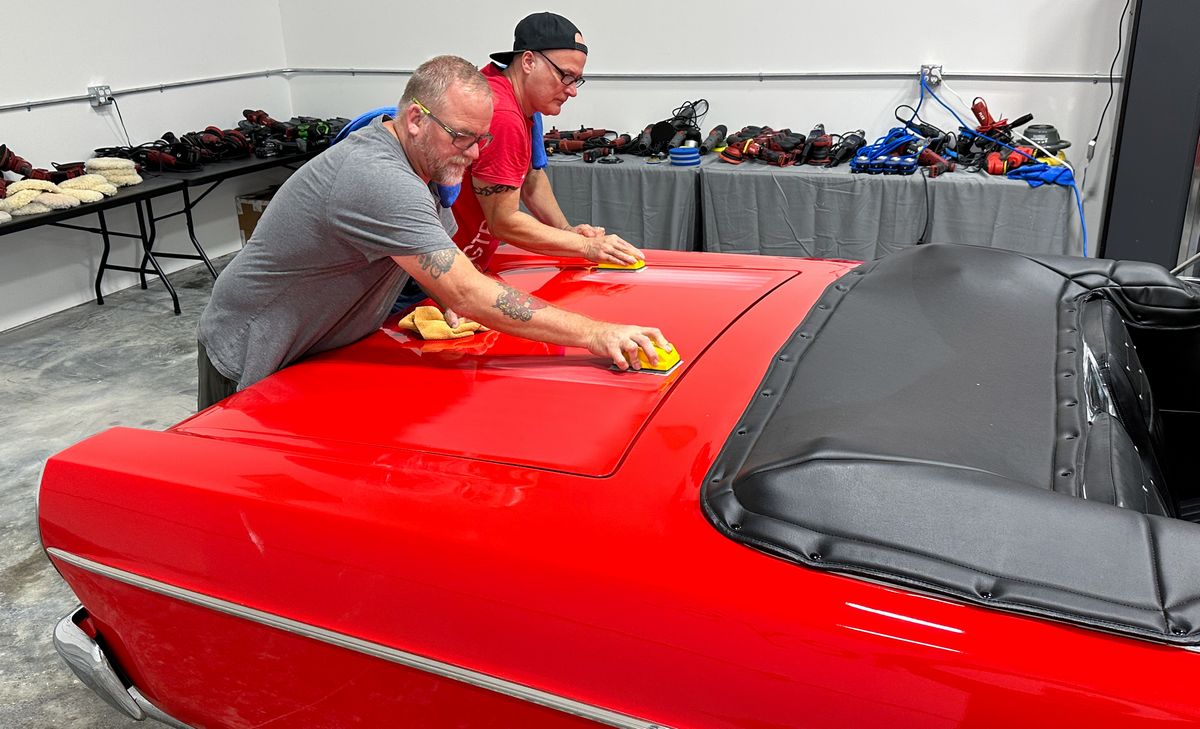
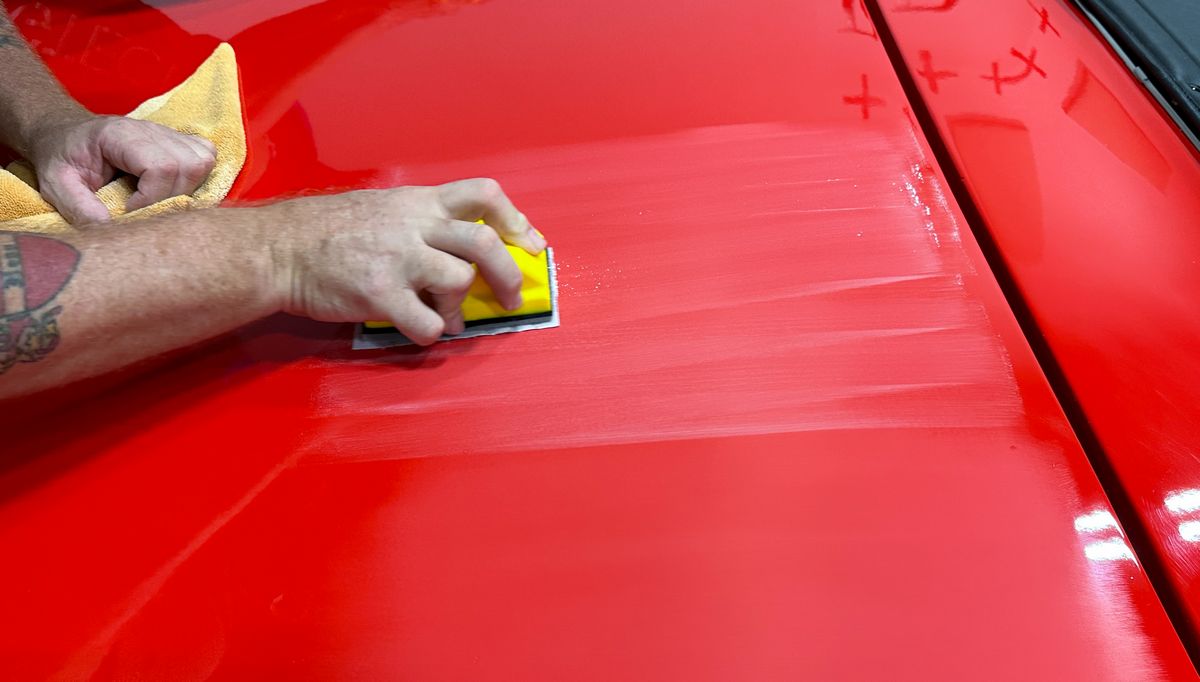
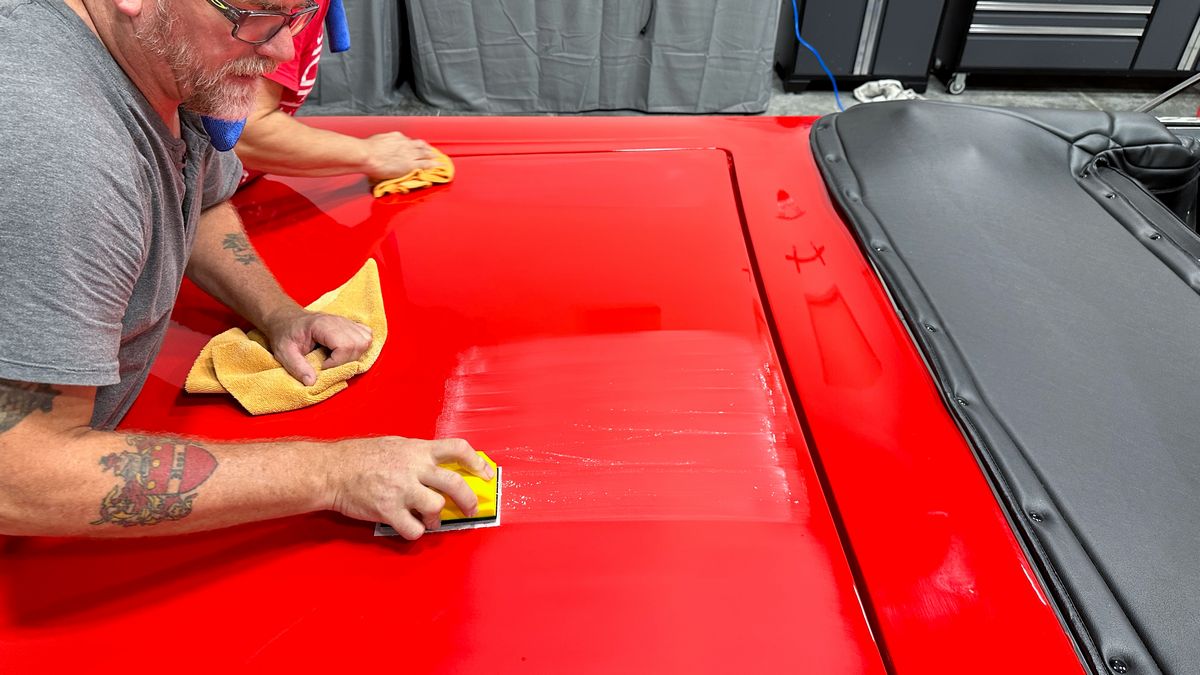
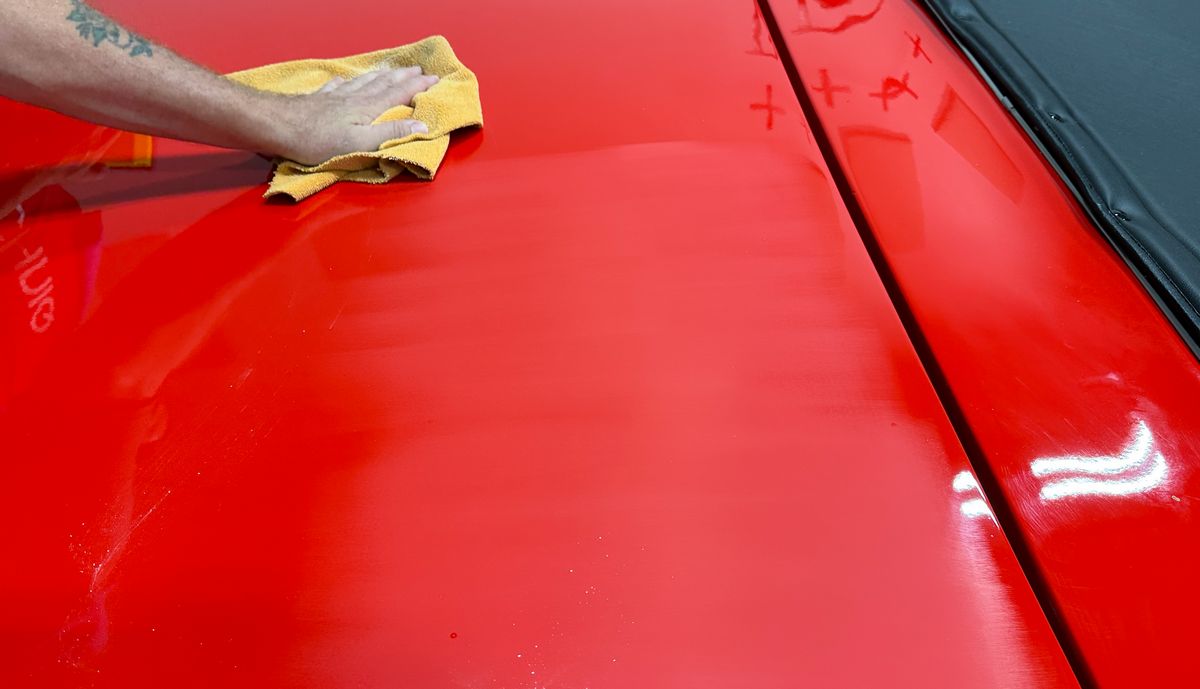
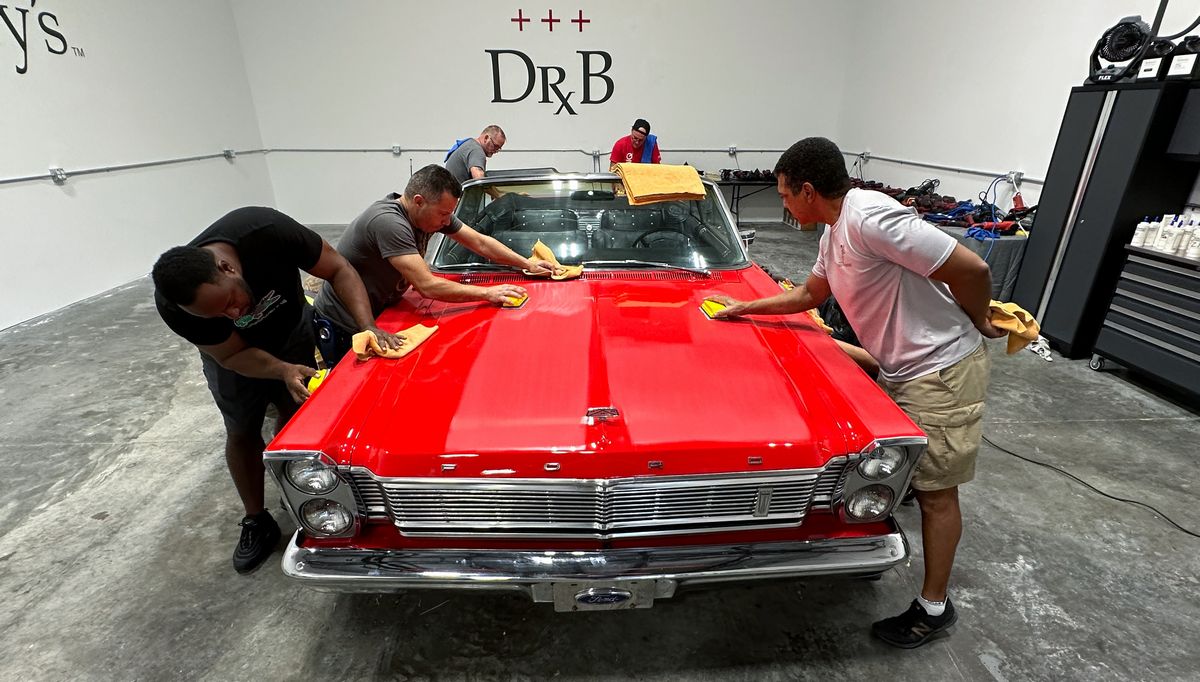
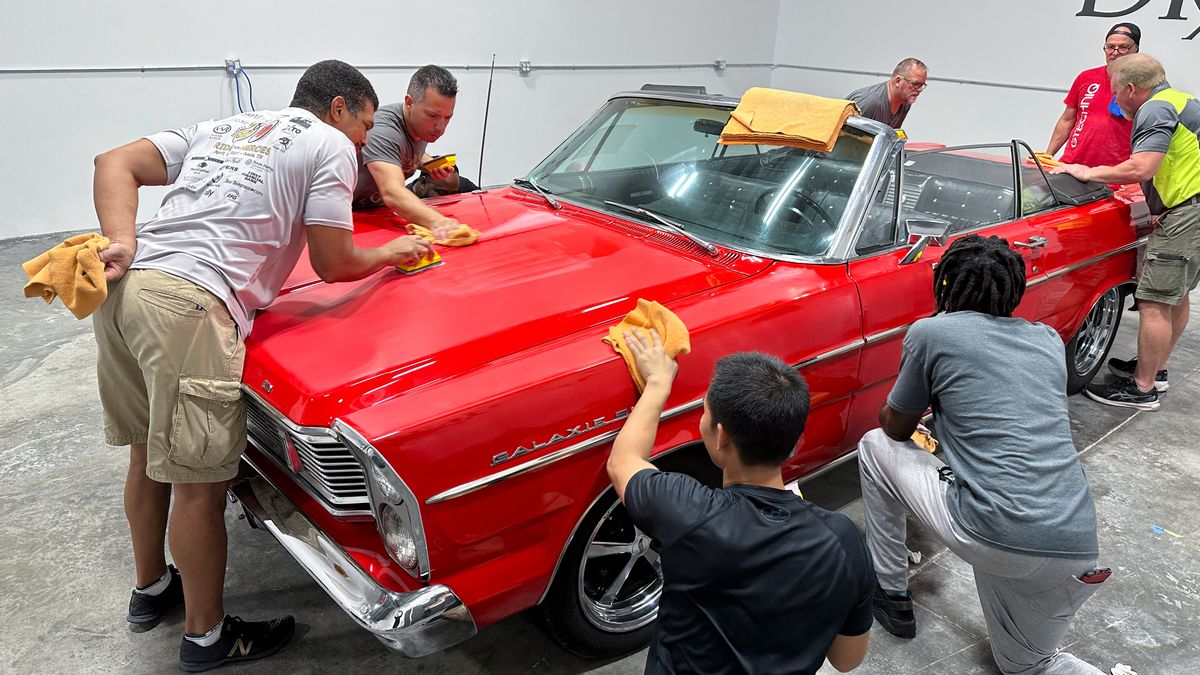
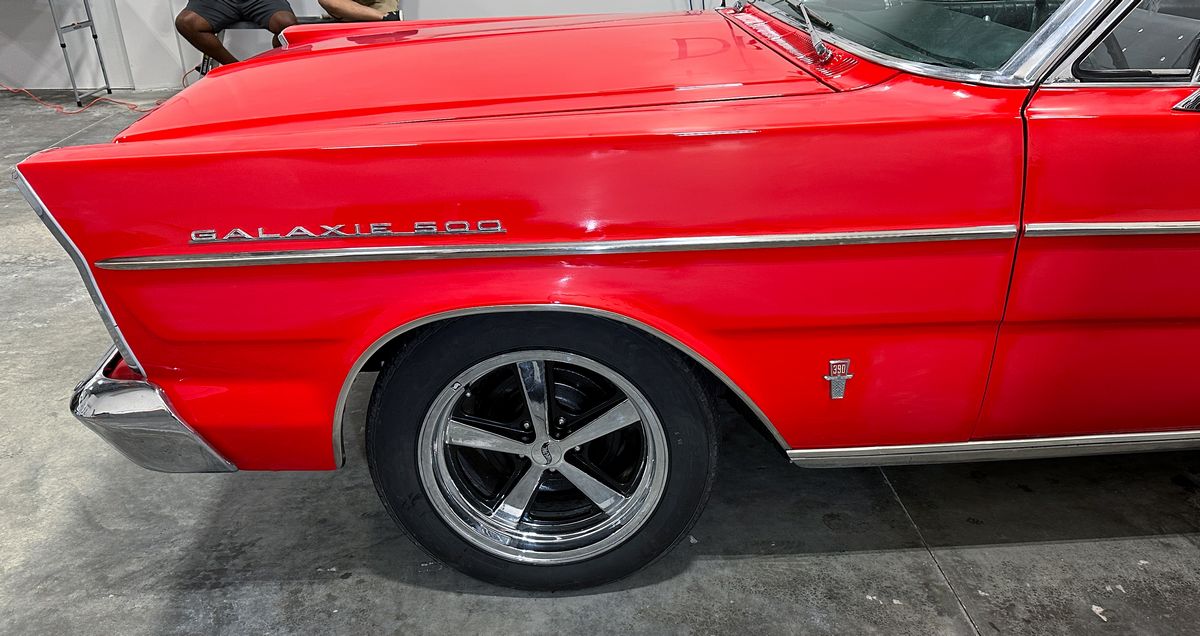
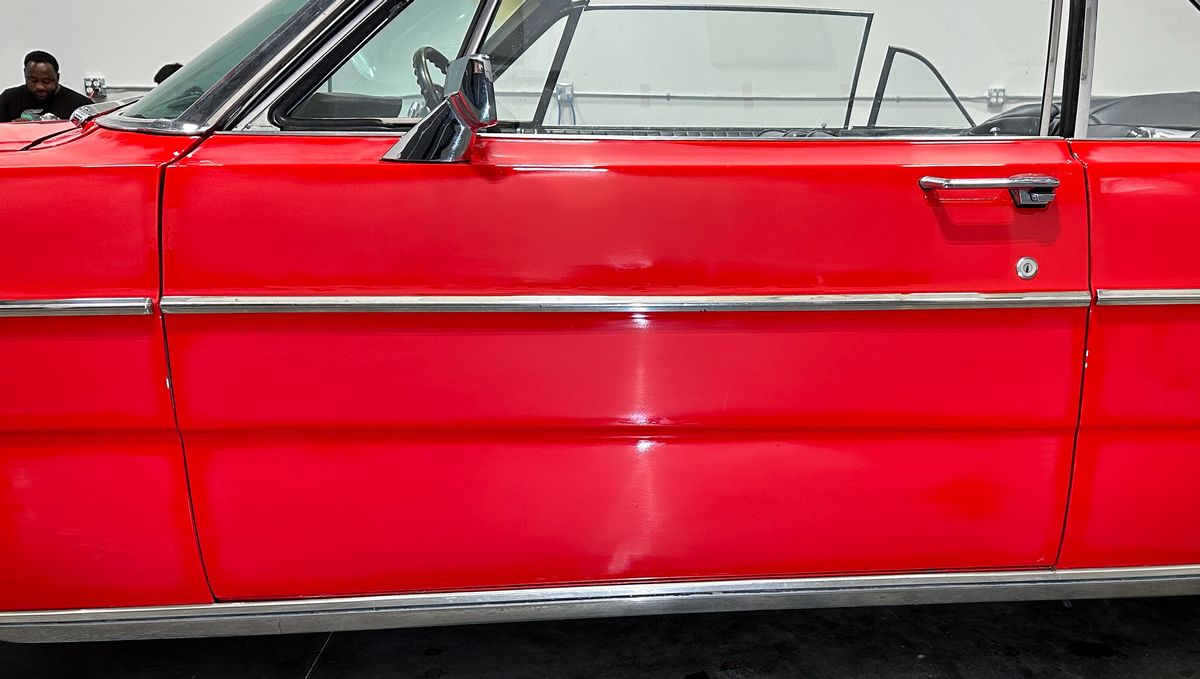
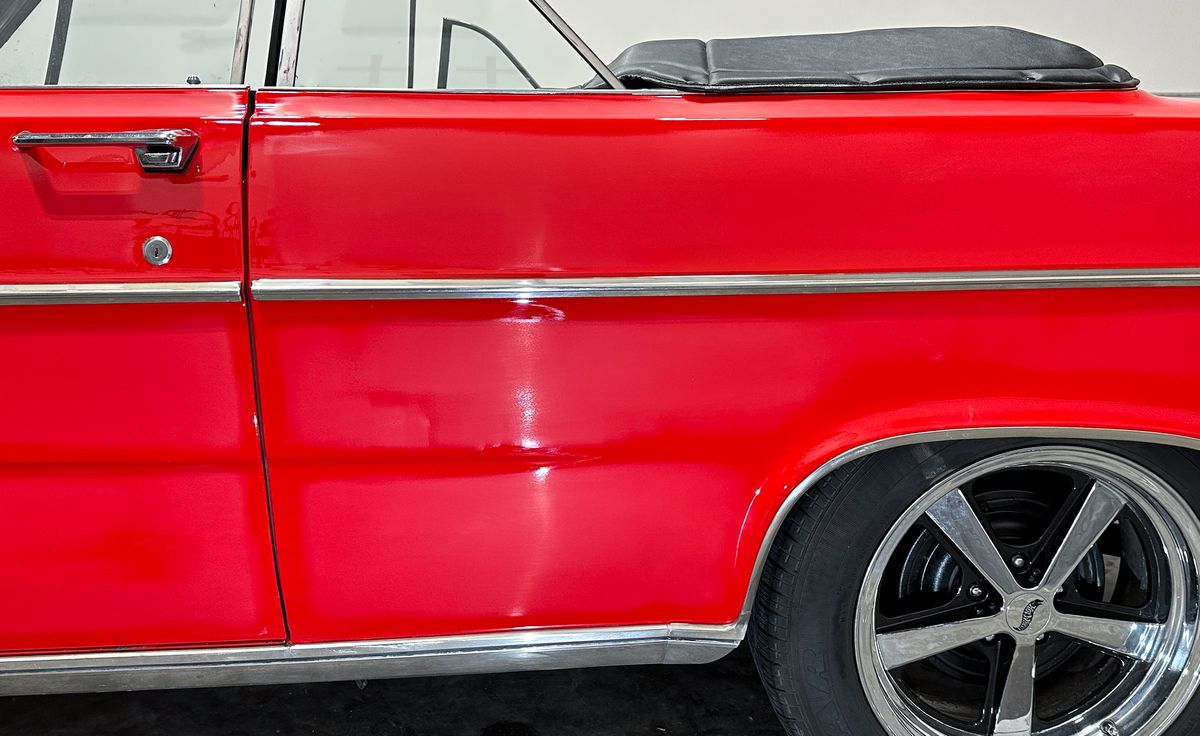
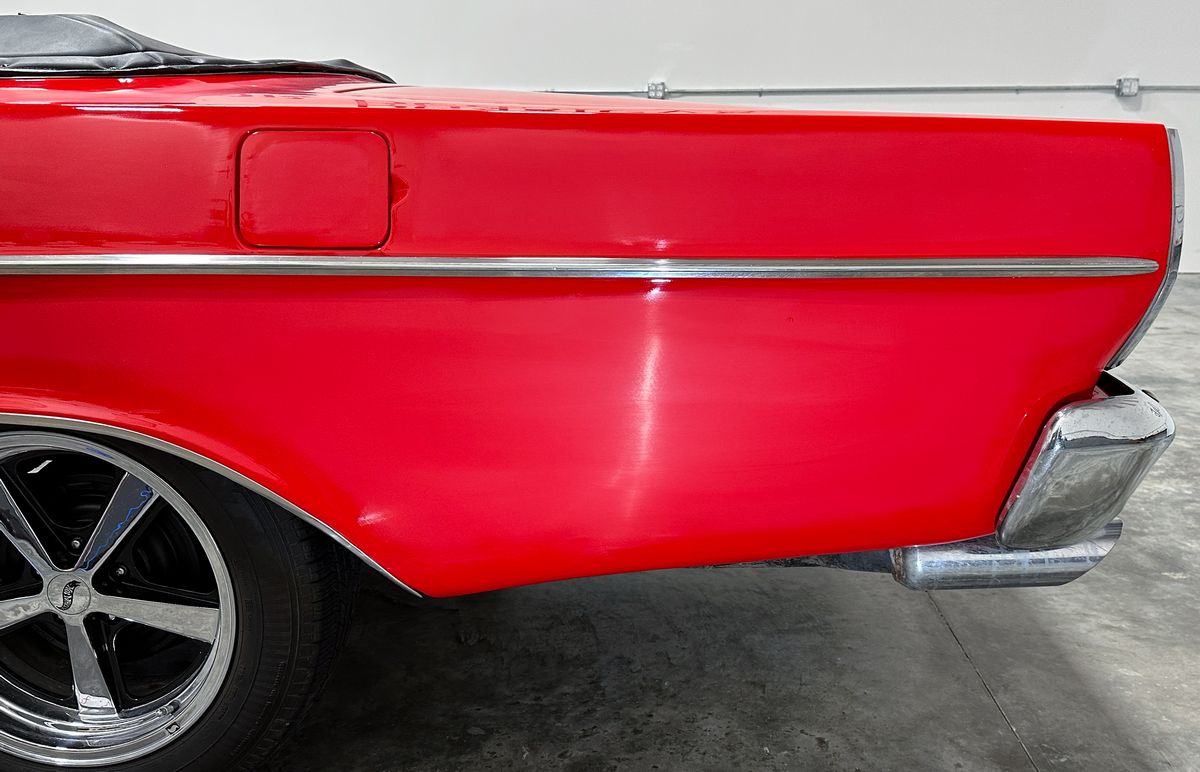
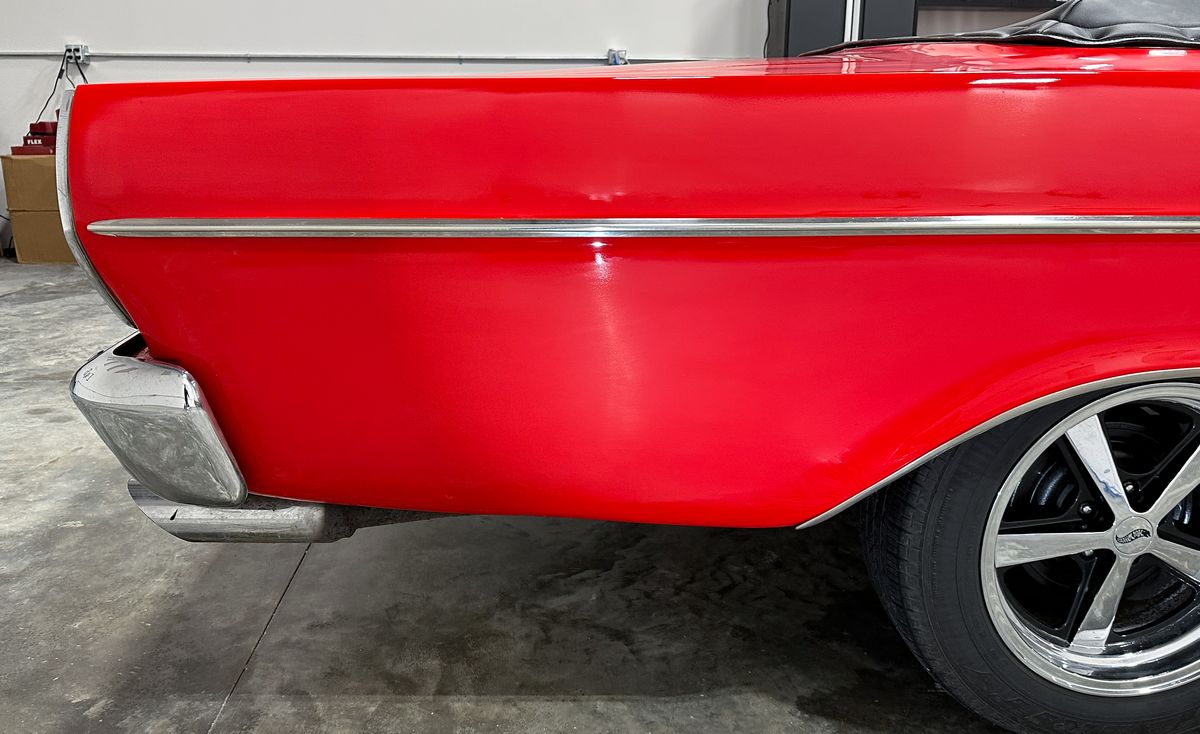
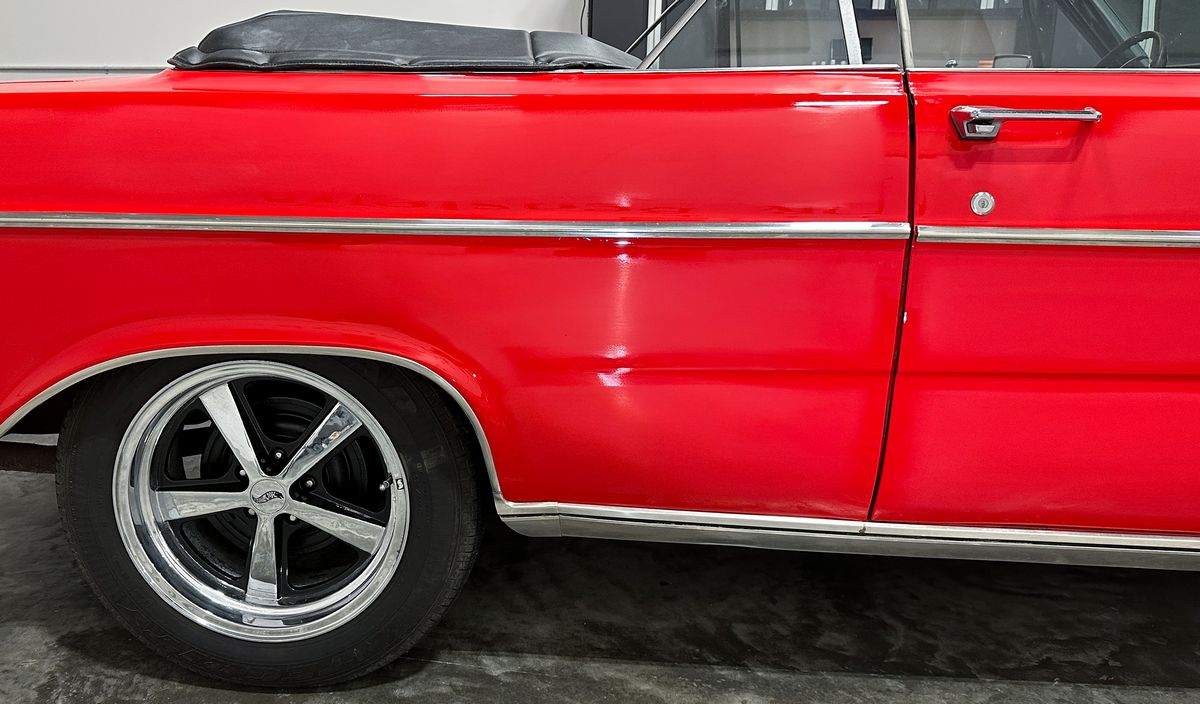
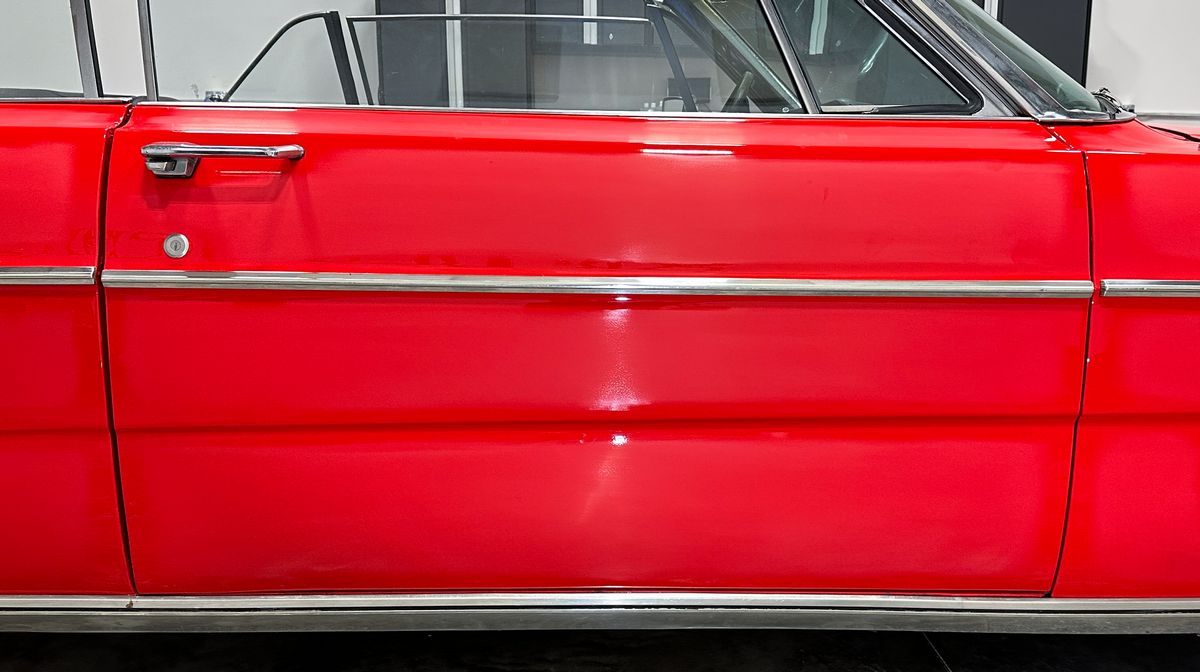
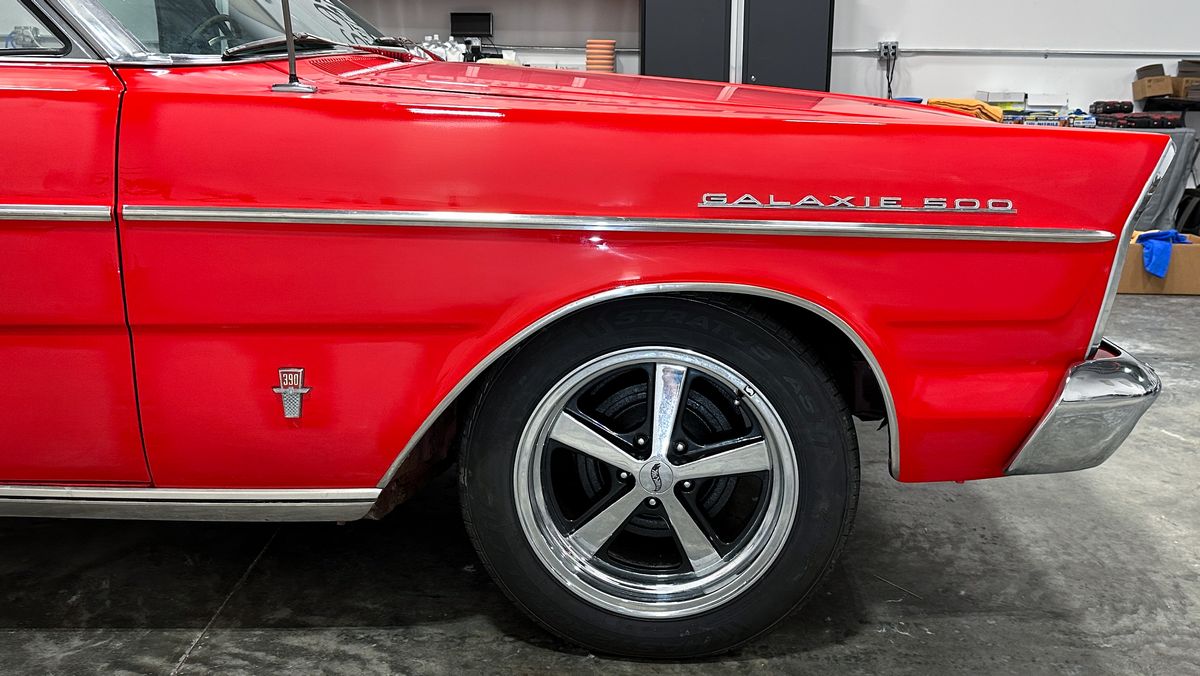
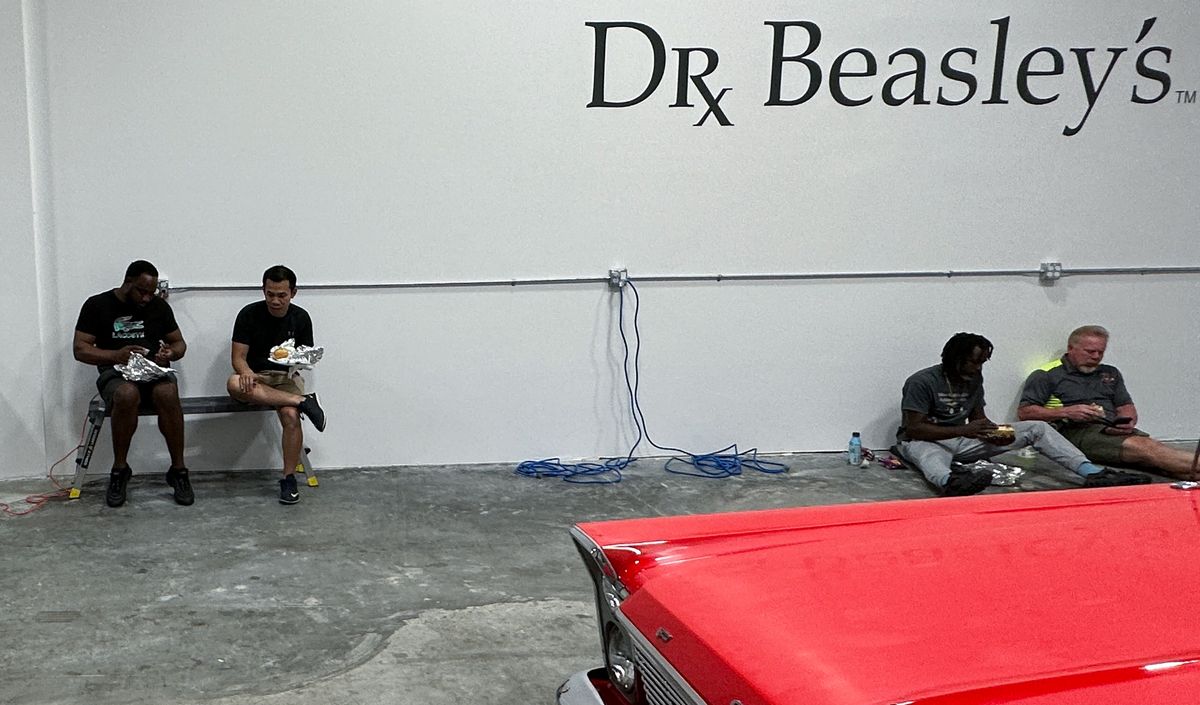
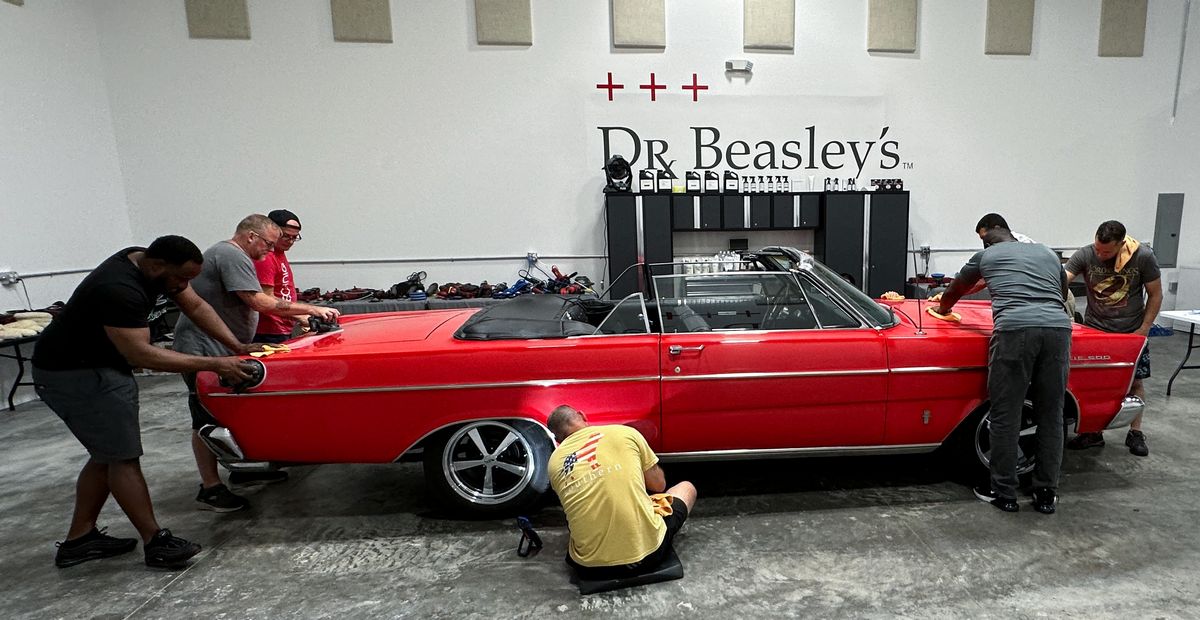
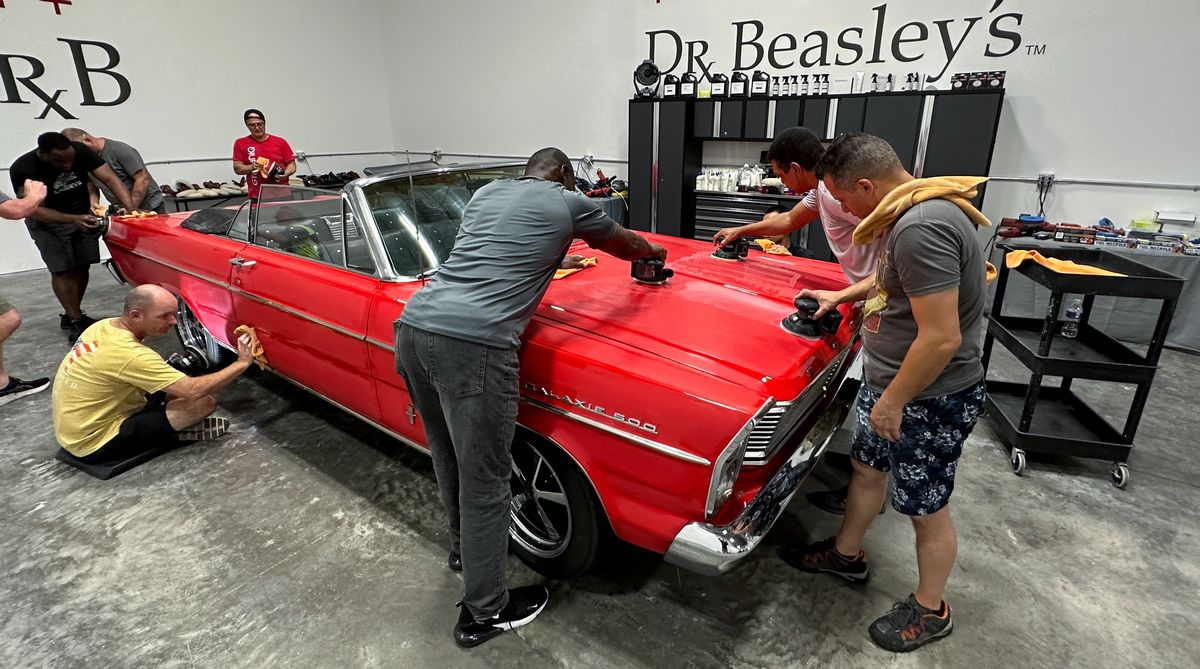
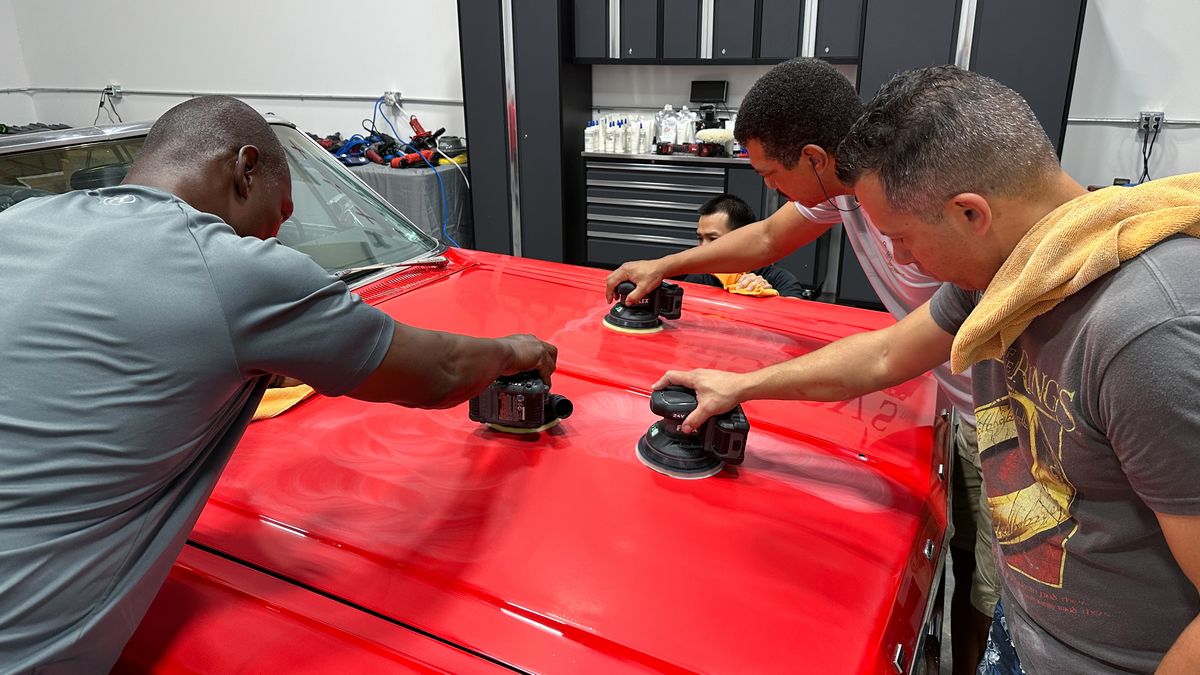
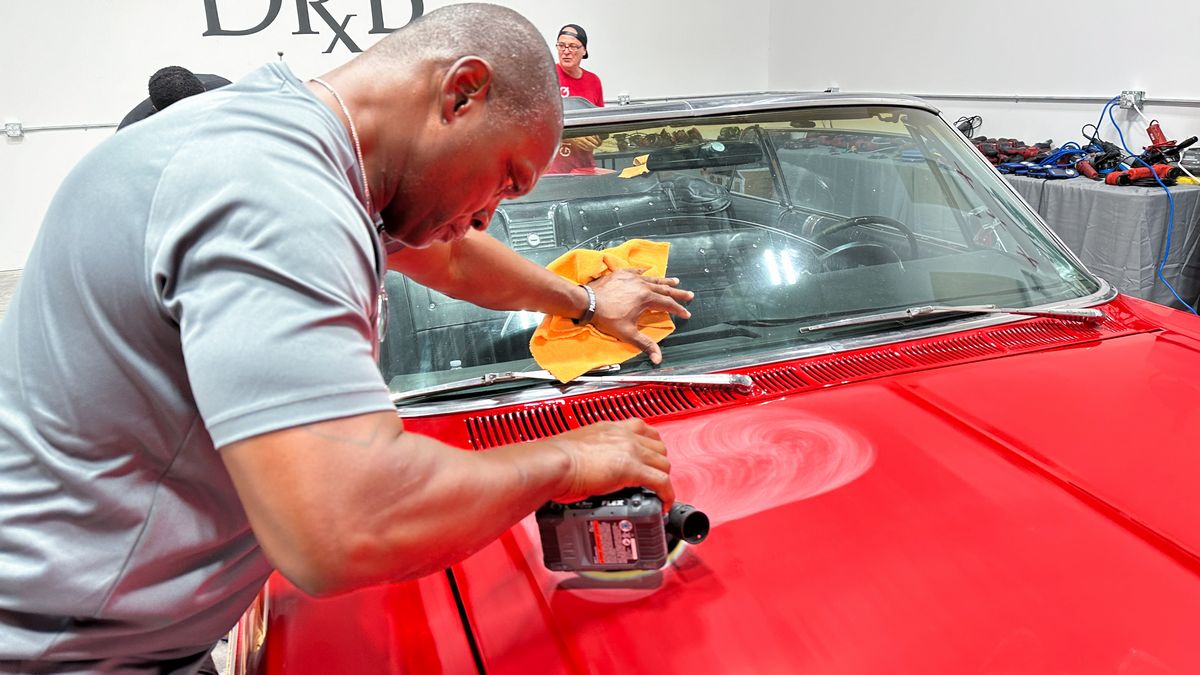
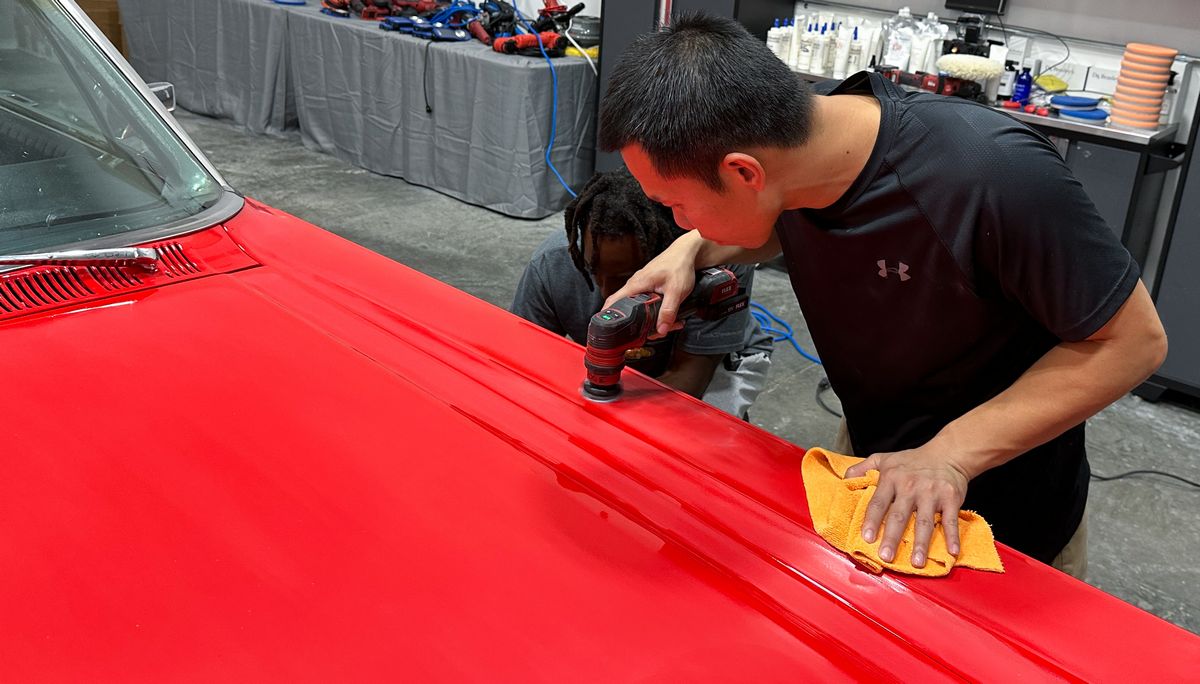
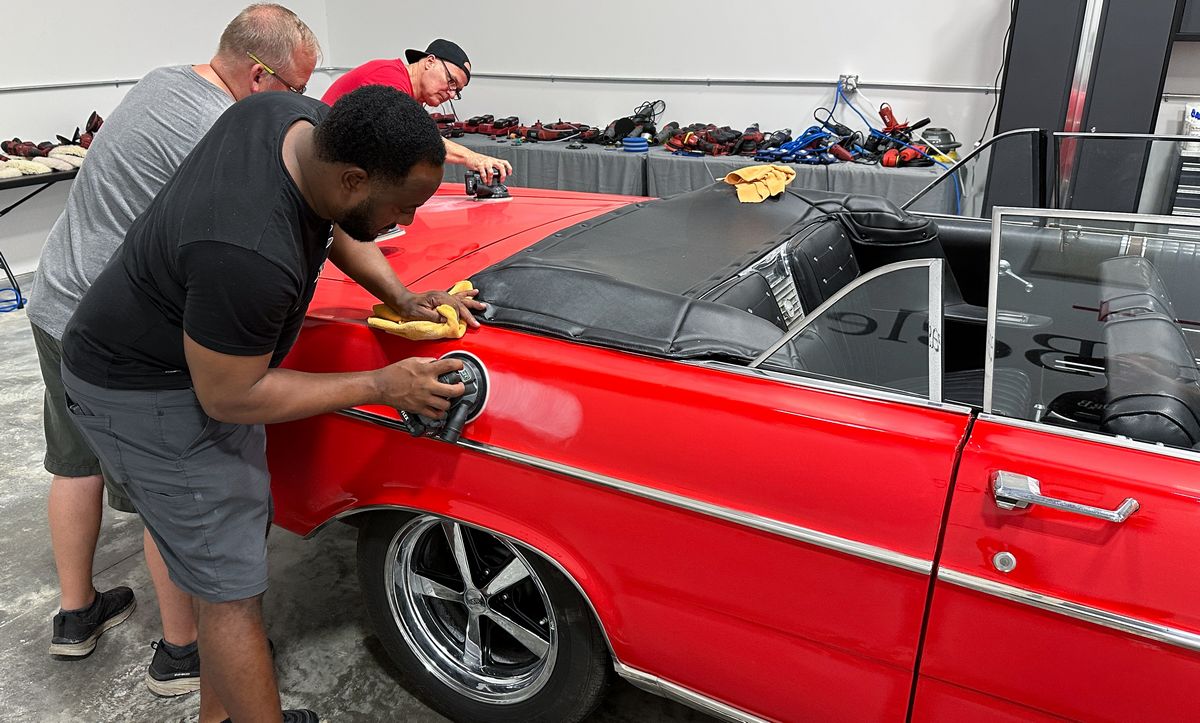
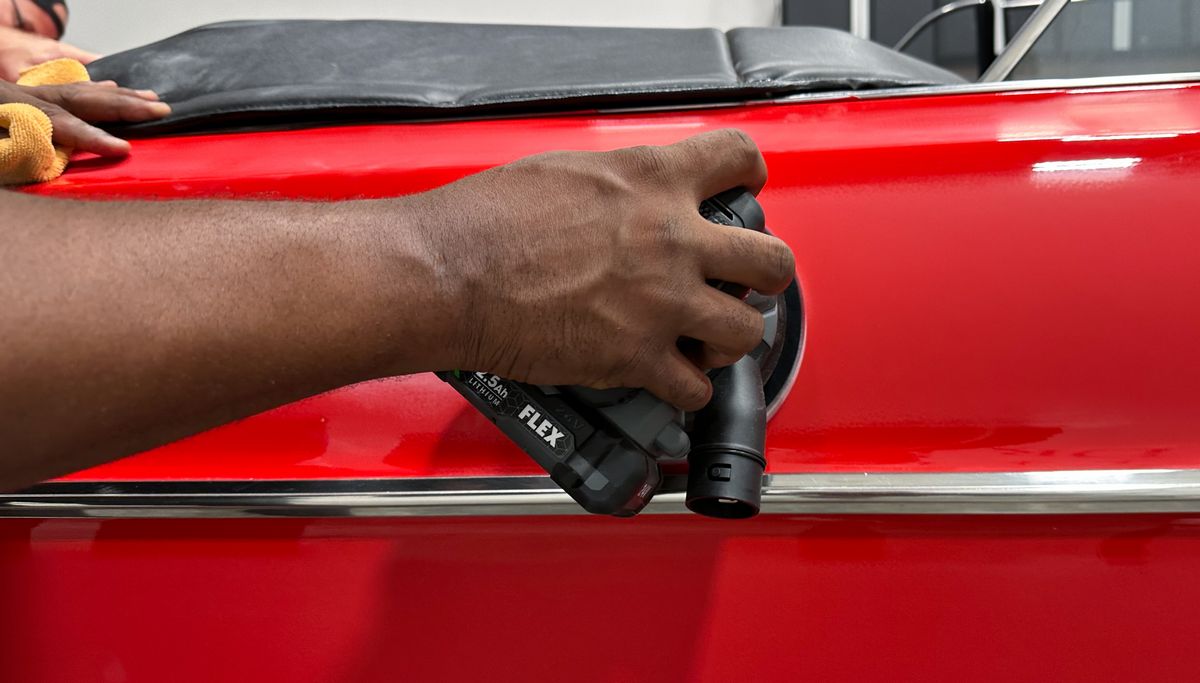
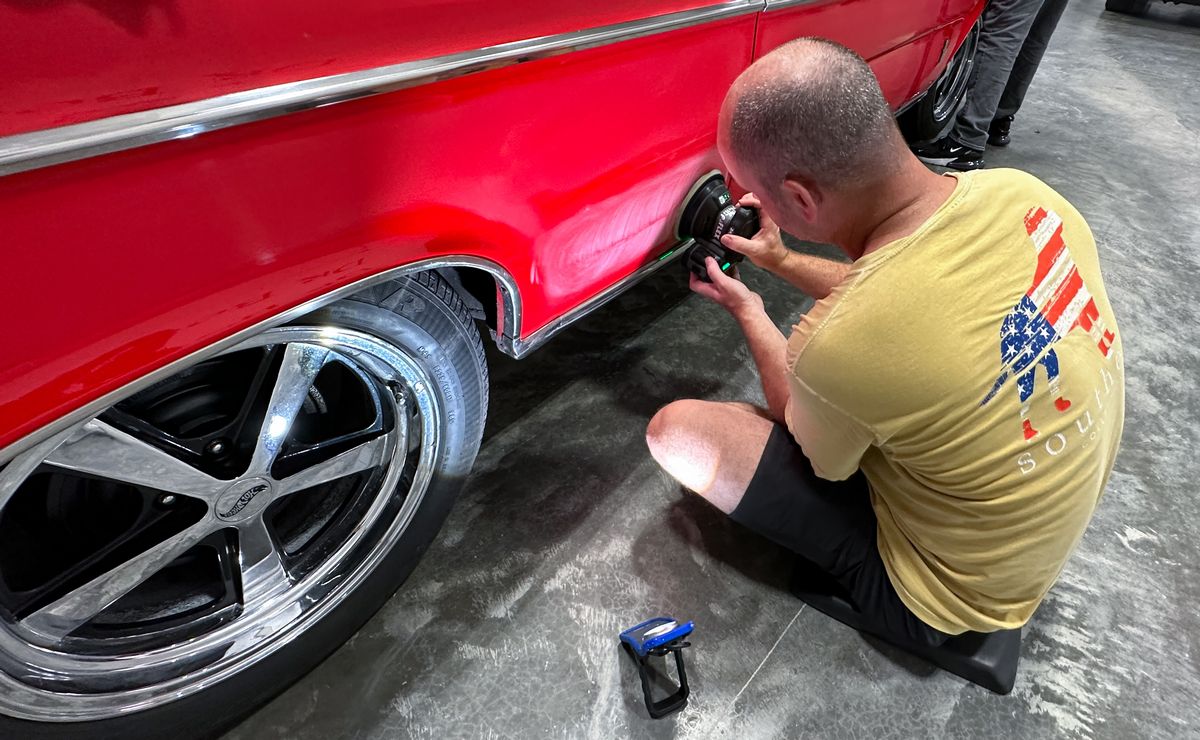
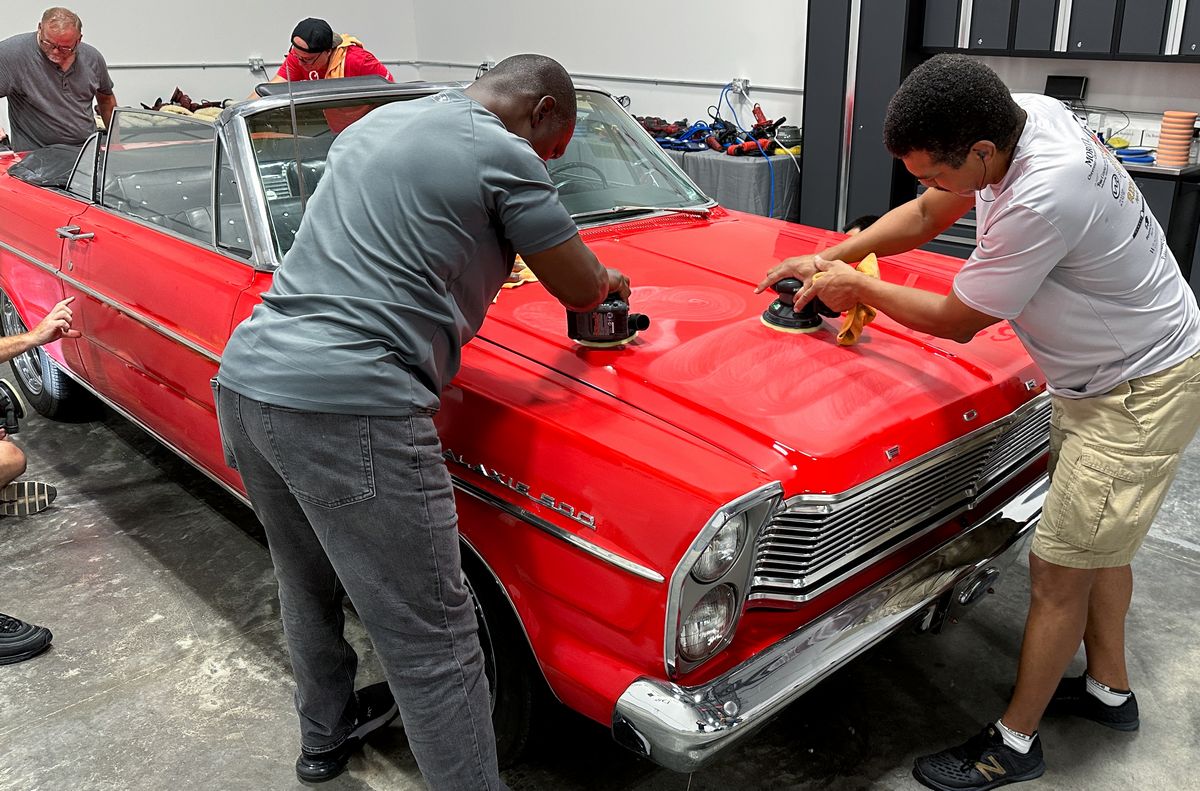
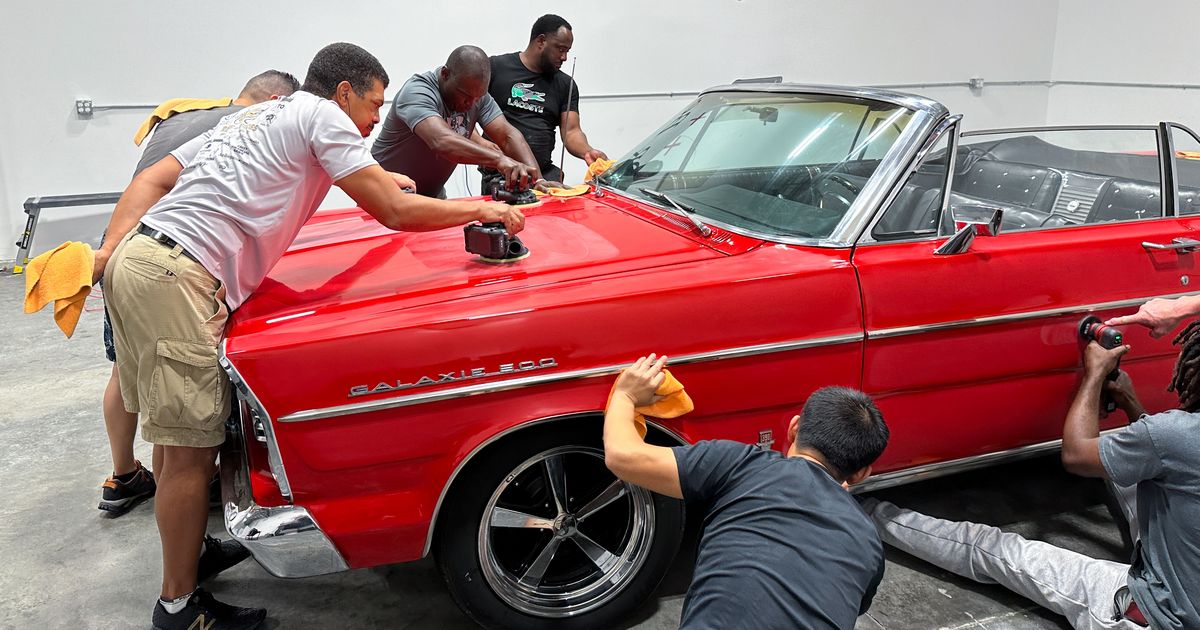
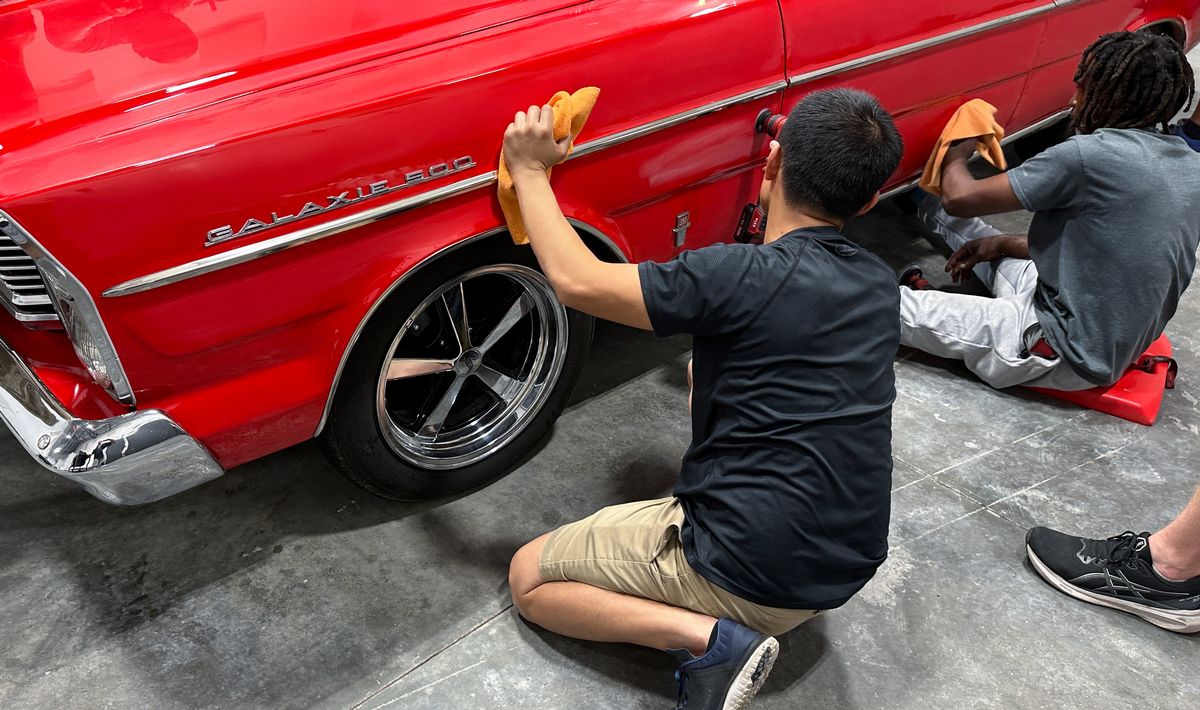
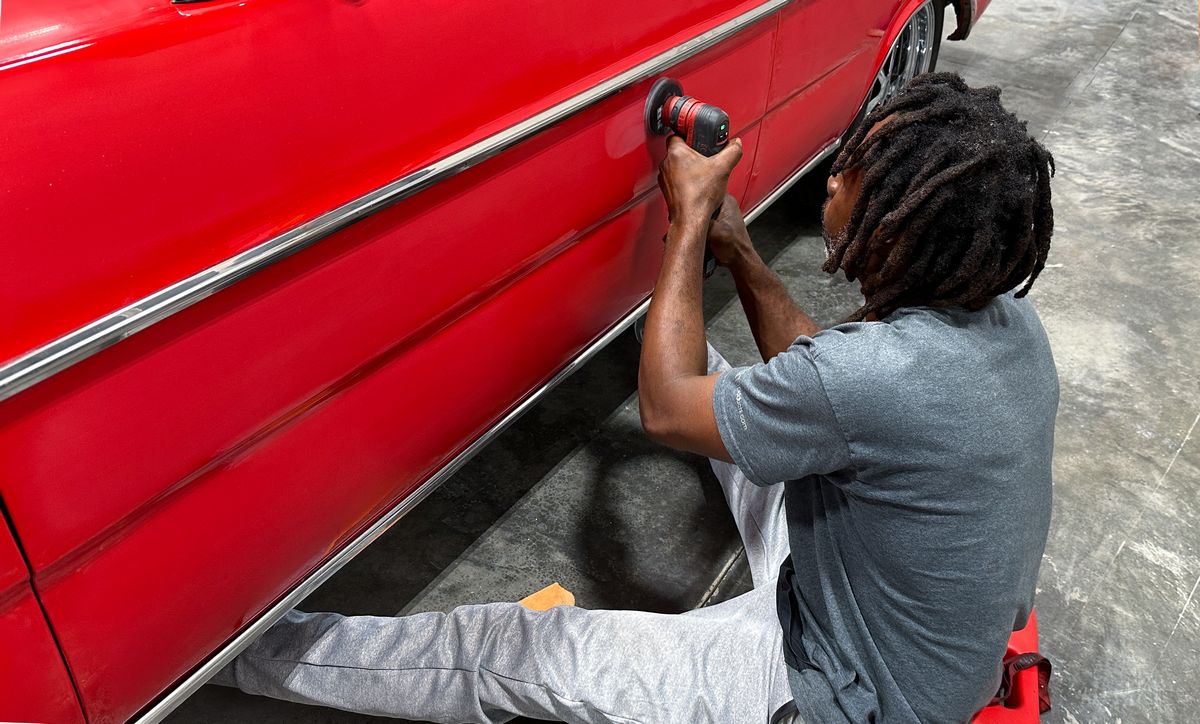
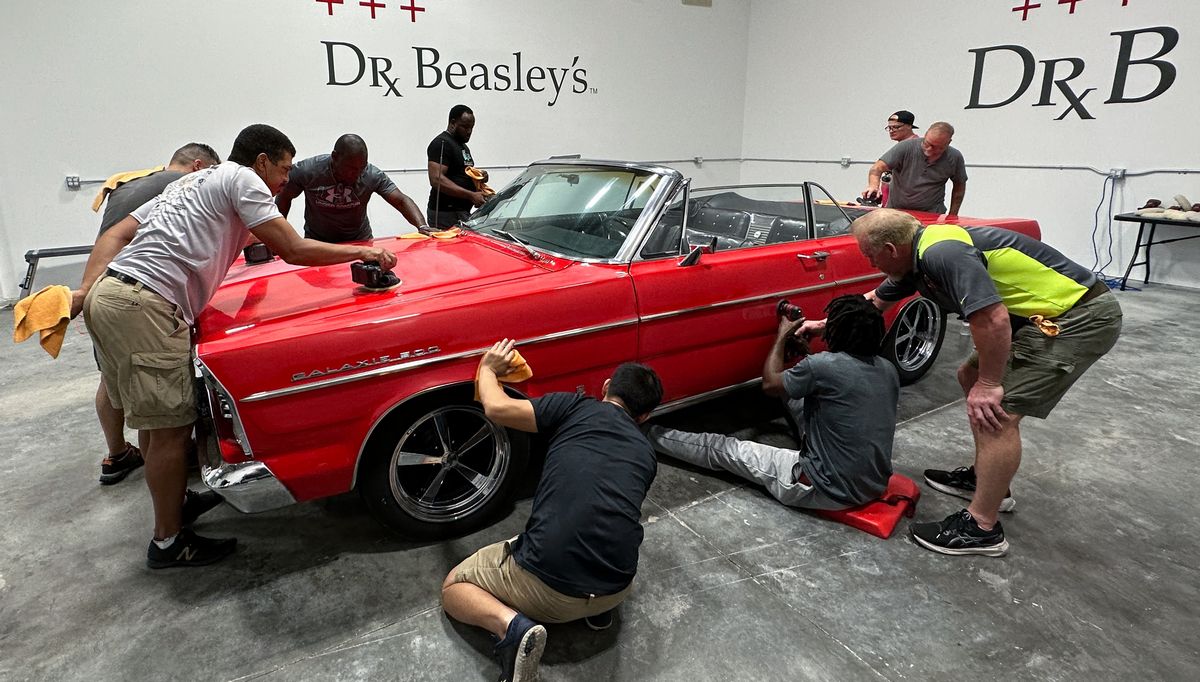
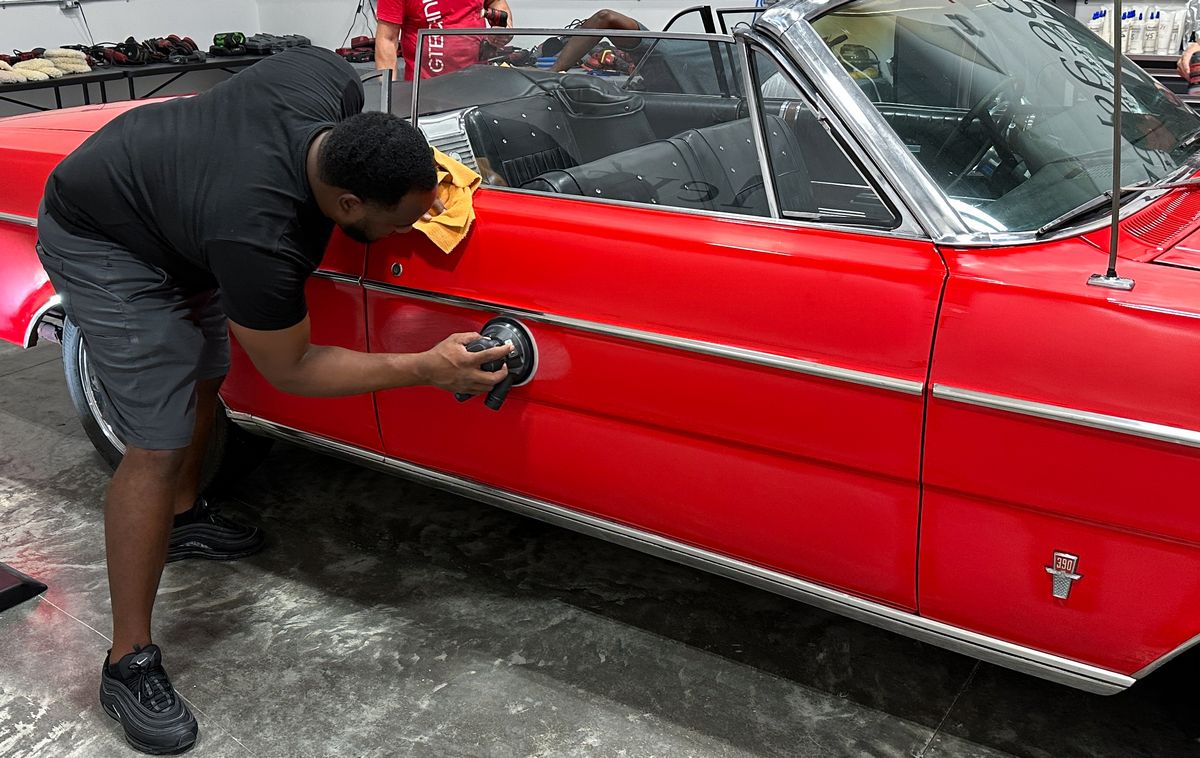
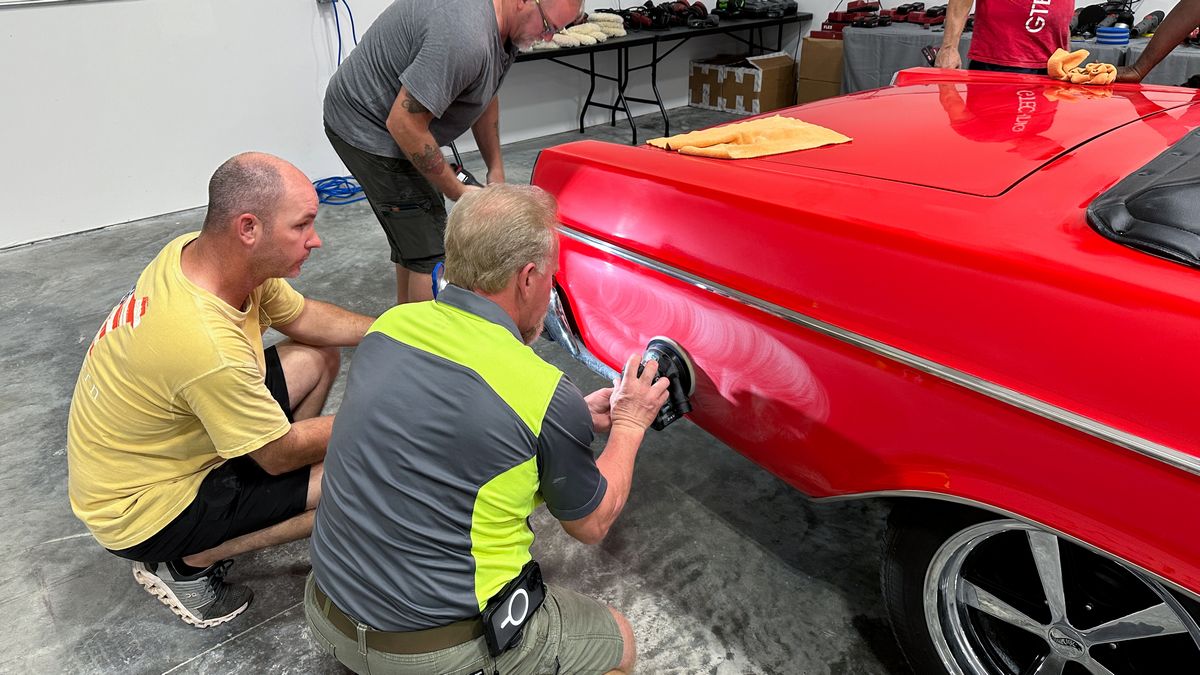
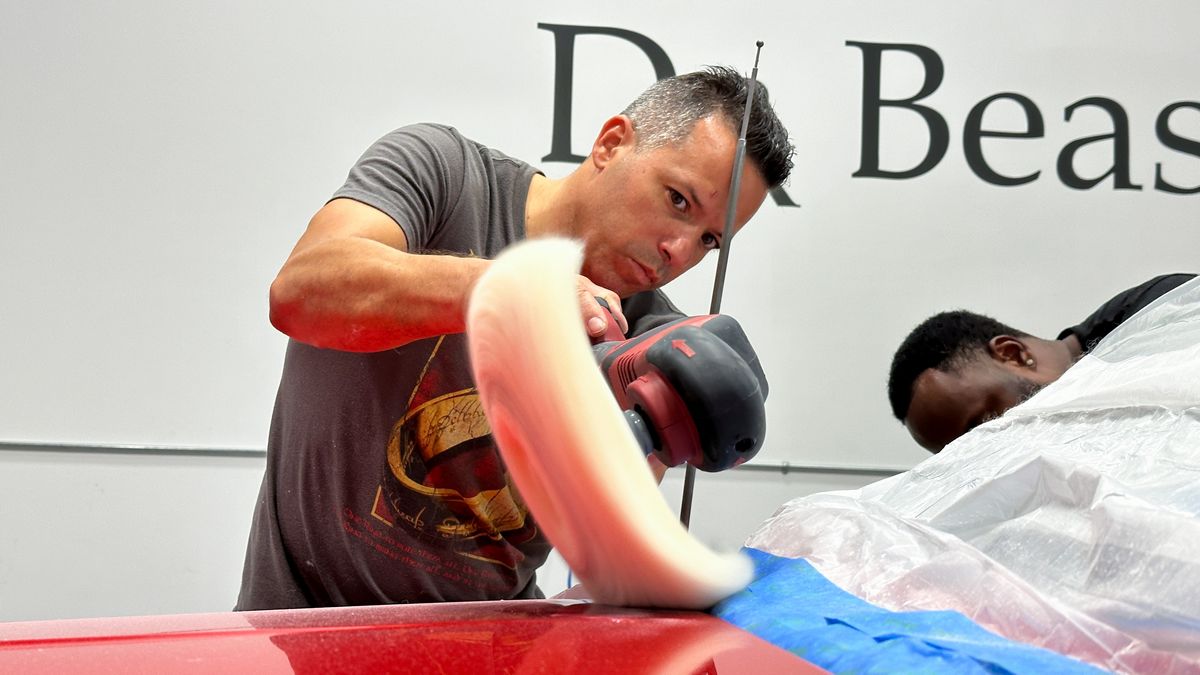
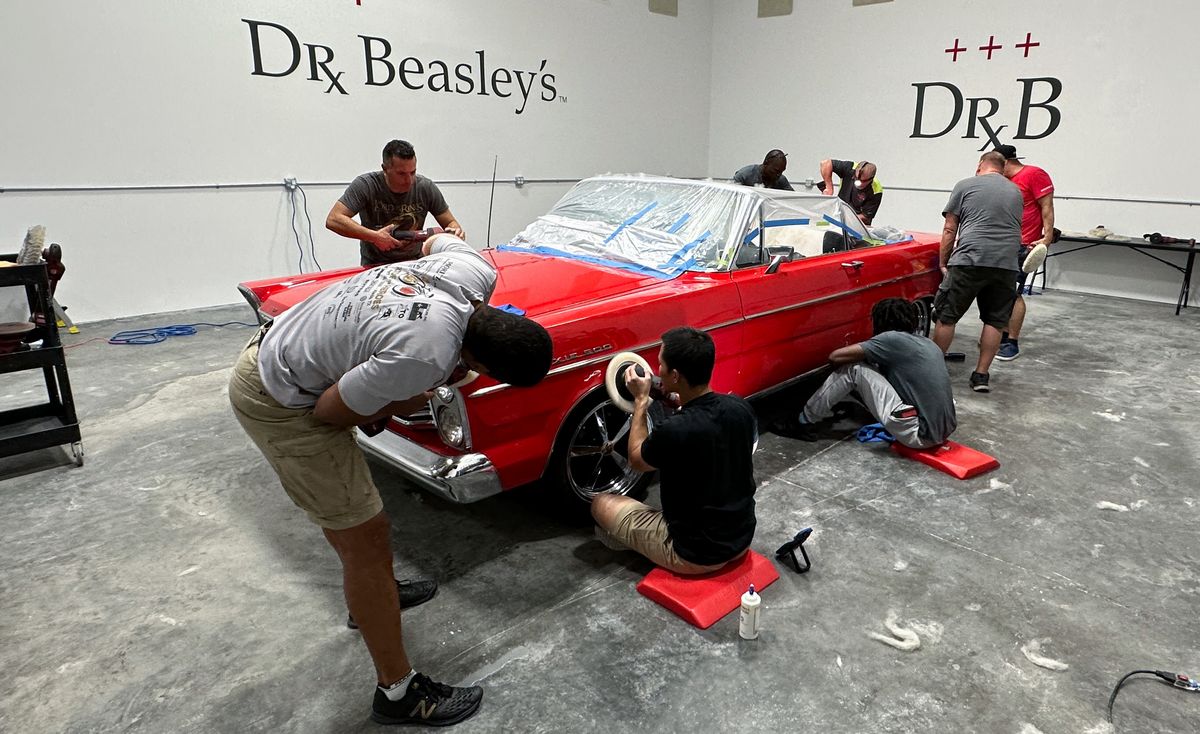
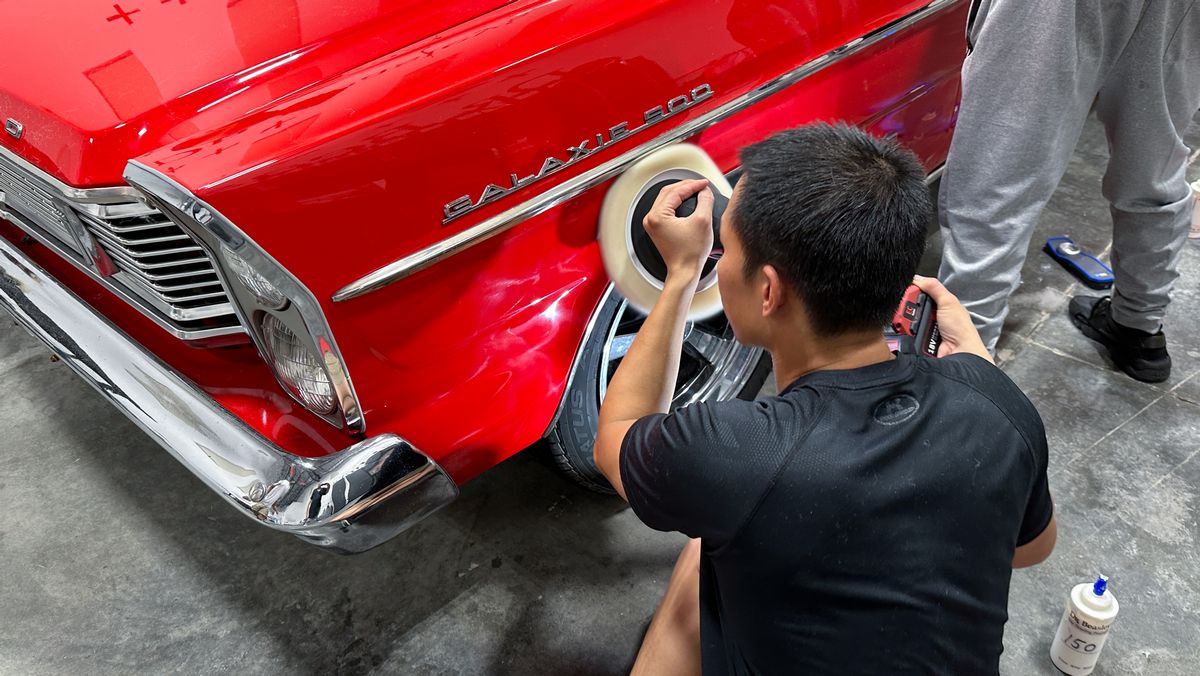
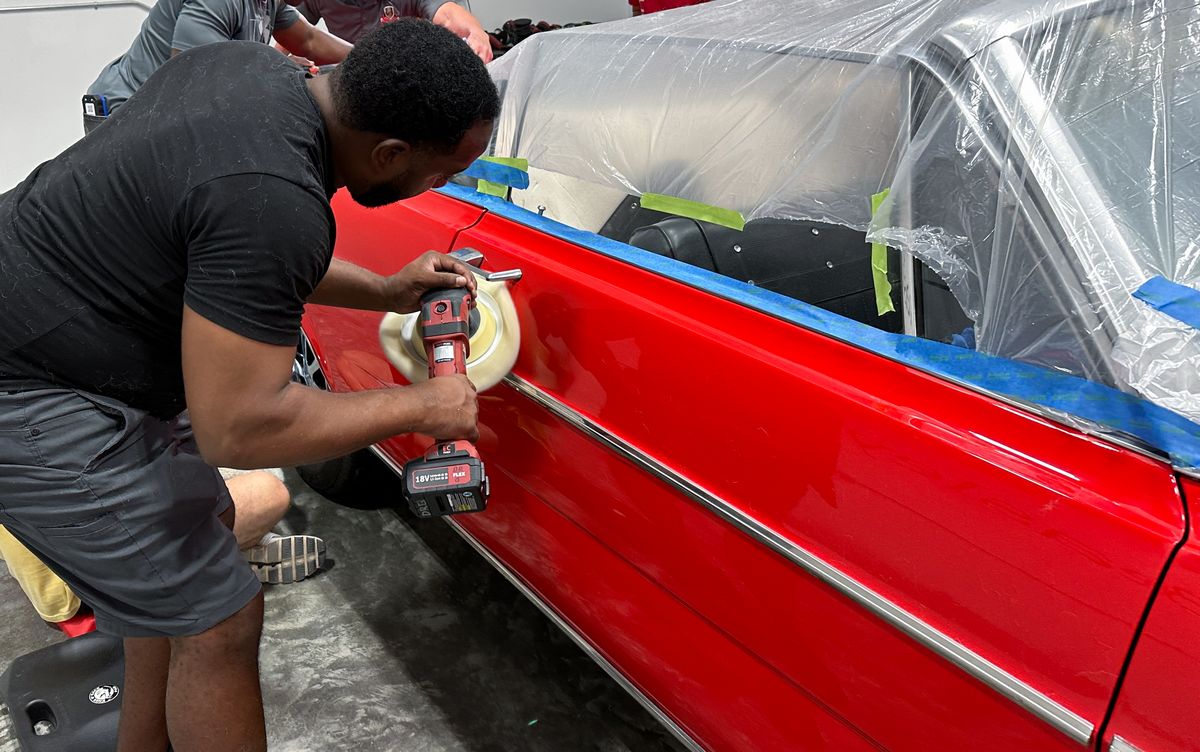
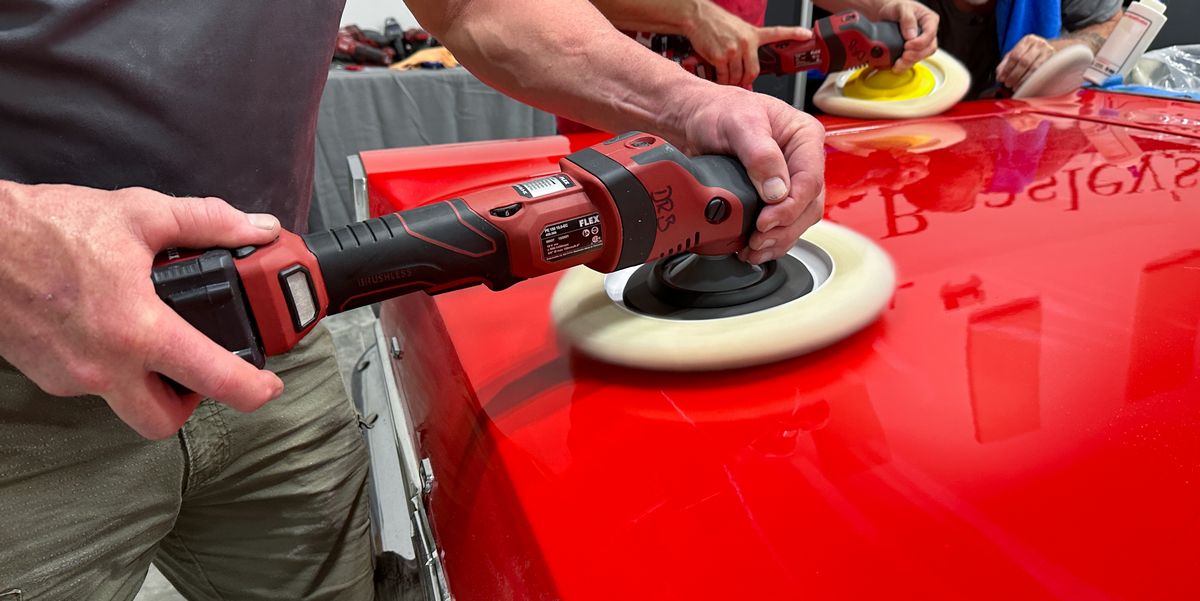
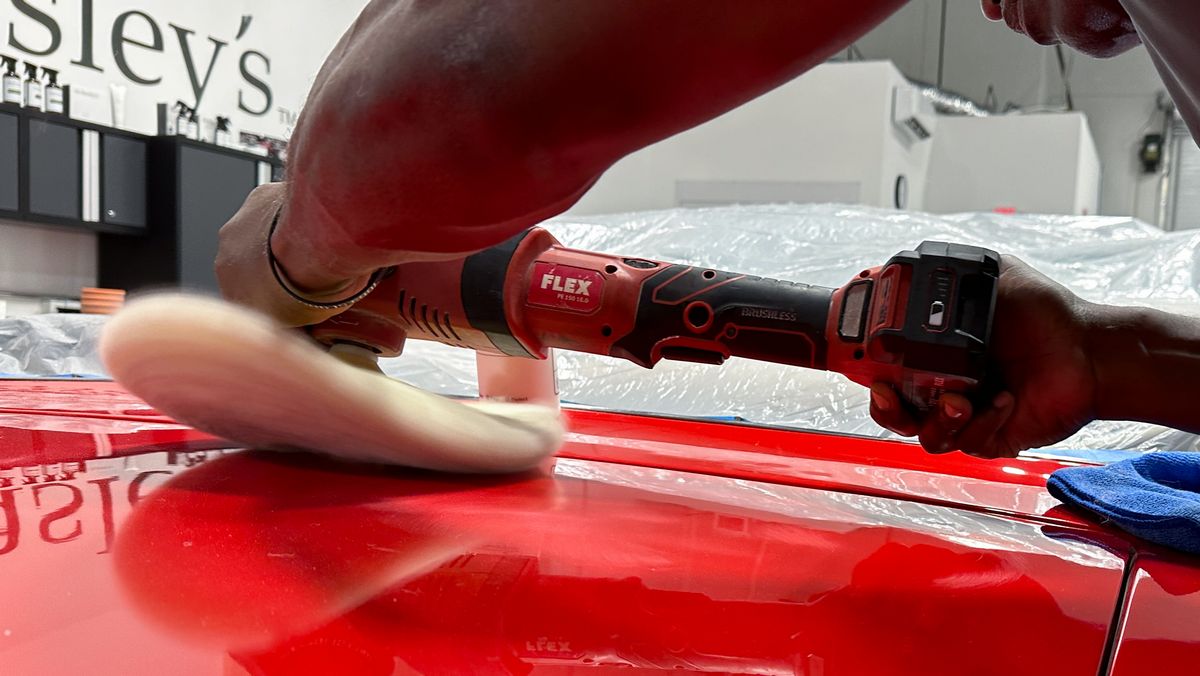
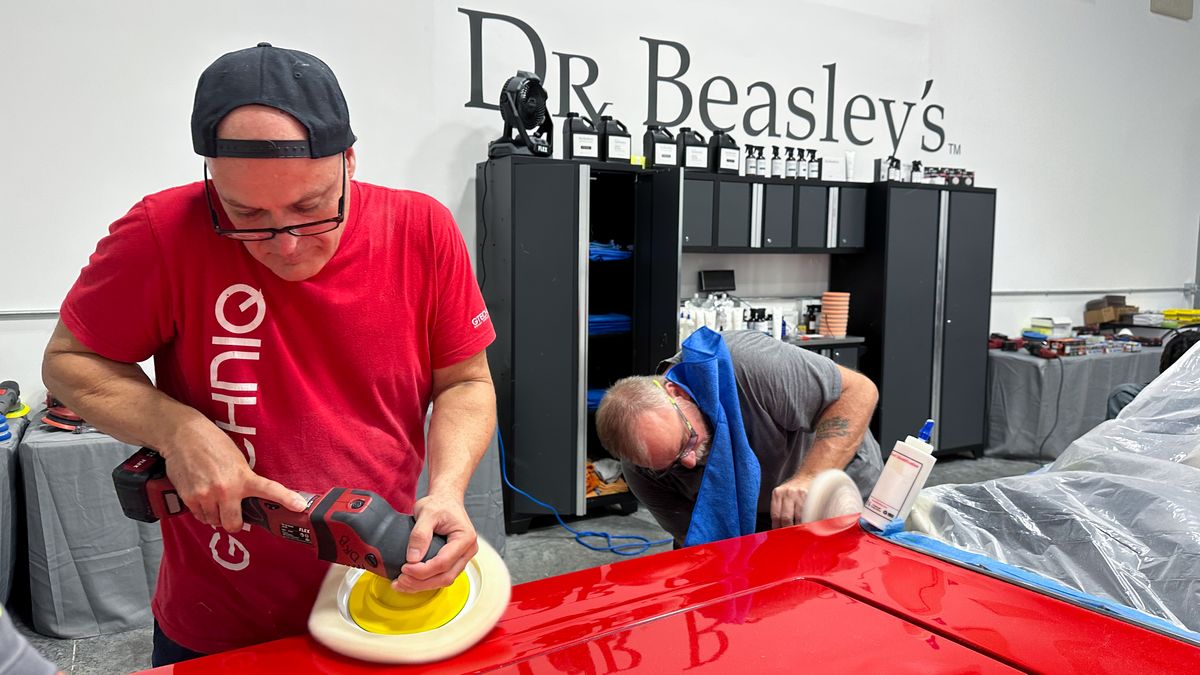
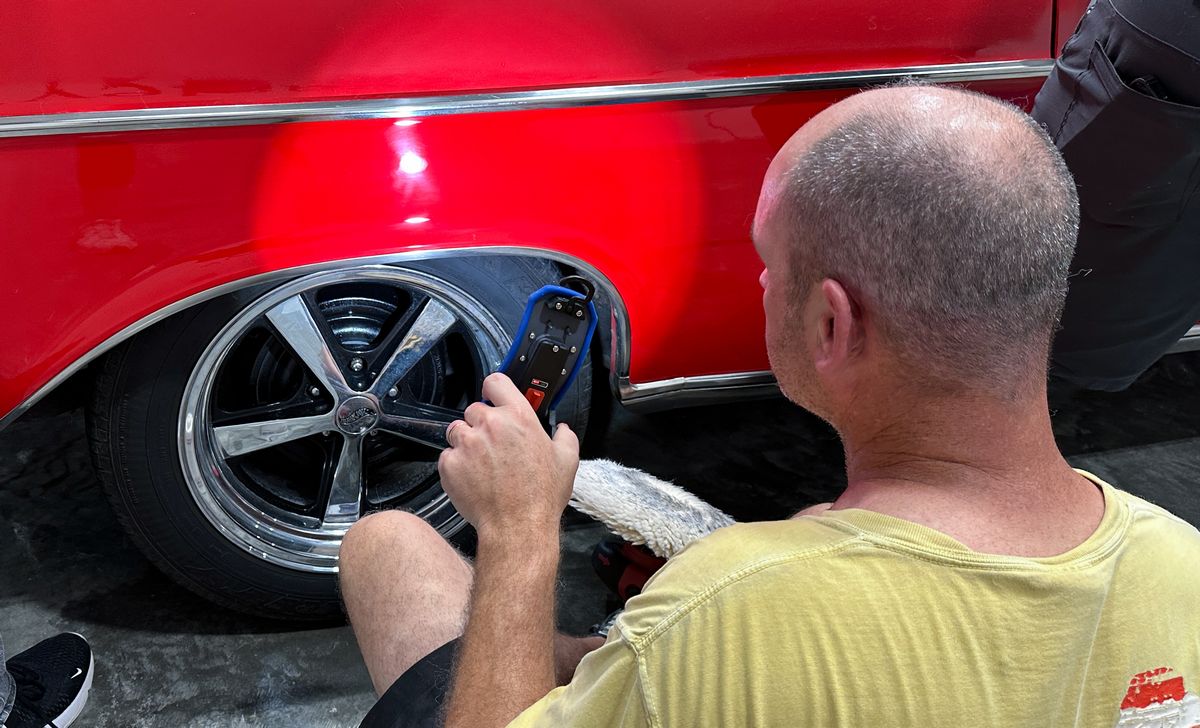
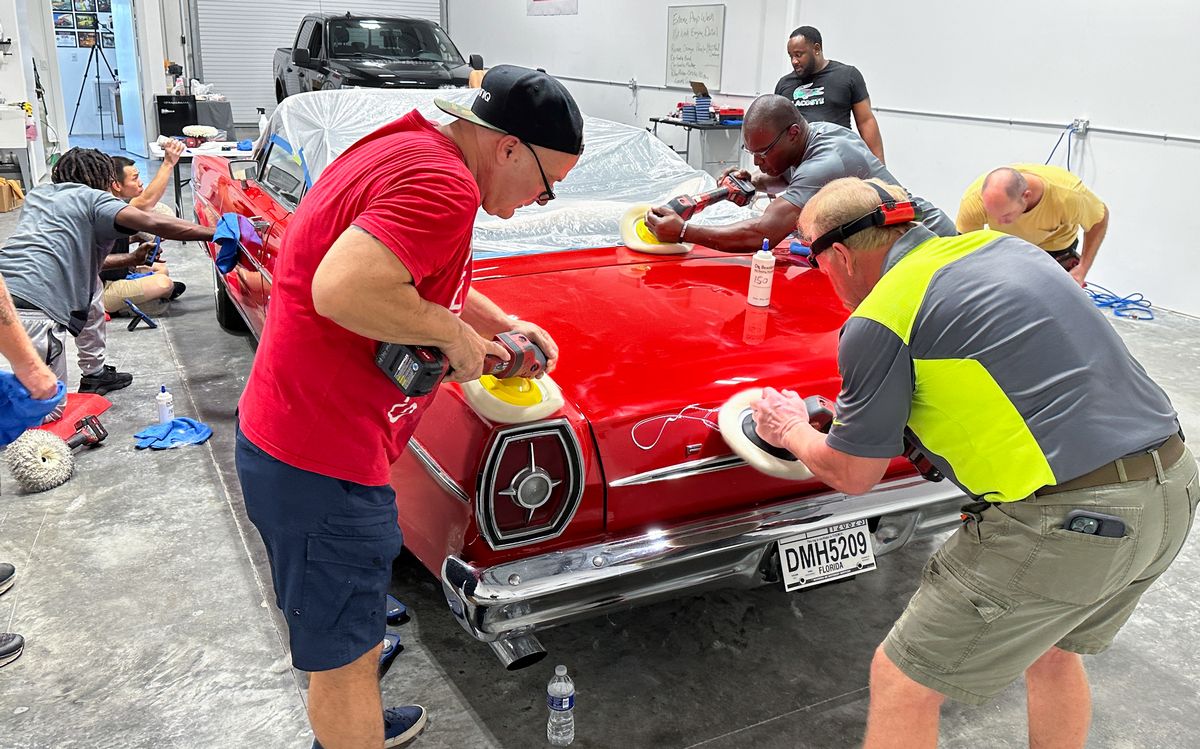
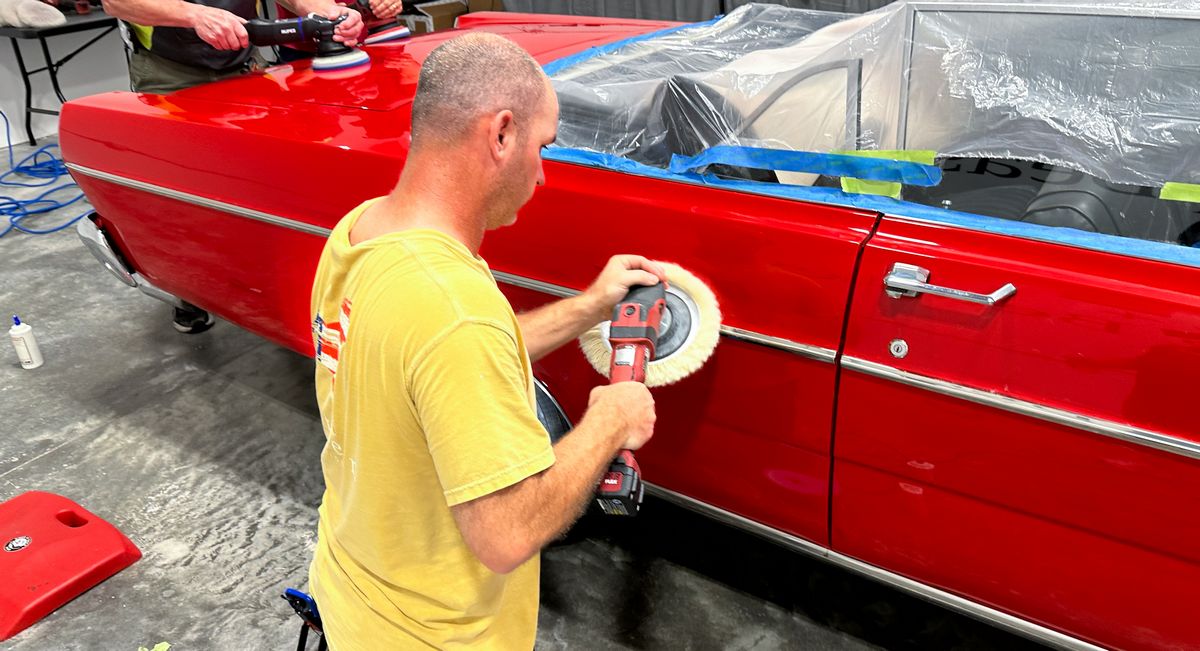
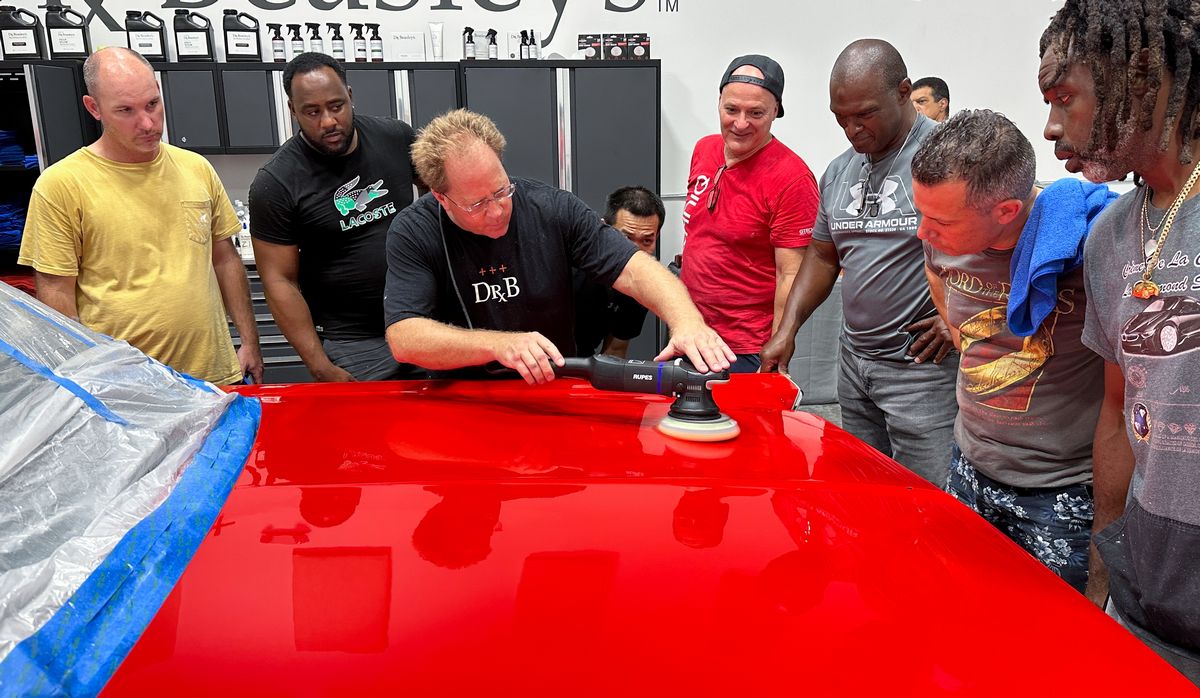
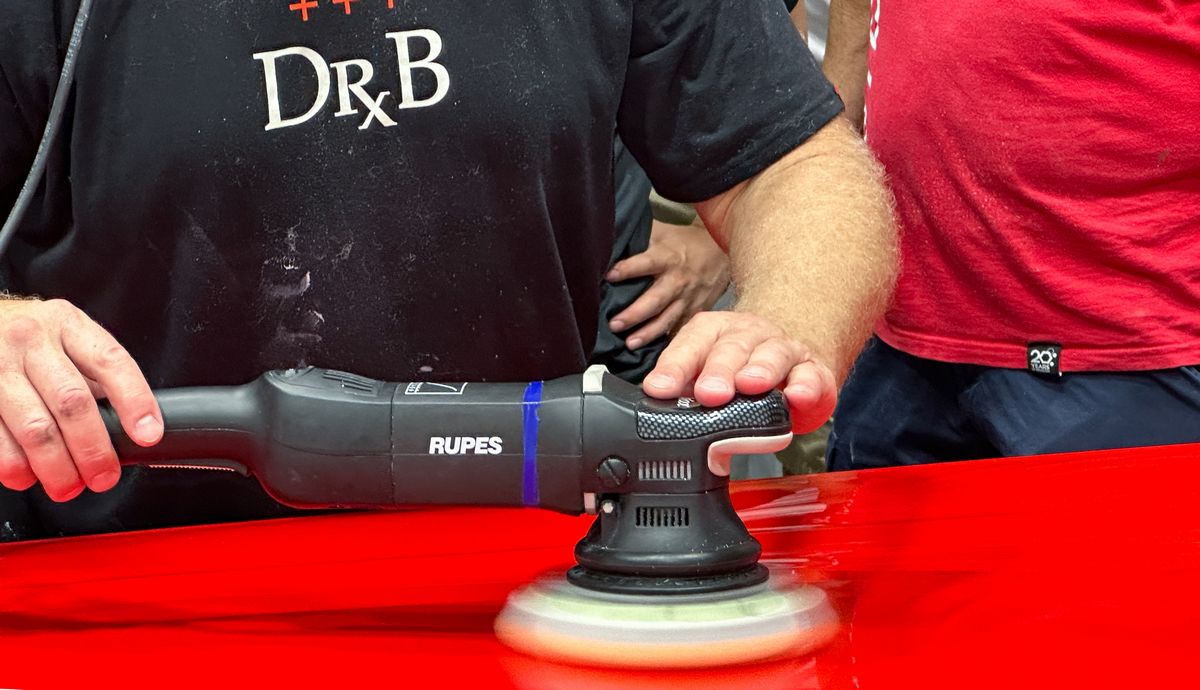
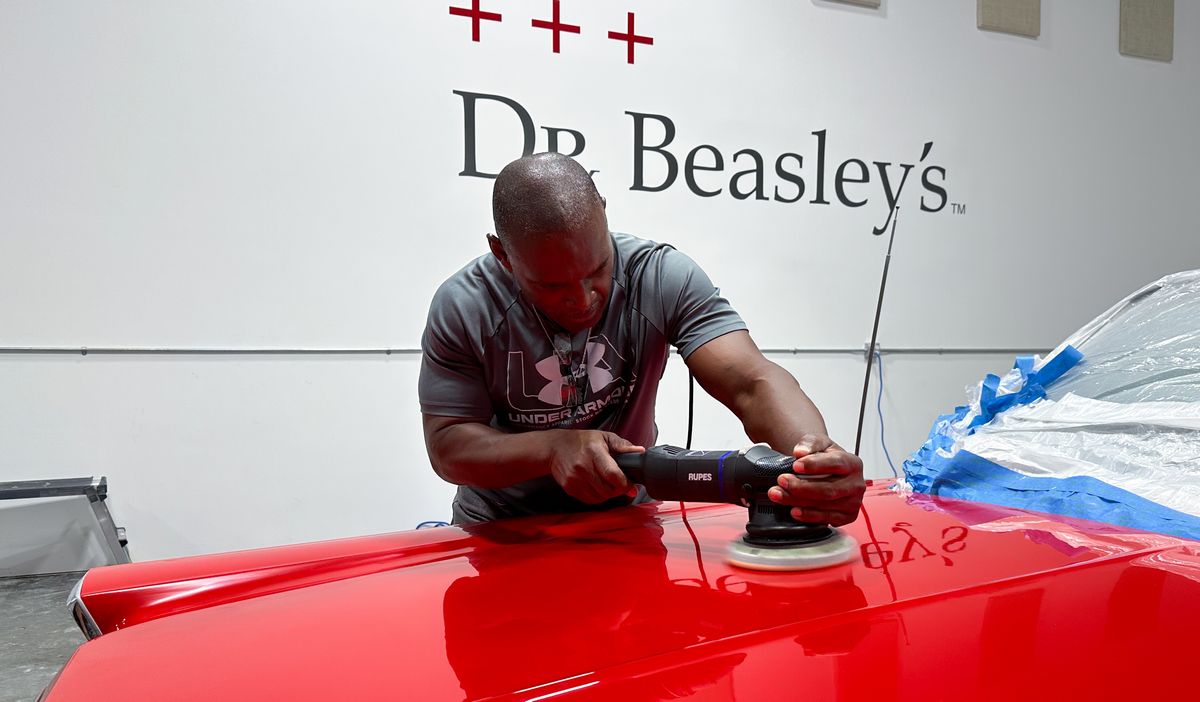
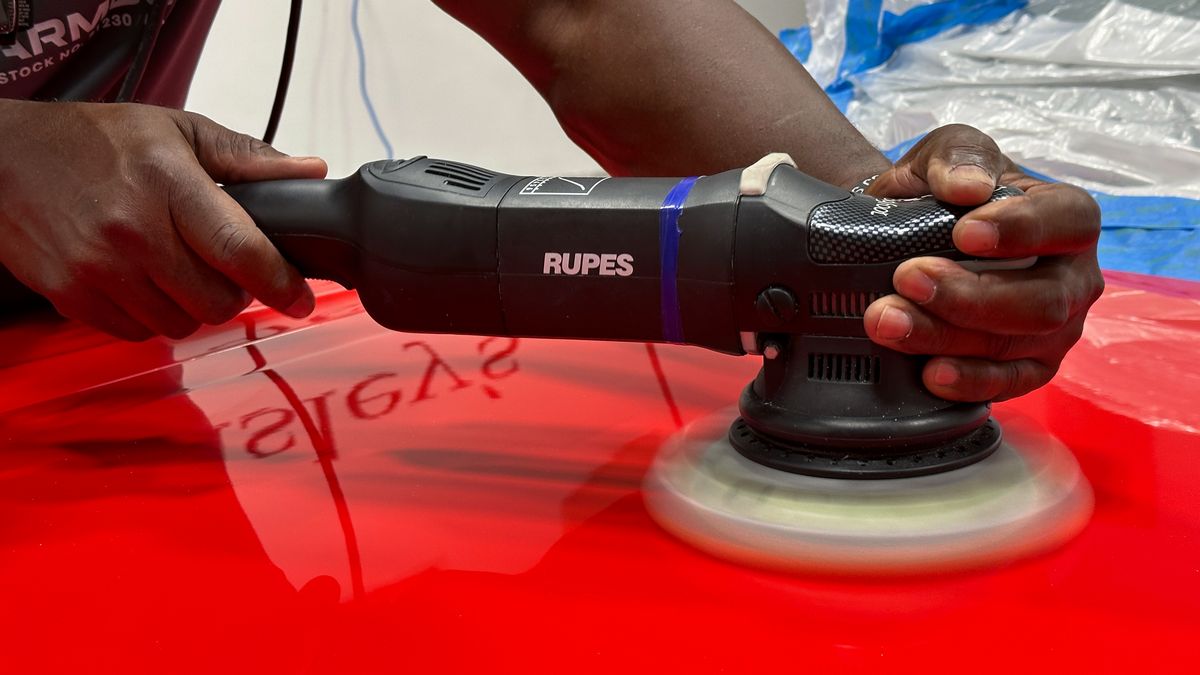
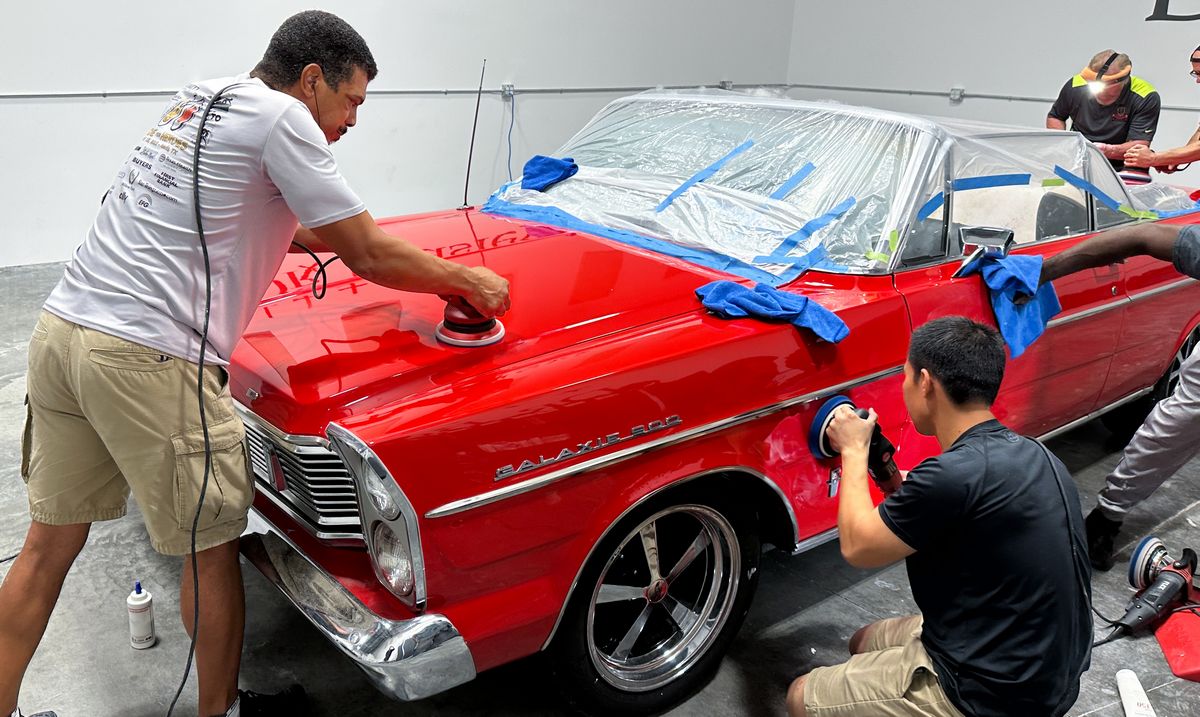
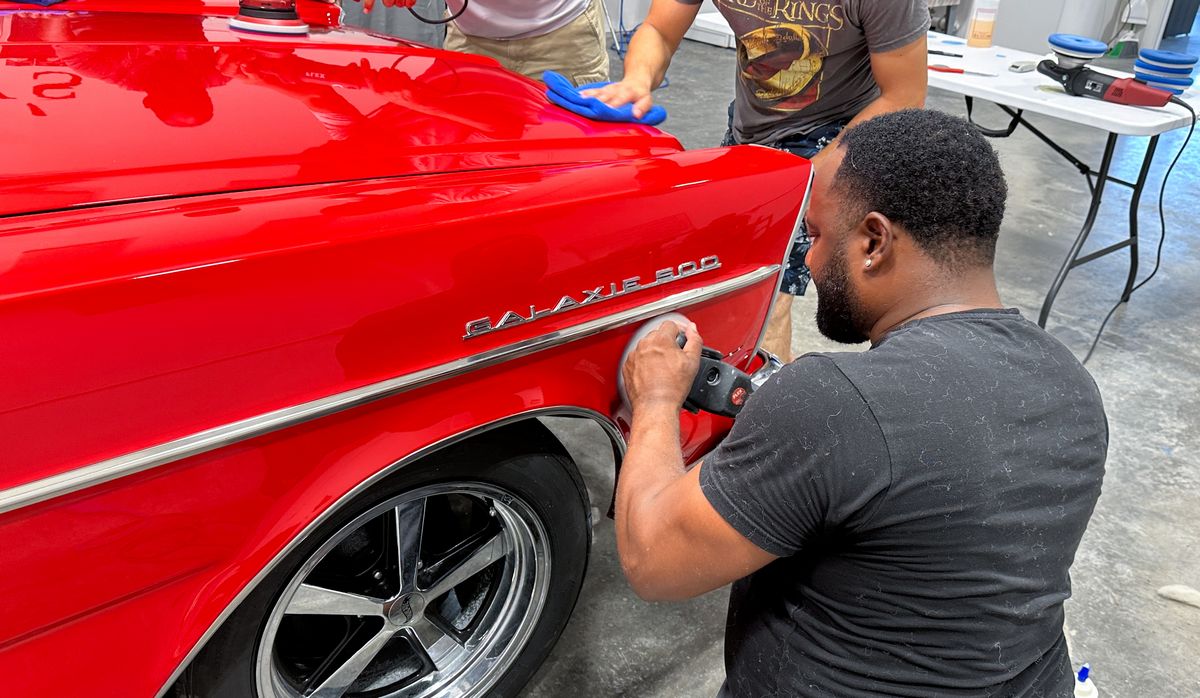
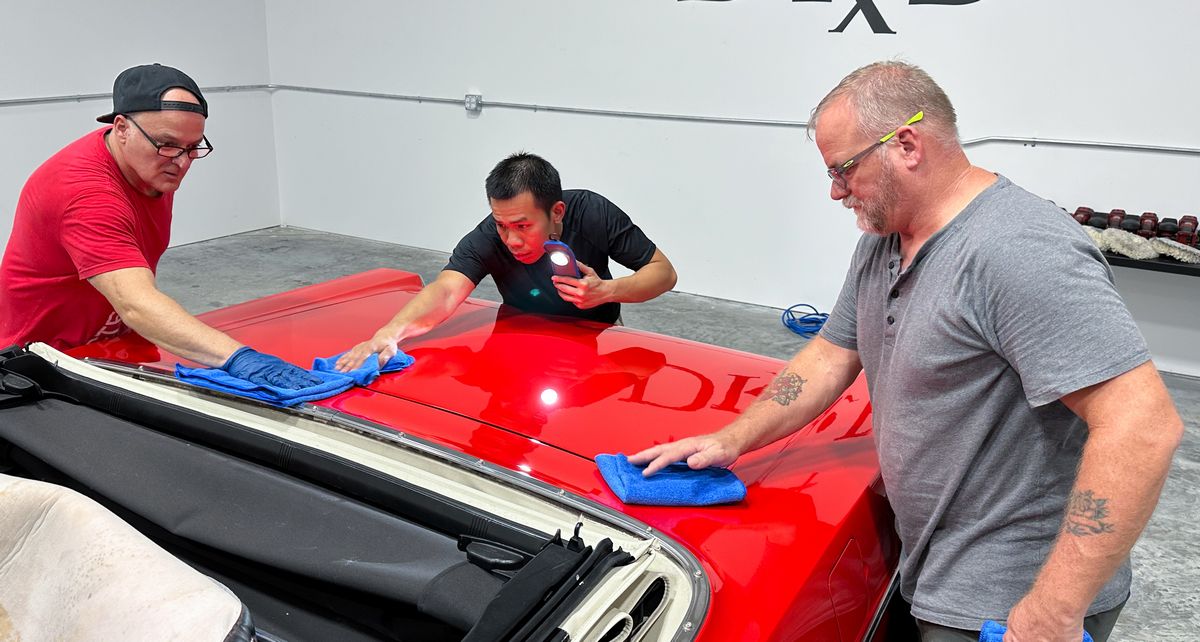
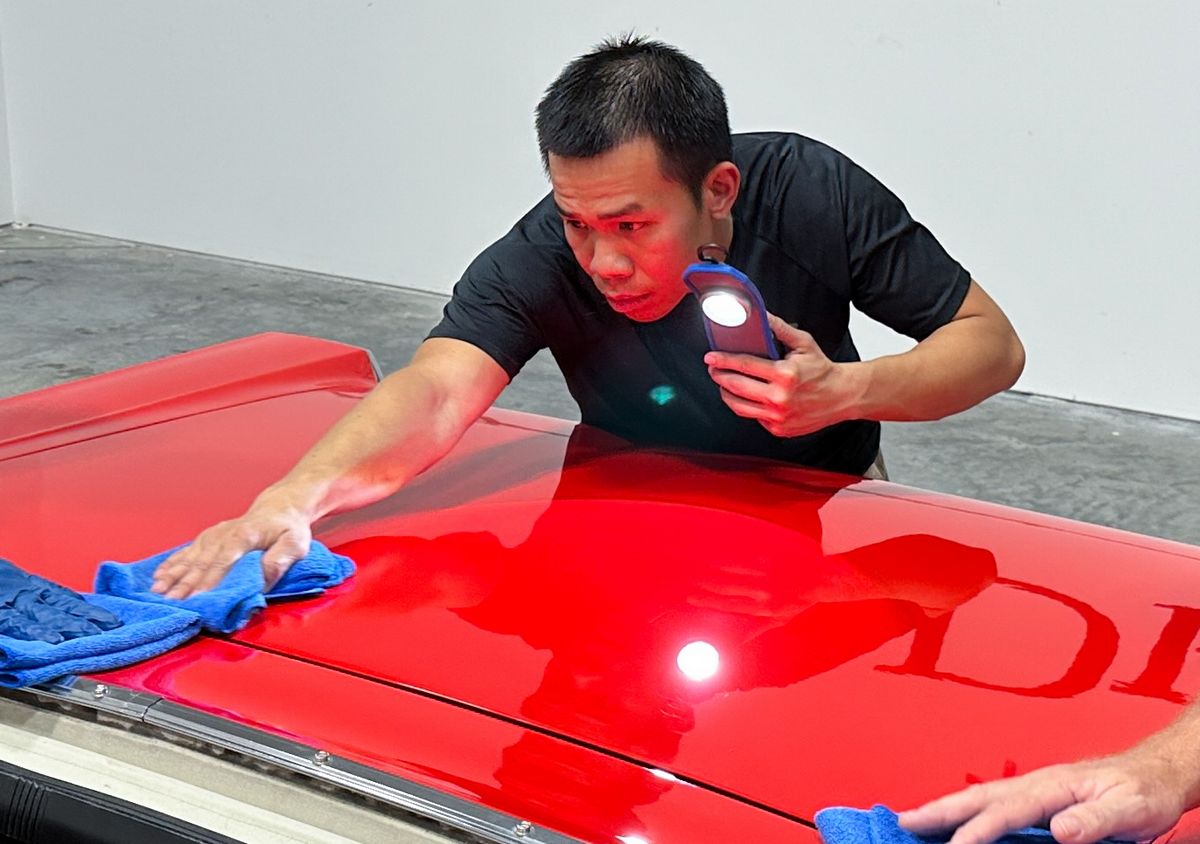
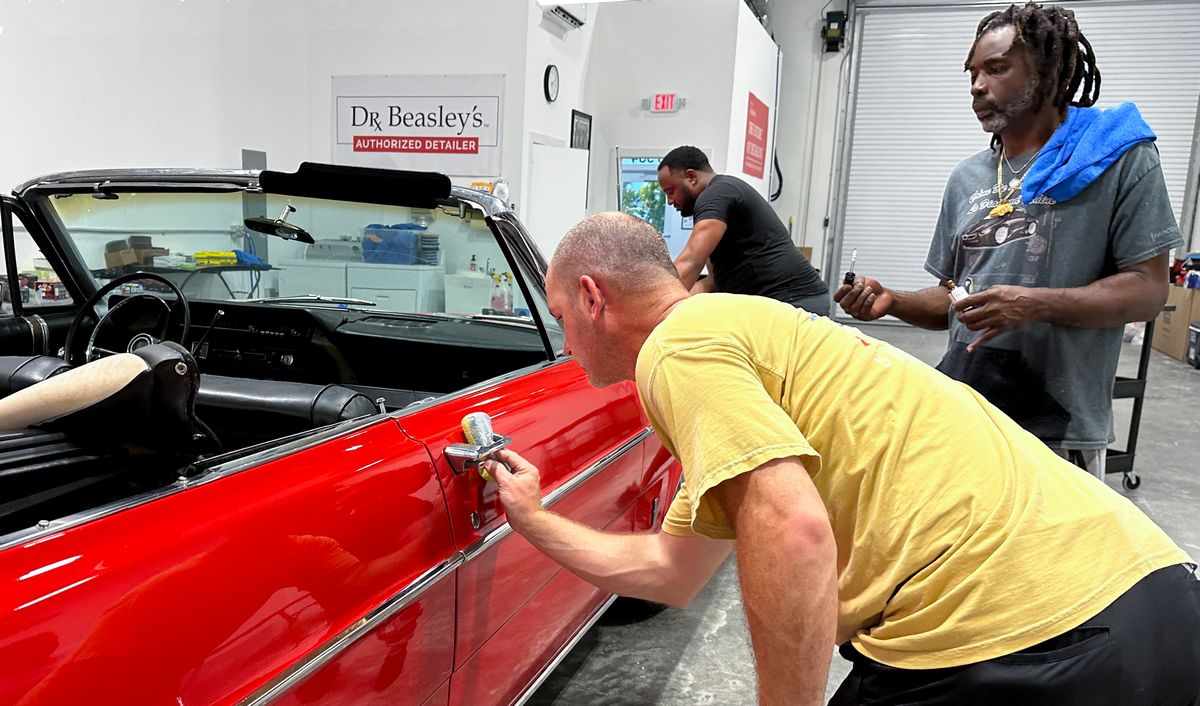
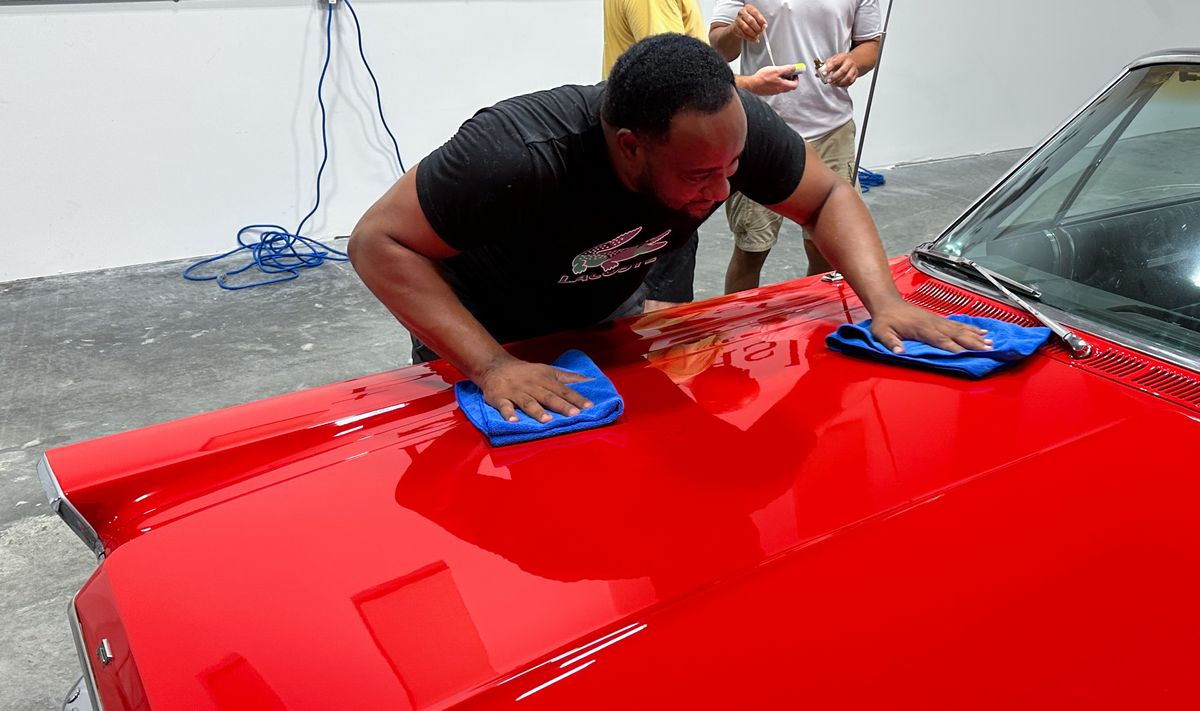
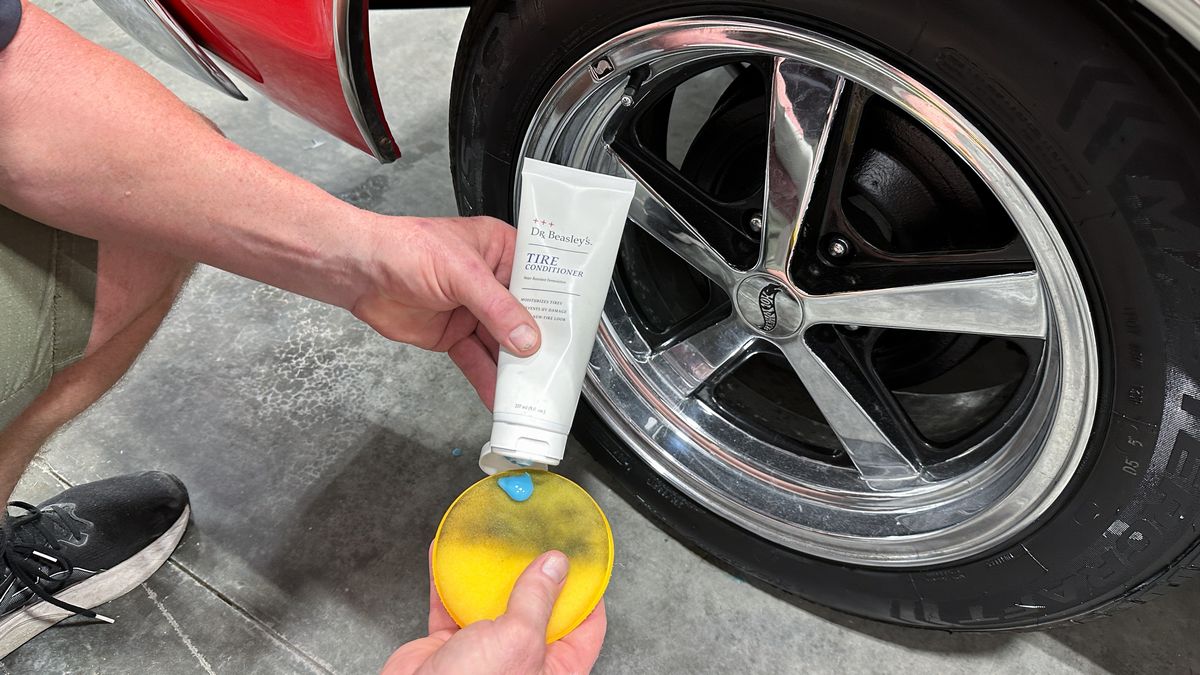
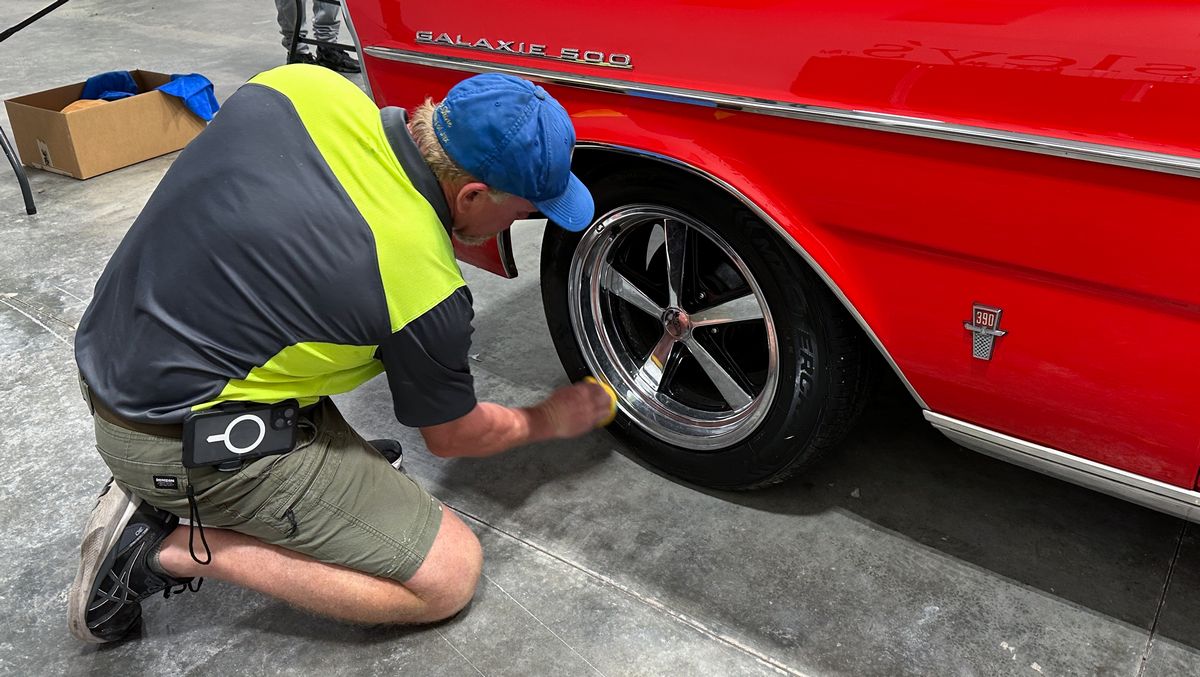
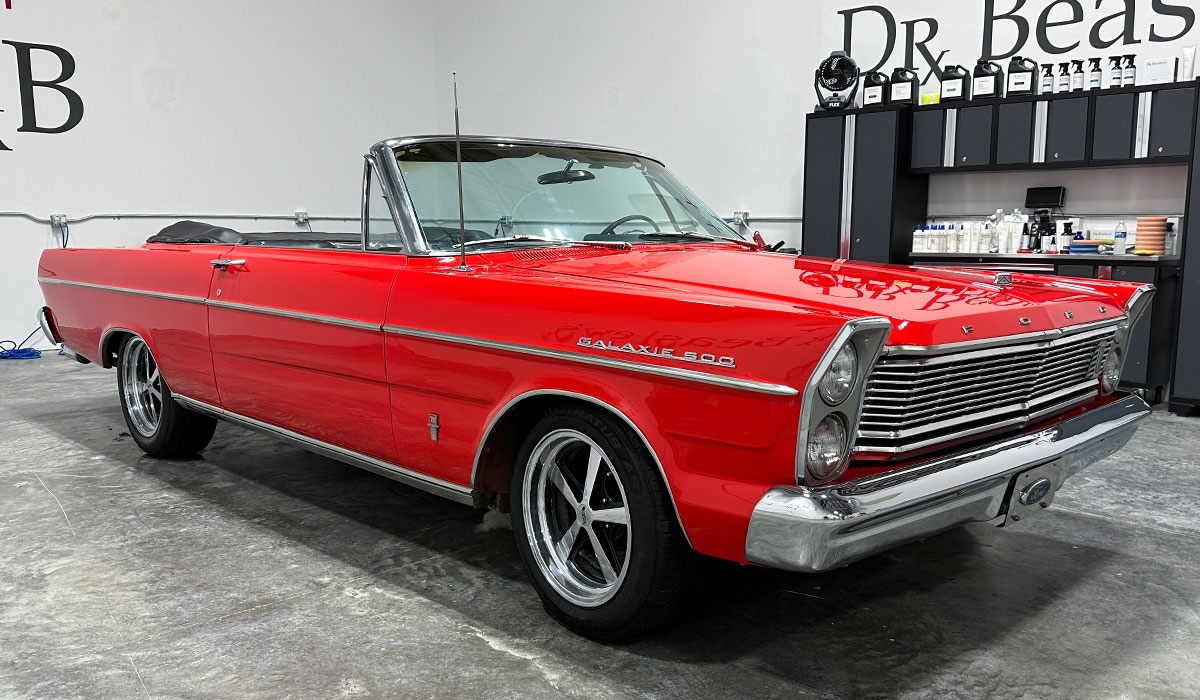
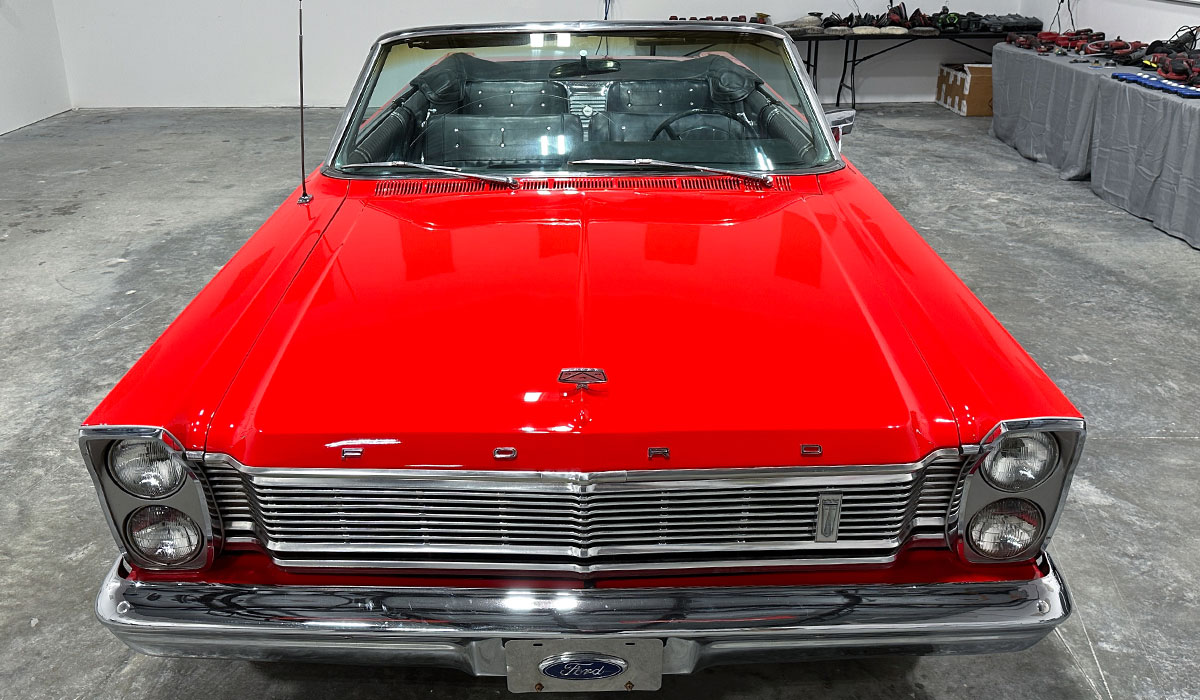
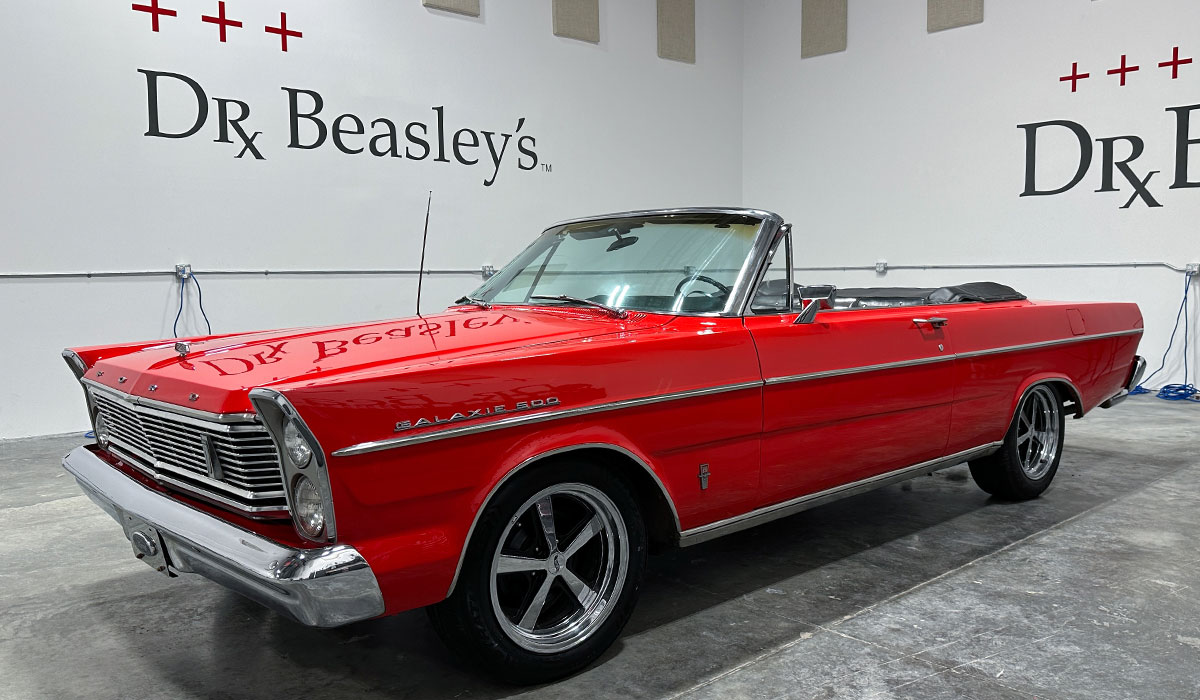
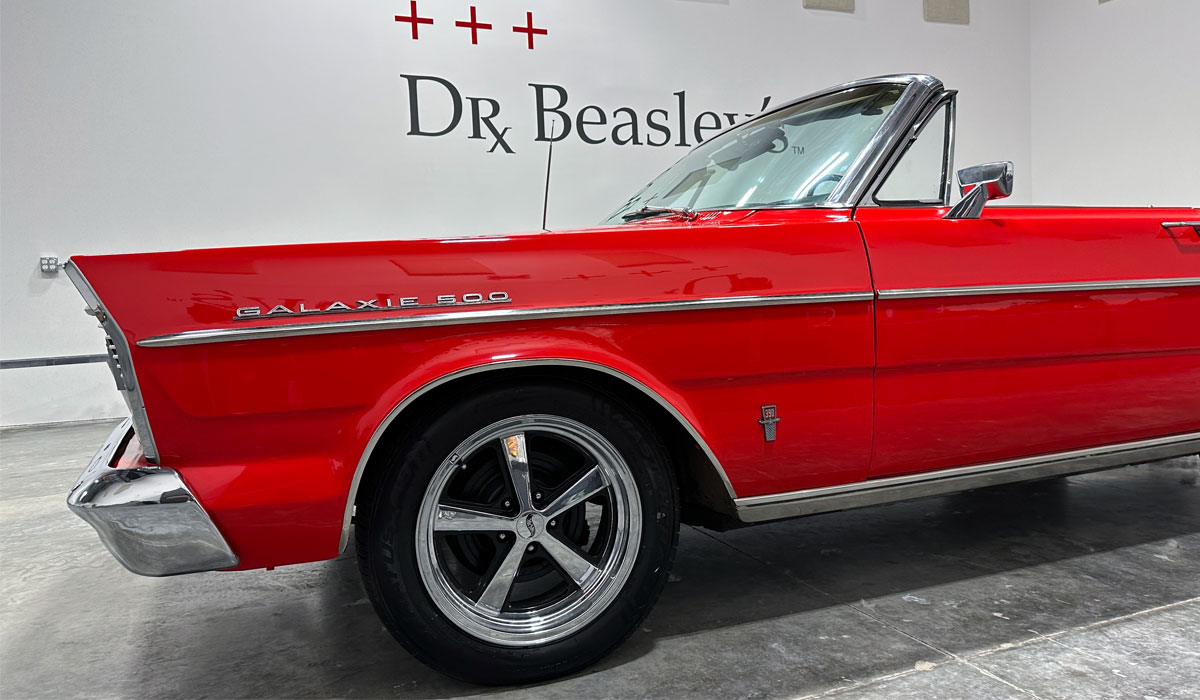
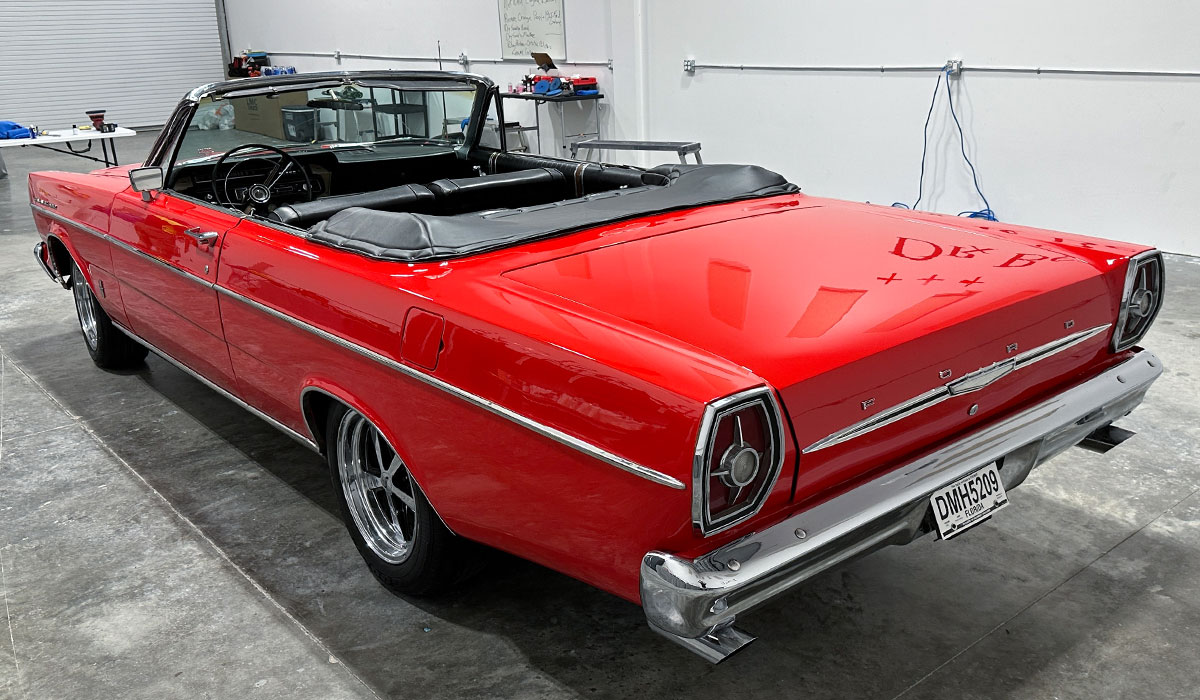
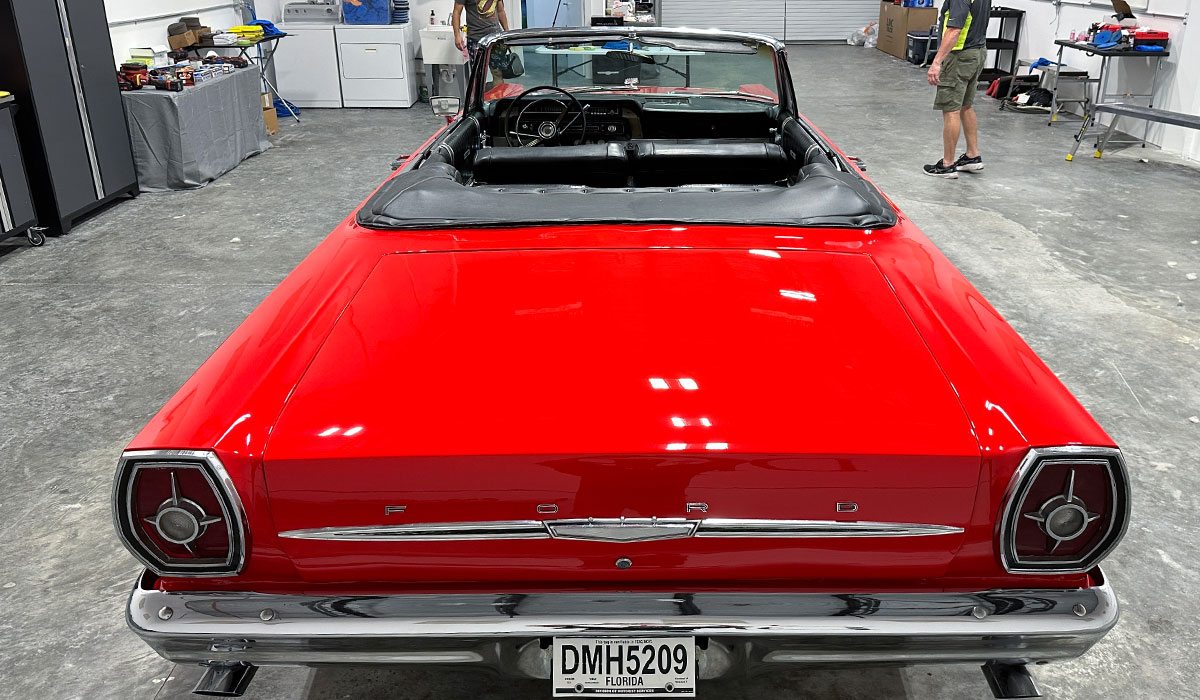
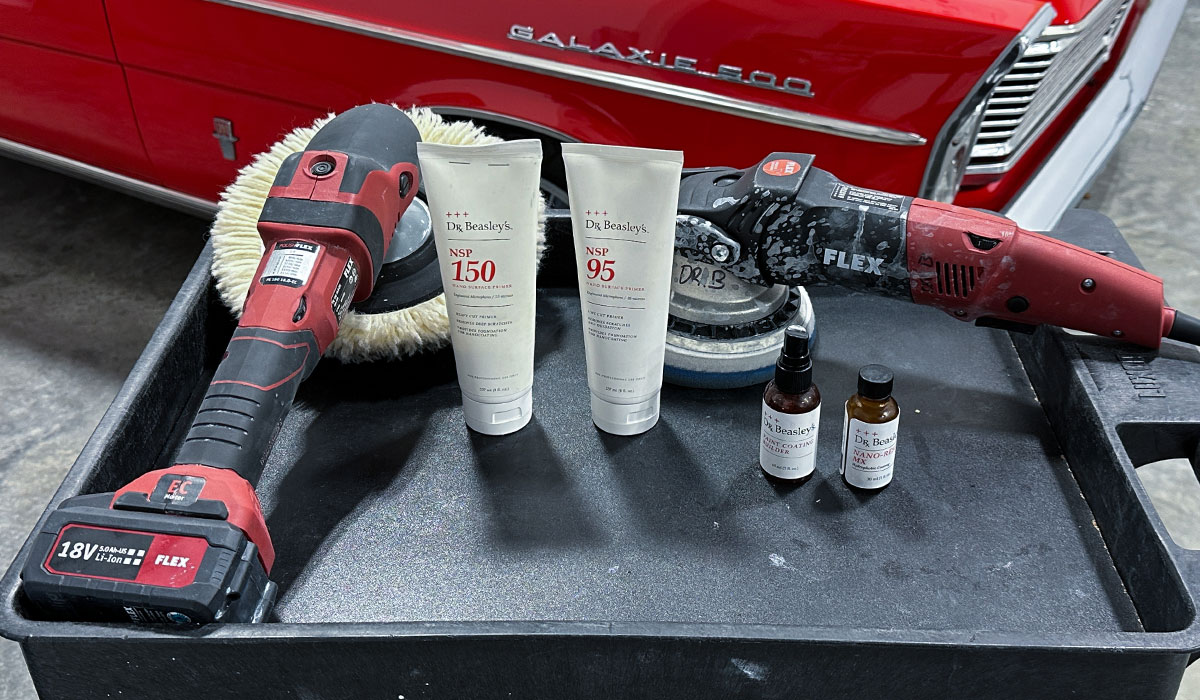
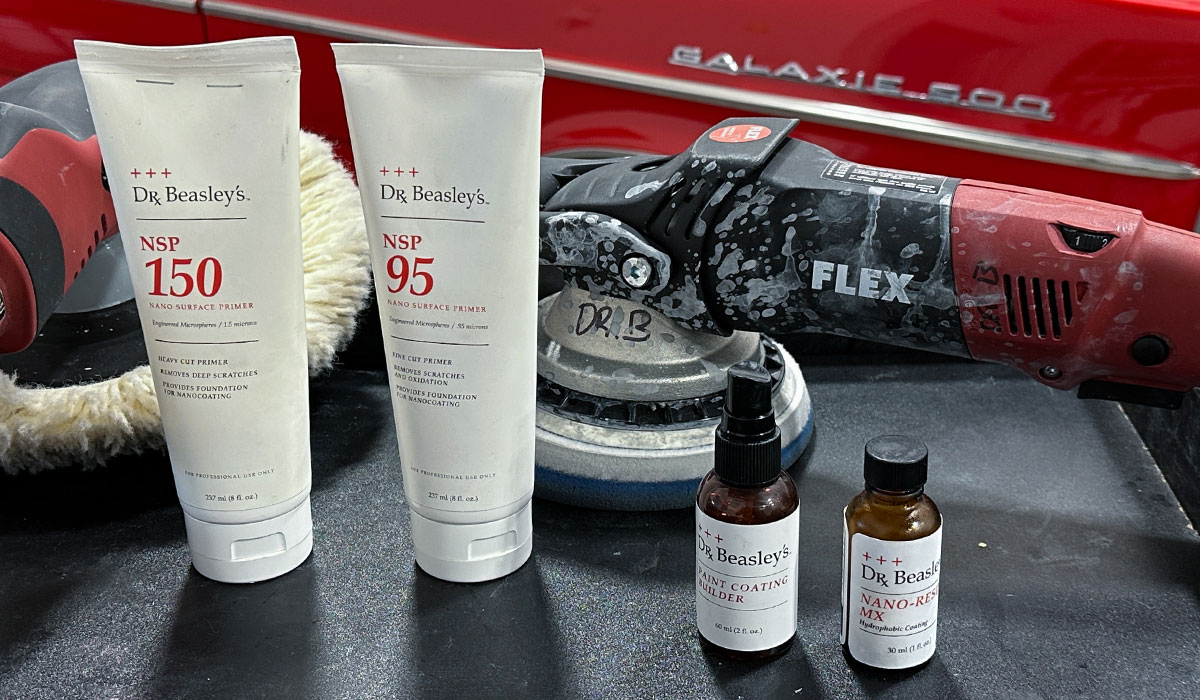
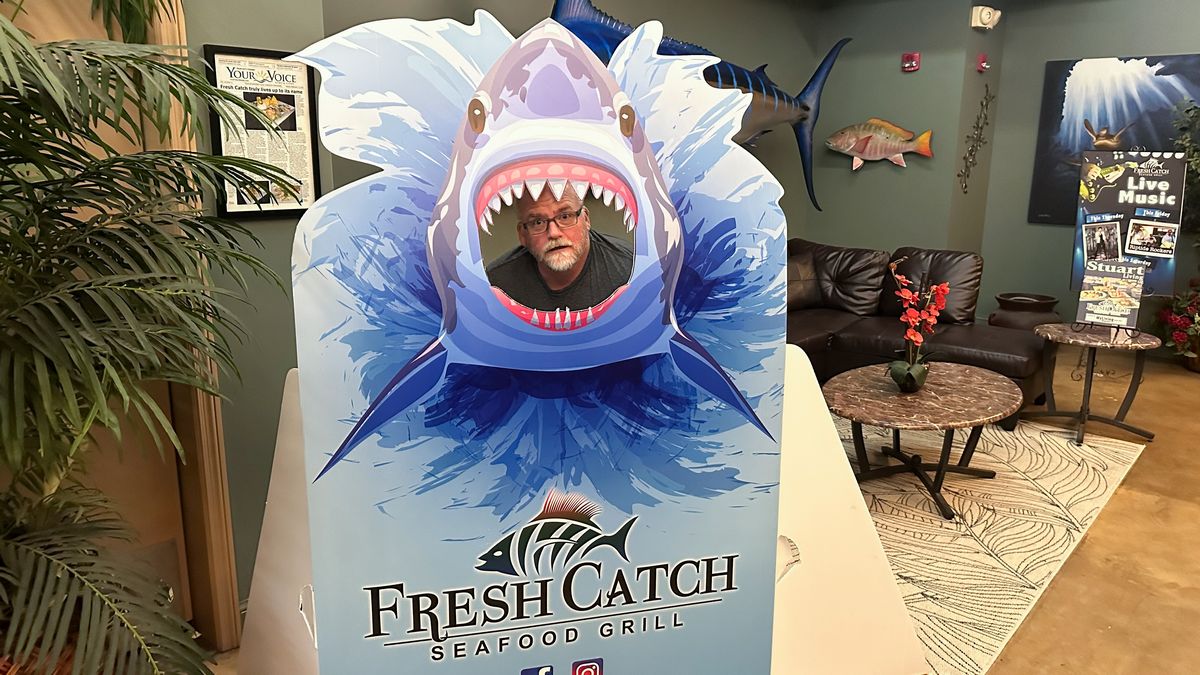
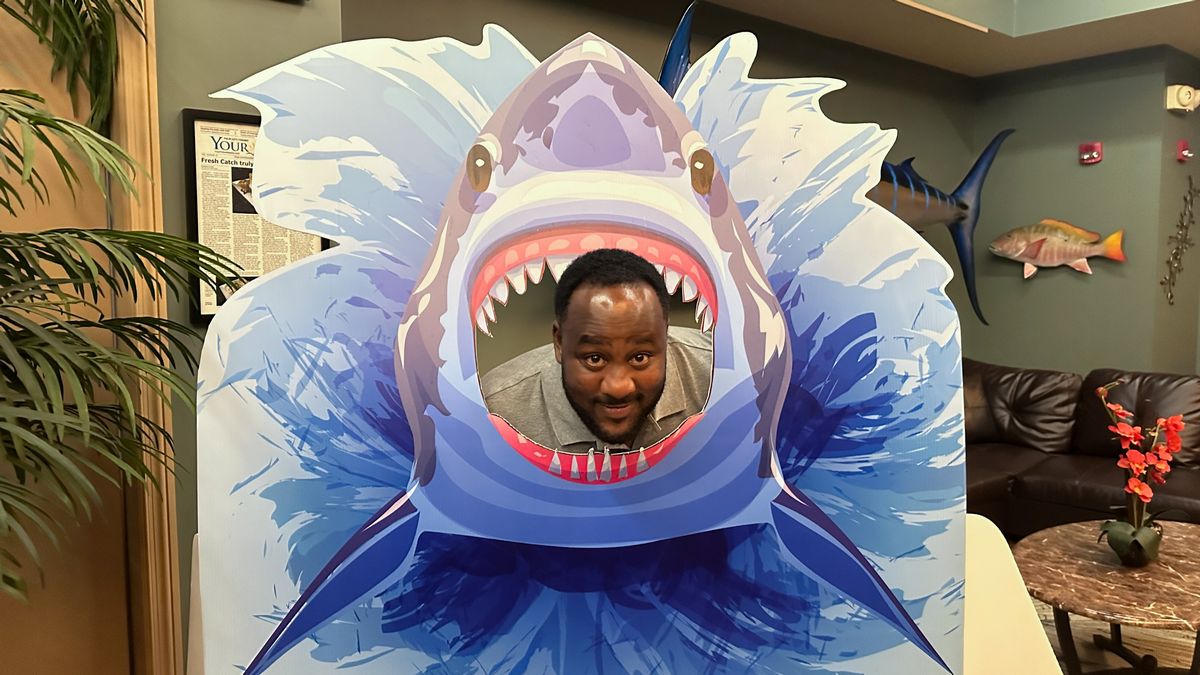
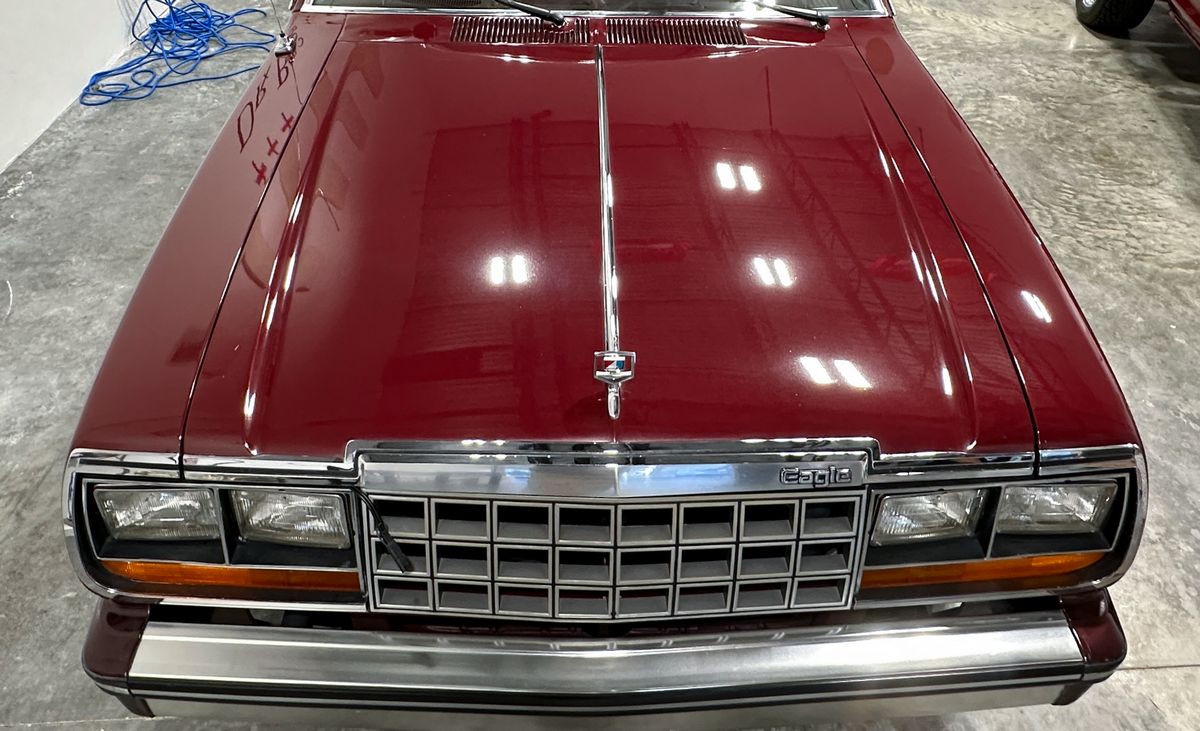
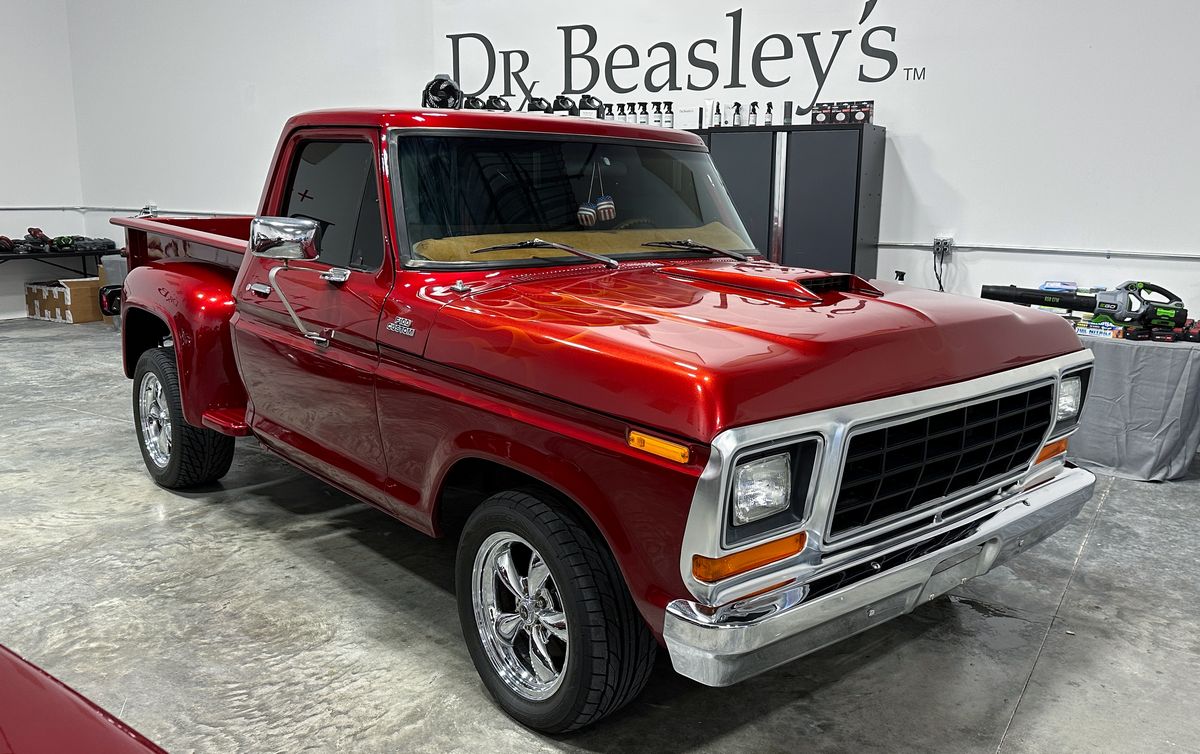
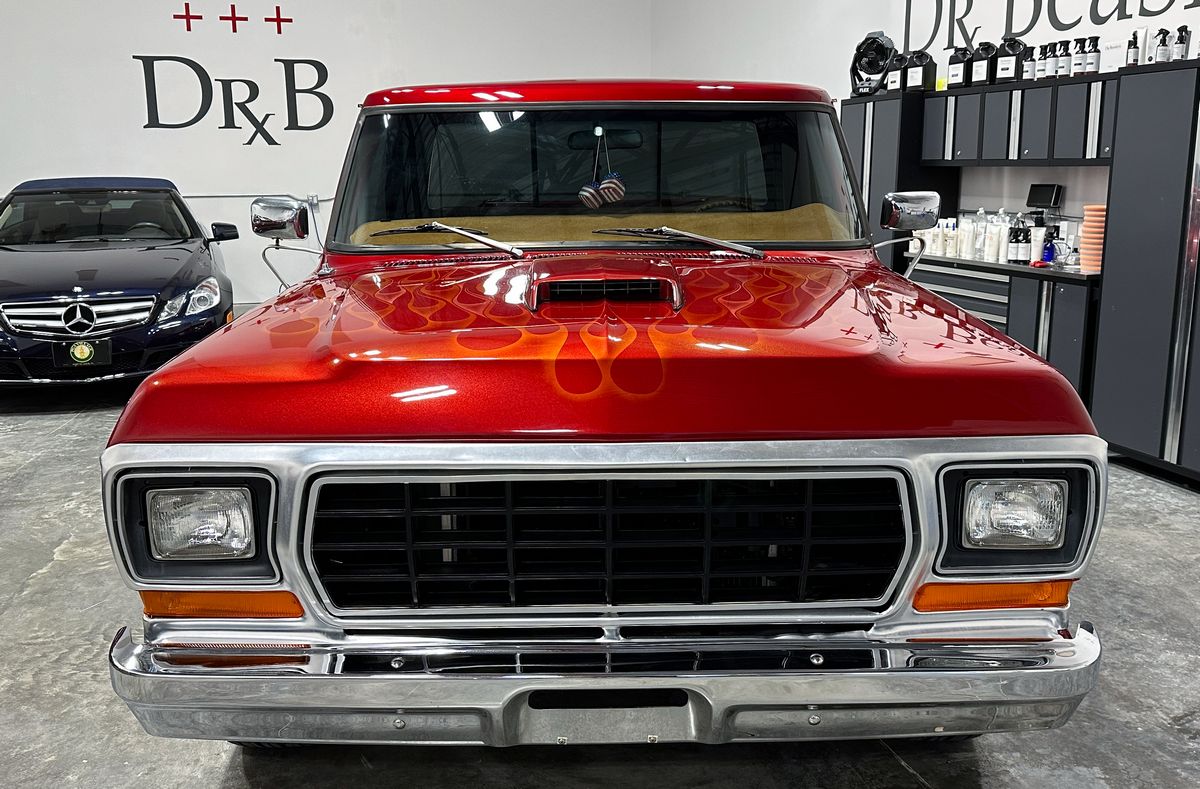
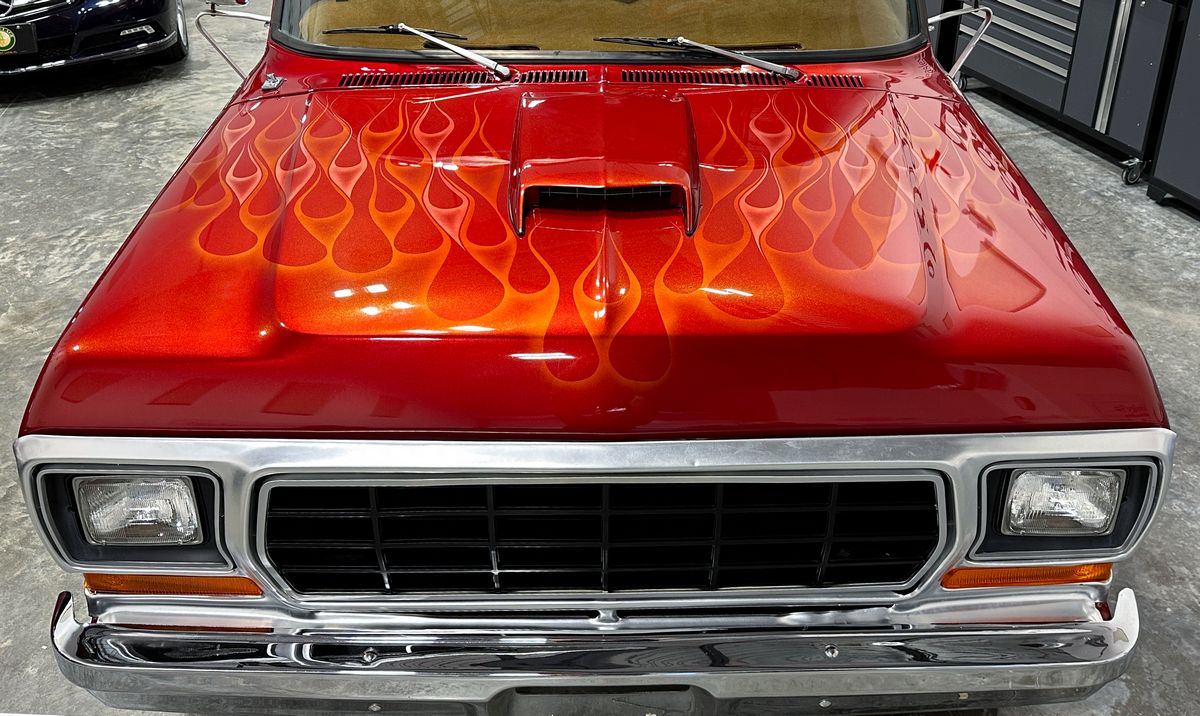
601 pictures - what a real hands-on detailing class looks like!
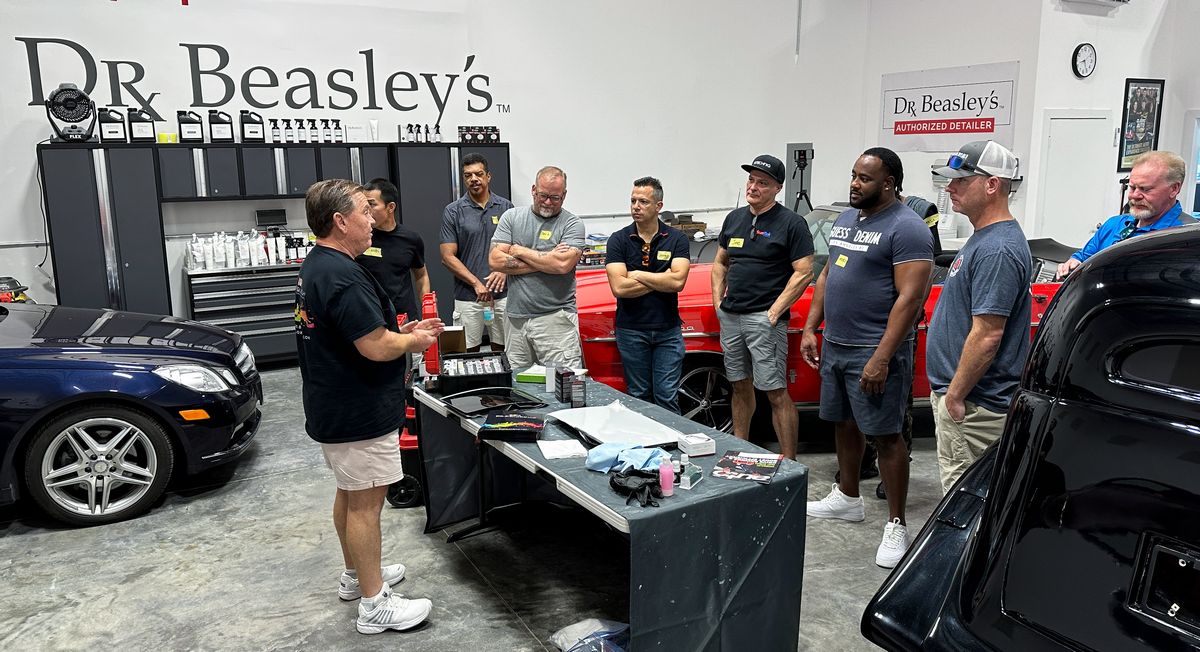
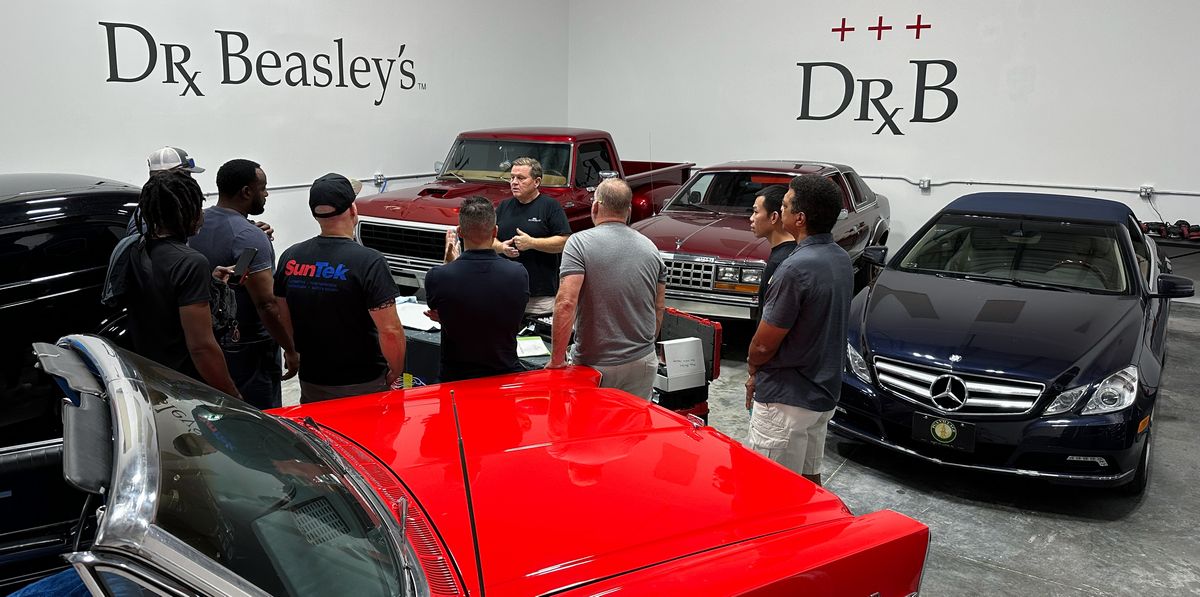
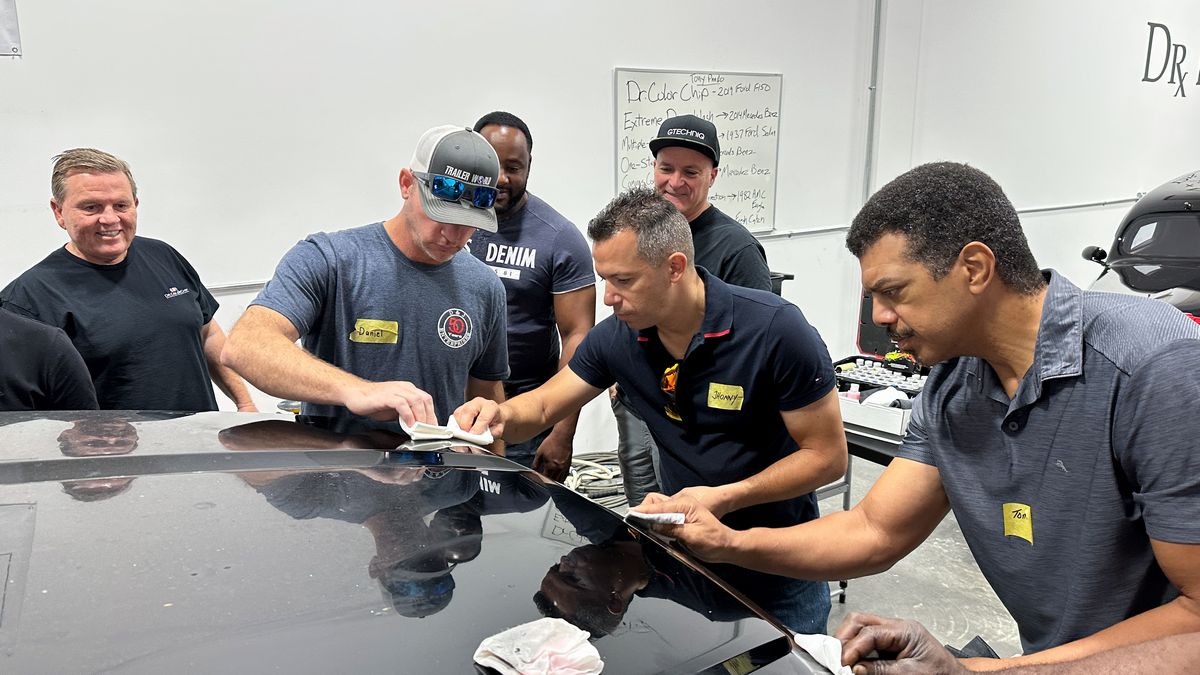
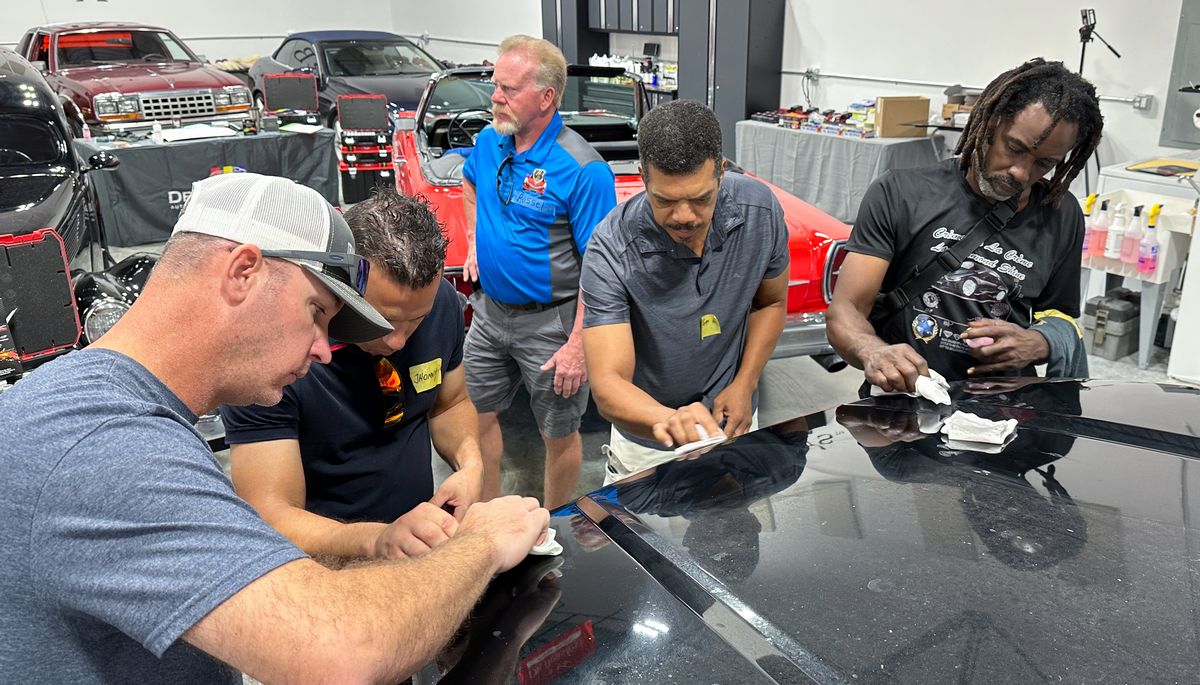
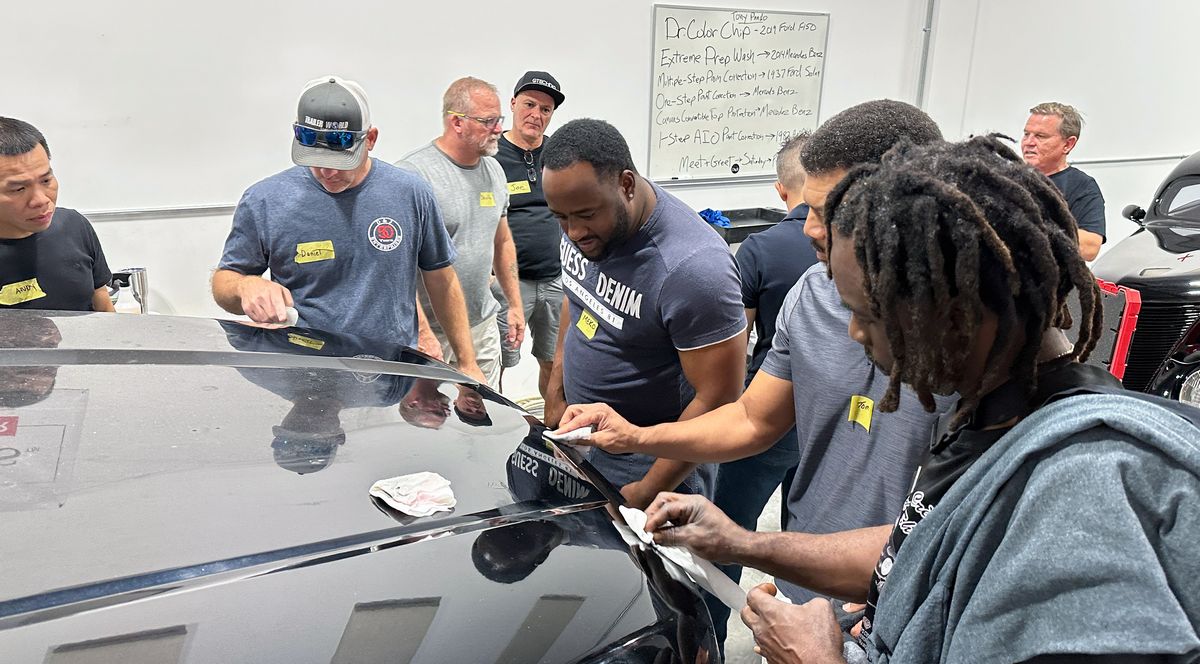
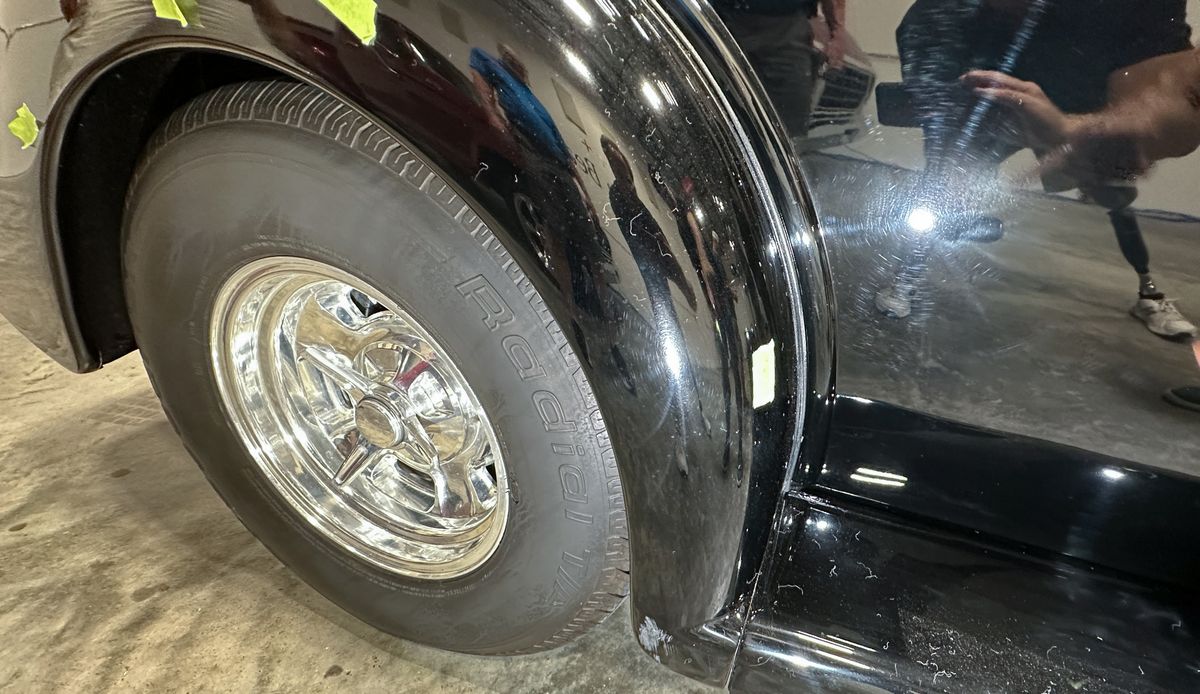
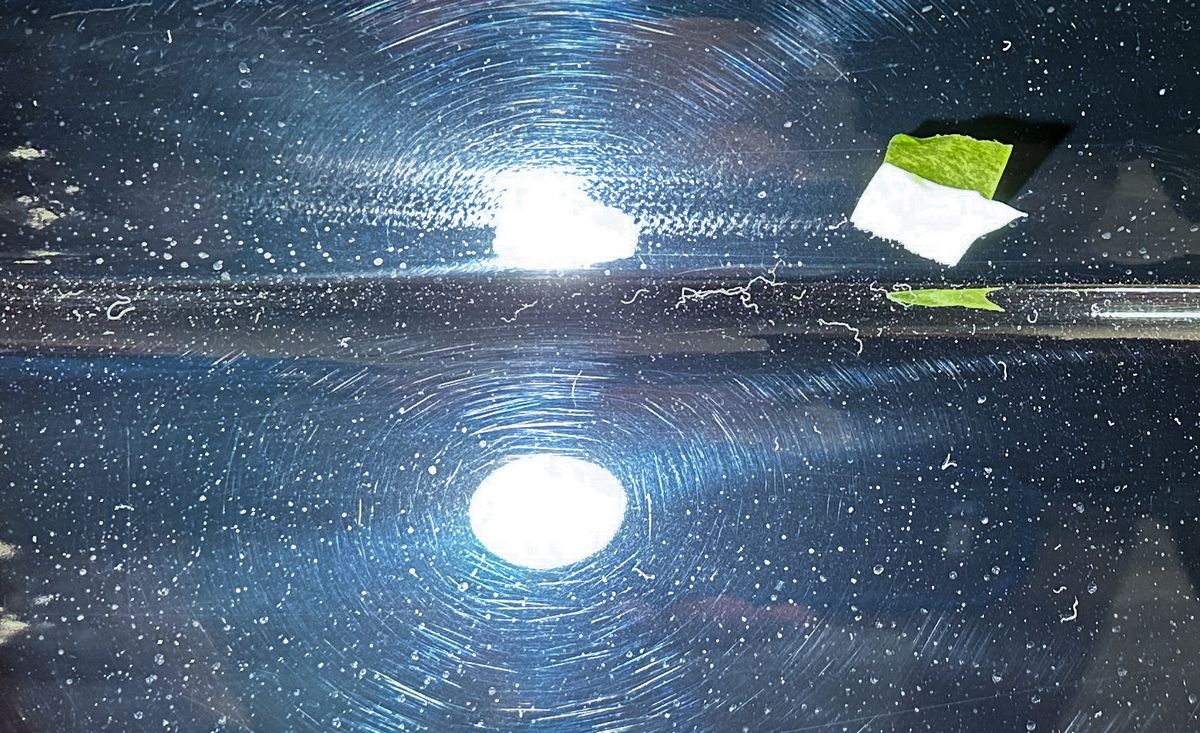
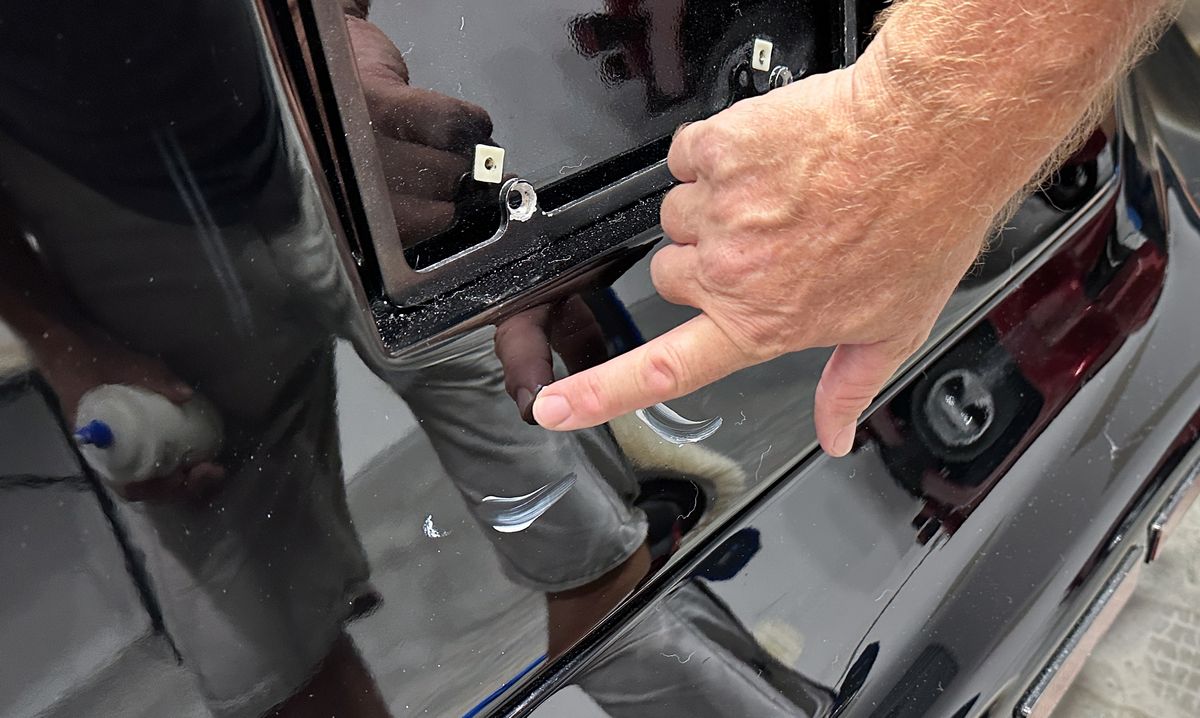
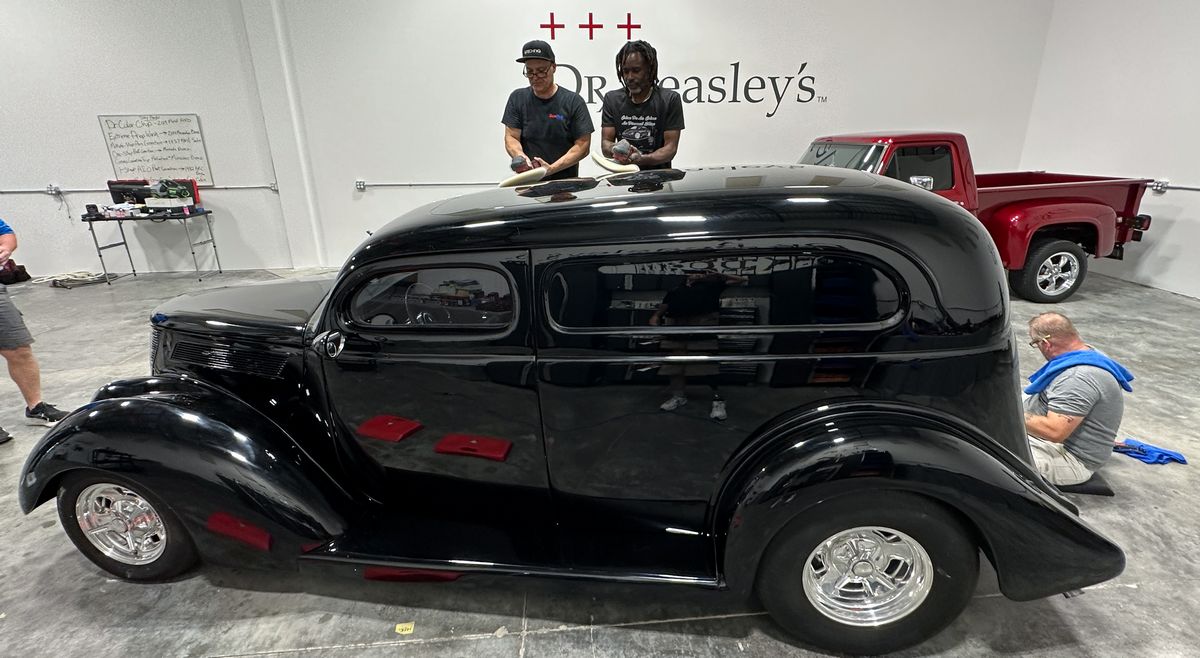
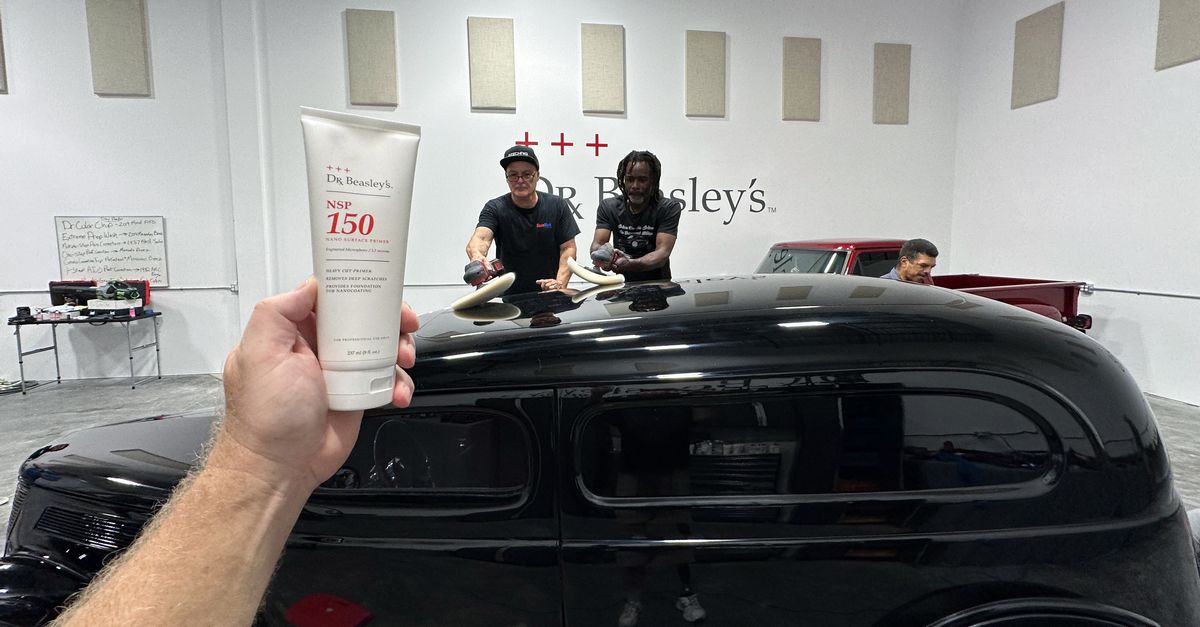
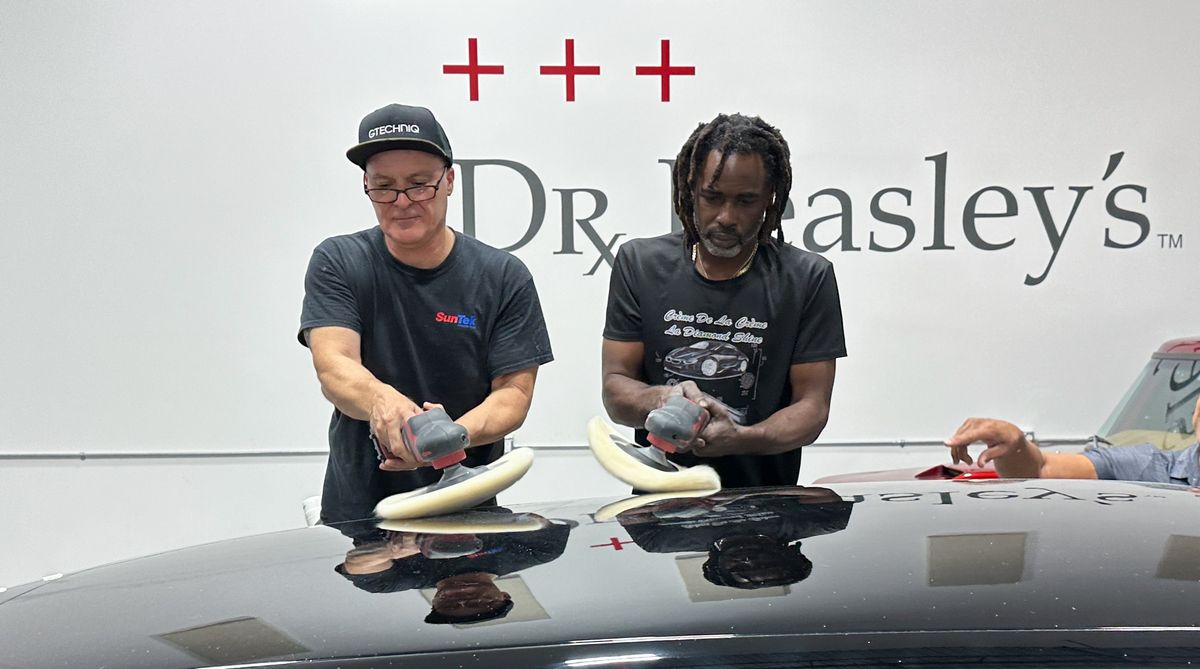
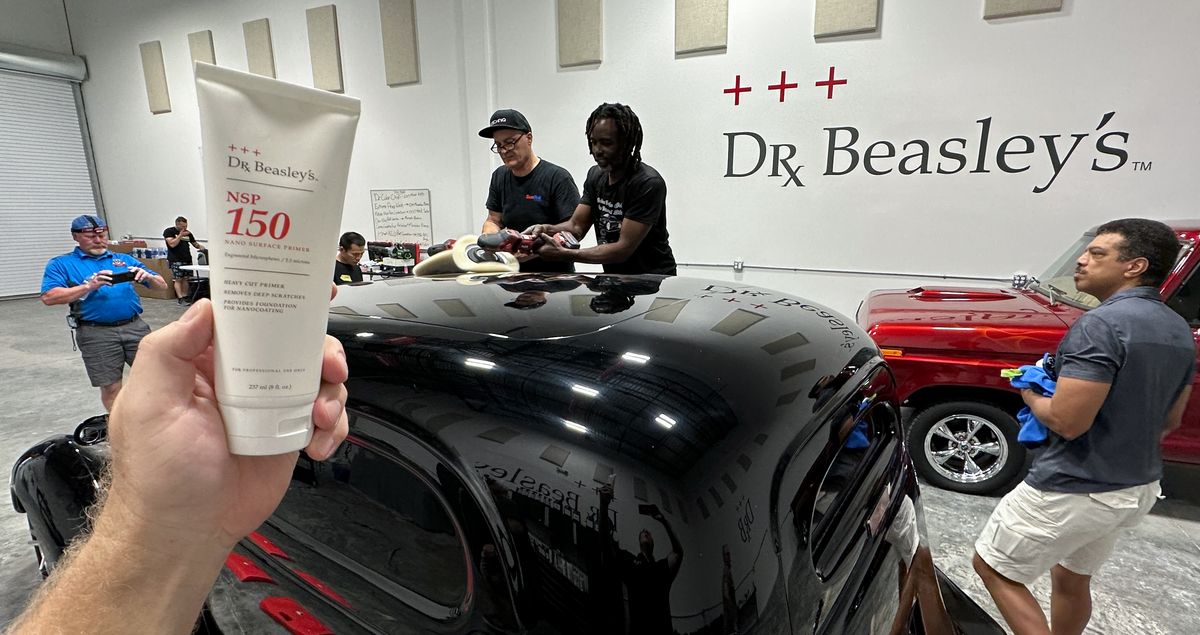
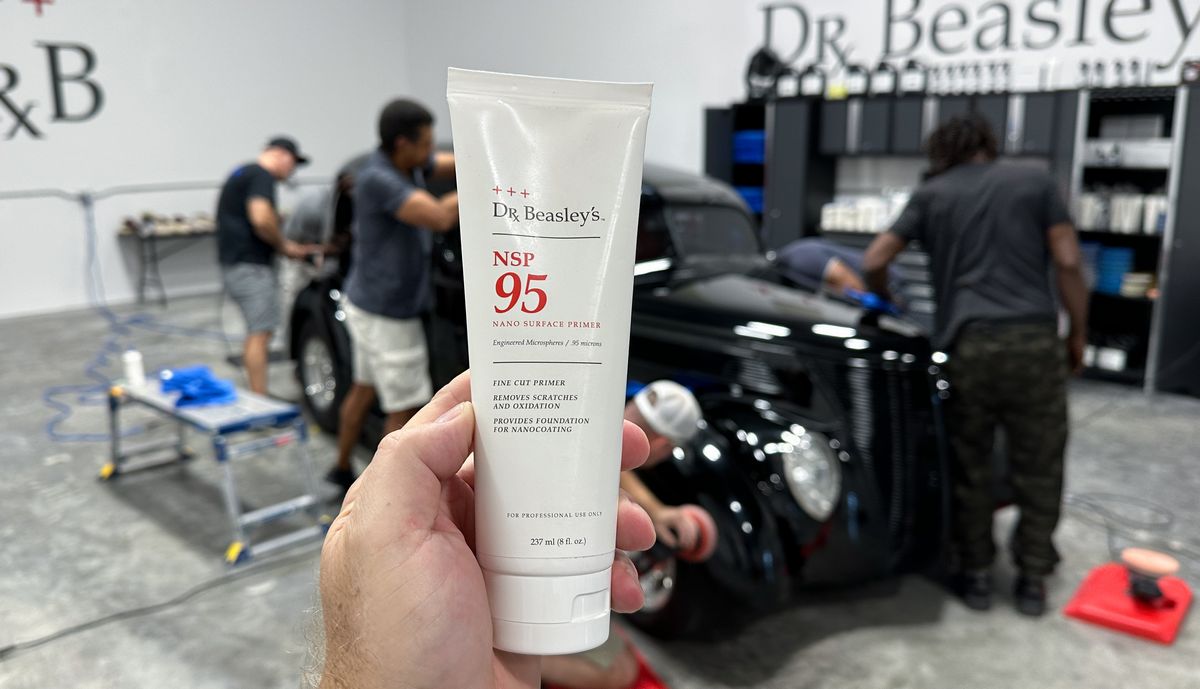
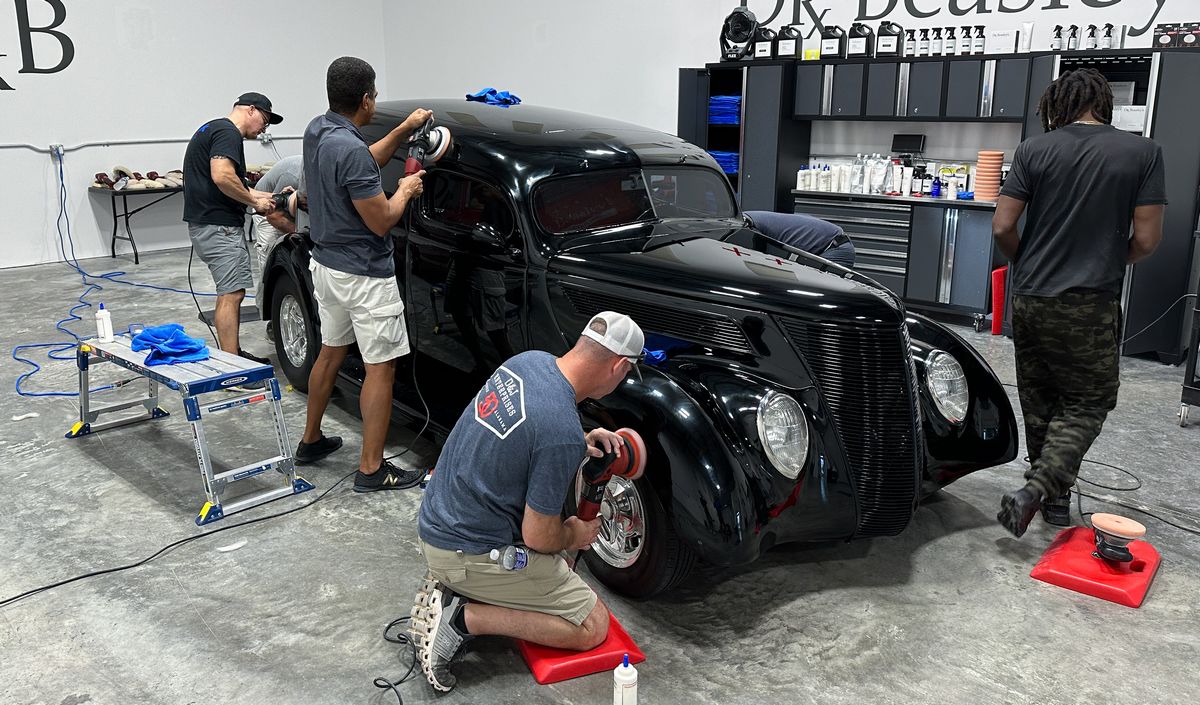
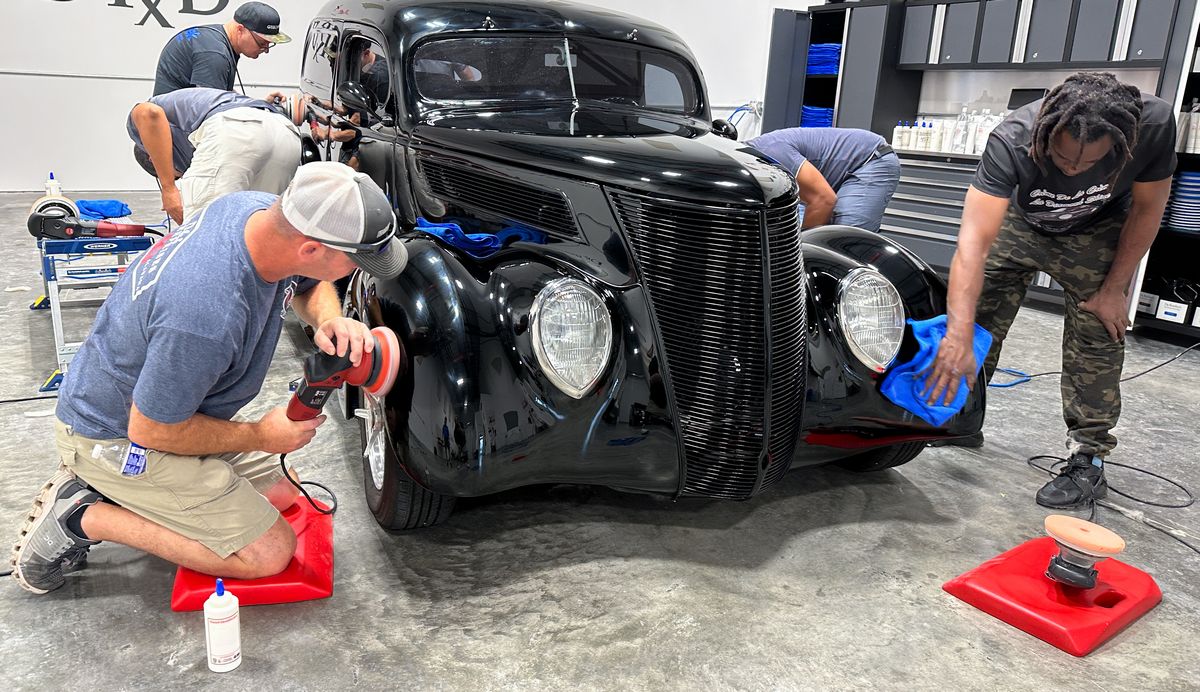
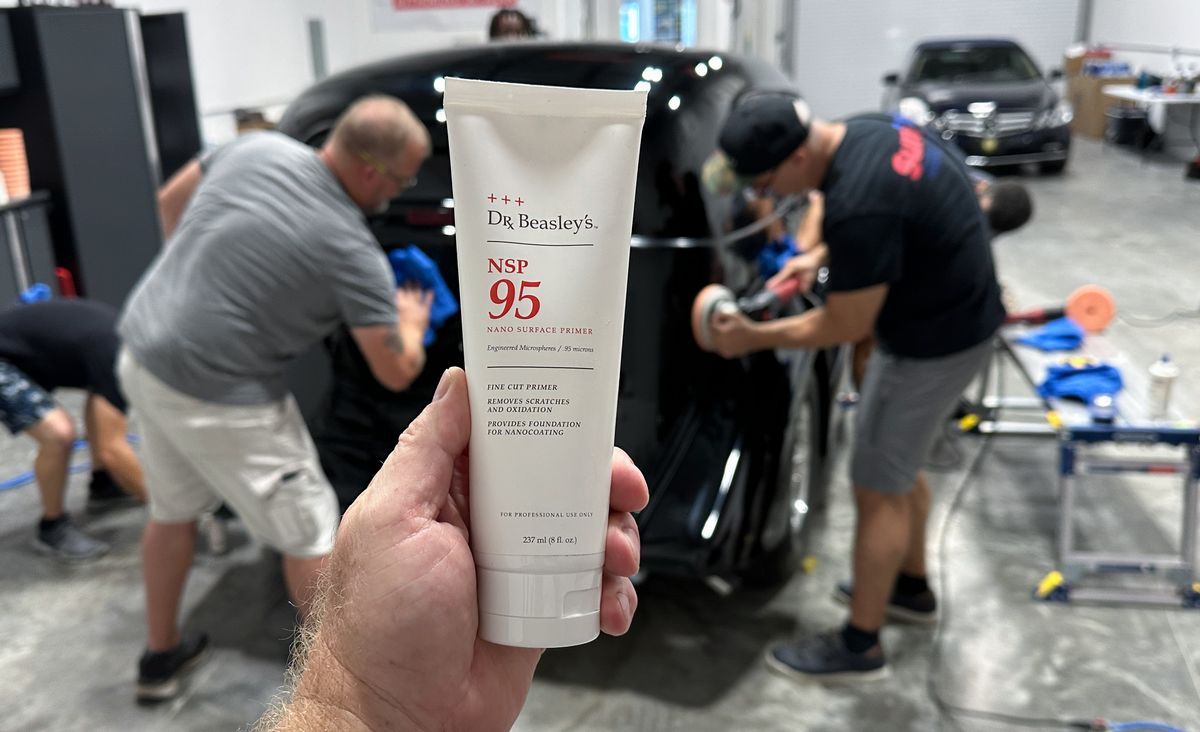
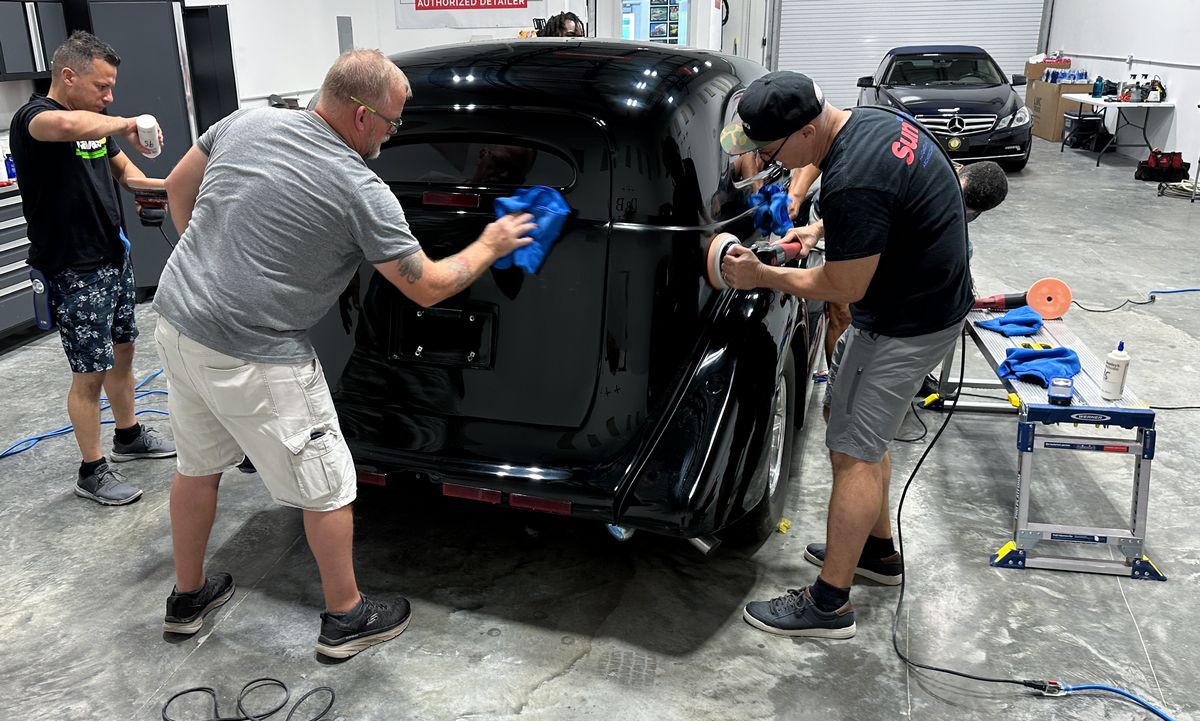
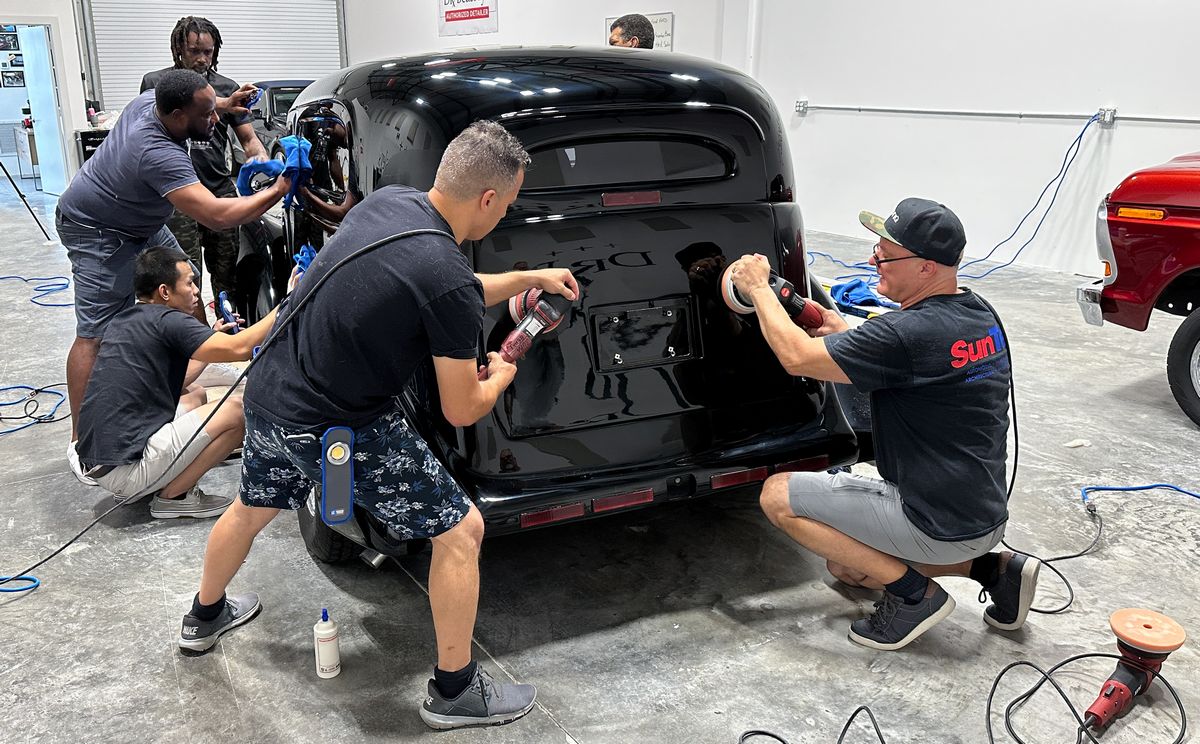
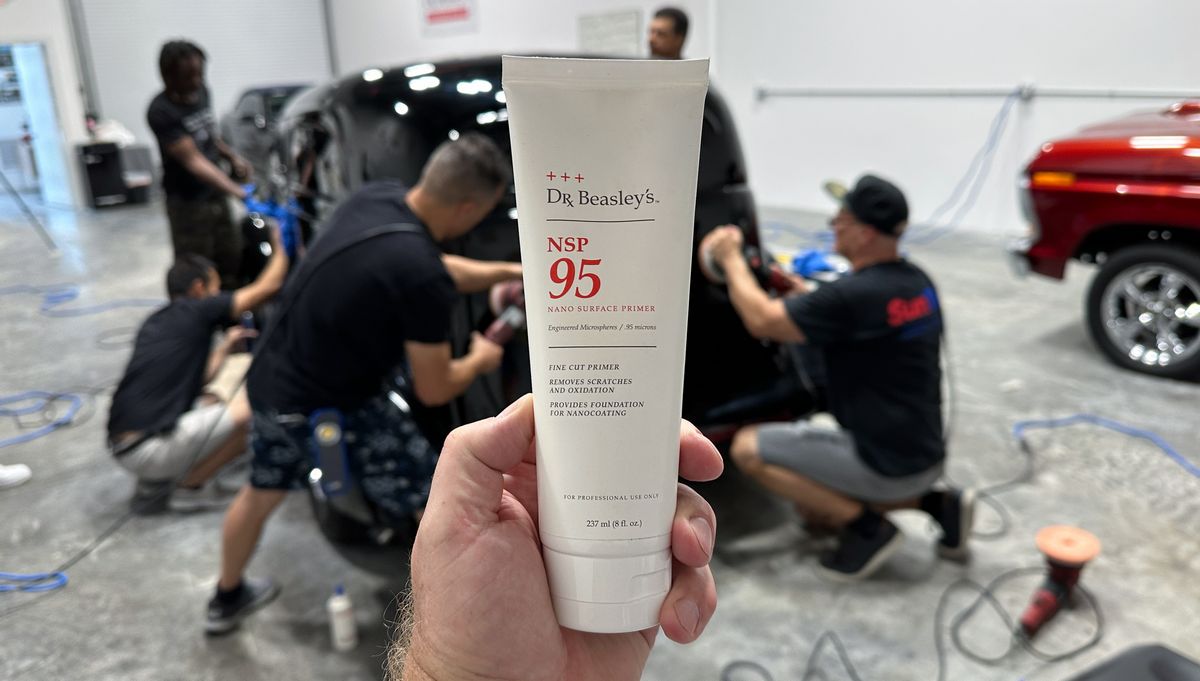
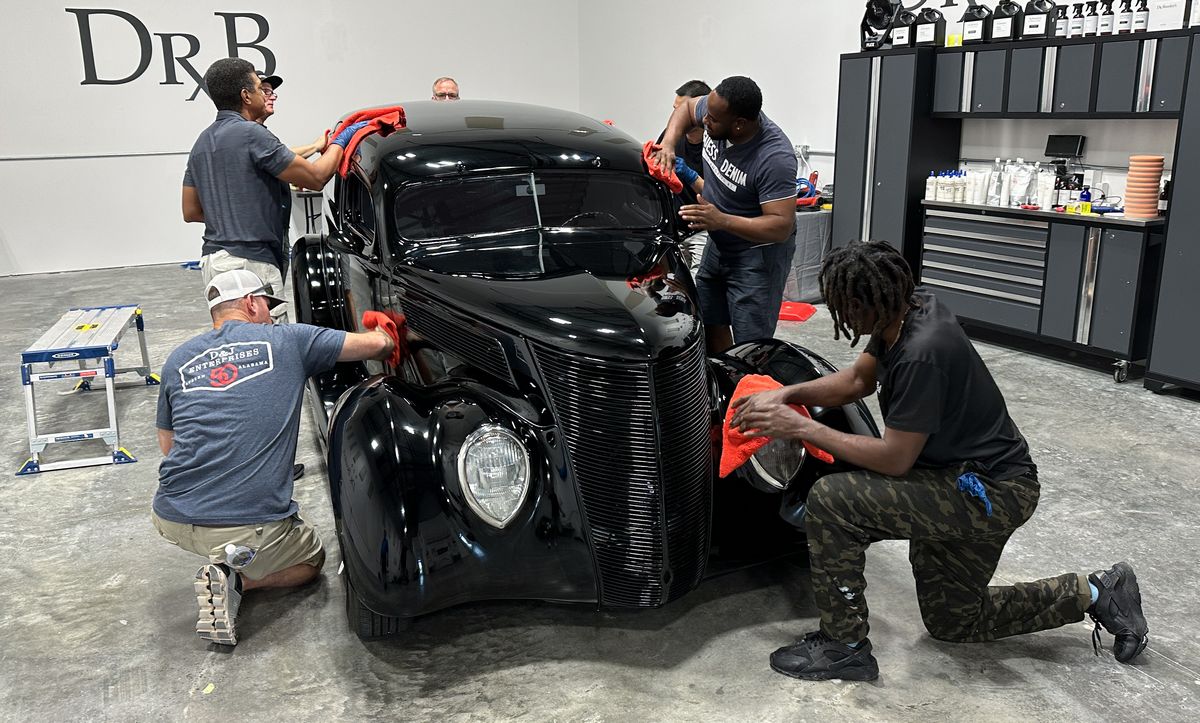
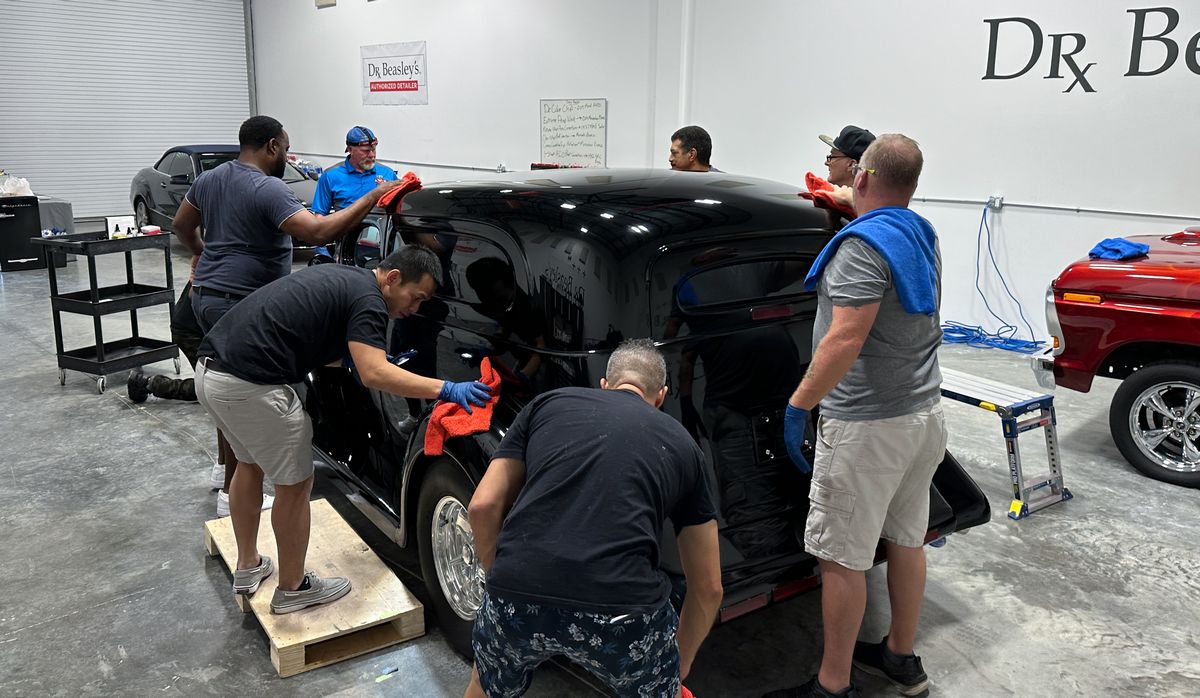
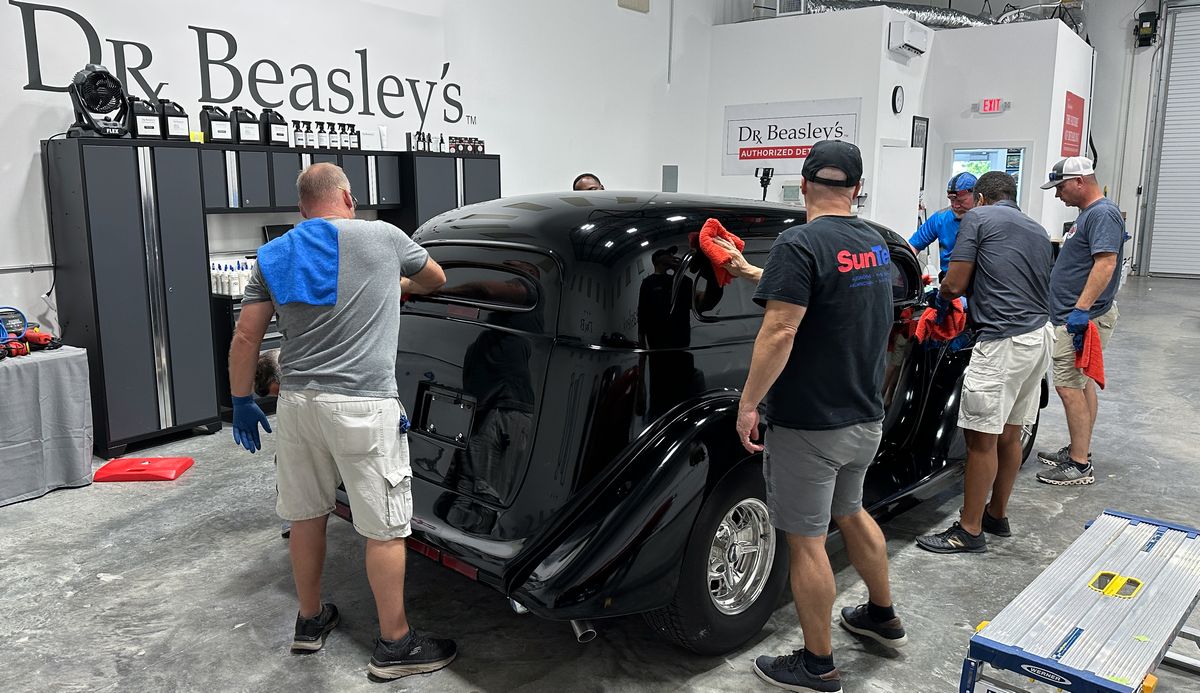
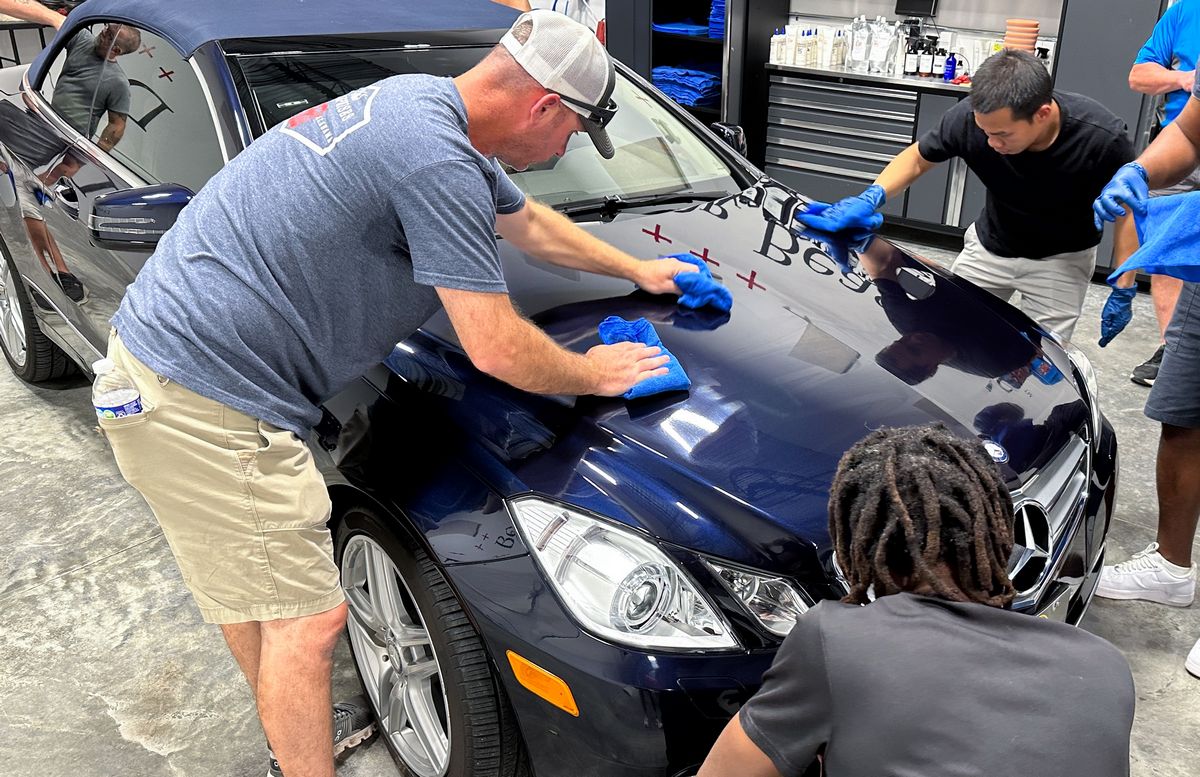
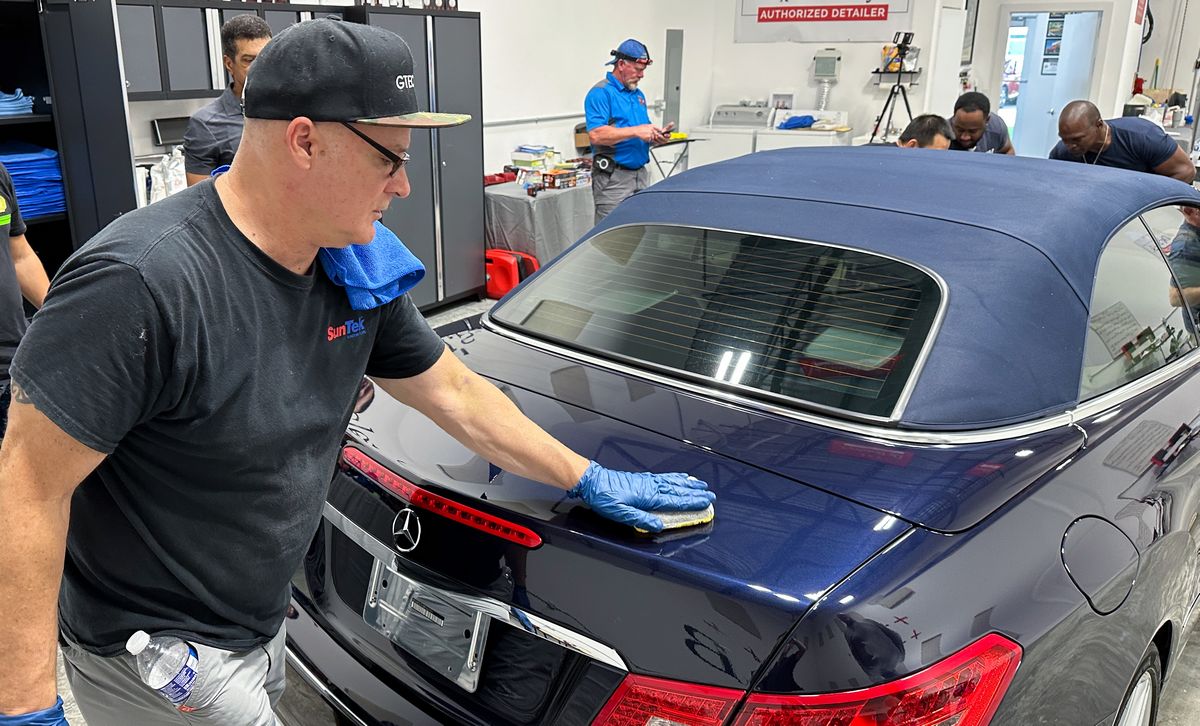
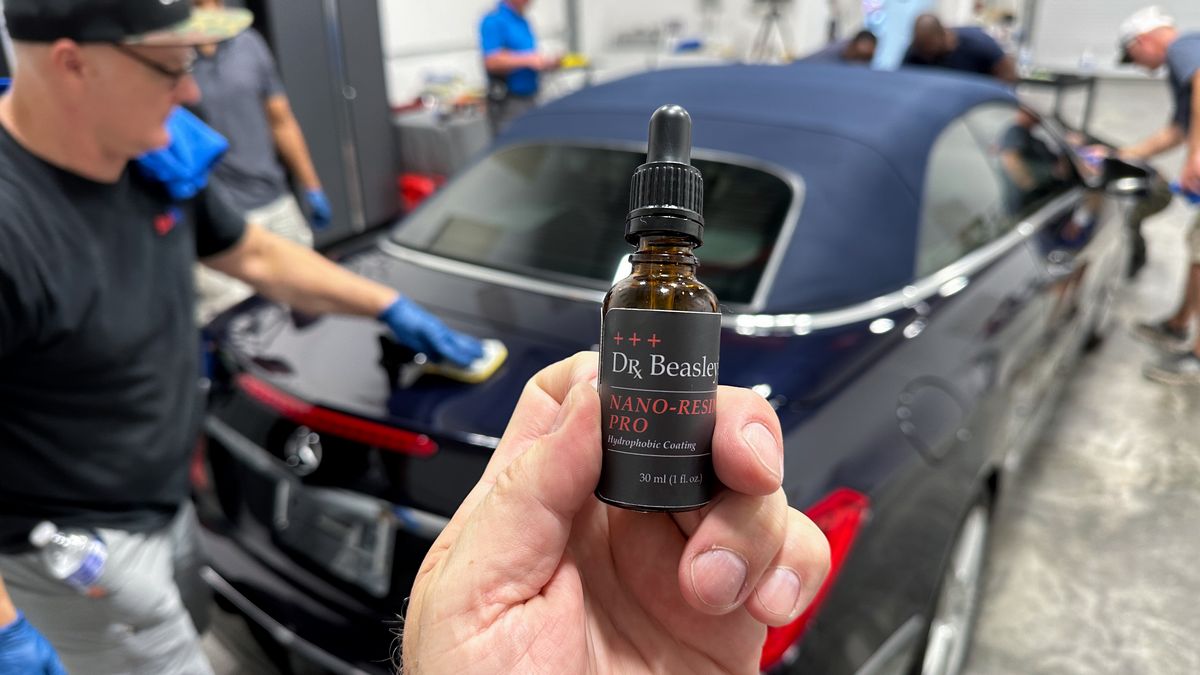
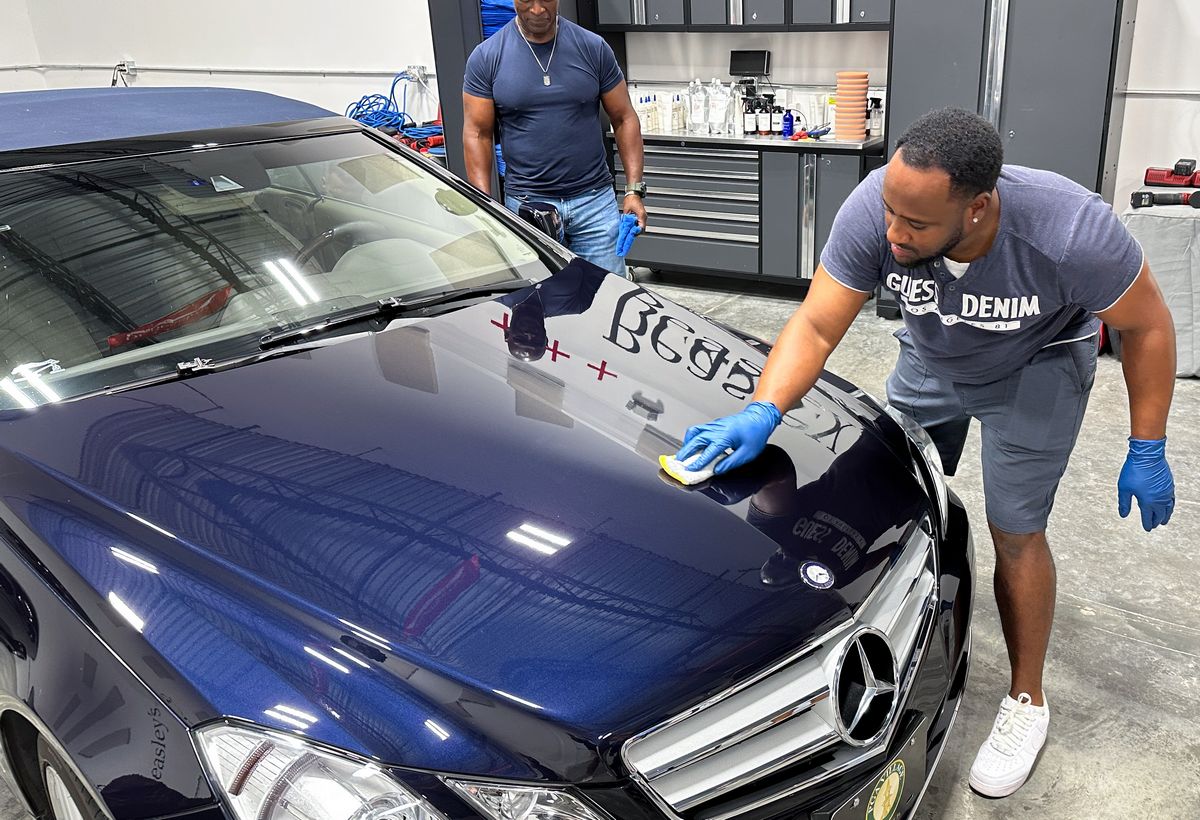
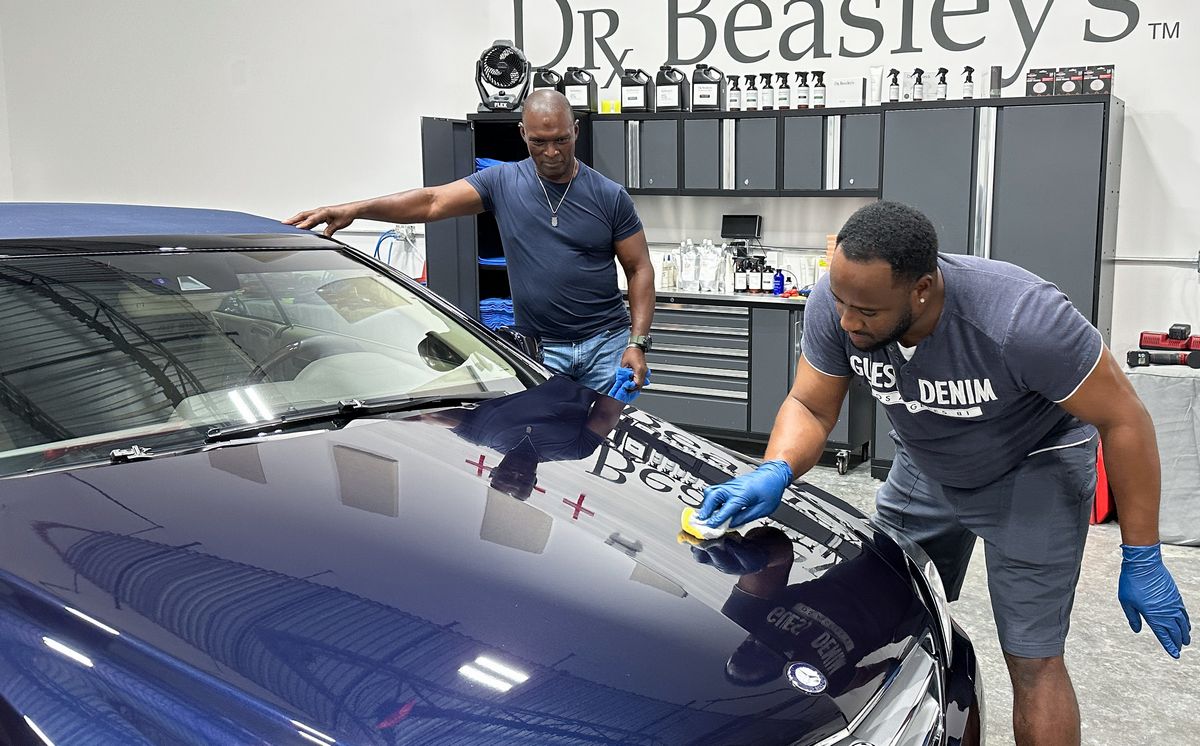
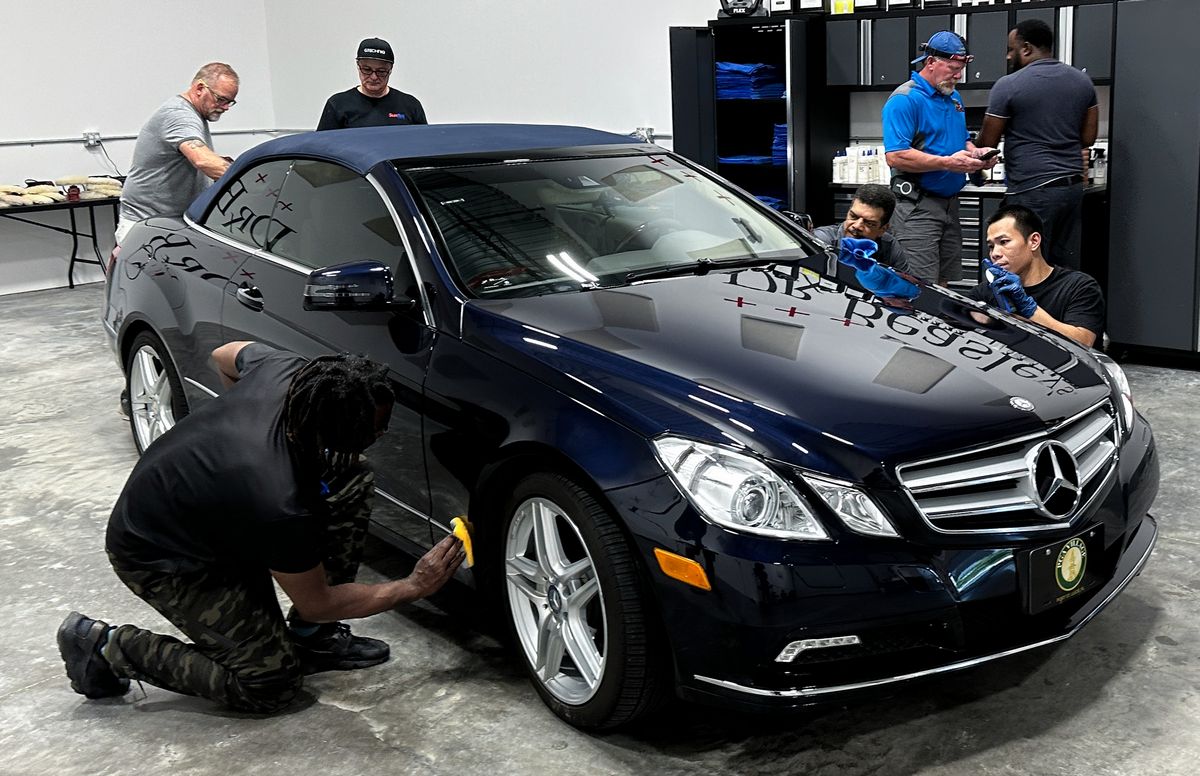
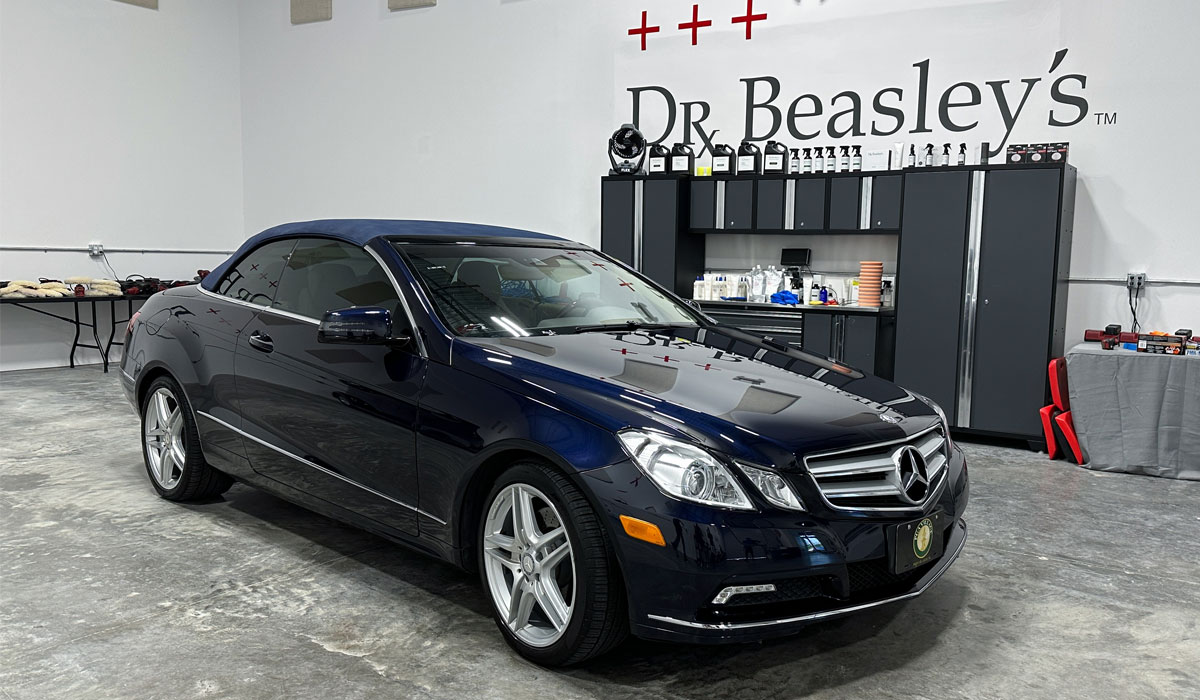
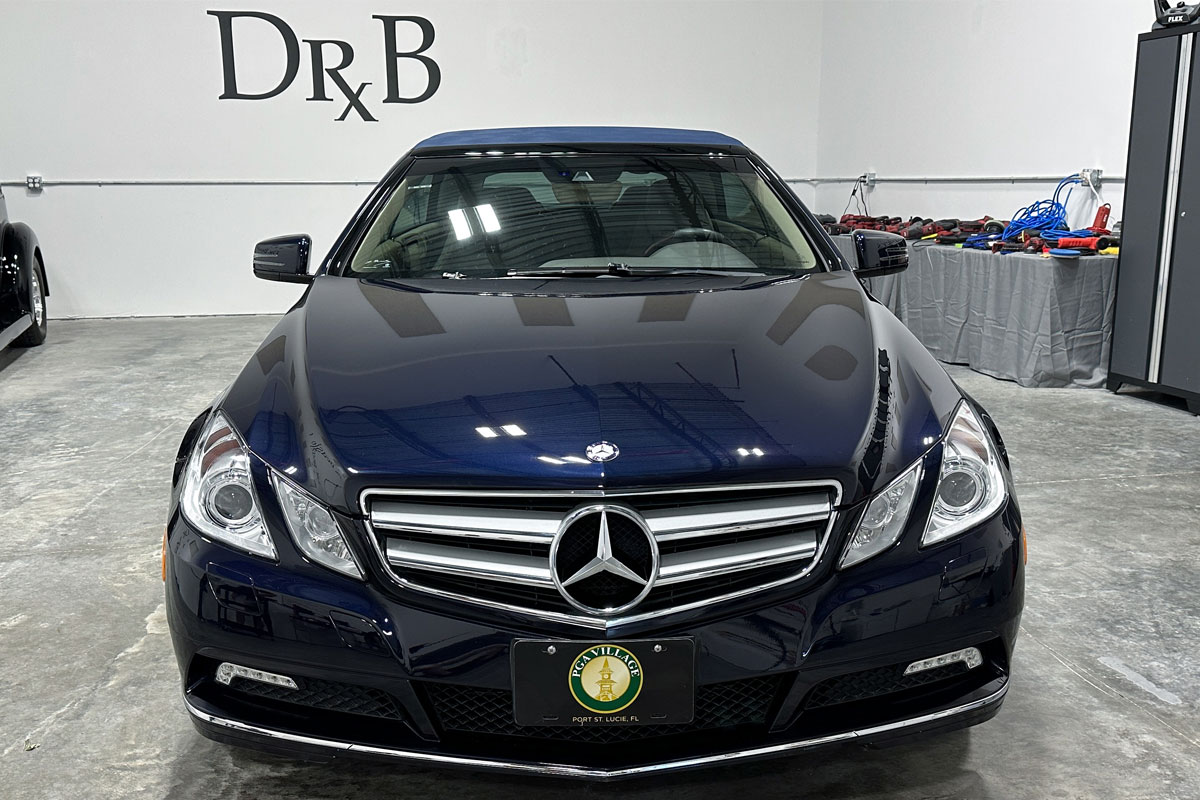
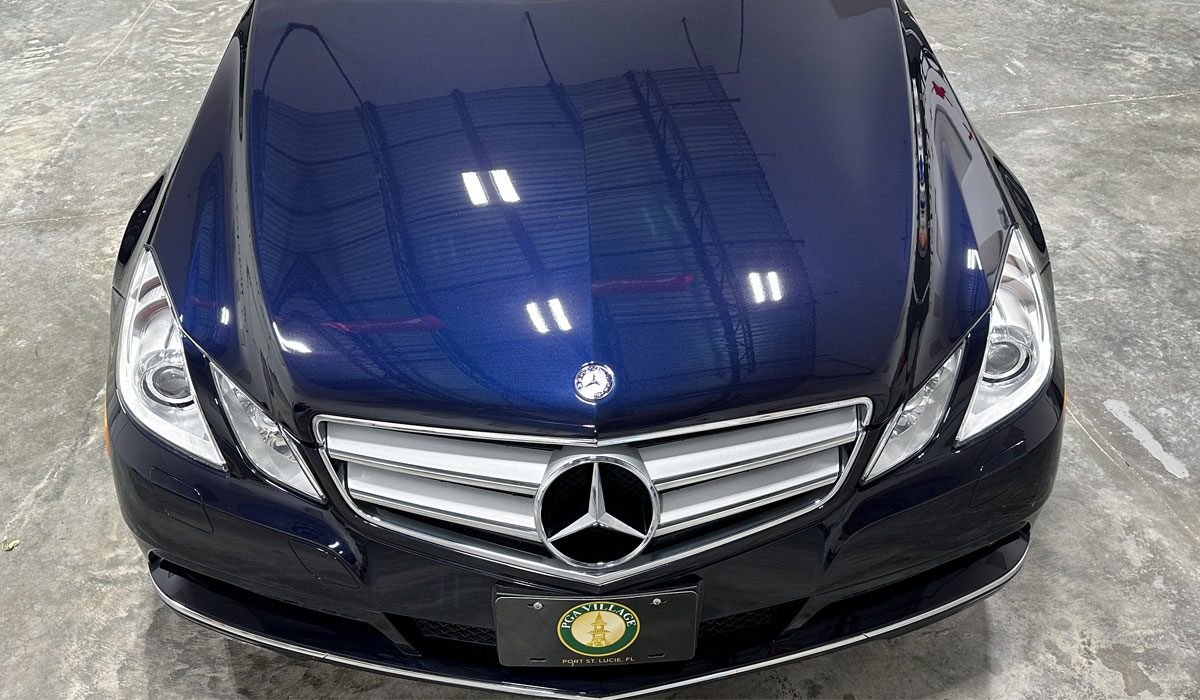
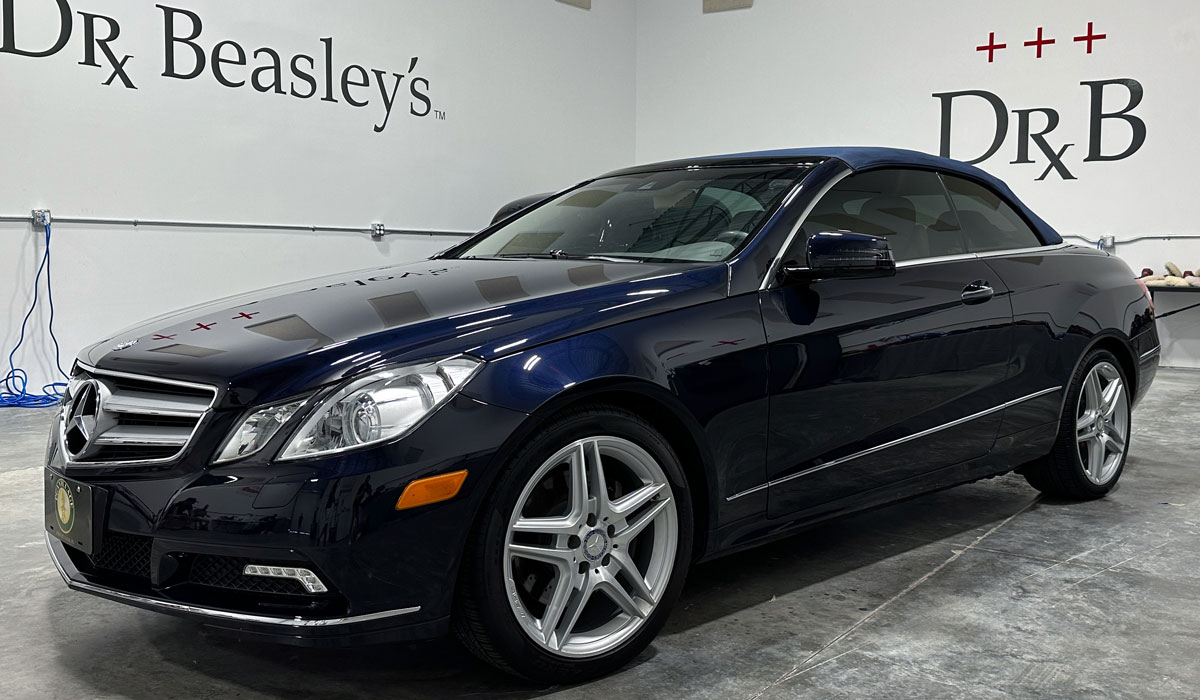
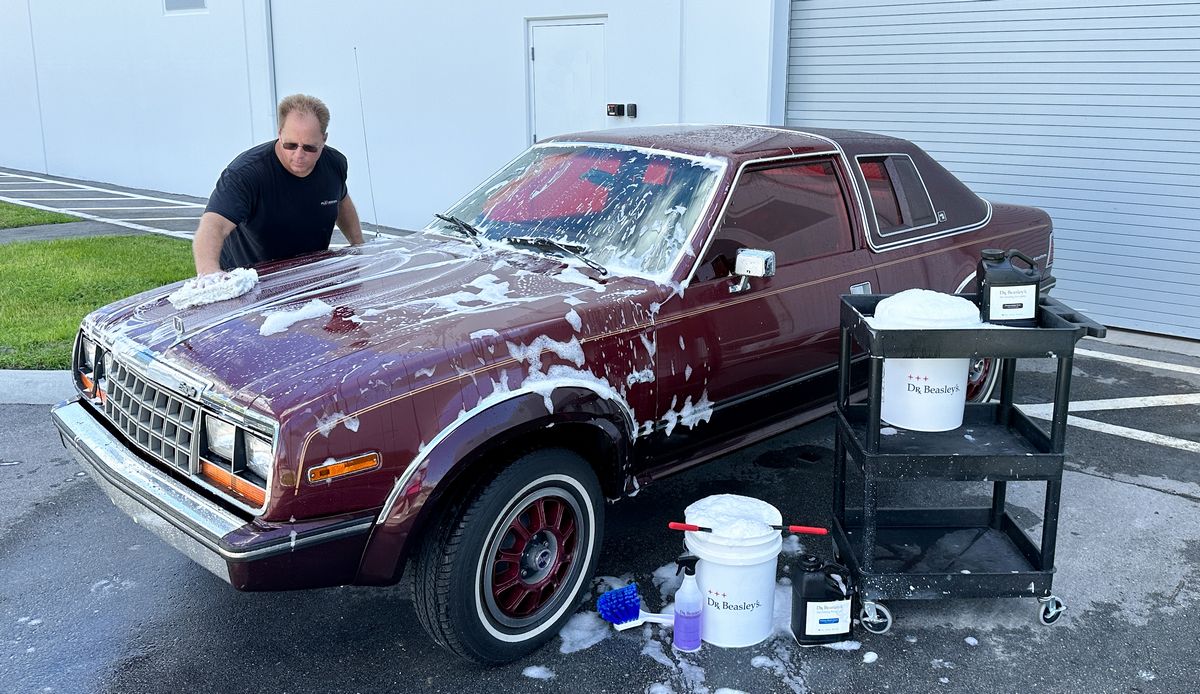
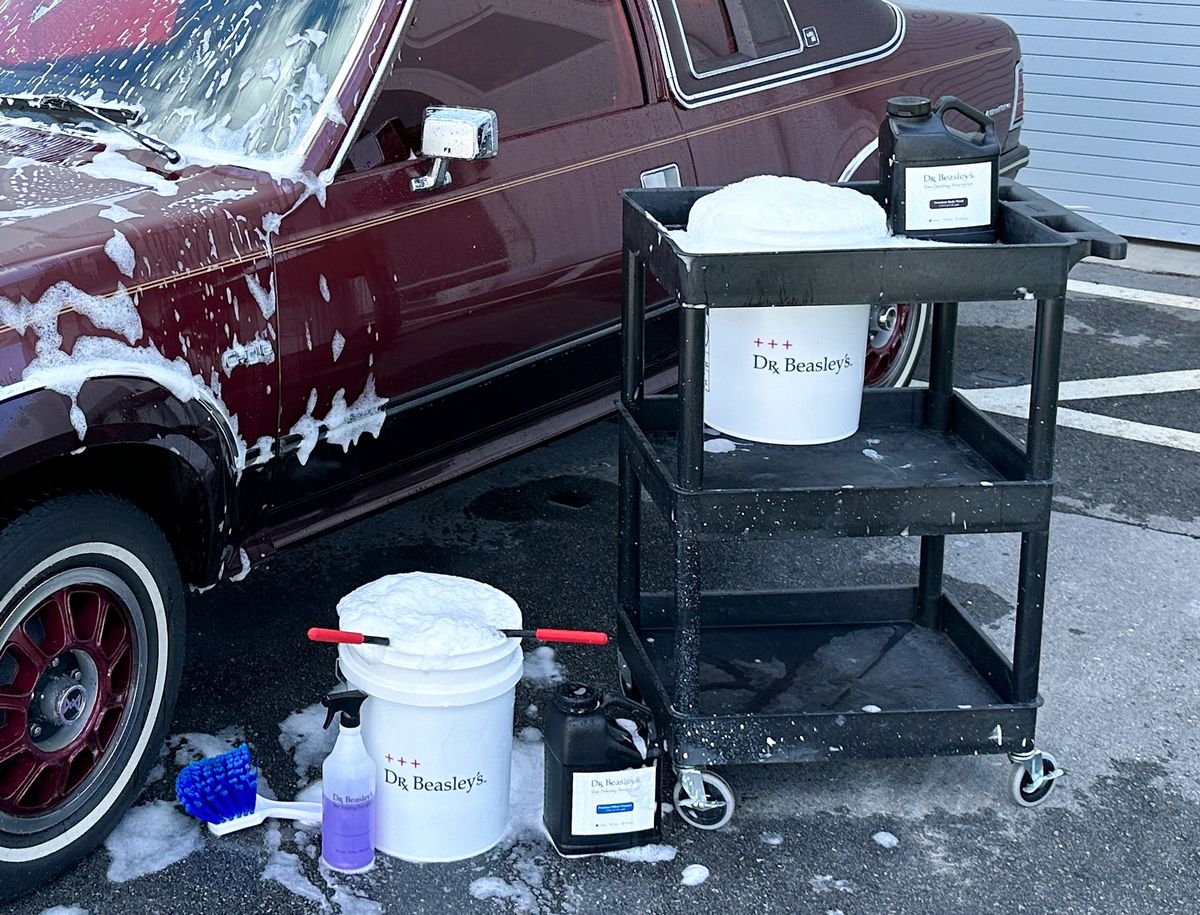
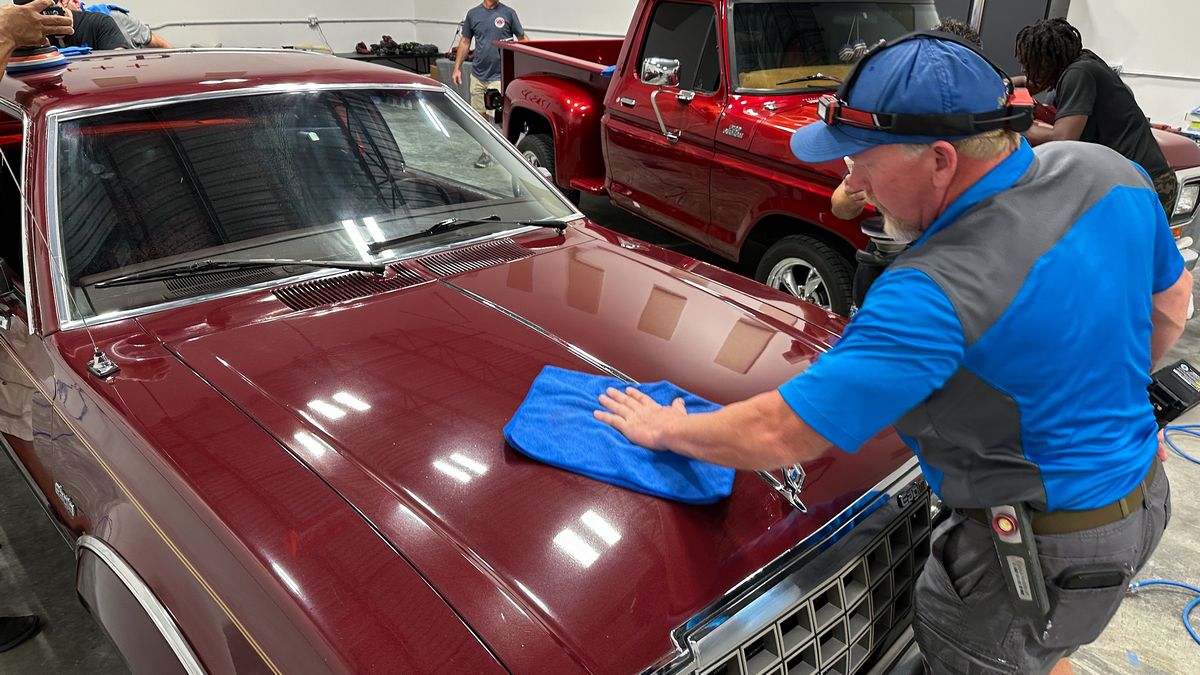
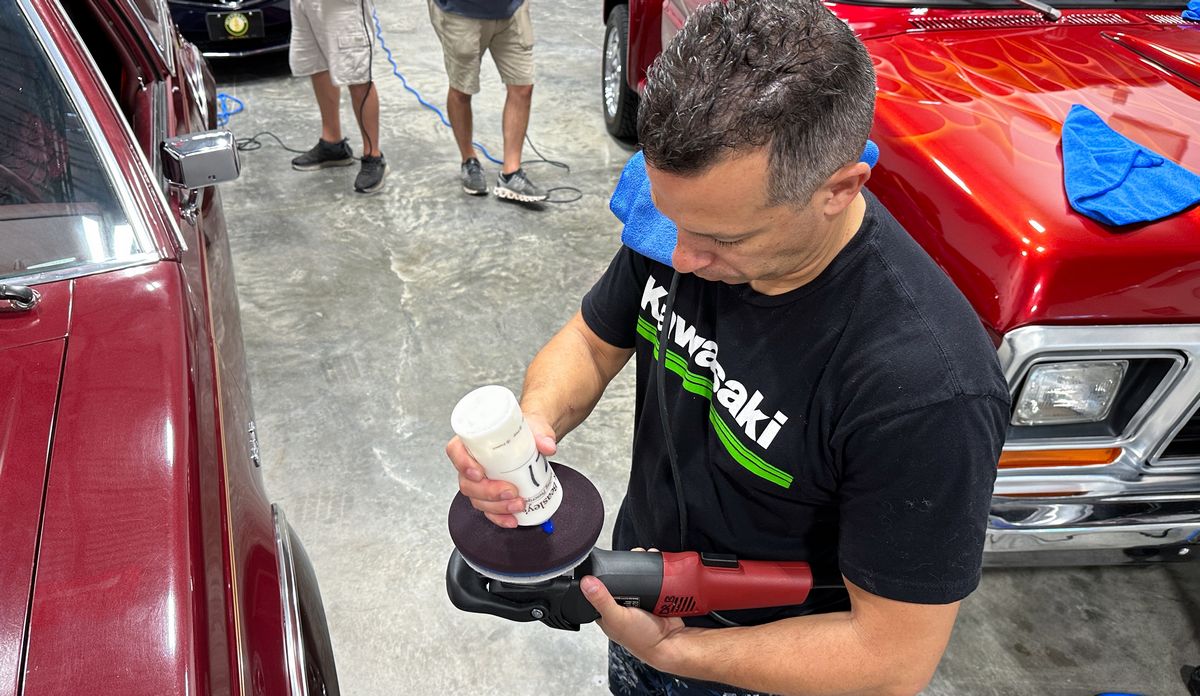
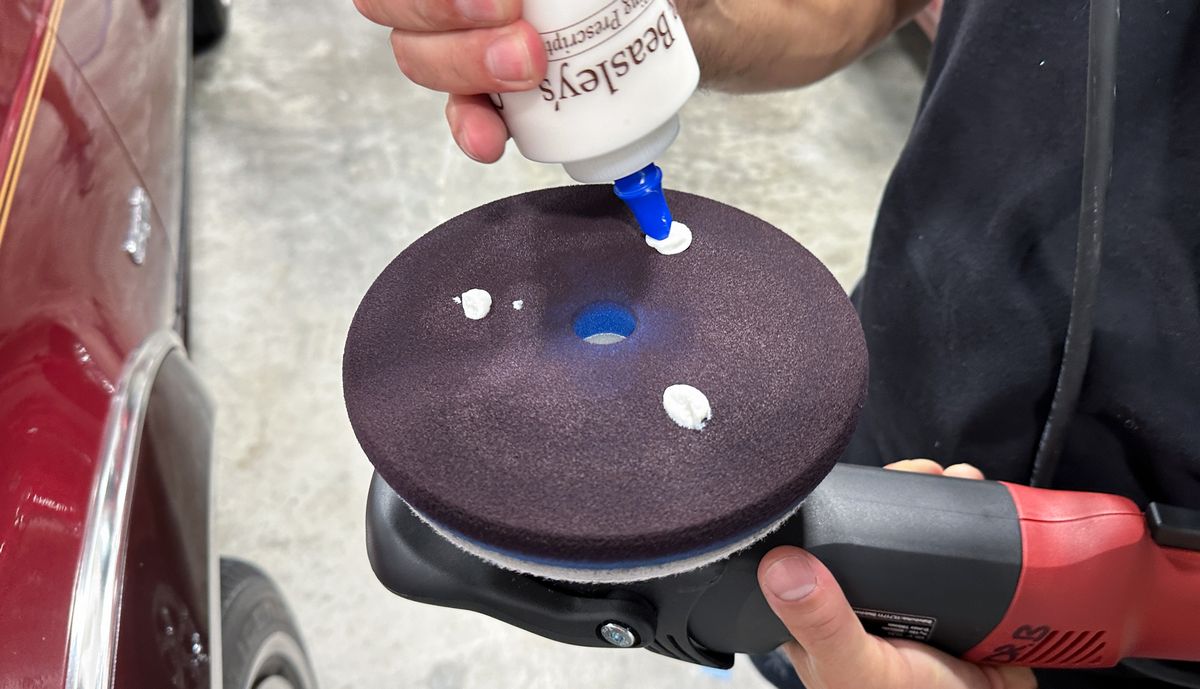
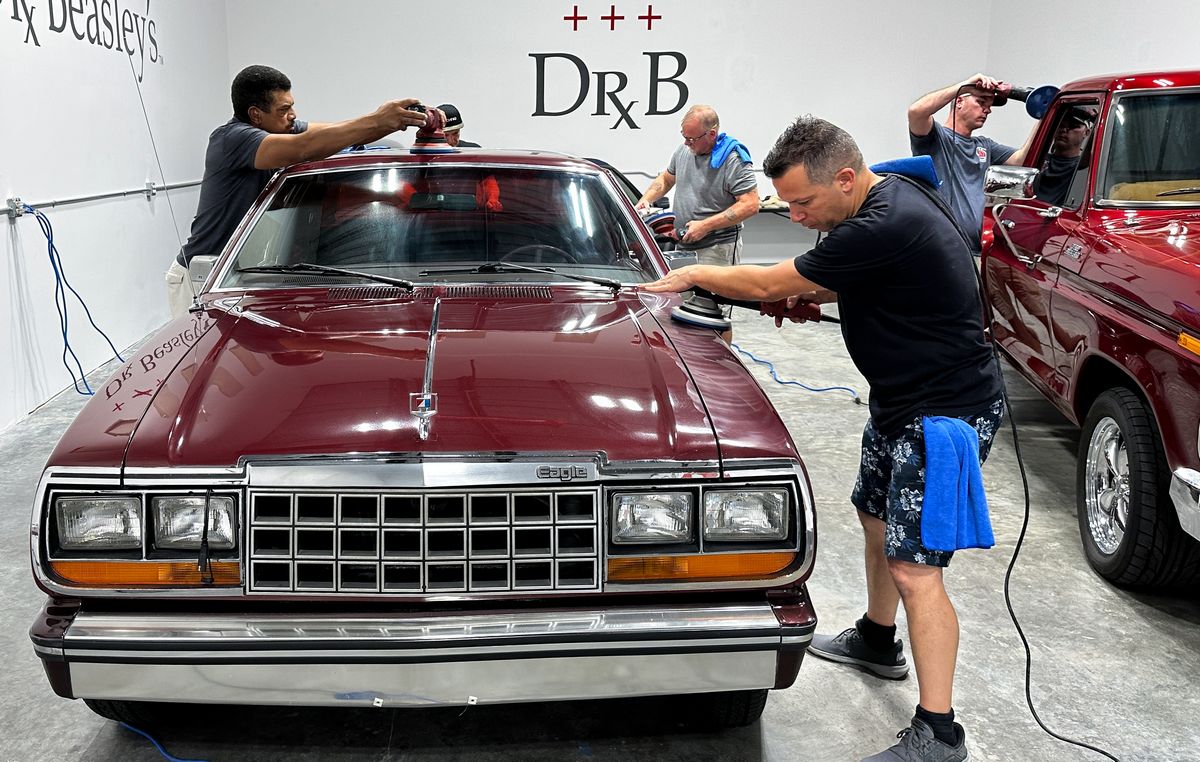
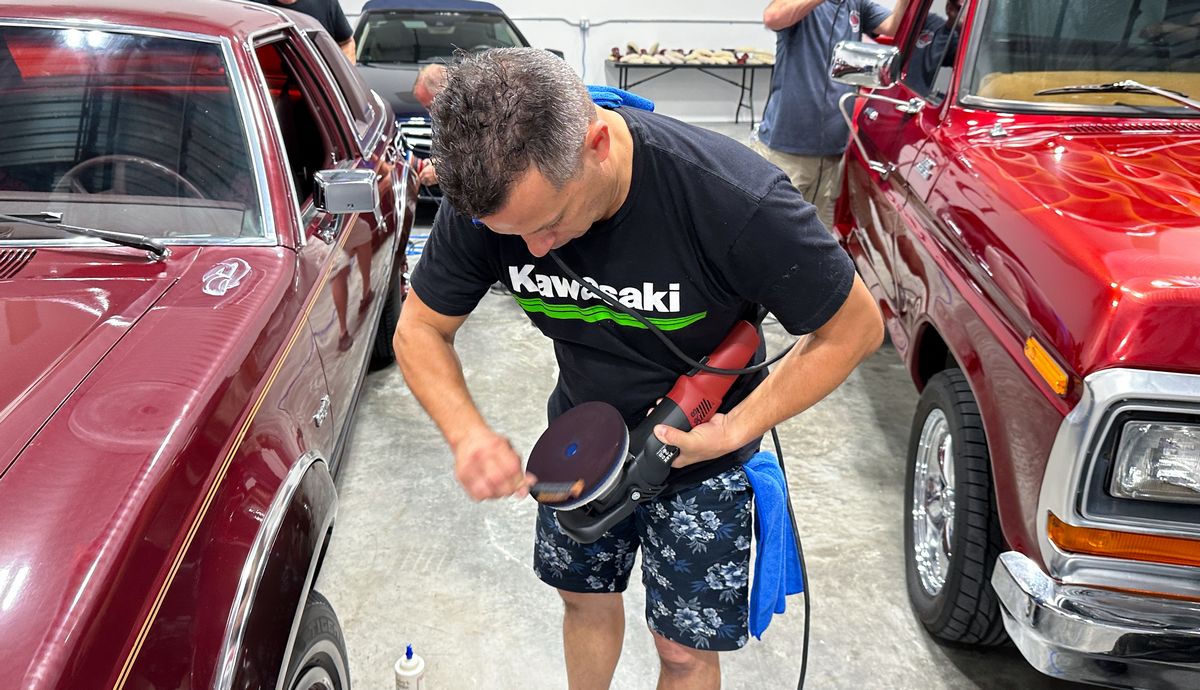
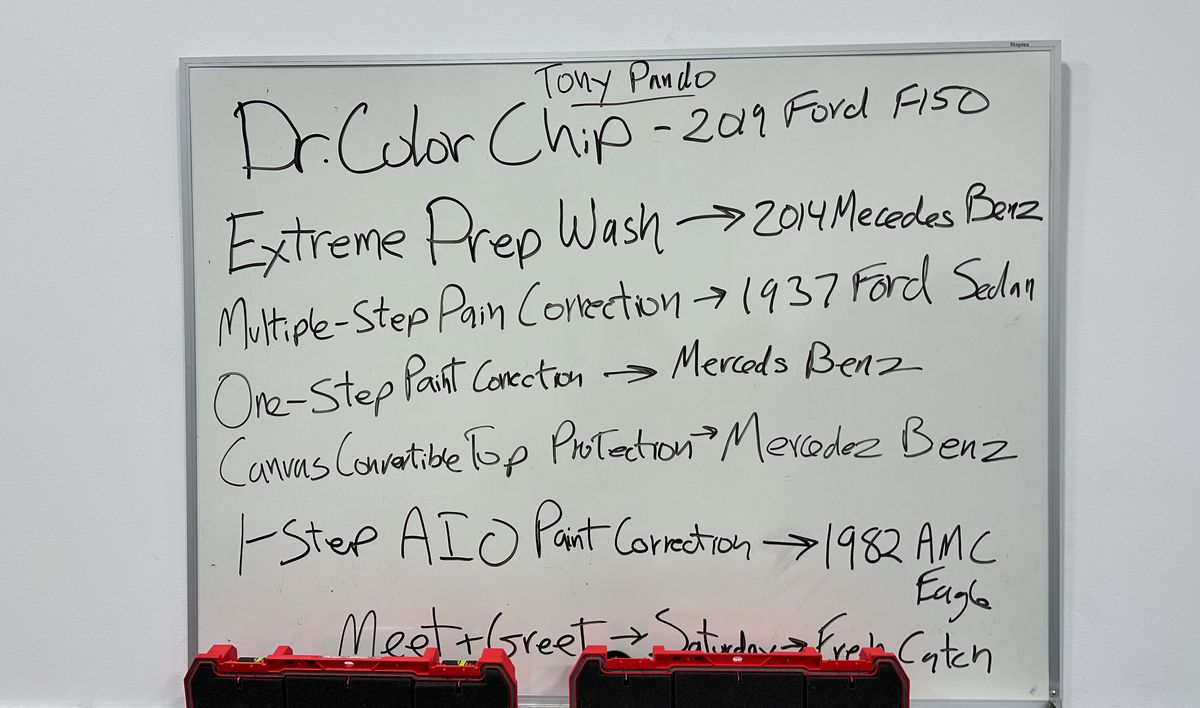
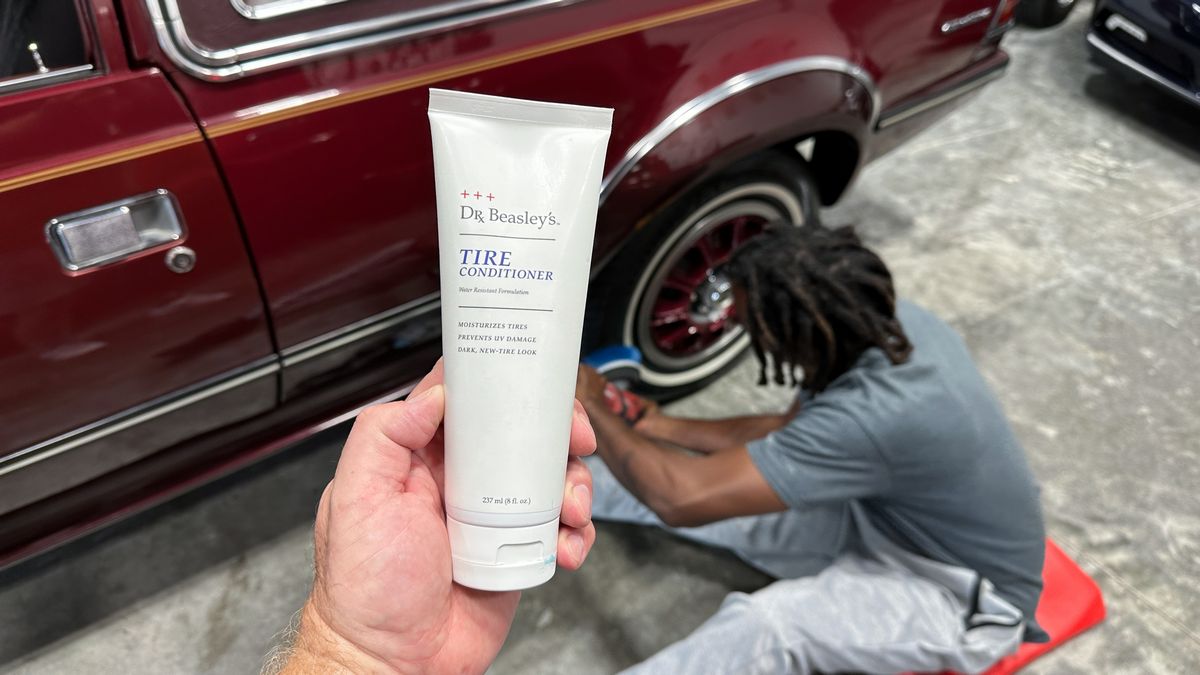
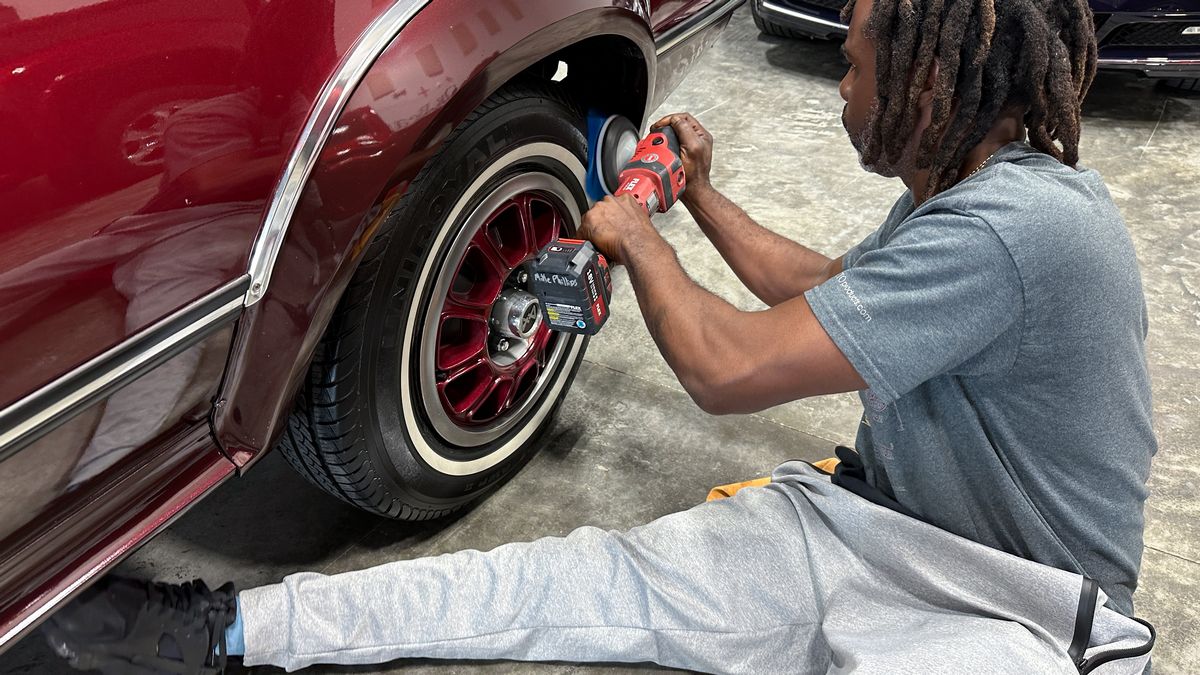
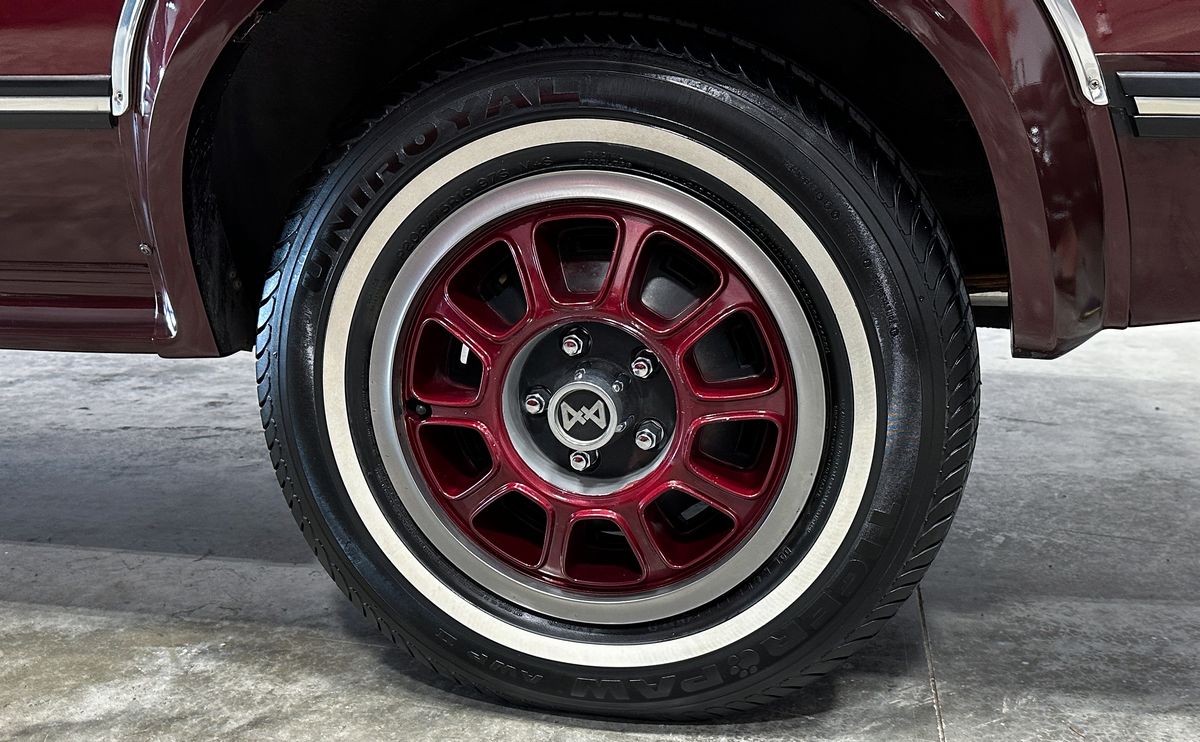
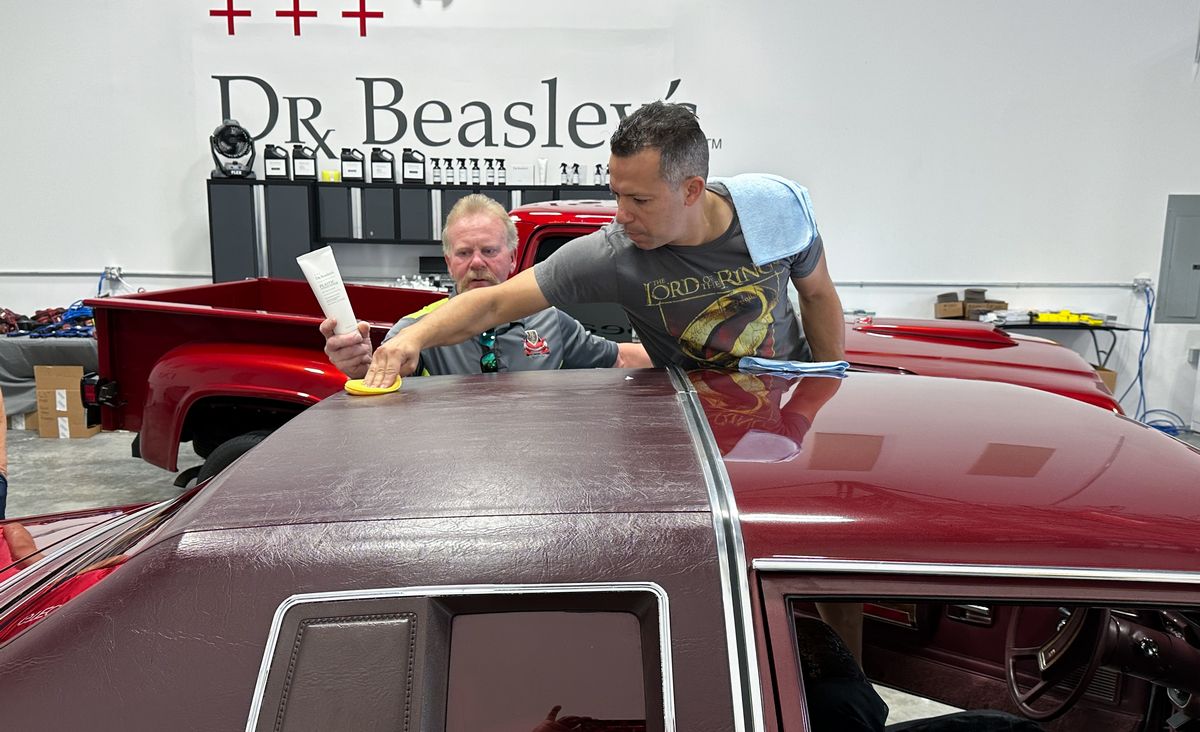
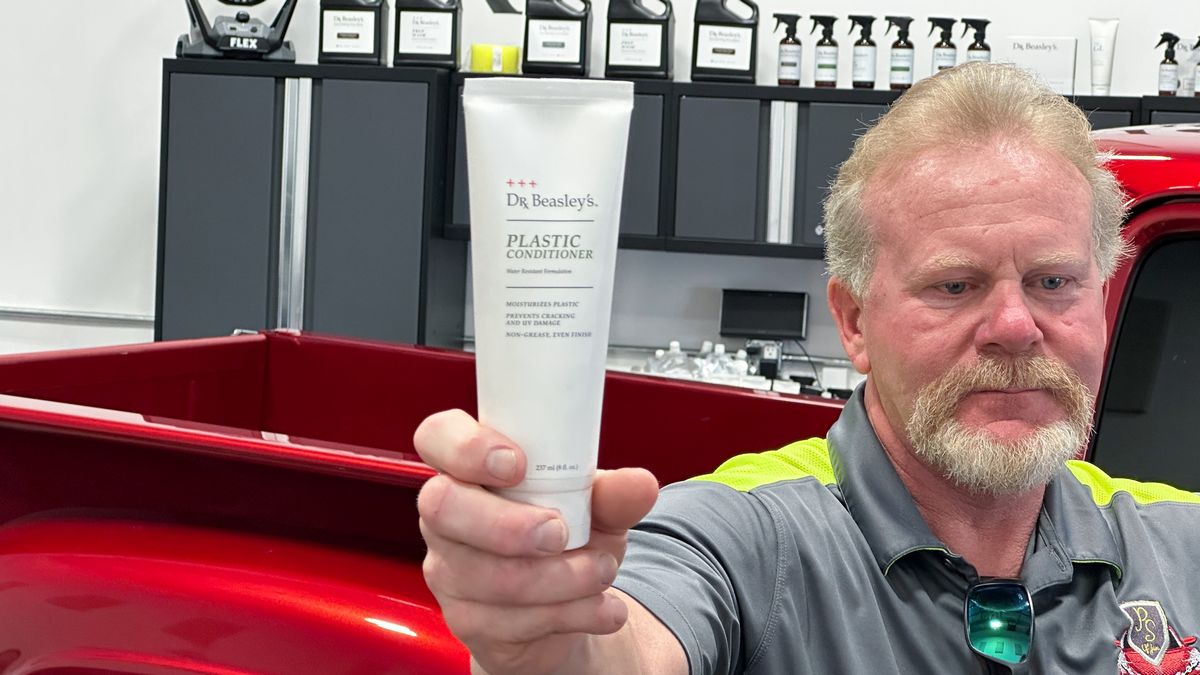
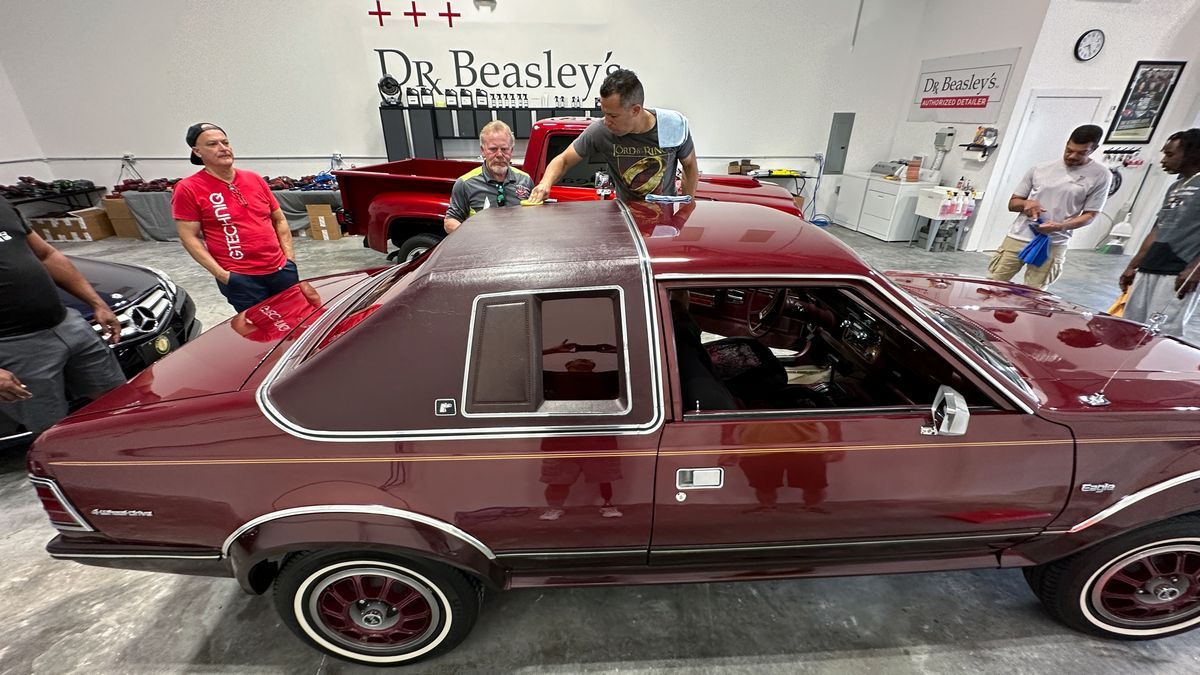
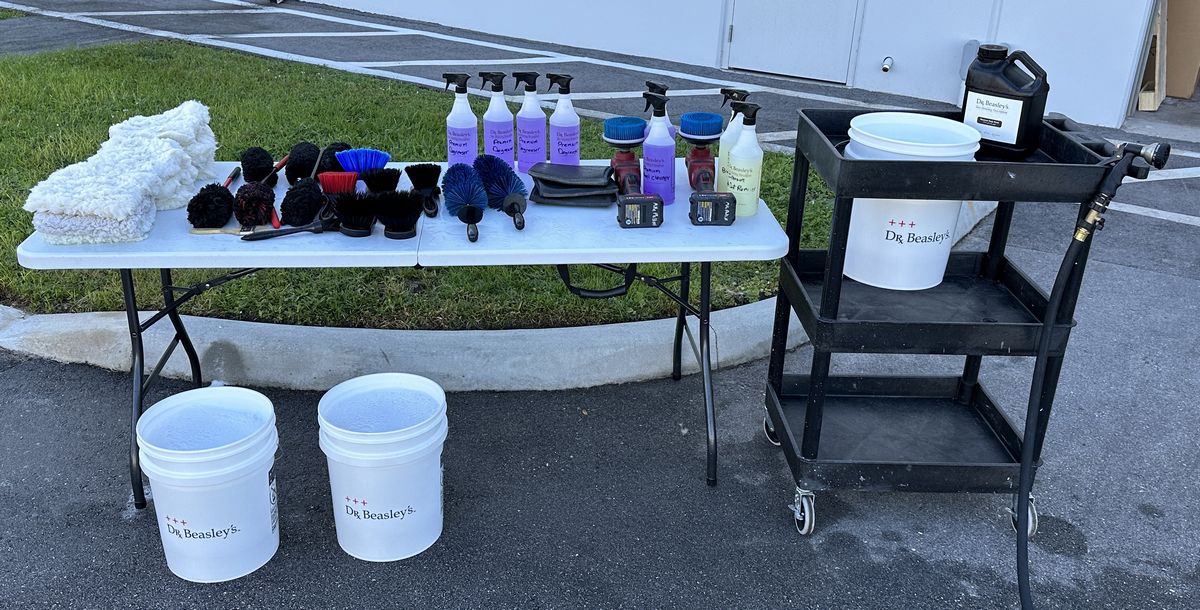
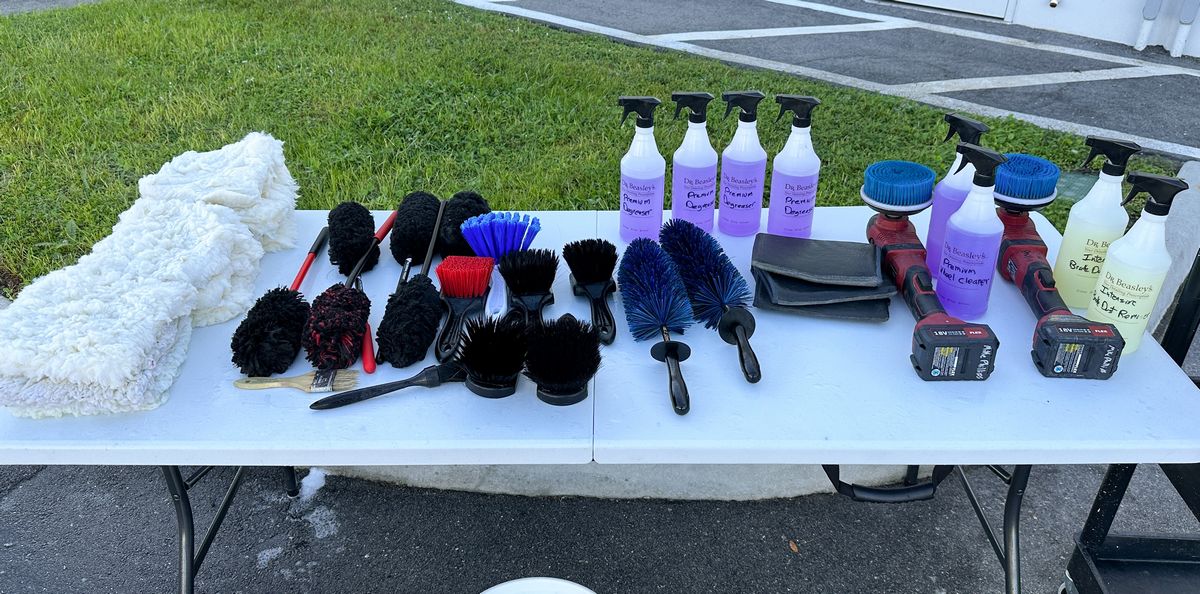
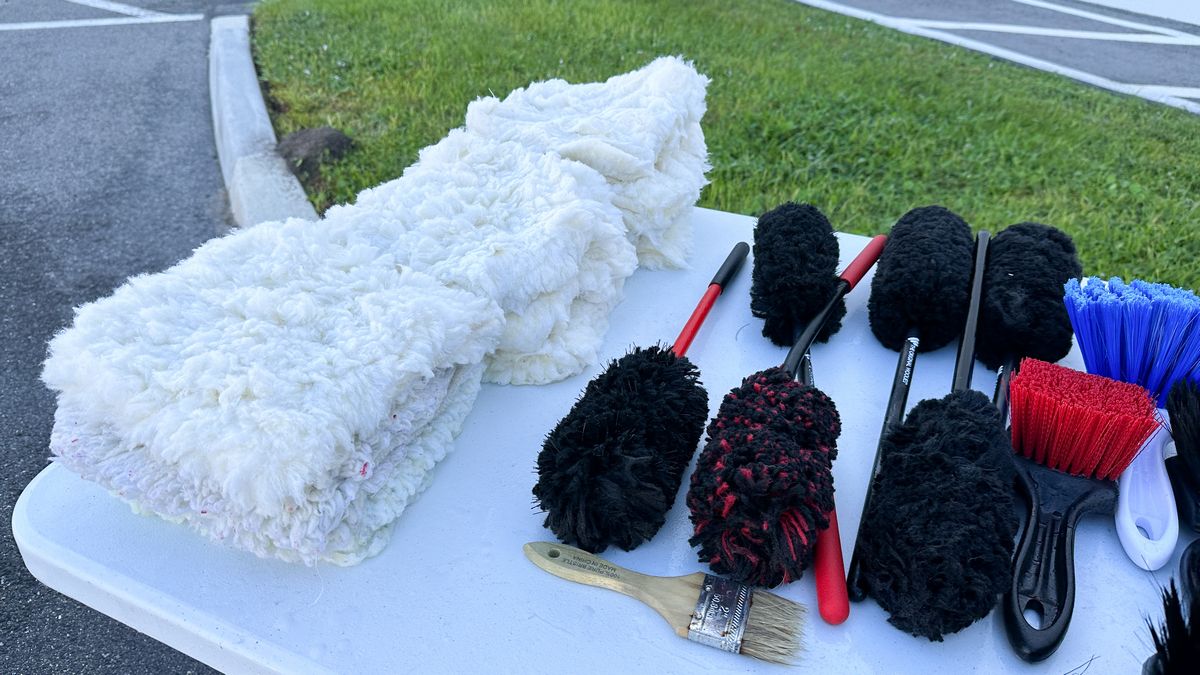
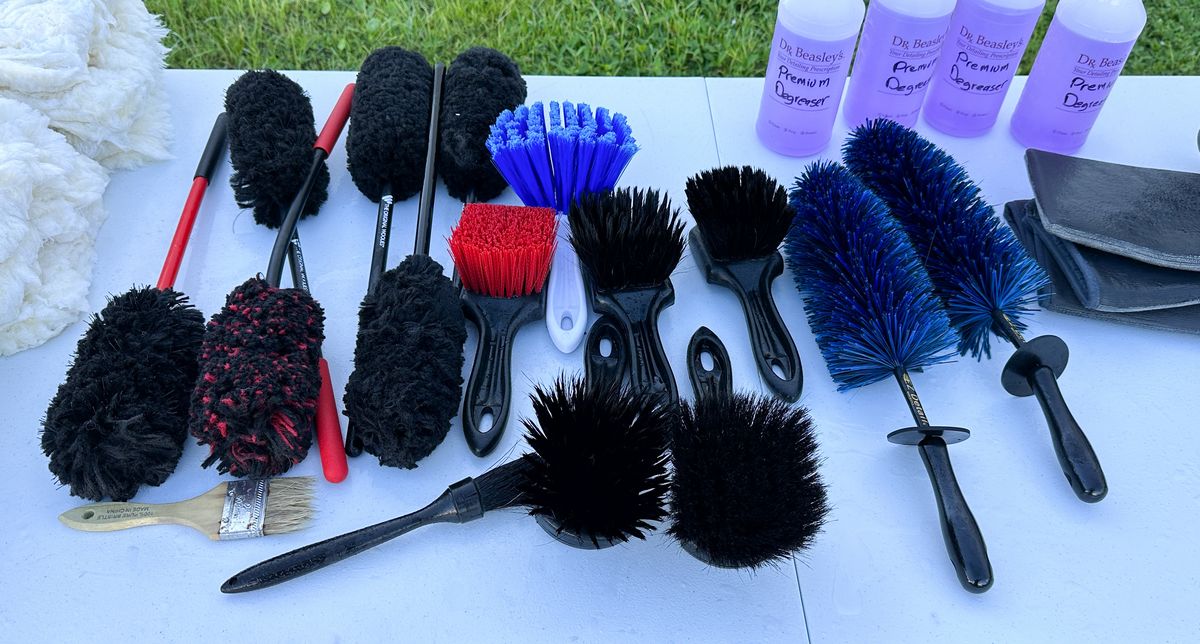
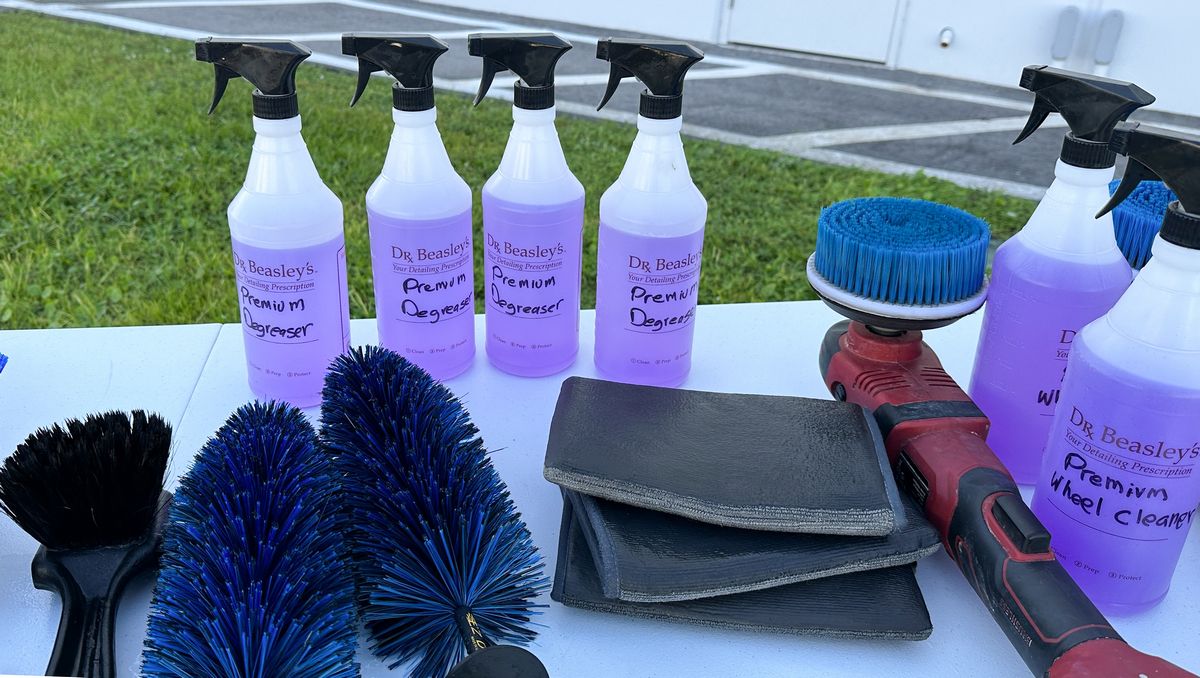
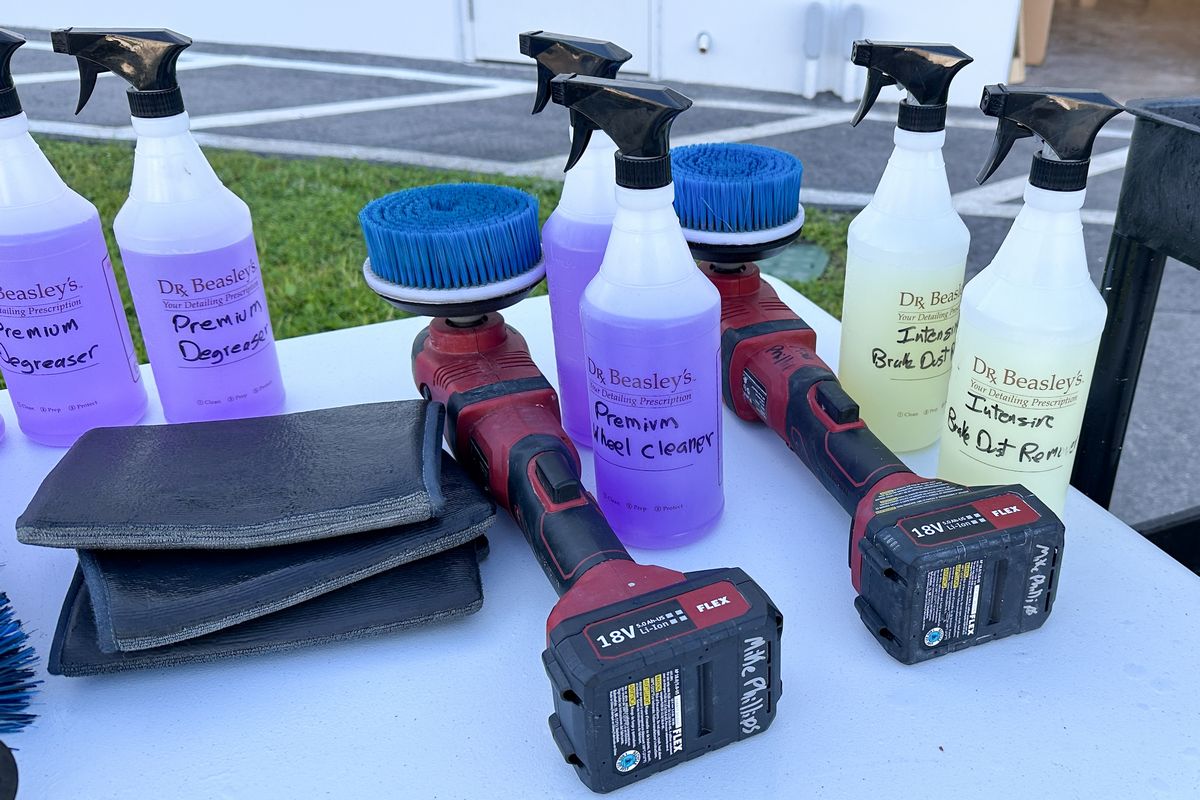
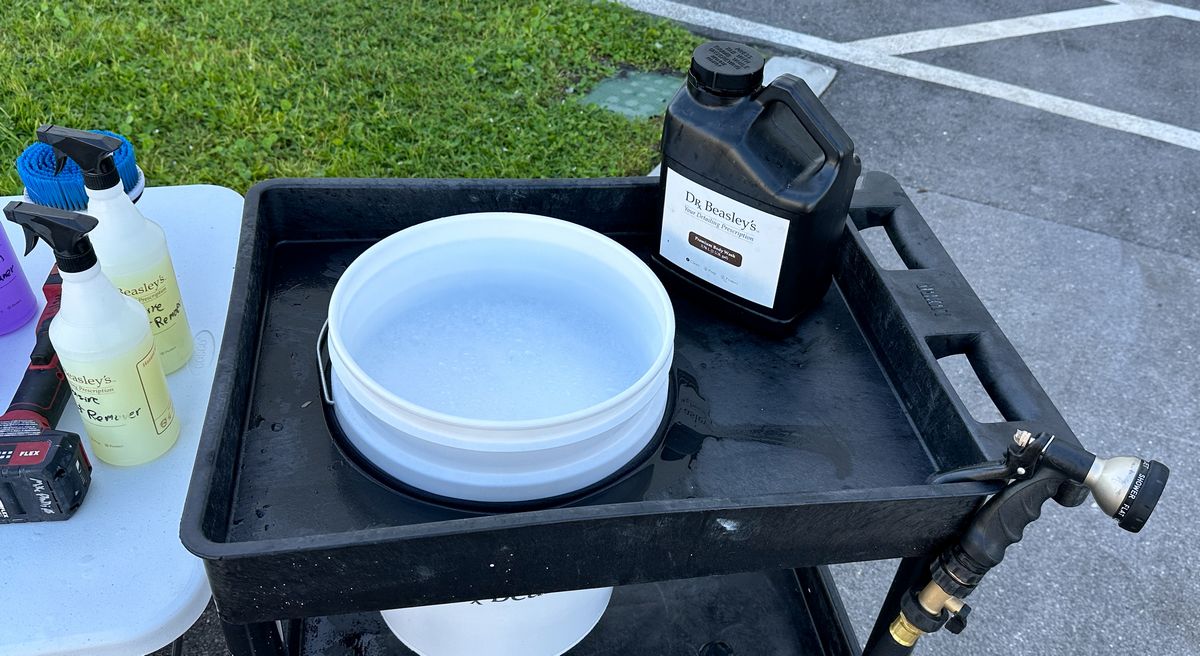
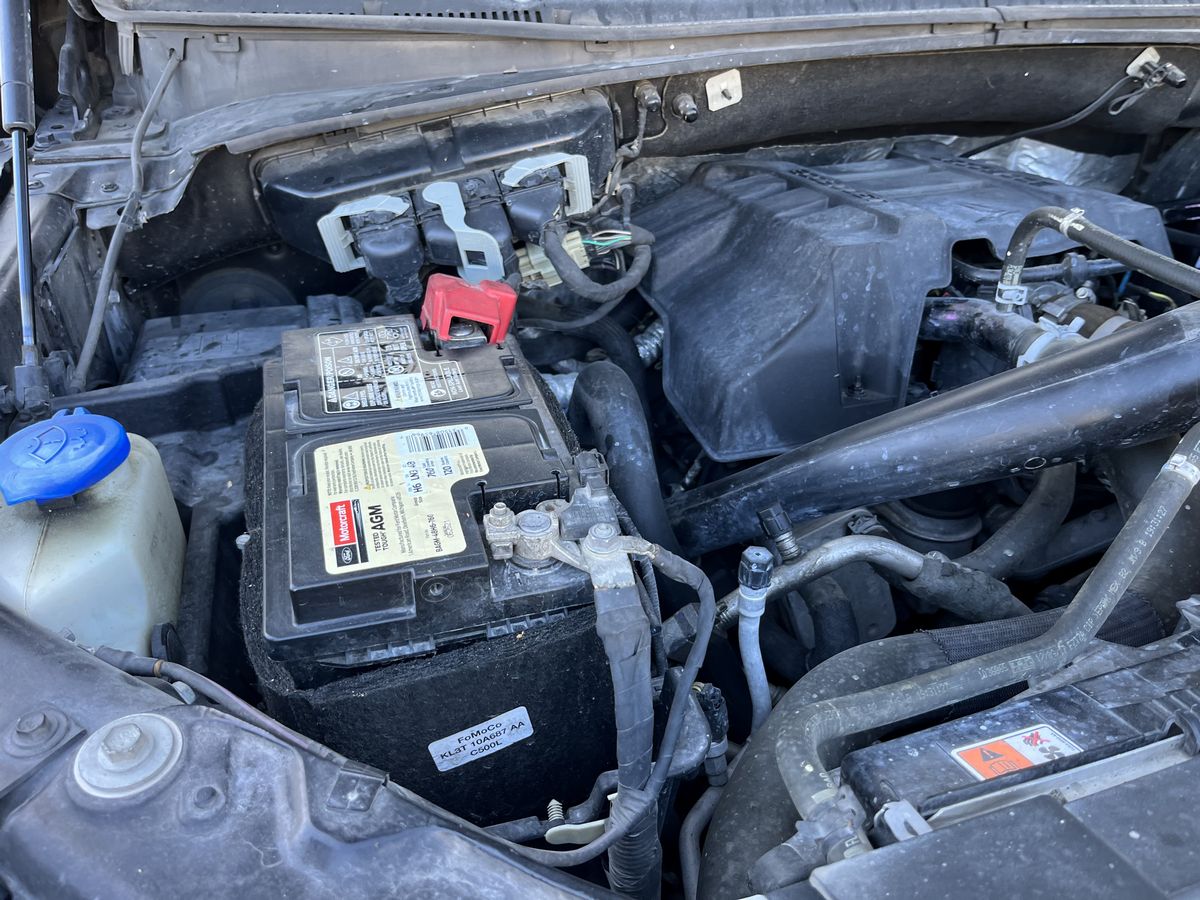
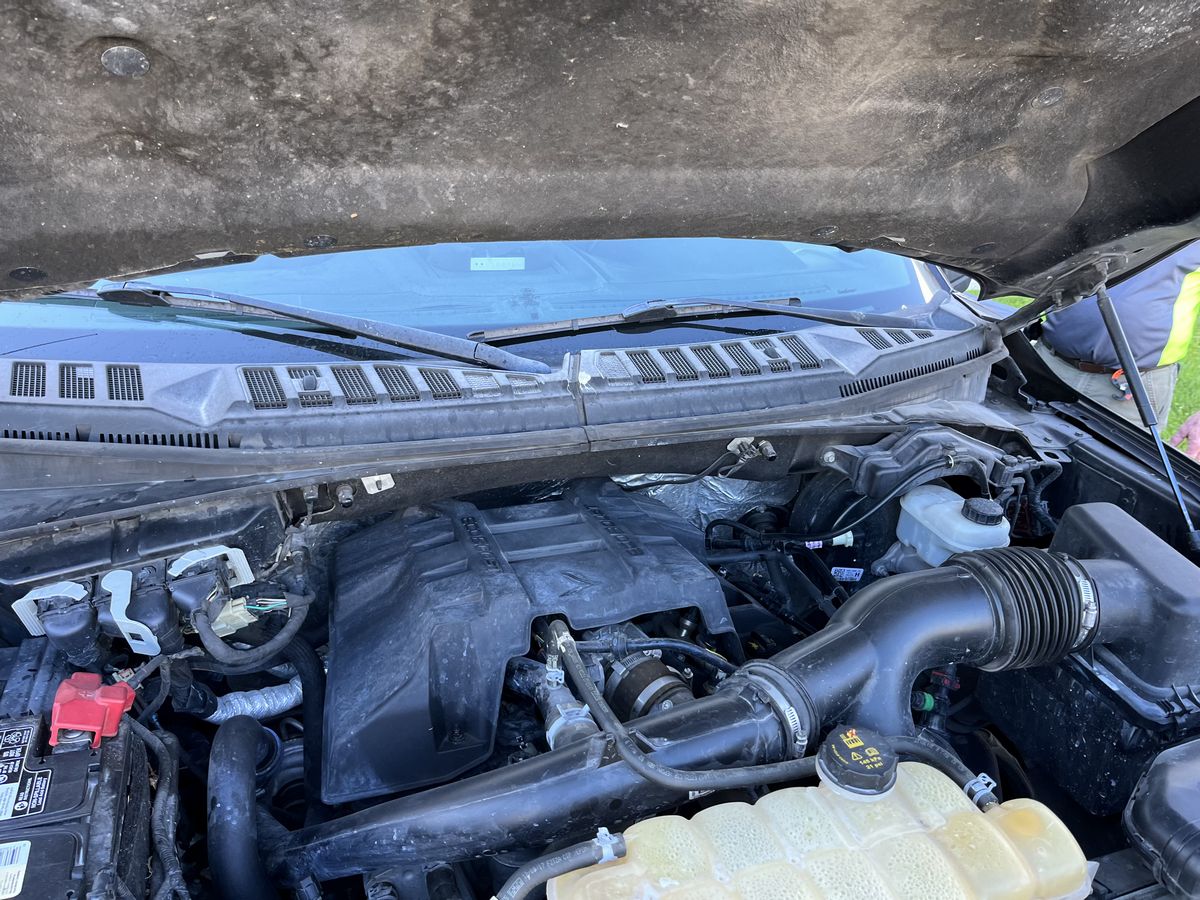
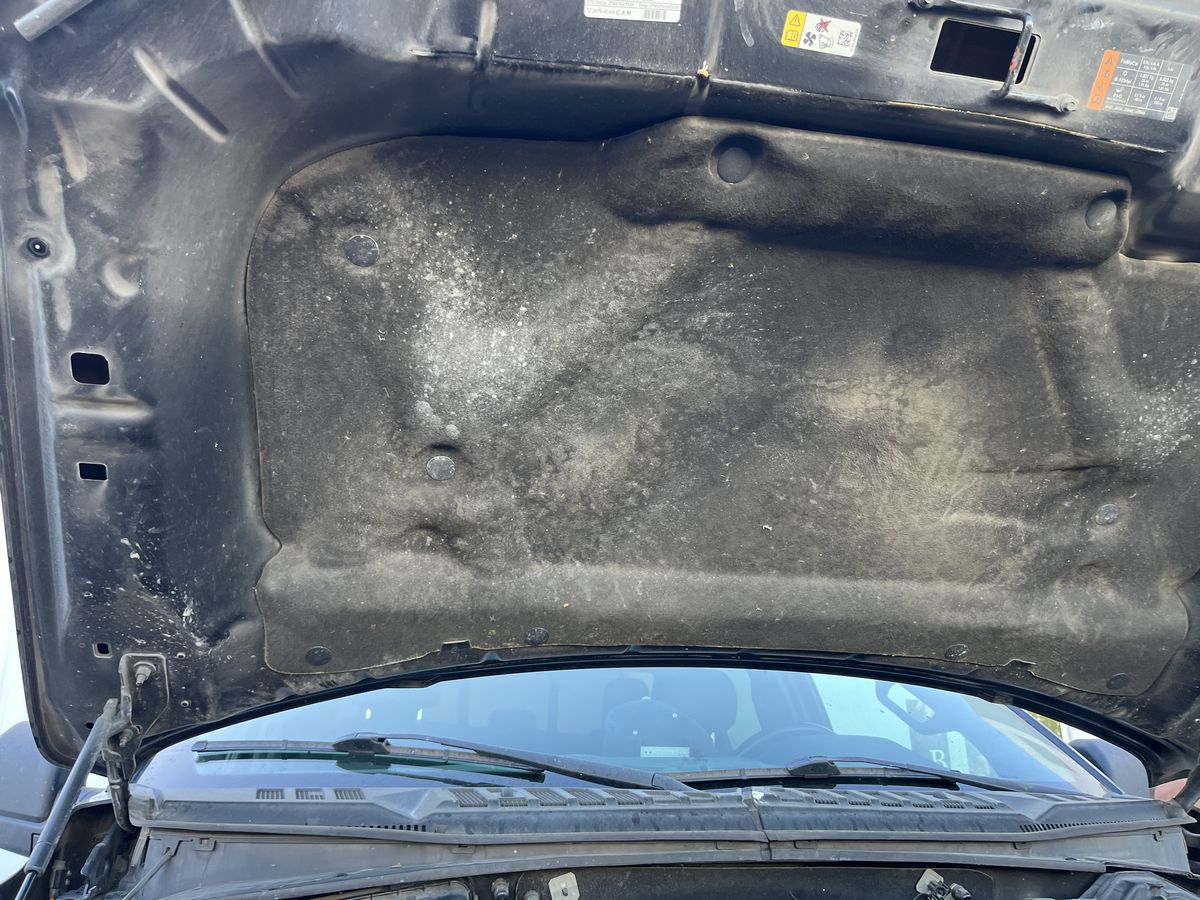
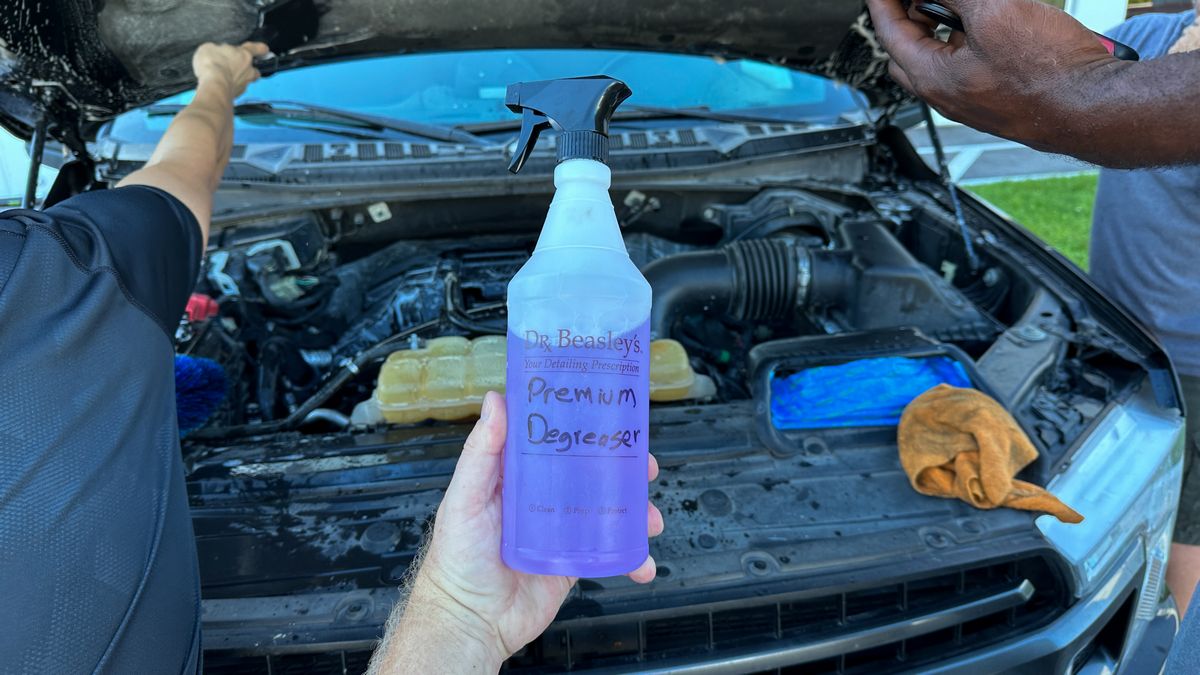
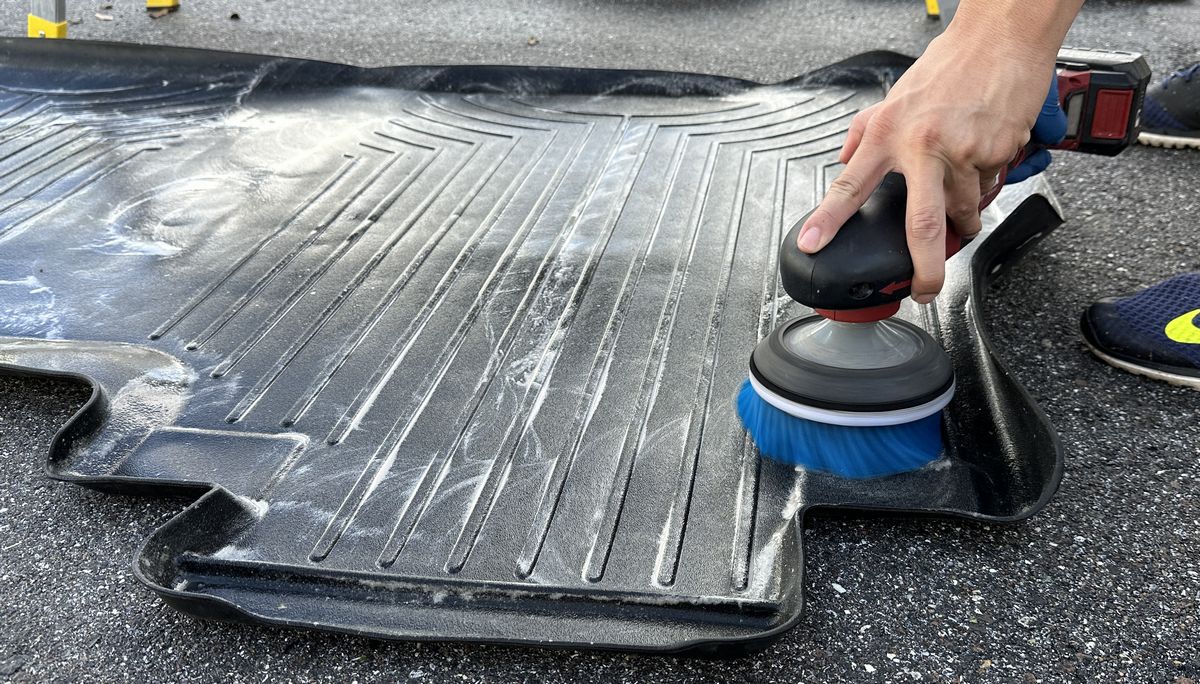
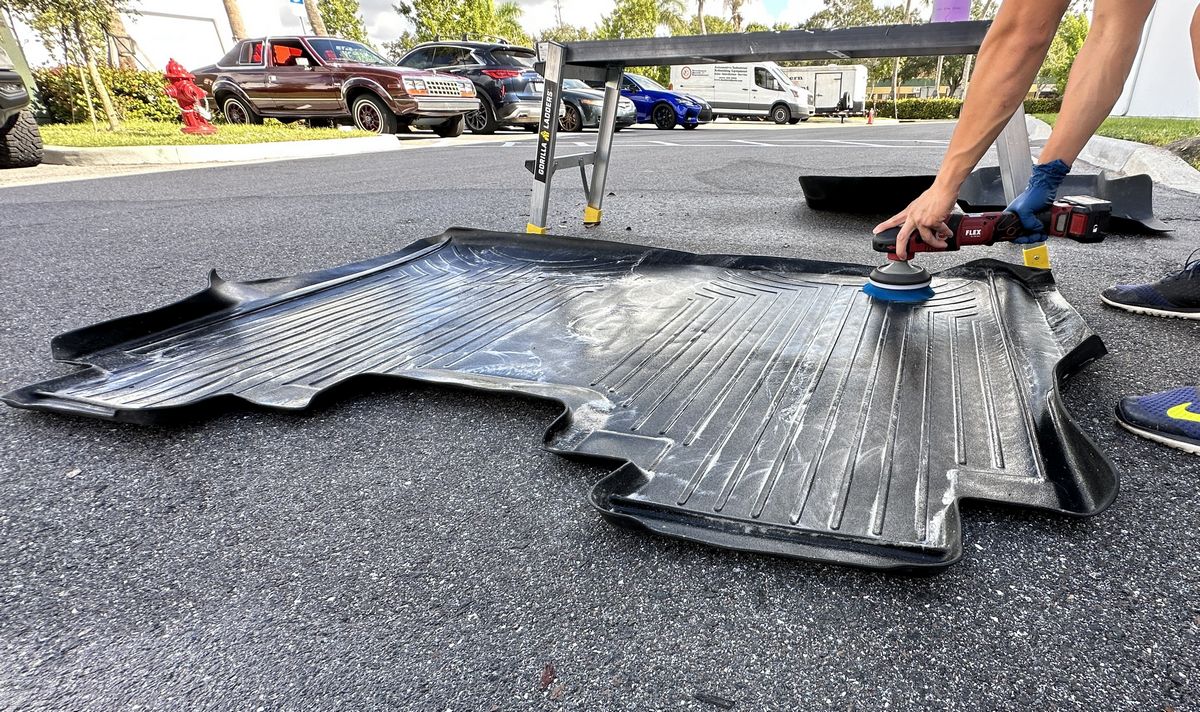
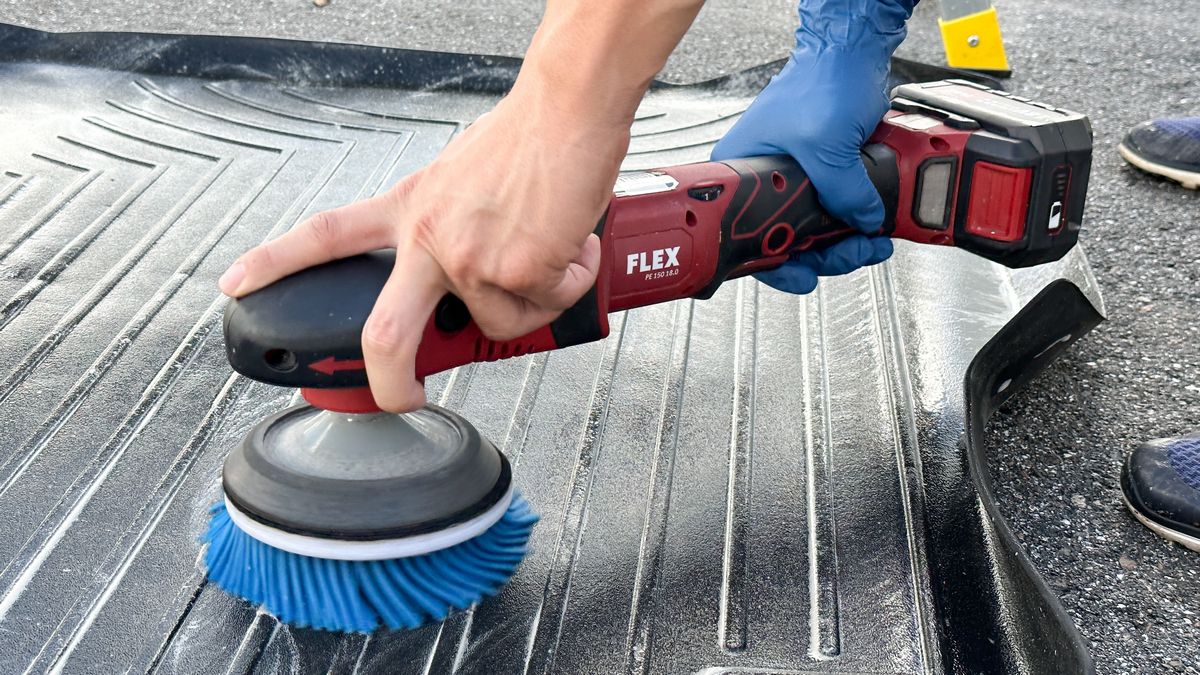
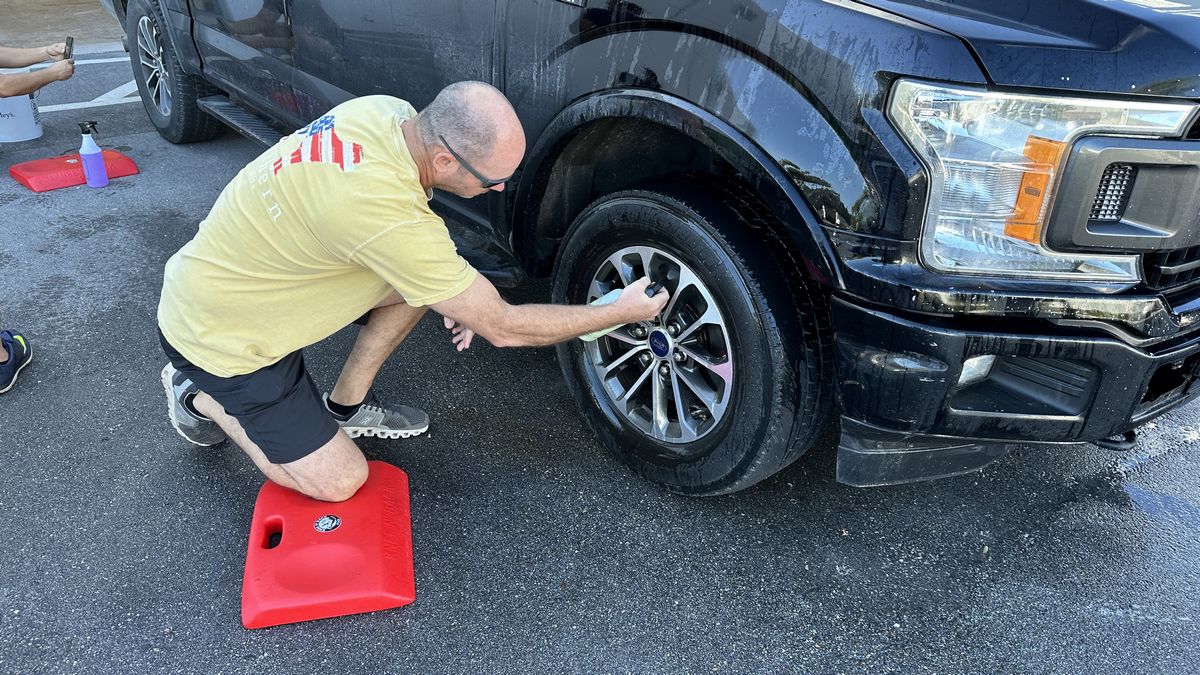
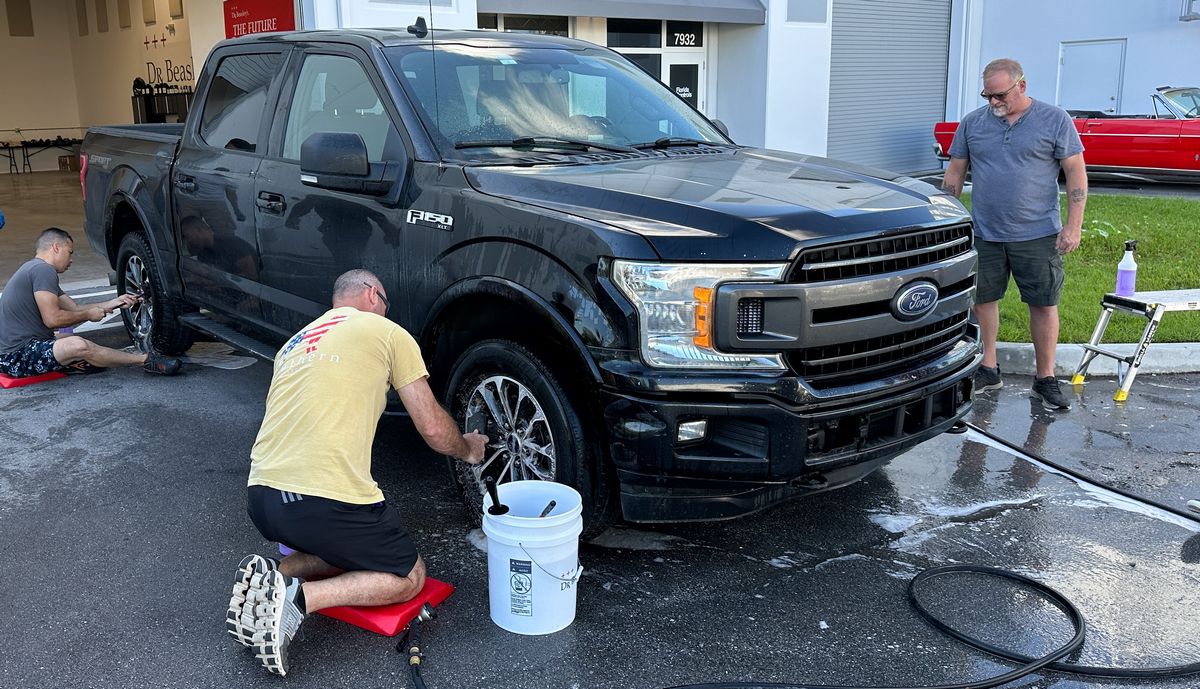
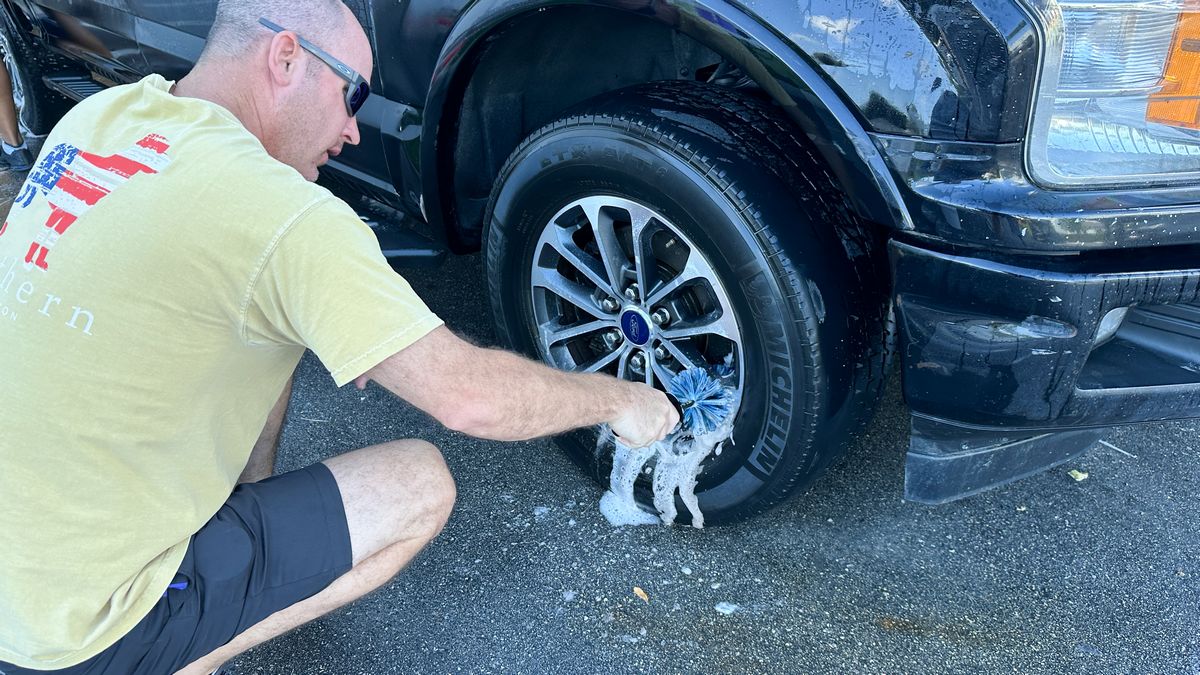
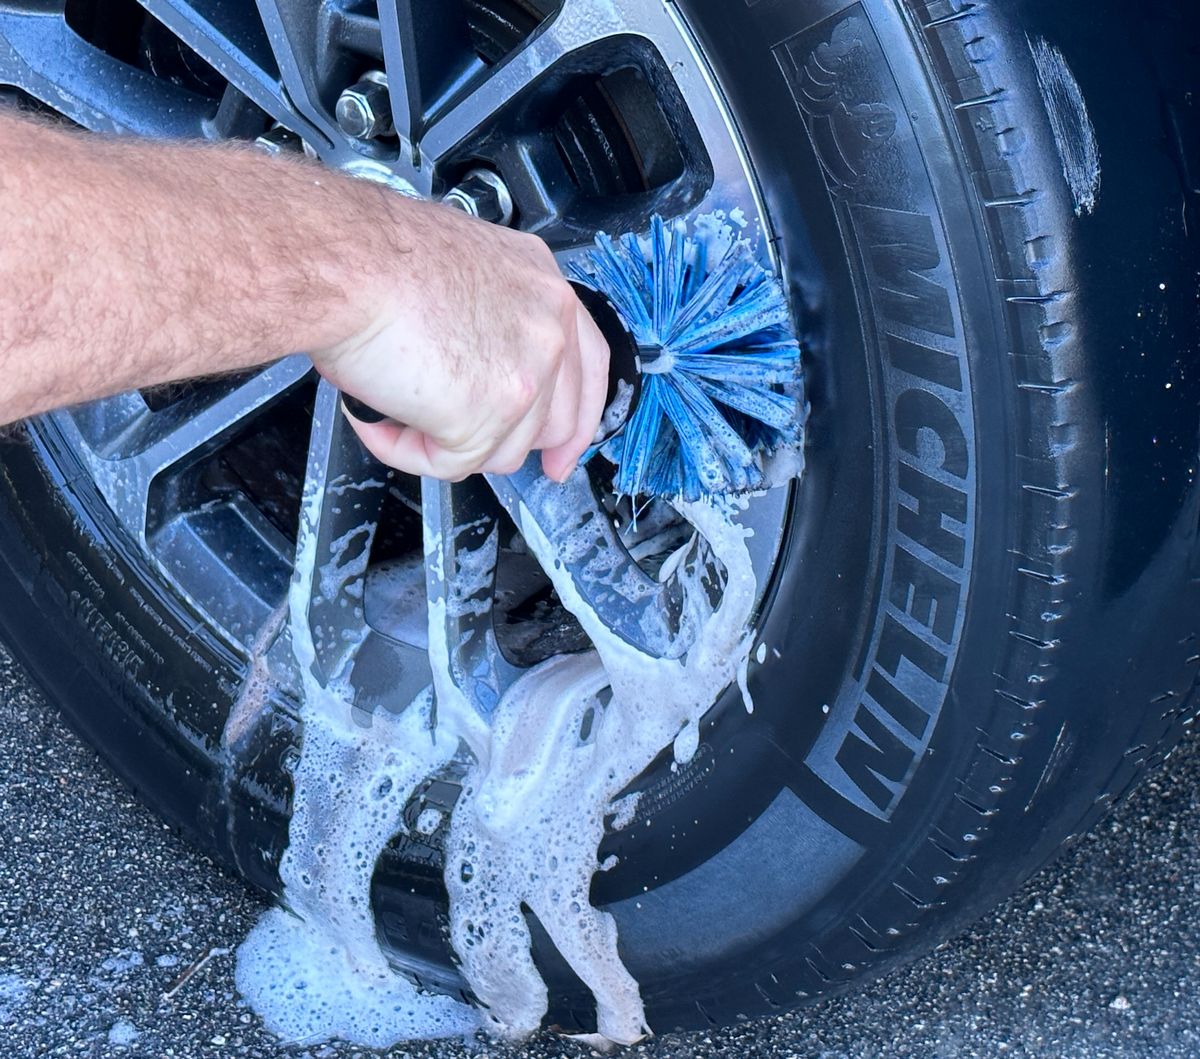
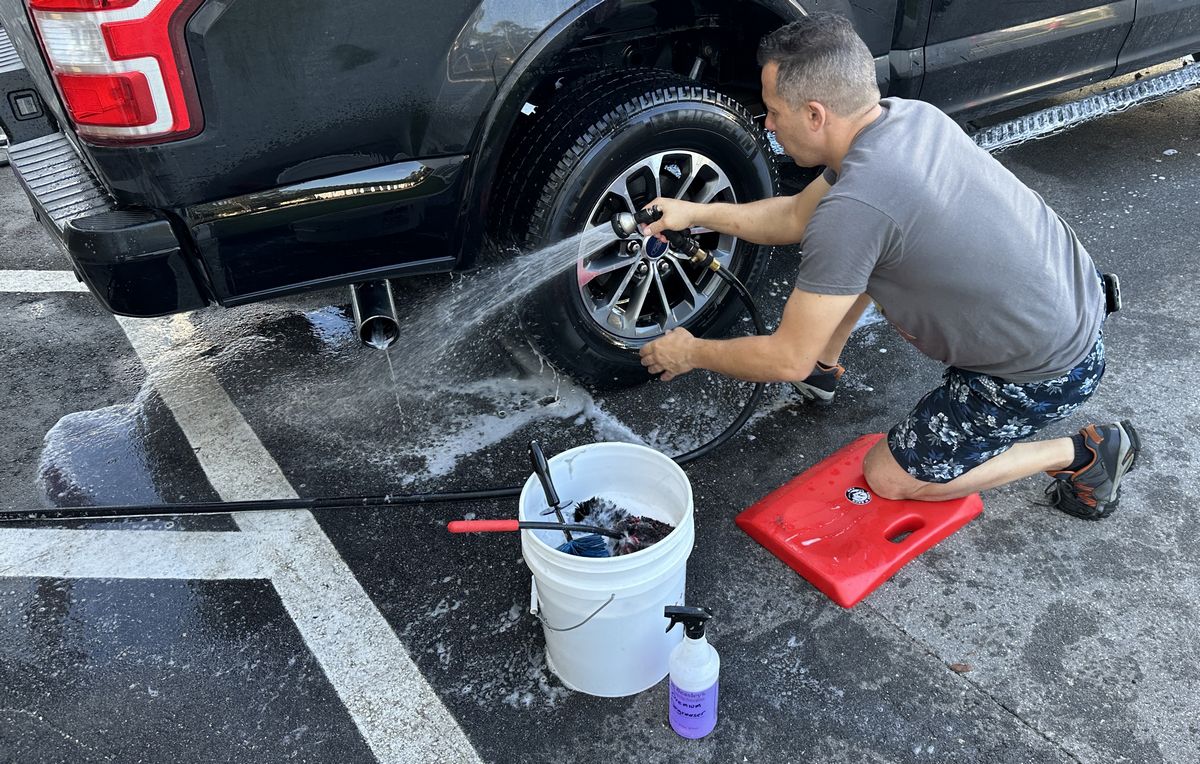
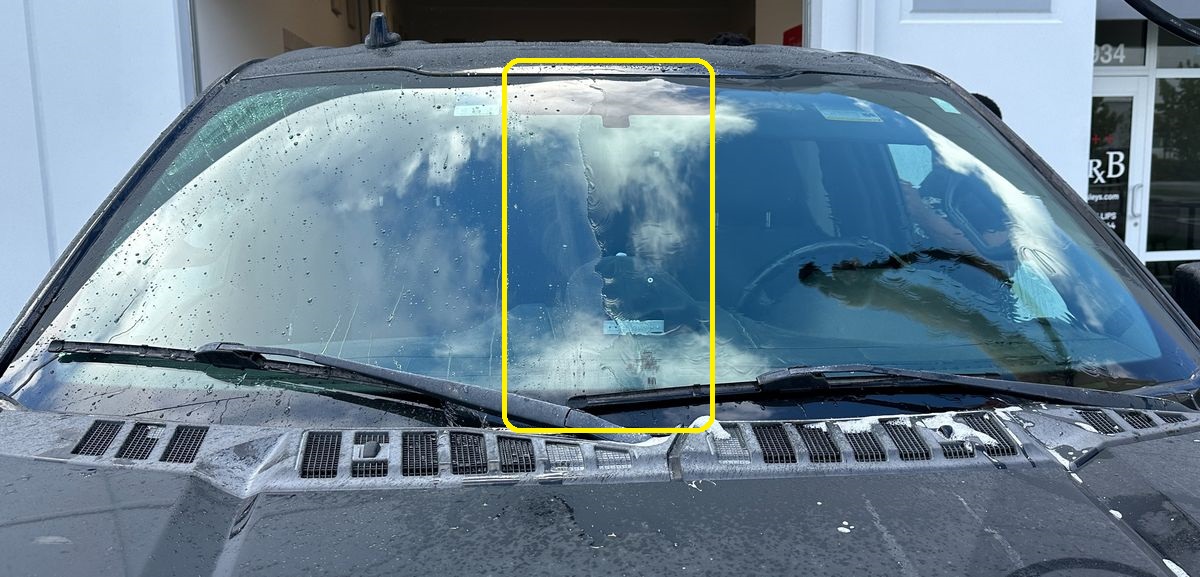
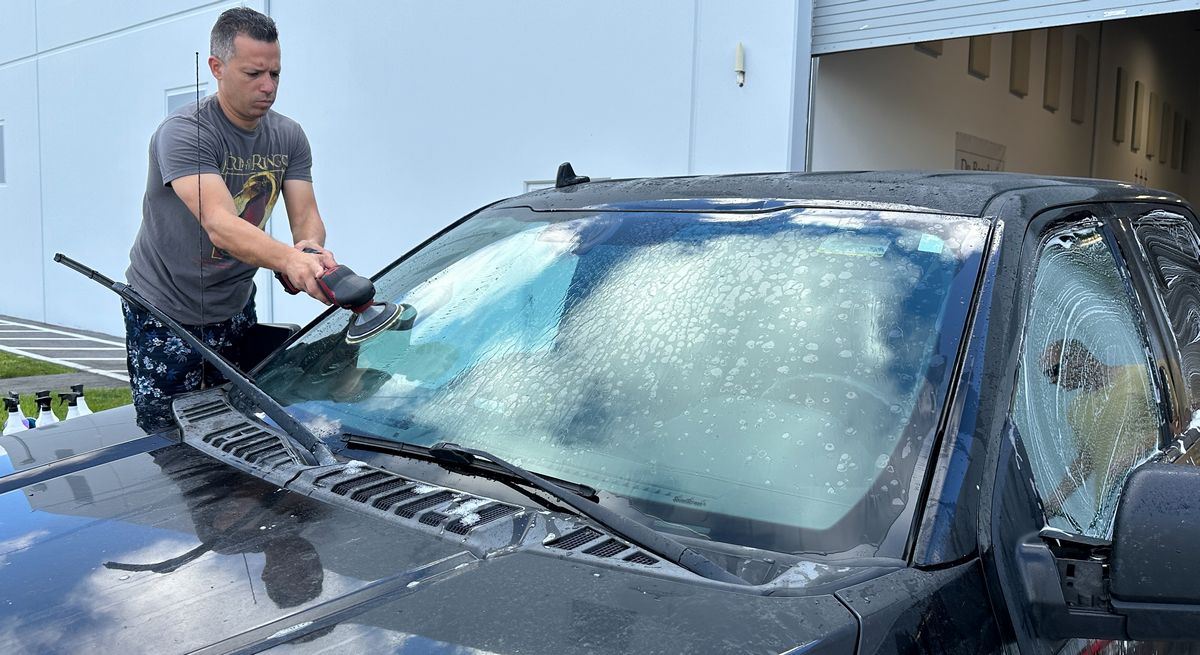
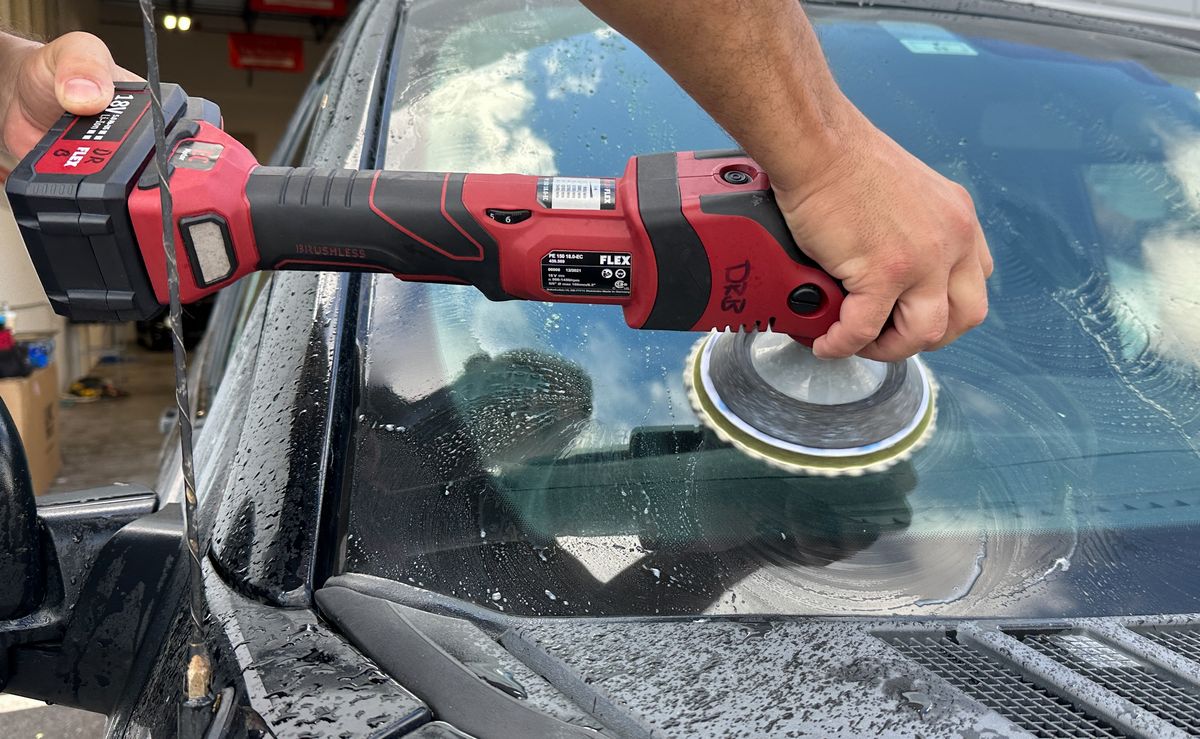
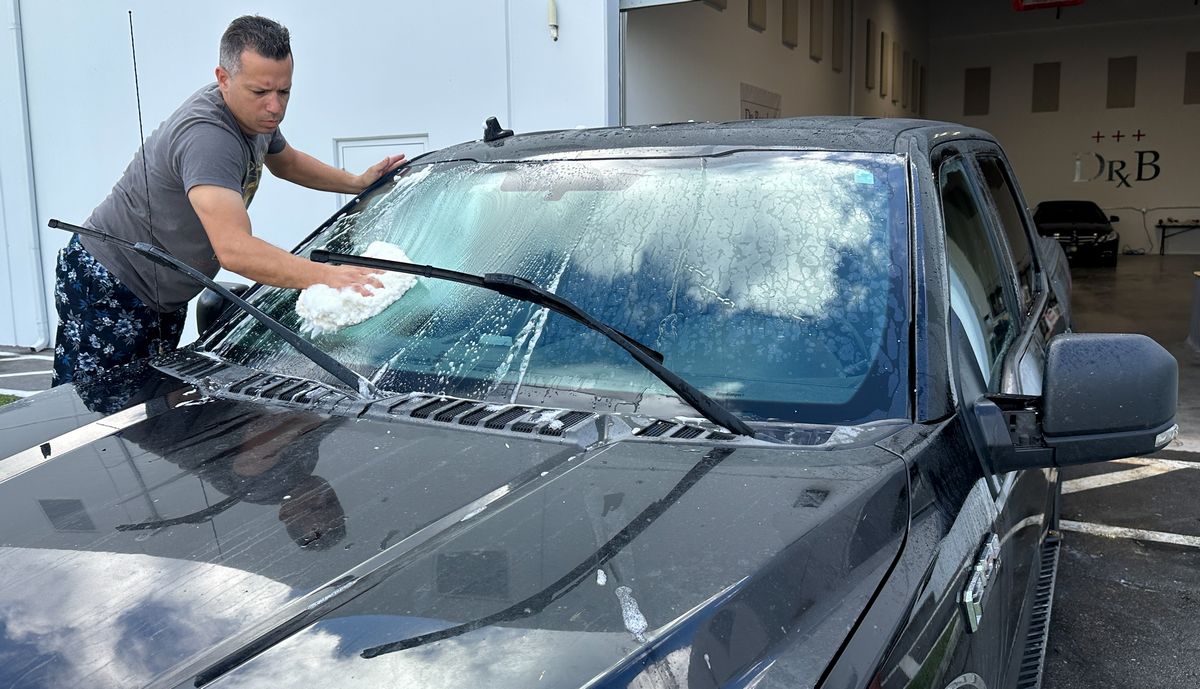
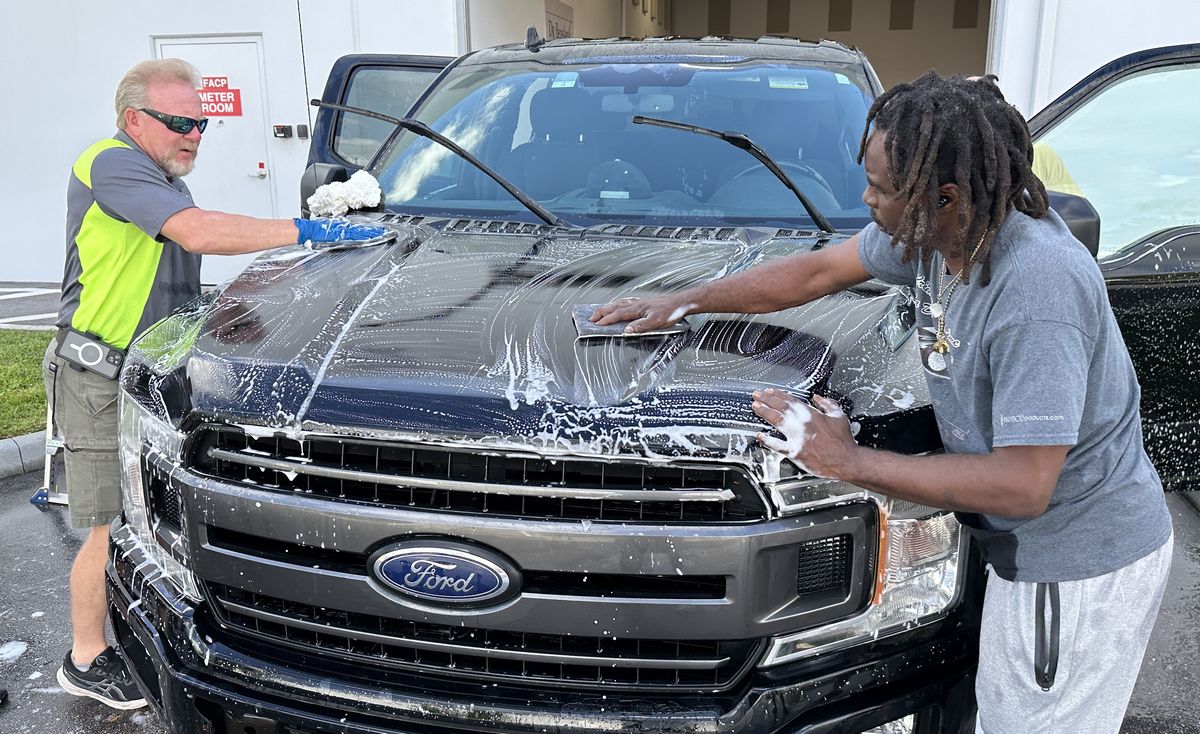
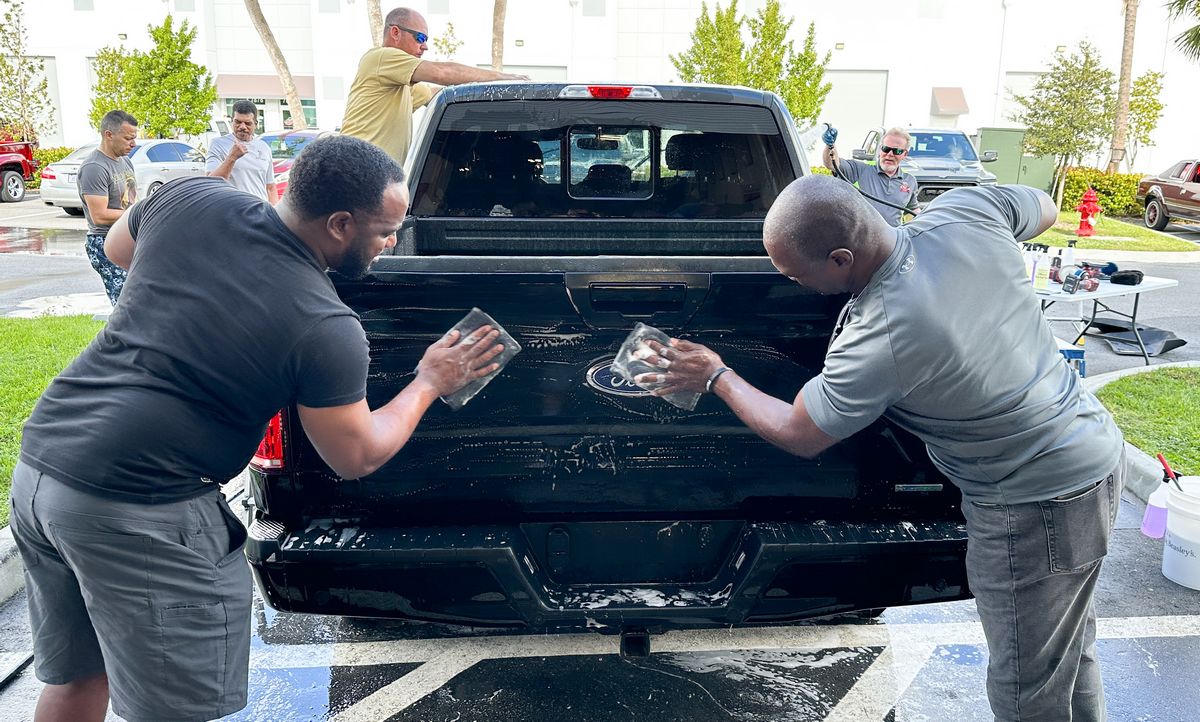
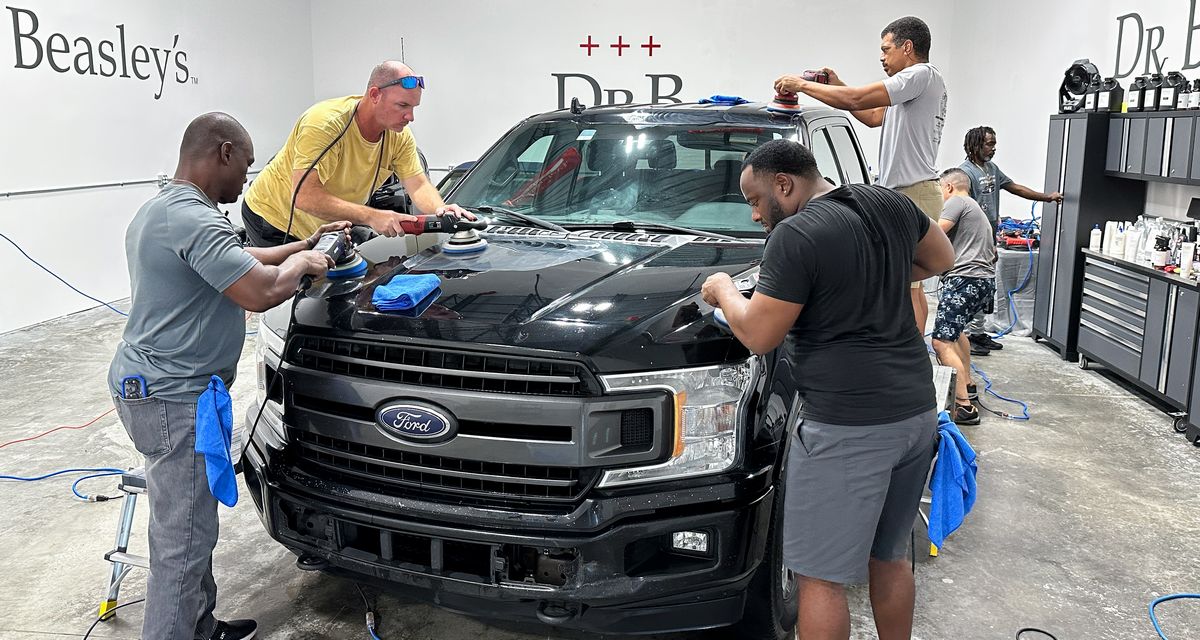
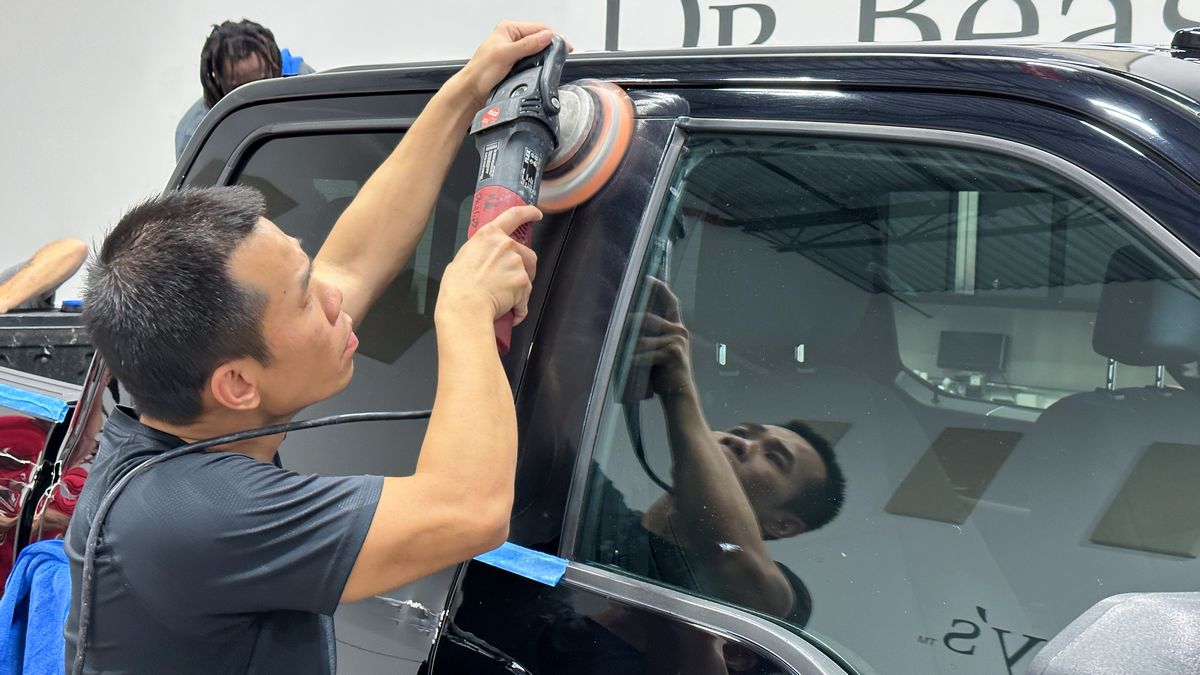
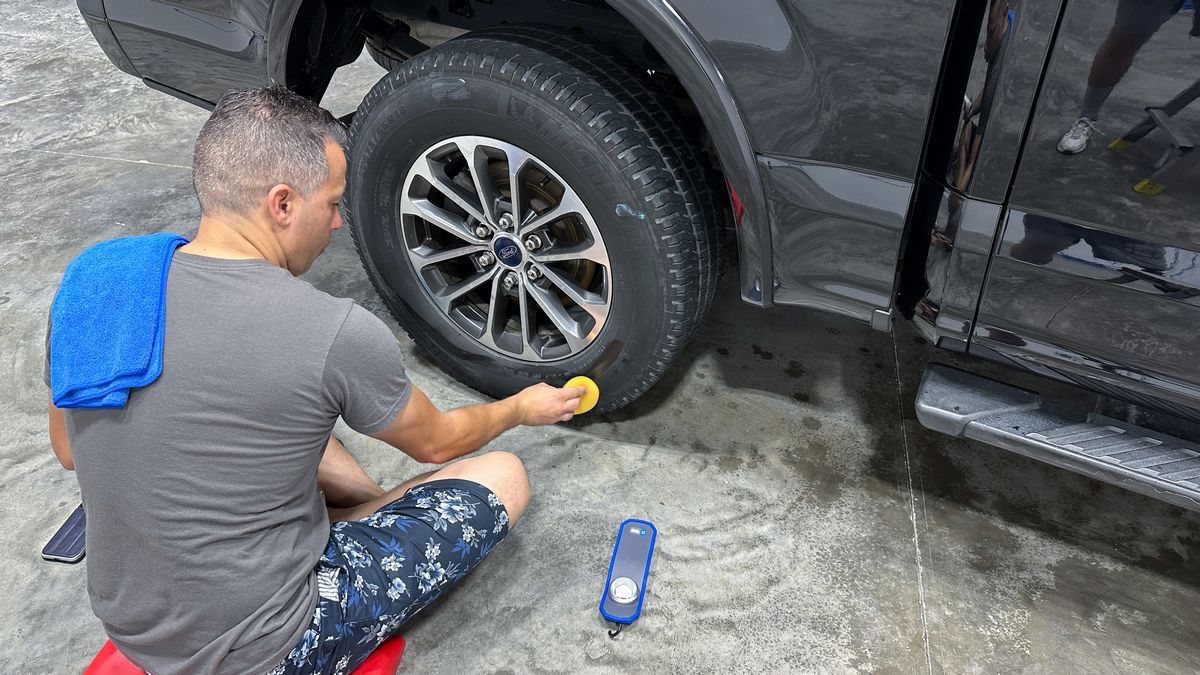
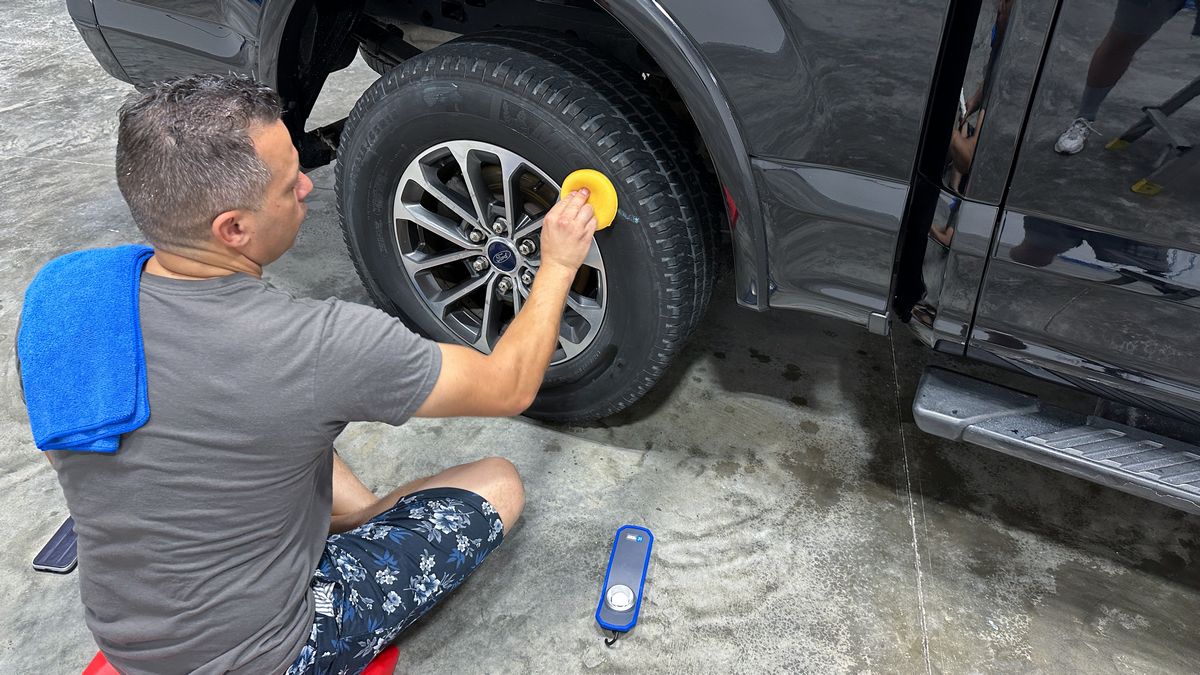
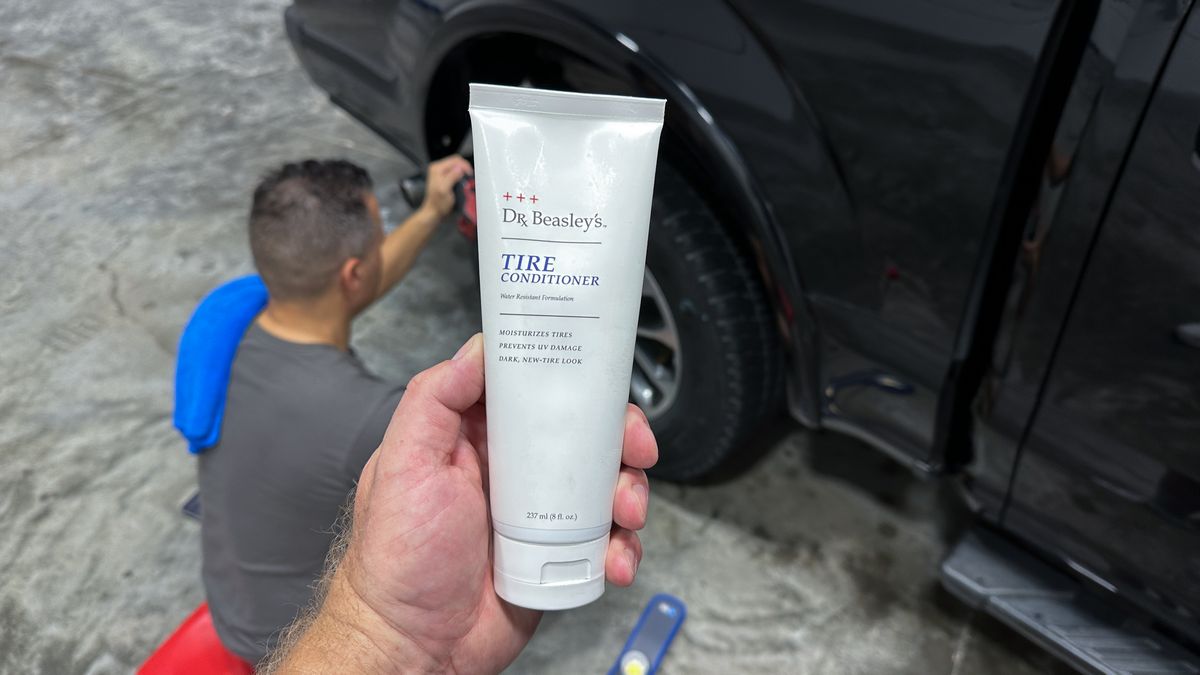
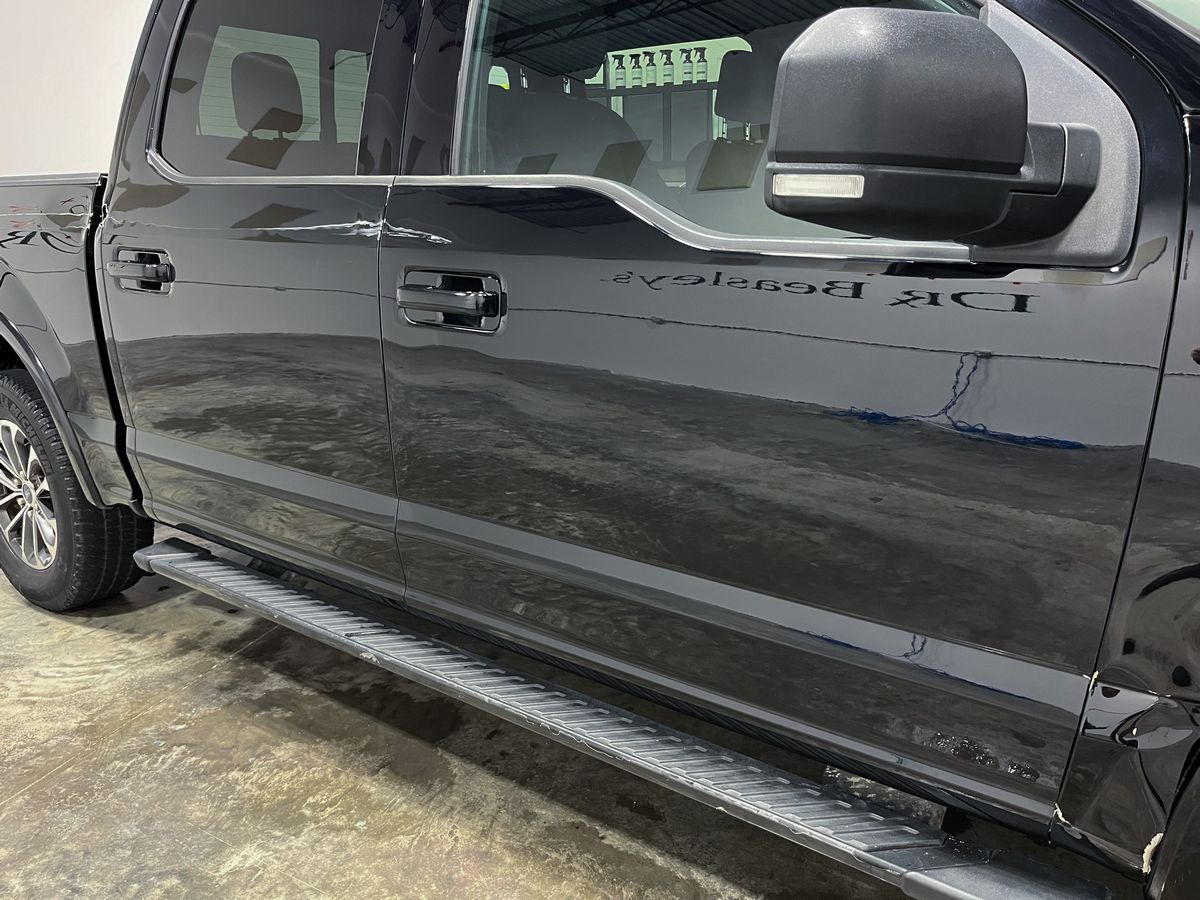
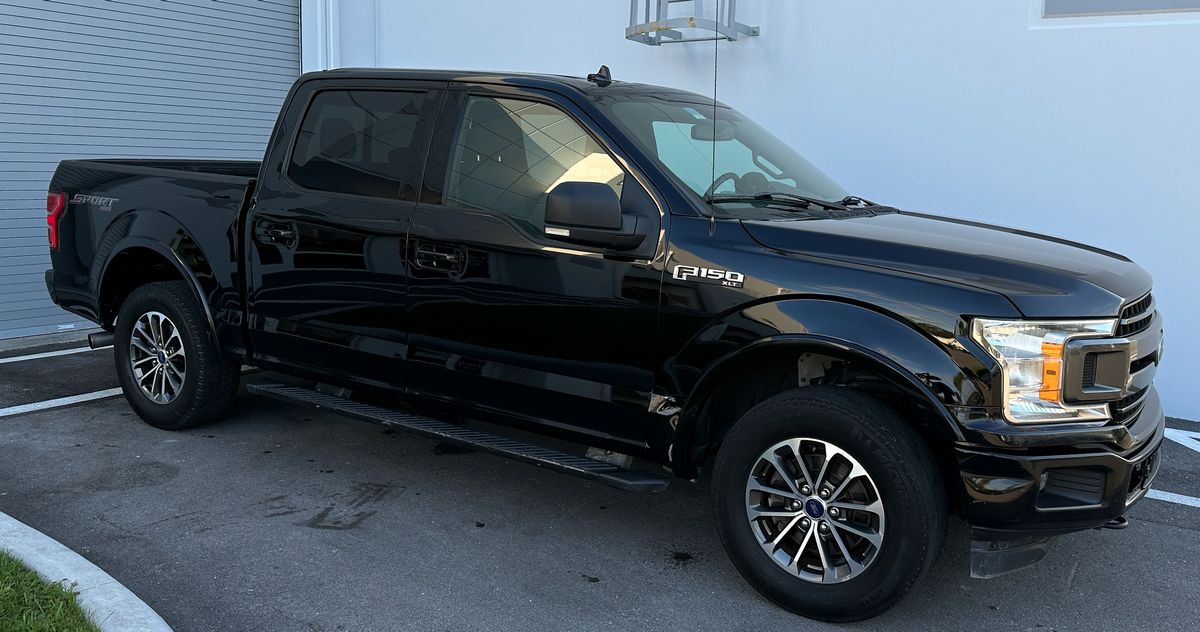
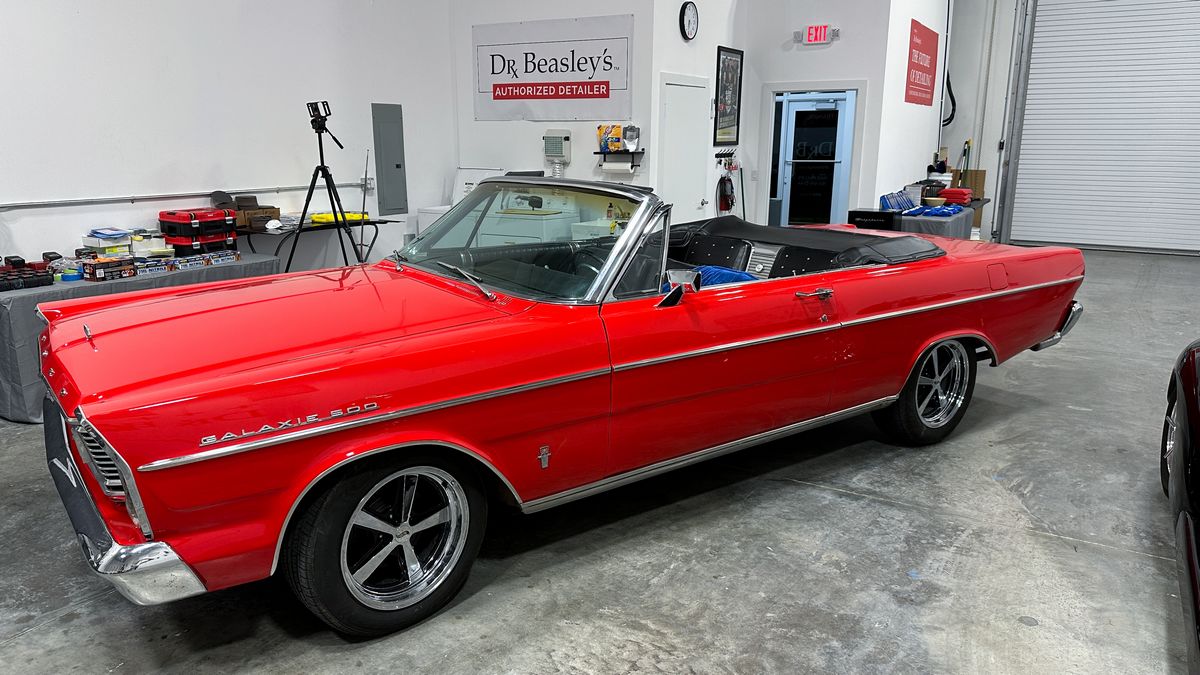
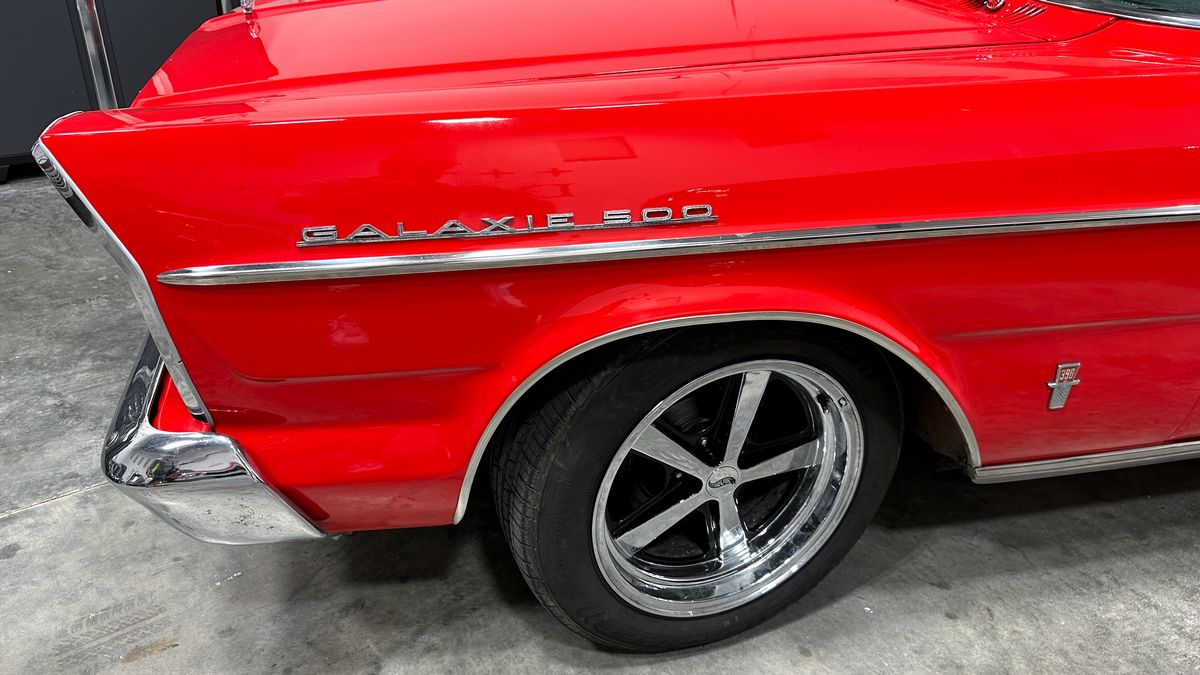
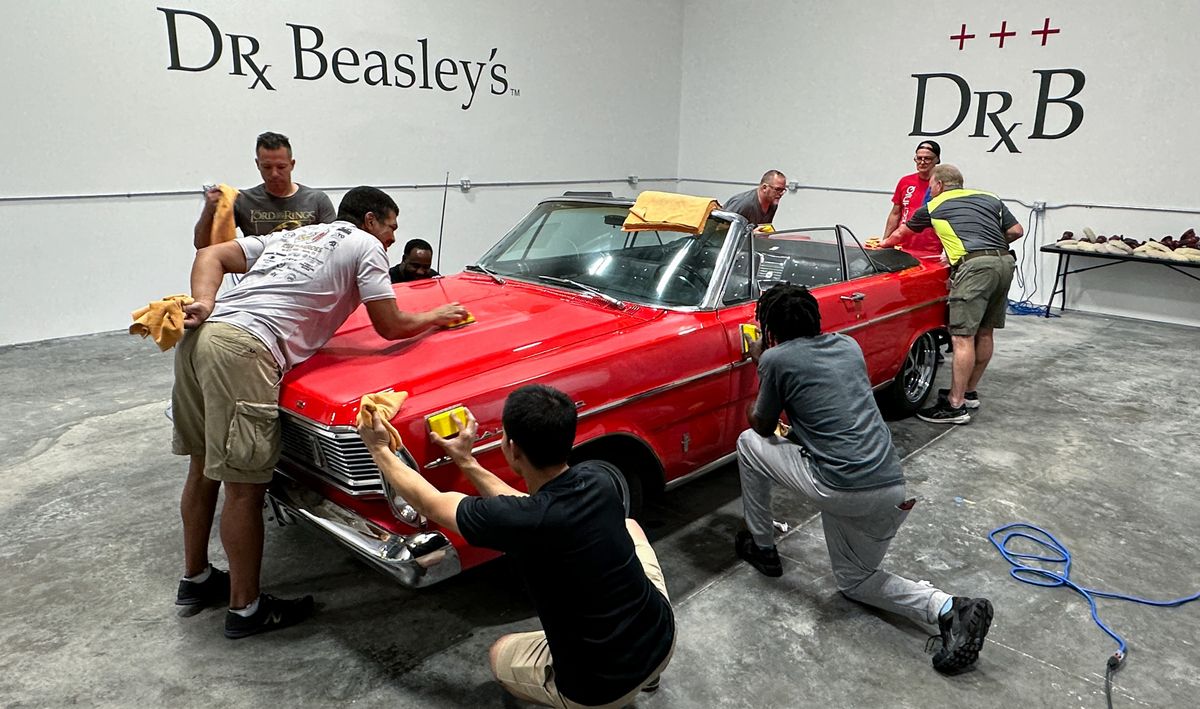
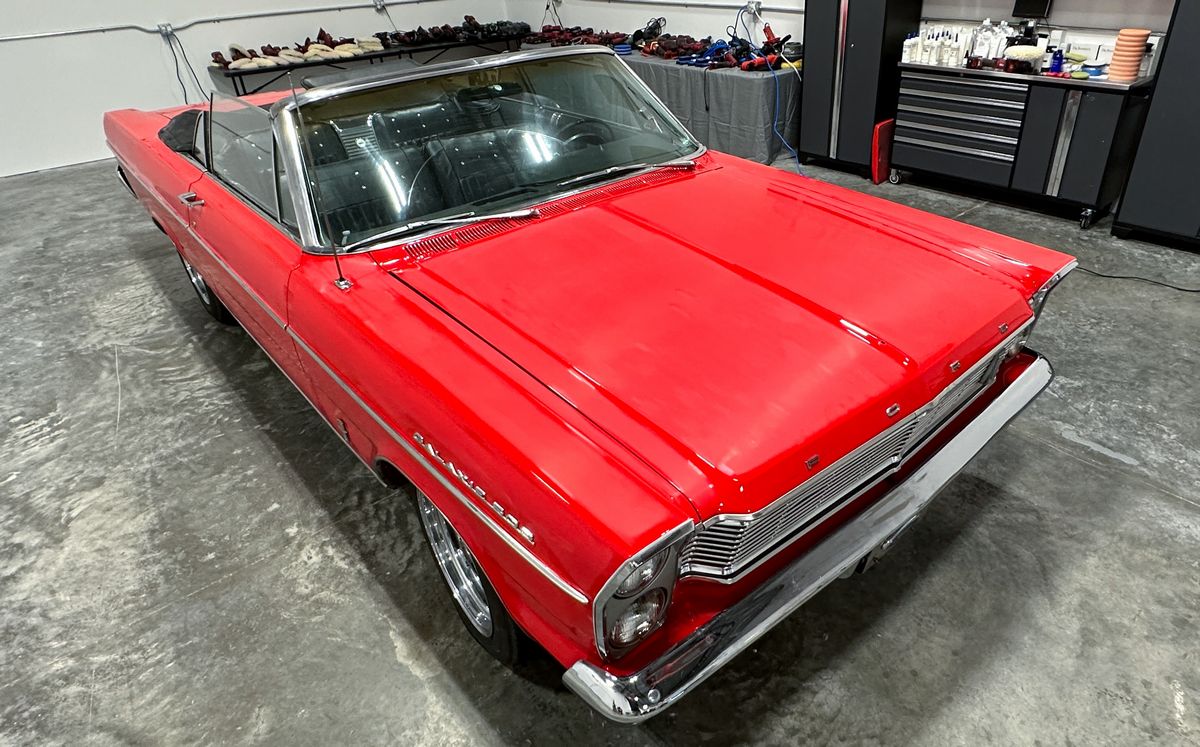
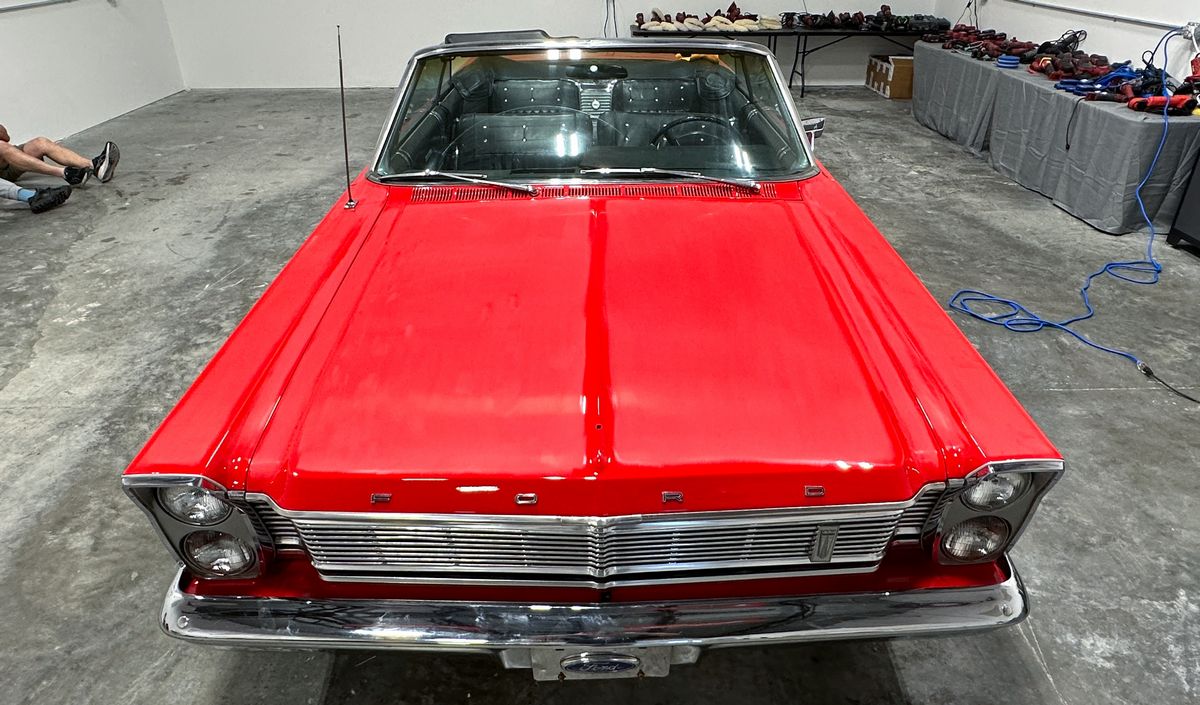
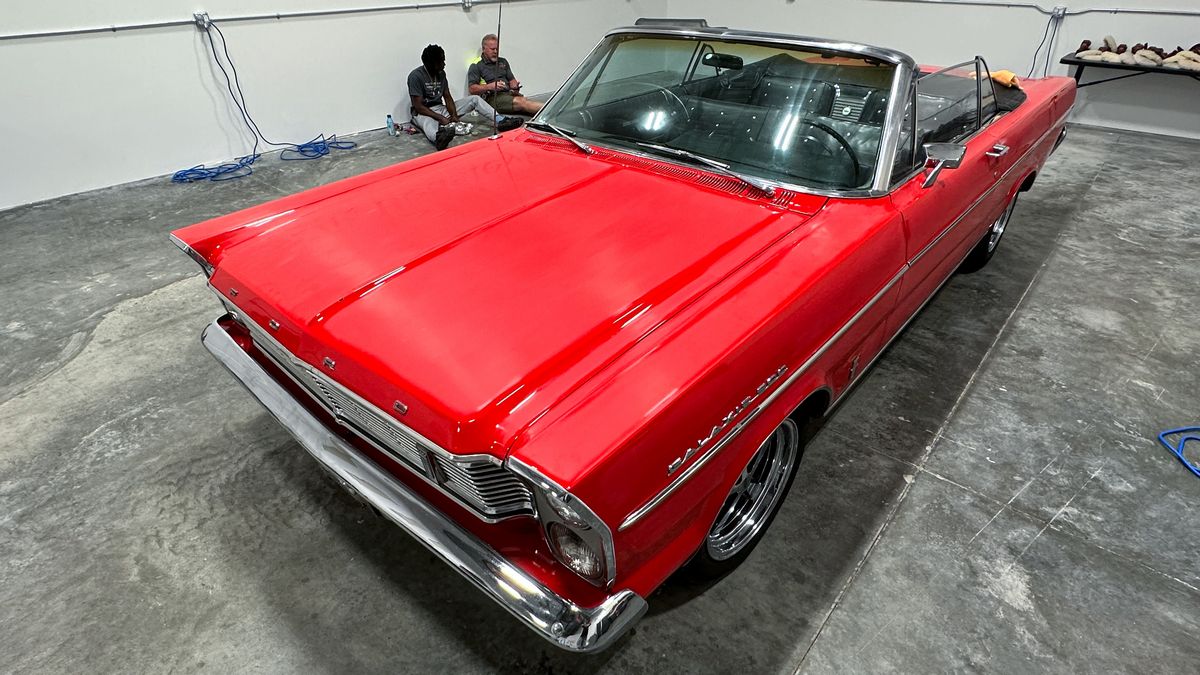
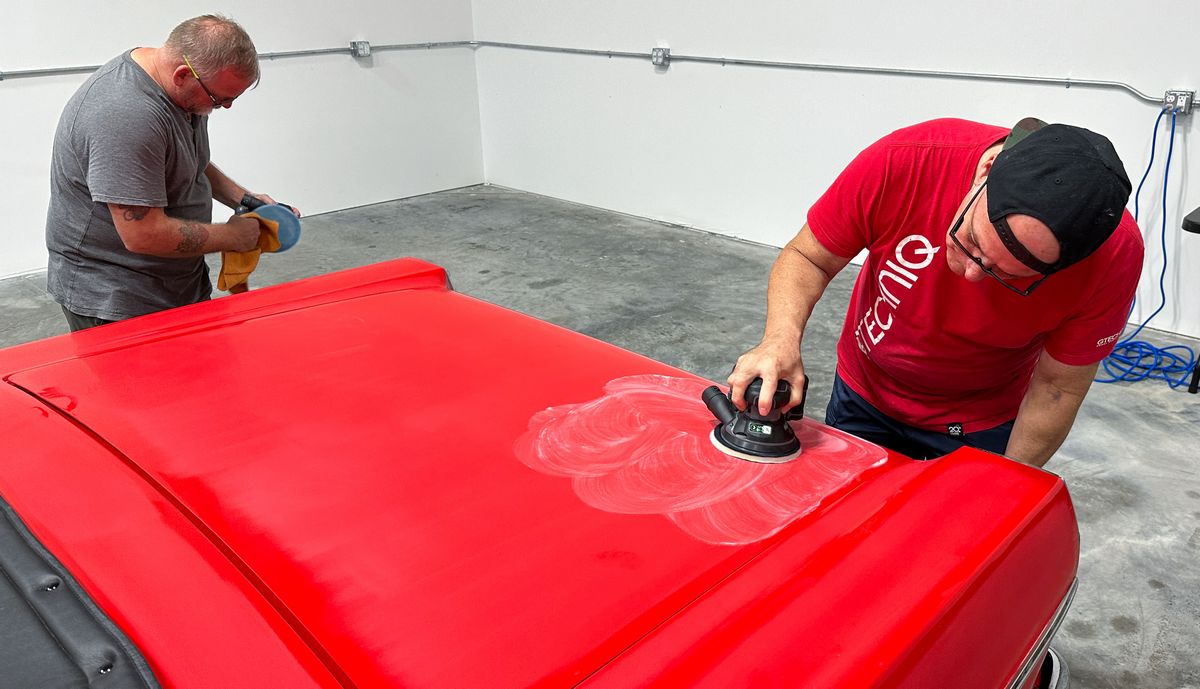
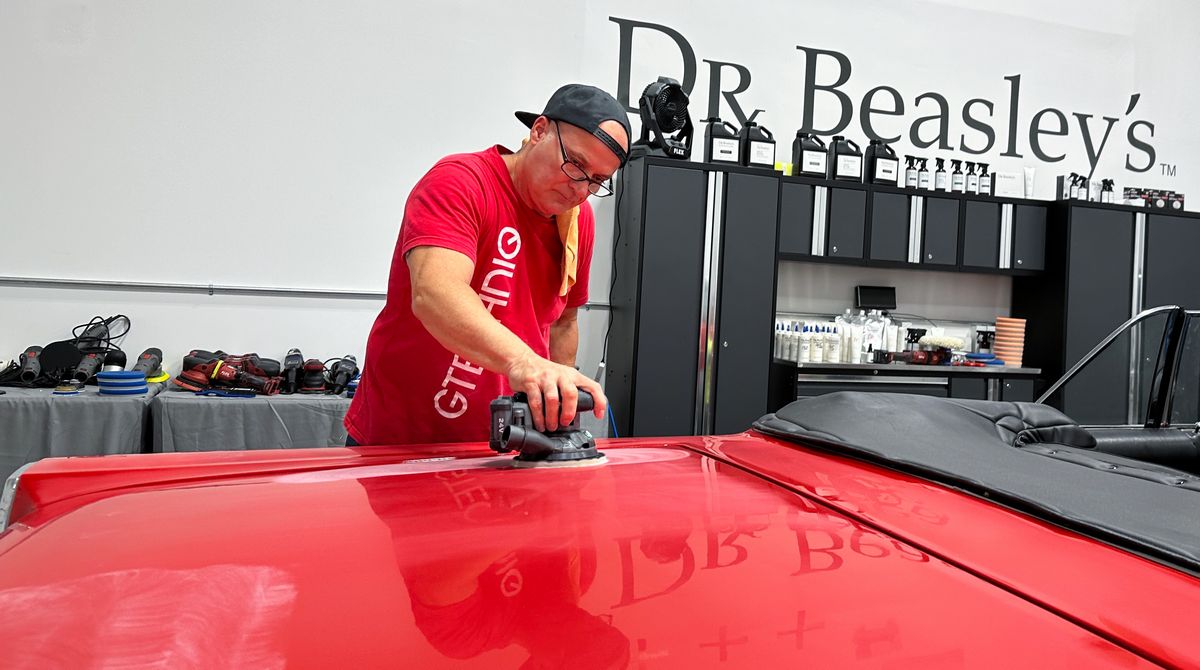
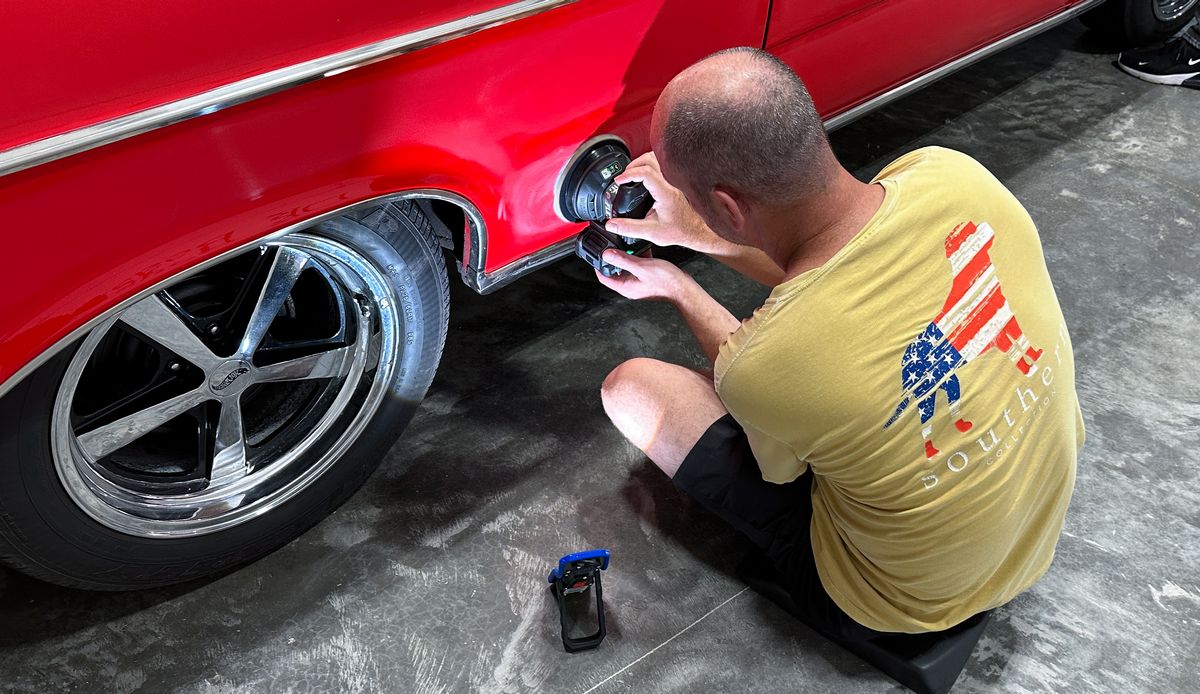
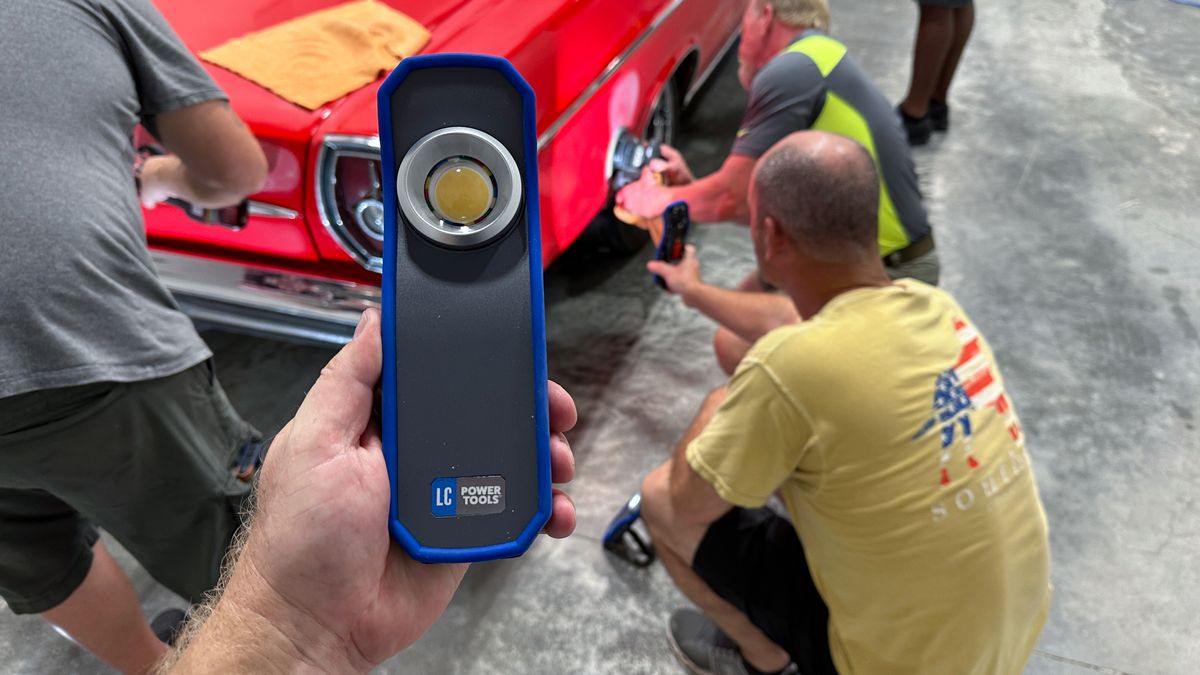
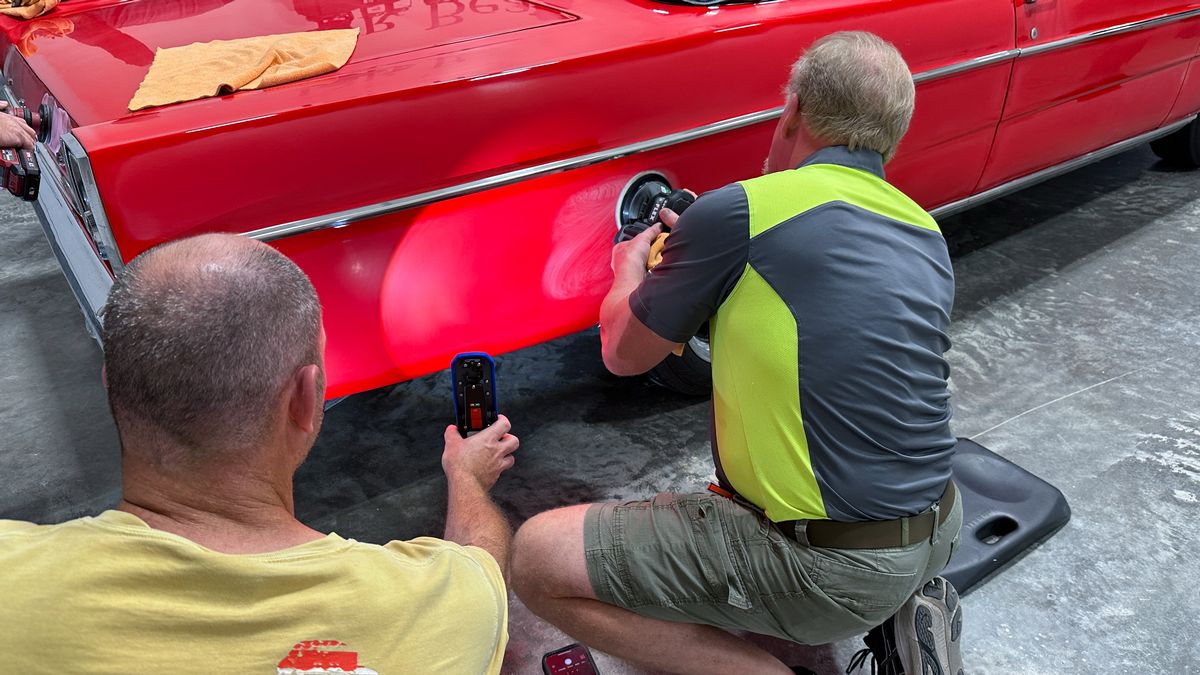
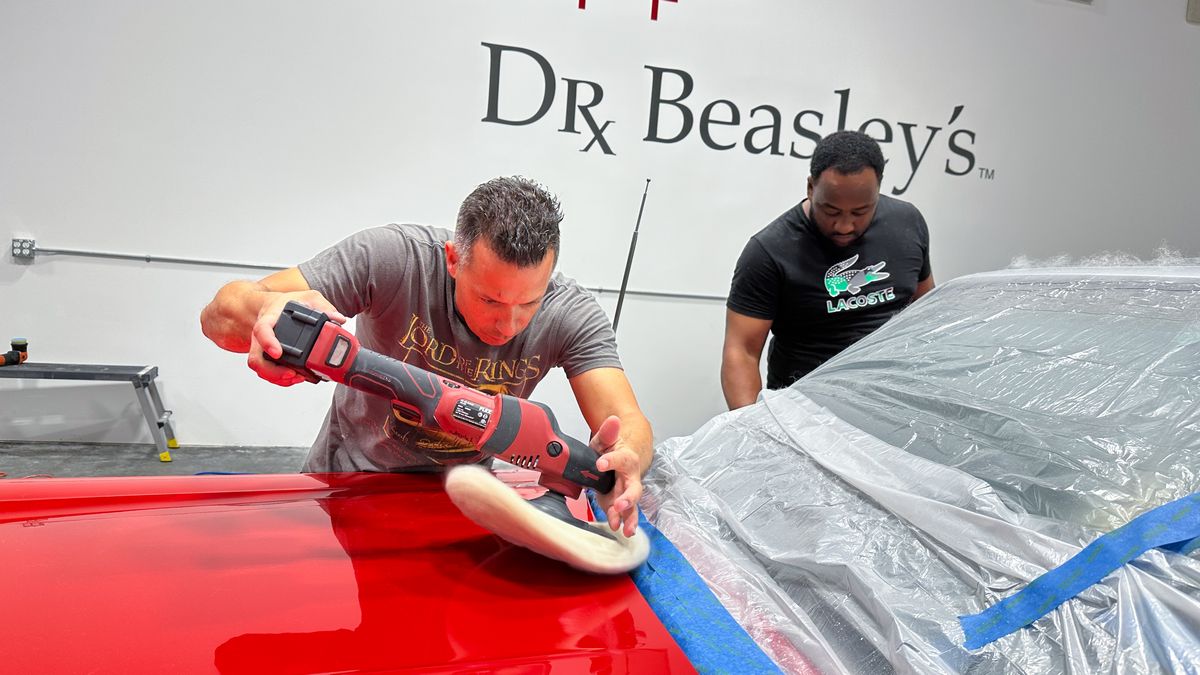
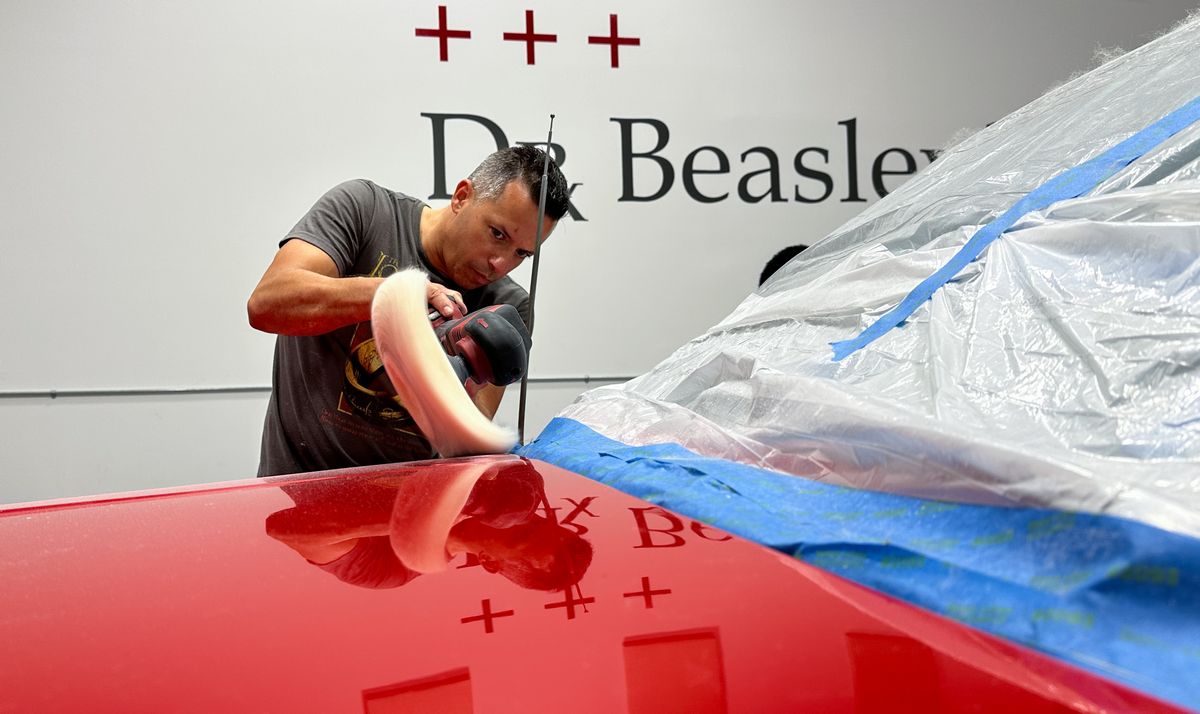
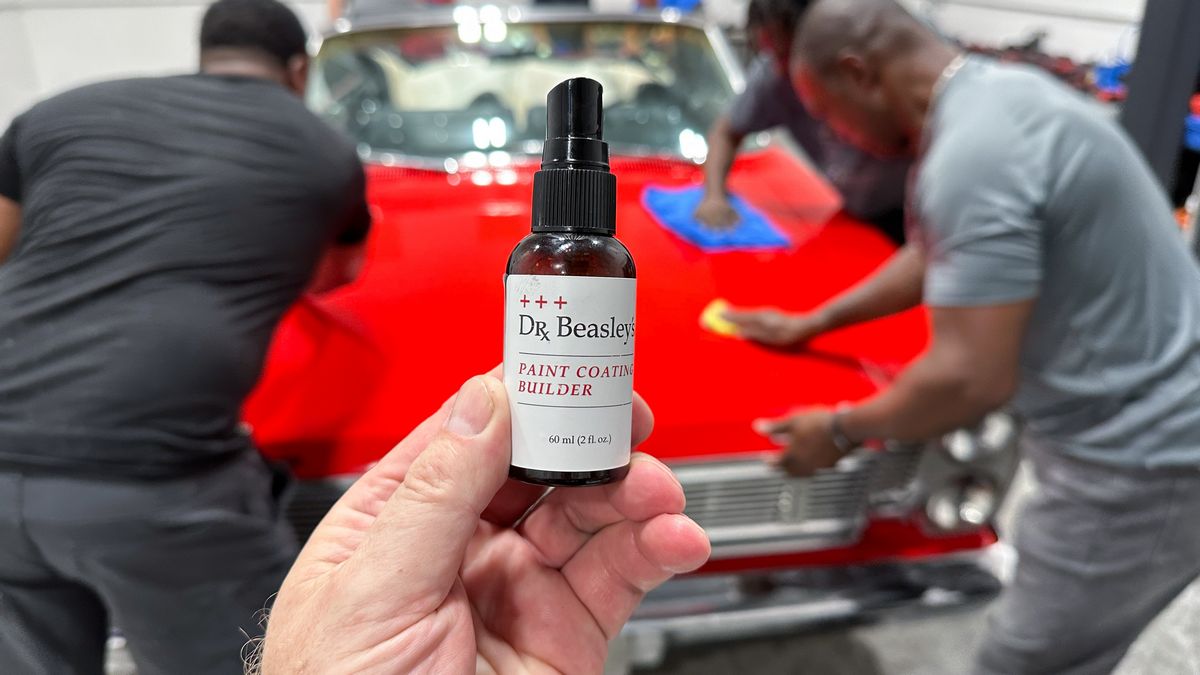
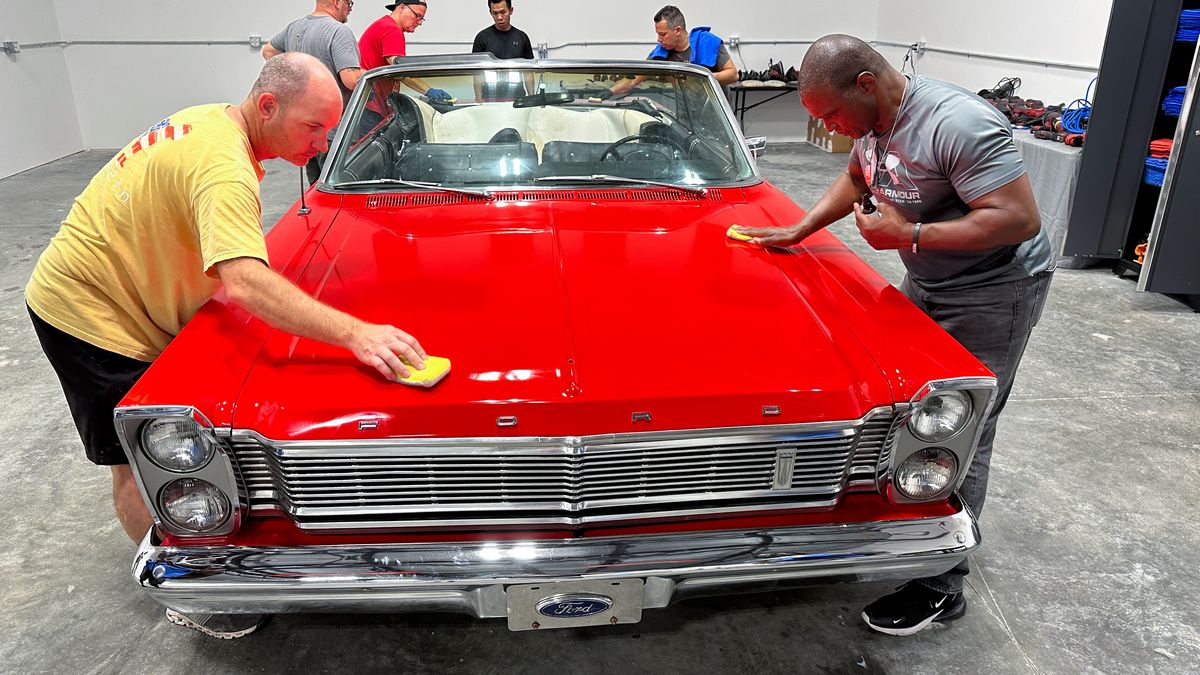
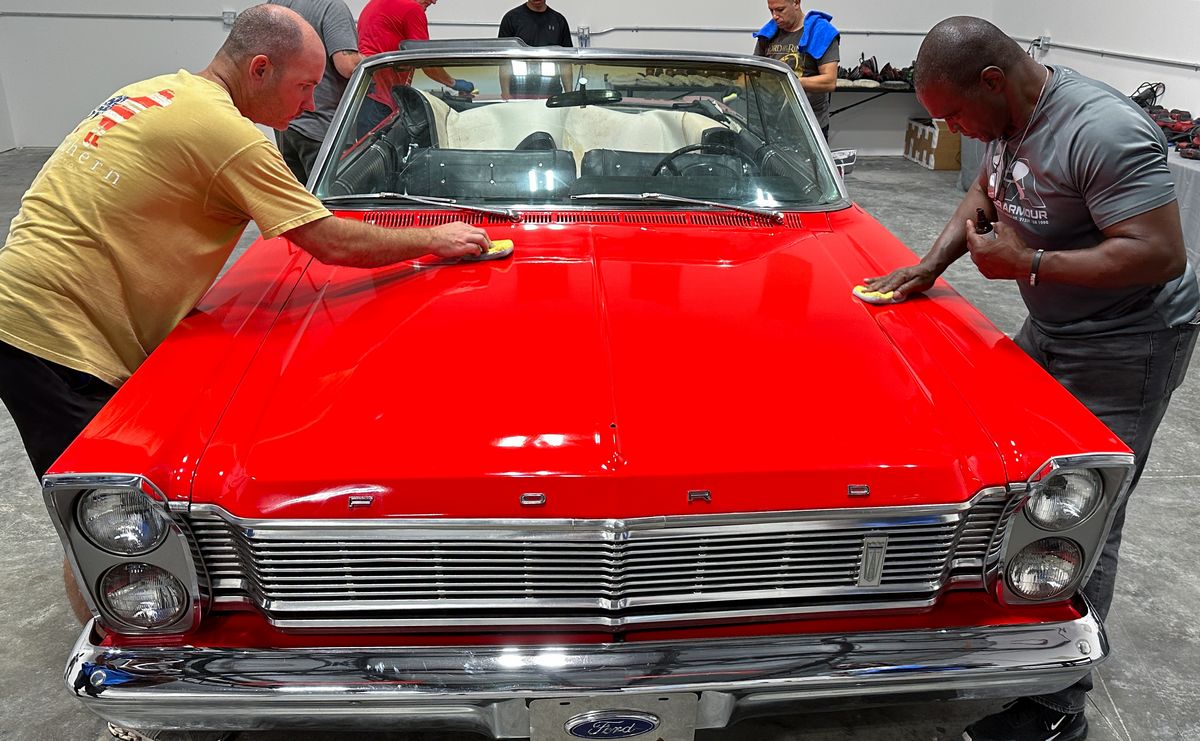
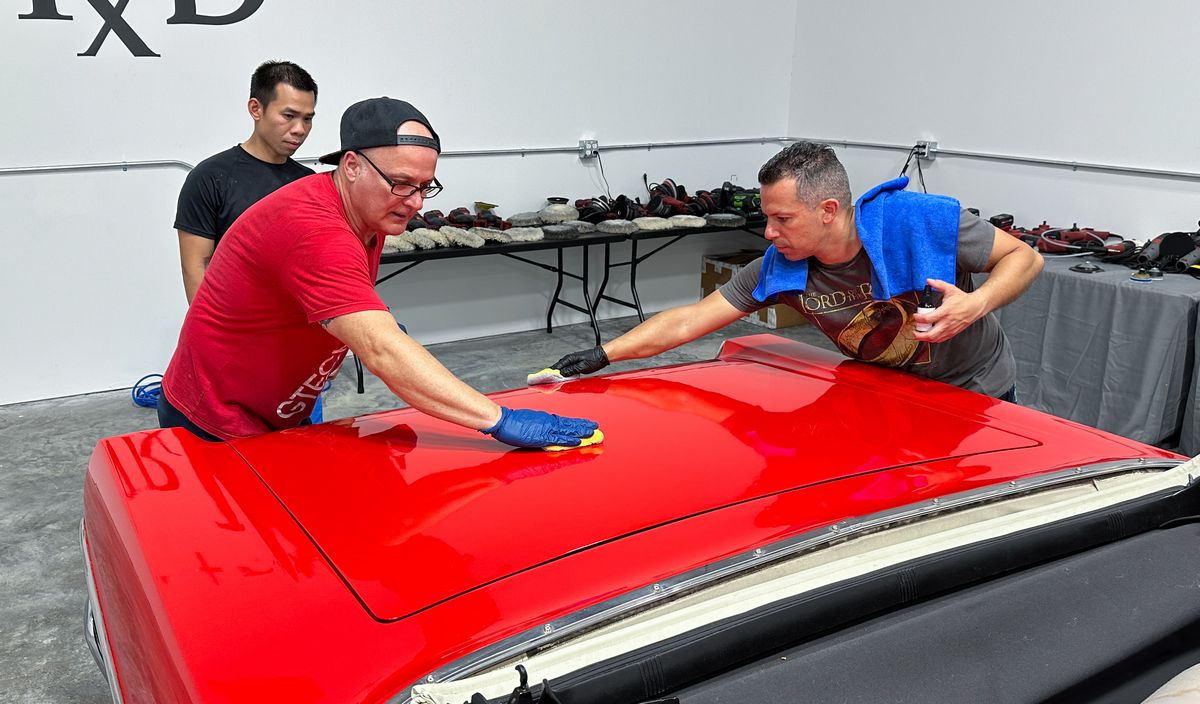
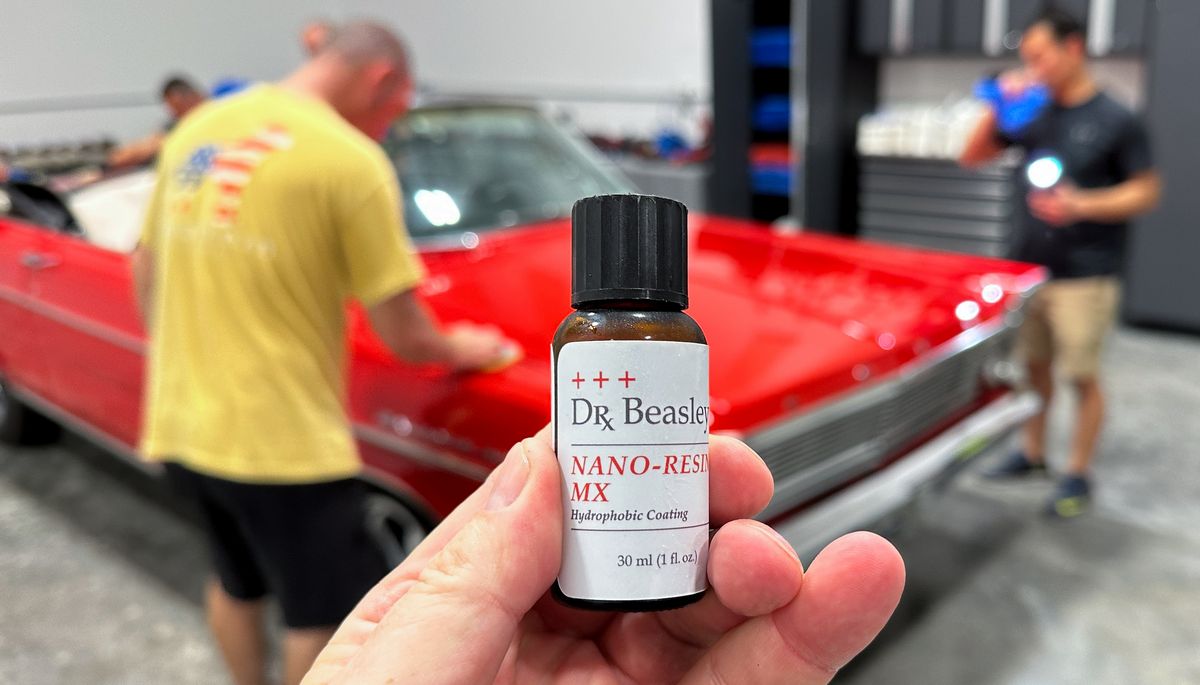
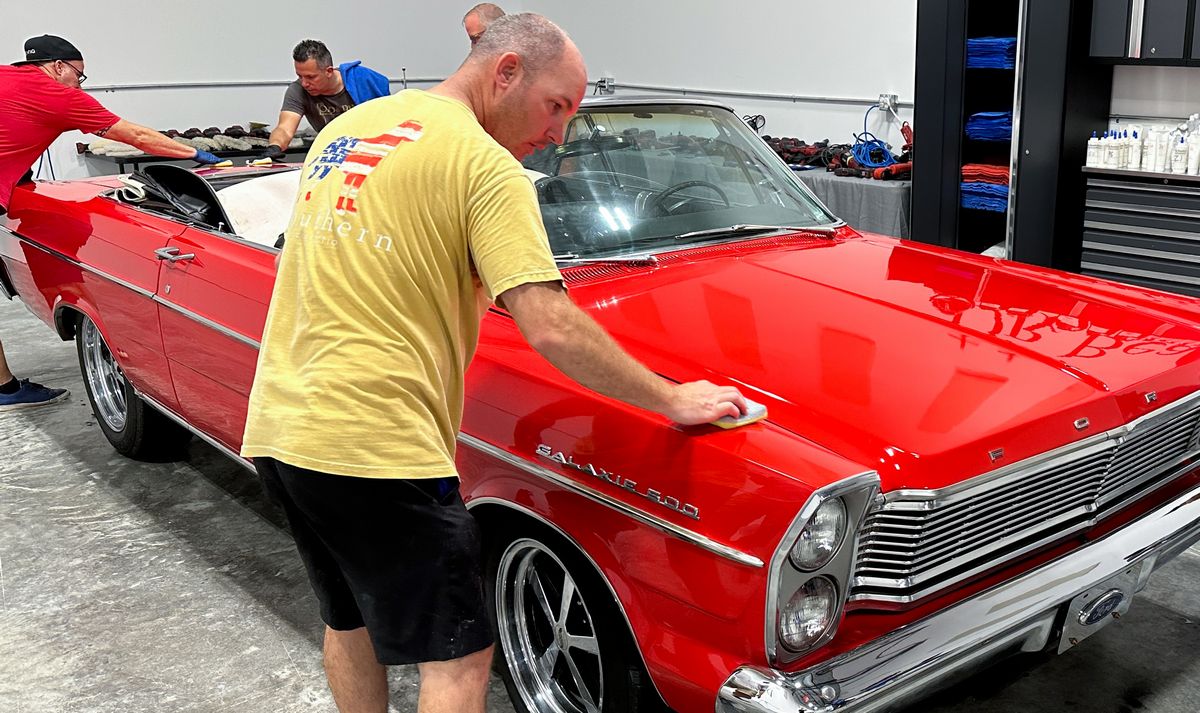
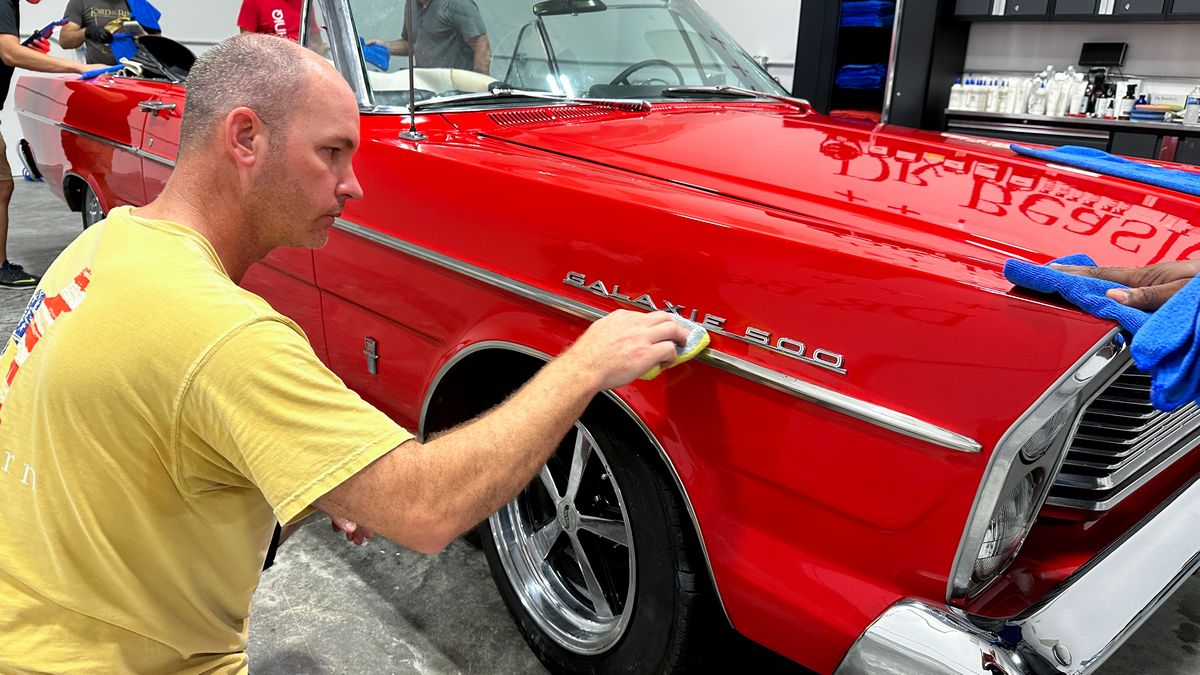
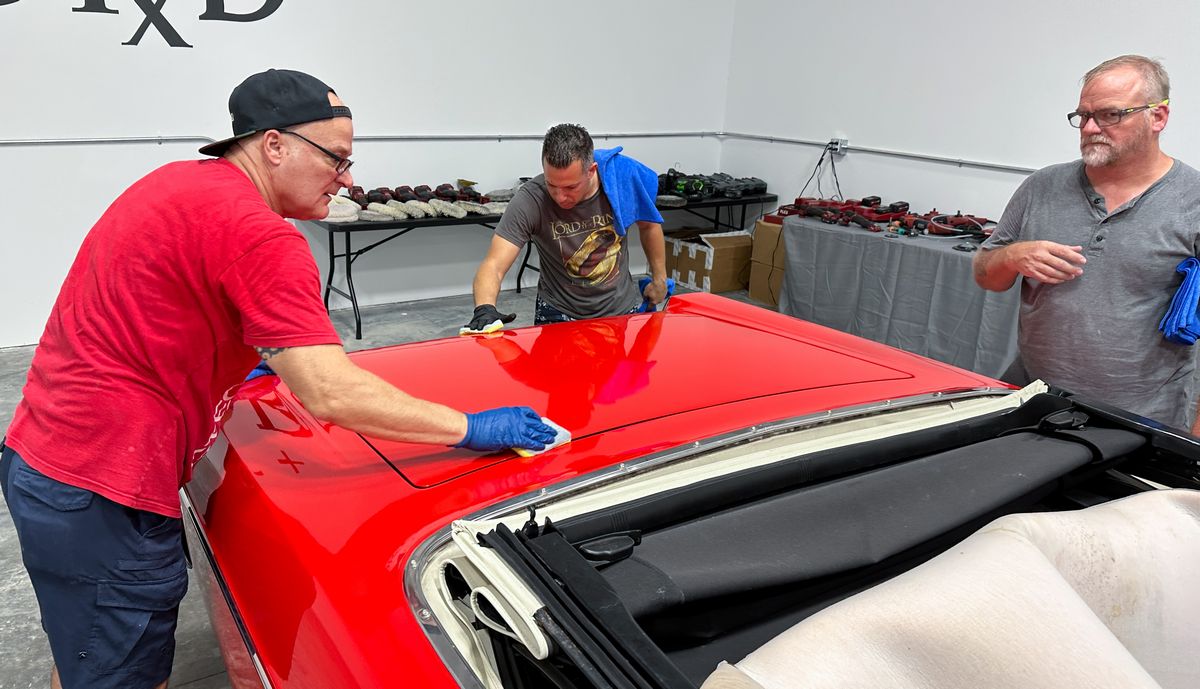
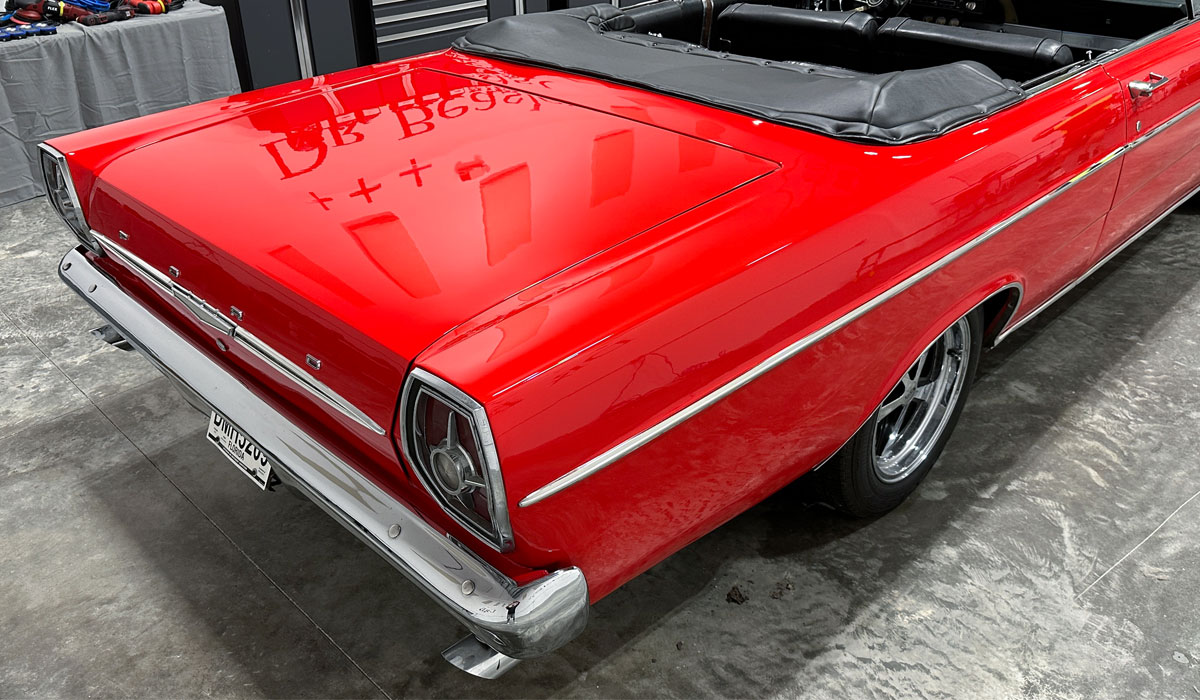
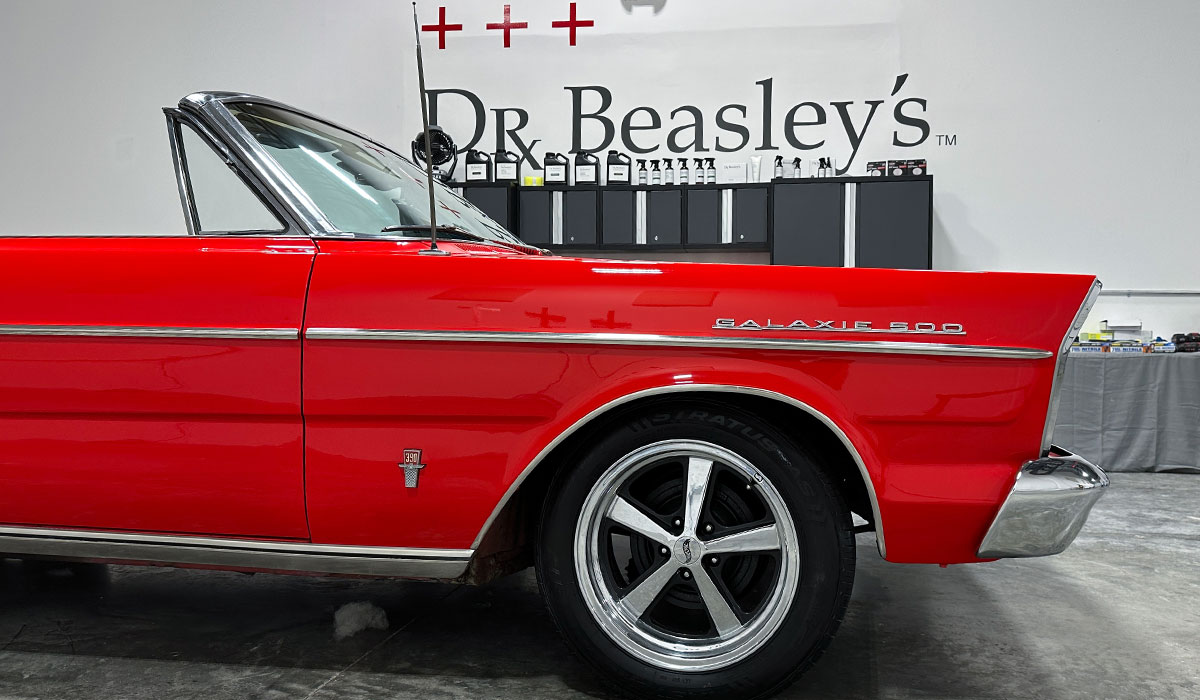
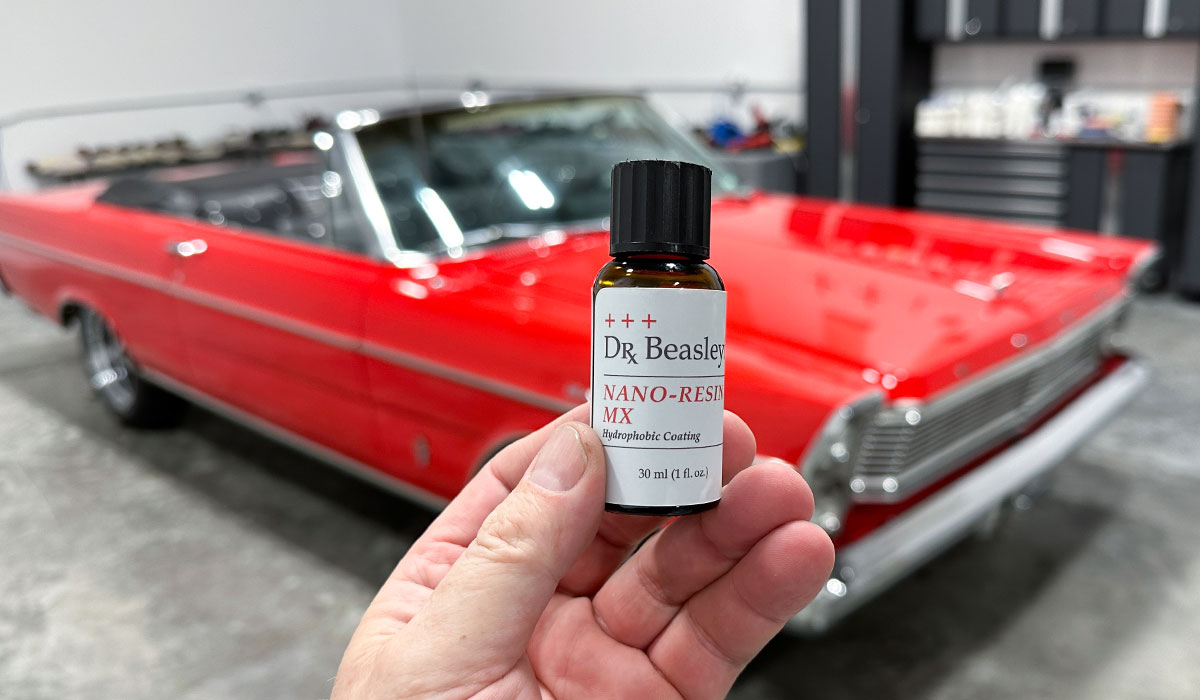
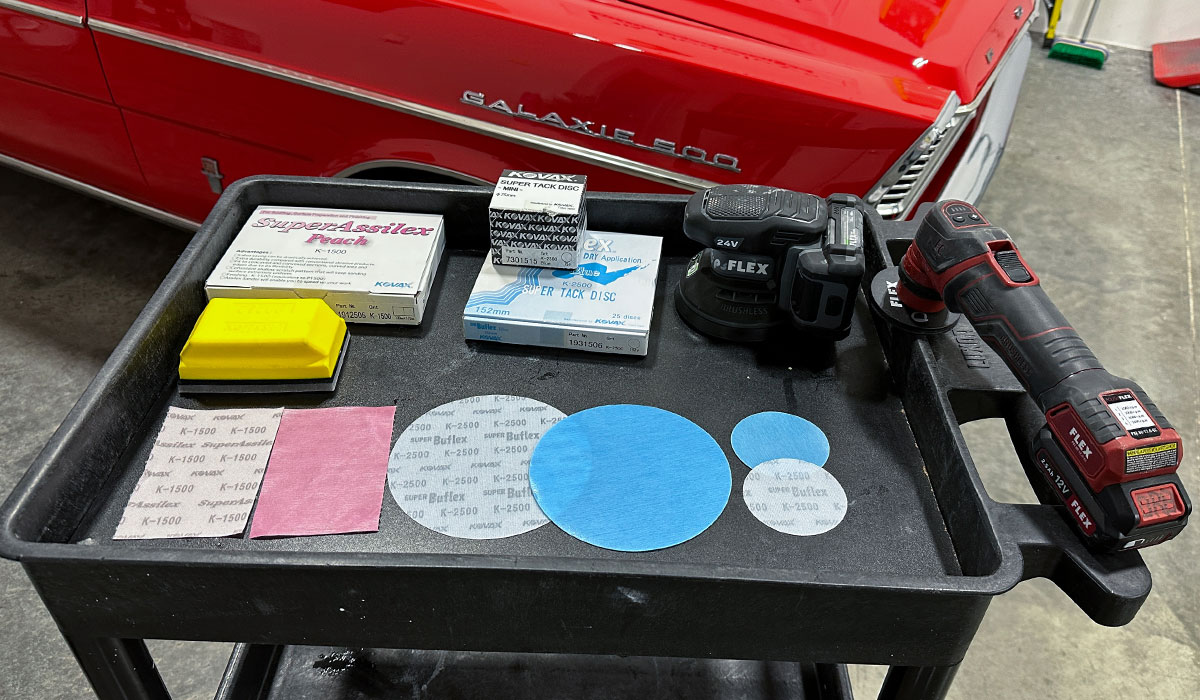
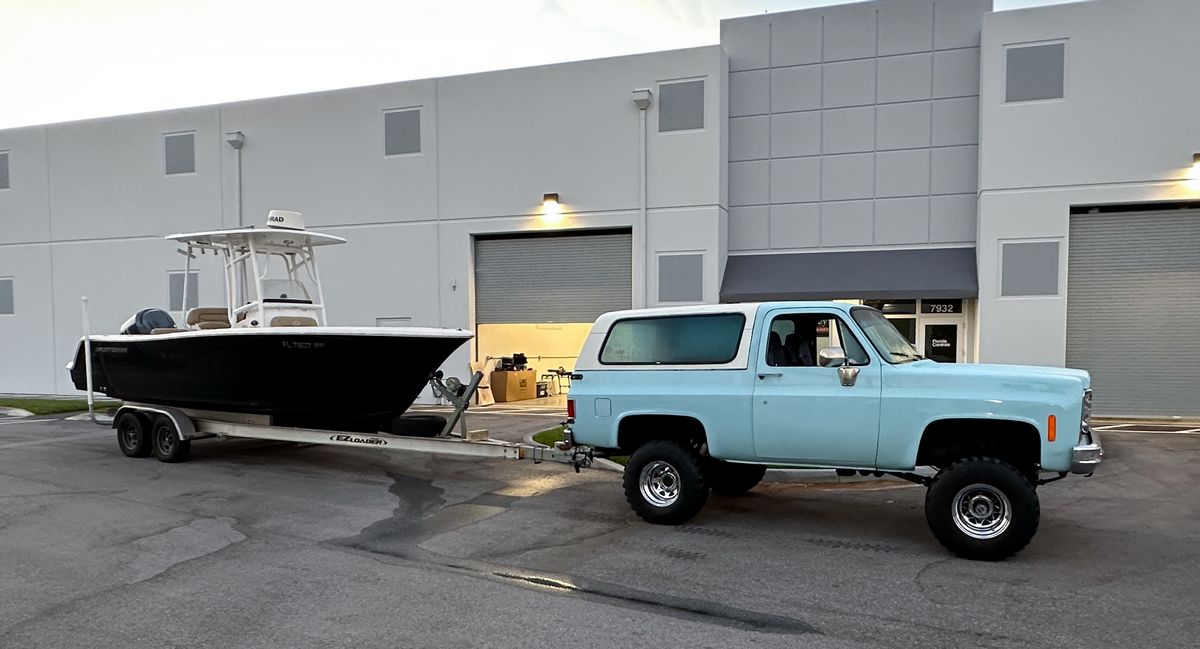
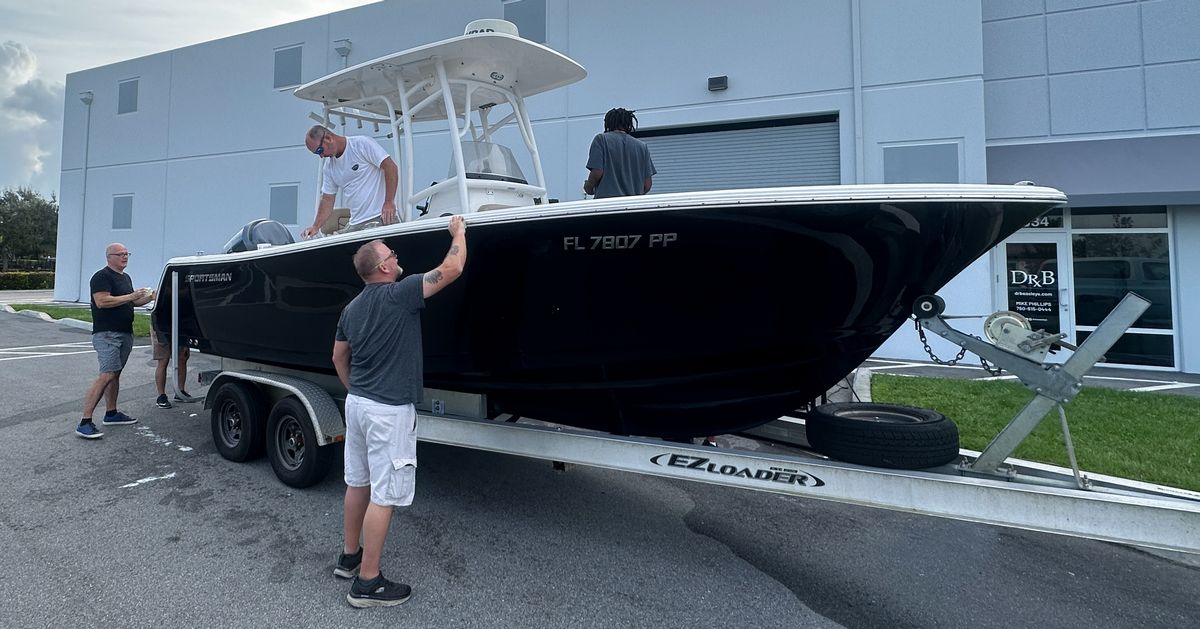
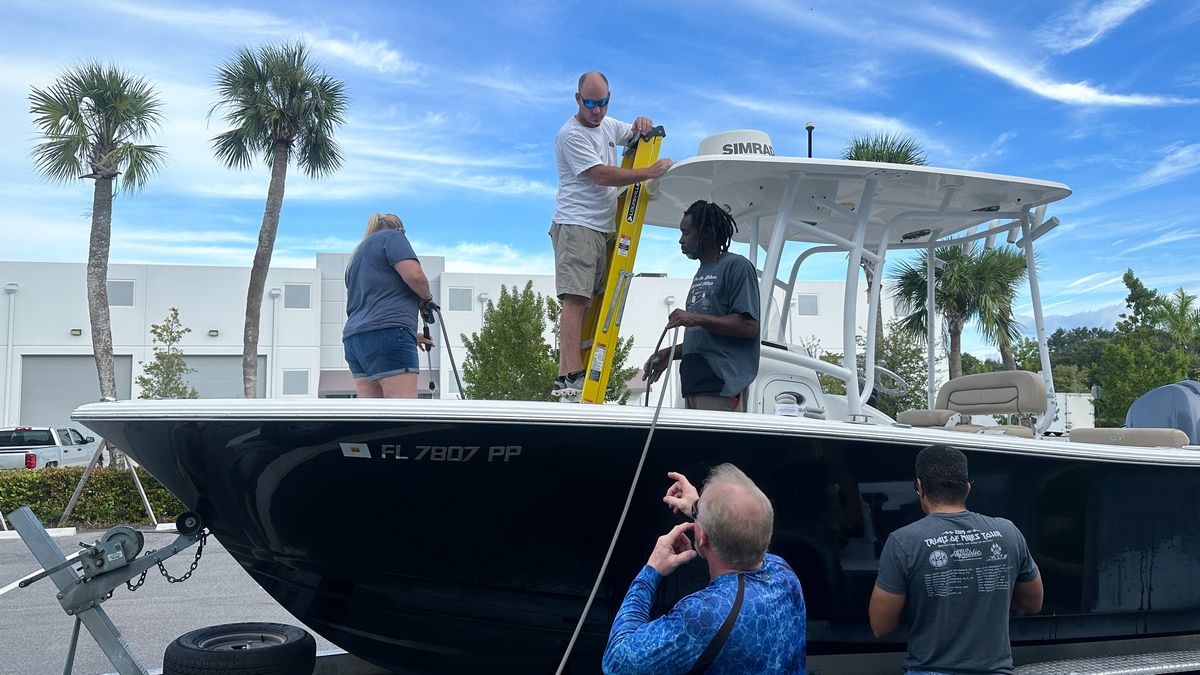
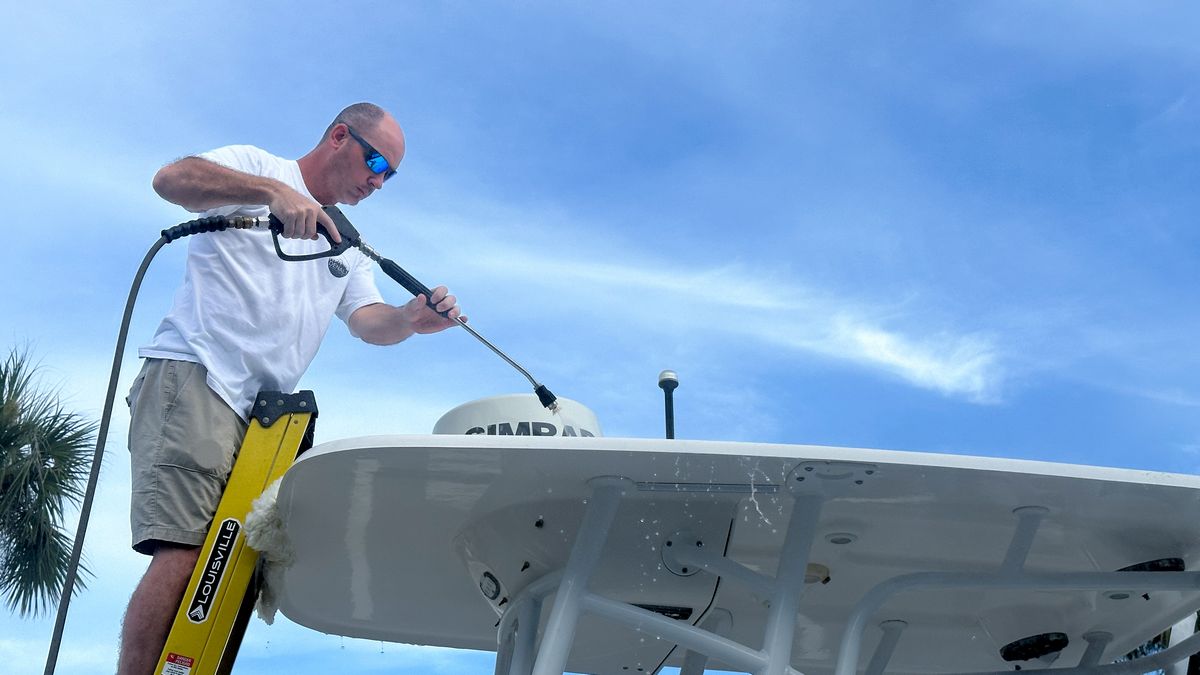
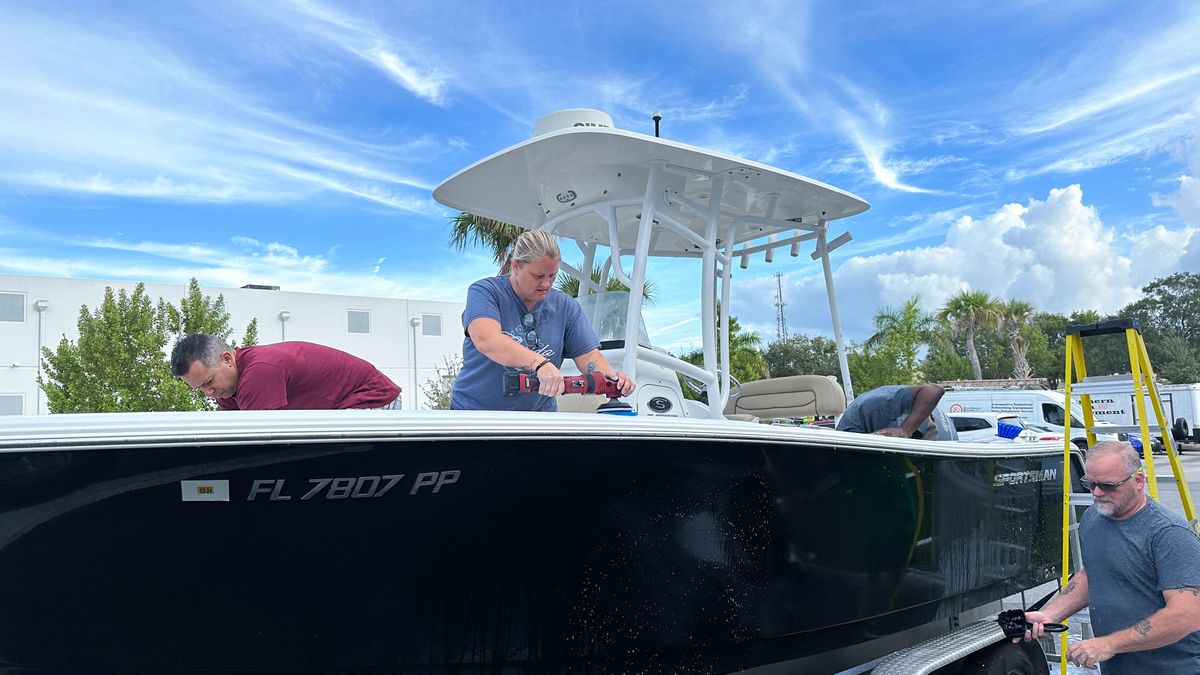
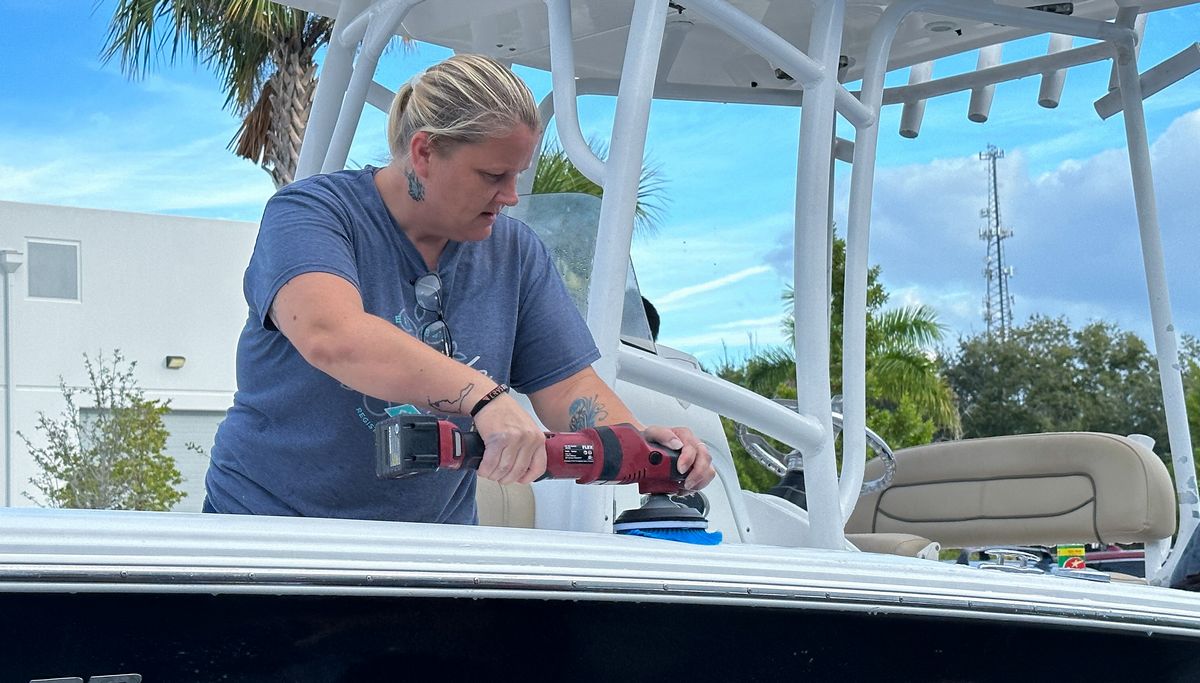
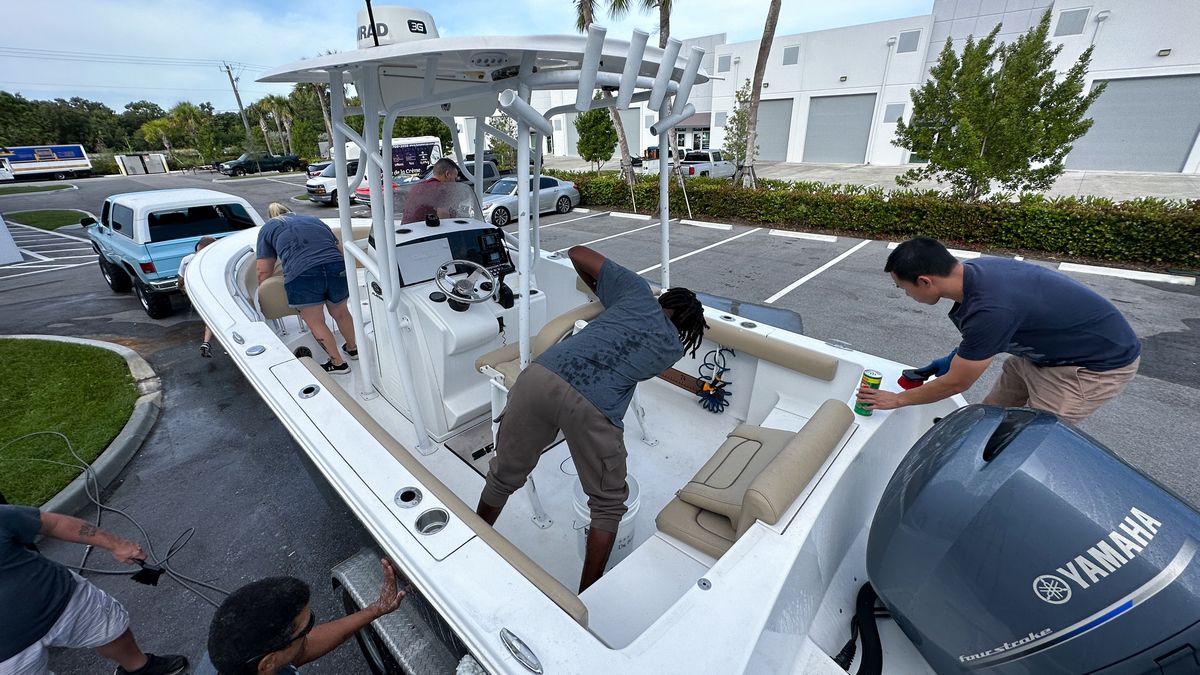
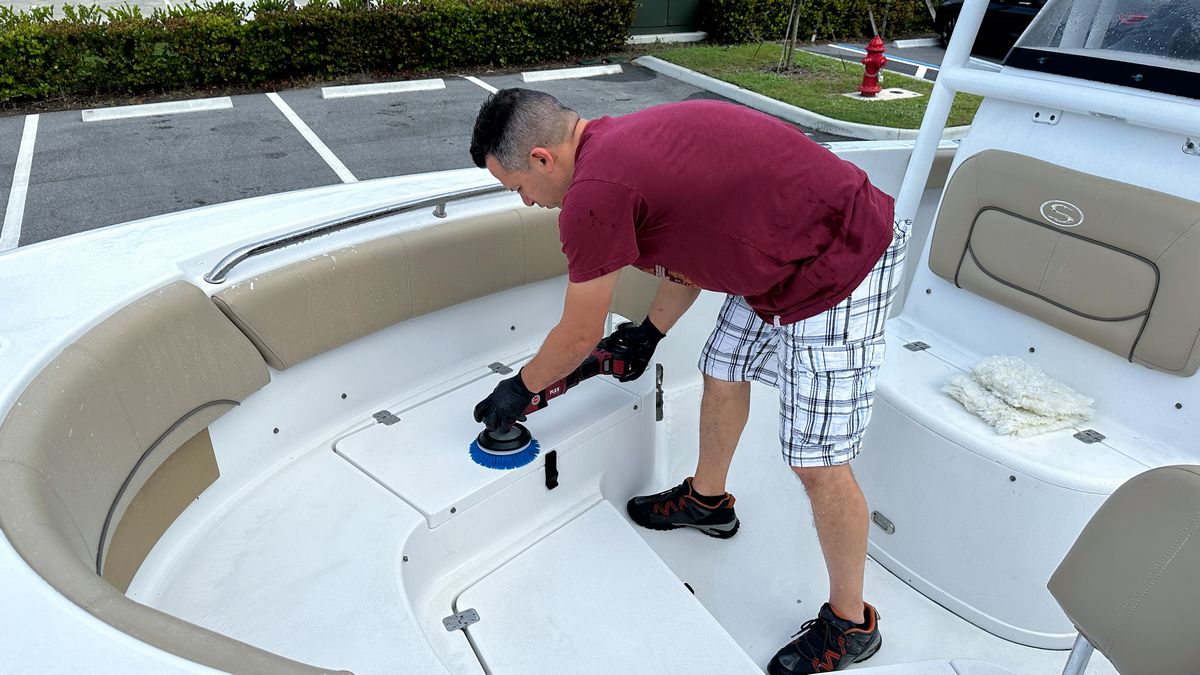
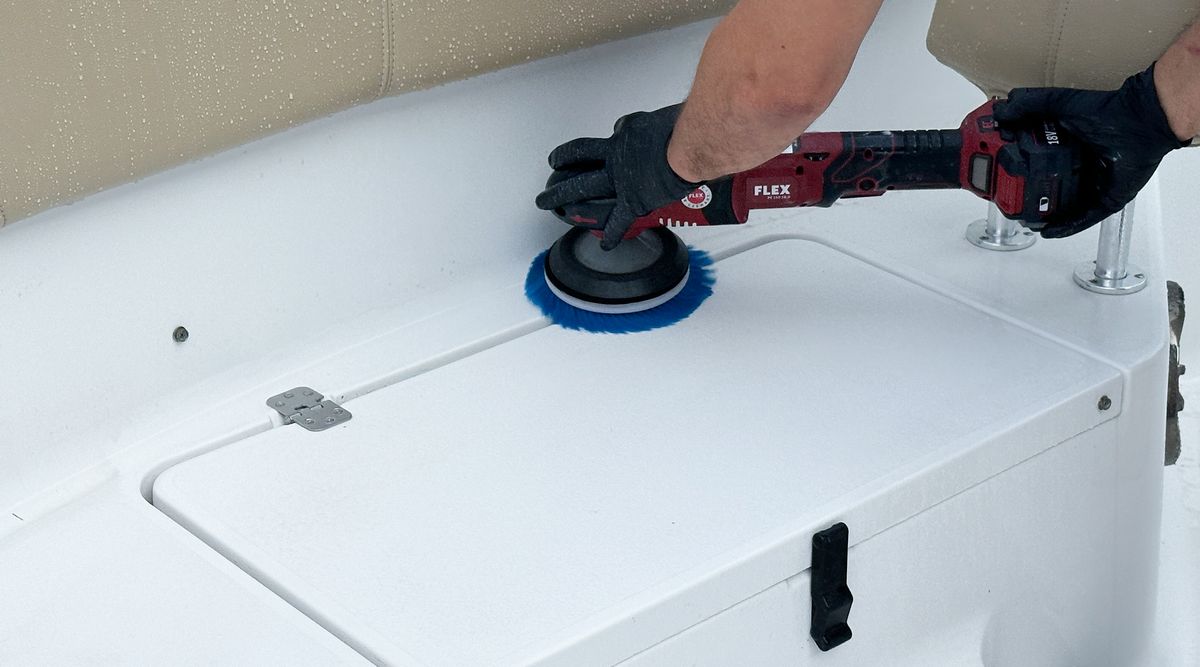
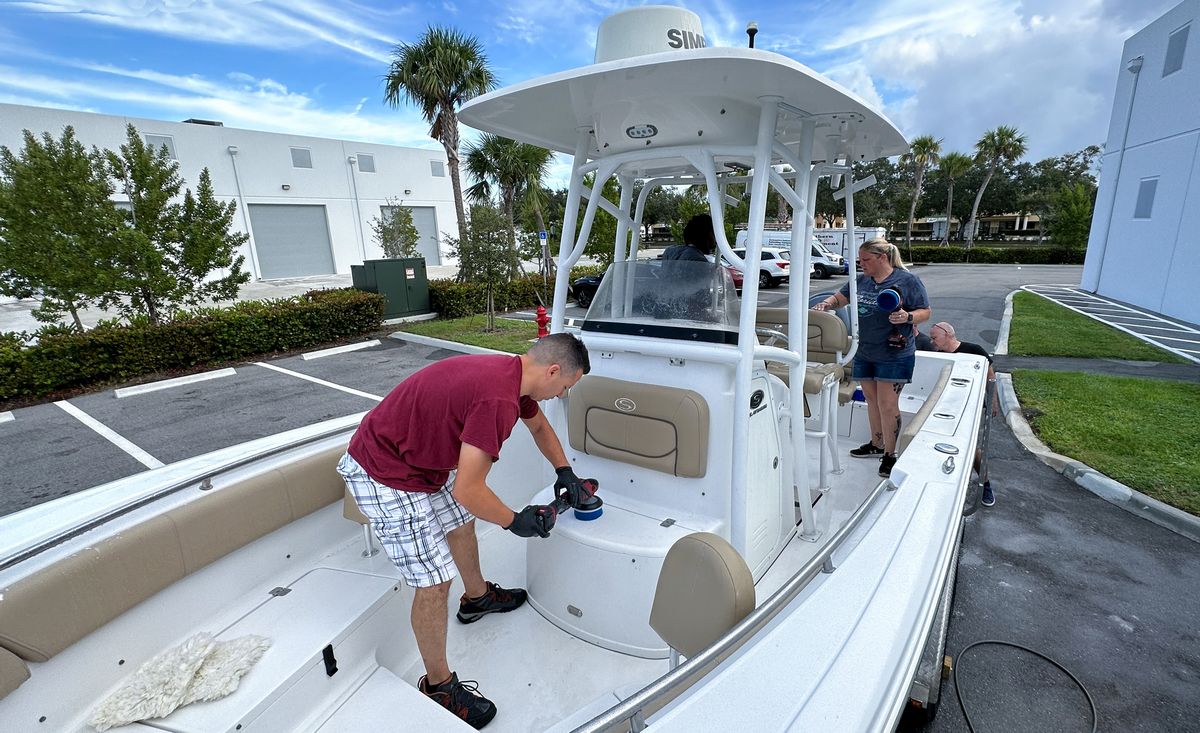
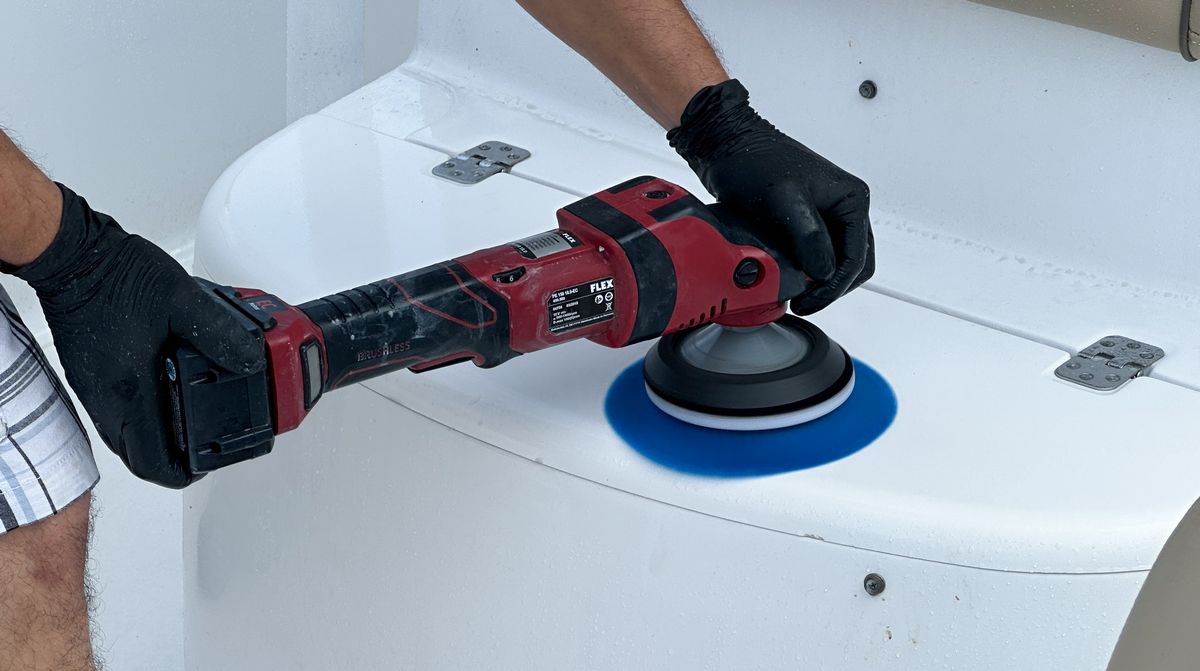
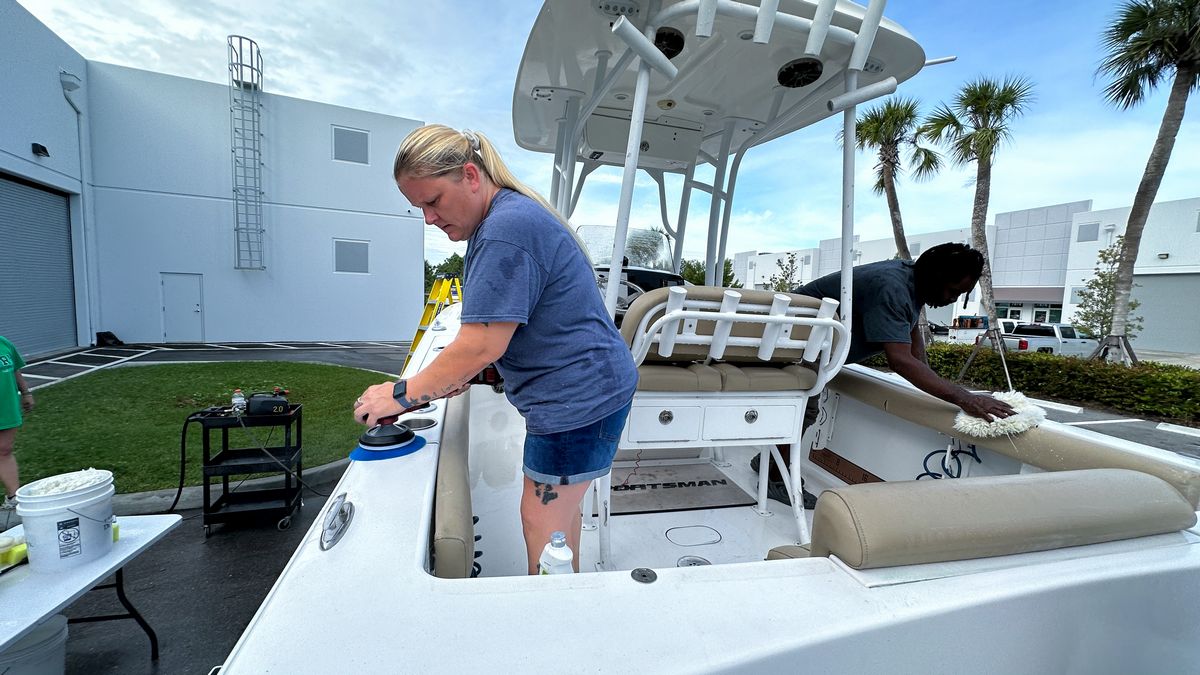
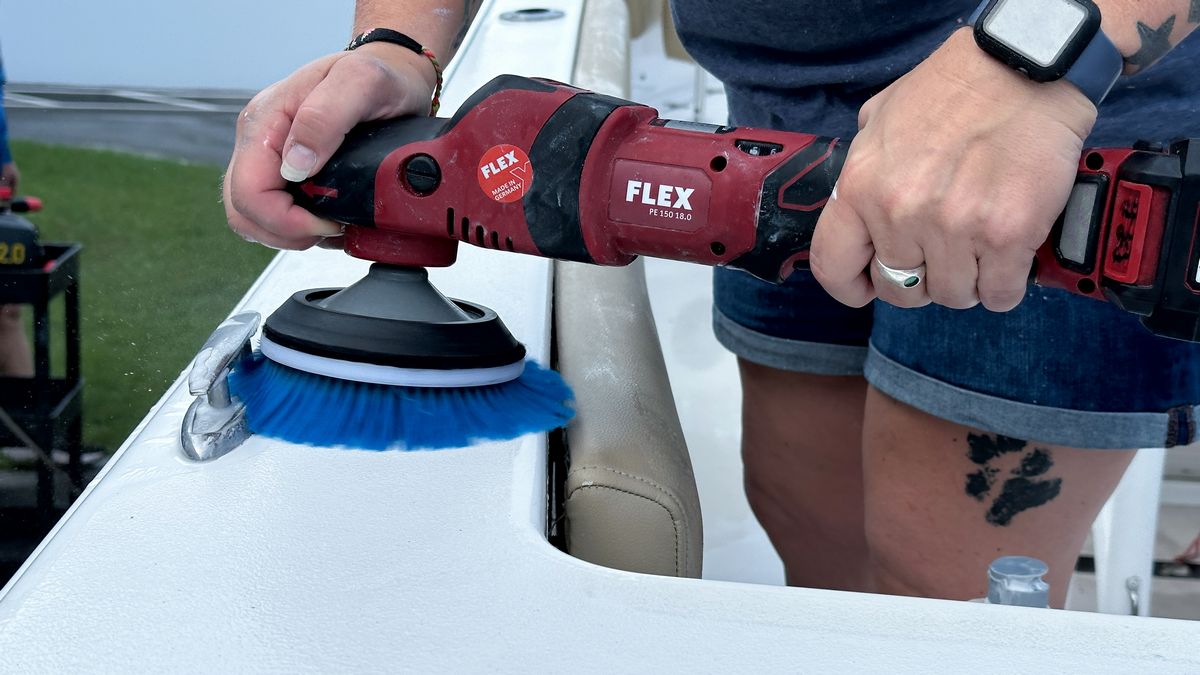
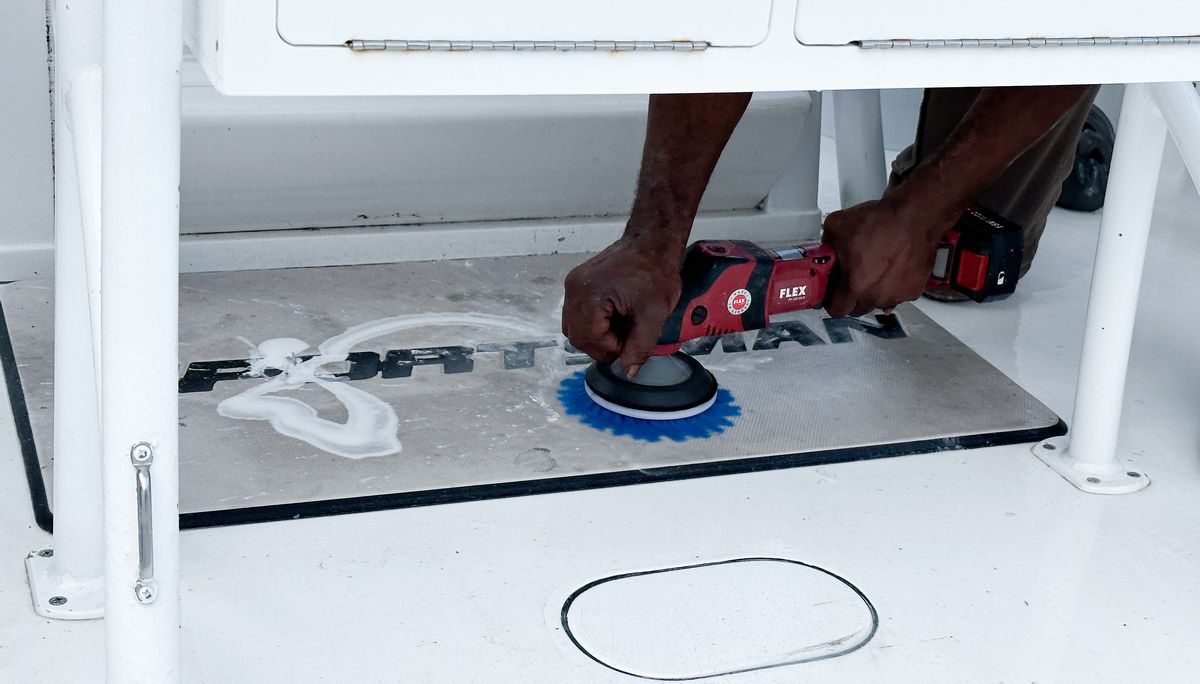
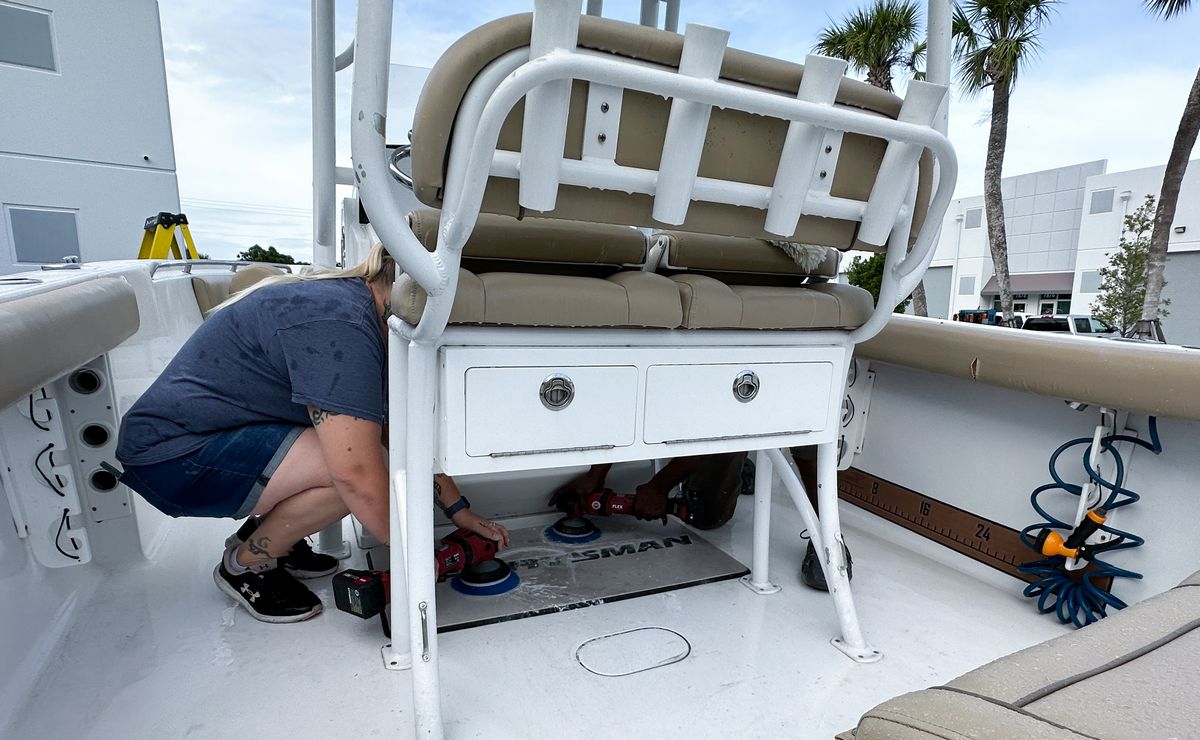
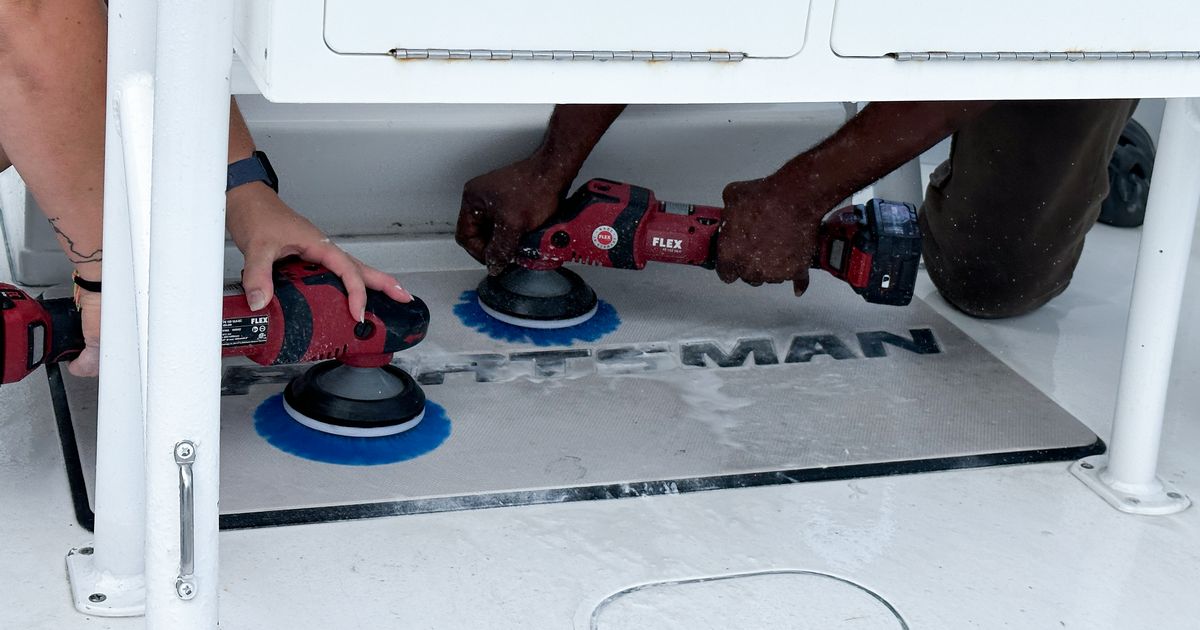
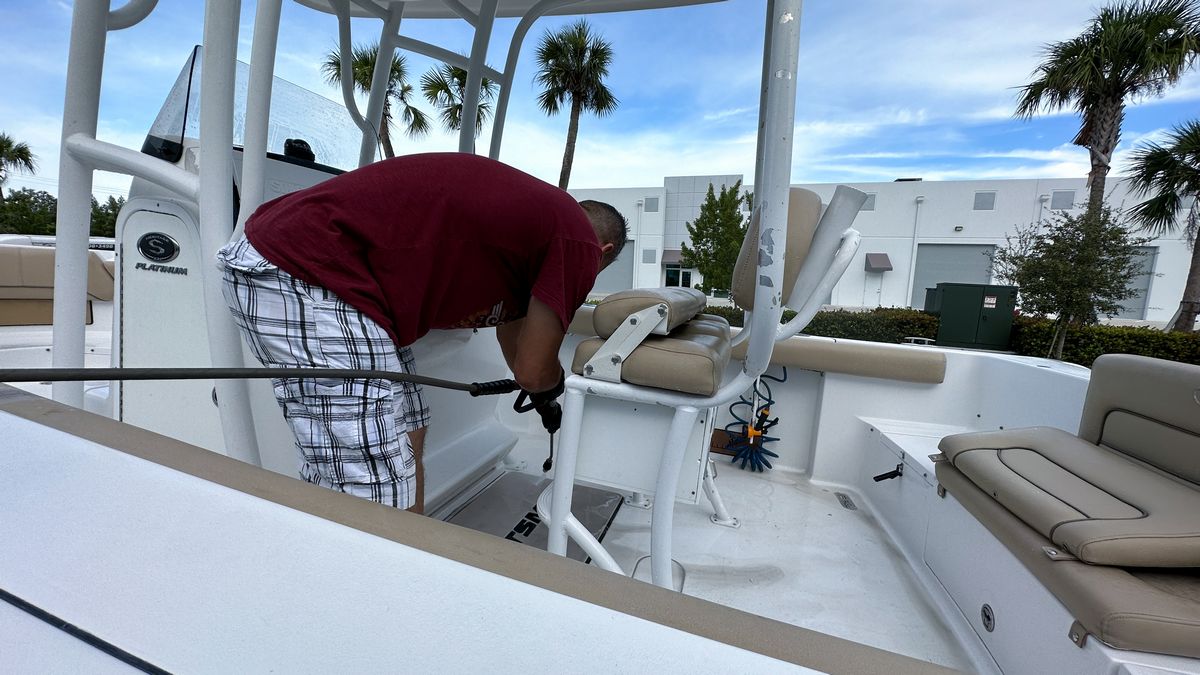
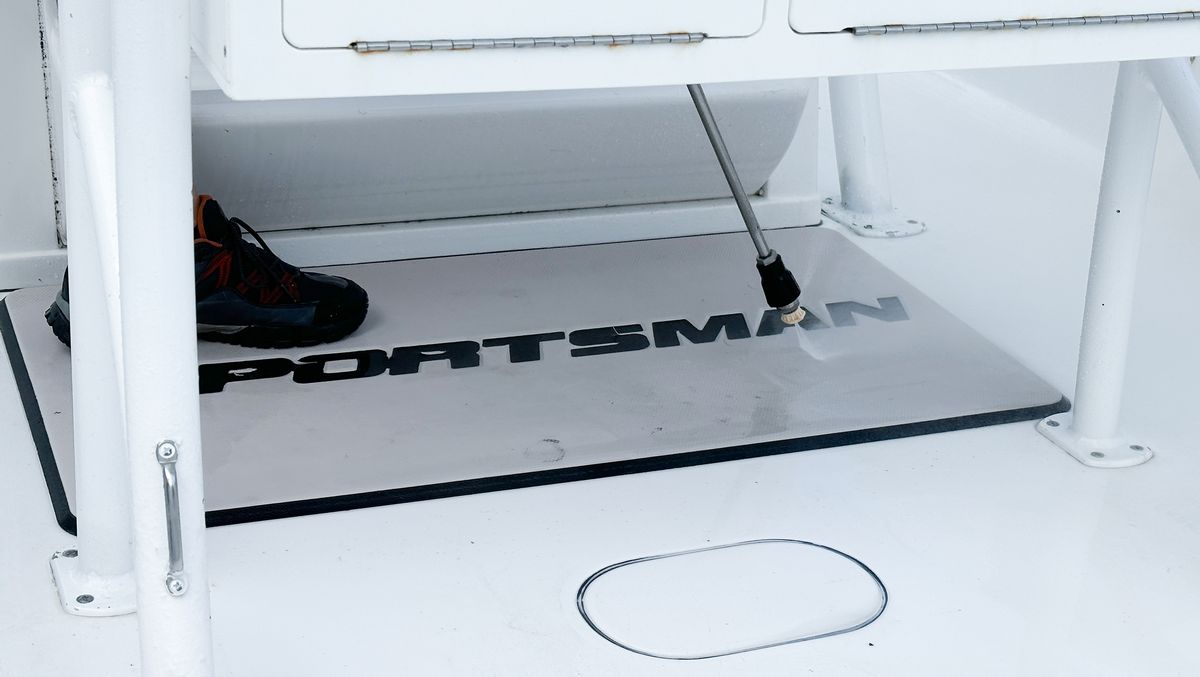
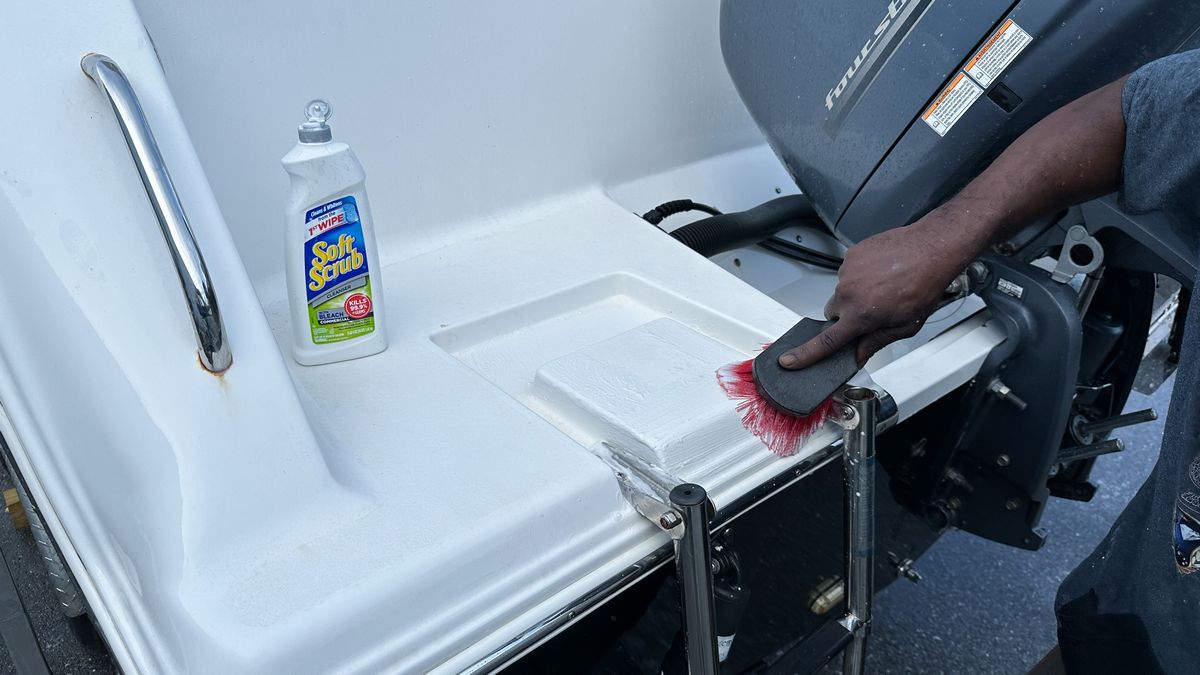
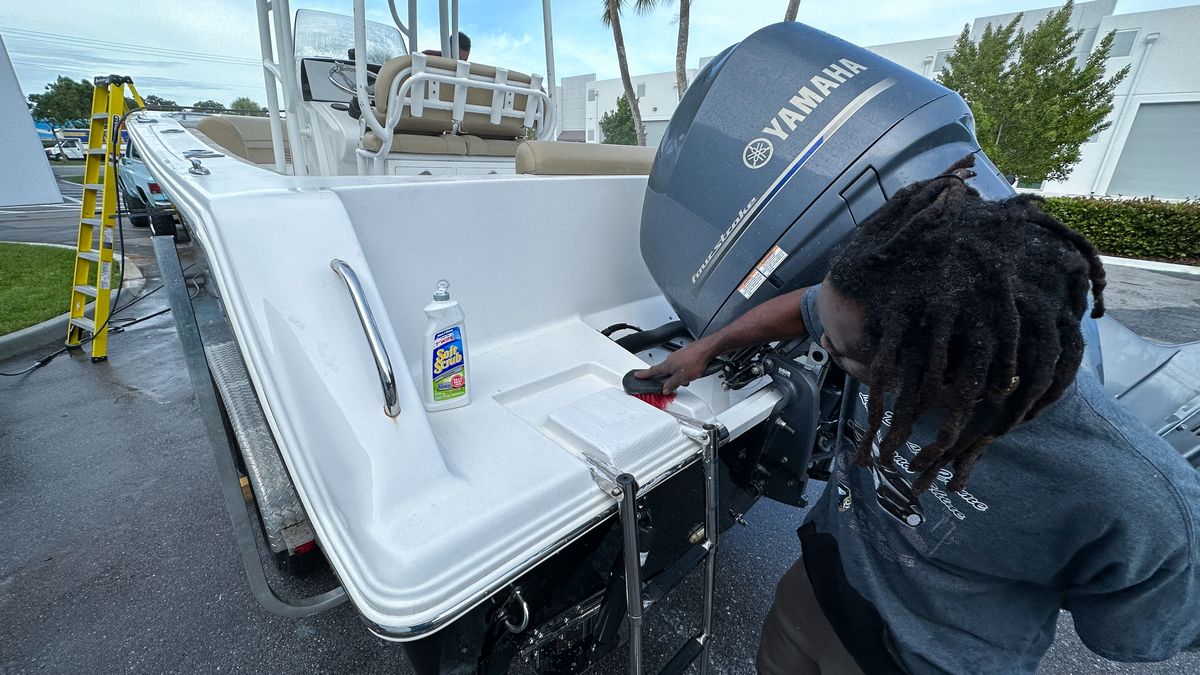
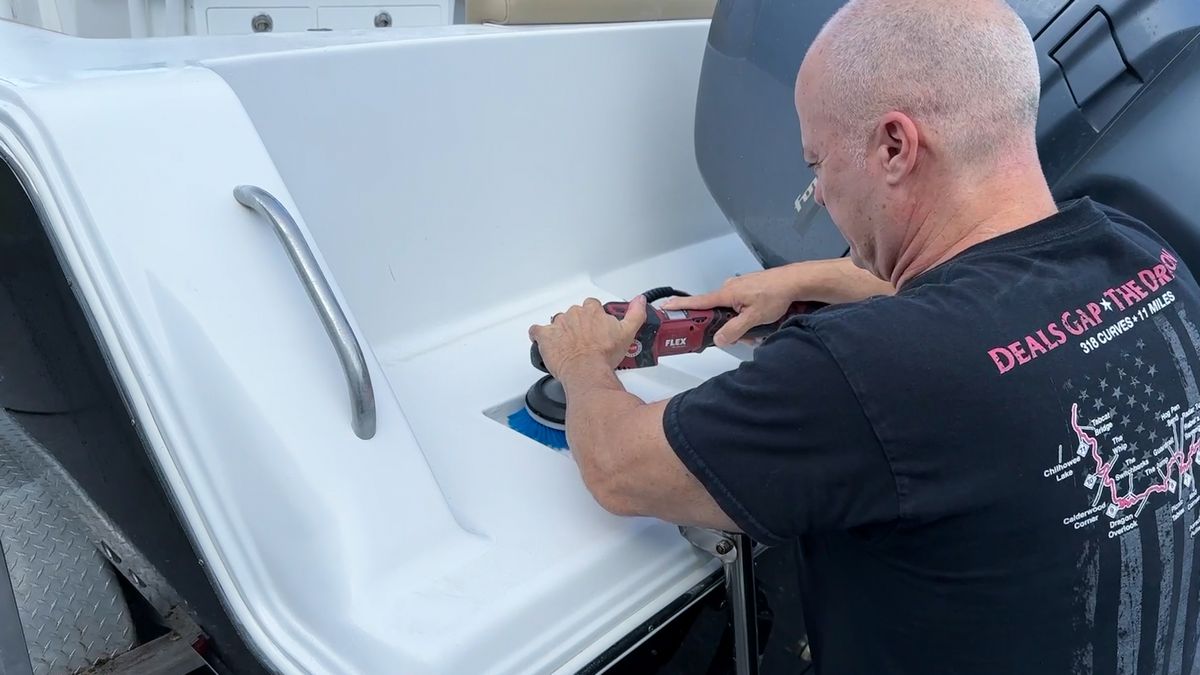
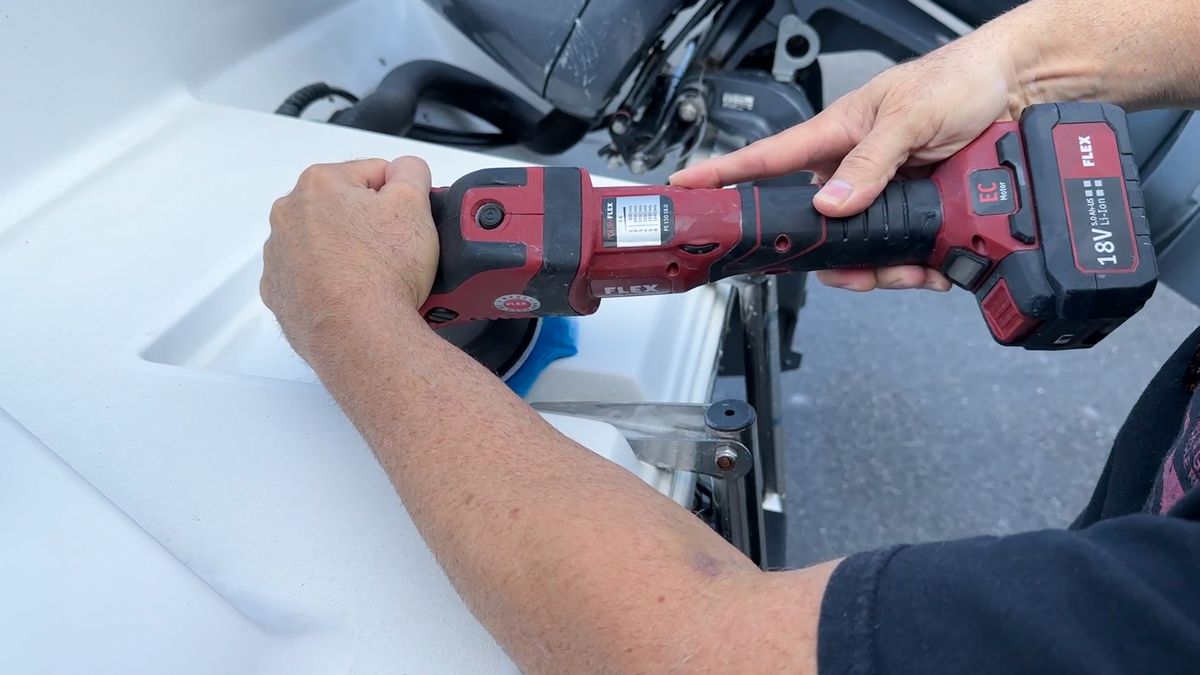
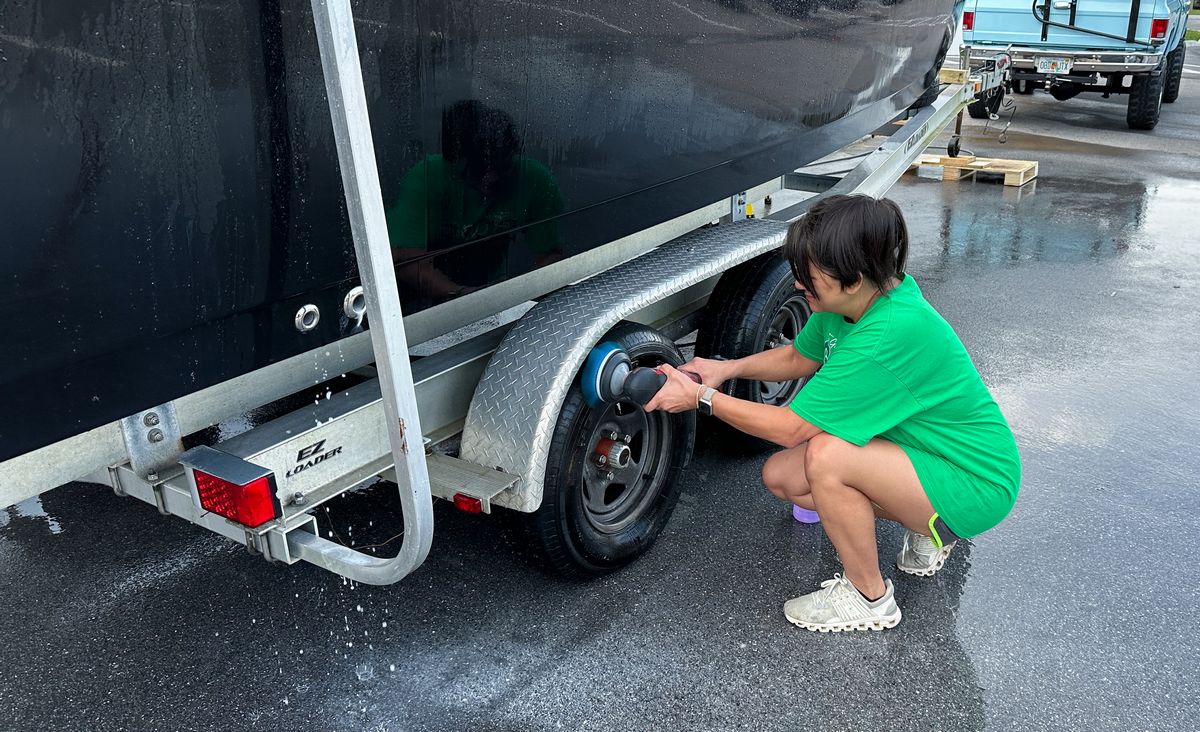
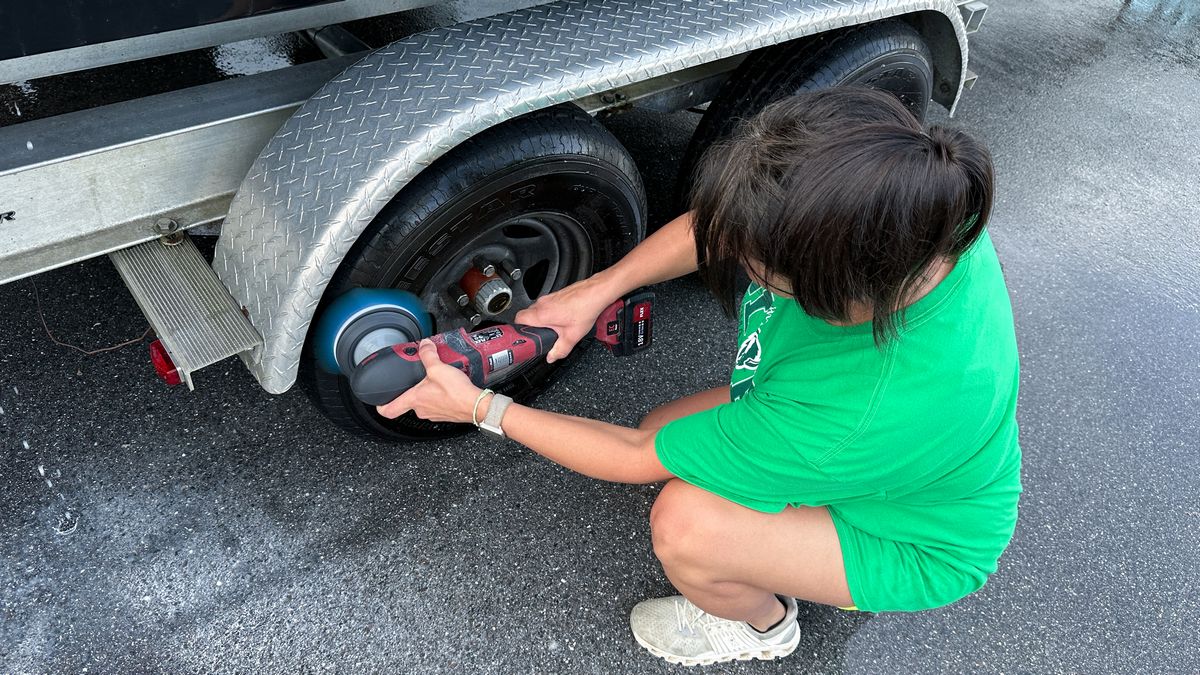
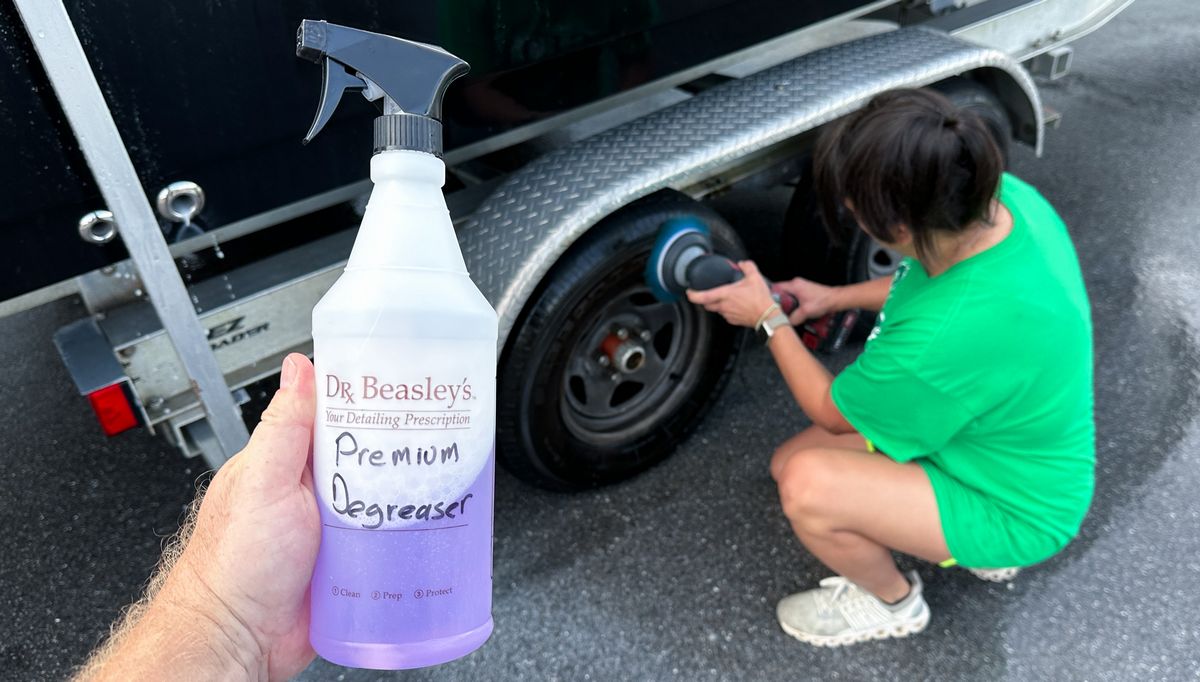
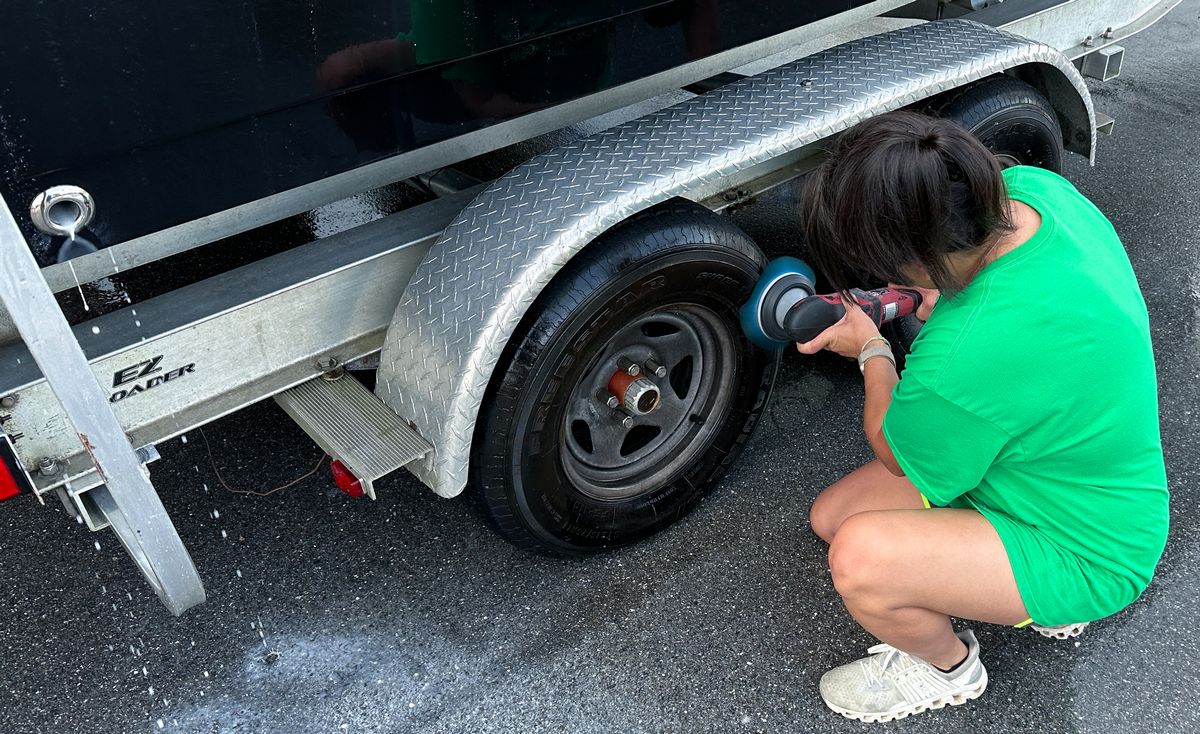
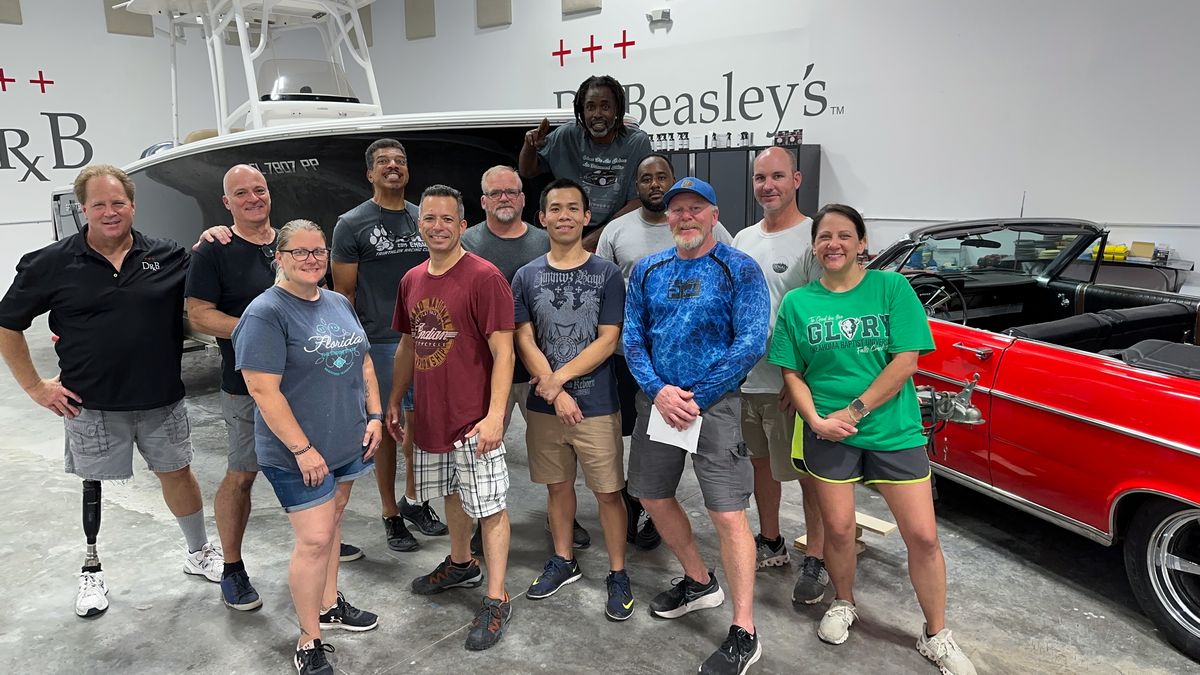
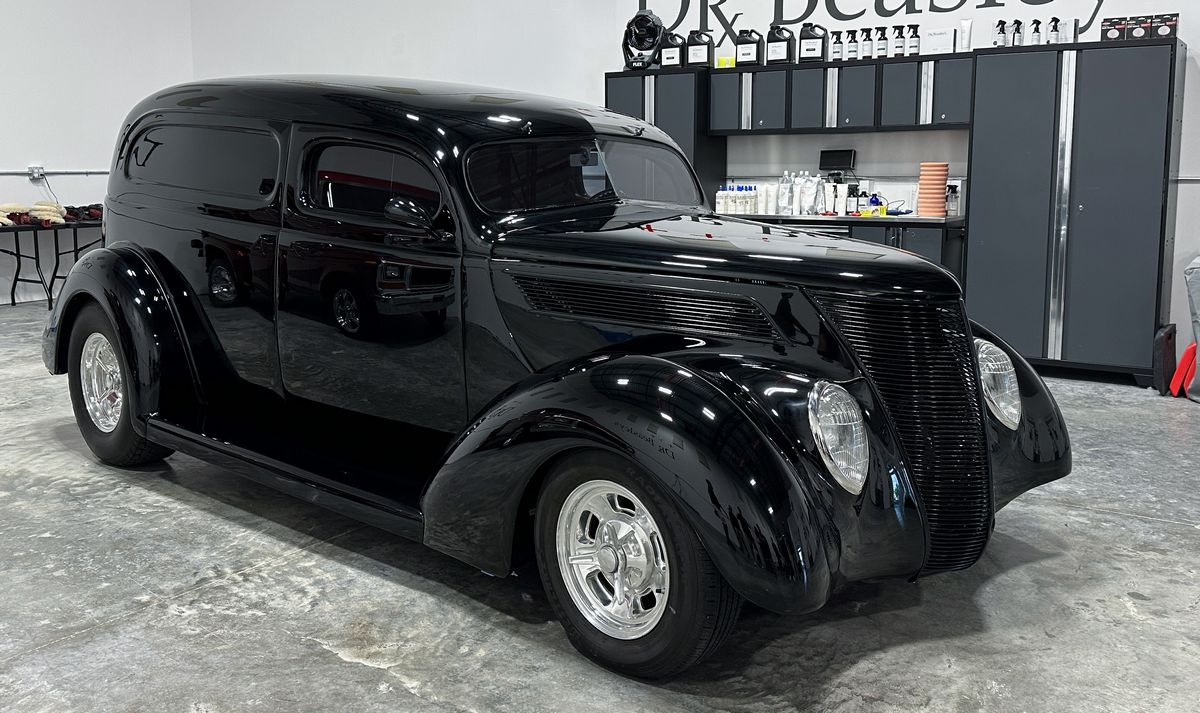
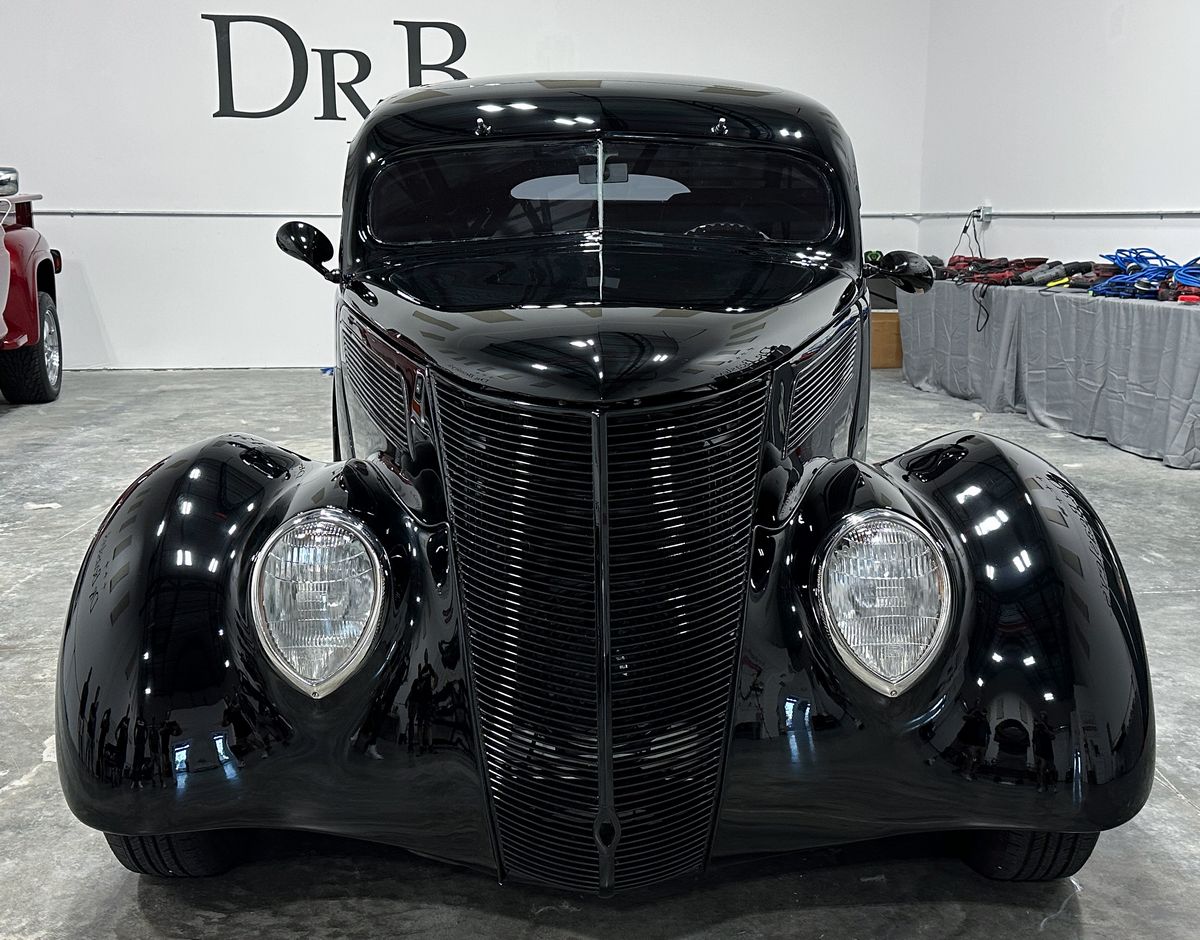
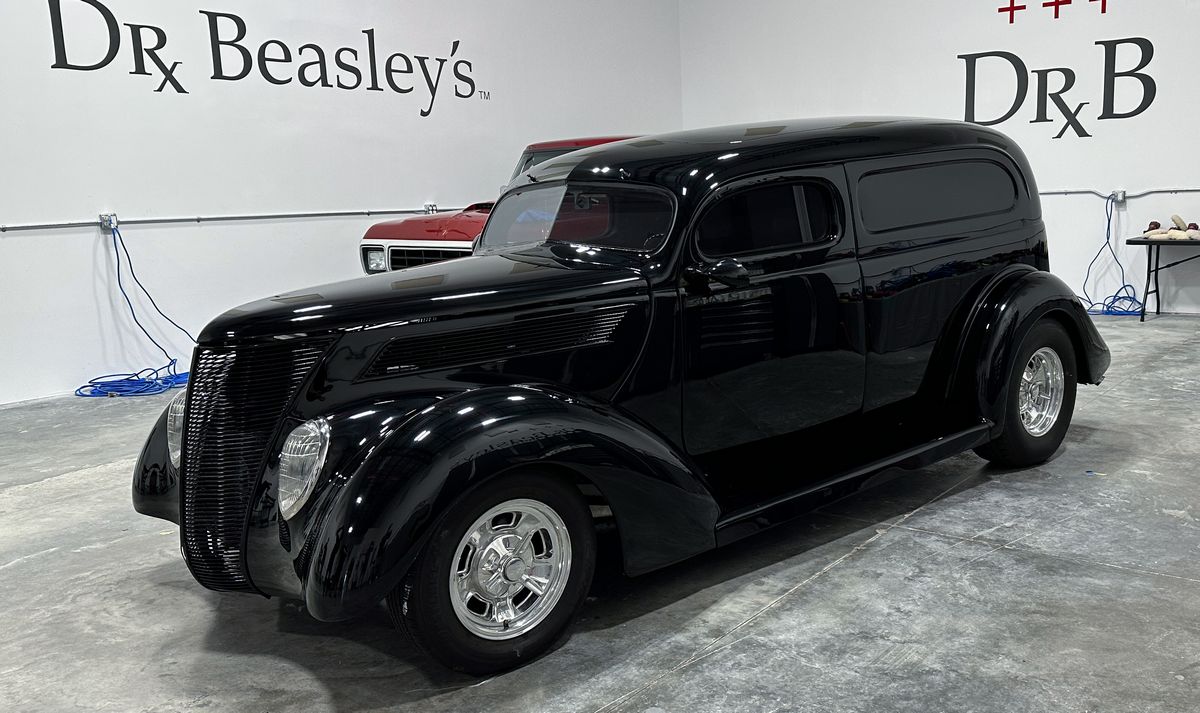
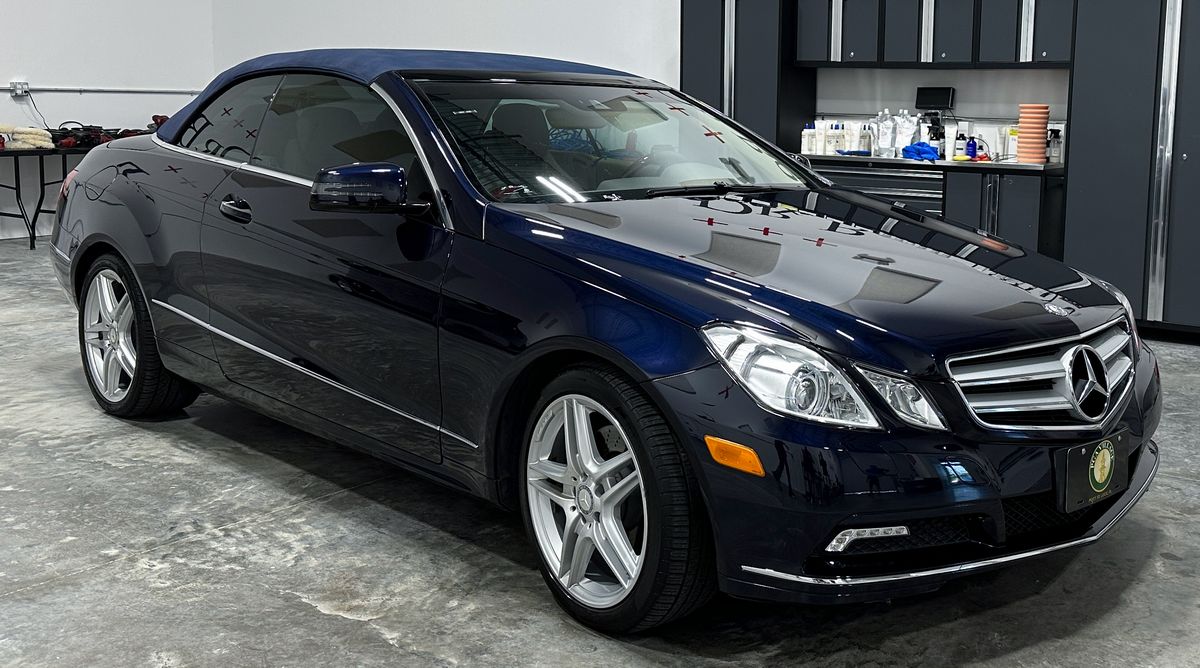
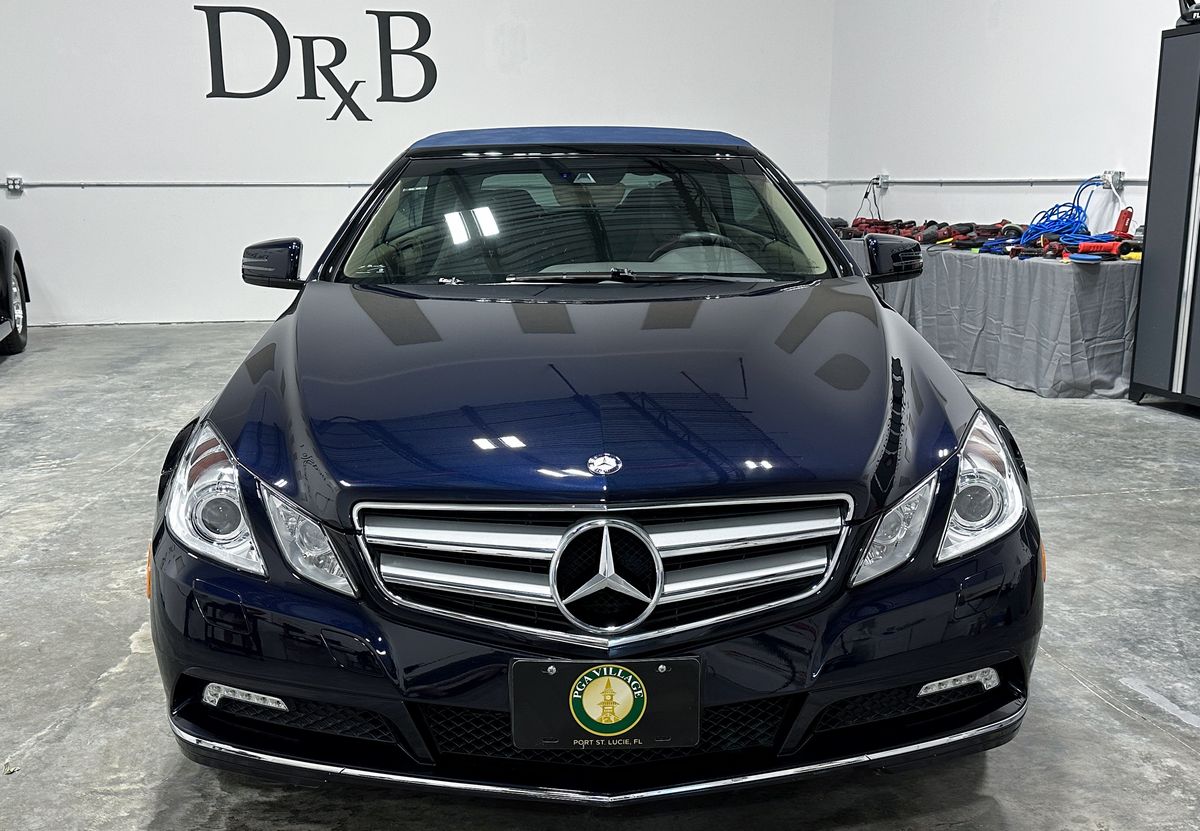
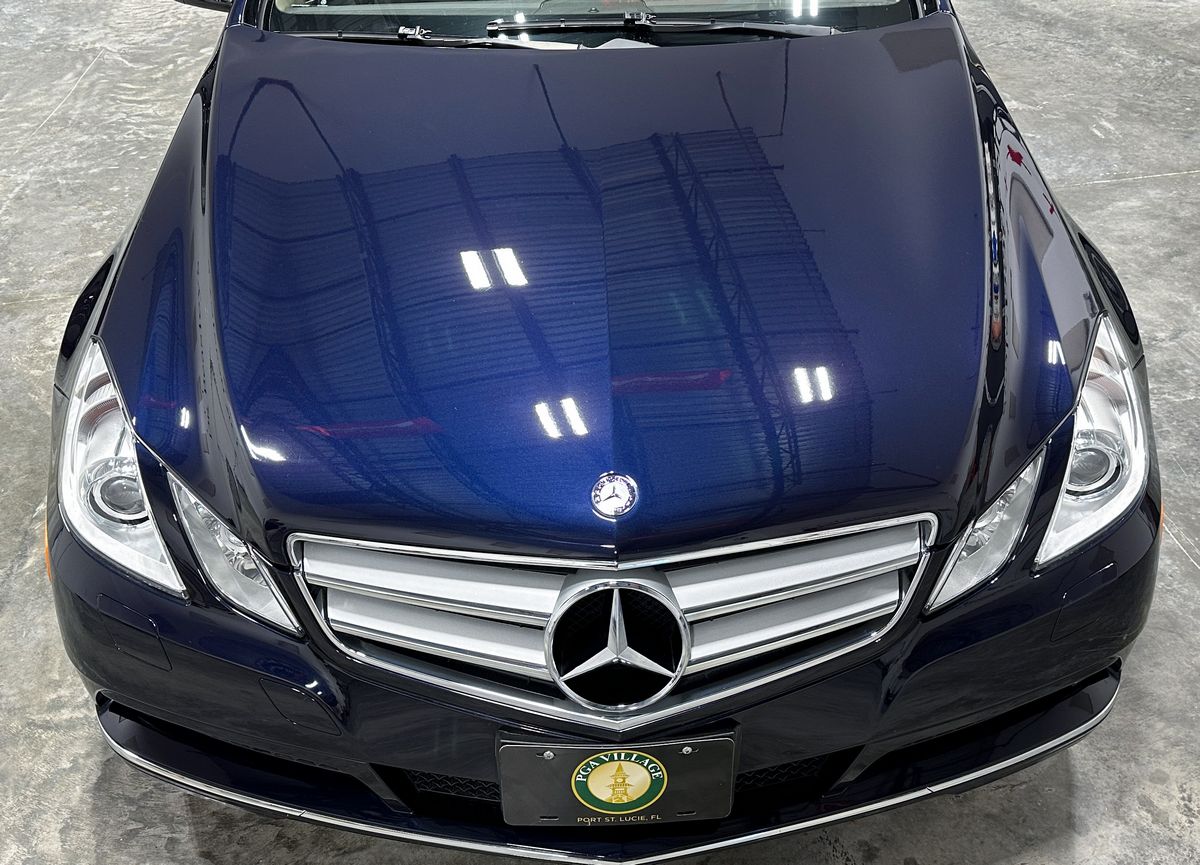
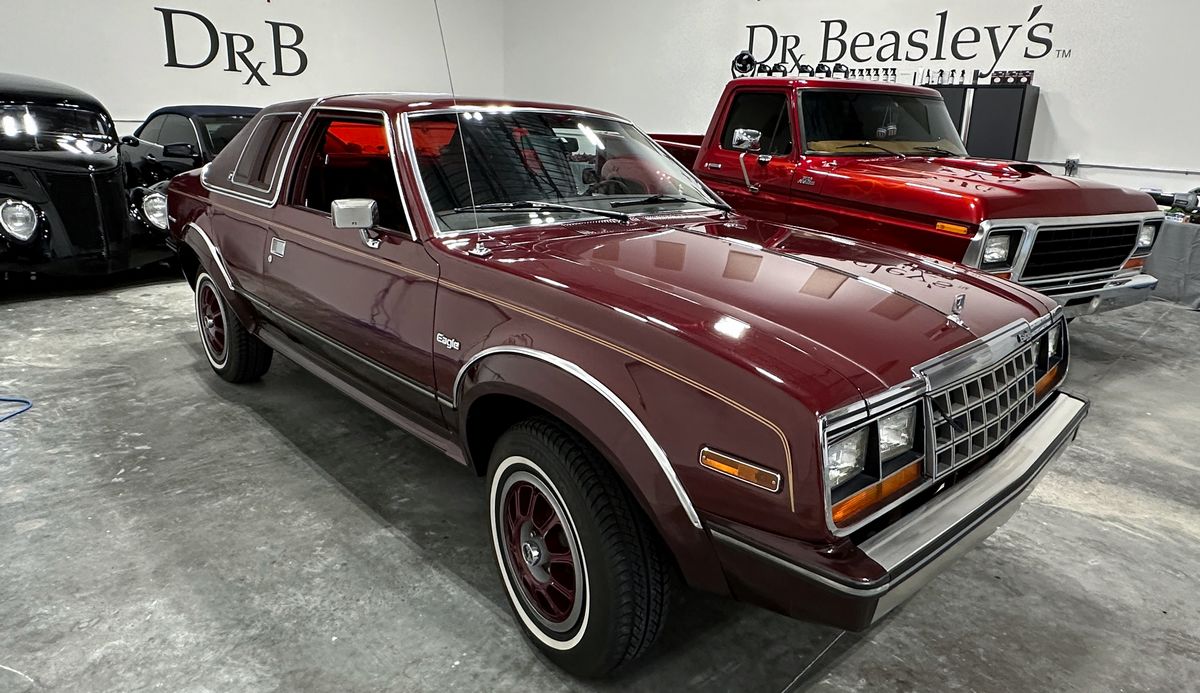
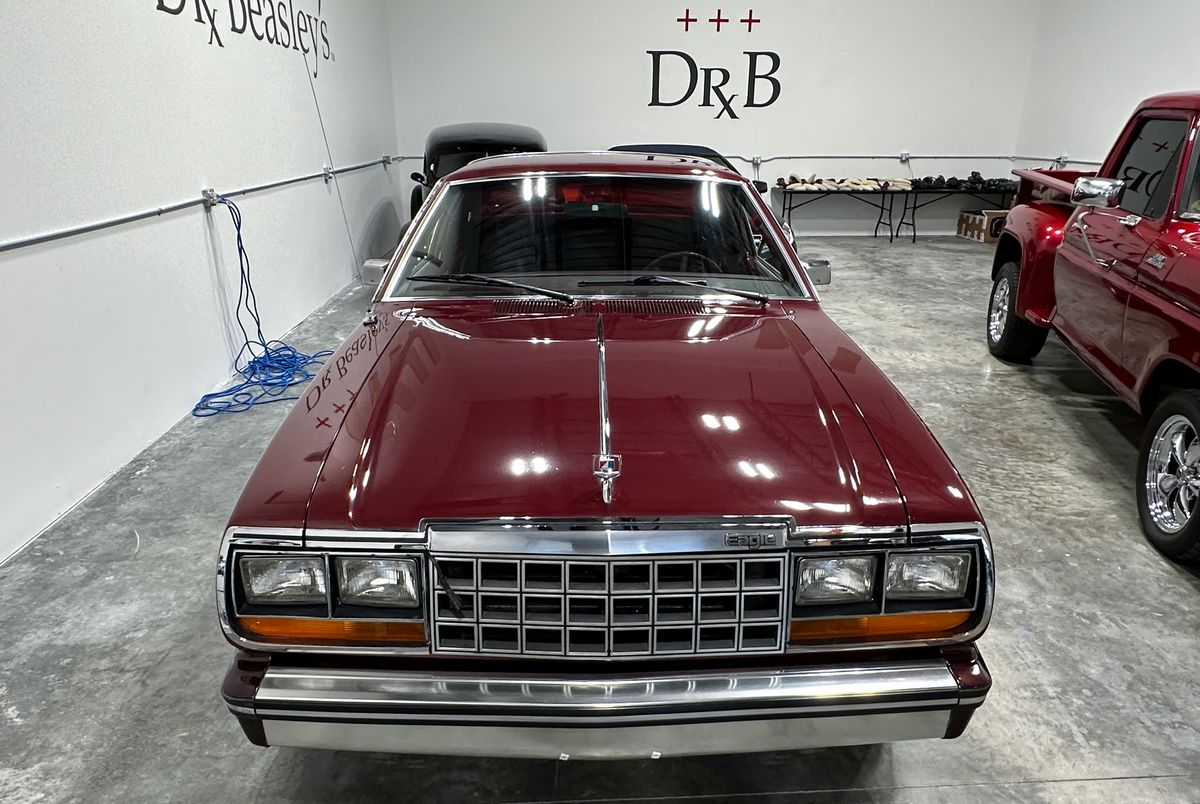
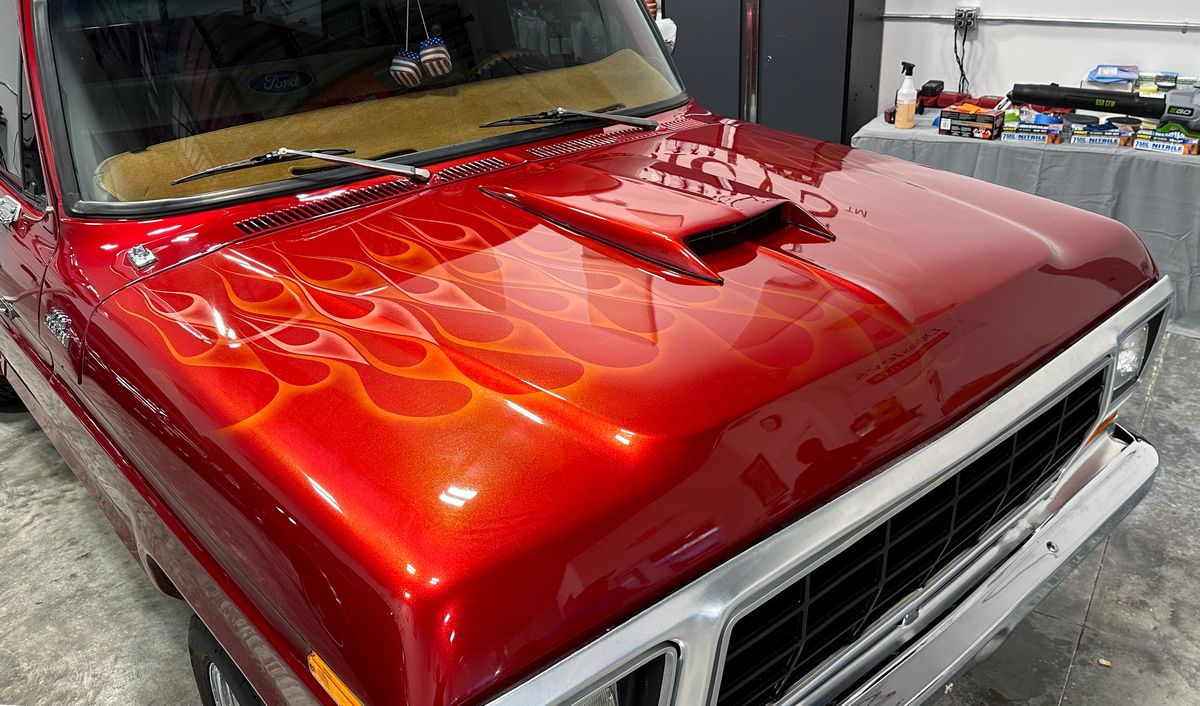
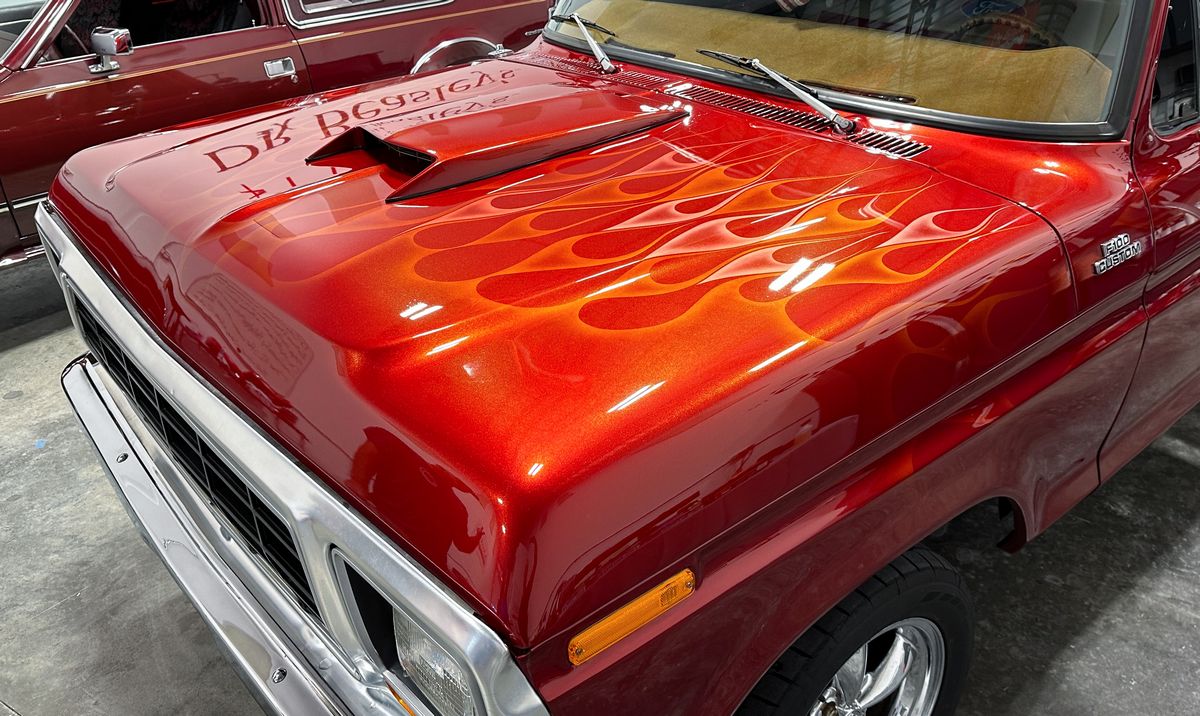
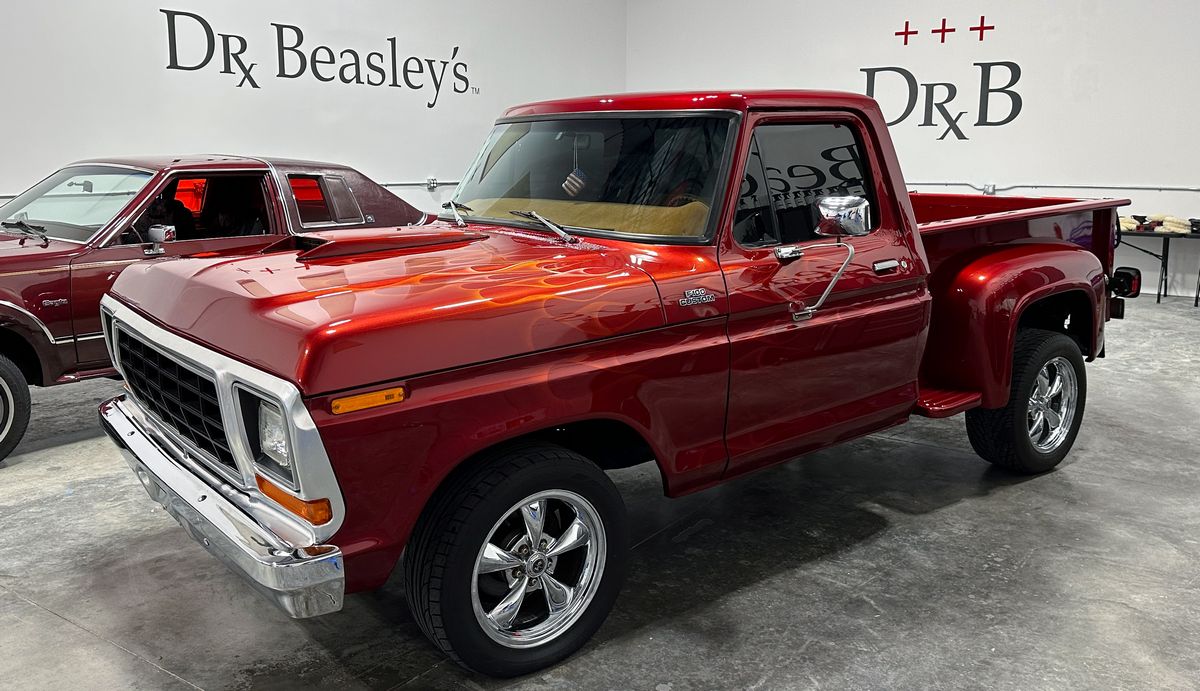
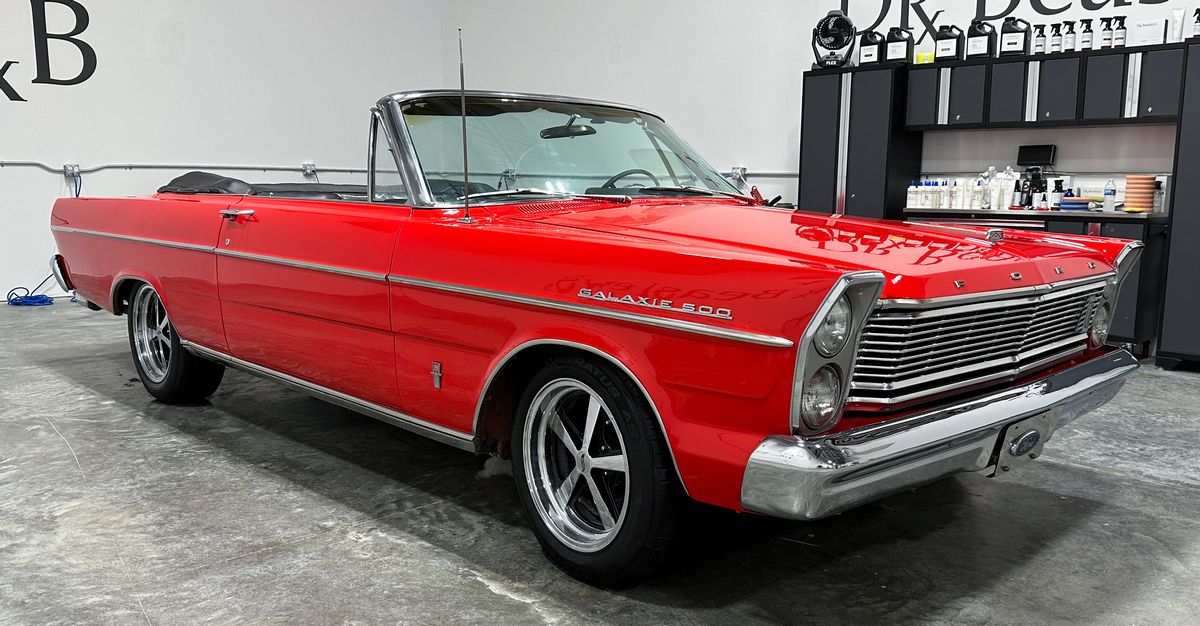
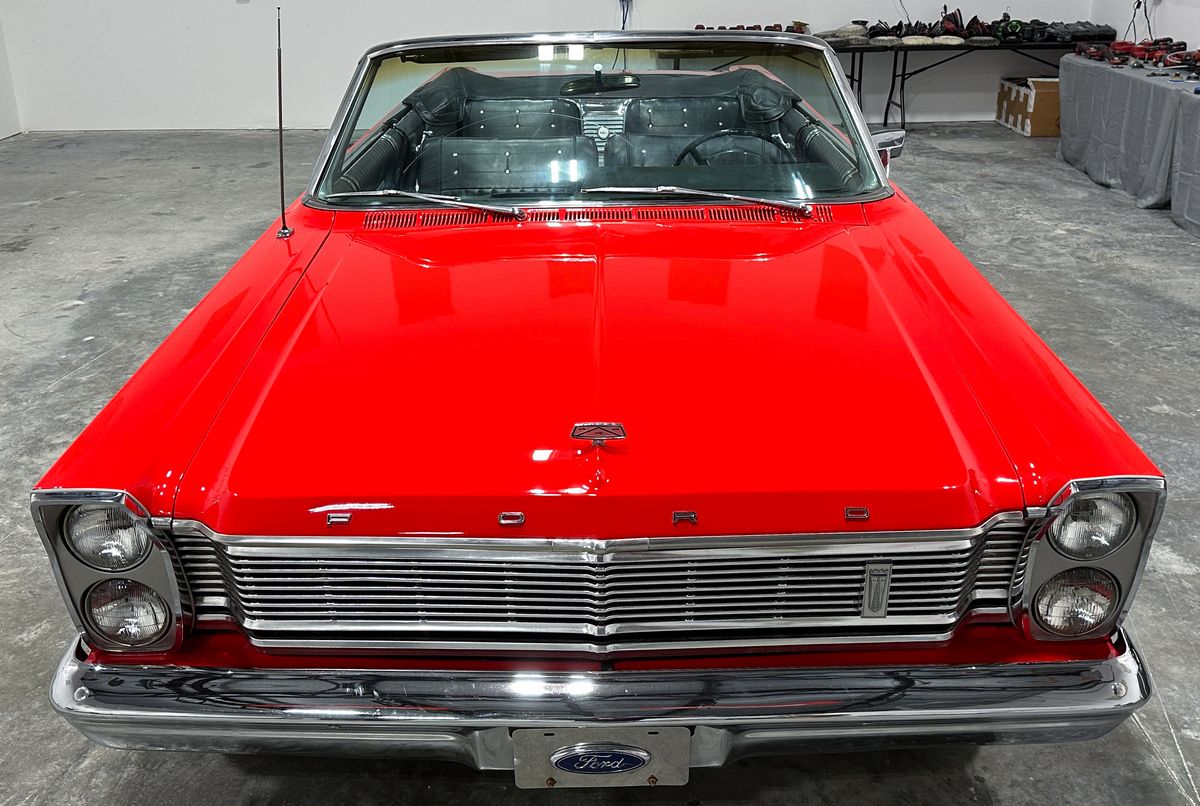
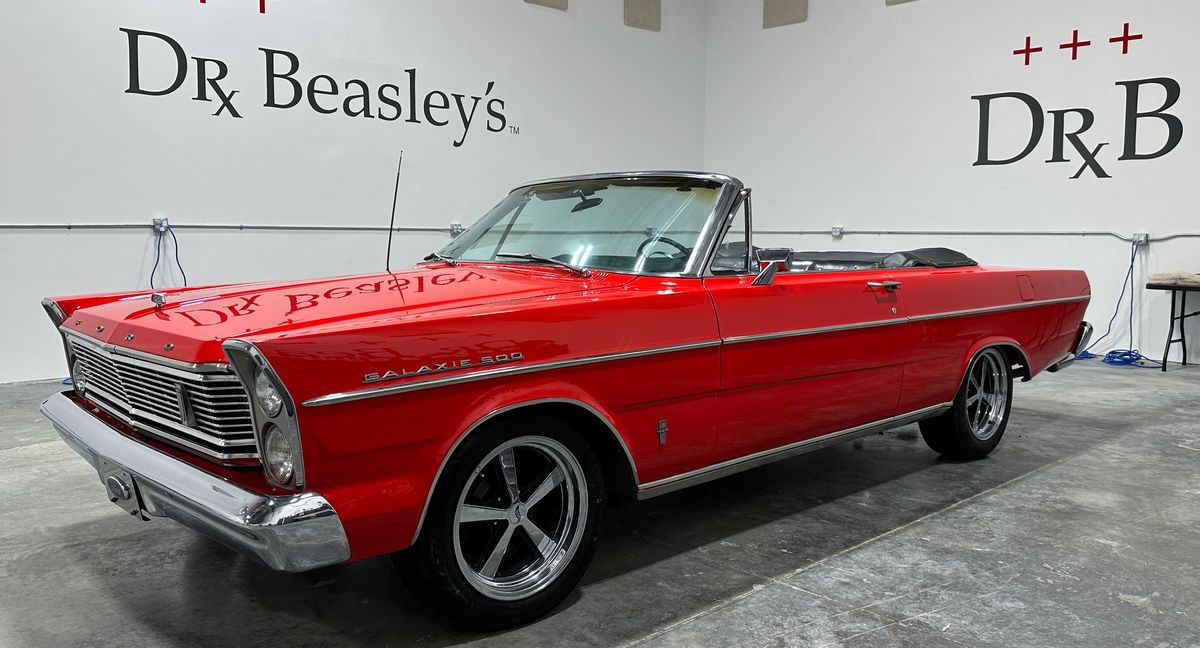
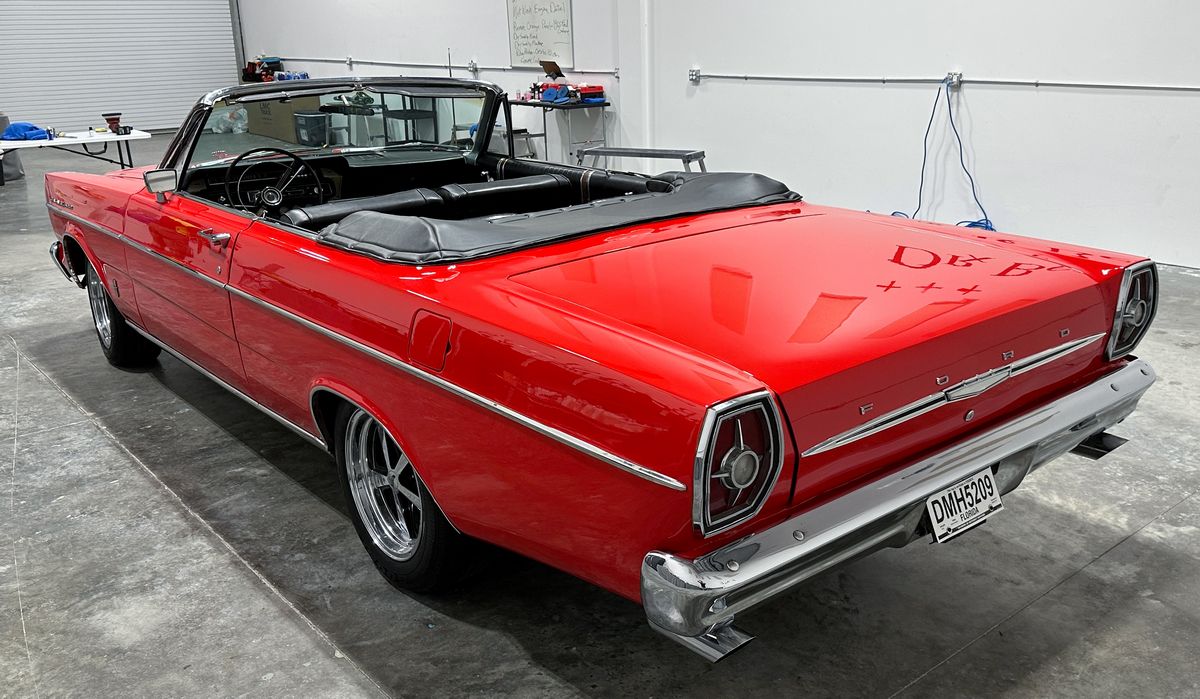
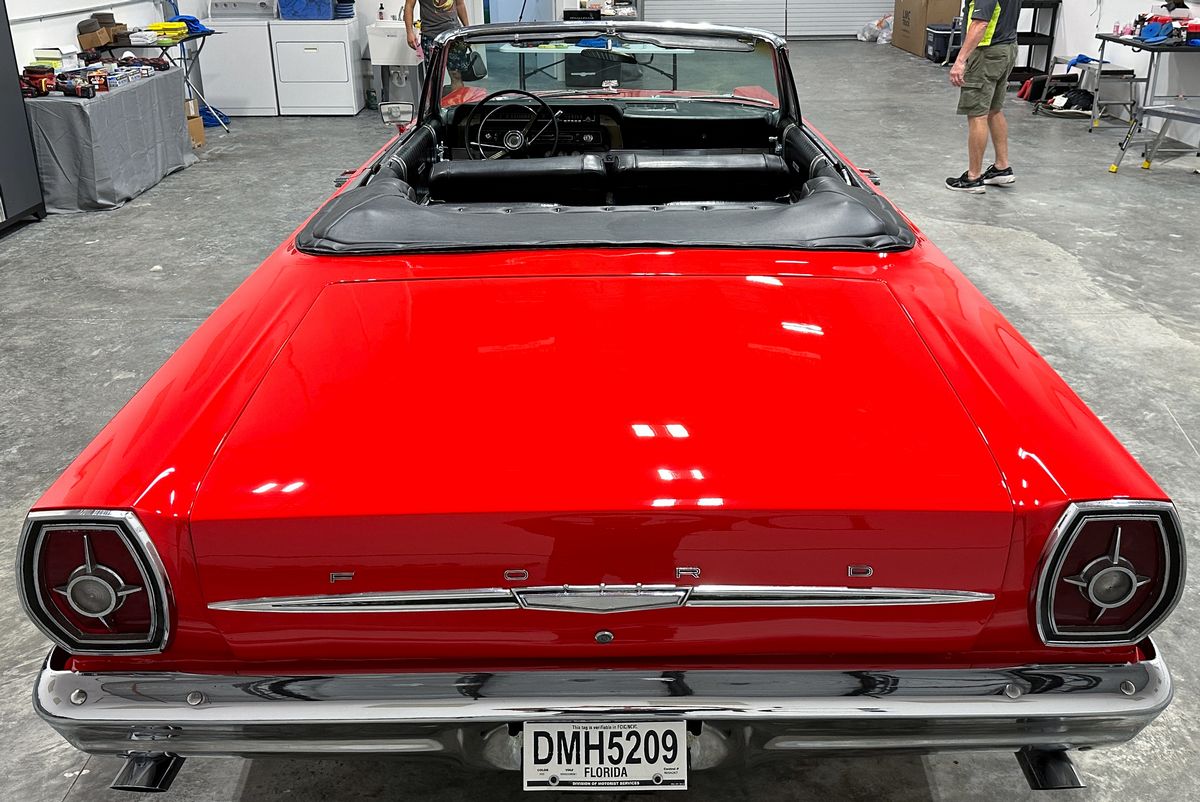
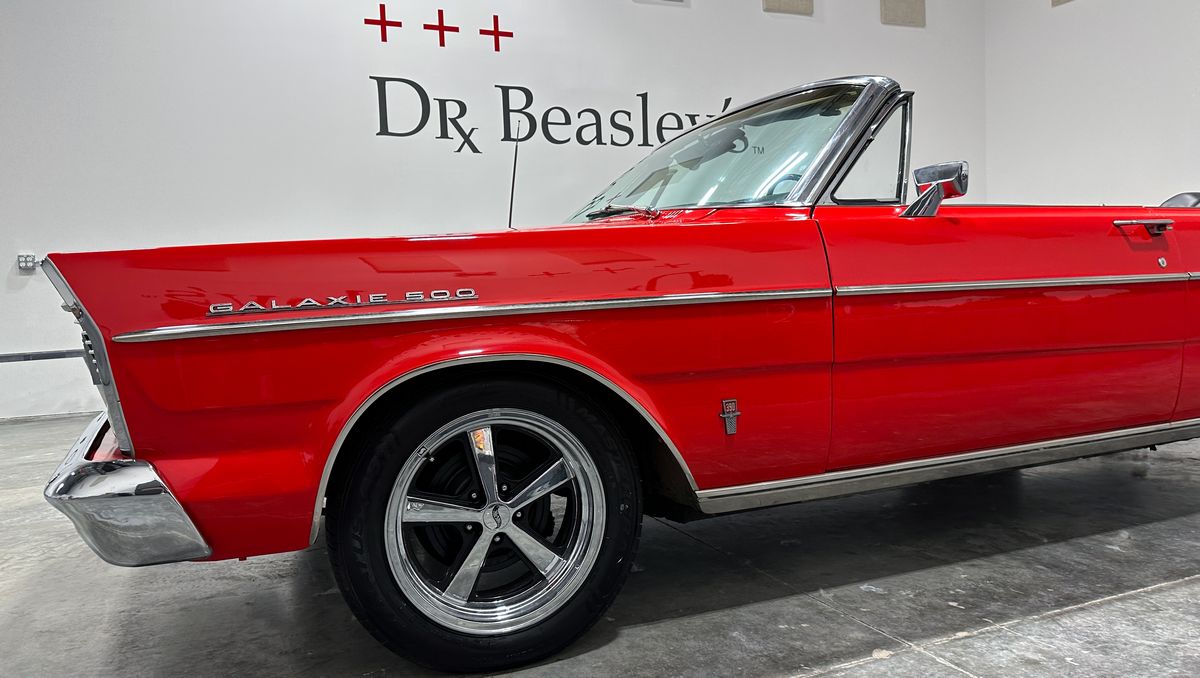
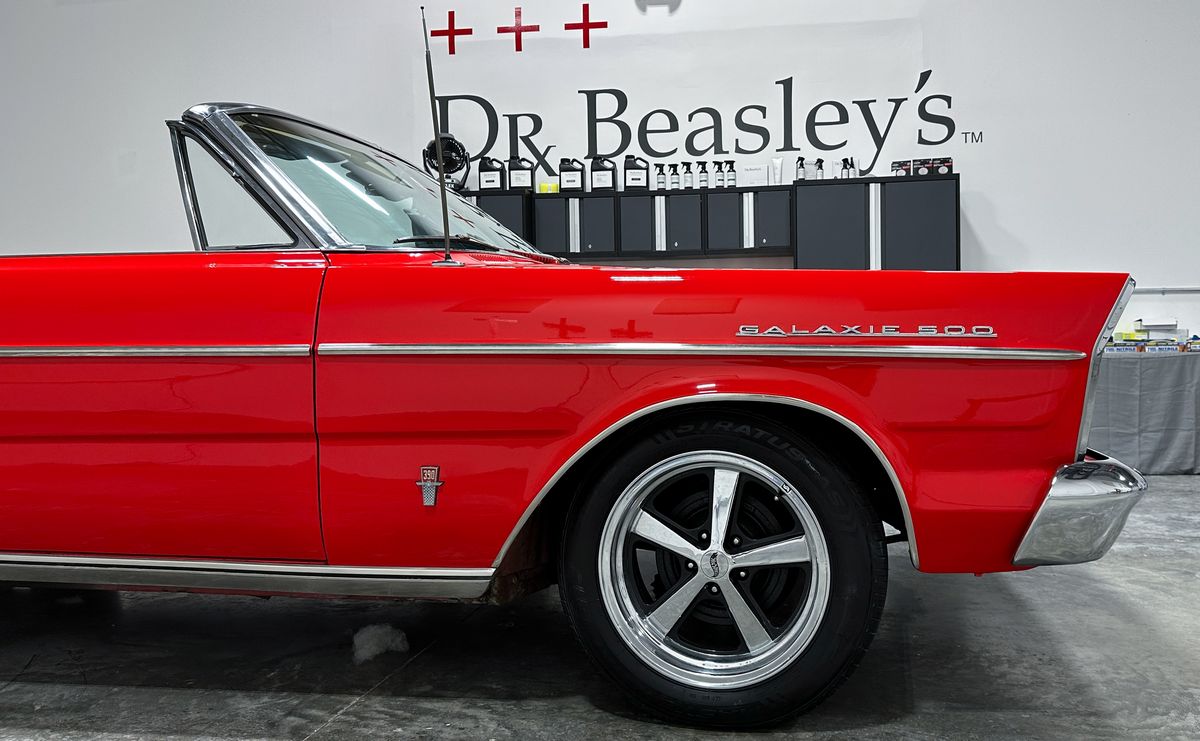
On Friday, November 10th, Saturday, November 11th and Sunday, November 12th - we held our first full 3-day detailing class here at the Dr. Beasley's O.R. or Operating Room in sunny, Stuart, Florida. This class detailed six cars in 2 days, and one boat in one day. Each vehicle was used to teach unique techniques and each vehicle came out looking better than new. The boat came in with deep oxidation and left with a mirror gelcoat finish.
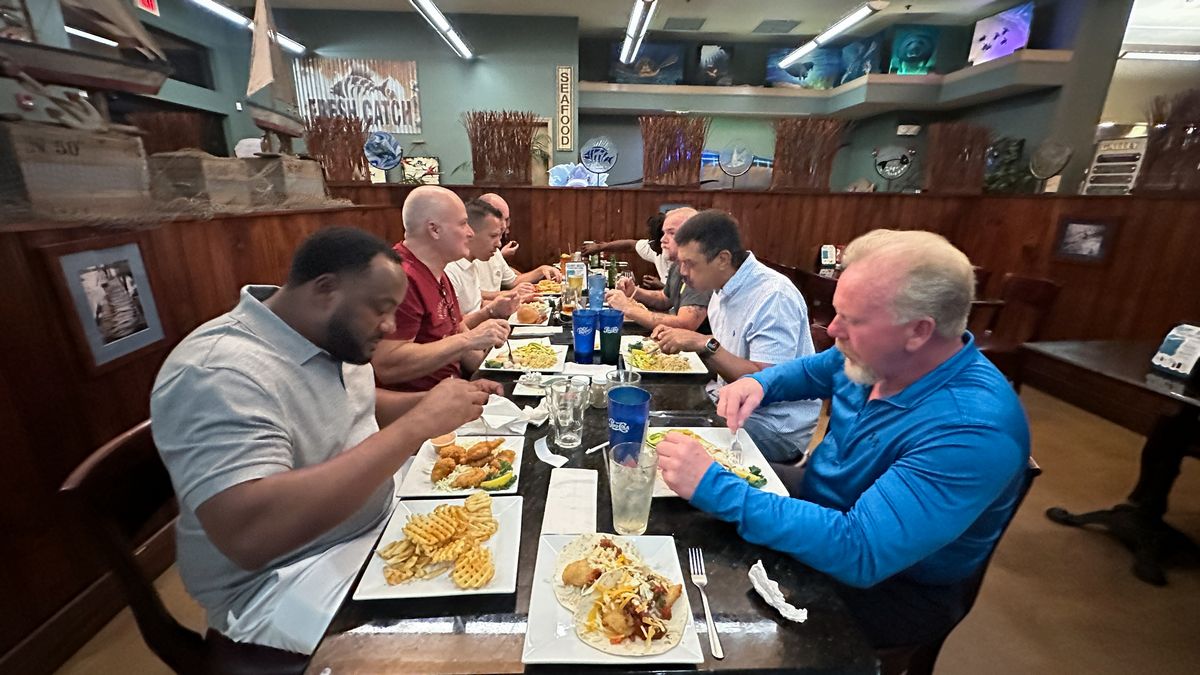
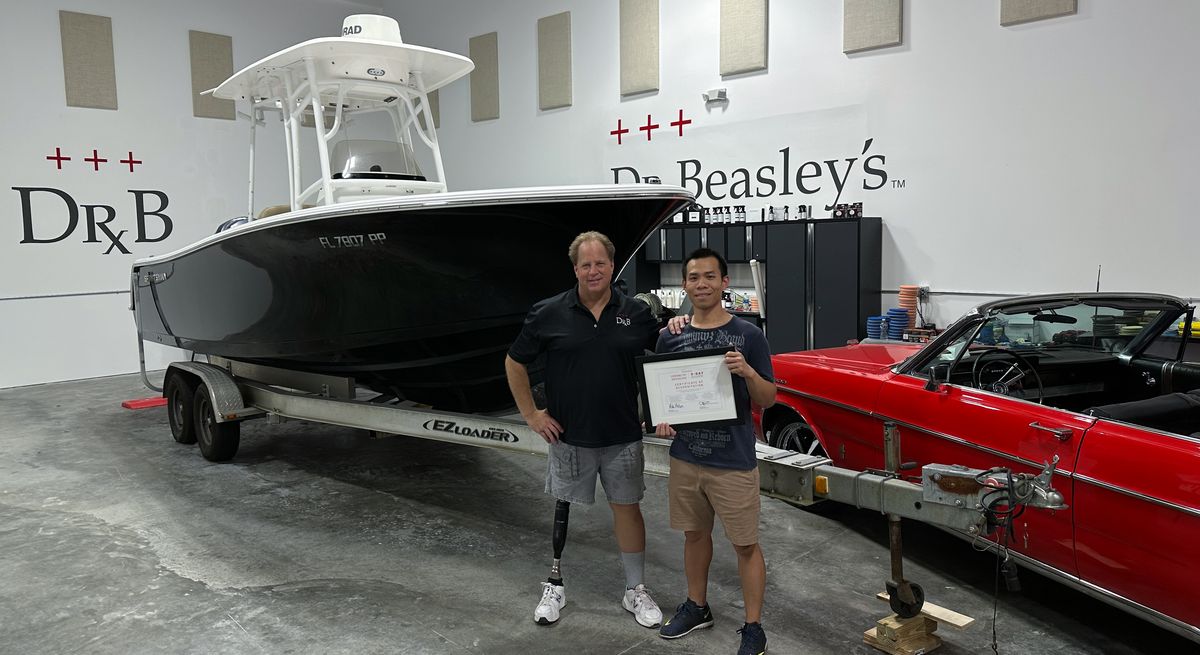
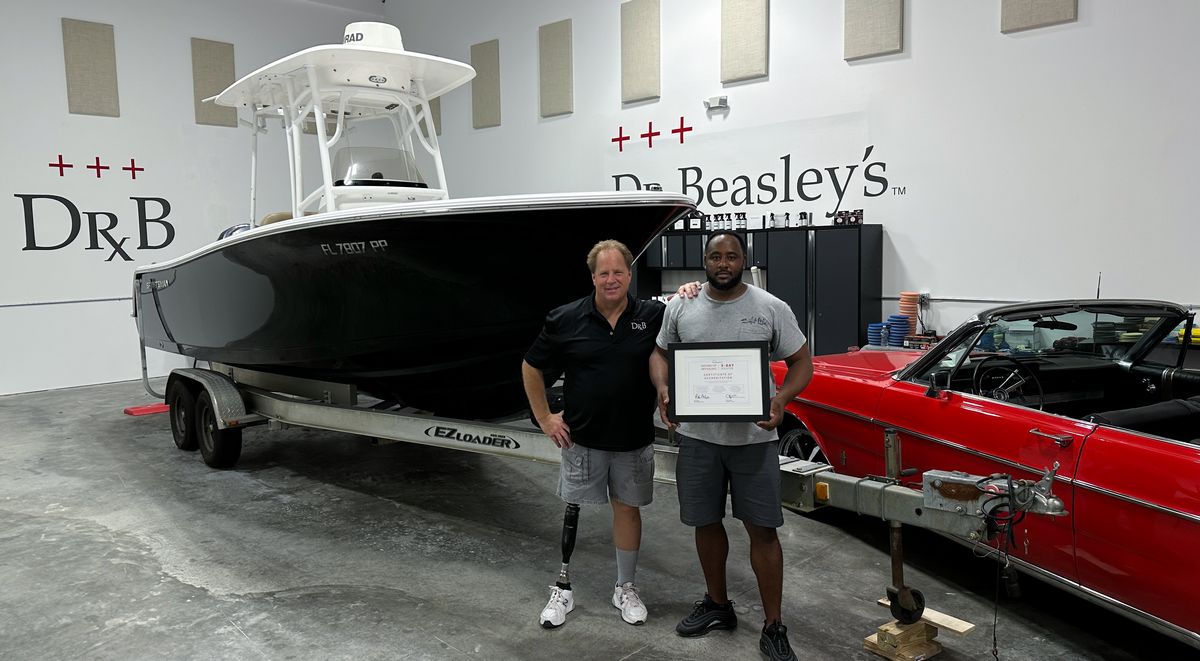
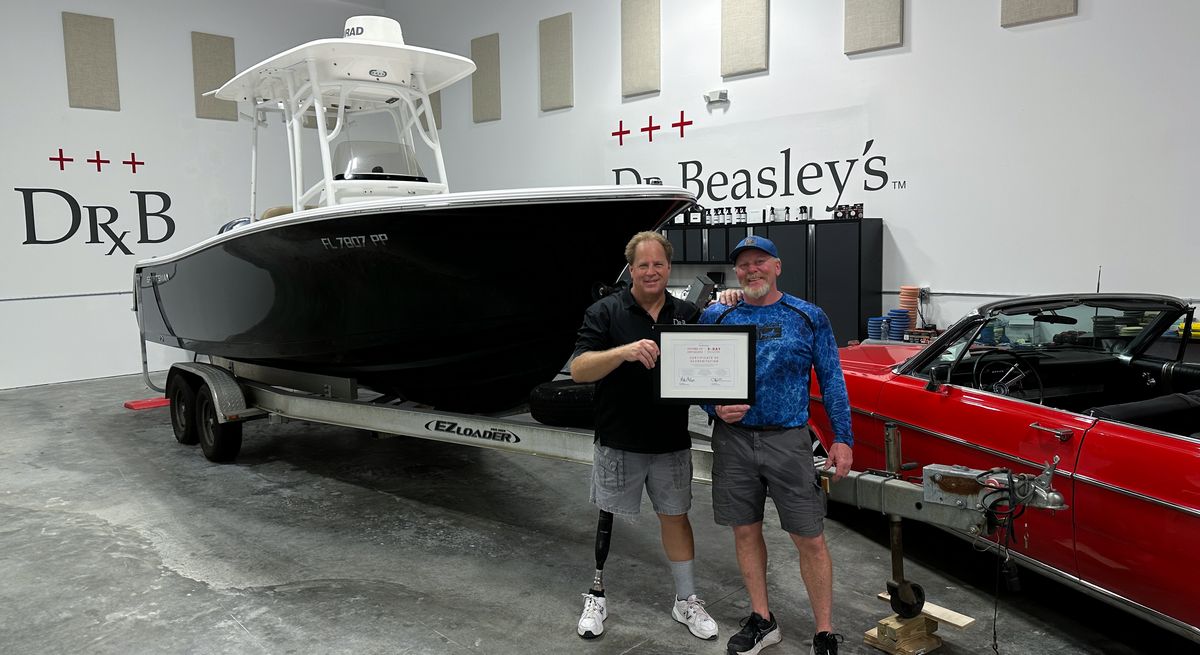
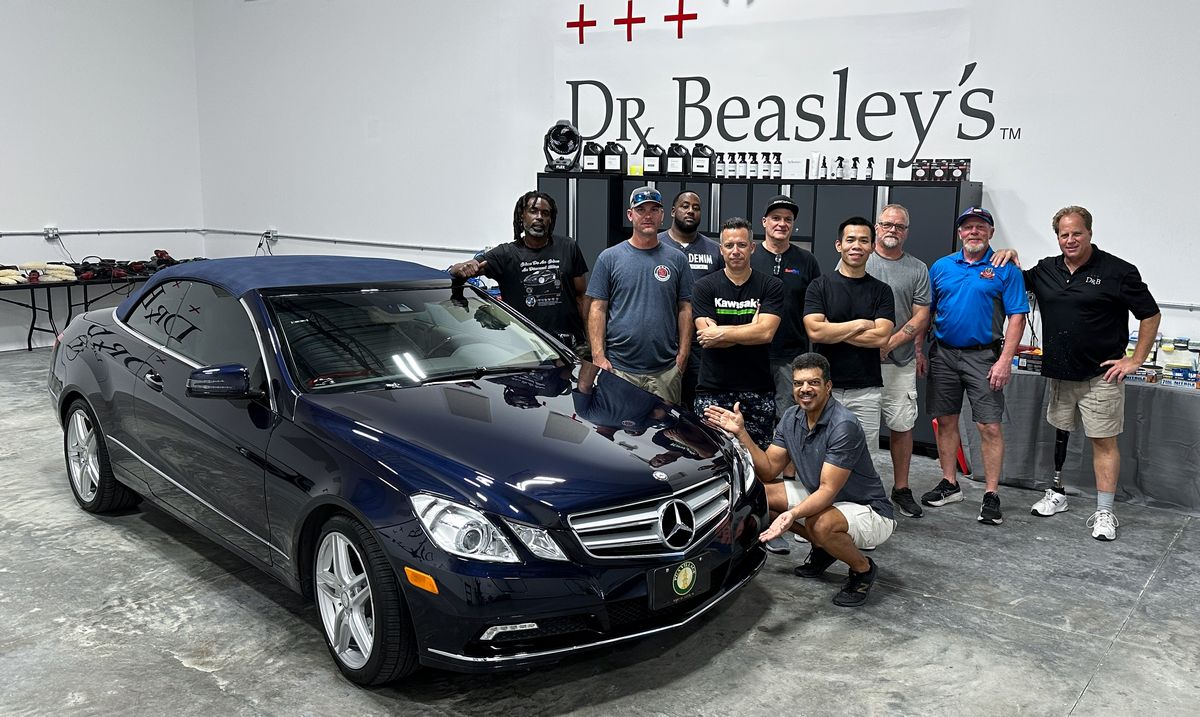
The Certificate Award Ceremony
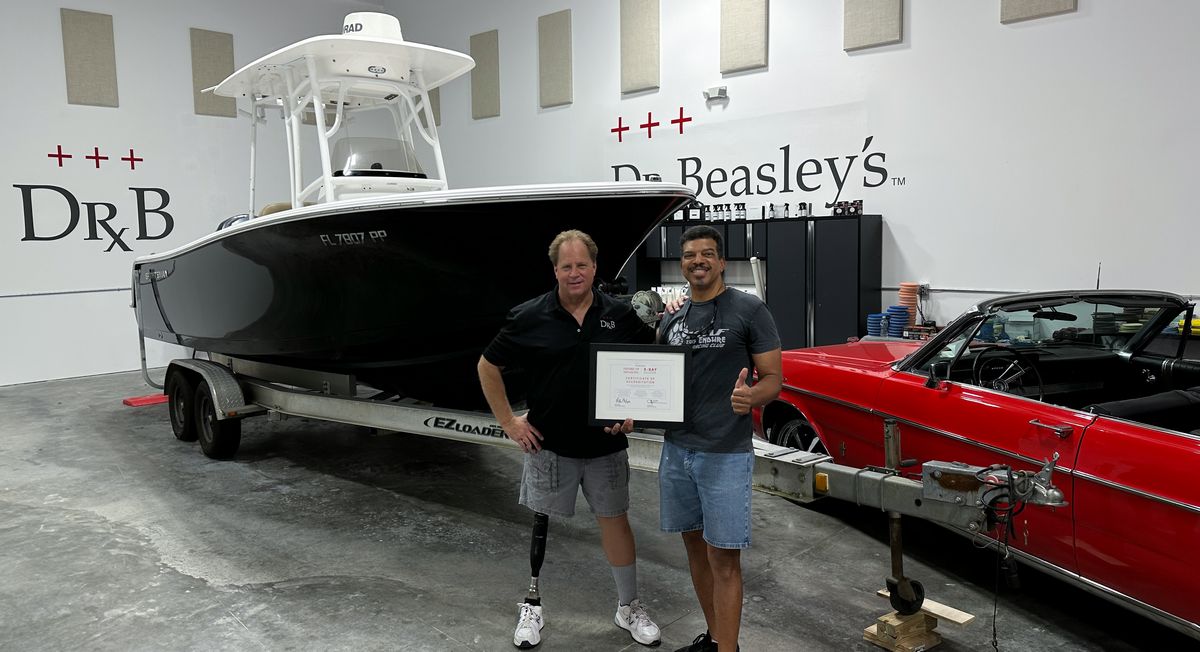
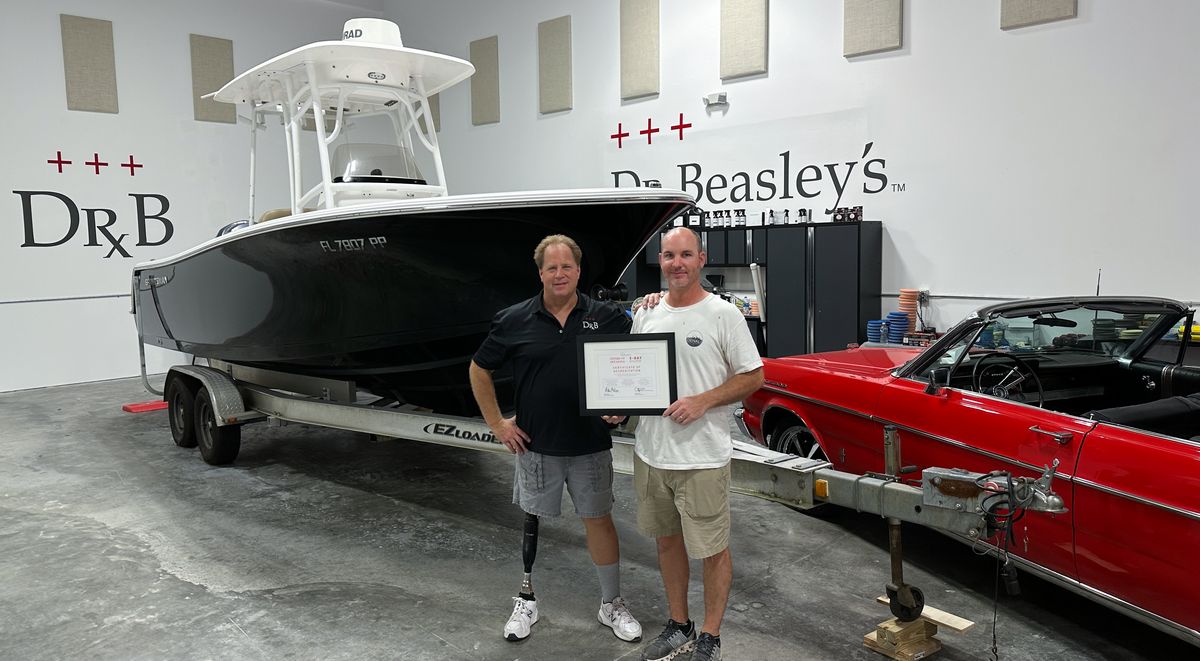
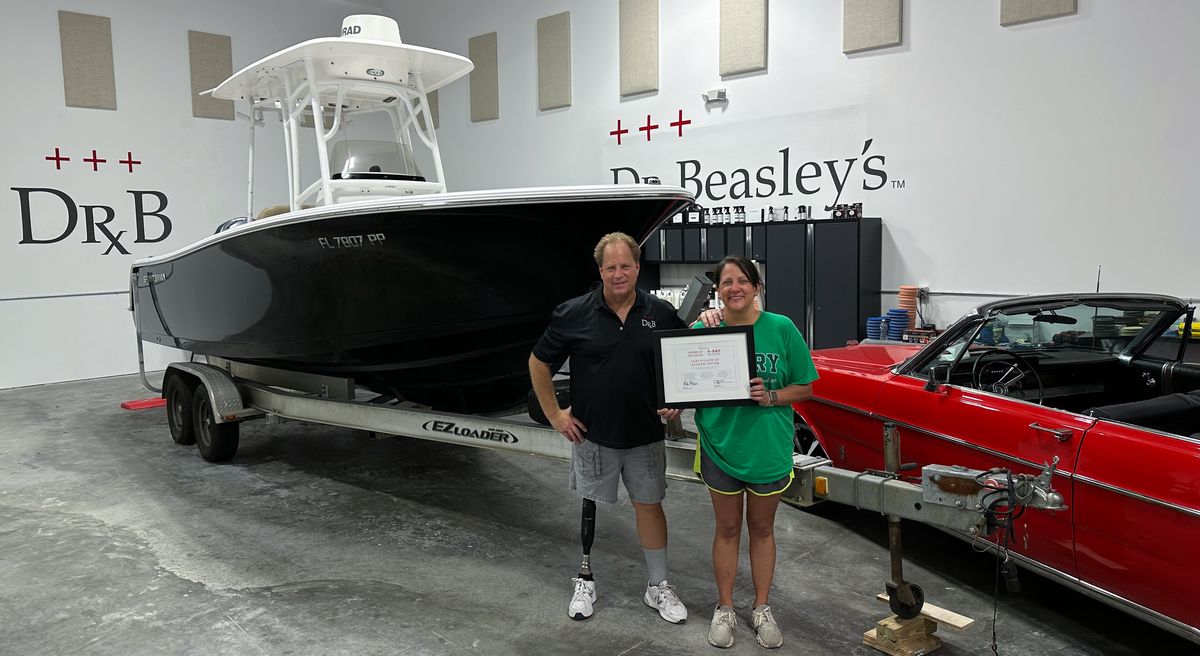
After a long and grueling 3-days - these folks have earned their certificates!
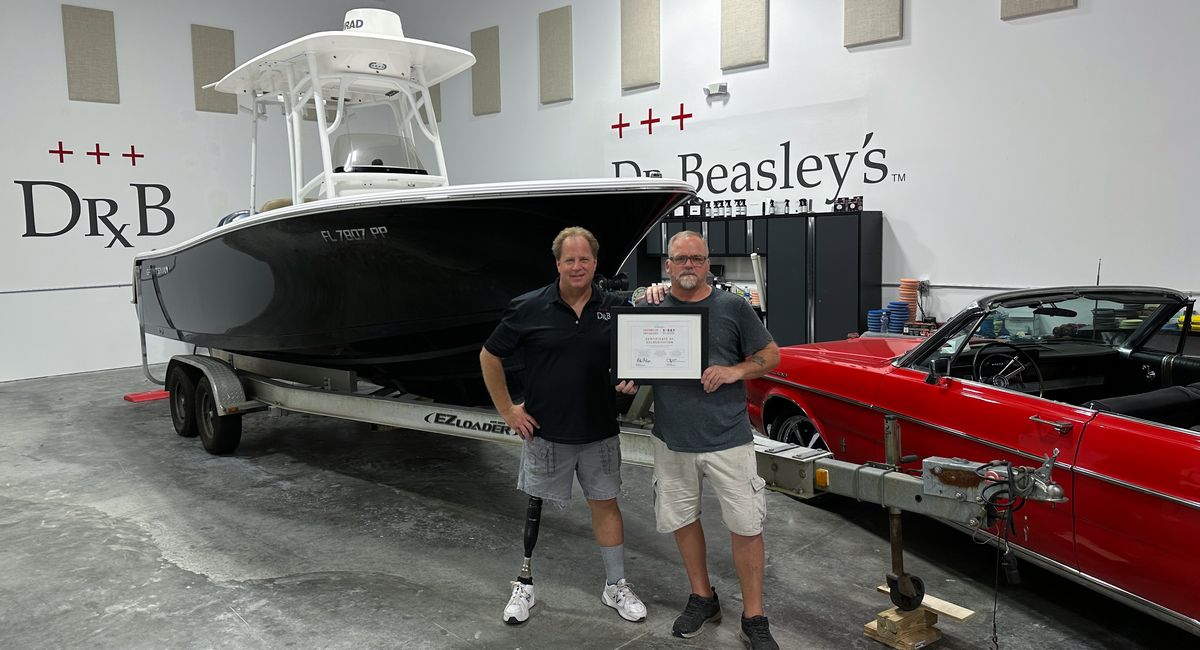
Derick Robinson - Jacksonville, Florida -
Website: Crème de la Crème La Diamond Shine - Facebook - Instagram - NextDoor

Thomas John - Denton, Texas - 1,300 miles
Website: Caribbean Sparkle Facebook - Instagram
Daniel and DeAnne Brunson - Montgomery, Alabama - 600 miles
Facebook - Instagram
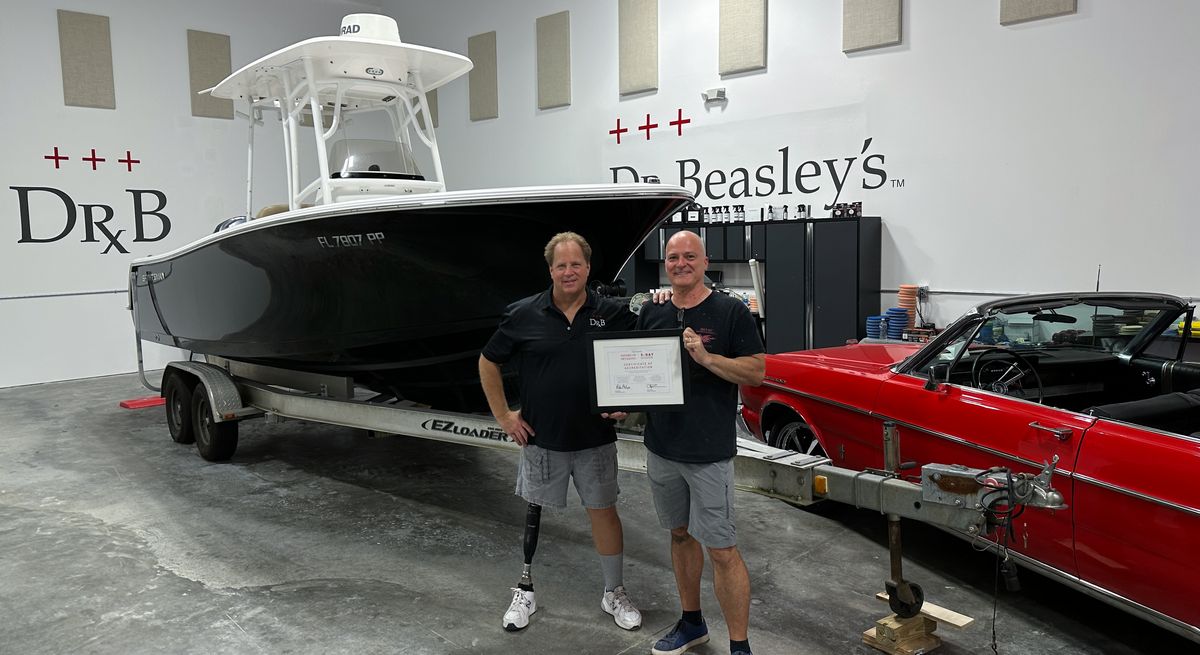
David Hess - Fort Pierce, Florida - 20 miles
Website: Facebook - Instagram - YouTube
Joe Melcarski - - Fort Pierce, Florida - 20 miles
Website: Keep it Glossy Ceramic Coating Experts - Facebook - Instagram - YouTube
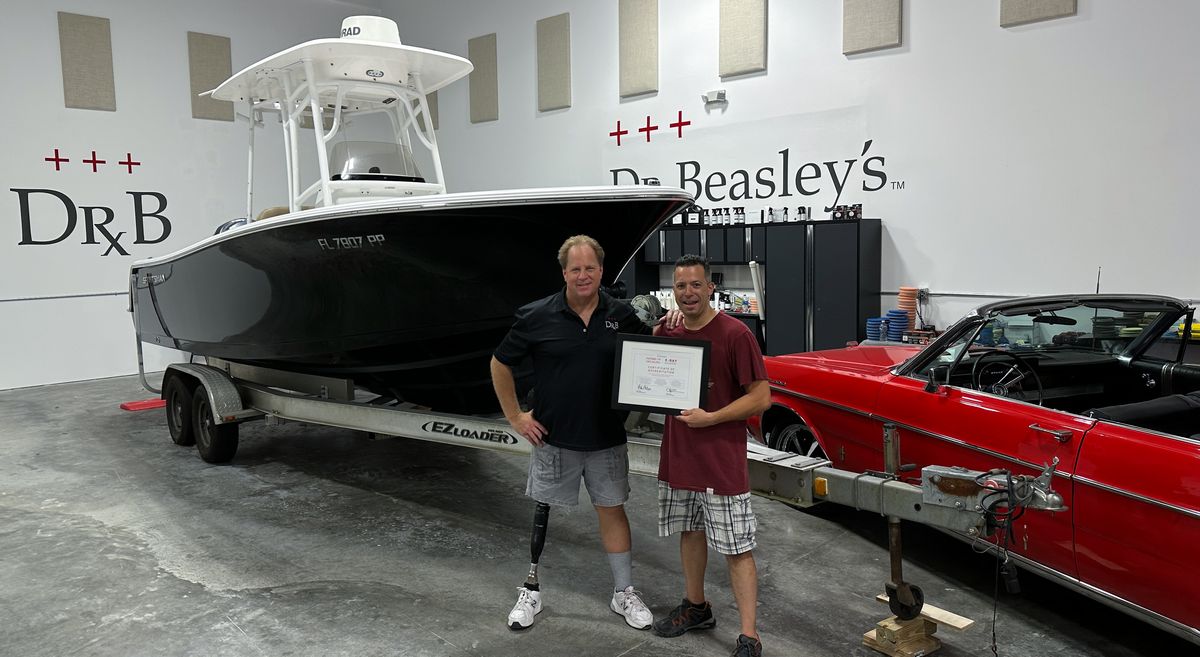
Jhonathan Rivera -
Website: Eagle Coatings - Facebook - Instagram - YouTube
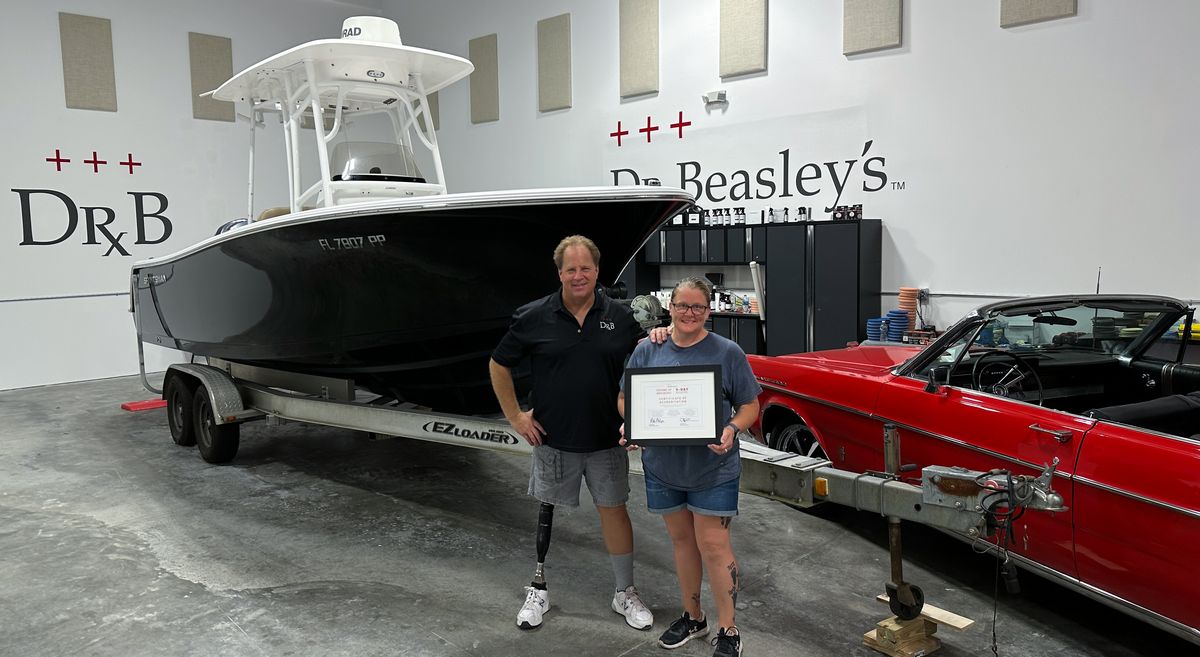
Crystal Peffers - Tampa, Florida - 170 miles
Website: Facebook - Instagram - Tiktok
Andy Tong
Website: Facebook - Instagram - YouTube
Meko Simmons - West Palm Beach - 30 miles
Website: Facebook - Instagram - YouTube
Russel Stender - Yulee, Florida - 275 miles
Website: Perfect Shine of Jax - Facebook - Instagram - YouTube
Note: Russel was my co-instructor for this class. As a seasoned, professional detailer, he's a great instructor and a wealth of knowledge based upon real-world experience.
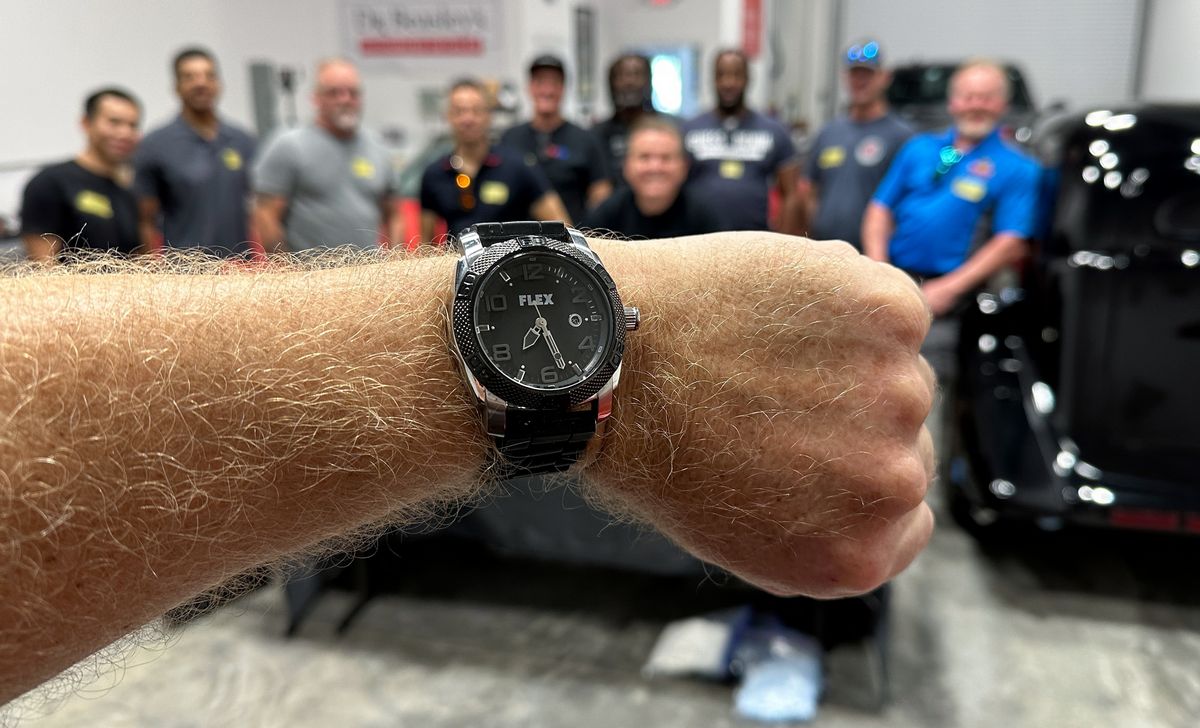
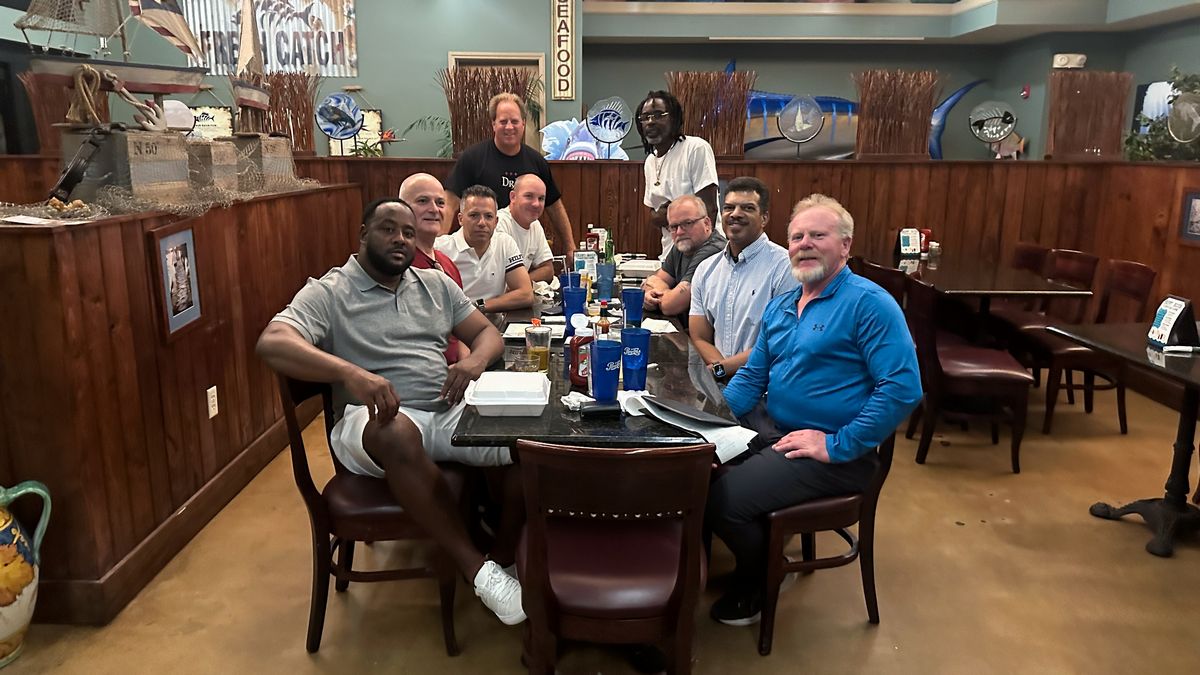
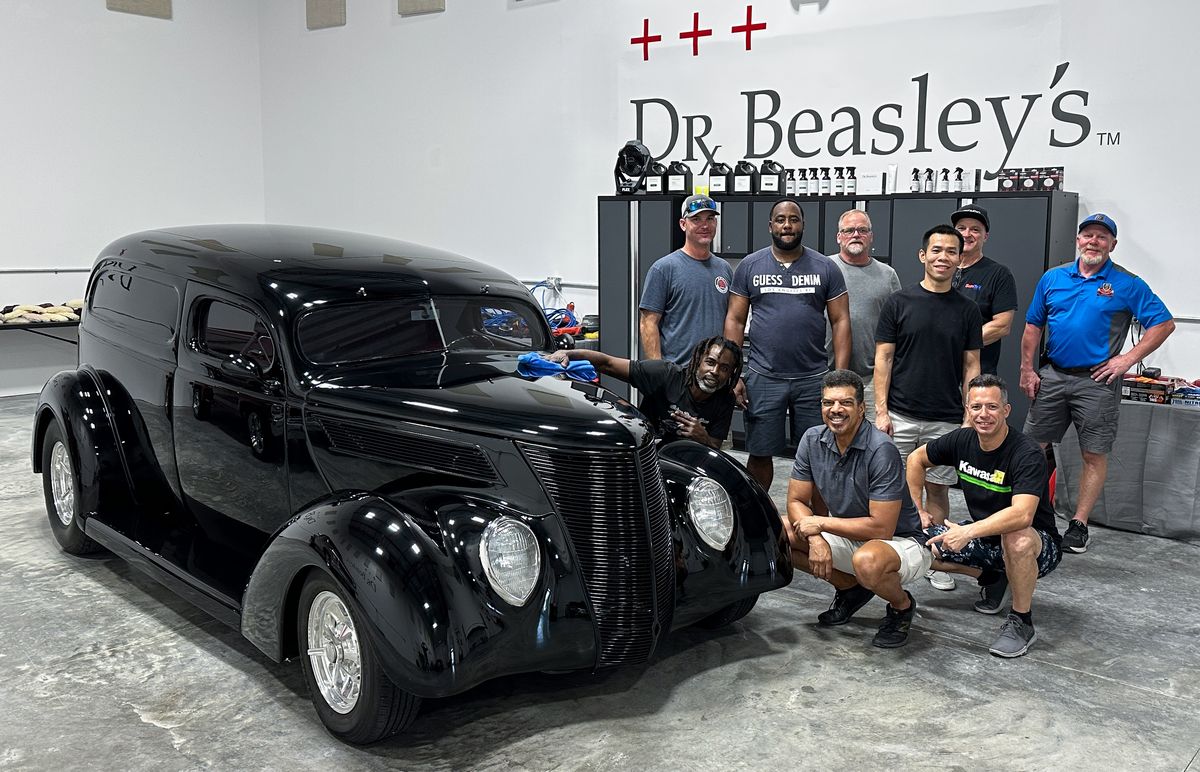
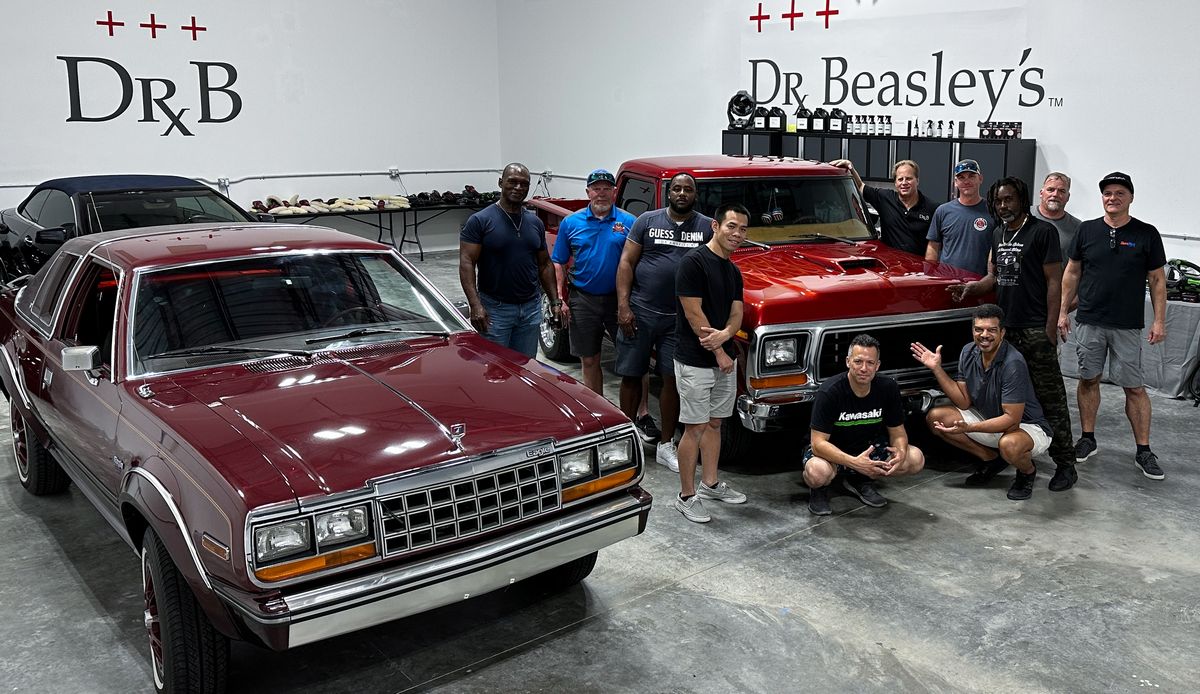
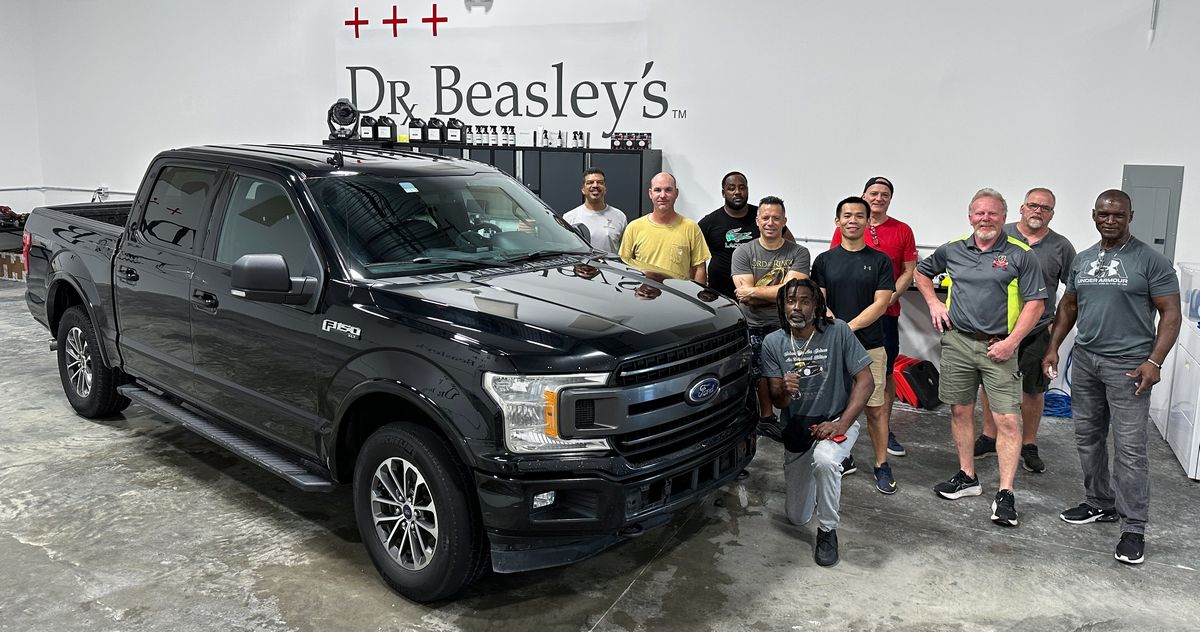
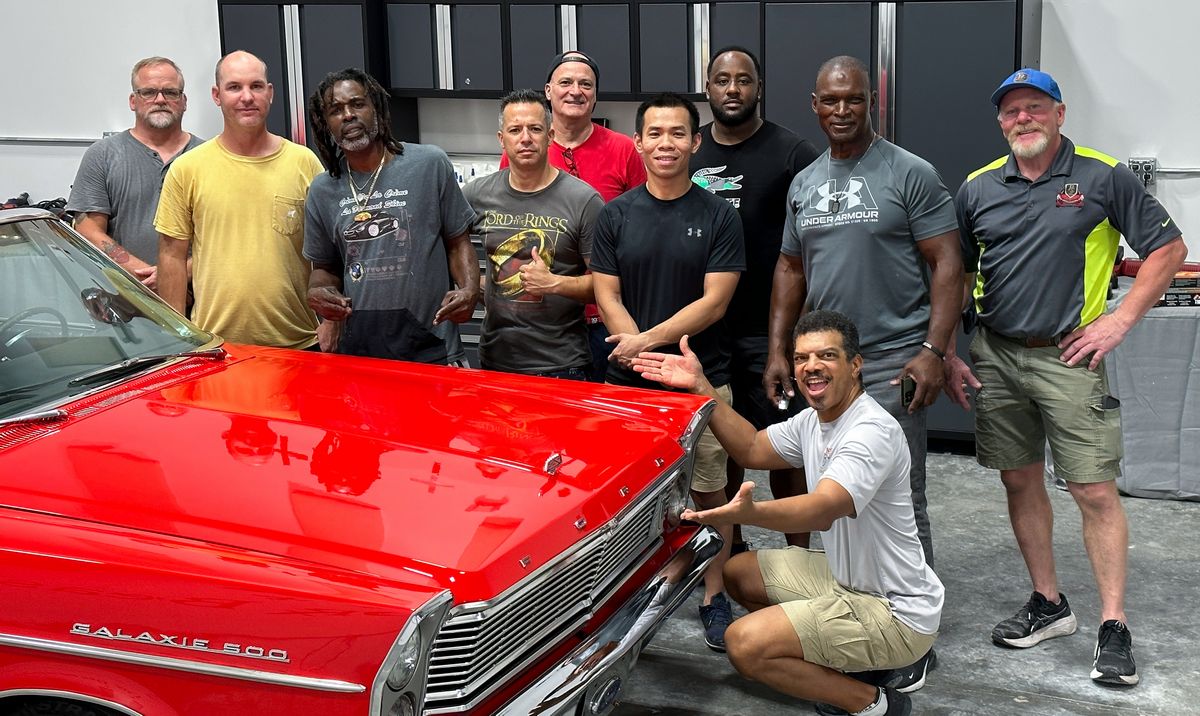
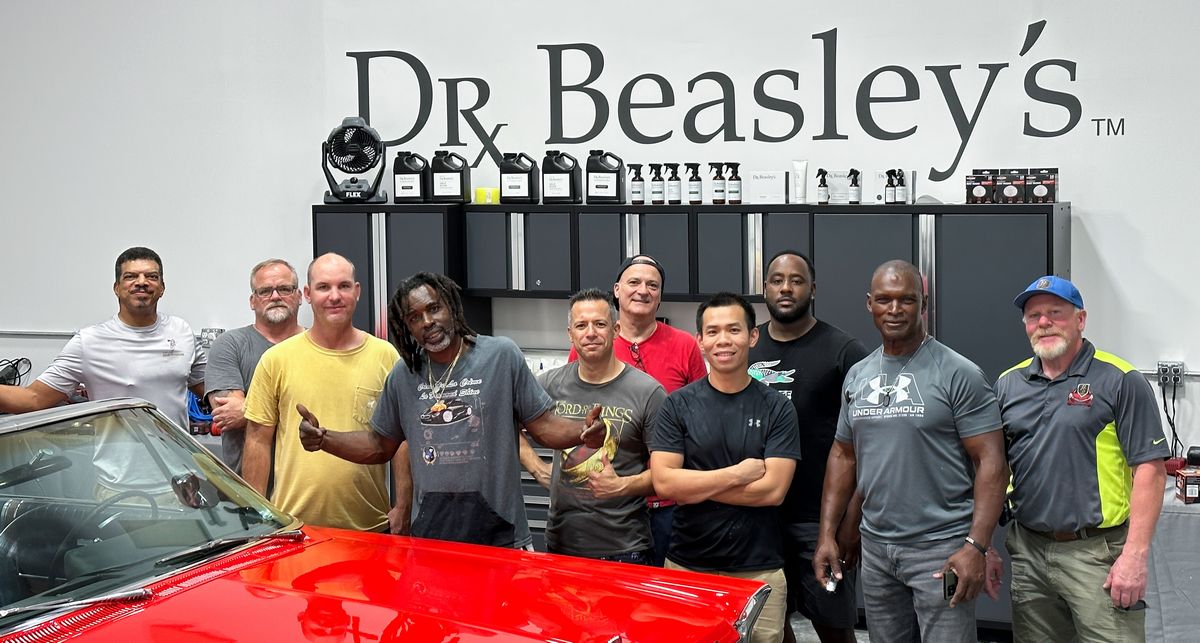
Group shot
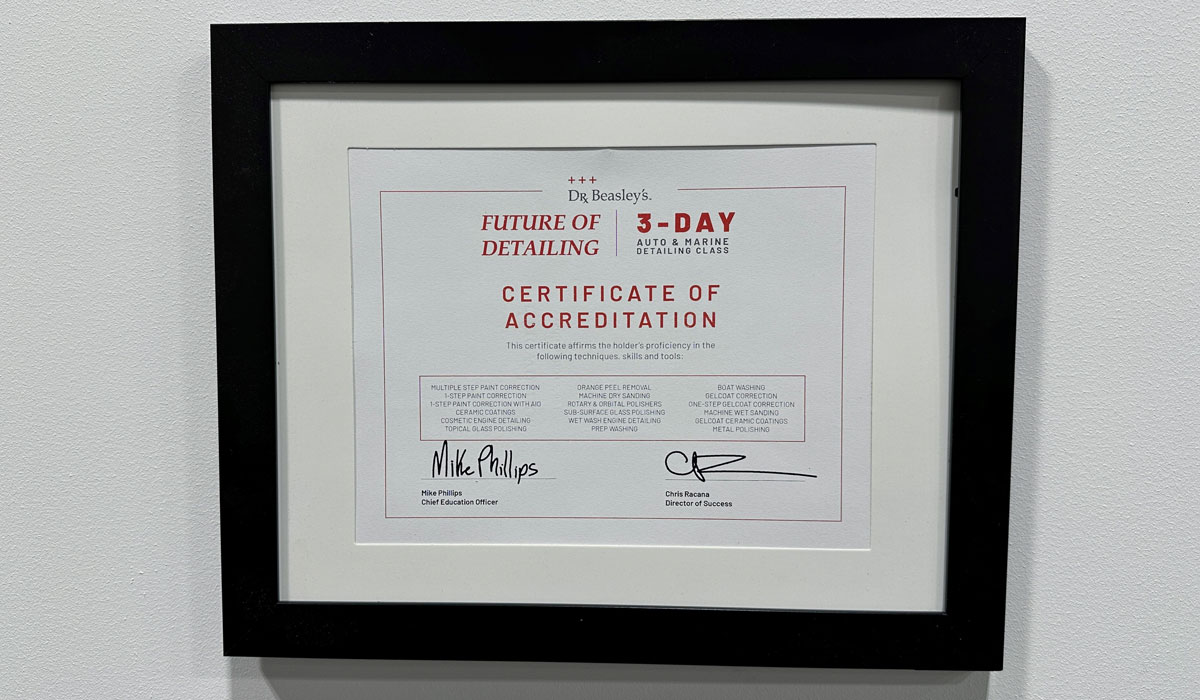
Actual Certificate
Unlike others, our certificate actually lists most of the major topics you trained on. Much nicer to display on the wall in your shop, garage, mobile work rig or home office.
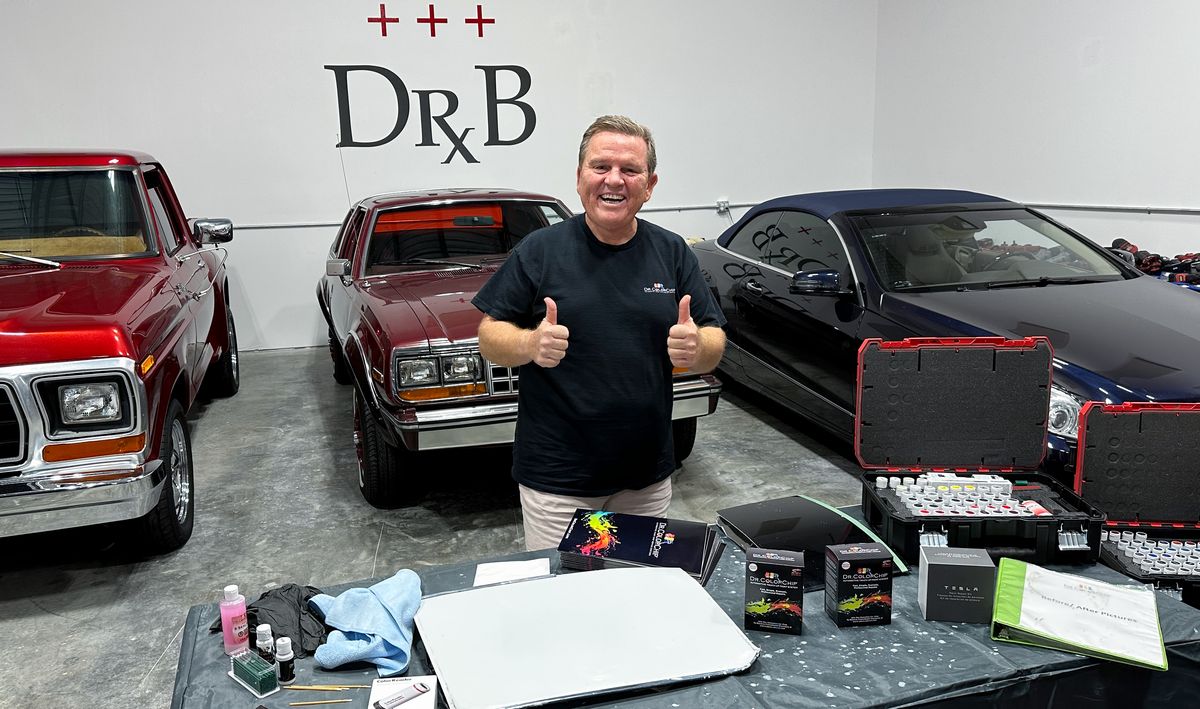
Mike
- 100% Hands-on car and boat detailing classes!
- No chairs!
- No sitting!
- No PowerPoint Presentation!
- On-your feet working on cool cars and boats
- Networking - make new lifetime friends!
- And also - 100% FUN!
On Friday, November 10th, Saturday, November 11th and Sunday, November 12th - we held our first full 3-day detailing class here at the Dr. Beasley's O.R. or Operating Room in sunny, Stuart, Florida. This class detailed six cars in 2 days, and one boat in one day. Each vehicle was used to teach unique techniques and each vehicle came out looking better than new. The boat came in with deep oxidation and left with a mirror gelcoat finish.
The Certificate Award Ceremony
After a long and grueling 3-days - these folks have earned their certificates!
Derick Robinson - Jacksonville, Florida -
Website: Crème de la Crème La Diamond Shine - Facebook - Instagram - NextDoor
Thomas John - Denton, Texas - 1,300 miles
Website: Caribbean Sparkle Facebook - Instagram
Daniel and DeAnne Brunson - Montgomery, Alabama - 600 miles
Facebook - Instagram
David Hess - Fort Pierce, Florida - 20 miles
Website: Facebook - Instagram - YouTube
Joe Melcarski - - Fort Pierce, Florida - 20 miles
Website: Keep it Glossy Ceramic Coating Experts - Facebook - Instagram - YouTube
Jhonathan Rivera -
Website: Eagle Coatings - Facebook - Instagram - YouTube
Crystal Peffers - Tampa, Florida - 170 miles
Website: Facebook - Instagram - Tiktok
Andy Tong
Website: Facebook - Instagram - YouTube
Meko Simmons - West Palm Beach - 30 miles
Website: Facebook - Instagram - YouTube
Russel Stender - Yulee, Florida - 275 miles
Website: Perfect Shine of Jax - Facebook - Instagram - YouTube
Note: Russel was my co-instructor for this class. As a seasoned, professional detailer, he's a great instructor and a wealth of knowledge based upon real-world experience.
Group shot
Actual Certificate
Unlike others, our certificate actually lists most of the major topics you trained on. Much nicer to display on the wall in your shop, garage, mobile work rig or home office.
Mike
Last edited:


")