- Admin
- #7
- Joined
- May 21, 2021
- Messages
- 2,692
- Reaction score
- 1,622
- Points
- 113
- Location
- Stuart, Florida
- Website
- themikephillipsforum.com
Continued...
One-Step Ceramic AIO Paint Correction
To recap, the class started out doing Multiple-Step Paint Correction and Ceramic Coatings, (the 1937 Ford), followed by One-Step Paint Correction and Ceramic Coatings, (the Mercedes-Benz), and now the class will learn One-Step Ceramic AIO Paint Correction.
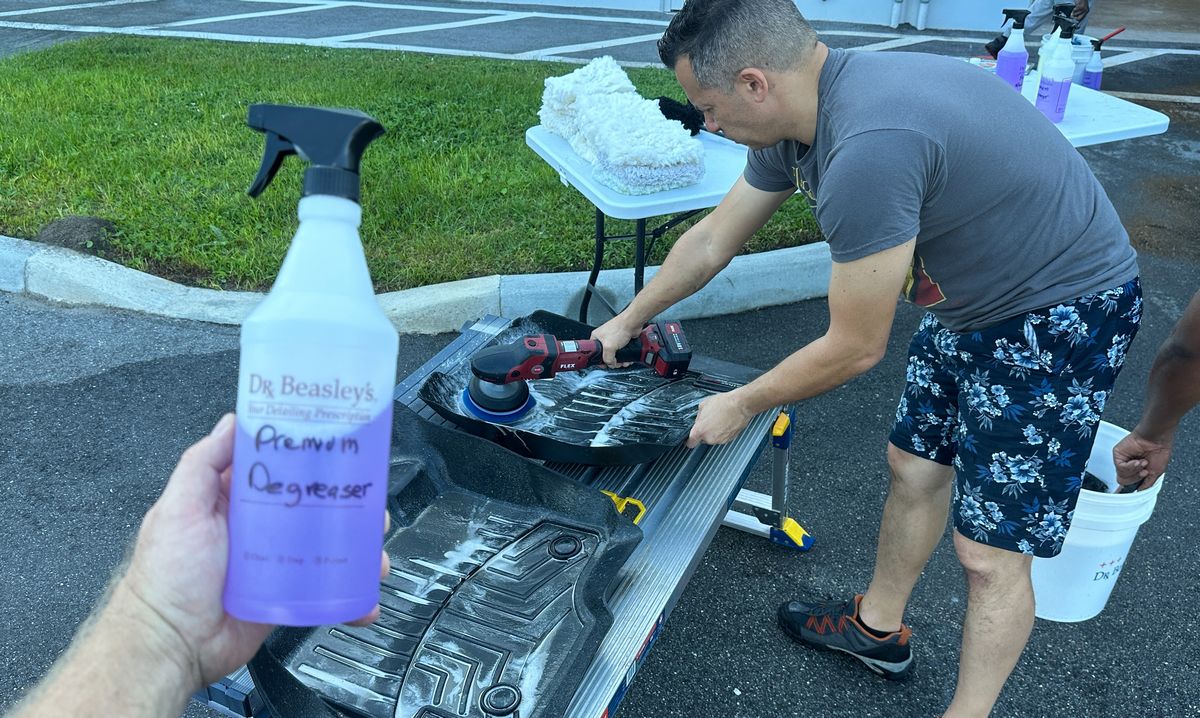
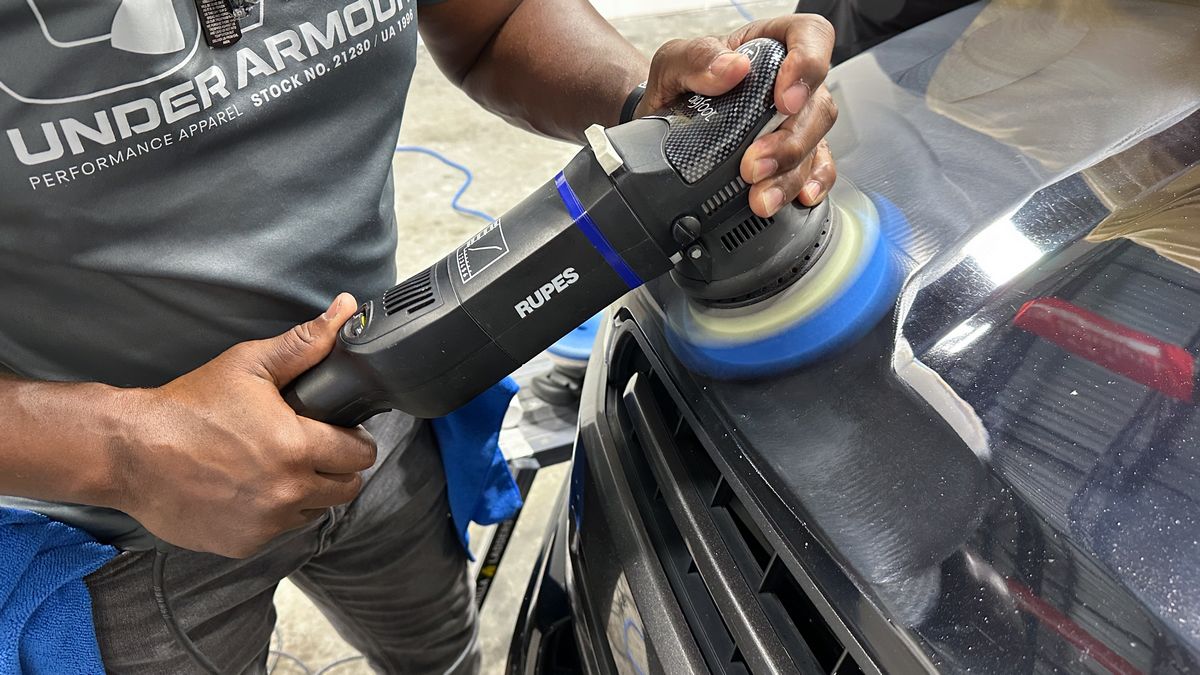
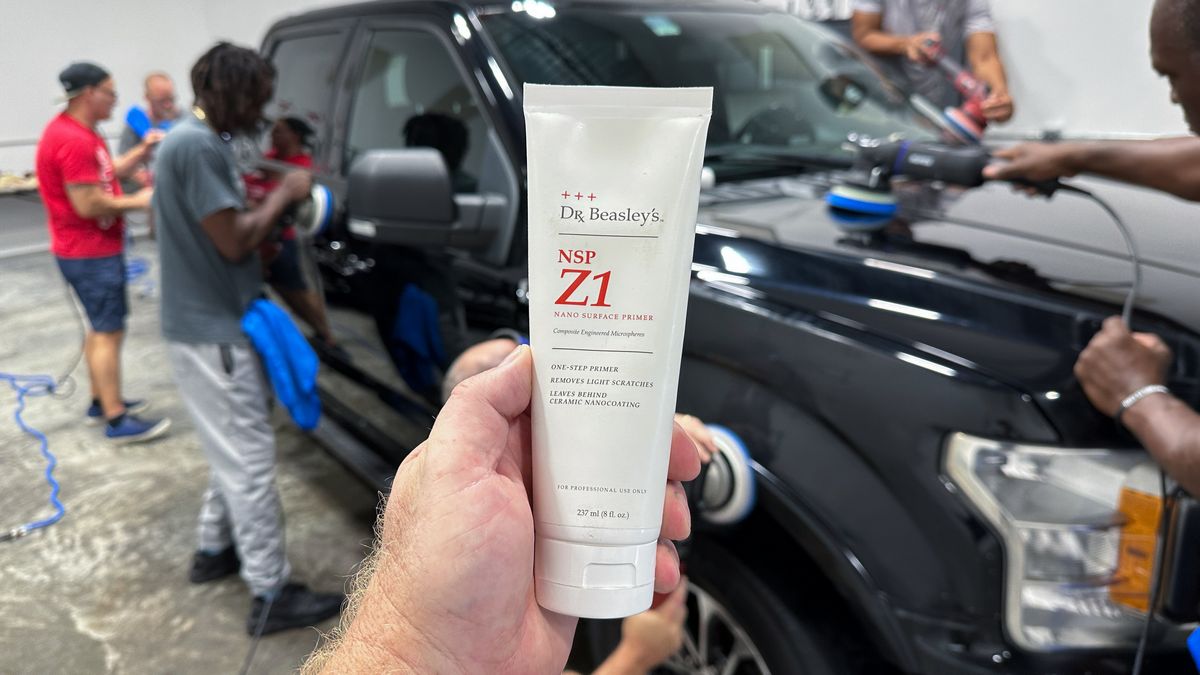
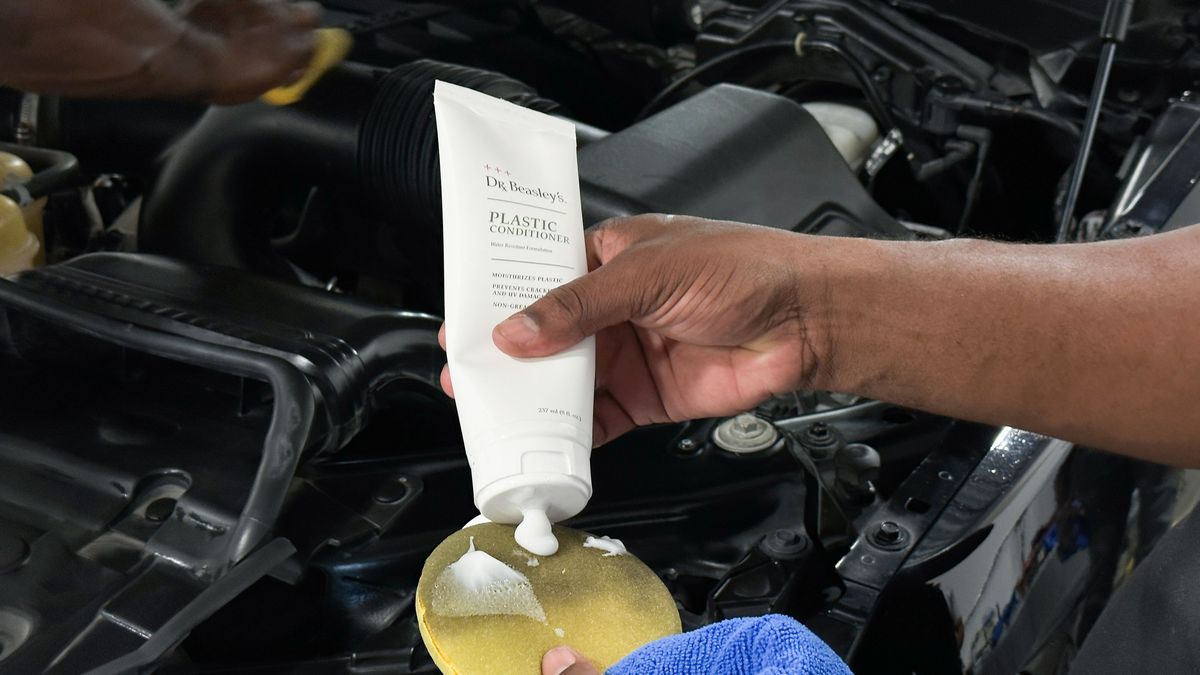
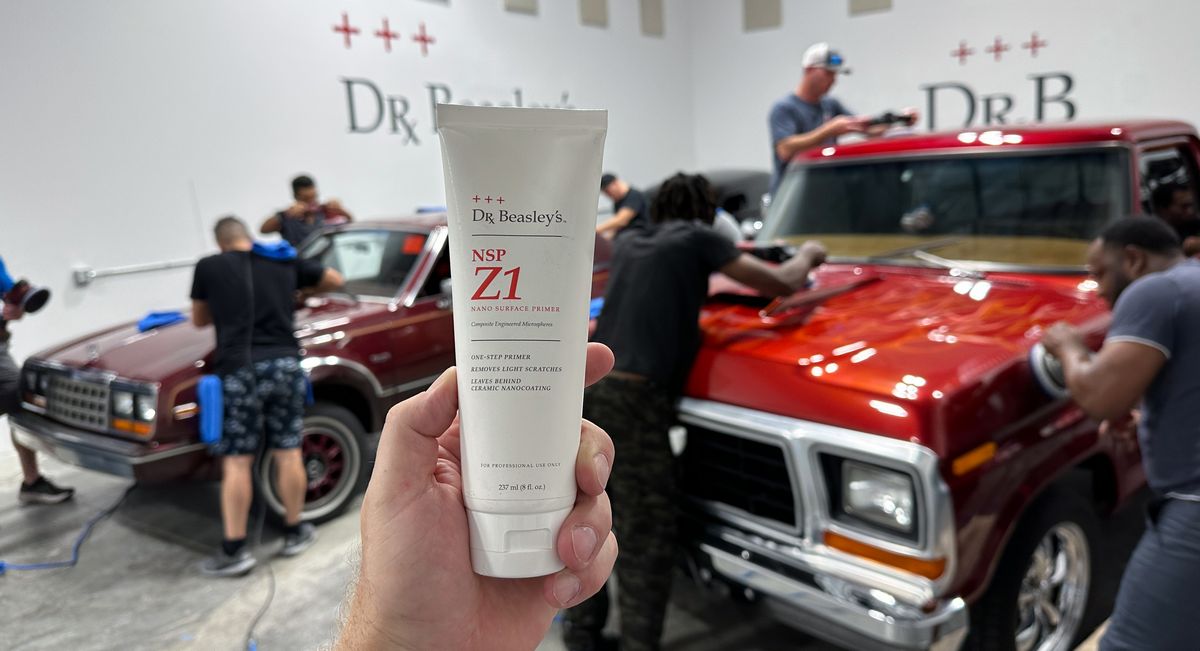
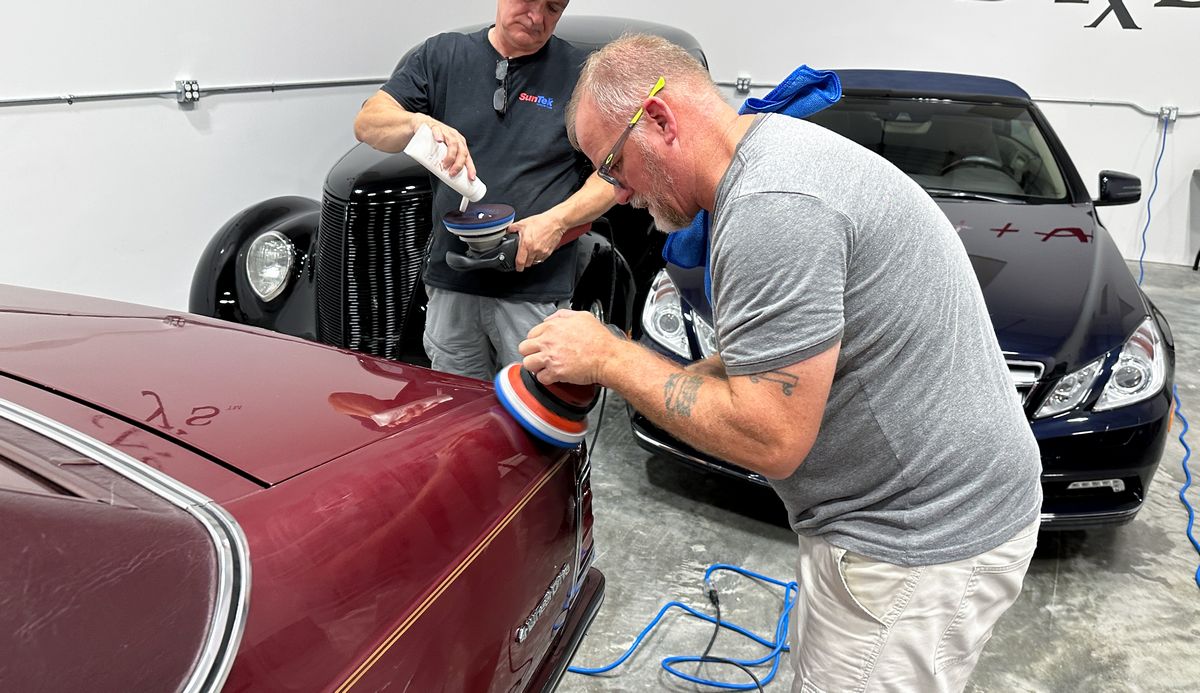
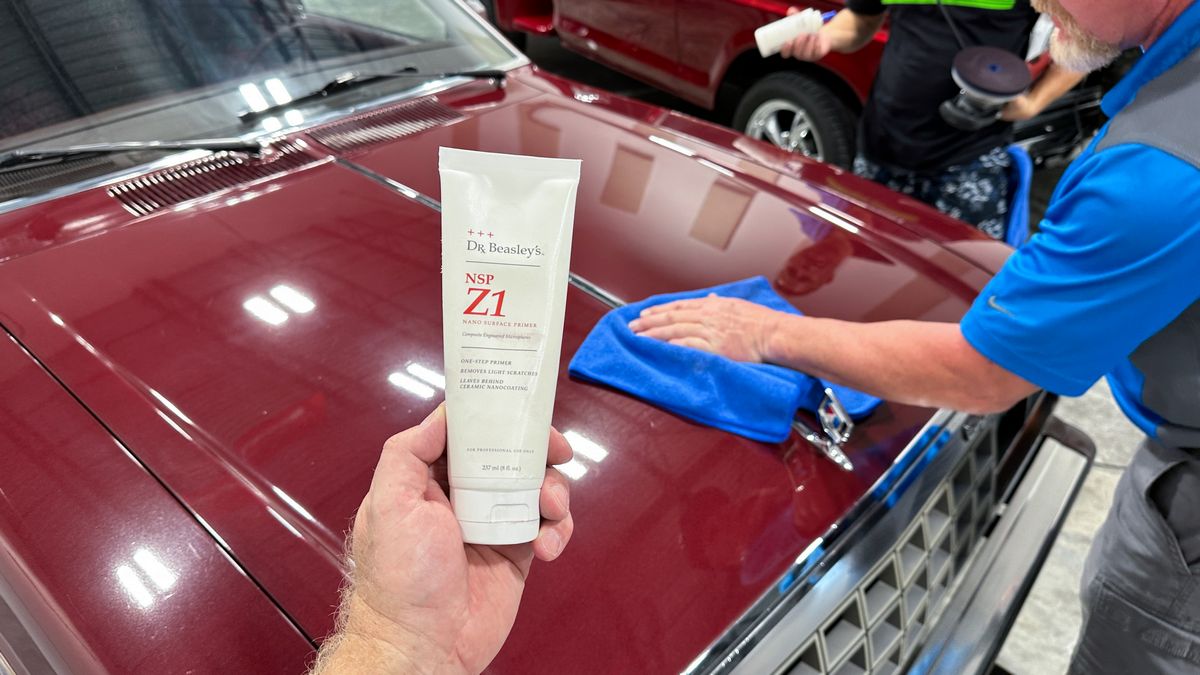
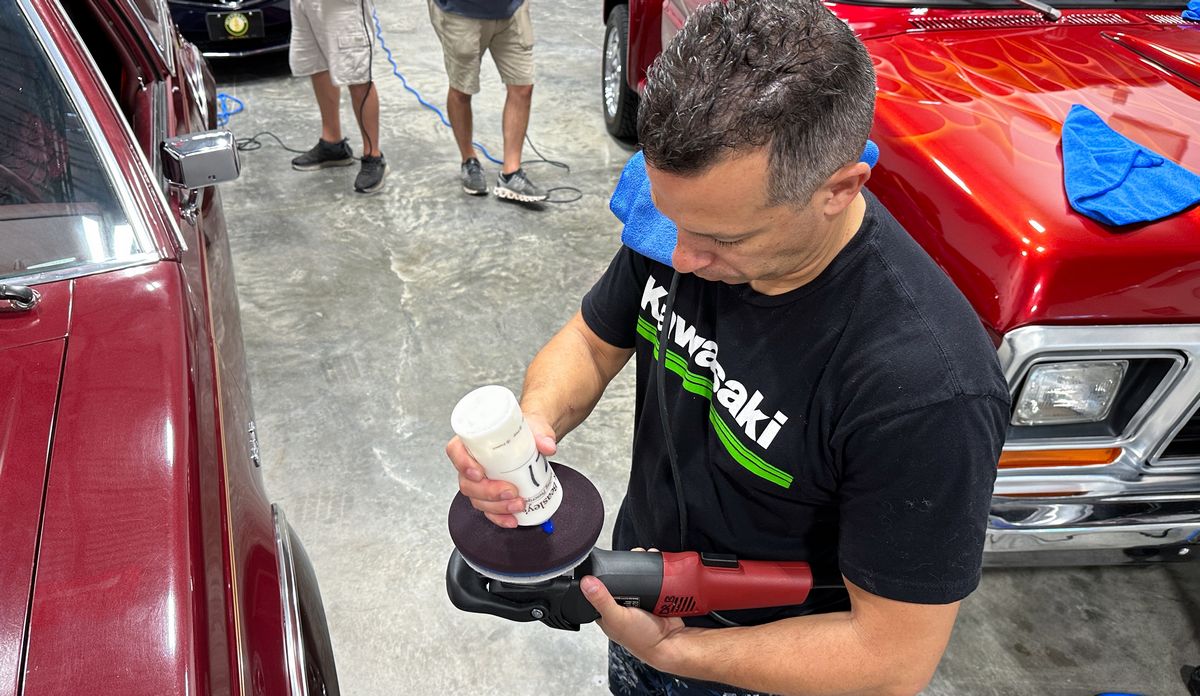
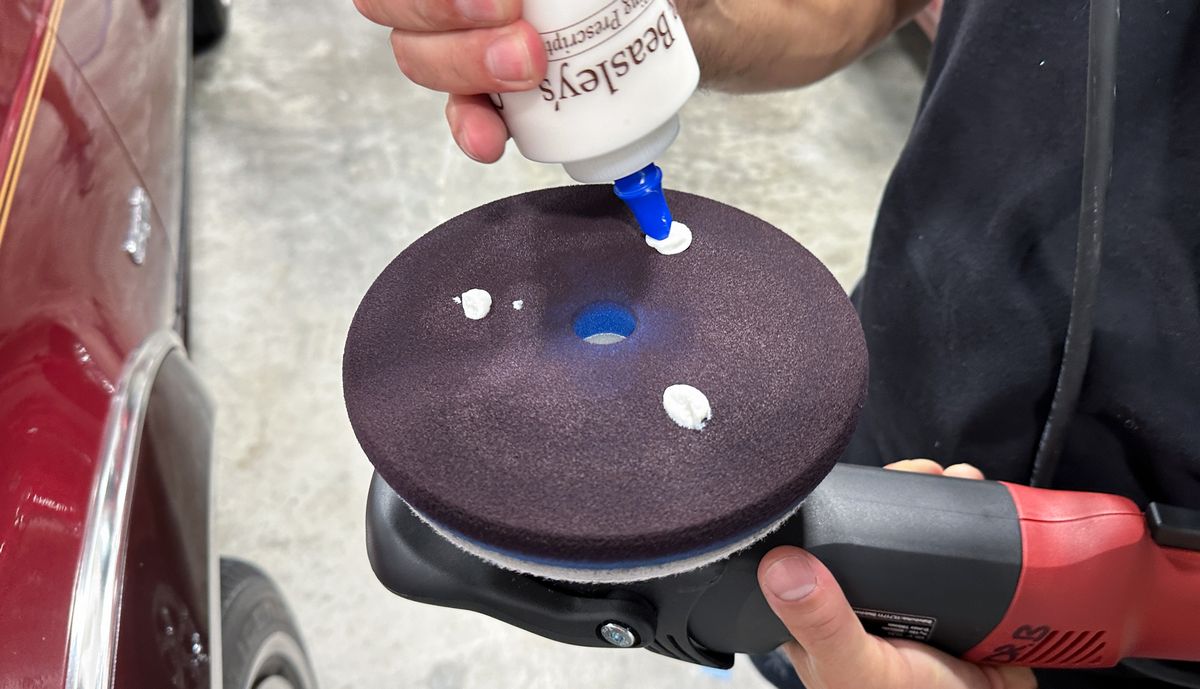
With this process, the class will use an AIO or All-in-One, which is the Dr. Beasley's Z1. The Dr. Beasley's Z1 will do 3 dedicated processes in a single step. Z1 will,
The BIG PICTURE idea is to learn 3 different approaches to detail cars, which if you detail for money, this is 3 different PACKAGES you can offer your customers. Which package your customer chooses depends upon their budget as well as the type and condition of their vehicle plus how they use it. There's a HUGE difference between doing Multiple-Step Paint Correction and Ceramic Coatings to a true show car like the 1937 Ford, where the goal is to create a perfect, swirl-free show car finish - and detailing a daily driver, that basically serves as a grocery getter and work transportation.
There are NO other classes that teach detailing with this approach. We incorporate REAL WORLD detailing in our classes whether you detail as a business or simply love to detail your own cars. No matter which type of person you are - you will still need to know these 3 different approaches and know when to use which process for your own cars or customer's cars.
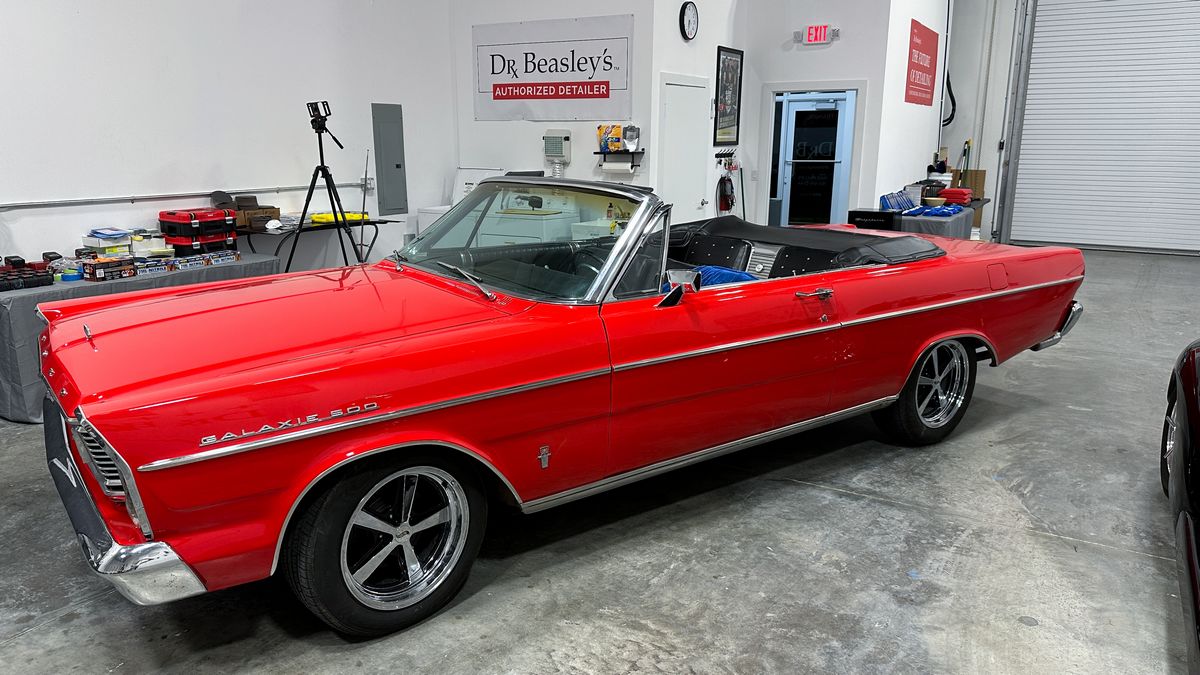
Training cars to learn One-Step Ceramic AIO Paint Correction
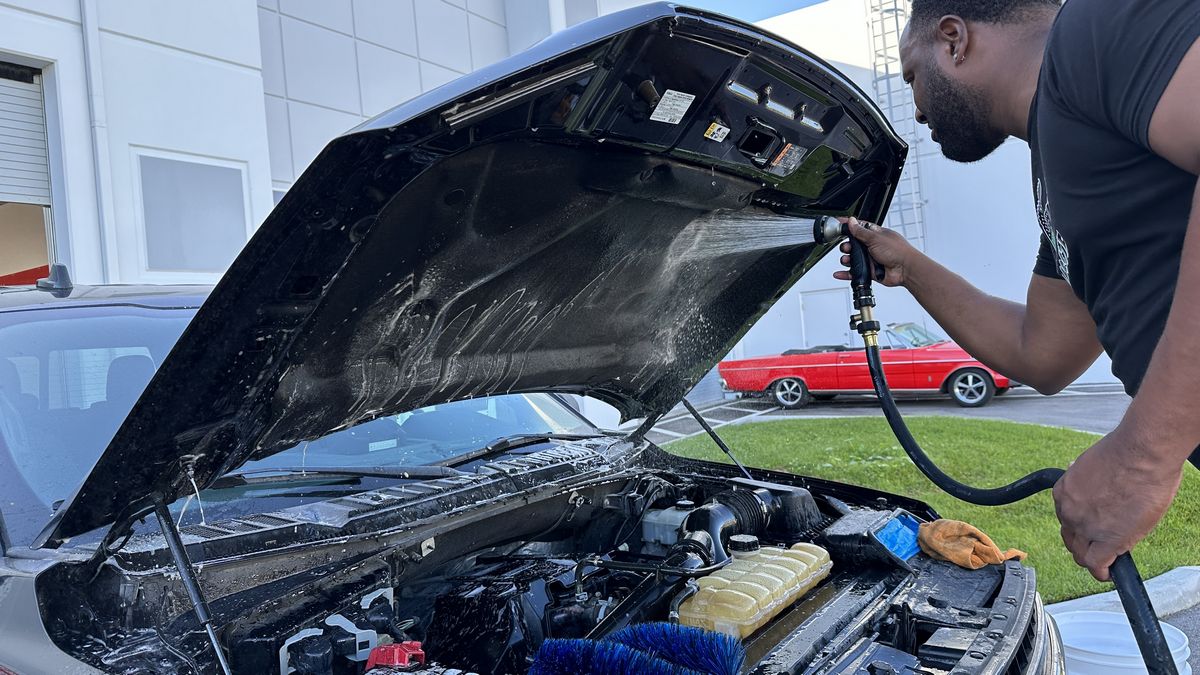
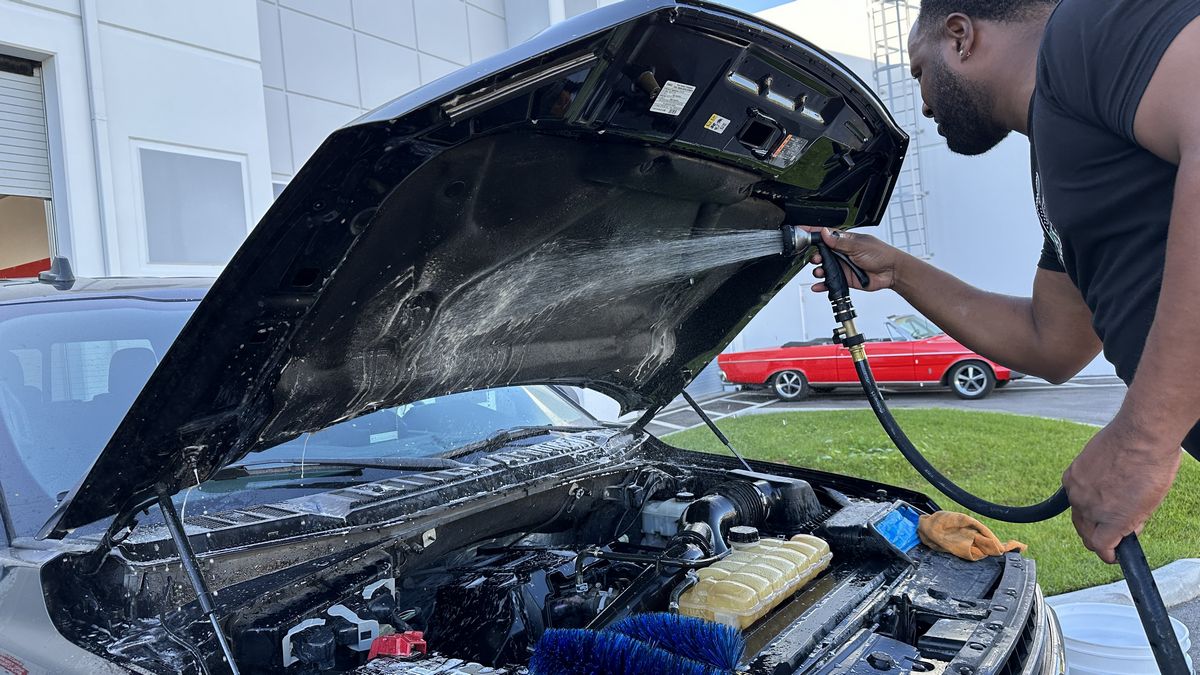
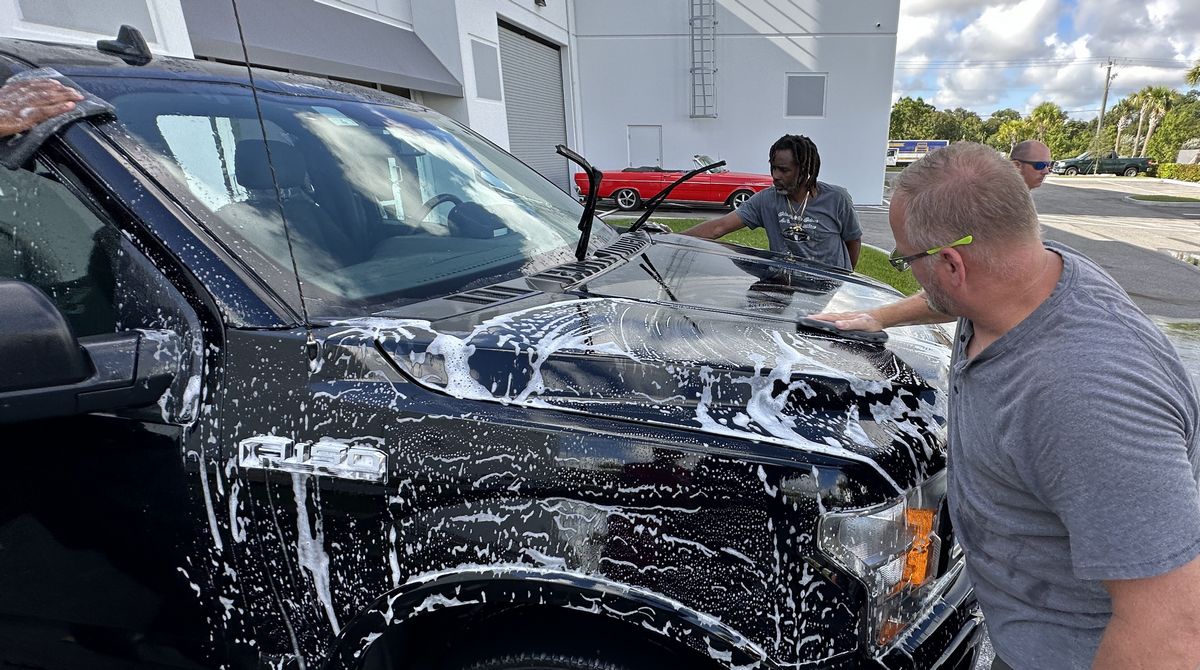
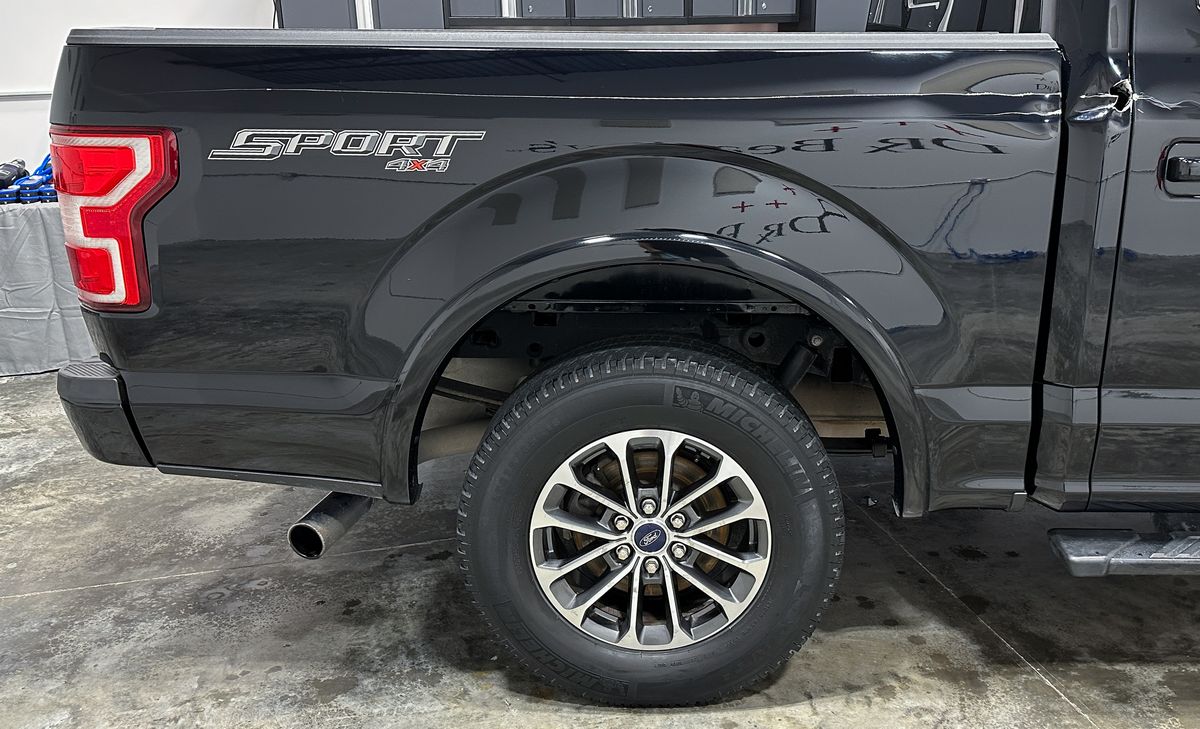
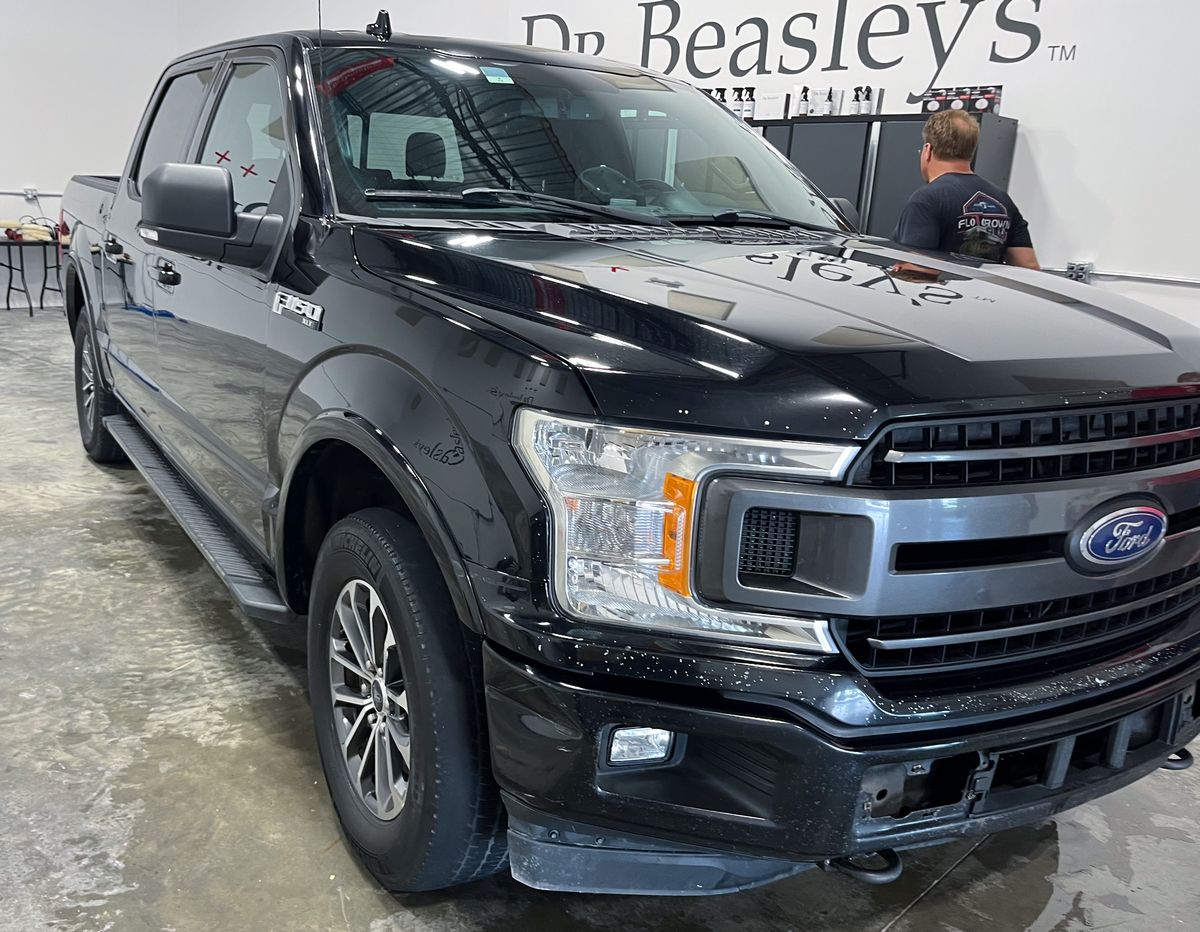
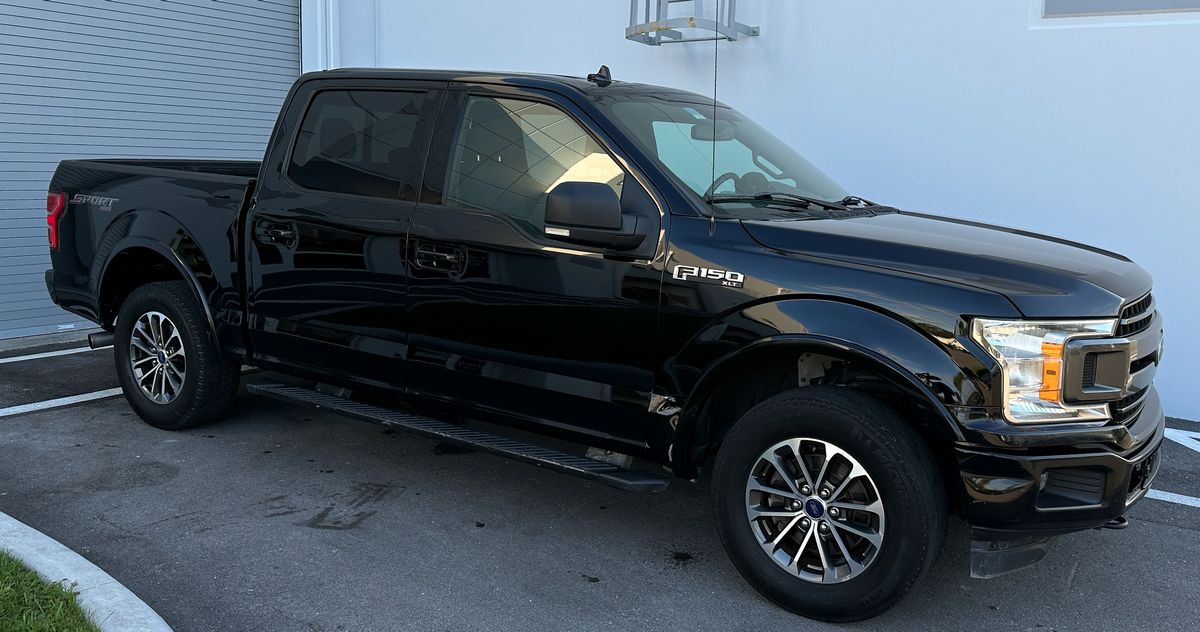
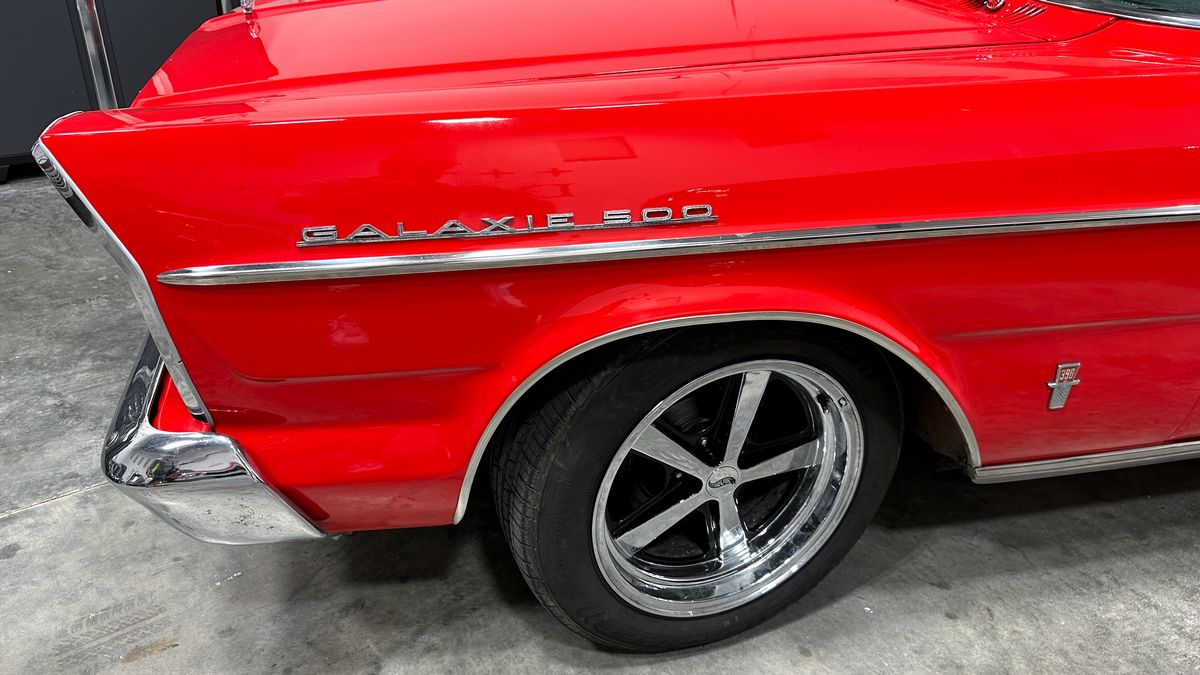
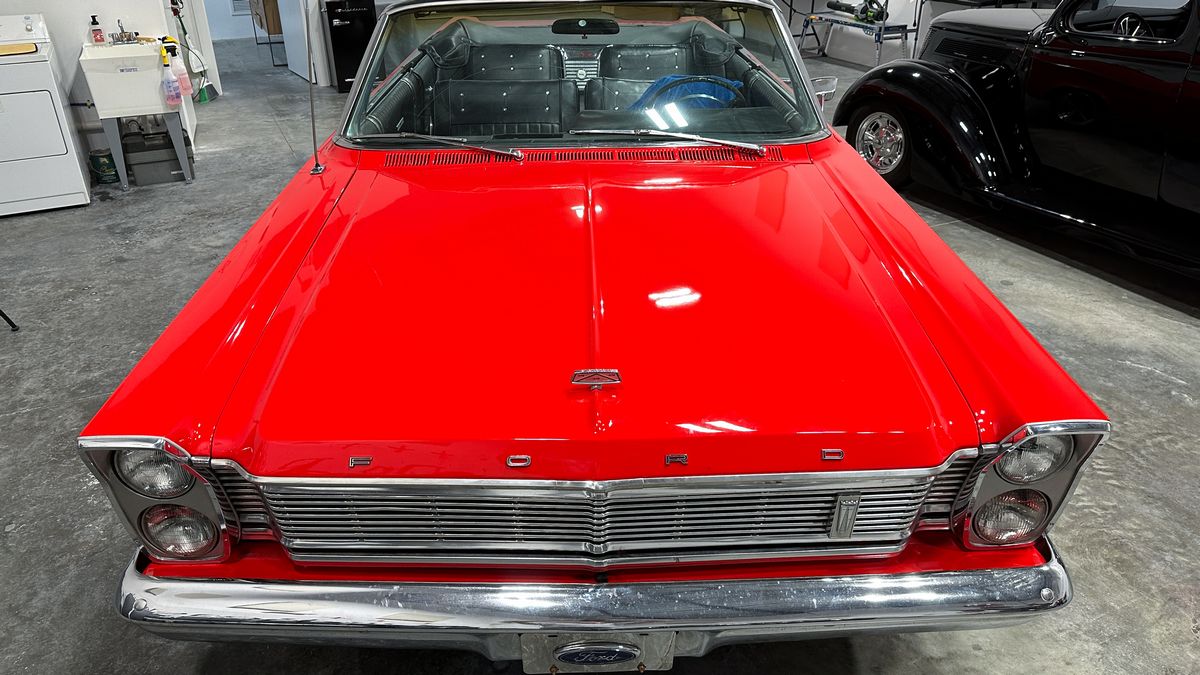
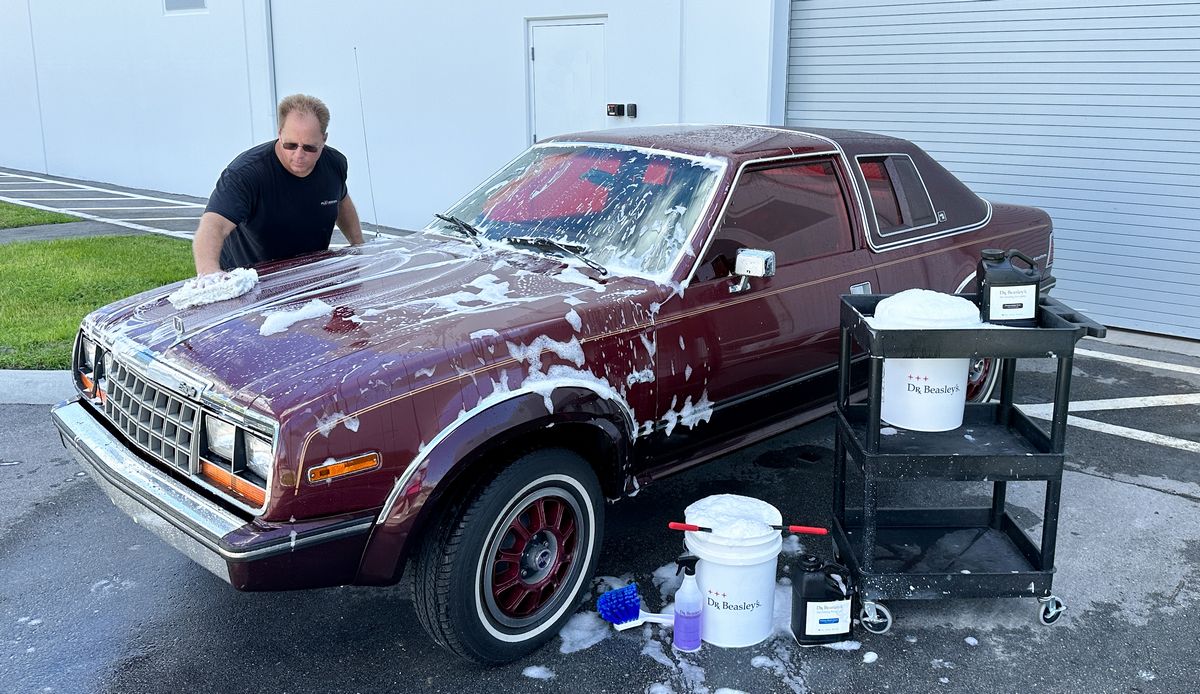
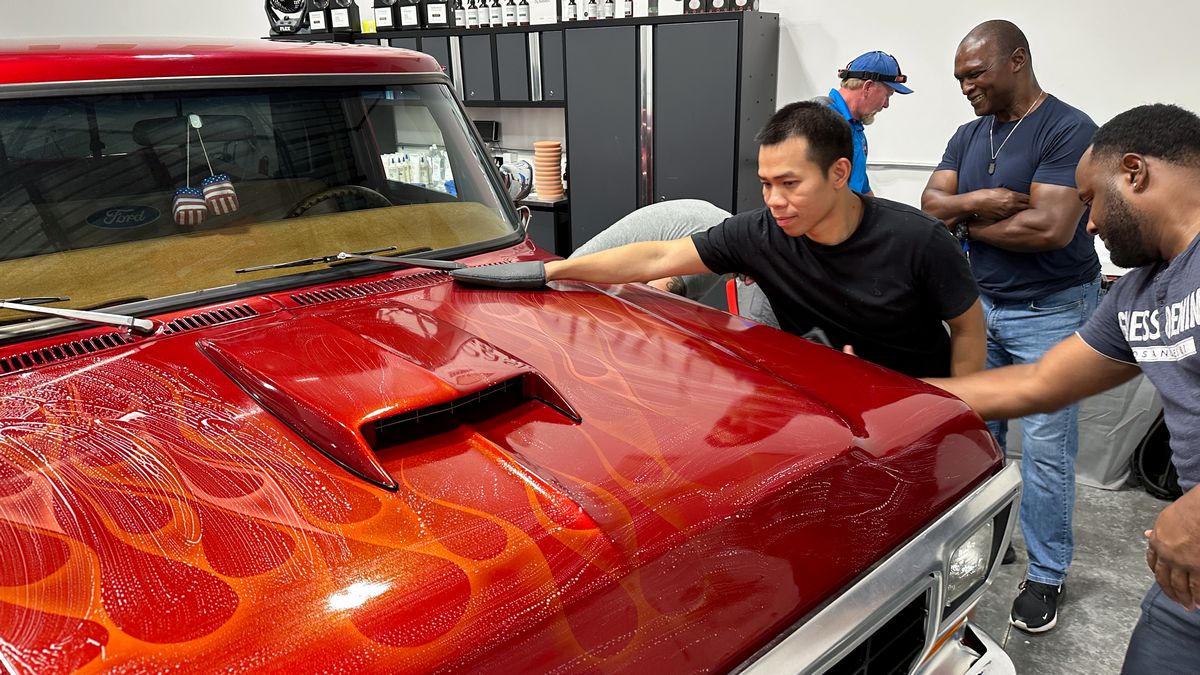
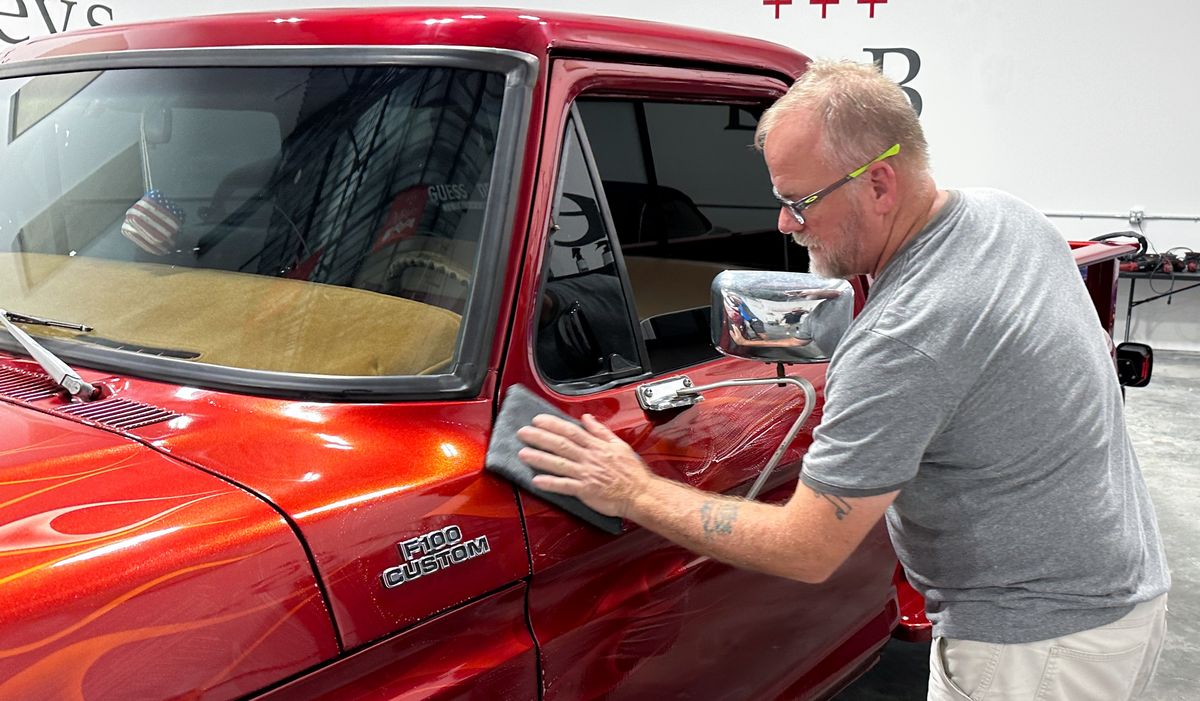
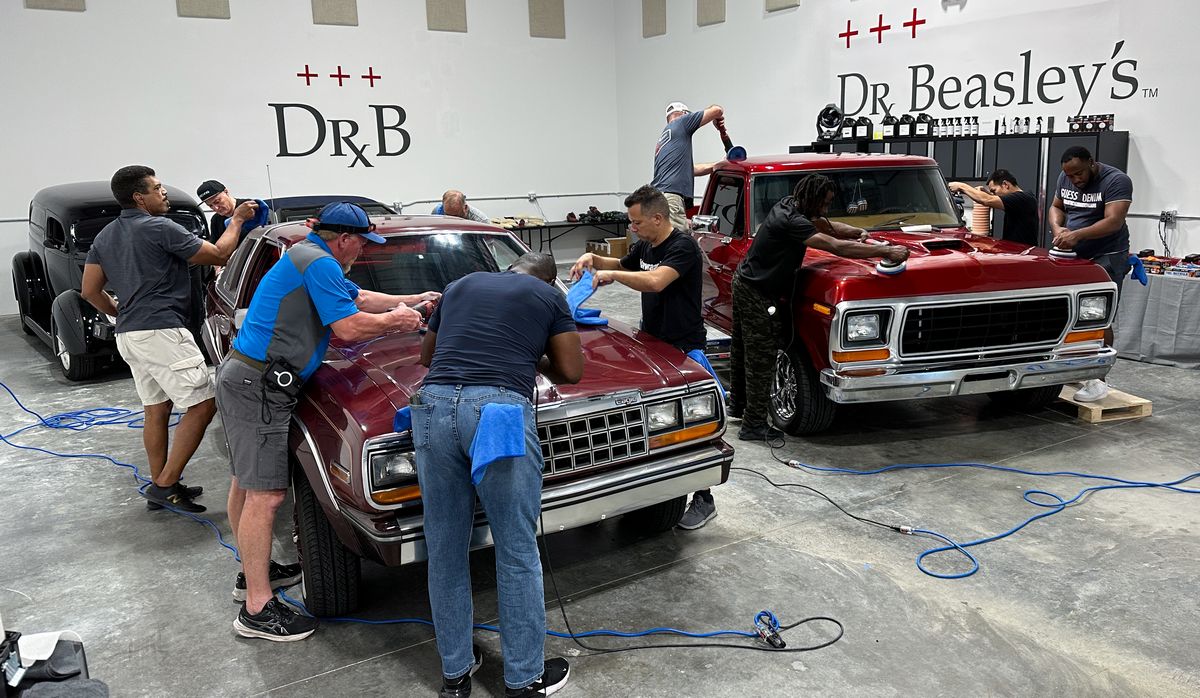
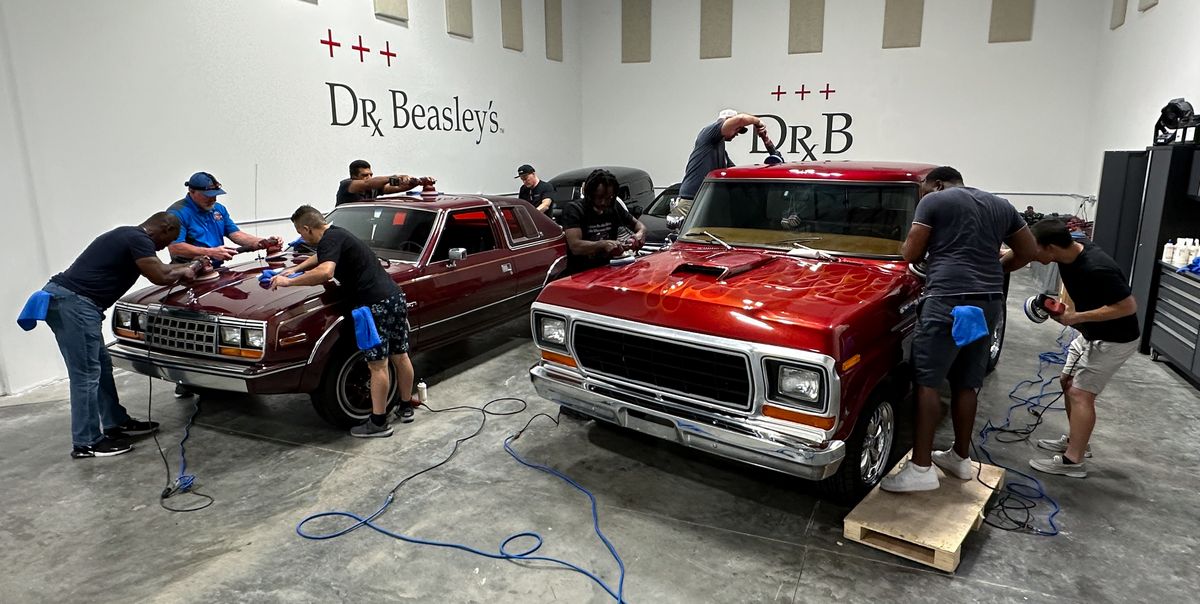
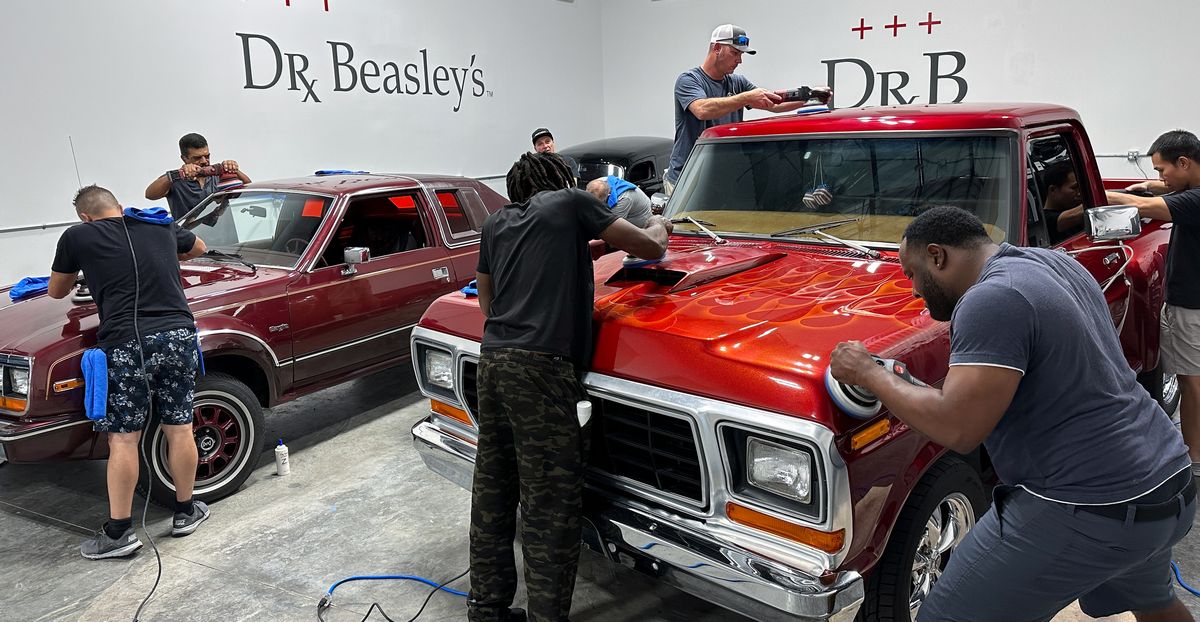
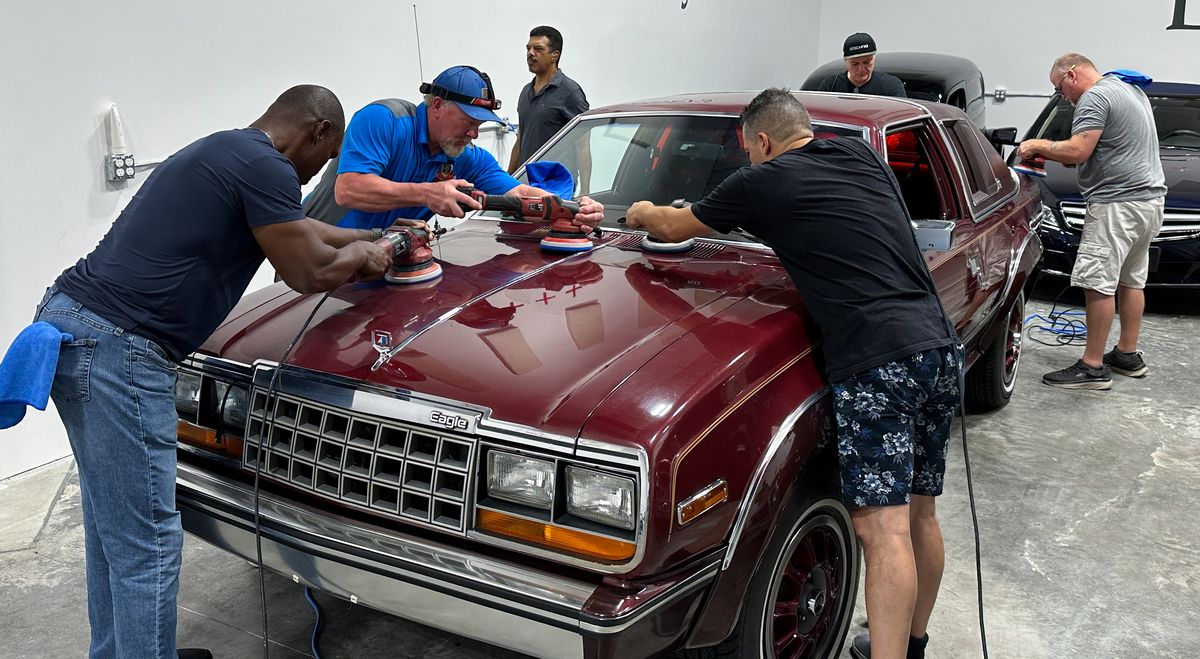
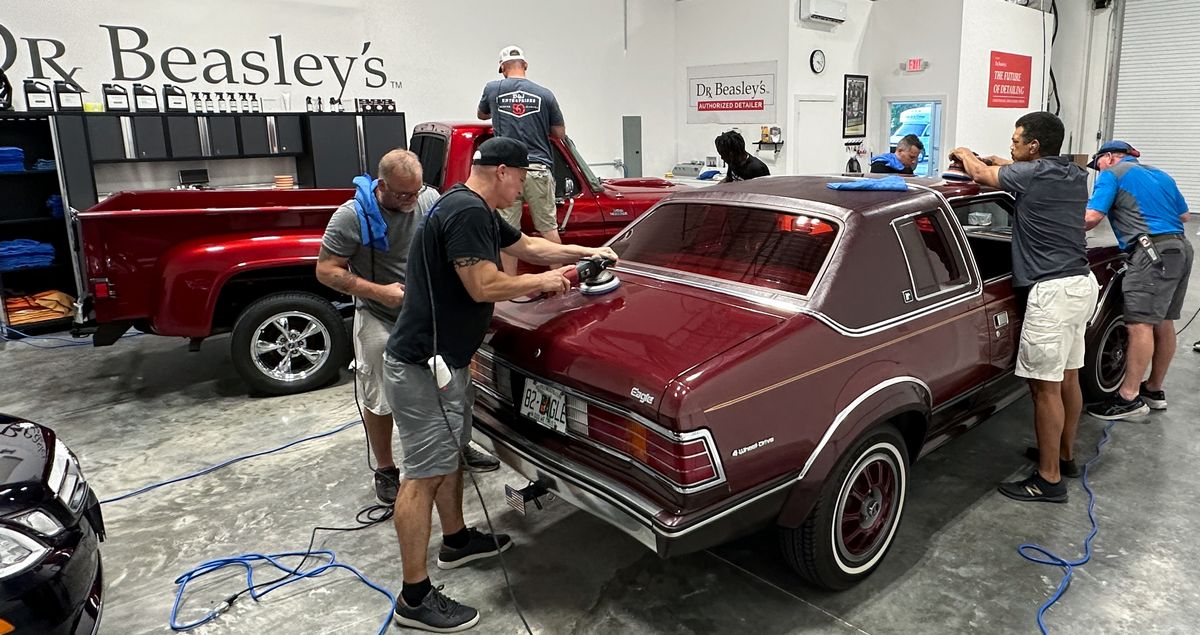
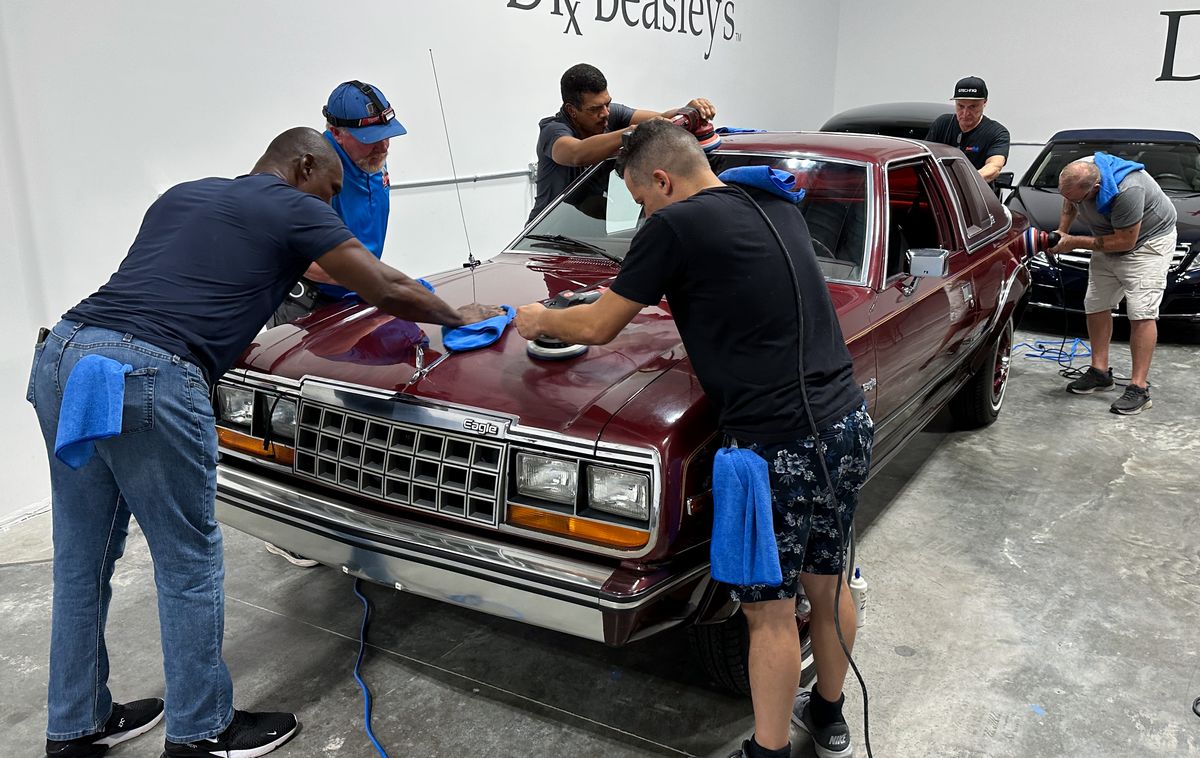
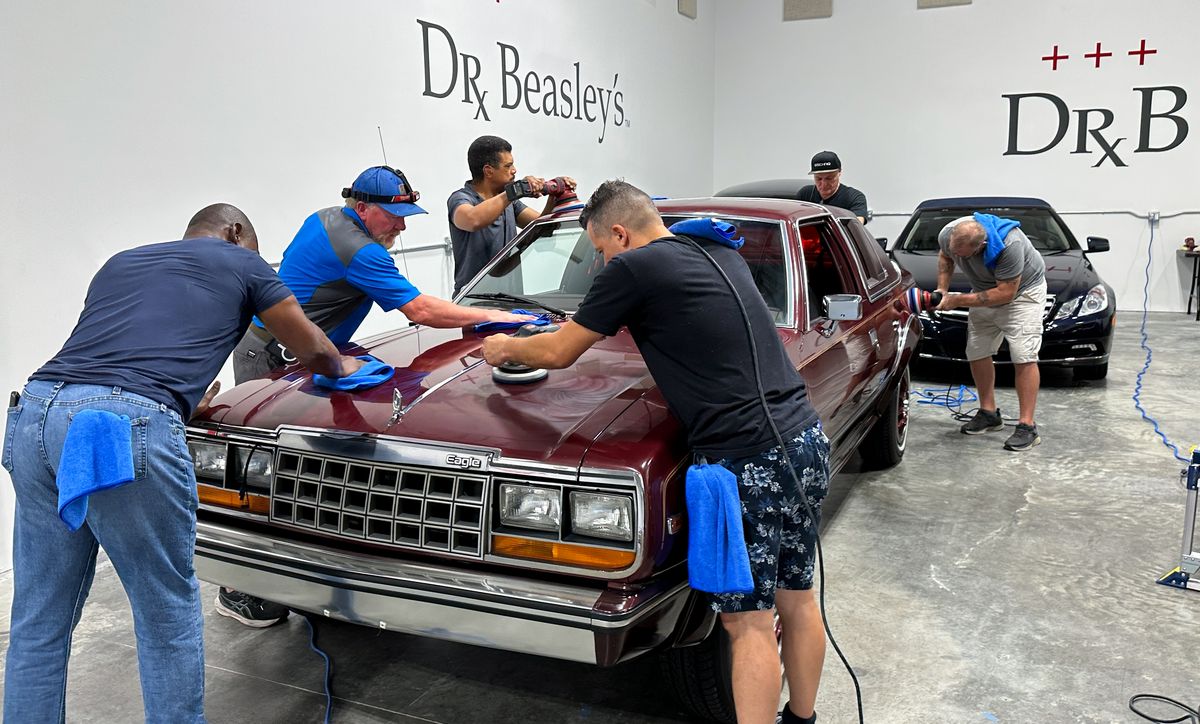
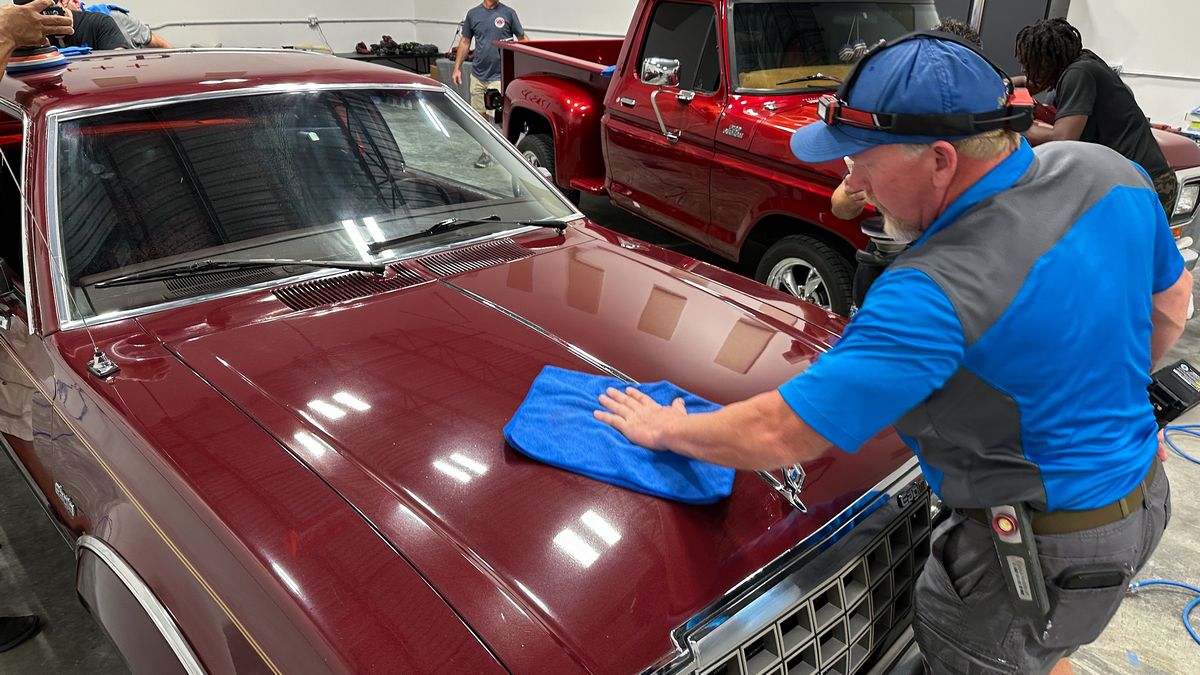
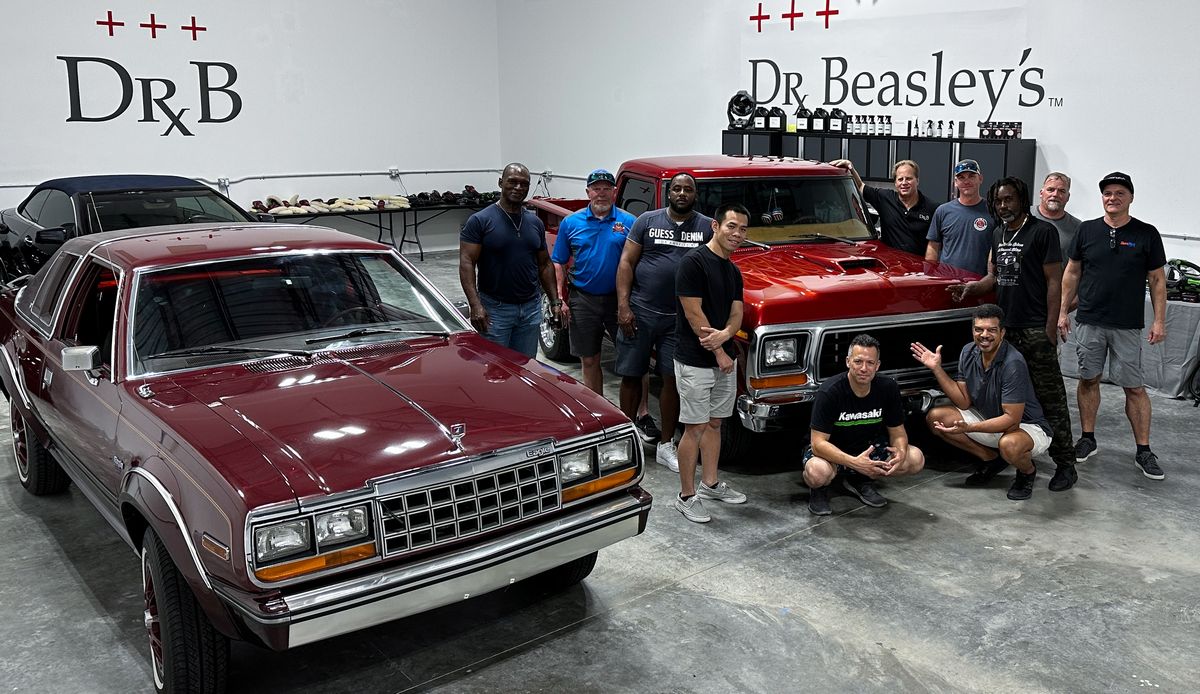
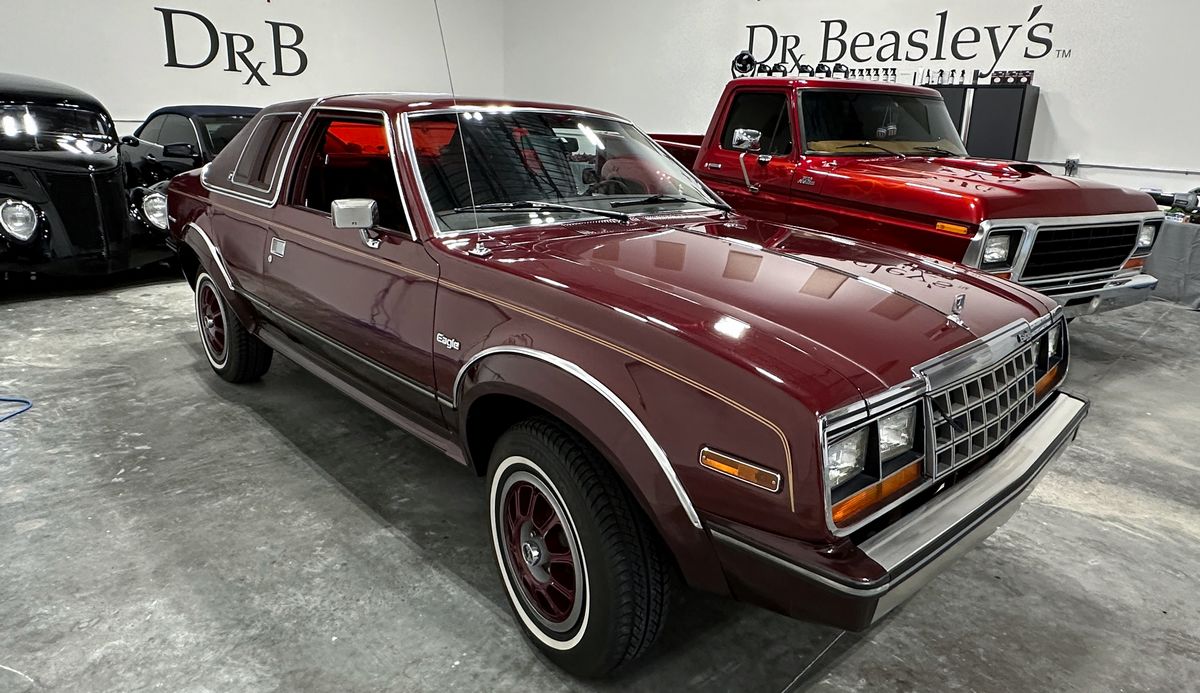
We work real hard at bringing in real-world, unique and also fun vehicles to train on. For this class session, the class will have the opportunity to learn One-Step Ceramic AIO Paint Correction on a super cool classic truck and an original paint AMC Eagle.
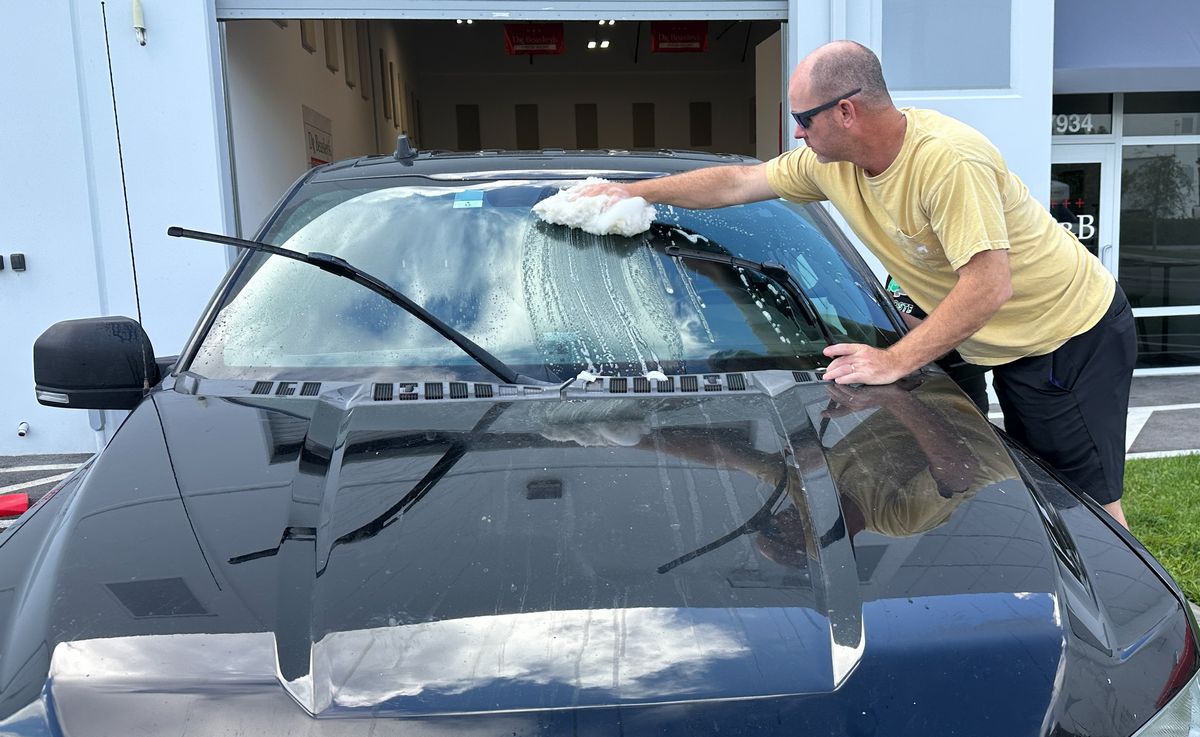
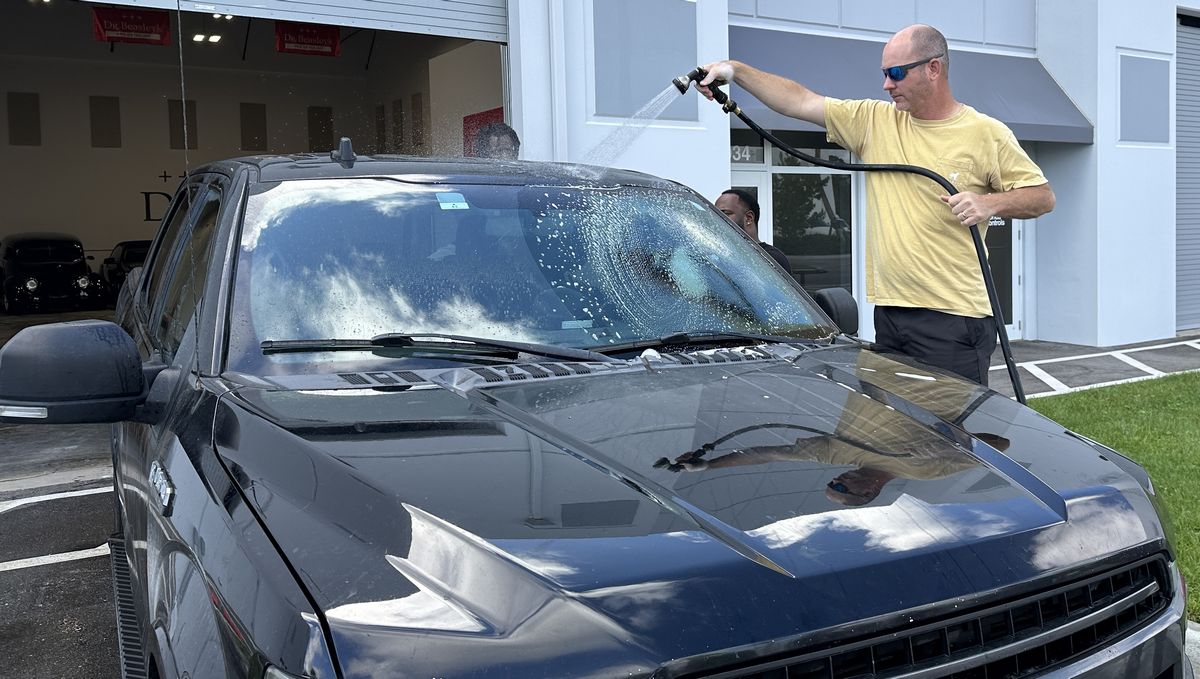
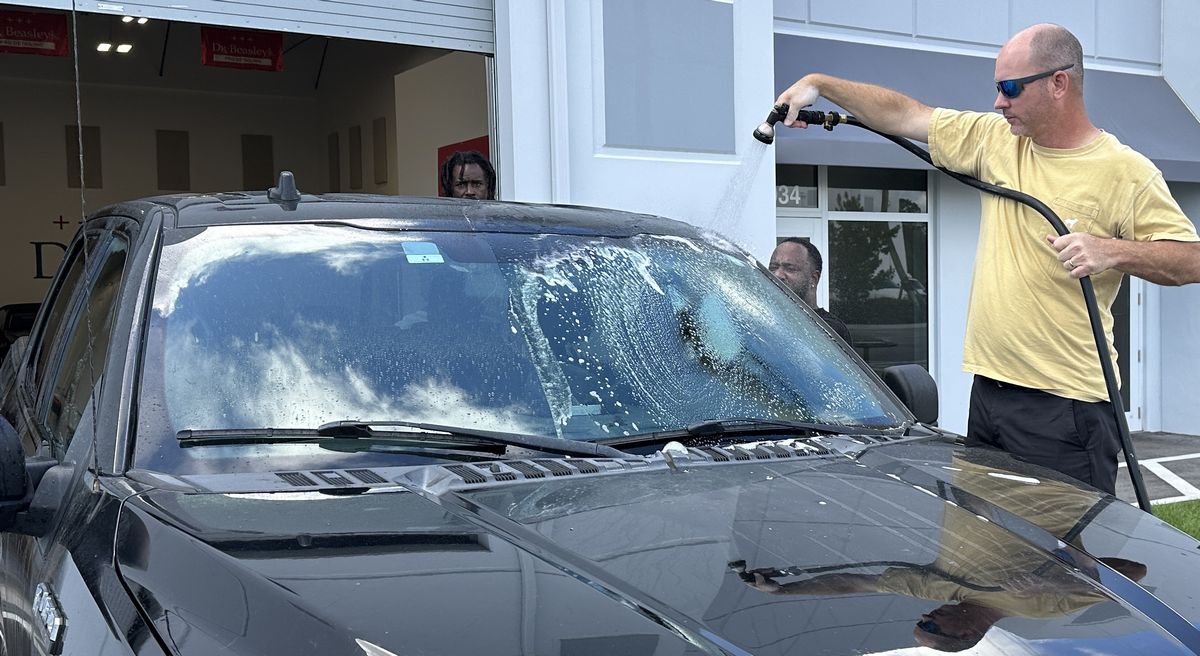
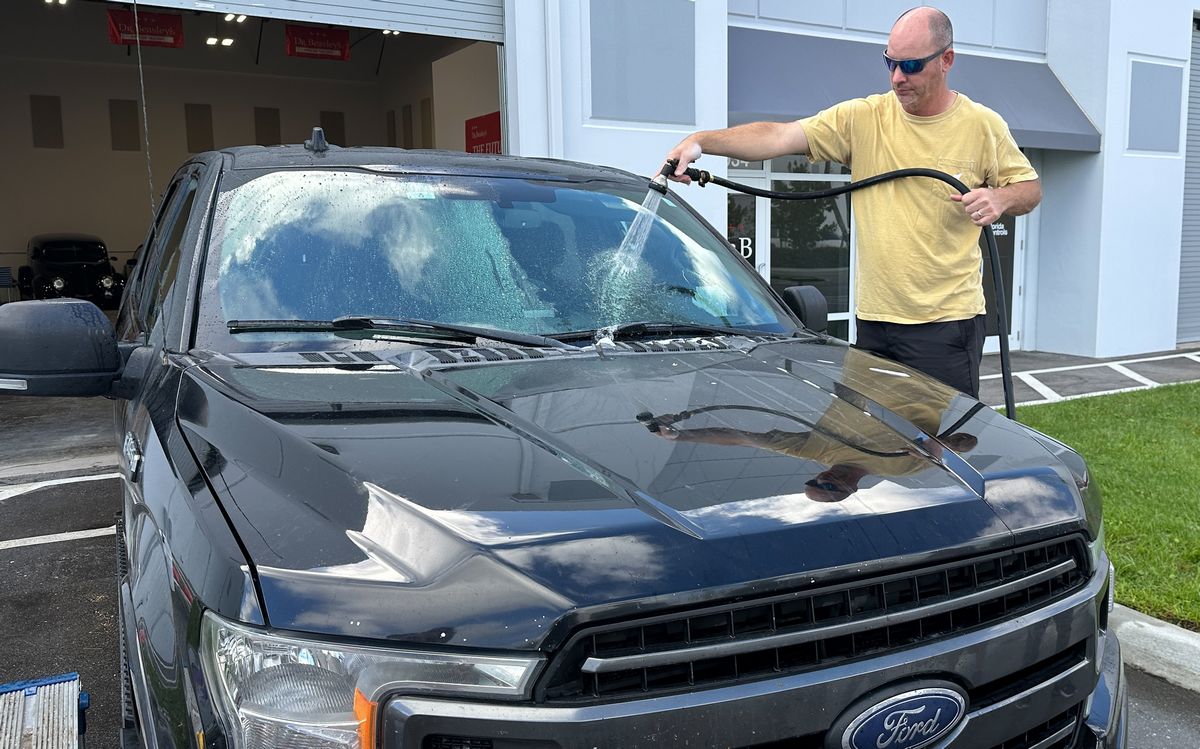
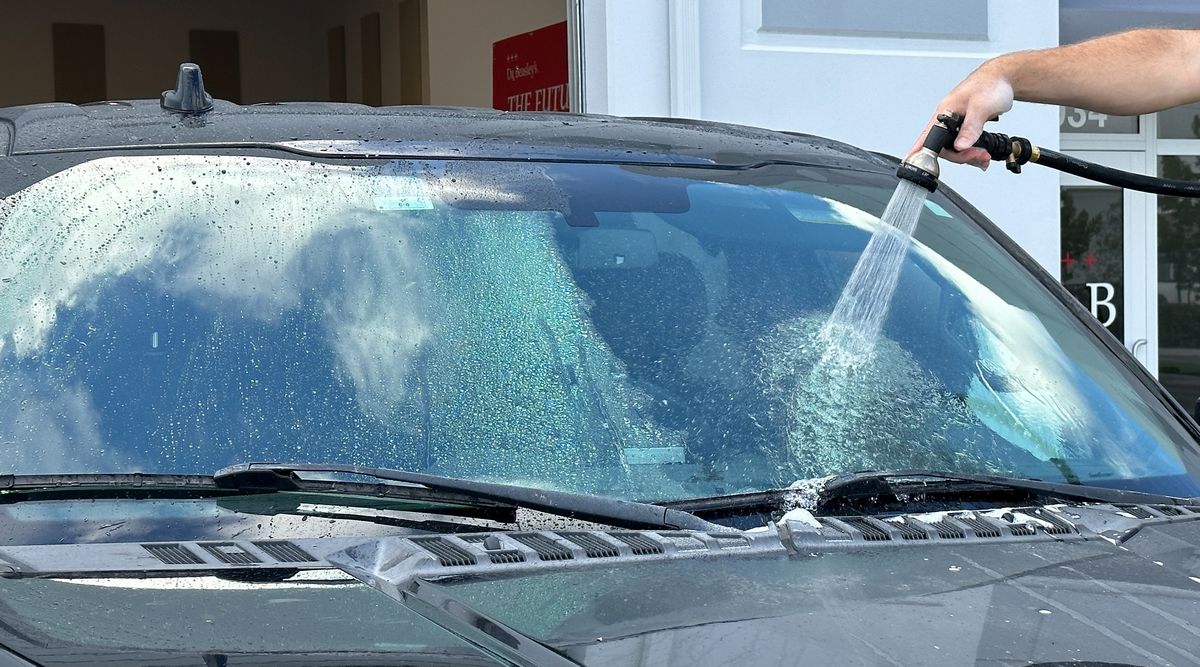
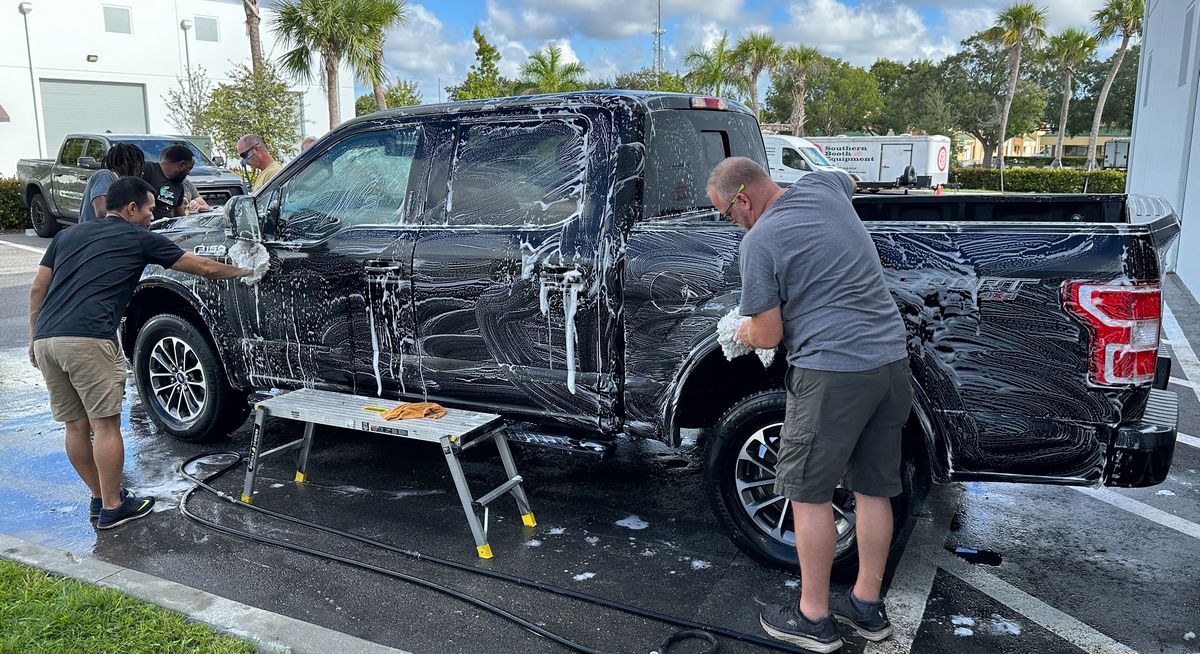
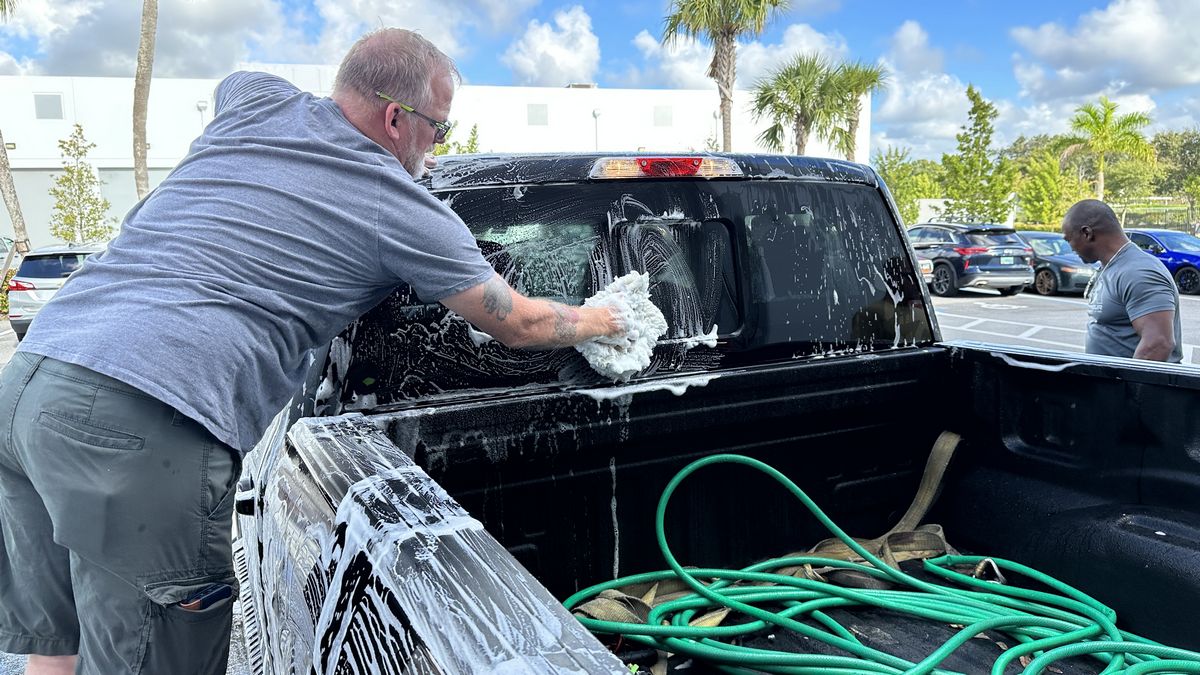
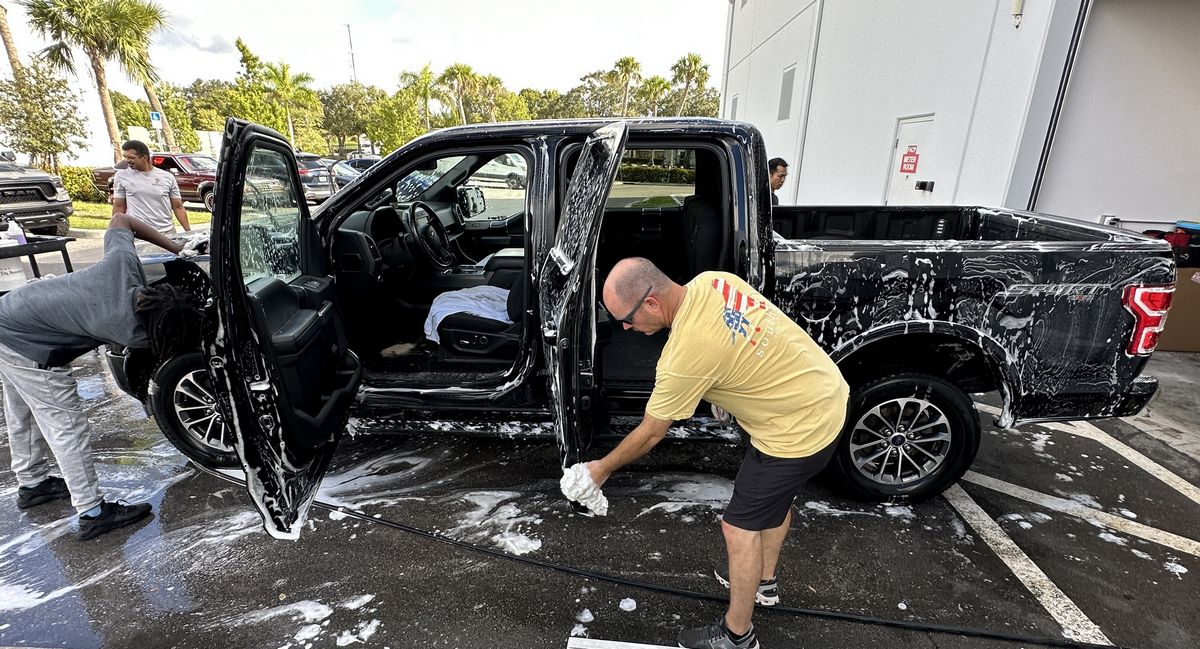
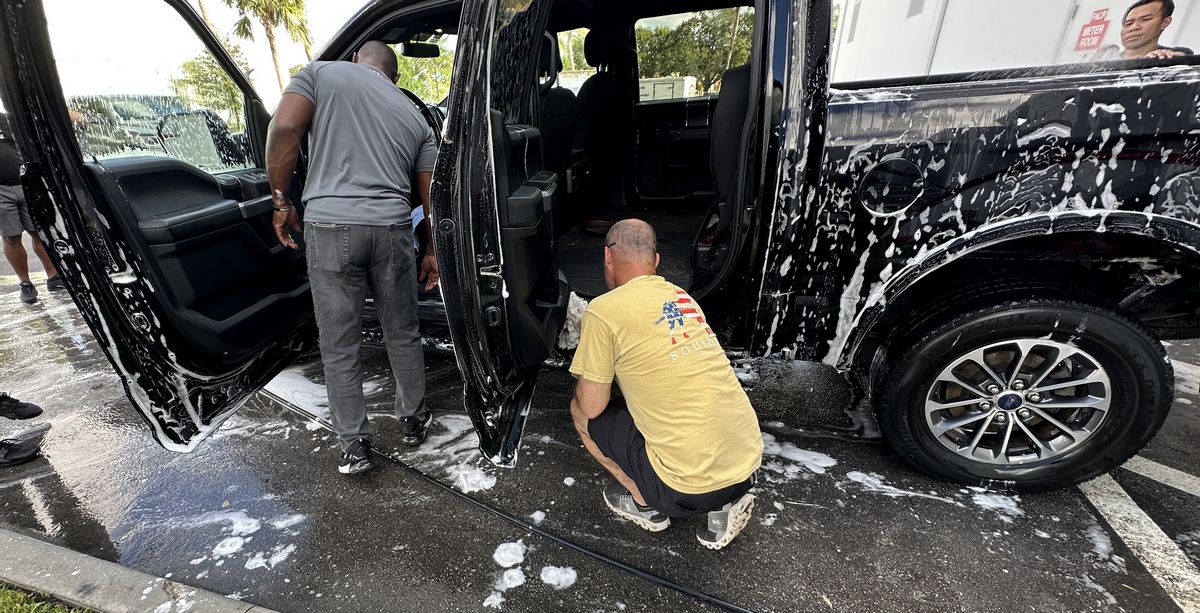
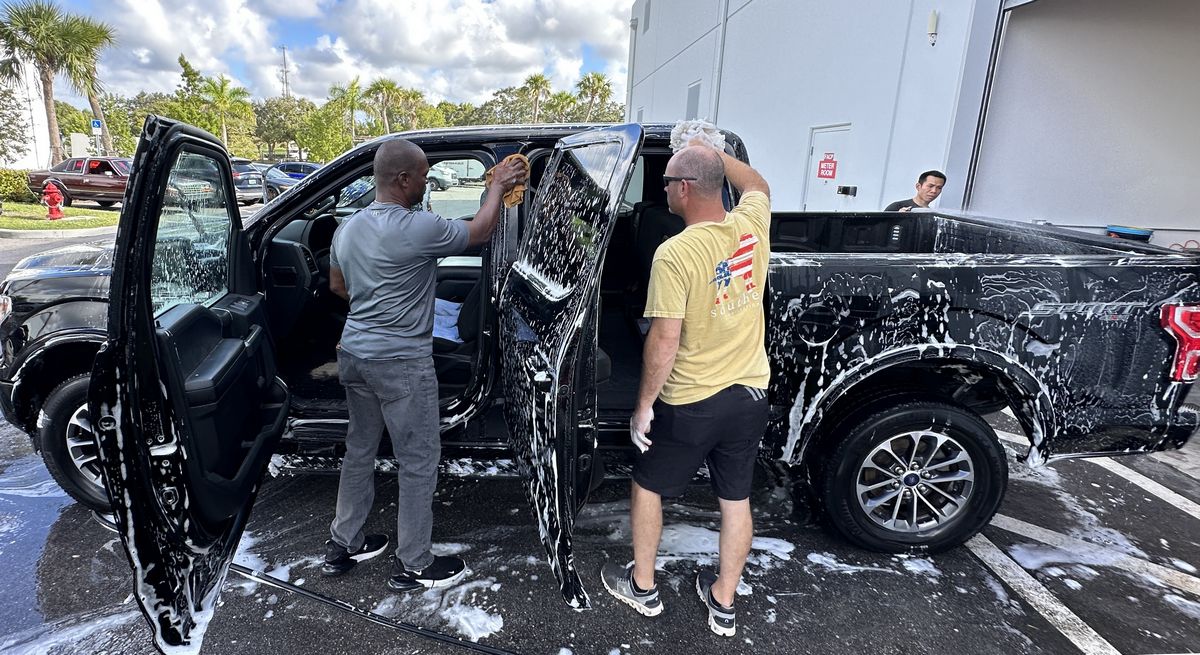
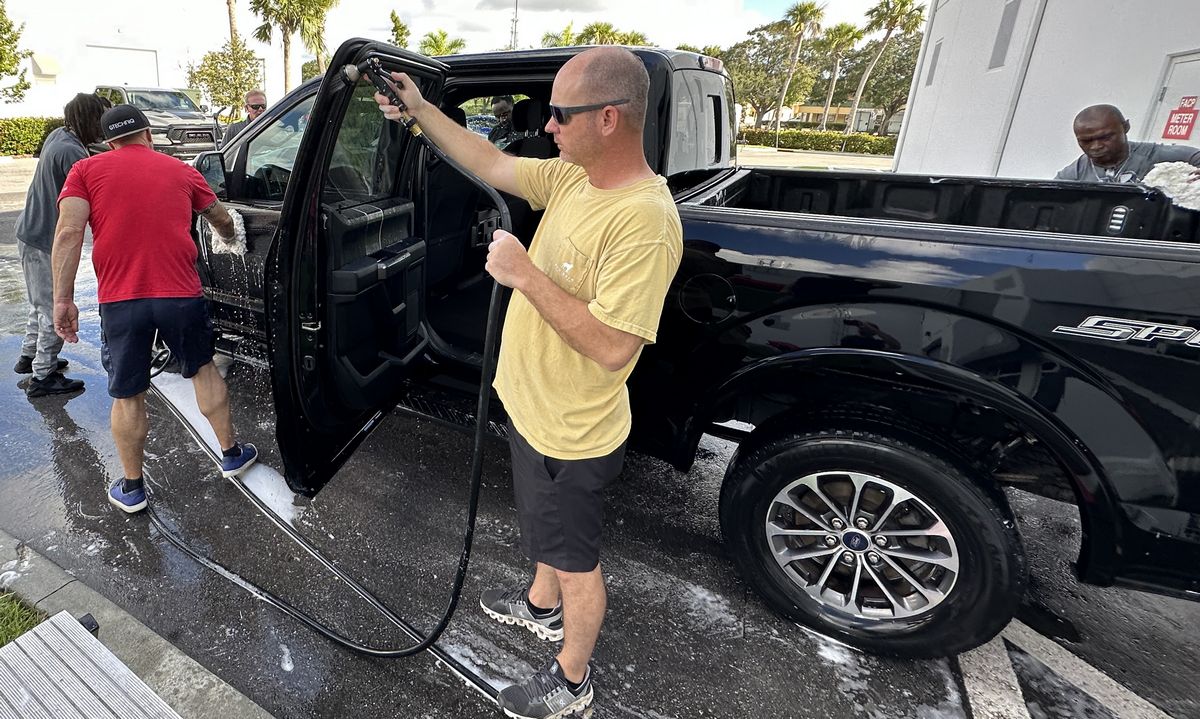
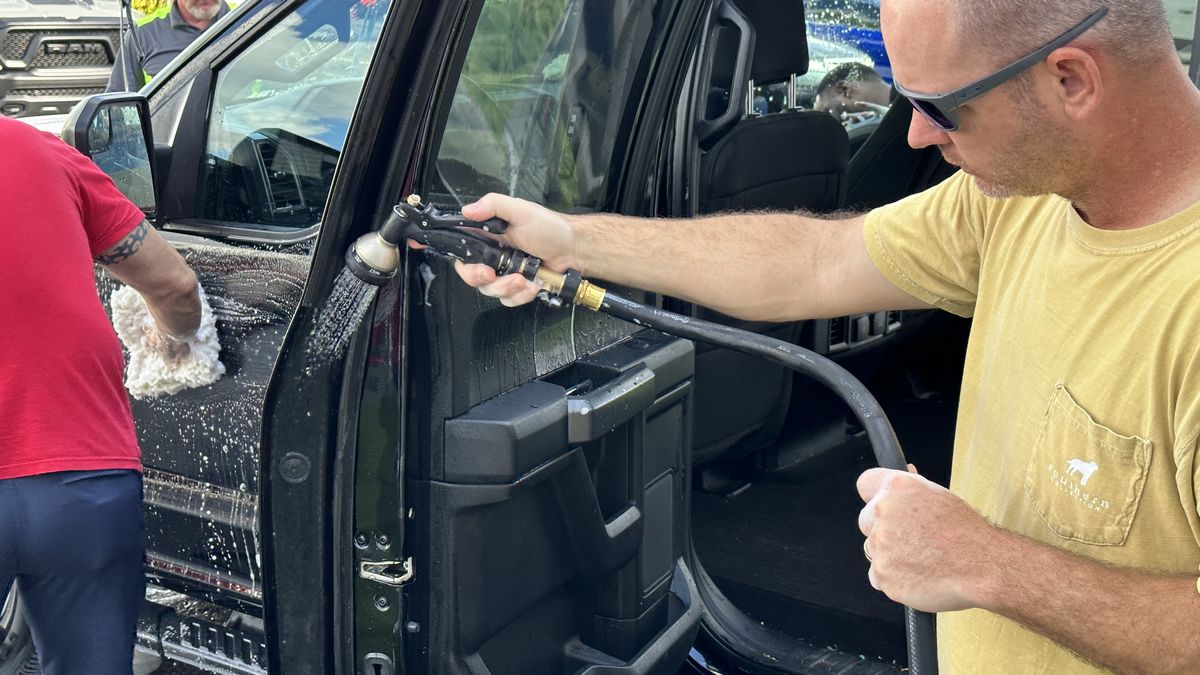
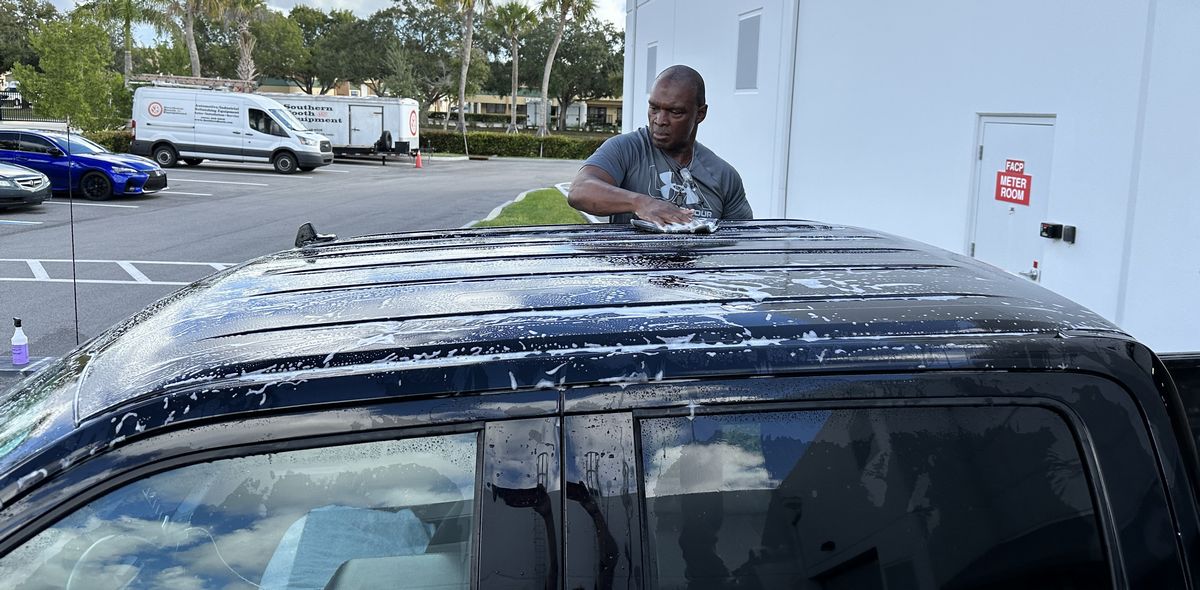
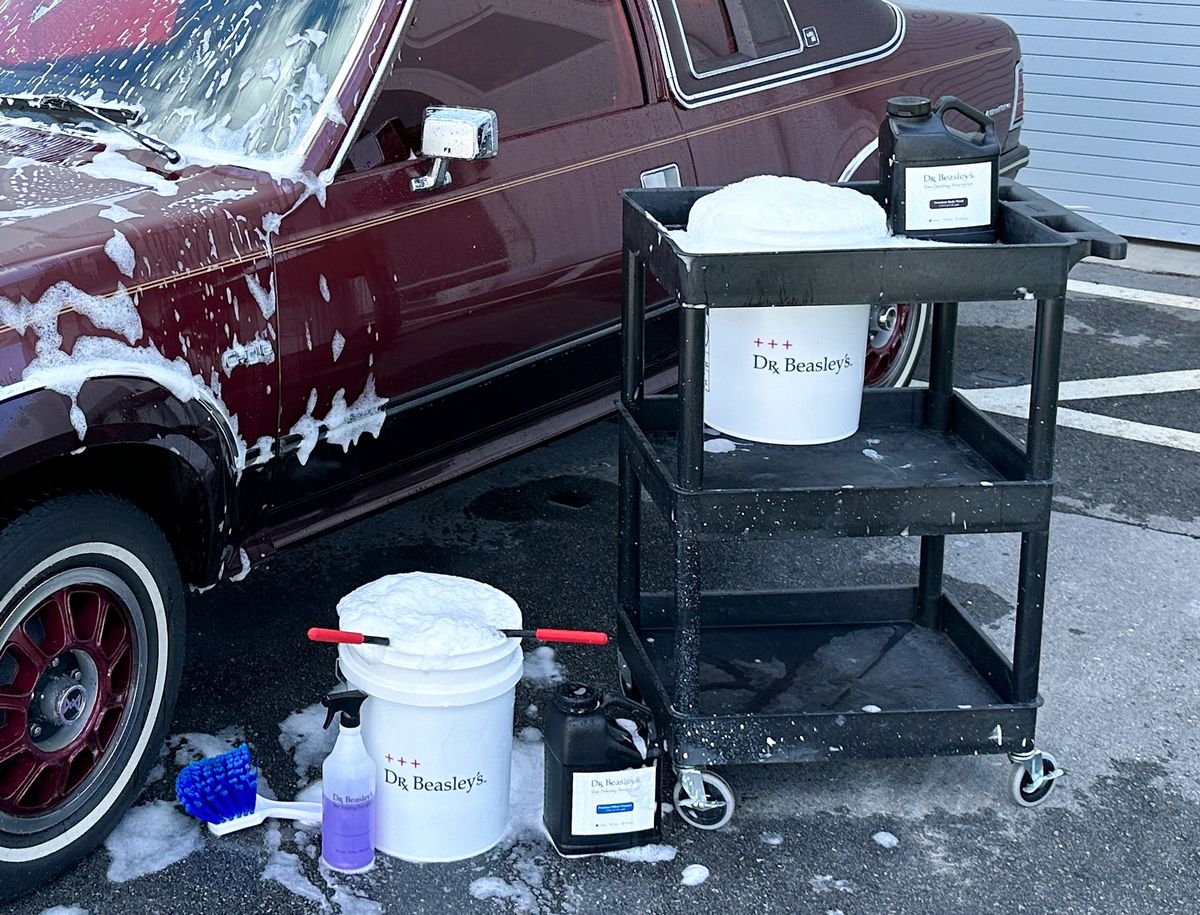
Yours truly washed both the 1979 Ford Stepside Shorty and the AMC Eagle before the class started. I skipped the mechanical decontamination step on the Ford to let the class learn how to do this as a dedicated step after washing. I did however wash and mechanicaly decontaminate the panit on the 1982 AMC Eagle. We actually used the 1982 AMC Eagle for line of our LIVE Online Detailing Classes and you can watch the video here.

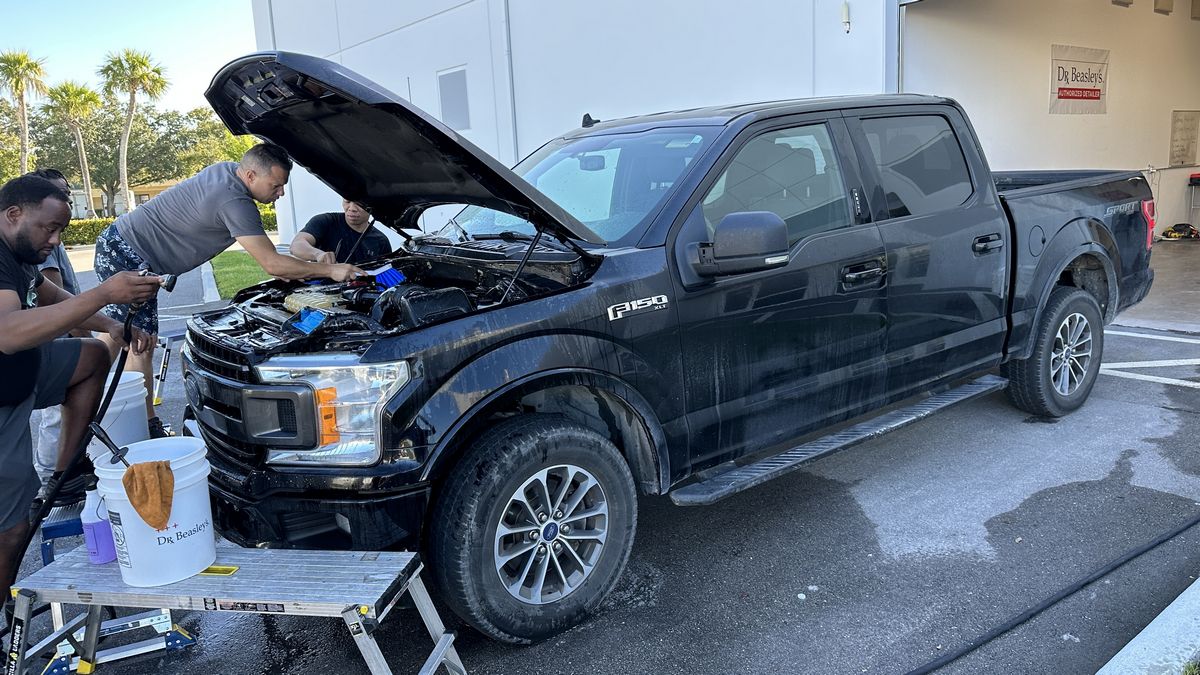
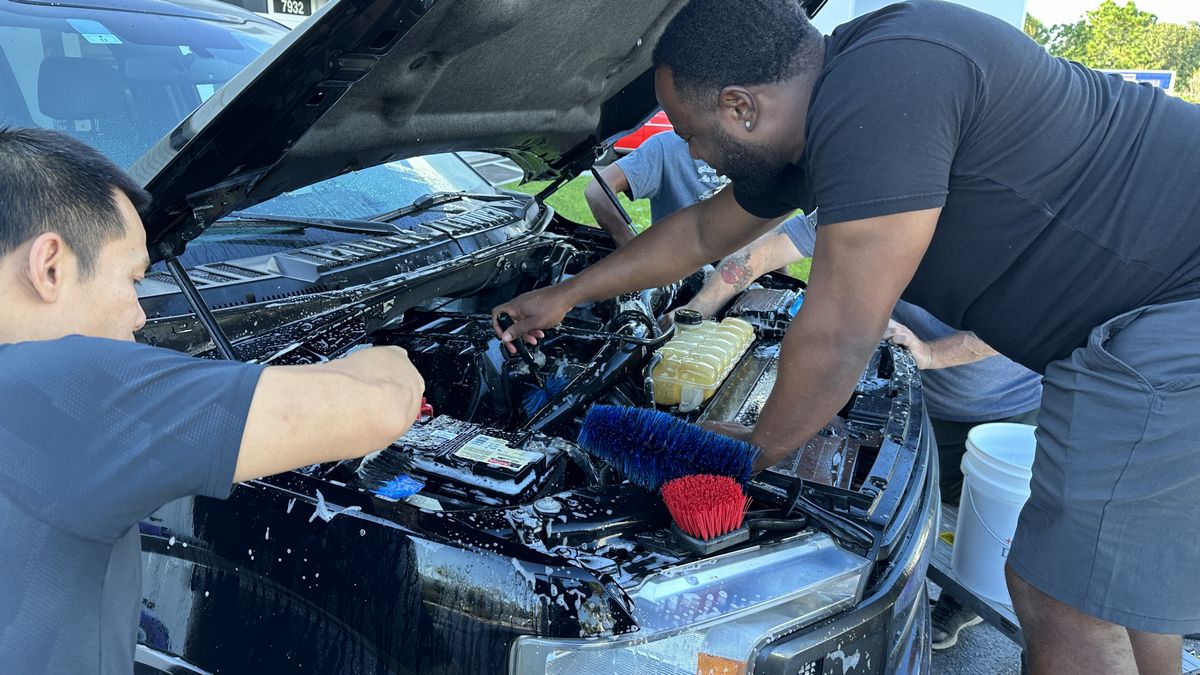
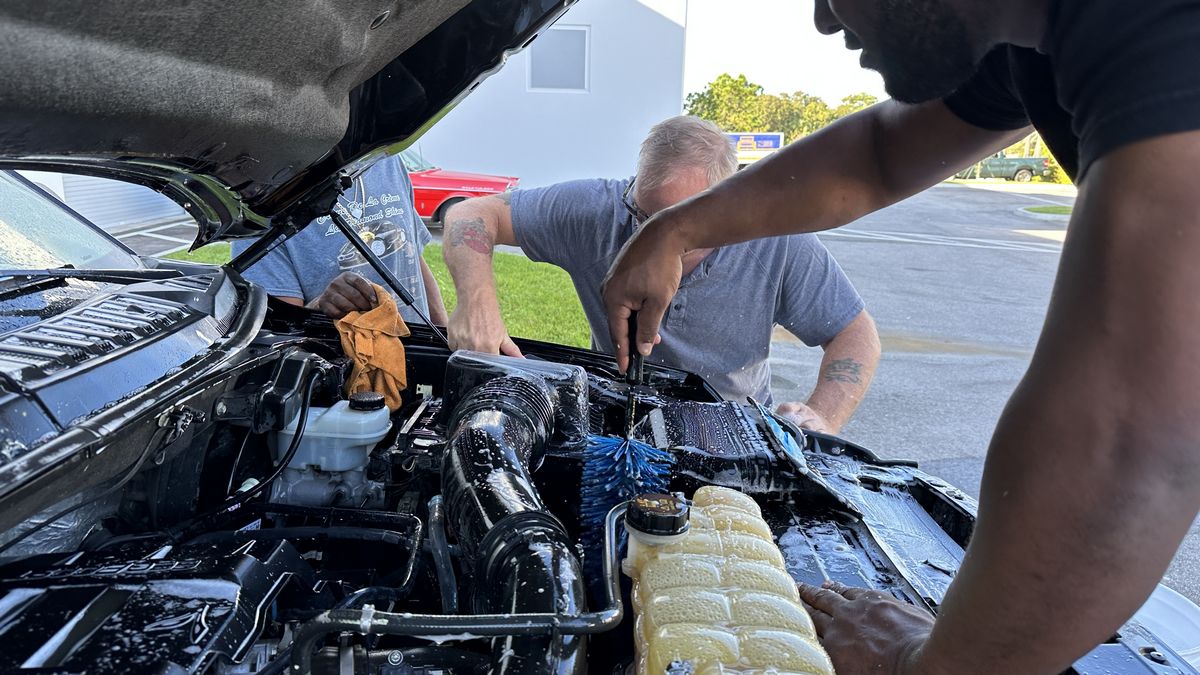
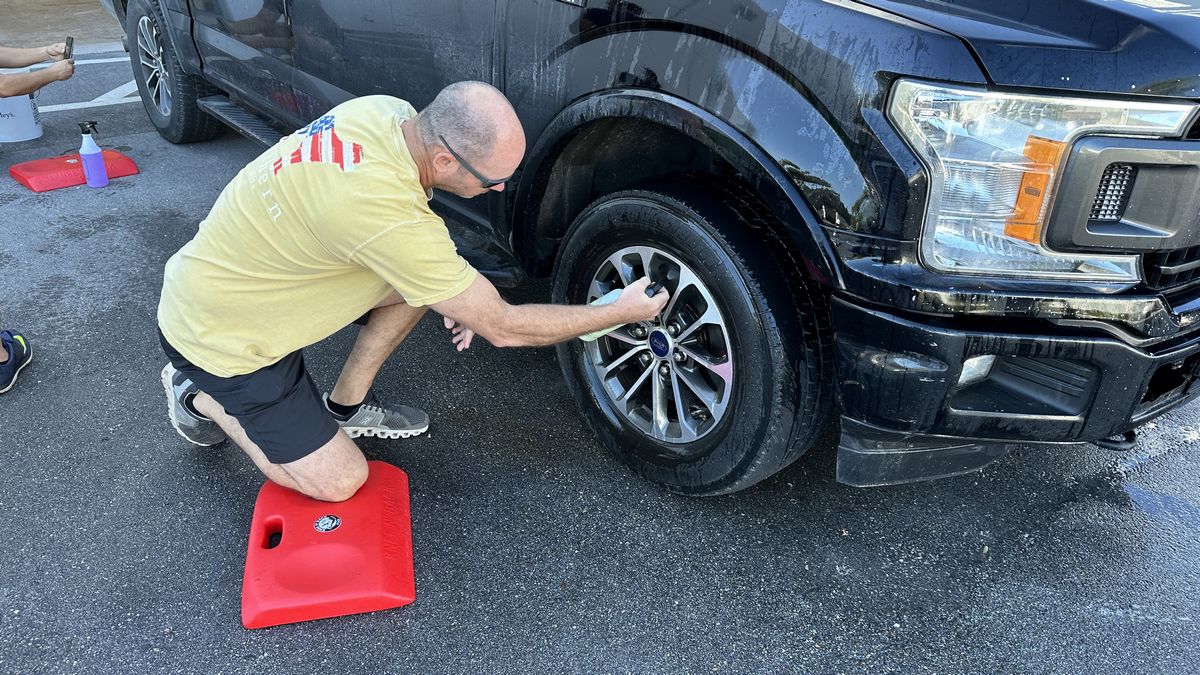
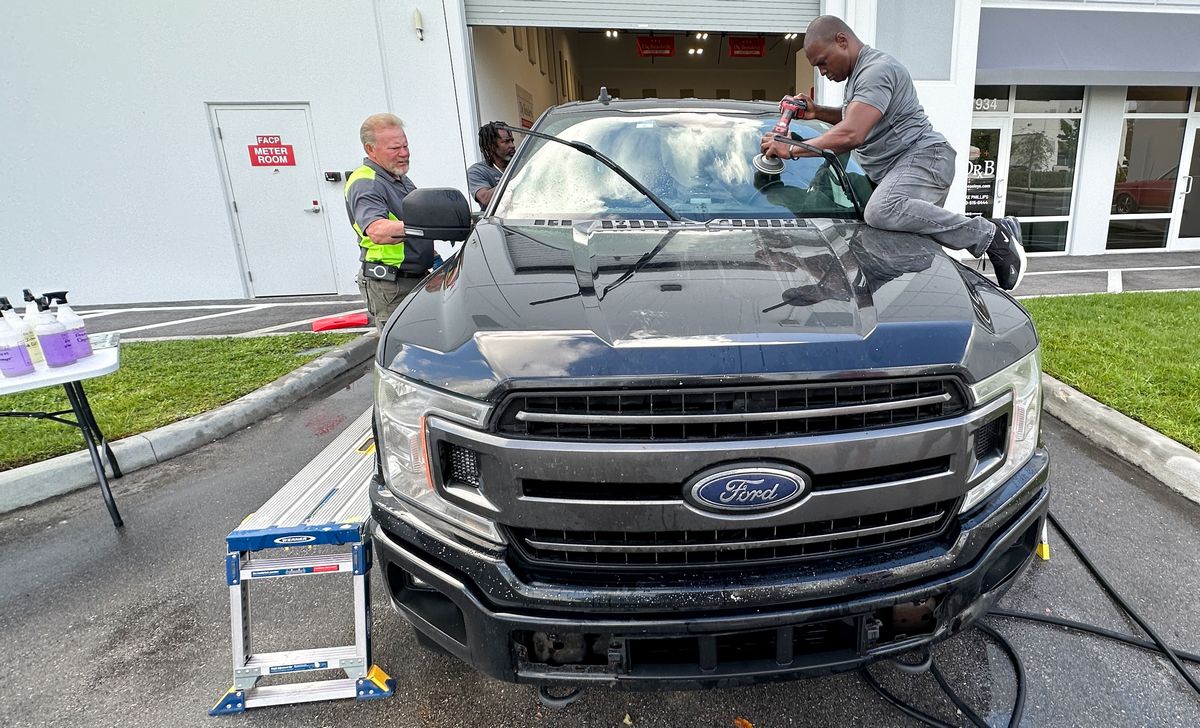
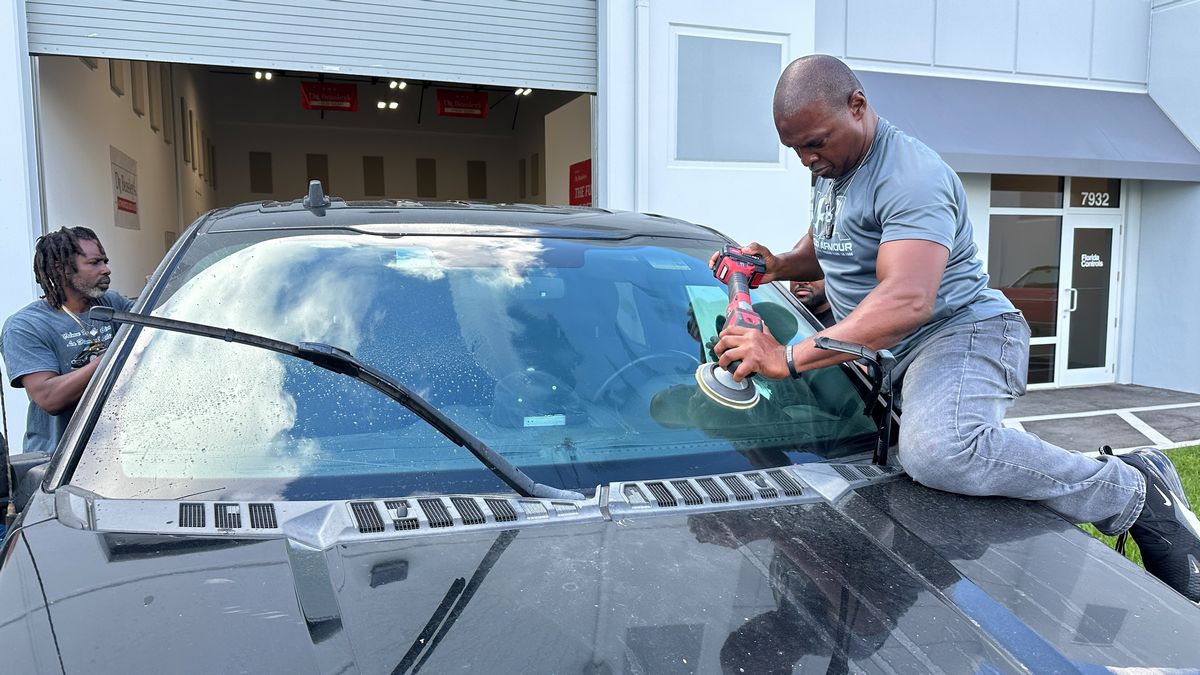
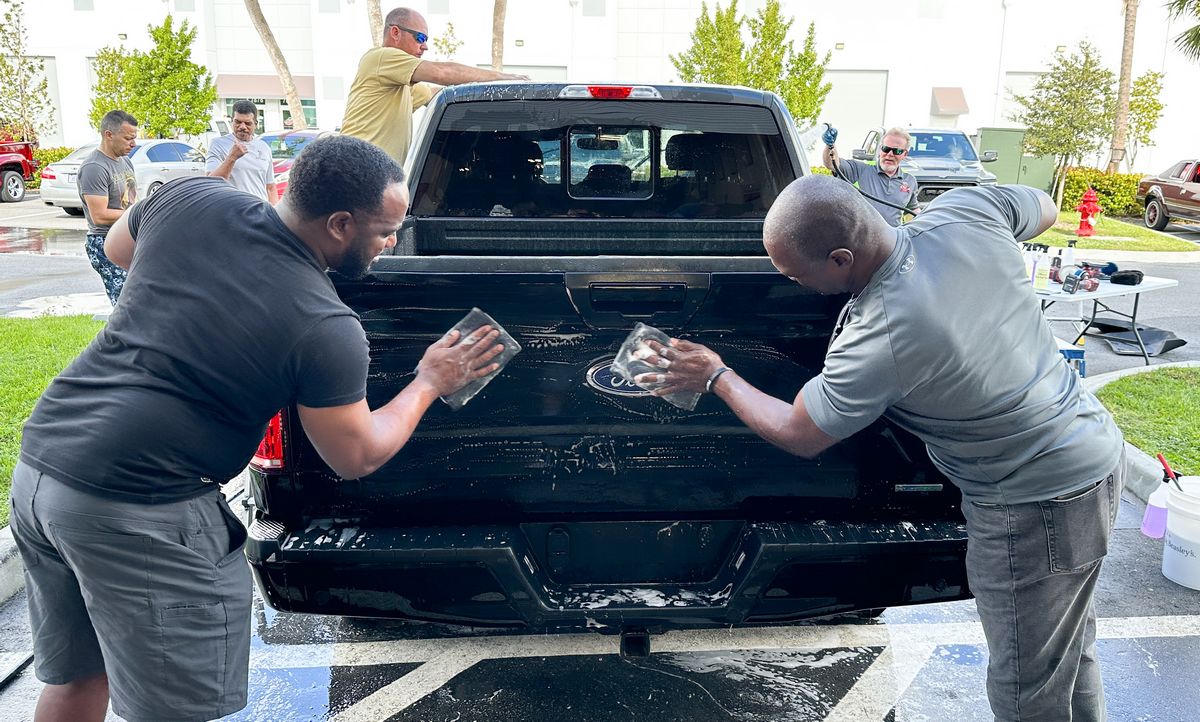
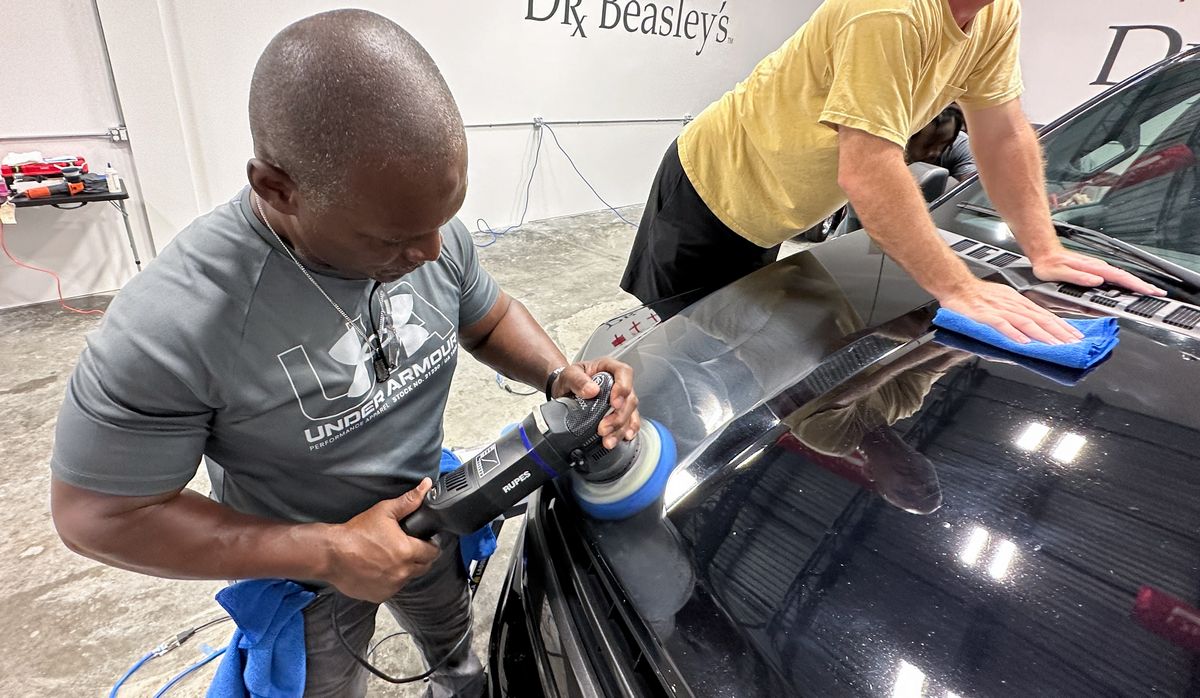
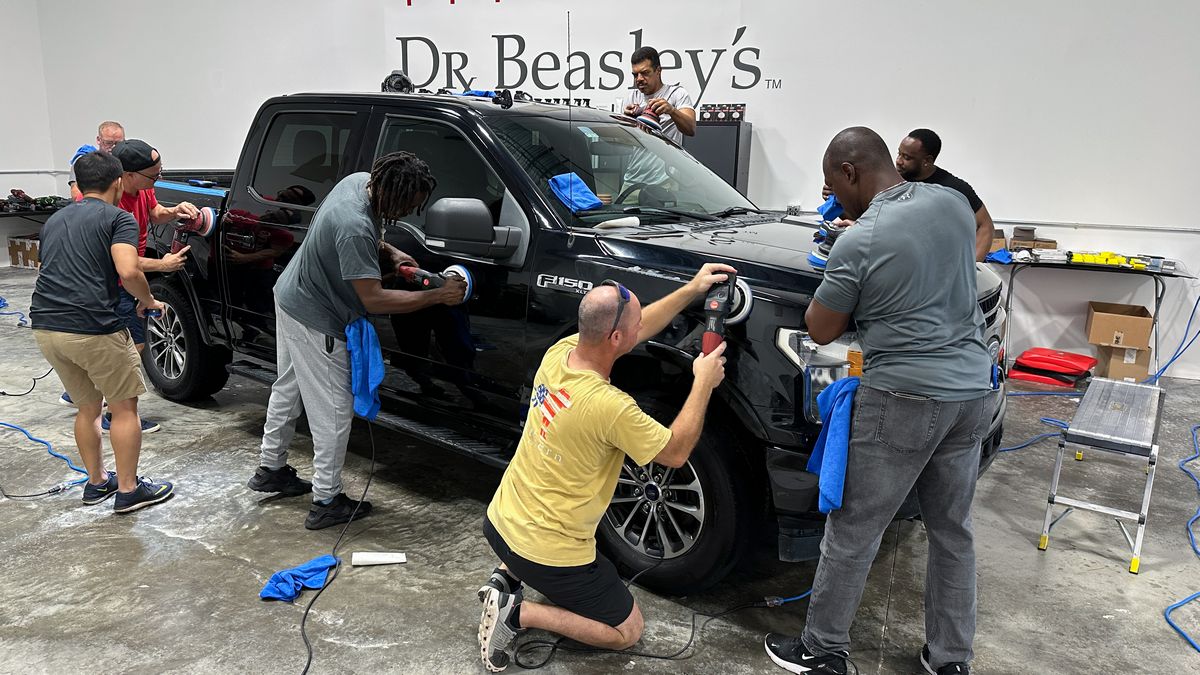
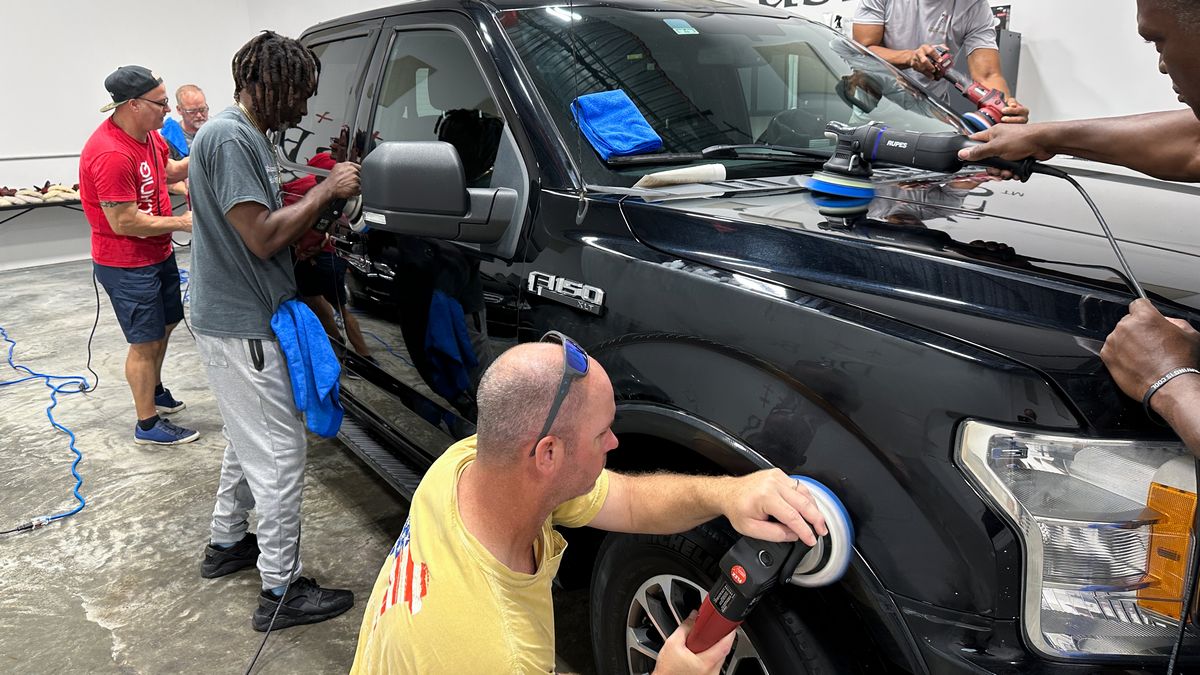
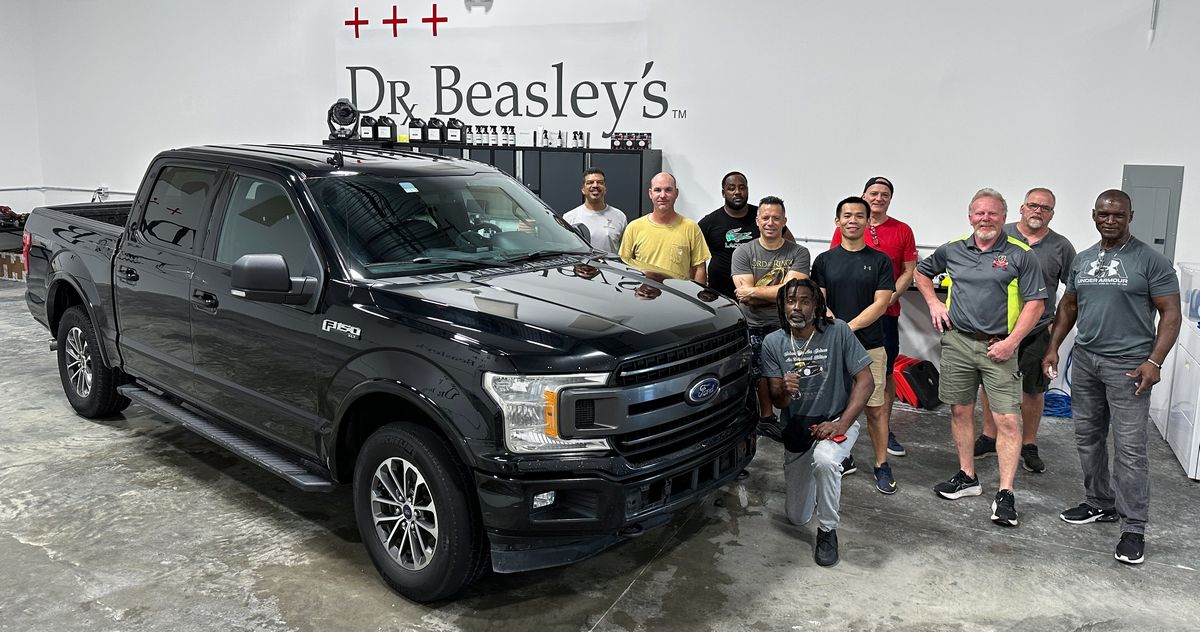
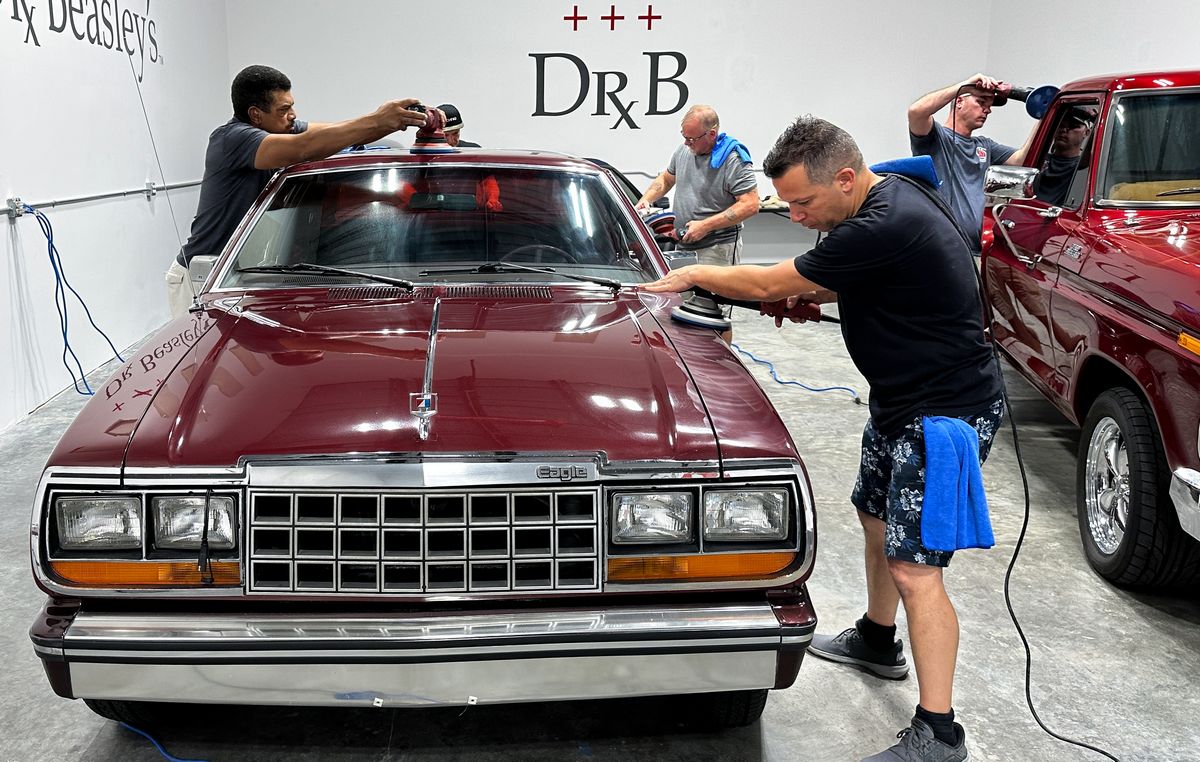
Go Time!
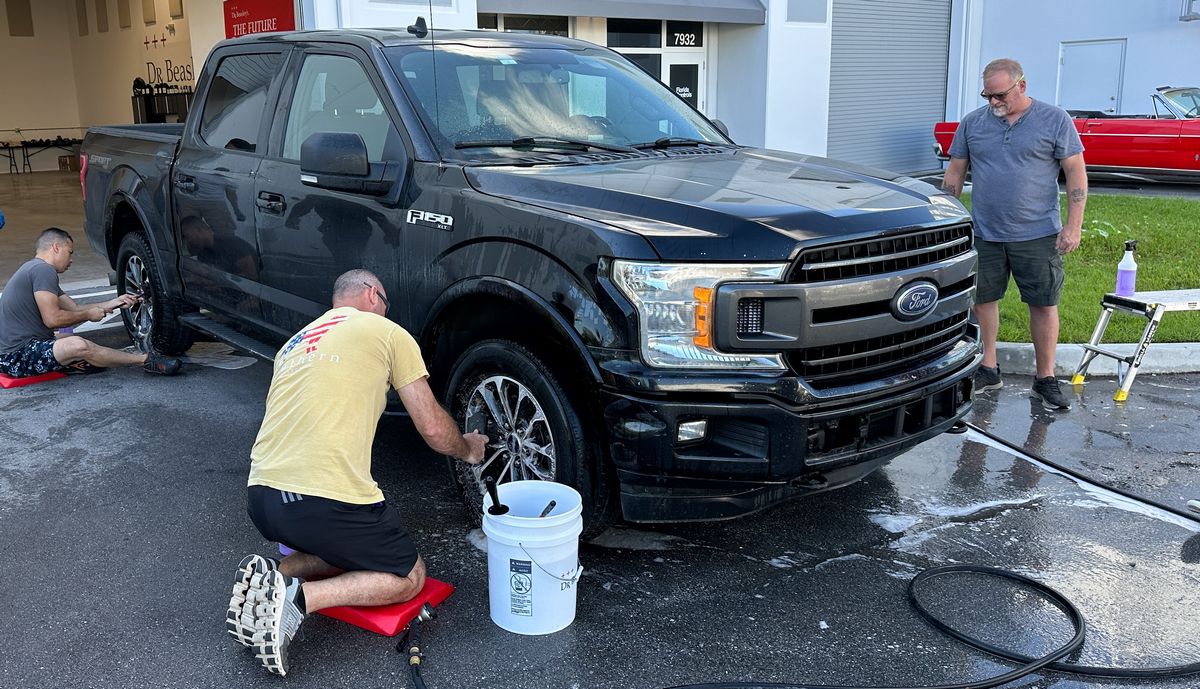
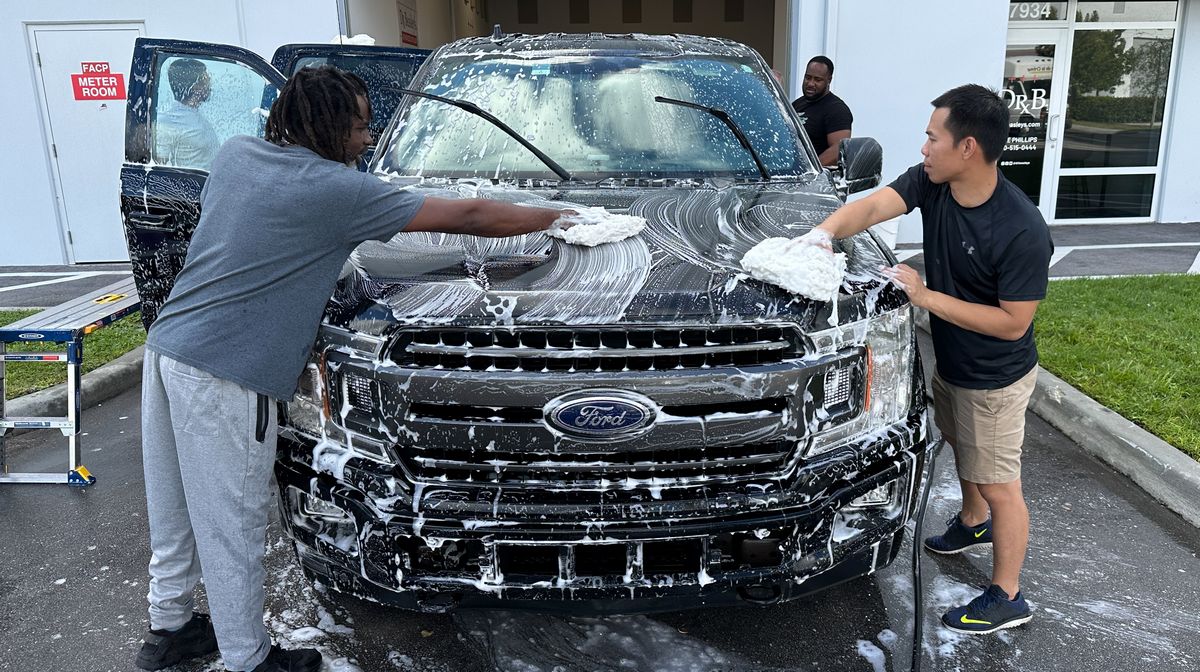
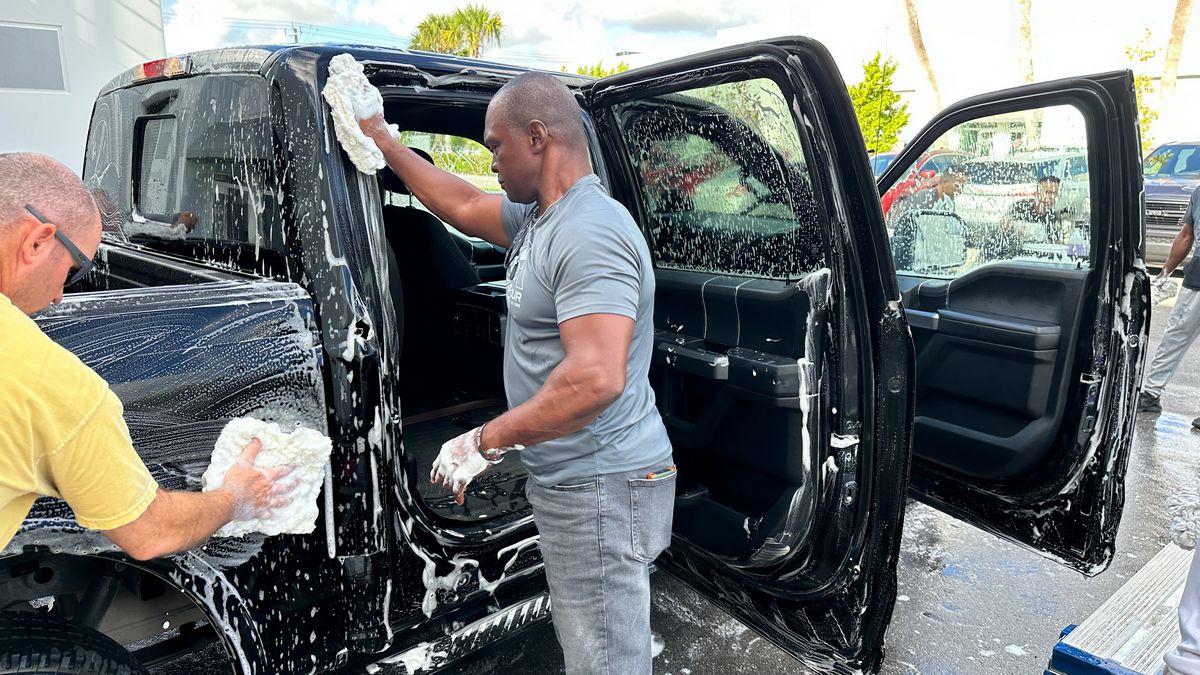
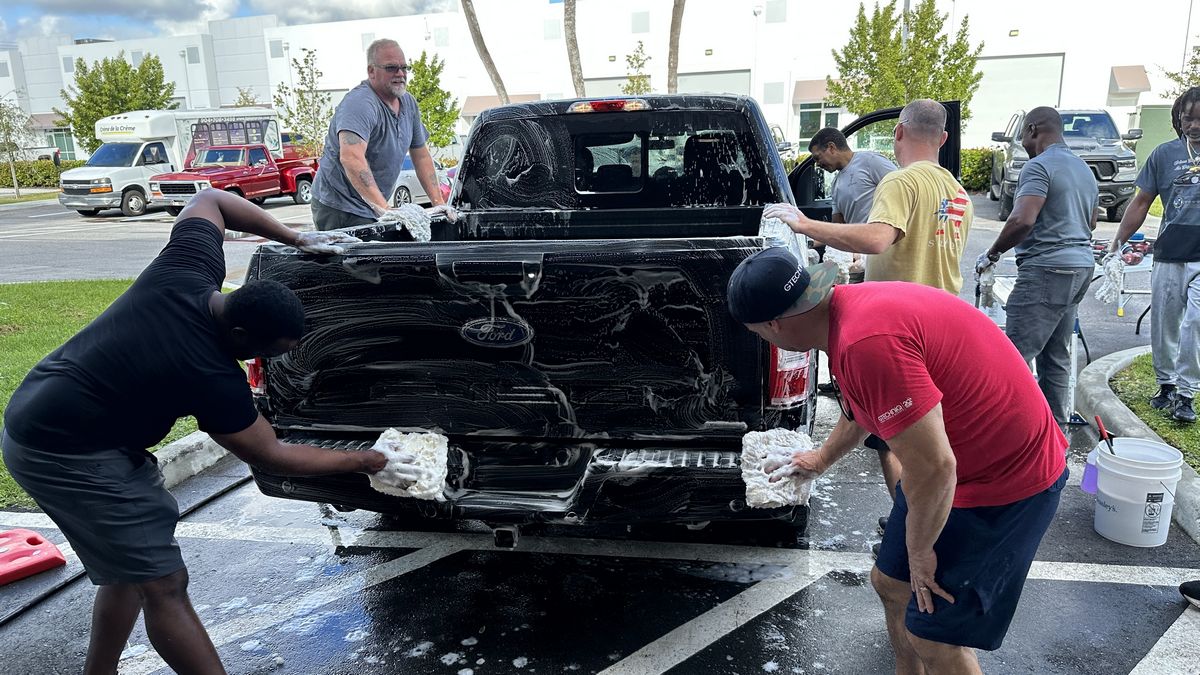
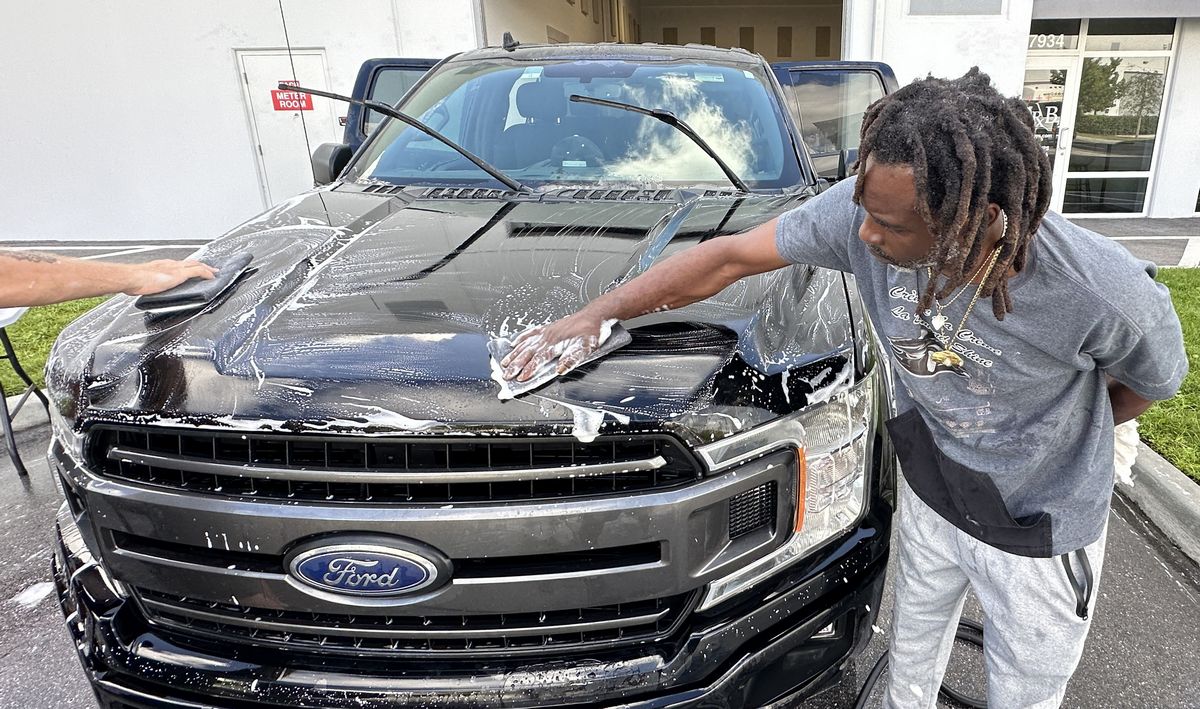
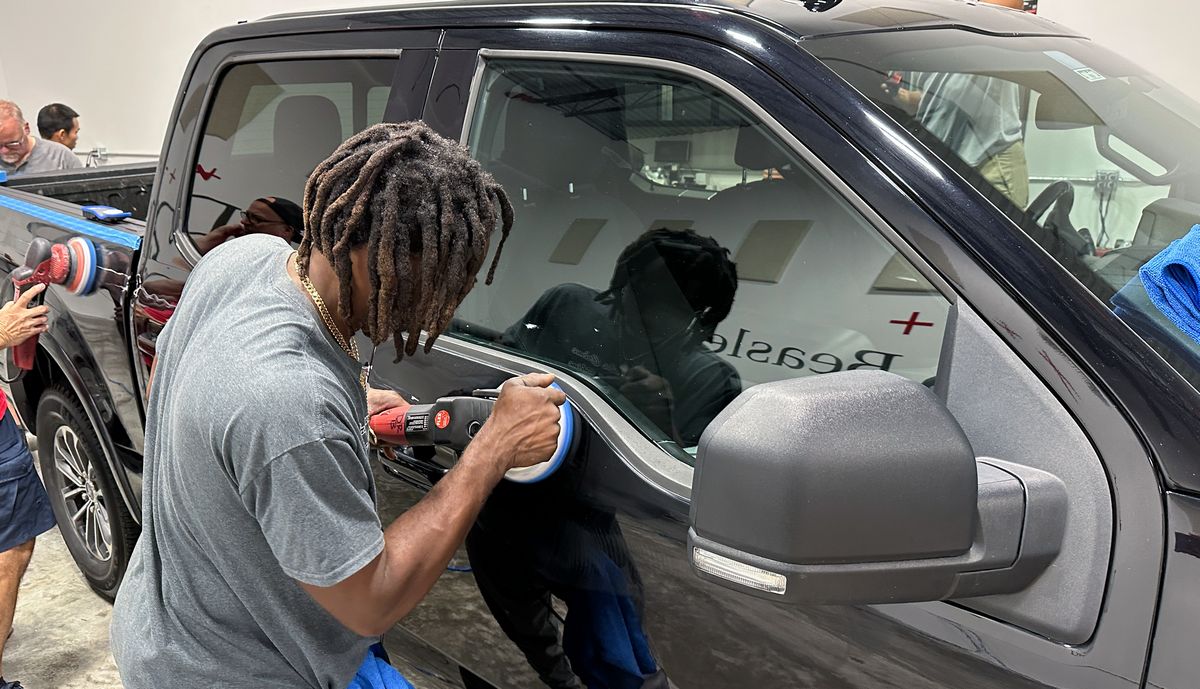
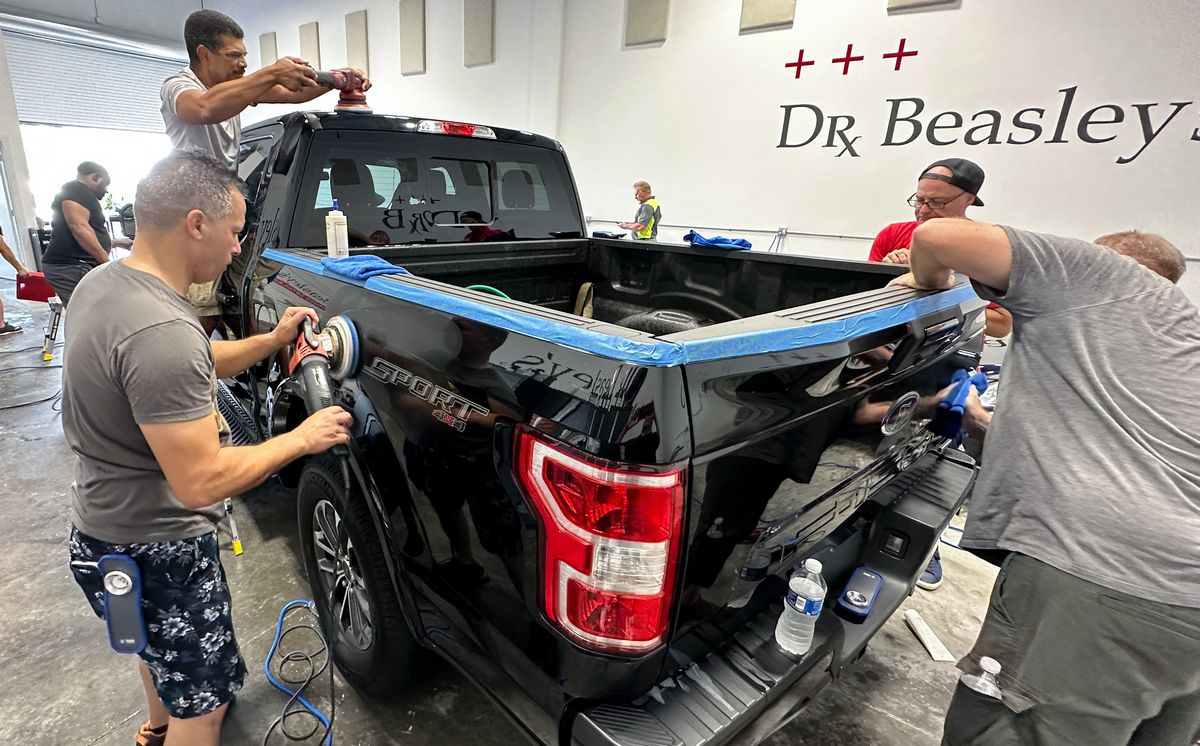
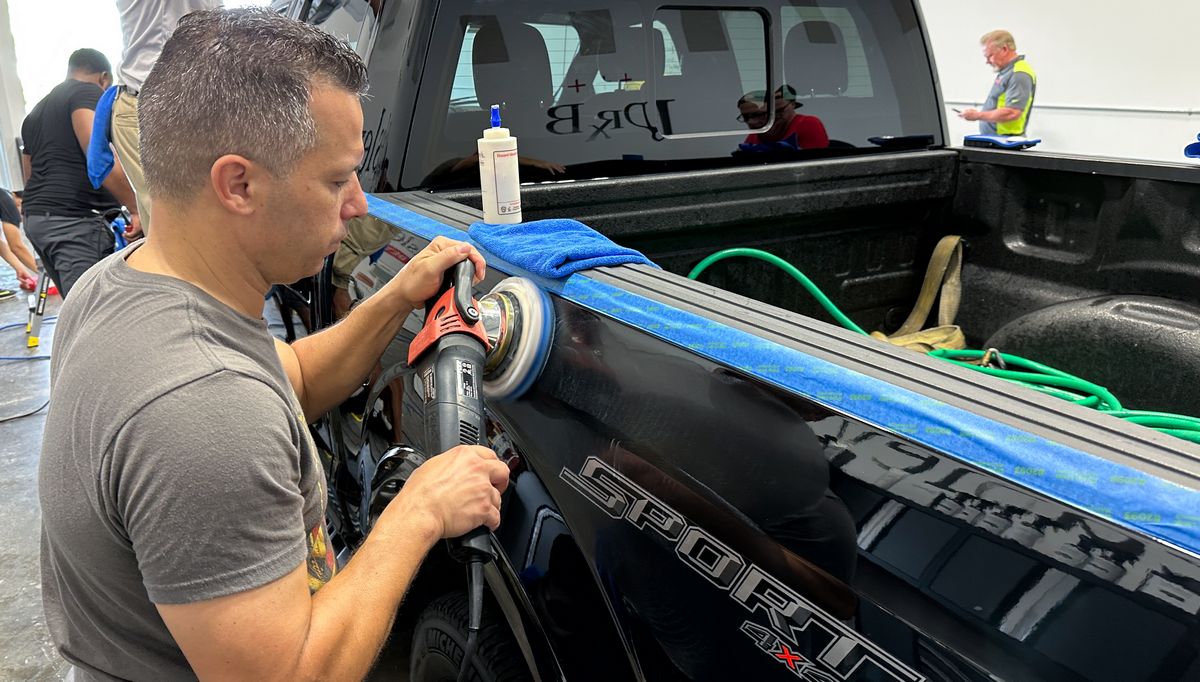
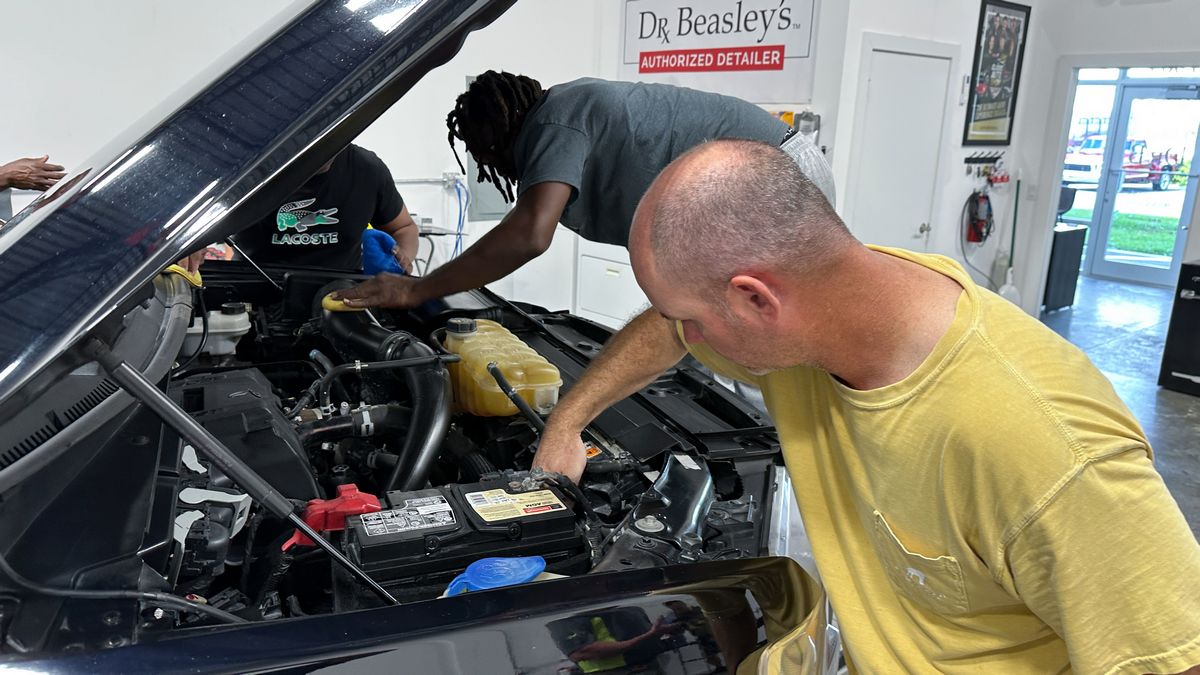
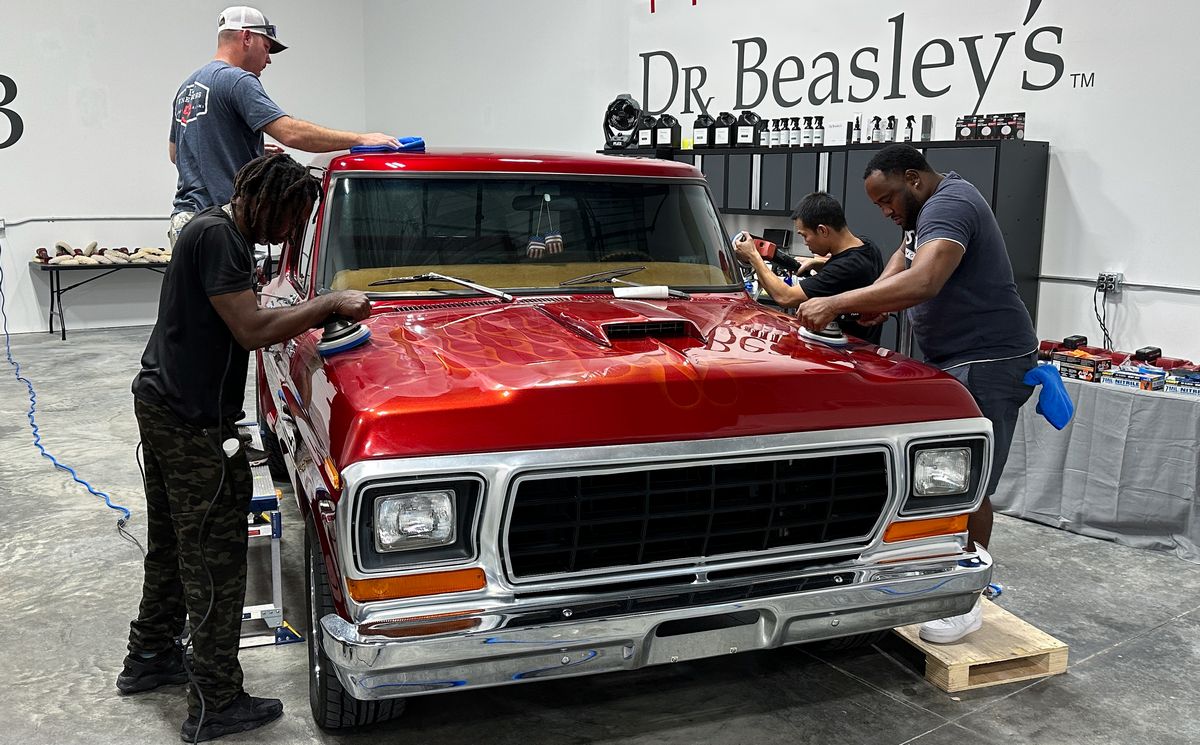
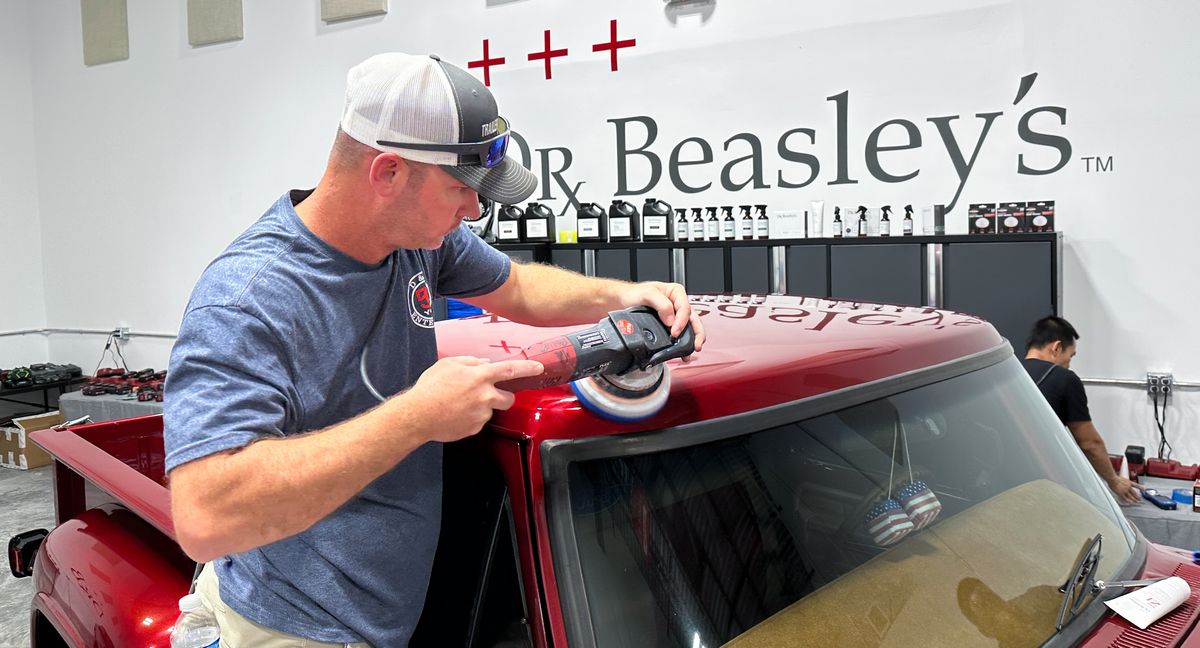
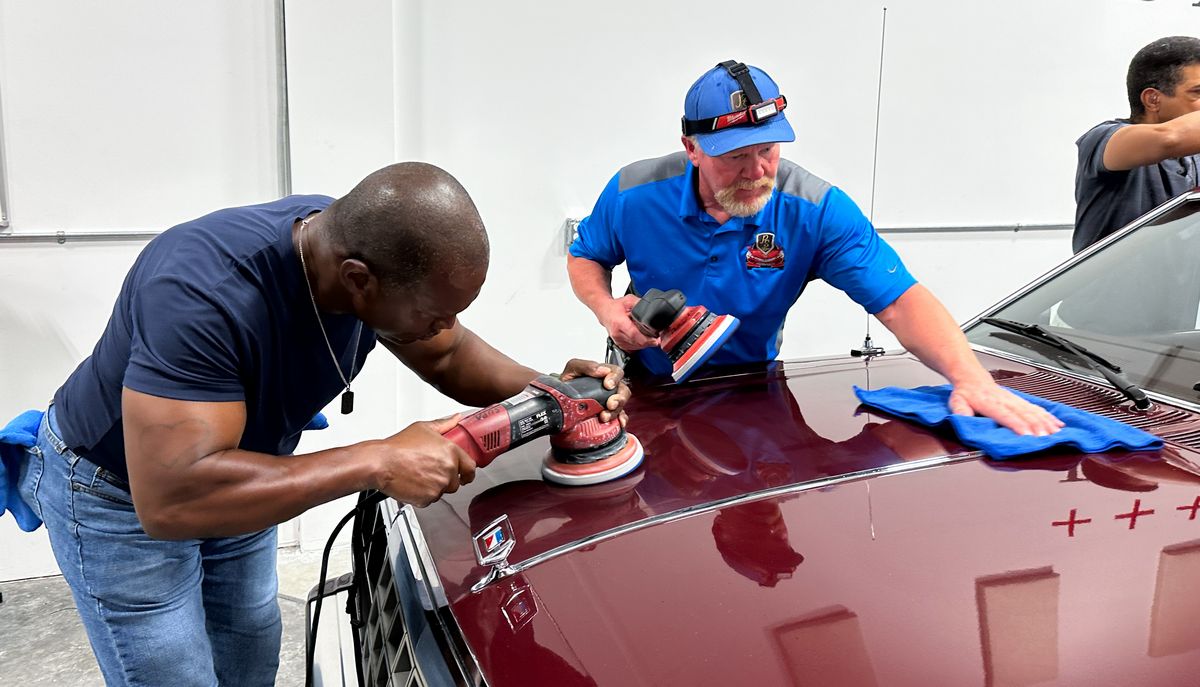
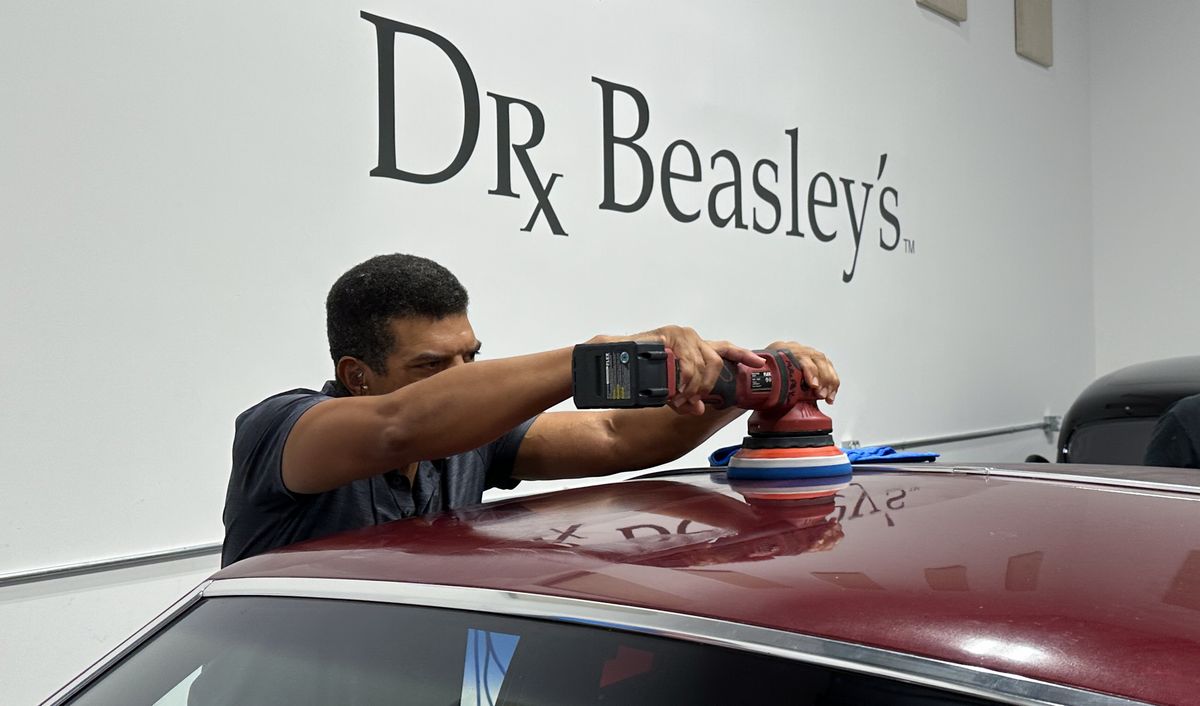
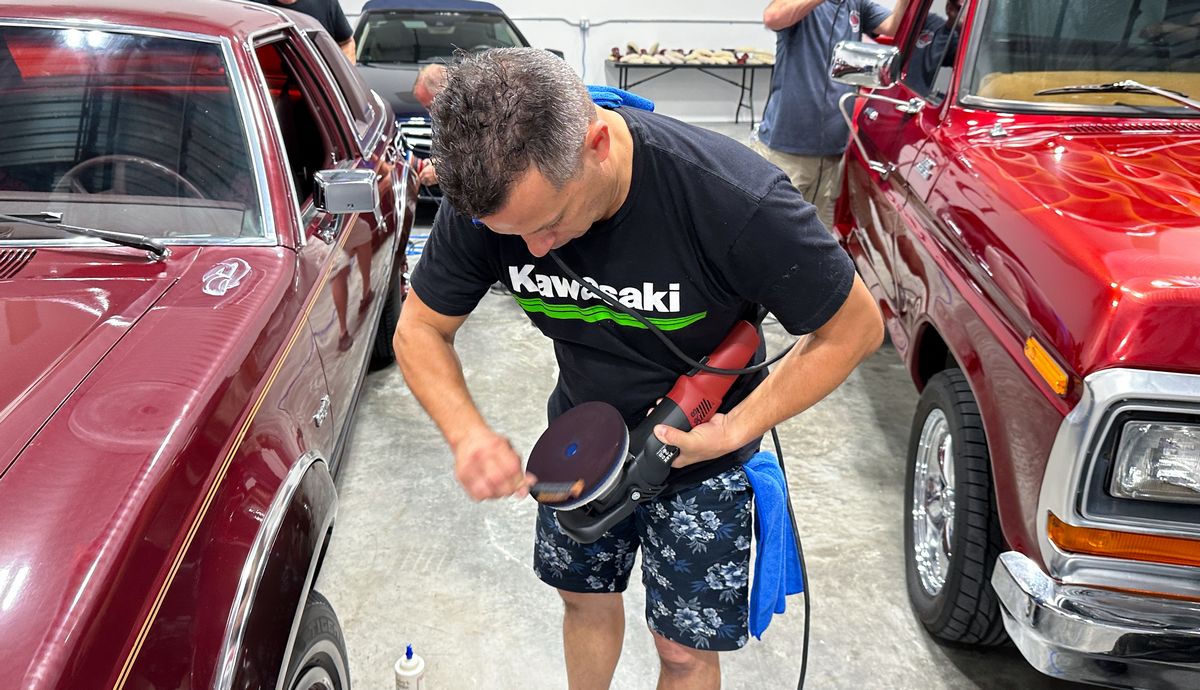
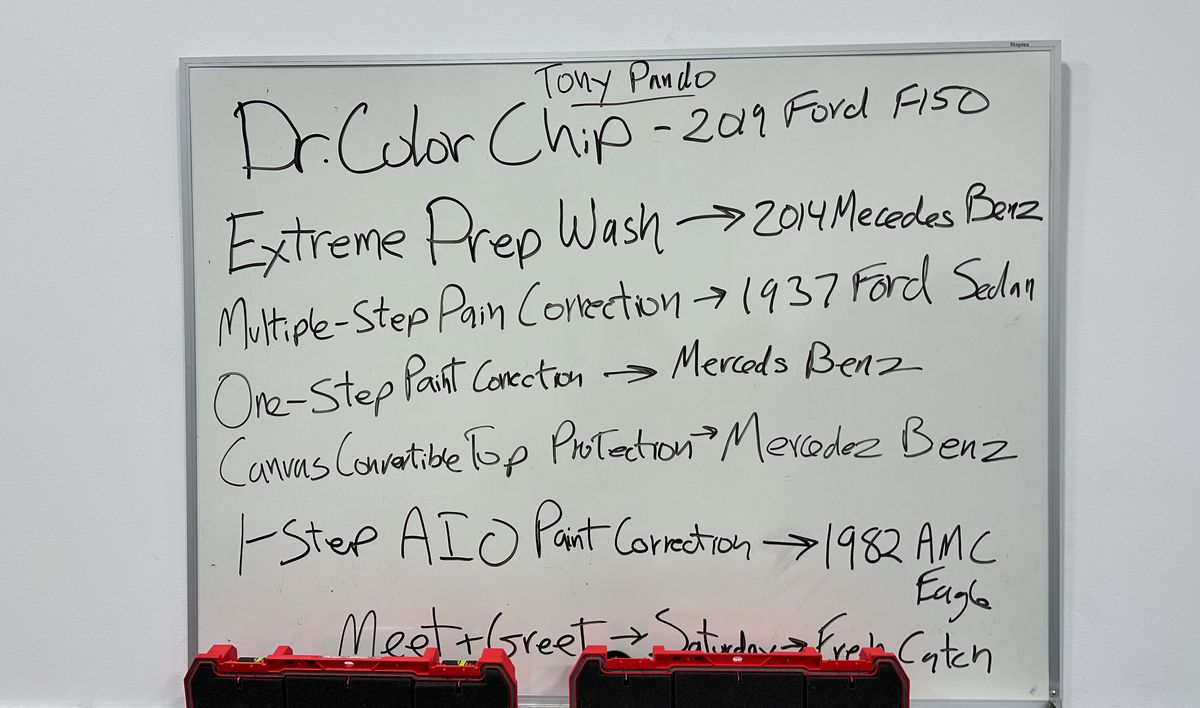
It's now late Friday afternoon. This class has already detailed 2 cars, washed 1 car and enjoyed the Dr. Color Chip Rock Chip Repair System presentation by Tony Pando. As well as had lunch. Next the class will tag-team these next two vehicles to round-out the topics, techniques, products and tools for this FIRST day of class. There are NO other classes with this much hands-on training in a single day let along 2 or 3 days. Most of the time, you would be sitting in a chair watching a PowerPoint Presentation. Take the challenge. TRY to find this many pictures showing YOU what you get to do for any other class on planet Earth. I challenge you. Try.
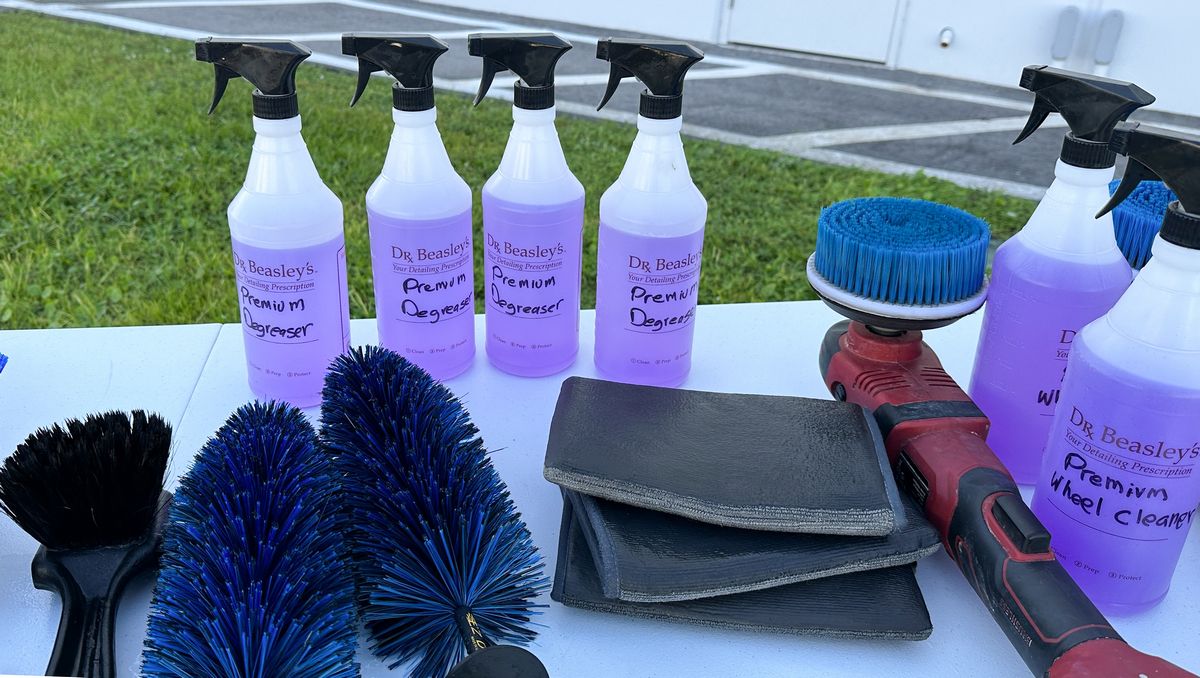
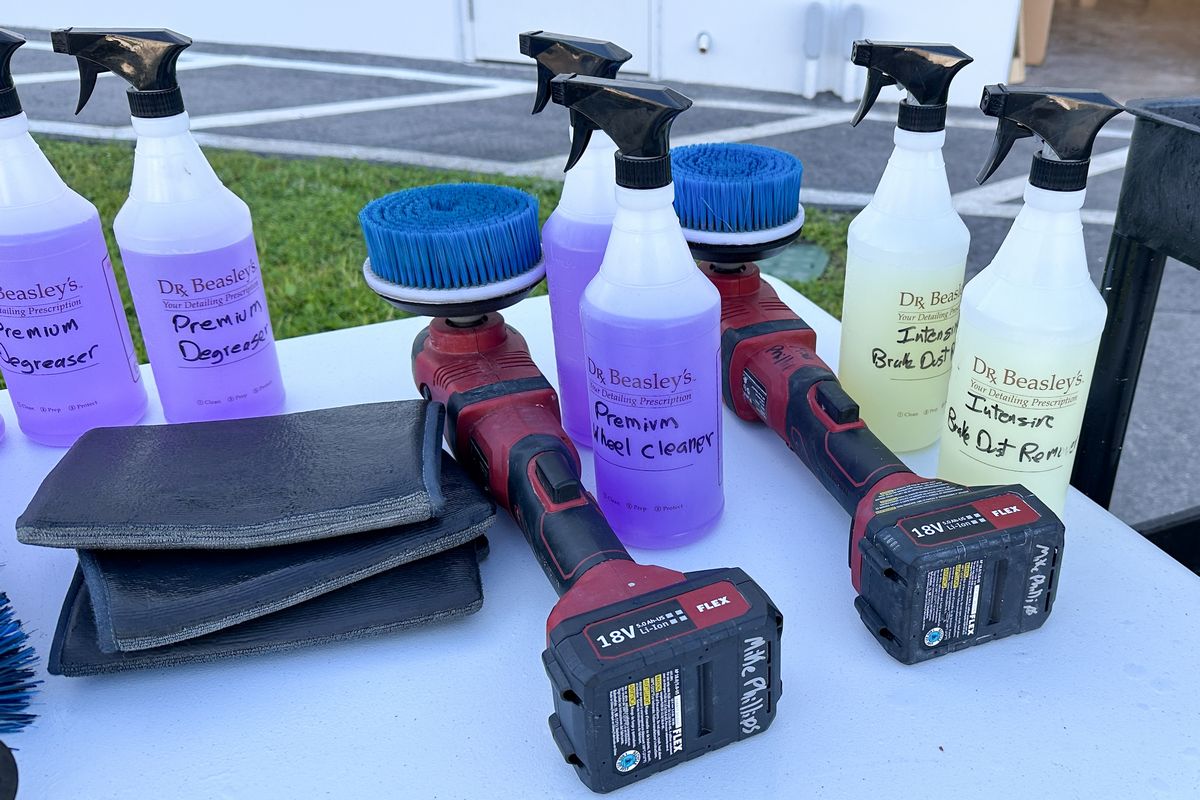
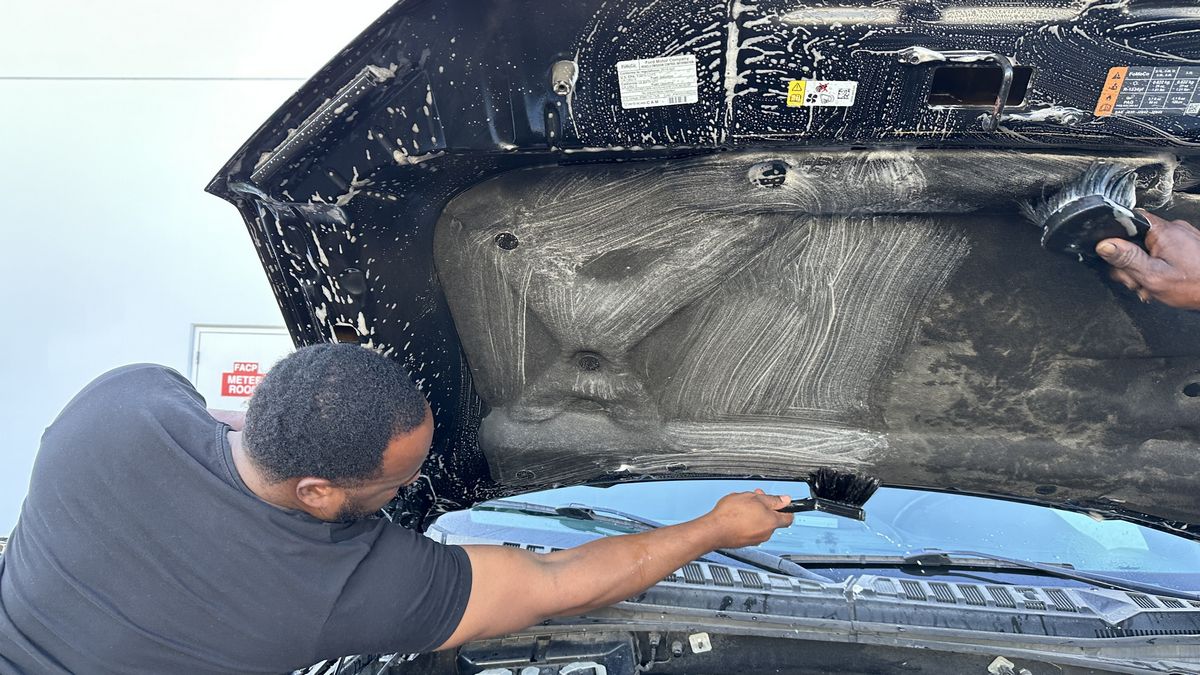
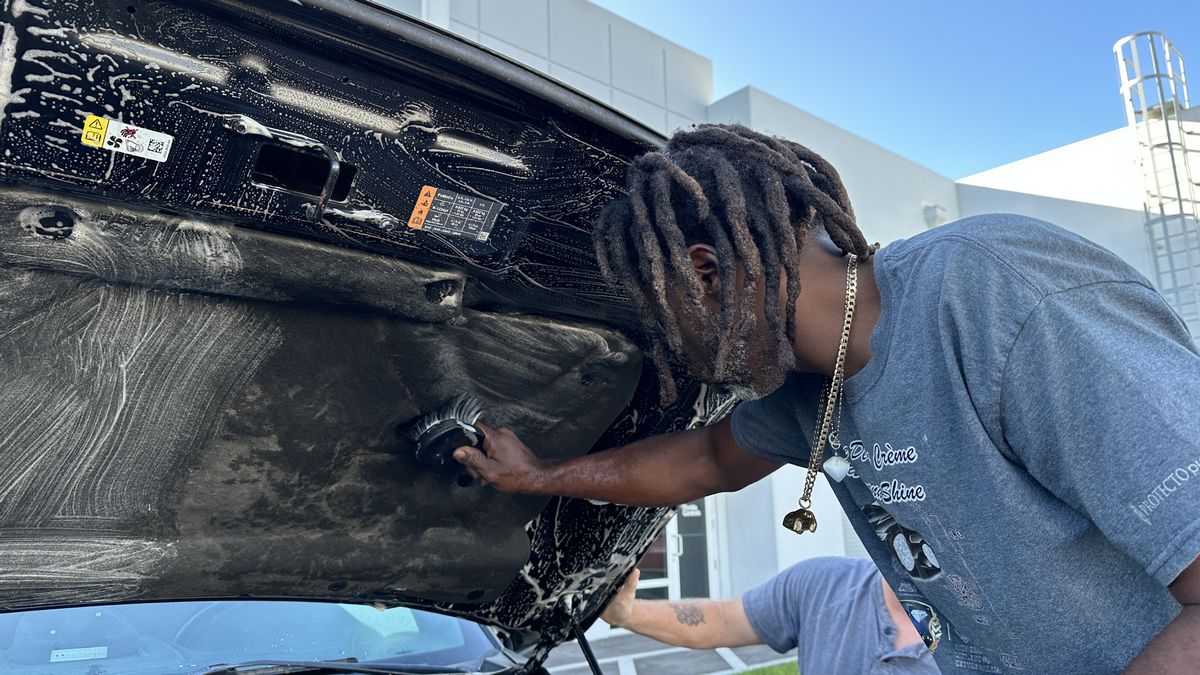
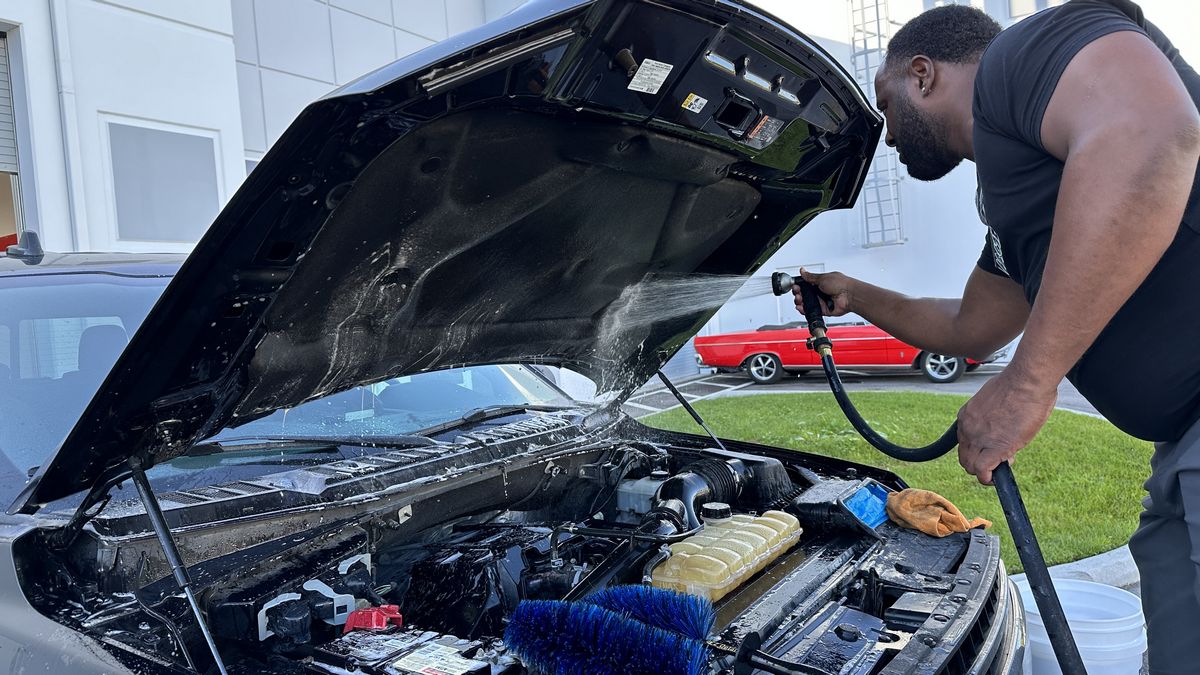
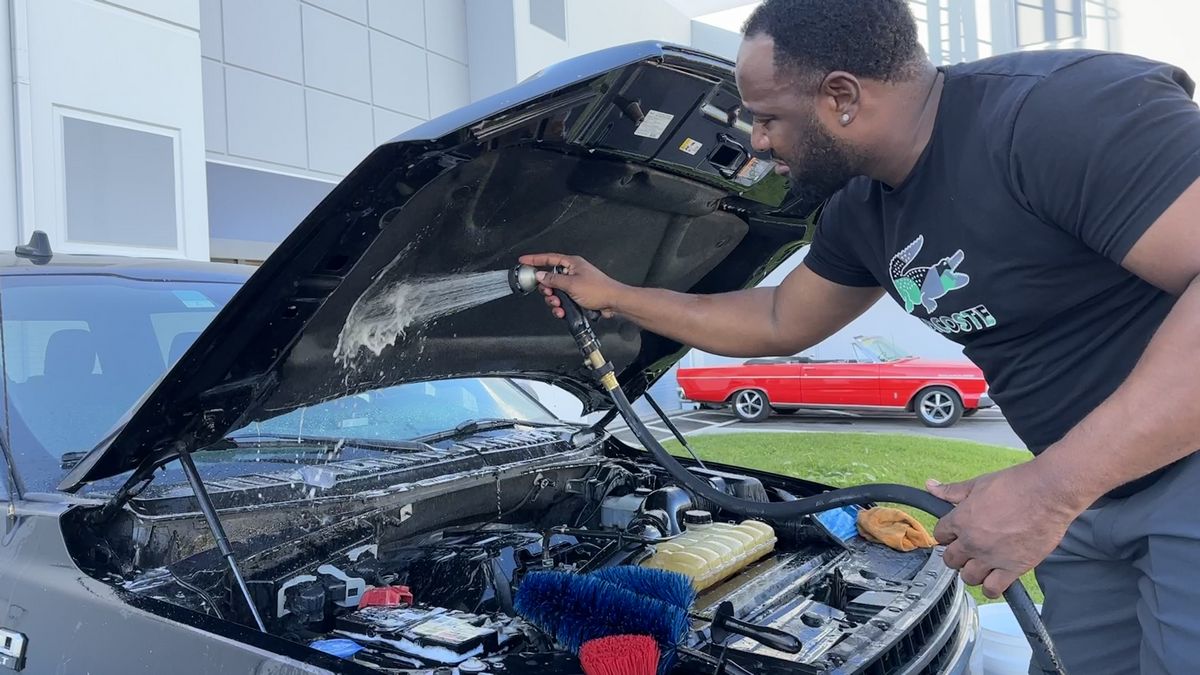
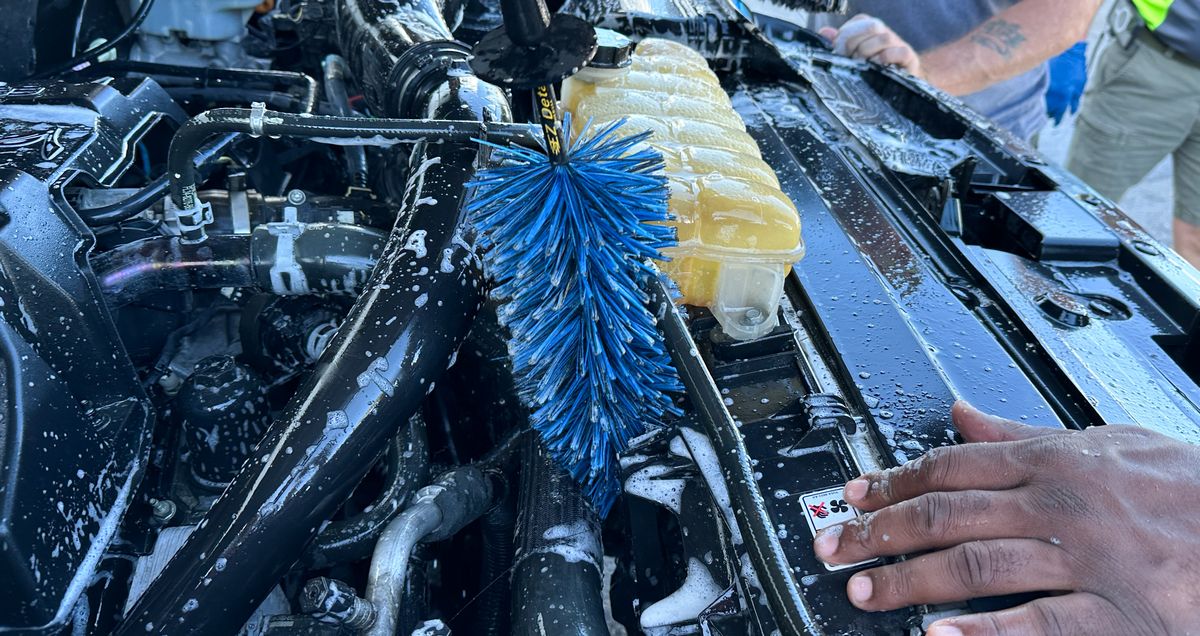
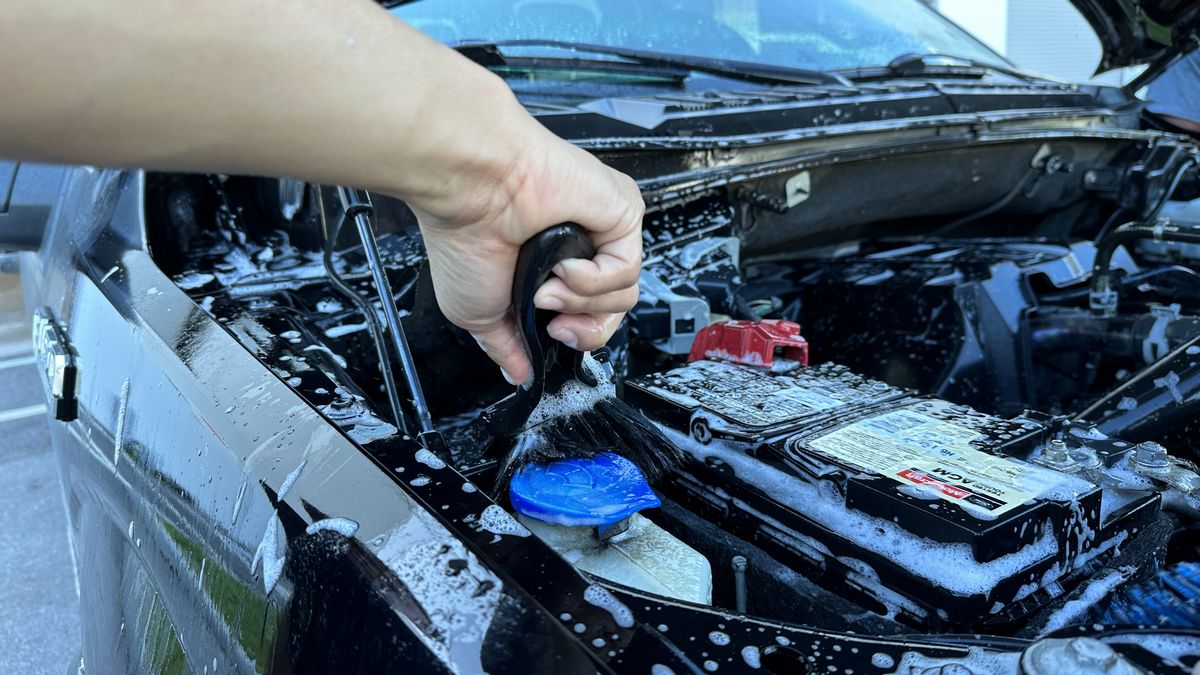
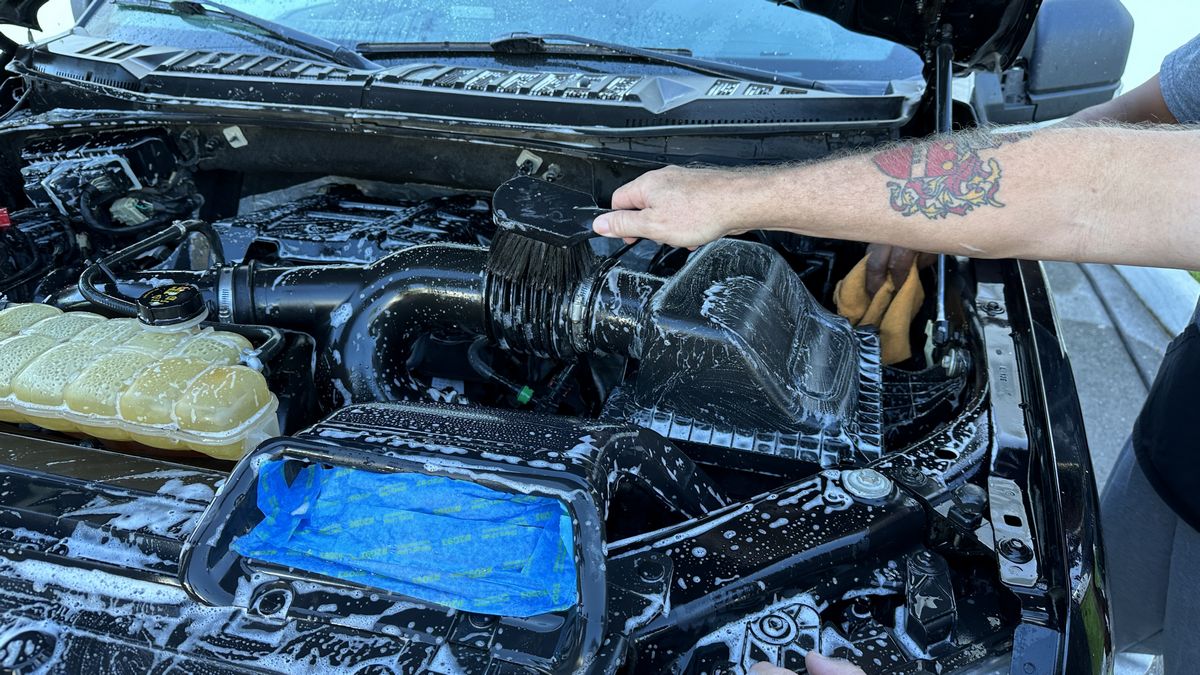
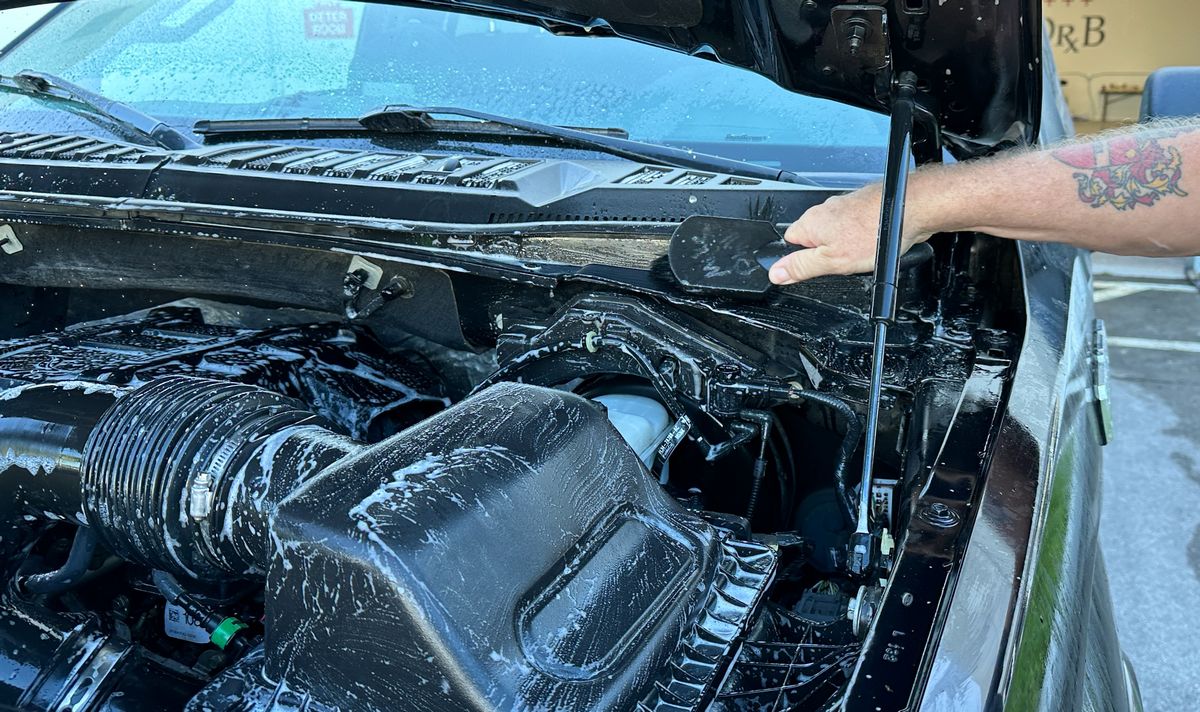
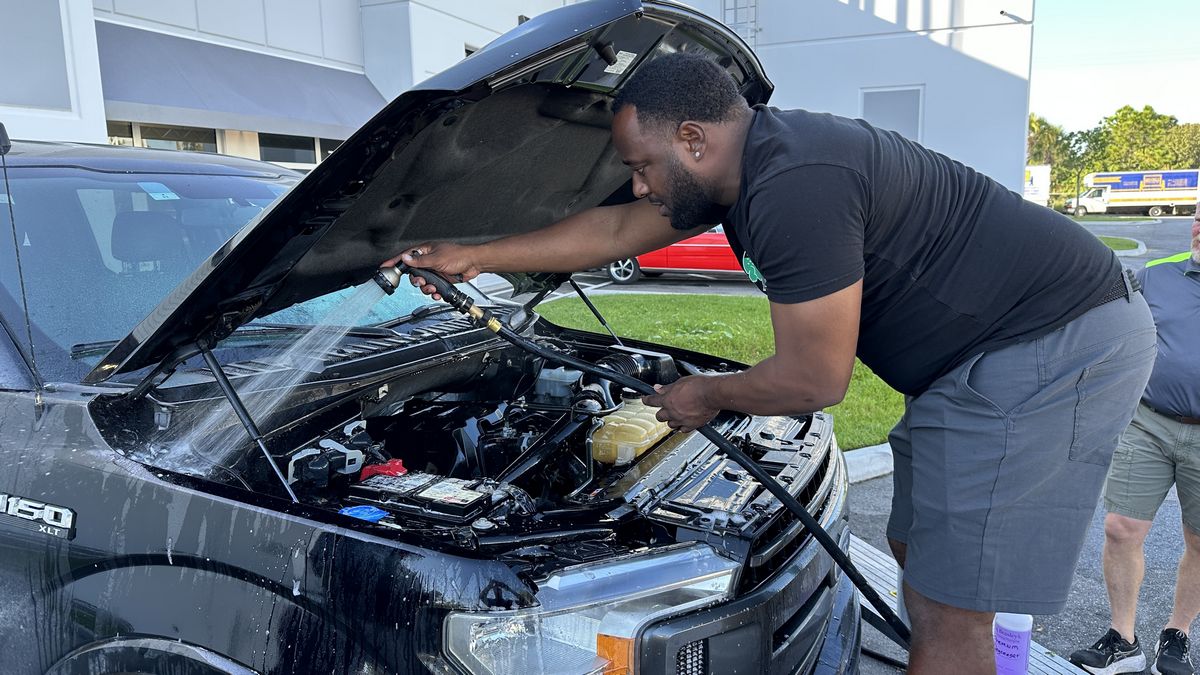
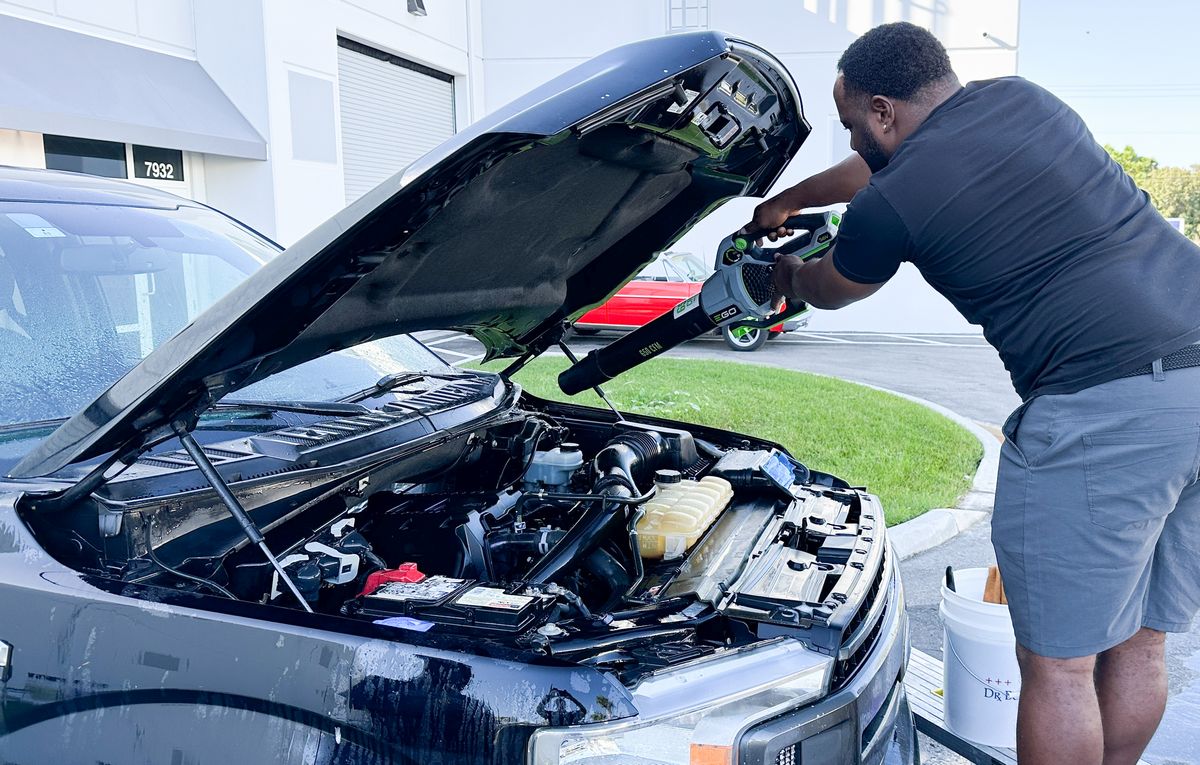
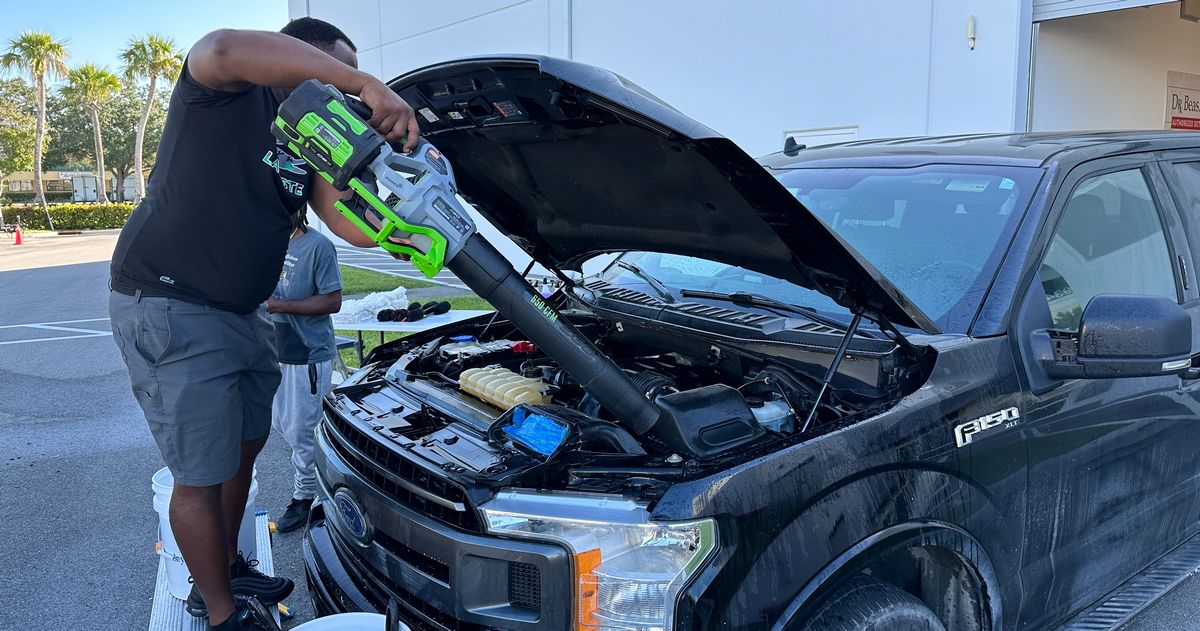
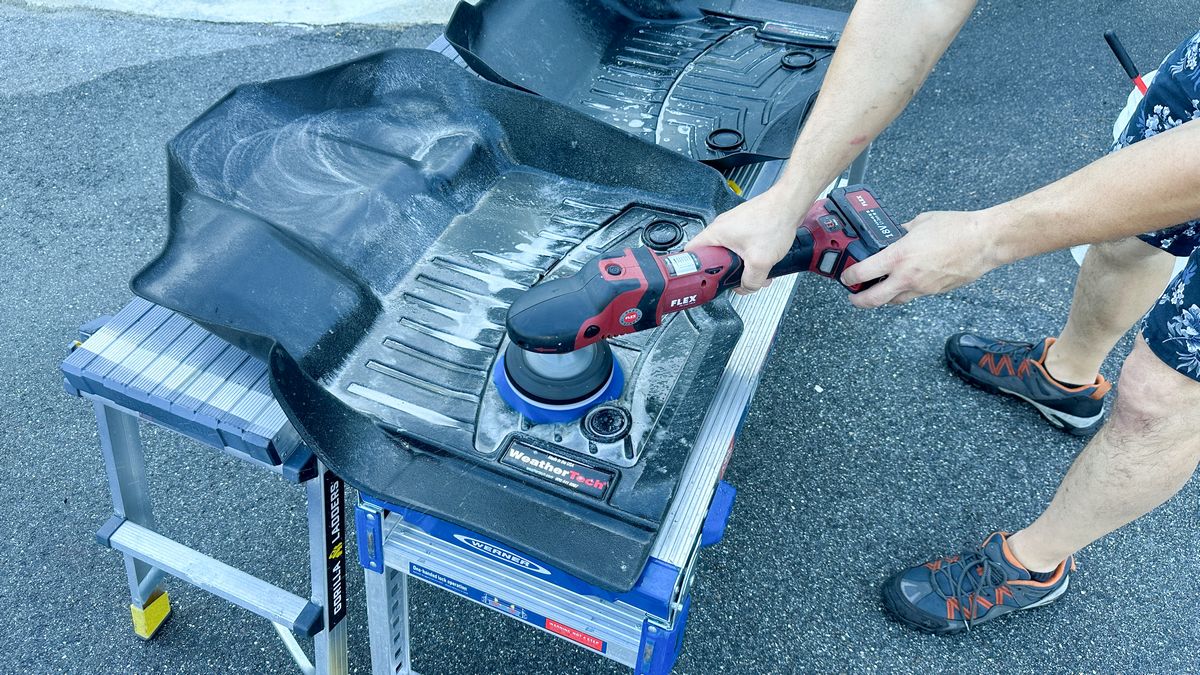
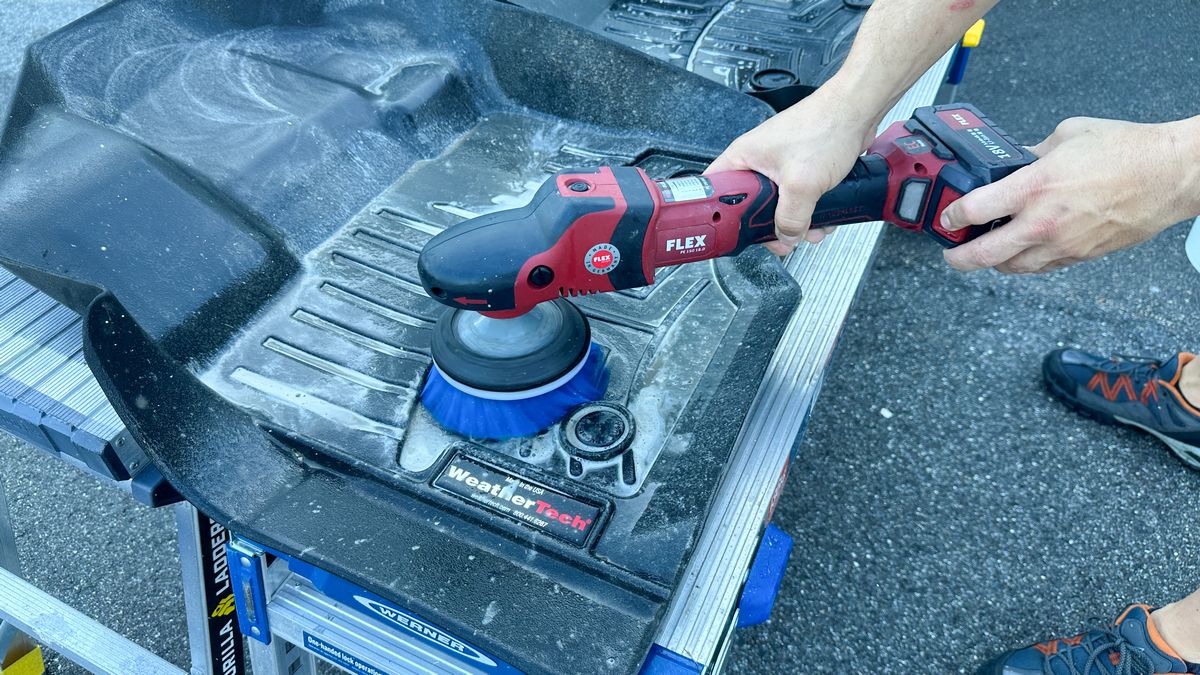
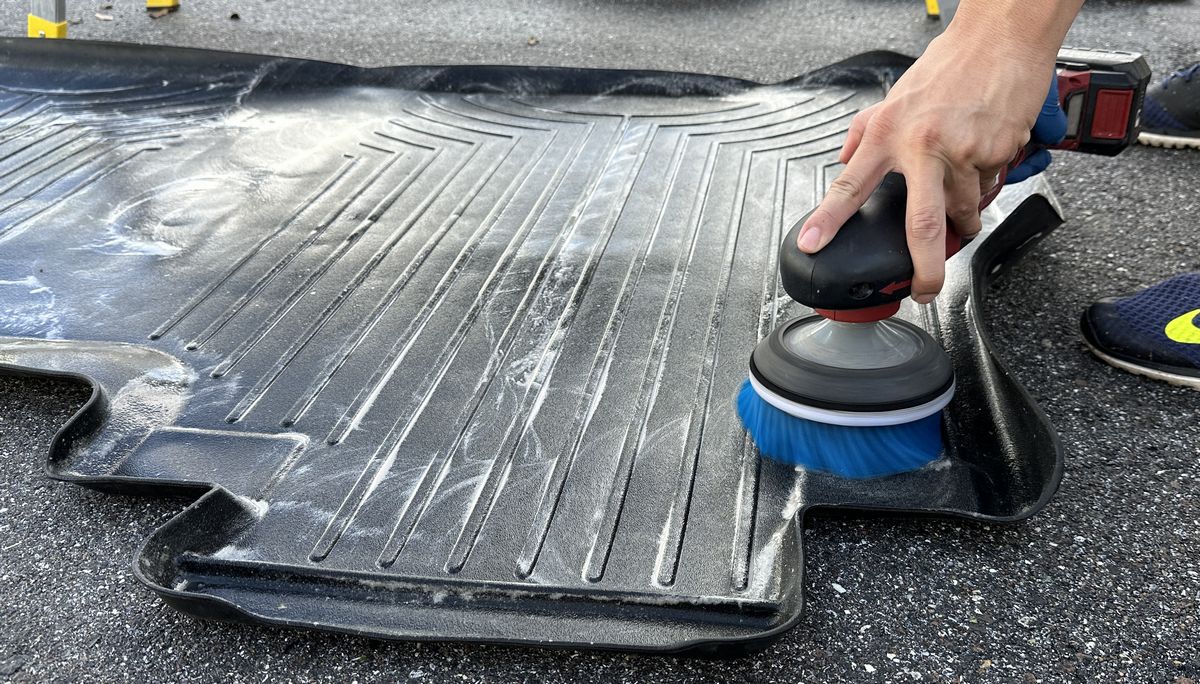
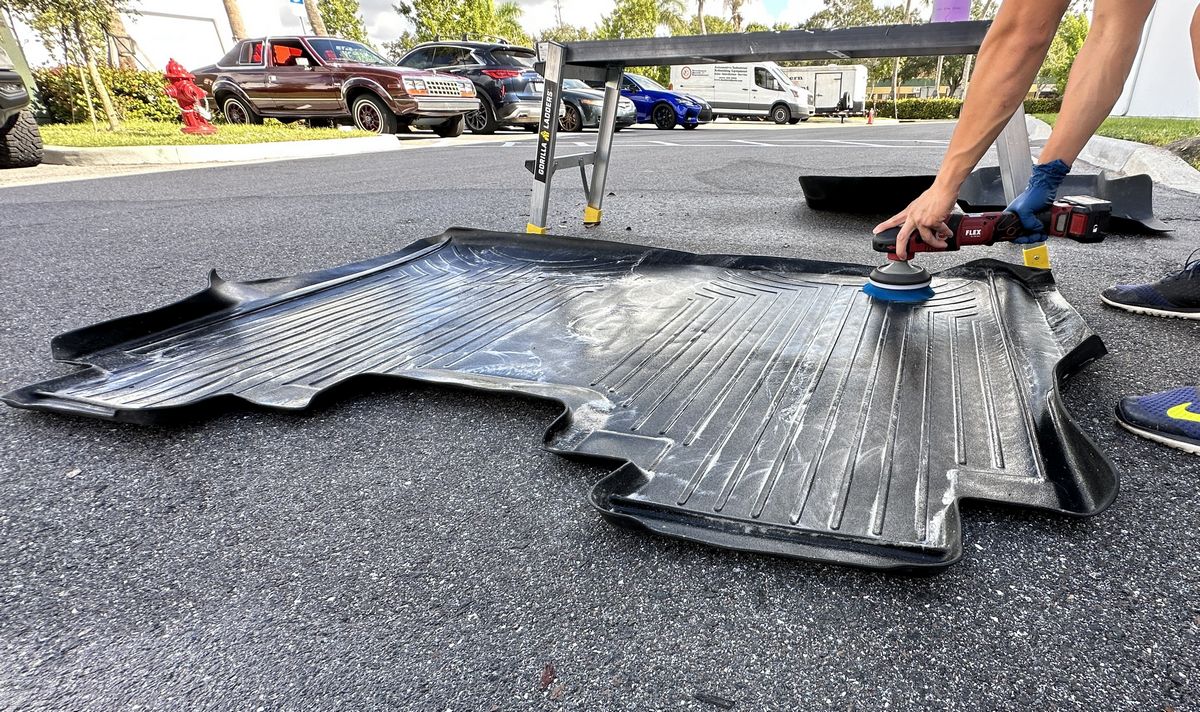
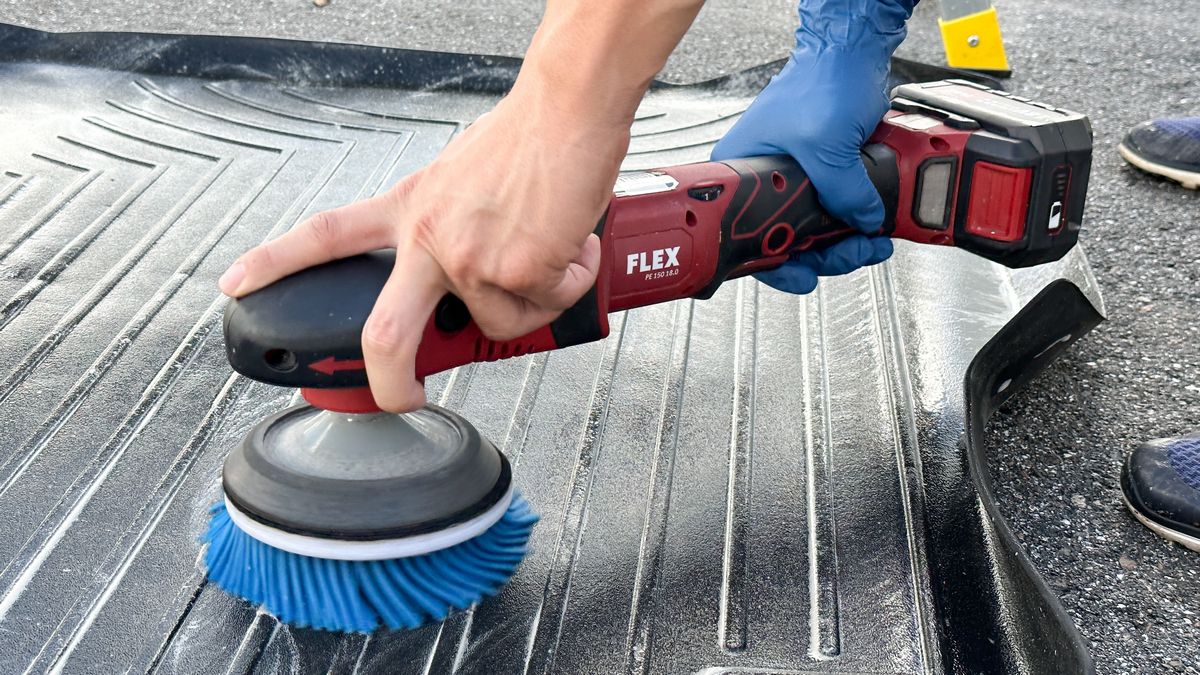
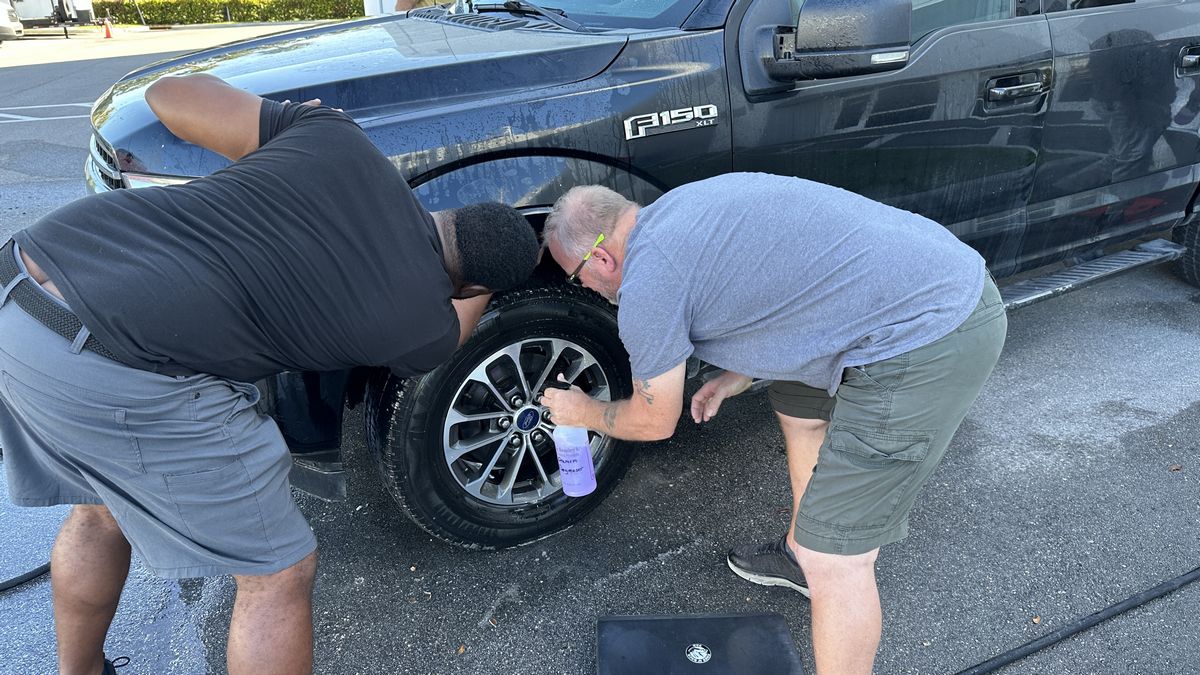
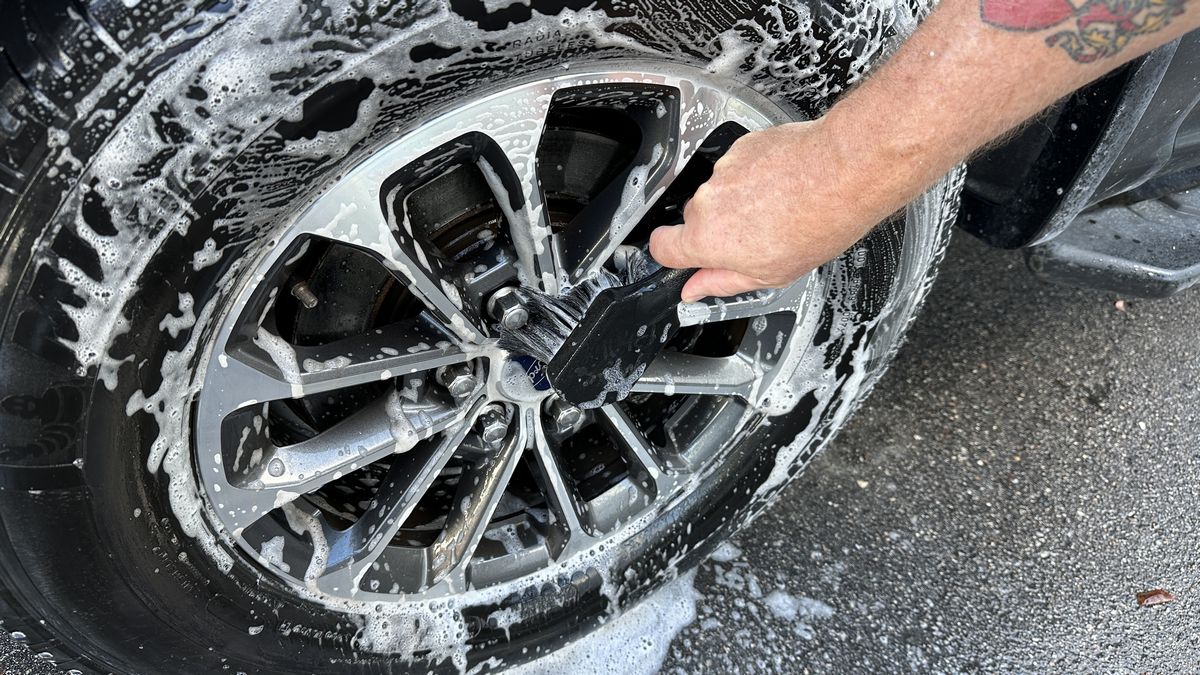
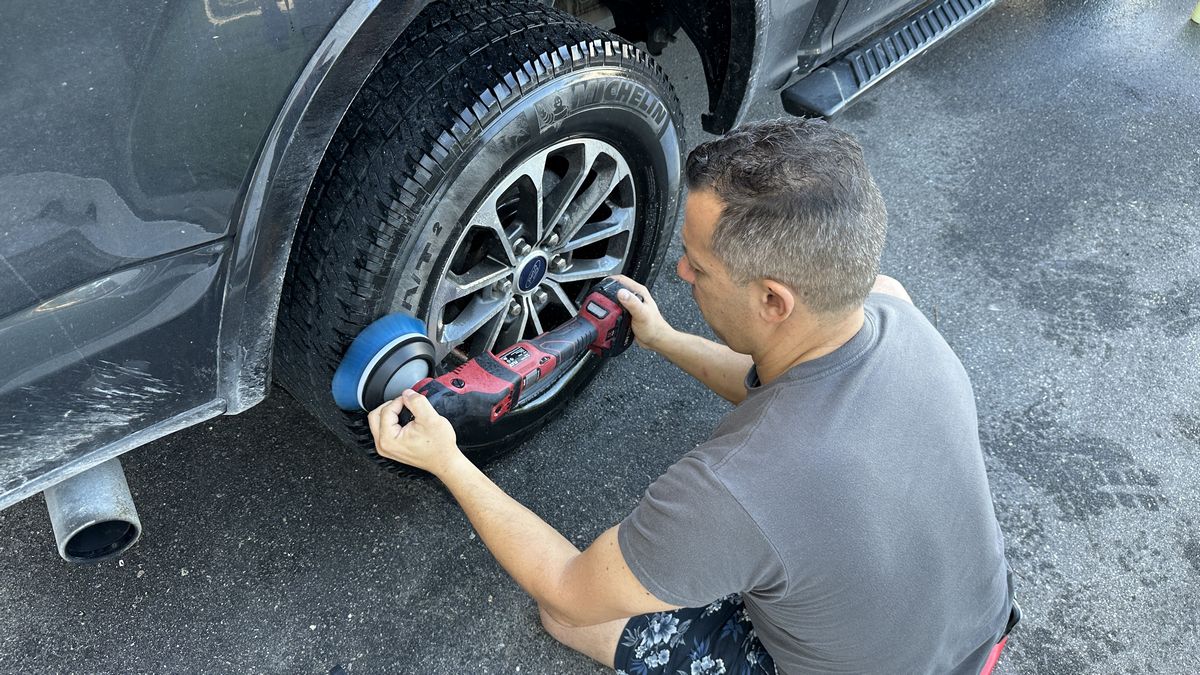
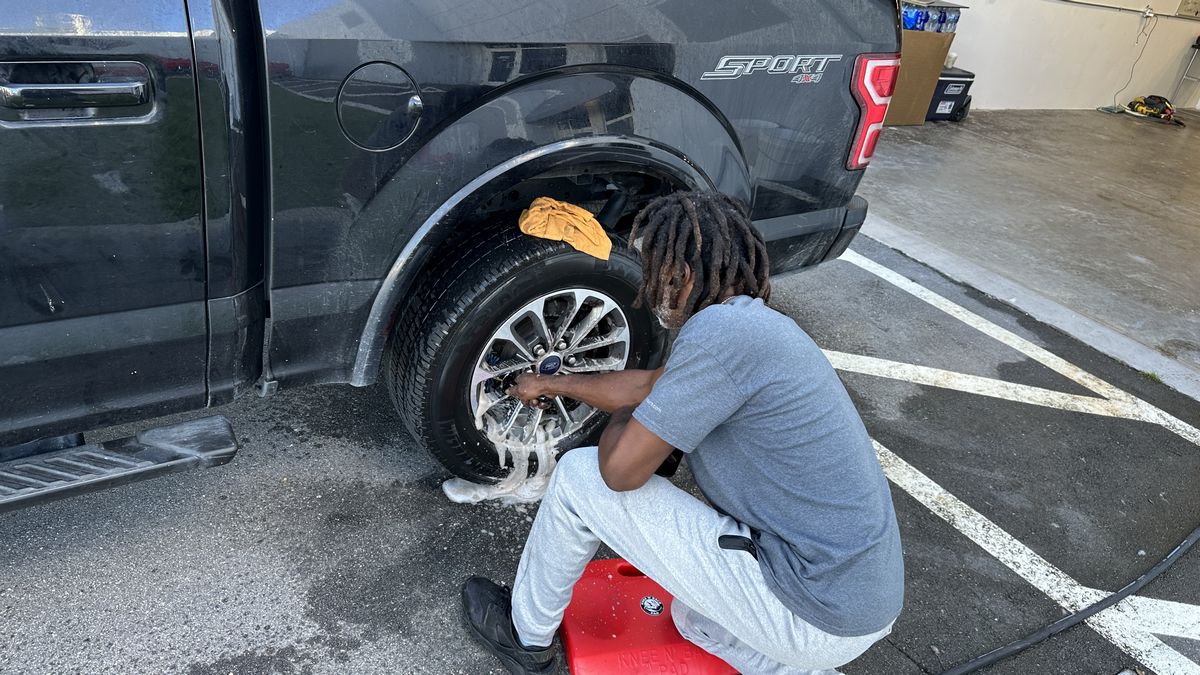
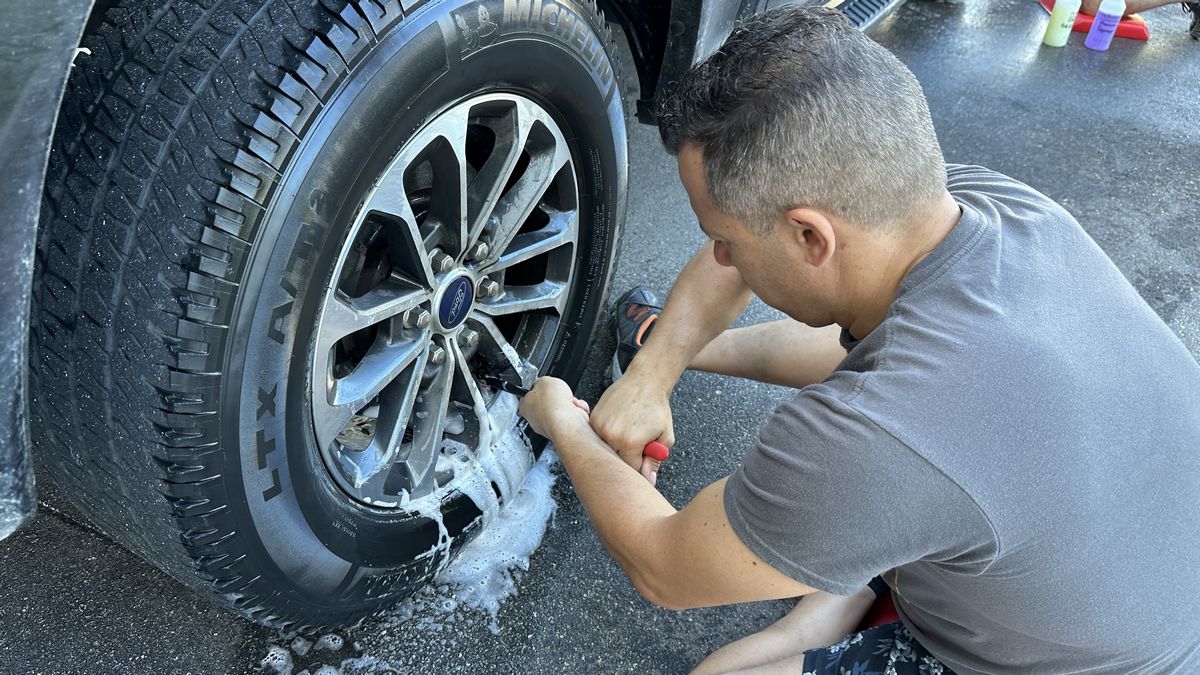
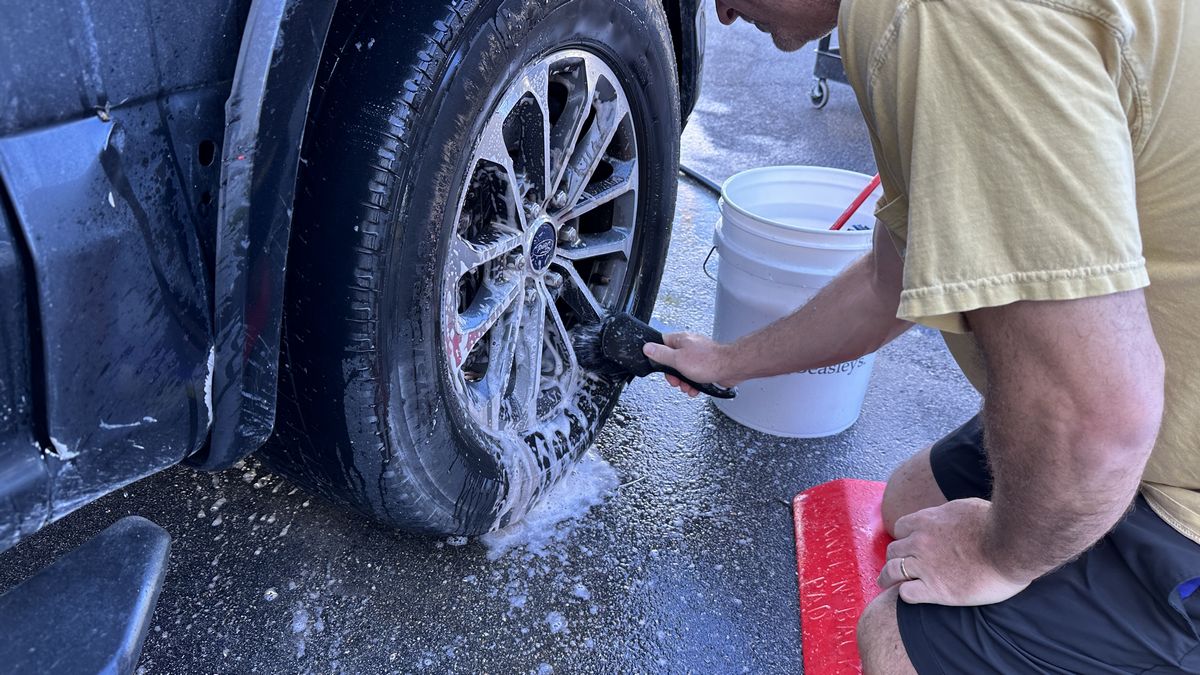
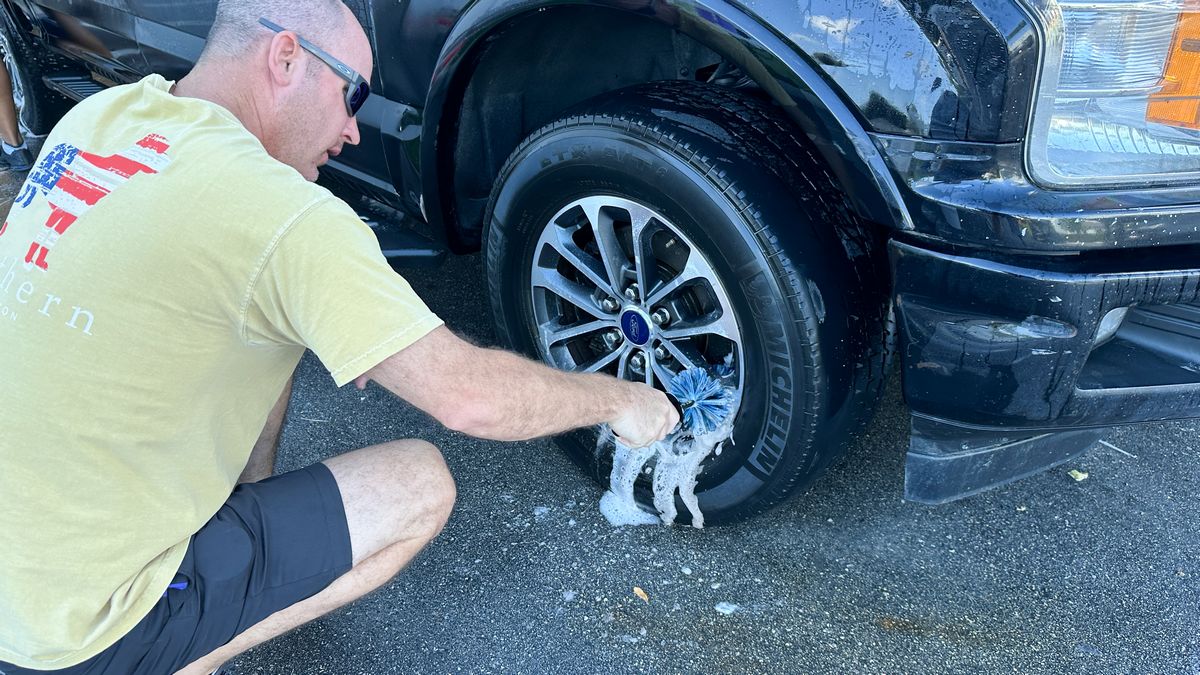
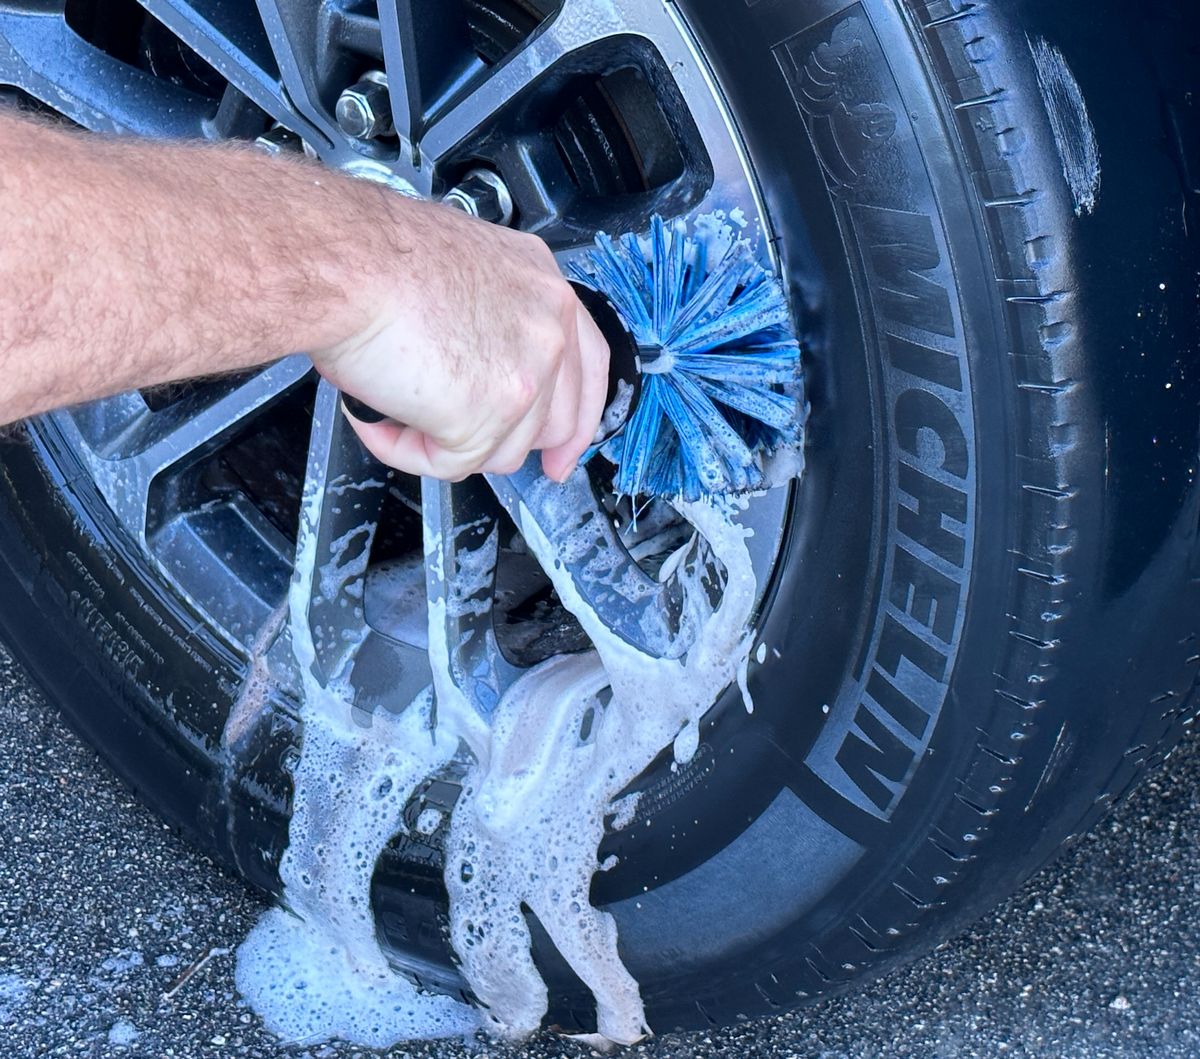
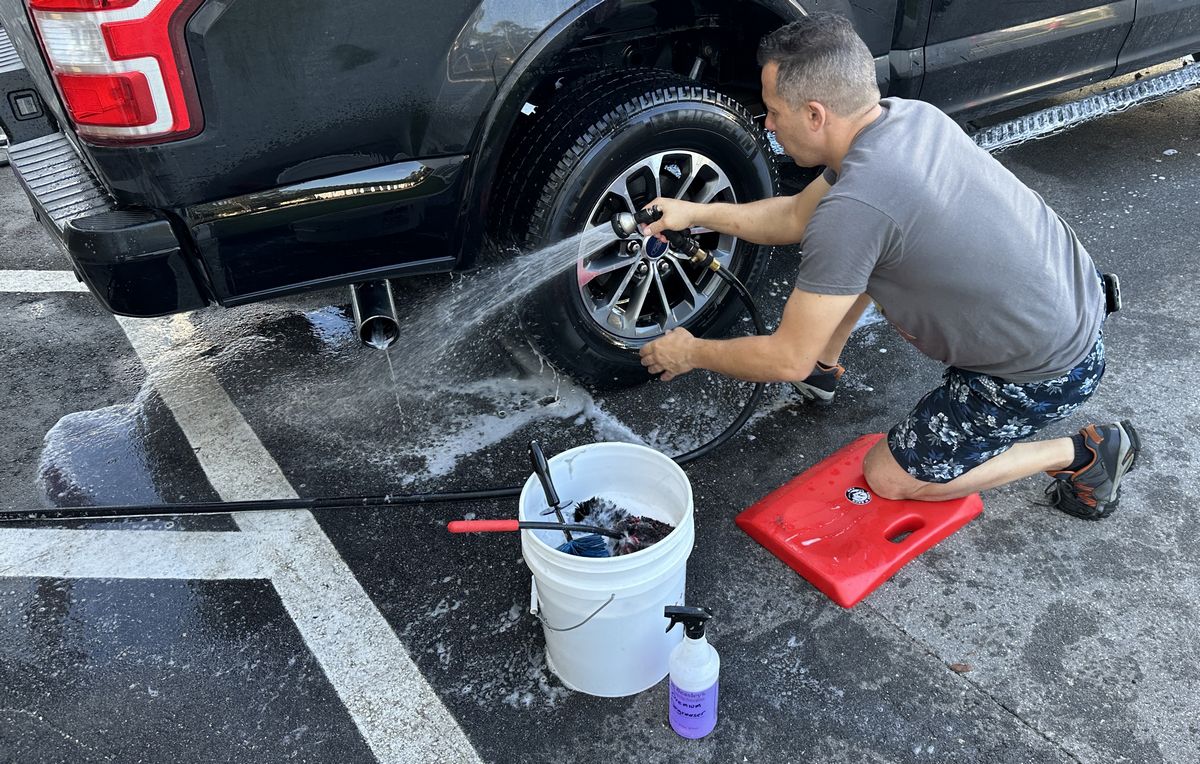
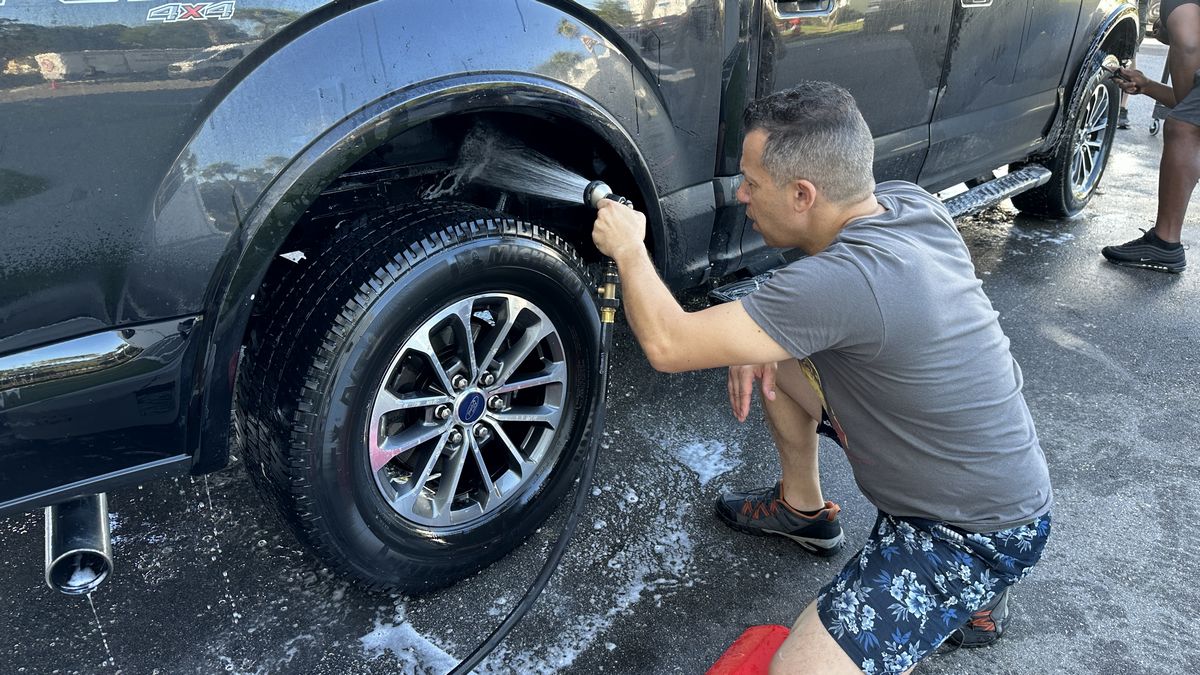
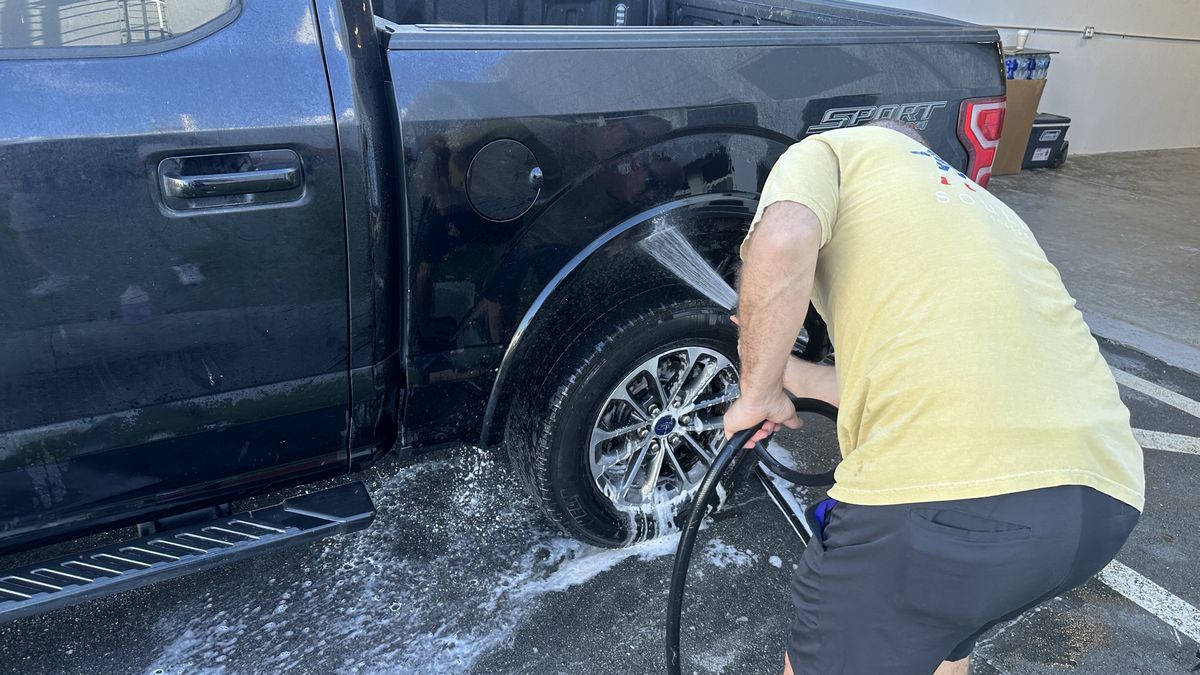
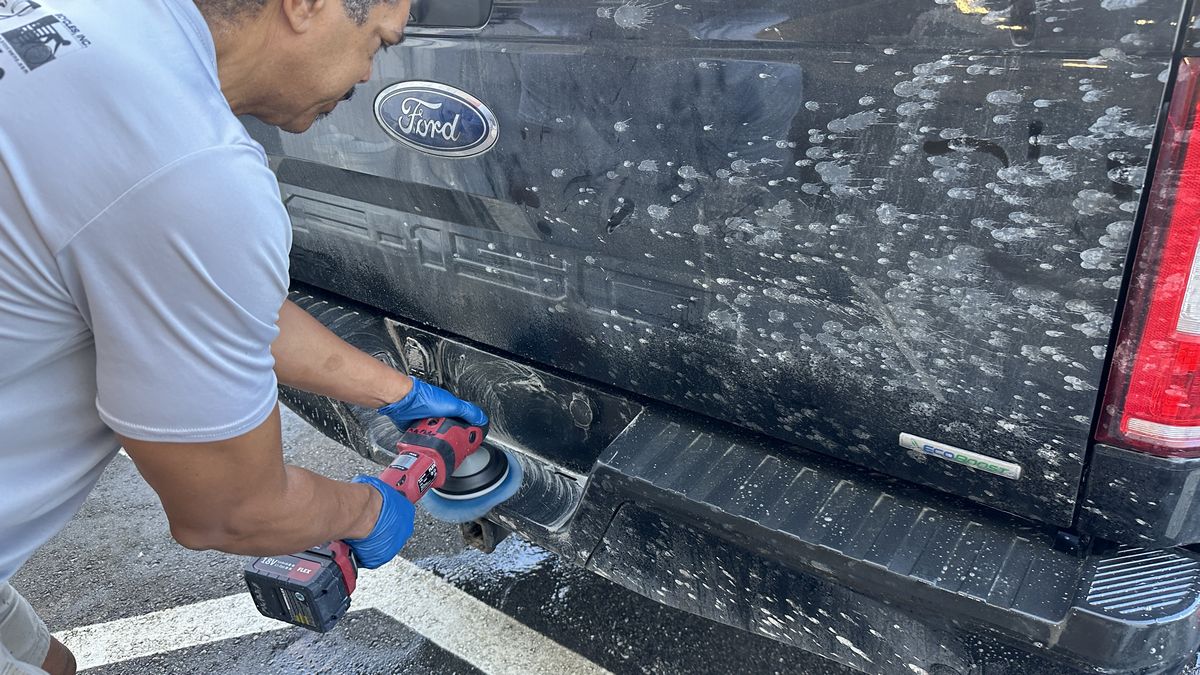
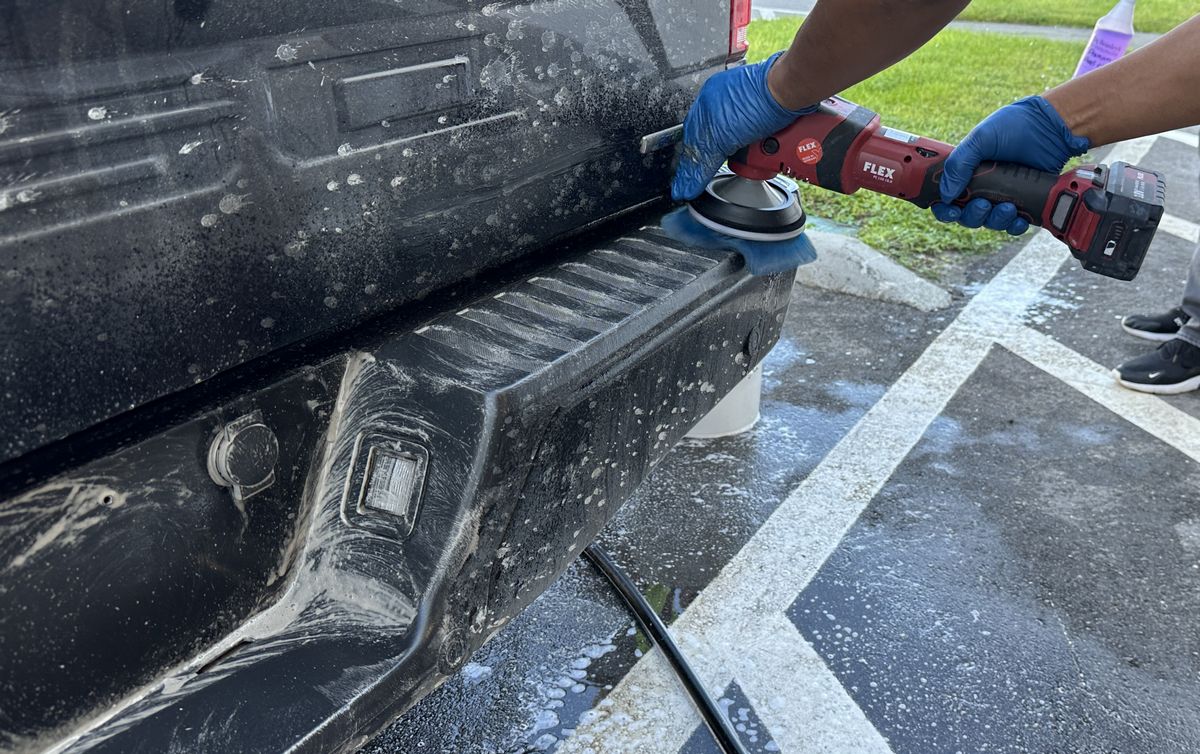
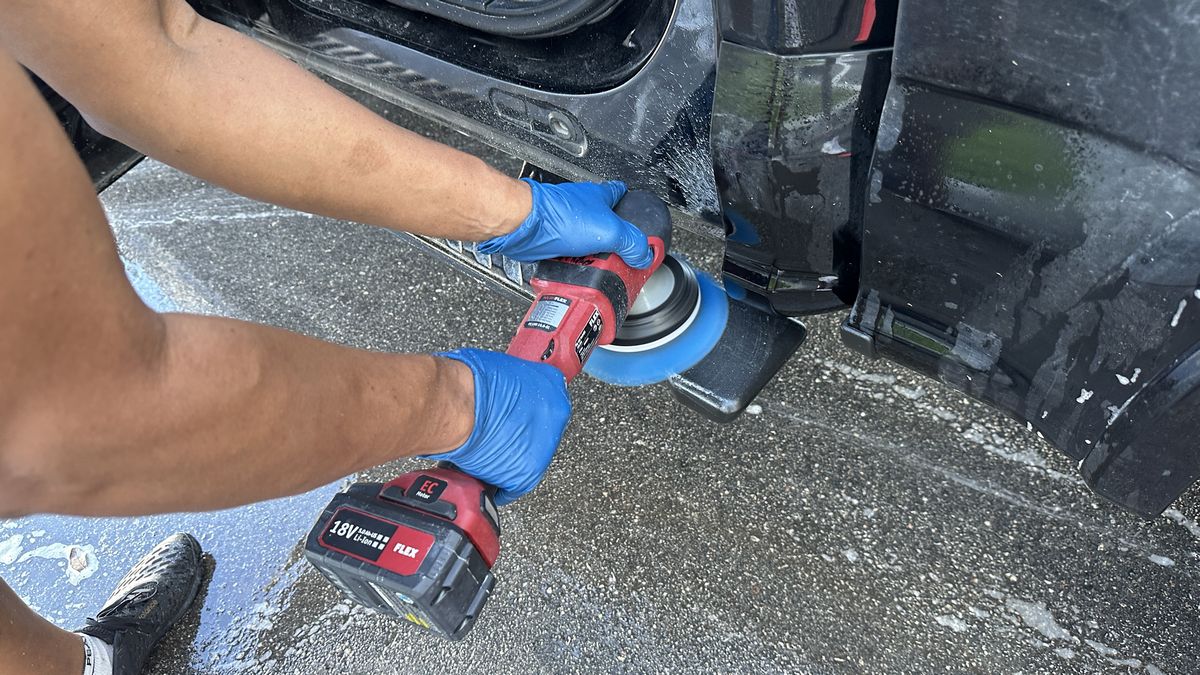
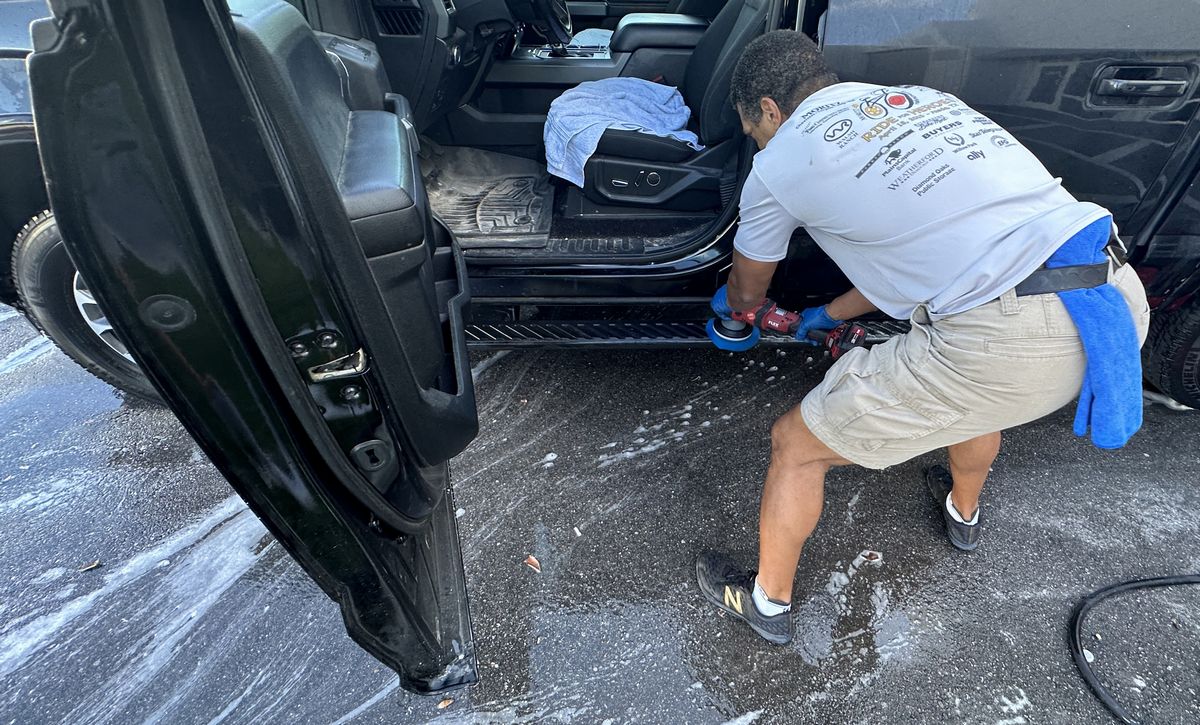
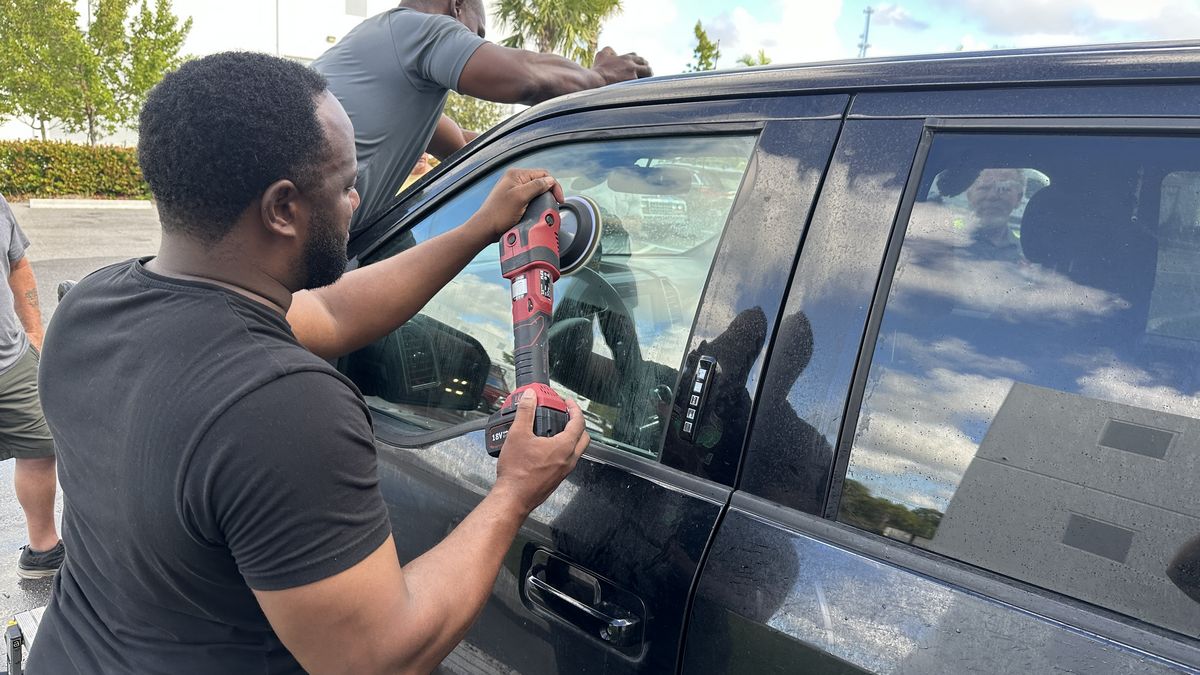
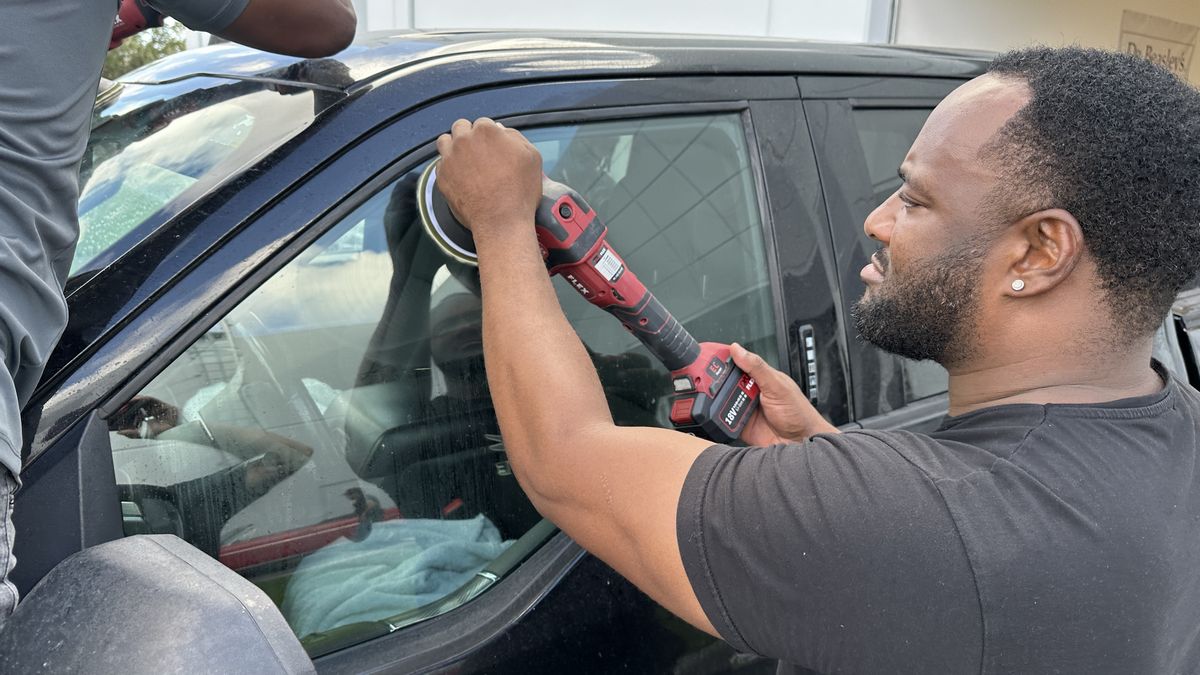
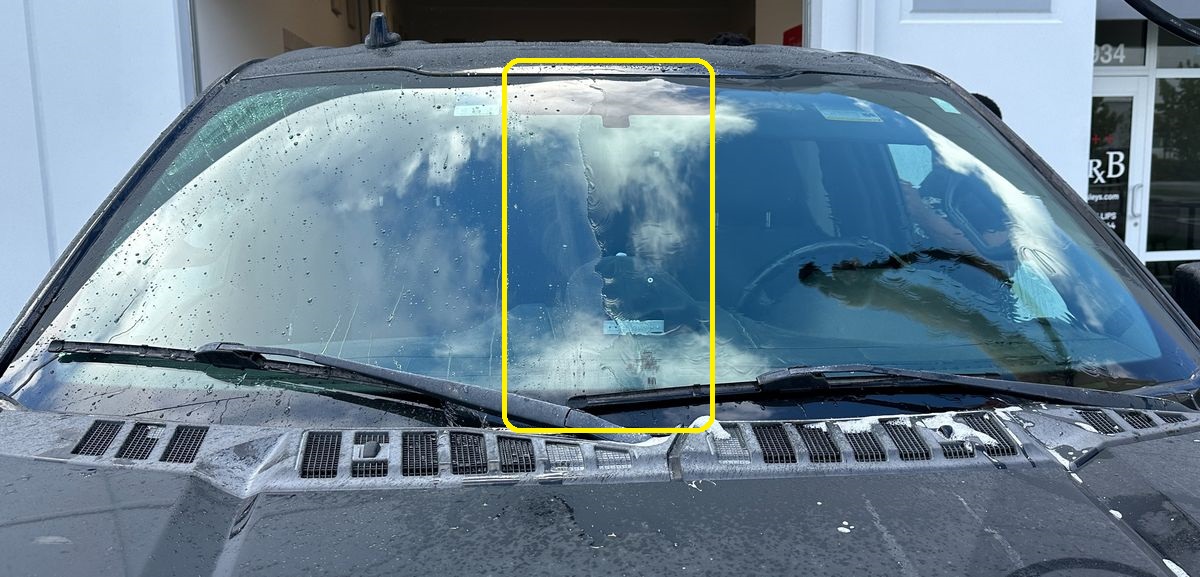
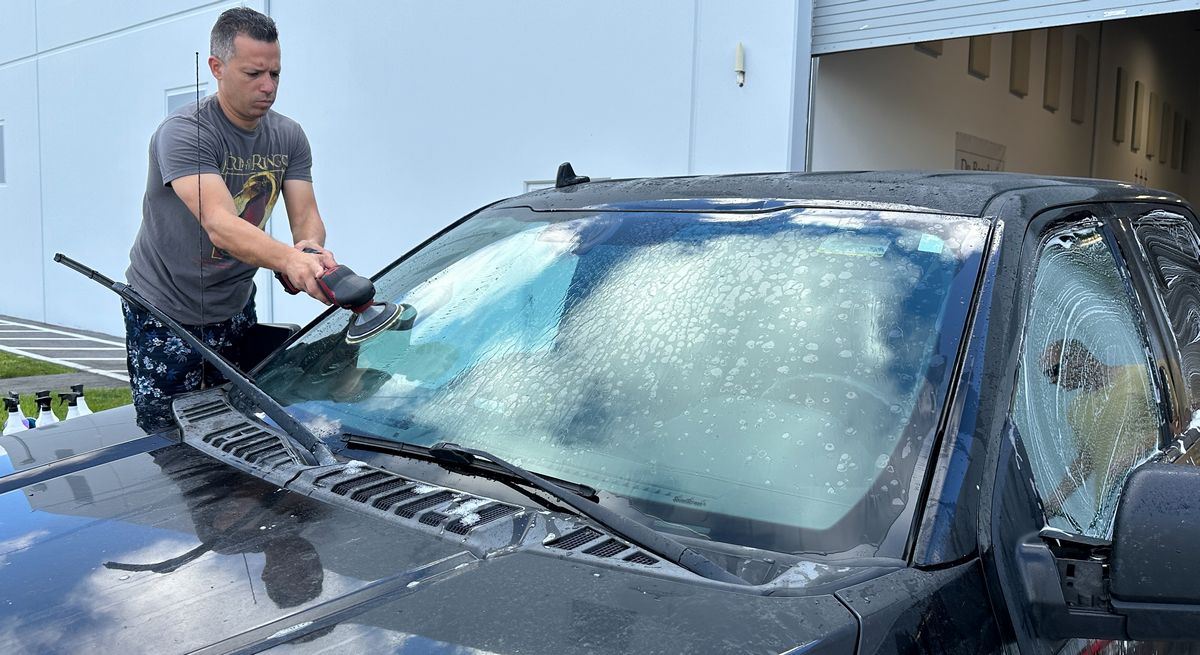
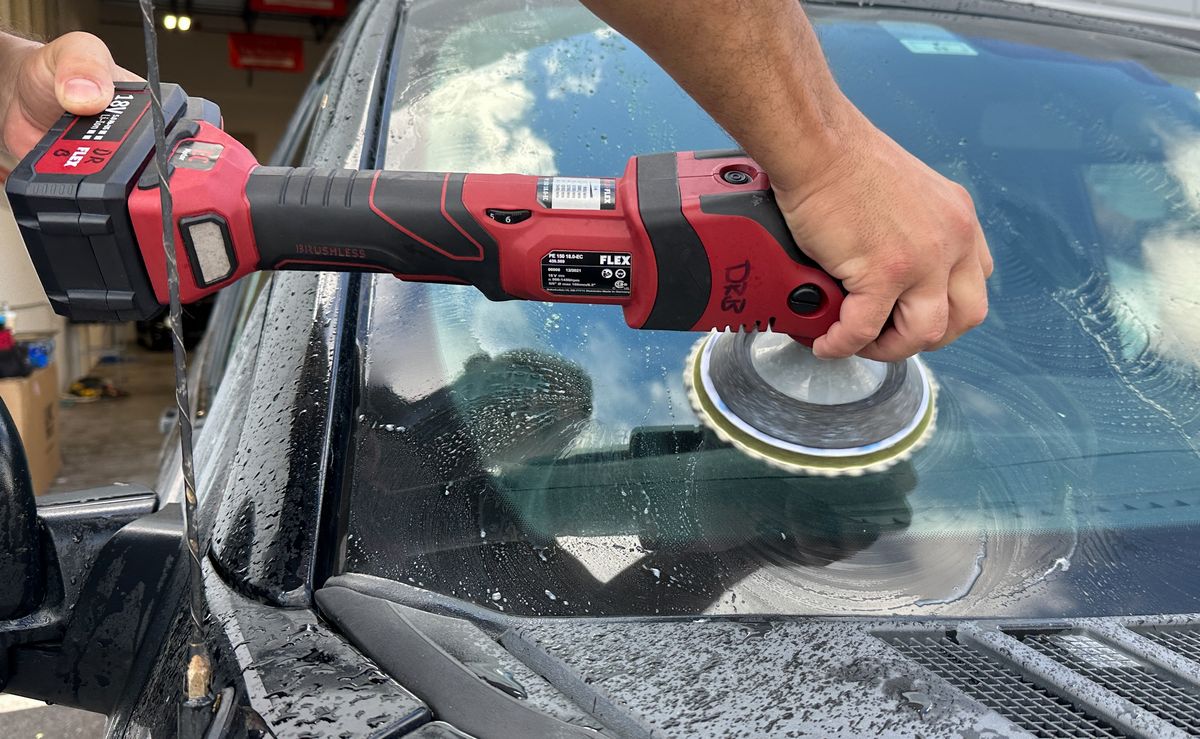
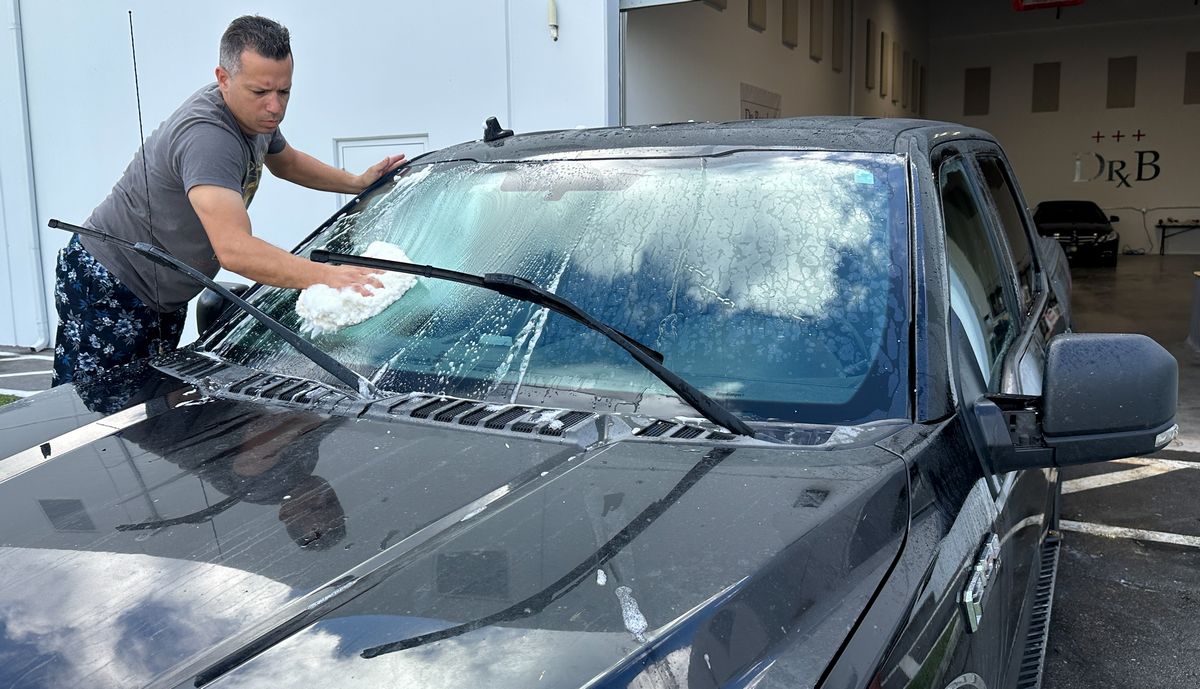
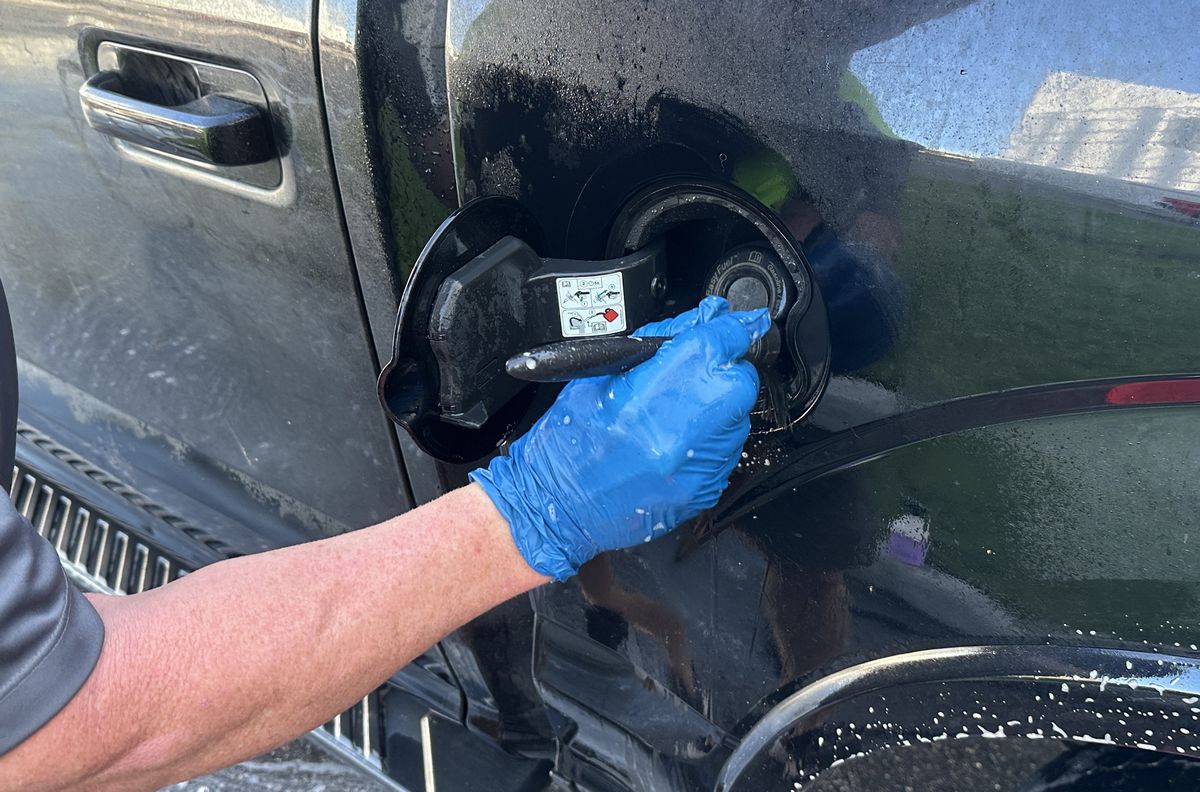
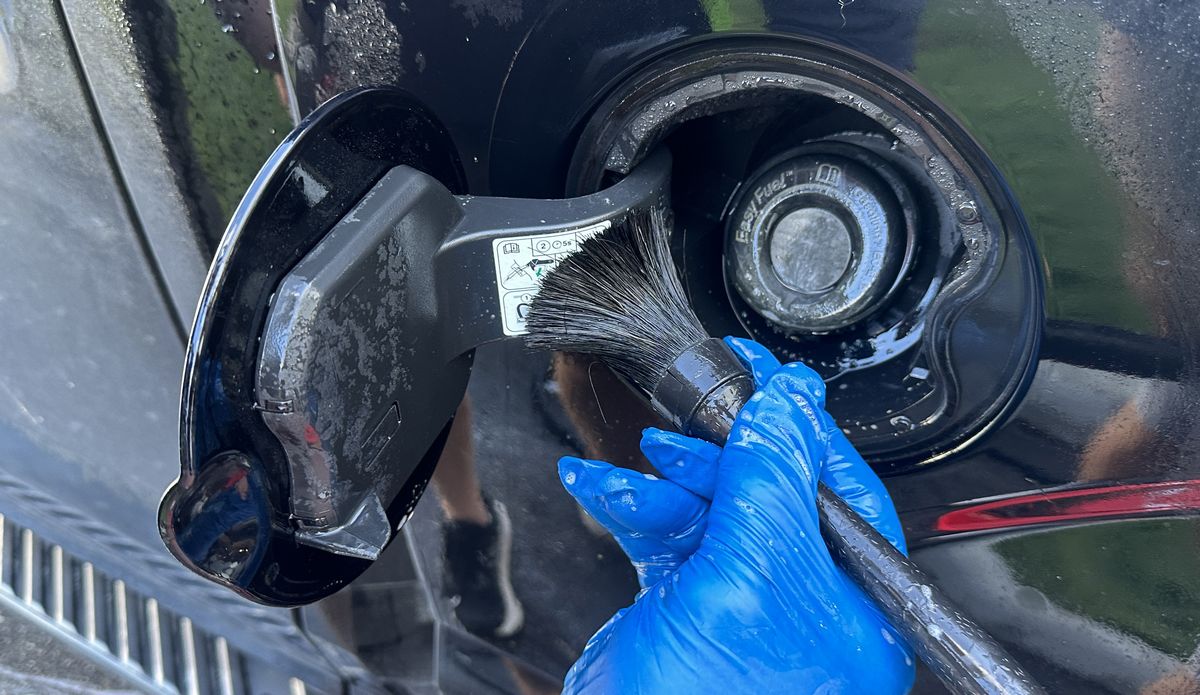
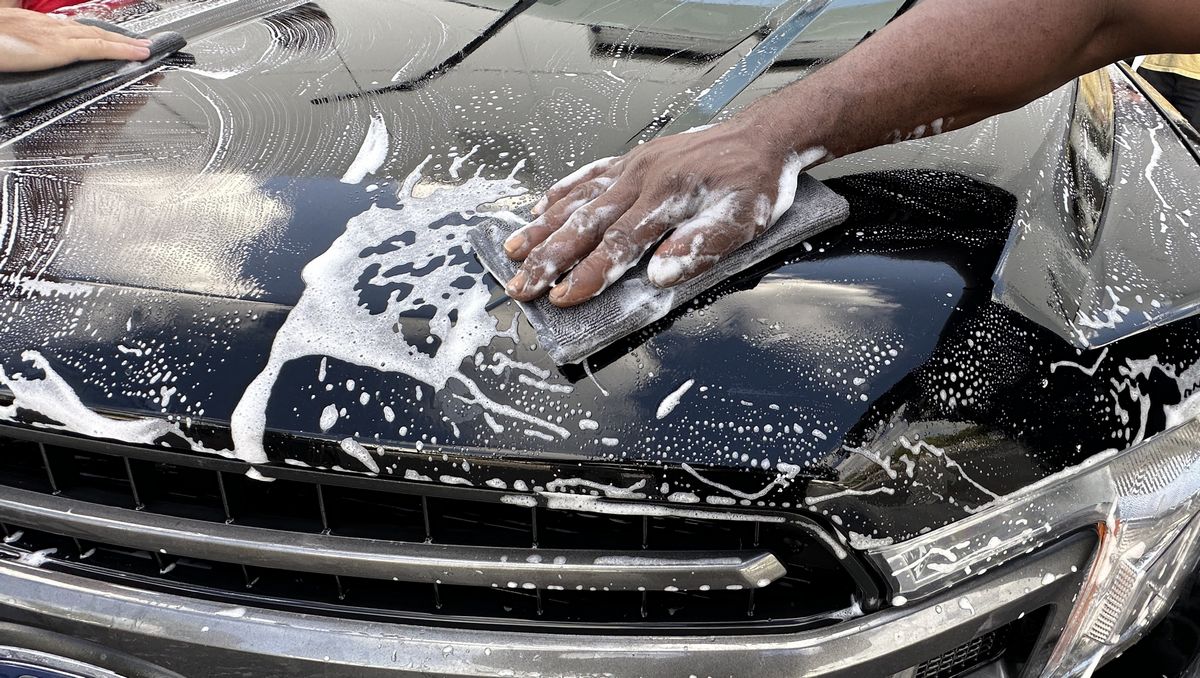
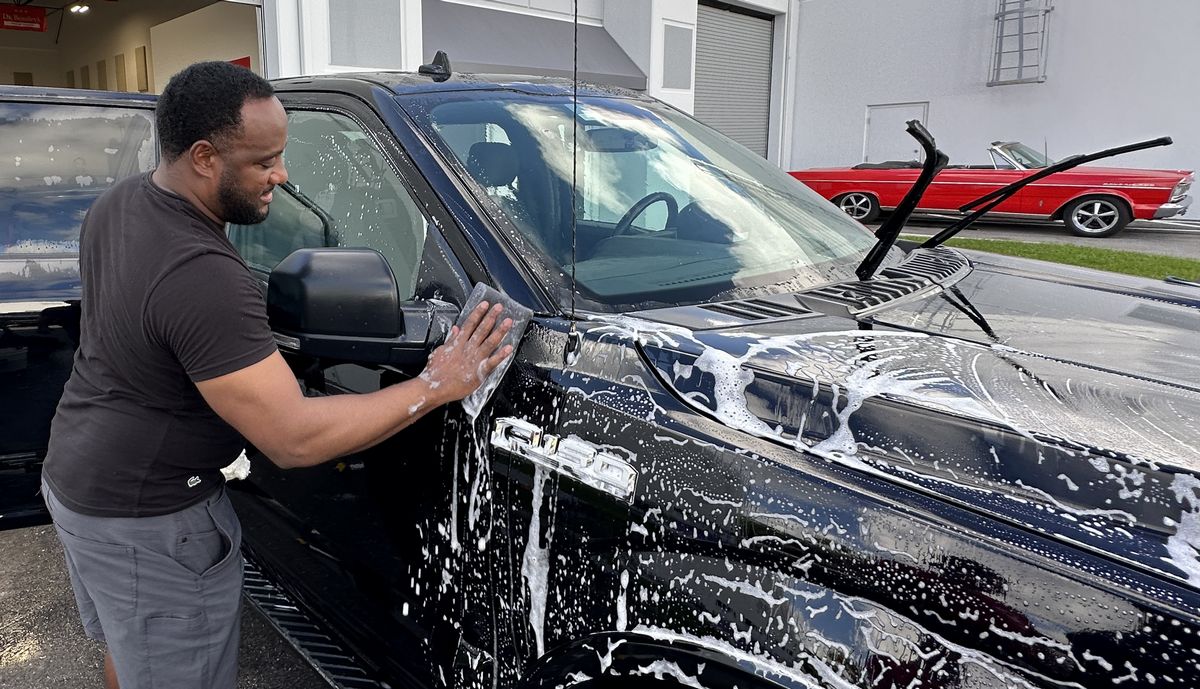
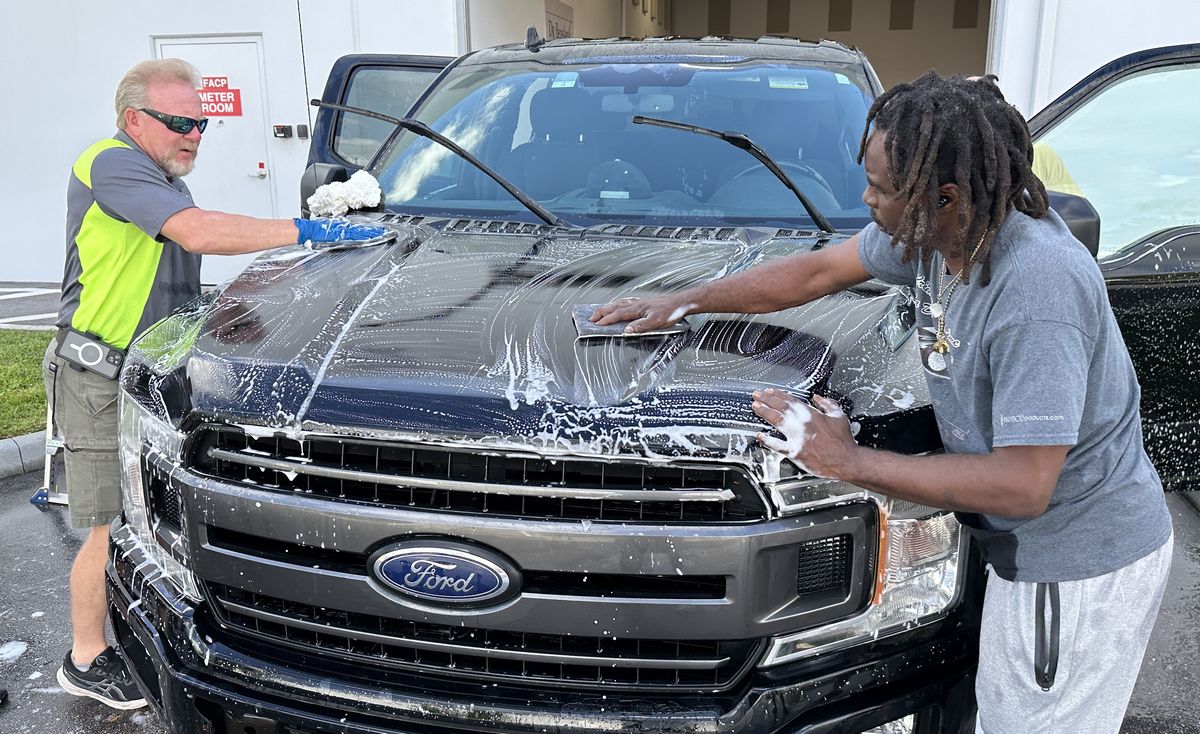
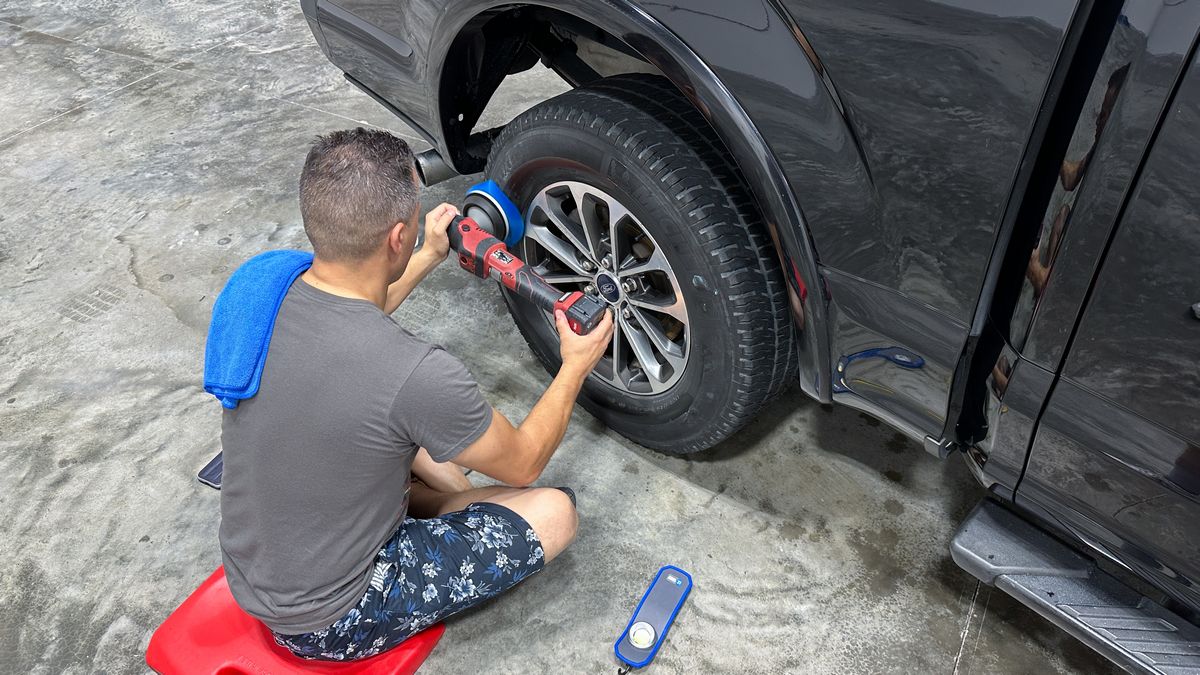
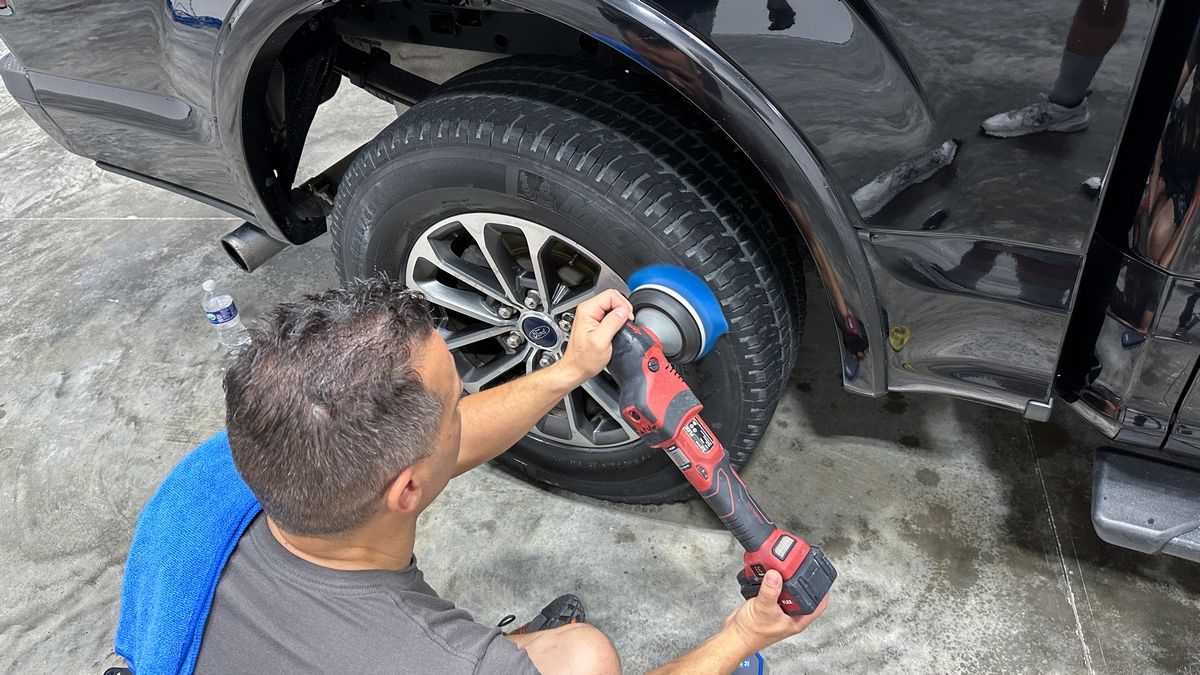
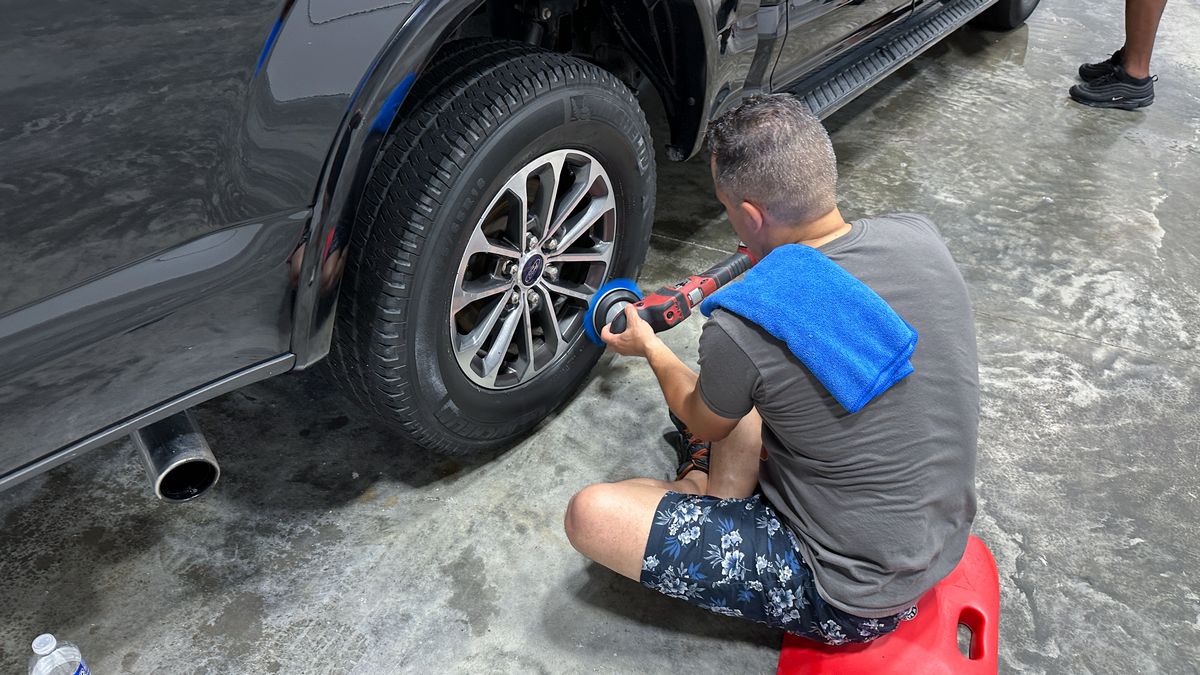
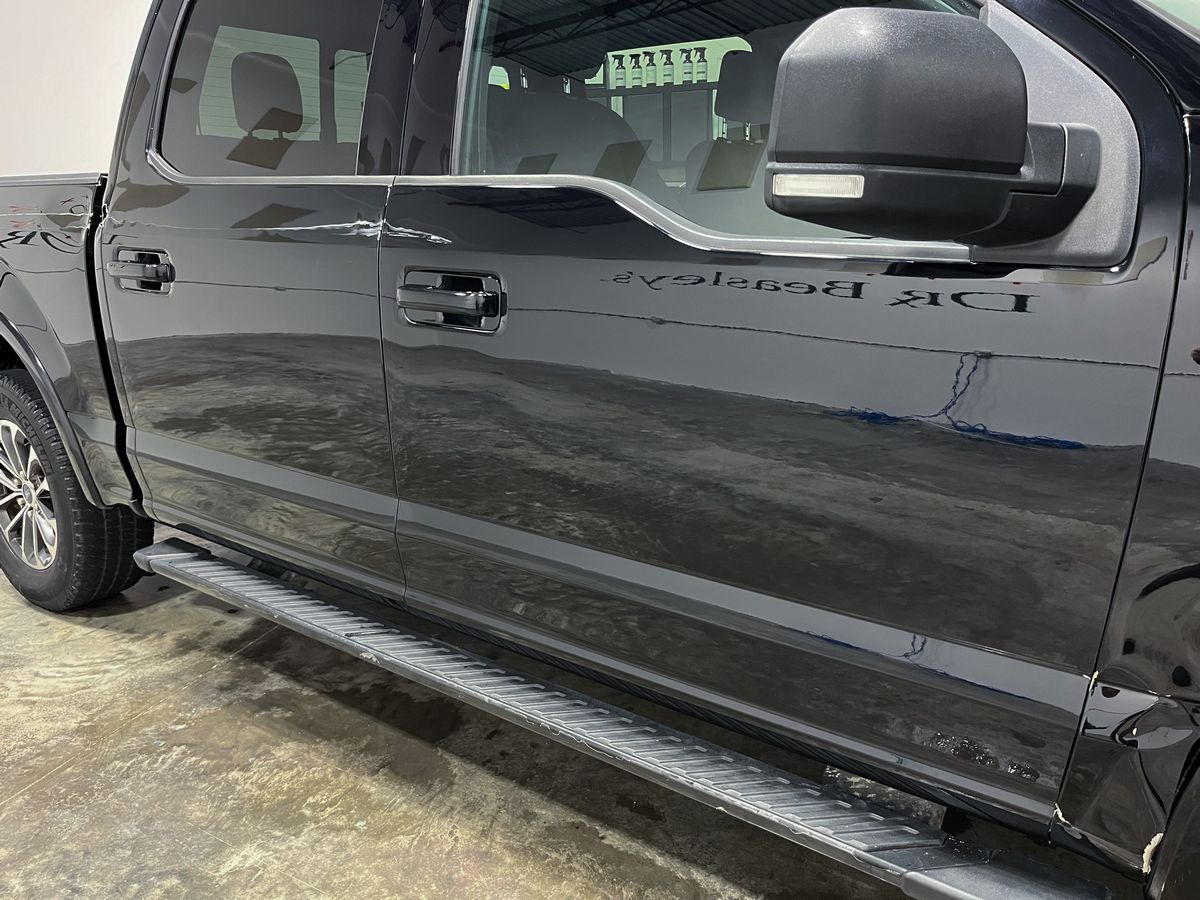
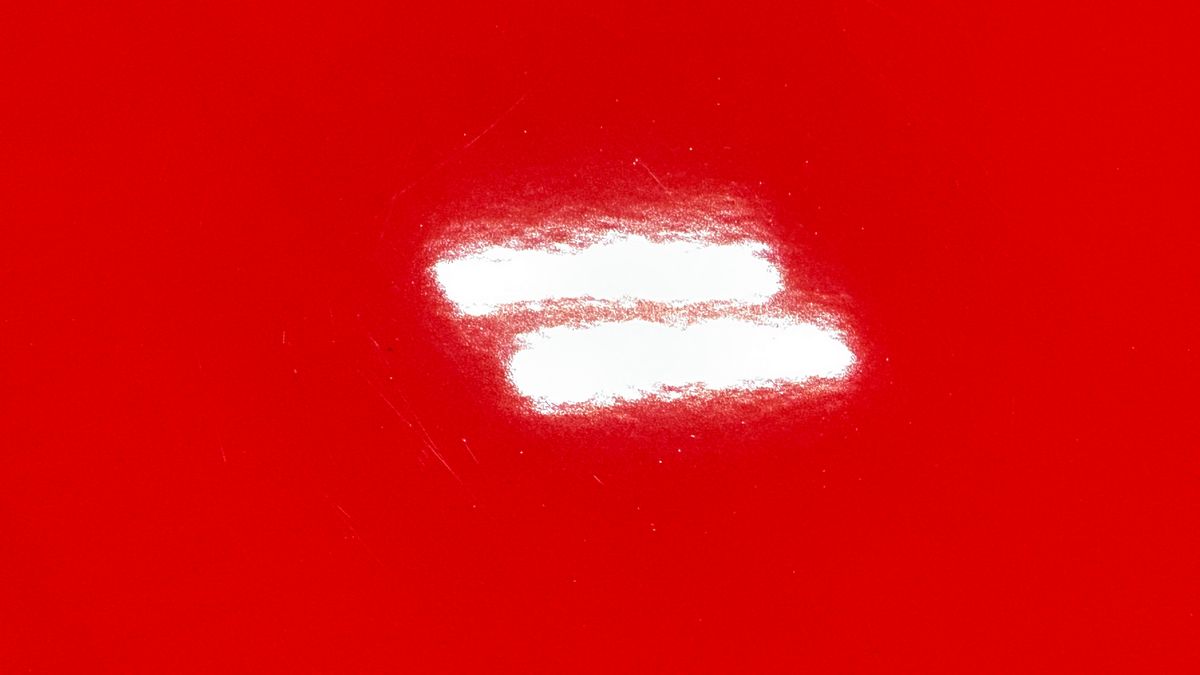
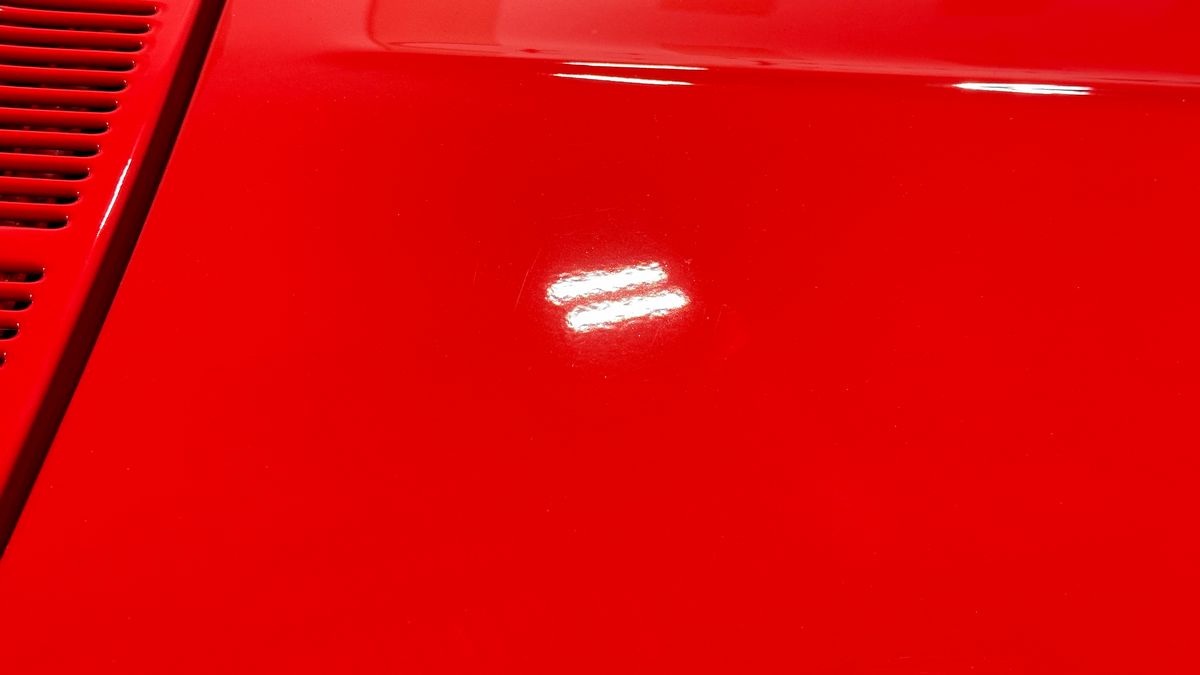
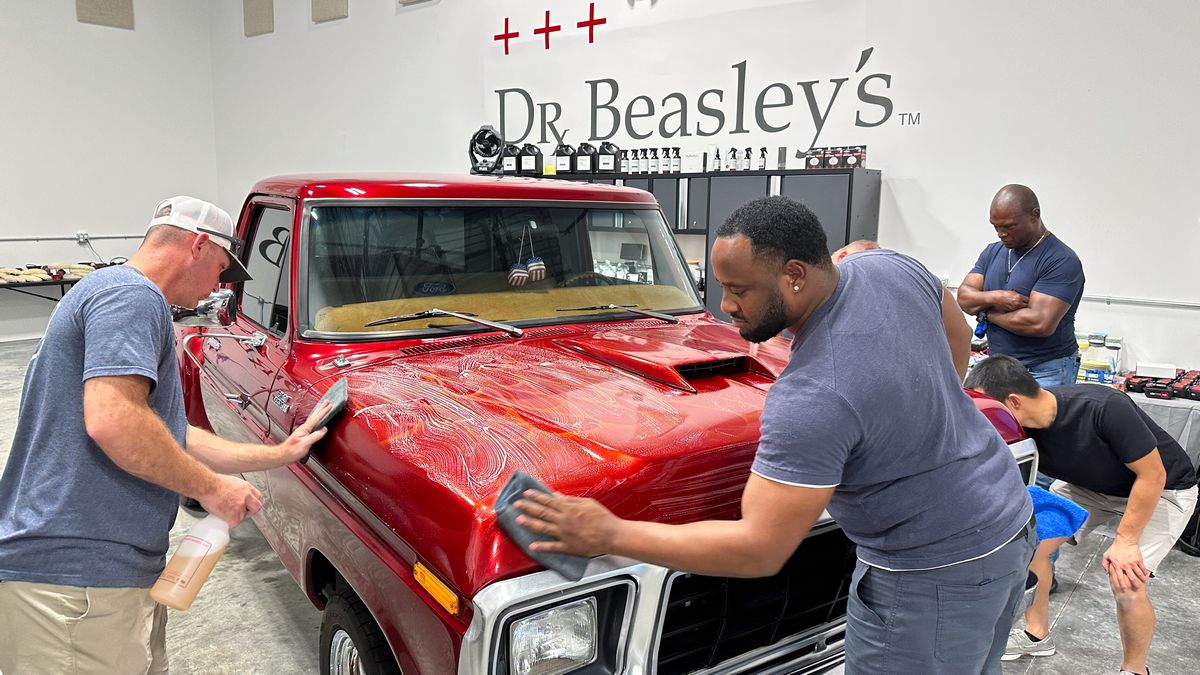
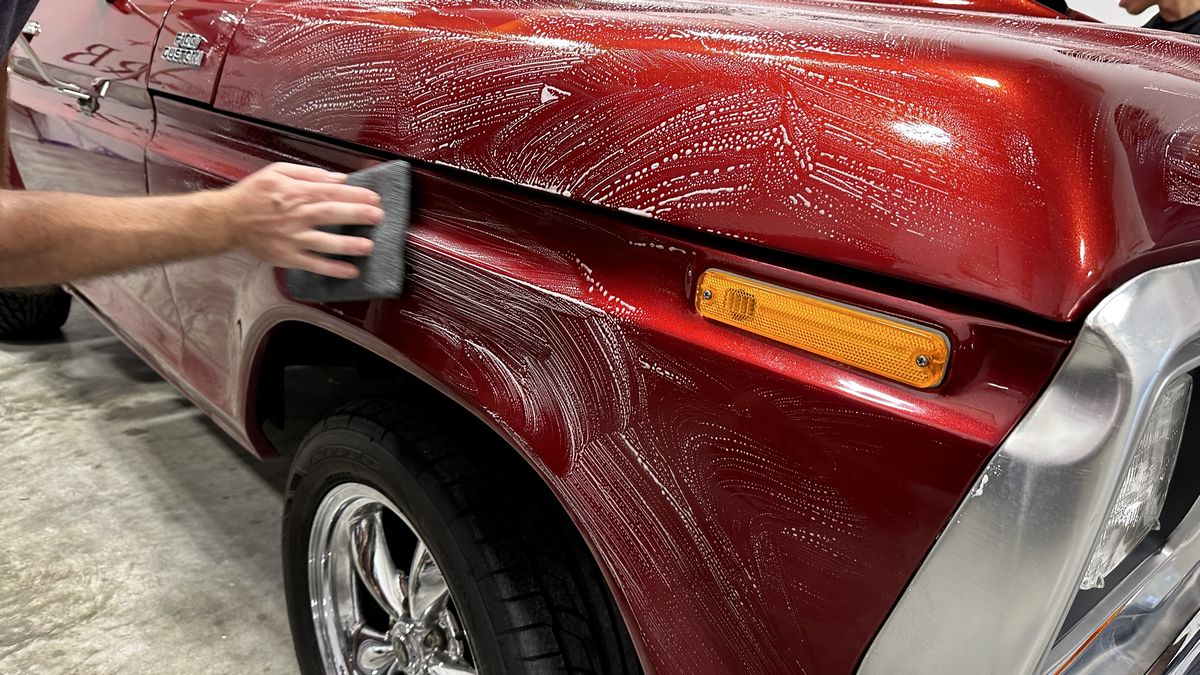
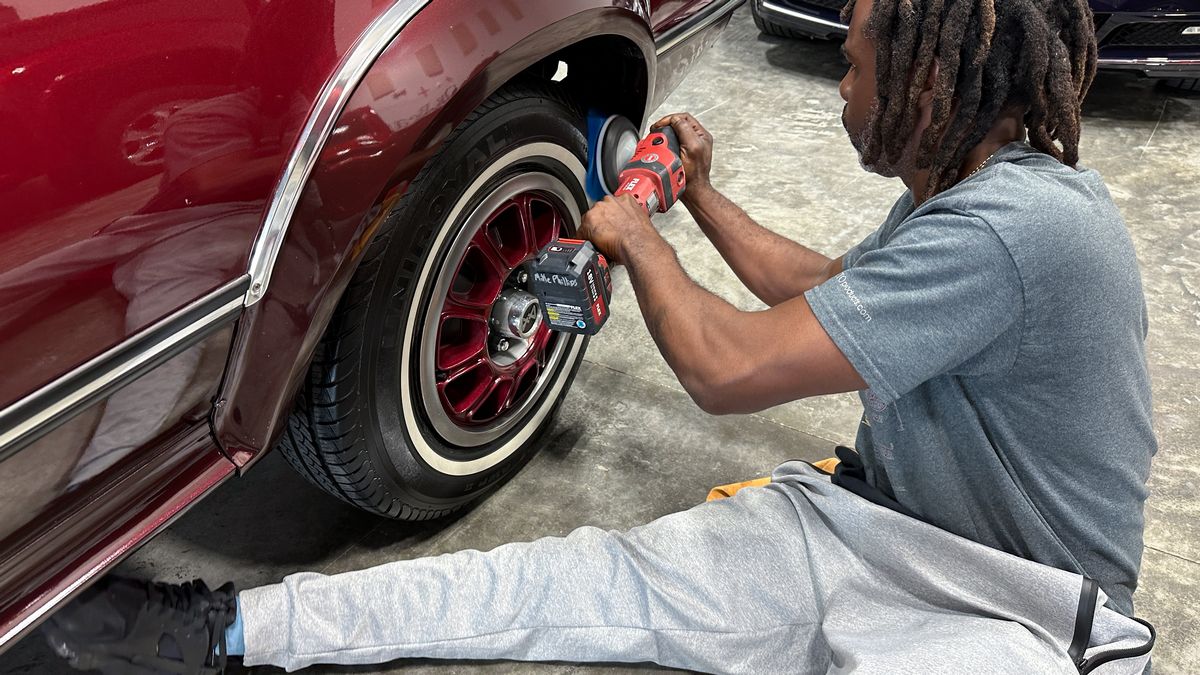
Mechanical decontamination
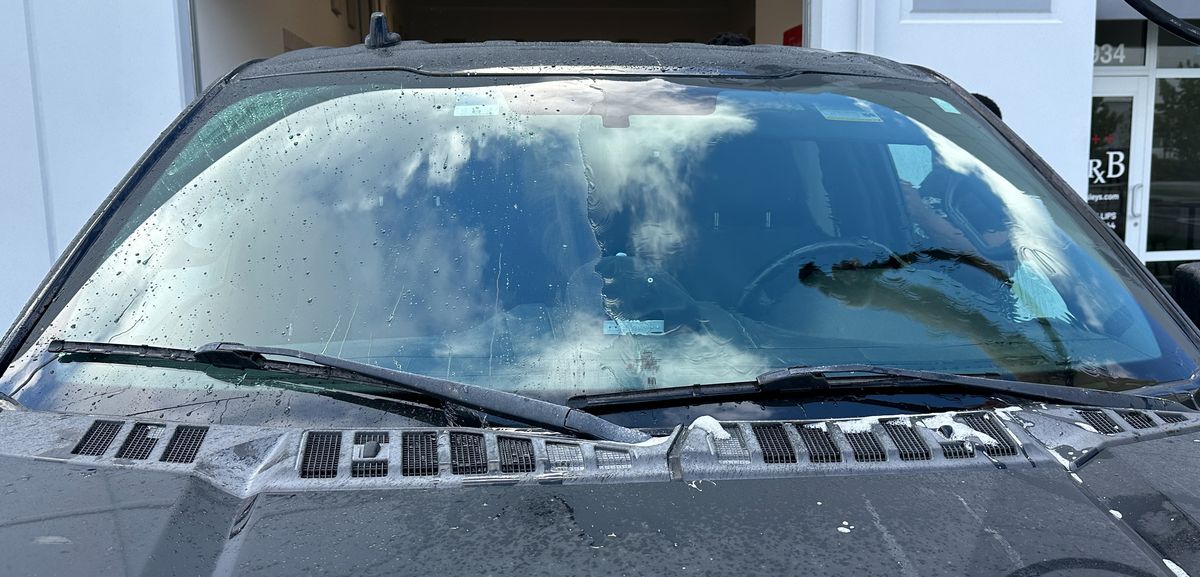
I washed the truck, but now the class will get to learn how to do mechanical decontamination as a stand-alone process. While it can save you time to do this step when you're washing the vehicle, there are actual reasons why to NOT do the mechanical decontamination step during the wash process and we share this reason in our classes.


Mike
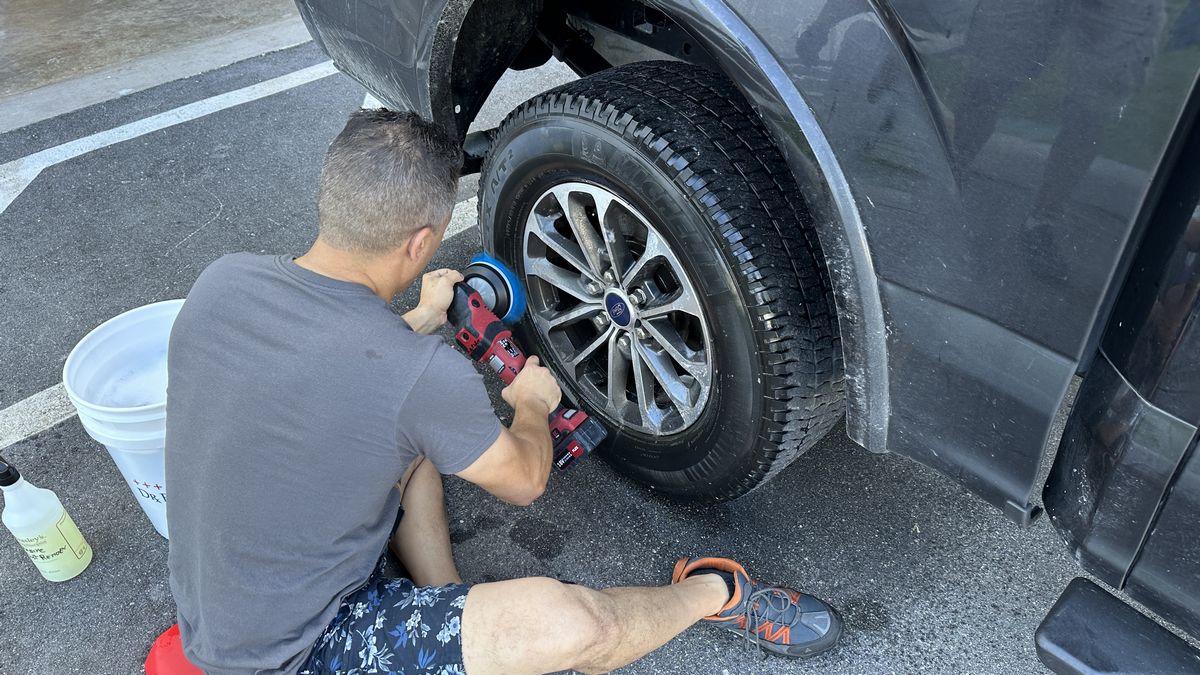
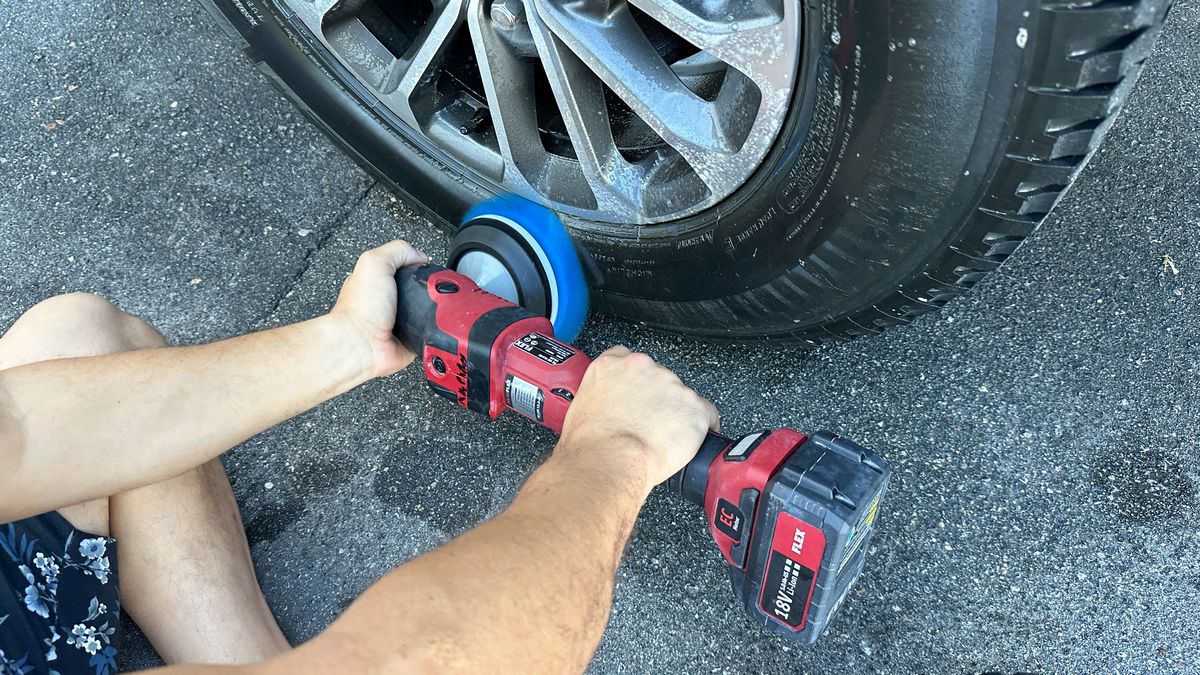
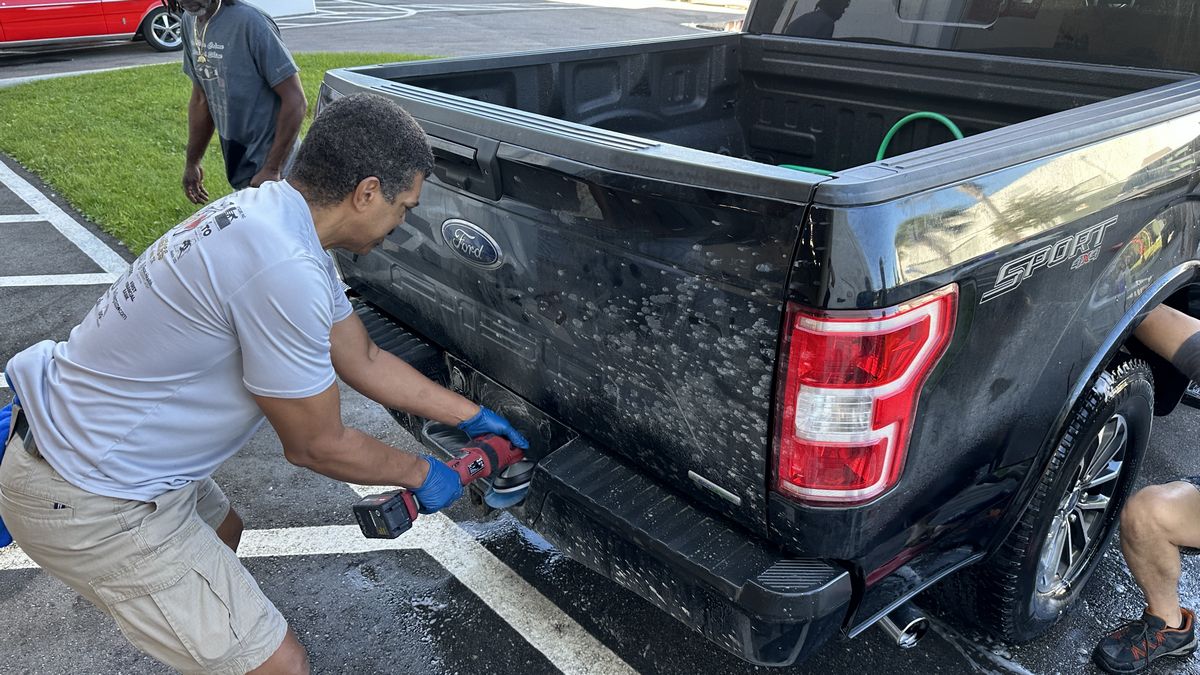
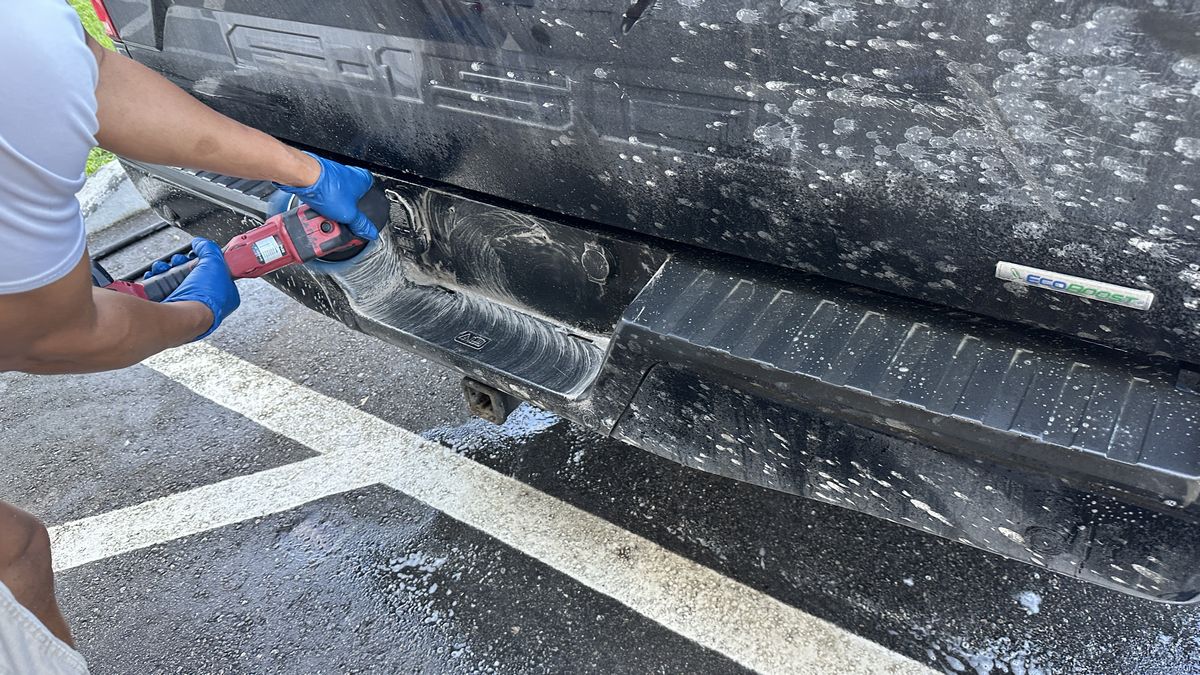
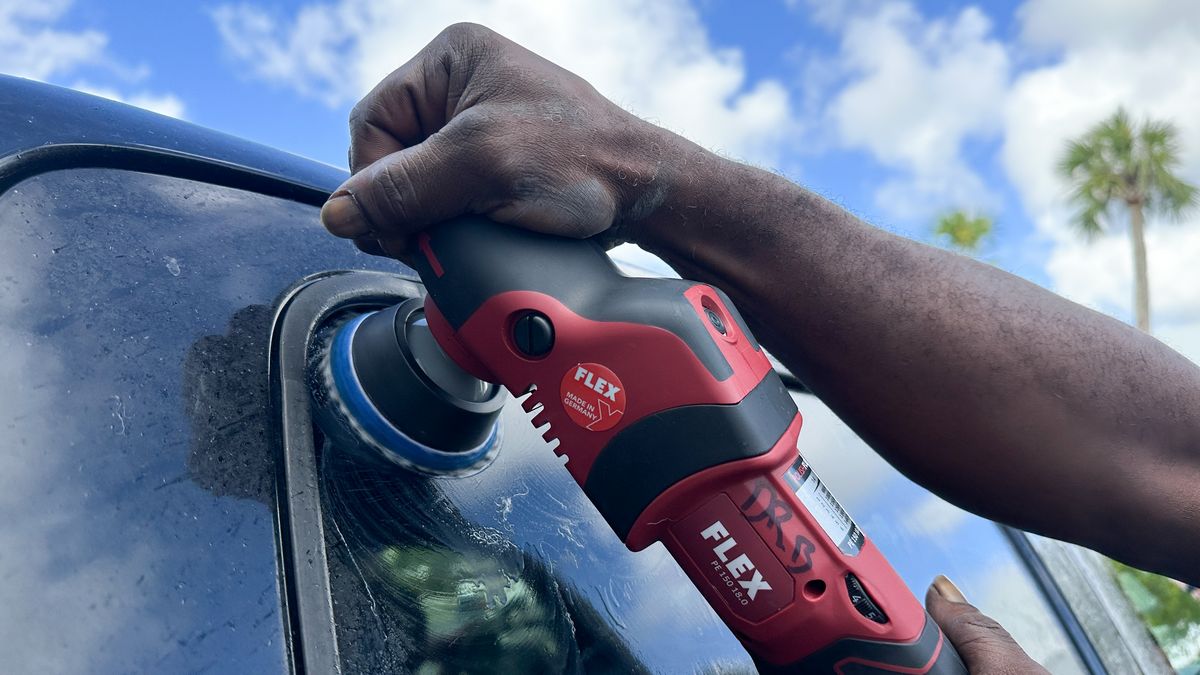
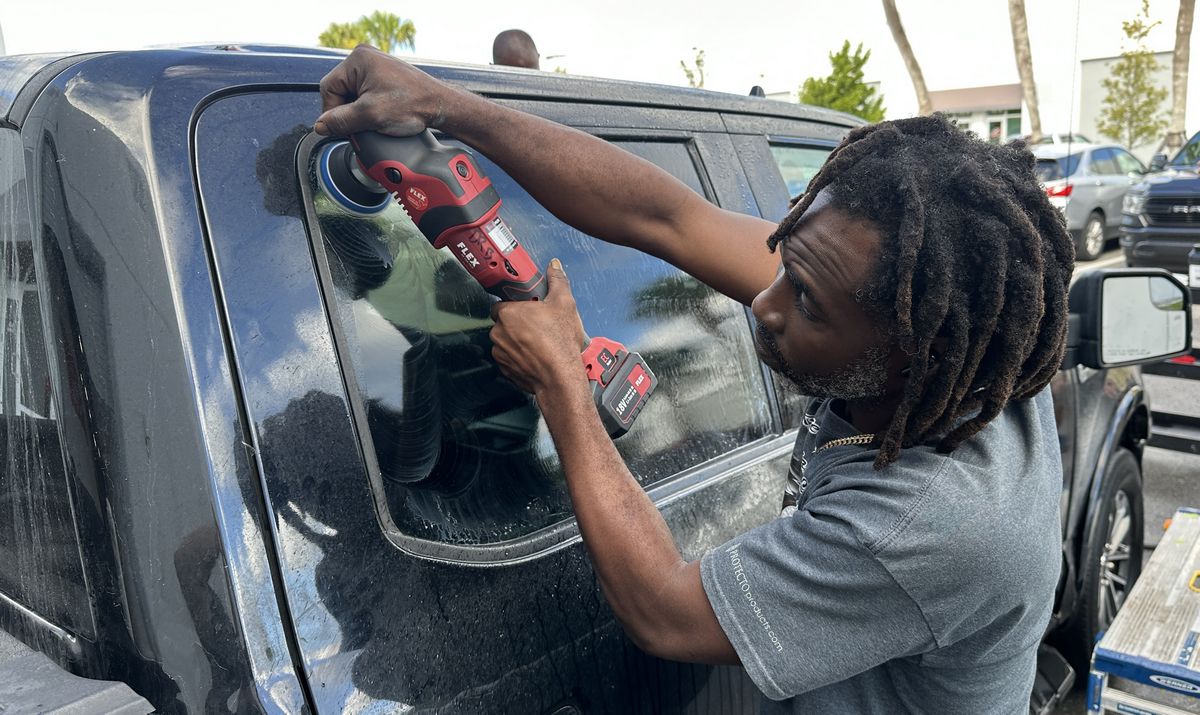
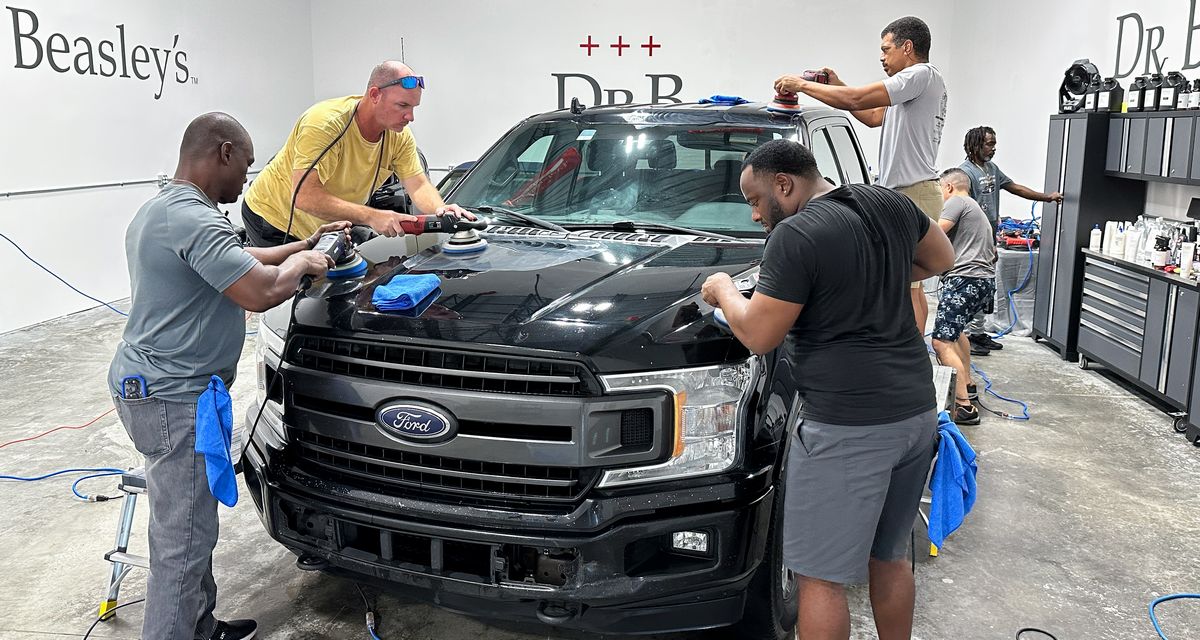
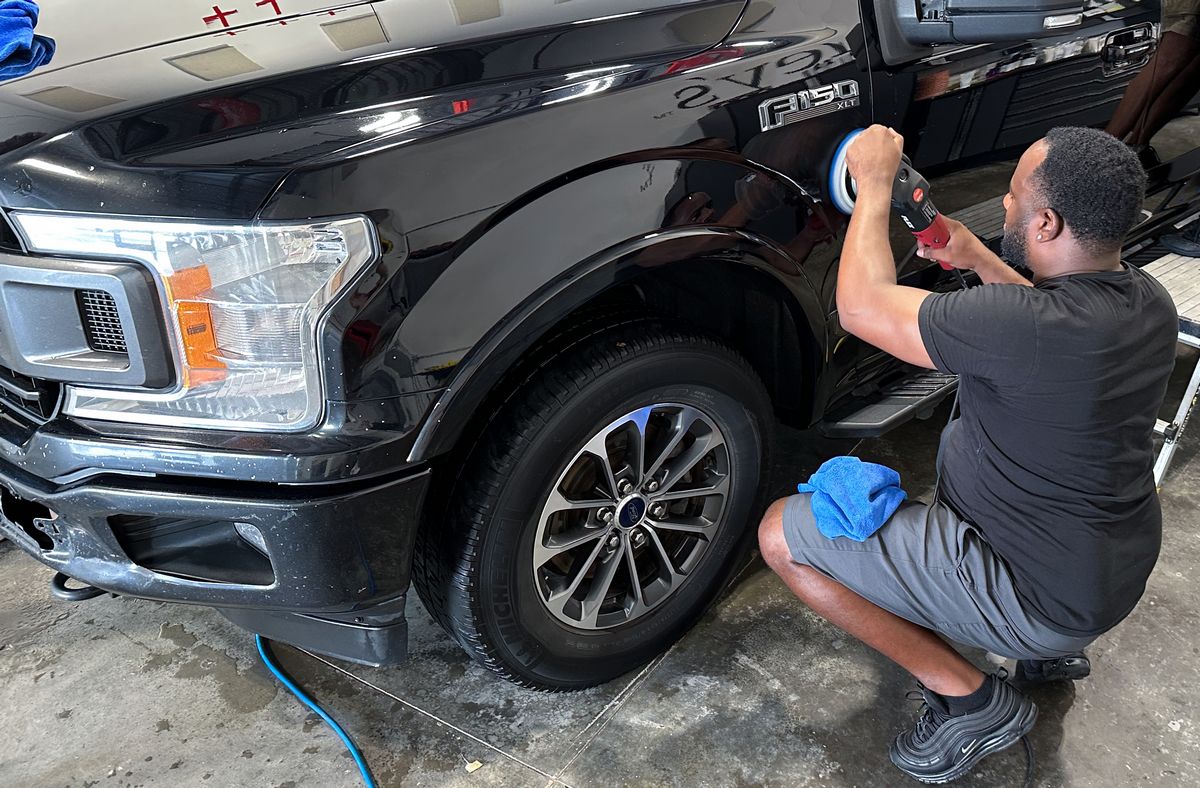
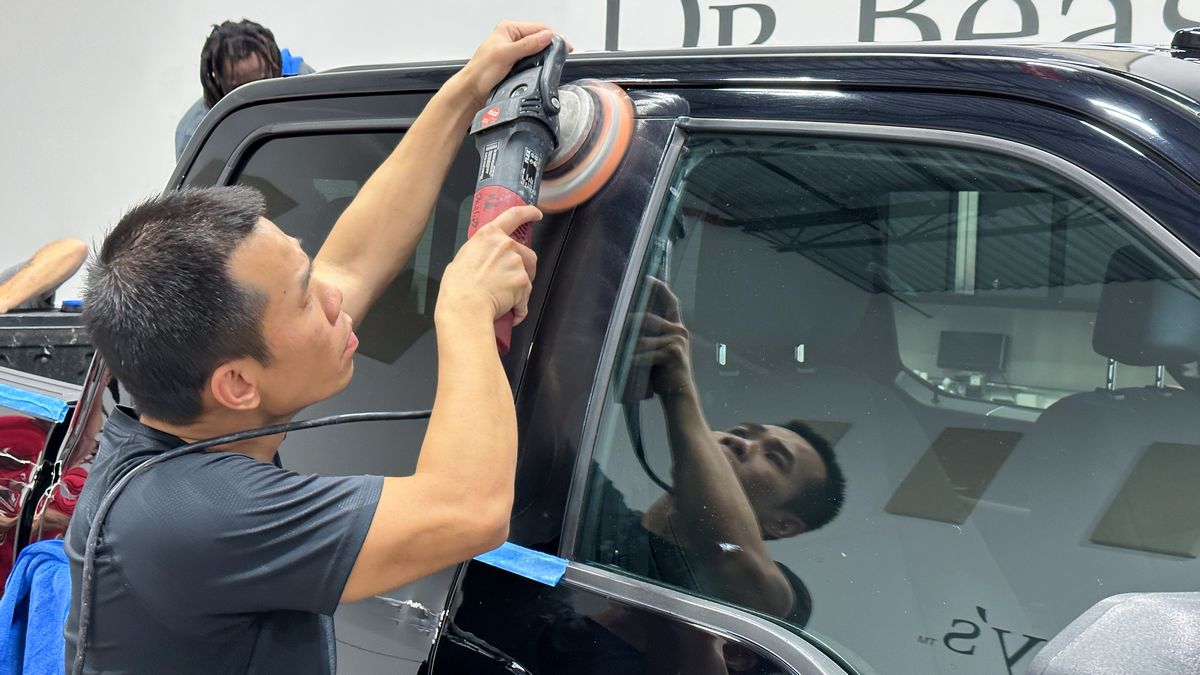
One-Step Ceramic AIO Paint Correction
To recap, the class started out doing Multiple-Step Paint Correction and Ceramic Coatings, (the 1937 Ford), followed by One-Step Paint Correction and Ceramic Coatings, (the Mercedes-Benz), and now the class will learn One-Step Ceramic AIO Paint Correction.
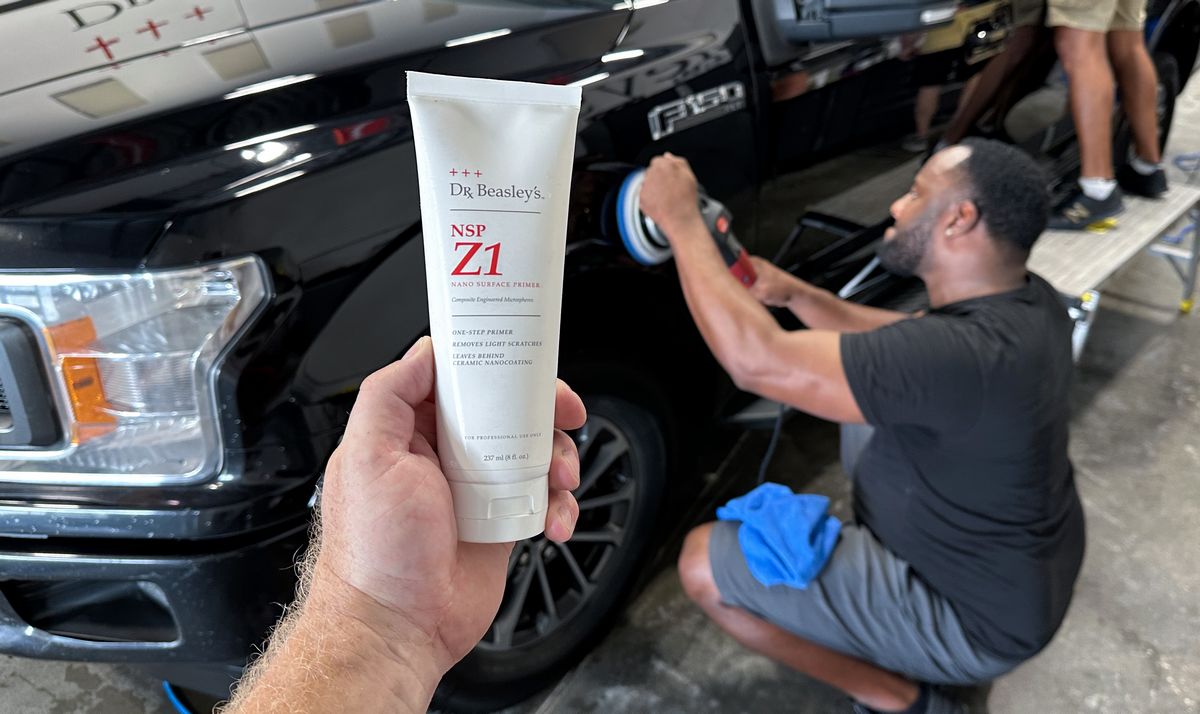
With this process, the class will use an AIO or All-in-One, which is the Dr. Beasley's Z1. The Dr. Beasley's Z1 will do 3 dedicated processes in a single step. Z1 will,
- Remove paint defects like swirls, scratches, water spots and oxidation.
- Polish the paint to a clear, smooth high gloss.
- Protect the paint with a layer of ceramic protection.
The BIG PICTURE idea is to learn 3 different approaches to detail cars, which if you detail for money, this is 3 different PACKAGES you can offer your customers. Which package your customer chooses depends upon their budget as well as the type and condition of their vehicle plus how they use it. There's a HUGE difference between doing Multiple-Step Paint Correction and Ceramic Coatings to a true show car like the 1937 Ford, where the goal is to create a perfect, swirl-free show car finish - and detailing a daily driver, that basically serves as a grocery getter and work transportation.
There are NO other classes that teach detailing with this approach. We incorporate REAL WORLD detailing in our classes whether you detail as a business or simply love to detail your own cars. No matter which type of person you are - you will still need to know these 3 different approaches and know when to use which process for your own cars or customer's cars.
Training cars to learn One-Step Ceramic AIO Paint Correction
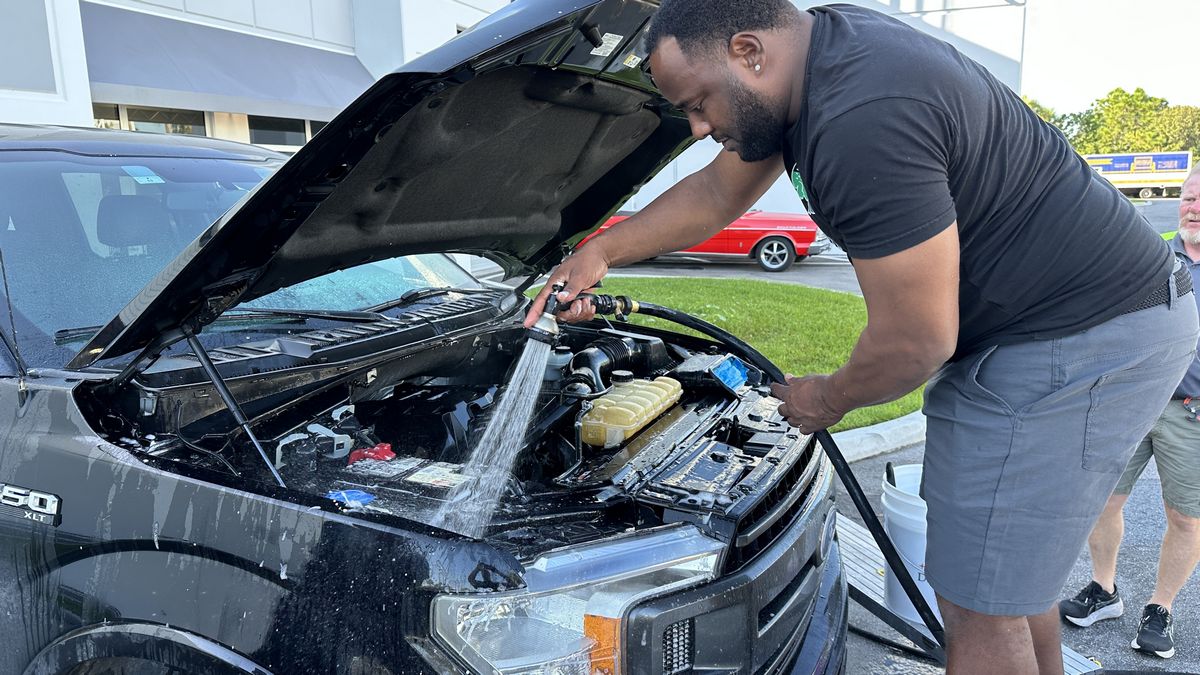
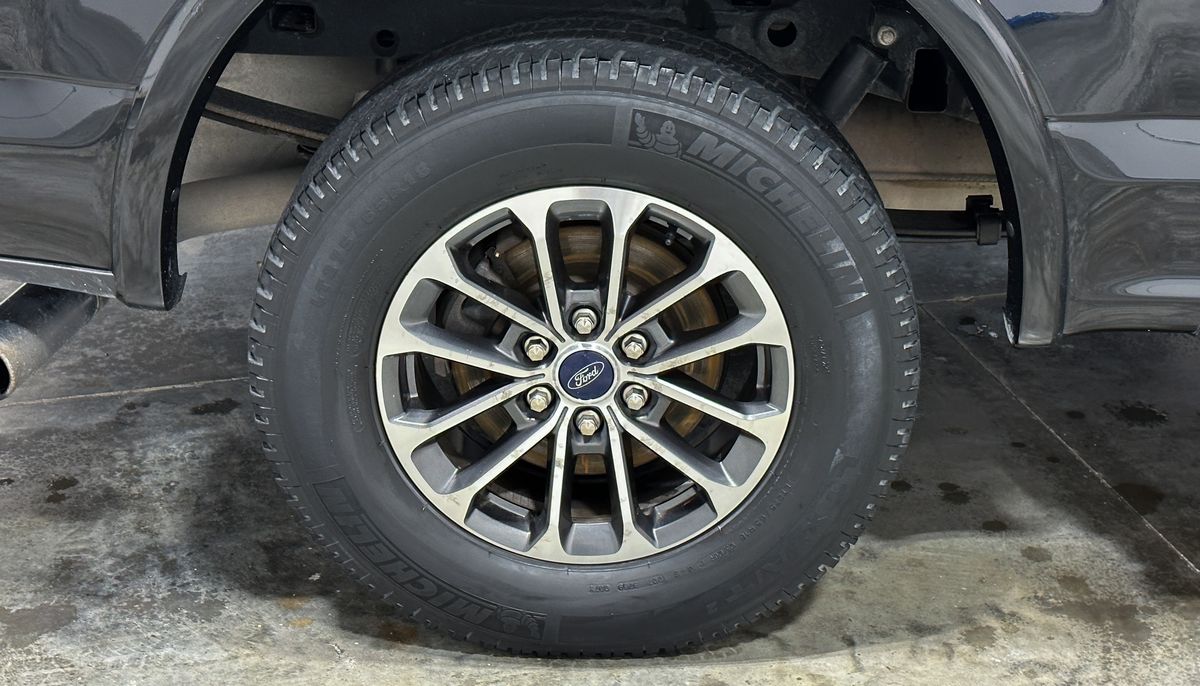
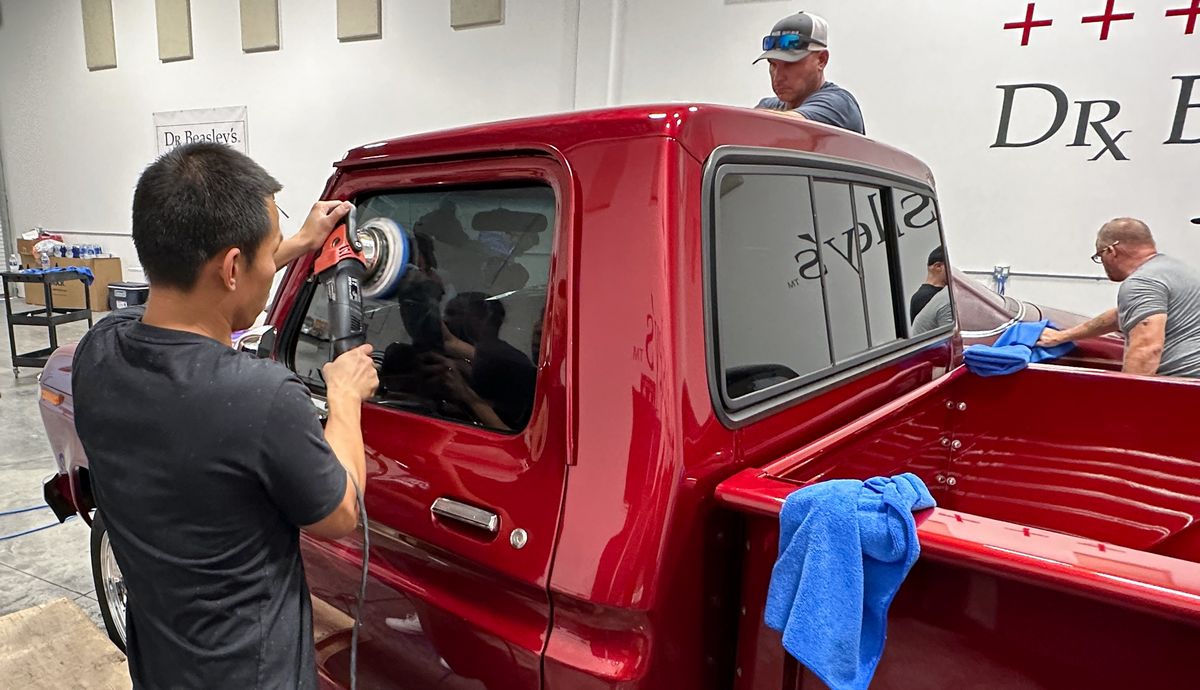
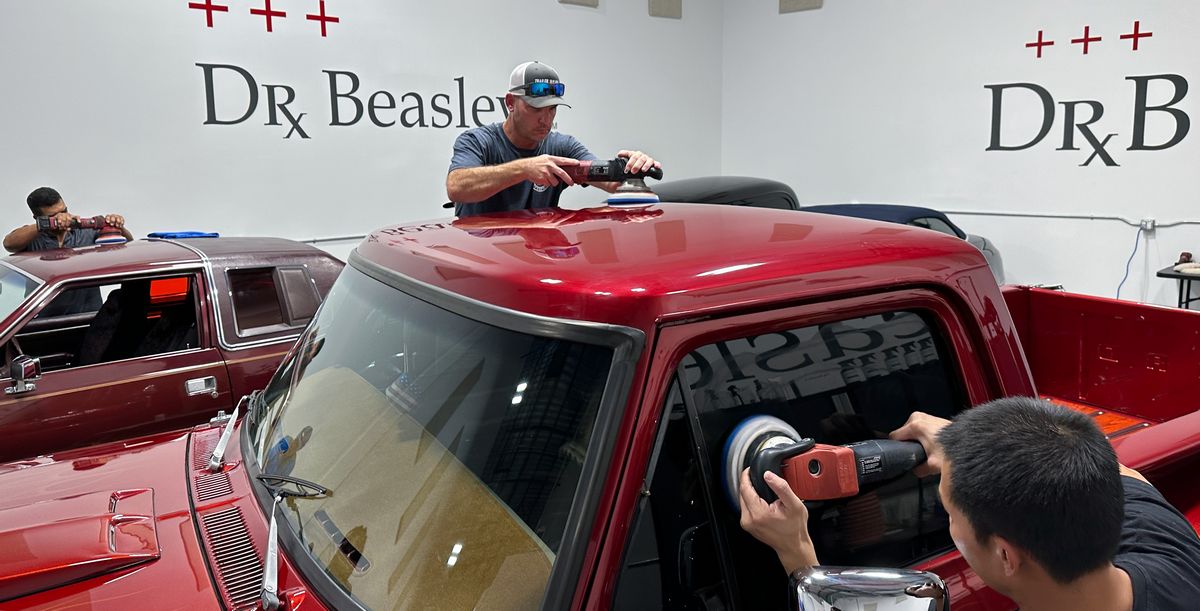
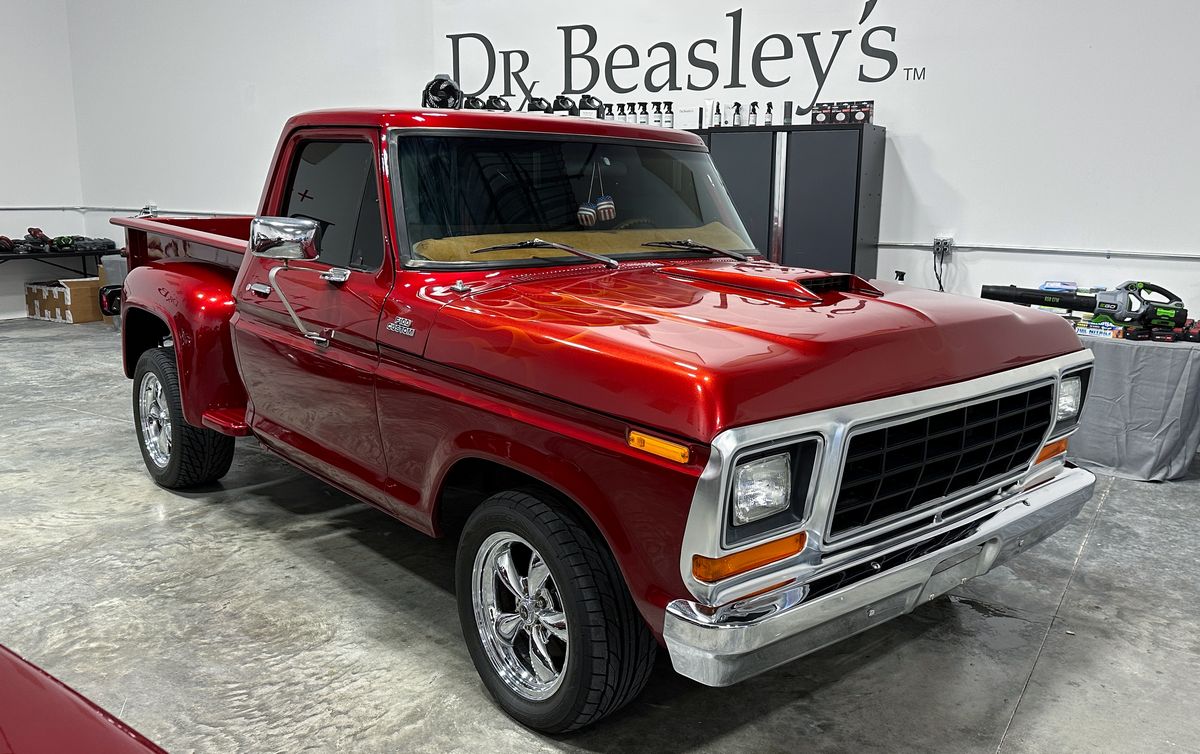
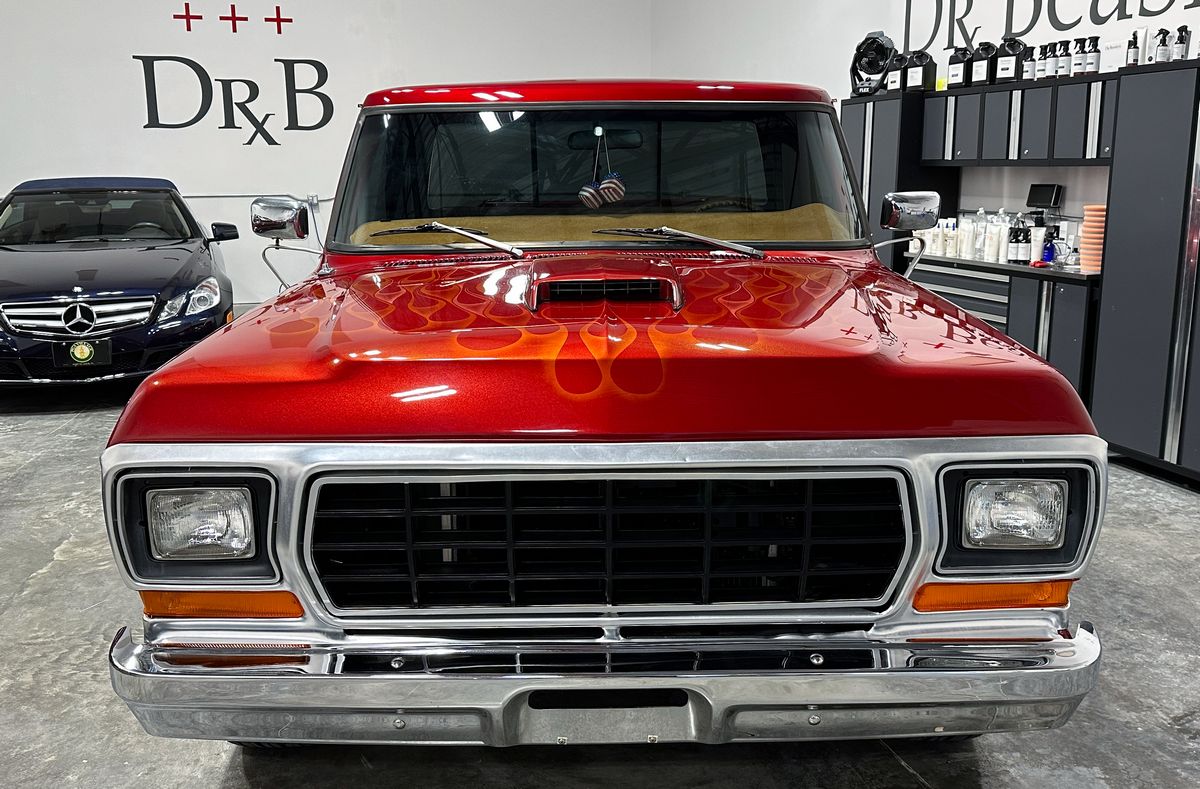
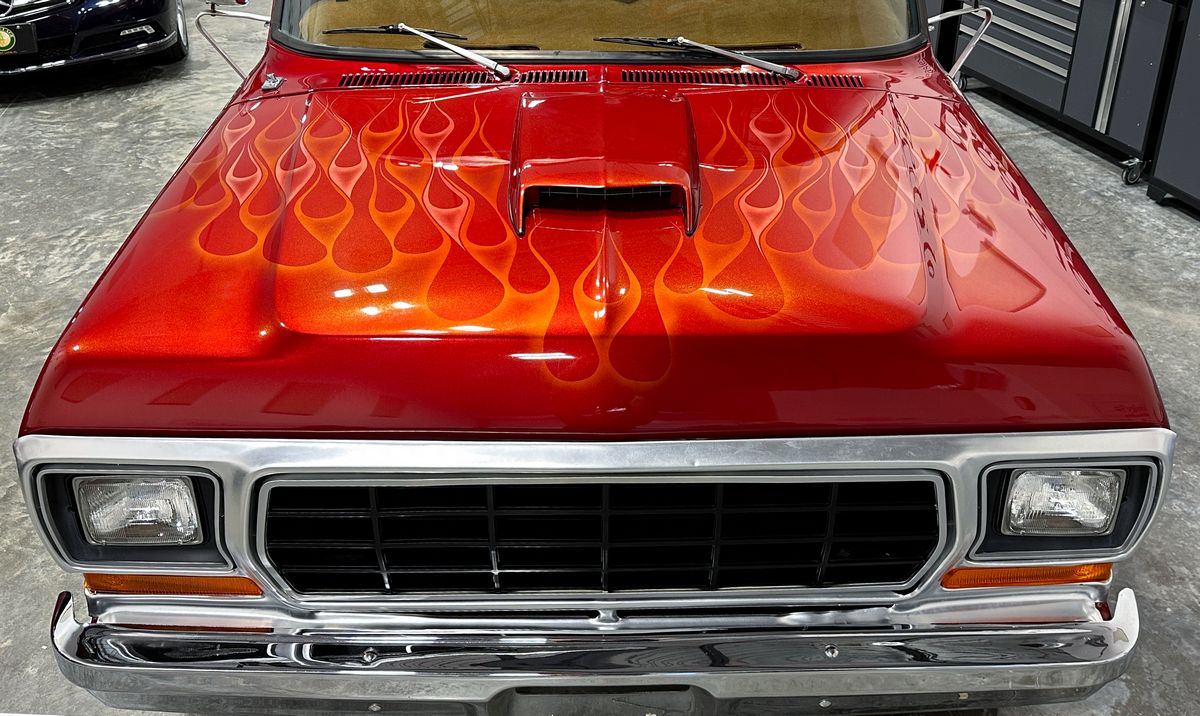
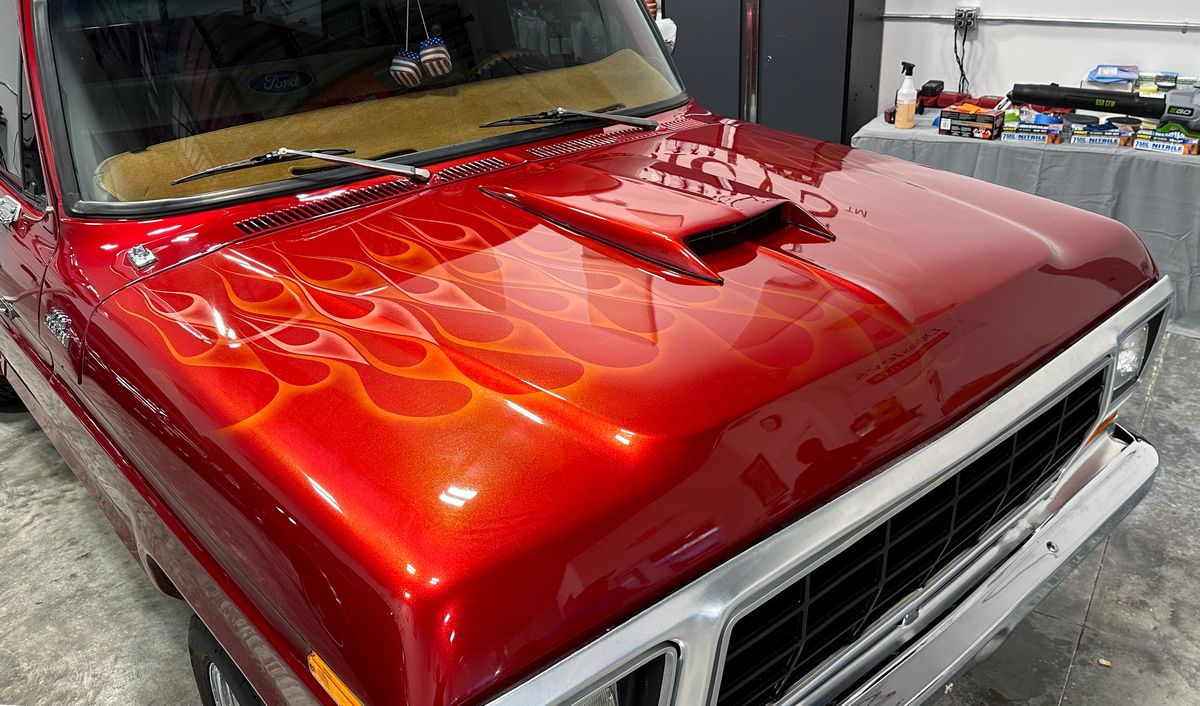
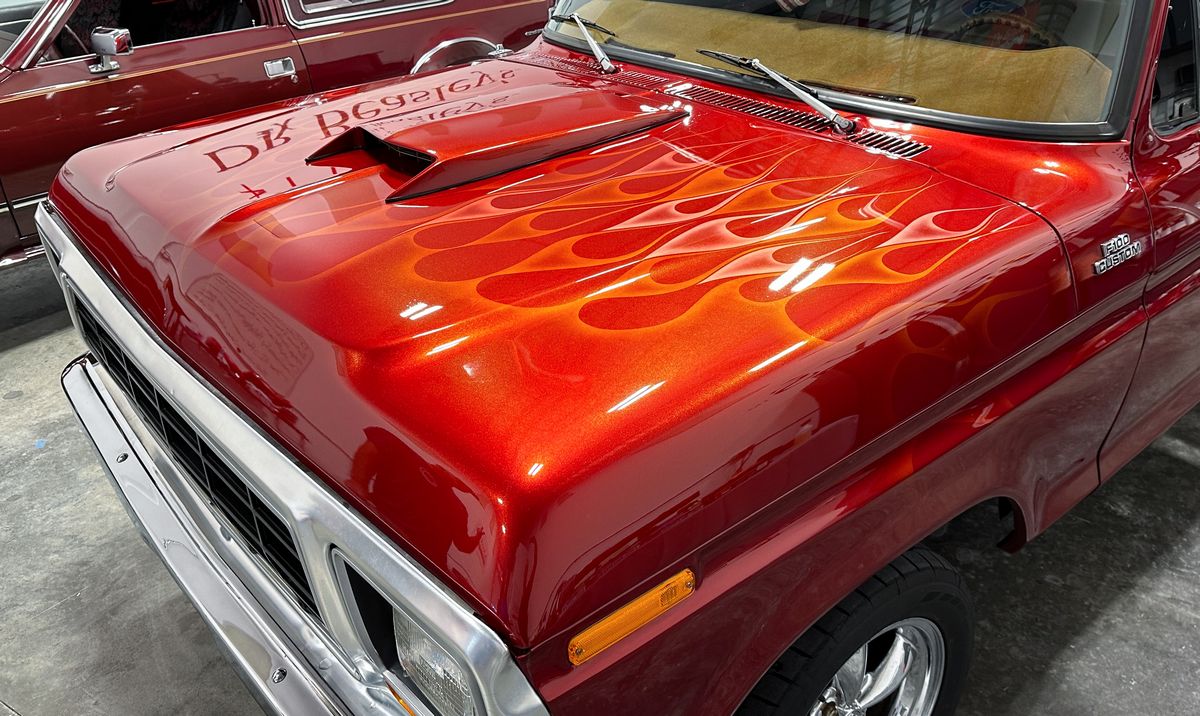
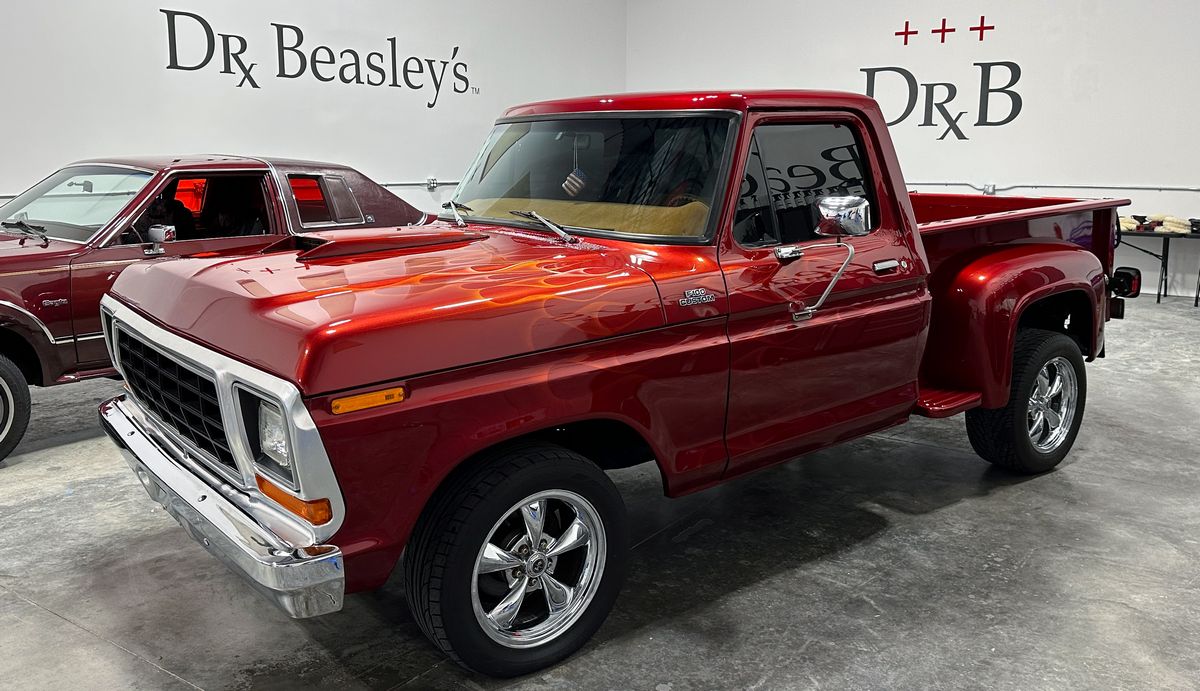
- 1979 Ford F150 Stepside Shorty Streetrod with a custom basecoat/clearcoat paint job
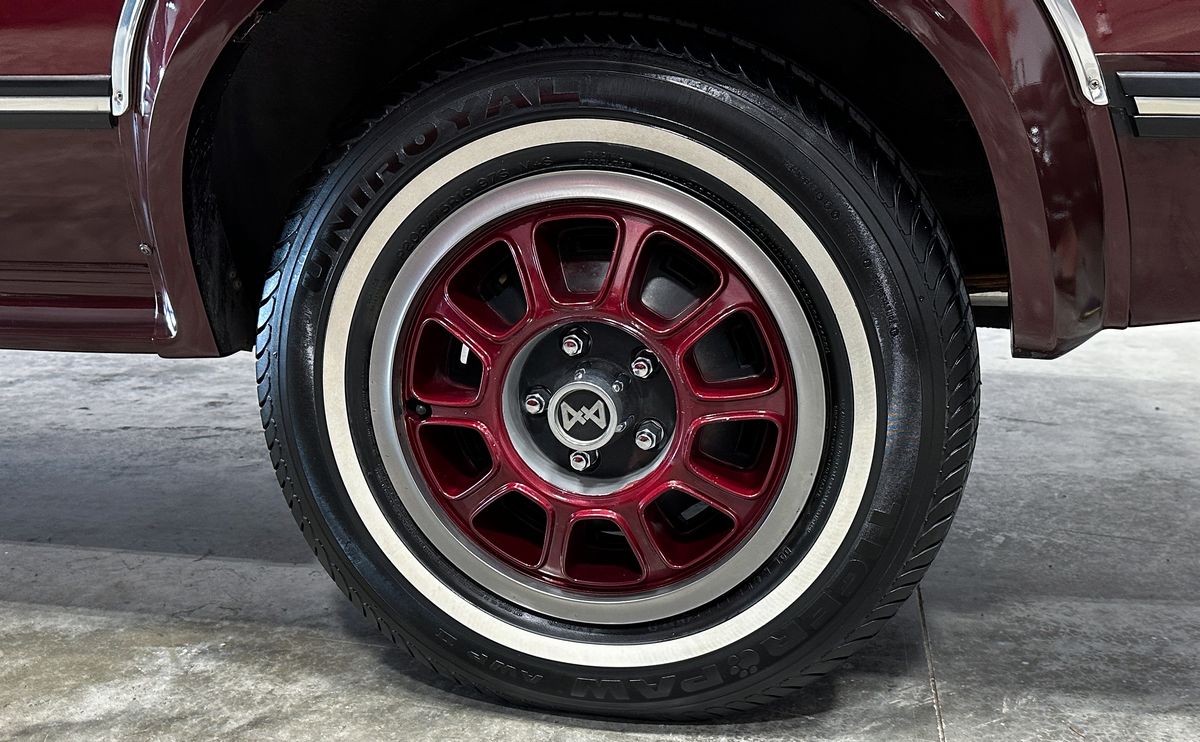
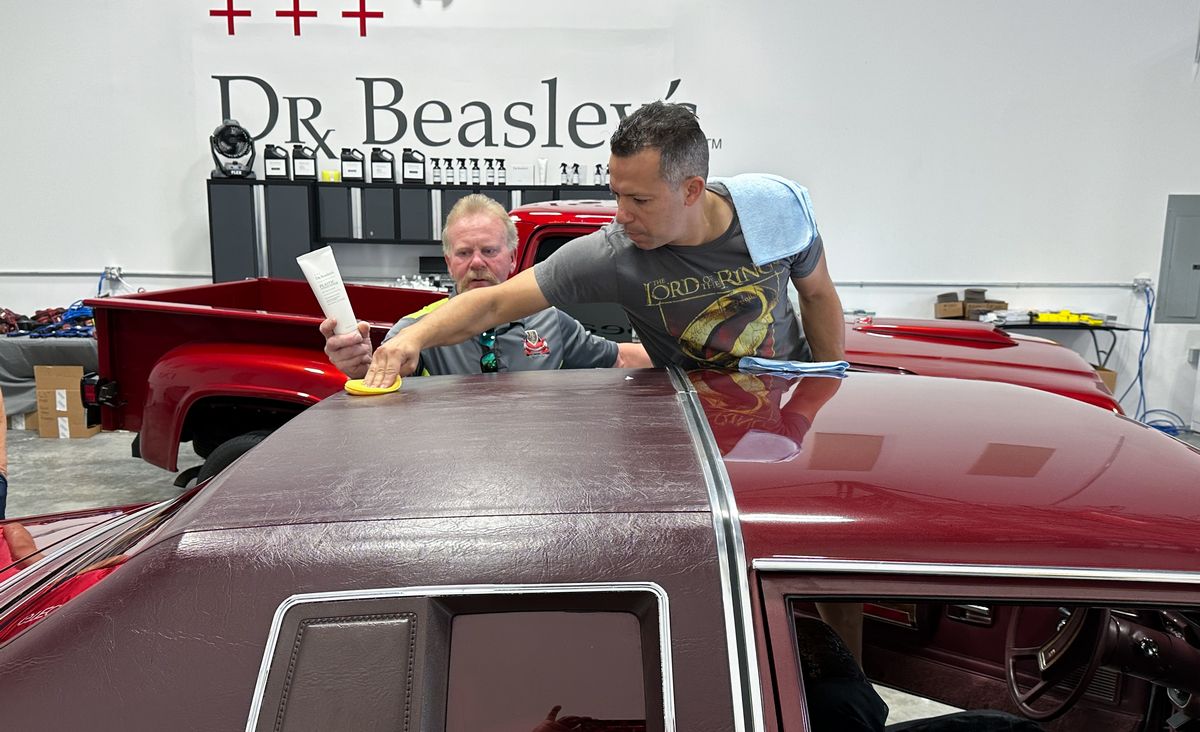
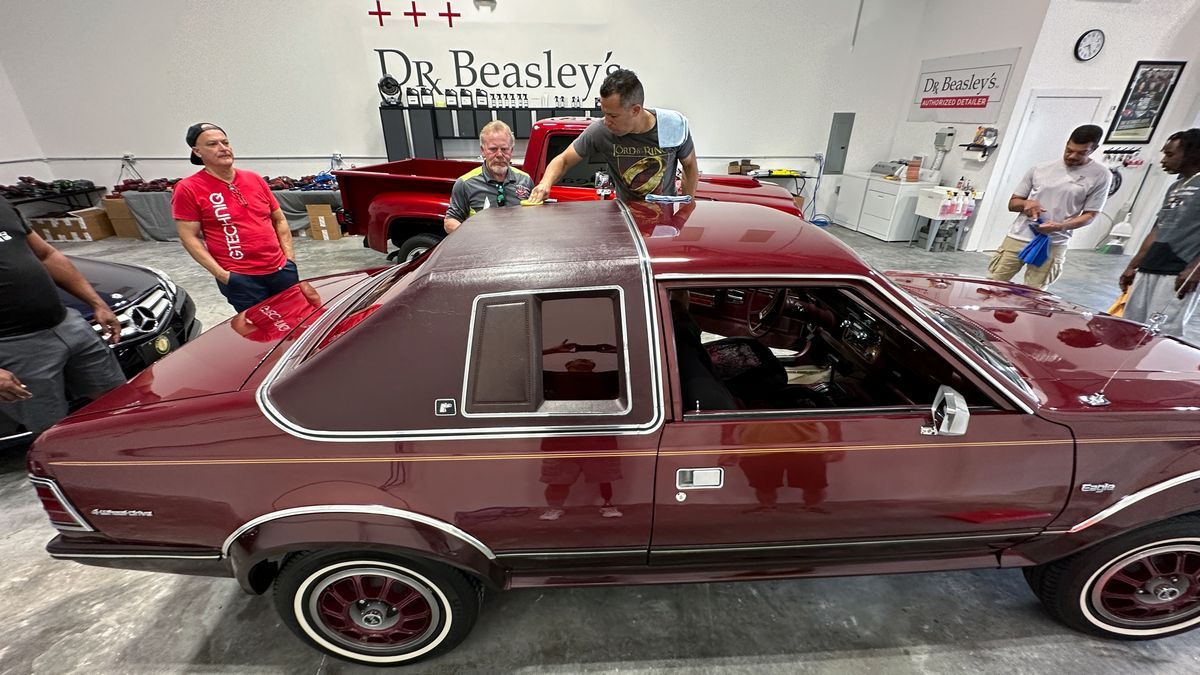
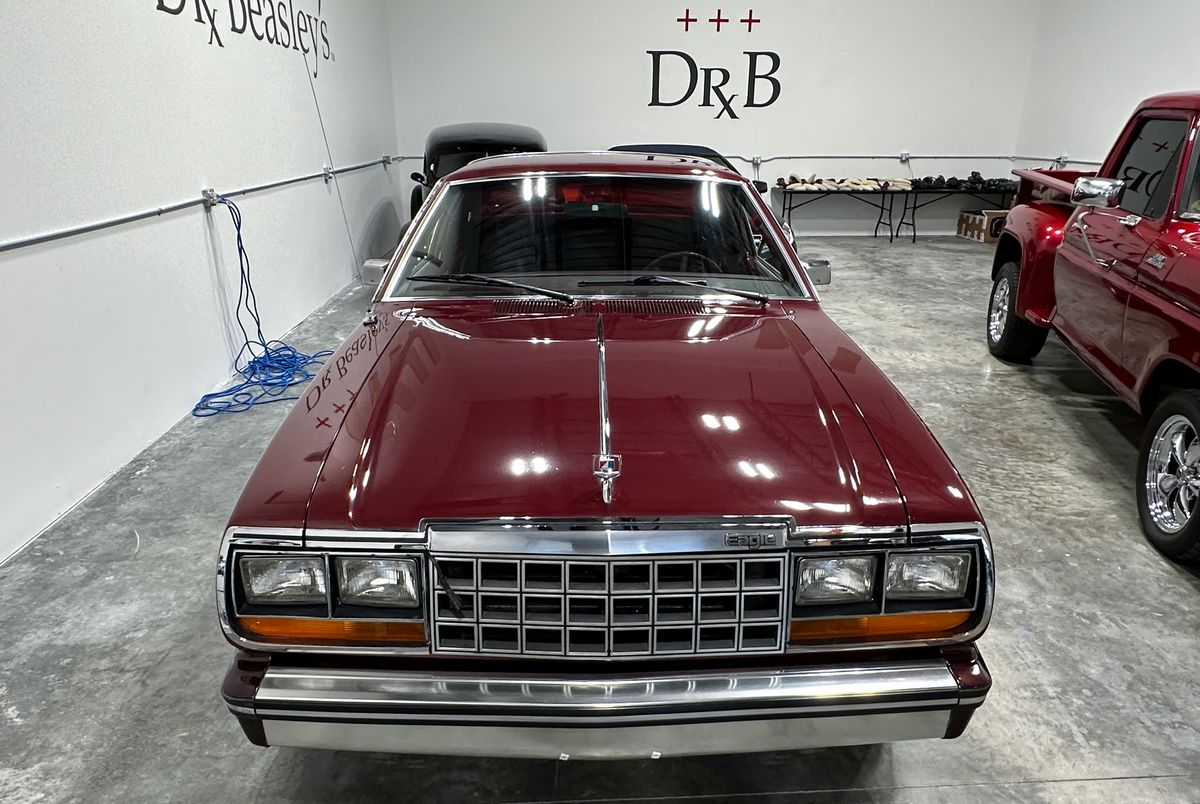
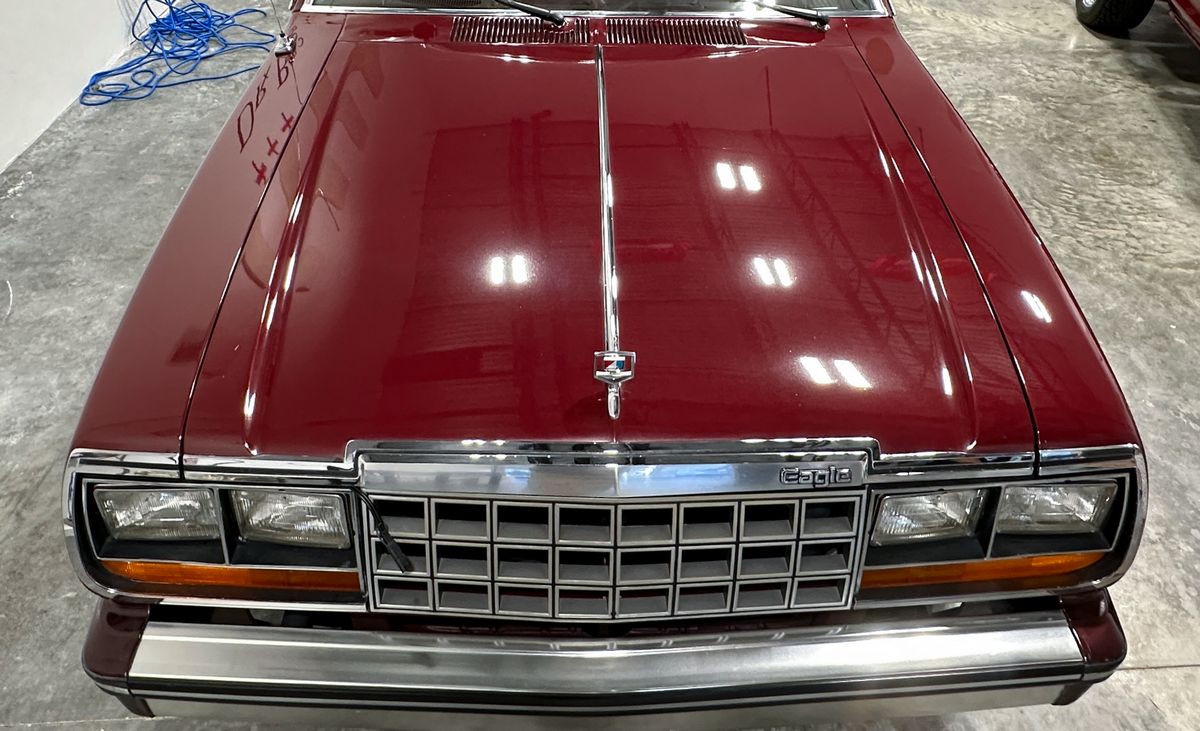
- 1982 AMC Eagle with original single stage paint and a vinyl top
We work real hard at bringing in real-world, unique and also fun vehicles to train on. For this class session, the class will have the opportunity to learn One-Step Ceramic AIO Paint Correction on a super cool classic truck and an original paint AMC Eagle.
Yours truly washed both the 1979 Ford Stepside Shorty and the AMC Eagle before the class started. I skipped the mechanical decontamination step on the Ford to let the class learn how to do this as a dedicated step after washing. I did however wash and mechanicaly decontaminate the panit on the 1982 AMC Eagle. We actually used the 1982 AMC Eagle for line of our LIVE Online Detailing Classes and you can watch the video here.
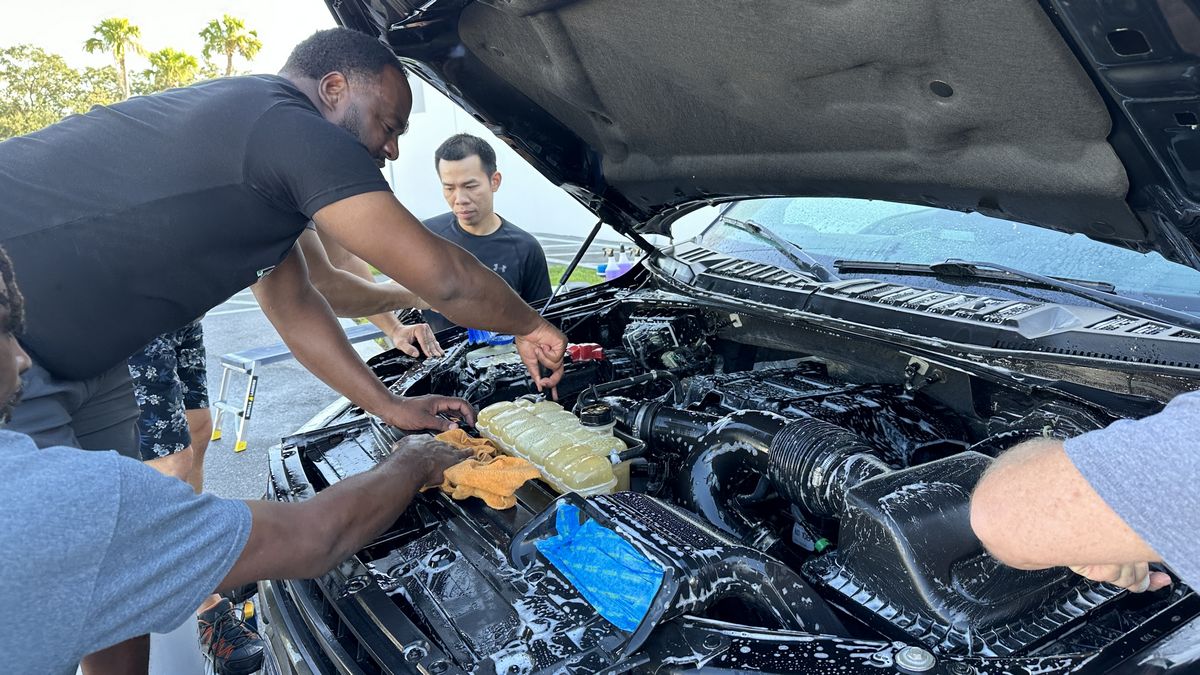
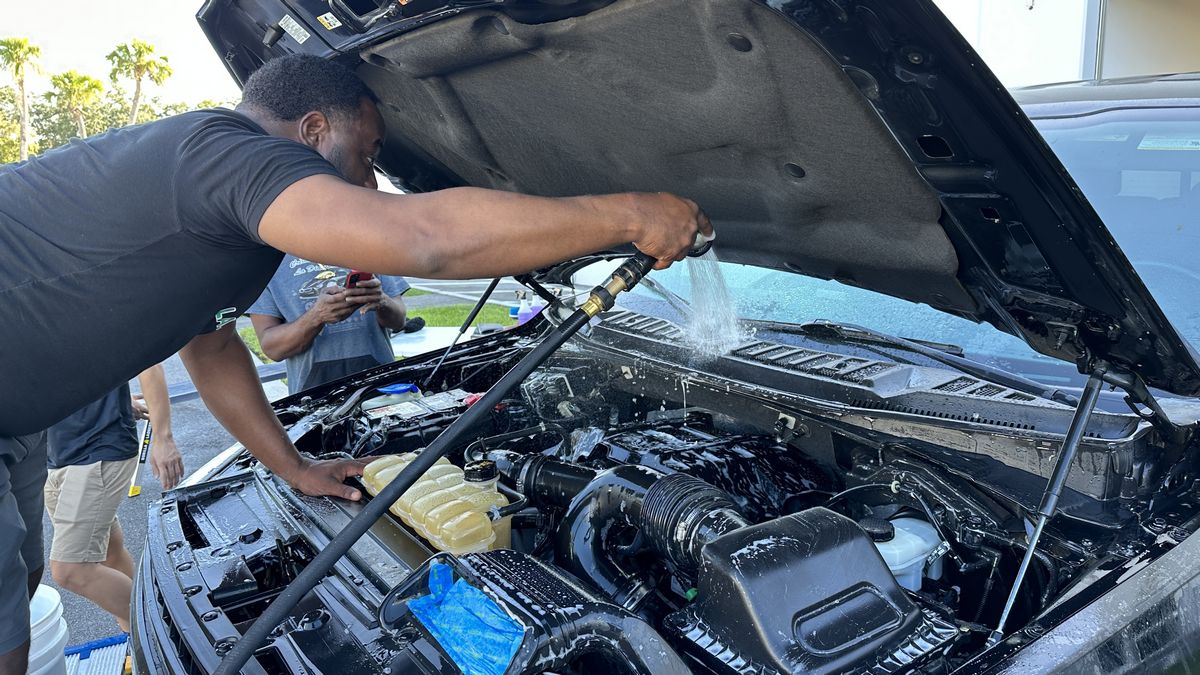
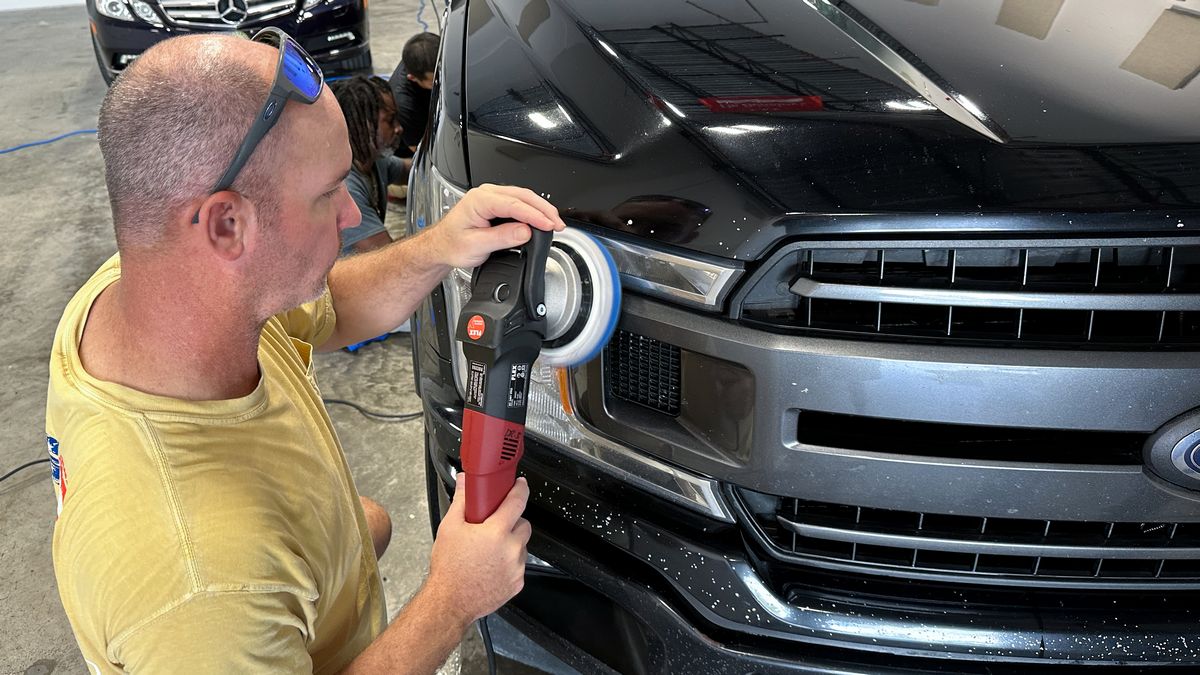
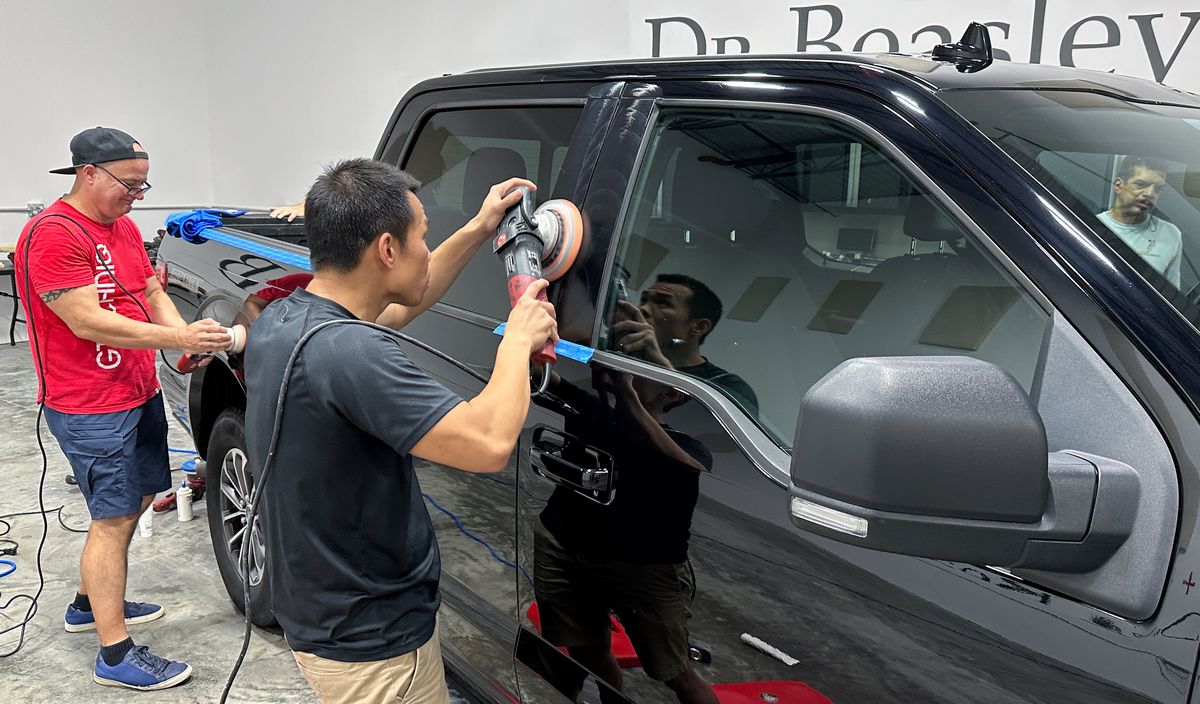
Go Time!
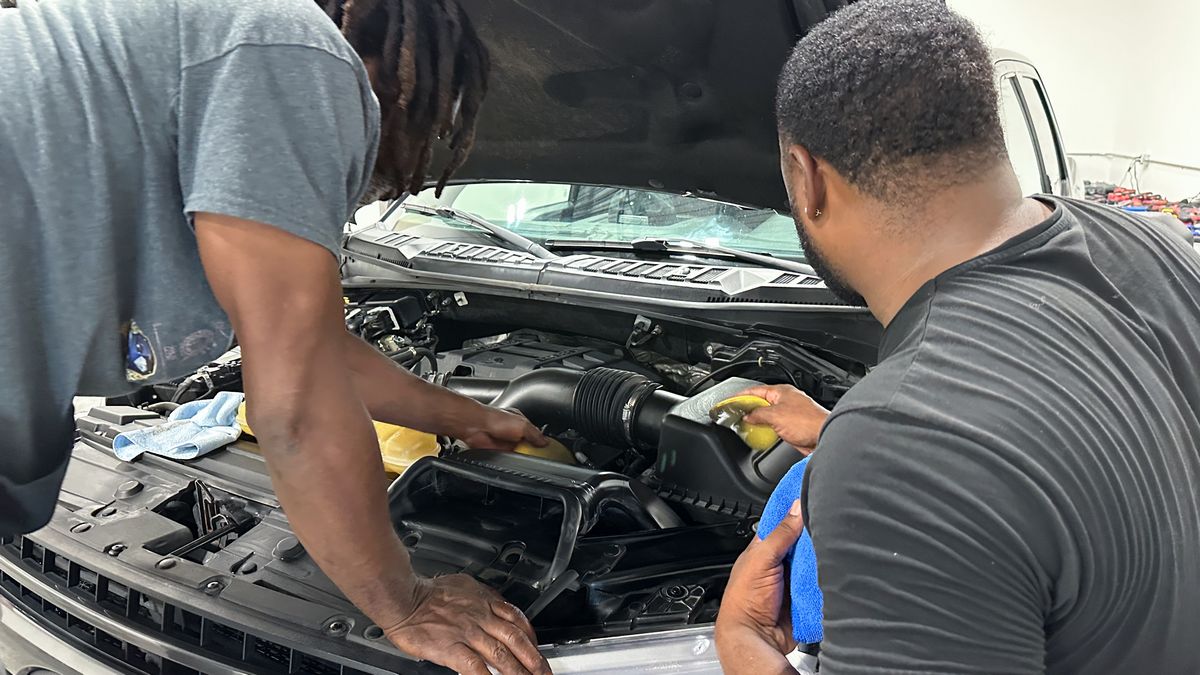
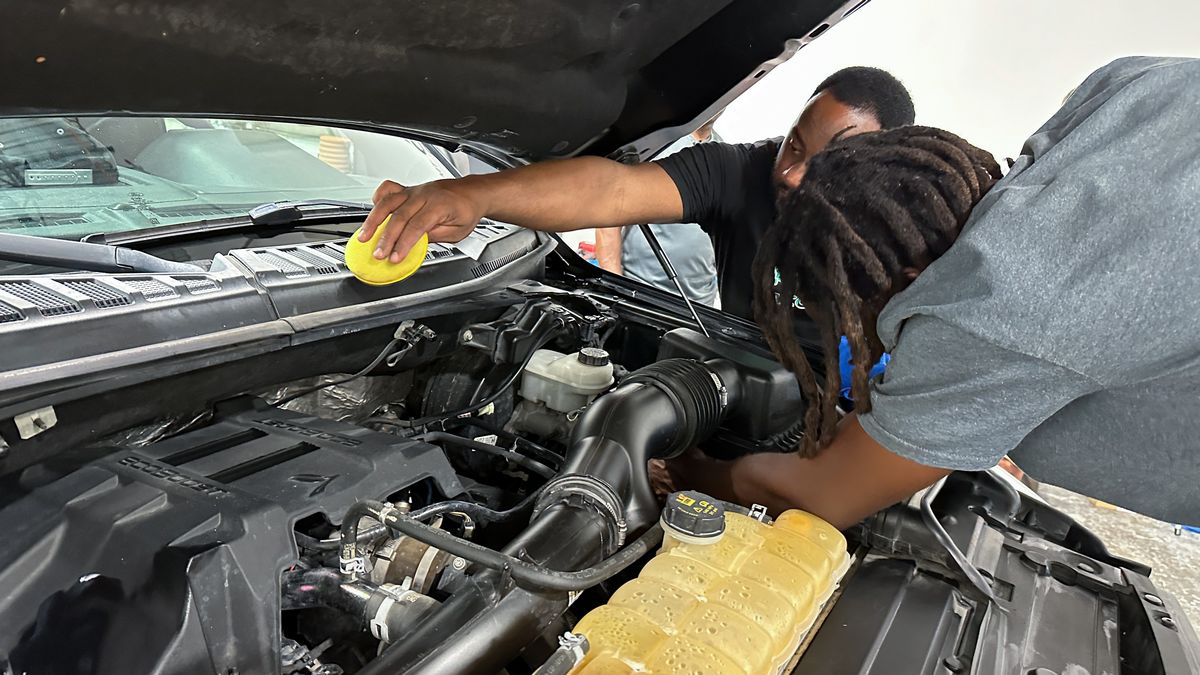
It's now late Friday afternoon. This class has already detailed 2 cars, washed 1 car and enjoyed the Dr. Color Chip Rock Chip Repair System presentation by Tony Pando. As well as had lunch. Next the class will tag-team these next two vehicles to round-out the topics, techniques, products and tools for this FIRST day of class. There are NO other classes with this much hands-on training in a single day let along 2 or 3 days. Most of the time, you would be sitting in a chair watching a PowerPoint Presentation. Take the challenge. TRY to find this many pictures showing YOU what you get to do for any other class on planet Earth. I challenge you. Try.
Mechanical decontamination
I washed the truck, but now the class will get to learn how to do mechanical decontamination as a stand-alone process. While it can save you time to do this step when you're washing the vehicle, there are actual reasons why to NOT do the mechanical decontamination step during the wash process and we share this reason in our classes.
Mike
Last edited:

")