- Admin
- #13
- Joined
- May 21, 2021
- Messages
- 2,692
- Reaction score
- 1,622
- Points
- 113
- Location
- Stuart, Florida
- Website
- themikephillipsforum.com
More...
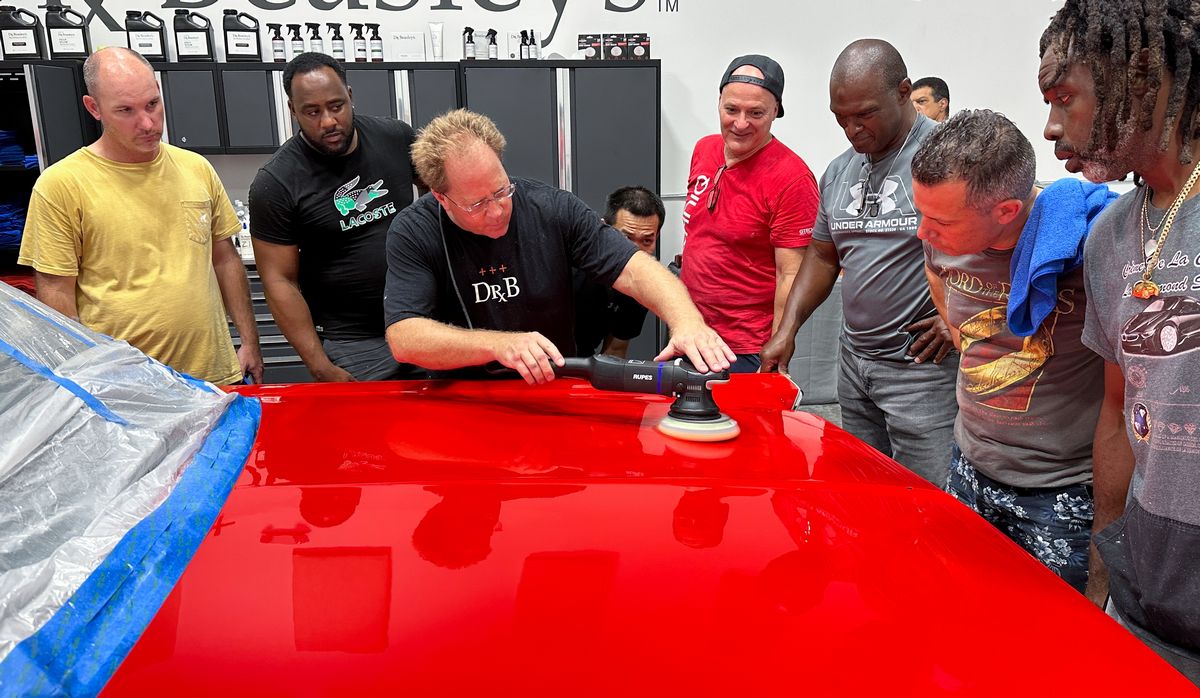
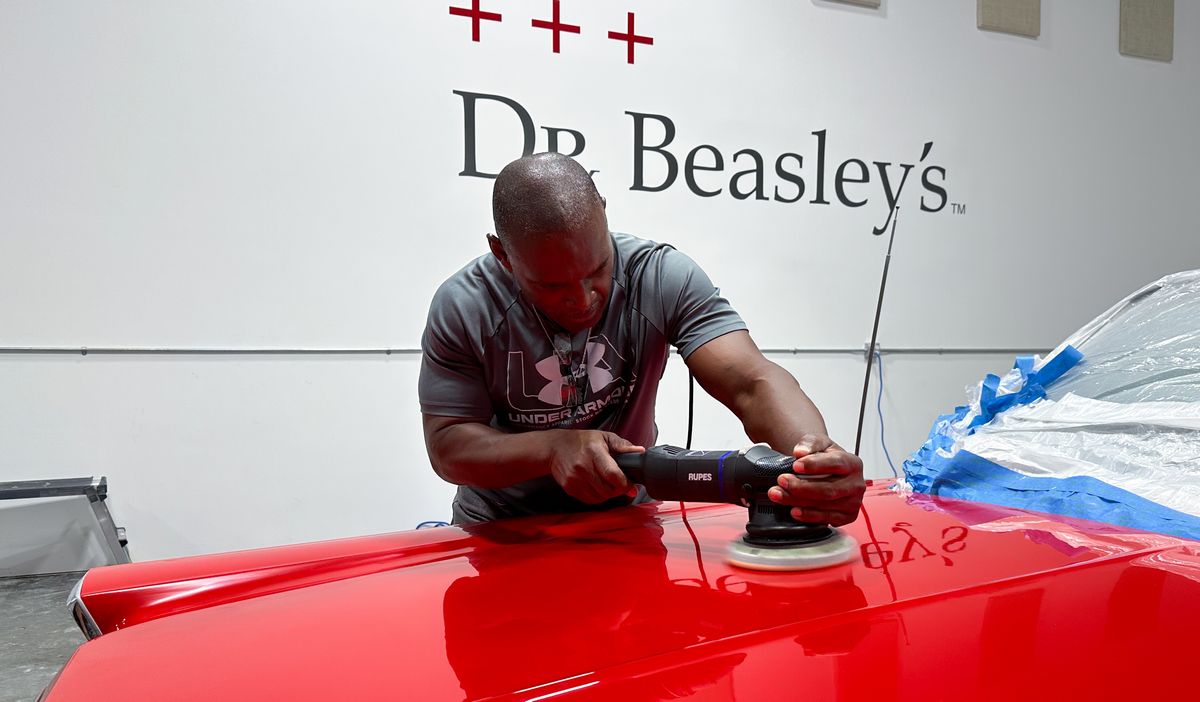
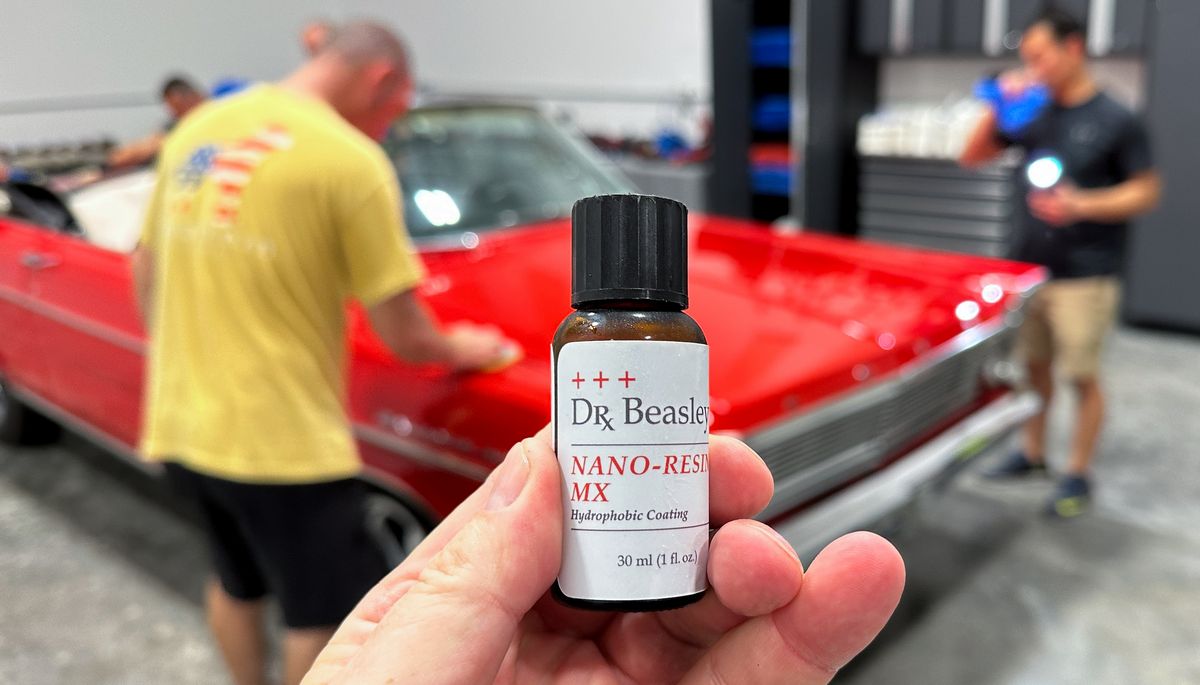
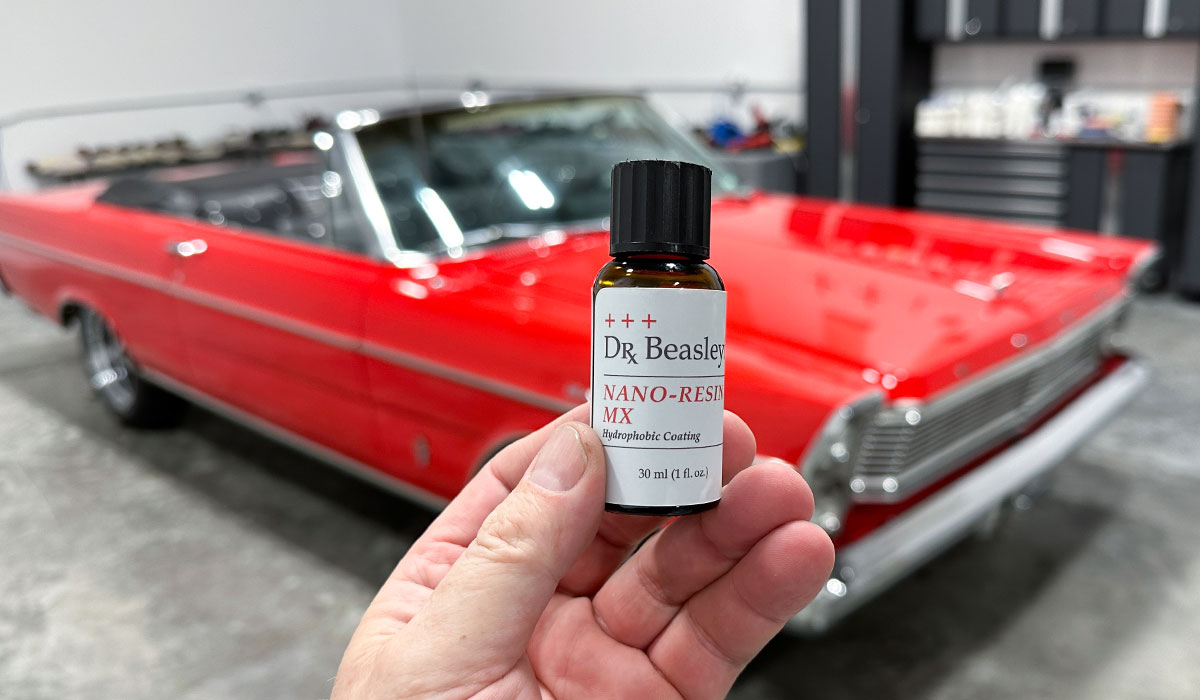
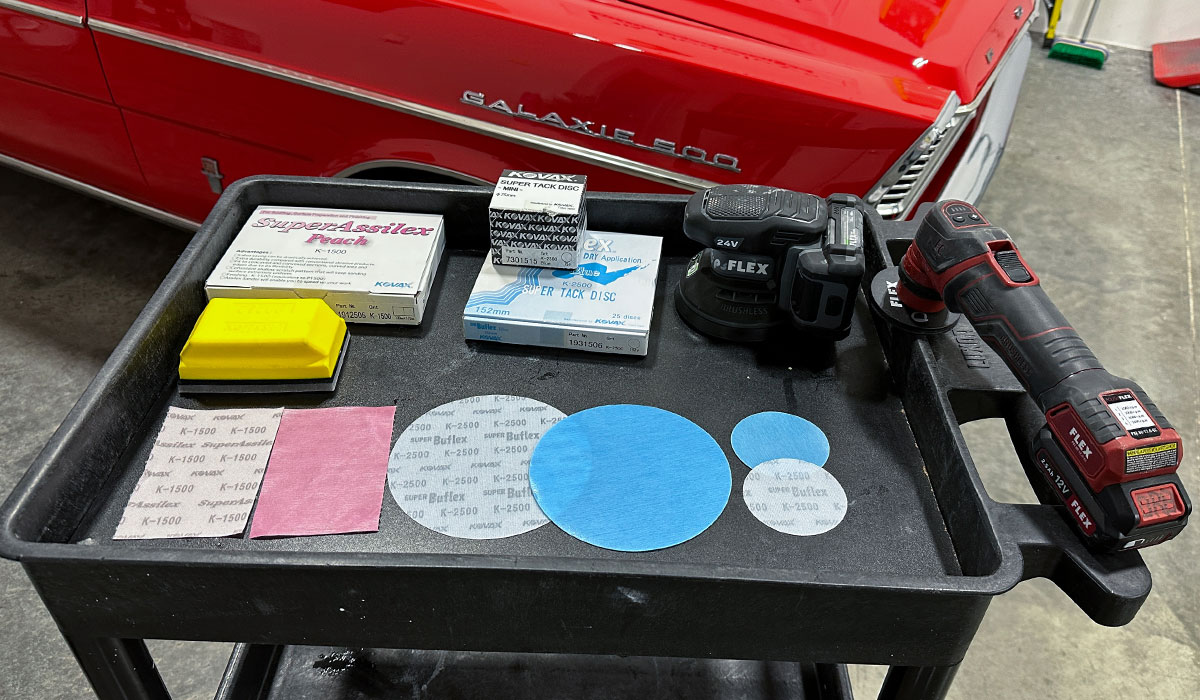
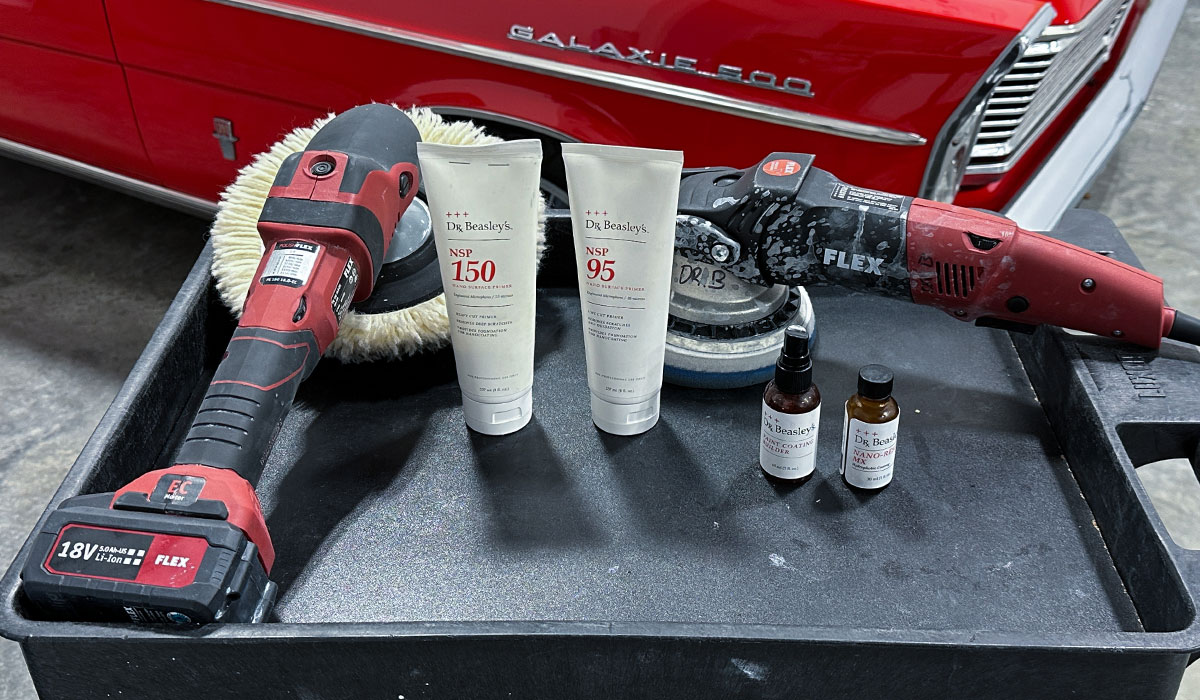
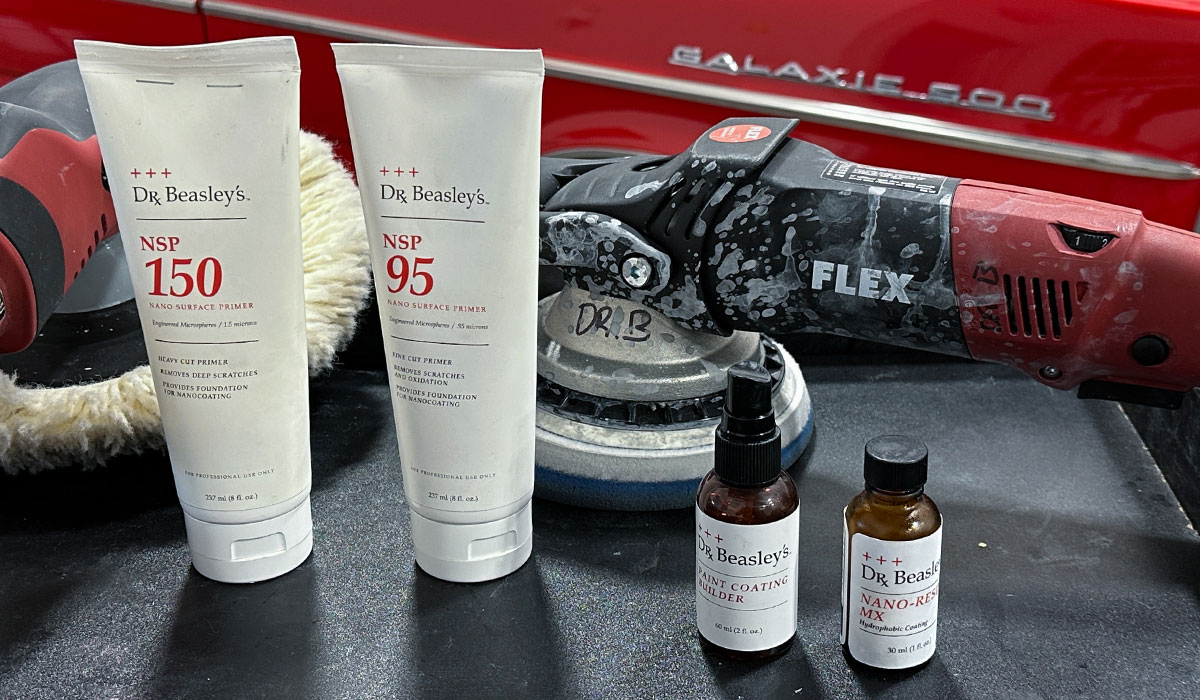
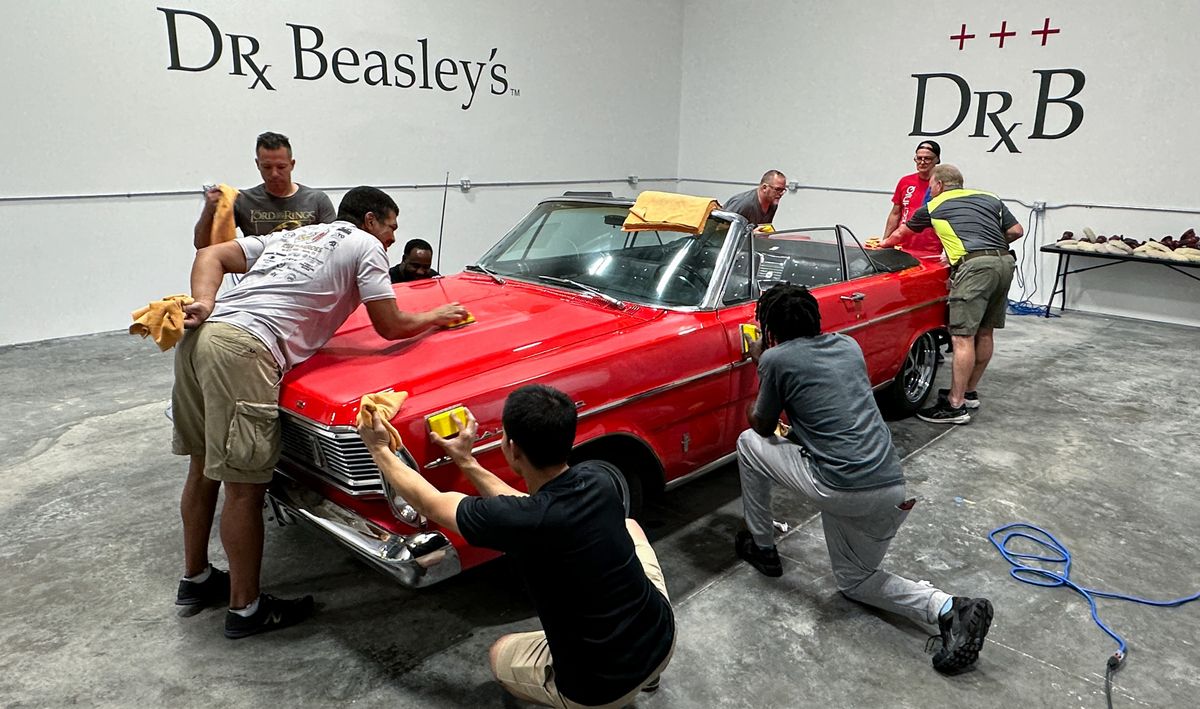
After doing a waterless Prep Wash using Dr. Beasley's Prep Wash, next up I did a full demo from start to finish on these topics,
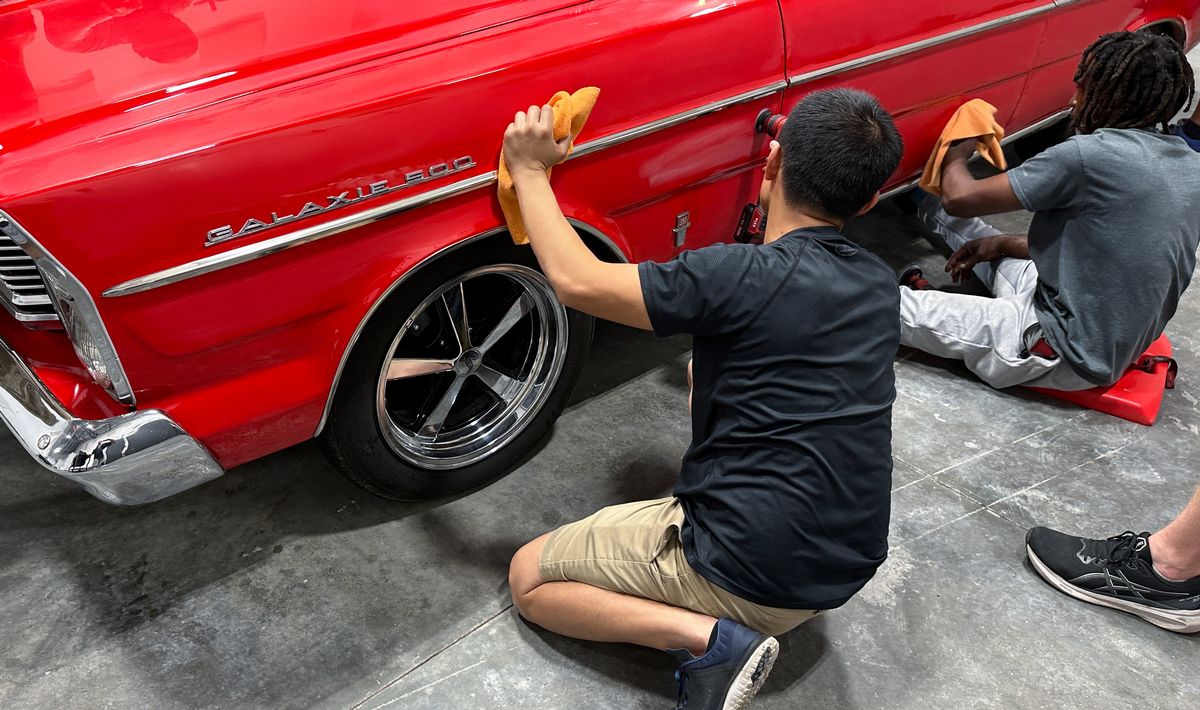
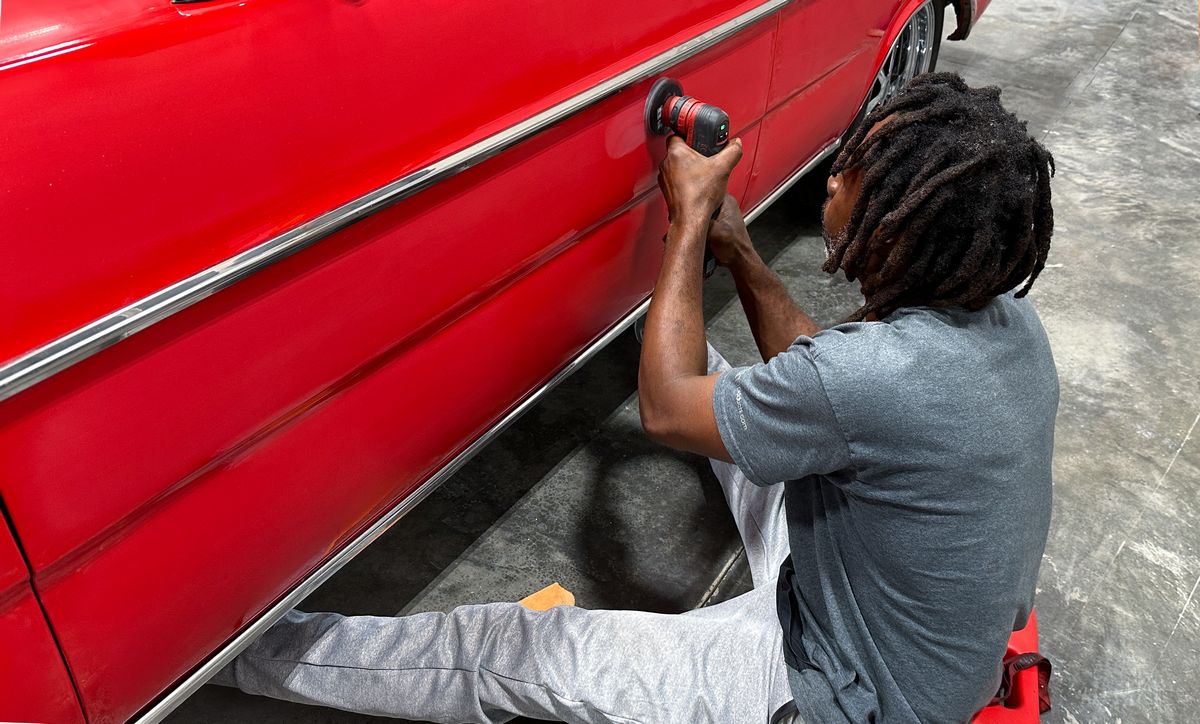
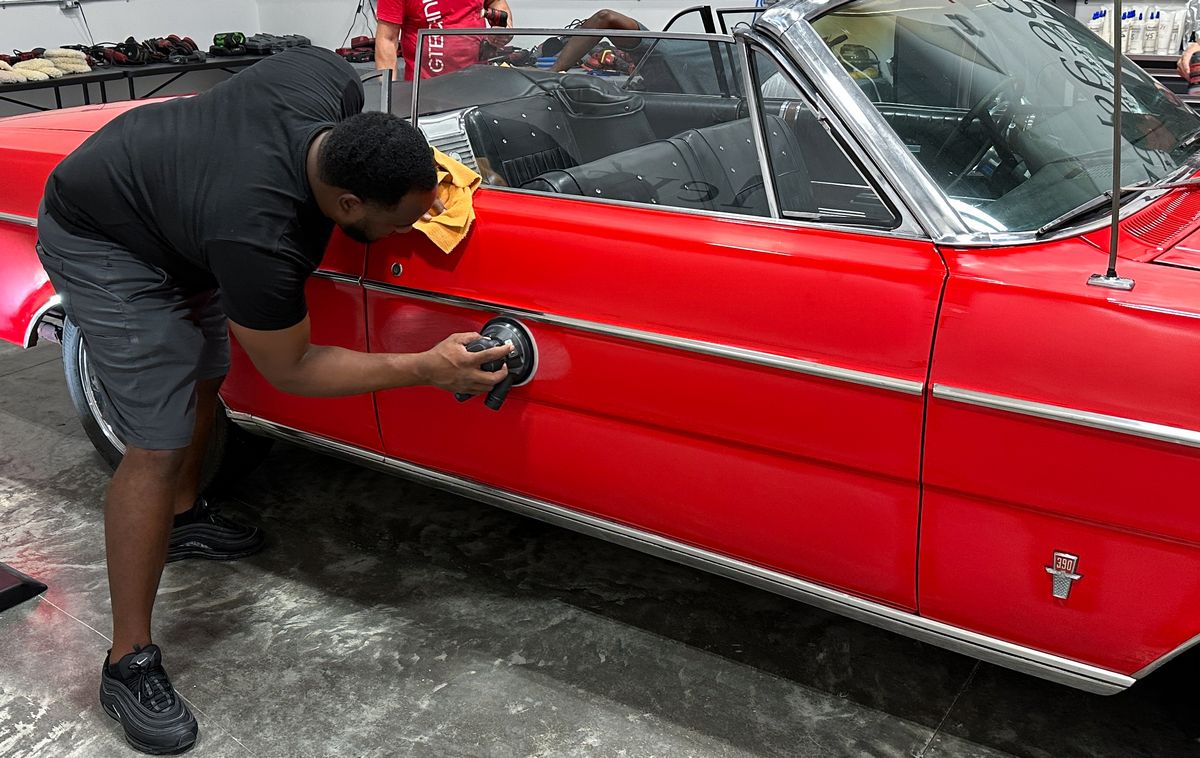
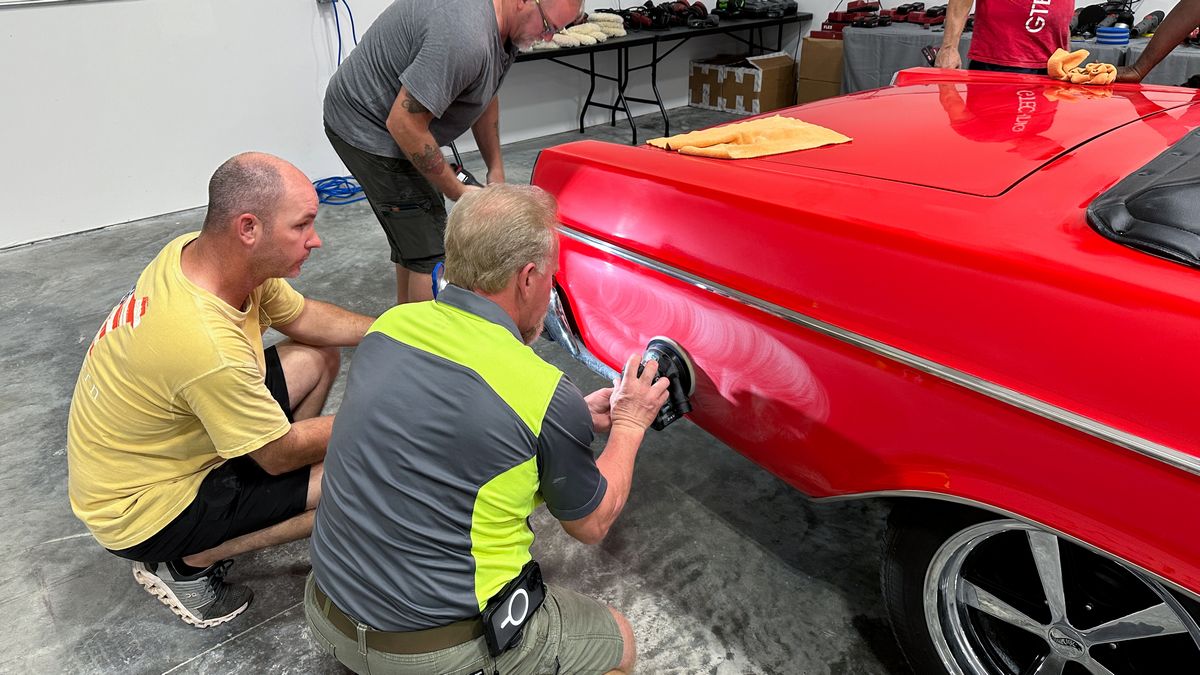
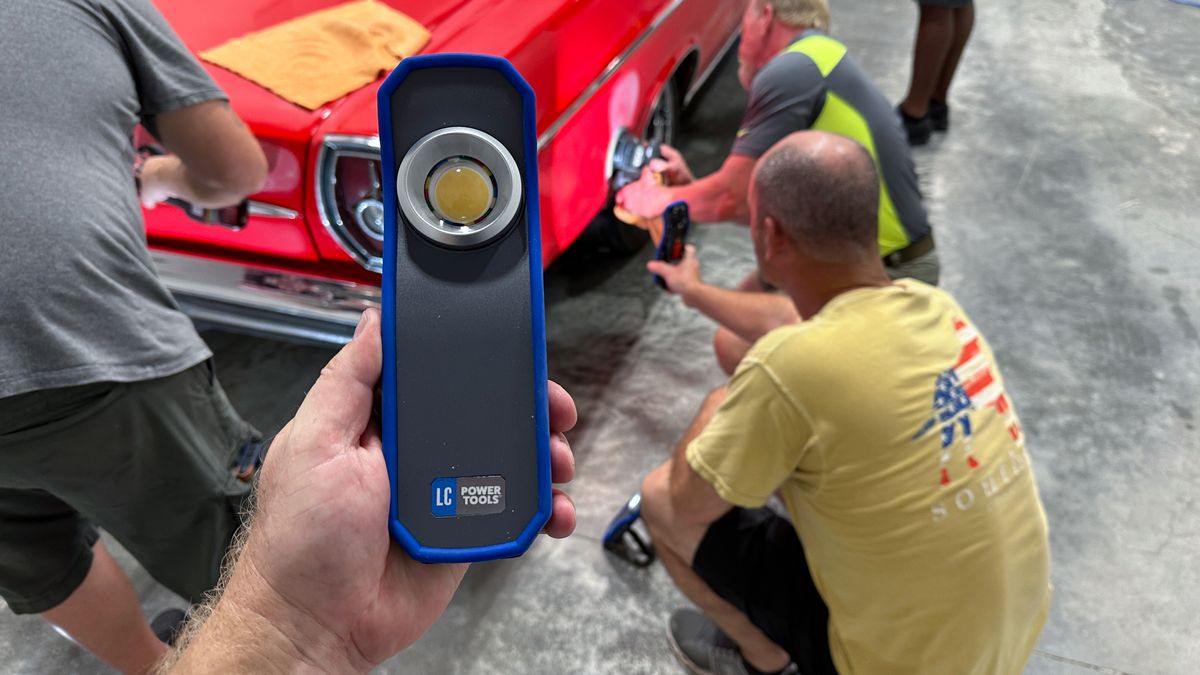
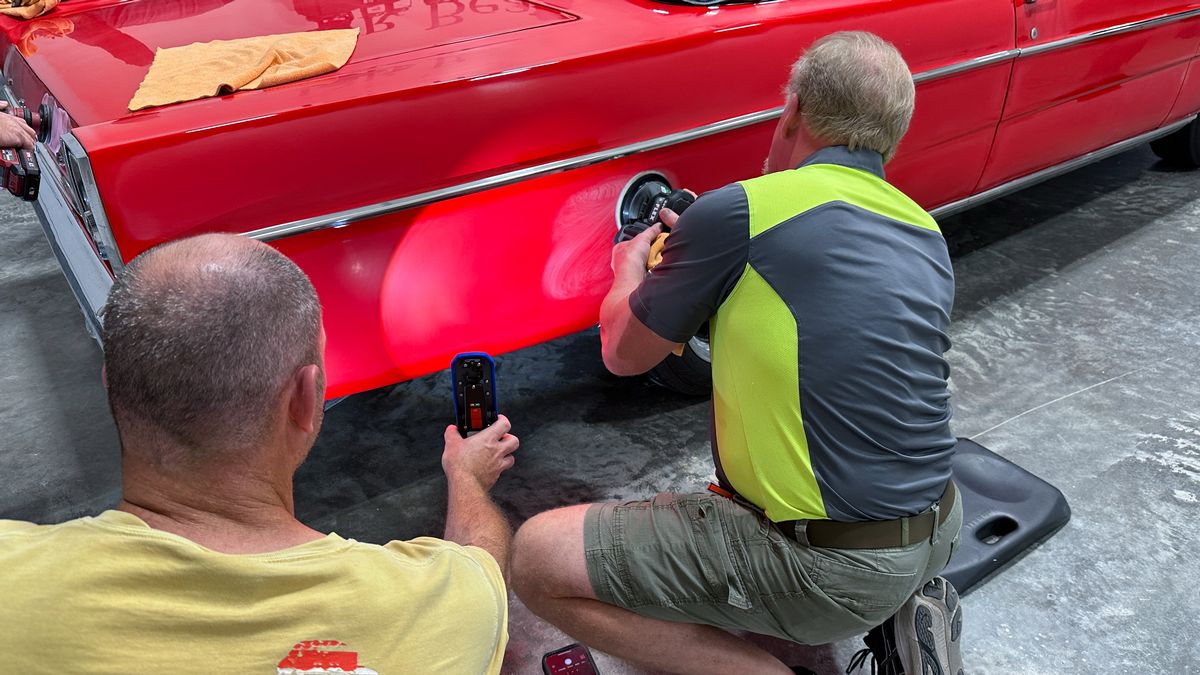
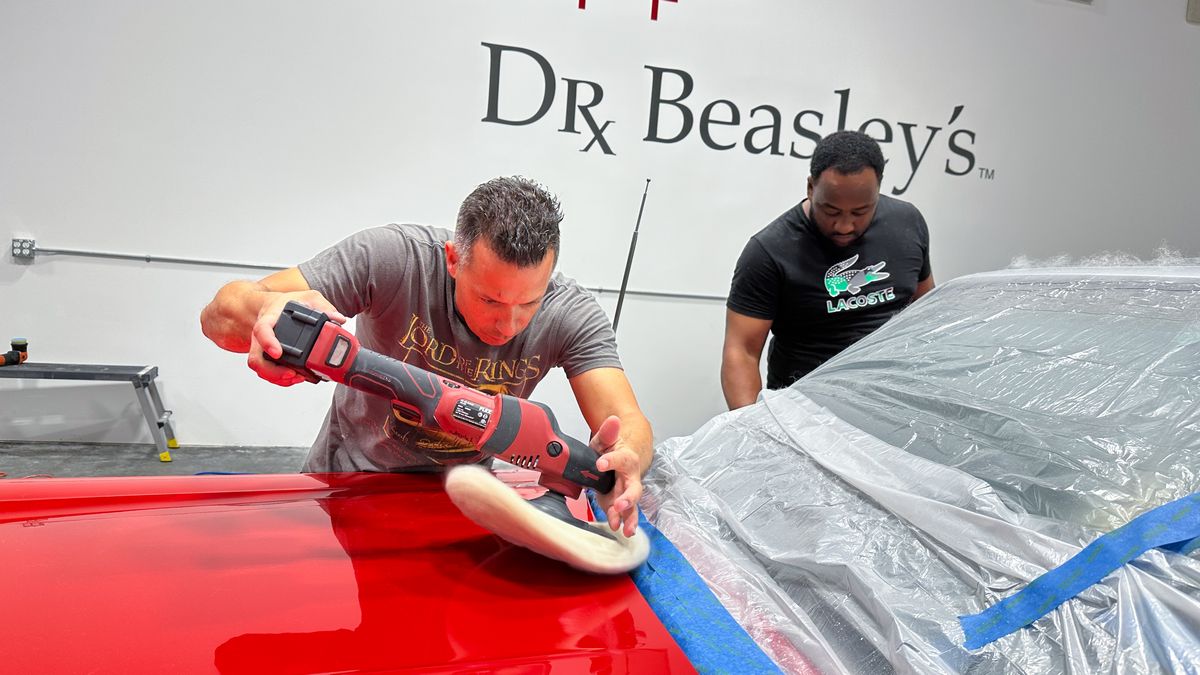
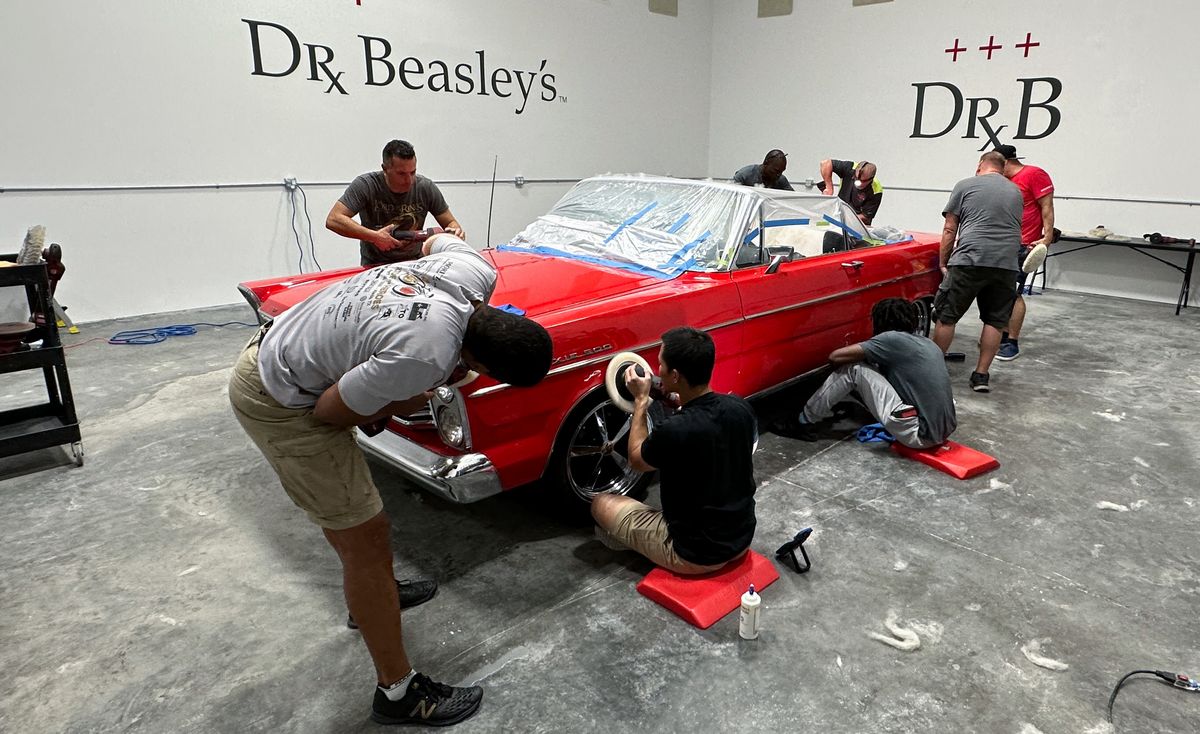
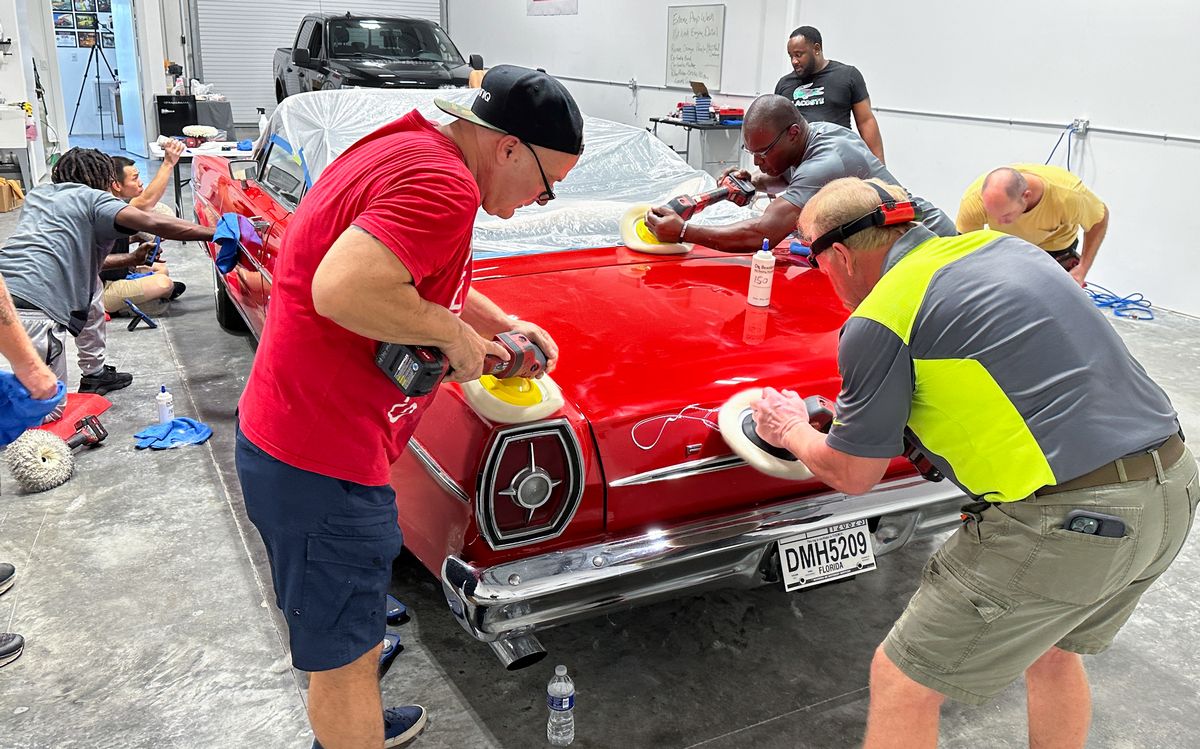
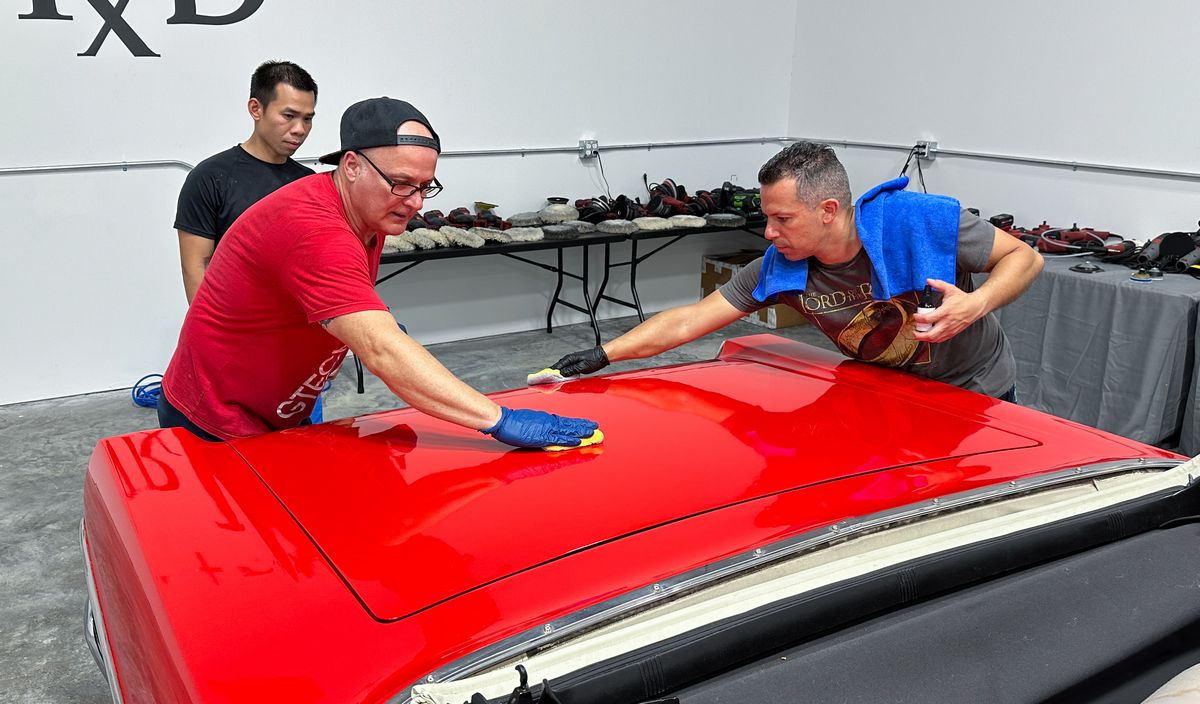
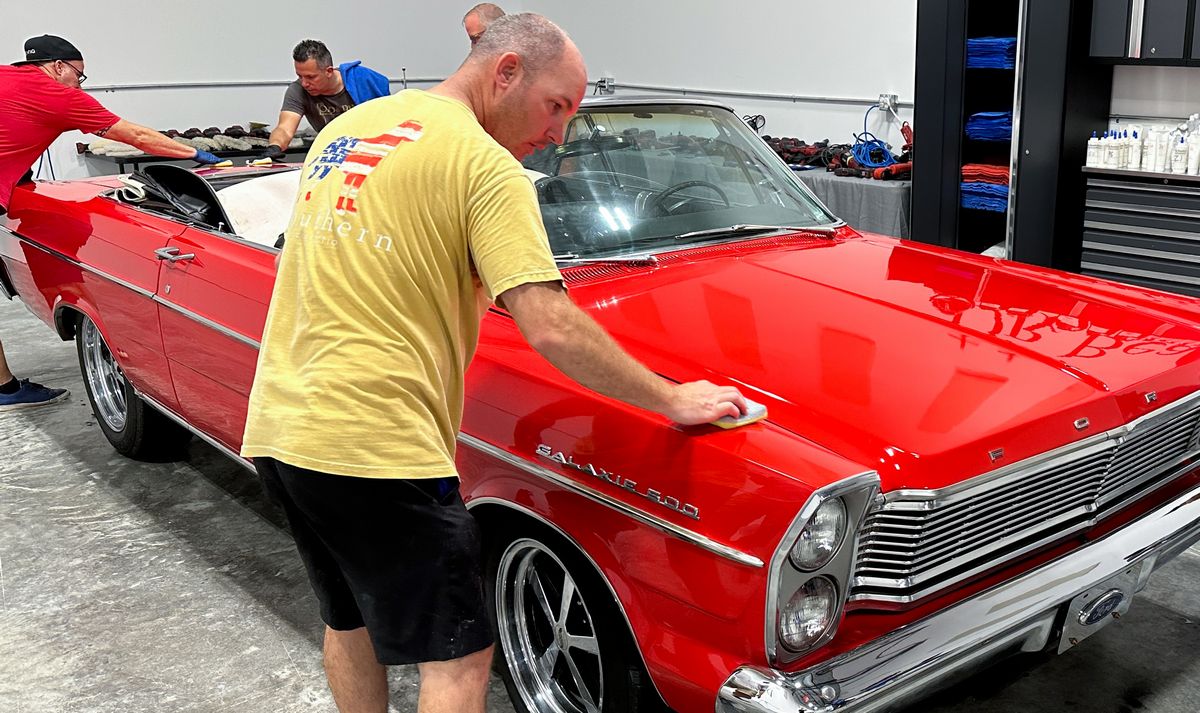
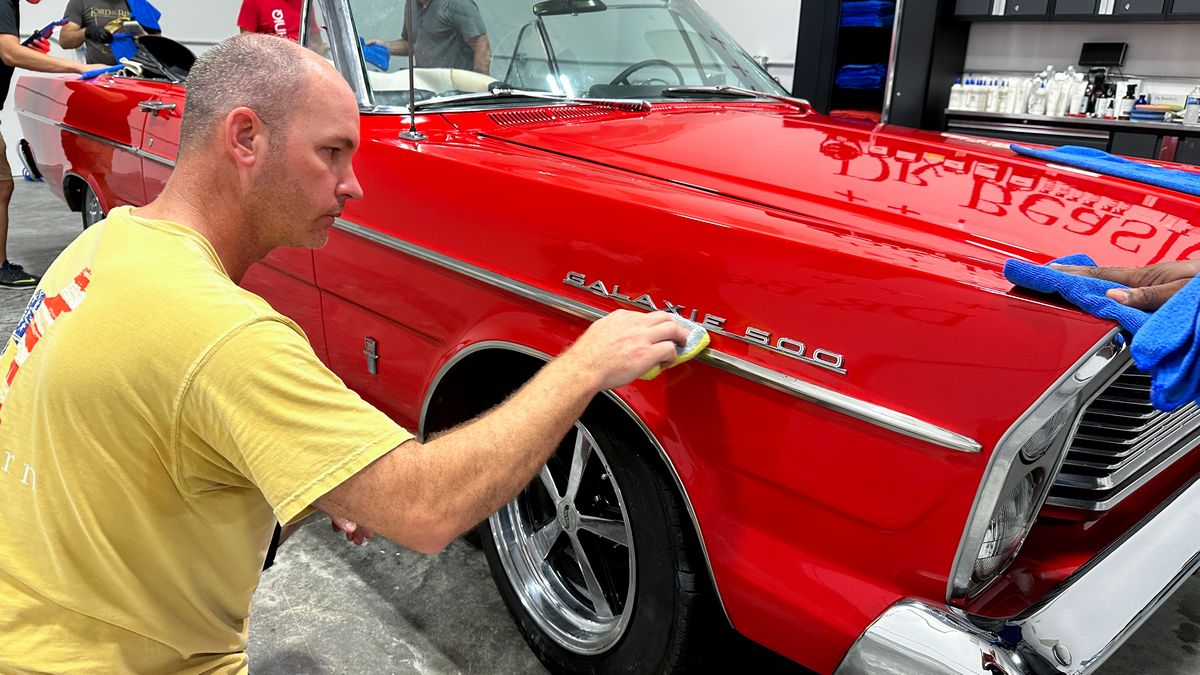
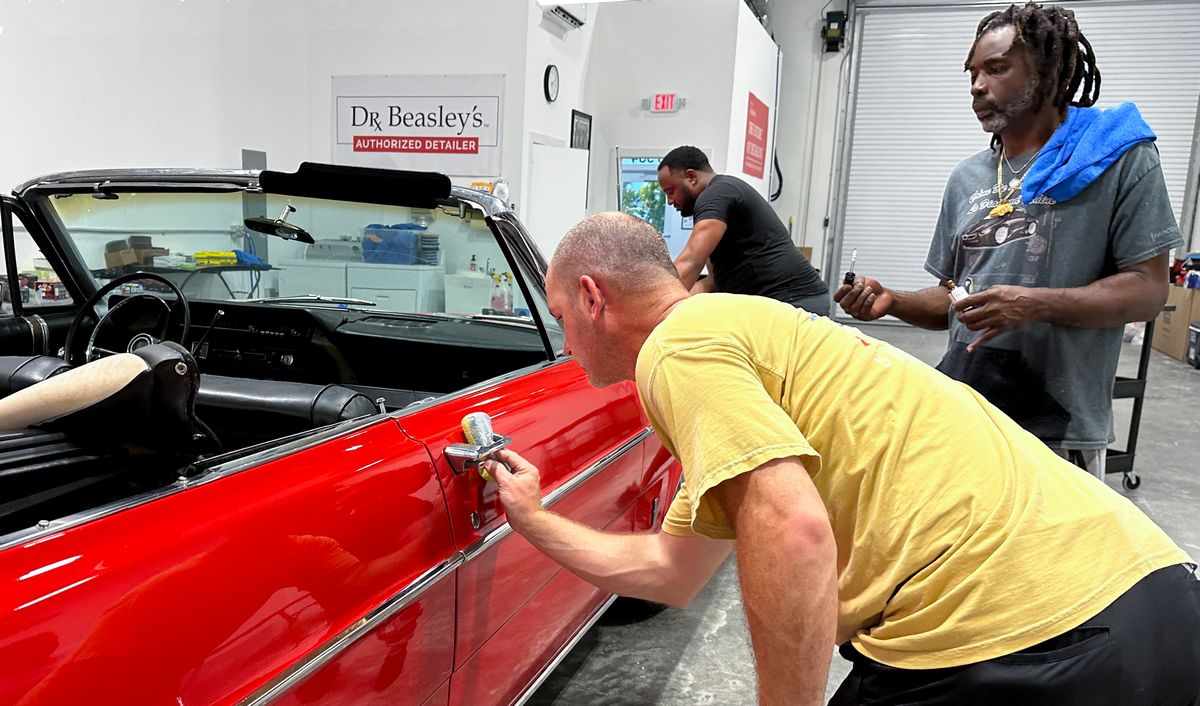
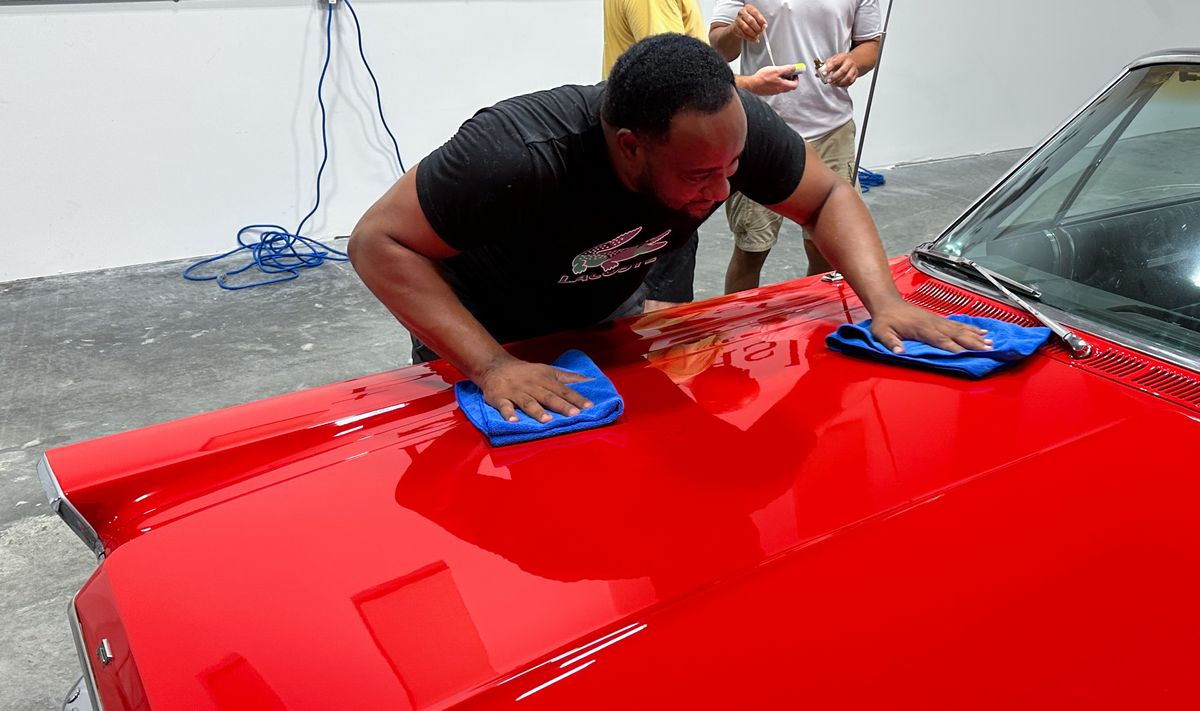
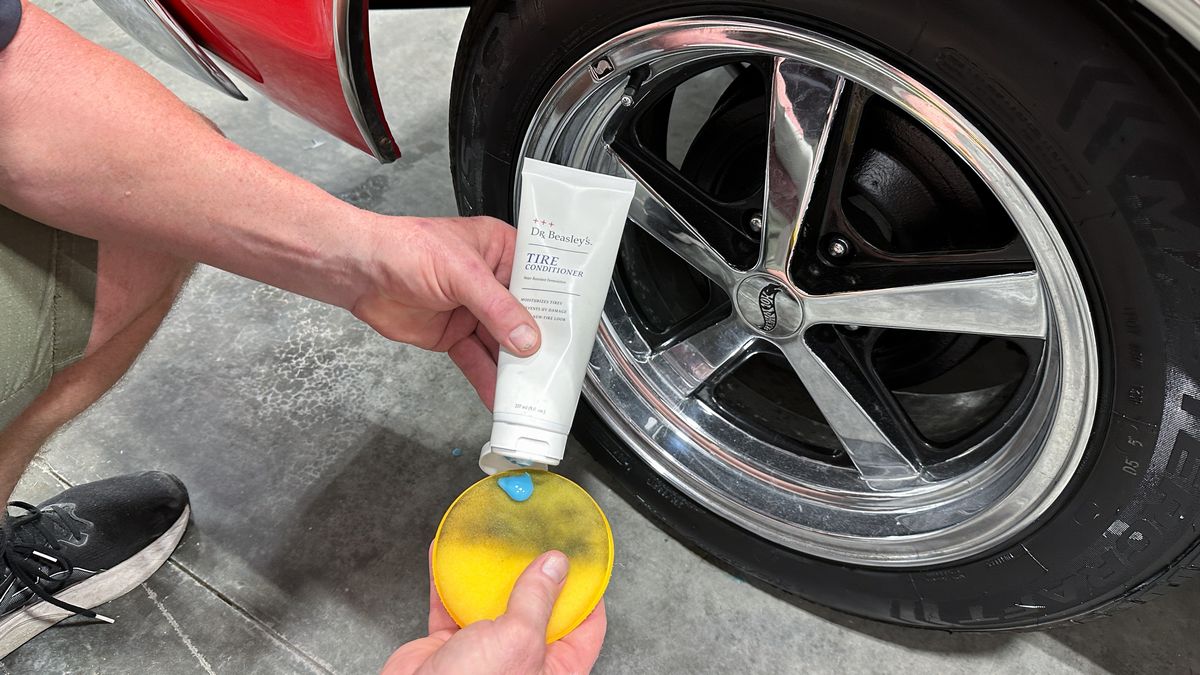
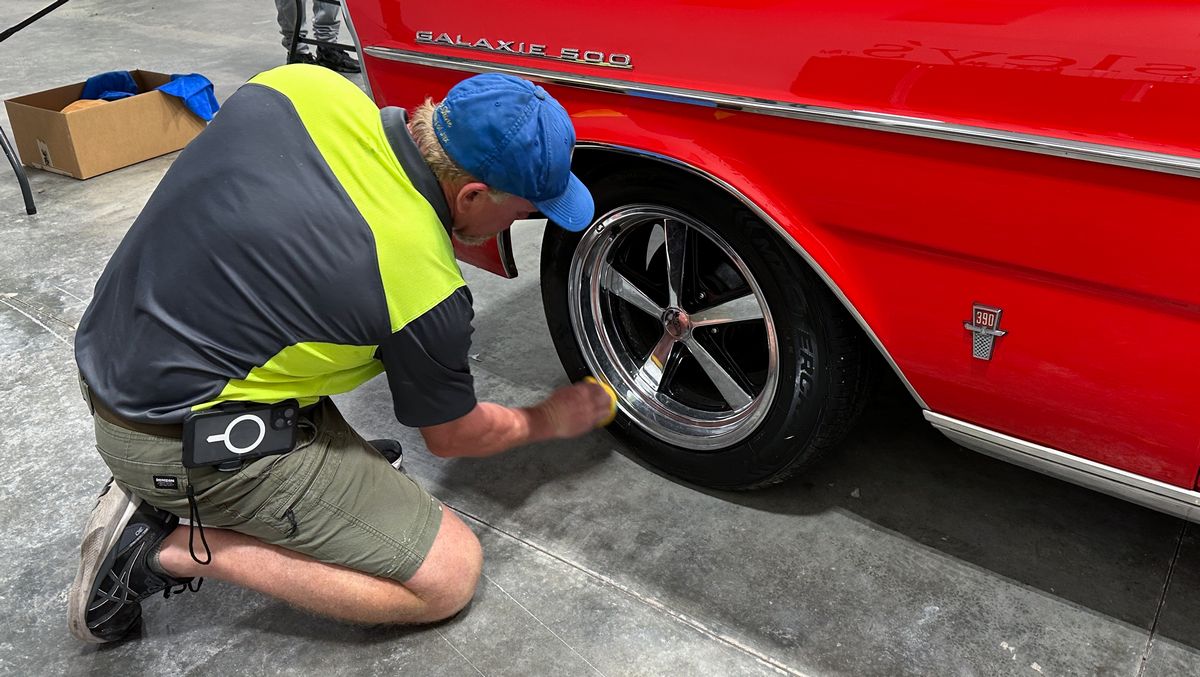
After the above demo and a brief time for questions and answers, it was time to turn the class loose and then walk around and monitor the class. Anytime I see someone using the correct technique and getting great results I stop to talk with them and let them know they are spot-on. Anytime I see anyone doing anything incorrect, I also stop to talk with them and offer feedback on how and where they can tweak their technique to work faster, more efficiently and most important - safer.
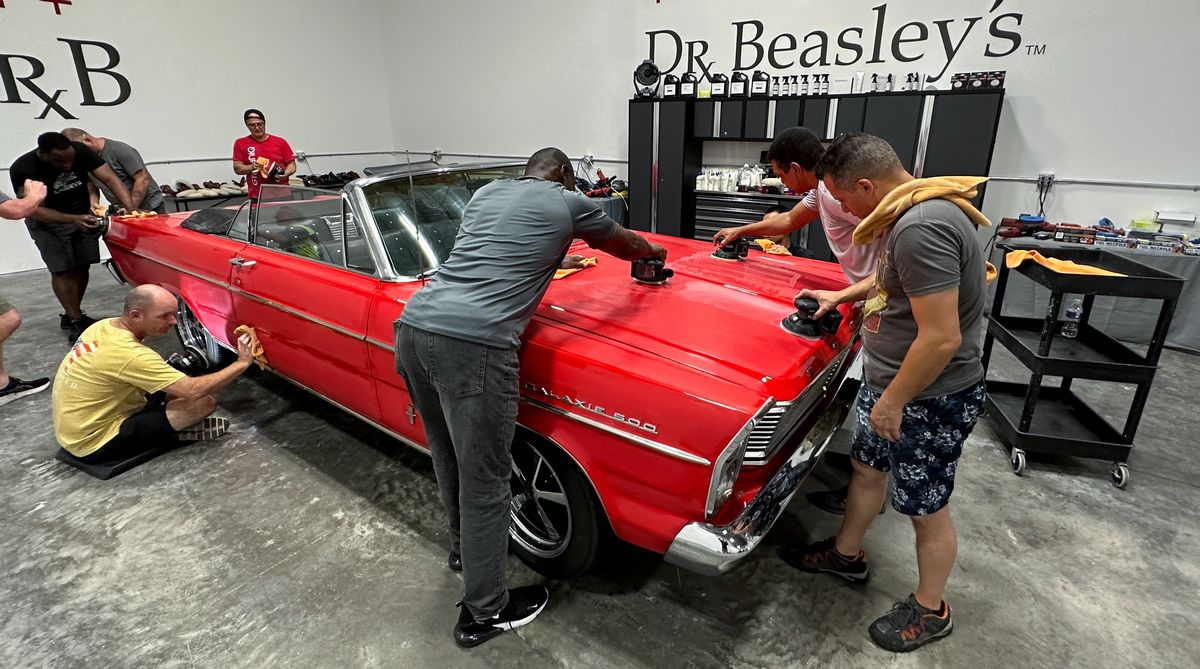
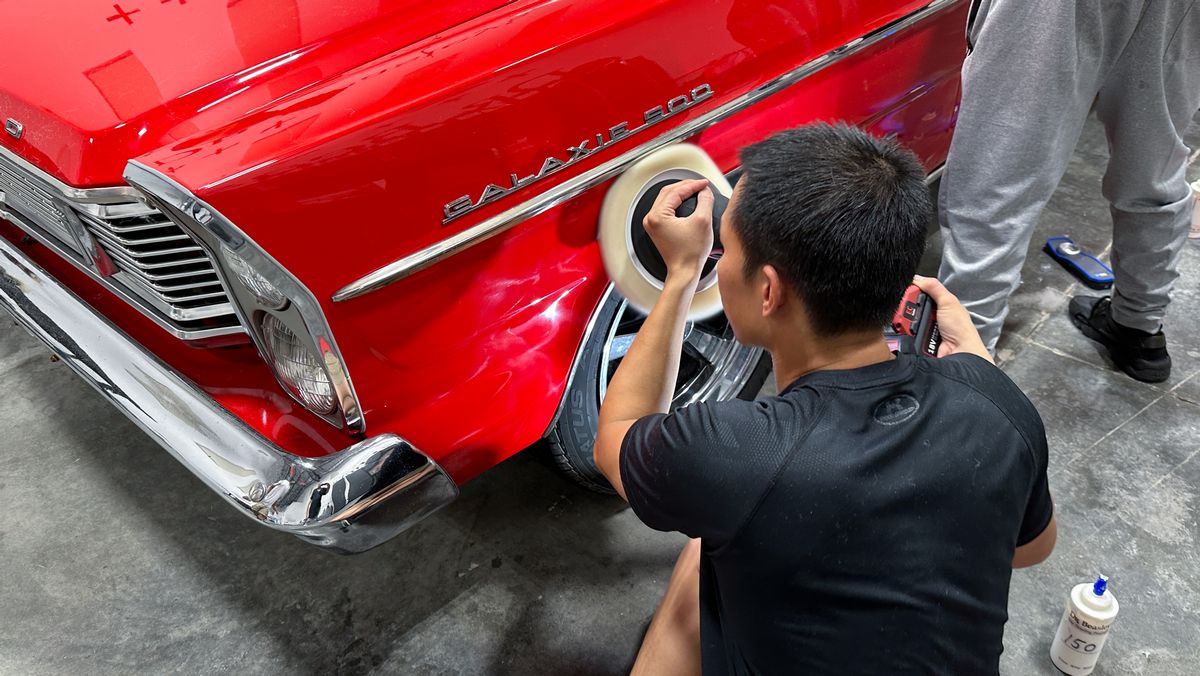
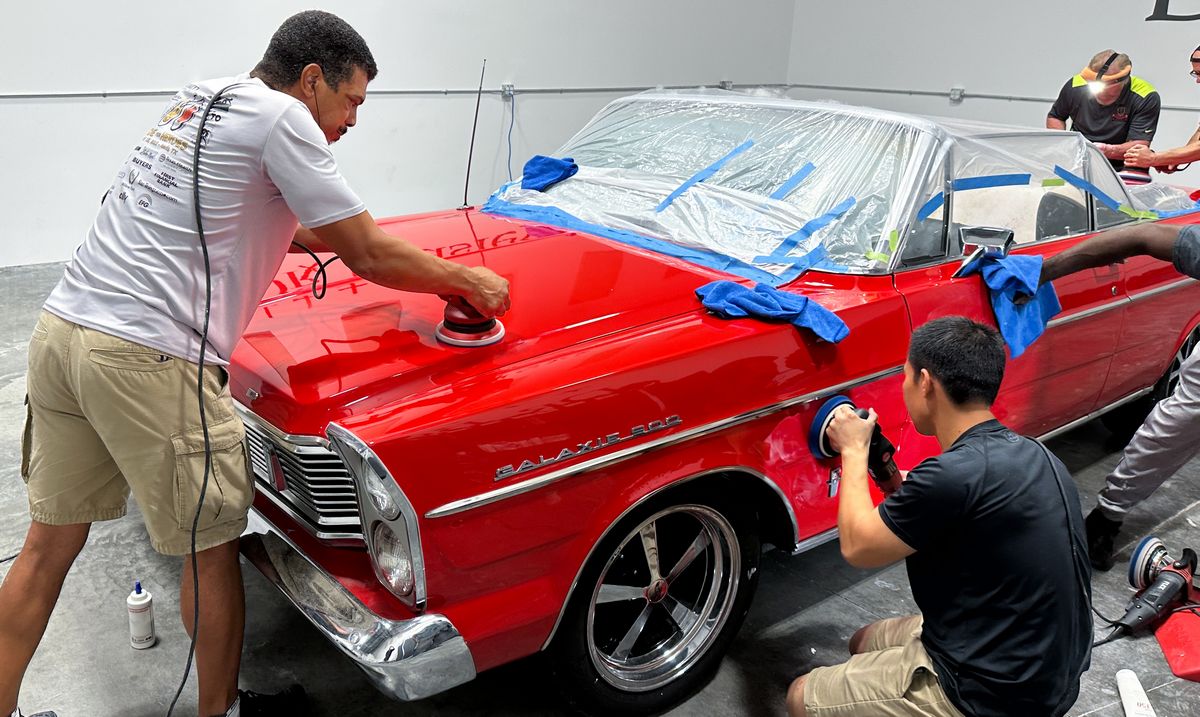
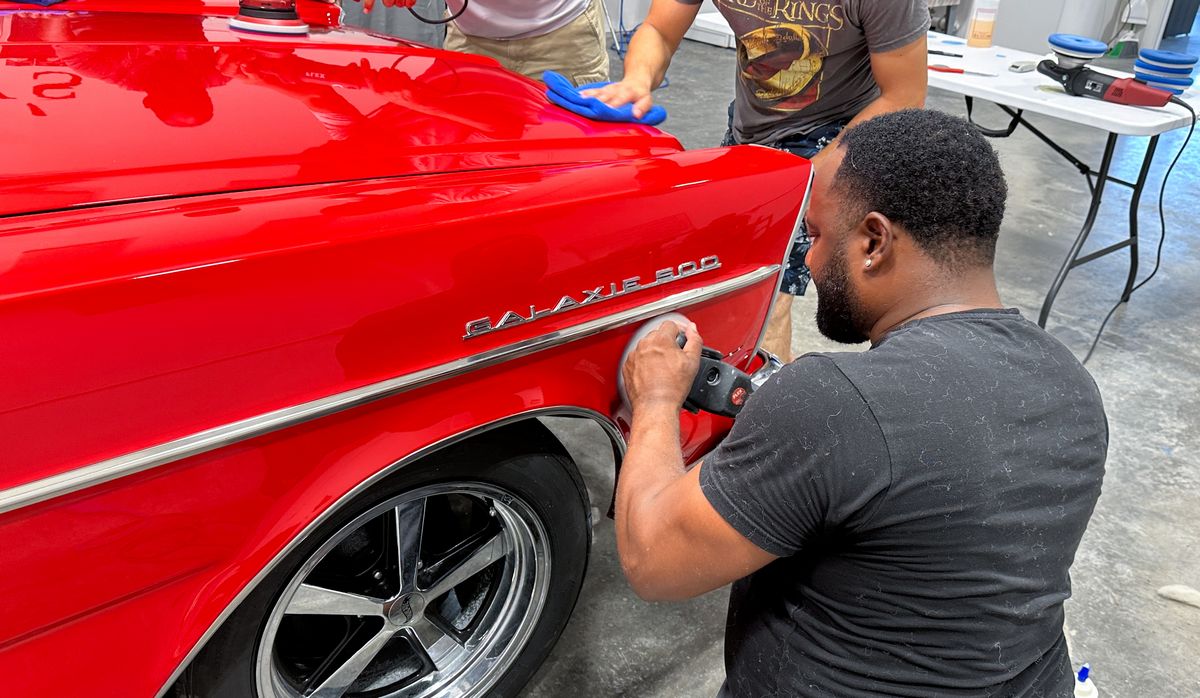
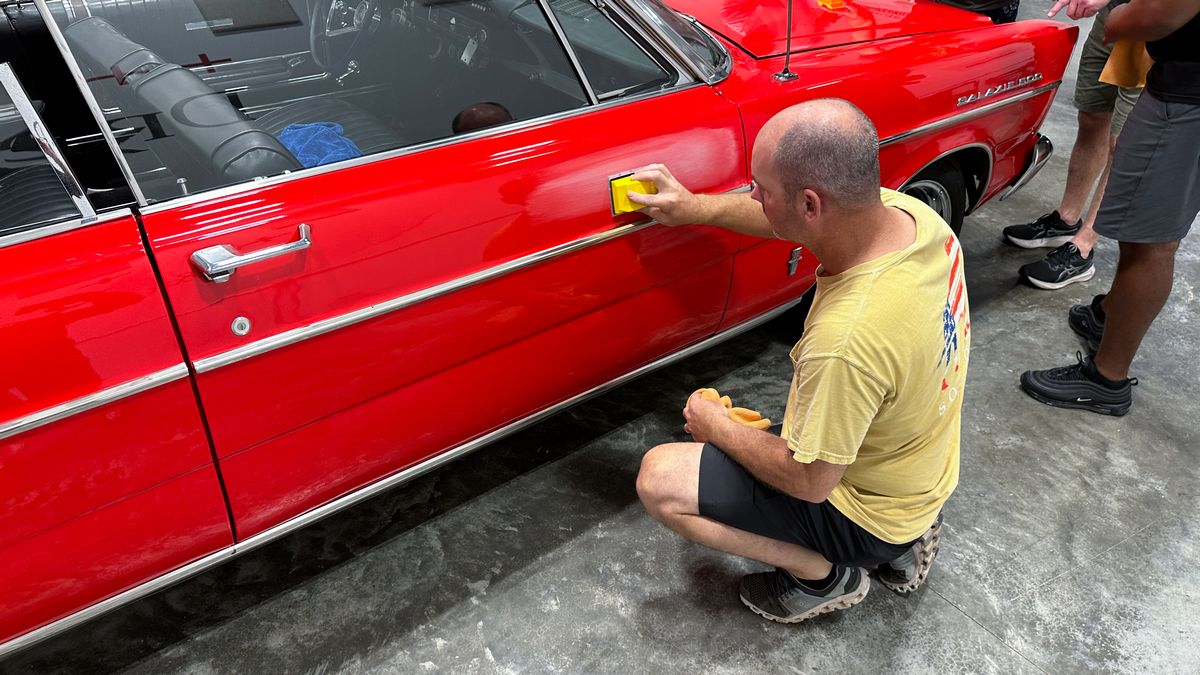
Here's Meko tackling the front passenger side fender...

Here's Daniel sanding the passenger side door...
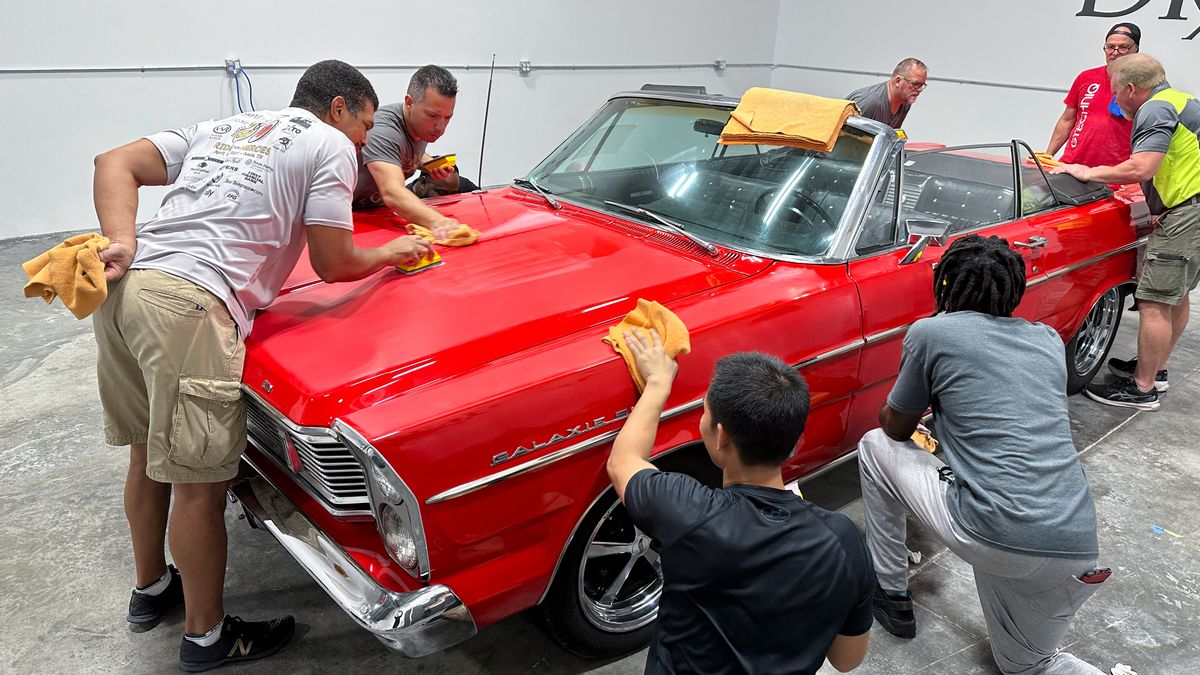
The approach being used here will work but I moved Joe to the back of the car and then let him work the sanding block and not only did he find it faster but also easier.
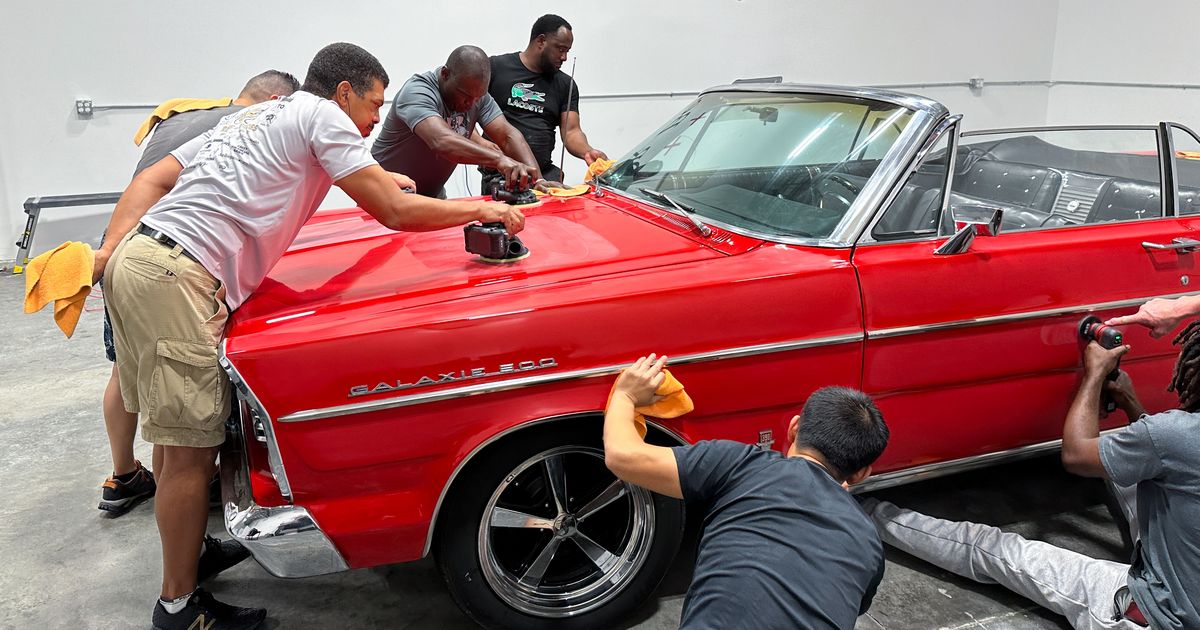
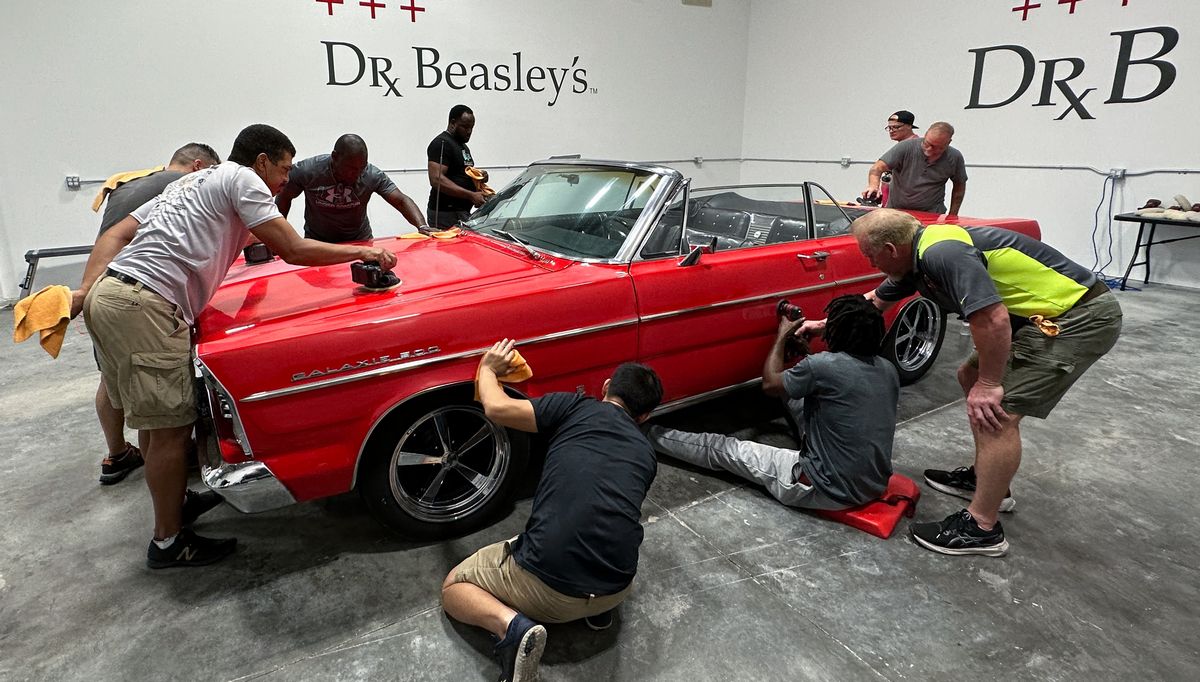
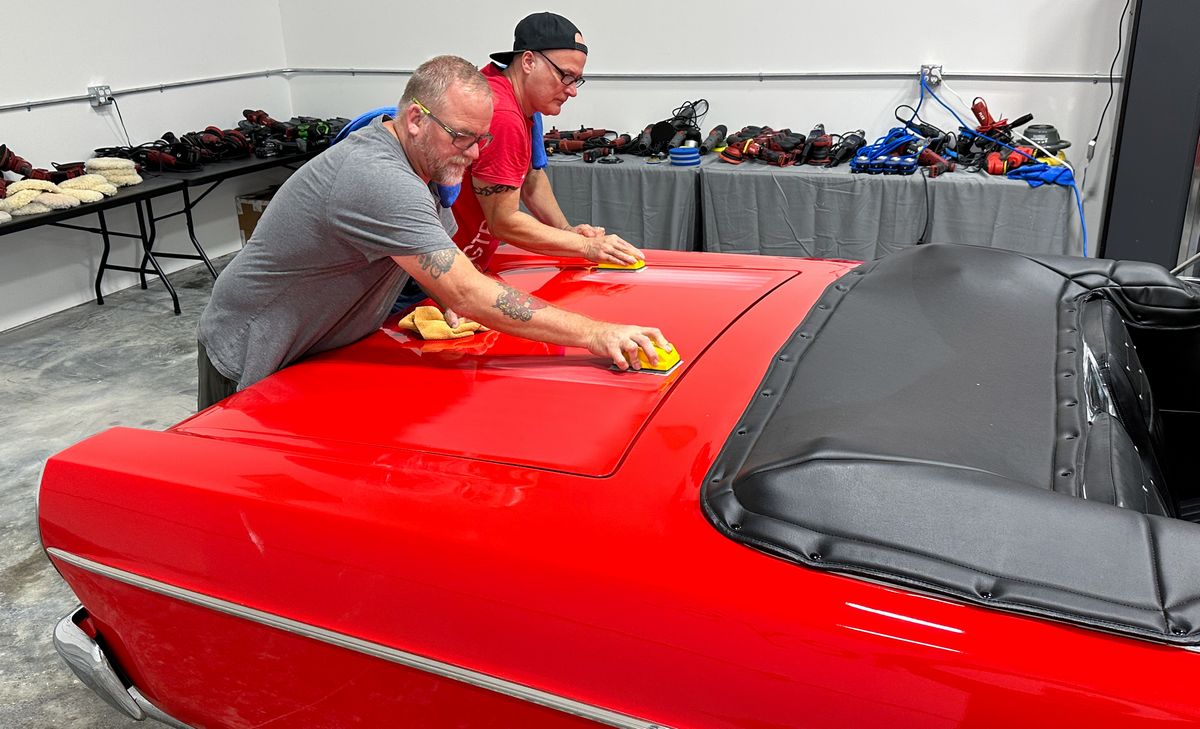
Teamwork!
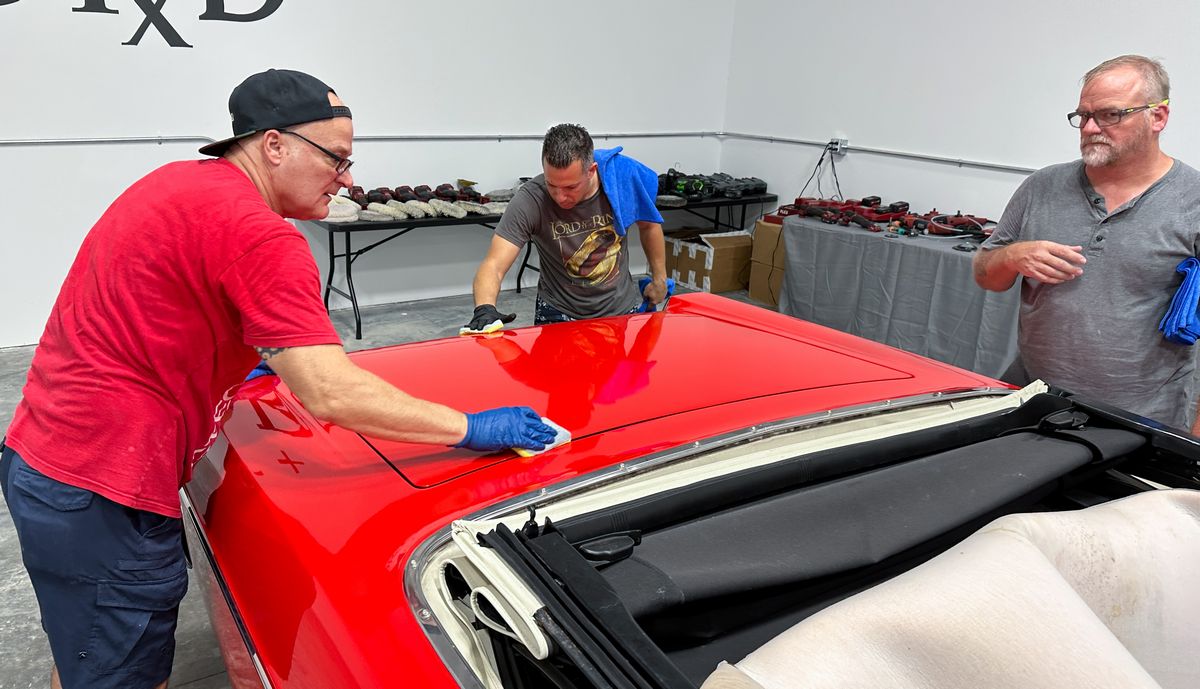
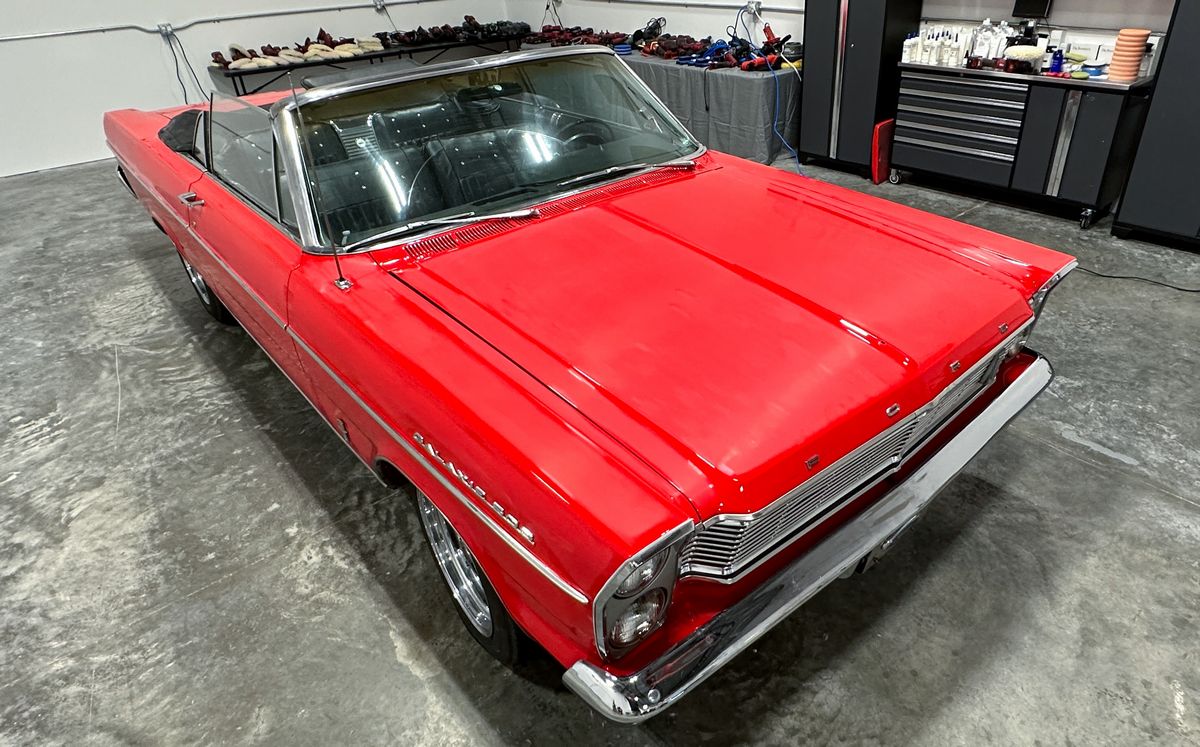
Inspection Time - More sanding needed
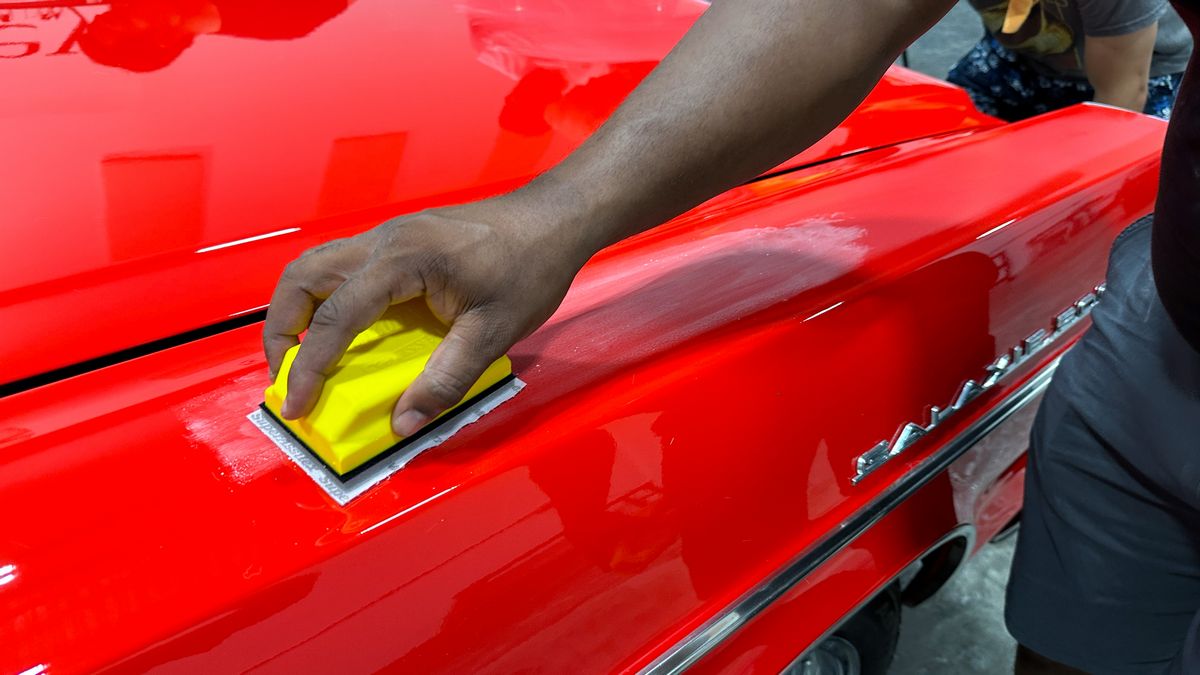
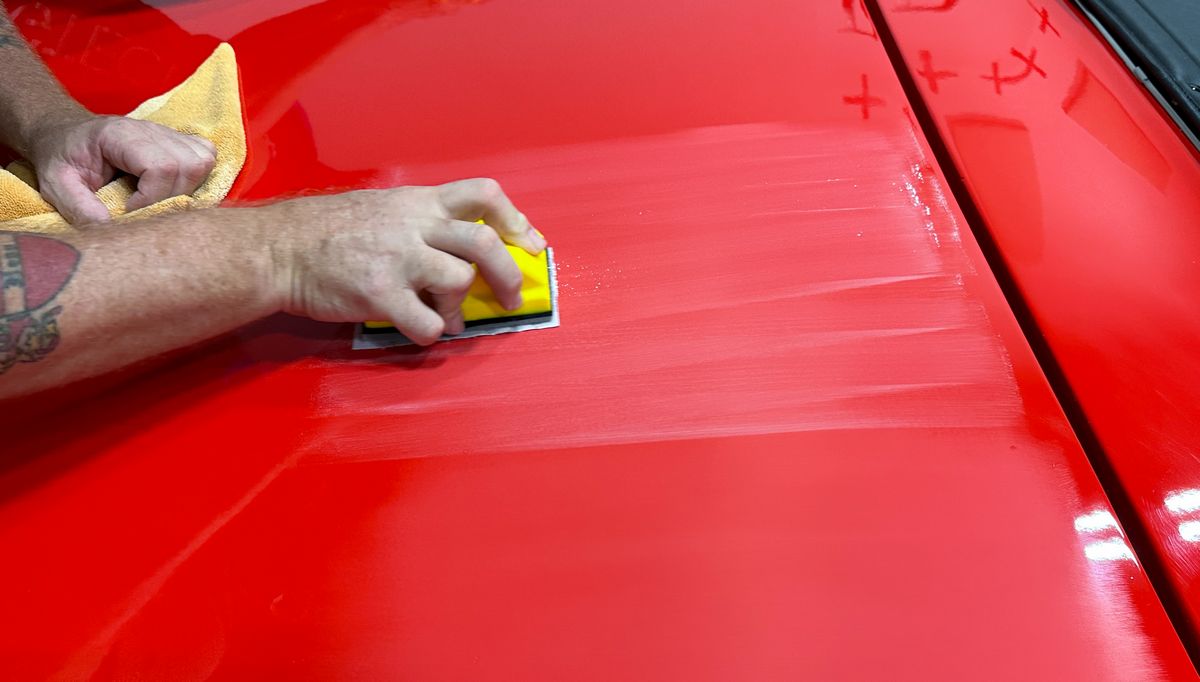
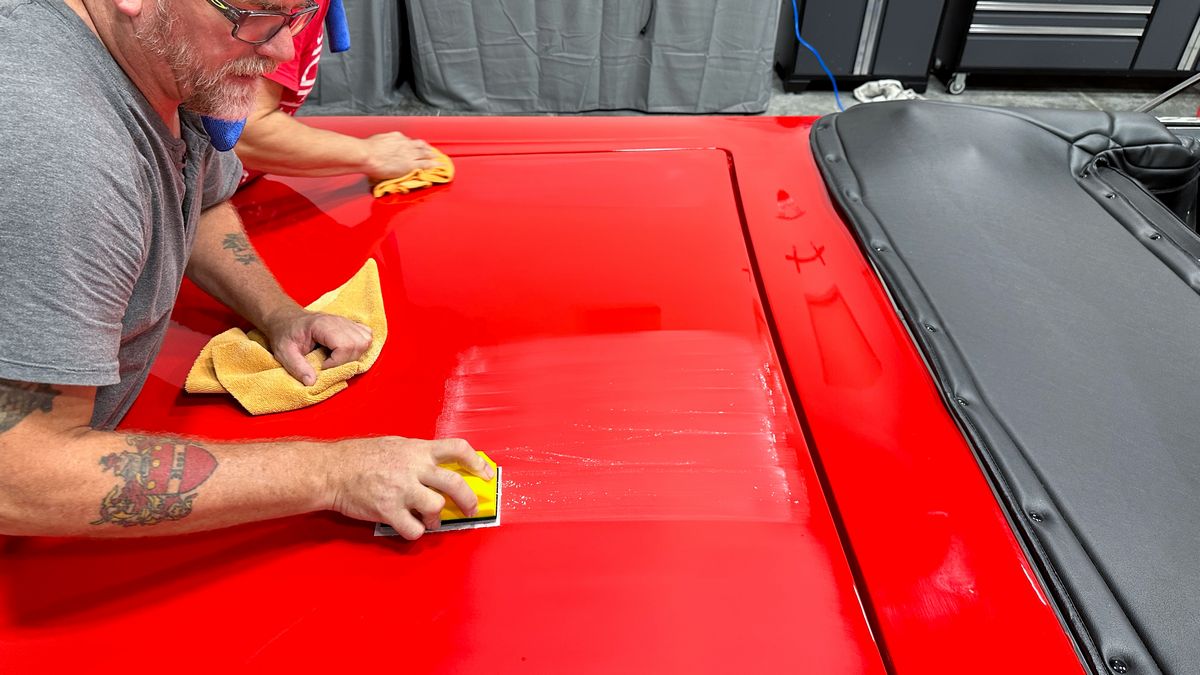
The guys are doing good, especially for the folks that have NEVER sanded down orange peel before. What you're seeing in the picture below is some light sanding but a lot more is still needed.

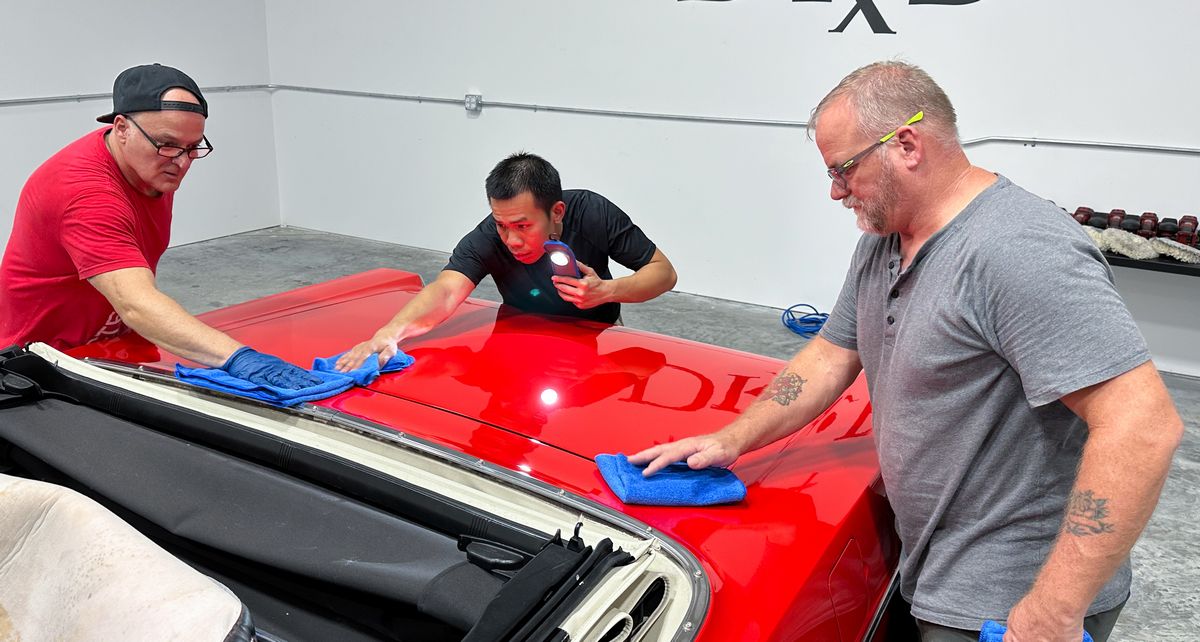
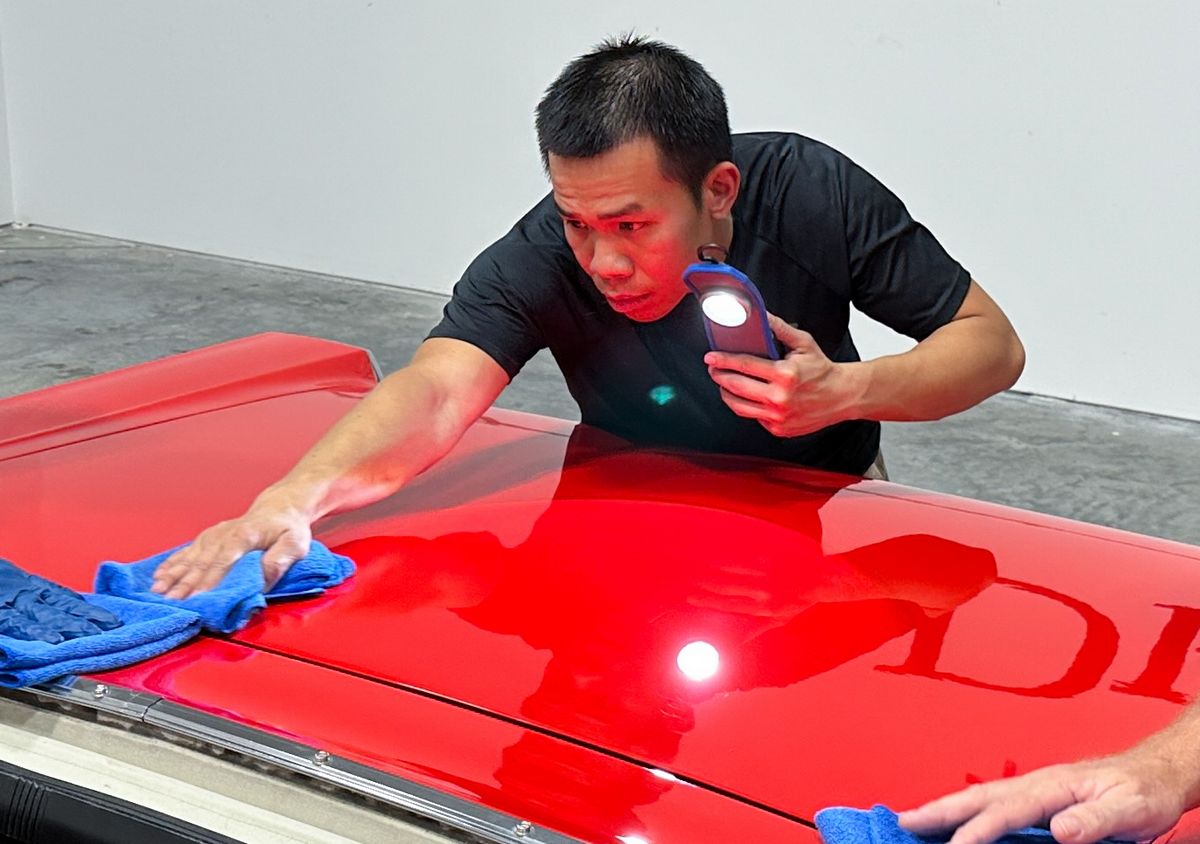
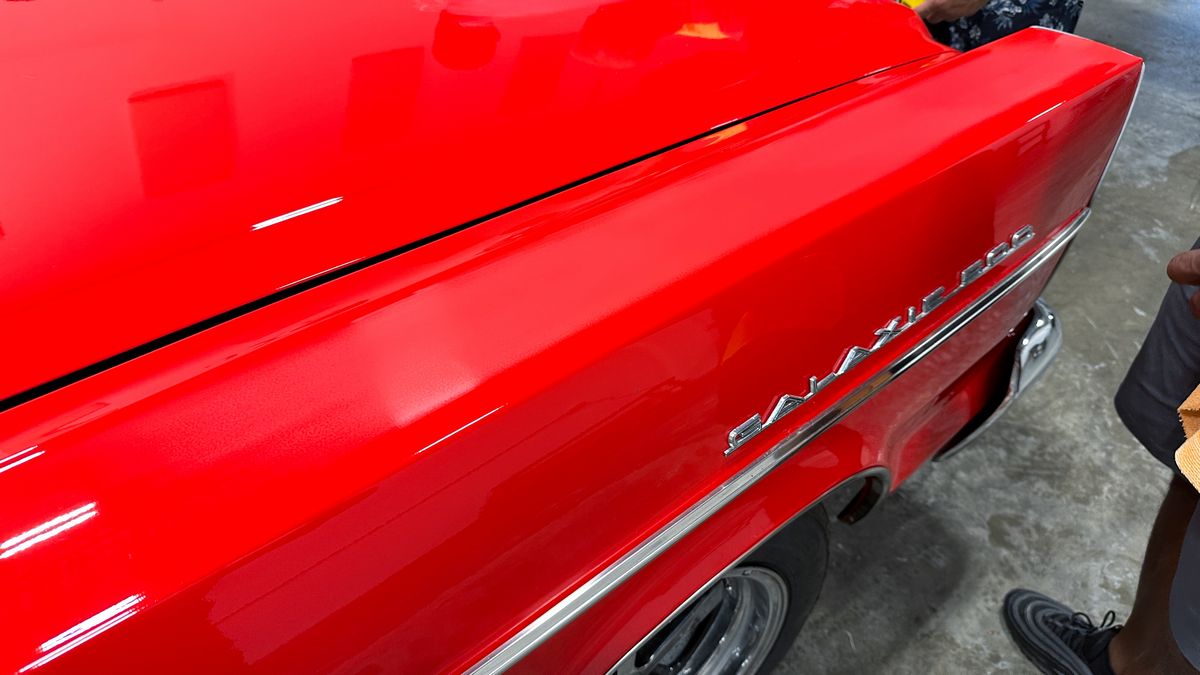
Tight pattern - no M's or W's
Looking good!
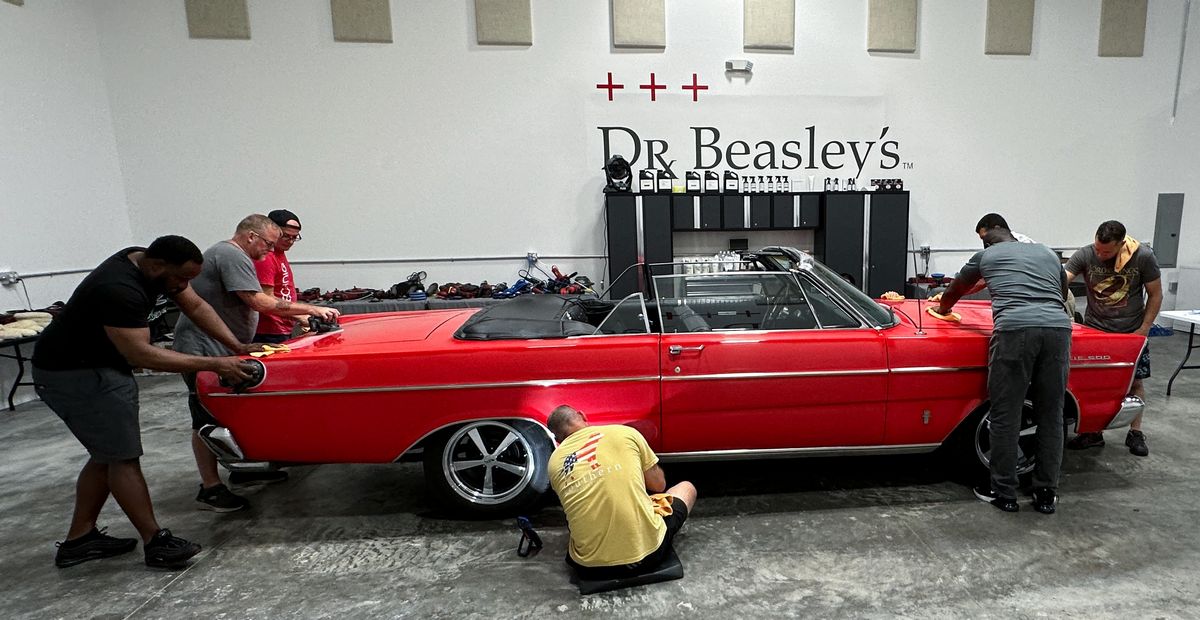
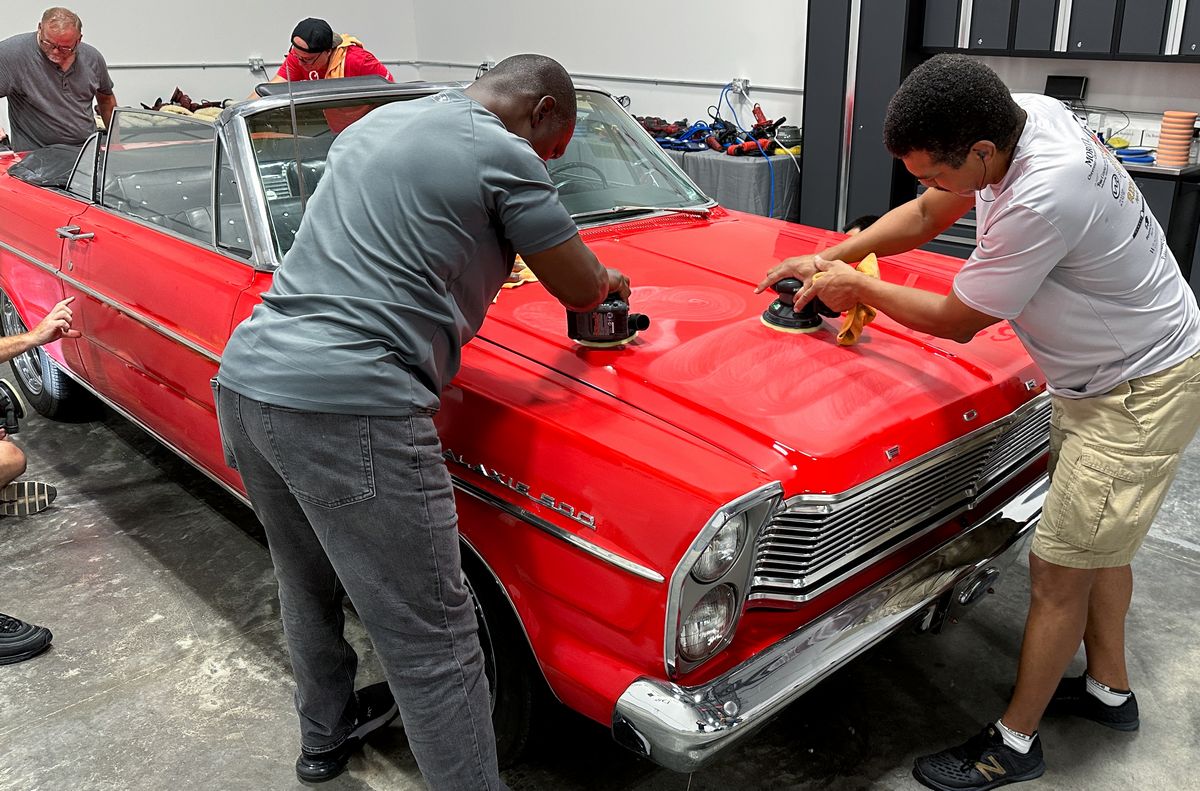
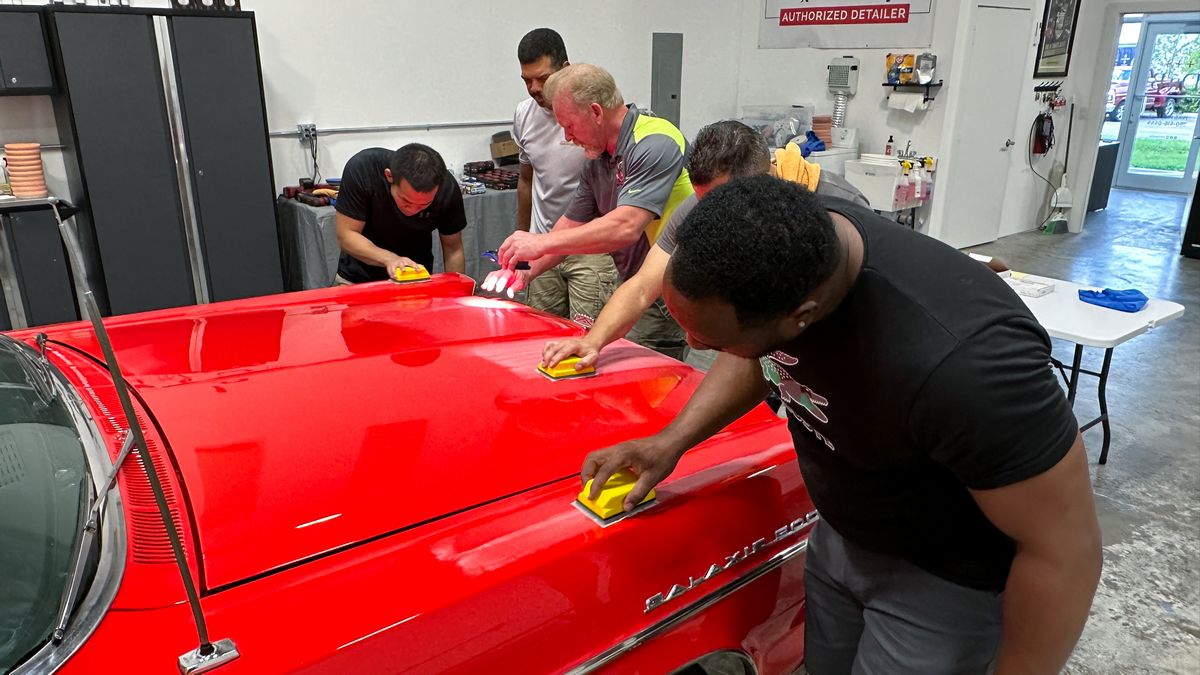
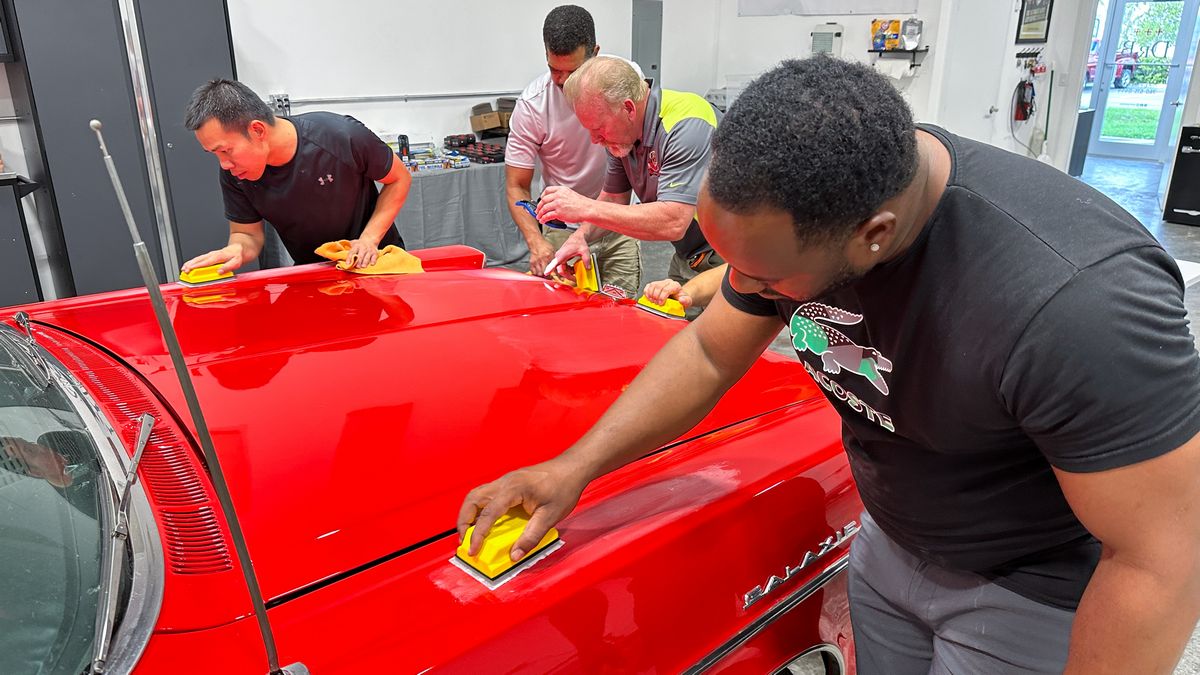
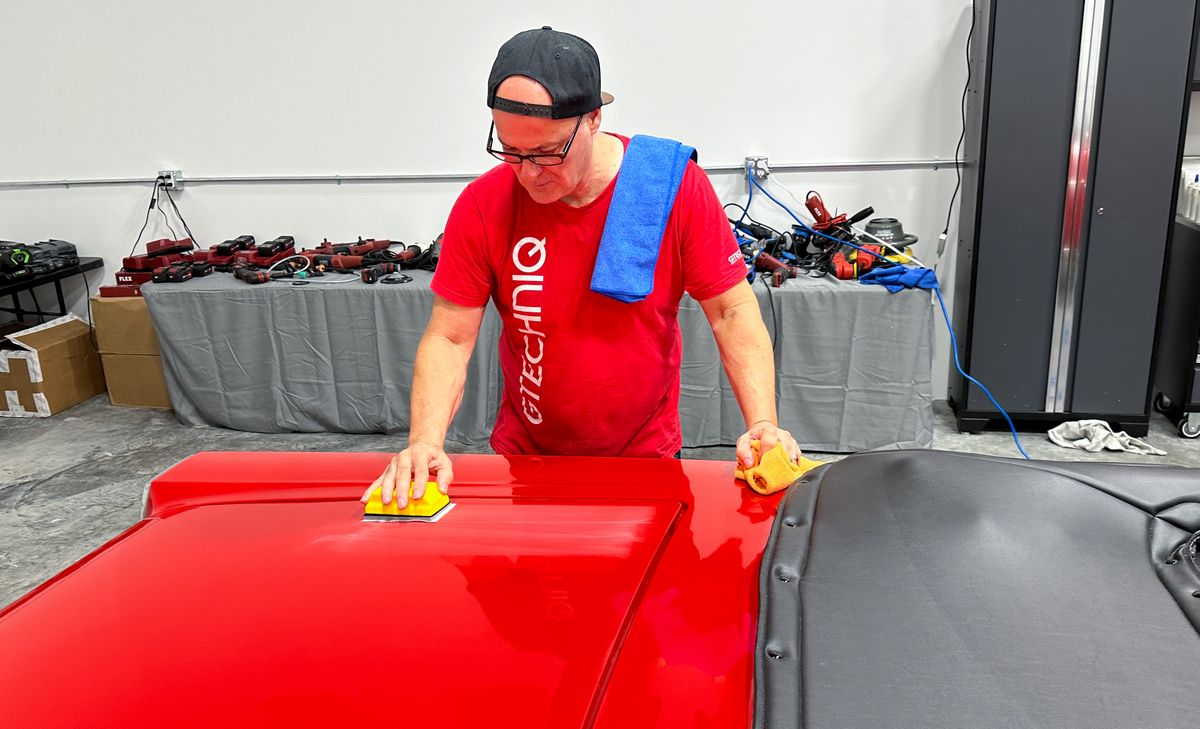
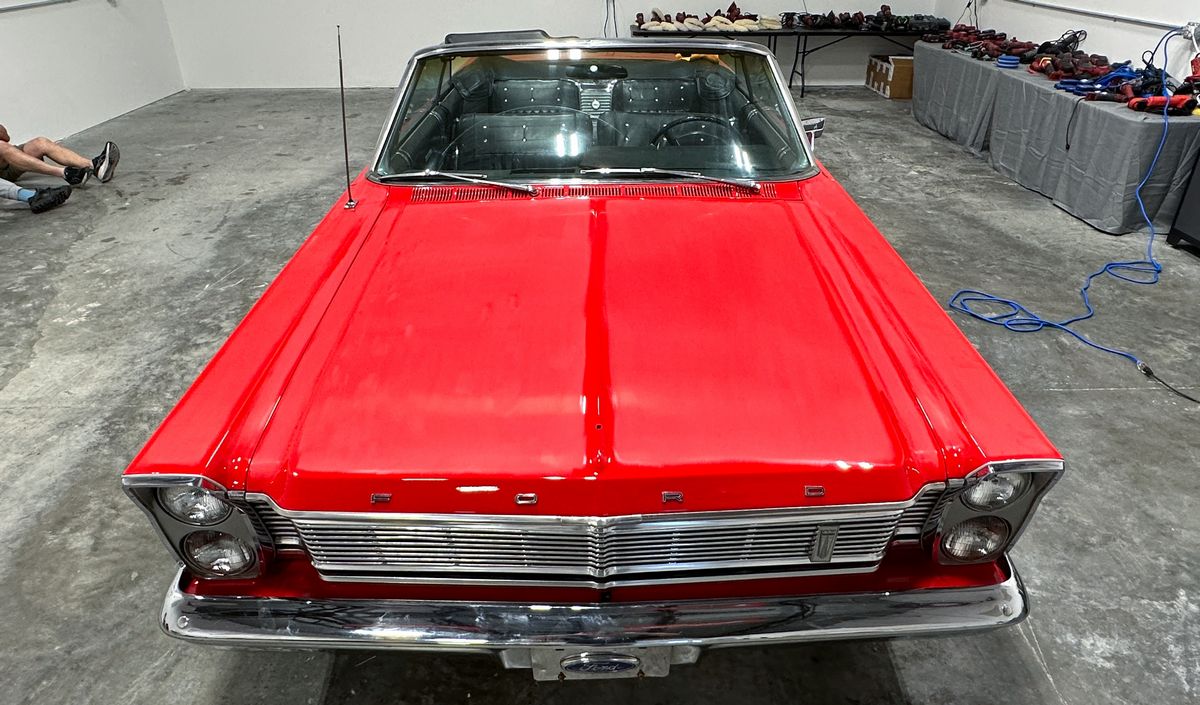
Sanding on the driver's side of the hood is Thomas with Meko and Jhonathan on the passenger side...
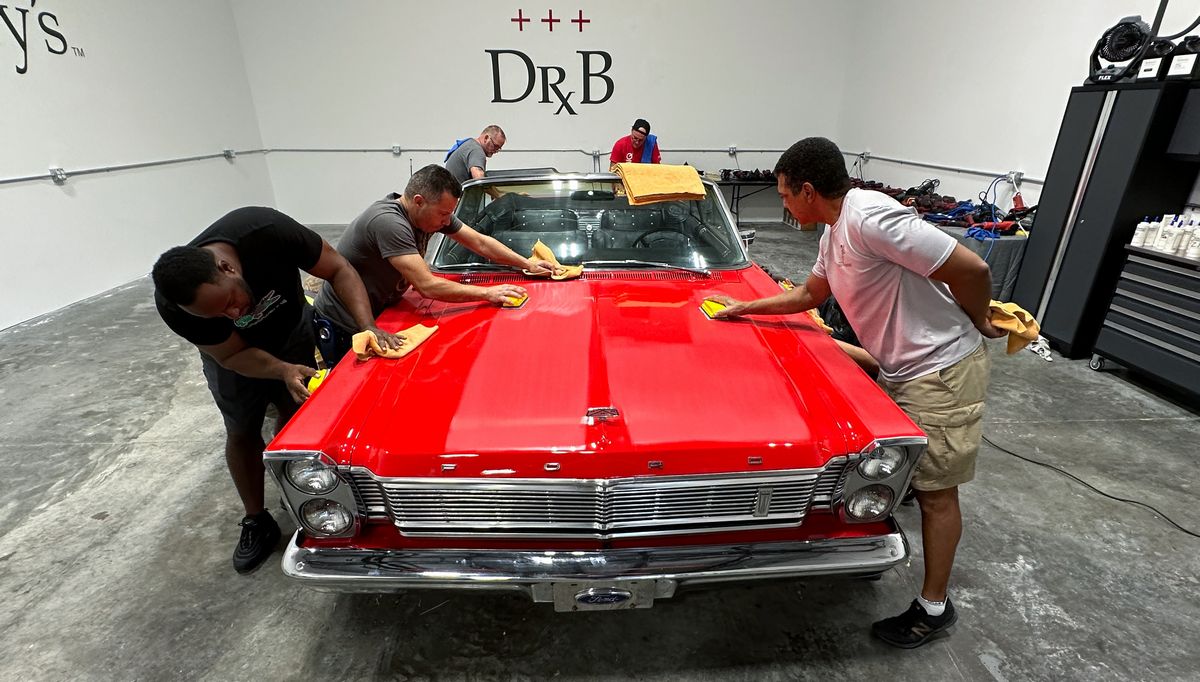
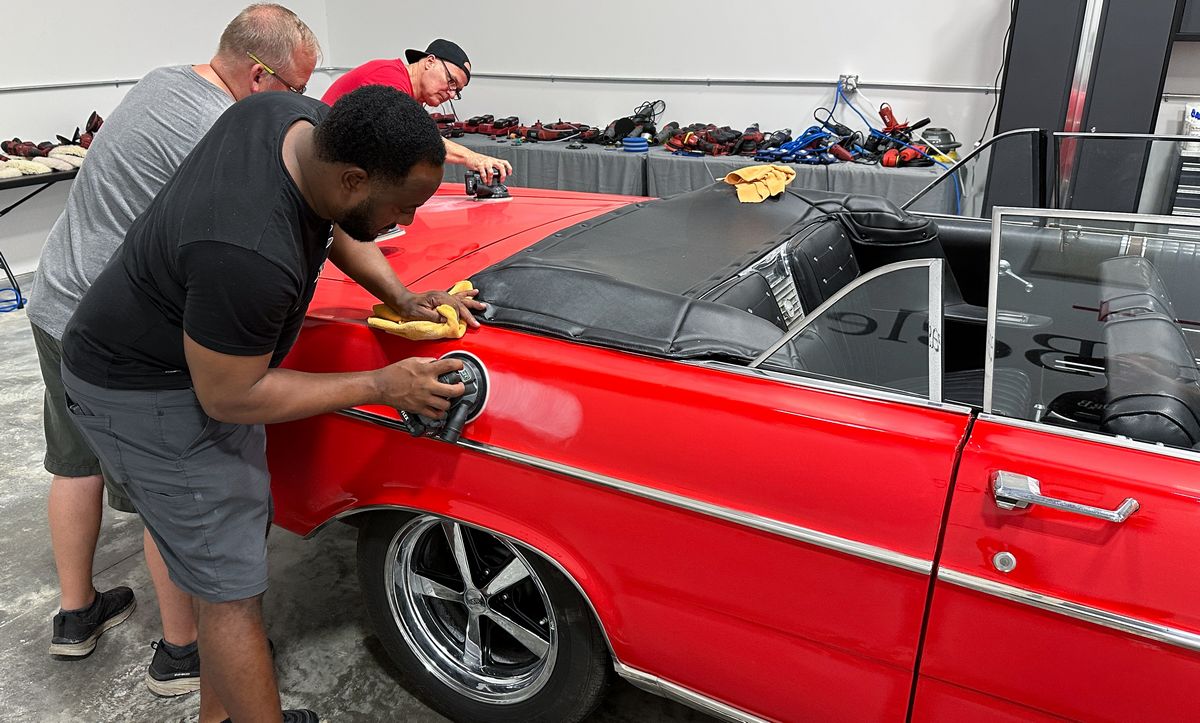
Andy knocks out the driver's side fender while Derick tackles the driver's side door...
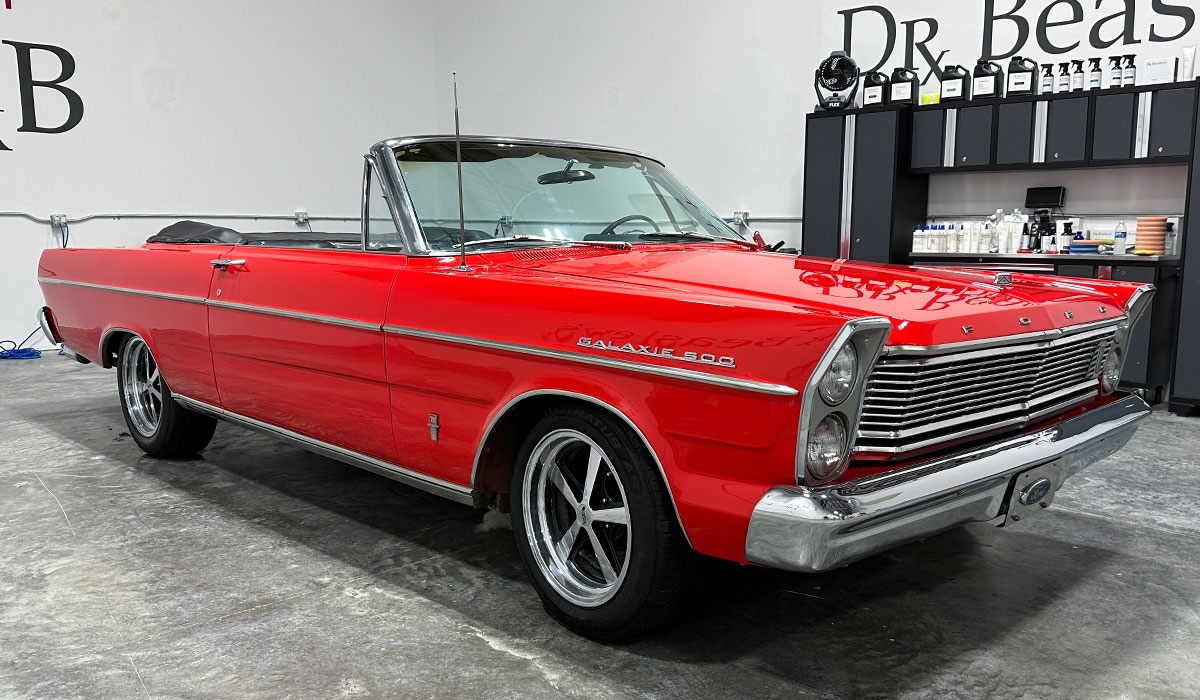
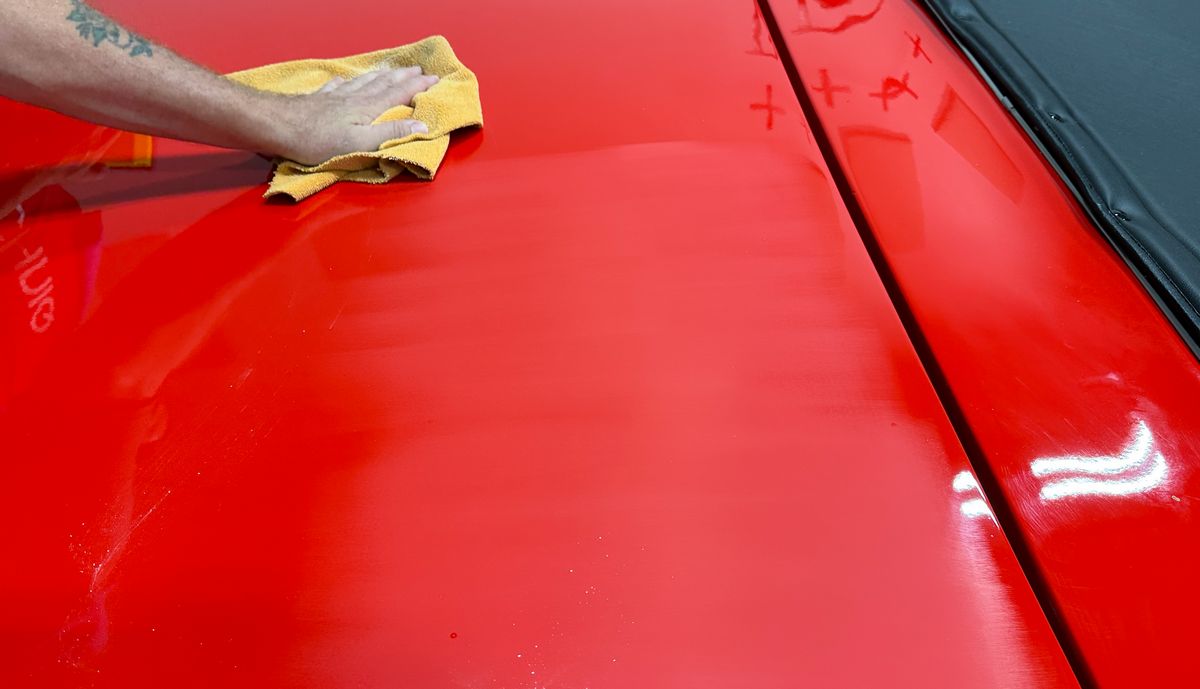
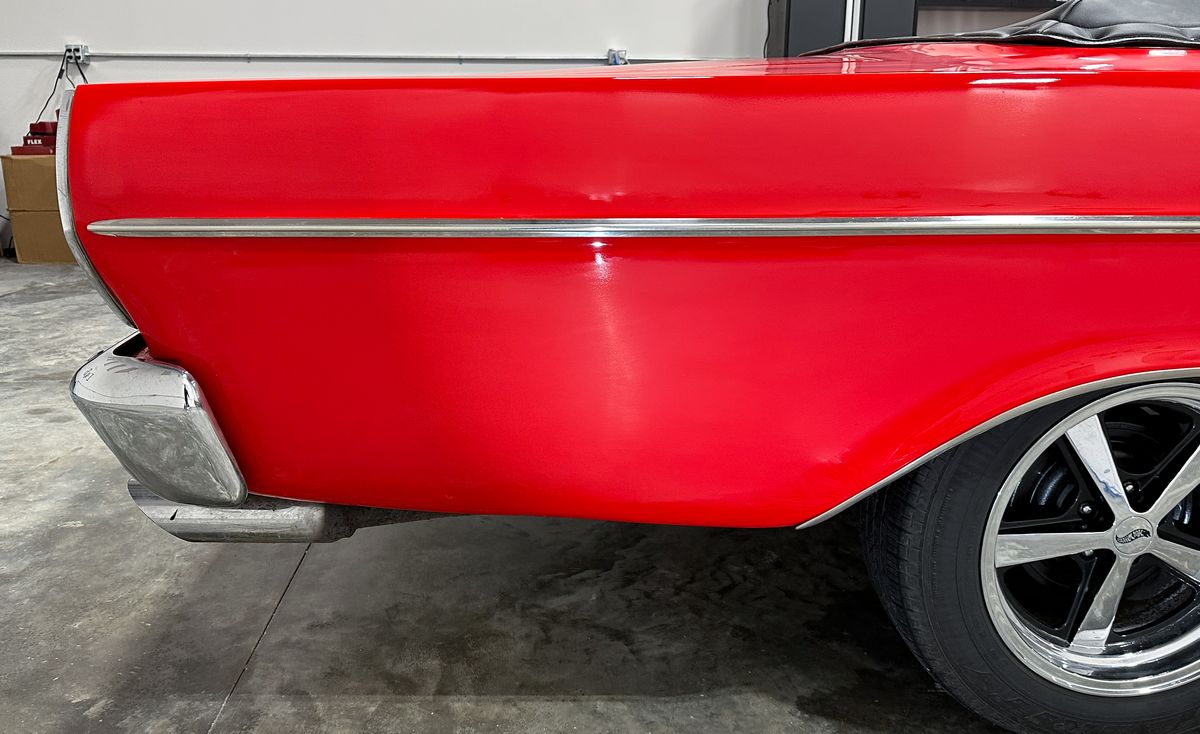
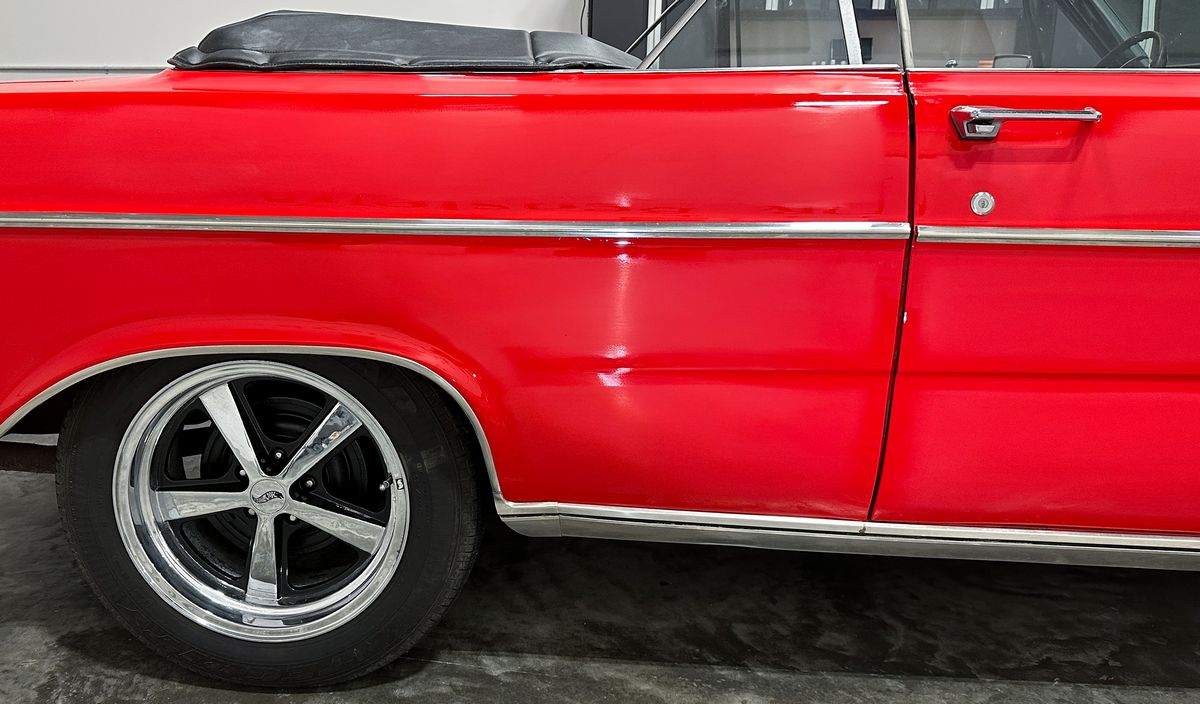
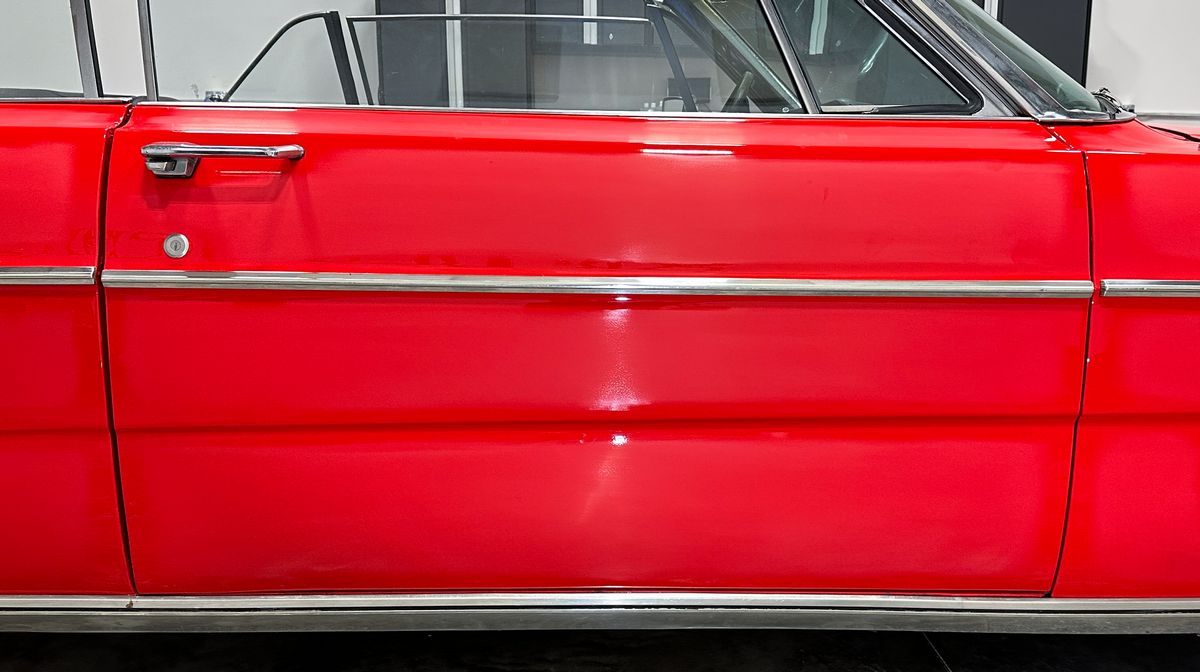
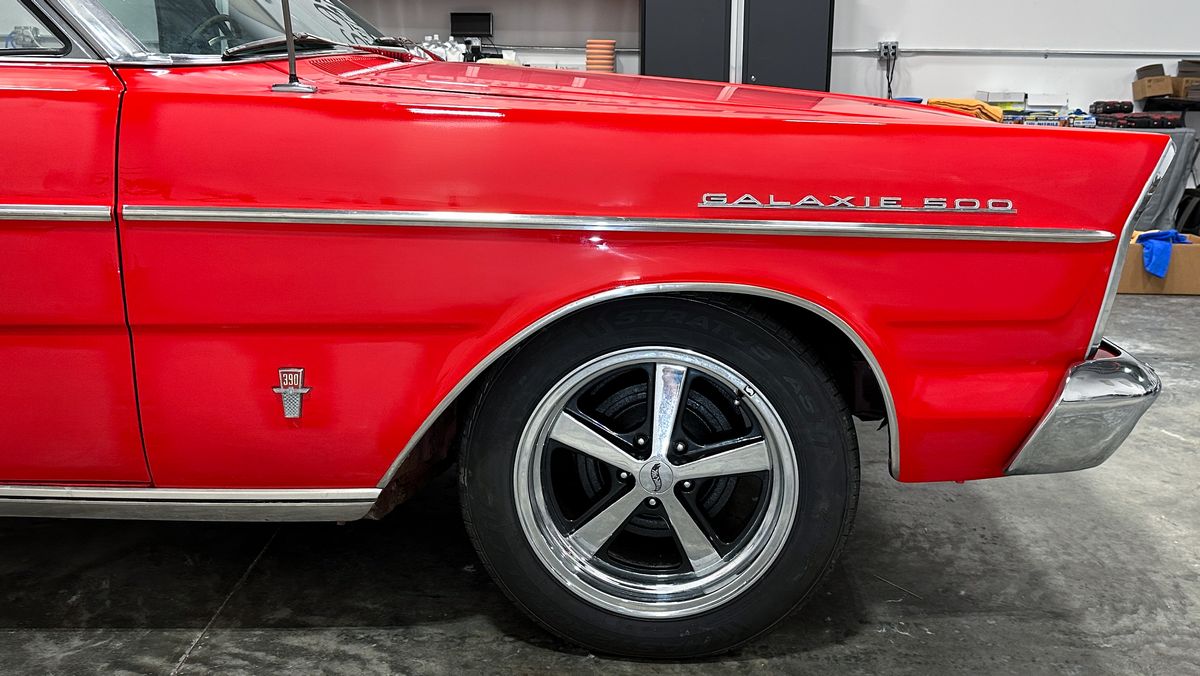
Here's the results after the hand sanding process.
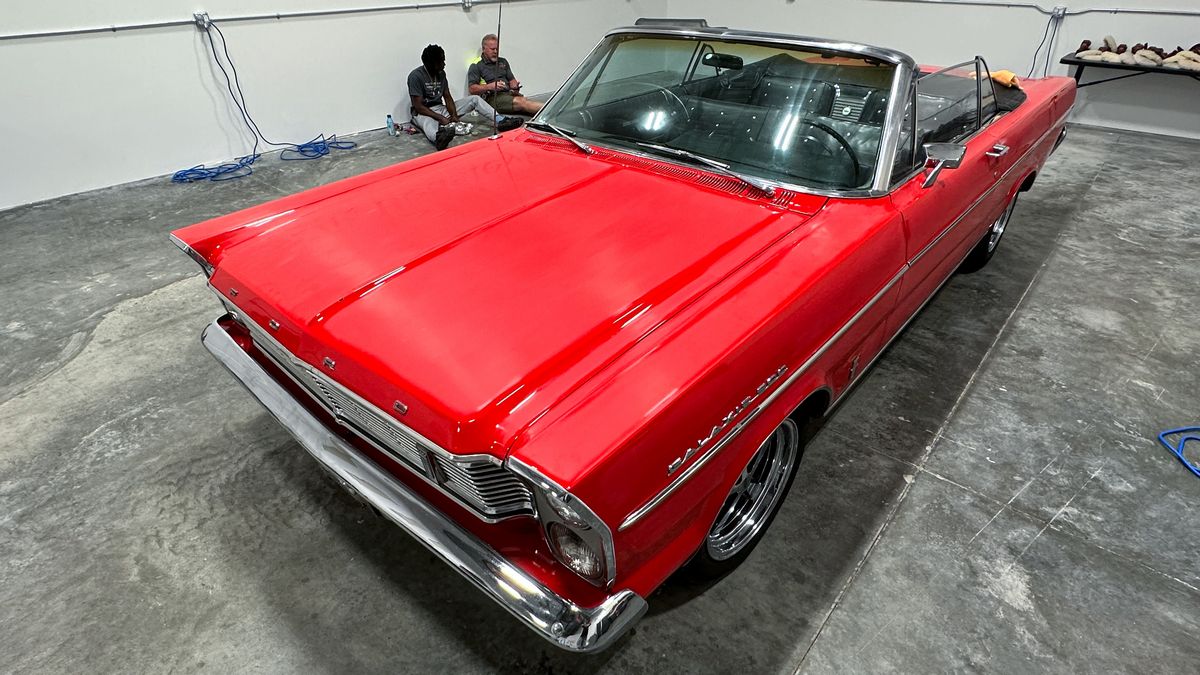
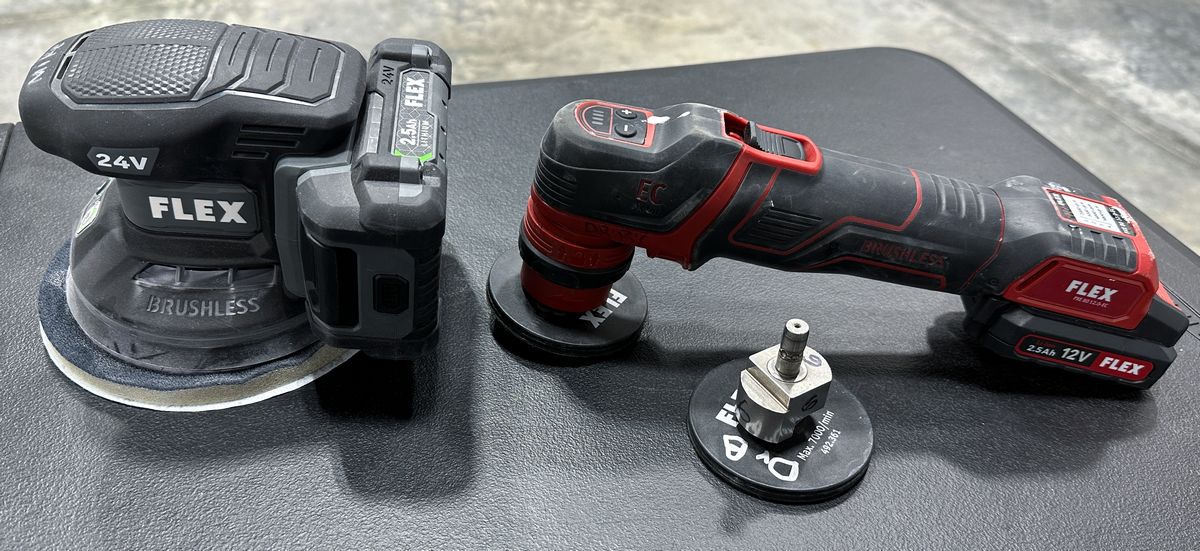
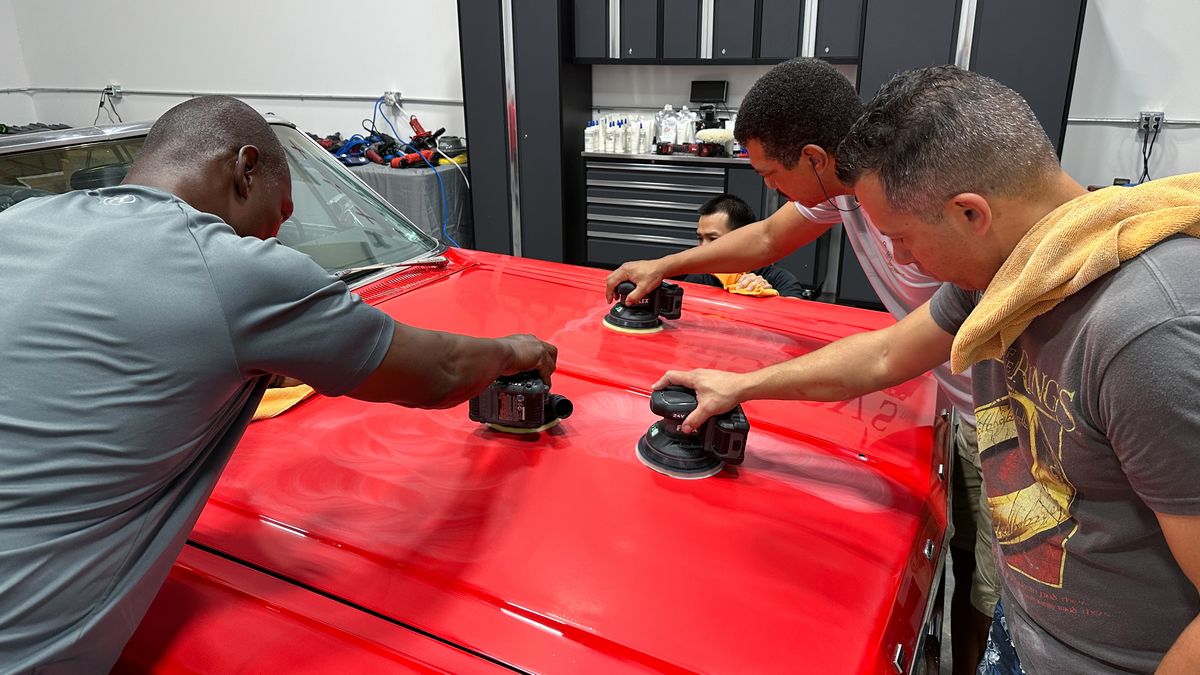
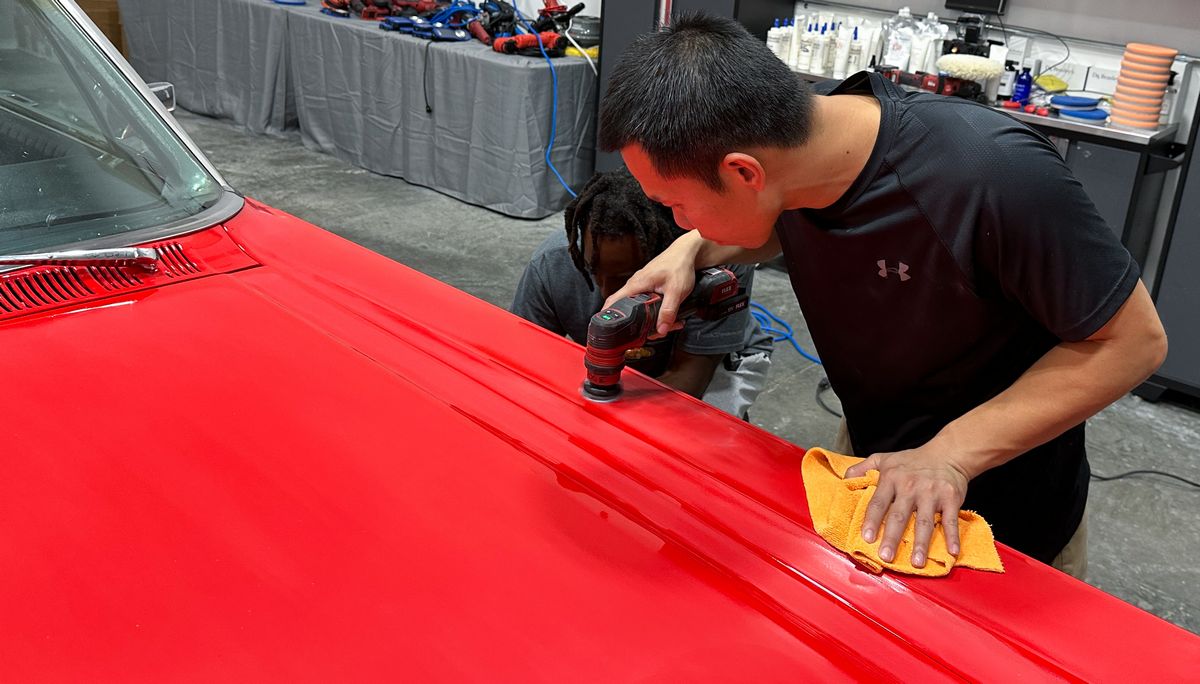
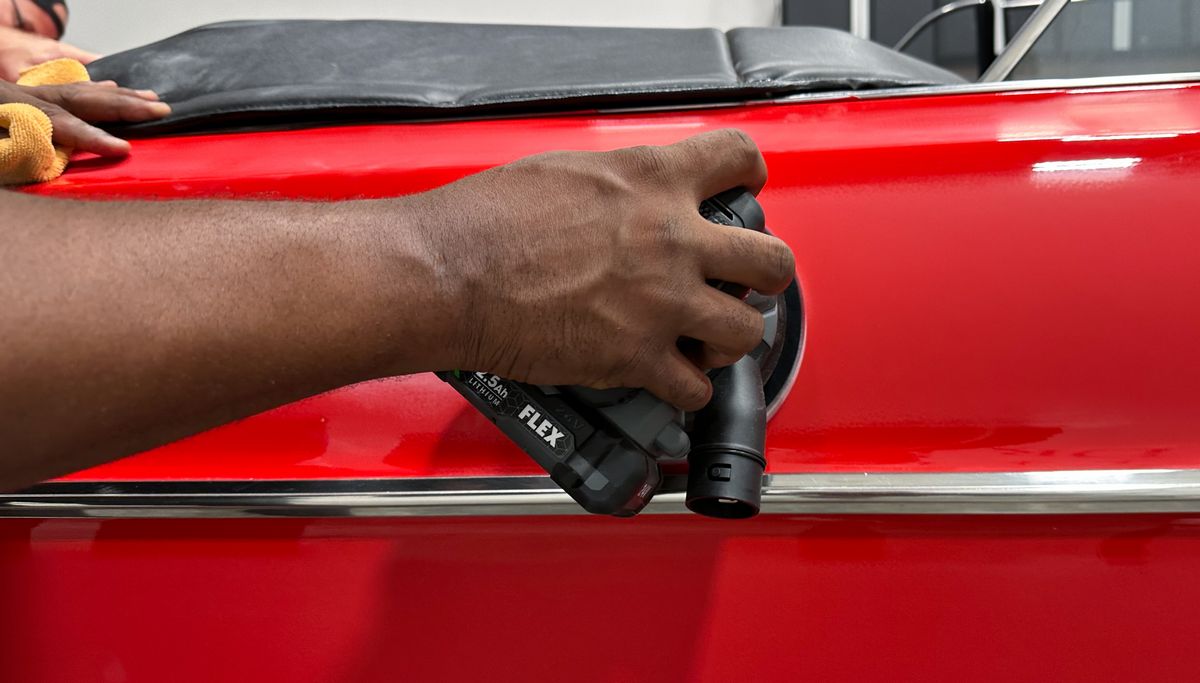
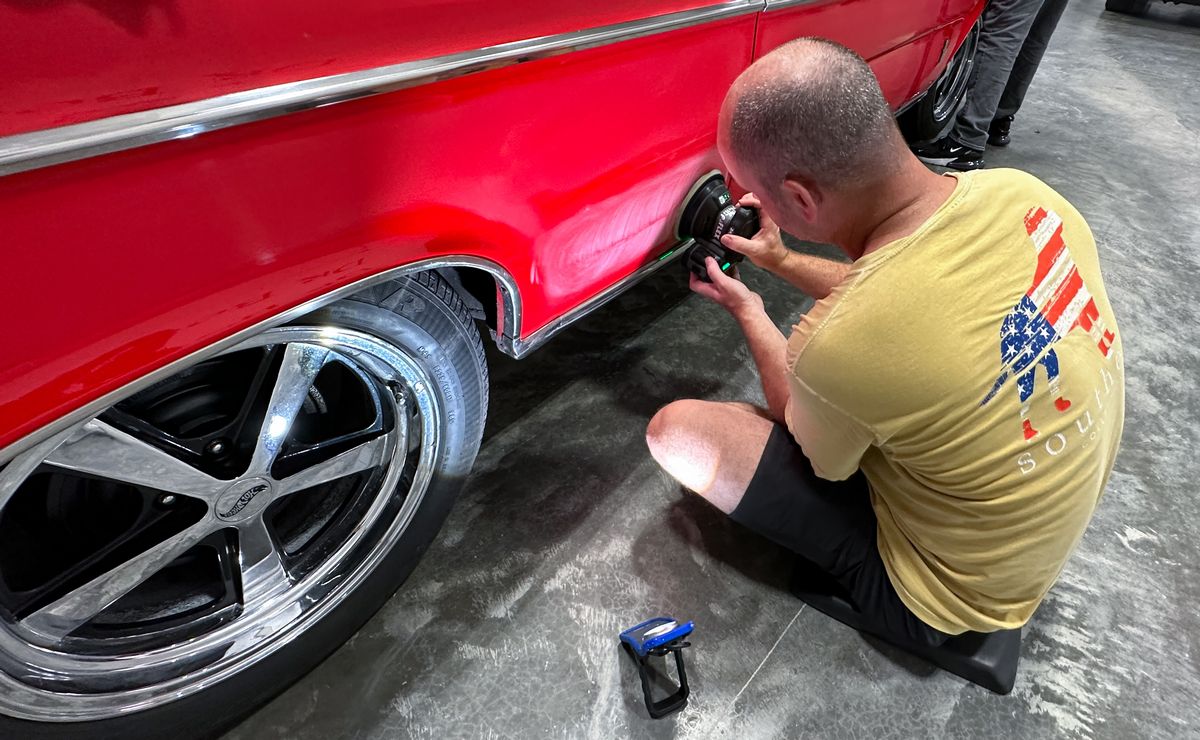
Next up... machine dry sanding....
")
After doing a waterless Prep Wash using Dr. Beasley's Prep Wash, next up I did a full demo from start to finish on these topics,
- How to correctly hand dry sand.
- How to correctly machine dry sand
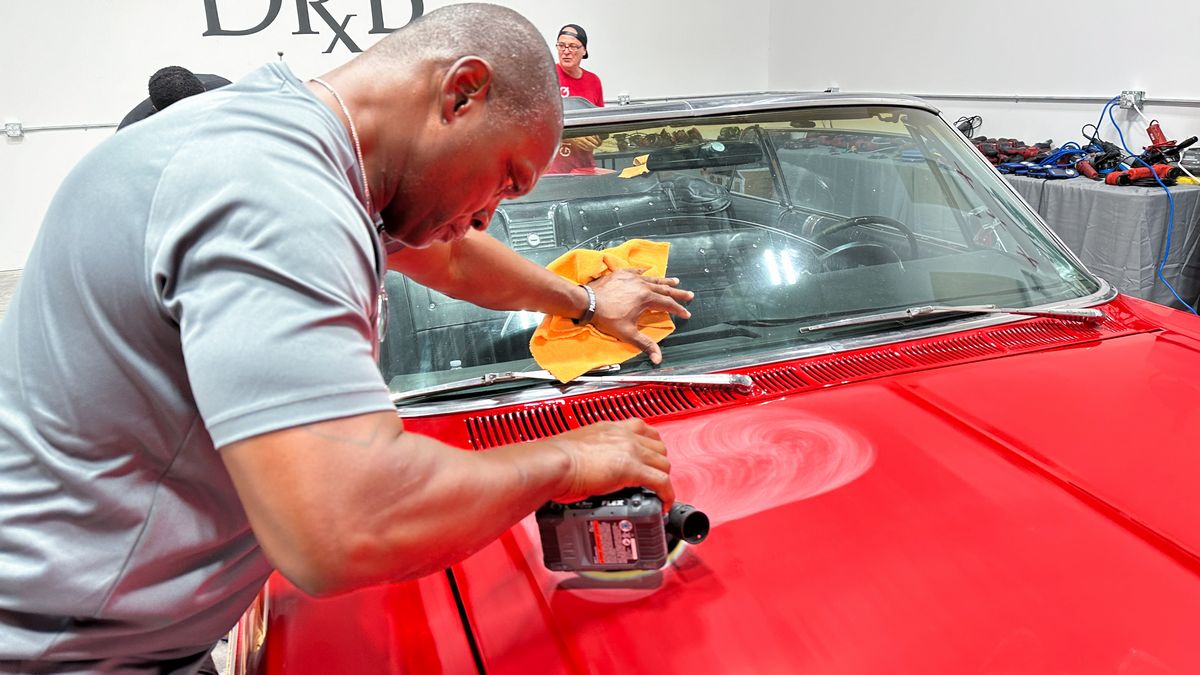
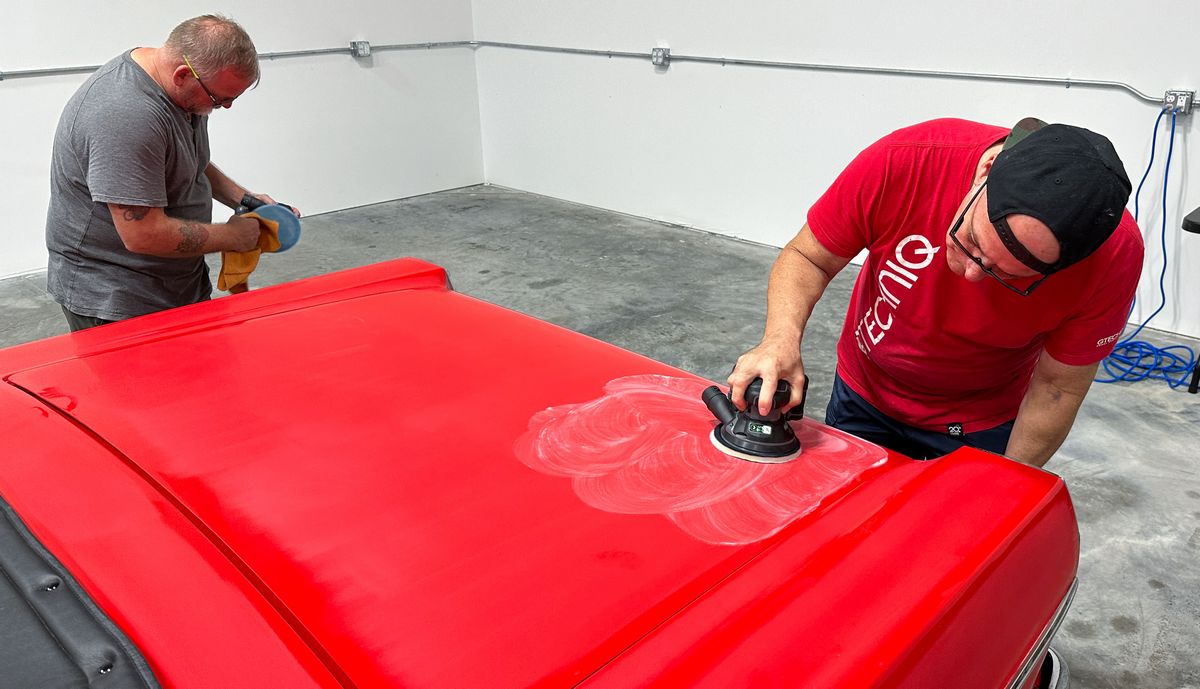
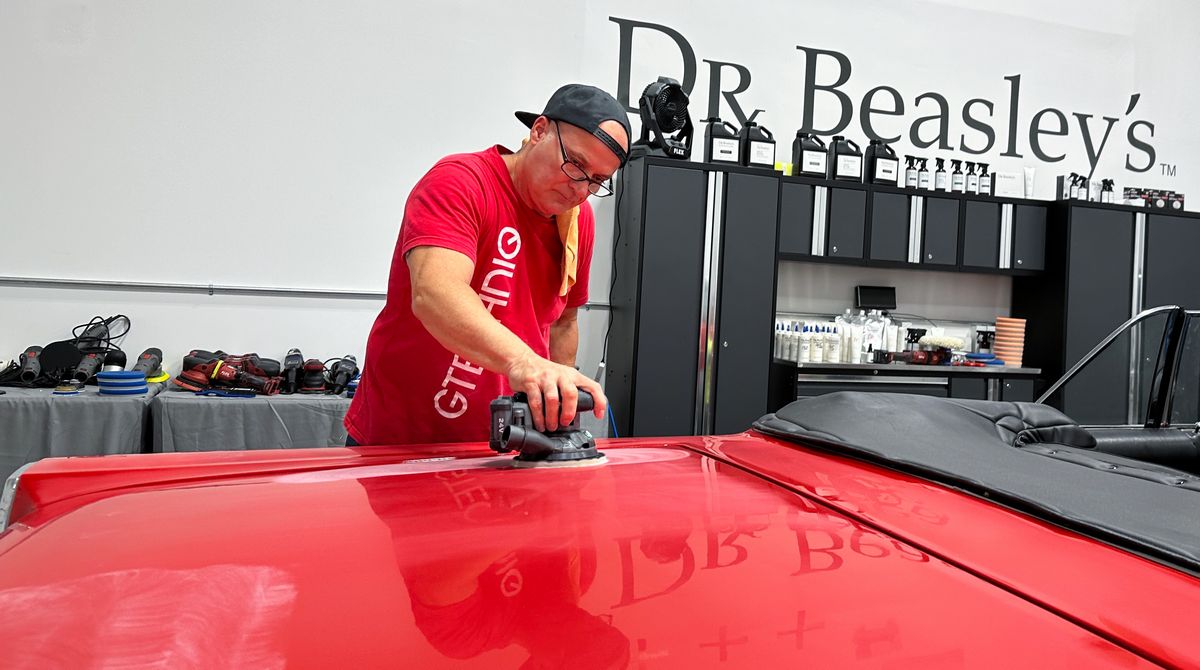
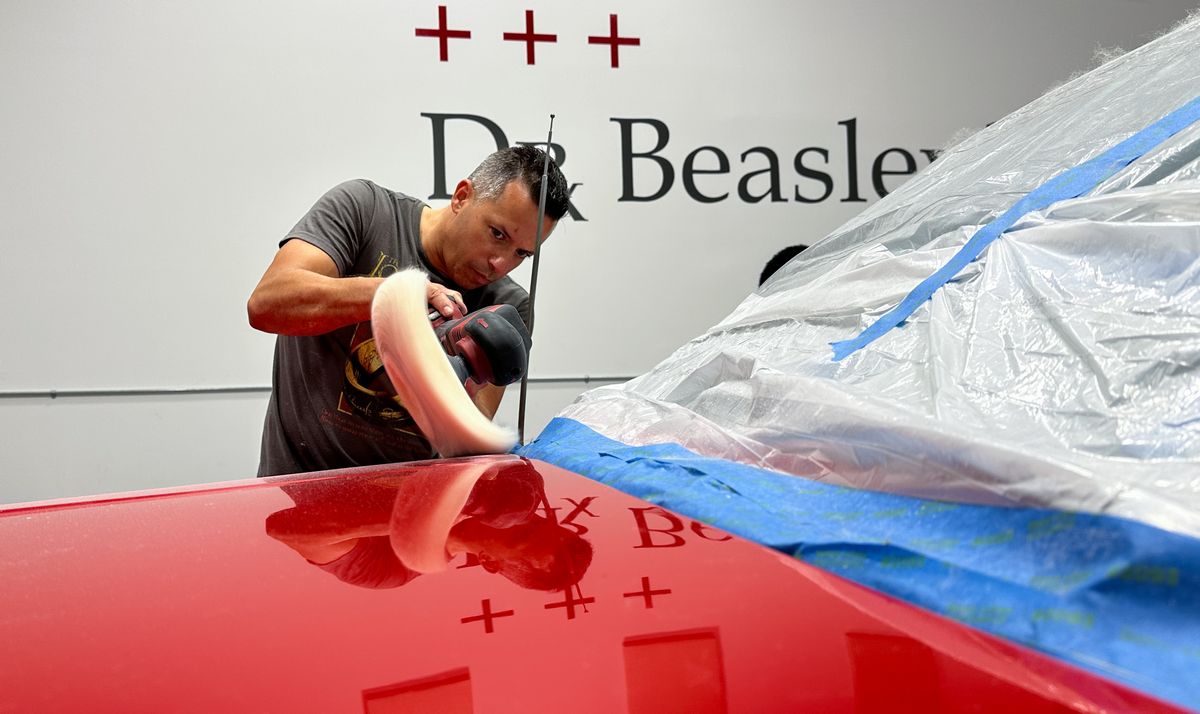
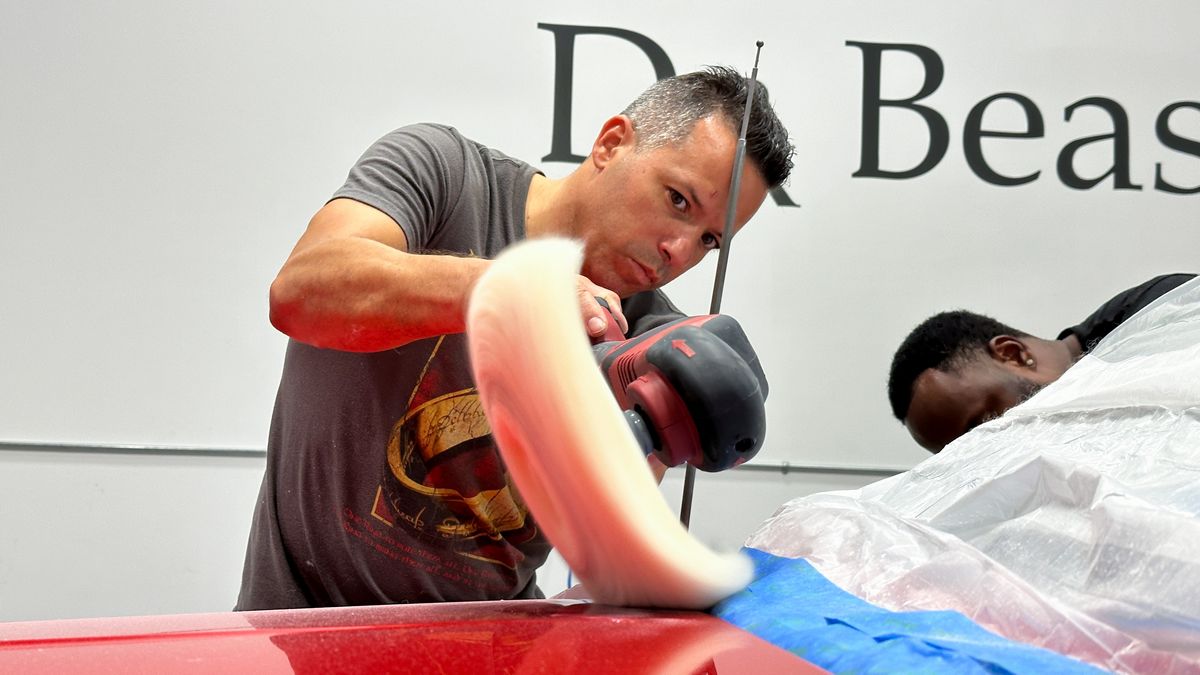
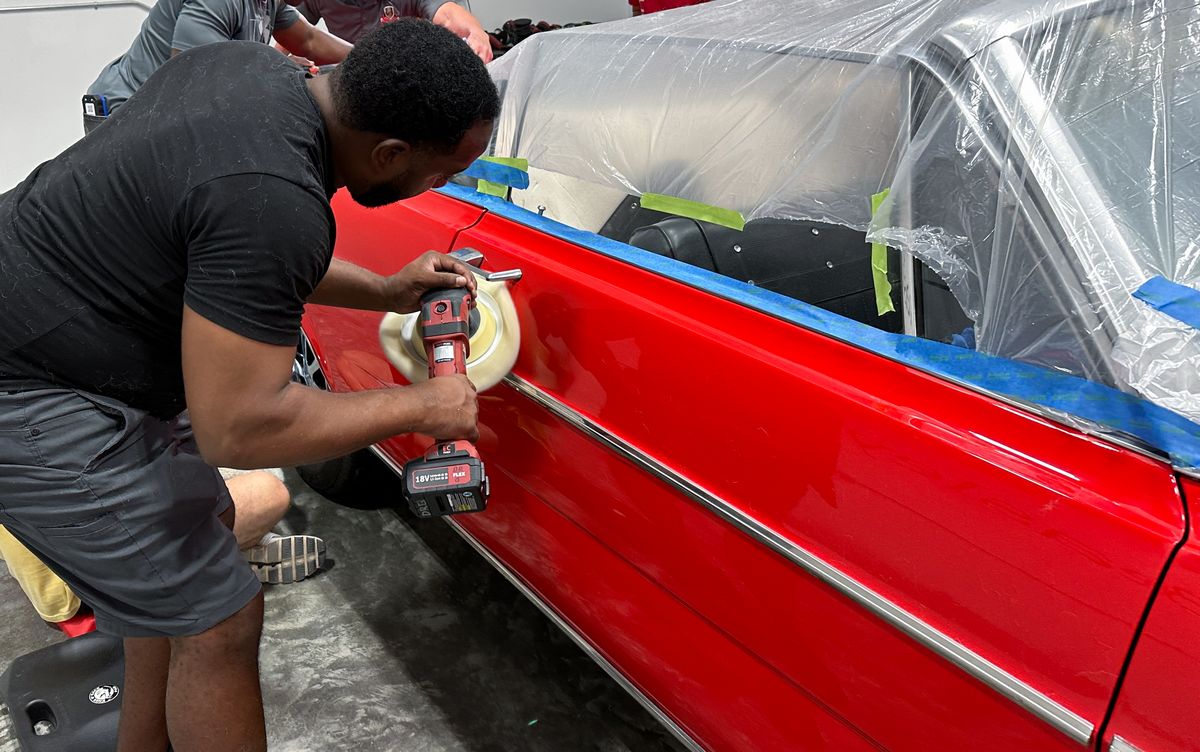
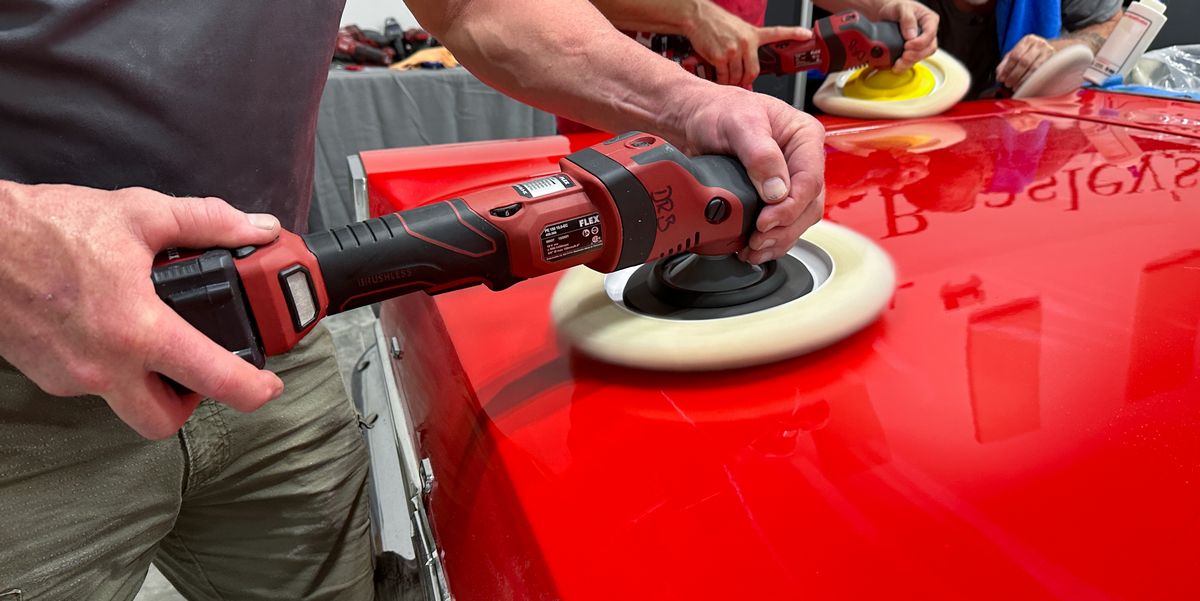
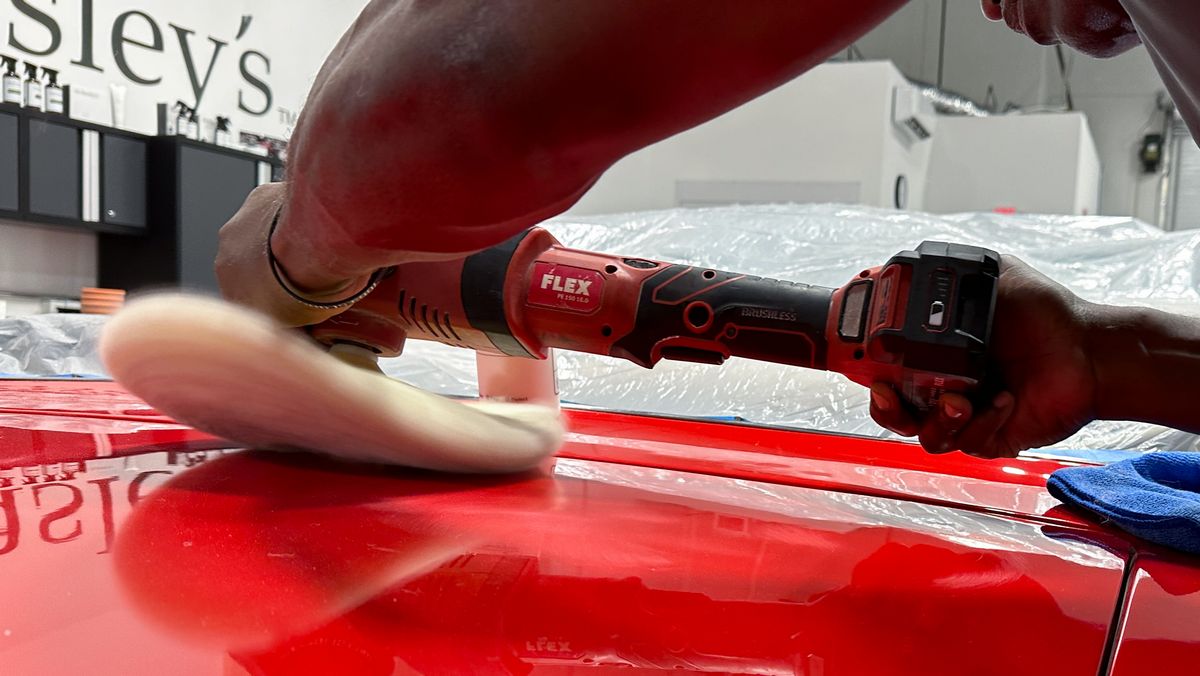
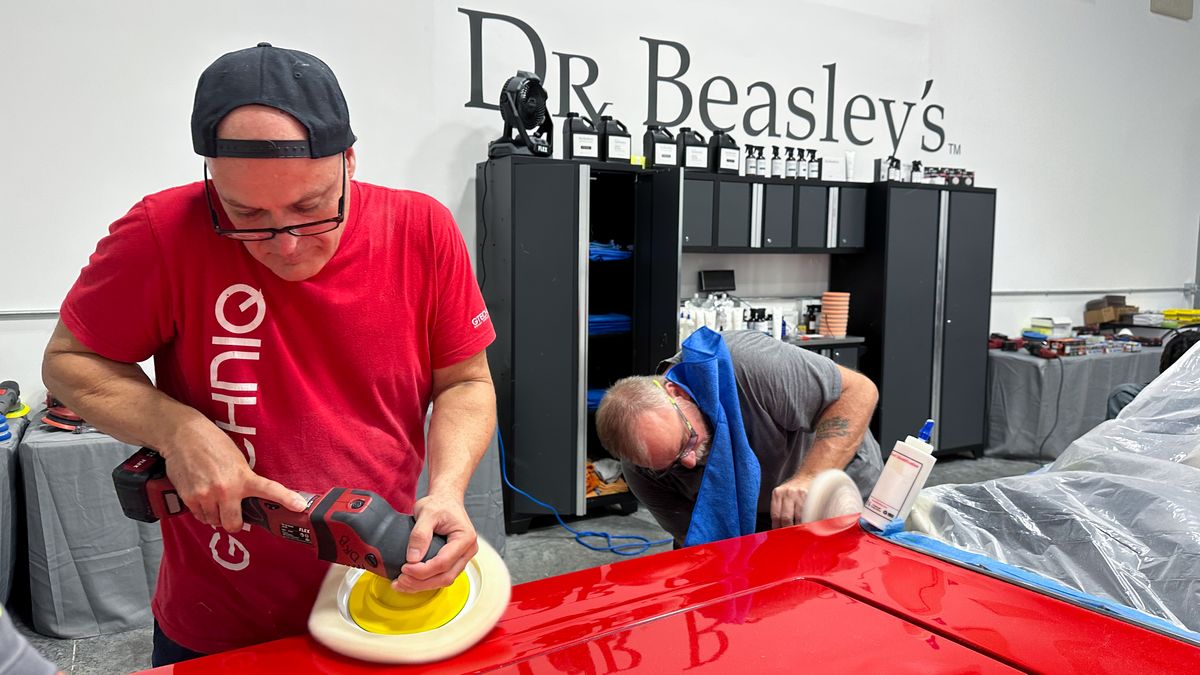
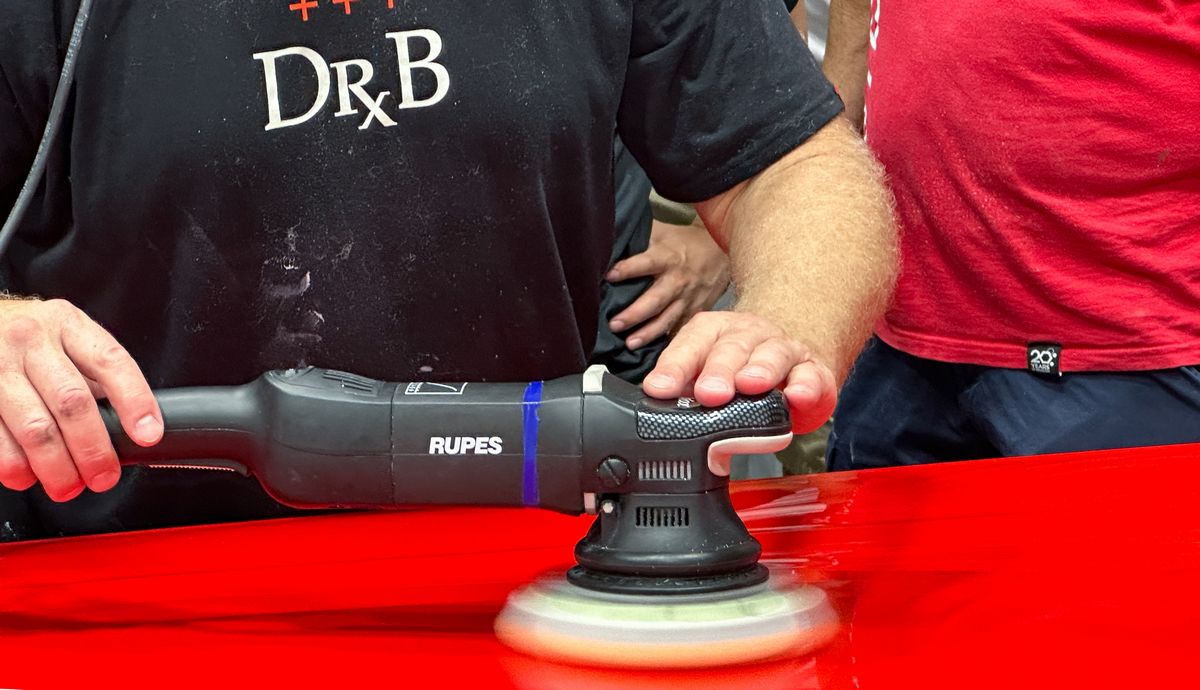
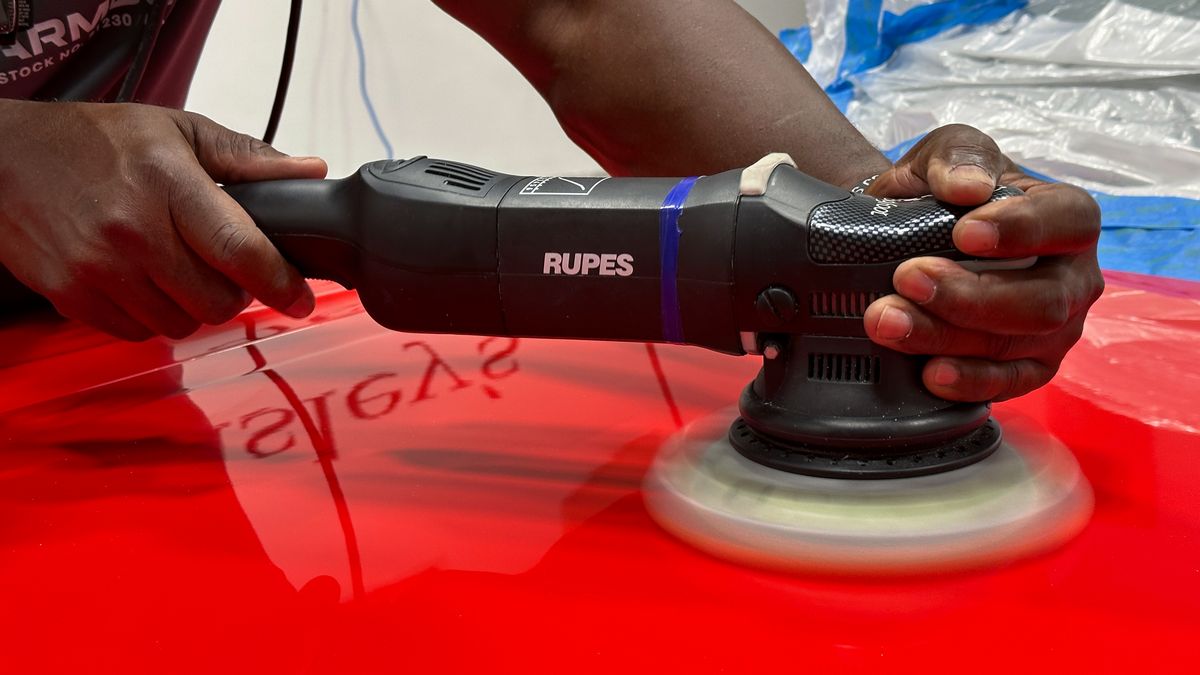
- How to use a rotary polisher with a wool cutting pad to remove sanding marks.
- How to use an orbital polisher to remove holograms left by the wool/fiber cutting pad on a rotary polisher.
After the above demo and a brief time for questions and answers, it was time to turn the class loose and then walk around and monitor the class. Anytime I see someone using the correct technique and getting great results I stop to talk with them and let them know they are spot-on. Anytime I see anyone doing anything incorrect, I also stop to talk with them and offer feedback on how and where they can tweak their technique to work faster, more efficiently and most important - safer.
Here's Meko tackling the front passenger side fender...
Here's Daniel sanding the passenger side door...
The approach being used here will work but I moved Joe to the back of the car and then let him work the sanding block and not only did he find it faster but also easier.
Teamwork!
Inspection Time - More sanding needed
The guys are doing good, especially for the folks that have NEVER sanded down orange peel before. What you're seeing in the picture below is some light sanding but a lot more is still needed.
Tight pattern - no M's or W's
Looking good!
Sanding on the driver's side of the hood is Thomas with Meko and Jhonathan on the passenger side...
Andy knocks out the driver's side fender while Derick tackles the driver's side door...
Here's the results after the hand sanding process.
Next up... machine dry sanding....
Last edited: